
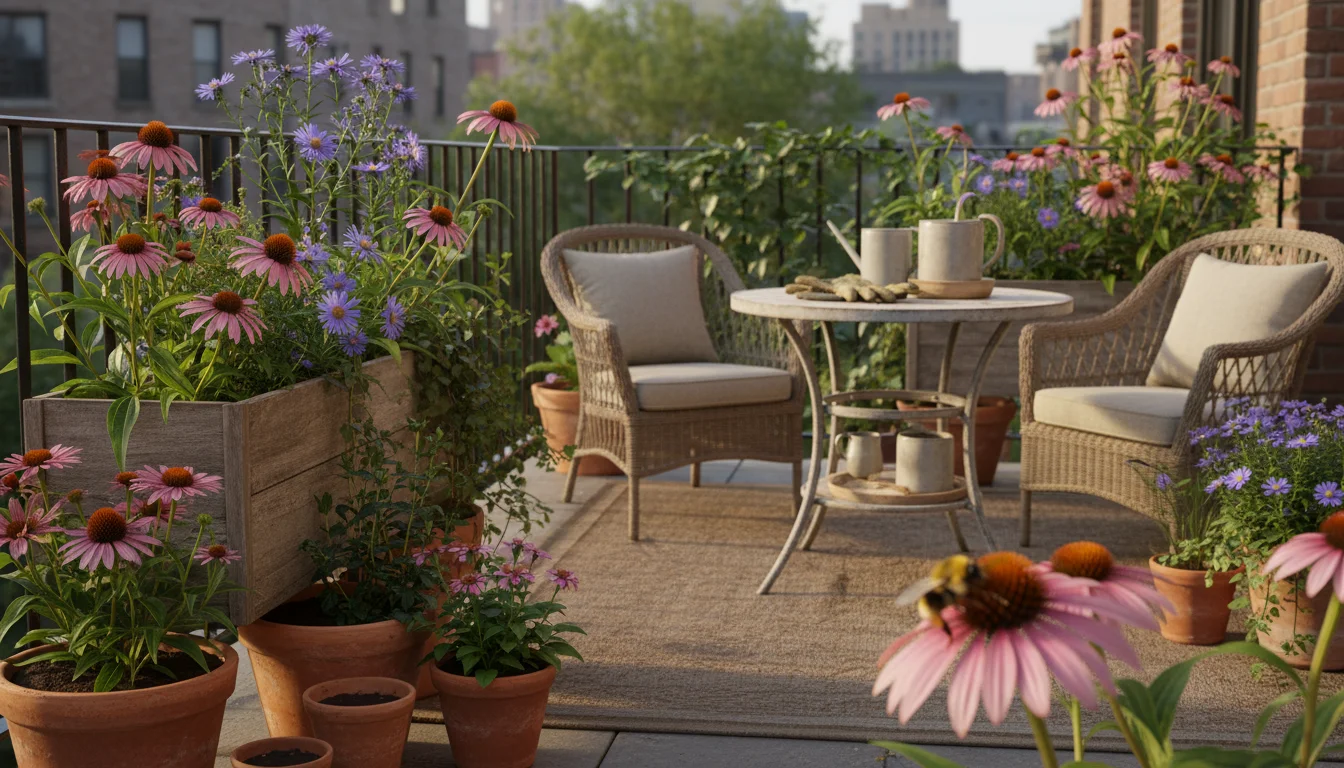
Your small space, whether a balcony, patio, or compact yard, holds immense potential for creating a vibrant, living ecosystem. Embracing native plants in your containers offers a powerful way to practice eco gardening, supporting local wildlife, conserving resources, and enjoying a beautiful, low-maintenance garden. This guide provides practical, actionable insights for selecting, planting, and caring for native plants in pots, ensuring your sustainable garden thrives.
For research-based sustainable gardening guidance, see
The Xerces Society — Pollinator Conservation,
Pollinator Partnership — Garden for Pollinators,
EPA WaterSense — Outdoor Water Use,
USDA NRCS — Soil Health and
Royal Horticultural Society (RHS) — Gardening Sustainably.
Disclaimer: This article is for informational purposes only and is not a substitute for professional advice. Check local regulations before installing rain capture, using greywater, or composting food scraps outdoors.
Why Native Plants in Containers? Your Eco Gardening Advantage
Transforming your balcony or patio into a haven for native plants offers significant benefits beyond just aesthetics. When you choose native plants for your containers, you actively engage in eco gardening, creating a more resilient and self-sustaining environment right where you live. These plants, adapted over millennia to your specific local climate and soil conditions, require less intervention from you, making them ideal for a low-maintenance, sustainable garden.
One primary advantage is their natural resilience. Native plants withstand local weather extremes, from heatwaves to cold snaps, better than non-native species. This inherent hardiness translates into less watering, less fertilizing, and less worry for you. For example, a coneflower native to your region developed deep root systems over time, allowing it to tap into moisture reserves non-native annuals cannot reach. This dramatically reduces your water consumption, a key tenet of water-wise gardening.
You also provide crucial support for local ecosystems. Native plants evolved alongside local pollinators like bees, butterflies, and hummingbirds, offering the specific nectar, pollen, and host plant resources these creatures need to survive. A single container of native milkweed can become a vital food source for monarch caterpillars, directly contributing to their population recovery. By creating these micro-habitats, even in a small space, you directly counter habitat loss, making your garden a crucial link in the local food web.
Furthermore, native plants often resist local pests and diseases naturally, reducing or eliminating your need for chemical pesticides. Their established defenses mean fewer pest outbreaks and healthier plants. This creates a safer environment for children, pets, and, critically, for beneficial insects that help control pest populations. Choosing native plants for your container garden means you build a robust, beautiful, and environmentally responsible space with less effort and greater impact.
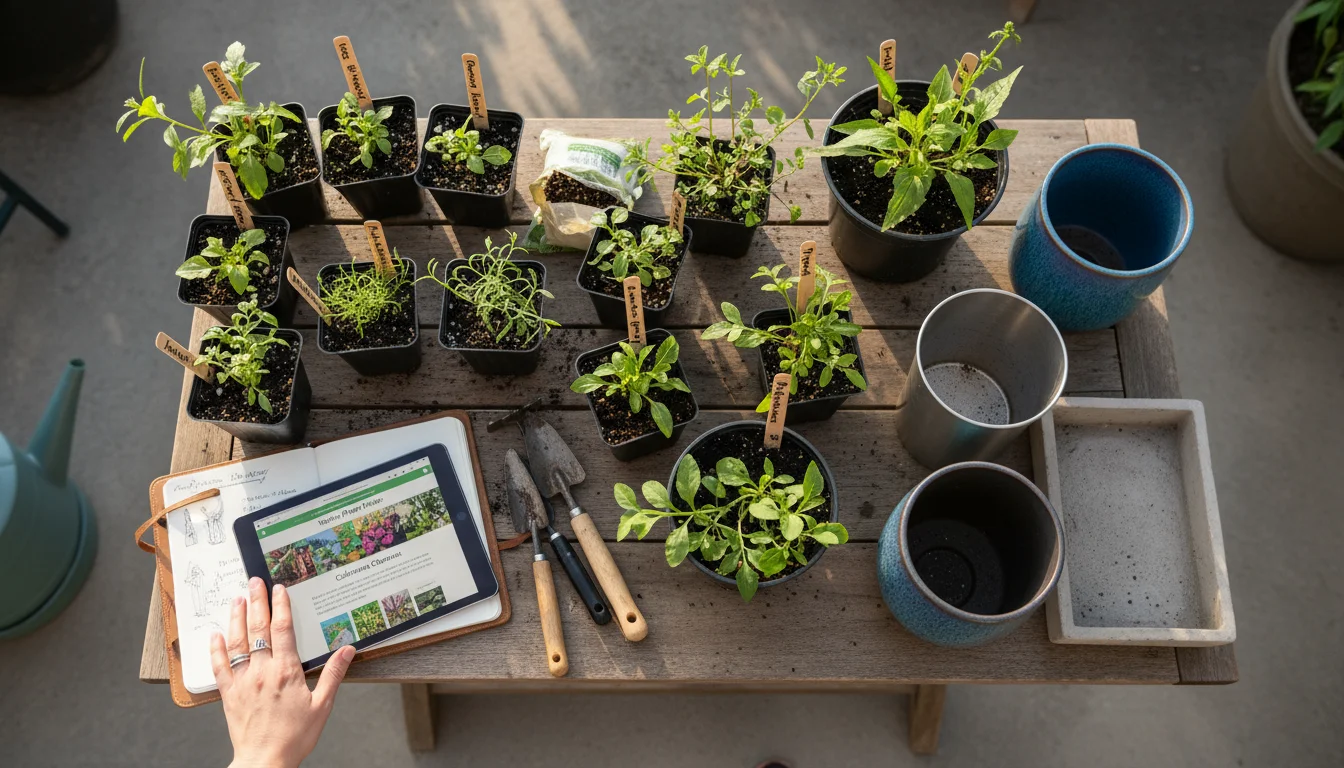
Selecting Native Plants That Flourish in Pots
The key to success with native plants in containers lies in choosing the right species. While many native plants thrive in the ground, some adapt particularly well to the confined conditions of a pot. Focus on varieties known for their compact growth habit, drought tolerance, and adaptability. Your specific region dictates which plants are truly native to your area. Researching your local plant hardiness zone and consulting resources from local botanical gardens or native plant societies helps you identify the best choices.
Consider the mature size of the plant. A small perennial that reaches 1-2 feet in height and width works better in a container than a large shrub or tree that eventually needs extensive root space. Look for plants labeled as “dwarf” or “compact” versions of native species, which breeders developed specifically for smaller spaces. Examples include certain varieties of sedges, smaller coneflowers, or compact asters.
Also, evaluate the light conditions your container garden receives. A south-facing balcony will need full-sun loving natives, while a shaded patio requires plants tolerant of lower light. Matching the plant’s light requirements to your space is crucial for its health and vigor.
Here is a table offering examples of native plants that often perform well in containers, categorized by general light preference and region. Always verify specific species for your local area.
| Plant Type / Common Name | Light Preference | Regional Examples (Always Verify Local Native Status) | Pollinator Benefit |
|---|---|---|---|
| **Full Sun (6+ hours)** | |||
| Purple Coneflower (Echinacea purpurea) | Full Sun | Eastern & Central US | Bees, butterflies |
| Black-Eyed Susan (Rudbeckia hirta) | Full Sun | Eastern & Central US, adaptable | Bees, butterflies, host for some moths |
| Lanceleaf Coreopsis (Coreopsis lanceolata) | Full Sun | Eastern & Central US | Bees, butterflies |
| Butterfly Milkweed (Asclepias tuberosa) | Full Sun | Eastern & Southern US | Monarch host plant, many other pollinators |
| Prairie Dropseed (Sporobolus heterolepis) | Full Sun | Central US | Small birds, fine textured ornamental grass |
| **Partial Sun (3-6 hours)** | |||
| Coral Bells (Heuchera spp.) | Partial Sun to Shade | North America, diverse species | Hummingbirds, small bees |
| Wild Geranium (Geranium maculatum) | Partial Sun to Shade | Eastern & Central US | Bees, small butterflies |
| Columbine (Aquilegia canadensis) | Partial Sun to Shade | Eastern North America | Hummingbirds, long-tongued bees |
| Foxglove Beardtongue (Penstemon digitalis) | Partial Sun | Eastern & Central US | Bumblebees |
| **Shade (Less than 3 hours)** | |||
| Ferns (e.g., Maidenhair, Christmas) | Shade | Various regions, diverse species | Habitat, visual interest |
| Virginia Bluebells (Mertensia virginica) | Shade | Eastern & Central US | Early emerging pollinators |
| White Wood Aster (Eurybia divaricata) | Shade | Eastern North America | Late season bees, butterflies |
When you select your native plants, aim for a diversity of bloom times. This provides continuous food sources for pollinators throughout the growing season, from early spring to late fall. For example, pair spring-blooming Virginia Bluebells with summer-blooming Coneflowers and fall-blooming Asters. This sequential bloom strategy maximizes your garden’s impact on local wildlife and ensures your sustainable garden remains active and vibrant.
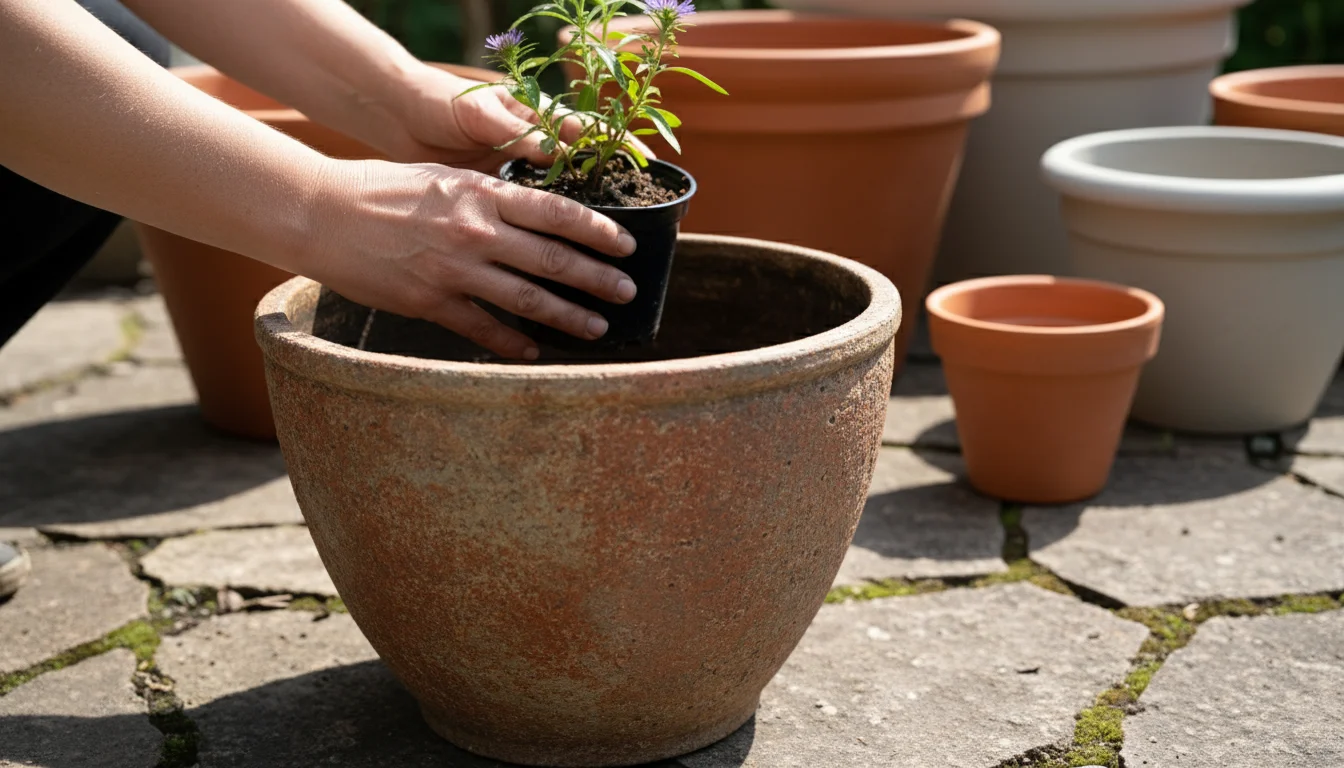
Choosing the Right Container for Your Native Gems
The container you choose plays a significant role in the health and longevity of your native plants. Size, material, and drainage are critical considerations for your eco gardening efforts. Select containers that accommodate the mature root system of your chosen plant, provide proper aeration, and promote water retention without waterlogging.
Size Matters: A common mistake involves planting in pots that are too small. While a small pot might seem appropriate for a young plant, its roots quickly outgrow the space, leading to stunted growth, frequent watering, and stress. As a general rule, choose a container that is at least 12-18 inches in diameter for most perennial native plants. Larger plants or those with extensive root systems, like some grasses or small shrubs, benefit from containers 20 inches or more. A larger container also offers a buffer against temperature fluctuations and allows for more stable moisture levels.
Material Choices:
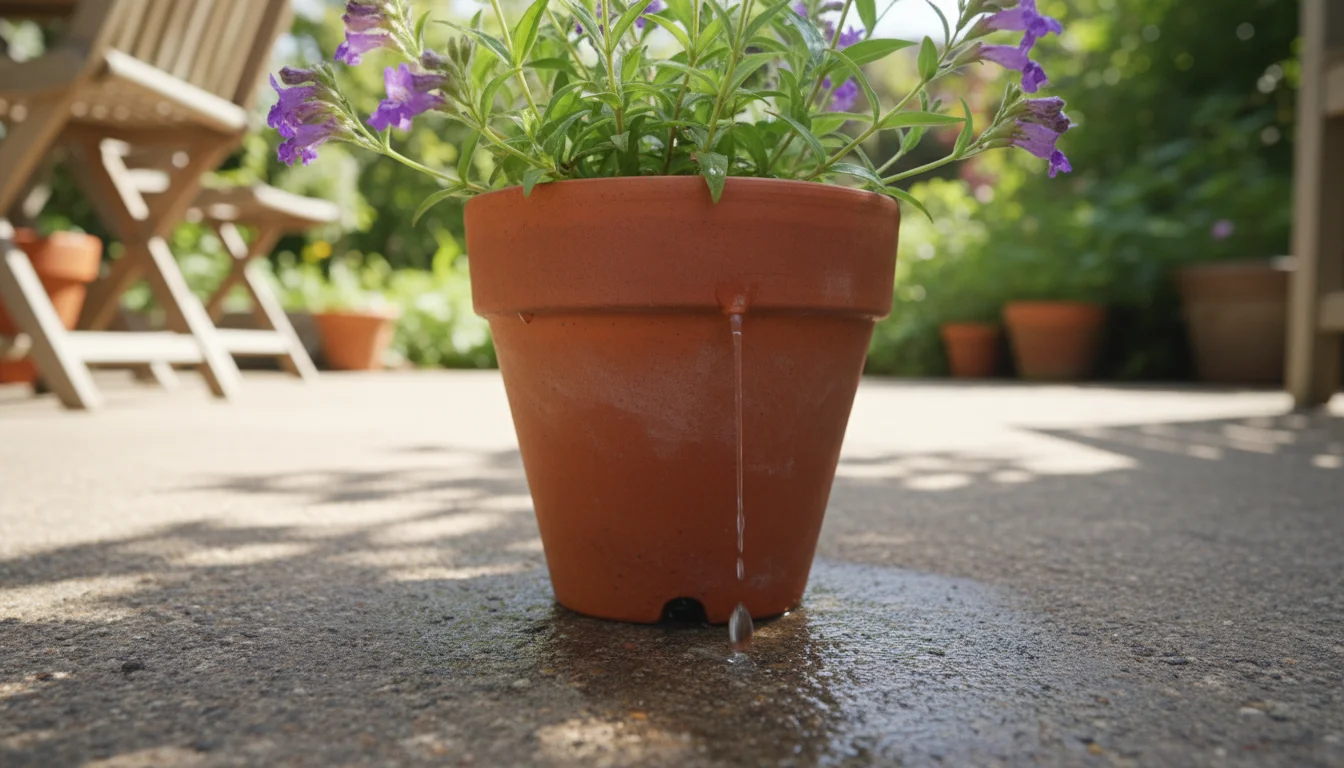
- Terracotta or Clay: These porous materials promote excellent air circulation to the roots and allow excess moisture to evaporate, which can be beneficial for plants that dislike “wet feet.” However, they dry out quickly, necessitating more frequent watering, especially in hot climates. They are also heavy and can break easily.
- Plastic: Lightweight, inexpensive, and durable, plastic pots retain moisture well, reducing watering frequency. Opt for thick, UV-resistant plastic to prevent brittleness and degradation over time. Look for pots made from recycled plastic to further your sustainable garden goals.
- Glazed Ceramic: Combining the aesthetics of clay with the moisture retention of plastic, glazed ceramic pots offer an attractive and functional option. Ensure they have adequate drainage holes.
- Wood: Cedar or redwood planters offer a natural look and good insulation for roots. Line them with a permeable fabric or plastic to extend their life and prevent soil from contacting the wood directly, which can accelerate rot.
- Metal: While visually striking, metal containers conduct heat readily, potentially overheating roots in direct sun. Consider insulating them or placing them in shadier spots.
- Fabric Grow Bags: These breathable containers offer excellent air pruning of roots, preventing circling, and promote healthy root development. They are lightweight, flexible, and often made from recycled materials, making them a good choice for eco gardening. They can dry out faster than plastic pots.
Drainage is Non-Negotiable: Regardless of material, every container must have drainage holes at the bottom. Without proper drainage, water collects, suffocating roots and leading to rot. Aim for at least one large hole or several smaller ones. You do not need to add a layer of gravel or broken pot shards at the bottom; this actually hinders drainage. Instead, ensure your potting mix is well-draining, which we will discuss next.
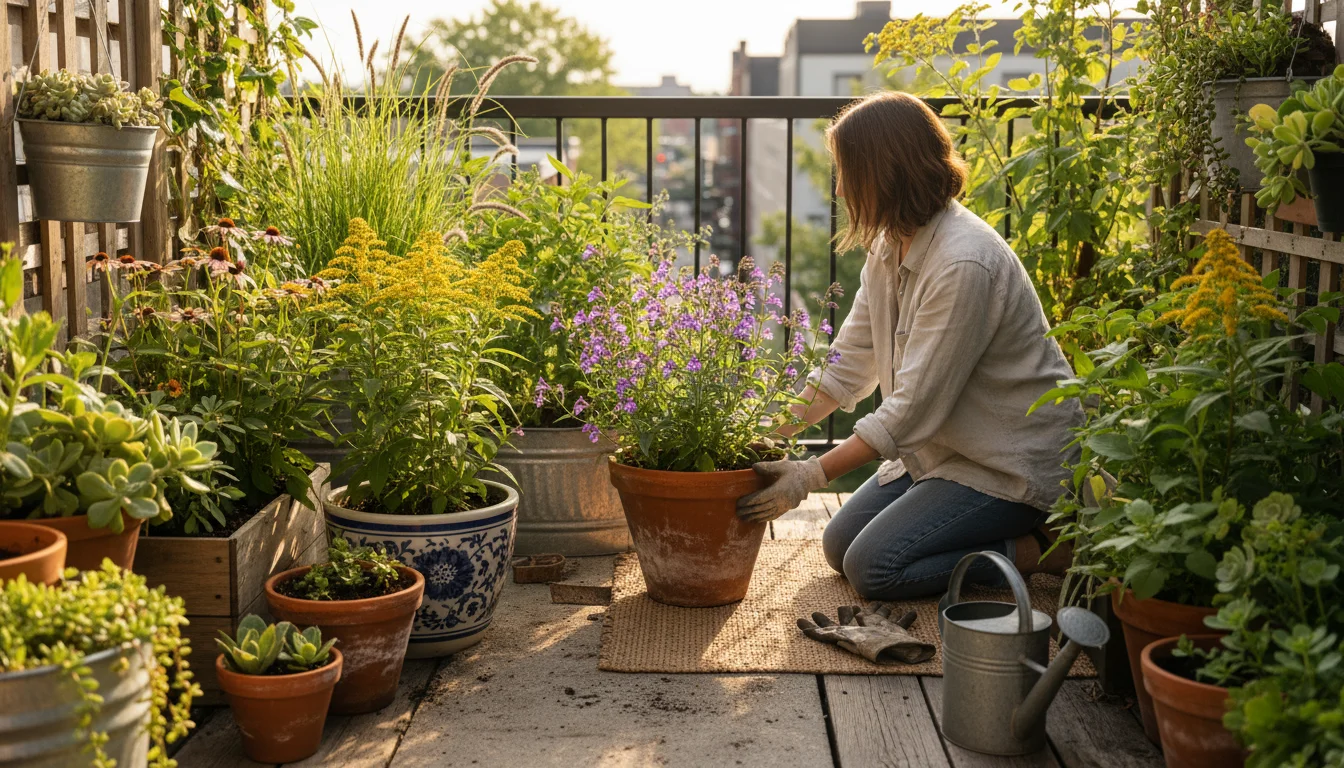
Finally, consider the aesthetic and practical placement. Cluster containers for a fuller look and to create a microclimate that offers some insulation. Elevate pots slightly with pot feet to improve air circulation underneath and prevent staining surfaces.
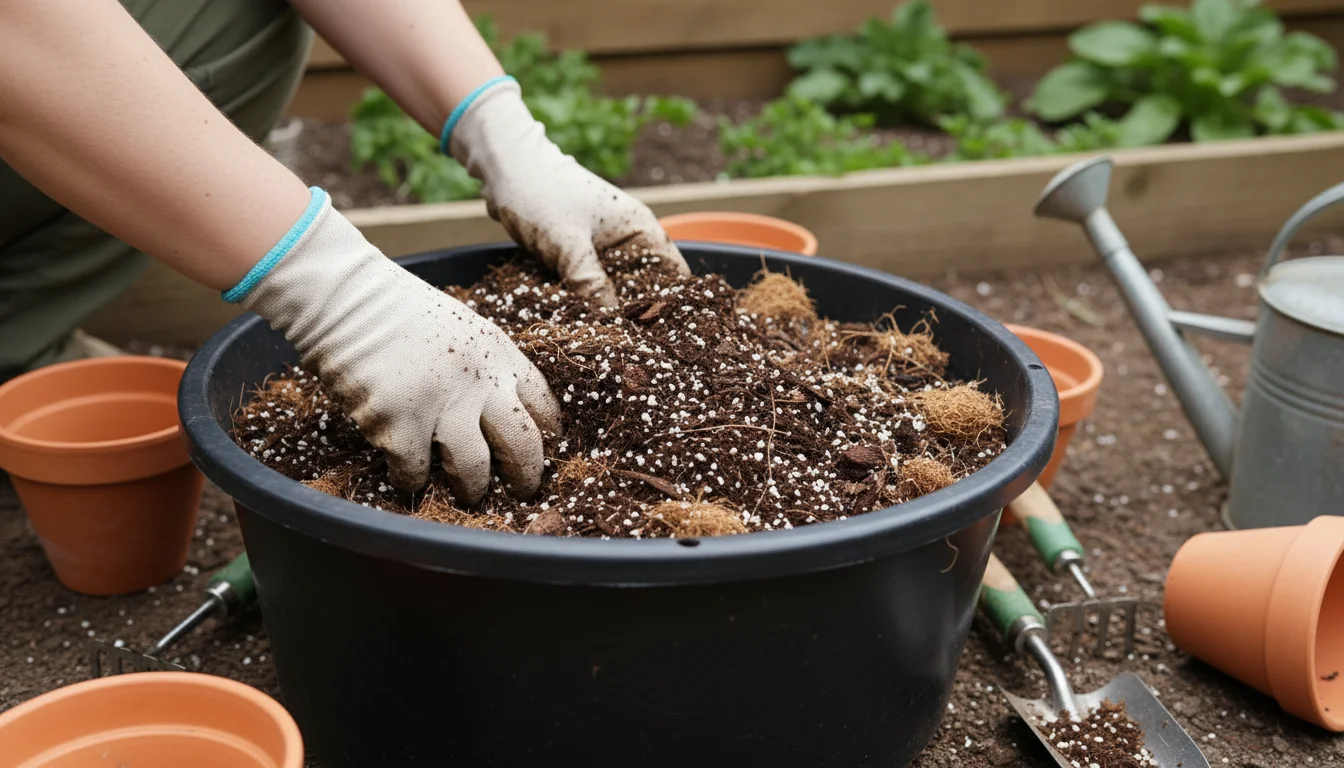
Crafting the Perfect Peat-Free Potting Mix
The right growing medium is paramount for container native plants. A high-quality, peat-free potting mix provides the necessary support, aeration, and moisture retention for healthy root development. Peat moss, a traditional potting mix ingredient, comes from peatlands, vital carbon sinks and delicate ecosystems. Choosing peat-free alternatives contributes significantly to your sustainable garden practices. You support environmental conservation by opting for media that do not deplete these irreplaceable wetlands.
A good peat-free mix typically contains a blend of ingredients designed to mimic the properties of natural soil while providing drainage essential for containers. Look for mixes that include:
- Composted Bark or Wood Fiber: These provide structure, improve aeration, and offer excellent drainage. They decompose slowly, adding organic matter over time.
- Coir (Coconut Fiber): A sustainable alternative to peat, coir excels at retaining moisture while still allowing for good drainage. It is pH-neutral and breaks down slowly.
- Perlite or Pumice: These lightweight, porous volcanic rocks enhance drainage and aeration, preventing compaction.
- Vermiculite: A hydrated mineral, vermiculite retains both water and nutrients, making them available to plant roots. It also improves aeration.
- Compost: Finished compost enriches the mix with beneficial microbes and a slow release of nutrients, promoting overall plant health. Ensure it is well-aged and free of weed seeds.
When purchasing potting mix, always check the label for “peat-free” or “sustainable.” Many brands now offer excellent formulations that perform as well or better than traditional peat-based mixes. For native plants, a general-purpose, well-draining peat-free mix works for most species. Some native plants, particularly those adapted to sandy or rocky soils, might benefit from a mix with even higher drainage, which you can achieve by adding extra perlite or pumice.
Refreshing and Reusing Potting Mix: You do not need to discard potting mix every season. Reusing your existing mix is a fantastic way to reduce waste in your sustainable garden. Here is how you do it:
- Remove Old Roots: After a plant finishes its life cycle or you repot it, empty the container and manually remove as many old roots as possible.
- Sift (Optional): For a finer mix, you can sift the old potting medium to remove smaller root fragments and large debris.
- Sterilize (Optional, but recommended for disease prevention): If you experienced pest or disease issues, solarize the soil by spreading it on a tarp in direct sunlight for several weeks, covering it with clear plastic. The sun’s heat sterilizes it. Alternatively, bake small batches in an oven at 200°F (93°C) for 30 minutes.
- Amend and Revitalize: Old potting mix loses its structure and nutrients. Revitalize it by adding 25-50% fresh, peat-free potting mix, a generous amount of finished compost, and a slow-release organic fertilizer. This replenishes nutrients and improves soil structure, making it ready for new native plants container plantings.
This careful approach to potting mix ensures your native plants receive the best start while upholding strong eco gardening principles.
Water-Wise Habits for Healthy Native Containers
Water-wise irrigation is a cornerstone of sustainable garden practices, especially for container plants. While native plants often tolerate drought better than non-natives, containers dry out faster than garden beds. Implementing smart watering strategies conserves water and keeps your native plants healthy. The EPA WaterSense program offers excellent guidance on efficient outdoor water use, which applies directly to container gardening.
Deep Watering Rhythm: Avoid frequent, shallow watering. This encourages roots to stay near the surface, making plants more vulnerable to drought. Instead, water deeply and less frequently. This means giving enough water so it drains out the bottom of the pot. Deep watering encourages roots to grow deeper, increasing the plant’s resilience. Before watering again, check the soil moisture. Stick your finger 2-3 inches into the soil. If it feels dry, it is time to water. If it still feels damp, wait a day or two. This “feel the soil” method prevents overwatering, a common cause of root rot.
Mulch for Containers: Mulching is not just for in-ground gardens; it is incredibly beneficial for containers. Apply a 1-2 inch layer of organic mulch, such as shredded bark, coco coir, or wood chips, on top of the potting mix. Mulch reduces water evaporation by shielding the soil from sun and wind, keeps soil temperatures more stable, and suppresses weeds. This simple practice significantly decreases your watering frequency, a critical aspect of water-wise eco gardening.
Drip Lines and Self-Watering Pots: For larger container collections or if you travel frequently, consider automated solutions. Drip irrigation systems deliver water directly to the root zone, minimizing waste from evaporation or runoff. You can set them on a timer for precise watering. Self-watering pots, which feature a reservoir at the bottom, provide a consistent water supply to plants, reducing the need for daily manual watering. These systems require an initial investment but save considerable time and water over the long term.
Rain Capture Basics: Harnessing rainwater offers a truly sustainable water source for your container garden. You can start small with a rain barrel connected to a downspout, or simply place buckets and larger containers out during a rain shower. Rainwater lacks the chlorine and other chemicals found in tap water, making it excellent for plants. Ensure your rain capture system is secure and screened to prevent mosquito breeding. Always check local regulations regarding rainwater harvesting before installation.
Early Morning Watering: Water your plants in the early morning. This allows the plants to absorb the water before the heat of the day causes significant evaporation. Watering in the evening can leave foliage wet overnight, potentially encouraging fungal diseases. By adopting these water-wise practices, you ensure your native plants container garden thrives while minimizing your environmental footprint.
Nourishing Your Container Natives Organically
Maintaining healthy soil in containers differs slightly from in-ground gardens. Container plants have finite resources in a confined space. Providing appropriate nutrition through organic feeds and fostering a robust microbial community ensures their continued vitality. The USDA NRCS emphasizes soil health, and these principles translate well to container gardening.
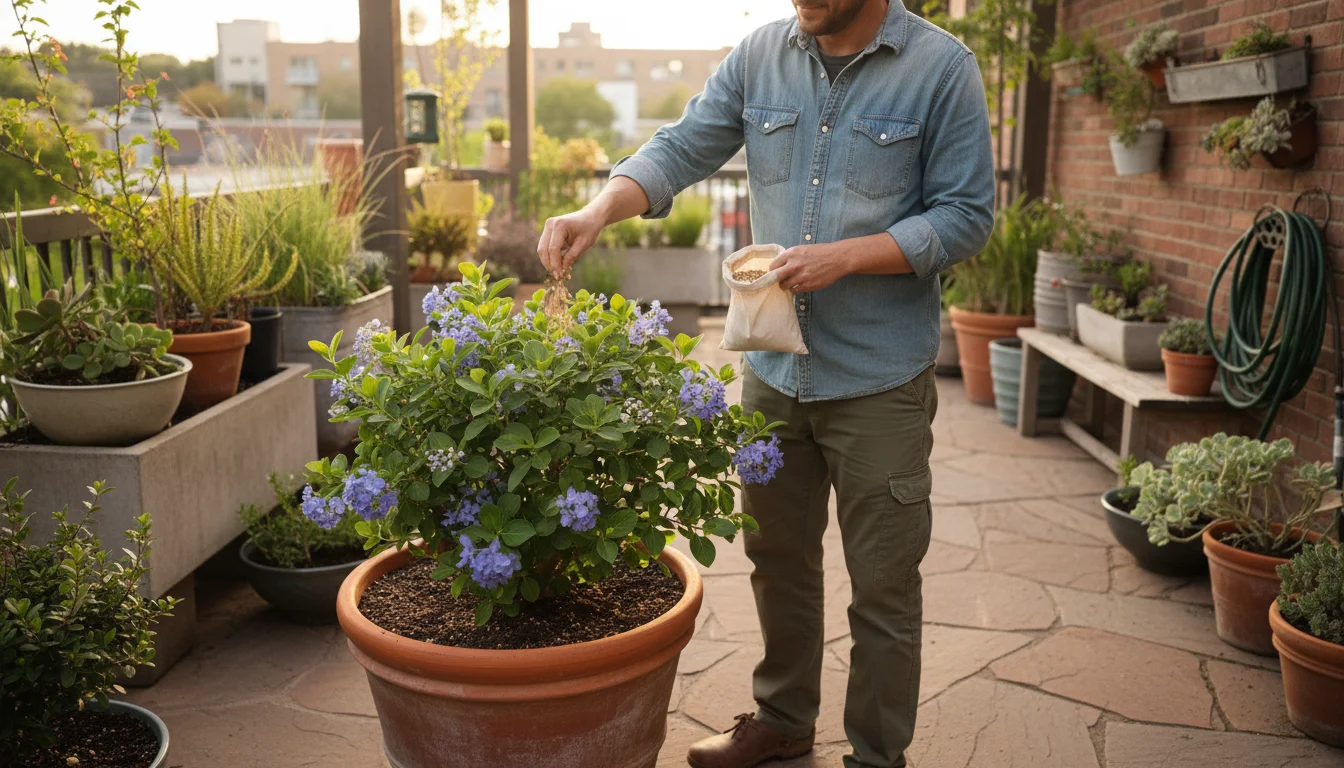
Slow-Release Organic Feeds: Native plants, especially those adapted to lean, native soils, generally require less fertilizer than their non-native counterparts. However, in containers, nutrients leach out with watering, necessitating replenishment. Opt for slow-release organic fertilizers. These products release nutrients gradually as microorganisms break them down, preventing nutrient burn and providing a steady food source for your plants. Examples include:
- Compost: Incorporate a thin layer of well-aged compost into the top few inches of your potting mix annually. Compost provides a broad spectrum of nutrients and improves soil structure.
- Worm Castings: These provide a nutrient-rich, microbe-dense boost. Mix them into the topsoil or brew a “compost tea” for liquid feeding.
- Granular Organic Fertilizers: Look for formulations designed for general-purpose or flowering plants. These often contain ingredients like alfalfa meal, bone meal (if phosphorus is needed), kelp meal, and feather meal. Follow package directions carefully, as even organic fertilizers can harm plants if overused.
- Fish Emulsion or Seaweed Extract: These liquid organic feeds offer a quicker nutrient boost. Dilute them according to instructions and apply them as a foliar spray or drench. They provide essential micronutrients and stimulate plant growth.
Apply these feeds typically once or twice during the growing season, usually in spring and mid-summer, reducing or stopping applications as fall approaches. Over-fertilizing, especially with high-nitrogen fertilizers, can lead to lush foliage but fewer flowers, and can also harm delicate root systems. Native plants often perform best when slightly under-fertilized rather than over-fertilized.
Microbes are Your Allies: Healthy soil teems with microscopic life, beneficial bacteria, and fungi that break down organic matter, cycle nutrients, and protect plants from disease. Your peat-free potting mix and compost additions provide a good base for these microbes. Avoid chemical pesticides or synthetic fertilizers that can harm this delicate soil food web. A vibrant microbial community supports your native plants’ health and resilience, contributing significantly to your sustainable garden efforts.
Avoiding Salt Buildup: Tap water often contains dissolved salts, which can accumulate in container soil over time, especially if you do not water deeply enough for some to leach out. This salt buildup harms roots. To prevent this, periodically give your container plants a thorough flush. Water heavily until water freely drains from the bottom for several minutes. This helps wash away accumulated salts. Using rainwater, which is salt-free, also helps mitigate this issue.
By thoughtfully nourishing your container natives with organic amendments and supporting soil life, you create an environment where they can truly thrive, requiring minimal input from you.
Protecting Your Plants: Safe Pest Management
Even in a small-space native plants container garden, pests can sometimes appear. The goal of eco gardening is not eradication but balanced control using the least harmful methods. Integrated Pest Management (IPM) provides a framework for sustainable pest control, prioritizing prevention and natural solutions. This approach protects beneficial insects, pollinators, and your family.
1. Prevention: Your First Line of Defense
- Healthy Plants Resist Pests: Stressed plants are magnets for pests. Ensure your native plants receive adequate light, water, and proper nutrition. A strong, healthy plant can often fend off minor pest attacks on its own.
- Good Air Circulation: Space your containers appropriately to allow air to flow around your plants. This helps prevent fungal diseases that thrive in damp, stagnant conditions. Avoid overcrowding.
- Inspect New Plants: Before introducing any new plant to your container collection, thoroughly inspect it for signs of pests or diseases. Isolate new plants for a week or two to monitor for hidden issues.
- Sanitation: Remove any diseased or heavily infested plant parts promptly. Clear away fallen leaves or debris from your containers, as these provide hiding spots for pests.
2. Monitoring: Catching Problems Early
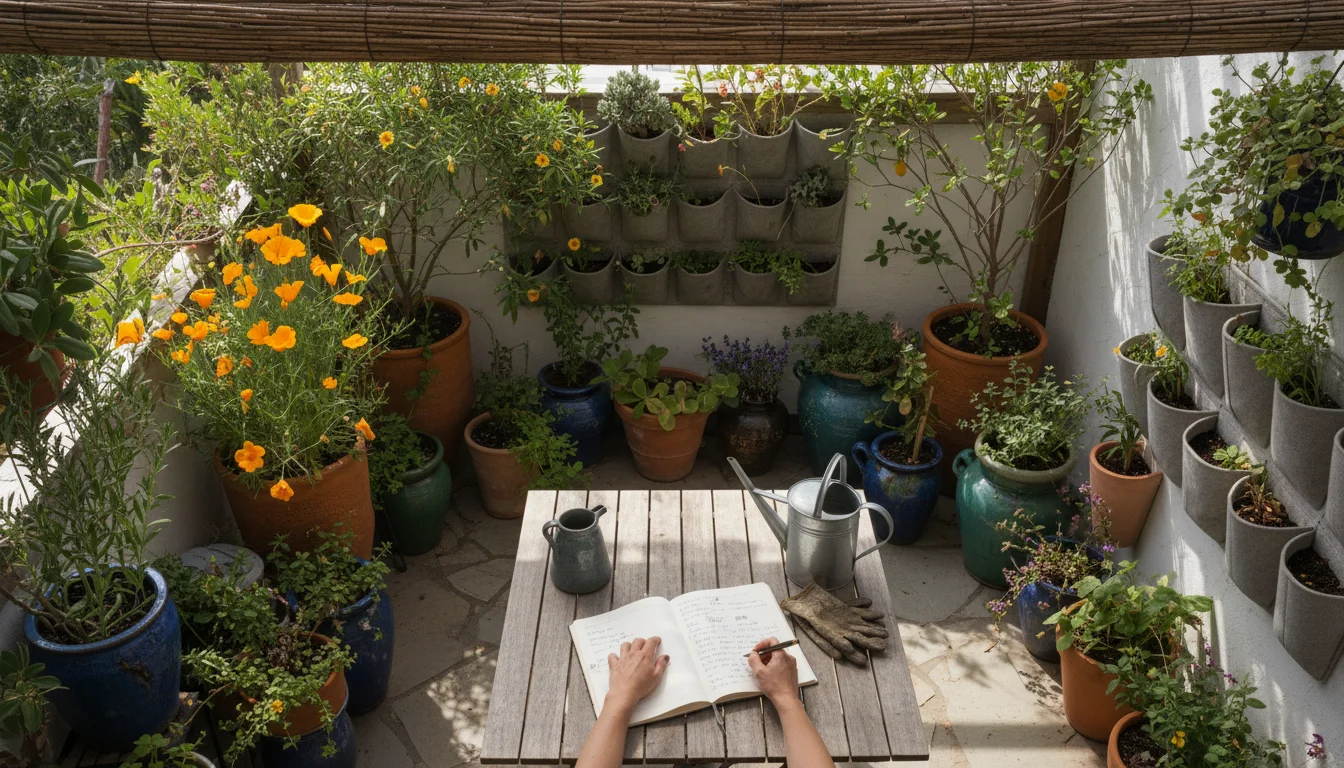
- Regular Inspections: Make it a habit to check your plants regularly, perhaps once a week. Look at the tops and undersides of leaves, stems, and new growth for any unusual spots, holes, sticky residue (honeydew), or visible insects.
- Identify the Pest: Knowing what pest you have helps you choose the most effective and appropriate control method. Use a magnifying glass if needed. Many online resources and local extension offices can help with identification.
3. Mechanical Controls: Hands-On Solutions
- Hand-Picking: For larger pests like caterpillars (unless they are a beneficial host plant for butterflies), slugs, or snails, simply pick them off and dispose of them.
- Strong Water Spray: A forceful spray of water dislodges aphids, spider mites, and other soft-bodied pests from plants. Repeat every few days until the problem subsides.
- Pruning: Remove any heavily infested leaves, stems, or branches. Dispose of them in the trash, not your compost pile, to prevent spreading pests.
4. Least-Toxic Options: When Other Methods Aren’t Enough
If prevention and mechanical controls prove insufficient, turn to least-toxic, organic pest control options. Always use these products sparingly and target specific pests. Remember, even organic sprays can harm beneficial insects if used indiscriminately.
- Insecticidal Soap: This targets soft-bodied insects like aphids, whiteflies, and spider mites. It works by disrupting their cell membranes. Apply thoroughly, covering all affected areas. It has low residual effect, meaning it breaks down quickly and poses minimal risk to beneficial insects once dry.
- Neem Oil: Derived from the neem tree, this oil acts as an insect growth regulator and antifeedant. It disrupts pest life cycles and deters feeding. Apply neem oil thoroughly, ensuring coverage on both sides of leaves. It offers some systemic protection when absorbed by the plant.
- Horticultural Oil: These lightweight oils smother insects and their eggs. Use them as dormant sprays or at diluted rates during the growing season. Ensure good coverage.
- Bacillus thuringiensis (Bt): A naturally occurring bacterium, Bt specifically targets and kills caterpillars (lepidopteran larvae) without harming other insects, wildlife, or humans. Use it only when you have a specific caterpillar pest. Do not apply it if you are trying to support butterfly host plants.
Always read and follow product label instructions carefully, applying at the recommended rates and times. Test any new product on a small section of your plant first to check for adverse reactions. By adopting these IPM strategies, you manage pests effectively while maintaining a truly sustainable garden and protecting the precious pollinators your native plants attract.
Frequently Asked Questions
Can I mix different native plants in one container?
Yes, you can absolutely mix different native plants in a single container. For success, choose plants with similar light, water, and soil requirements. For example, combine sun-loving, drought-tolerant species like coneflower and prairie dropseed together. Ensure each plant has enough space for its mature root system to develop.
How do I overwinter native plants in containers in cold climates?
Overwintering container native plants in cold climates requires protection. For hardy perennials, you can move pots to an unheated garage, shed, or sheltered area against your house. Ensure the soil remains barely moist throughout winter. For less hardy species, consider insulating pots with bubble wrap or burlap, or burying the entire container in the ground for insulation. Some native plants simply do not survive harsh container winters, even with protection.
Are there any native plants I should avoid in containers?
Avoid highly aggressive or vigorously spreading native plants, as these can quickly outgrow containers and become root-bound or invasive. Also, steer clear of large trees or shrubs that naturally develop extensive root systems, unless you plan to repot frequently into increasingly larger containers, which becomes impractical. Always research a plant’s mature size and growth habit before potting it.
My native container plant is not flowering. What could be the problem?
Several factors can cause a native container plant to not flower. Most commonly, it is insufficient sunlight; ensure your plant receives its required hours of direct sun. Over-fertilization, especially with high-nitrogen fertilizers, promotes leafy growth at the expense of flowers. Ensure your watering is consistent, as both overwatering and underwatering can stress plants. Lastly, ensure the plant has reached maturity; some perennials take a season or two to establish before blooming profusely.
How can I make my container garden more attractive to pollinators?
To attract more pollinators, use the plant list provided in this article as a starting point. Diversify your plant choices to offer a continuous sequence of blooms from spring to fall. Include plants that provide nectar and pollen, as well as host plants for butterfly larvae, such as milkweed for monarchs. Provide a shallow water source, like a bird bath with pebbles for landing, and avoid all pesticides. Clustered groupings of flowers attract more attention from passing pollinators than scattered individual plants.