
Your small garden brings immense joy, but a growing collection of essential tools often creates a storage challenge. You need practical ways to keep your trowels, pruners, and watering cans organized, accessible, and safe in a compact living space. Effective garden tool storage does more than just tidy up your balcony or patio; it protects your investment, extends tool life, and makes your gardening sessions more efficient and enjoyable. This guide equips you with actionable strategies to master tool organization, even in the tightest corners of your home.
We focus on solutions that maximize space, prioritize safety, and fit seamlessly into your lifestyle as a small-space gardener. You will discover how to select the right storage for your specific tools and environment, ensuring your gardening gear remains in top condition and always ready for use. Embrace smart storage and transform your small garden into an even more harmonious and productive oasis.
Why Smart Storage Matters for Small Gardens
You might think of tool storage as a chore, but it actually unlocks several critical benefits for your small-space gardening journey. First, organized tools remain in better condition. When you store them properly, away from moisture and direct sunlight, you prevent rust and degradation, saving you money on replacements. For instance, leaving pruners exposed to rain and sun quickly dulls blades and weakens springs, leading to costly repairs or premature disposal. Proper storage can double or triple the lifespan of your tools, representing significant savings over time.
Second, smart storage enhances safety. Sharp tools like pruners or trowels can cause injuries if left scattered on the ground or tossed haphazardly into a bucket. A designated spot for each tool reduces the risk of accidents for you, your family, and any pets. You avoid stepping on a stray trowel or grabbing a sharp blade without looking. The National Safety Council emphasizes proper storage as a key component of garden safety, noting that slips, trips, and cuts are common hazards when tools are not put away securely. By keeping tools out of pathways and in protective covers, you create a safer environment.
Third, efficient storage saves you valuable time and reduces frustration. Imagine needing your small hand trowel for potting, only to spend five minutes searching for it under various pots or in a cluttered corner. When every tool has a home, you grab what you need instantly. This efficiency means more time actually gardening and less time hunting. It also prevents buying duplicate tools because you cannot find the original.
Finally, in a small living space, clutter quickly overwhelms. Disorganized tools make your balcony, patio, or small yard feel smaller and less inviting. Thoughtful storage solutions integrate tools seamlessly into your environment, maintaining a clean, aesthetic, and functional space. You gain a sense of calm and control over your gardening area, making it a true extension of your home.
Assessing Your Tool Collection and Space
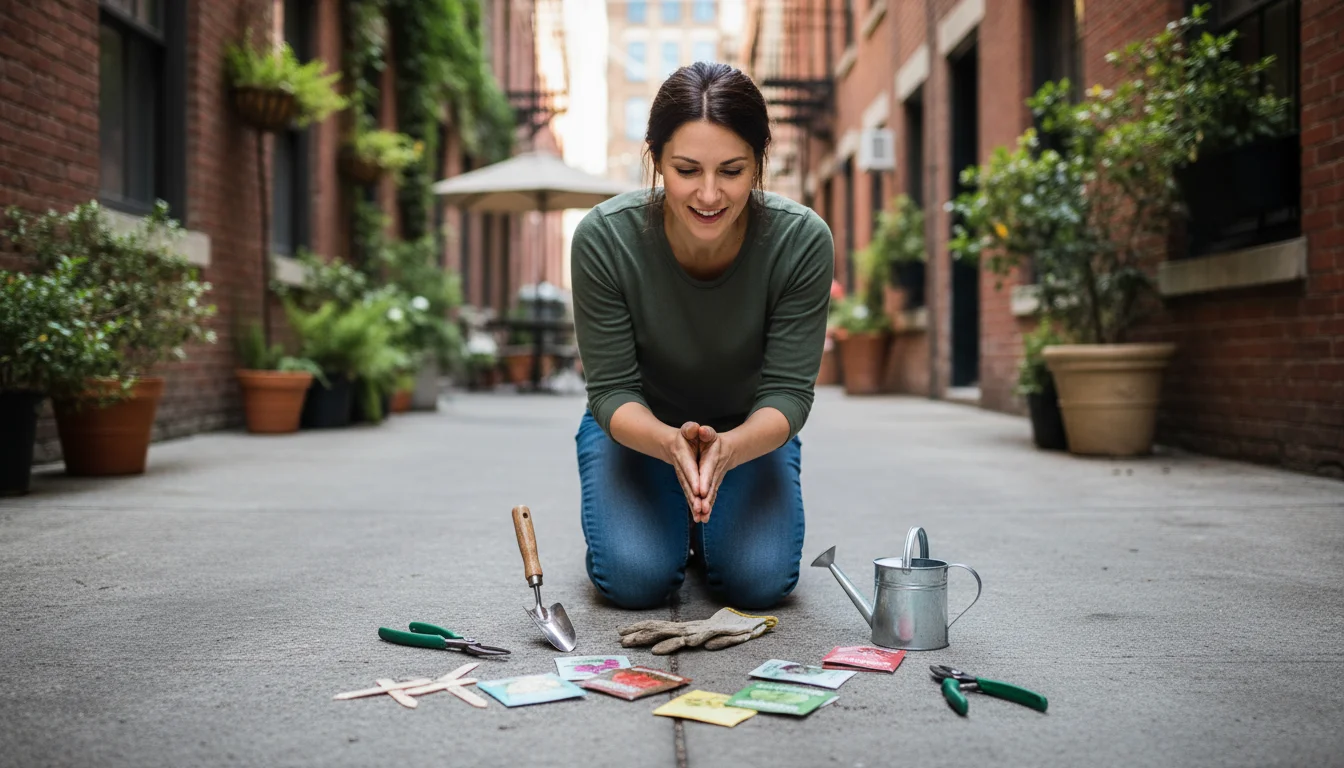
Before you invest in any storage solutions, you must take stock of what you have and where you can put it. This foundational step ensures you choose effective options tailored to your specific needs. Start by gathering all your gardening tools in one place. You might be surprised by how many items you possess.
Categorize Your Tools
Separate your tools into logical groups. This helps you understand their size, function, and storage requirements:
- Hand Tools: Trowels, cultivators, small hand rakes, weeders, snips, pruners. These are generally compact and fit into smaller organizers.
- Watering Tools: Watering cans, small hoses, spray bottles. These often require accessible, water-resistant storage.
- Potting Supplies: Scoops, small buckets, soil bags, fertilizers. These need to be kept clean and dry.
- Safety Gear: Gloves, knee pads, aprons. Store these together for easy access before you begin work.
- Larger Items (if applicable): If you have a compact folding spade or a small broom, consider its overall dimensions.
Evaluate each tool for its frequency of use. Tools you use daily or weekly, such as your watering can and hand pruners, need to be the most accessible. Items you use seasonally, like a soil sieve, can go into less prominent storage.
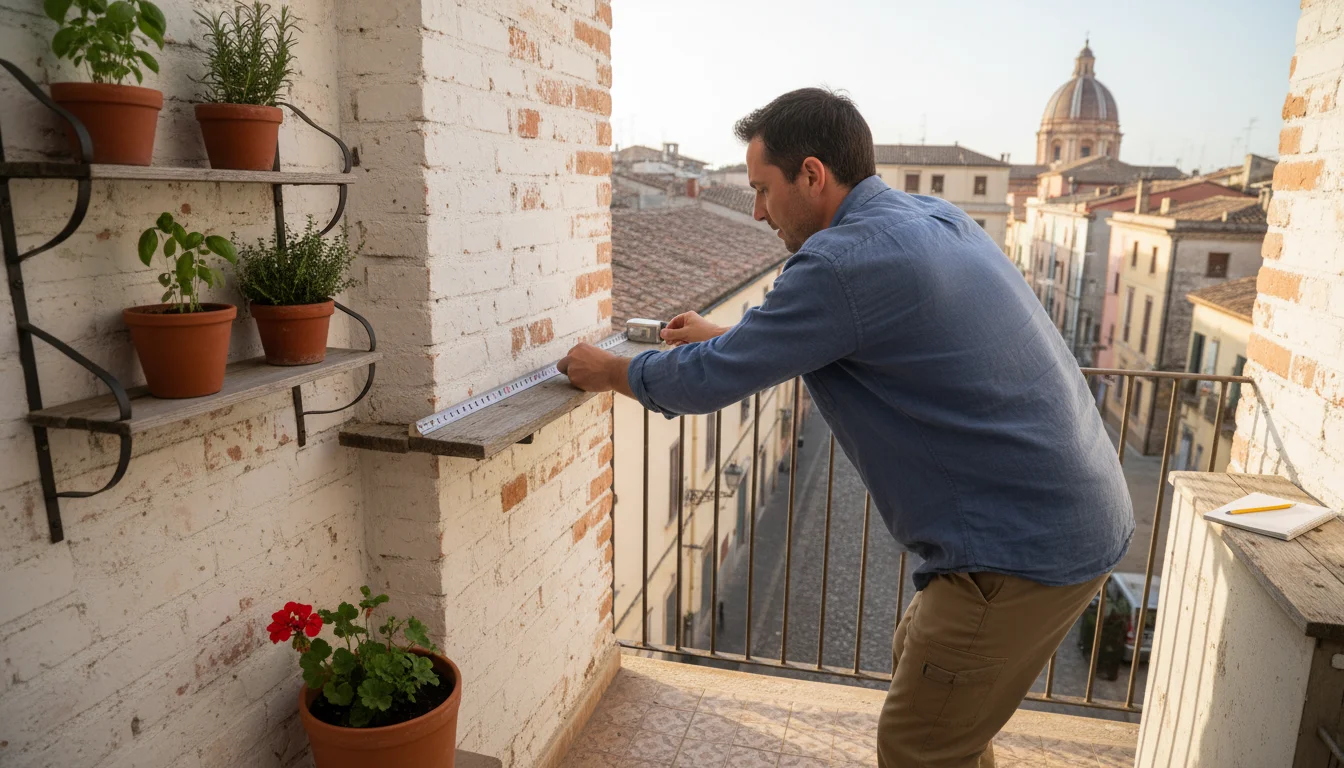
Evaluate Your Available Space
Now, look at your home and garden area with a critical eye for potential storage spots. Think creatively, measuring dimensions accurately. Typical small garden areas include:
- Balcony or Patio Walls: Vertical space often goes underutilized. Measure the height and width available. Can you drill into the wall, or do you need non-damaging options?
- Under Benches or Planters: Hidden spaces can accommodate low-profile bins or caddies.
- Corners: These are ideal for narrow shelving units or tall, slender organizers.
- Behind Doors: An over-the-door organizer can free up floor space.
- Small Closets or Utility Areas: If you have an indoor space, even a narrow pantry corner, consider it for less-frequently used items or chemicals.
- Railing: Can you hang items from a balcony railing without obstructing airflow or safety?
Consider the environment of each potential spot. Is it exposed to rain, sun, or extreme temperatures? Tools stored outdoors require weather-resistant containers or materials to prevent rust and degradation. Indoor storage offers protection but demands even greater organization to avoid cluttering your living space.
Vertical Storage Solutions: Walls and Doors
In small spaces, the most underutilized asset is often vertical space. Walls, doors, and even balcony railings offer prime real estate for organizing garden tools. Leveraging these areas keeps your tools off the ground, clear of pathways, and highly visible, making them easy to retrieve and return.

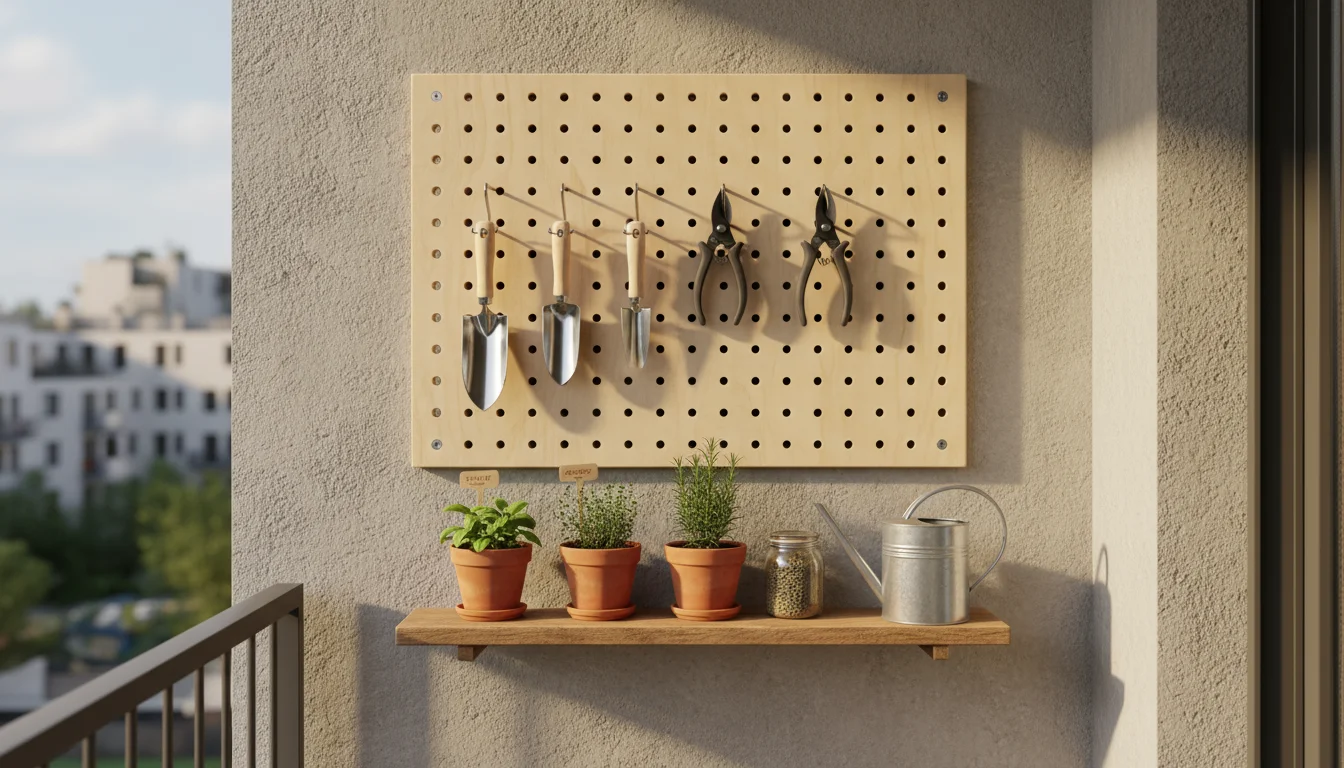
Pegboards and Slatwall Systems
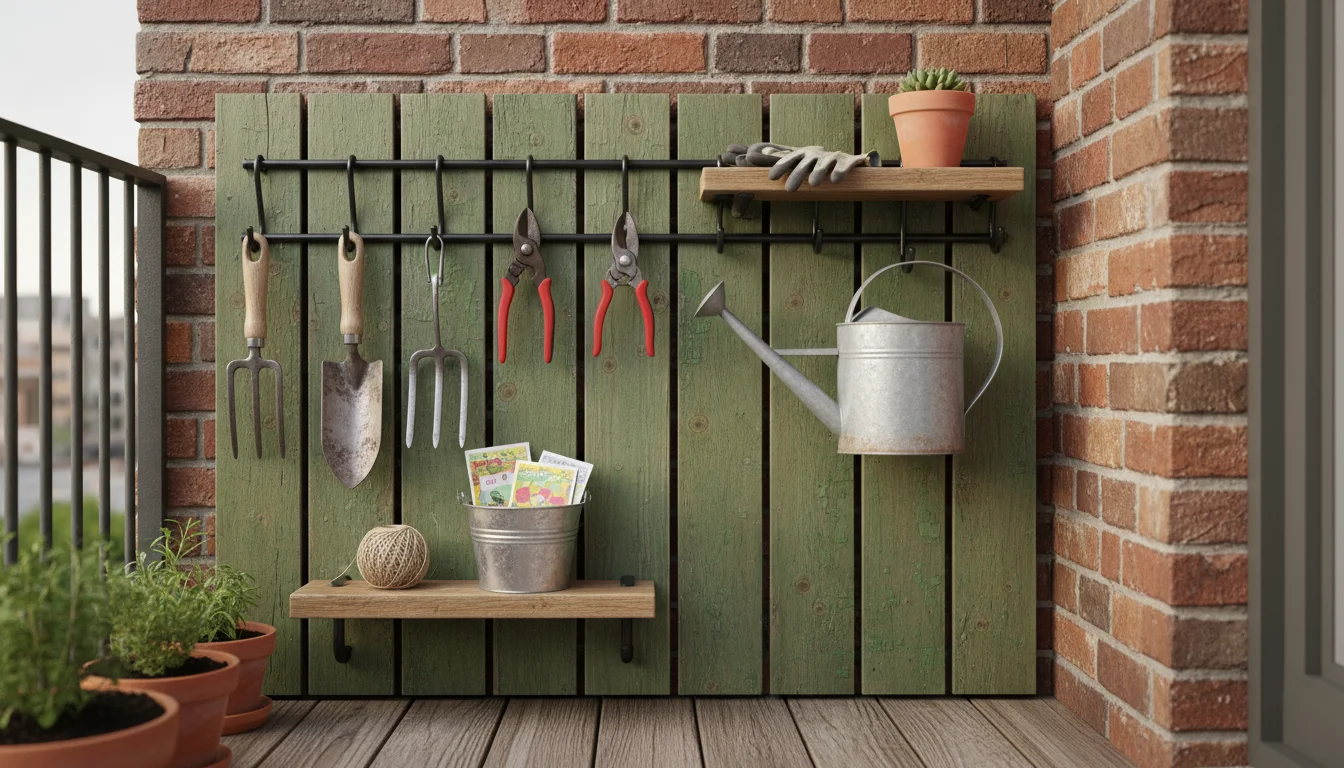
These are incredibly versatile for small hand tools. A pegboard is a board with pre-drilled holes, into which you insert various hooks, shelves, and baskets. Slatwall uses horizontal grooves that accept specialized hangers. You customize the layout to fit your exact tools. Install a compact pegboard section on a balcony wall or inside a utility closet door. You hang trowels, cultivators, pruners, and even gloves directly on hooks. This system allows you to see all your tools at a glance, eliminating digging through cluttered bins. Ensure you use sturdy fasteners appropriate for your wall material. For example, toggle bolts work well in drywall, while masonry anchors secure systems to concrete or brick.
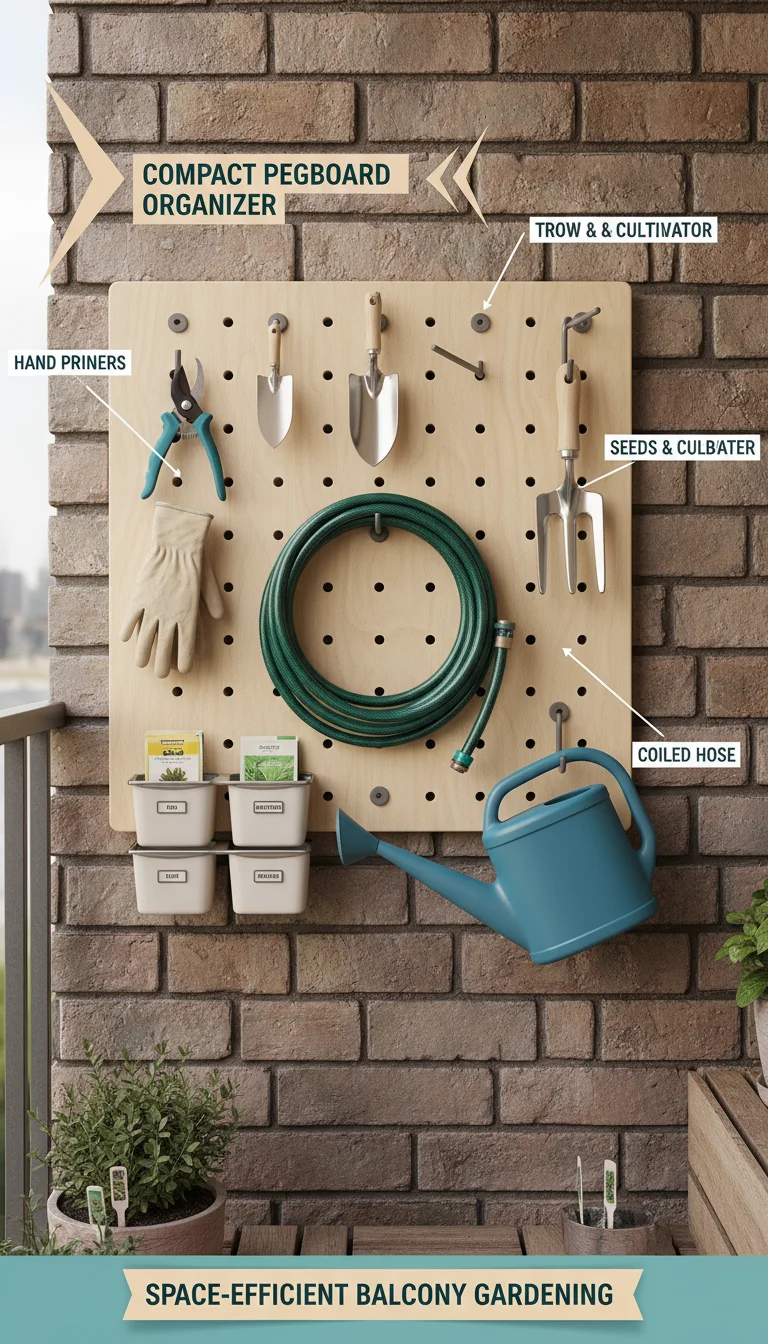
Consider the weight of your tools. A small section of pegboard typically supports a collection of hand tools and even a lightweight watering can. For heavier items, reinforce the wall or choose a system designed for greater load-bearing capacity. Always distribute weight evenly across the board. You can find pre-cut pegboard panels at most hardware stores, often in sizes as small as 2×2 feet, perfect for a discreet corner.
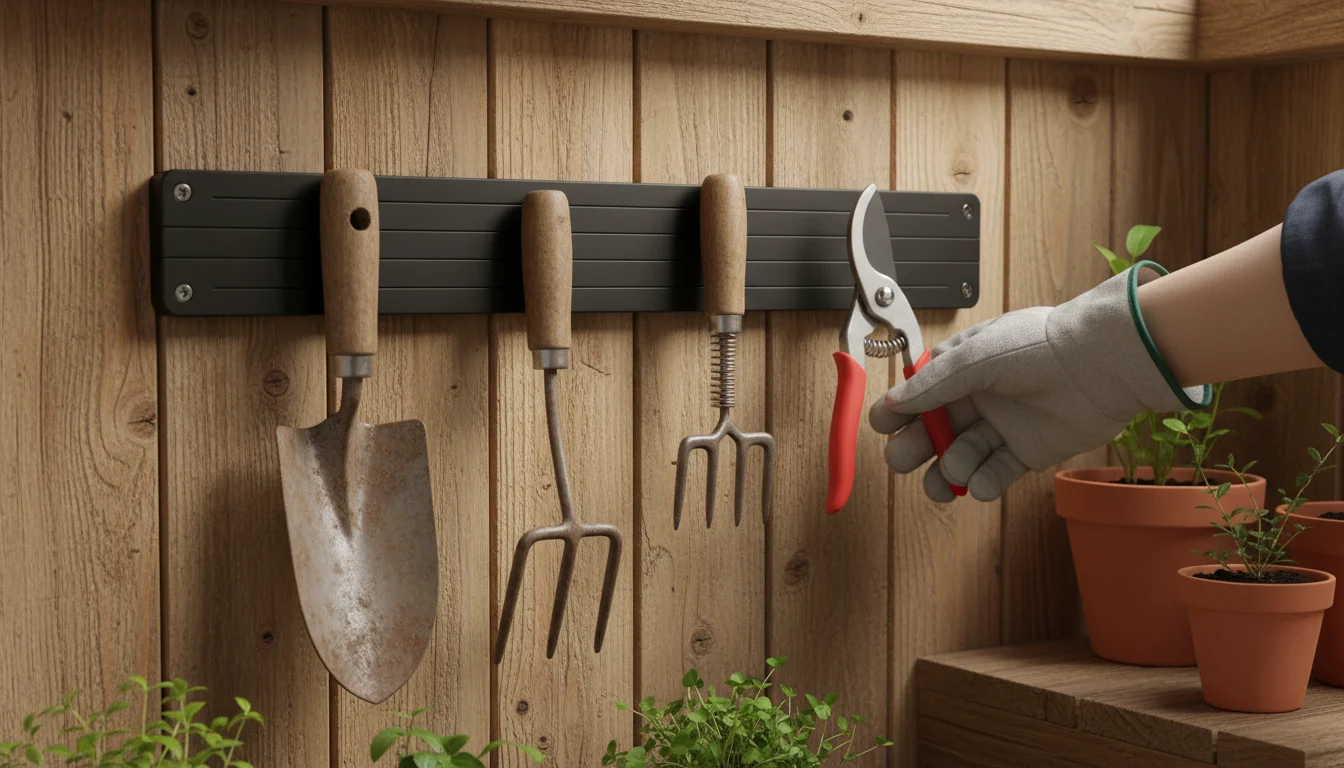
Magnetic Strips
For metal tools like small trowels, cultivators, or snips, magnetic strips offer a sleek, space-saving solution. Install a heavy-duty magnetic bar on a wall or the side of a cabinet. Your tools adhere directly to the strip, hanging vertically and securely. This system is exceptionally useful for tools you use frequently, providing instant access. Ensure the magnet is strong enough to hold the weight of your tools without them slipping. Magnetic strips work best for individual tools, not heavy collections.
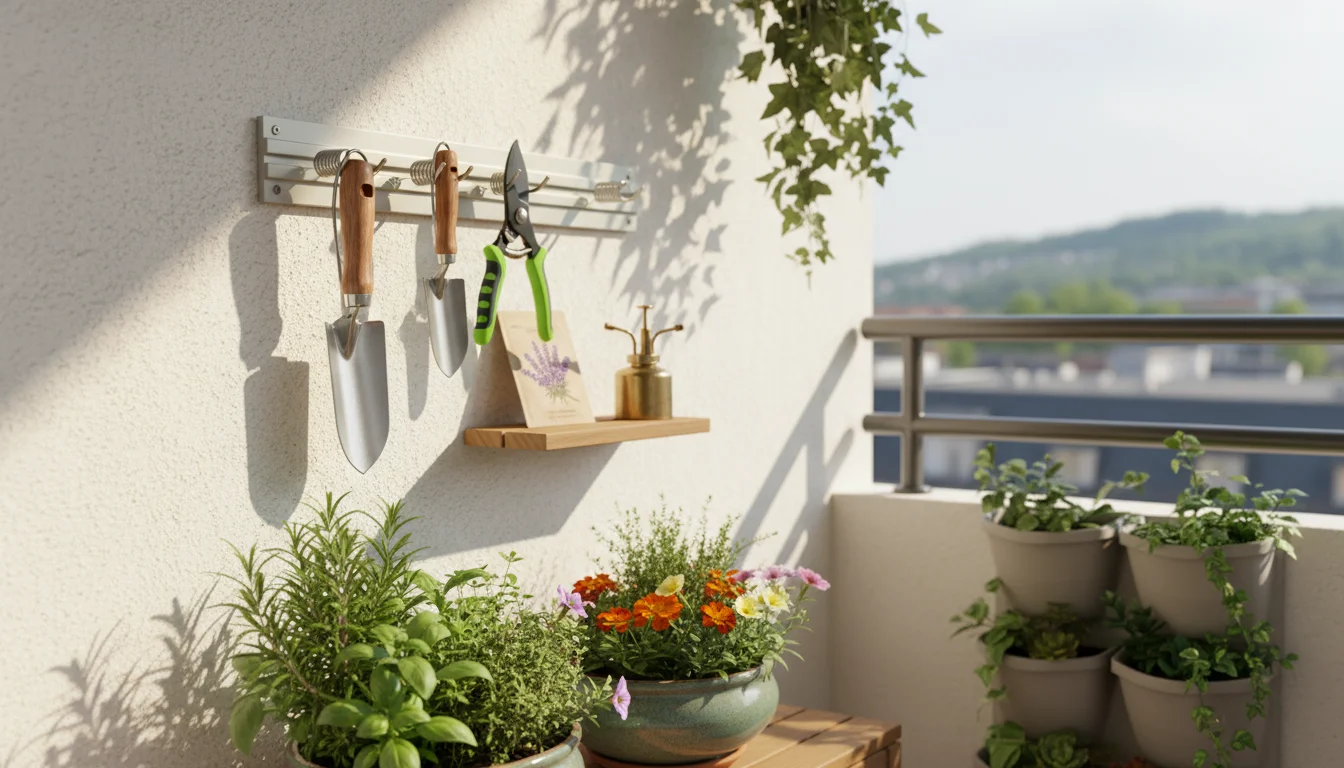
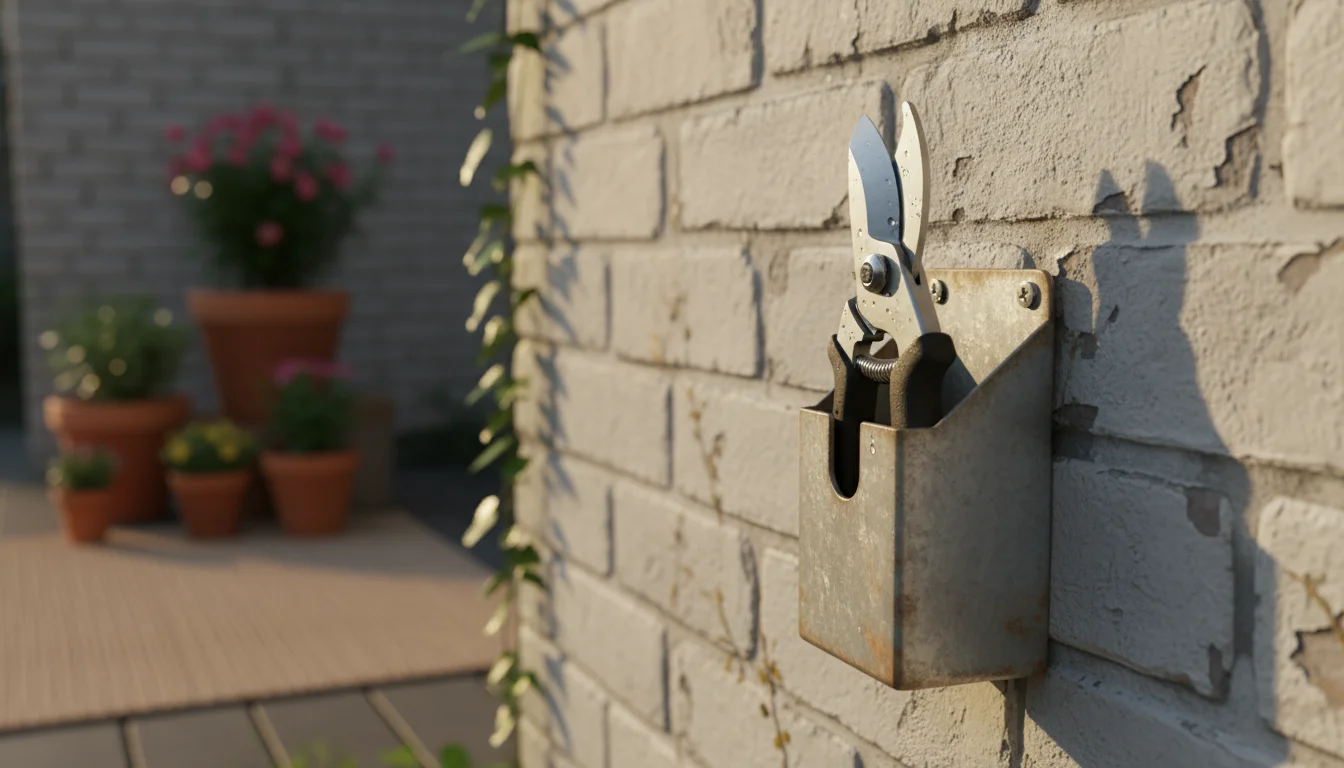
Wall-Mounted Racks and Holders
Various wall-mounted racks exist specifically for garden tools. These might feature spring-loaded clips that grip tool handles, or slotted holders that secure long-handled items (if you have any compact folding versions). Some racks include small shelves for spray bottles or seed packets. Look for designs that are narrow and can fit into tight spaces. You can also repurpose kitchen utensil racks or bathroom organizers for lightweight gardening items.
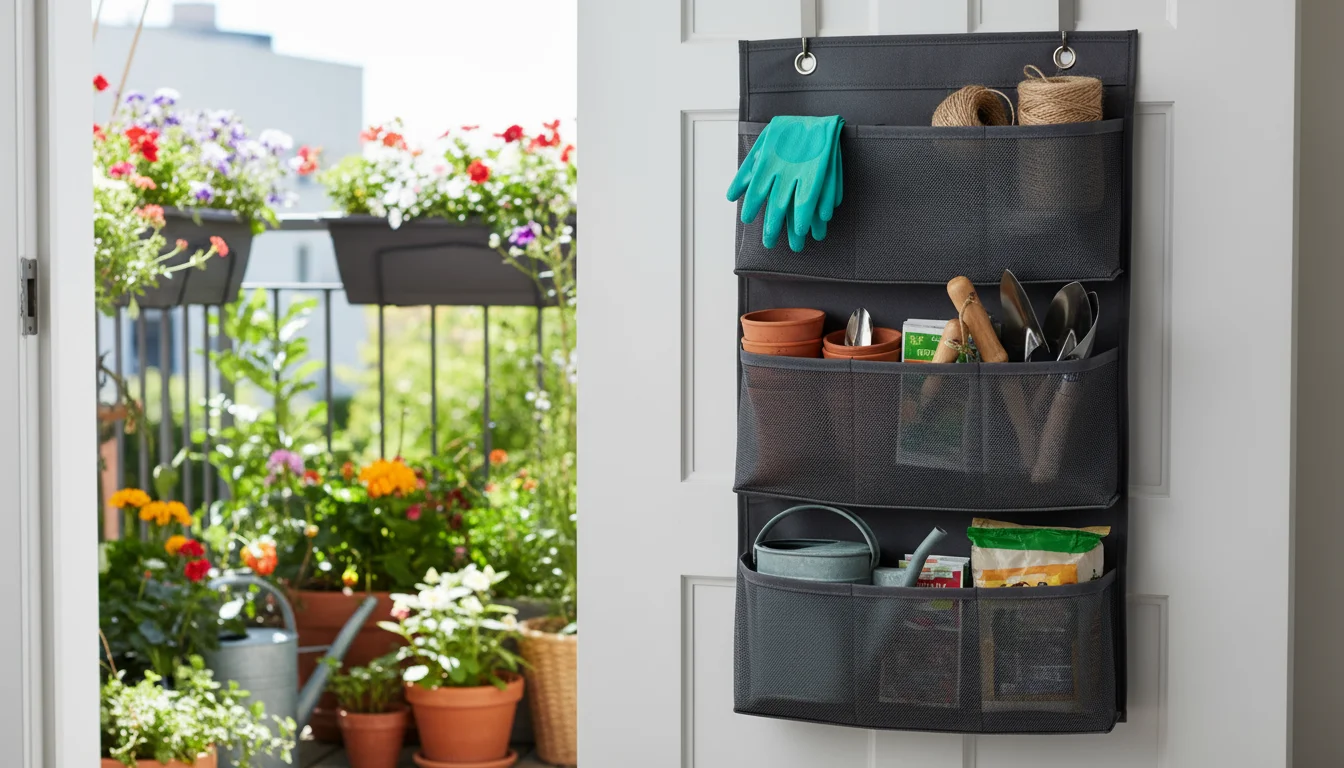
Over-the-Door Organizers
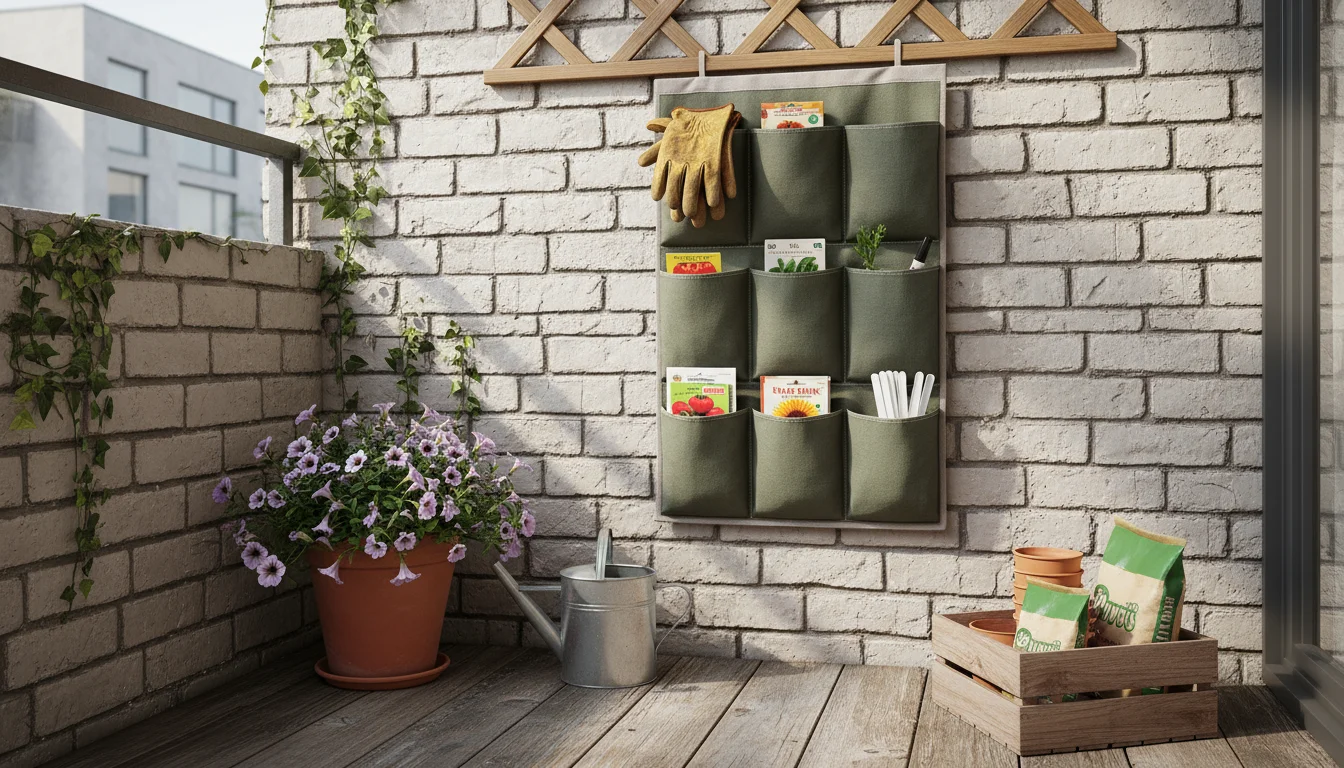
If you have a utility closet or an unused door that opens into your garden space, an over-the-door organizer provides hidden storage without consuming wall space. These organizers typically hang over the top edge of the door, featuring multiple pockets or baskets. They work well for gloves, seed packets, small hand tools, and cleaning cloths. Choose a sturdy fabric or mesh organizer with reinforced pockets to hold the weight of tools effectively.
When implementing vertical solutions, always consider the flow of your space. Ensure tools do not protrude excessively into walkways. Keep sharp edges covered or pointed away from traffic areas. For outdoor applications, choose weather-resistant materials like galvanized steel, treated wood, or durable plastics to prevent rust and deterioration.
Container and Portable Storage: Caddies, Bins, and Boxes
While vertical storage maximizes wall space, container and portable solutions provide flexibility, mobility, and enclosed protection for your tools. These options are ideal if you move your gardening operation from a balcony to a tabletop, or simply want to keep tools tidy and out of sight.
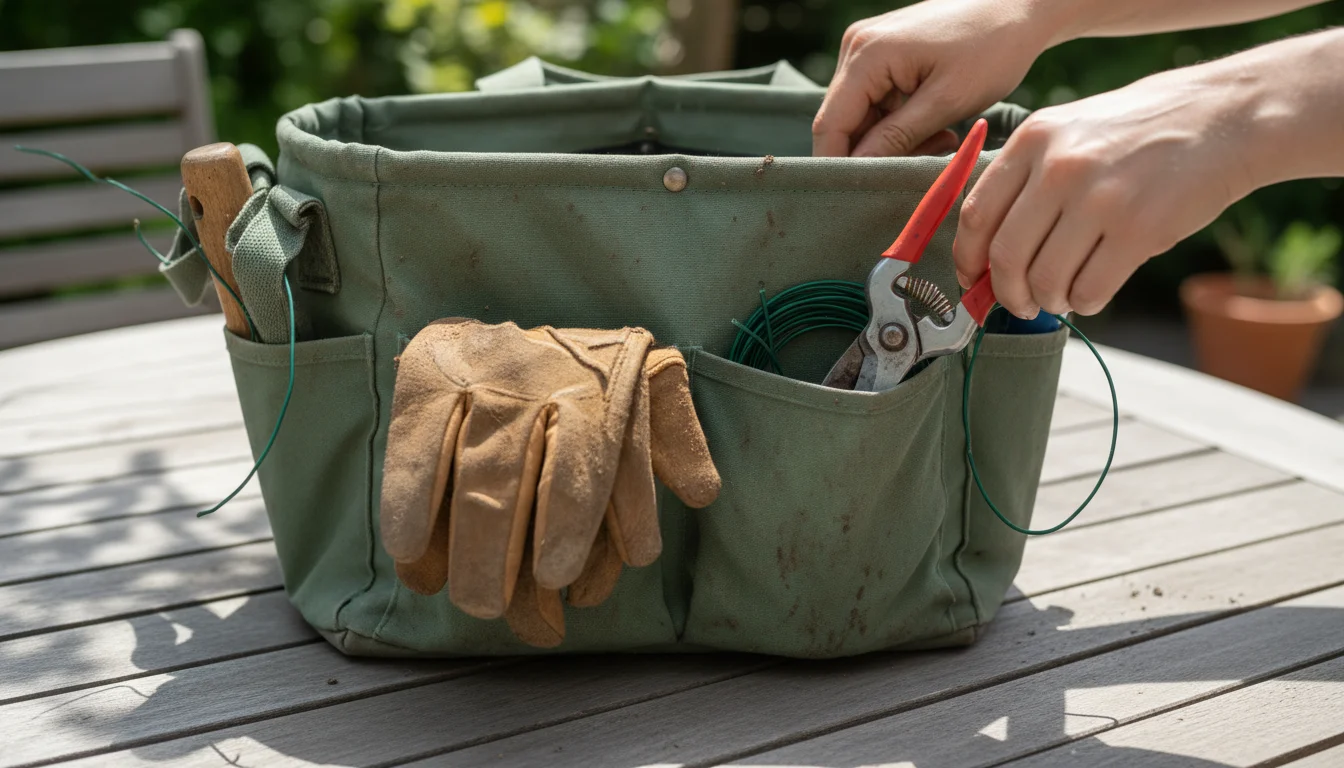
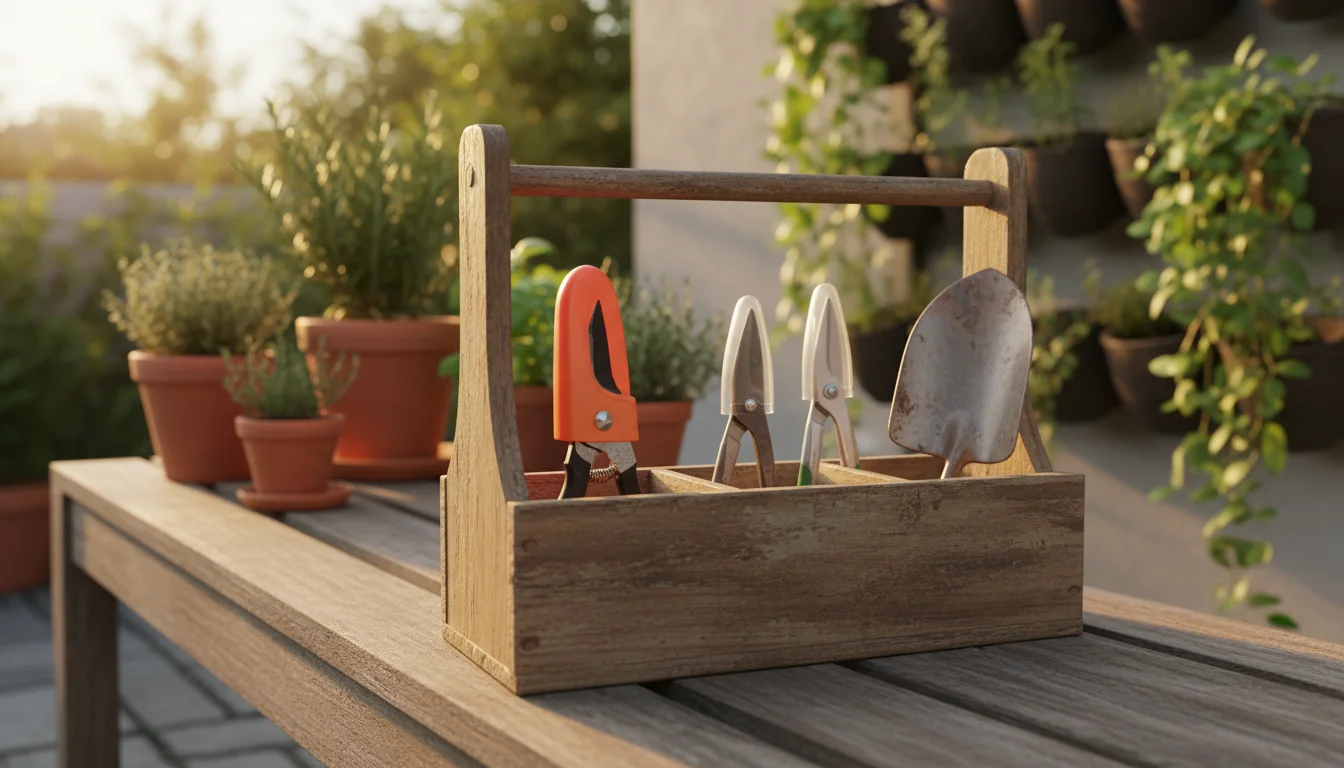
Tool Caddies and Totes
A garden tool caddy or tote is essentially a portable organizer designed to carry a selection of your most-used hand tools. These typically feature multiple pockets around the exterior for small items like pruners, gloves, and markers, with a larger central compartment for a trowel or small watering can. Materials range from durable canvas to sturdy plastic. A canvas caddy is lightweight and comfortable to carry, while a plastic caddy offers easier cleaning and better water resistance.
- Benefits: You gather all your necessary tools in one place, carry them to your workspace, and then return them easily. This prevents leaving tools scattered after a task.
- Selection Tip: Choose a caddy with comfortable handles and robust stitching or construction. For small spaces, a compact caddy that fits under a bench or on a narrow shelf is perfect.
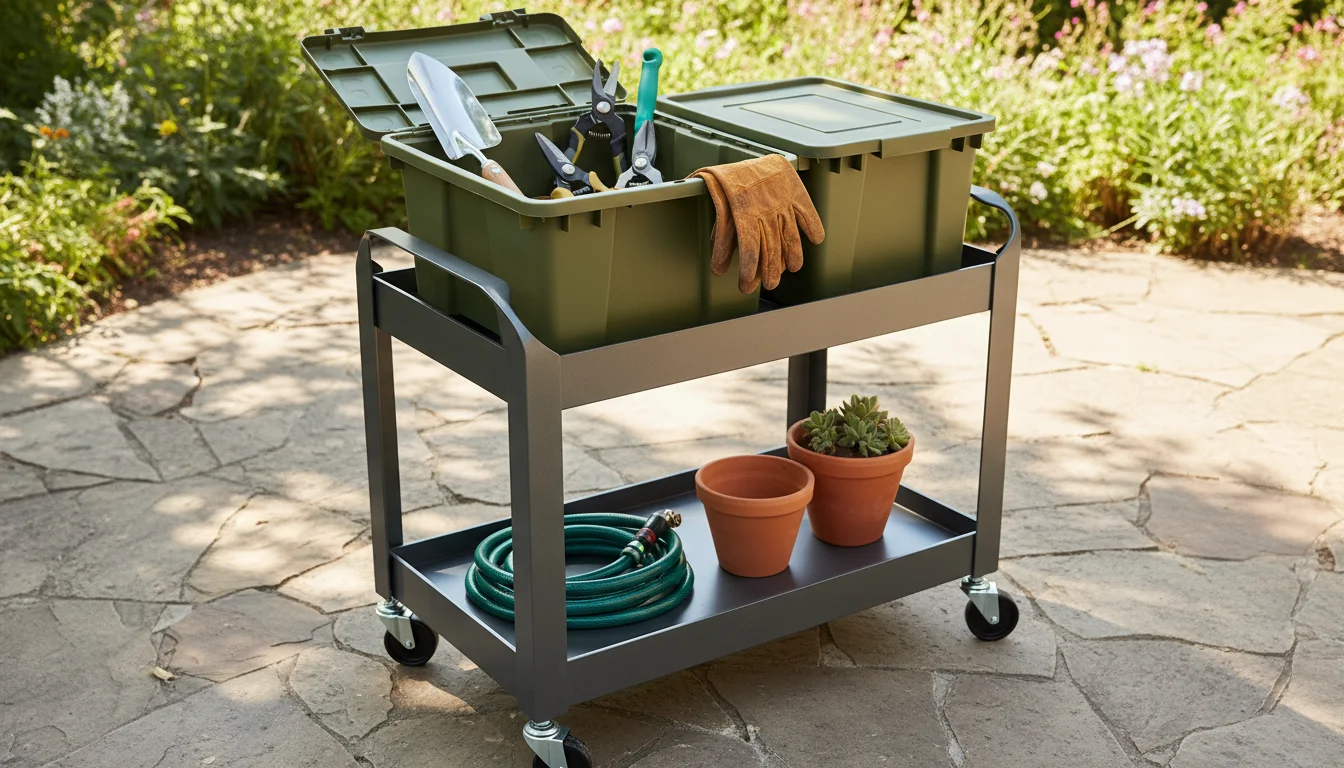
Stackable Bins and Crates
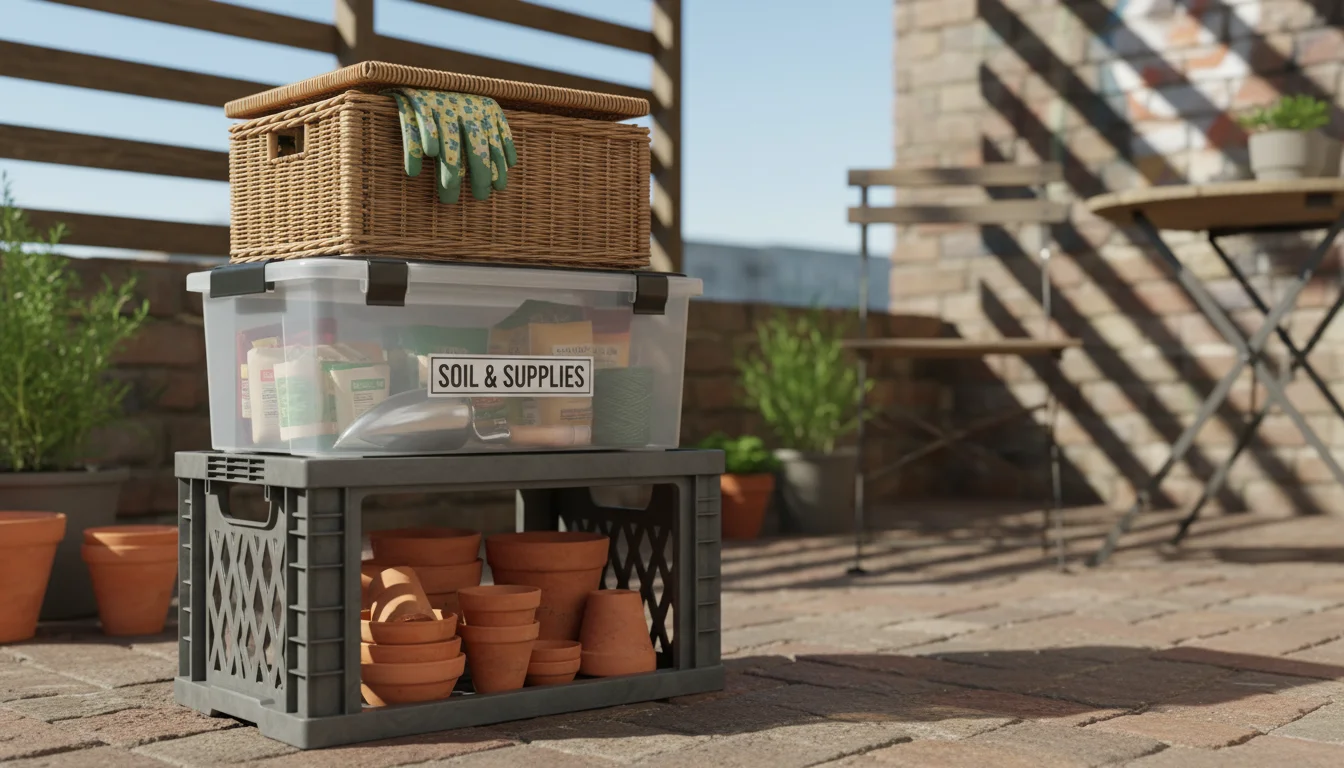
Clear, stackable storage bins or sturdy plastic crates are excellent for organizing larger items or groups of similar tools and supplies. You place items like soil scoops, small bags of fertilizer, or spare pots into these containers. Their stackable design means you utilize vertical space efficiently without needing wall mounts. Clear bins allow you to see contents without opening them, saving time.
- Weather Protection: For outdoor storage, select bins with tight-fitting lids to protect contents from rain, dust, and pests.
- Labeling: Labeling each bin (e.g., “Potting Mix & Scoops,” “Seeds & Tags”) helps you quickly locate what you need.
- Ventilation: If storing items prone to moisture, ensure bins have some ventilation or open them periodically to air out.
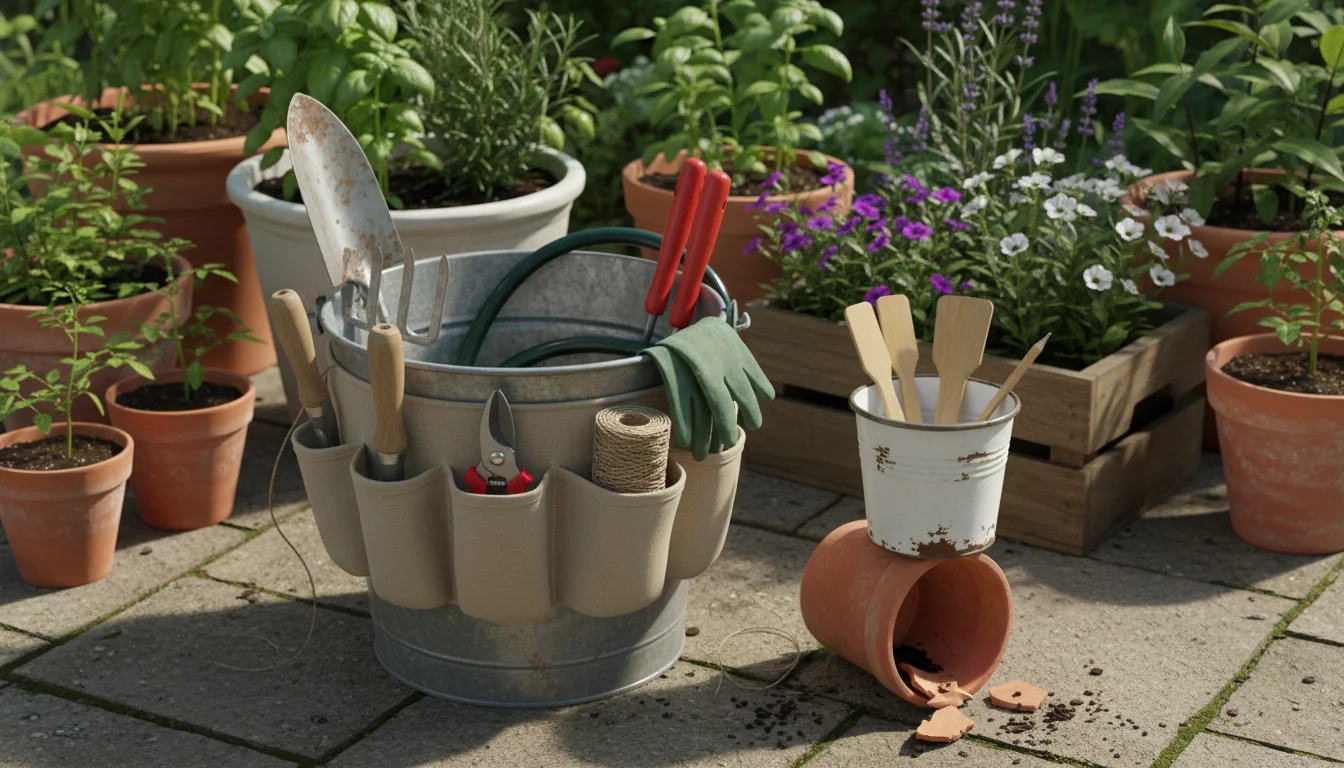
Buckets and Pails
Simple, inexpensive buckets or pails offer versatile storage. A 5-gallon bucket can serve as a portable caddy for taller hand tools or a collection point for items you are actively using. You can purchase specialized bucket organizers, which are fabric wraps with multiple pockets that fit around the rim of a standard bucket, turning it into an instant tool caddy.
Buckets also work well for storing cleaning supplies like brushes or old rags, or even for holding small bags of sand or gravel. Choose sturdy plastic or galvanized metal buckets for durability. You can also use smaller decorative pails to hold frequently used items like snips or plant ties, keeping them aesthetically pleasing on a shelf or windowsill.
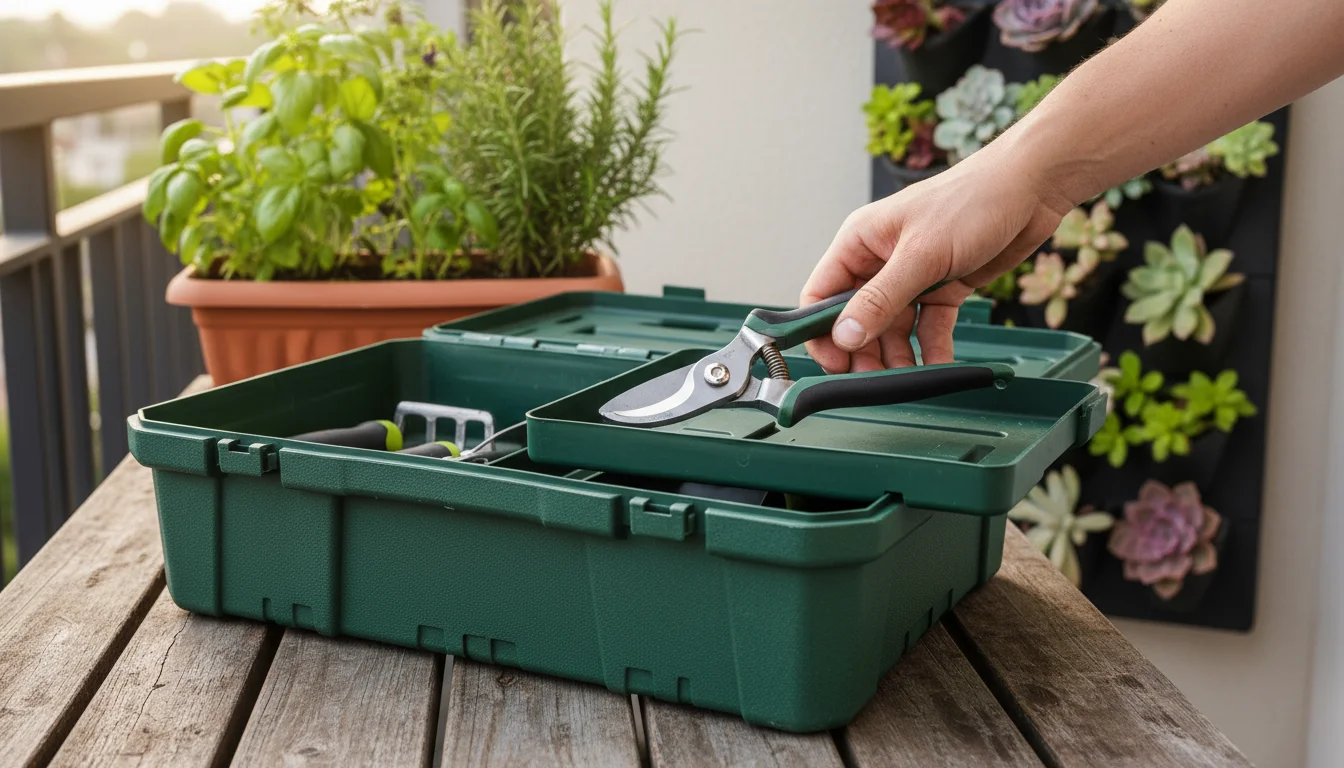
Dedicated Tool Boxes
A traditional tool box, even a small one, provides secure, enclosed storage for valuable or sharp items. These typically have a main compartment and often a removable tray with smaller sections. Use a tool box for your finest pruners, sharpening stones, or other delicate items that require extra protection from dust and impacts. Many tool boxes are lockable, adding an extra layer of security if you keep them in a shared or public space.
When selecting containers, prioritize durability and ease of cleaning. Tools carry dirt, moisture, and sometimes plant debris, so materials like plastic or galvanized metal that wipe down easily are advantageous. For any container stored outdoors, ensure it is UV-resistant to prevent brittleness and fading over time.
Shelving and Cabinets for Compact Spaces
When you have a bit more floor space, or a dedicated nook, compact shelving units and small cabinets offer enclosed, organized storage that keeps your tools clean, dry, and out of sight. These solutions provide structure and protection, crucial for tool longevity and maintaining a tidy aesthetic in a small home.
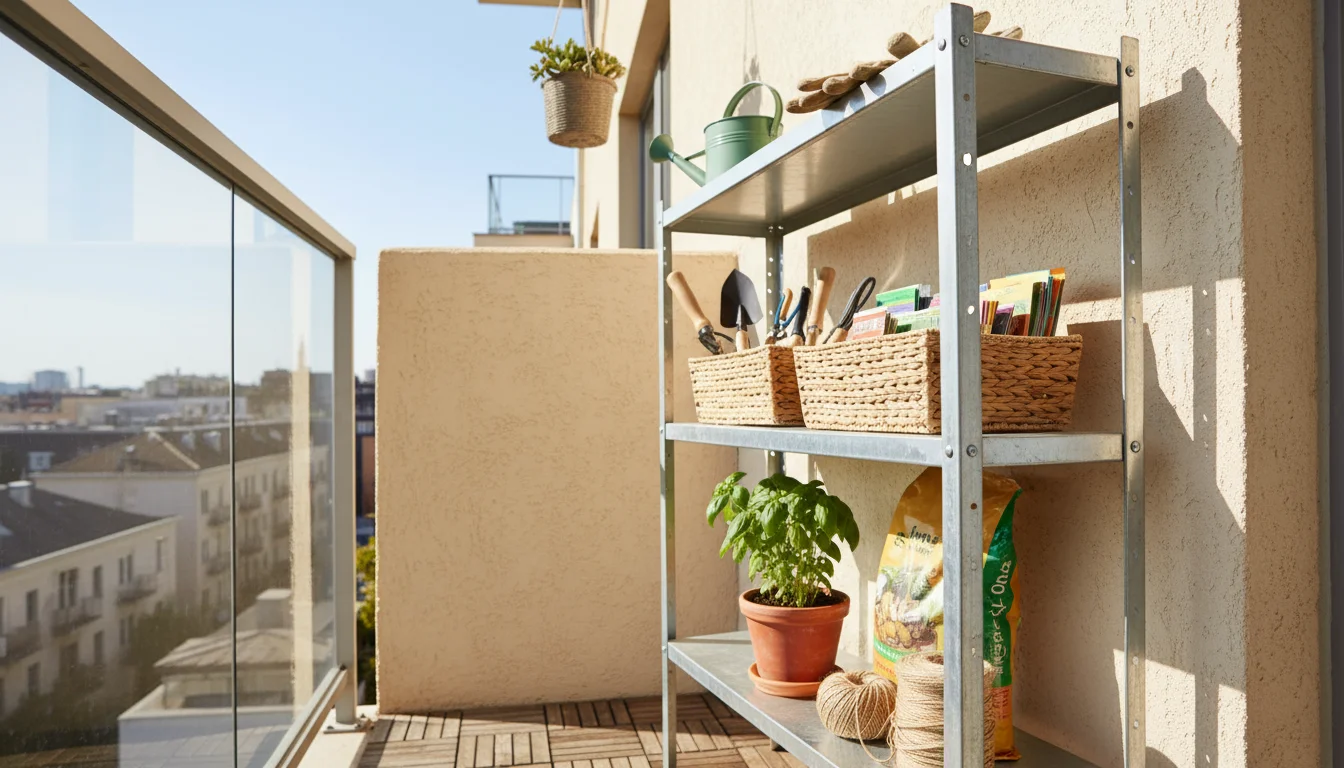
Narrow Utility Shelving
Standard shelving units can be too wide for small balconies or tight corners. Look for narrow utility shelves, typically 12-18 inches deep and 24-36 inches wide, designed for smaller spaces. These provide multiple tiers for organizing tools in bins, baskets, or directly on the shelves.
- Material Selection: For outdoor use, choose shelving made from weather-resistant materials like treated wood, galvanized steel, or durable plastic. Plastic shelving is lightweight and rust-proof, while metal offers greater strength for heavier items.
- Adjustable Shelves: Opt for units with adjustable shelf heights. This allows you to customize the spacing to accommodate taller items like watering cans or shorter bins.
- Stability: Always anchor taller shelving units to a wall, especially if they are freestanding or hold heavy items. This prevents tipping, a significant safety hazard.
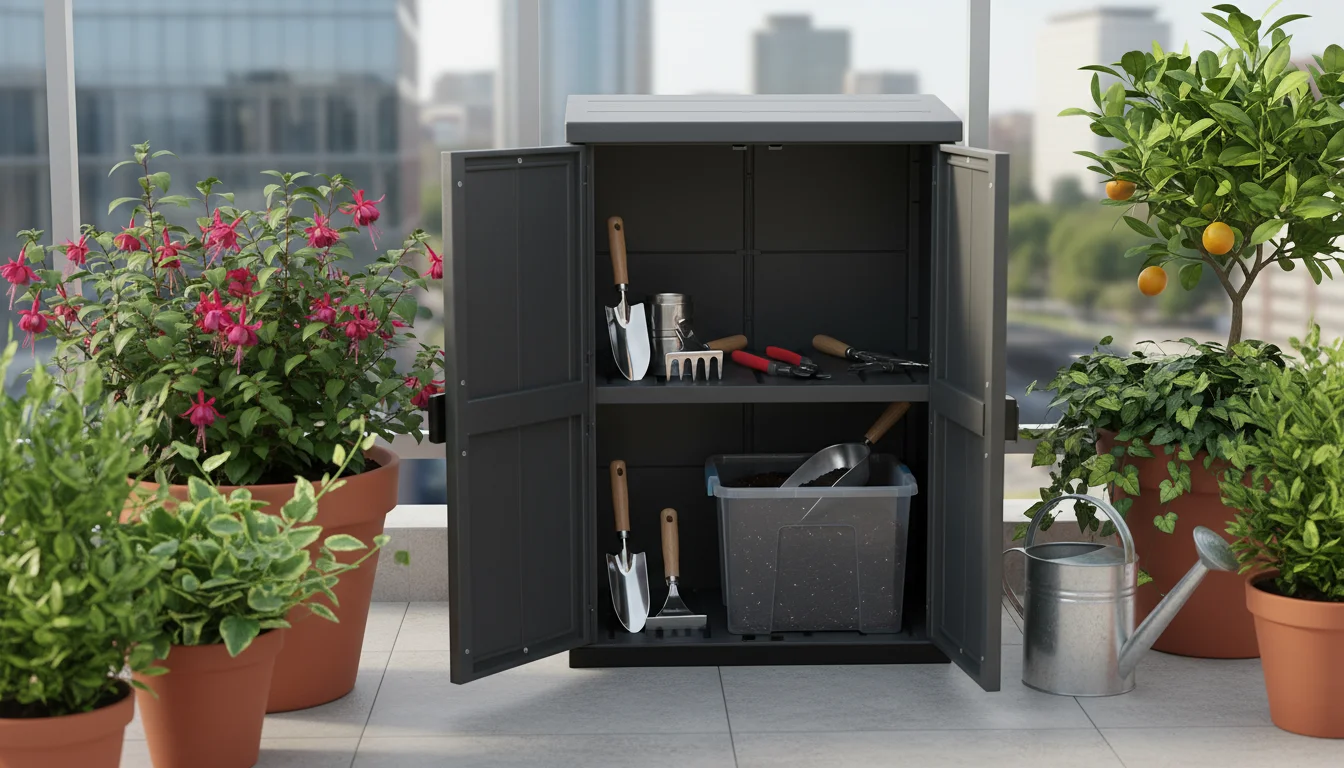
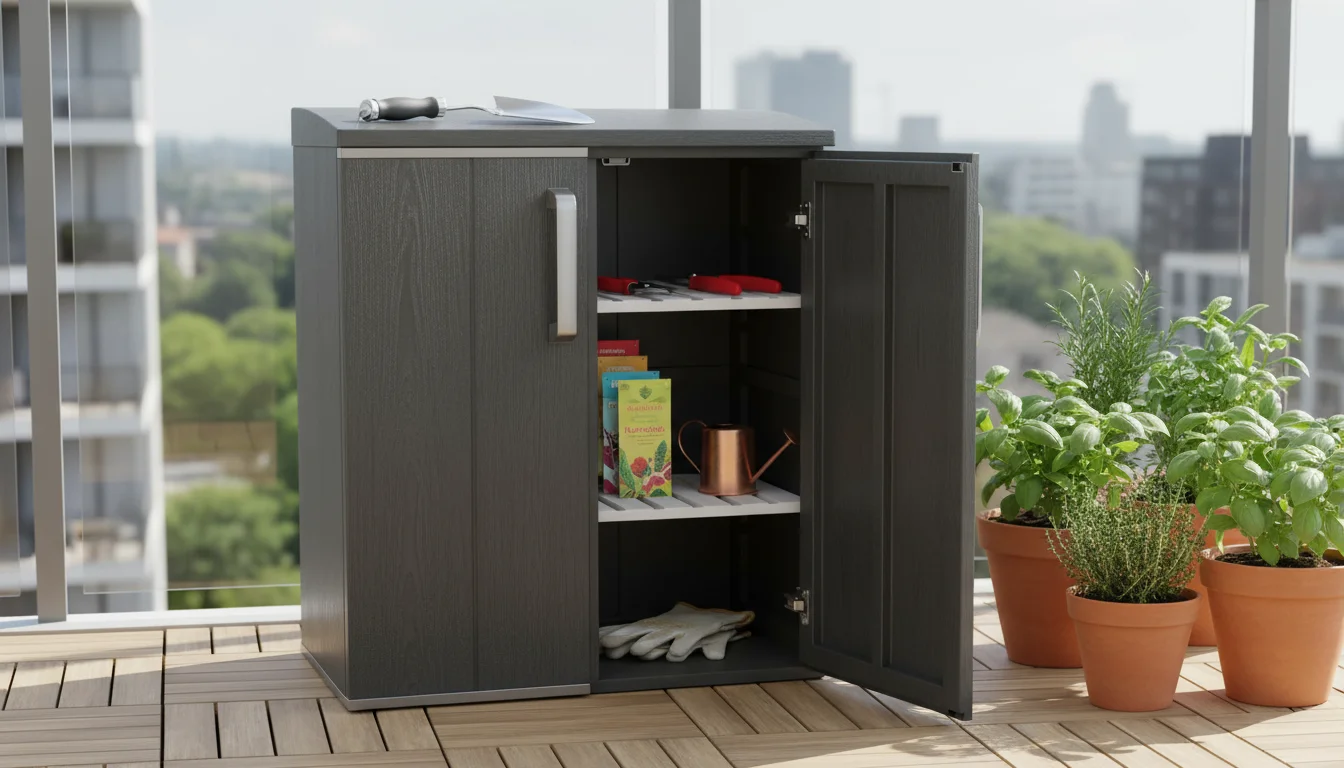
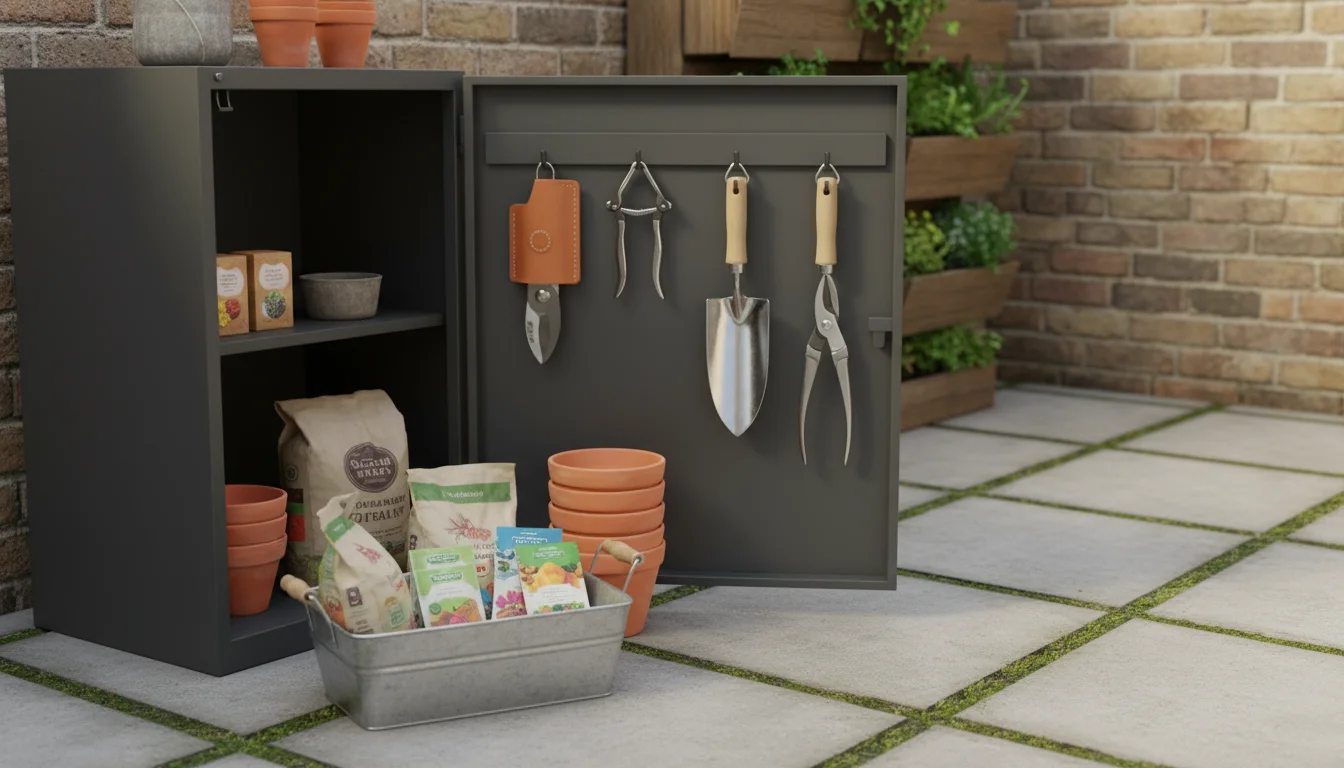
Compact Storage Cabinets
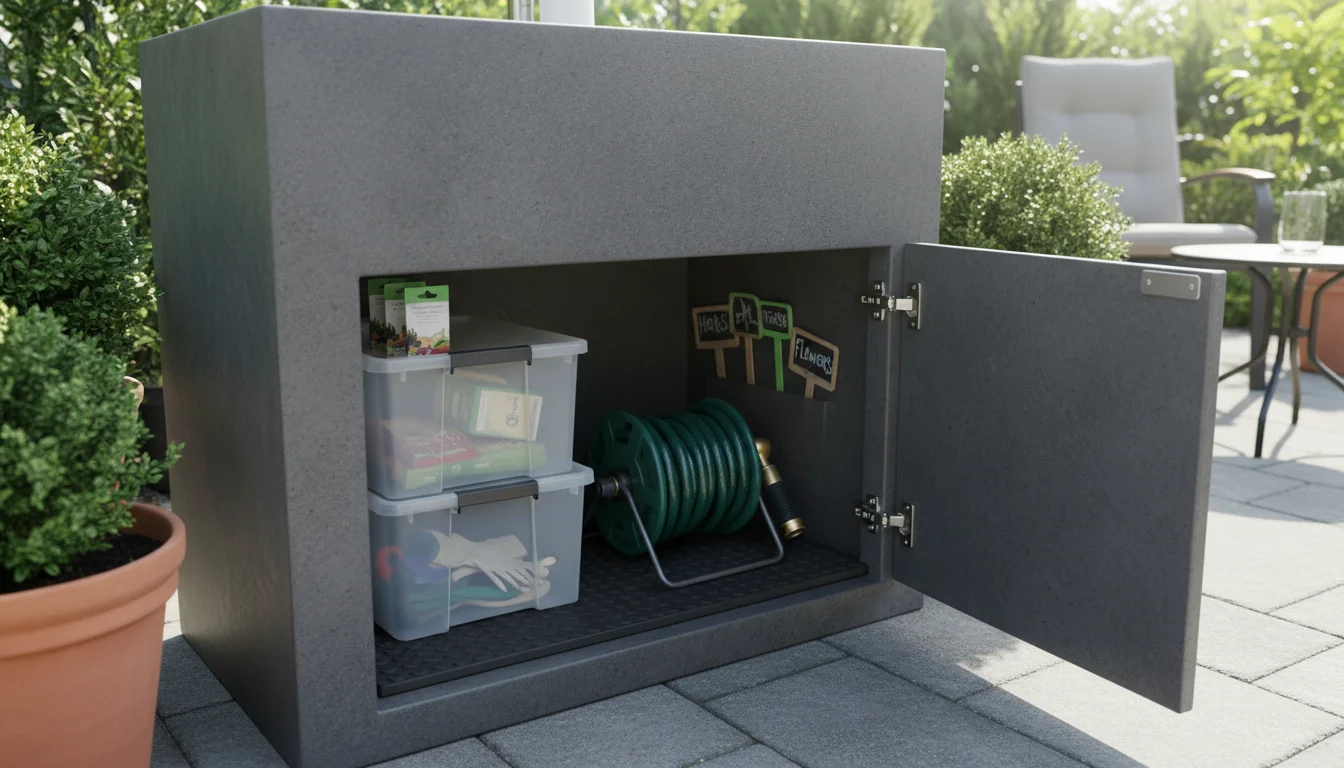
A small, freestanding storage cabinet offers the advantage of fully enclosed storage, protecting your tools from dust, moisture, and curious hands. Many compact utility cabinets are available, suitable for patios, balconies, or even discreet indoor placement.
- Outdoor Cabinets: Look for outdoor-specific cabinets made from weather-resistant resin or treated wood. These often feature sloping tops to shed rain and ventilation to prevent mildew. They keep tools dry and secure.
- Indoor Cabinets: A narrow kitchen pantry cabinet or a small garage cabinet can be repurposed for gardening tools indoors. Ensure it has adjustable shelves and is easy to clean.
- Lockable Options: If you store valuable tools or any garden chemicals, a cabinet with a lock offers enhanced security.
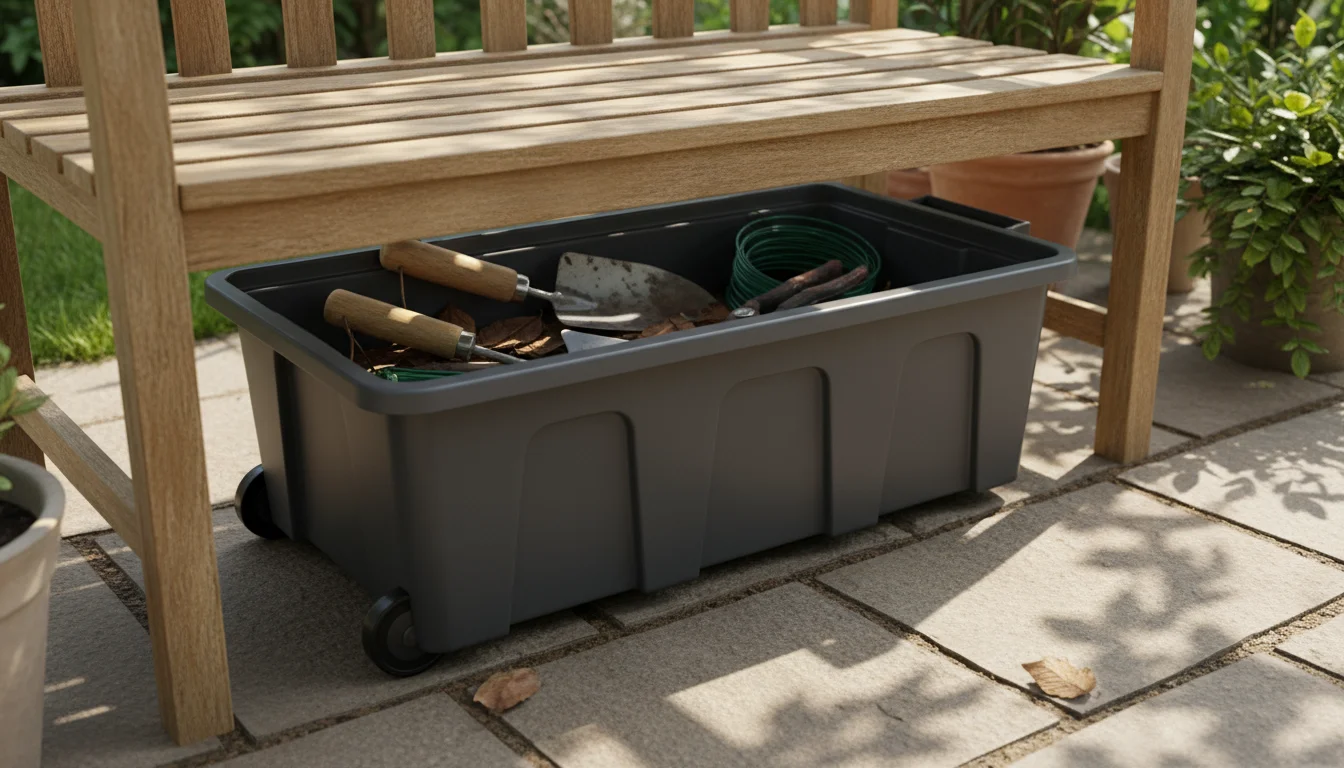
Under-Bench Storage
If you have a gardening bench or even a simple outdoor seating bench, the space underneath is a prime location for hidden storage. Many outdoor benches come with integrated storage compartments. If yours does not, you can place low-profile, weather-resistant bins or shallow drawers underneath. This solution keeps tools out of sight and protected while maximizing often-overlooked space.
- Custom Fit: Measure the clearance under your bench precisely to find bins that fit snugly.
- Accessibility: Ensure the bins slide out easily for quick access. Wheels on bins are a helpful feature.
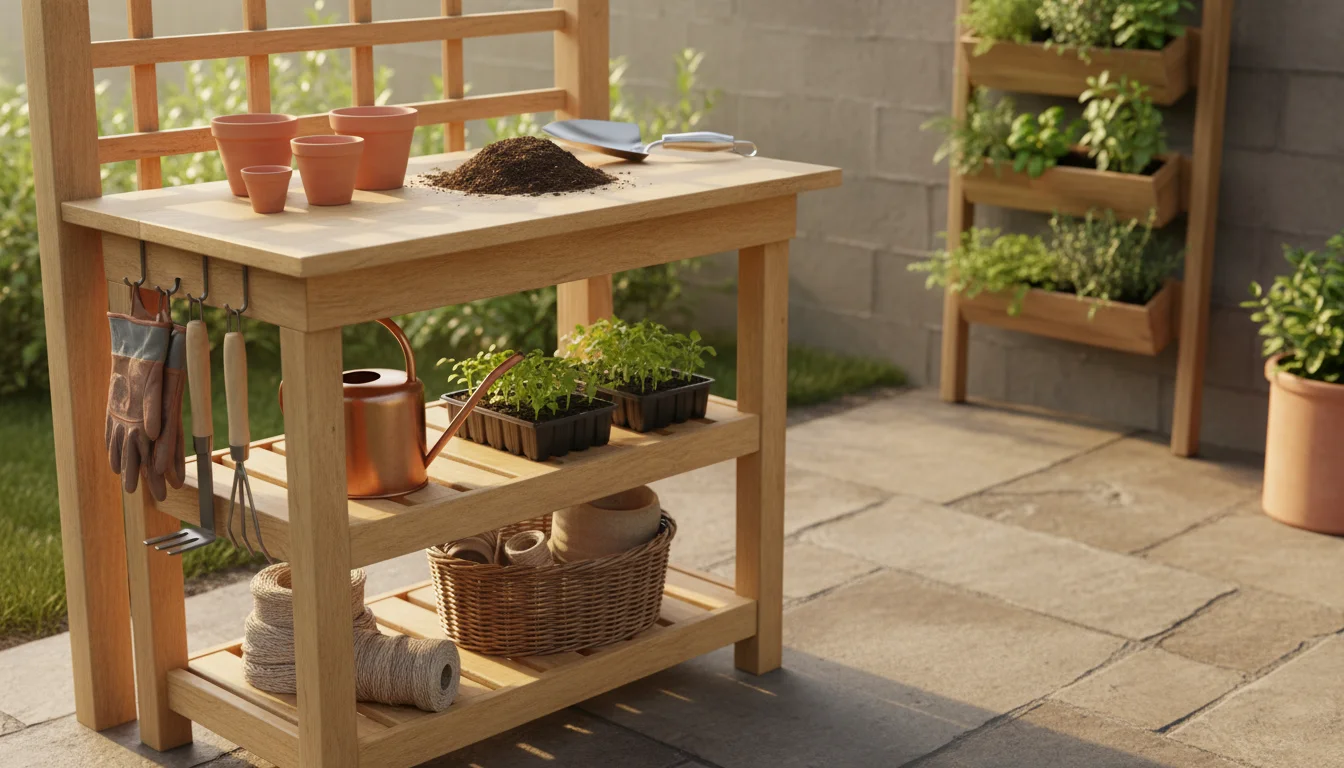
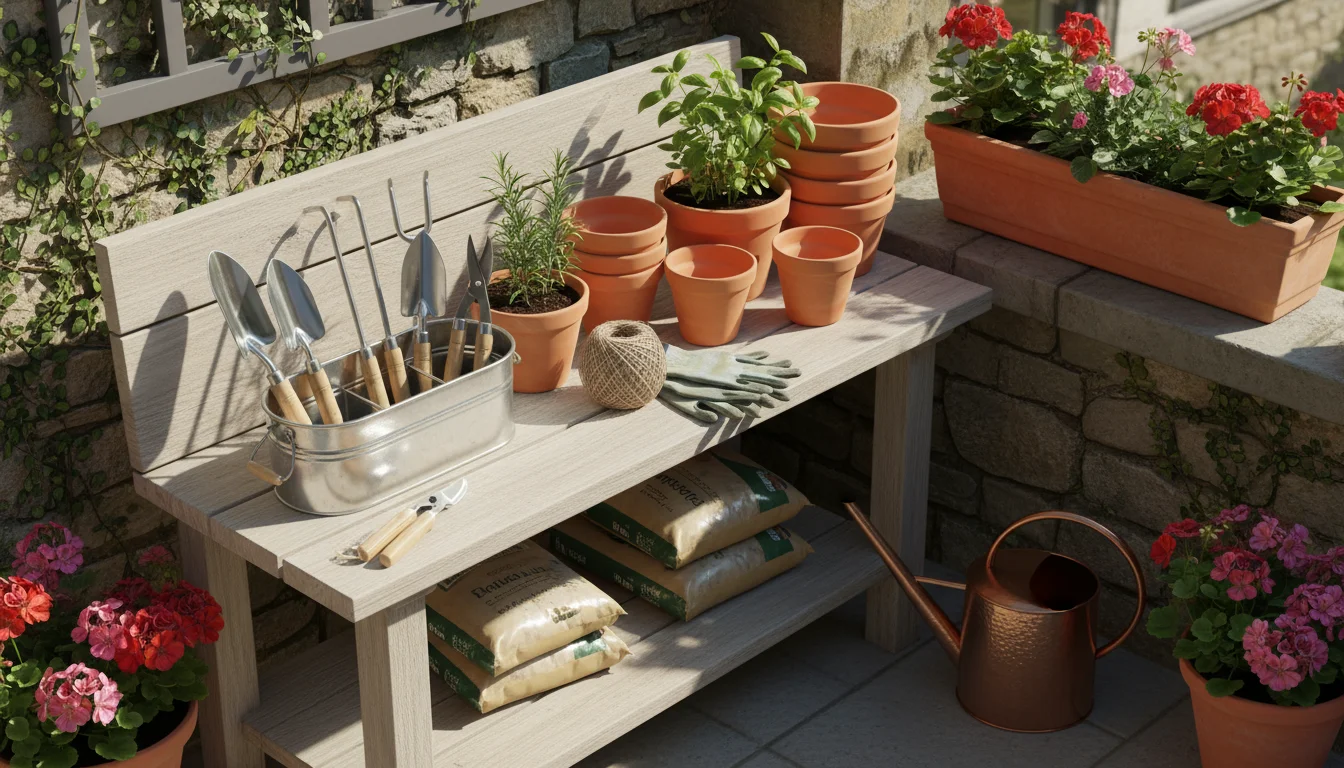
Potting Table with Integrated Storage
For those with a slightly larger balcony or patio, a compact potting table with built-in shelves or drawers serves a dual purpose. You gain a dedicated workspace for potting and seed starting, while also having convenient storage directly beneath. These tables often include hooks on the sides for hanging hand tools. Choose a potting table made from weather-resistant materials if it will reside outdoors.
When considering shelving and cabinets, visualize how they will integrate into your space. They should not block pathways or windows. Aim for solutions that complement your existing outdoor or indoor decor, transforming utilitarian storage into a functional and attractive feature.
Creative Nooks and Crannies: Maximizing Every Inch
Small-space gardening demands creativity, and tool storage is no exception. Beyond conventional solutions, you can discover valuable storage potential in unexpected places. These “nooks and crannies” often provide just enough space for a few essential items, keeping them organized without cluttering main areas.
Repurpose Household Items
Before buying new, look around your home for items you can repurpose:
- Shoe Organizers: A fabric shoe organizer with pockets, hung on a wall or door, can hold gloves, seed packets, plant labels, and small hand tools. Its individual pockets separate items effectively.
- Magazine Holders: Place sturdy magazine holders on a shelf or inside a cabinet to store thin items like plant stakes, small trellises, or bundles of twine.
- Cutlery Organizers: Use an old kitchen cutlery tray inside a drawer or shallow bin to separate small items like plant tags, markers, or seed starting dibblers.
- Coffee Cans or Plastic Bottles: Cleaned-out coffee cans or large plastic bottles (cut with care, smooth edges) become perfect holders for taller hand tools or even small rolls of garden wire.
Always ensure repurposed items are clean and free of sharp edges. You want them to enhance safety, not create new hazards.
Under-Sink or Under-Stair Storage
If you have a small utility sink on your patio or even an indoor sink near an accessible door, the cabinet underneath offers discreet storage. Similarly, the often-awkward space under an outdoor staircase or a utility closet can house a collection of tools in bins or a narrow rack. These areas are typically out of sight, making them suitable for less aesthetically pleasing but functional storage.
- Moisture Control: Under-sink areas can be damp. Use waterproof bins or protective mats to prevent moisture damage to tools.
- Accessibility: Ensure items are still relatively easy to access, perhaps with pull-out drawers or well-labeled containers.
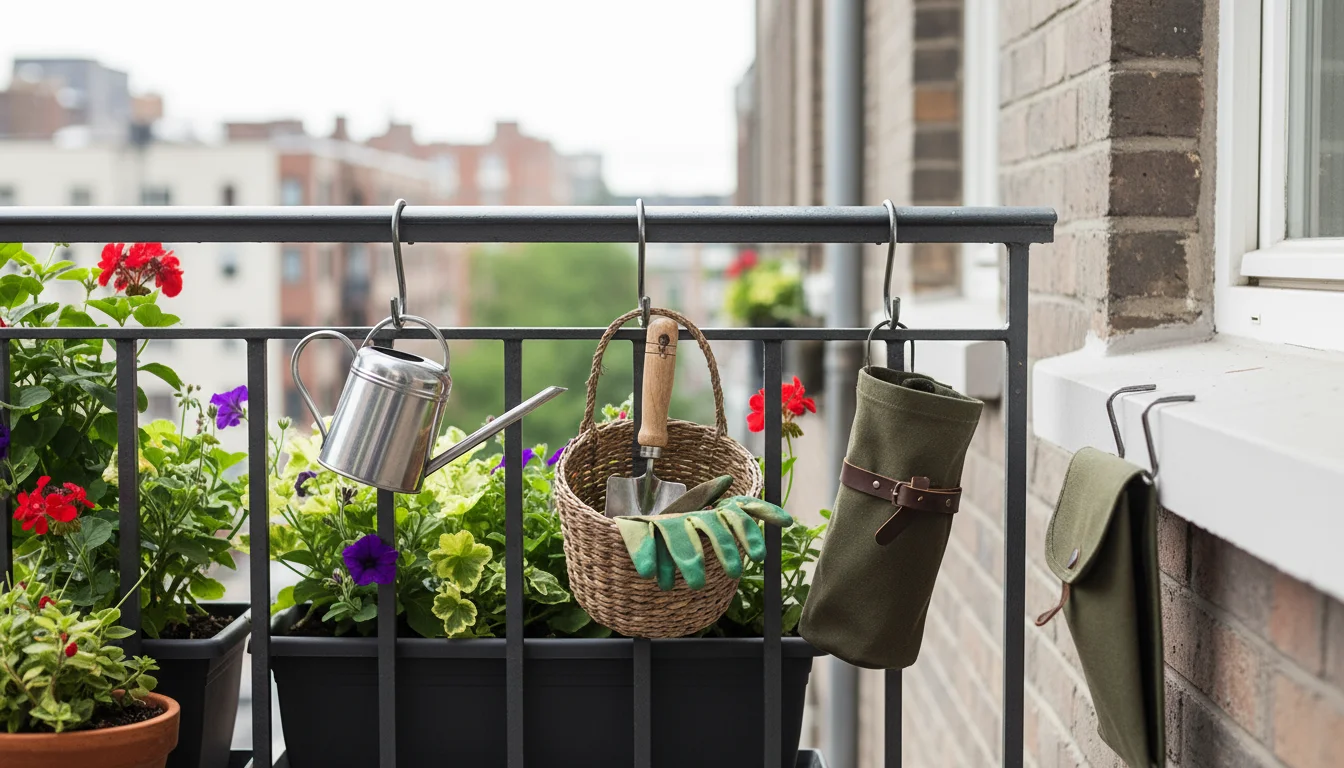
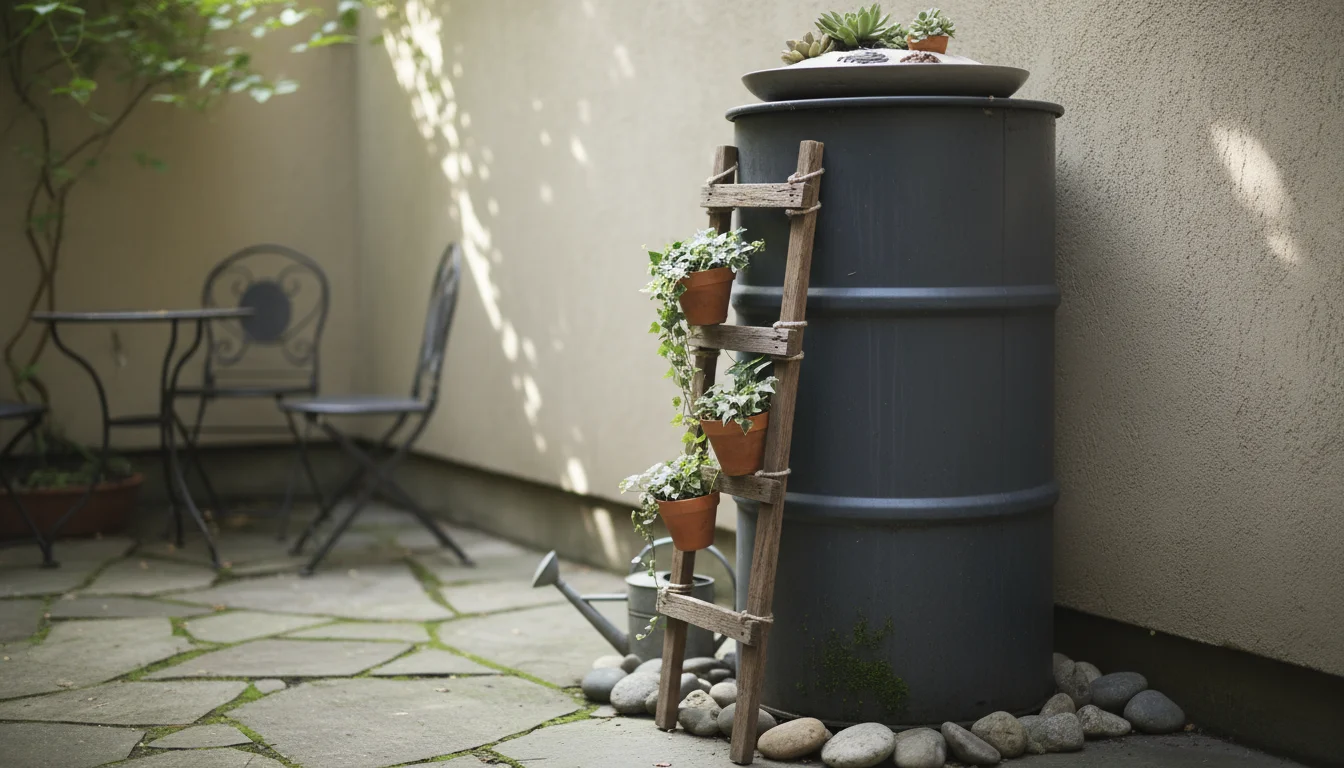
Hanging from Railings or Hooks
Balcony railings provide opportunities for hanging storage. Utilize S-hooks or specialized railing clips to suspend items like a small watering can, hanging baskets (which can hold gloves or small tools), or even a compact tool bag. Always ensure anything you hang is secure and will not fall, especially if your balcony is above a public area.
You can also install discreet hooks on the underside of shelves, window sills, or even on the legs of sturdy outdoor furniture. These small hooks are perfect for hanging lightweight items like hand gloves, pruner sheaths, or bundles of plant ties.
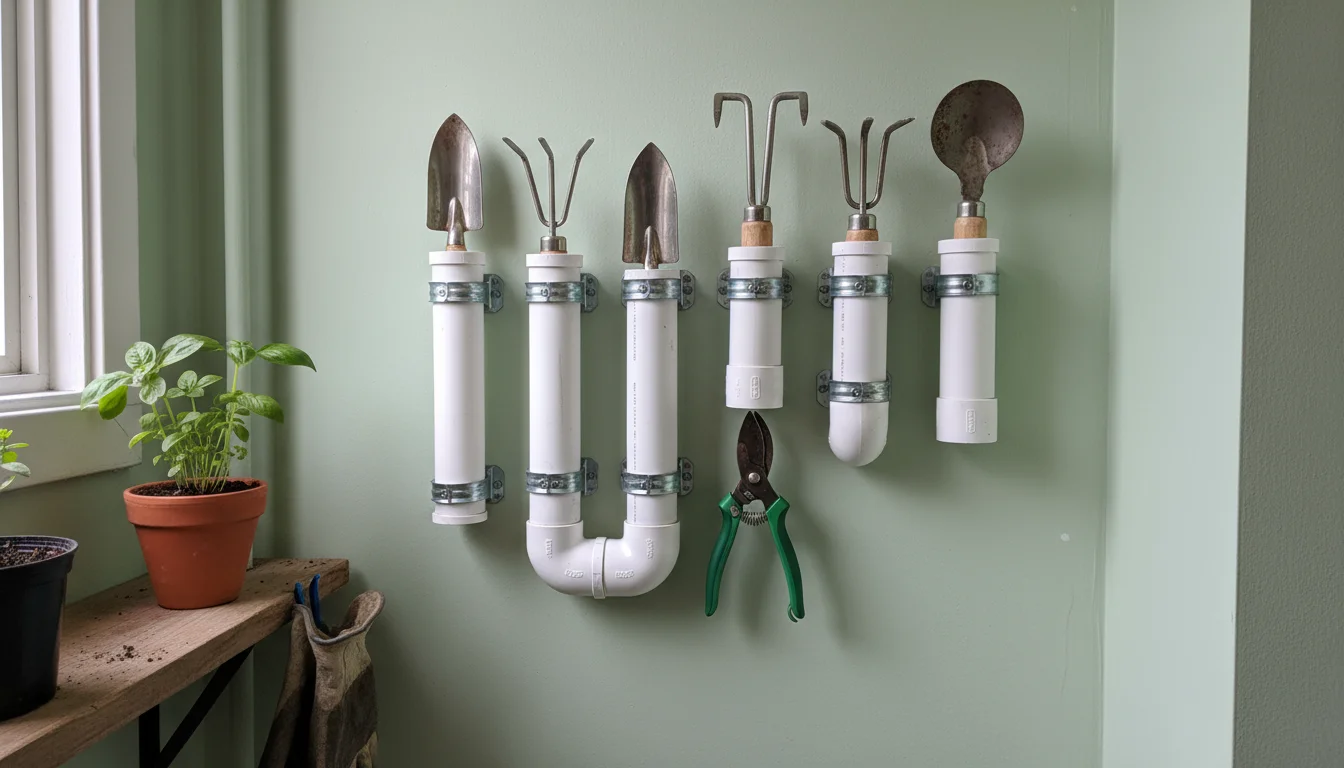
DIY Solutions with PVC Pipe
PVC pipes offer a versatile and inexpensive material for custom tool storage. You can cut lengths of PVC pipe and secure them vertically to a wall or inside a cabinet. These create individual slots for items like pruners, snips, or even small trowels, keeping them separate and protected. Vary the diameter of the pipes to fit different tools. For example, a 1-inch pipe holds snips, while a 2-inch pipe accommodates a trowel handle.
You can also create a basic rack by drilling holes through a larger diameter PVC pipe, then mounting it horizontally to a wall. Insert tool handles through the holes for secure, vertical storage.
The key to maximizing nooks and crannies is precise measurement and a willingness to adapt existing items. Each small, cleverly utilized space contributes to an overall organized and efficient gardening setup, making your small home feel larger and more functional.
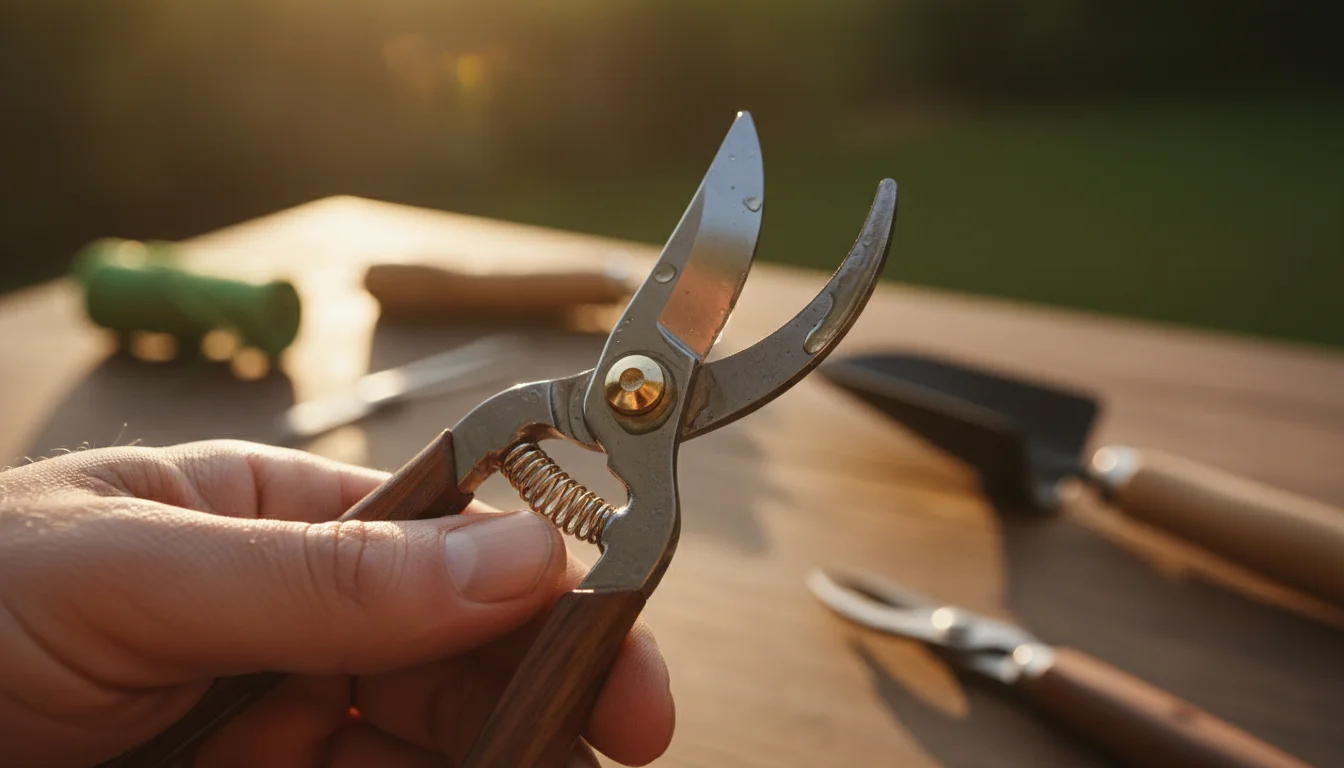
Tool Maintenance for Long-Term Storage
Proper tool maintenance before storage is as important as the storage method itself. Neglecting this step shortens your tools’ lifespan, promotes rust, and introduces disease into your garden. A few simple steps ensure your tools remain sharp, clean, and ready for your next gardening session, minimizing future effort and expense.
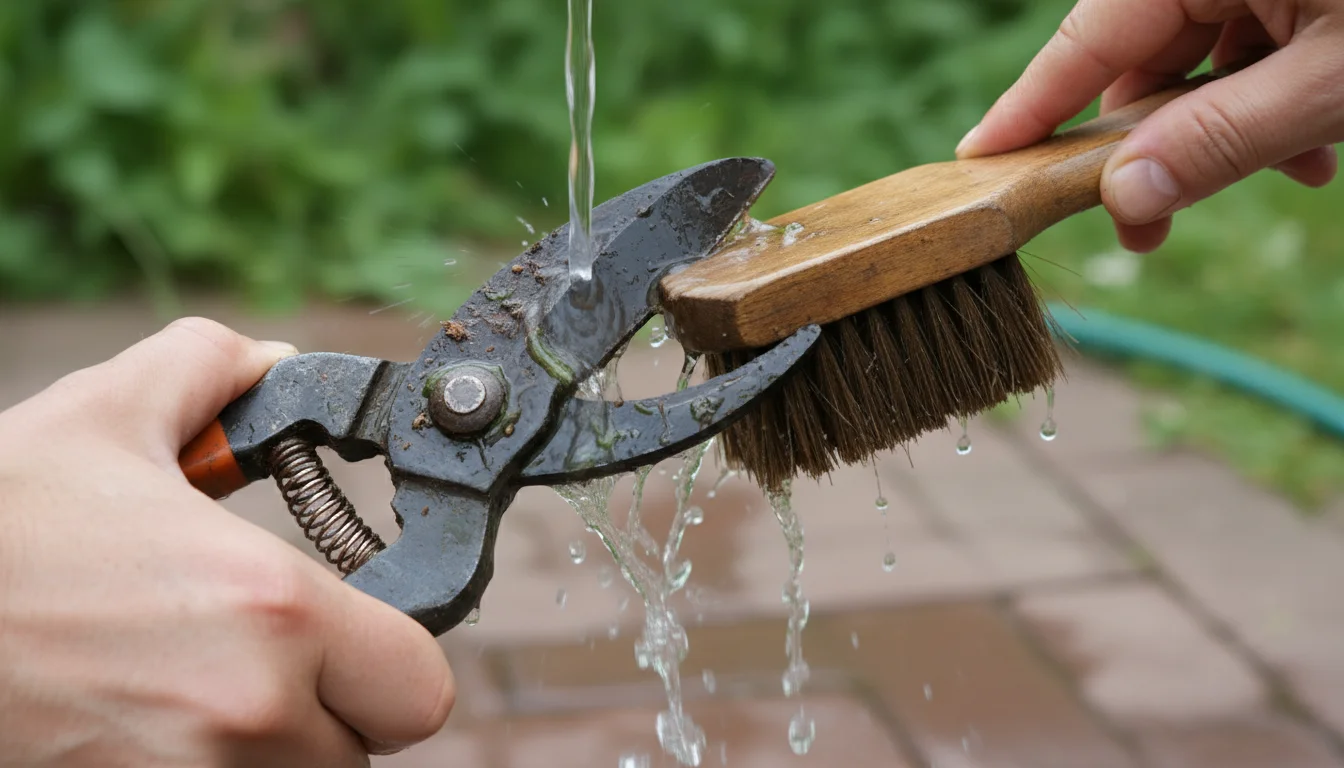
1. Clean Tools Thoroughly
After each use, especially before long-term storage, clean all your tools. Soil, plant sap, and debris cling to blades and handles. Use a stiff brush or an old rag to remove all visible dirt. For stubborn, caked-on mud, use a stream of water and a brush. For tools with moving parts, like pruners, open and close them while brushing to clear debris from the pivot point.
- Why it matters: Dried soil absorbs and holds moisture, leading to rust. Plant sap can gum up mechanisms and harden, making tools difficult to operate.
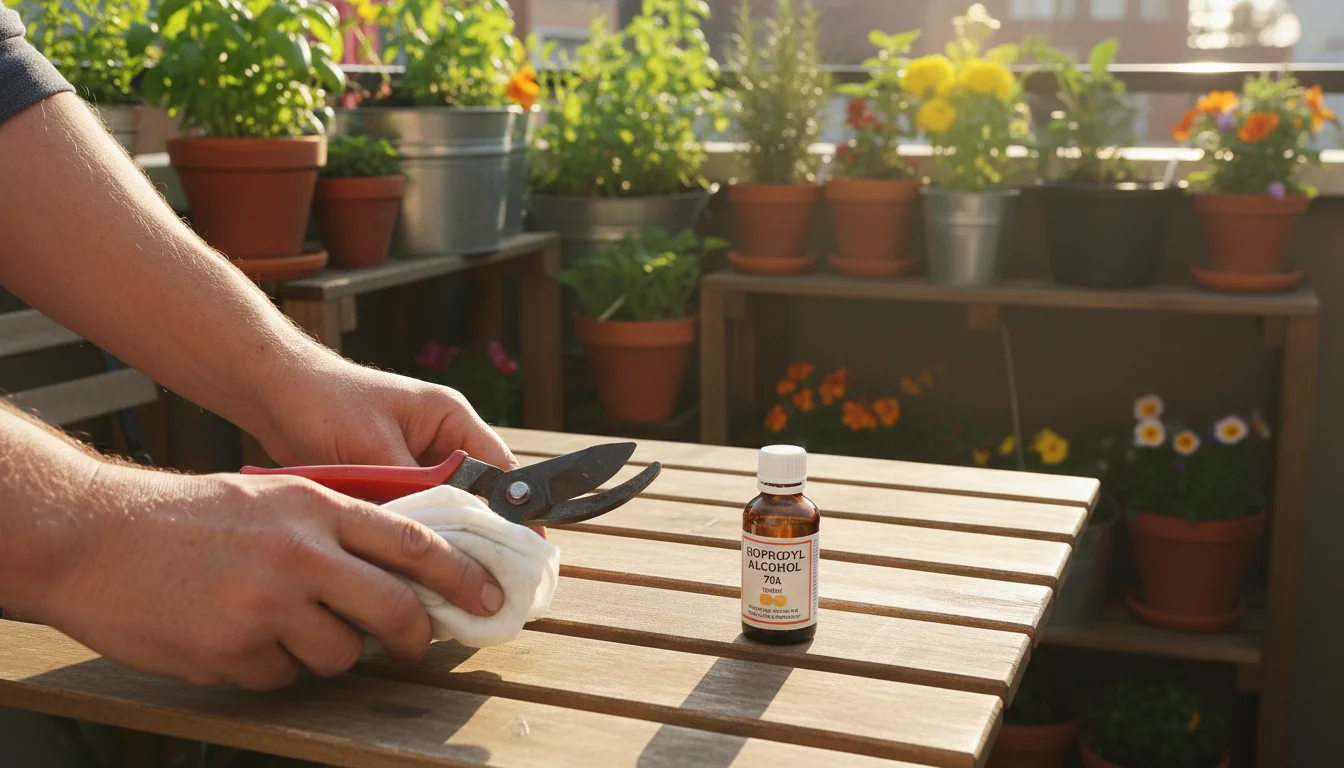
2. Disinfect Cutting Blades
Disease-causing pathogens can transfer from one plant to another via your cutting tools. Disinfect pruners, snips, and other cutting tools, especially after pruning diseased plants. You can use:
- Rubbing Alcohol: Wipe blades thoroughly with a cloth soaked in rubbing alcohol (70% isopropyl alcohol). It evaporates quickly.
- Bleach Solution: Mix 1 part household bleach with 9 parts water. Dip blades into the solution for 30 seconds, then rinse with clean water and dry immediately to prevent corrosion.
- Pine Oil Cleaner: Some gardeners prefer a 10% solution of pine oil cleaner. Follow the same dip, rinse, and dry procedure.
Always rinse thoroughly after using bleach to prevent corrosion, and dry completely.
3. Dry Completely
Moisture is the enemy of metal tools. After cleaning and disinfecting, ensure every tool is completely dry before storage. You can air-dry them in the sun or wipe them down with a clean, dry cloth. Pay special attention to crevices and pivot points where water can hide. A blast of compressed air works well for drying intricate mechanisms.
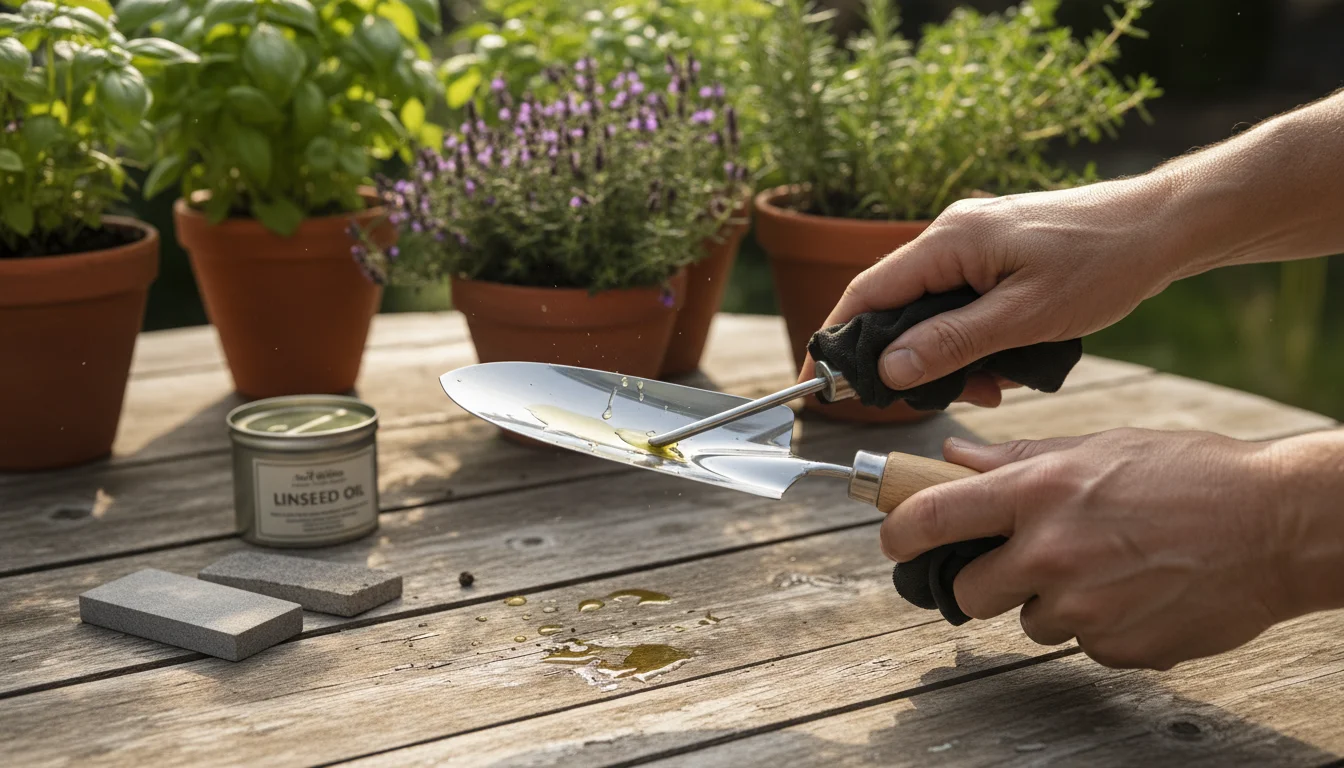
4. Oil Metal Parts
Once dry, apply a light coat of oil to all metal parts, especially blades, springs, and pivot points. This creates a protective barrier against moisture and prevents rust. Use a few drops of lubricating oil (like 3-in-1 oil, mineral oil, or even cooking oil in a pinch for non-food contact tools) on a clean rag and wipe down the metal surfaces. For pruners, apply a drop of oil to the pivot point and work the blades open and closed to distribute it.
For wooden handles, you can apply a light coat of linseed oil or Danish oil to condition the wood and prevent cracking. Wipe off any excess.
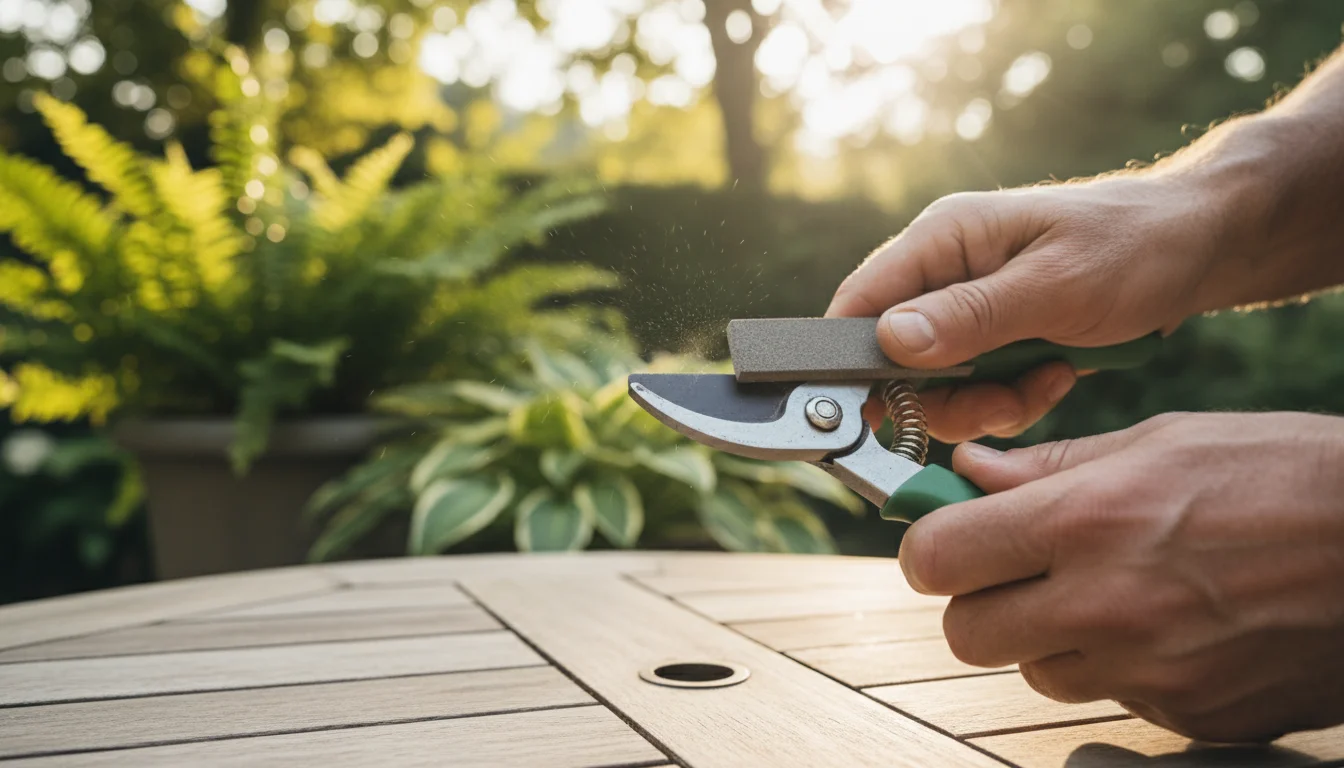
5. Sharpen Blades (Periodically)
Sharp tools cut cleanly, making your work easier and healthier for your plants. Dull blades tear plant tissue, leaving open wounds susceptible to disease. Periodically sharpen your pruners, snips, and edgers. You can use a sharpening stone or a dedicated tool sharpener. Follow the manufacturer’s angle for the blade. Sharpening small hand tools typically involves:
- Secure the tool.
- Identify the bevel (the angled edge) of the blade.
- Place the sharpener at the same angle as the bevel.
- Push the sharpener across the blade in one direction, away from your body, maintaining the angle. Repeat several times.
- Turn the blade over and remove any burr (a tiny lip of metal) by gently stroking the flat side with the sharpener.
- Wipe the blade clean and oil it.
The Missouri Botanical Garden provides excellent detailed guidance on proper tool care, including sharpening and rust prevention, to help you extend the life of your gardening implements.
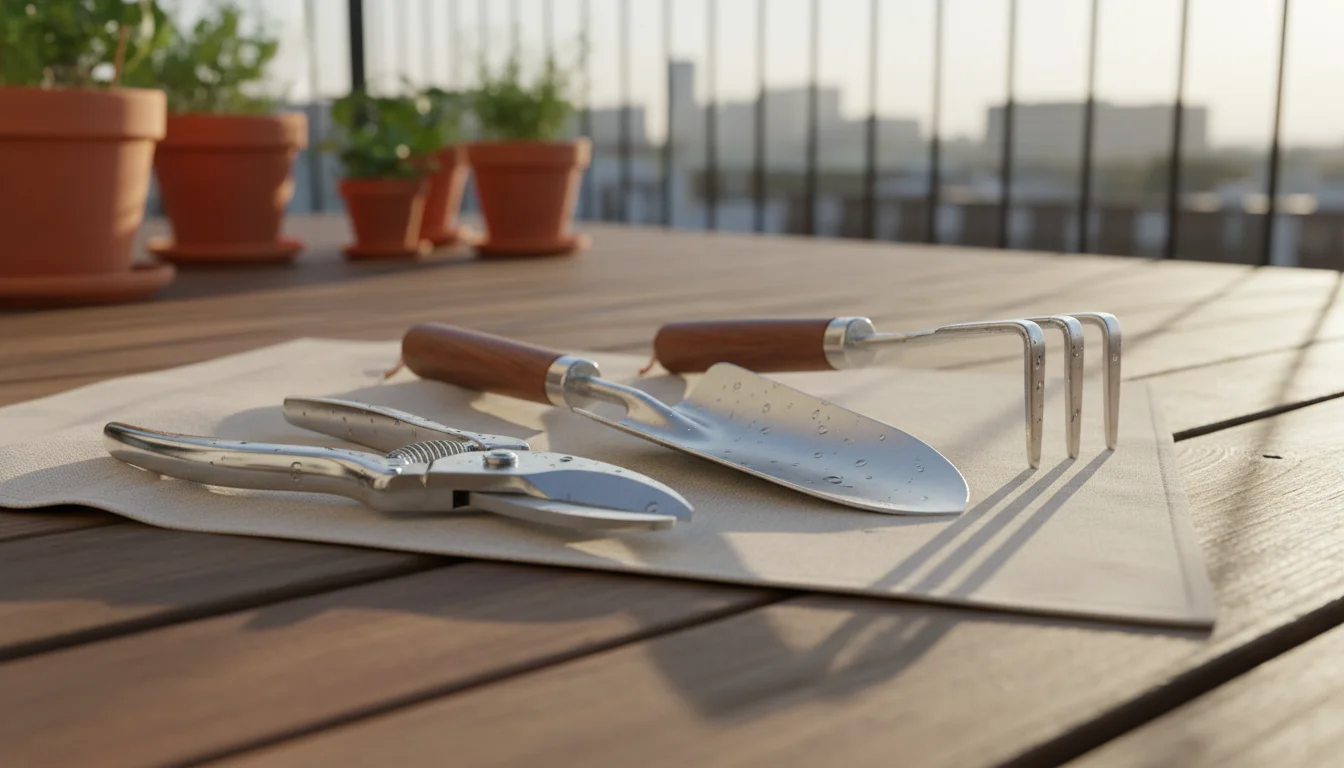
6. Store Appropriately
After all maintenance, store tools in their designated spots: in caddies, on pegboards, or in cabinets. Ensure sharp blades have sheaths or covers to protect them and prevent accidental injury. For outdoor storage, make certain the chosen solution is truly weather-resistant. By incorporating these maintenance steps, you ensure your gardening tools remain reliable workhorses for years to come.
Safety First: Storing Sharps and Chemicals
Your small garden tools, though compact, can pose significant safety risks if you do not store them correctly. This is particularly true for sharp tools and any garden chemicals you might use. Prioritizing safety protects you, your family, and any pets in your home.
Secure Storage for Sharp Tools
Tools like hand pruners (two curved blades that slice; best for live stems), snips (small, precise cutters for herbs or delicate stems), and trowels (small, scoop-shaped spade for digging and planting) have sharp edges or points. Incorrect storage can lead to cuts, punctures, or trips. Follow these guidelines:
- Use Blade Covers or Sheaths: Whenever possible, fit protective covers over the blades of pruners and snips. Many tools come with these, or you can purchase universal ones. This prevents accidental contact with the sharp edge.
- Store Vertically, Blades Down: If using a bucket or a deep container, always place tools with sharp ends pointing downwards. This reduces the risk of grabbing a tool and injuring your hand on the exposed blade.
- Individual Slots: Pegboard hooks or DIY PVC pipe sleeves provide individual, secure slots for each sharp tool. This prevents blades from rubbing against each other (which can dull them) and keeps them separate for safe retrieval.
- Out of Reach: Store all sharp tools out of reach of children and pets. High shelves, locked cabinets, or secured wall mounts are ideal. A low, open bucket of tools is an attractive but dangerous invitation for curious toddlers or pets.
- Point Away from Traffic: When using wall-mounted solutions, ensure blades or sharp points face away from common walking paths or areas where people might brush against them.
The Royal Horticultural Society (RHS) offers valuable tool safety advice, emphasizing the importance of keeping tools sharp for effectiveness but also safely stored to prevent injury.
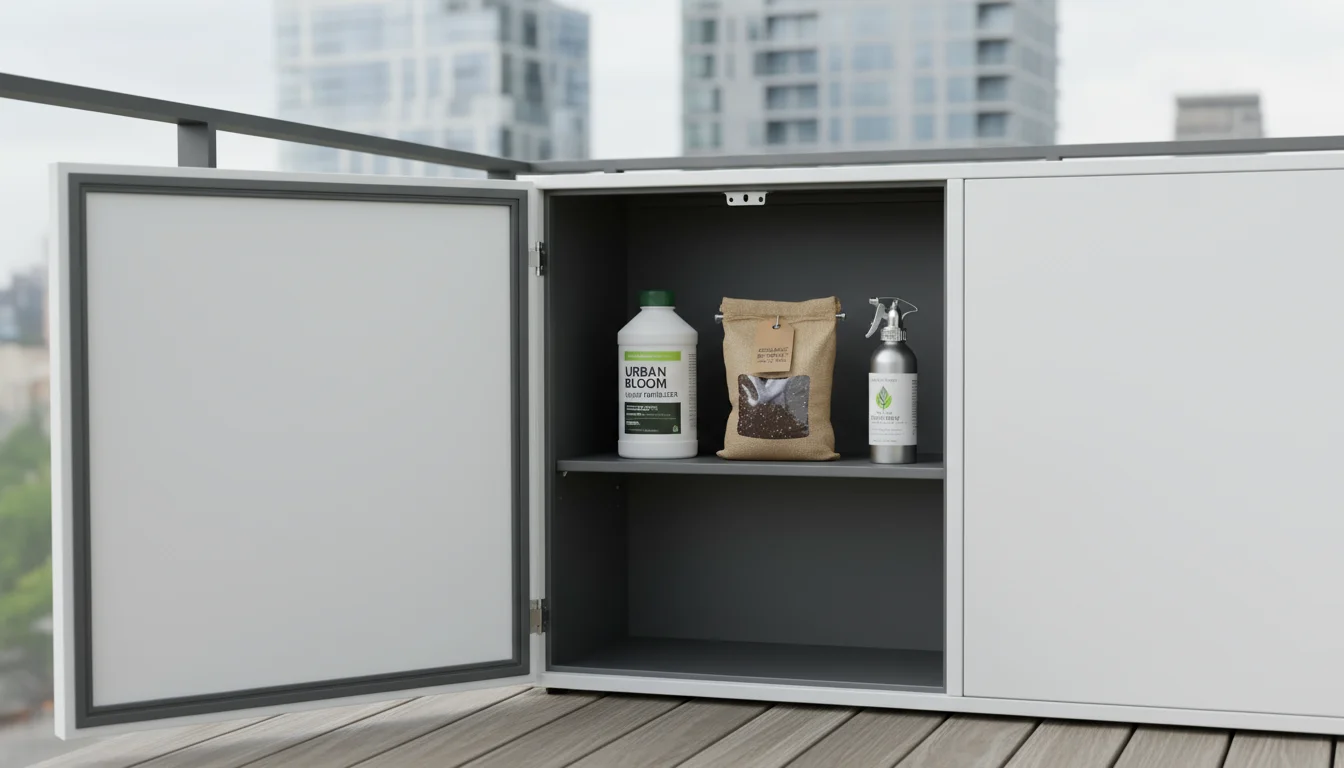
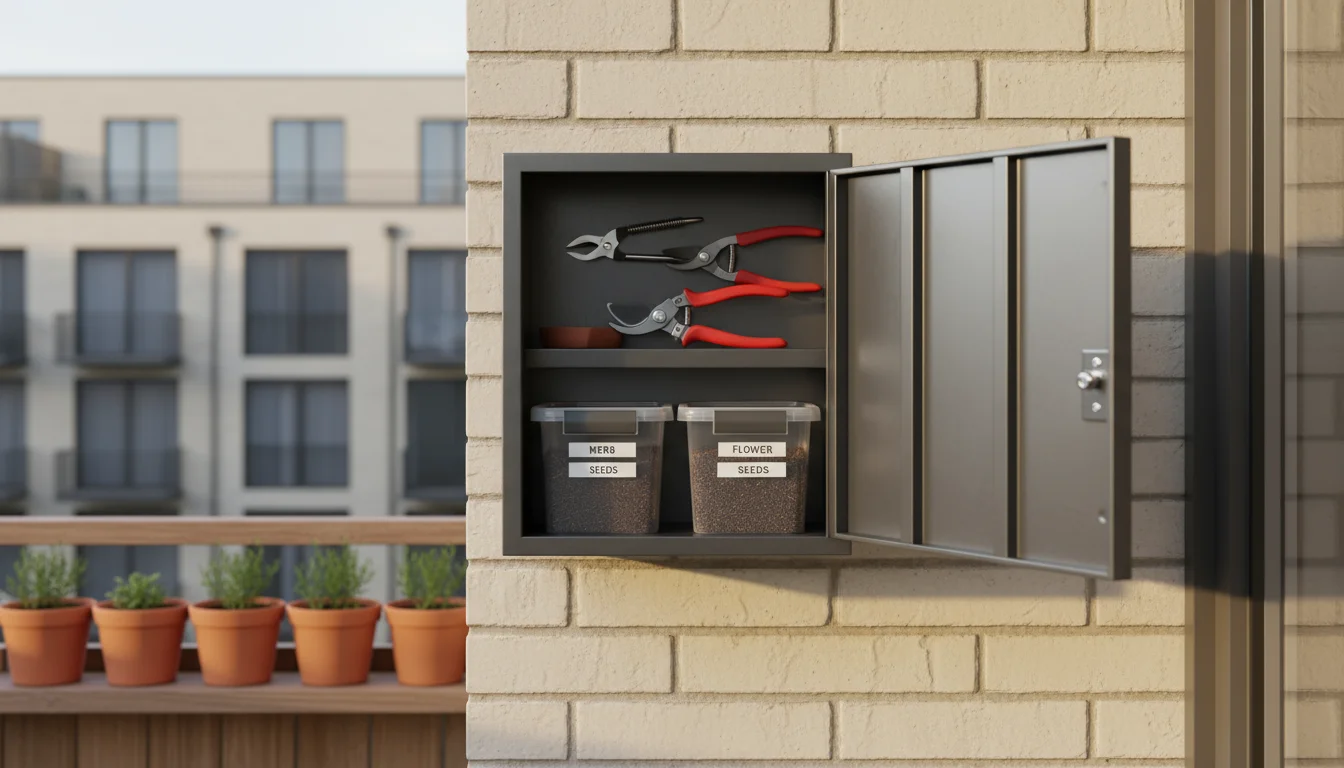
Safe Storage for Garden Chemicals and Potting Mixes
Even in a small garden, you might use fertilizers, pest deterrents, or soil pH adjusters. Potting mixes, while seemingly benign, can contain spores or other irritants. Proper storage is essential:
- Original Containers: Always keep chemicals in their original, clearly labeled containers. Transferring them to unmarked bottles is extremely dangerous, leading to potential misuse or accidental ingestion.
- Securely Sealed: Ensure all caps and lids are tightly sealed after each use. This prevents spills, evaporation, and keeps chemicals from losing potency.
- Cool, Dry, and Dark: Store chemicals in a cool, dry, and dark place. Extreme temperatures can degrade products, making them ineffective or even hazardous. Direct sunlight also reduces their shelf life.
- Separate from Tools: Store garden chemicals in a separate, dedicated container or section of a cabinet, away from your hand tools. This prevents cross-contamination and makes it easier to keep chemicals secure.
- Out of Reach and Locked: This is paramount. Store all garden chemicals in a locked cabinet or on a high shelf that children and pets cannot access. This protects against accidental exposure, which can be life-threatening.
- Elevated Storage for Potting Mix: While not a chemical, bags of potting mix can attract pests or harbor moisture. Store them in sealed, elevated containers to prevent rodents or insects from getting in, and to keep them dry.
- Ventilation: If storing chemicals in an enclosed area, ensure some ventilation, if safe, to prevent fume buildup. However, generally, keeping them sealed and in a well-ventilated yet protected area is best.
For more detailed safety information on gardening chemicals, consult your local agricultural extension service or the product manufacturer’s safety data sheets. Prioritizing these safety measures creates a worry-free gardening environment for everyone.
Tool Storage Challenge Solver: A Quick Guide
You face specific storage challenges in a small home. This table helps you quickly identify common problems and points you toward the most effective solutions, based on the principles of space-saving and efficiency we have discussed.
| Your Challenge | Recommended Storage Solutions | Key Benefits |
|---|---|---|
| Limited Floor Space |
|
Utilizes vertical space; keeps items off the ground; highly visible. |
| Tools Cluttering Surfaces |
|
Contains tools in one place; portable for use; clears surfaces. |
| Protecting Tools from Weather (Outdoor) |
|
Prevents rust and degradation; extends tool lifespan; keeps dry. |
| Keeping Sharp Tools Safe |
|
Prevents accidental cuts/punctures; keeps tools out of reach of children/pets. |
| Disorganized Small Items (Seeds, Labels, Ties) |
|
Separates and categorizes small items; easy to find; prevents loss. |
| Difficulty Transporting Tools to Workspace |
|
Collects all needed tools; easy to carry; reduces trips back and forth. |
By identifying your primary storage pain point, you can quickly implement a solution that brings immediate improvement to your gardening organization.
Frequently Asked Questions
How do I stop my tools from rusting in a humid environment?
Rust forms when metal reacts with oxygen and moisture. To prevent rust in humid conditions, consistently clean and dry your tools after every use. Apply a thin coat of lubricating oil, like mineral oil or WD-40, to all metal surfaces before storage. Store tools in a sealed, airtight container with desiccant packets (silica gel) to absorb excess moisture. A weather-resistant cabinet with good airflow can also help, but ensure tools inside are still oiled.
Can I store gardening tools indoors without making a mess?
Absolutely. The key is using enclosed or highly organized storage. Utilize clear, lidded bins for potting mixes and small items, keeping them contained and out of sight. Dedicate a small, narrow cabinet or an over-the-door organizer for hand tools. Place dirty tools directly into a designated tool caddy or bucket for immediate transport to a cleaning area. Consider decorative storage solutions, such as attractive pails or canvas totes, that blend with your home decor. Clean tools before bringing them inside to prevent soil transfer.
What are the most versatile storage solutions for renters who cannot drill into walls?
Renters have excellent options that avoid wall damage. Over-the-door organizers are ideal for hanging tools and supplies. Freestanding, narrow shelving units provide vertical storage without wall anchors (ensure they are stable, perhaps against a heavy piece of furniture). Tool caddies and stackable bins offer portable, contained storage you can place under benches, inside closets, or in corners. Tension rod systems, often used for curtains, can also support lightweight items in a window or doorway. Command strips and hooks provide temporary wall hanging for very light items like gloves or plant tags.
How can I make my tool storage look good in a visible small space?
Integrate your storage into your aesthetic. Choose natural materials like wood or bamboo shelving, or metal containers with a sleek finish. Use matching bins or baskets for a cohesive look. Disguise storage by placing it behind larger plants, under a decorative bench, or within a stylish storage ottoman. Vertical wall storage can become an artistic display if you arrange tools neatly and choose attractive hooks. Painting a pegboard a complementary color can also help it blend into the background. Focus on clean lines and order to make your storage an intentional part of your space.
Is it okay to store tools with chemicals or soil?
No, you should always store tools separately from chemicals and ideally separate from bulk soil. Chemicals can corrode metal tools, and the fumes or residue might pose a safety risk. Storing tools directly in soil (like a bucket of sand to clean them, which is a method some use) can trap moisture and accelerate rust if the sand is not perfectly dry or if the tools are not thoroughly cleaned afterward. Keep chemicals in their original, sealed containers in a locked, separate location. Store tools cleaned, dried, and oiled in their own dedicated storage. Bagged potting mix can attract pests, so seal it well and store it away from tools.
For reliable tool and safety guidance, see
Missouri Botanical Garden,
National Safety Council — Home & Garden Safety and
Royal Horticultural Society (RHS) — Tools & Equipment Advice.
Additionally, you can find valuable information on general garden tool care at Garden.org, and tips on efficient watering practices from the University of Nebraska-Lincoln Extension to ensure your plants thrive while conserving resources.
Disclaimer: Follow manufacturer instructions and local regulations. Wear appropriate protection, store blades safely, and keep tools away from children and pets.