
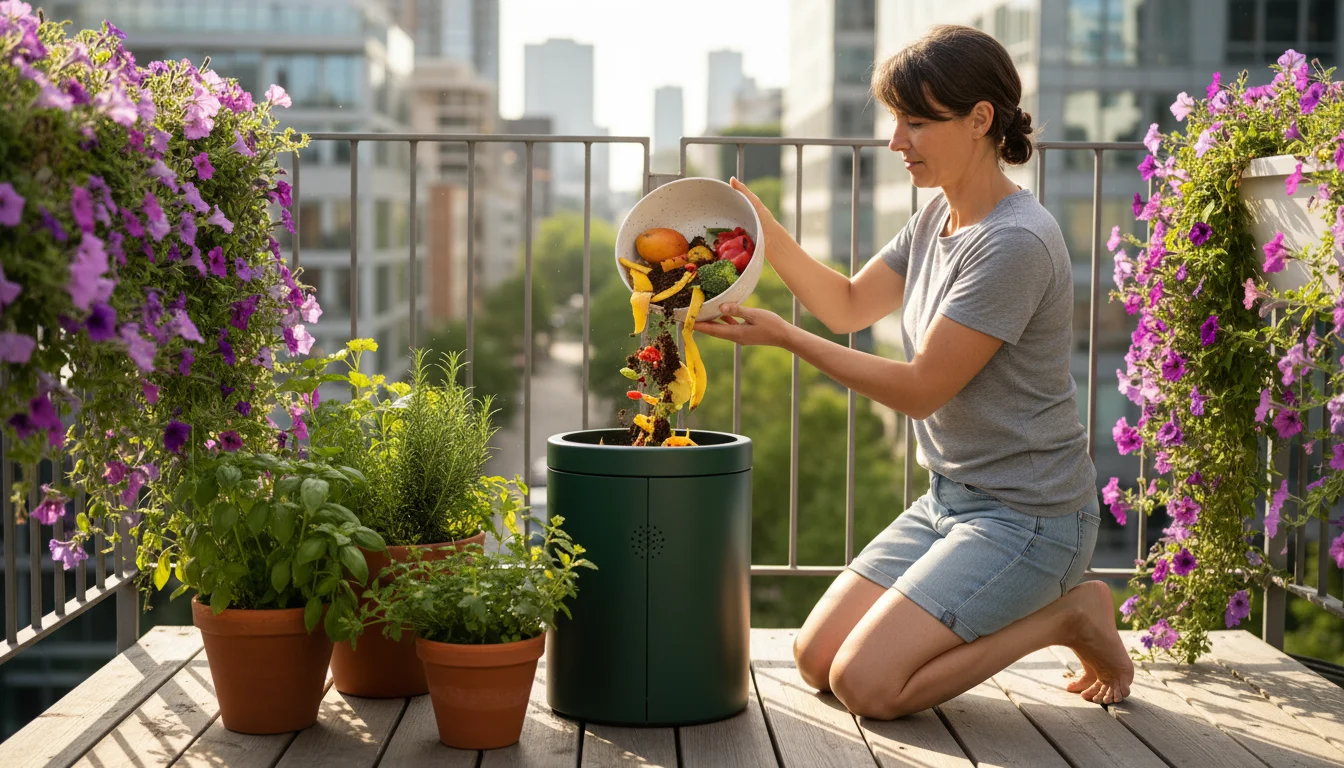
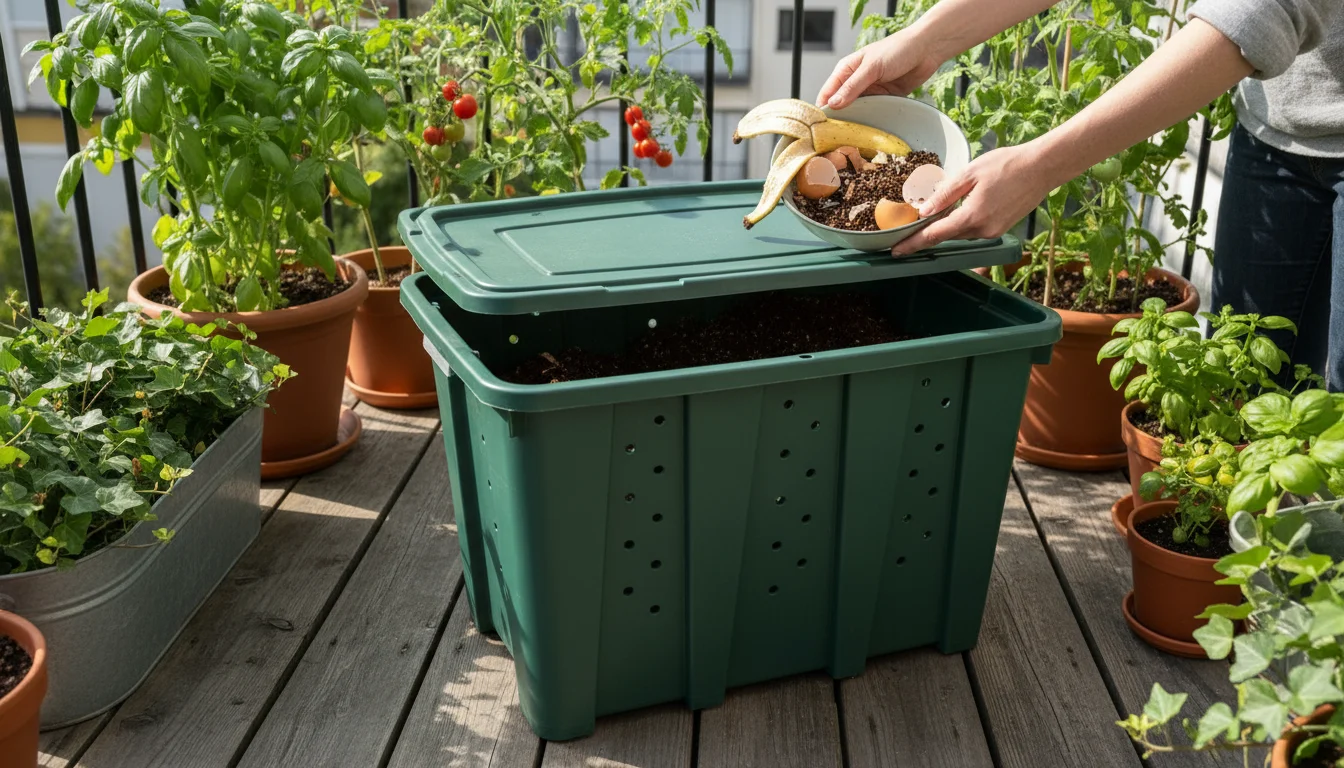
You want to grow a thriving garden, even with limited space. You also want to make greener choices, reducing waste and enriching your soil naturally. Composting offers a powerful solution, transforming kitchen scraps and yard waste into nutrient-dense “black gold” for your plants. Many gardeners assume composting requires a sprawling backyard, but that is simply not true. You can effectively compost in even the smallest urban apartment or compact patio.
This article equips you with practical, actionable strategies for successful small-space composting. We will explore various methods, address common concerns like odors and pests, and show you how to integrate composting into your overall eco gardening approach. You will learn to turn your organic waste into a valuable resource, benefiting both your plants and the planet.

Small-Space Composting: Why It Works Wonders for Your Garden
Composting holds immense power for any gardener, particularly those with limited space. It transforms what you might consider trash into a garden treasure. For small-space gardeners, this process offers numerous tangible benefits:
Reduces Waste and Your Environmental Footprint
Every year, food waste constitutes a significant portion of landfill content. When organic matter breaks down in landfills without oxygen, it produces methane, a potent greenhouse gas. By composting your kitchen scraps and plant trimmings, you divert this waste from landfills, reducing methane emissions and making a direct, positive environmental impact. The U.S. EPA estimates that food waste represents 24.1% of municipal solid waste sent to landfills. Your small compost bin makes a difference.
Creates Free, Nutrient-Rich Soil Amendment
Instead of buying expensive fertilizers or soil conditioners, you create your own. Compost, often called “black gold,” teems with beneficial microorganisms and a balanced array of essential plant nutrients. It improves soil structure, enhances water retention, and slowly releases nutrients, fostering healthier, more resilient plants. This is especially valuable in containers where soil nutrients deplete faster.
Improves Soil Health and Plant Vitality
Adding compost to your container mixes or garden beds improves soil structure. It creates an ideal environment for roots to grow, helping them access water and nutrients more efficiently. Healthy soil, rich in organic matter, supports stronger plant growth, better disease resistance, and often leads to higher yields, even in a small plot. University studies consistently demonstrate compost’s positive effects on soil aggregation and microbial activity.
Saves Water Through Enhanced Soil Retention
Compost acts like a sponge, significantly increasing your soil’s capacity to hold water. This means you water your plants less frequently, saving precious resources and time. In small containers, where soil dries out rapidly, this benefit is particularly pronounced. Research shows that adding organic matter can increase soil water holding capacity by up to 20%, leading to substantial water savings over time.
Embracing small space composting represents a commitment to sustainable living and practical eco gardening. You take control of your organic waste, enrich your garden, and contribute to a healthier planet. It is an accessible, empowering act for any gardener.
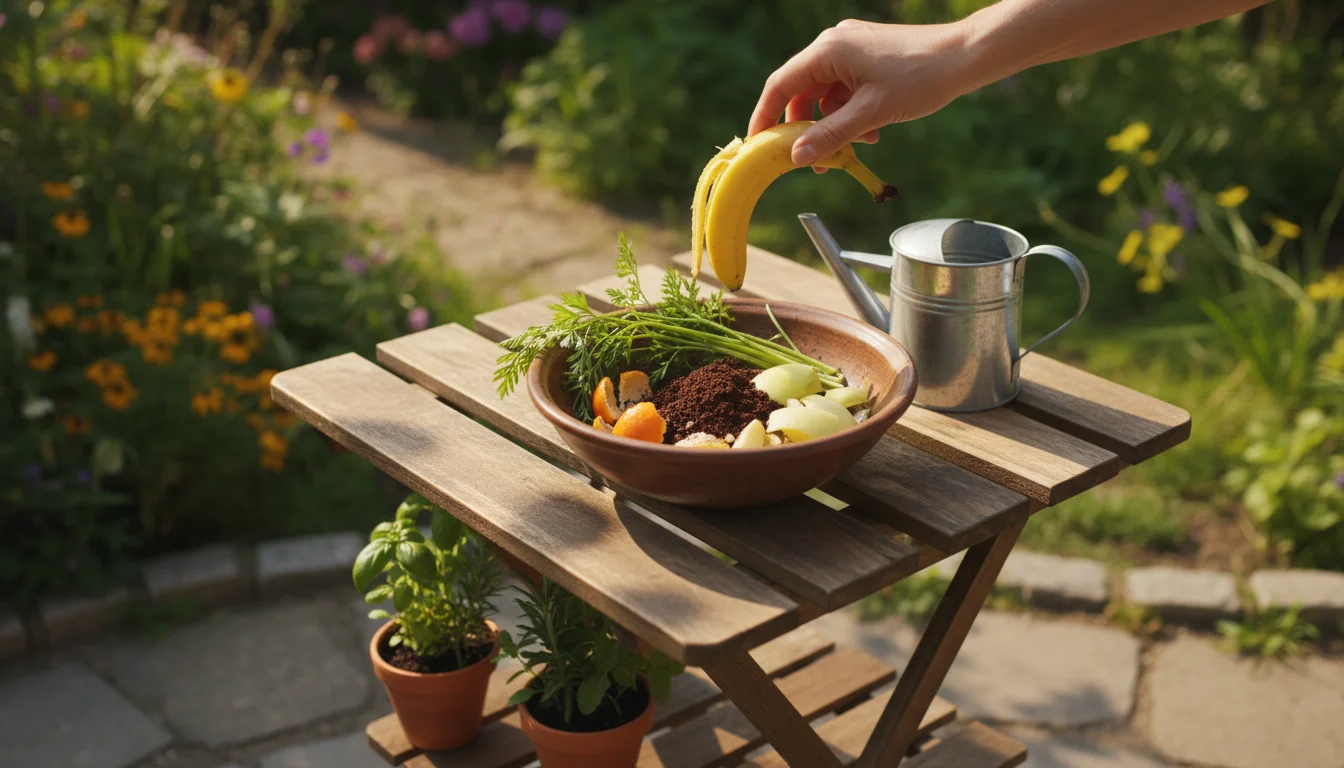
The Basics of Composting in Tight Spaces: Your Ingredients List
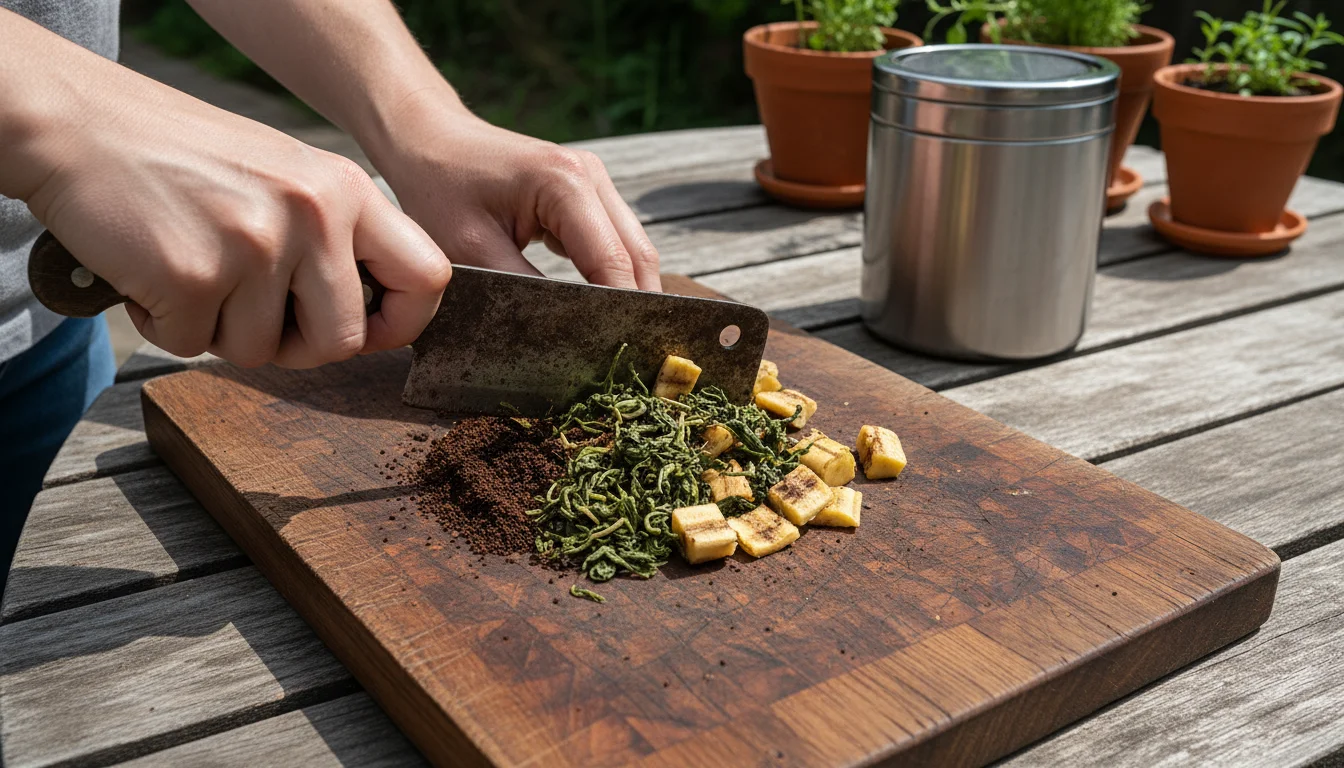
Successful composting, regardless of scale, relies on a balanced mix of “greens” and “browns,” along with adequate moisture and aeration. Understanding these components is your first compost hack.
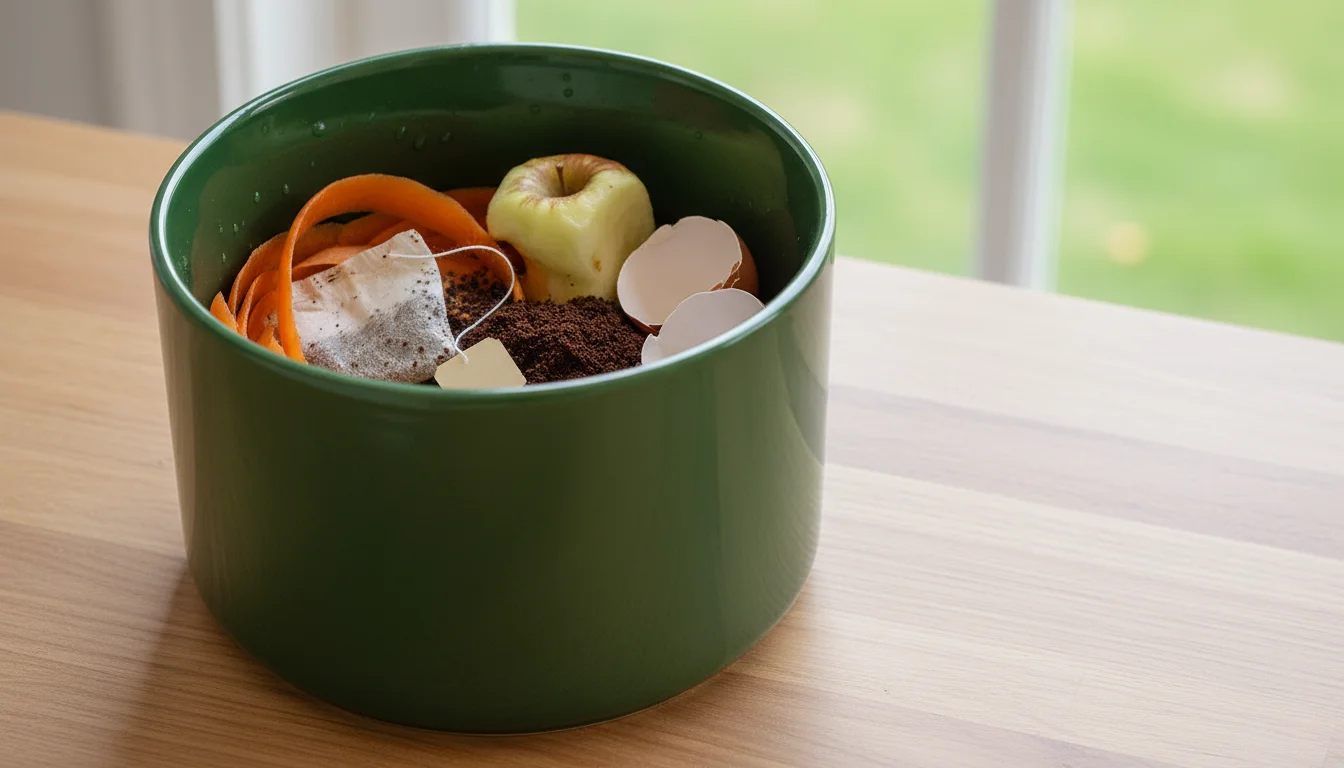
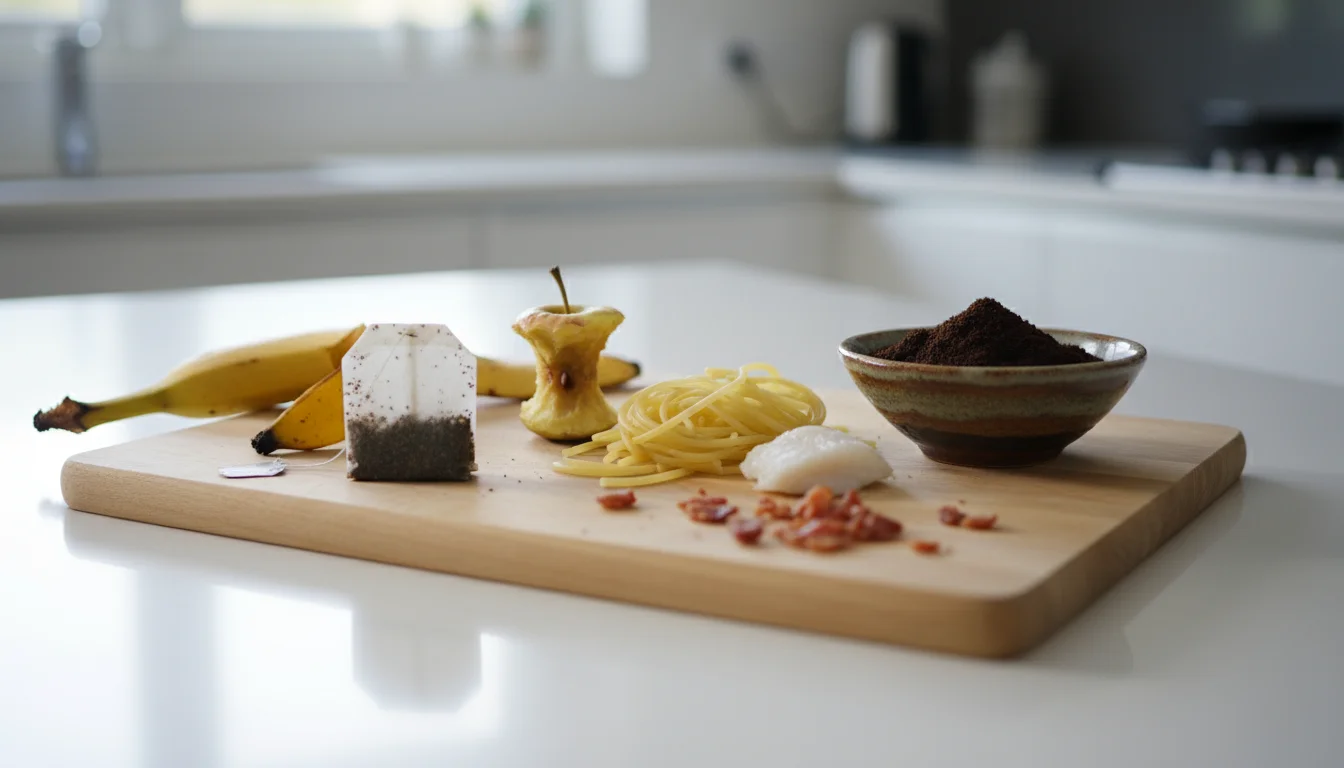
Greens: Nitrogen-Rich Materials
Greens provide nitrogen, fueling the microbial activity that drives decomposition. These materials tend to be moist and break down quickly. They generate heat in a larger pile, but in small-space systems, their primary role remains nutrient provision.
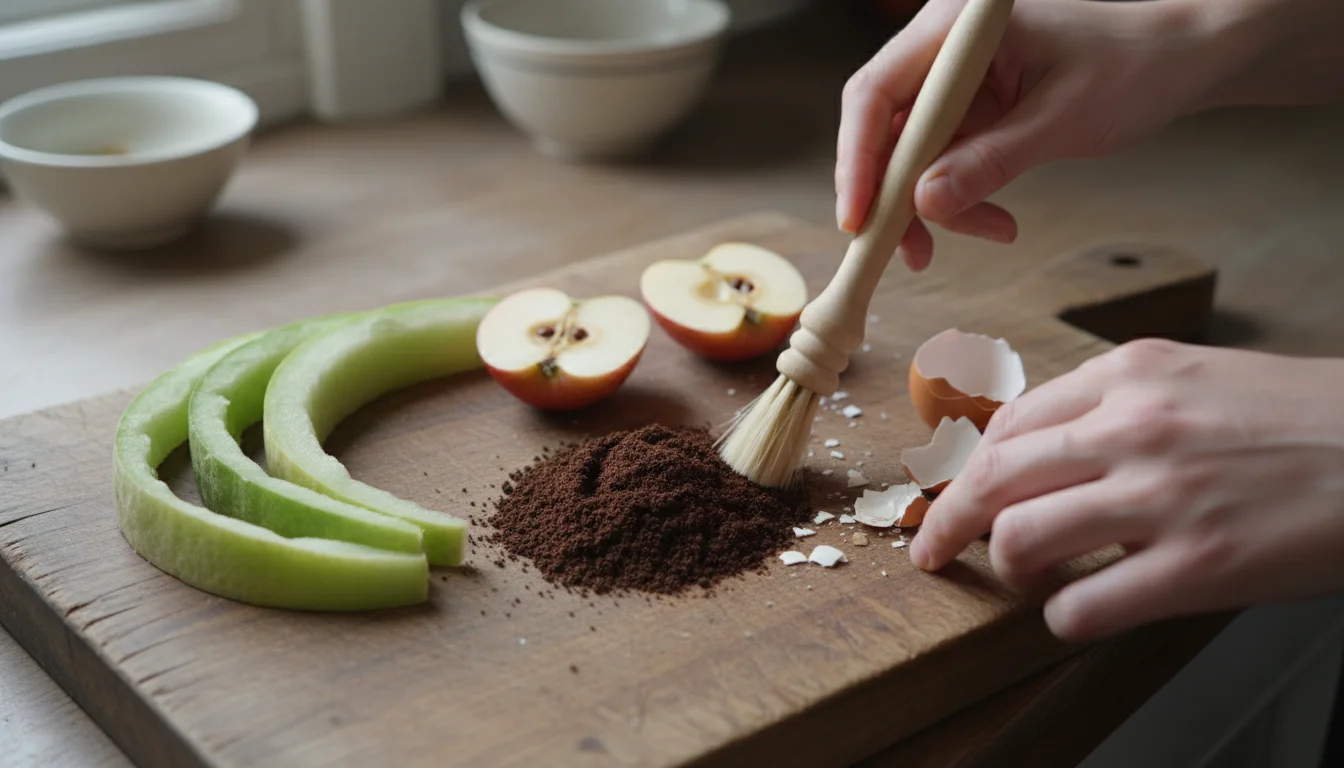
- Fruit and vegetable scraps (peels, cores, wilted produce)
- Coffee grounds and tea bags (paper ones)
- Grass clippings (use sparingly in small bins, as they can become slimy)
- Fresh plant trimmings (leaves, soft stems)
- Eggshells (crush them for faster breakdown)
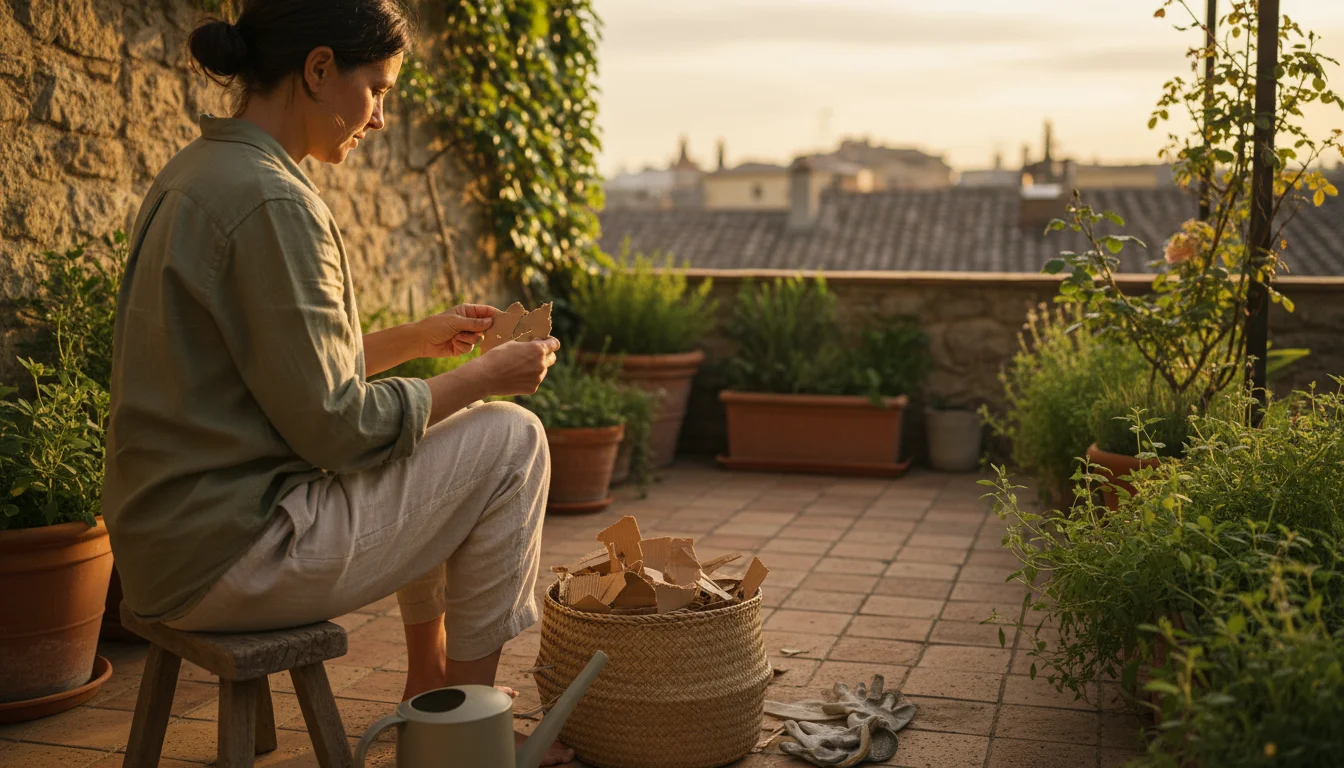
Browns: Carbon-Rich Materials
Browns provide carbon, essential for microbial energy, and add bulk and structure to the compost, allowing for better airflow. They tend to be dry and break down slower than greens.
- Dry leaves
- Shredded cardboard (from delivery boxes, toilet paper rolls, paper towel rolls)
- Shredded newspaper (avoid glossy or colored pages)
- Wood chips (use sparingly, they break down very slowly)
- Sawdust (from untreated wood only, use sparingly)
- Straw or hay
The Ideal Greens-to-Browns Ratio
Aim for a ratio of approximately 1 part greens to 2-3 parts browns by volume. This balance prevents your compost from becoming too wet and smelly (too many greens) or too dry and slow (too many browns). Consistency matters more than precise measurement. You will learn to recognize the right mix by sight and smell.
| Ingredient Type | Examples | Role in Compost | Recommended Ratio (by volume) |
|---|---|---|---|
| Greens (Nitrogen) | Fruit/vegetable scraps, coffee grounds, grass clippings, fresh plant trimmings, eggshells | Feeds microbes, promotes decomposition, adds moisture | 1 Part |
| Browns (Carbon) | Dry leaves, shredded cardboard/paper, wood chips, straw | Provides energy for microbes, adds bulk and aeration, absorbs excess moisture | 2-3 Parts |
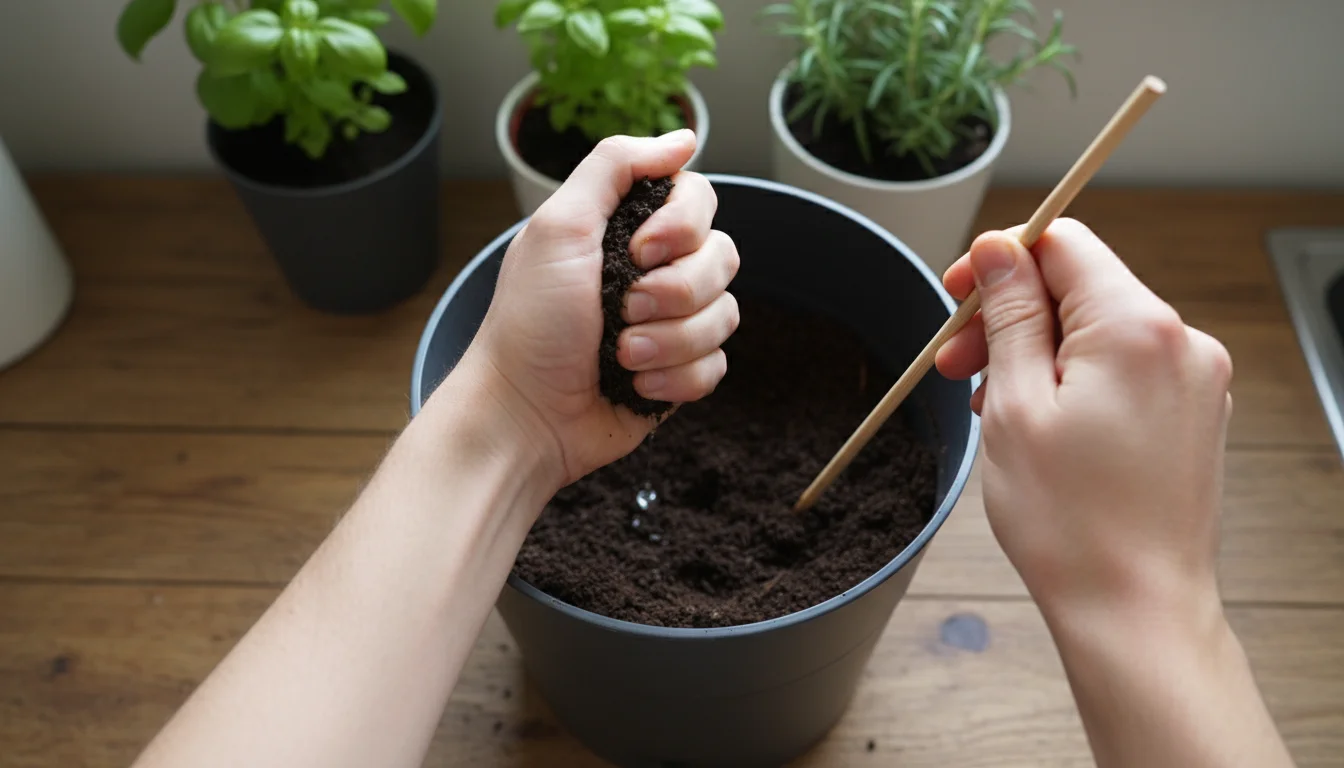
Moisture and Airflow
Your compost needs to be consistently moist, like a wrung-out sponge. Too dry, and decomposition slows. Too wet, and it becomes anaerobic and smelly. Regular turning or aeration helps introduce oxygen, crucial for the aerobic bacteria that do the heavy lifting in healthy compost.
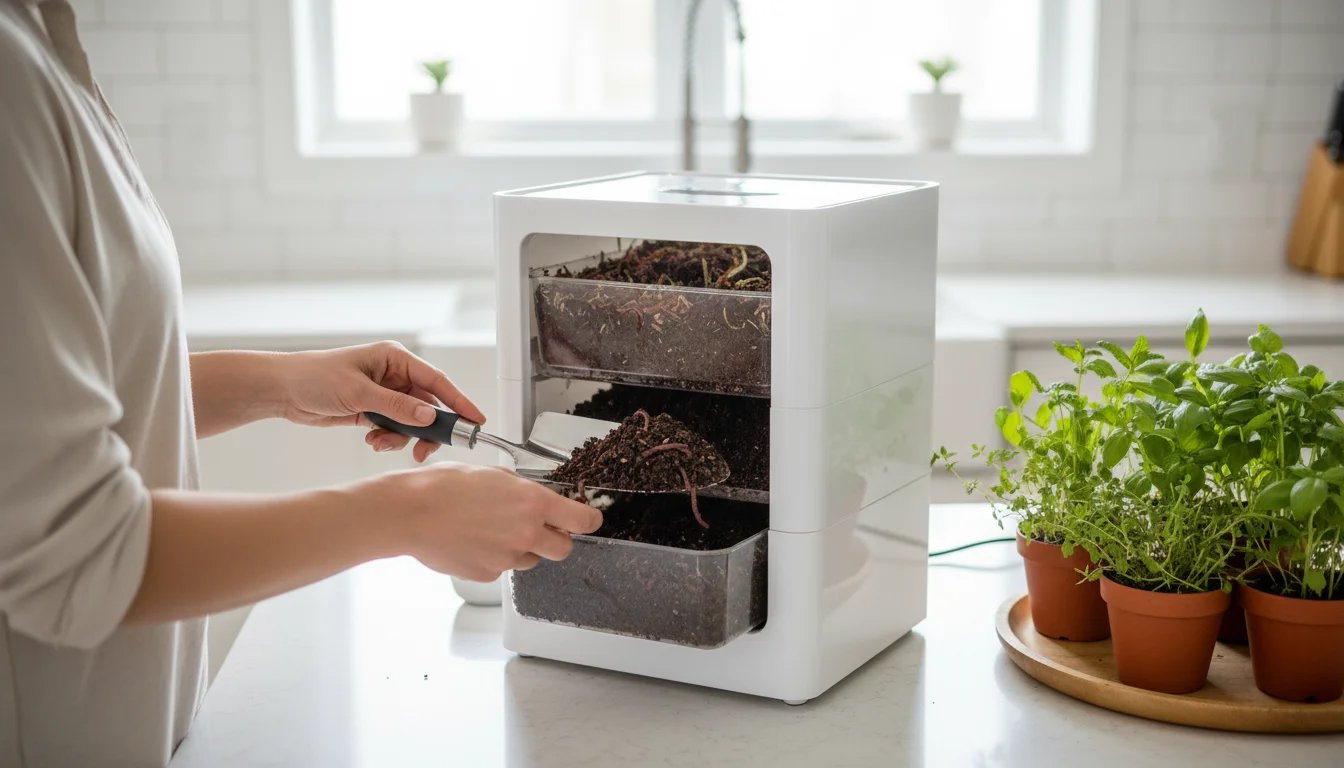
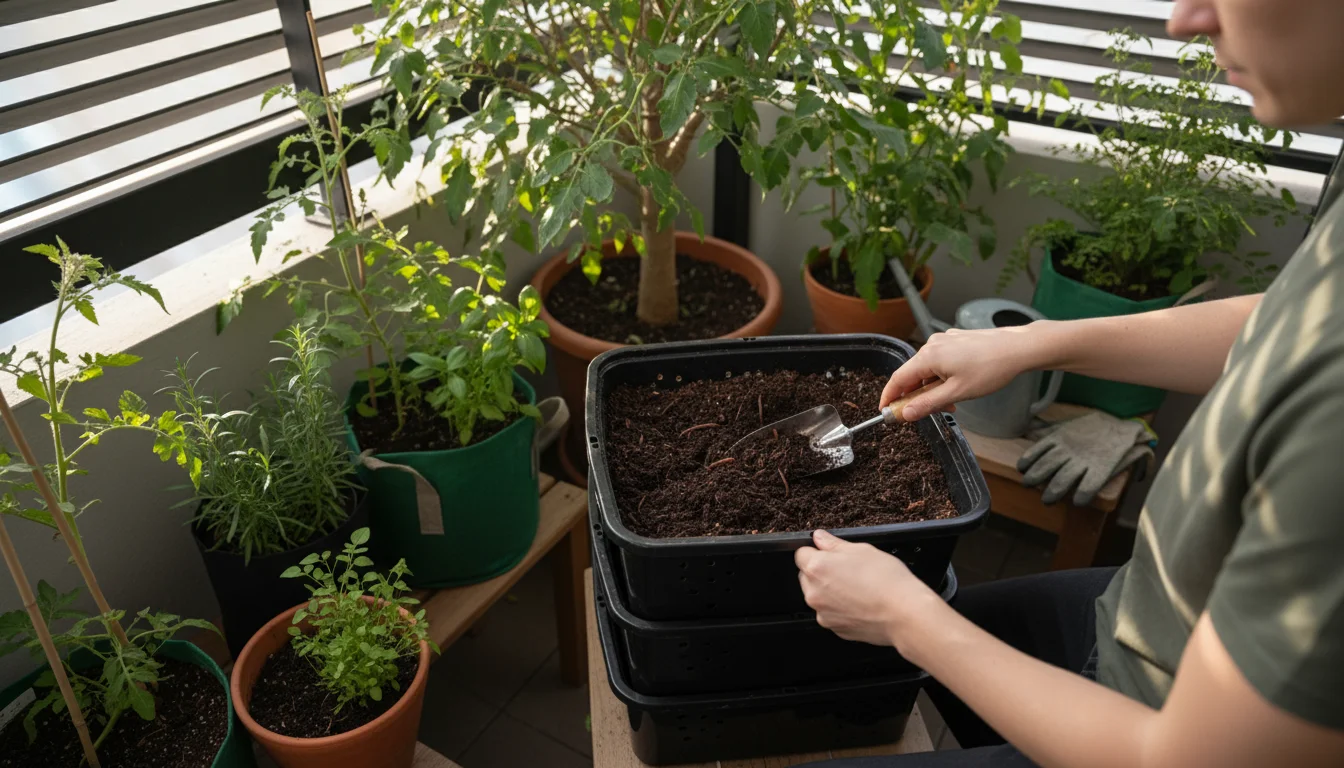
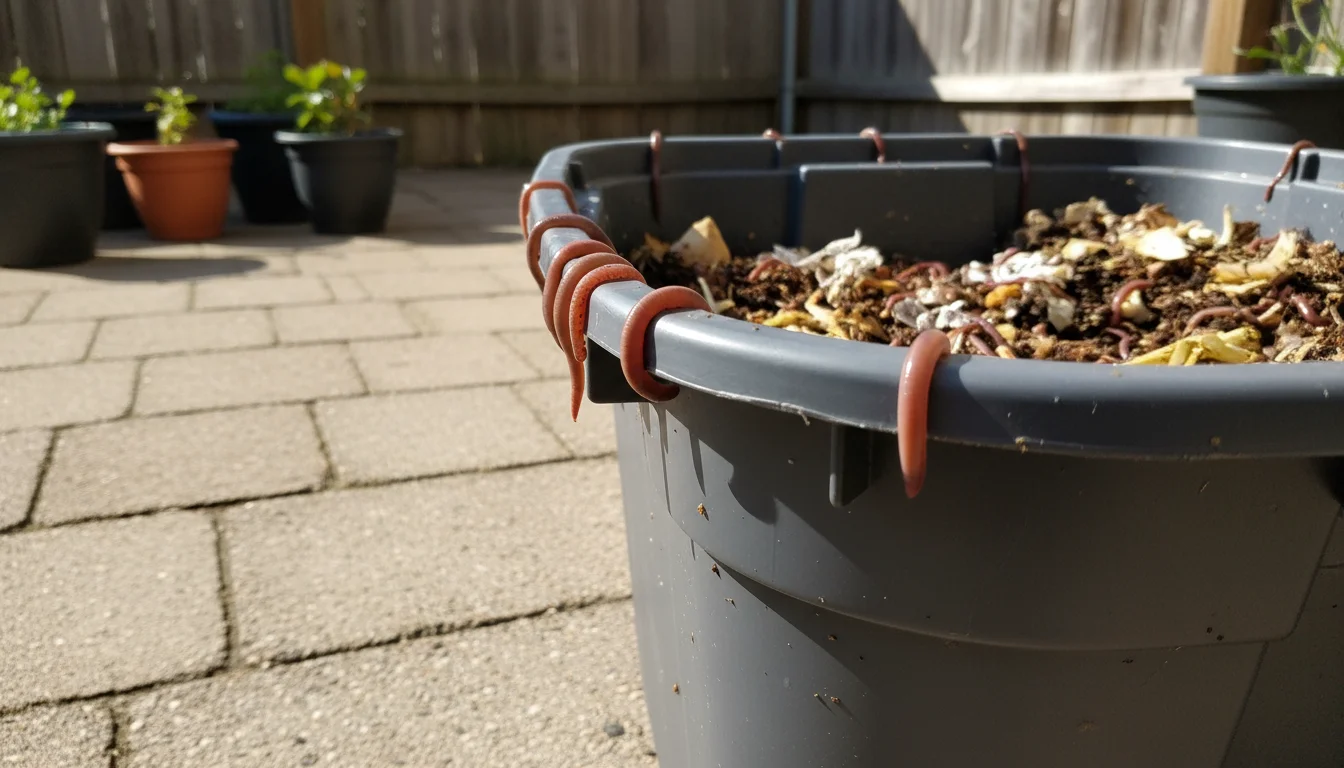
Vermicomposting: Your Indoor Worm Farm for Rich Compost
Vermicomposting, or worm composting, is perhaps the most popular and effective small-space composting hack. Red wiggler worms (Eisenia fetida) consume organic waste and excrete nutrient-rich castings, which are an excellent soil amendment. This method works beautifully indoors or on a protected balcony.
Setting Up Your Worm Bin
You can purchase ready-made worm bins, often stackable, or create your own from opaque storage containers. A typical small bin for one to two people uses two plastic totes, one nestled inside the other.
Steps to Set Up:
- Prepare the lower bin: Drill small drainage holes (1/4 inch) in the bottom of the inner tote. Drill air holes along the sides and lid for ventilation. The outer tote catches any leachate (worm tea).
- Create bedding: Shredded newspaper, cardboard, or coconut coir makes ideal bedding. Moisten it thoroughly, like a wrung-out sponge, and fluff it up to about 6-8 inches deep in the inner bin.
- Introduce your worms: Purchase red wiggler worms online or from a local garden center. Gently place them on top of the moist bedding. They will burrow down within a few minutes.
- Start feeding: Wait a few days for the worms to acclimate before adding food scraps. Start with small amounts.
What to Feed Your Worms
Worms are not picky, but balance is key. Focus on fruits and vegetable scraps. They particularly love melon rinds, apple cores, and spent coffee grounds. Eggshells, crushed finely, provide grit for their digestive systems.
- Fruit and vegetable scraps (avoid citrus and onions in large quantities)
- Coffee grounds and tea bags
- Crushed eggshells
- Plain bread or pasta (sparingly)
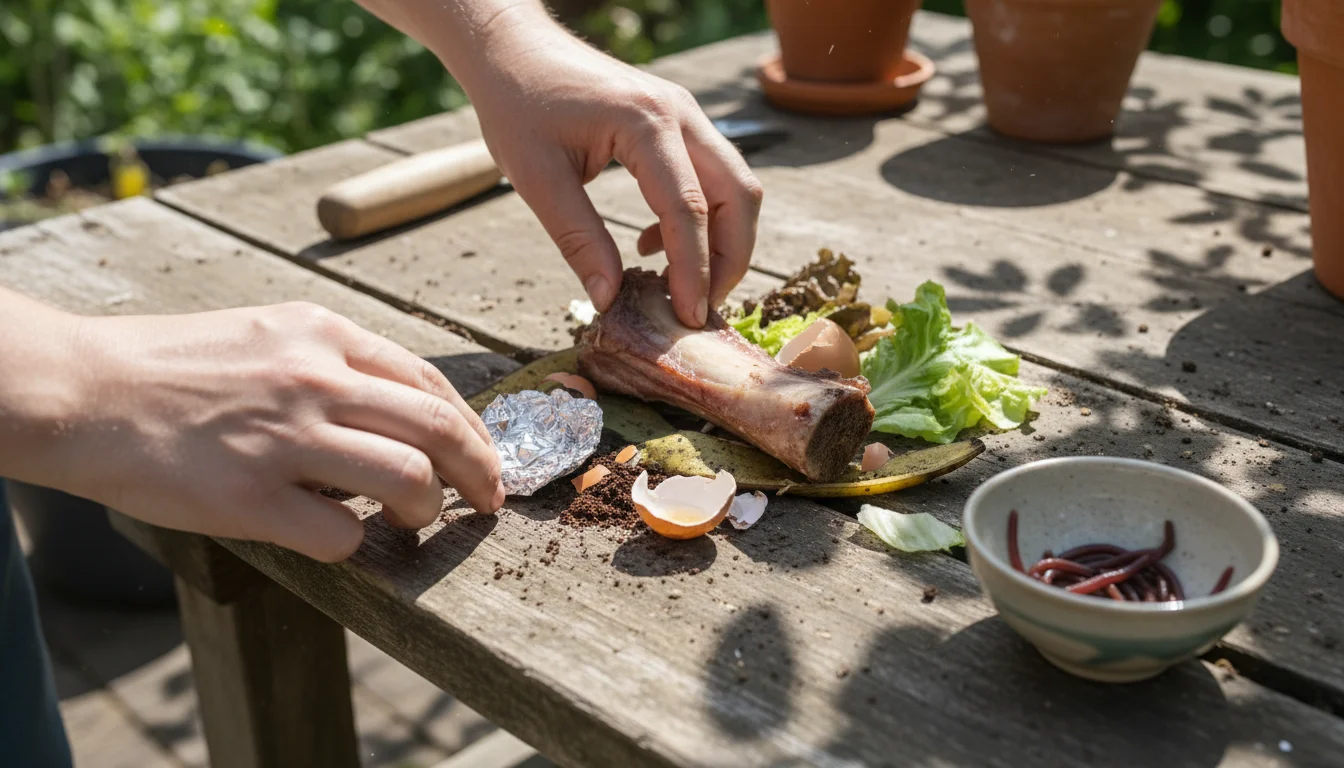
What Not to Feed Your Worms
Avoiding certain items prevents odors and attracts pests:
- Meat, dairy products, and oily foods (attract pests, cause odors)
- Excessive citrus, onions, or garlic (can be acidic or repel worms)
- Pet waste (contains pathogens)
- Treated wood or diseased plants
Maintaining Your Worm Bin
- Moisture: Keep the bedding moist, like a damp sponge. Add a little water if it feels dry, or some shredded brown material if it is too wet.
- Feeding: Bury food scraps under the bedding to prevent fruit flies. Add new food in different areas each time. Avoid overfeeding, as uneaten food can rot. A general guideline is to feed them about half their body weight in food per day; for a pound of worms, that is about a half-pound of scraps.
- Aeration: Gently turn the bedding every few weeks with a small hand trowel to introduce air and prevent compaction.
- Location: Keep your bin in a cool, dark place with stable temperatures, ideally between 55-77°F (13-25°C). Basements, garages, or shady balcony spots work well.
Vermicomposting offers a clean, efficient way to produce premium compost for your small garden. You directly control the waste stream, turning it into a valuable resource.
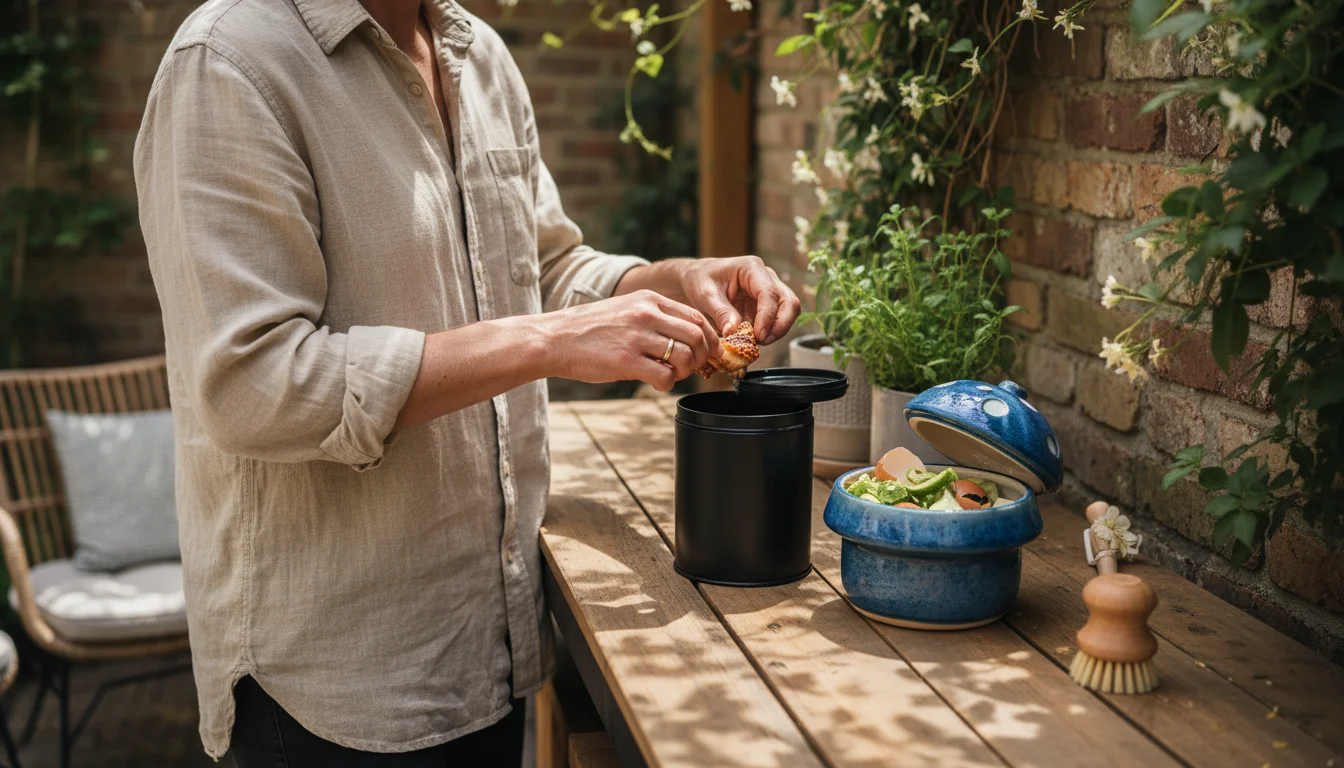
Bokashi Composting: Fermentation for Fast Food Scrap Breakdown
Bokashi composting is an anaerobic fermentation process that quickly breaks down all types of food waste, including meat and dairy, making it an excellent hack for small spaces. Unlike traditional composting, Bokashi is not about decomposition into humus, but rather fermenting the food waste. This fermented material then finishes breaking down very rapidly when buried in soil or added to a traditional compost pile.

What is Bokashi?
Bokashi means “fermented organic matter” in Japanese. It uses an inoculant, typically a bran mixed with beneficial microorganisms (EM-1 or Effective Microorganisms), to ferment food scraps in an airtight container. This process pickles the food waste, preventing putrefaction and odors.
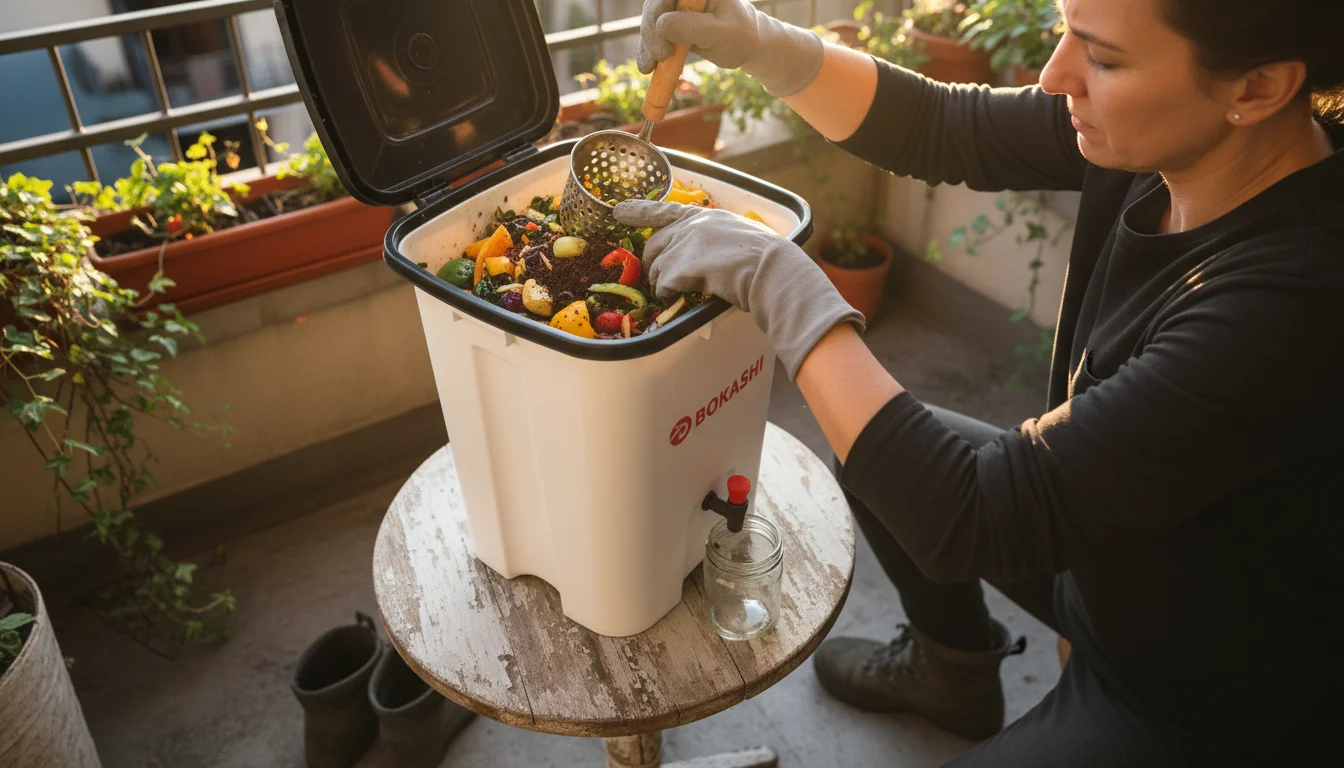
Setting Up Your Bokashi System
You need an airtight Bokashi bin, usually with a spigot at the bottom to drain “Bokashi tea.” Many garden suppliers offer complete kits.
Steps to Use:
- Layer food scraps: Add a layer of food scraps (cut into small pieces for faster fermentation) to the bottom of the bin.
- Sprinkle Bokashi bran: Sprinkle a generous handful of Bokashi bran over the scraps, ensuring good coverage.
- Press down: Use a plate or potato masher to press the scraps down, removing air.
- Repeat: Continue layering scraps and bran, pressing down each time, until the bin is full.
- Seal and ferment: Once full, seal the bin tightly and let it ferment for 10-14 days in a cool, dark place. During this time, drain the “Bokashi tea” regularly from the spigot. This tea is a fantastic liquid fertilizer (dilute 1:100 with water) or can be poured down drains to help keep them clear.
What to Compost with Bokashi
One of Bokashi’s greatest advantages is its ability to handle almost any organic food waste:
- All fruit and vegetable scraps
- Meat and fish scraps (cooked or raw)
- Dairy products (cheese, yogurt)
- Cooked foods (rice, pasta, bread)
- Coffee grounds and tea bags
What Not to Compost with Bokashi
Avoid anything already rotten or moldy, as it can interfere with the beneficial fermentation process.
- Large bones (take too long to break down)
- Liquids (soups, oils)
- Non-food items (plastic, paper, glass)
Using Your Fermented Bokashi
After fermentation, the food scraps will look mostly the same, but smell pickly and sour, not rotten. This “pre-compost” requires further breakdown:
- Trench method: Dig a trench or hole in your garden bed or a large container, bury the Bokashi material, and cover it with at least 6-8 inches of soil. It will break down completely in 2-4 weeks. Do not plant directly into fresh Bokashi, as its acidity can harm plant roots.
- Mix with soil: Mix the fermented Bokashi directly into an empty planter or raised bed. Allow it to sit for a few weeks before planting.
- Add to traditional compost: If you have access to a traditional compost pile (even a communal one), adding fermented Bokashi significantly speeds up decomposition and enriches the pile.
Bokashi offers a rapid, odor-free solution for processing all your kitchen scraps, making it an excellent choice for urban dwellers who want to expand their eco gardening efforts without a large outdoor space.
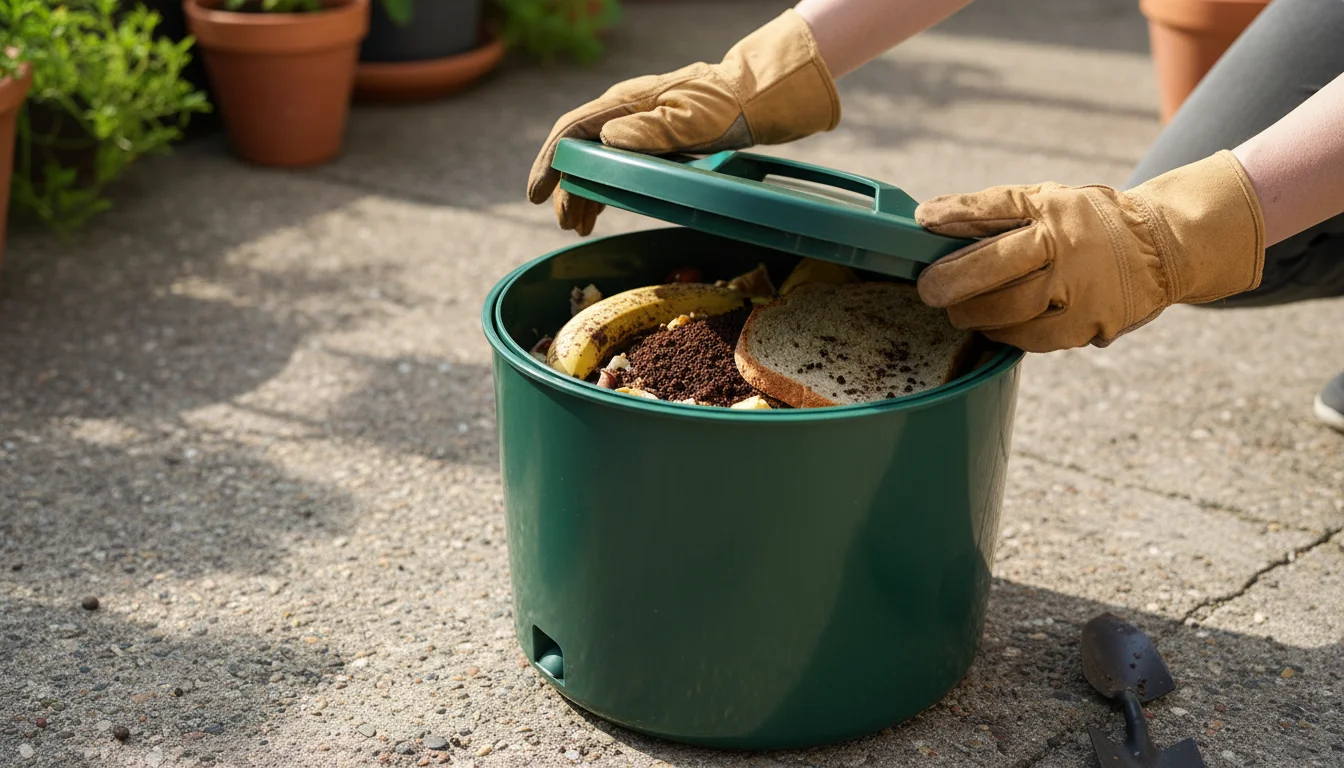
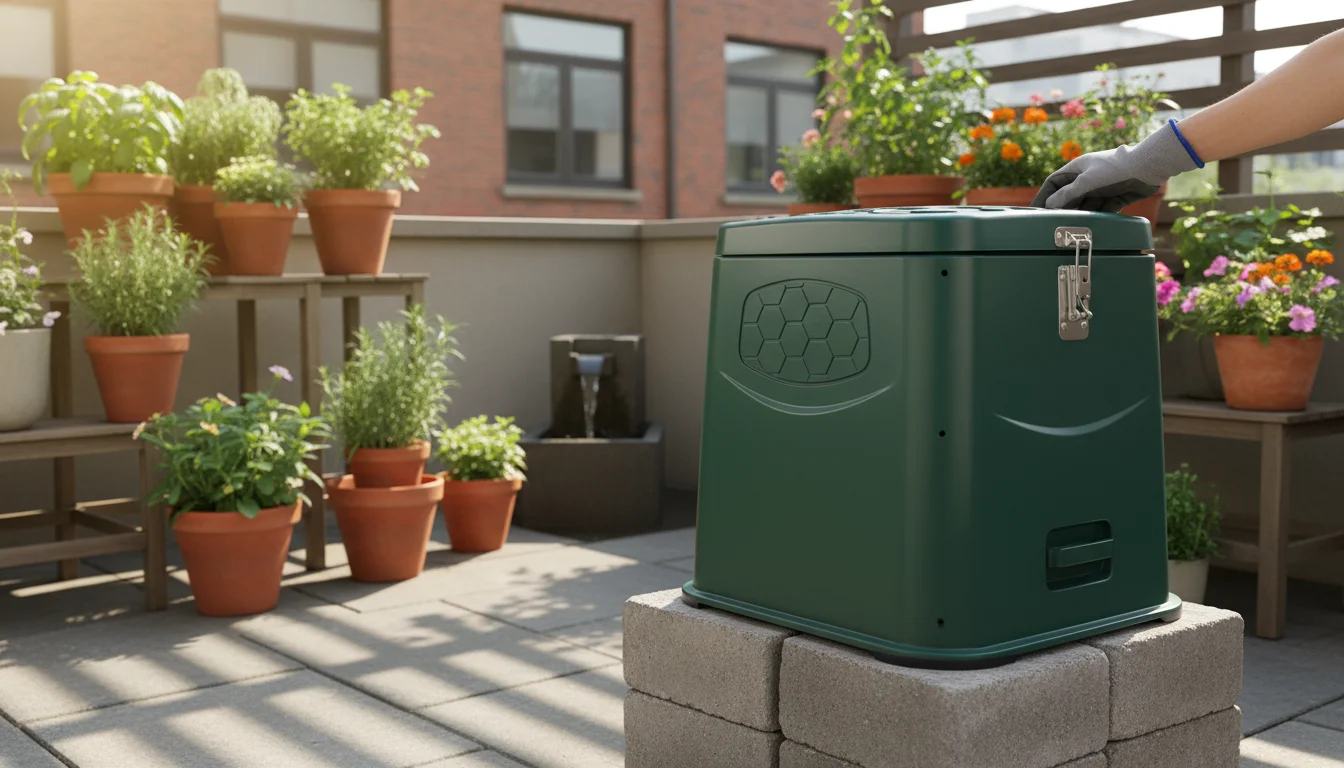
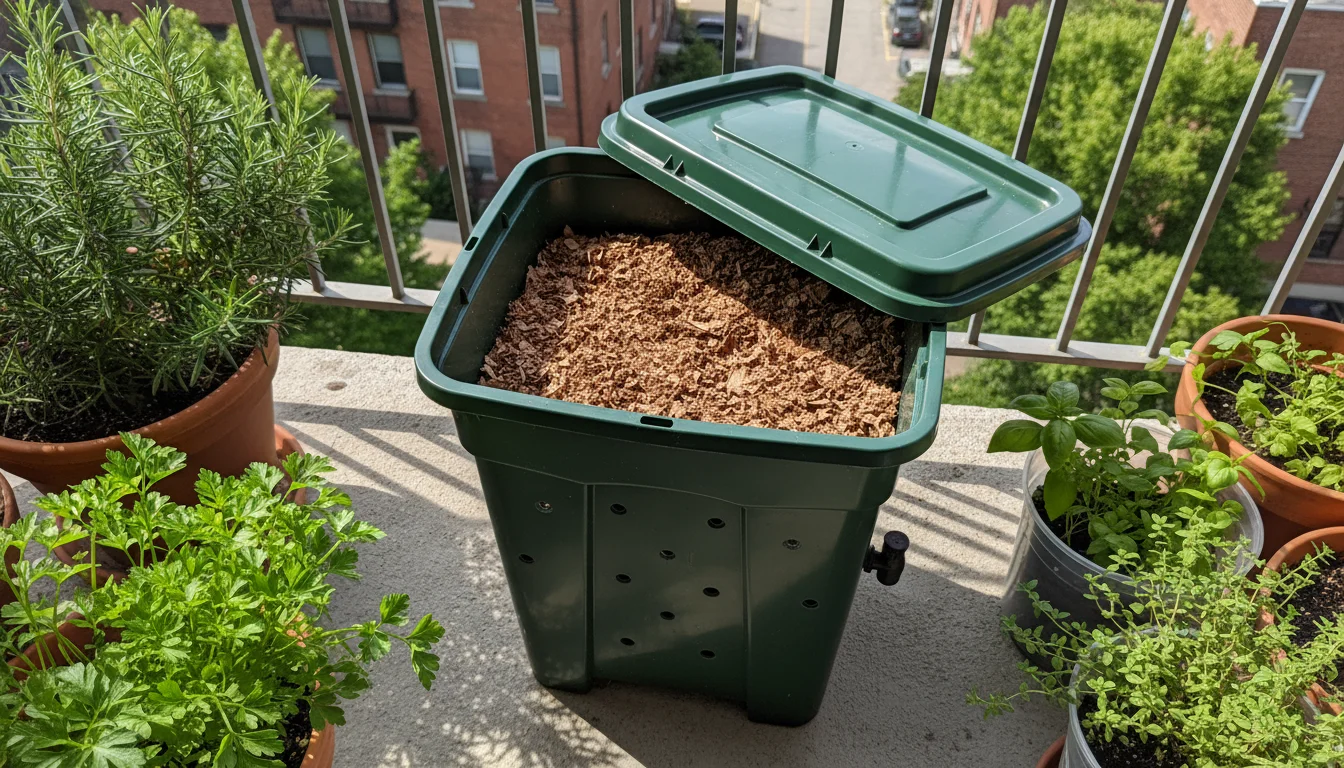
DIY Container Composting: Simple Bins for Balconies and Patios
You do not need a fancy compost tumbler to start composting in a small space. Simple DIY container composting methods work effectively for plant-based waste and offer an accessible entry point into eco gardening.
Choosing the Right Container
Your container needs to be durable, provide some ventilation, and allow for drainage. Here are a few practical options:
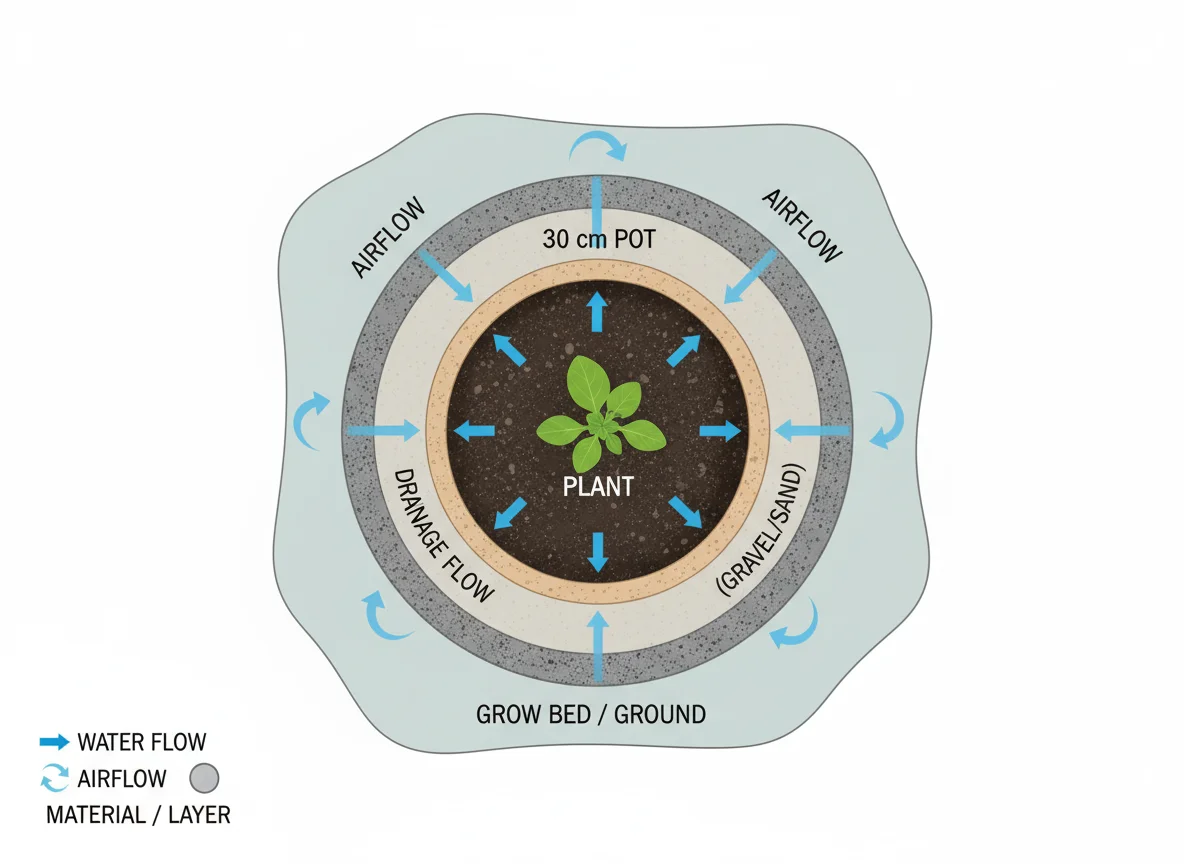
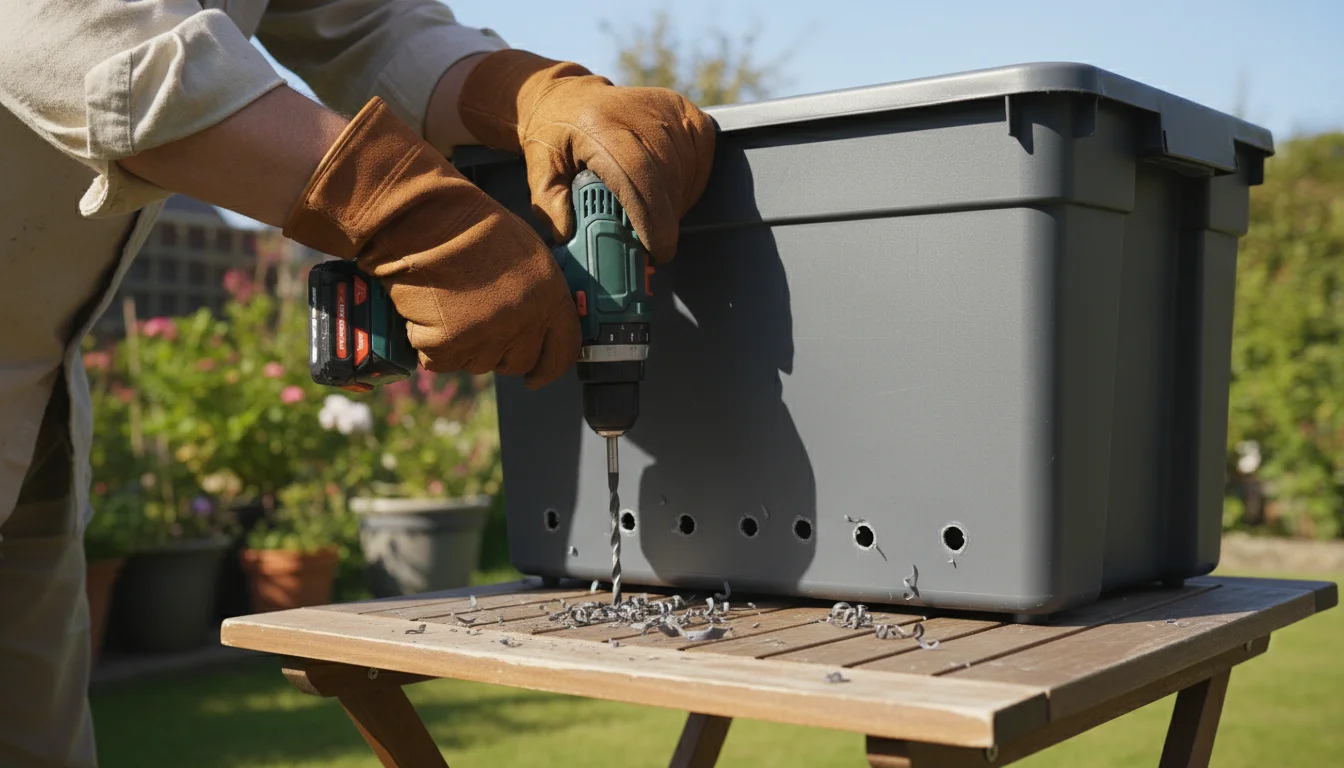
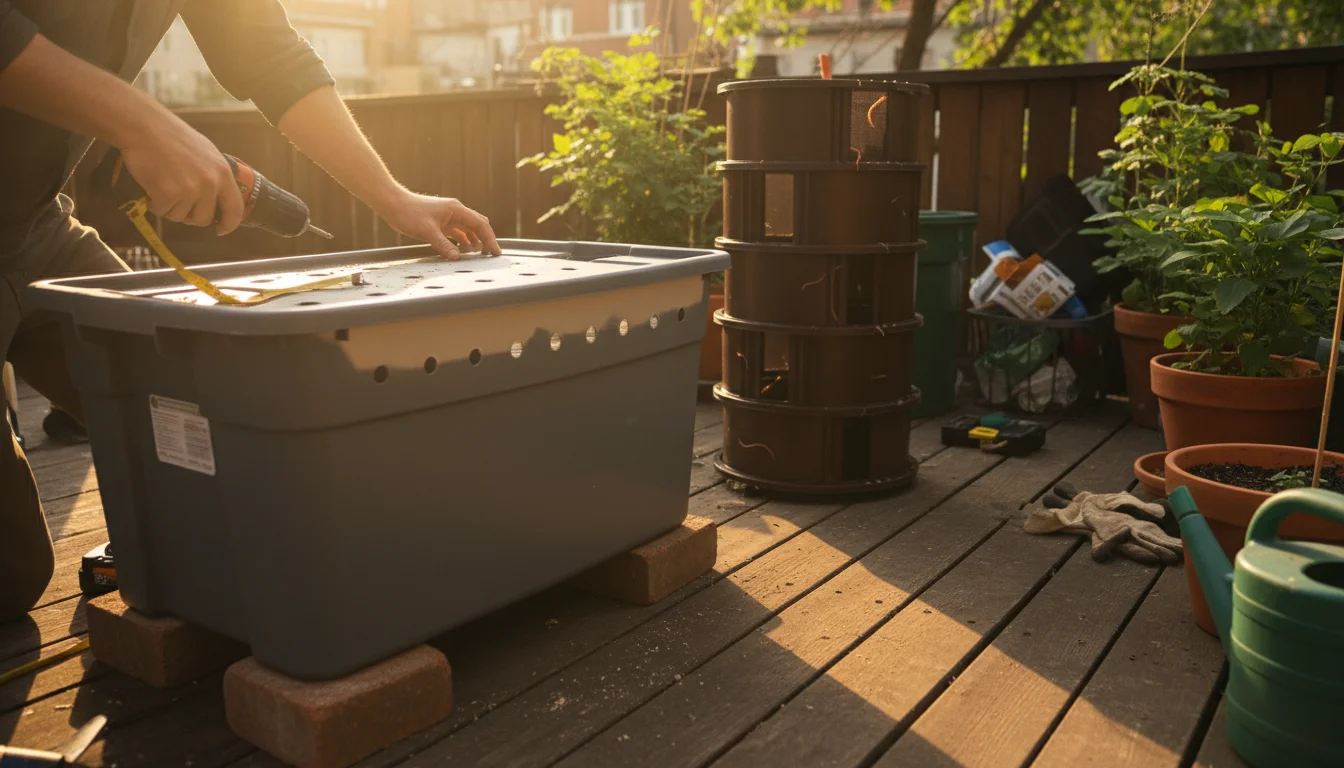
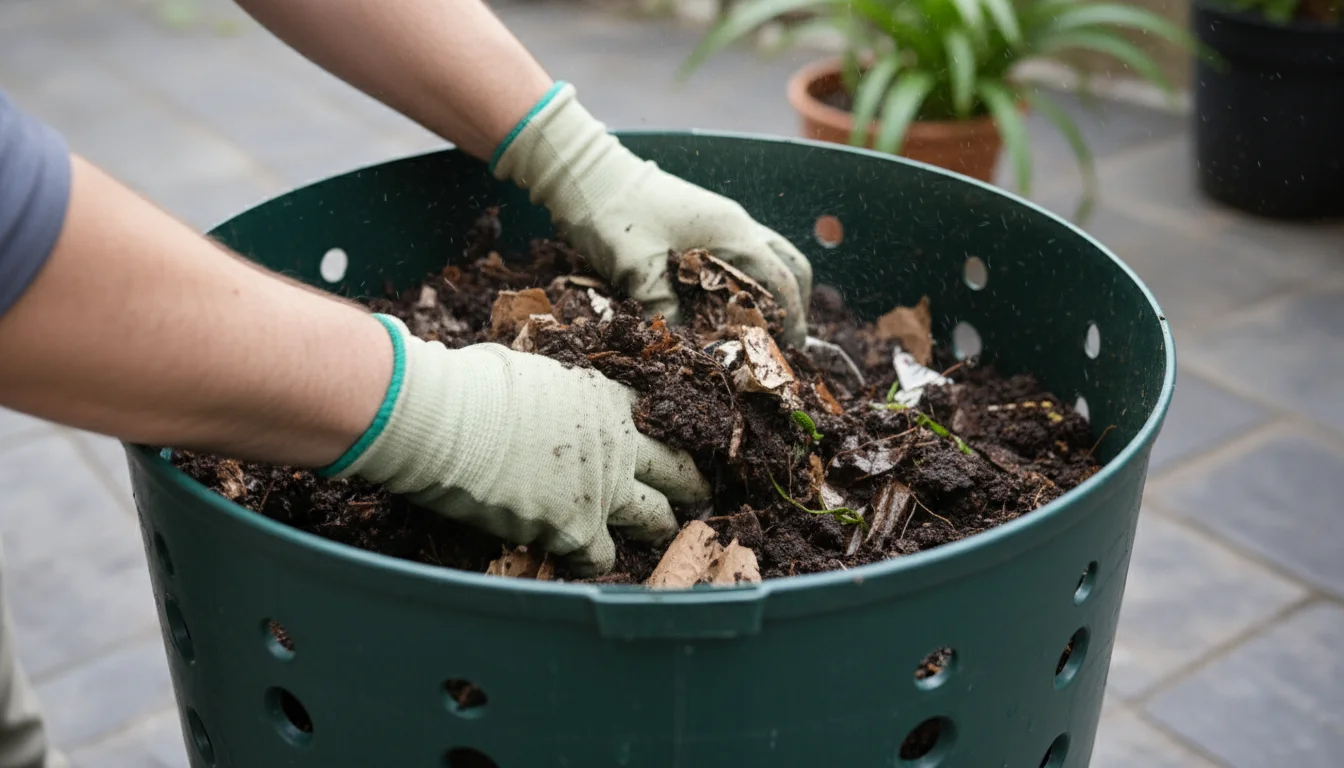
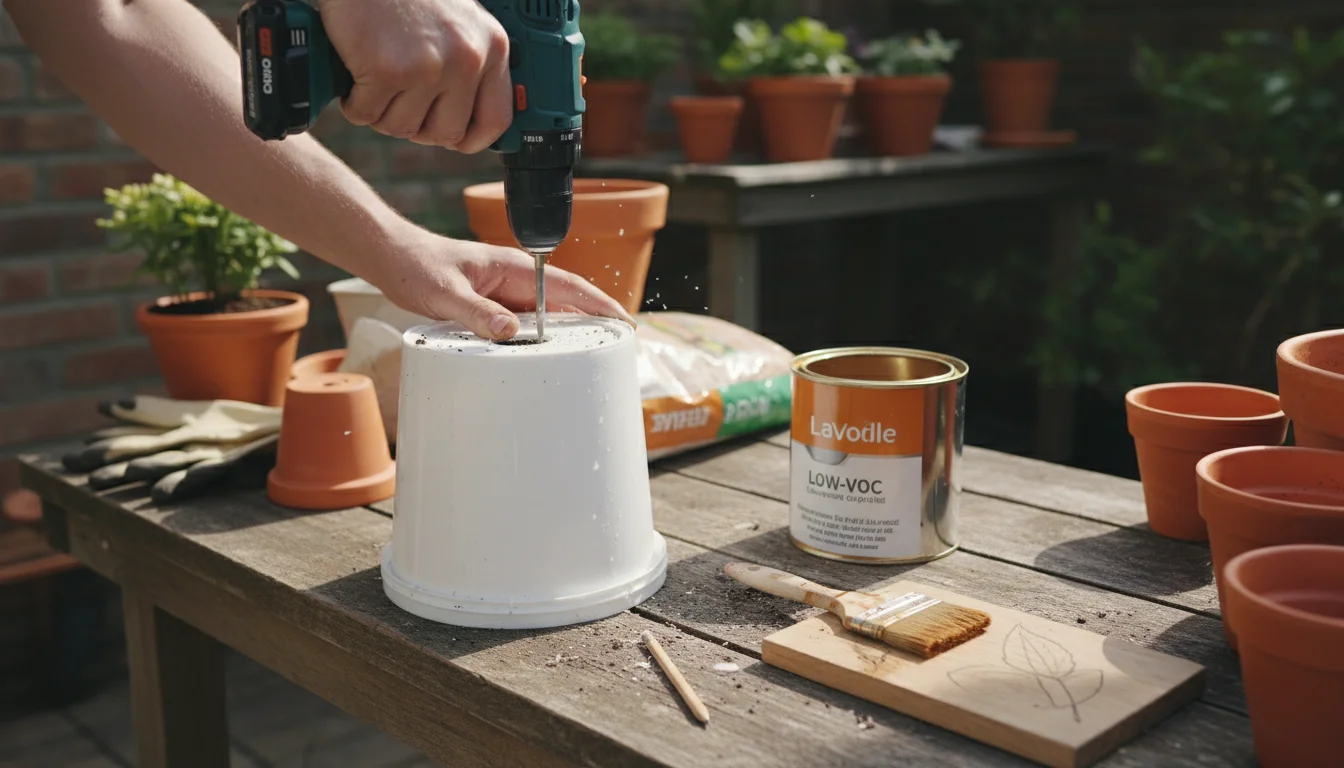
- Large Plastic Storage Bins: Opaque bins (10-20 gallon) with lids work well. Drill numerous 1/2-inch holes in the bottom and sides for drainage and airflow. Elevate them on bricks or blocks to ensure air circulation underneath and to allow leachate to drain freely.
- Wire Mesh Bins: Construct a cylindrical bin from hardware cloth or chicken wire, secured with zip ties. These offer excellent airflow but require more moisture management as they dry out faster. They are best for patios or areas where some visibility of the compost is acceptable.
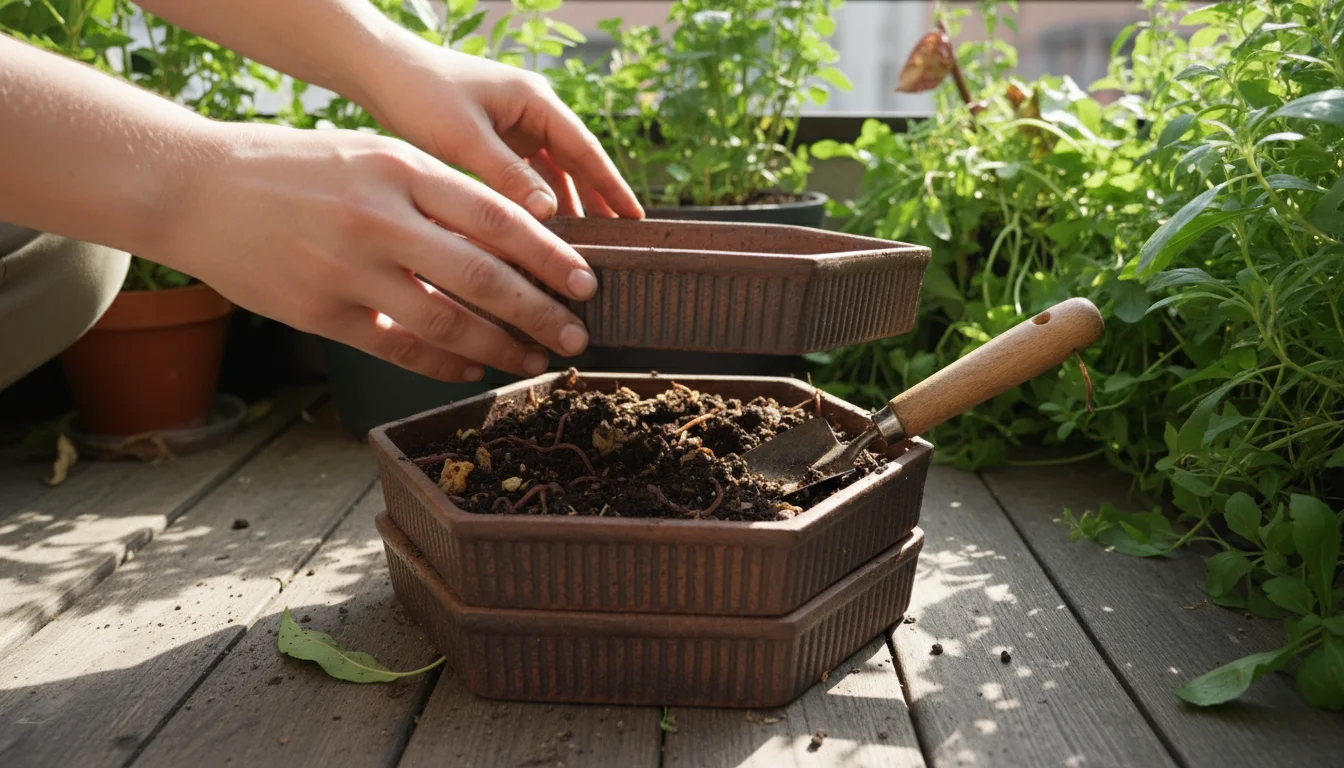
- Terra Cotta Pots (stacked): For a truly minimalist approach, use large stacked terra cotta pots. Fill the bottom pot with a layer of browns, add greens, then browns again. Place another pot on top with a drainage hole, effectively making a small, aerated pile. This method is aesthetically pleasing but has limited capacity.
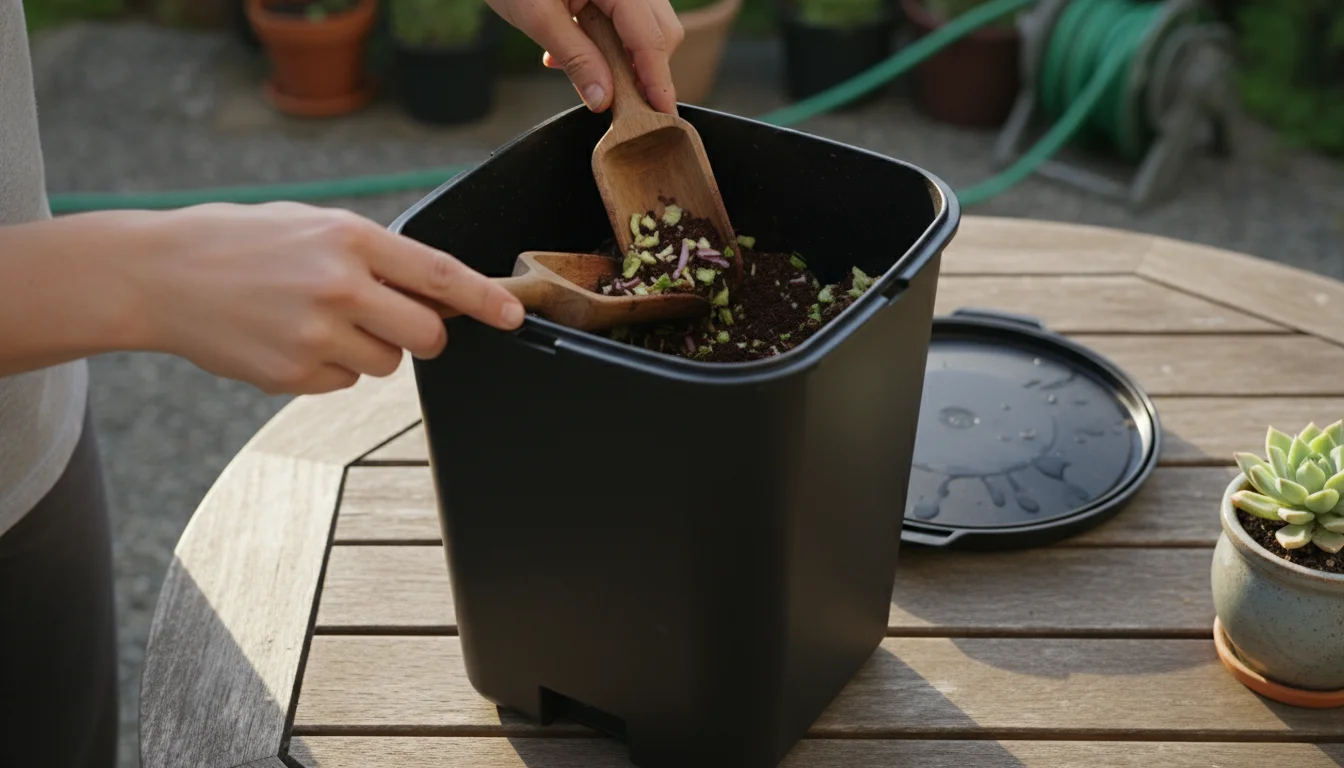
- Repurposed Barrels or Buckets: Drill drainage and aeration holes in the bottom and sides of a clean plastic barrel or large bucket. Use a lid to manage moisture and odors.
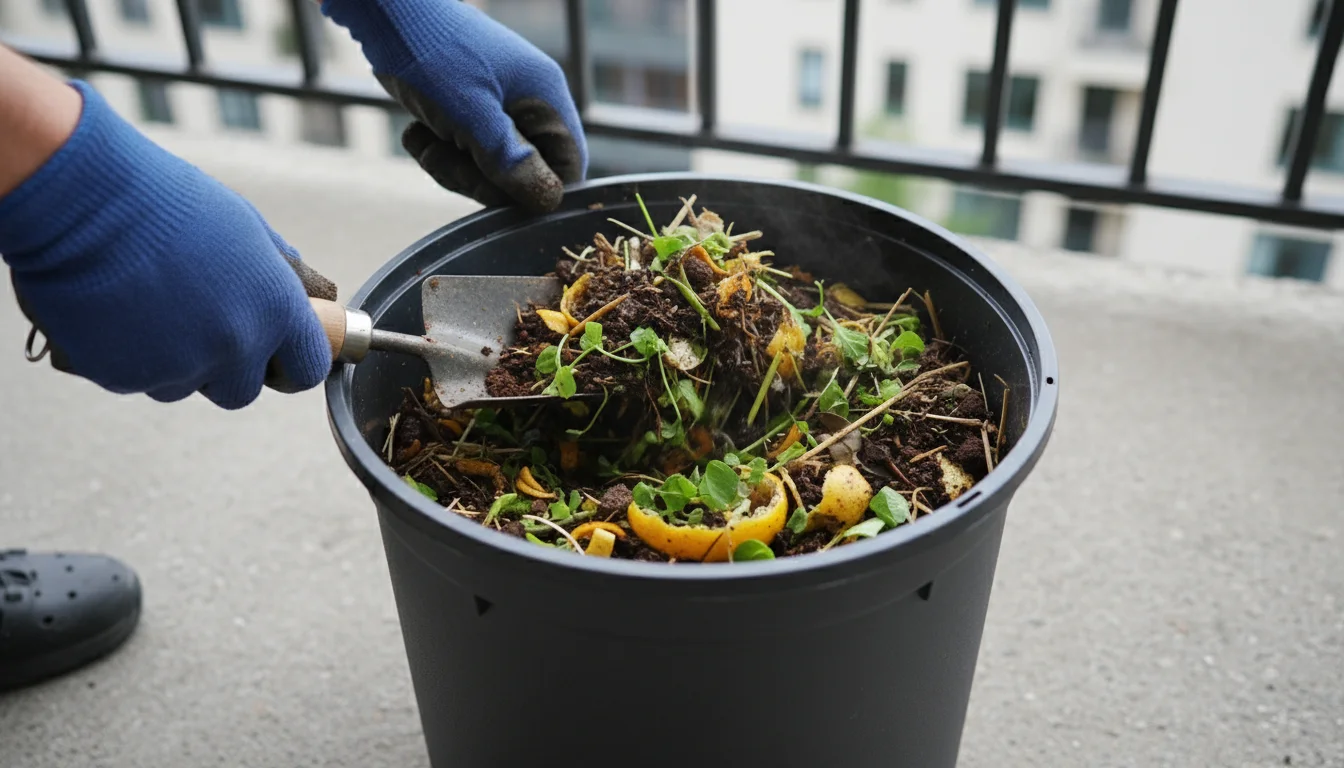
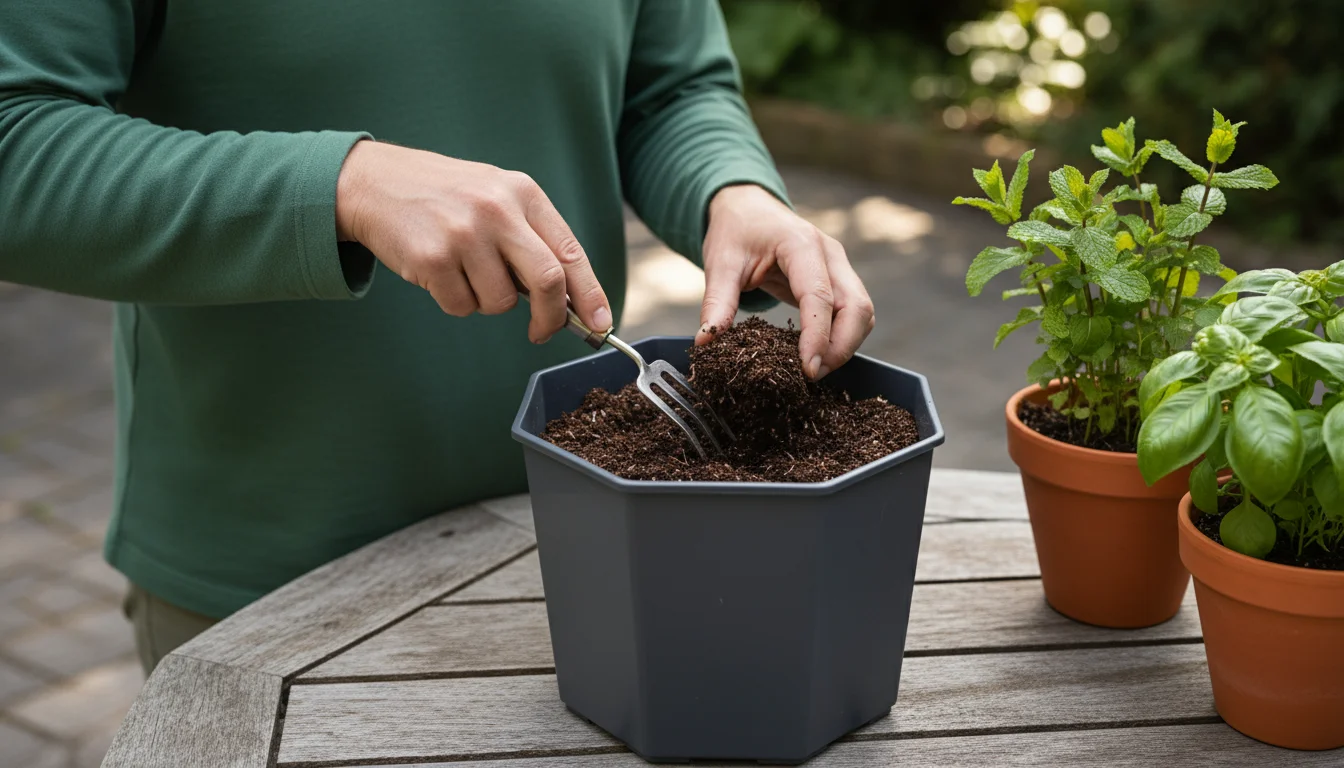
Building Your Compost Pile in a Container
The principles remain the same: layer greens and browns. The smaller scale means you need to be more diligent with proportions and aeration.
Steps for Container Composting:
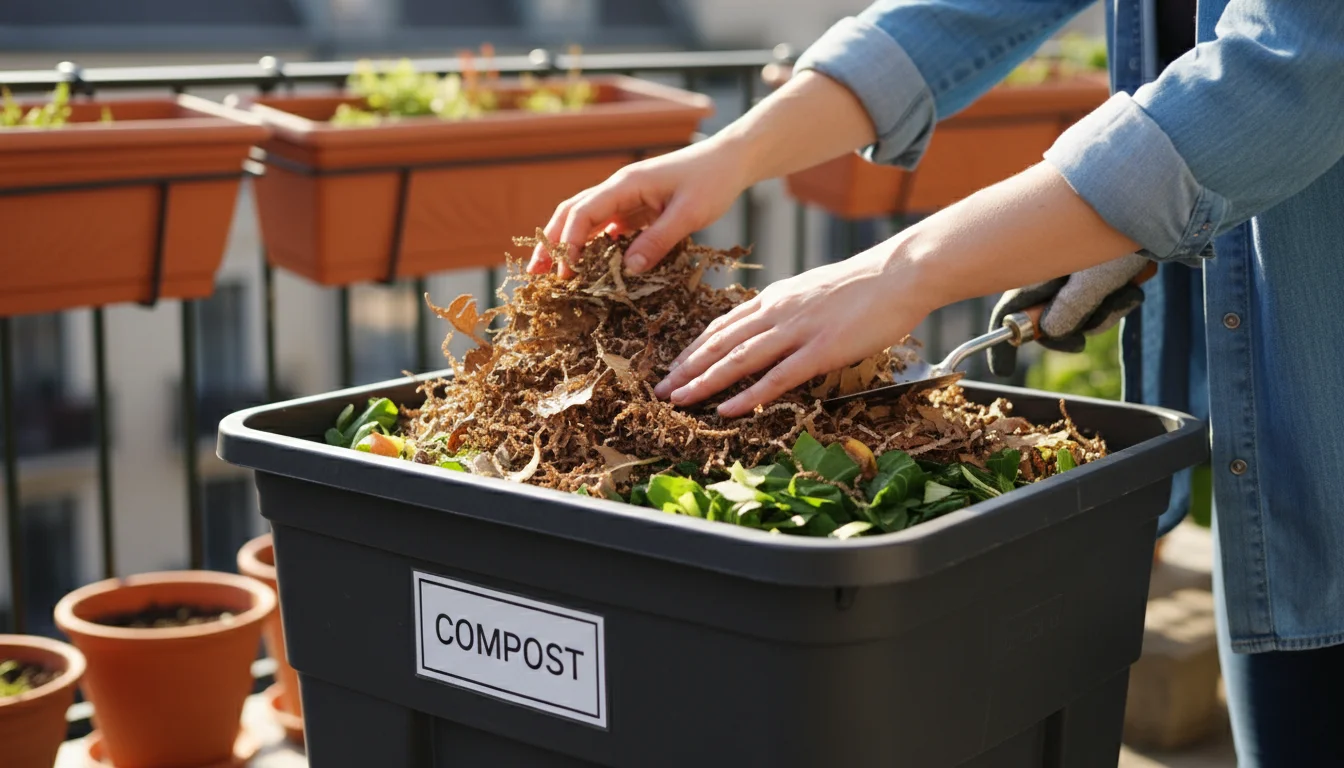
- Start with browns: Lay down a 4-6 inch layer of coarse brown material (shredded cardboard, dry leaves) at the bottom. This ensures good drainage and prevents compaction.
- Add layers: Add a 2-3 inch layer of green material, then cover it with a 4-6 inch layer of browns. Continue alternating.
- Moisture: Lightly moisten each layer as you add it. The compost should feel like a damp sponge.
- Aeration: Use a garden fork or a sturdy stick to turn and aerate the pile every few days or at least once a week. This introduces oxygen and prevents anaerobic conditions, which cause odors.
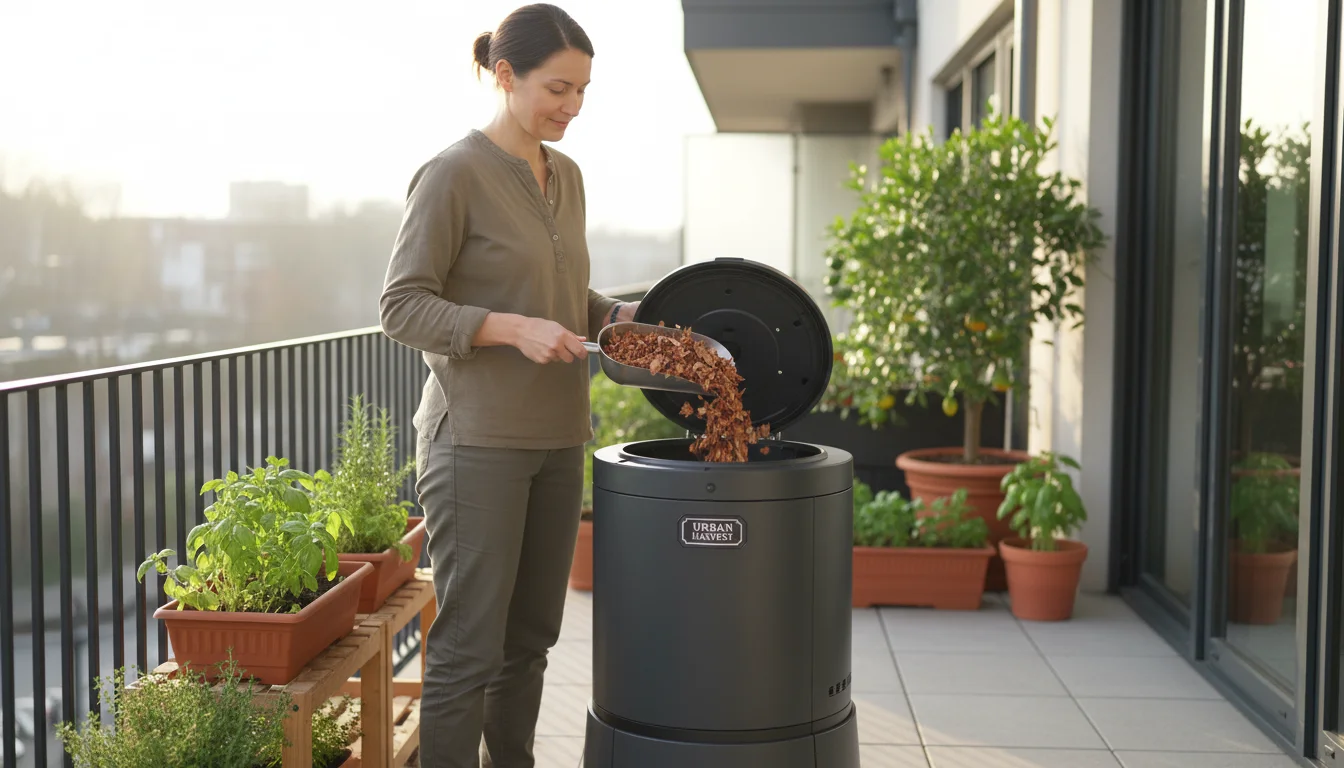
- Cover: Keep the lid on (or a tarp over a wire bin) to retain moisture and heat, and deter pests.

Sourcing Materials for Small Bins
Collecting enough browns can be a challenge in urban environments. Here are some compost hacks:
- Neighborhood leaves: Collect fallen leaves in autumn. Shred them with a lawnmower or by hand. Store them in a garbage bag until needed.
- Cardboard and paper: Shred cardboard boxes, paper bags, and non-glossy newspaper.
- Coffee shops: Many local coffee shops happily give away spent coffee grounds, a rich green material.
- Friends and neighbors: Ask if anyone has excess leaves or grass clippings. Share your composting bounty with them once it is ready.
DIY container composting provides a flexible, low-cost way to manage organic waste and produce valuable compost for your small garden. You gain direct control over your soil amendments, boosting your plants’ health and vigor.
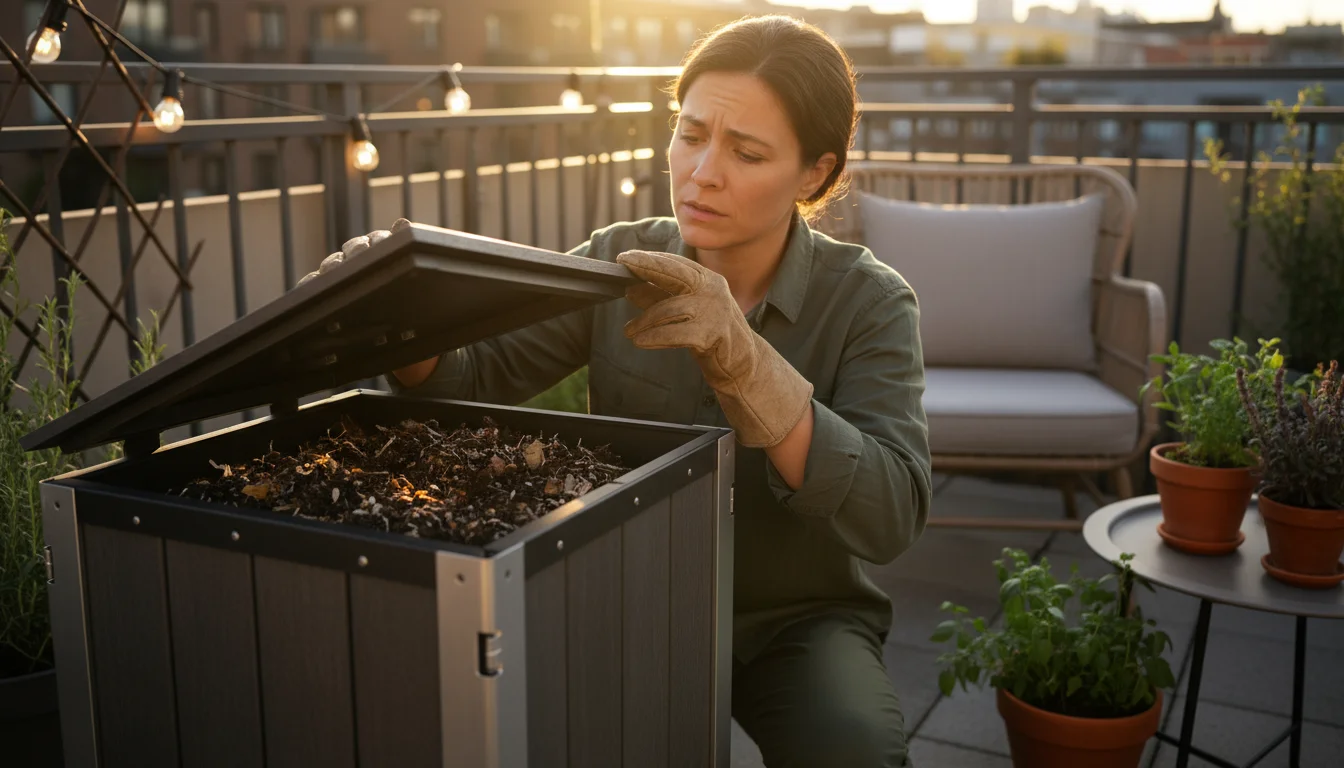
Mastering Odor and Pest Control in Small-Space Composting
One of the primary concerns for small-space composting, especially in urban settings, involves managing odors and pests. Addressing these issues proactively ensures a pleasant and effective composting experience. These compost hacks make your system neighbor-friendly.
Preventing Odors
Most unpleasant odors signal an imbalance in your compost bin, often related to too much moisture, too many greens, or insufficient aeration.
- Balance greens and browns: This is your number one defense. An excess of nitrogen-rich greens, especially wet food scraps, causes anaerobic decomposition and foul smells. Always cover fresh greens with a layer of dry browns.
- Chop scraps finely: Smaller pieces break down faster, reducing the time they sit around potentially causing odors.
- Ensure good airflow: Regularly aerate your compost. For vermicompost, gently fluff the bedding. For container bins, turn the pile with a fork or stick. This introduces oxygen and prevents anaerobic conditions.
- Maintain proper moisture: Your compost should be damp like a wrung-out sponge. If it is too wet, add more dry browns. If too dry, add a little water.
- Bury food scraps: When adding food waste, especially in worm bins or outdoor containers, always bury it deep within the existing compost or under a layer of browns. This hides it from pests and reduces airborne odors.
- Use a tight-fitting lid: This helps contain any odors and keeps out unwanted visitors.
- Add odor absorbers: A thin layer of finished compost, garden soil, or even charcoal can help neutralize odors.
Deterring Pests
Rats, mice, raccoons, and flies find food scraps irresistible. Implementing a few simple strategies prevents unwelcome guests.
- Exclude meat, dairy, and oils: These items are magnets for rodents and flies. Avoid them in traditional small-space compost bins. Bokashi composting offers an exception, as the fermentation process deters pests.
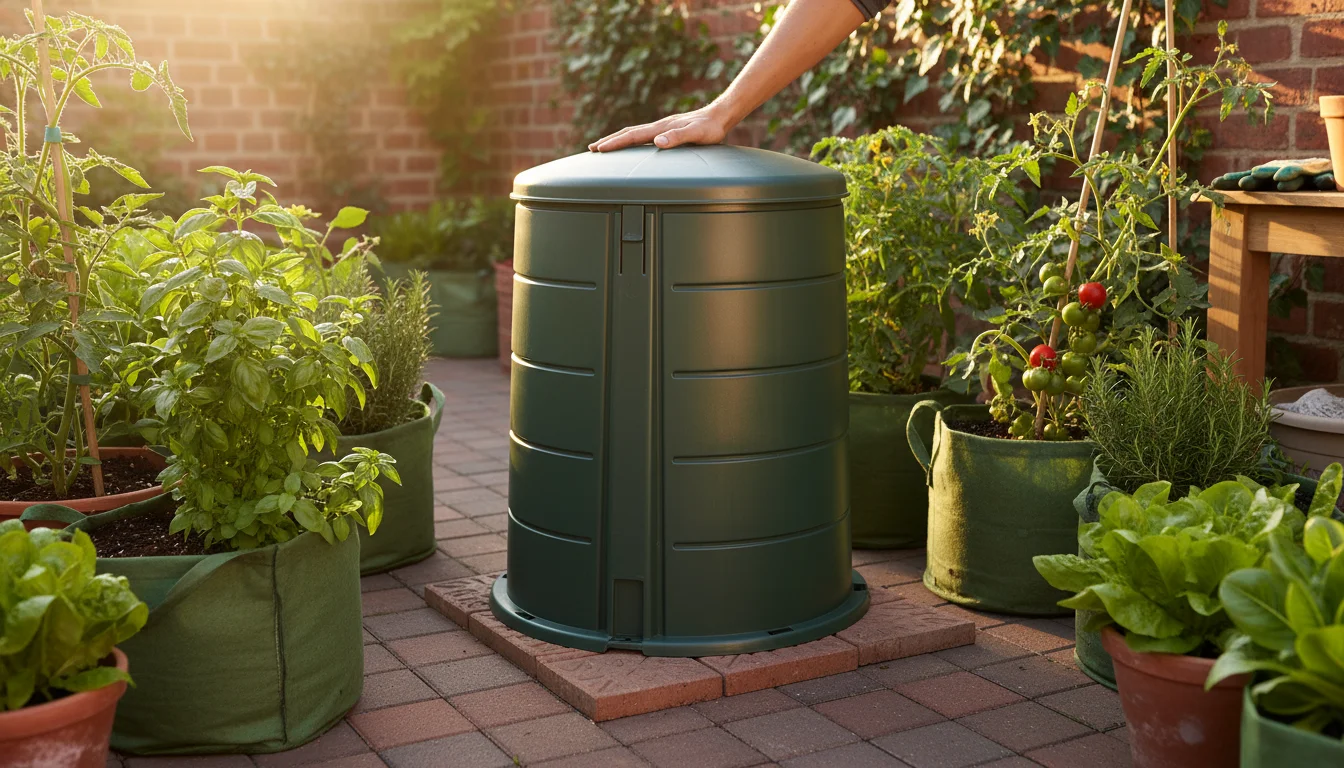
- Use secure containers: Choose compost bins made of sturdy, chew-proof material with tight-fitting lids. For DIY bins, ensure no large gaps exist where pests could enter.
- Elevate your bin: Placing your bin on a stand or bricks makes it harder for rodents to access the bottom.
- Bury food deeply: As with odor control, burying fresh food scraps under at least 6-8 inches of existing compost or browns effectively hides it from scavenging animals and flying insects.
- Avoid overfilling: Do not let food scraps pile up on the surface of your compost. This signals an open buffet to pests.
- Consider indoor composting: Worm bins and Bokashi systems kept indoors are naturally more protected from outdoor pests.
- Monitor regularly: Periodically check your compost for signs of pests. Early detection allows for quicker intervention. If you spot flies, add more browns to cover the moist food waste. If rodents appear, consider removing the affected material and reinforcing your bin.
By proactively managing your compost’s balance, moisture, and security, you ensure a clean, odor-free, and pest-free composting experience that supports your eco gardening efforts without any fuss.
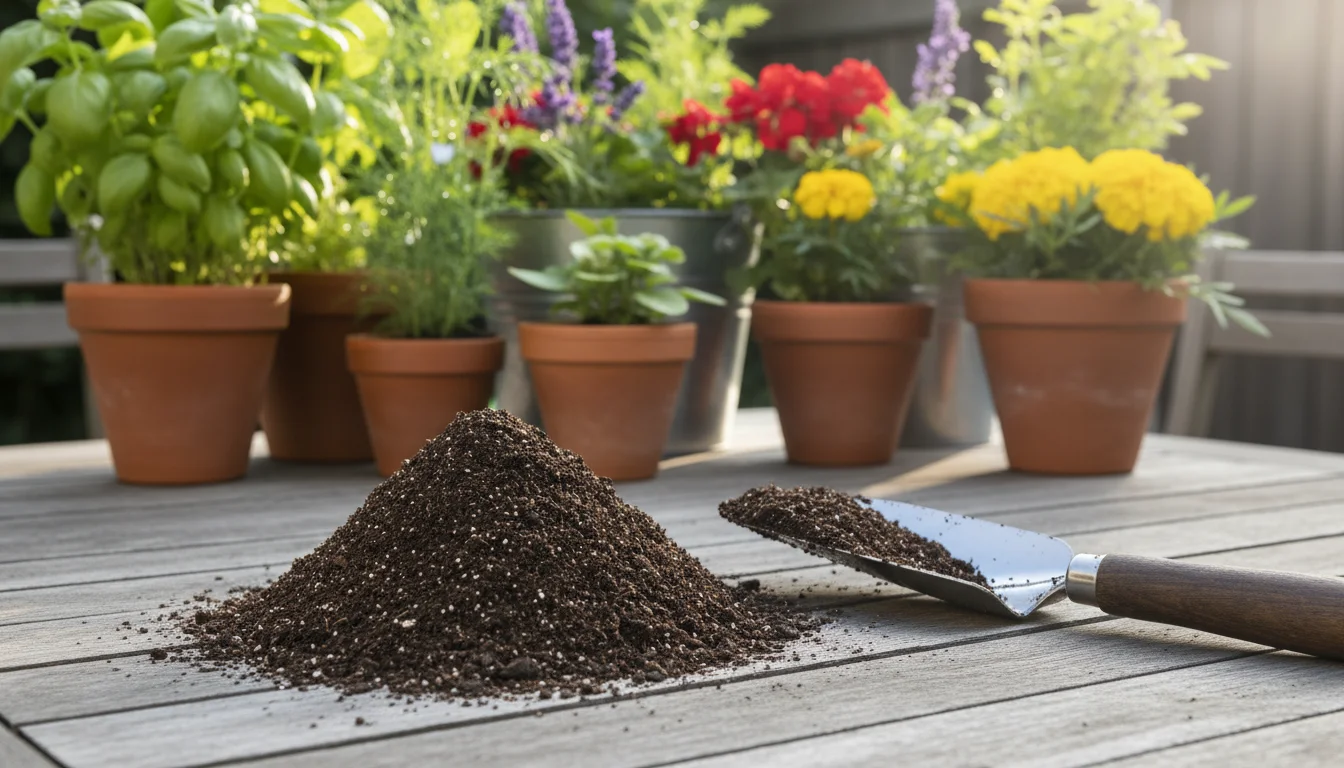
Harvesting and Using Your ‘Black Gold’ in Small Gardens
The most rewarding part of small-space composting is harvesting and applying your homemade “black gold.” This nutrient-rich amendment breathes new life into your container plants, raised beds, and small garden plots. You maximize the benefits of your eco gardening efforts.
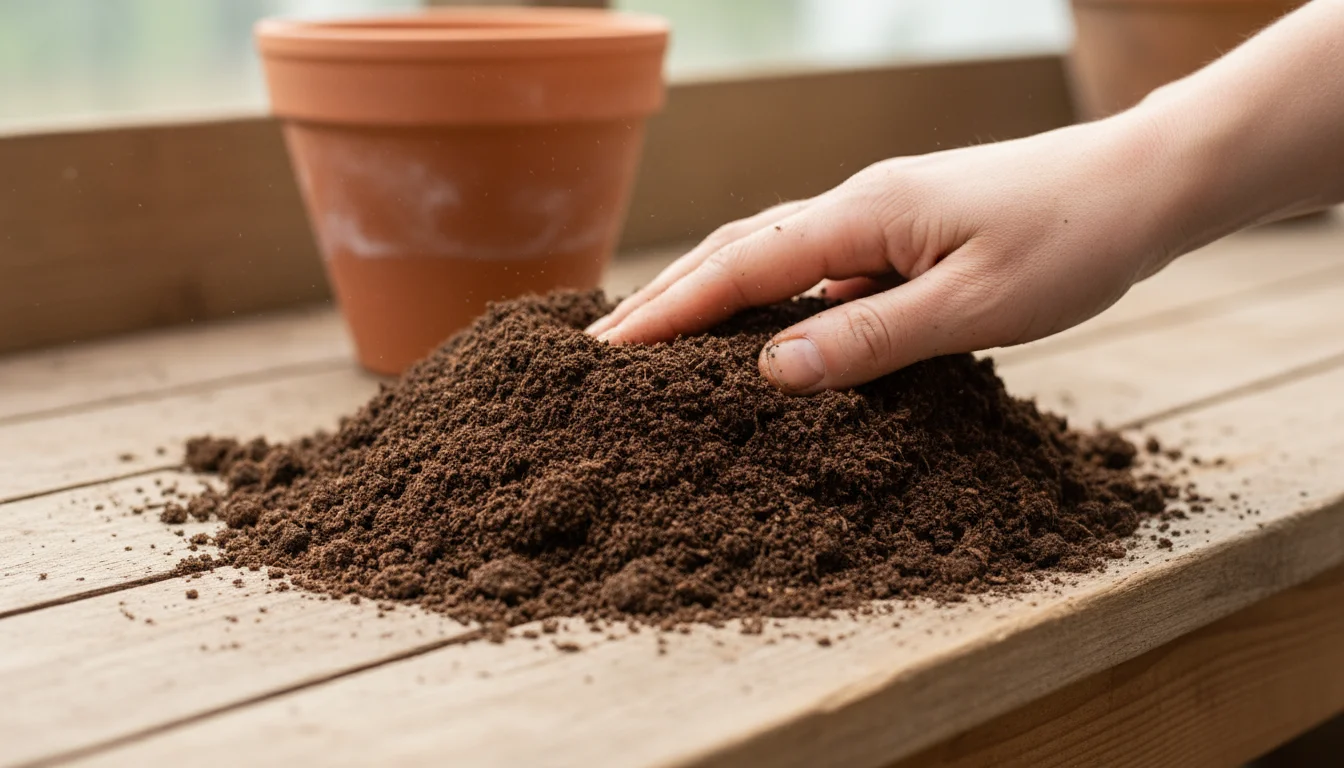
Knowing When Your Compost is Ready
Finished compost has distinct characteristics:
- Appearance: It is dark brown or black, crumbly, and looks like rich soil. You should no longer recognize the original food scraps or plant materials.
- Texture: It feels light and uniform, with no large chunks.
- Smell: It has a pleasant, earthy aroma, reminiscent of forest soil. It should not smell sour, ammoniac, or rotten.
- Temperature: A mature compost pile will be at ambient temperature, no longer warm from decomposition.
Harvesting Your Compost
The harvesting method depends on your composting system:
- Vermicompost:
- Side-to-side method: Stop feeding one side of the bin for a few weeks, continuing to feed the other. The worms migrate to the food, allowing you to harvest the finished castings from the empty side.
- Light method: Spread the contents of your bin on a tarp in the sun. Worms will burrow away from the light. Scrape off the top layer of castings, wait for worms to burrow deeper, and repeat.
- Stackable bins: With multi-tiered bins, worms migrate upwards towards fresh food, leaving finished castings in the lower trays.
- Container Bins:
- Bottom harvest: If your bin has a door at the bottom, you can shovel out finished compost from there.
- Batch method: If using a single bin, wait until the entire batch is finished, then empty it completely. You may need to screen out any remaining larger pieces to restart a new batch.
- Bokashi: As noted earlier, Bokashi is “pre-compost” and requires burial in soil for final breakdown. Harvest it from the bin after fermentation and bury it directly in your garden or a large potting mix batch.
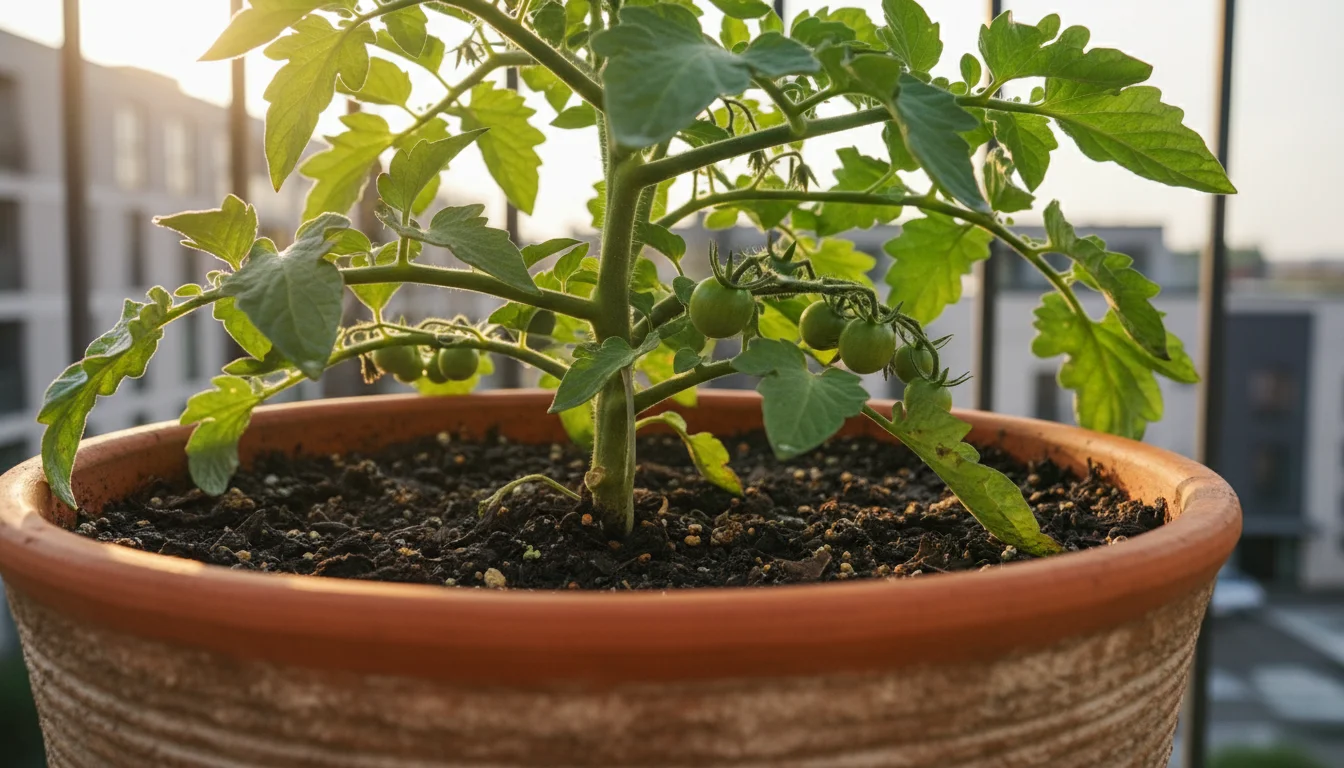
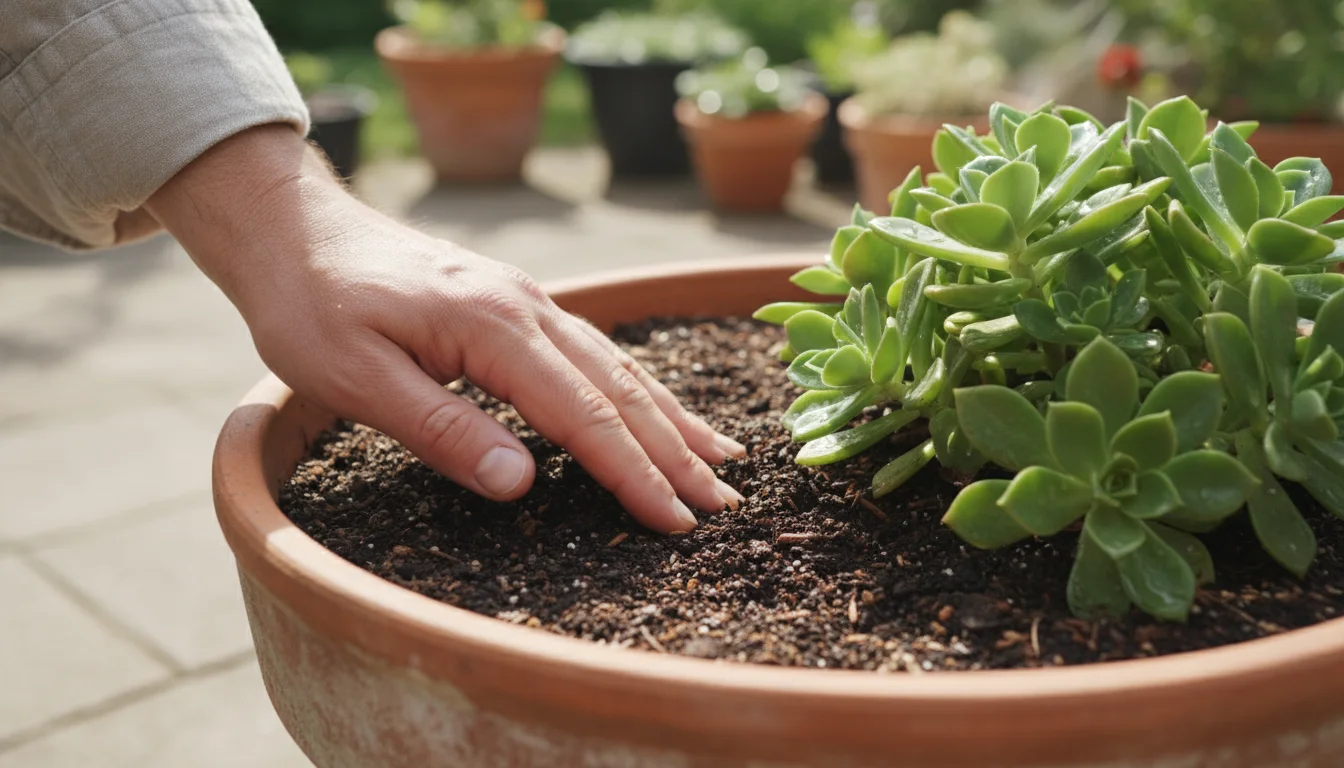
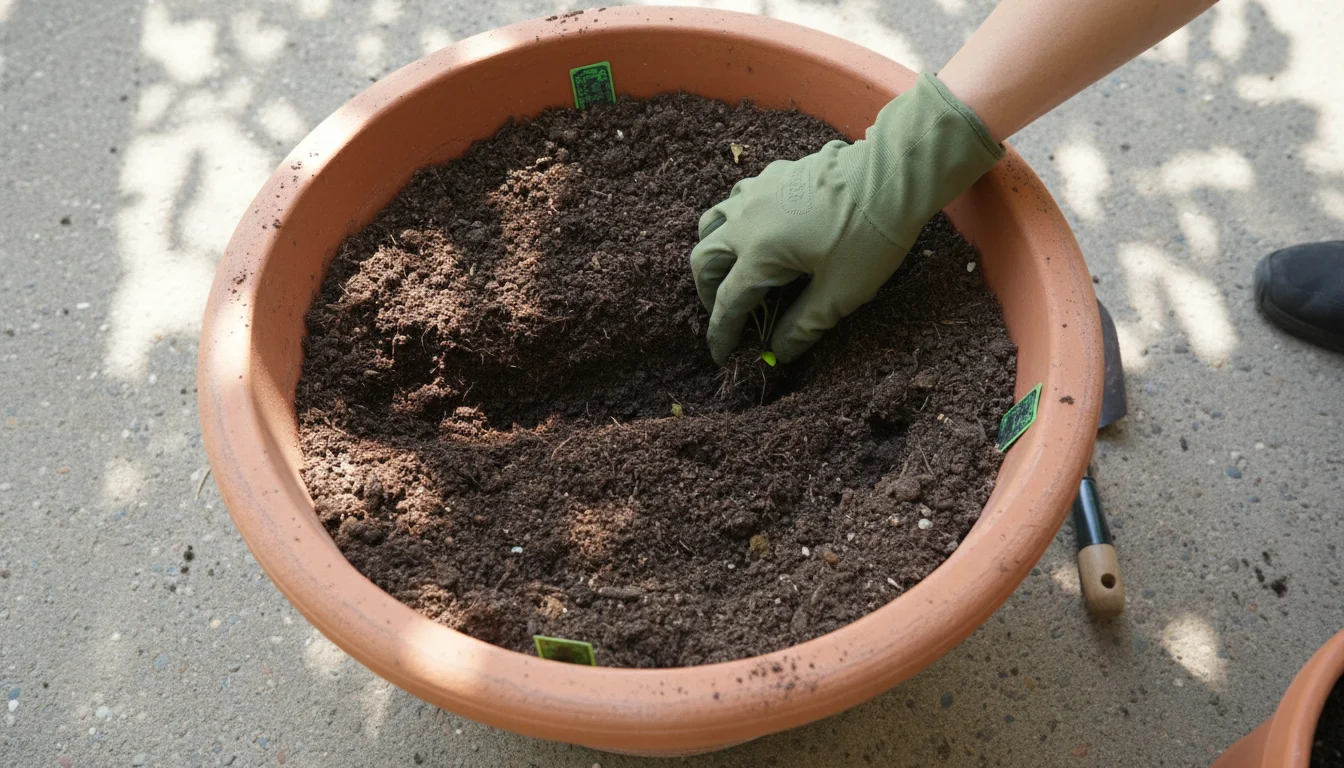
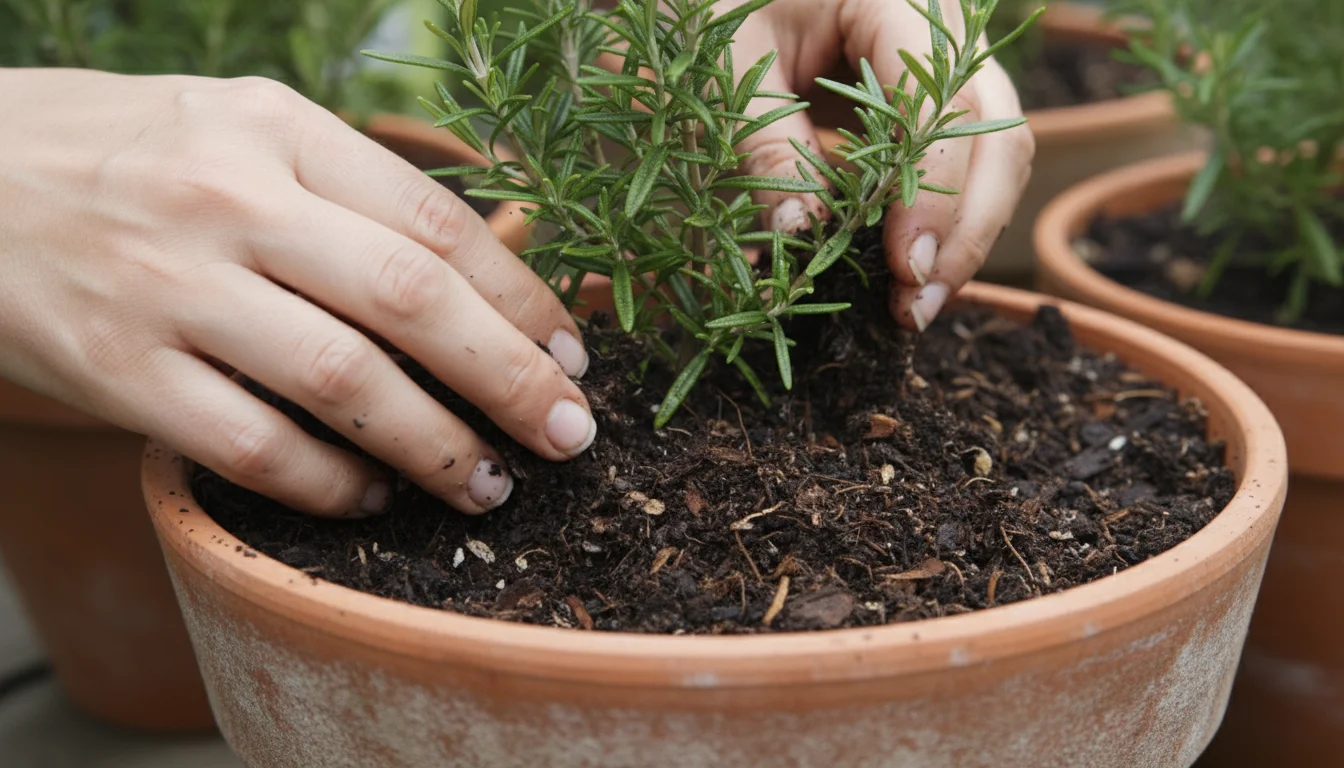
Applying Your Compost to Small Gardens
Compost is a gentle amendment, so you do not need to worry about “burning” plants. Here are effective ways to use it:
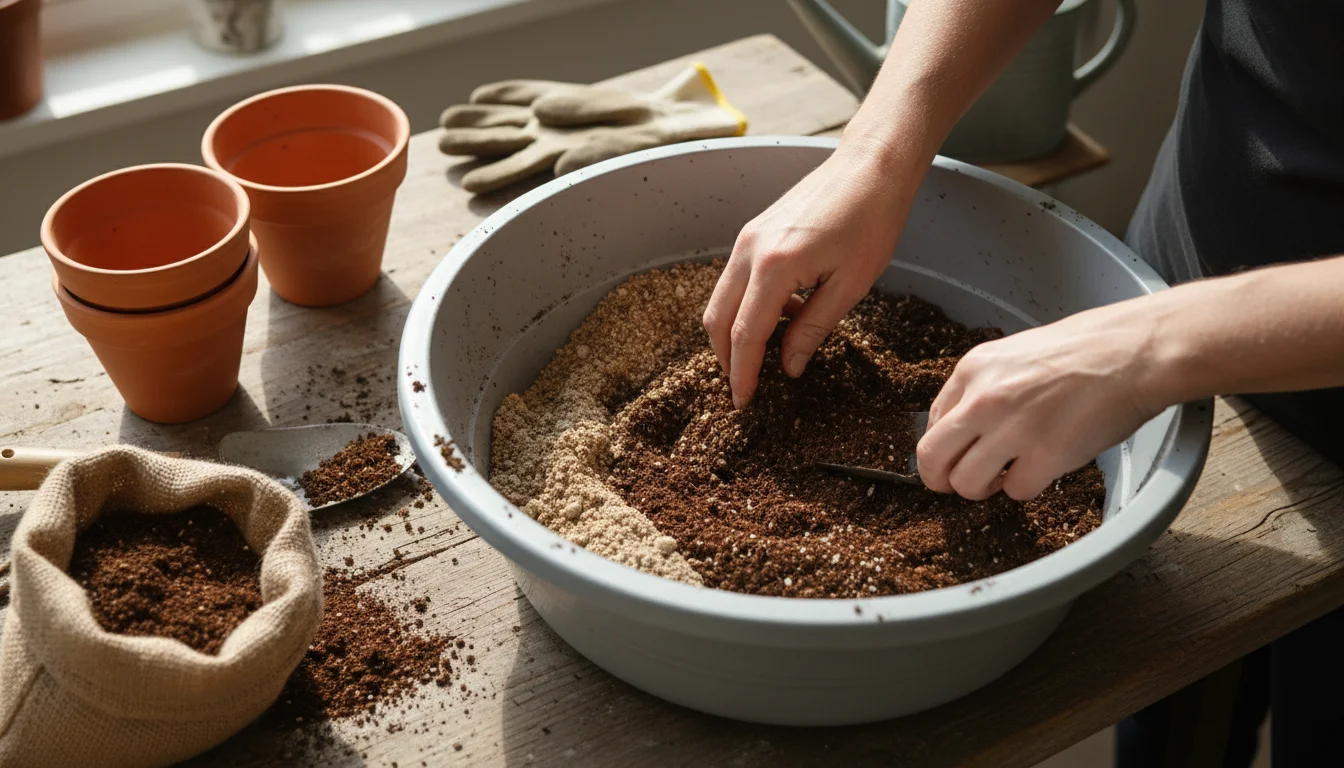
- Potting Mix Amendment: Mix 1 part compost with 2-3 parts potting soil when repotting plants or starting new containers. This enriches the soil, improves drainage, and boosts nutrient availability.
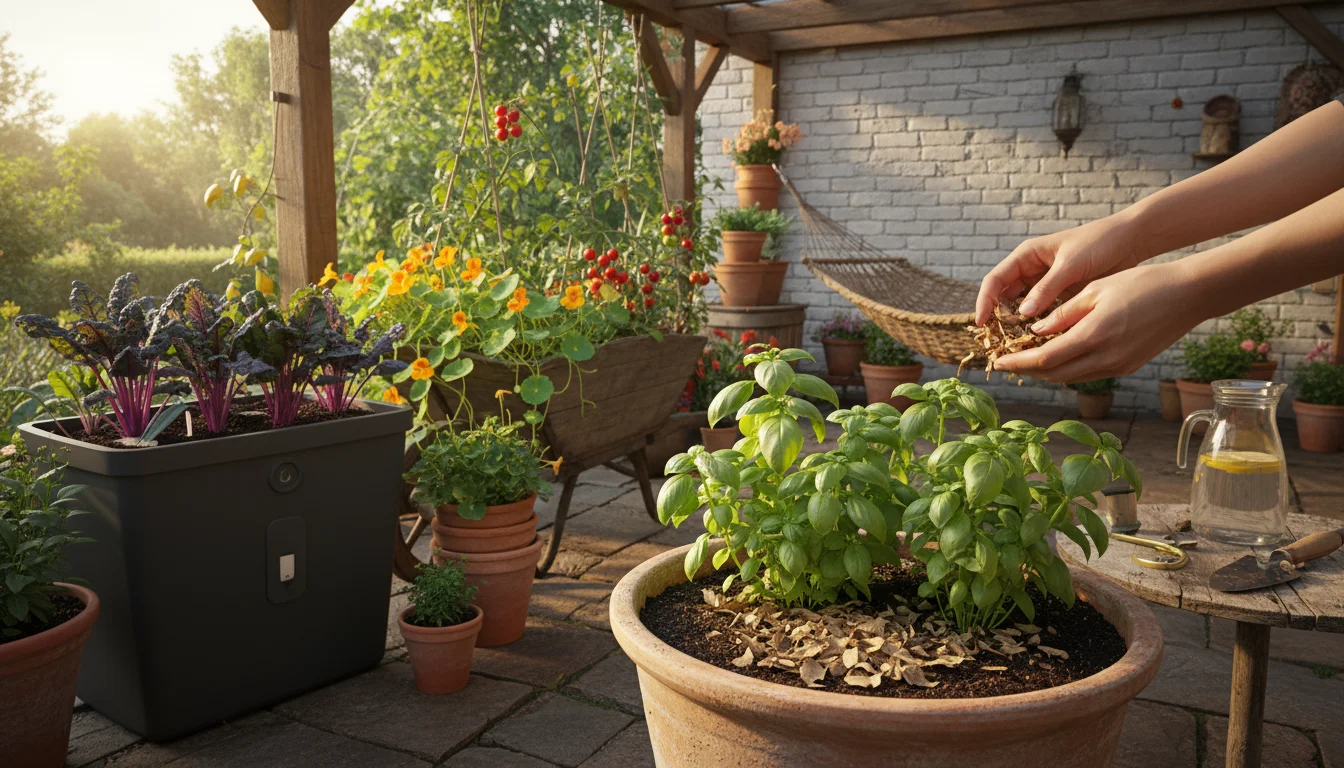
- Top Dressing: Spread a 1/2-inch to 1-inch layer of compost over the surface of your container plants or garden beds. Water thoroughly after application. This slowly releases nutrients and acts as a mulch.
- Compost Tea: Steep a scoop of finished compost in a bucket of water for 24-48 hours. Strain the liquid and use it to water your plants. This provides a liquid nutrient boost and introduces beneficial microbes. Dilute for sensitive plants.
- Starting Seeds: Mix a small amount of fine, screened compost into your seed-starting mix for an extra nutrient kick.
- New Plantings: Incorporate a few handfuls of compost into the planting hole when transplanting seedlings or setting out new plants.
Using your own compost reduces the need for synthetic fertilizers and chemical soil conditioners. You complete the cycle of nutrient return, demonstrating a truly sustainable approach to your small-space garden. Your plants will thank you with vibrant growth and abundant harvests.
Troubleshooting Common Small-Space Composting Challenges
Even with the best intentions, you might encounter issues with your small-space compost system. Do not despair! Most problems have simple solutions, and learning to troubleshoot makes you a more confident eco gardener.
Problem: My Compost Smells Bad (Ammonia or Rotten Eggs)
- Cause: Too much nitrogen (greens), too much moisture, or lack of oxygen. Anaerobic conditions are the culprit.
- Solution:
- Add plenty of dry, carbon-rich browns (shredded cardboard, dry leaves, newspaper).
- Aerating the pile by turning or fluffing it introduces oxygen.
- If too wet, spread it out slightly to dry or add more browns.
- Reduce the amount of fresh green scraps you add at one time.
Problem: My Compost is Not Breaking Down (Slow Decomposition)
- Cause: Lack of moisture, insufficient nitrogen, not enough aeration, or pieces are too large.
- Solution:
- Check moisture: It should feel like a wrung-out sponge. Add water if too dry.
- Add more greens: Introduce fresh food scraps, coffee grounds, or a small amount of grass clippings.
- Aeration: Turn the pile regularly to introduce oxygen.
- Chop scraps: Smaller pieces break down much faster.
- Consider temperature: Decomposition slows significantly in very cold weather. Move the bin to a warmer spot if possible, or accept slower breakdown during winter months.
Problem: Fruit Flies or Gnats
- Cause: Exposed food scraps, especially fruit peels.
- Solution:
- Always bury fresh food scraps completely under existing compost or a layer of browns (especially important for worm bins).
- Ensure your bin has a tight-fitting lid.
- If infestation is heavy, add a thick layer of dry browns on top, or gently mix in a small amount of garden soil.
- For vermicompost, ensure you are not overfeeding your worms.
Problem: Rodents (Rats, Mice)
- Cause: Attracted to exposed food, meat/dairy scraps, or easy access to the bin.
- Solution:
- Absolutely avoid meat, dairy, oily foods, and cooked leftovers in traditional outdoor bins. Use Bokashi for these items.
- Bury all food scraps deeply within the pile.
- Use a sturdy, chew-proof bin with a tight-fitting lid.
- Elevate your bin off the ground.
- If rodents persist, you may need to temporarily stop adding food scraps and cover the bin completely with a thick layer of browns until the issue resolves.
Problem: My Worms are Trying to Escape!
- Cause: Unfavorable conditions in the bin: too wet, too dry, too acidic, overfeeding, or not enough bedding.
- Solution:
- Check moisture: Add dry bedding if too wet, sprinkle water if too dry.
- Adjust food: If you are overfeeding, cut back. Avoid acidic foods like citrus in large quantities.
- Add fresh bedding: Ensure there is plenty of clean, moist bedding for them to burrow into.
- Temperature: Ensure the bin is not too hot or too cold.
- Acclimation: Give new worms a few days to settle into their new home.
Consistent monitoring and quick adjustments help you keep your small-space composting system running smoothly. You will develop an intuitive understanding of your compost’s needs, turning potential problems into learning opportunities for more effective eco gardening.
Expanding Your Eco-Gardening: Beyond the Compost Bin
Small-space composting is a cornerstone of eco gardening, but your commitment to sustainability can extend even further. By embracing other low-waste and water-wise habits, you create a truly resilient and environmentally friendly small garden. These broader eco gardening strategies complement your composting efforts.
Water-Wise Practices
Water conservation is critical for any garden, especially in containers which dry out quickly. You make a significant difference with these small changes:
- Deep, Infrequent Watering: Water deeply enough so that water drains from the bottom of your containers, encouraging deeper root growth. Do this less frequently, allowing the topsoil to dry slightly between waterings.
- Mulching Containers: Apply a layer of organic mulch (shredded leaves, straw, wood chips) to the surface of your container soil. This dramatically reduces evaporation, suppresses weeds, and moderates soil temperature.
- Self-Watering Containers: Utilize wicking beds or self-watering pots. These systems have a water reservoir that wicks moisture up into the soil, providing consistent hydration and reducing your watering frequency.
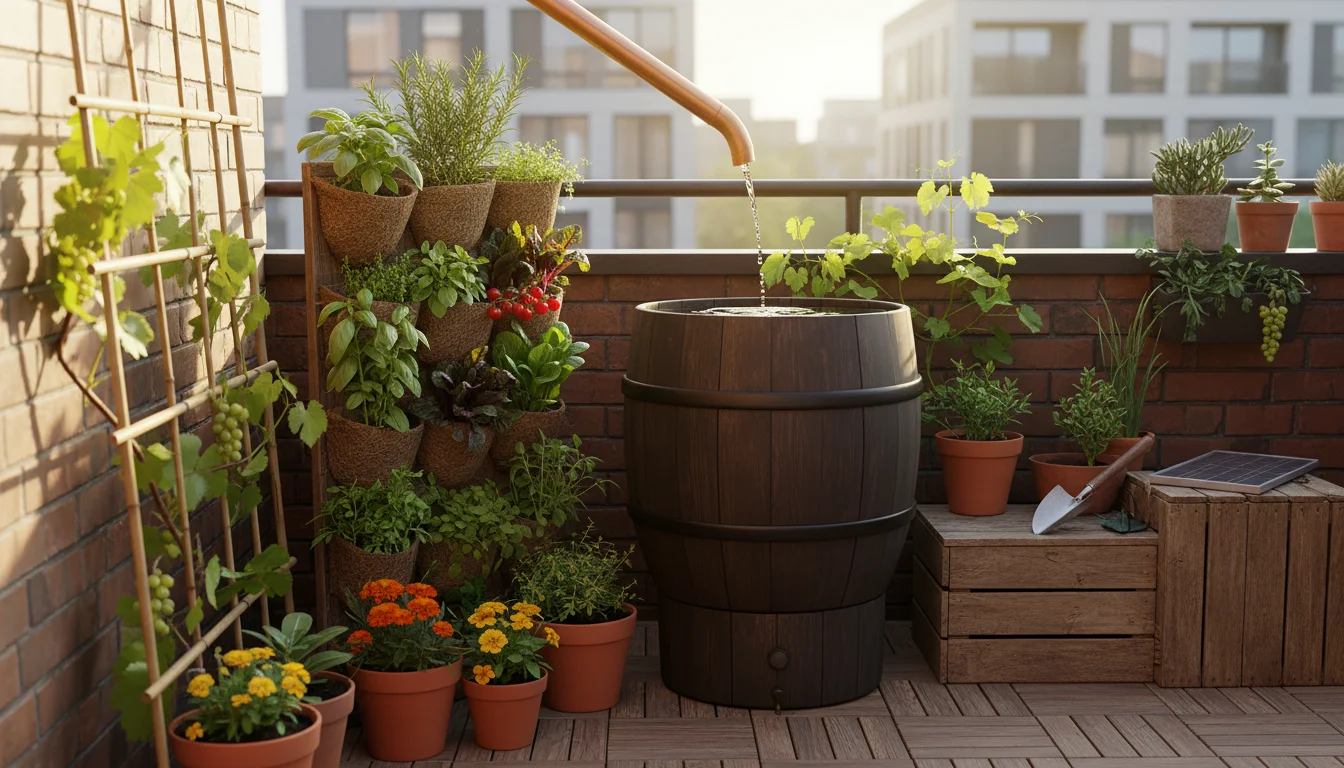
- Rain Capture: Install a small rain barrel or rain chain on your balcony or patio to collect rainwater. Rainwater is free, unchlorinated, and excellent for plants. Check local regulations before installation. A 50-gallon rain barrel can supply enough water for several container plants through dry spells.
- Greywater Use: Consider collecting lightly used water from your kitchen sink (after rinsing produce) or shower (while waiting for it to warm up) for non-edible plants. Ensure this greywater does not contain harsh chemicals or strong soaps. Always research and comply with local greywater regulations, which vary significantly.
Native and Pollinator-Friendly Planting
Even small spaces contribute significantly to local ecosystems. By choosing native plants, you support pollinators and biodiversity:
- Regional Picks: Research native plants specific to your region. They are adapted to your local climate and soil, requiring less water and fewer inputs.
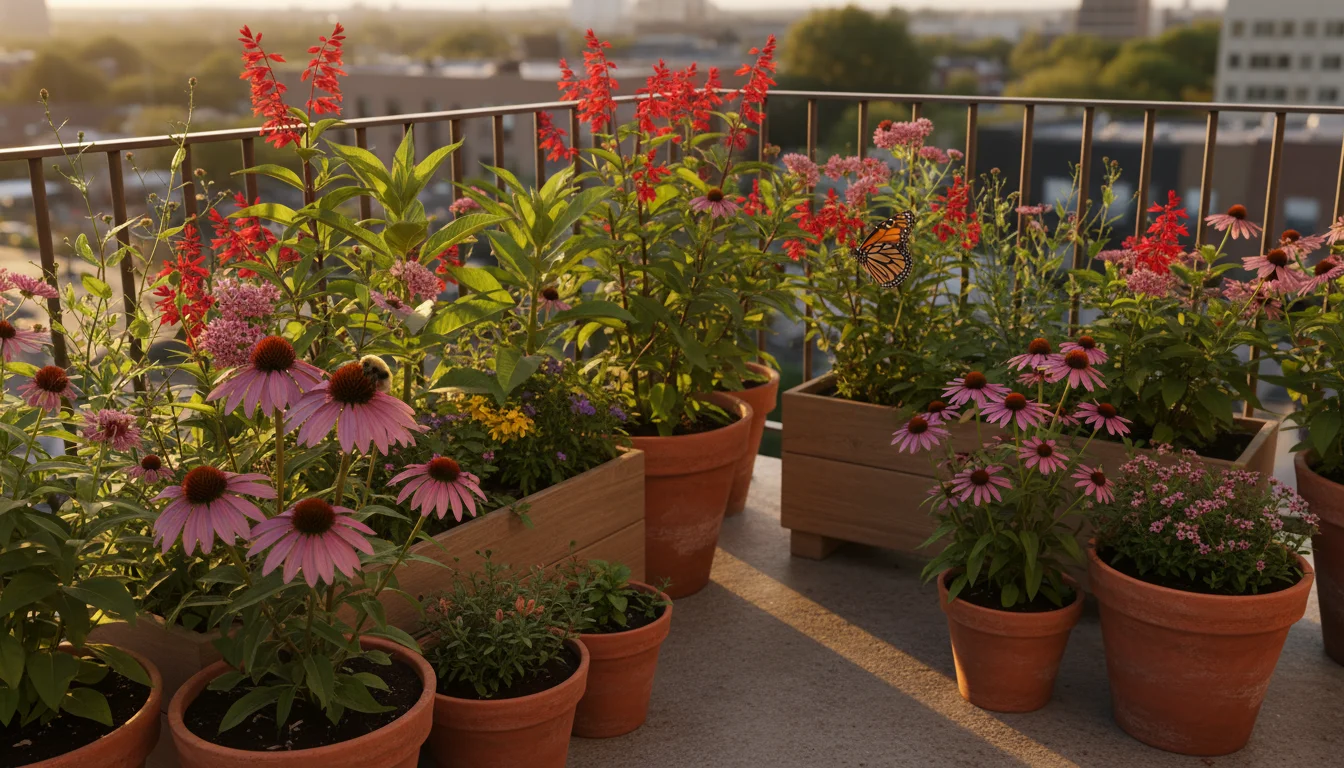
- Pollinator Power: Plant flowers that attract bees, butterflies, and hummingbirds. Look for a diversity of bloom shapes and colors to cater to different pollinators. Examples include salvias, coneflowers, milkweed (for monarchs), and lavender.
- Continuous Bloom: Plan for a sequence of blooms throughout the growing season to provide a continuous food source for pollinators.
- Host Plants: Include host plants for butterfly larvae, such as milkweed for monarch caterpillars or dill/parsley for swallowtails.
- Avoid Invasives: Steer clear of non-native invasive species that can outcompete local flora and harm ecosystems.
Safe Pest Management
Integrated Pest Management (IPM) focuses on prevention and least-toxic solutions:
- Prevention: Choose disease-resistant plant varieties. Ensure proper spacing for air circulation. Maintain healthy soil through composting.
- Monitoring: Regularly inspect your plants for signs of pests or disease. Early detection prevents major outbreaks.
- Mechanical Controls: Hand-pick larger pests. Use a strong spray of water to dislodge aphids. Apply sticky traps for flying insects.
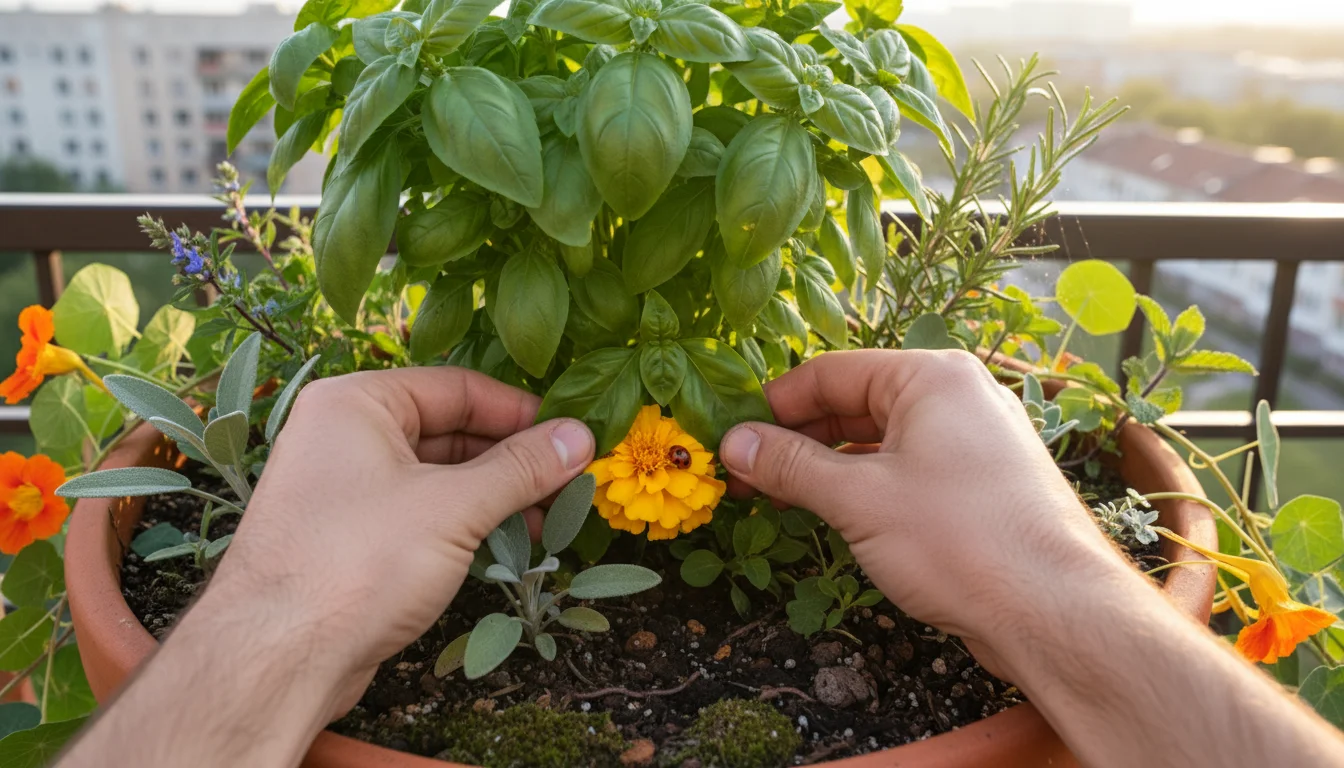
- Biological Controls: Encourage beneficial insects (ladybugs, lacewings) by planting diverse flowers and avoiding broad-spectrum pesticides.
- Least-Toxic Options: If intervention is necessary, use horticultural oils, insecticidal soaps, or neem oil, always following label instructions carefully.
Reuse and Material Choices
Your material choices also impact sustainability:
- Upcycling Containers: Give new life to old buckets, tires, or food-grade containers as planters. Ensure they have adequate drainage.
- Sustainable Materials: When buying new, look for products made from recycled plastic, FSC-certified wood (Forest Stewardship Council), or other sustainably sourced materials.
- Non-Toxic Finishes: If painting or sealing wood, choose low-VOC (Volatile Organic Compound) or natural finishes to avoid harmful chemicals leaching into your soil.
By incorporating these practices, you transform your small garden into a vibrant, productive, and truly eco-friendly oasis. Your compost bin forms the heart of this sustainable ecosystem, but it thrives best when surrounded by other mindful choices.
Frequently Asked Questions
What is the minimum amount of space I need to start composting?
You can start composting with a space as small as a kitchen counter. Vermicomposting bins are roughly the size of a laundry basket, and Bokashi buckets are similar to a small kitchen trash can. For outdoor containers, a space of 2×2 feet is often sufficient for a small DIY bin.
Can I compost cooked food or meat scraps in a small-space system?
Traditional outdoor compost bins and worm bins typically do not handle cooked food, meat, or dairy well, as these attract pests and create odors. However, Bokashi composting is specifically designed to ferment all types of food waste, including cooked items, meat, and dairy. You can then bury the fermented Bokashi in soil.
How long does it take to make compost in a small-space bin?
The time varies significantly by method. Vermicomposting can produce usable castings in 2-4 months. Bokashi pre-compost ferments in 10-14 days, but then needs another 2-4 weeks to break down fully when buried in soil. Traditional small container composting can take 3-6 months, depending on the materials, temperature, and how often you turn it.
My compost looks moldy. Is this normal?
White, fuzzy mold is a common sight in healthy compost, especially in Bokashi systems, and indicates beneficial fungi are at work breaking down organic matter. If you see black, slimy, or foul-smelling mold, this suggests too much moisture and not enough oxygen, leading to anaerobic conditions. Adjust your moisture and aeration.
Do I need to buy special equipment to start composting?
No, you do not need special equipment. You can start with basic materials you already own or can easily source. A drill, plastic storage bins, and some shredded paper or leaves are often enough for a DIY container or worm bin. Bokashi does require specific airtight bins and inoculant, but many starter kits are affordable.
For research-based sustainable gardening guidance, see
EPA WaterSense — Outdoor Water Use,
USDA NRCS — Soil Health,
Royal Horticultural Society (RHS) — Gardening Sustainably,
University of Minnesota Extension — Composting,
USDA National Organic Program — Composting Standards, and
Audubon — Native Plants Database.
Disclaimer: This article is for informational purposes only and is not a substitute for professional advice. Check local regulations before installing rain capture, using greywater, or composting food scraps outdoors.