For research-based plant care guidance, visit
University of Minnesota Extension, Cornell Garden-Based Learning and UF/IFAS Gardening Solutions.
Disclaimer: This article is for informational purposes only and is not a substitute for professional advice. Consult local extension services for region-specific recommendations.
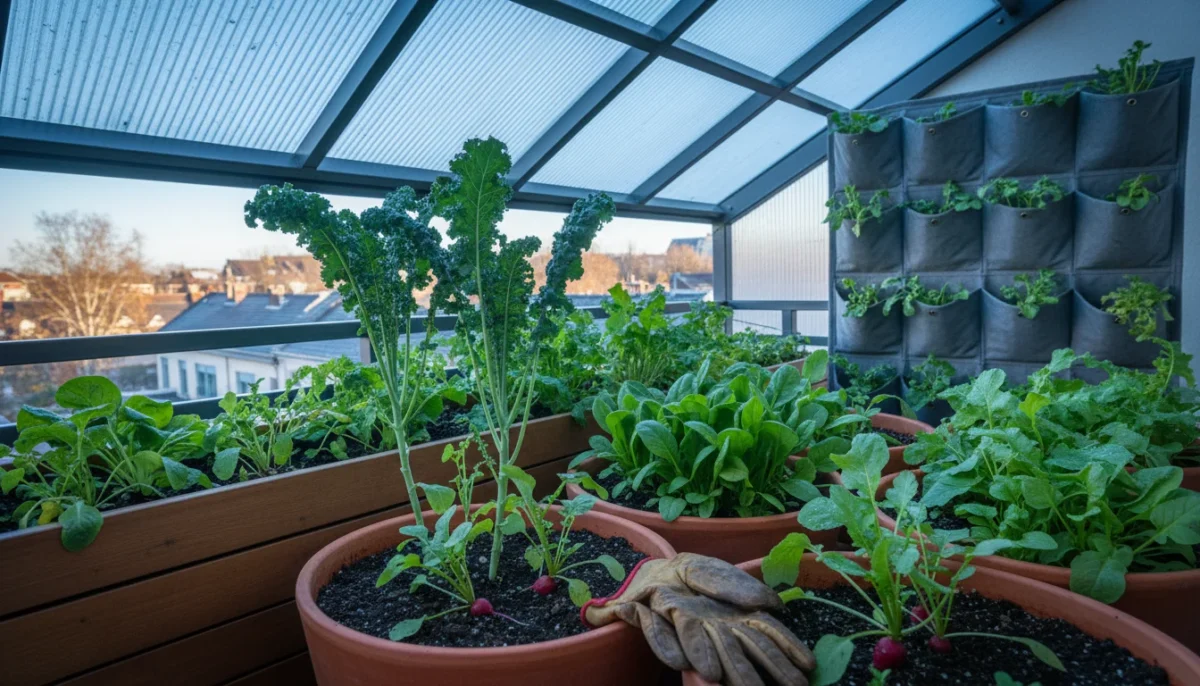
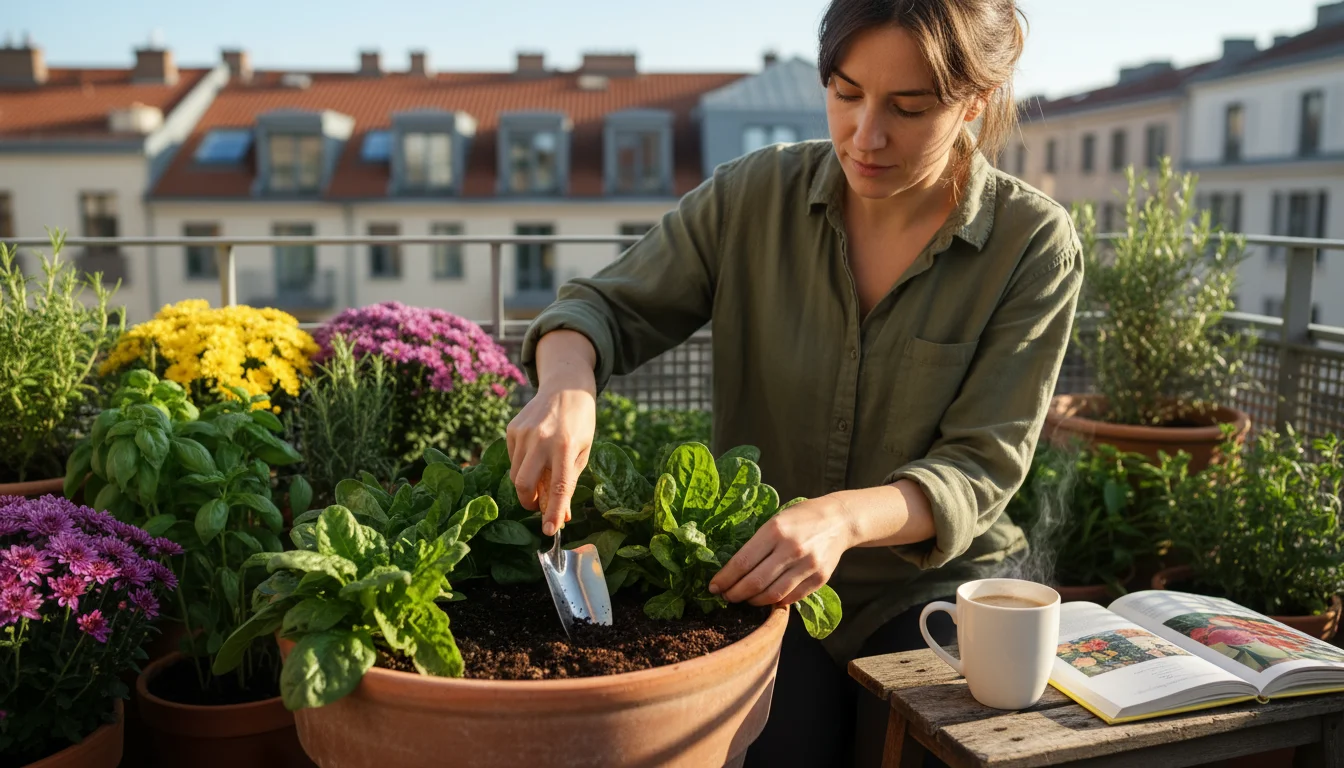
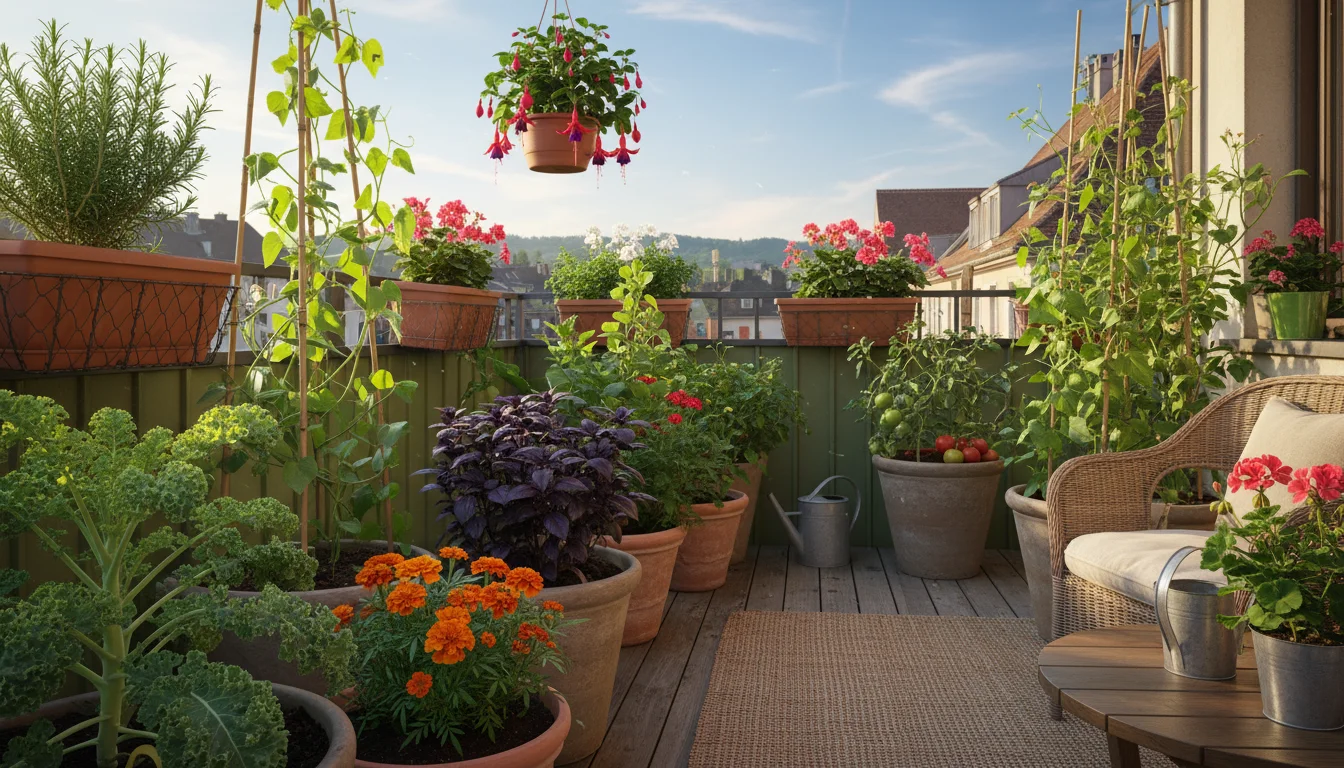
As summer’s vibrant growth begins to fade, a new opportunity for your garden emerges: the rich, rewarding season of fall container gardening. You can extend your harvest well into autumn, enjoying fresh, homegrown vegetables even as temperatures cool. This guide equips you with the knowledge and practical steps to cultivate a thriving autumn harvest right on your patio, balcony, or windowsill. We focus on resilient, flavorful crops perfectly suited for small spaces, ensuring your gardening efforts are both productive and enjoyable.
Growing fall container crops offers unique advantages. Cooler temperatures often mean fewer pests, slower growth for leafy greens resulting in sweeter flavors, and a chance to enjoy gardening when the oppressive summer heat has passed. You control the soil, light, and water precisely, making success attainable even for beginners. Embrace the shift in seasons by transforming your containers into a source of fresh, delicious produce.

Why Choose Fall Container Gardening?
Fall container gardening provides a host of benefits, transforming your small space into a productive haven long after summer crops have finished. You extend your growing season, enjoying fresh vegetables well into autumn and even early winter in many regions. This seasonal planting approach maximizes the utility of your gardening efforts, offering a continuous supply of nutritious food.
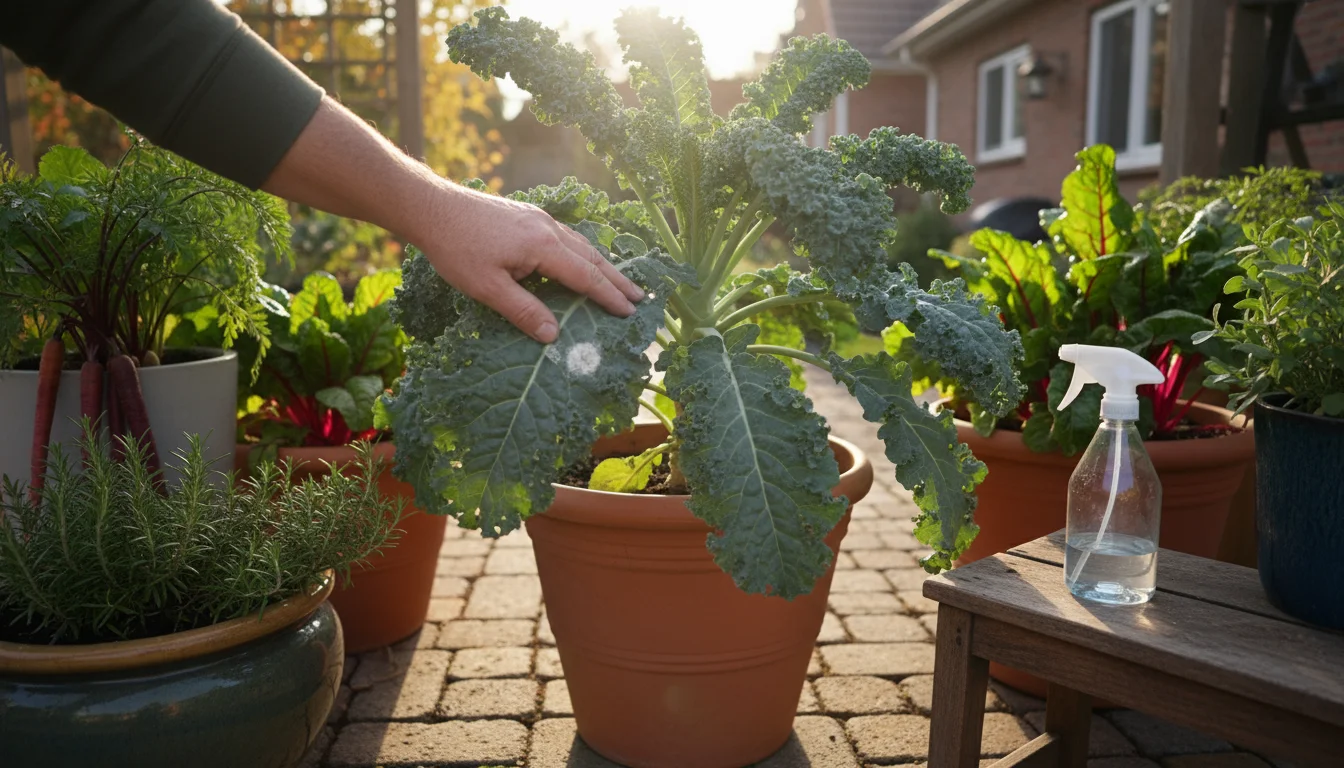
The cooler temperatures of fall are a significant advantage. Many popular fall container crops, such as leafy greens, root vegetables, and brassicas, thrive in moderate temperatures. They often grow more slowly, which can enhance their flavor, making them sweeter and more tender. For example, spinach and kale grown in cooler weather frequently develop a richer, less bitter taste compared to their summer counterparts. Additionally, the reduced heat stress means less frequent watering compared to scorching summer days, simplifying your routine.
Container gardening itself offers unparalleled flexibility. You can move pots to optimize sunlight exposure as the sun’s angle changes in autumn. If an unexpected frost threatens, simply relocate smaller containers indoors or onto a covered porch. This mobility allows you to protect delicate plants and extend their harvest period, sometimes for several weeks. You also maintain precise control over soil quality and nutrient levels, preventing many common garden problems that arise in less managed environments. For example, you ensure excellent drainage by selecting appropriate containers and potting mixes, a crucial factor for healthy root development.
Finally, autumn harvest gardening often experiences fewer pest pressures. Many common summer garden pests decrease in activity as temperatures drop, reducing the need for intensive pest management. This translates into healthier plants and less work for you, allowing you to enjoy the beauty and bounty of your fall container crops with greater ease.
Selecting Your Ideal Fall Container Crops
Choosing the right crops is fundamental to successful autumn harvest gardening. You want varieties that tolerate cooler temperatures, mature relatively quickly, and thrive in container environments. Here are some of the best fall container crops, complete with specific recommendations and essential care tips.
Leafy Greens
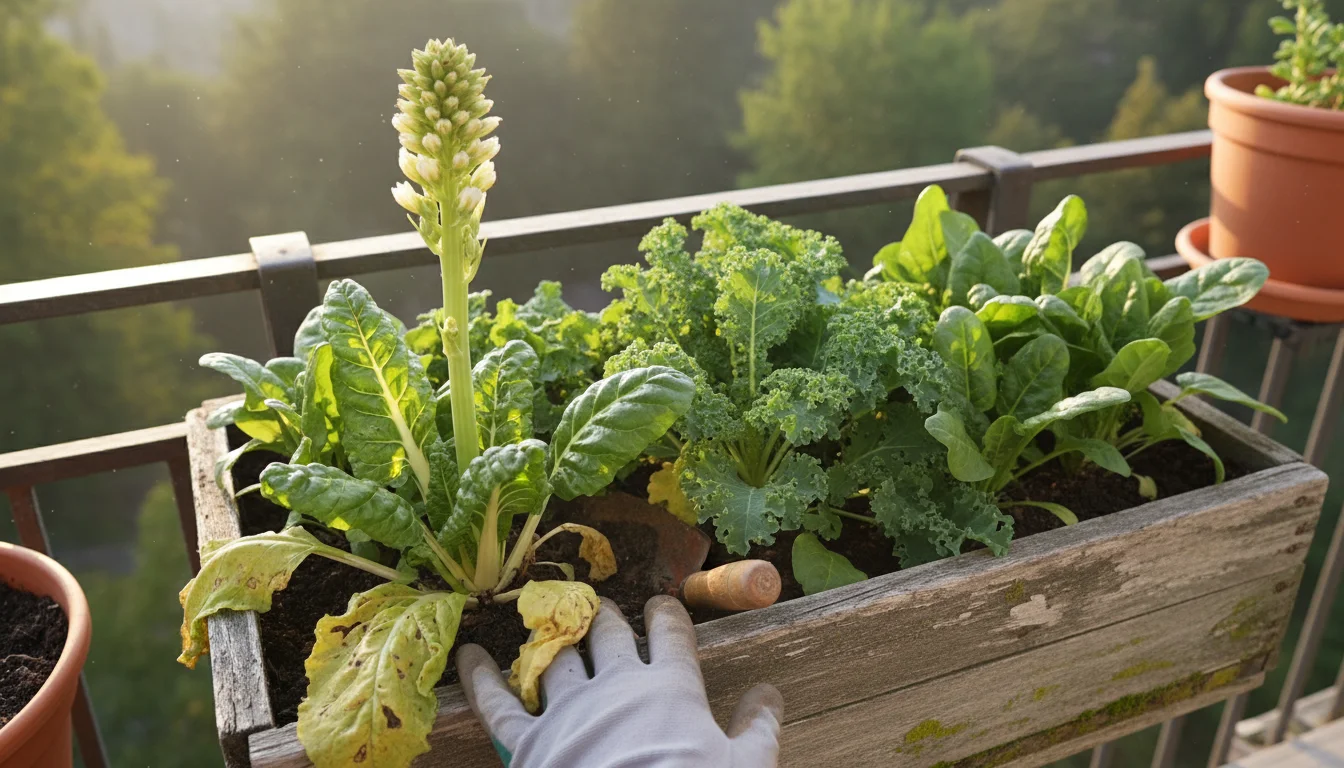
Leafy greens are champions of the fall garden. They often grow quickly and produce abundant harvests. You can harvest their outer leaves repeatedly, providing a continuous supply. They also tolerate light frosts, which can even improve their flavor.
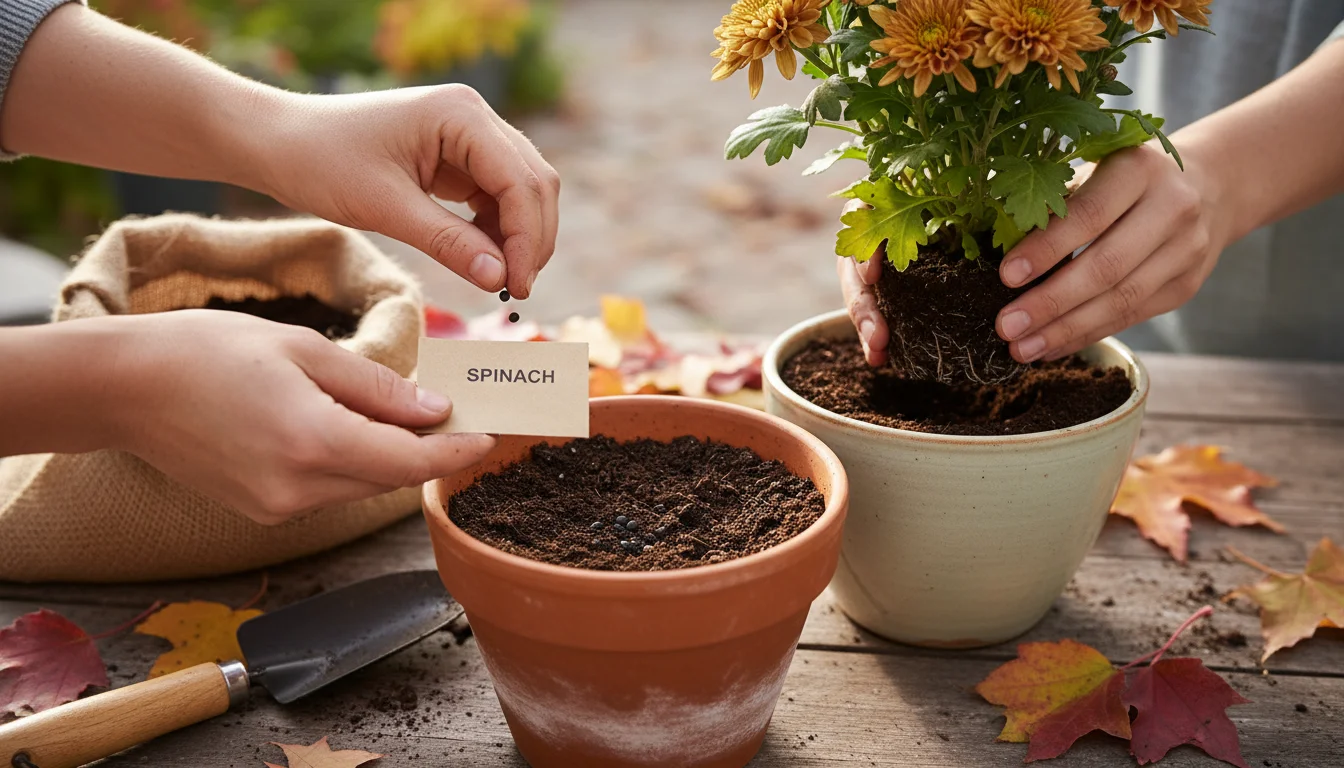
- Spinach: Varieties like ‘Bloomsdale Long Standing’ or ‘Tyee’ perform excellently. Spinach needs at least 4-6 hours of sun. Plant seeds 1/2 inch deep, 1 inch apart. Thin seedlings to 3-4 inches apart to allow for proper leaf development. Keep the soil consistently moist. You can start harvesting outer leaves in as little as 30-45 days.
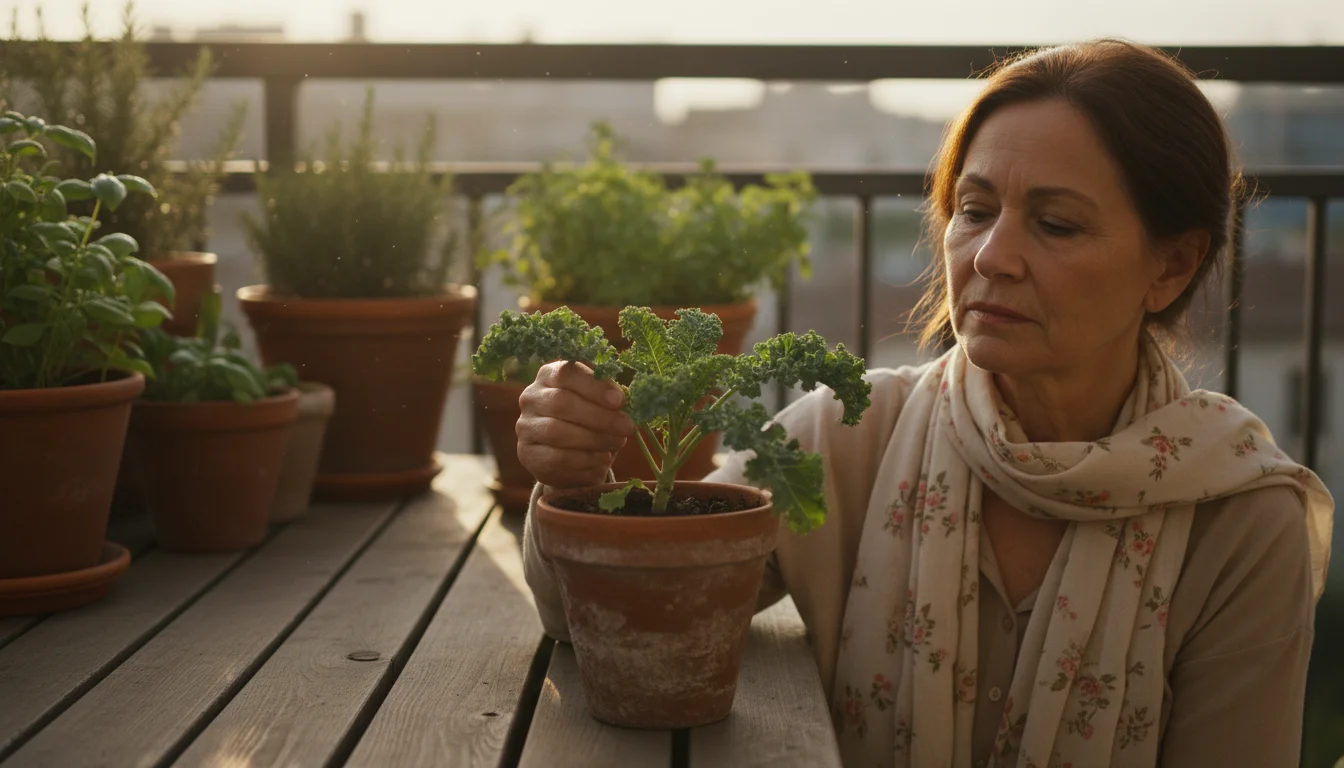
- Kale: ‘Red Russian’ and ‘Lacinato’ (Dinosaur kale) are robust choices. Kale prefers full sun but tolerates some partial shade. Plant seeds 1/2 inch deep, thinning seedlings to 6-8 inches apart for larger plants. Kale is incredibly cold-hardy, and its flavor sweetens after a light frost. Harvest individual leaves from the bottom up.
- Lettuce (Loose-leaf varieties): ‘Black Seeded Simpson’ or ‘Buttercrunch’ are ideal. Loose-leaf varieties allow for “cut-and-come-again” harvesting. Plant seeds 1/4 inch deep, thinning to 4-6 inches apart. Provide consistent moisture and partial shade in warmer fall climates to prevent bolting.
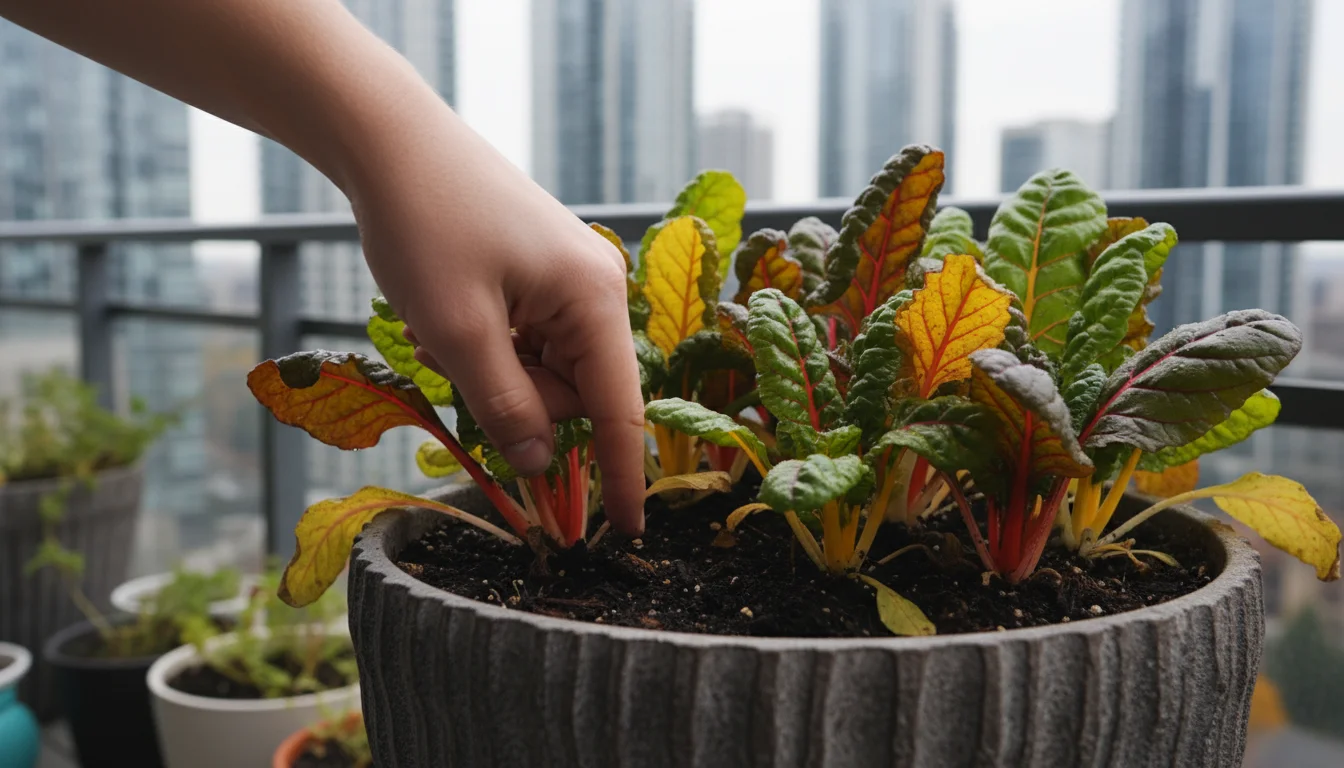
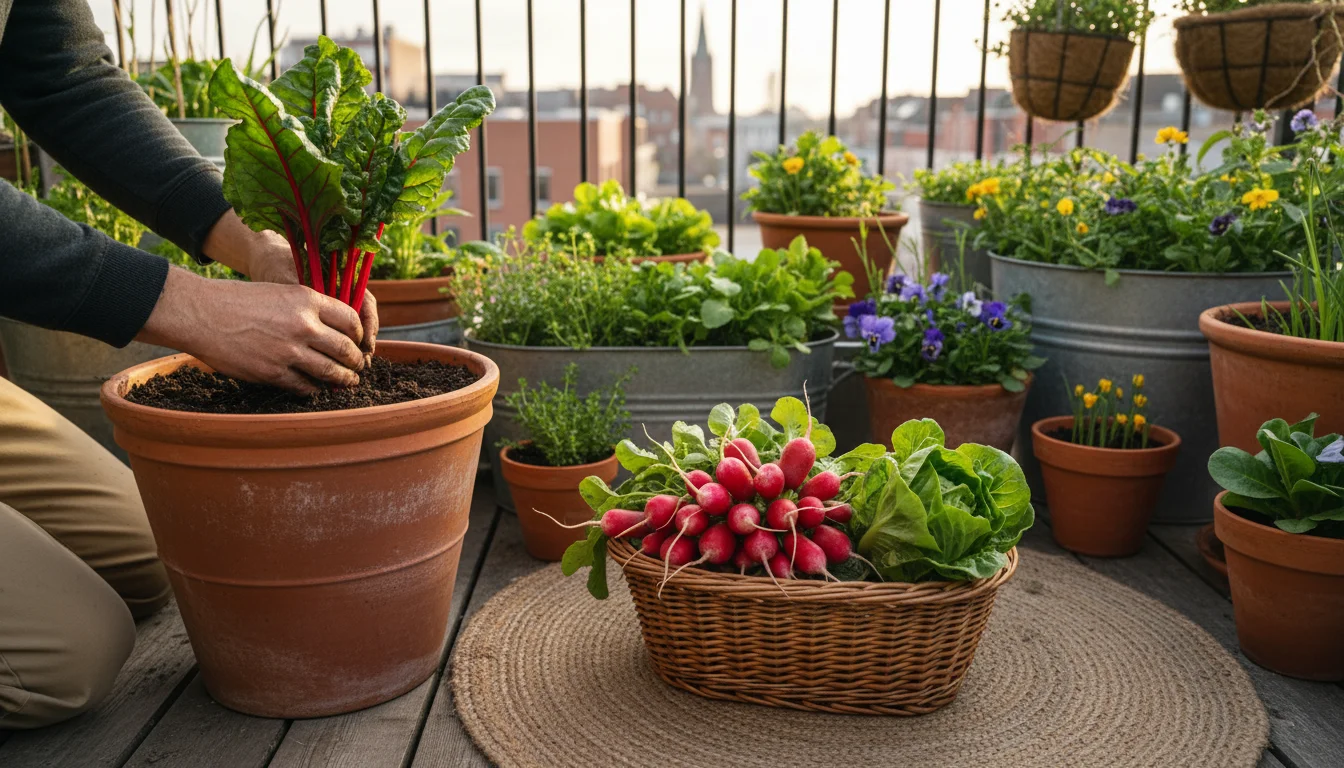
- Swiss Chard: ‘Bright Lights’ offers colorful stems and excellent flavor. Swiss chard tolerates both cool and slightly warmer temperatures better than spinach. Plant seeds 1/2 inch deep, thinning to 6-8 inches apart. Harvest outer leaves regularly. It requires consistent watering.
- Arugula: This peppery green grows rapidly. ‘Rocket’ is a popular choice. Arugula prefers cooler temperatures; warmer weather makes it bolt quickly. Plant seeds 1/4 inch deep, 1 inch apart, thinning to 3-4 inches. Harvest young leaves for the best flavor.
Root Vegetables
Many root vegetables adapt well to containers, provided you choose pots with sufficient depth. They require loose, well-draining soil to develop properly.
- Radishes: Quick-growing varieties like ‘Cherry Belle’ or ‘French Breakfast’ are perfect. They mature in as little as 3-4 weeks. Plant seeds 1/2 inch deep, 1 inch apart, in a container at least 6 inches deep. Consistent moisture is crucial to prevent them from becoming woody or overly spicy.
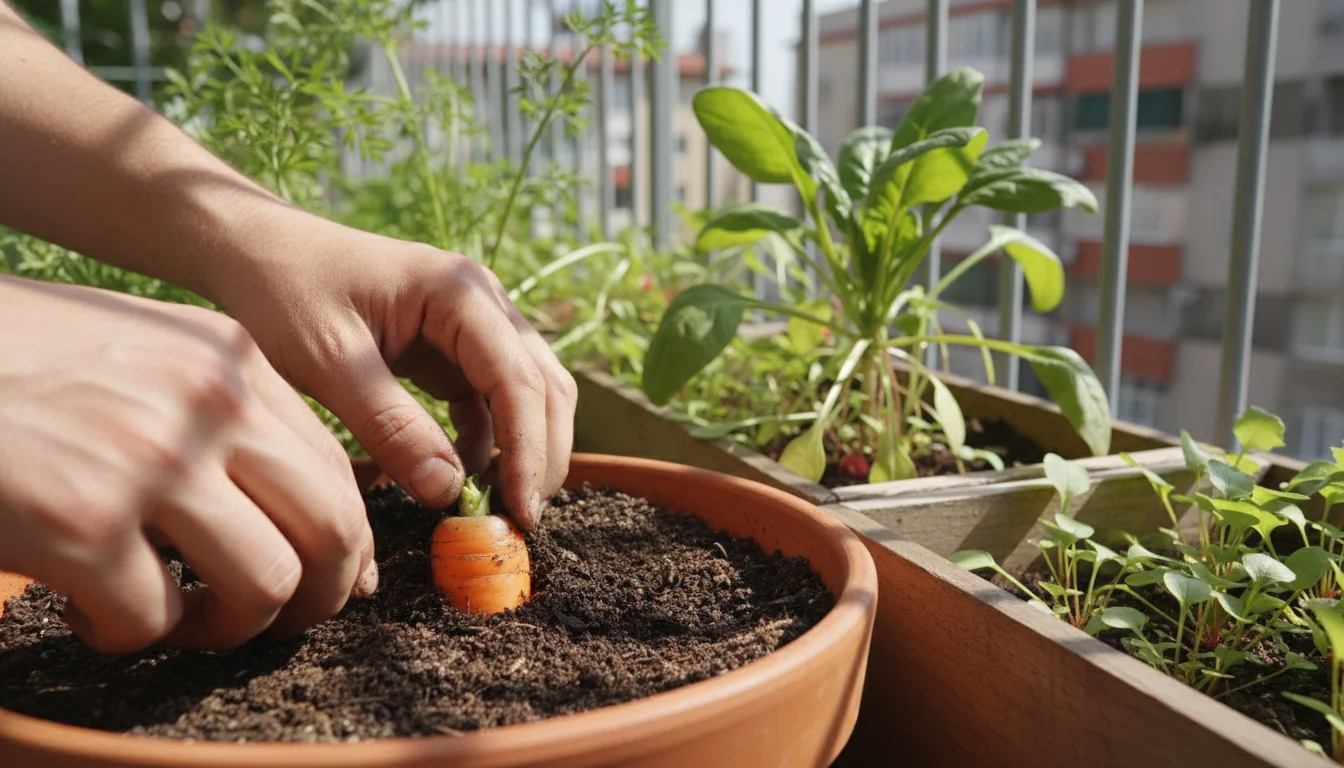
- Carrots (Short/Round varieties): ‘Danvers Half Long’ or ‘Paris Market’ are excellent for containers, reaching maturity without needing deep soil. Plant seeds 1/4 inch deep, 2 inches apart, in a container at least 8-12 inches deep. Keep the soil consistently moist, as irregular watering can cause splitting. Thin seedlings to 2-3 inches apart.
- Beets: ‘Detroit Dark Red’ provides both tasty roots and edible greens. Plant seeds 1/2 inch deep, 2-3 inches apart, in a container at least 8-10 inches deep. Keep the soil evenly moist. Harvest greens while they are young and tender, and roots when they reach desired size.
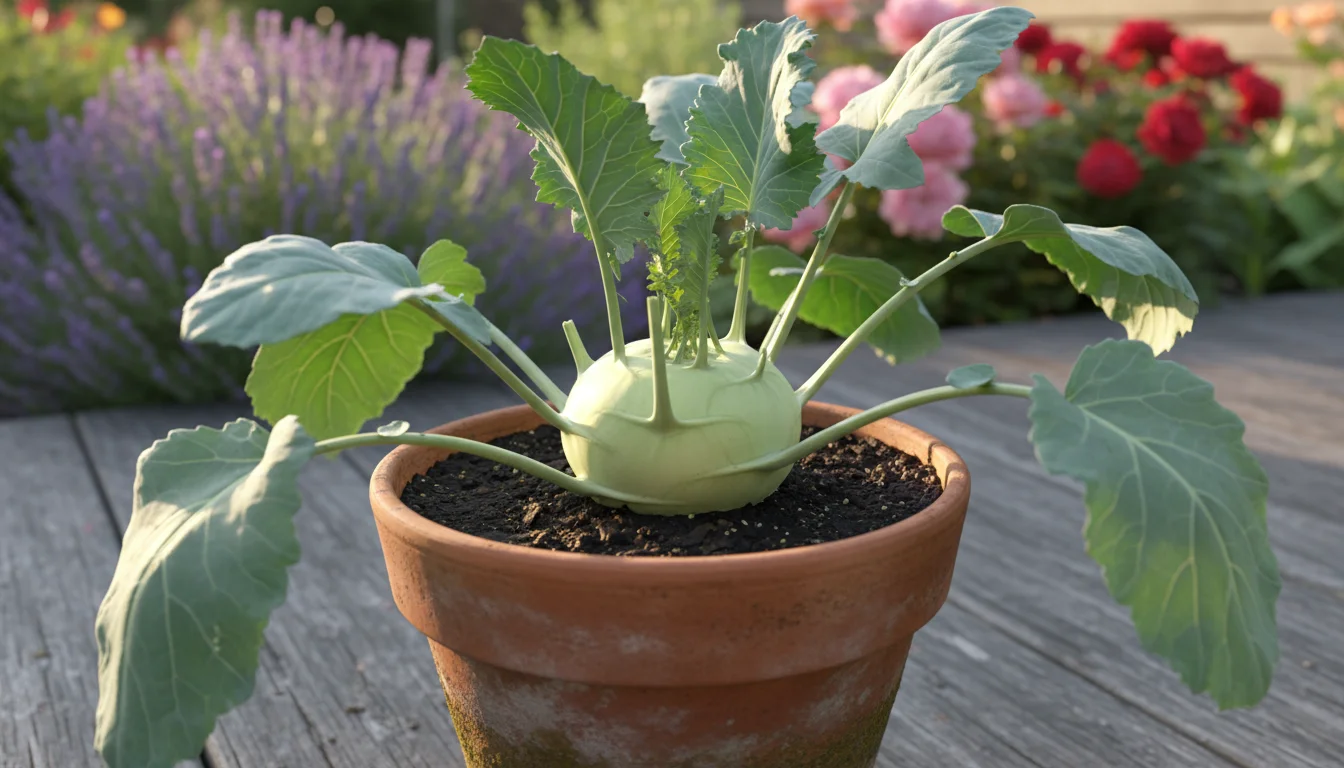
Brassicas
While some brassicas like broccoli require larger containers and more patience, certain varieties thrive in fall containers, particularly for leaf harvesting.
- Kohlrabi: ‘Early Purple Vienna’ or ‘White Vienna’ are good container choices. This unique vegetable forms an edible swollen stem above ground. Plant seeds 1/2 inch deep, thinning to 4-6 inches apart. Provide at least 6-8 inches of soil depth. Harvest when the bulb reaches 2-3 inches in diameter for the best texture and flavor. Consistent moisture is key to preventing a woody texture.
- Broccoli Rabe (Rapini): This leafy brassica grows quickly and produces flavorful shoots. It thrives in cooler temperatures. Plant seeds 1/2 inch deep, thinning to 4-6 inches apart. Harvest the central shoot and side shoots when flower buds are just forming, before they open.
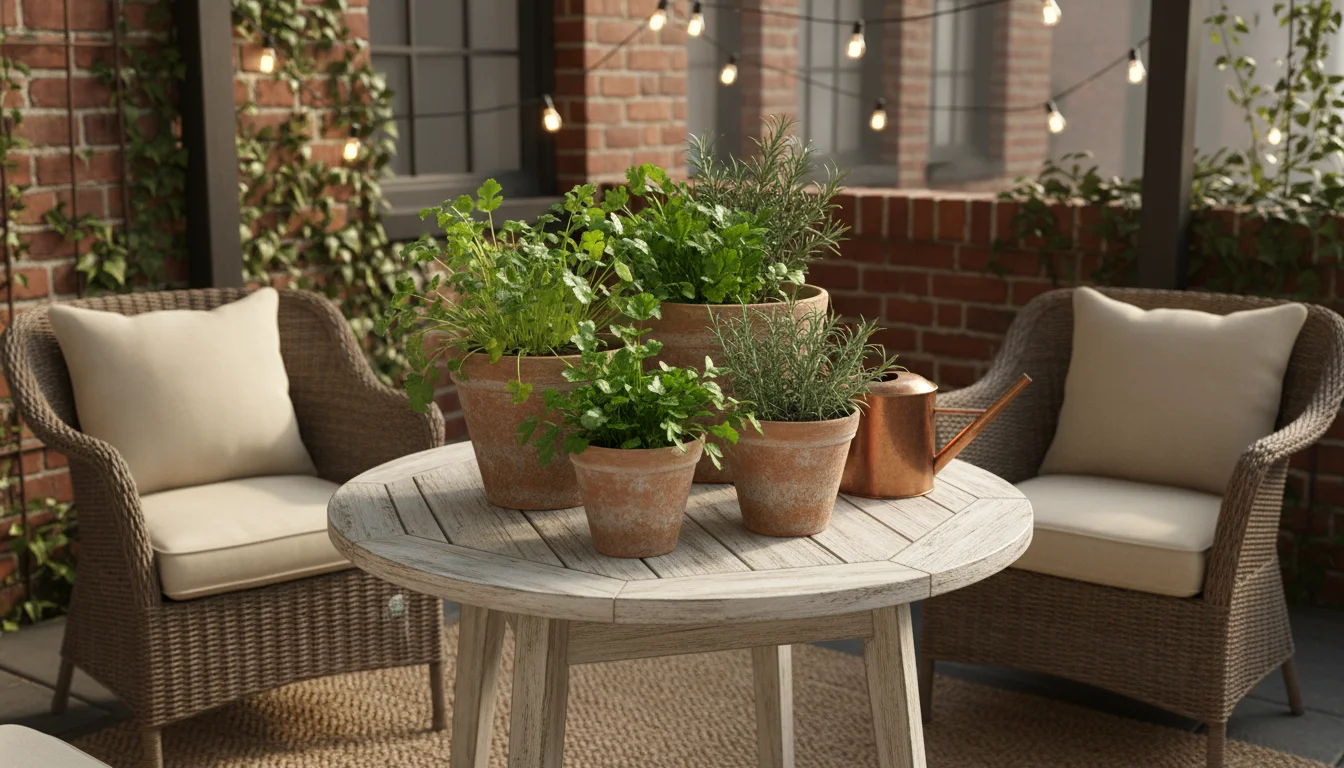
Herbs
Many herbs are ideal for fall containers, providing fresh flavor for your autumn cooking and some tolerating light frost.
- Cilantro: This herb prefers cooler temperatures and bolts quickly in heat. Plant seeds 1/4 inch deep, 2-3 inches apart. Harvest outer leaves regularly. You can make successive plantings every few weeks for a continuous supply.
- Parsley: Both flat-leaf and curly parsley varieties are hardy. Plant seeds 1/4 inch deep, 4-6 inches apart. Parsley can be slow to germinate, so consider soaking seeds overnight before planting. It is biennial, meaning it will grow foliage in the first year and flower/go to seed in the second.
Container and Soil Foundations for Autumn Planting
Establishing a strong foundation with appropriate containers and high-quality, sustainable soil mix is crucial for your fall container crops. These elements directly influence plant health and harvest success.
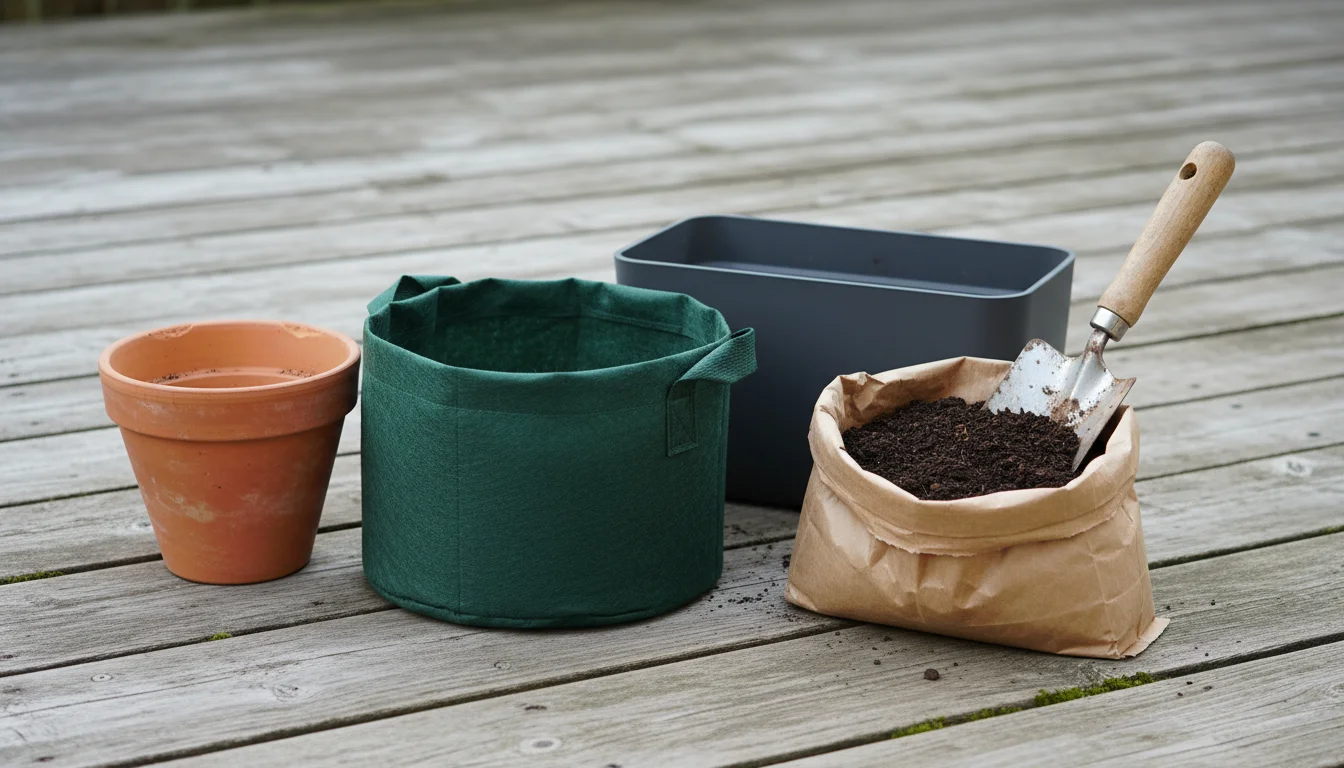
Choosing the Right Containers
When selecting containers, consider size, material, and drainage. You want pots large enough to support the mature size of your plants and provide ample root space. As a general guideline:
- Leafy Greens (Lettuce, Spinach, Arugula): Minimum 6-8 inch diameter, 6 inch depth.
- Root Vegetables (Radishes, Carrots, Beets): Minimum 8-12 inch diameter, 8-12 inch depth. Carrots need straight-sided pots to prevent root deformation.
- Kale, Chard, Kohlrabi: Minimum 8-10 inch diameter, 8-10 inch depth for individual plants.
- Herbs: Minimum 6-8 inch diameter, 6-8 inch depth.
Ensure every container has adequate drainage holes. Waterlogged soil quickly leads to root rot, a common cause of container plant failure. If your chosen pot lacks holes, you must drill them yourself. Materials like terracotta pots offer good breathability, but dry out faster. Plastic pots retain moisture longer. Fabric grow bags provide excellent aeration and drainage, preventing plants from becoming root-bound, where roots circle tightly around the pot.
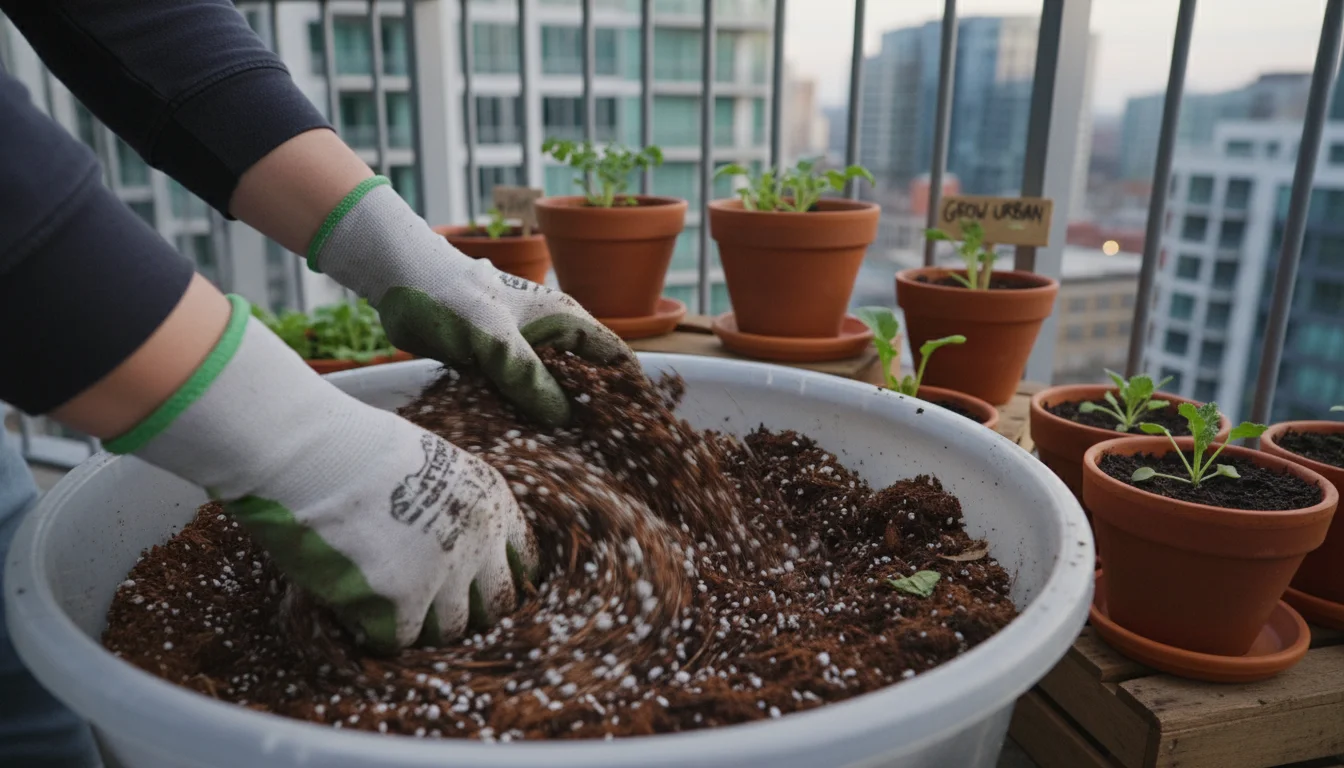
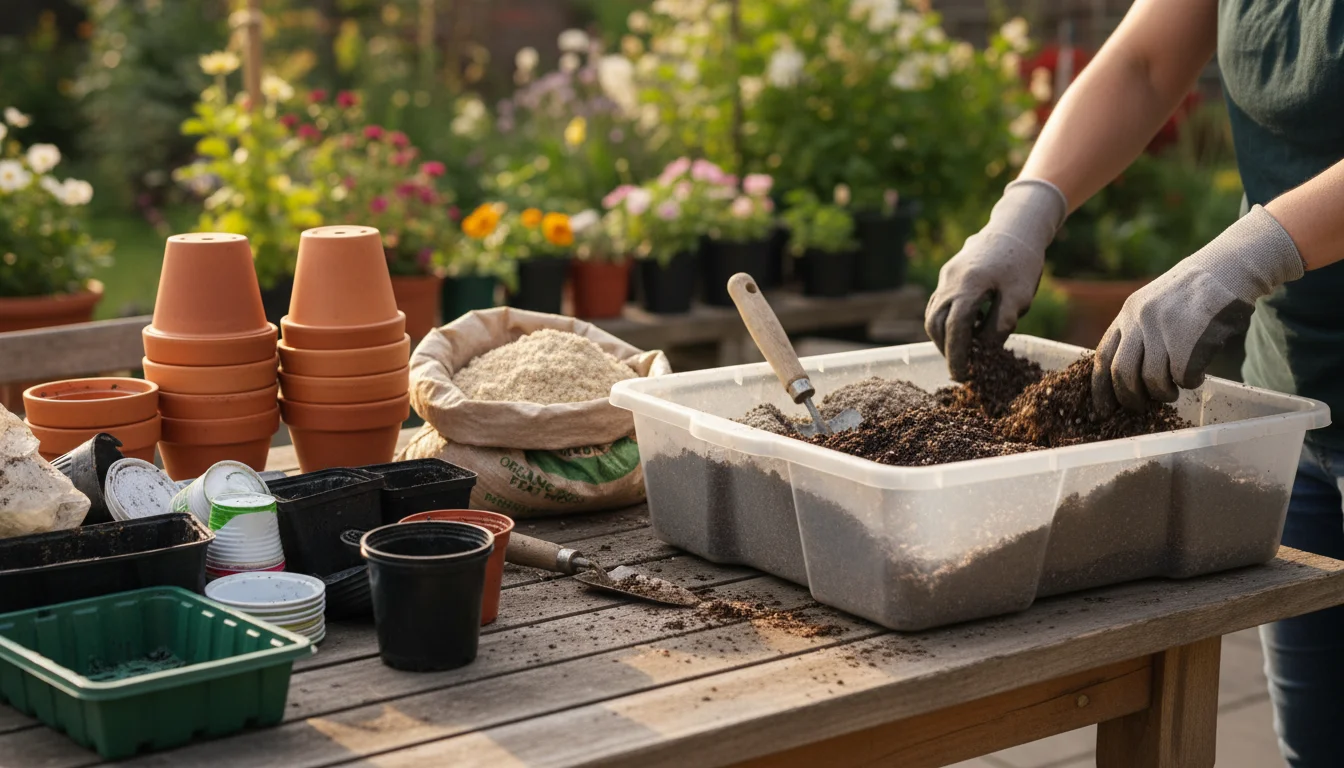
Sustainable Soil Mixes
The soil you use directly impacts plant vigor and your harvest. For fall container crops, a well-draining, nutrient-rich potting mix is essential. You want a mix that holds moisture but drains excess water freely. Aim for sustainability by choosing peat-free options.
Look for potting mixes that contain:
- Composted materials: Provide slow-release nutrients and improve soil structure.
- Coconut coir: A sustainable alternative to peat moss, excellent for water retention and aeration.
- Perlite or vermiculite: Enhance drainage and prevent compaction. Perlite is a volcanic glass that helps aerate the soil, while vermiculite retains moisture and nutrients.
- Aged wood fines or pine bark: Improve drainage and stability.
Avoid using garden soil directly in containers, as it compacts easily, drains poorly, and may introduce pests or diseases. A good quality potting mix provides the ideal environment for healthy root development. You can also create your own custom mix by blending equal parts compost, coconut coir, and perlite for an effective, eco-friendly option. Always refresh your potting mix annually or before each major planting, as nutrients deplete and structure can degrade over time. You can reuse old potting mix by incorporating a fresh 25-50% of new mix and some compost to revitalize it.
Successful Planting Strategies for Your Fall Harvest
Proper planting techniques ensure your fall container crops get the best start. You need to consider timing, seed or transplant selection, and correct planting depth and spacing.
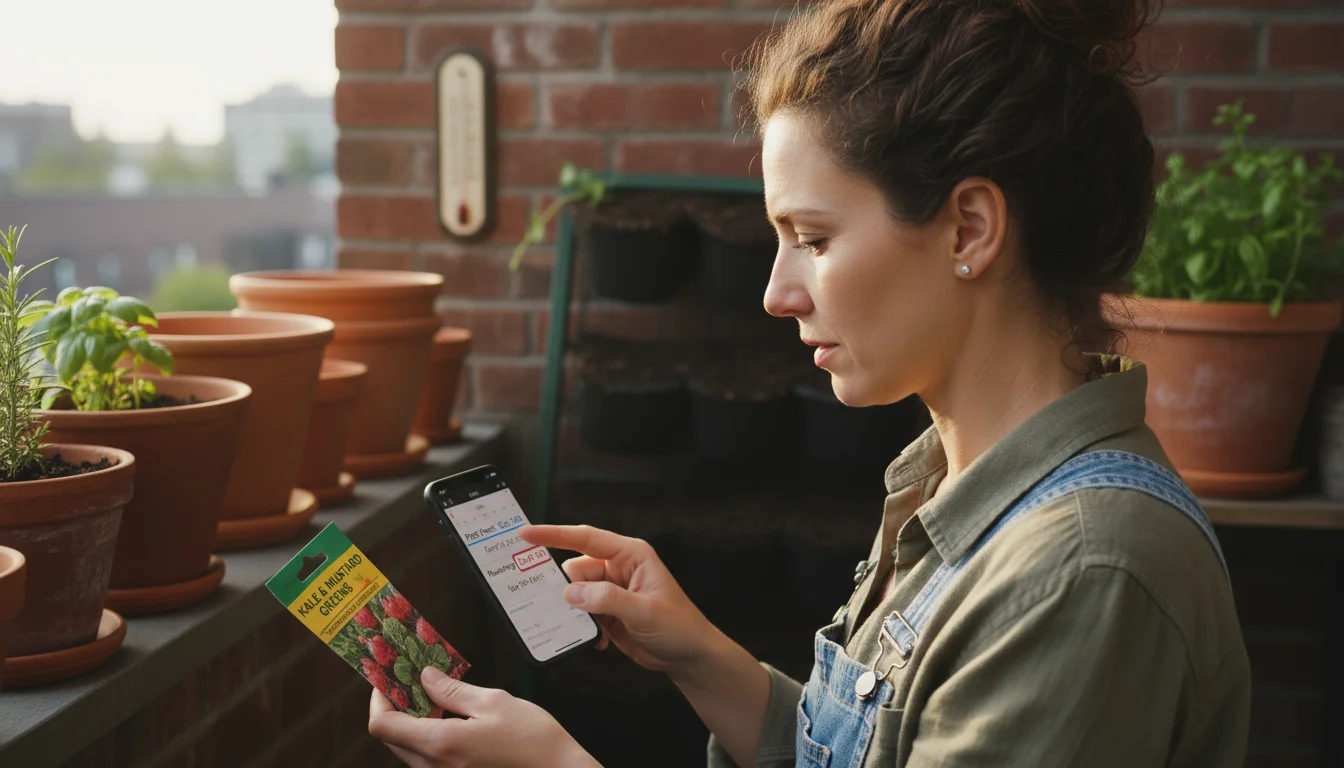
Timing Your Fall Planting
Timing is critical for fall container crops. You want to plant early enough for plants to mature before hard frosts arrive, but late enough to avoid summer’s peak heat, which can cause leafy greens to bolt, meaning they prematurely go to seed. Calculate your planting dates by working backward from your region’s average first frost date.
Find your average first frost date through local extension services or weather resources. Most fall crops require 30-70 days to mature. Add 2-4 weeks to the “days to maturity” listed on seed packets, as cooler fall temperatures often slow growth. For example, if your first frost is October 30th and a crop takes 60 days, you should plant it by late August or early September. For leafy greens, successive planting every 2-3 weeks ensures a continuous harvest.
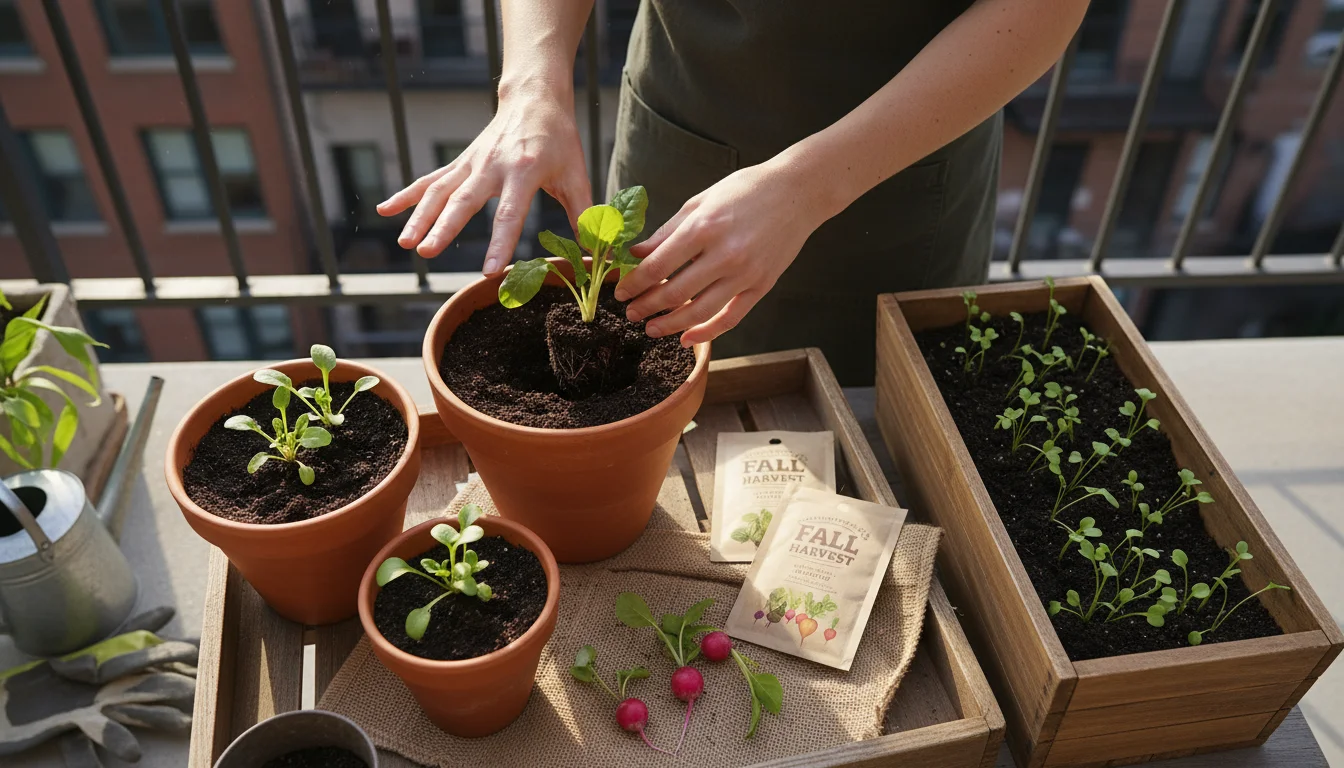
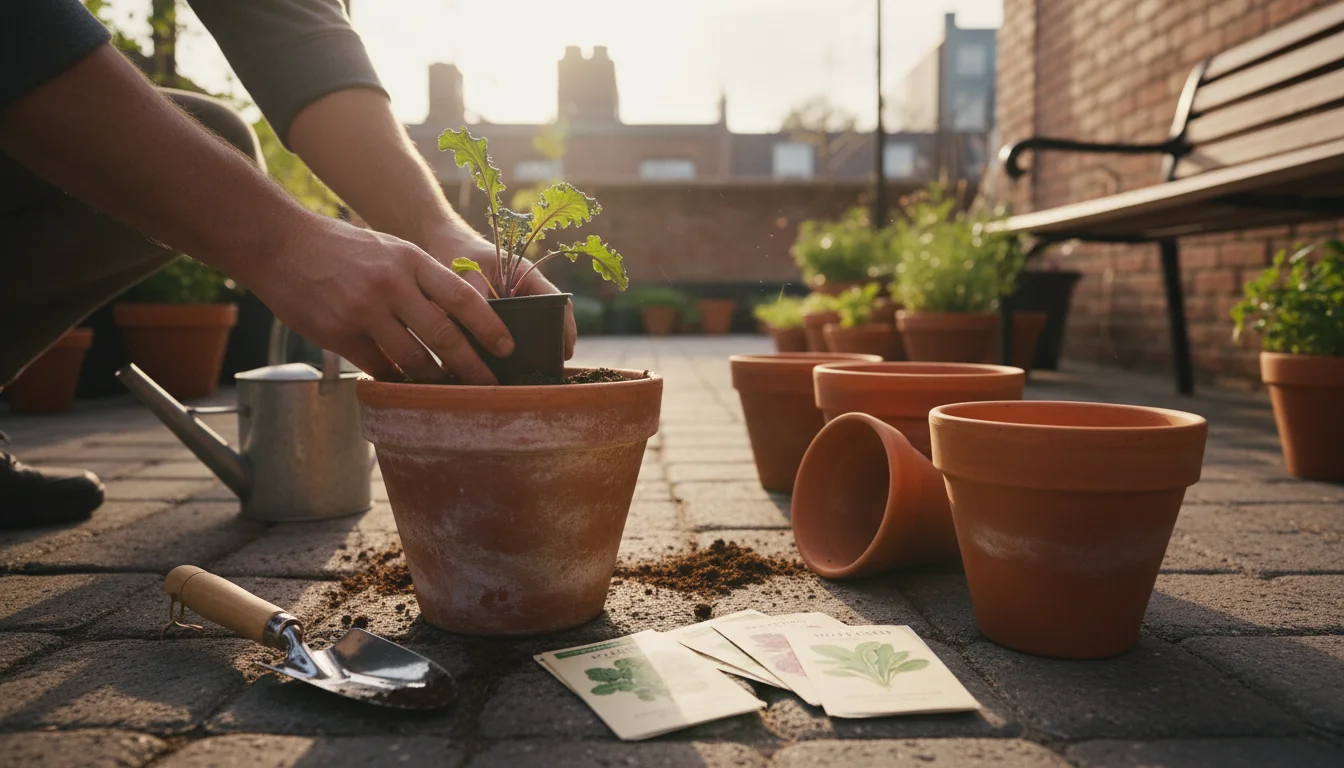
Seeds Versus Transplants
You can start most fall crops from seed directly in their containers. This is often more cost-effective and provides a wider variety of choices. However, for plants with longer maturity times or if you are planting later in the season, using small transplants (starter plants) gives you a head start.
- Seeds: Sow seeds according to package directions, paying close attention to depth and spacing. Gently firm the soil over the seeds and water thoroughly. Keep the soil consistently moist during germination.
- Transplants: If using transplants, gently remove the plant from its nursery pot, being careful not to disturb the roots. Dig a hole in your container large enough for the root ball. Place the plant so the top of the root ball is level with the soil surface. Backfill with potting mix, gently firming around the base. Water immediately to settle the soil and reduce transplant shock. If a plant is root-bound, gently tease apart the circling roots before planting.

Optimal Planting Depth and Spacing
Correct planting depth and spacing are essential for healthy growth. Overcrowding leads to competition for nutrients, water, and light, resulting in smaller, weaker plants. Follow seed packet instructions closely, as they provide specific guidance for each crop.
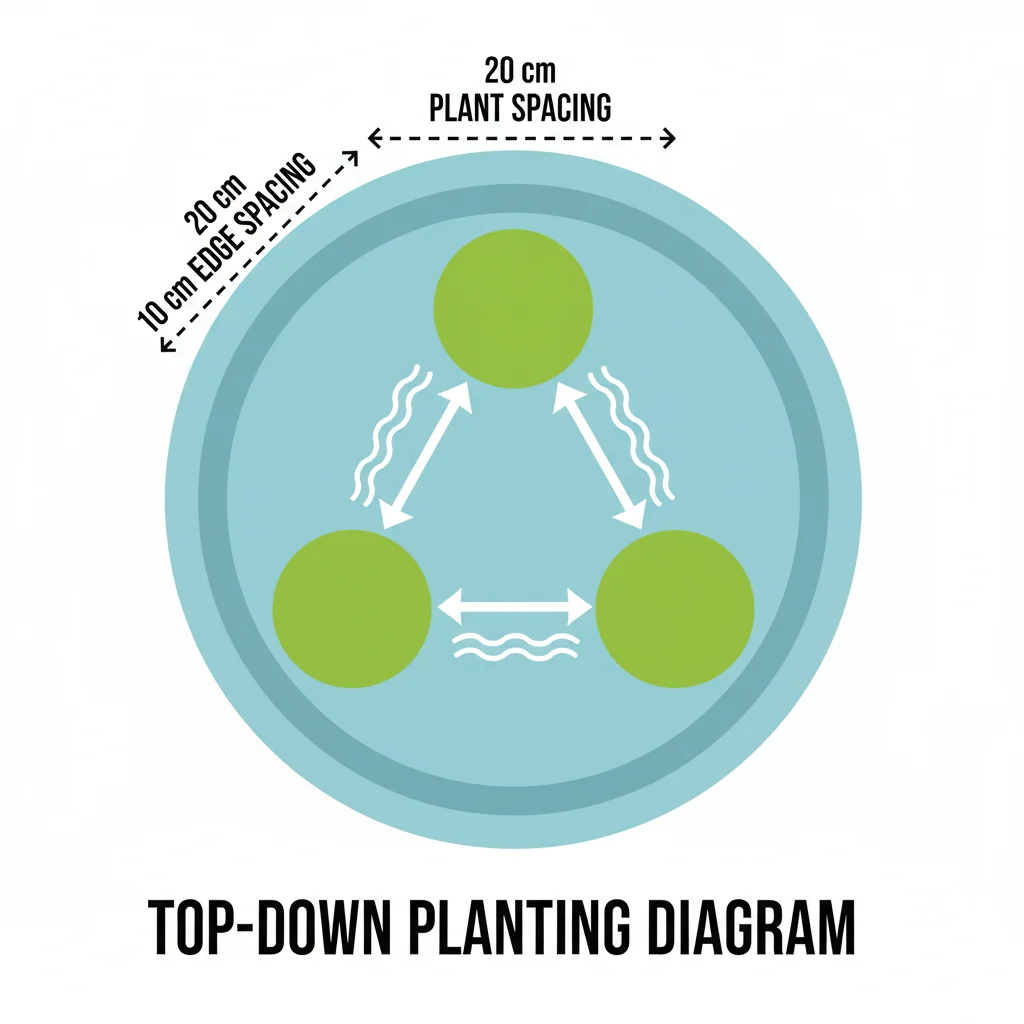
- Depth: A general rule for seeds is to plant them two to three times as deep as their diameter. For transplants, plant them at the same depth they were in their original container.
- Spacing: Space seeds or transplants according to the mature size of the plant. If direct sowing, you may need to thin seedlings once they emerge. Remove weaker seedlings, leaving the strongest ones at the recommended final spacing. This ensures each plant receives adequate resources to thrive. For example, thinning lettuce seedlings to 4-6 inches apart allows individual heads to grow fuller.
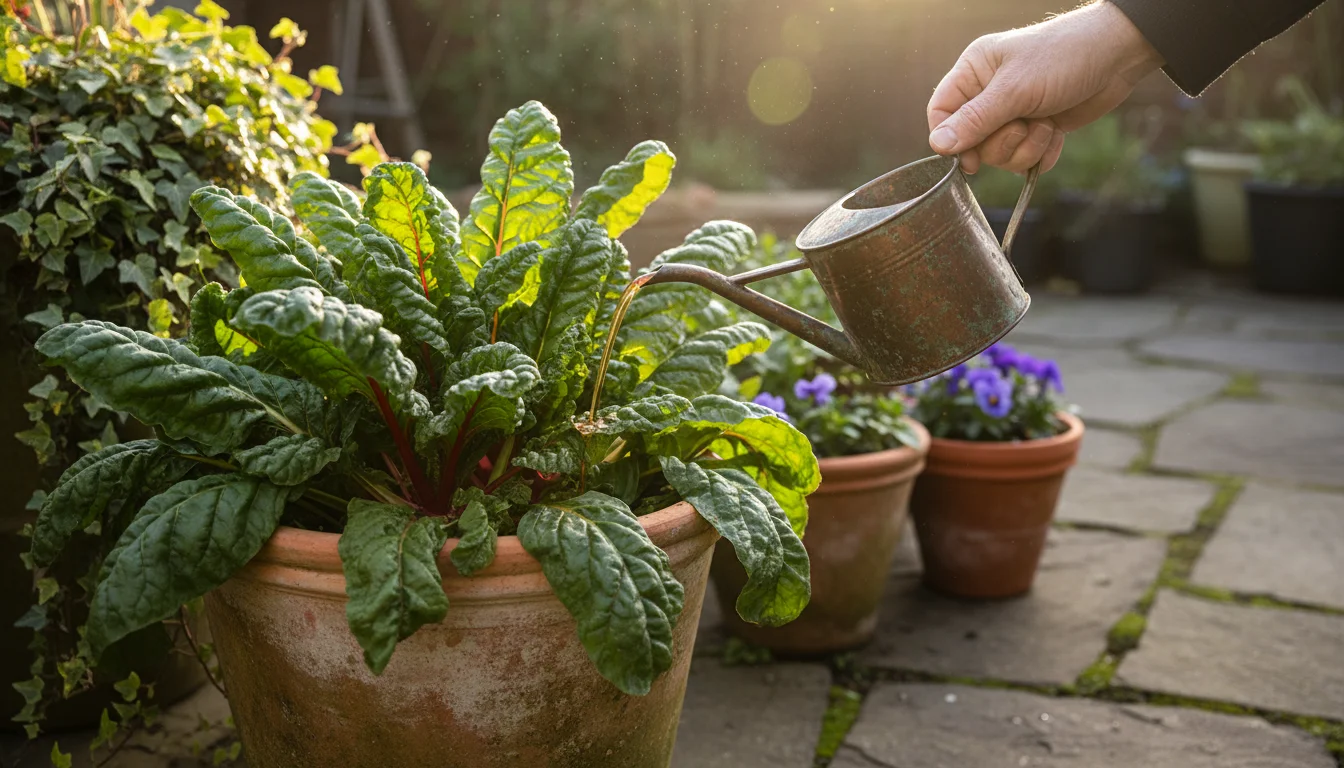
Consistent, gentle watering after planting helps seeds germinate and transplants establish. Use a watering can with a fine rose attachment to avoid dislodging seeds or young plants. Maintain consistent moisture, but avoid overwatering, especially in cooler fall temperatures.

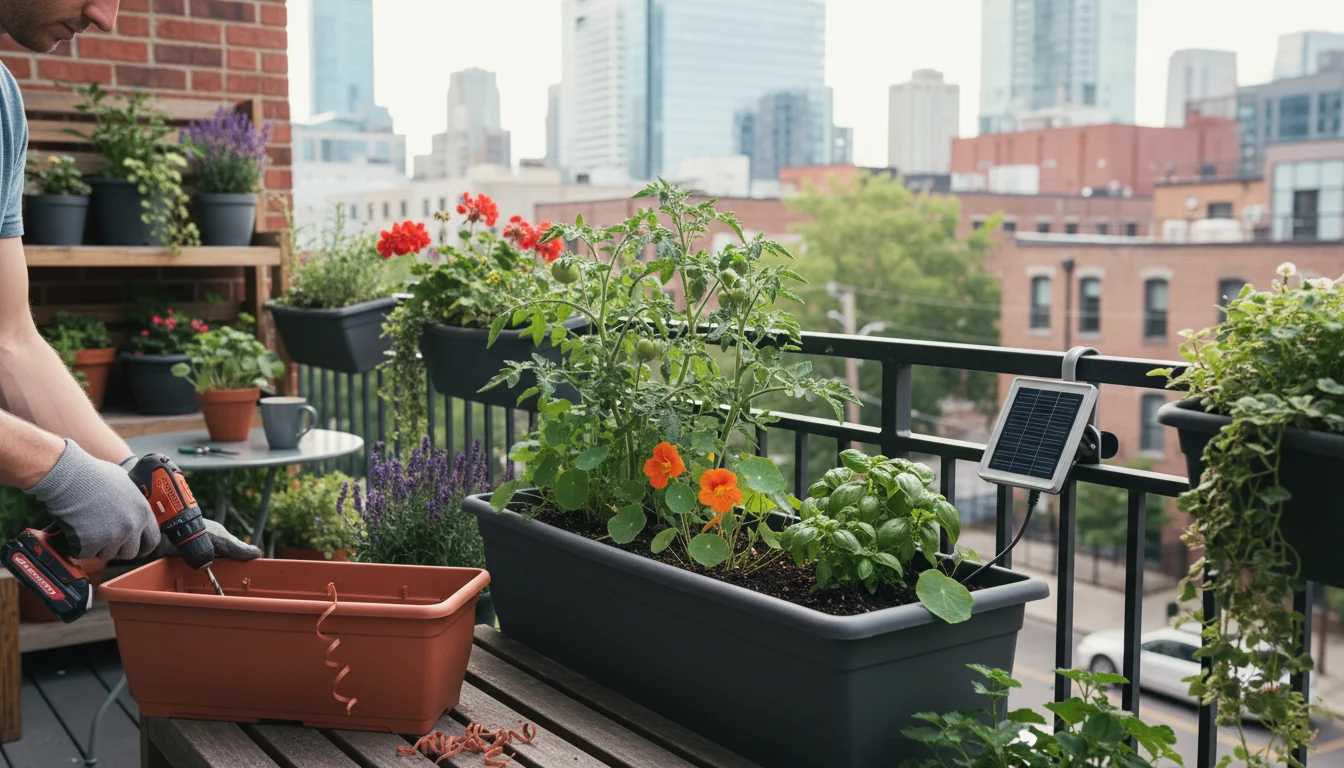
Watering and Feeding Your Autumn Garden
Successful fall container gardening relies on precise watering and appropriate feeding. You must adjust these practices for cooler temperatures and the specific needs of your chosen crops.
Watering Wisdom for Cooler Weather
As temperatures drop, plants generally require less water than during the hot summer months. However, container plants still dry out faster than garden beds. Your goal is to keep the soil consistently moist, not soggy. Overwatering in cool conditions is a common problem, leading to root rot.
- Check Soil Moisture: Do not water on a fixed schedule. Instead, check the soil moisture every day or two. Stick your finger about 1-2 inches deep into the soil. If it feels dry, it’s time to water. If it feels moist, wait. You can also use a soil moisture meter for more precise readings.
- Water Thoroughly: When you do water, water deeply until you see water draining from the bottom of the container. This encourages roots to grow downward, making the plant more resilient. Discard any standing water in saucers after 30 minutes to prevent roots from sitting in saturated soil.
- Time of Day: Water in the morning. This allows excess moisture on leaves and soil surface to evaporate before evening, reducing the risk of fungal diseases.
- Rainfall: Do not assume rainfall sufficiently waters your container plants. The canopy of plants can prevent rain from reaching the soil, and smaller containers may dry out quickly even after a shower. Always check the soil.
Water-wise practices also benefit the environment. Collect rainwater in barrels for your plants, reducing tap water usage. Consider using self-watering containers, which feature a reservoir that wicks water up to the soil, providing consistent moisture with less frequent manual watering.
Nourishing Your Fall Container Garden
While your fresh potting mix provides initial nutrients, fall crops often benefit from supplemental feeding, especially if you plan multiple harvests or have dense plantings. Focus on organic, balanced fertilizers that support vegetative growth.
- Initial Feeding: If your potting mix did not include slow-release fertilizer, consider incorporating a balanced organic granular fertilizer (e.g., 5-5-5 or similar NPK ratio) at planting time, according to package directions.
- Liquid Fertilizers: For leafy greens and quick-growing crops, a diluted liquid organic fertilizer (like fish emulsion or a balanced plant-based fertilizer) applied every 2-4 weeks after plants establish (usually 2-3 weeks post-germination or transplanting) works well. Dilute to half or quarter strength to avoid over-fertilizing, especially in cooler conditions where plants absorb nutrients more slowly.
- Compost Tea: You can brew compost tea by soaking finished compost in water for a day or two. Strain the liquid and use it to water your plants. This provides a gentle boost of nutrients and beneficial microbes.
- Avoid Over-Fertilizing: Too much nitrogen can lead to lush foliage but weak plants, and can also contribute to nutrient runoff. Observe your plants. Yellowing lower leaves might indicate a nutrient deficiency, while burnt leaf tips suggest over-fertilization.
Choose sustainable fertilizers that are safe for edible crops and do not harm the environment. Look for products certified organic or derived from natural sources. Supporting soil health with compost and mycorrhizal fungi inoculants also boosts plant vitality and reduces reliance on synthetic inputs.
Frost Protection and Seasonal Care
As autumn progresses, the risk of frost increases. Protecting your fall container crops from freezing temperatures is essential for extending your harvest and maximizing your yield. You can employ several simple strategies to safeguard your plants.
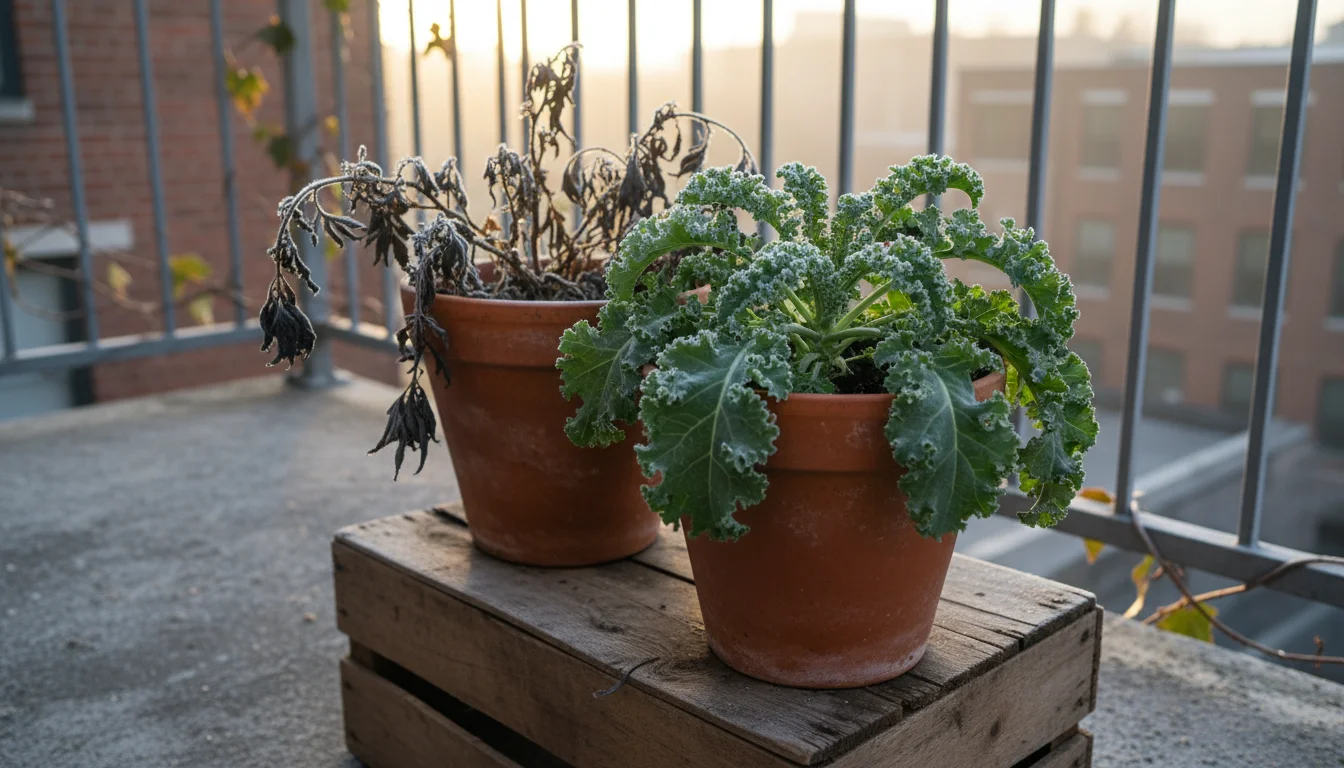
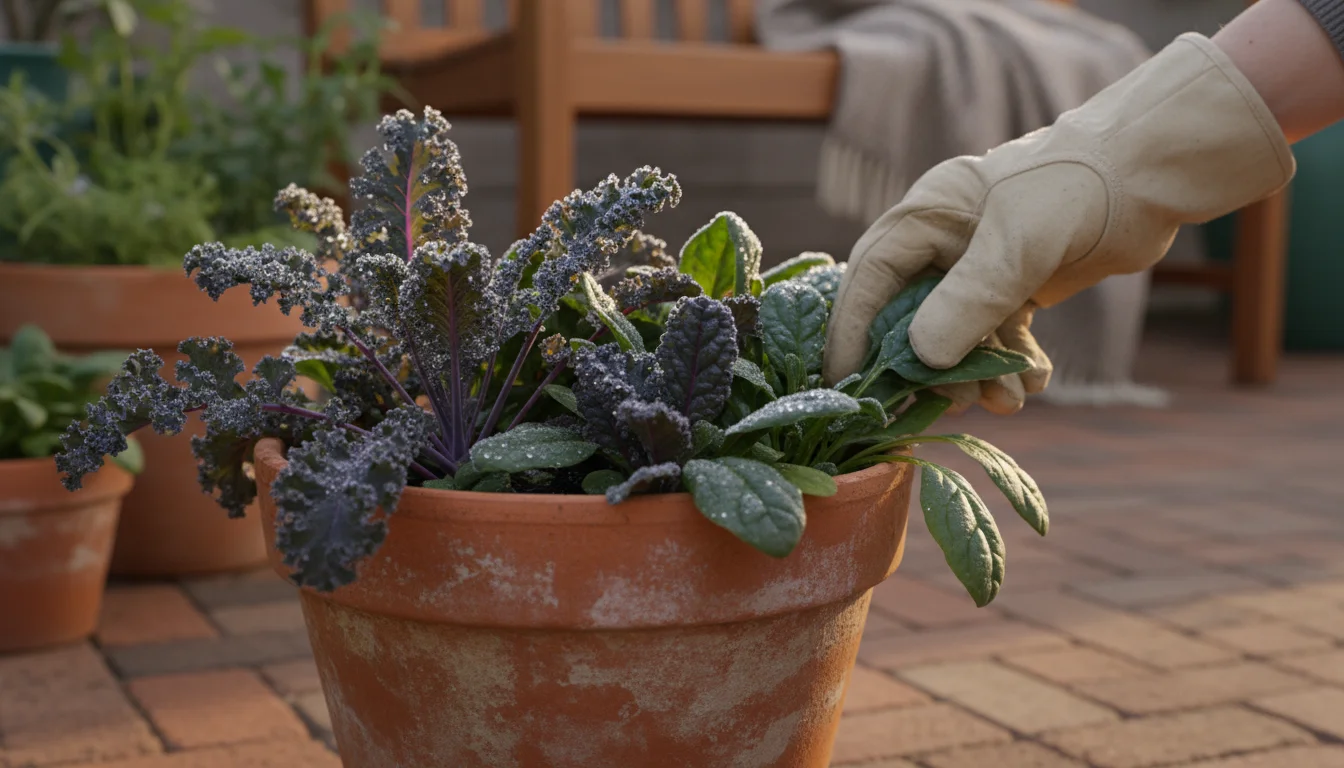
Understanding Frost and Its Impact
A light frost occurs when temperatures drop to 32-34°F (0-1°C). This can damage tender plant tissues, causing leaves to wilt and turn black. A hard freeze (temperatures below 28°F or -2°C for several hours) can kill most unprotected annuals. Many fall crops like kale, spinach, and Swiss chard are frost-tolerant, meaning they can withstand light frosts without significant damage. In fact, light frosts often improve their flavor, making them sweeter. However, even these hardy plants need protection from a hard freeze.

Simple Frost Protection Methods
You have several practical options for protecting your container plants:
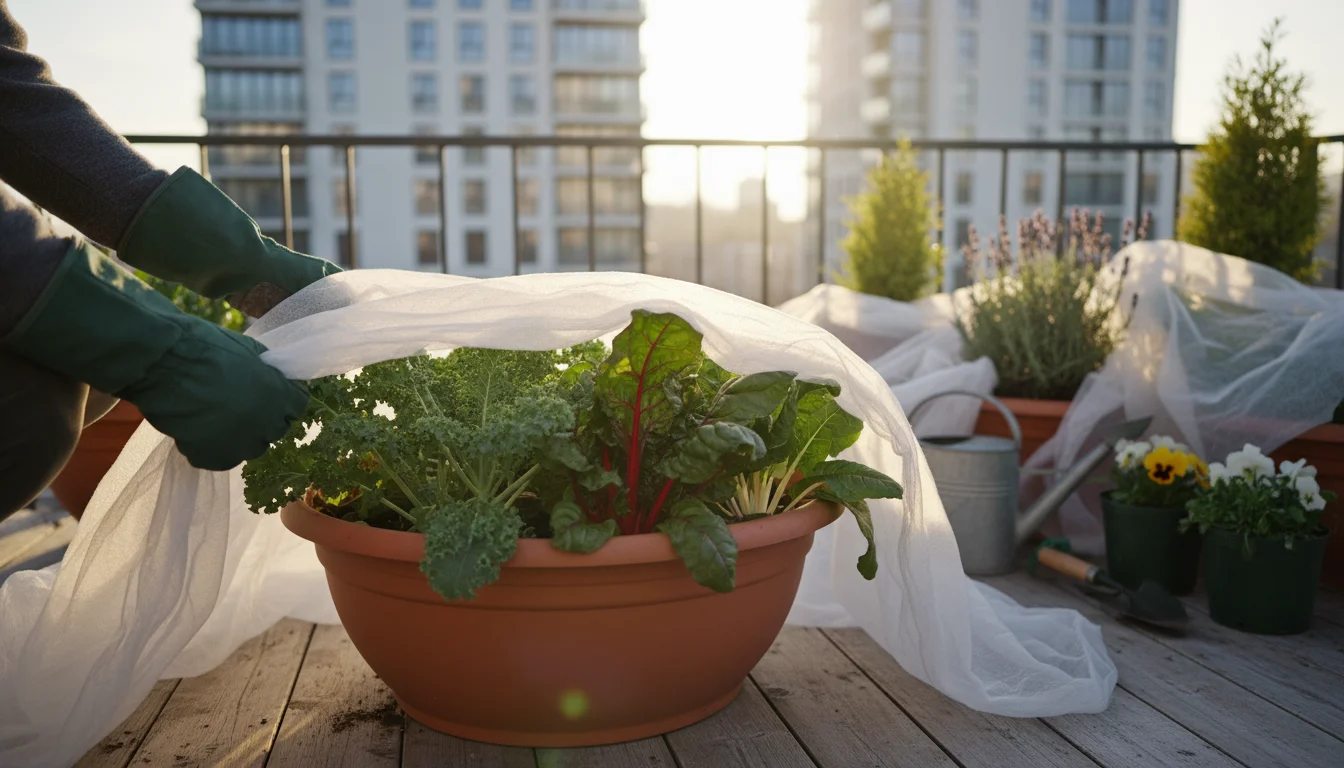
- Relocate Containers: This is the easiest method for small-space gardeners. Before a forecasted frost, move containers to a sheltered location, such as a garage, shed, covered porch, or even indoors for the night. Return them outside once temperatures rise above freezing. This protects plants from direct cold and wind.
- Cover Plants: For larger containers or plants that are difficult to move, use row covers, old sheets, blankets, or burlap to create a protective barrier. Drape the material over plants, ensuring it does not touch the foliage directly if possible. Support it with stakes or tomato cages to create a mini-tent. Anchor the covers to the ground to trap residual heat. Remove covers in the morning once temperatures rise, allowing plants to access sunlight and air.
- Watering Before a Freeze: Water your plants thoroughly the day before a predicted freeze. Moist soil retains heat better than dry soil, radiating warmth that can protect roots and lower plant parts.
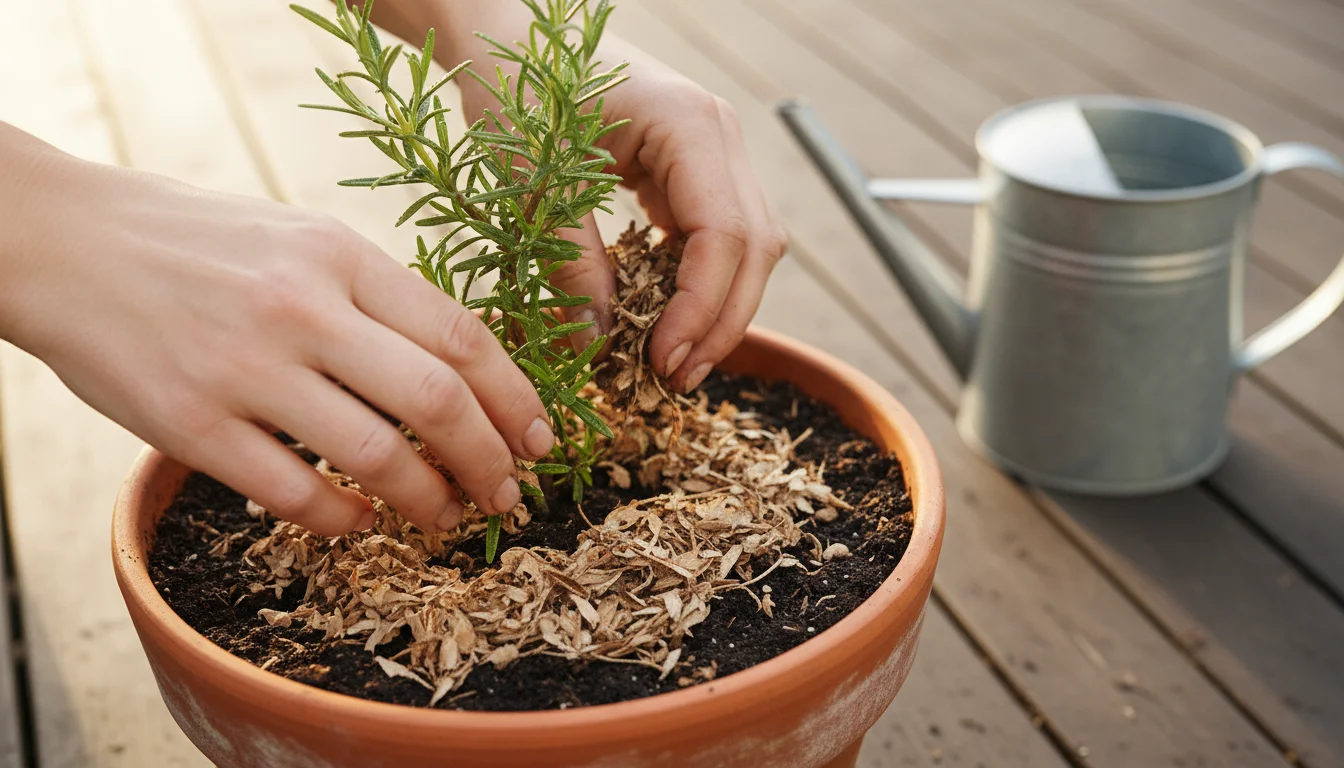
- Mulching: Apply a thick layer of organic mulch (like straw, shredded leaves, or wood chips) to the soil surface in your containers. Mulch insulates the soil, protecting roots from freezing temperatures. It also helps retain moisture and slowly adds organic matter as it breaks down.
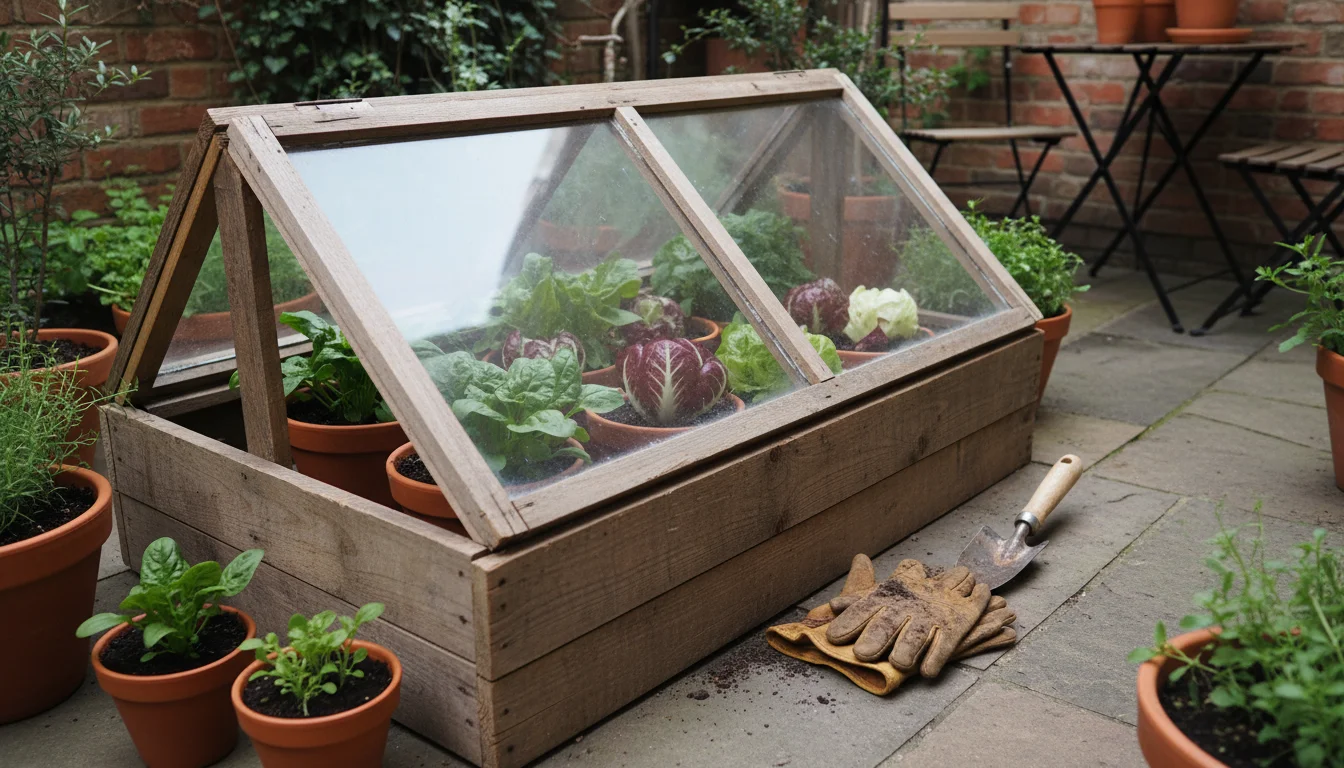
Extending the Season
Beyond frost protection, you can take steps to truly extend your autumn harvest. Cold frames, cloches, or mini-greenhouses offer more permanent solutions for season extension. A cold frame is essentially a bottomless box with a transparent lid that traps solar heat, creating a warmer microclimate for your plants. You can build simple cold frames from old windows or clear plastic panels. Cloches are individual plant covers, often bell-shaped, that protect single plants. These tools allow you to continue growing well into winter in many climates, significantly prolonging your fresh produce supply.
Troubleshooting Common Fall Challenges
Even with careful planning, your fall container garden may encounter a few challenges. Recognizing symptoms and knowing simple, eco-friendly solutions helps you maintain healthy, productive plants.
Pest Management
While pest pressure generally decreases in fall, some common culprits persist. You want to identify pests early and intervene effectively without harsh chemicals.
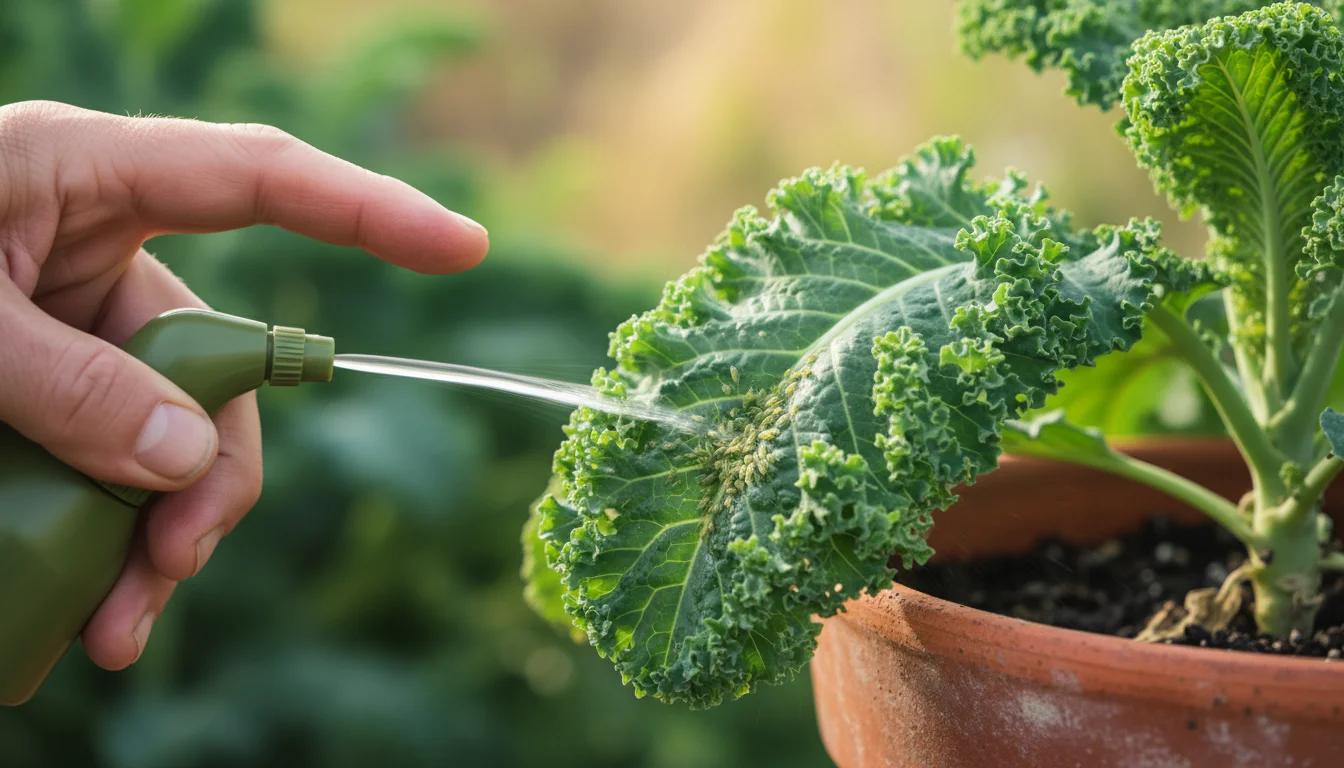
- Aphids: Small, soft-bodied insects clustering on new growth, causing distorted leaves.
- Solution: Spray plants with a strong stream of water to dislodge them. For heavier infestations, apply insecticidal soap or neem oil, ensuring full coverage of affected areas. Introduce beneficial insects like ladybugs if the problem is persistent.
- Cabbage Worms/Loopers: Green caterpillars that chew holes in brassica leaves.
- Solution: Handpick caterpillars from plants. Use Bacillus thuringiensis (Bt), an organic bacterial spray effective against caterpillars, according to package directions. Row covers can prevent moths from laying eggs.
- Slugs and Snails: Leave irregular holes in leaves and silvery slime trails. More active in damp, cool weather.
- Solution: Handpick them at night. Set beer traps (shallow dishes of beer buried to rim) or use organic slug baits containing iron phosphate. Improve air circulation and reduce dampness around containers.
Regular inspection is your best defense. Check the undersides of leaves and new growth weekly. Healthy, well-nourished plants are naturally more resistant to pests.
Disease Prevention and Treatment
Cooler, damper fall conditions can sometimes favor fungal diseases. Good cultural practices are your primary prevention.
- Powdery Mildew: White, powdery spots on leaves, often on squash, cucumbers, or beans (though less common for typical fall crops, it can appear on some brassicas).
- Solution: Improve air circulation by proper plant spacing. Remove severely affected leaves. You can spray with a solution of baking soda (1 teaspoon per quart of water with a few drops of dish soap) or an organic fungicide.
- Damping-Off: Seedlings collapse at the soil line, often caused by fungi in overly wet soil.
- Solution: Ensure excellent drainage. Use sterile seed-starting mix. Avoid overwatering. Provide good air circulation.
You can prevent most diseases by using clean containers, fresh potting mix, practicing good air circulation, and avoiding overhead watering in favor of watering at the soil level.
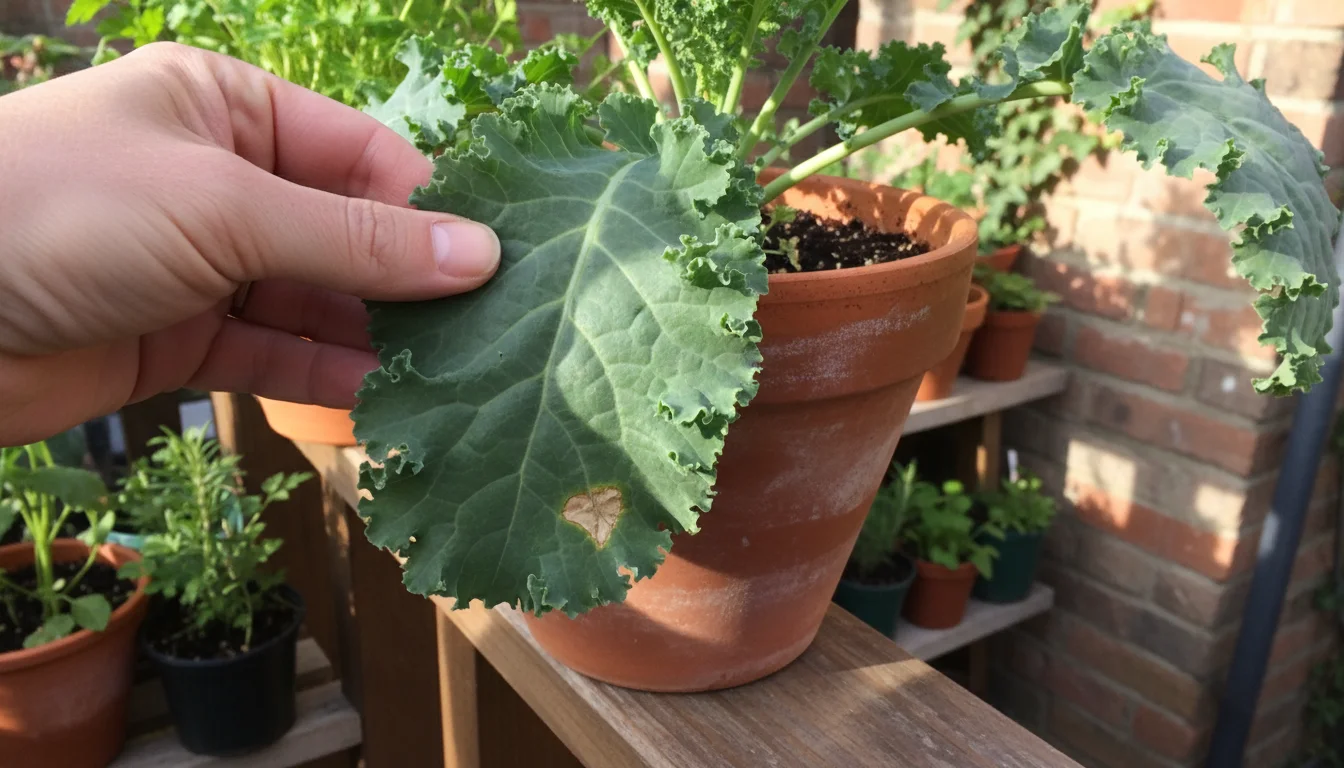
Environmental Issues
- Bolting (Premature Flowering): Occurs when leafy greens experience stress, often from sudden warm spells, inconsistent watering, or overcrowding, causing them to send up a flower stalk and become bitter.
- Solution: Plant cool-season varieties. Ensure consistent moisture and consider providing afternoon shade during unseasonably warm fall days. Harvest leaves regularly to encourage vegetative growth. If a plant bolts, harvest all usable leaves immediately, as flavor deteriorates quickly.
- Yellowing Leaves: Can indicate nutrient deficiency, overwatering, or underwatering.
- Solution: First, check soil moisture. If soil is wet, reduce watering. If dry, water deeply. If moisture is consistent, consider a diluted liquid fertilizer to provide a nutrient boost. Ensure proper drainage.
By staying vigilant and responding promptly to any issues, you maintain a productive and healthy fall container garden. Remember, a thriving plant is your best defense against most problems.
Harvesting and Enjoying Your Bounty
The culmination of your fall container gardening efforts is the harvest. Knowing when and how to pick your crops ensures maximum flavor, tenderness, and encourages continued production. You want to harvest regularly to keep plants producing throughout the season.
When to Harvest
Harvest times vary by crop, but general guidelines help you determine peak ripeness:
- Leafy Greens (Spinach, Lettuce, Kale, Chard, Arugula): Begin harvesting outer leaves once they reach a usable size, usually 4-6 inches long. This “cut-and-come-again” method encourages the plant to produce more leaves from its center. For full heads of lettuce, wait until the head is firm and fully formed.
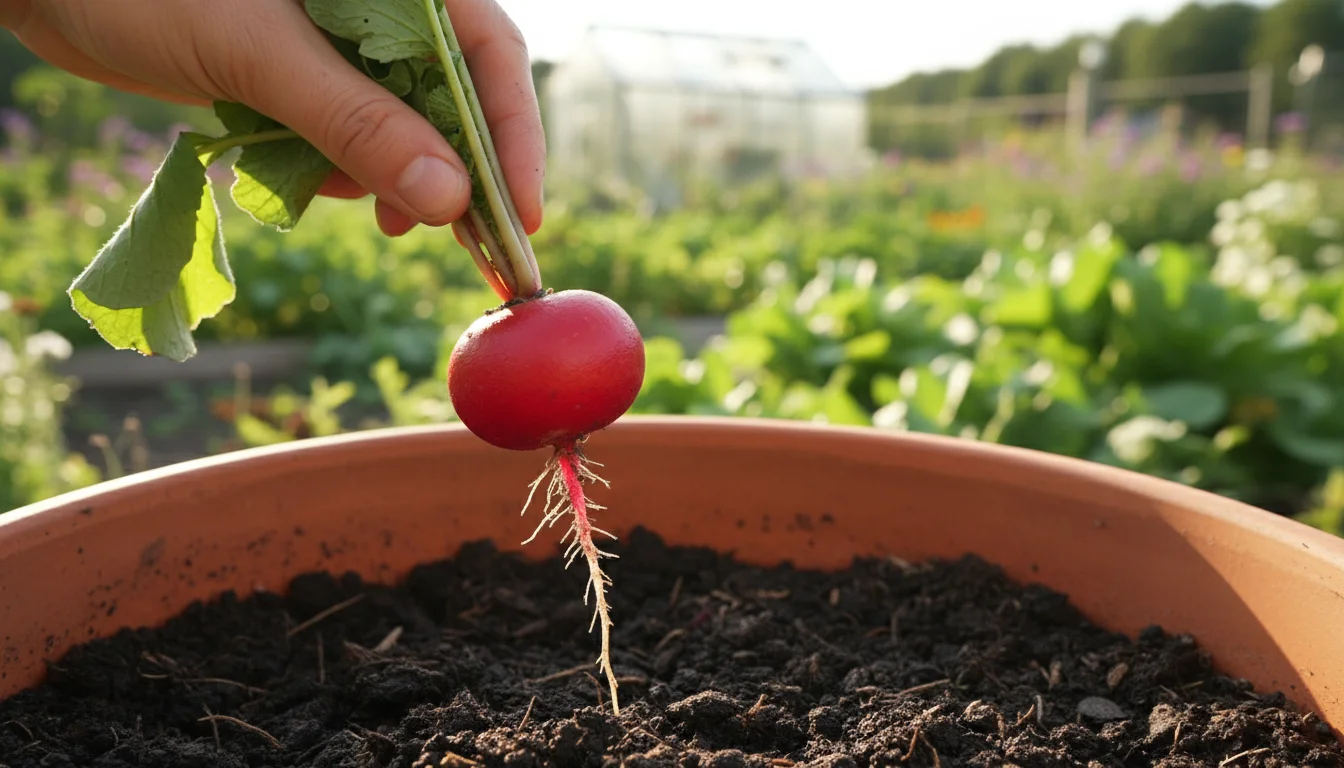
- Radishes: Harvest when the root reaches 1/2 to 1 inch in diameter. Pull one to check size. Overgrown radishes become woody and hot.
- Carrots: Harvest when the tops of the roots begin to show above the soil and reach desired size (check seed packet for specific variety). Gently loosen the soil around the carrot before pulling to avoid breaking the root.
- Beets: Harvest greens when young and tender. Harvest roots when they are 1-3 inches in diameter. Smaller beets are generally more tender.
- Kohlrabi: Harvest when the swollen stem (bulb) reaches 2-3 inches in diameter. Larger kohlrabi can become tough and woody.
- Broccoli Rabe: Harvest the central shoot when flower buds are tightly formed, before they open. Continue to harvest side shoots that emerge.
- Herbs (Cilantro, Parsley): Harvest outer leaves as needed. Regular harvesting encourages bushier growth.
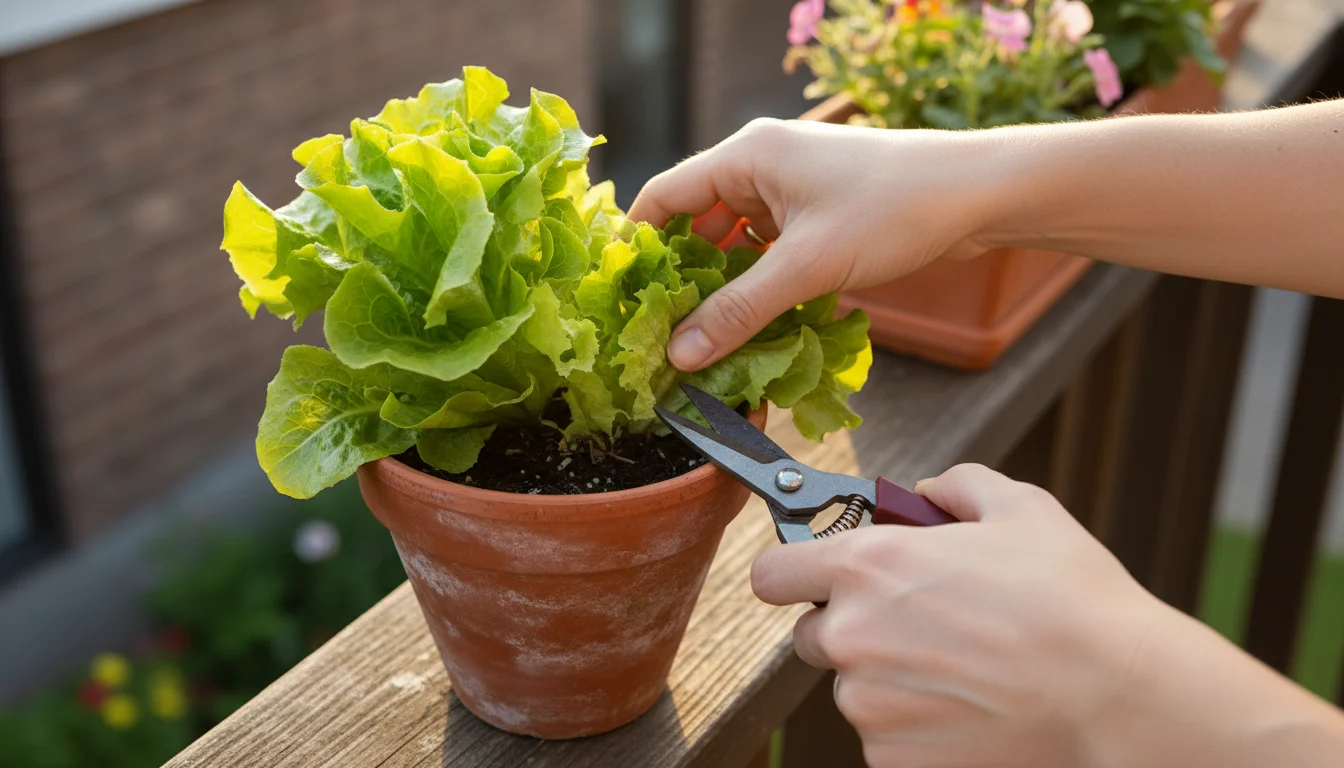
How to Harvest
Use clean, sharp scissors or a knife for most leafy greens and herbs. This prevents tearing and minimizes damage to the plant. For root vegetables, gently loosen the soil before pulling to ensure the root comes out intact.
- For leafy greens: Snip off outer leaves at the base, leaving the central growing point intact. This allows the plant to continue producing. Avoid harvesting more than one-third of the plant’s leaves at a time to prevent stressing it.
- For root vegetables: Grasp the base of the foliage firmly and pull gently. If resistance is high, use a small trowel to carefully loosen the soil around the root.
- For broccoli rabe: Cut the main stem when the head is small and buds are tight. Side shoots will emerge for subsequent harvests.
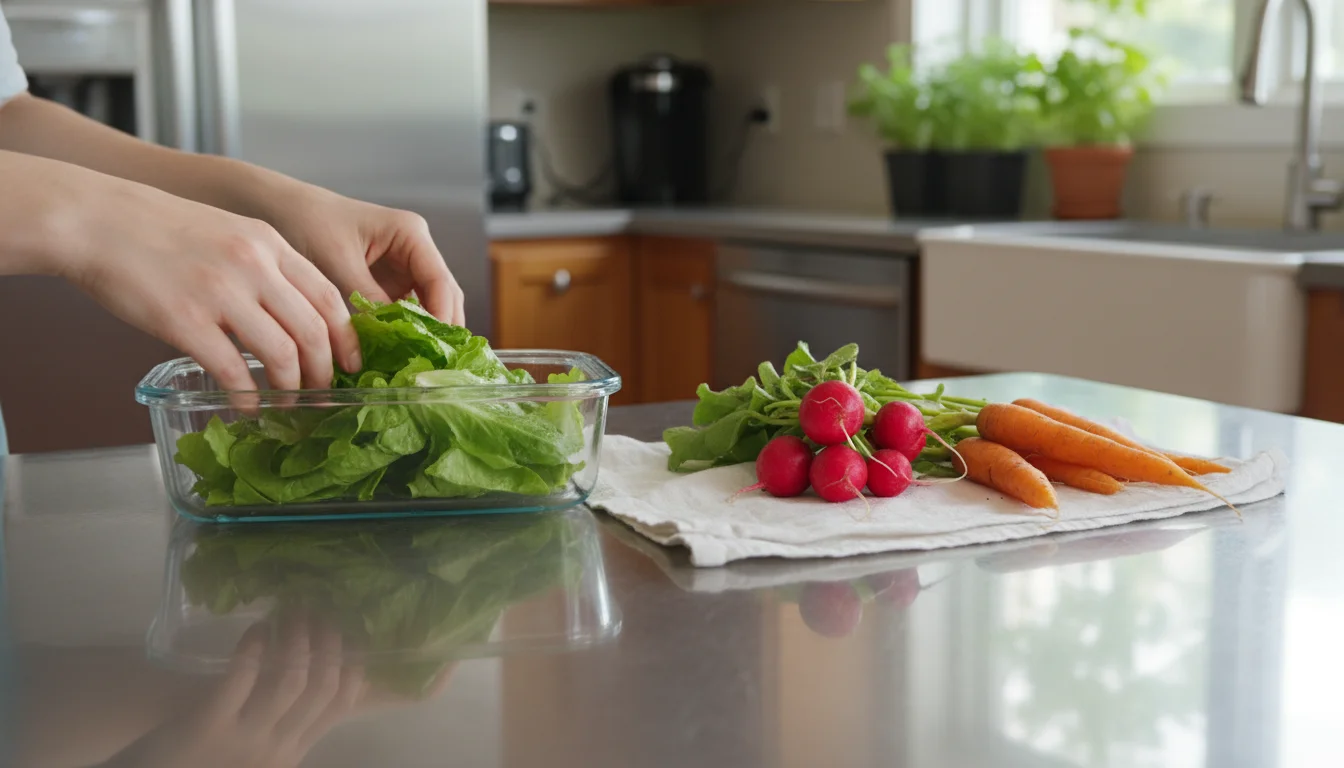
Post-Harvest Care and Storage
After harvesting, wash your vegetables thoroughly under cool, running water. Store leafy greens in an airtight container or bag in the refrigerator, often with a damp paper towel, to maintain freshness for several days. Root vegetables store well in a cool, dark place or in the refrigerator. Enjoy your fresh produce immediately to savor its peak flavor and nutritional value. Regular harvesting is key to getting the most from your fall container crops, often stimulating new growth and prolonging your delicious bounty.
Sustainable Practices for Fall Gardening
Embracing sustainable practices in your fall container garden benefits both your plants and the environment. You reduce waste, conserve resources, and build healthier soil ecosystems. Simple, eco-friendly habits contribute to a more resilient and productive garden.

Composting Kitchen Scraps and Plant Debris
Composting is a cornerstone of sustainable gardening. Instead of sending kitchen scraps (vegetable and fruit peels, coffee grounds, tea bags) and spent plant material to the landfill, transform them into nutrient-rich compost. A small countertop composter or a worm bin (vermicomposting) is perfect for small-space gardeners. Once decomposed, compost enhances your potting mix, improving soil structure, water retention, and nutrient availability. This “black gold” reduces your reliance on purchased fertilizers and closes the nutrient loop in your garden.
Water Conservation
Water is a precious resource, and you can minimize its use in your container garden:
- Morning Watering: Water early in the day to reduce evaporation.
- Check Soil Moisture: Water only when plants truly need it, based on soil moisture checks.
- Mulch: Apply a layer of organic mulch (straw, shredded leaves) to the top of your containers. This significantly reduces water evaporation from the soil surface, keeping moisture levels more consistent. Mulch also insulates roots from temperature fluctuations.
- Rainwater Harvesting: If feasible, collect rainwater in a small barrel or bucket. Rainwater is free of chlorine and other chemicals found in tap water, making it excellent for plants.
Reusing and Recycling Containers and Soil
You can extend the life of your gardening supplies and minimize waste:
- Container Reuse: Clean and reuse old plastic or terracotta pots season after season. Before reusing, wash them thoroughly with a dilute bleach solution (1 part bleach to 9 parts water) or a strong soap solution to kill any lingering pathogens. Rinse thoroughly.
- Soil Reuse: Do not discard old potting mix. While its nutrients deplete and structure degrades, you can revitalize it. Mix old potting soil with fresh compost (about 25-50% compost by volume) and a new peat-free potting mix. This replenishes nutrients and improves structure, making it suitable for new plantings. Adding a handful of perlite can also help improve aeration if the old soil has compacted.
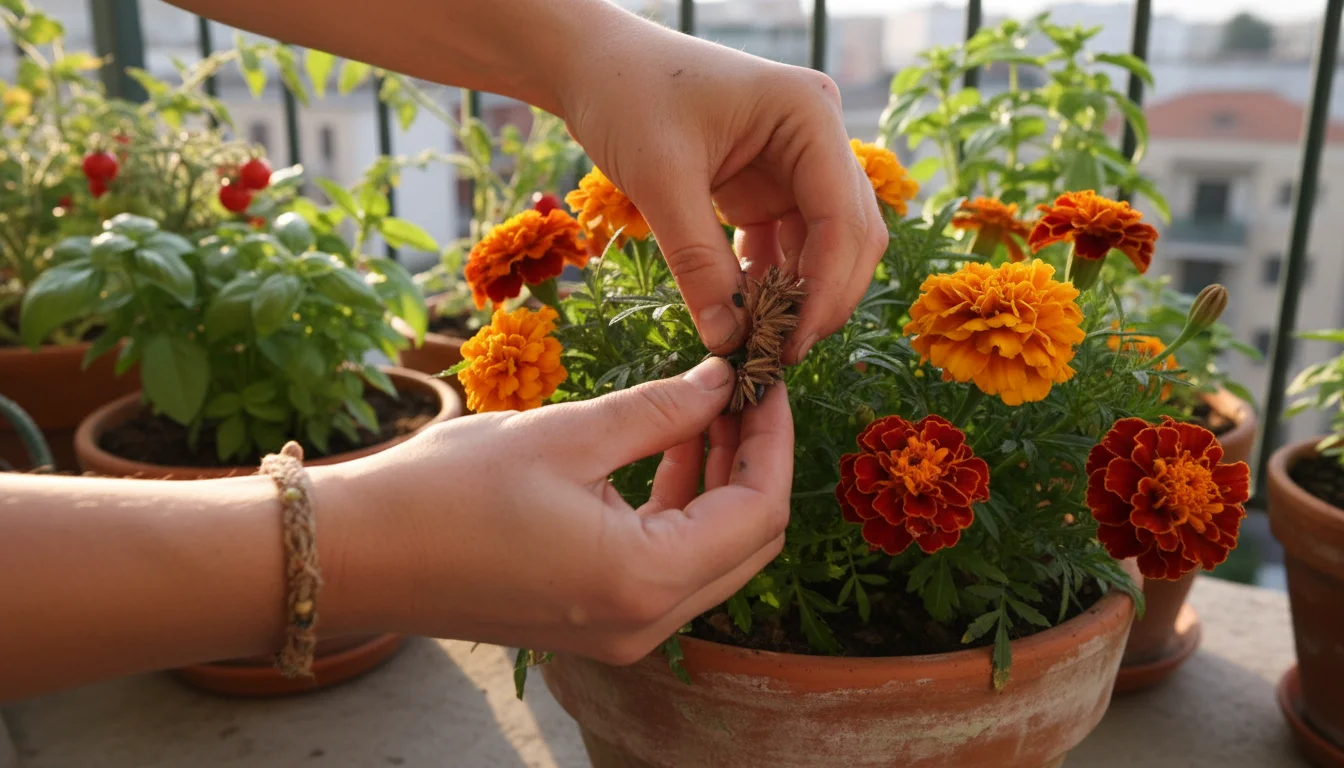
Seed Saving and Heirloom Varieties
Consider growing open-pollinated or heirloom varieties of certain crops. This allows you to save seeds from your healthiest plants for future planting, fostering self-sufficiency and preserving genetic diversity. Saving seeds reduces your cost and ensures you have access to varieties that perform well in your specific gardening conditions. Ensure you save seeds from plants that show desirable traits and are free from disease. Learn more about seed saving practices from organizations like the Seed Savers Exchange.
Integrated Pest Management (IPM)
Practice IPM by focusing on prevention and non-toxic solutions for pest control. Encourage beneficial insects by planting companion flowers. Use physical barriers like row covers. Only resort to organic sprays like insecticidal soap or neem oil when necessary, targeting specific pests. This approach minimizes harm to the environment and promotes a balanced garden ecosystem.
Frequently Asked Questions
How do I know when it’s too late to plant fall container crops?
You can determine if it is too late by working backward from your region’s average first hard frost date. Most fall crops need 30-70 days to mature. Add an extra 2-4 weeks to the seed packet’s “days to maturity” because cooler fall temperatures slow plant growth. If your calculated planting date has passed, consider planting quick-maturing leafy greens or using larger transplants for a head start.
Can I grow fall crops in containers indoors?
Yes, you can. Many leafy greens and herbs thrive indoors on a sunny windowsill, especially with supplemental grow lights. You need at least 4-6 hours of direct sunlight or 12-16 hours under a grow light for best results. Ensure good air circulation and check for pests regularly, as indoor environments can be prone to certain issues.
What is the biggest mistake beginners make with fall container gardening?
The biggest mistake is often inconsistent watering. While fall plants require less water than summer plants, containers dry out. Overwatering can lead to root rot in cool, damp conditions, while underwatering stresses plants. You must check the soil moisture with your finger daily and water only when the top 1-2 inches feel dry.
My leafy greens are turning yellow. What should I do?
Yellowing leaves often signal either nutrient deficiency or watering issues. First, check your soil moisture. If it is consistently wet, reduce watering to prevent root rot. If dry, water deeply. If moisture is consistent, your plant might need nutrients. Apply a diluted liquid organic fertilizer to provide a gentle nutrient boost. Ensure your container has good drainage, preventing water from pooling at the bottom.
Can I grow more than one type of vegetable in a single container?
Yes, you can. This practice is called companion planting or polyculture. You should combine plants with similar light and water requirements and complementary growth habits. For example, plant shallow-rooted leafy greens around a deeper-rooted beet or carrot. Ensure the container is large enough to support all plants without overcrowding, allowing adequate space for root development and air circulation. Consider combining plants that mature at different rates so you can harvest one crop and leave space for another to grow.