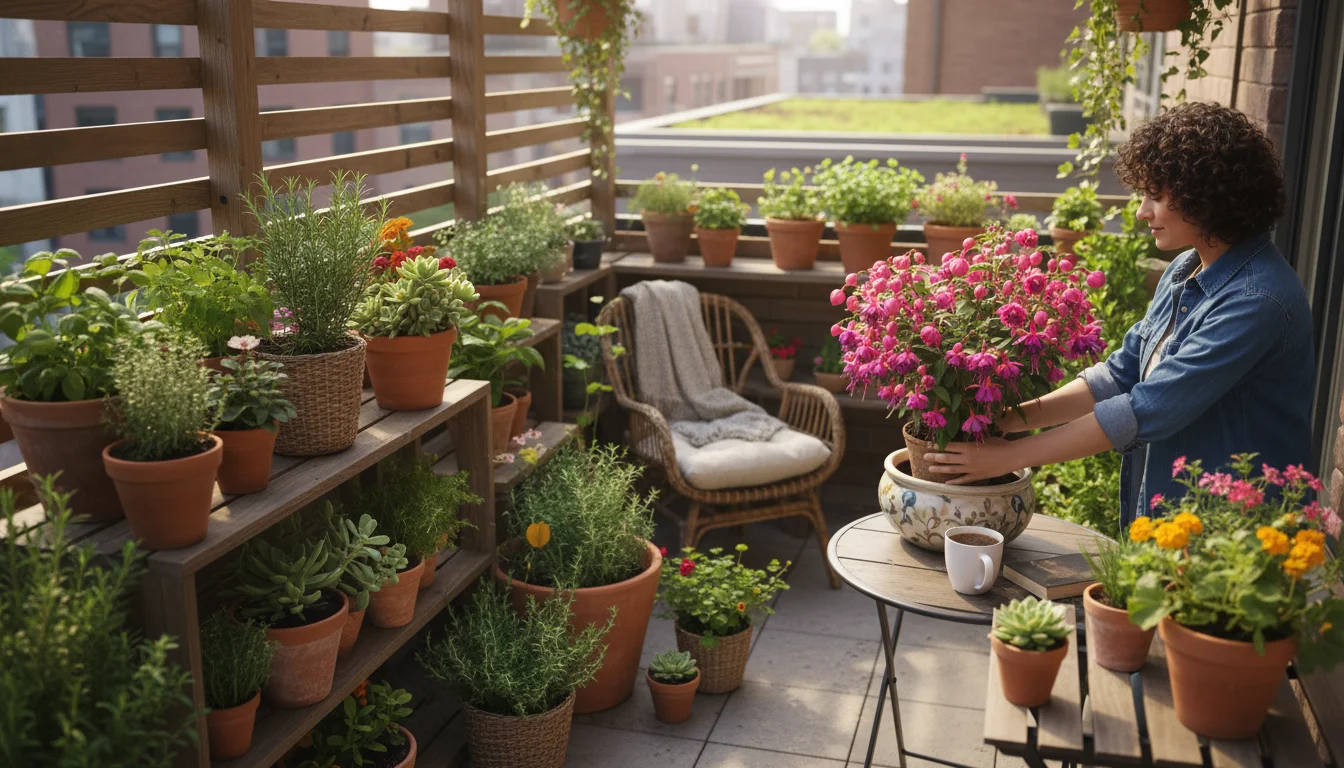
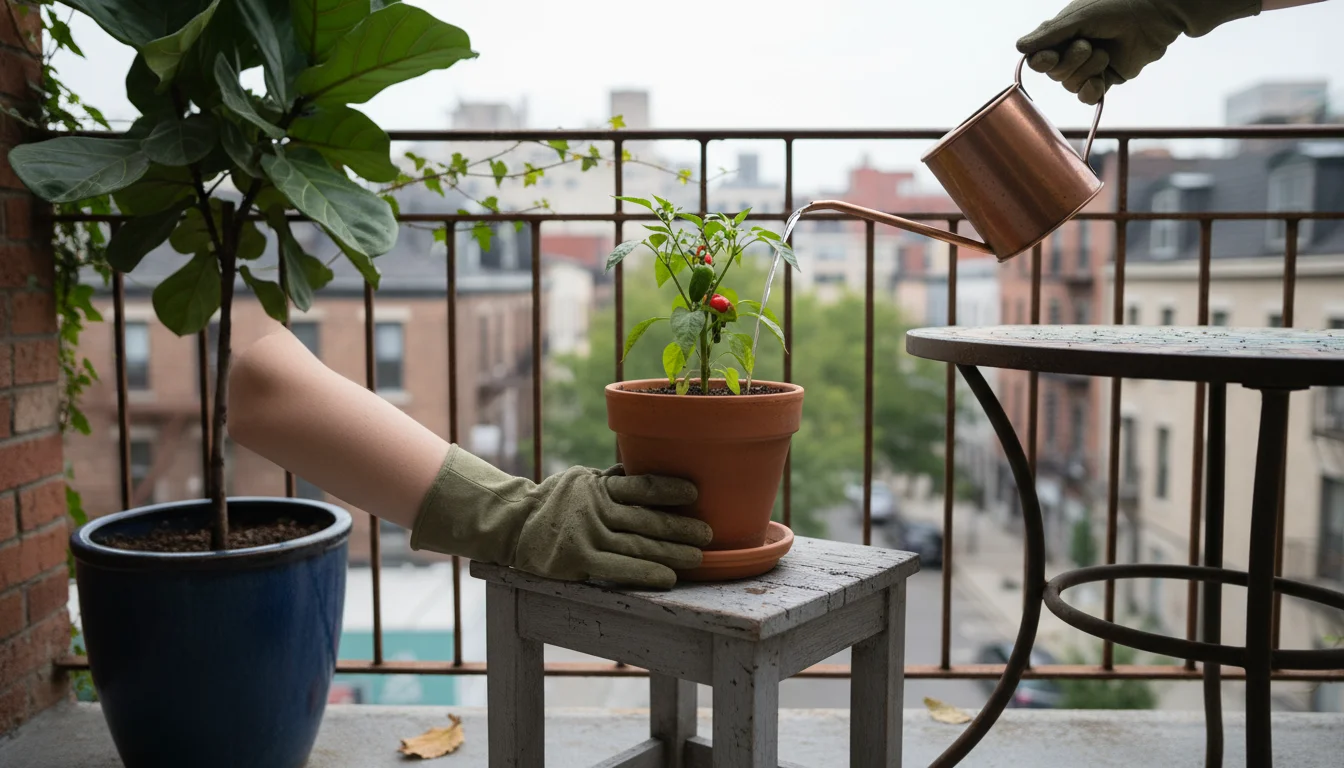
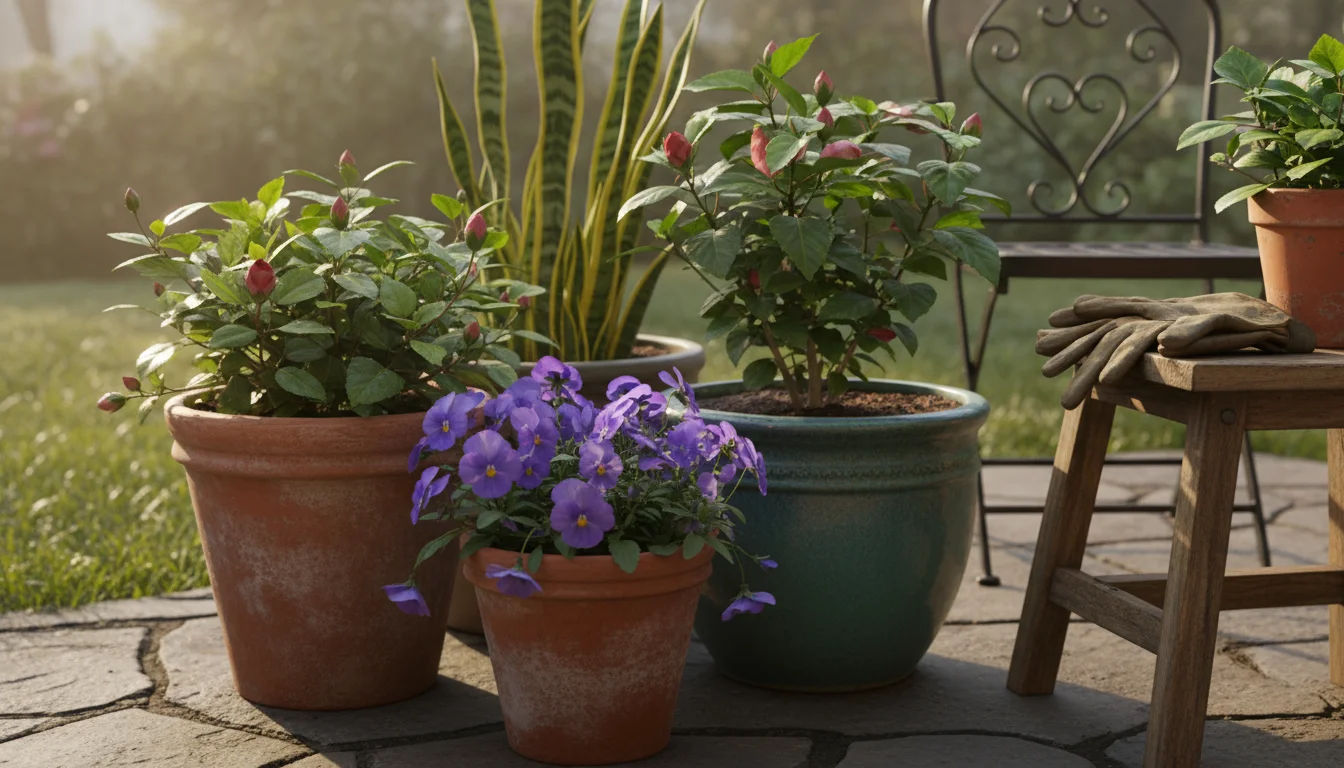
Your garden, whether a sprawling backyard or a small balcony, offers a dynamic canvas for beauty and growth. The secret to maintaining vibrant, healthy plants and continuous visual appeal throughout the year often lies in a strategy known as seasonal plant swaps. This approach involves rotating your potted plants, moving them between indoor and outdoor environments, and choosing species that thrive in specific conditions as the seasons change. It transforms your gardening from a static display into a living, evolving landscape, even in the smallest of spaces.
Embracing seasonal plant swaps gives you the power to keep your plant collection thriving, prevent common issues, and refresh your living spaces without constant overhauls. You will discover how thoughtful rotation maximizes light exposure, optimizes temperature conditions, and minimizes pest and disease problems. This guide empowers you with the knowledge to make intelligent choices for your plants, ensuring they receive the care they need to flourish no matter the season. You are about to unlock a simpler, more rewarding way to garden.

The Power of Seasonal Plant Swaps
Seasonal plant swaps represent more than just moving pots around. This practice is a strategic gardening technique offering a multitude of benefits for both your plants and your enjoyment of them. It ensures continuous interest in your garden and home, prevents plant burnout, and actively contributes to healthier, more robust specimens. Consider these advantages:
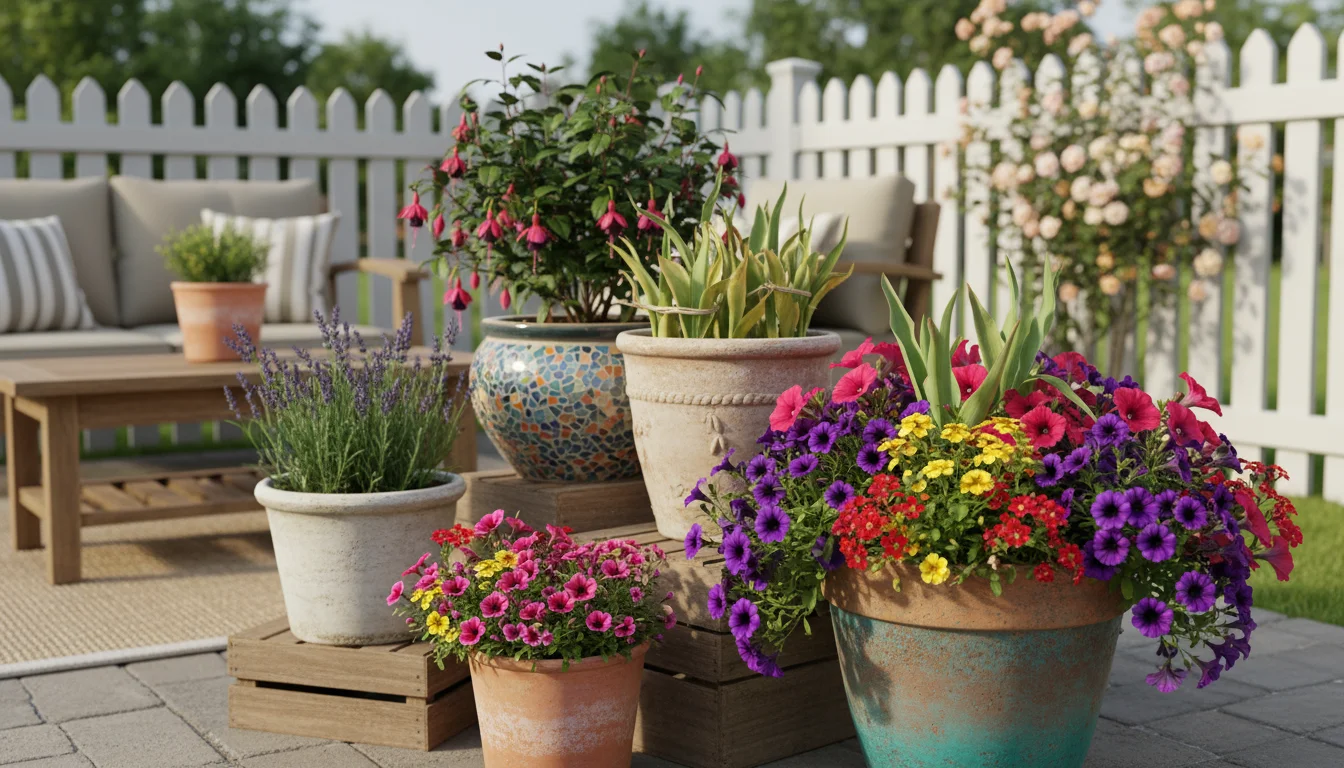
Continuous Visual Appeal
Imagine your space always looking fresh and engaging. Seasonal plant swaps make this vision a reality. As one plant group finishes its display, another takes its place, ready to shine. For example, spring-flowering bulbs can transition out as summer annuals move in, ensuring your pots remain vibrant. This rotation prevents the dull periods often seen when relying on a single plant palette year-round, keeping your small garden dynamic and exciting.

Optimal Growth Conditions
Plants are living organisms with specific needs for light, temperature, and humidity. These conditions fluctuate dramatically with the seasons. A sunny window in winter might become too intense in summer, and outdoor temperatures perfect for growth in spring can turn deadly in a summer heatwave. Seasonal plant swaps allow you to relocate your plants to environments where they receive their ideal conditions. For instance, moving sun-loving tropicals outdoors for the summer provides them with the intense light they crave, leading to stronger growth and more abundant blooms, while bringing them indoors before frost protects them from cold damage. This proactive adjustment directly translates to healthier plants.
Pest and Disease Prevention
Pests and diseases often thrive under specific environmental conditions. Bringing plants indoors for winter without inspection can introduce unwanted guests, while leaving susceptible plants outdoors during peak pest season can lead to infestations. By performing seasonal plant swaps, you create opportunities for thorough inspection. Before moving plants, you can check for pests, treat any issues, and clean foliage, significantly reducing the likelihood of widespread problems. This practice also breaks the life cycles of some pests that might otherwise become established. For example, bringing citrus plants indoors can help avoid outdoor scale infestations, while moving herbs outside can help reduce indoor fungus gnat populations.
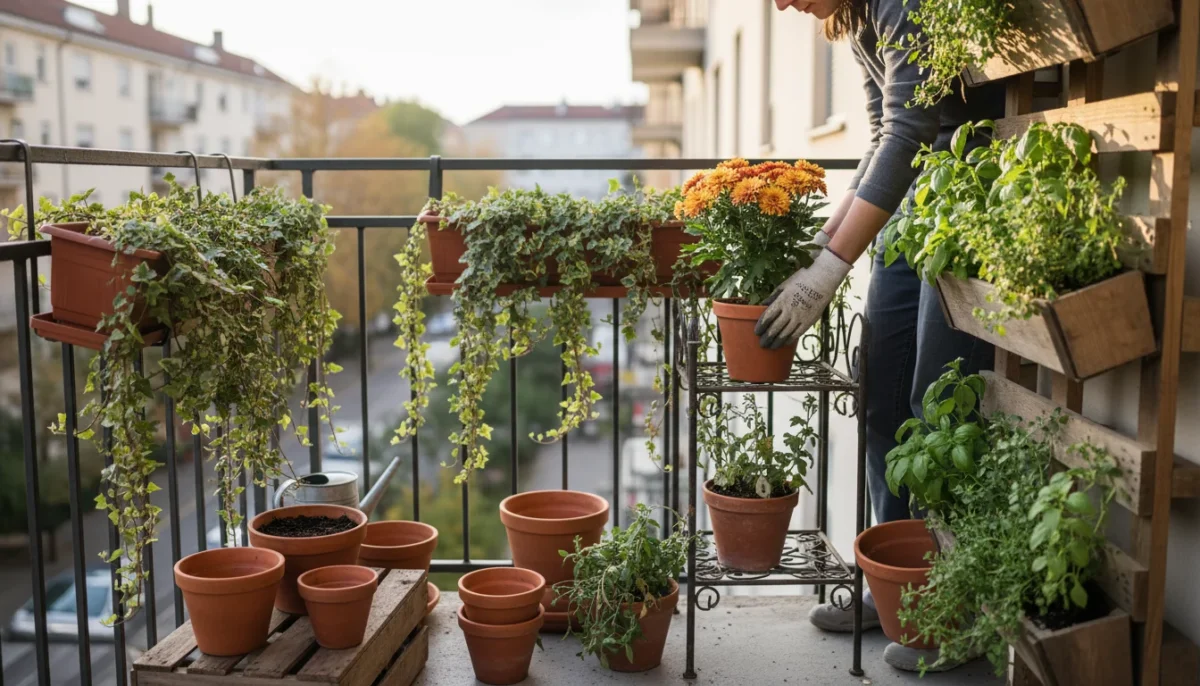
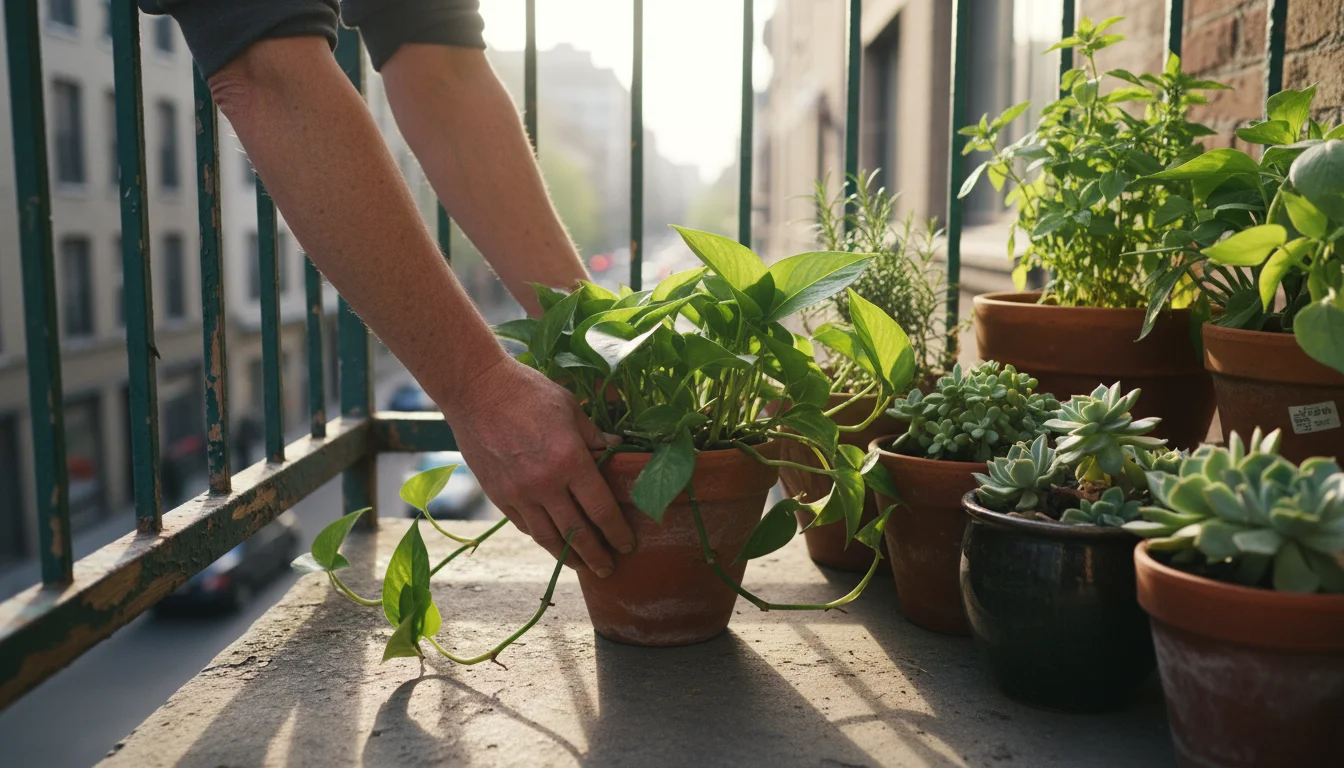
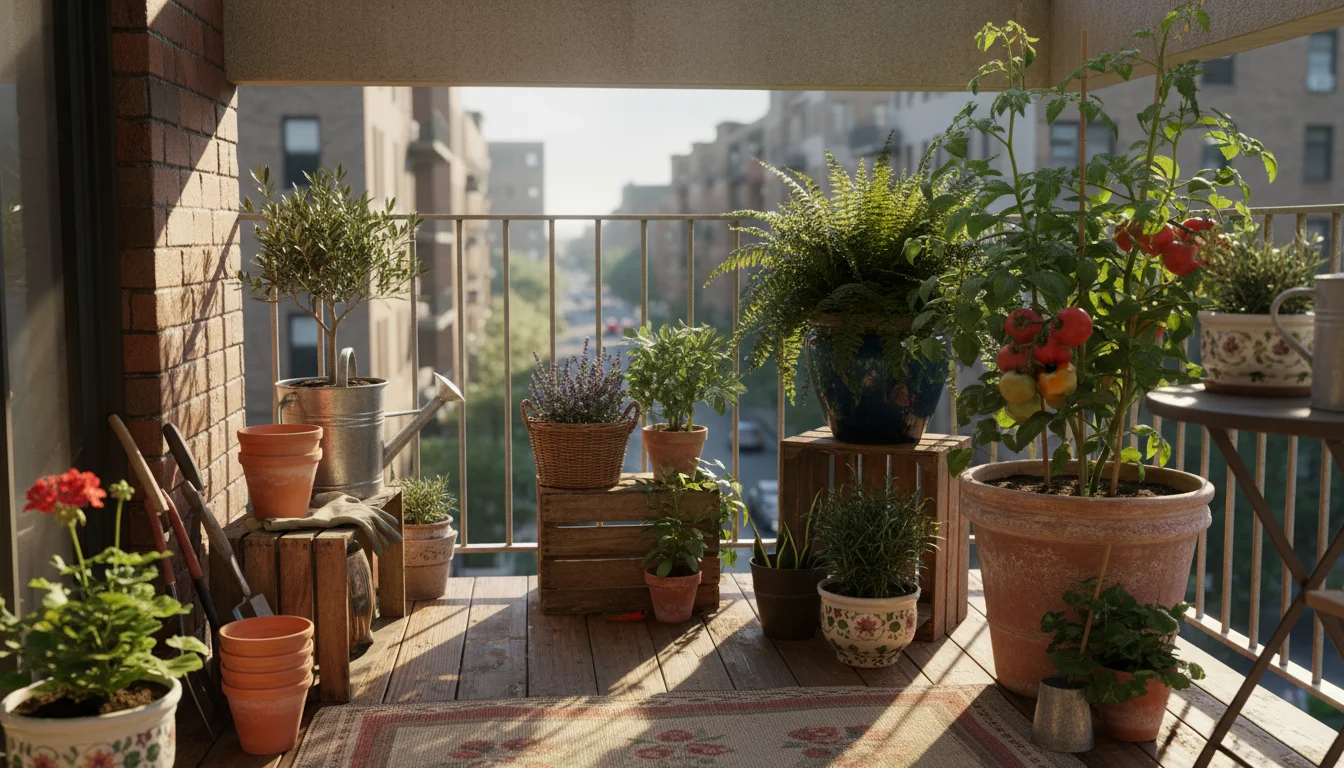
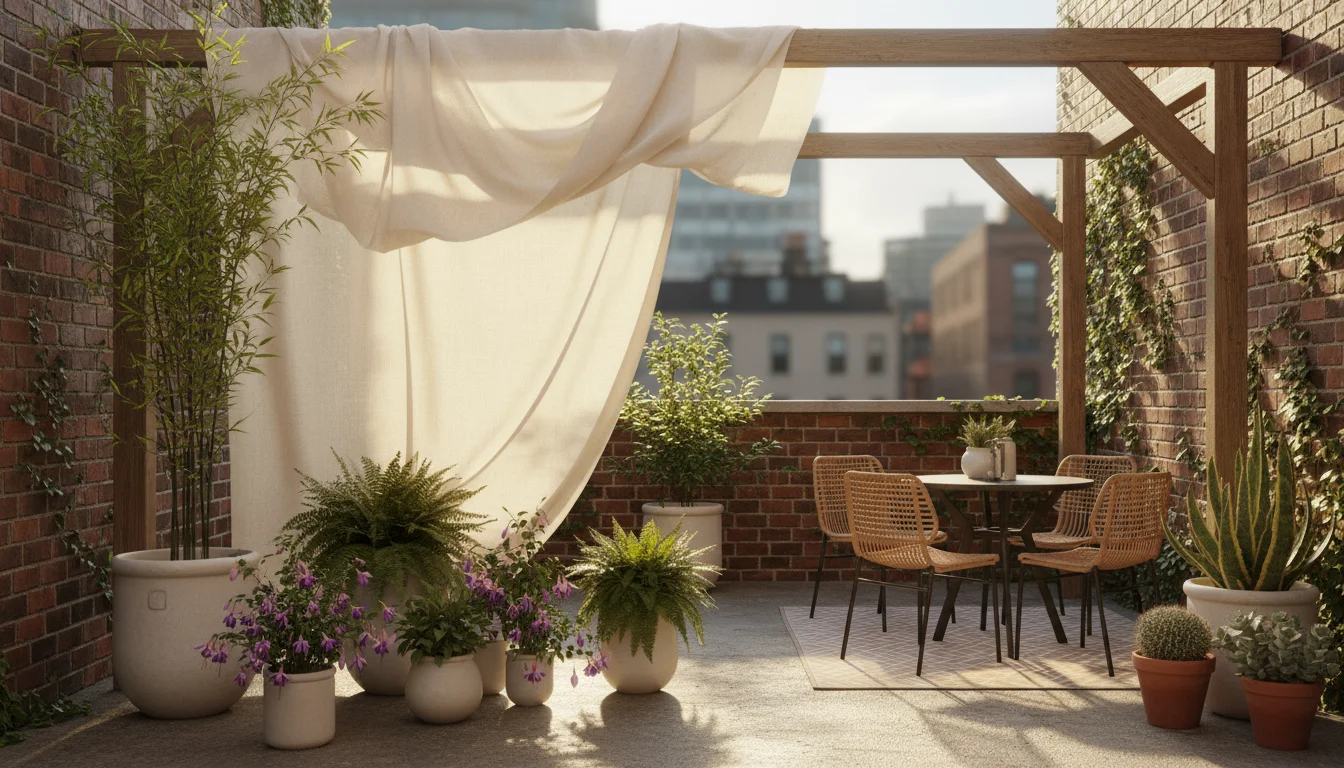
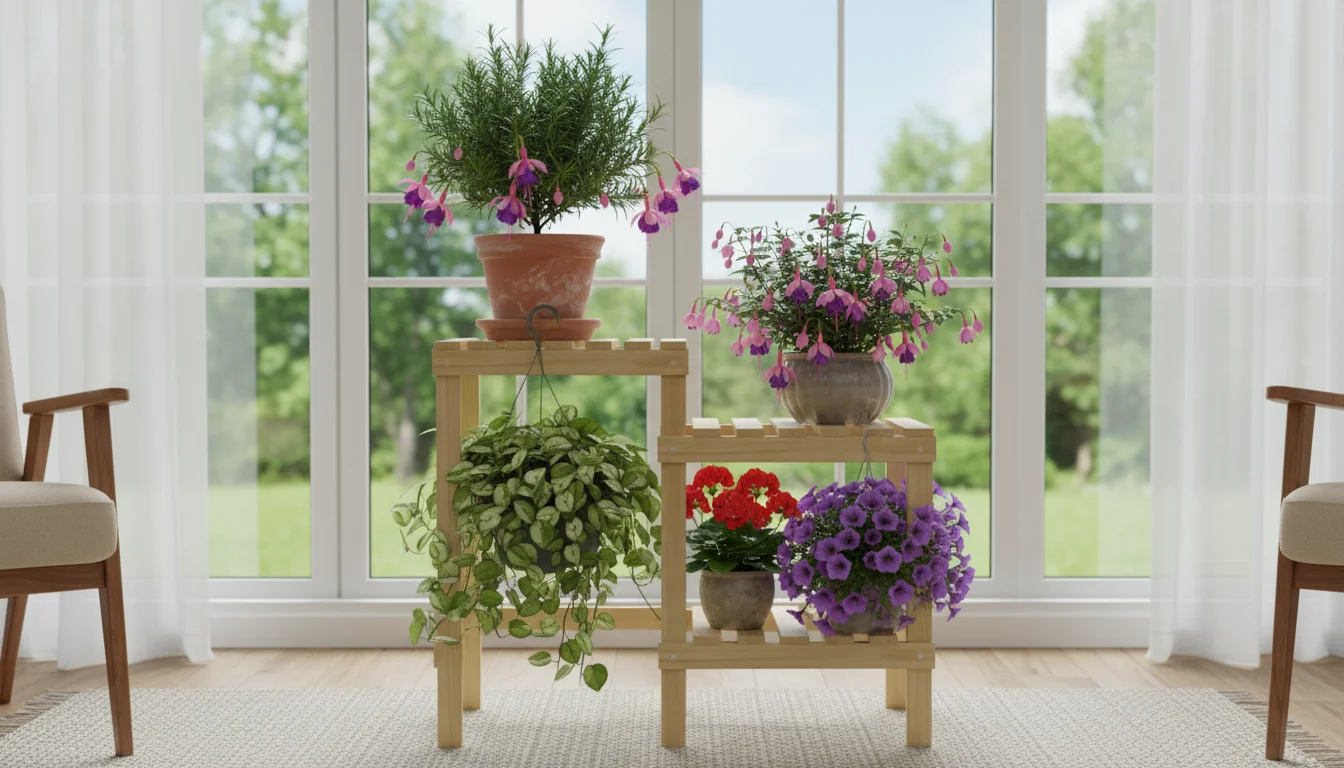
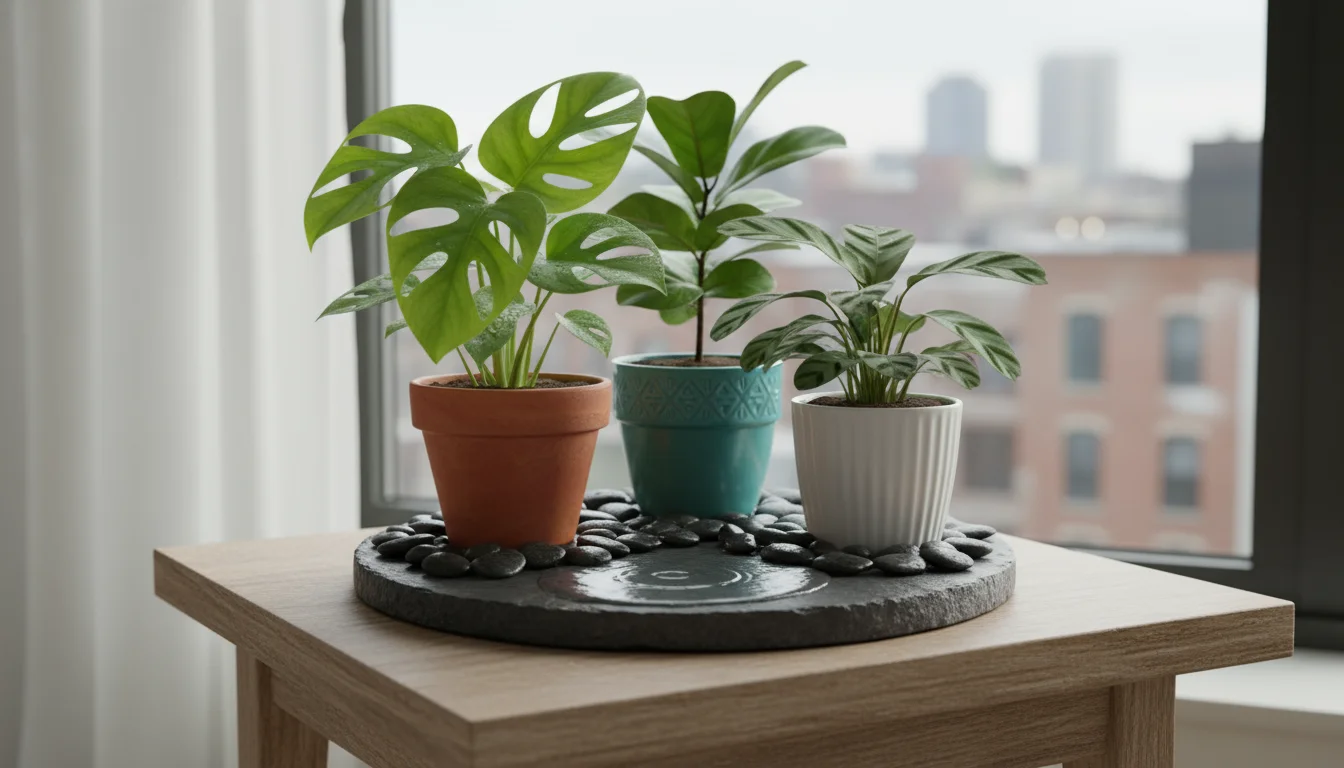
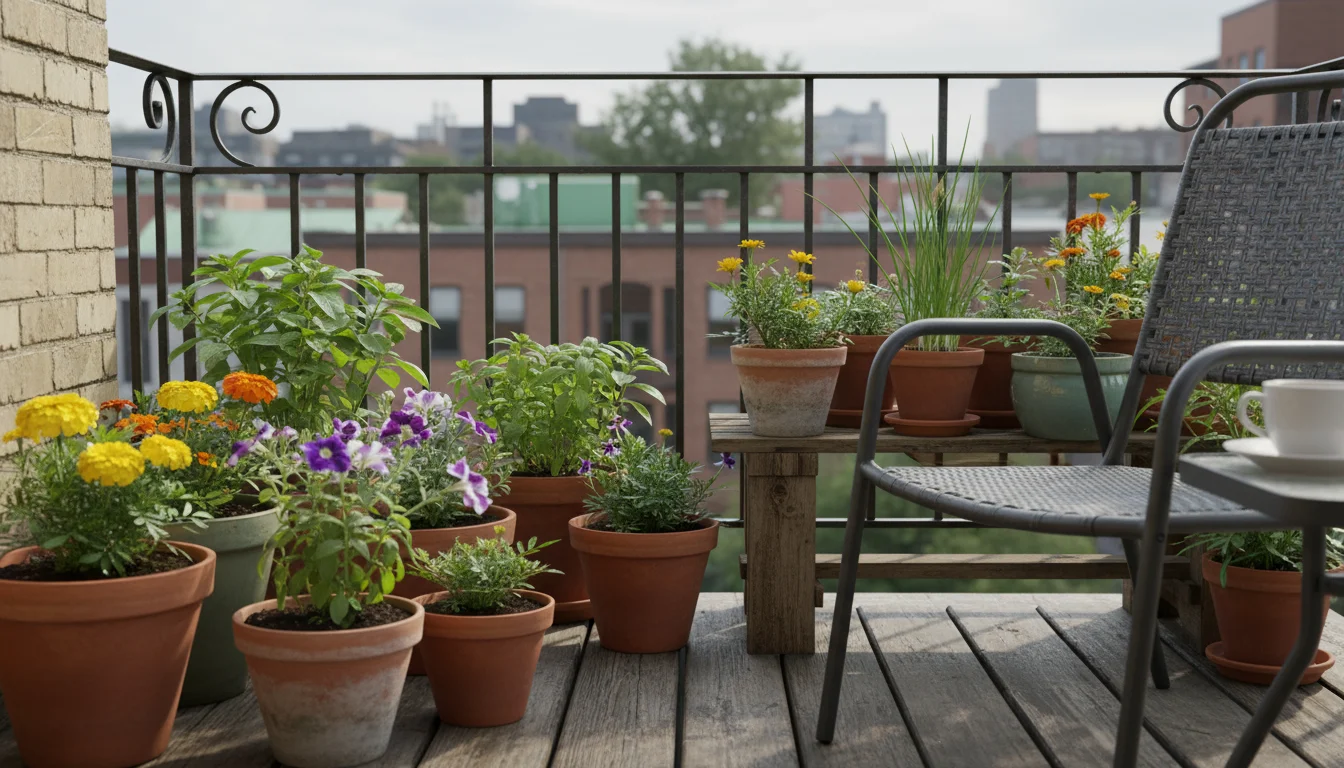
Maximized Space Utilization
For those with small spaces, such as balconies, patios, or limited indoor sills, seasonal plant swaps are a game-changer. You do not need a vast garden to enjoy a diverse collection. Instead, you utilize your available space efficiently throughout the year. Your summer annuals might occupy outdoor pots, while your dormant winter plants rest discreetly. Your indoor plants enjoy prime window real estate during winter, then transition to a shaded outdoor spot in summer. This clever rotation allows you to cultivate a wider variety of plants than your static space might otherwise permit, making every square foot productive.
A Refresh for Your Mind and Home
Beyond the practical benefits for your plants, seasonal plant swaps offer a refreshing change for you. Rearranging plants, introducing new textures and colors, and seeing your plants respond positively to their new environments brings a sense of accomplishment and renewed interest. It allows you to engage with your garden in a meaningful way all year, preventing gardening fatigue and fostering a deeper connection with your plant collection. This simple act of rotation revitalizes your space and your spirit.
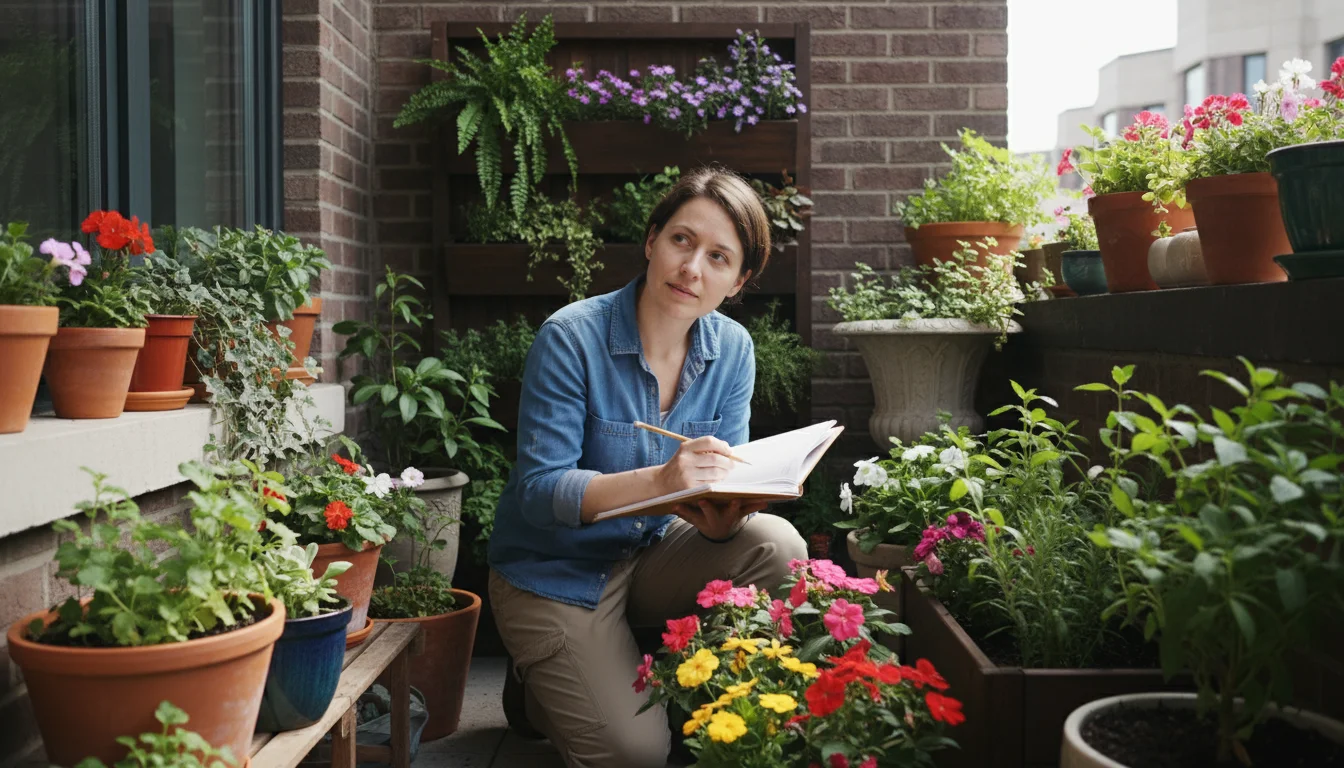
Planning Your Seasonal Rotation Strategy
Effective seasonal plant swaps begin with thoughtful planning. A well-considered strategy ensures smooth transitions for your plants and maximizes their health and beauty. You need to understand your environment and your plants before you start moving pots around.
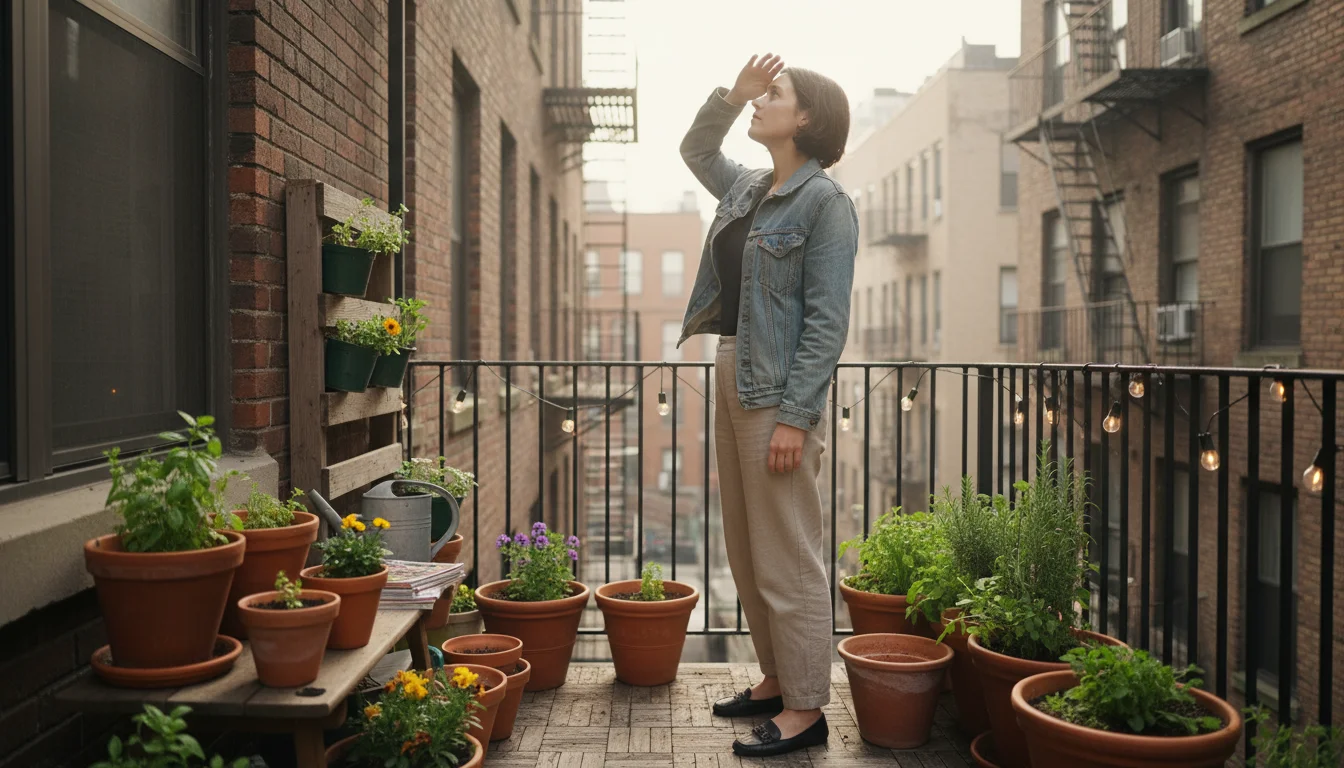
Assess Your Environment
Before you move a single pot, take stock of your available spaces. This includes both your indoor and outdoor areas. You want to identify microclimates that will benefit your plants.
- Light Exposure: Observe where sunlight falls throughout the day and how it changes seasonally. A south-facing window offers intense light, while an east-facing spot gets gentler morning sun. Outdoors, note areas that receive full sun (6+ hours), partial sun (3-6 hours), or full shade (less than 3 hours). Knowing these light patterns helps you place plants appropriately.
- Temperature Zones: Understand the typical temperature ranges indoors and outdoors. Outdoors, know your USDA hardiness zone and average frost dates. Indoors, identify warmer or cooler rooms, and areas near drafts or heat sources.
- Humidity Levels: Indoor humidity often drops significantly in winter due to heating systems. Outdoors, humidity can fluctuate with weather patterns. Consider how you will mitigate these changes during transitions.
- Available Space: Inventory your pot capacity indoors and out. Are there shelves, plant stands, or hanging options that can accommodate plants during different seasons?
Know Your Plants
Each plant species has unique preferences. Creating a simple inventory of your plants, noting their ideal conditions, will guide your rotation decisions.
- Light Needs: Does your plant prefer bright, indirect light, full sun, or shade?
- Water Requirements: Does it like consistently moist soil, or does it prefer to dry out between waterings?
- Temperature Tolerance: What are its minimum and maximum temperature tolerances? Is it sensitive to frost?
- Dormancy Cycle: Some plants enter a period of rest, or dormancy, in winter, requiring less water and no fertilizer. Knowing this prevents accidental overwatering.
- Growth Habit: How large will it get? Does it trail, climb, or grow upright? This affects placement.
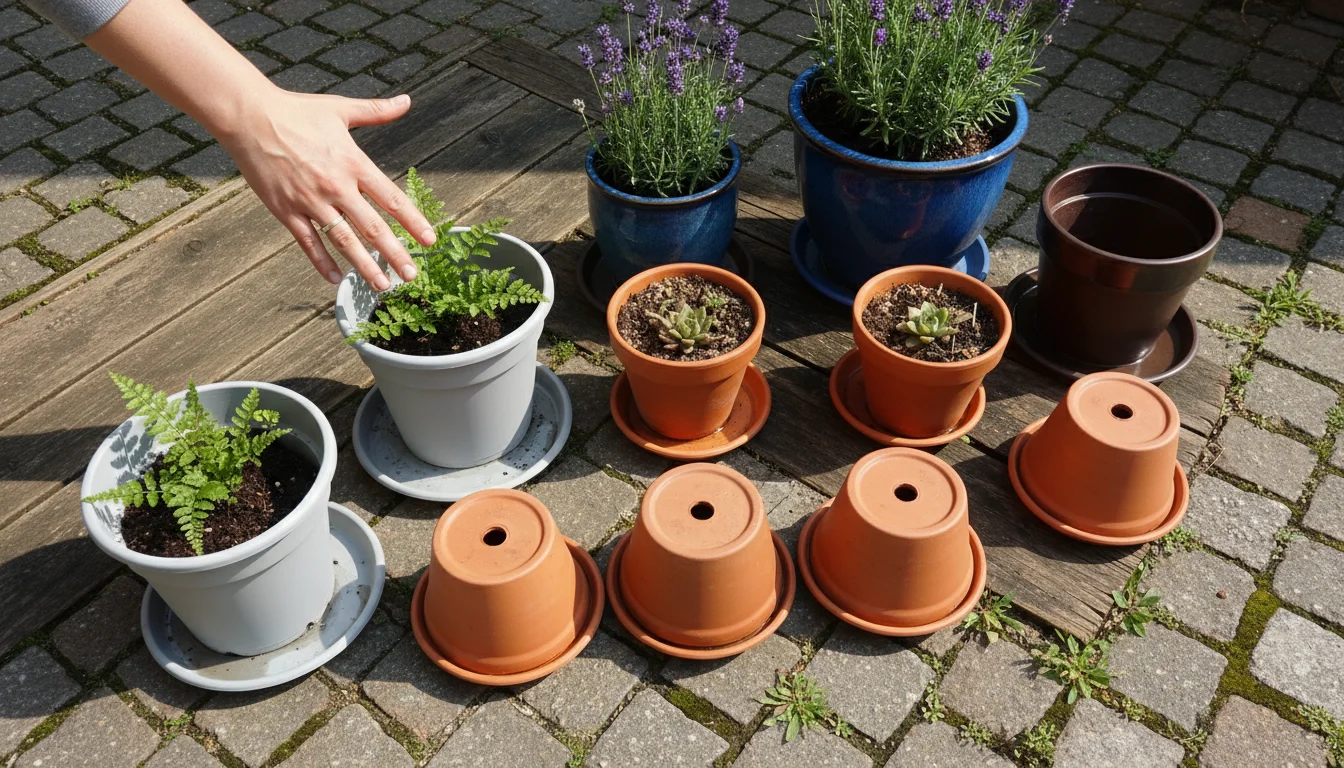
Container Choices for Easy Swaps
Selecting the right containers simplifies seasonal plant swaps significantly. Consider these aspects:
- Drainage Holes: Always choose pots with drainage holes to prevent root rot, especially when moving plants outdoors where they might receive unexpected rain.
- Pot Material:
- Plastic pots are lightweight, retain moisture well, and are easy to move. They are excellent for plants that need consistent moisture.
- Terracotta pots are porous, allowing soil to dry out faster, which is good for plants that prefer drier conditions or if you tend to overwater. They are heavier but offer good stability outdoors.
- Glazed ceramic pots offer aesthetic appeal and retain moisture better than terracotta, but can be heavy.
- Matching Saucers: Essential for indoor plants to protect surfaces. Ensure saucers fit well and are easy to clean.
- Mobility: For larger, heavier pots, consider rolling plant caddies or stands with wheels. These make moving substantial plants a breeze and prevent back strain.
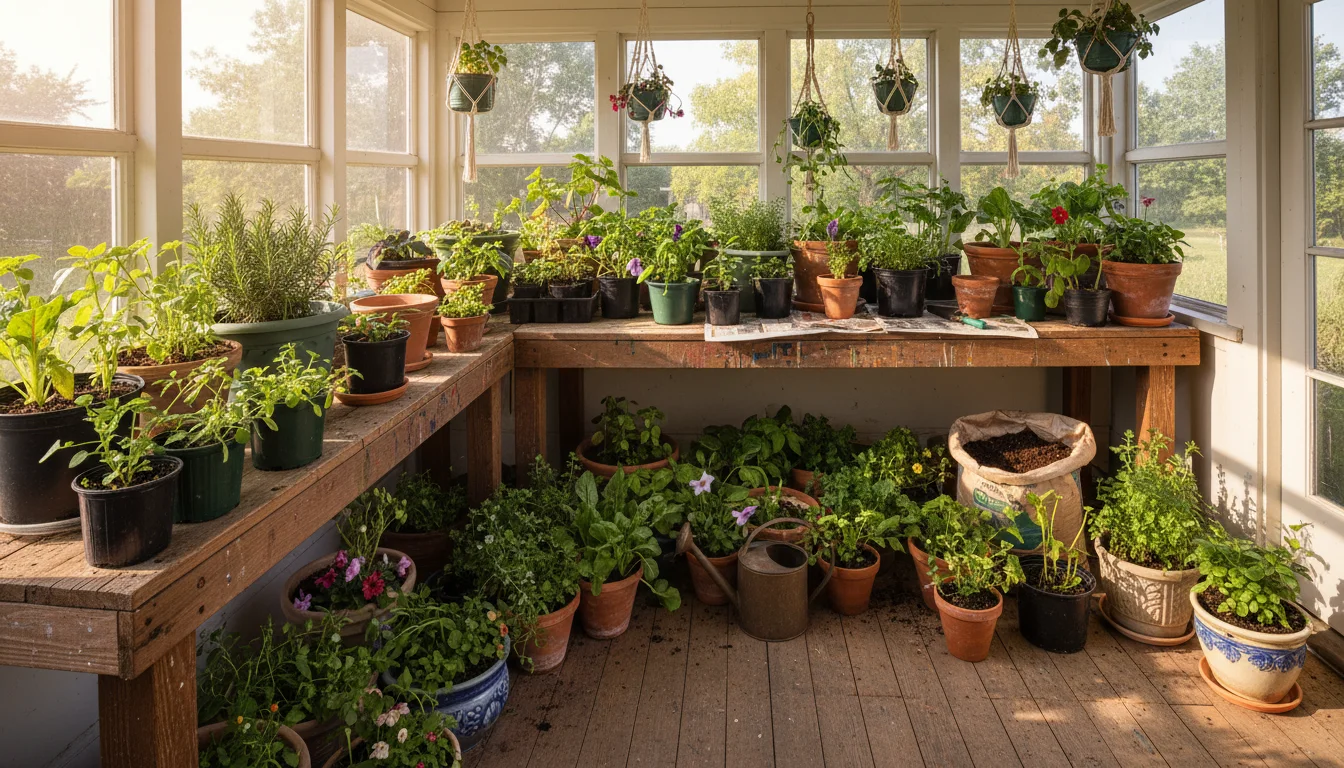
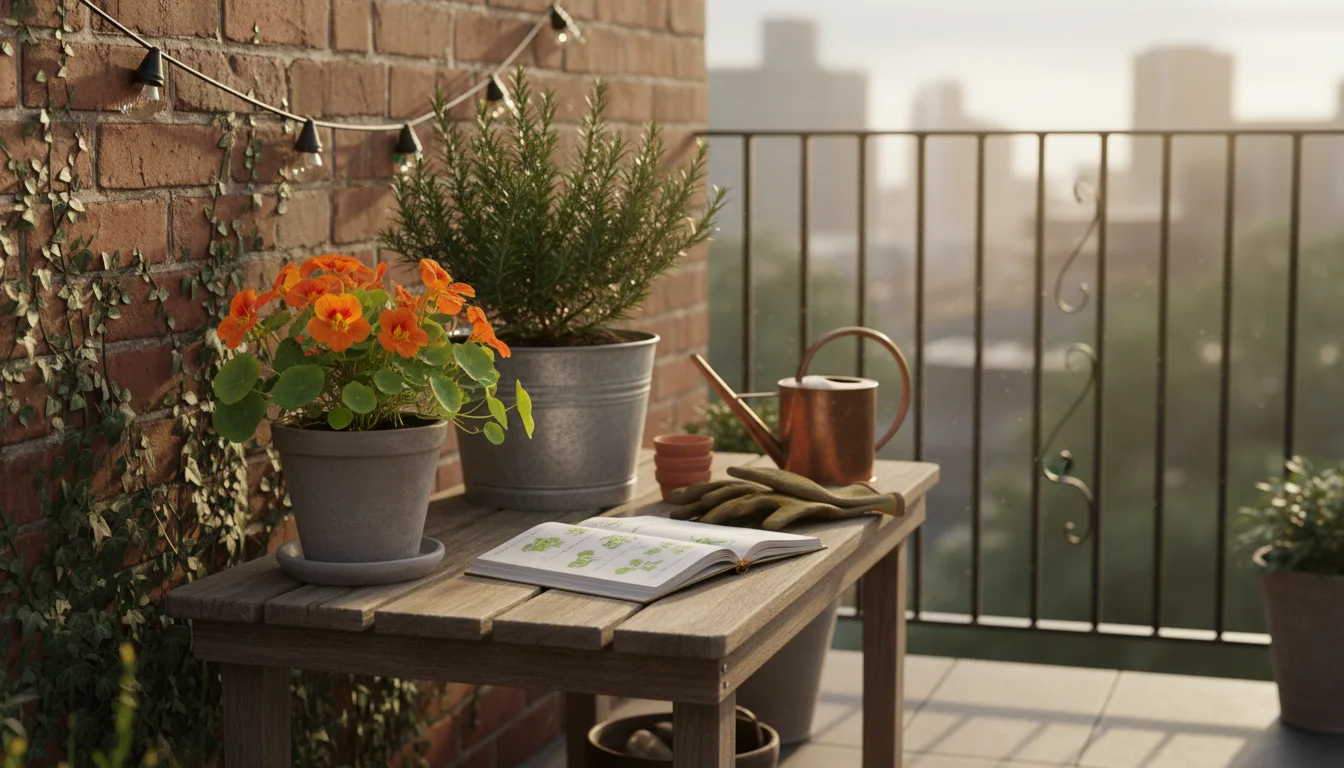
Creating a Staging Area
Designate a temporary “staging area” for plants undergoing transition. This might be a sheltered porch, a garage with good light, or a spare room. This area allows plants to gradually adjust to new light levels and temperatures before reaching their final destination, reducing stress. It also provides a workspace for inspection and any necessary care before a full move.
Spring Renewal: Moving Plants Outdoors
As winter’s chill recedes, the promise of spring beckons. Moving your houseplants outdoors is a fantastic way to invigorate them, providing them with brighter light, fresh air, and often higher humidity. However, this transition requires care to prevent shock.
When to Make the Move
Timing is crucial. The most important factor is nighttime temperatures. Wait until all danger of frost has passed in your area. For many regions, this means consistent nighttime temperatures above 50-55°F (10-13°C). Consult your local extension service for average last frost dates. Remember that plants accustomed to indoor environments are sensitive to sudden cold.
Hardening Off: The Gentle Transition
Hardening off is the process of gradually acclimating indoor plants to outdoor conditions. Skipping this step often results in sunburn, leaf drop, and stress. It takes about 7-14 days.
- Day 1-3: Place plants in a sheltered, shady spot outdoors for 2-4 hours. A north-facing porch or under a dense tree canopy works well. Bring them indoors overnight.
- Day 4-6: Increase outdoor exposure to 4-6 hours, moving them to a spot with slightly brighter indirect light for part of that time. Continue to bring them in at night.
- Day 7-9: Extend outdoor time to 6-8 hours, introducing them to filtered morning sun or dappled shade for a few hours. Bring them in at night, especially if temperatures drop.
- Day 10-14: Most plants can now stay outdoors overnight, as long as temperatures remain above their minimum tolerance. Gradually move them to their final outdoor location, which might include more direct sun if appropriate for the species.
During hardening off, keep soil consistently moist, as plants dry out faster outdoors. Watch for signs of stress, such as yellowing leaves or sunburned spots, and move the plant back to a shadier, more protected spot if these occur.
Choosing the Right Outdoor Spot
Match the plant’s light needs to your outdoor environment. A plant that thrives in bright, indirect indoor light might appreciate a spot with morning sun and afternoon shade outdoors. Sun-loving plants can often handle more direct sun after hardening off. Protect plants from strong winds, which can dry out foliage and damage delicate stems.
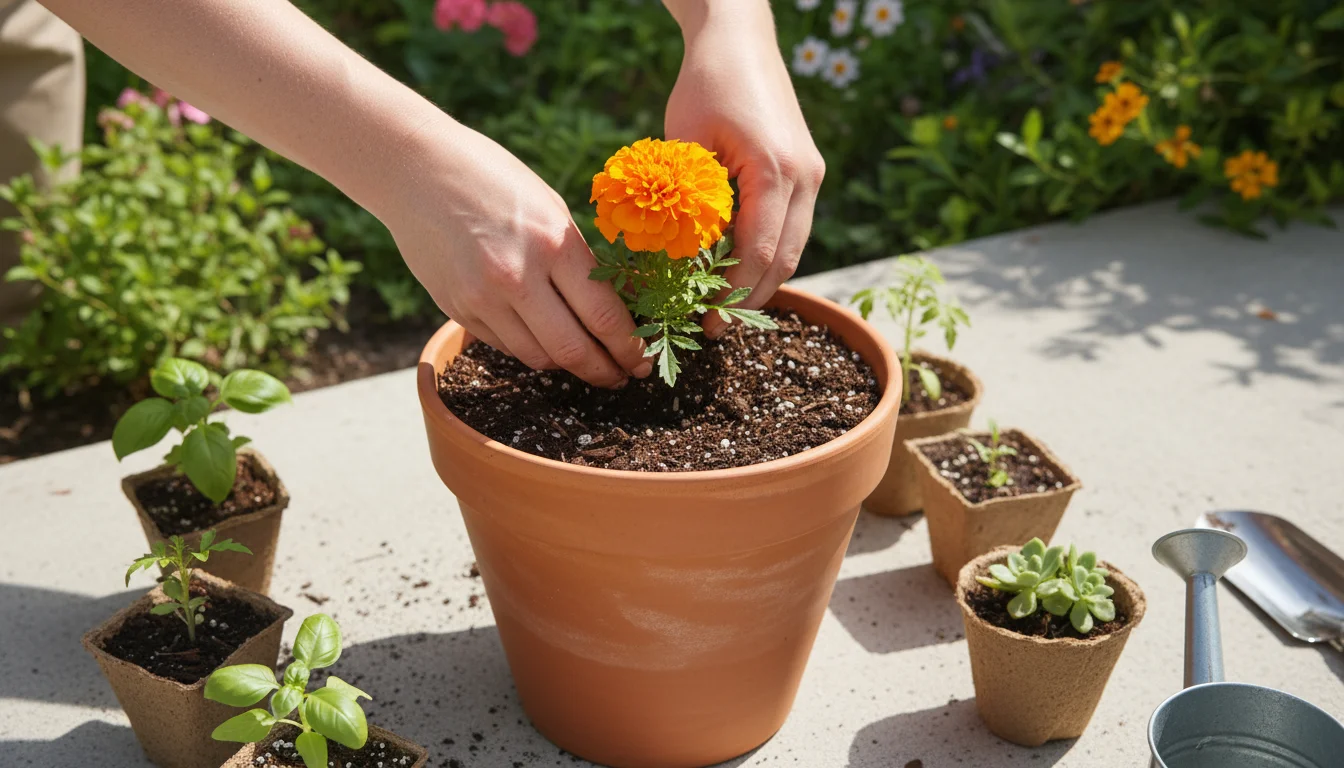
Spring Planting Ideas for Outdoor Pots
Spring is also the time to fill outdoor containers with plants that will flourish through the warmer months. Consider planting:
- Annuals: Petunias, impatiens, marigolds, and zinnias offer continuous color.
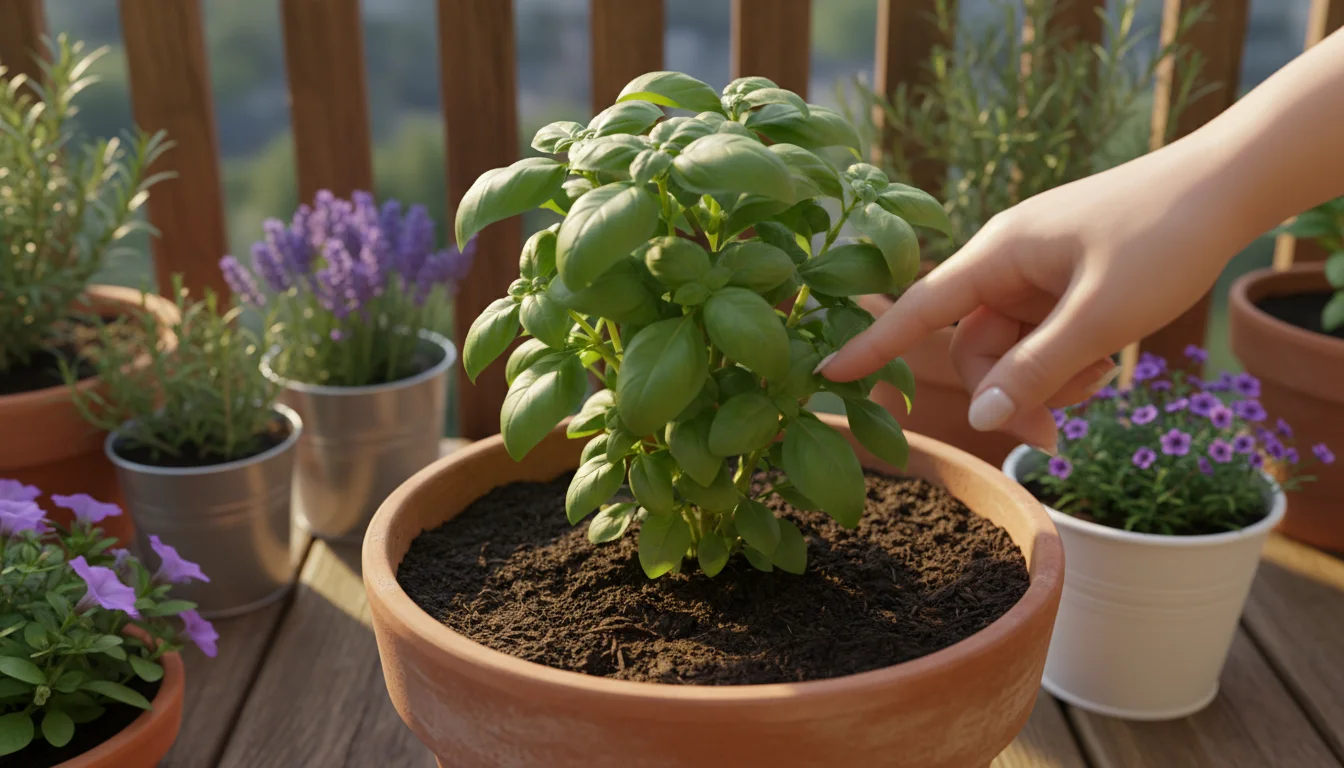
- Herbs: Basil, mint, parsley, and chives thrive in pots and are easily accessible for cooking.
- Vegetables: Compact varieties of tomatoes, peppers, bush beans, and leafy greens do well in containers.
- Tender Perennials/Tropicals: Cannas, elephant ears, and hibiscus can spend their summer outdoors, providing a lush, exotic feel.
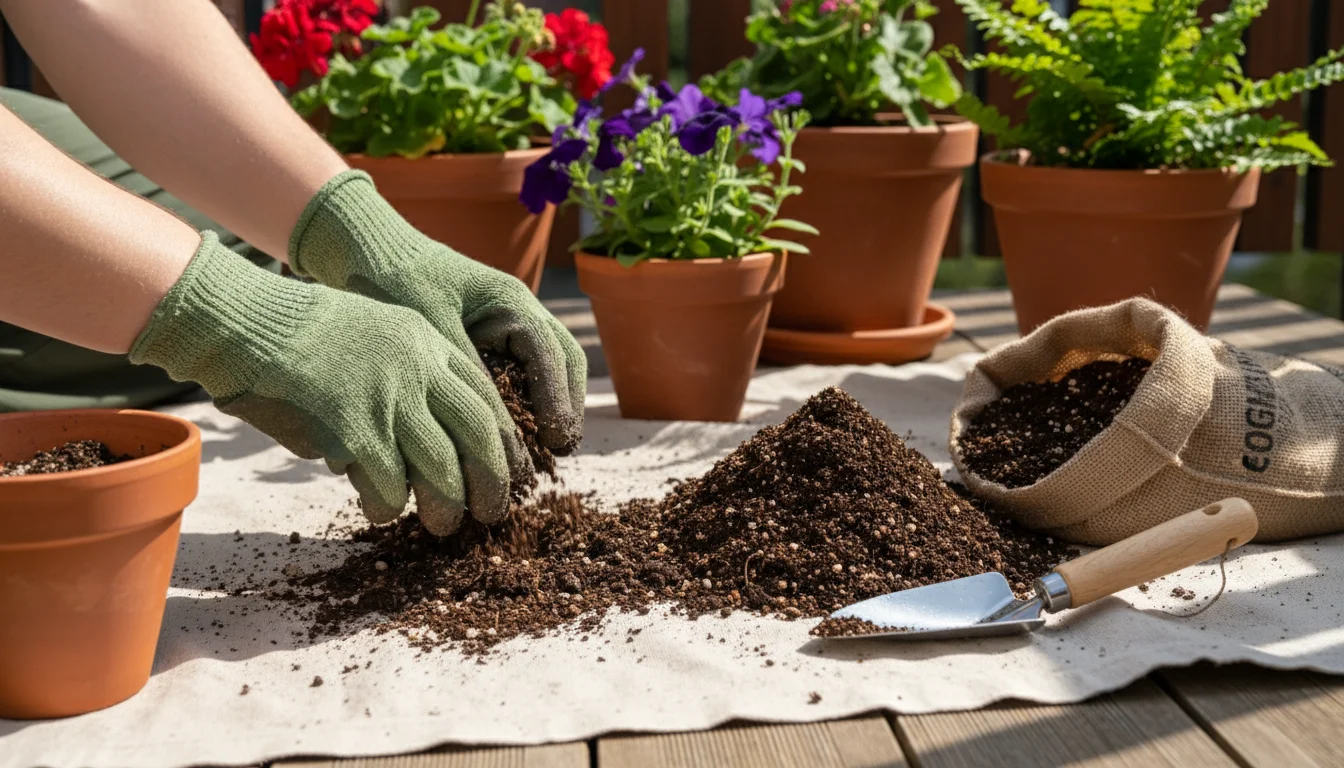
When planting, use a high-quality, well-draining potting mix. A good general rule of thumb is to use a mix that holds moisture but still feels light and airy. Incorporating some compost can boost soil health.
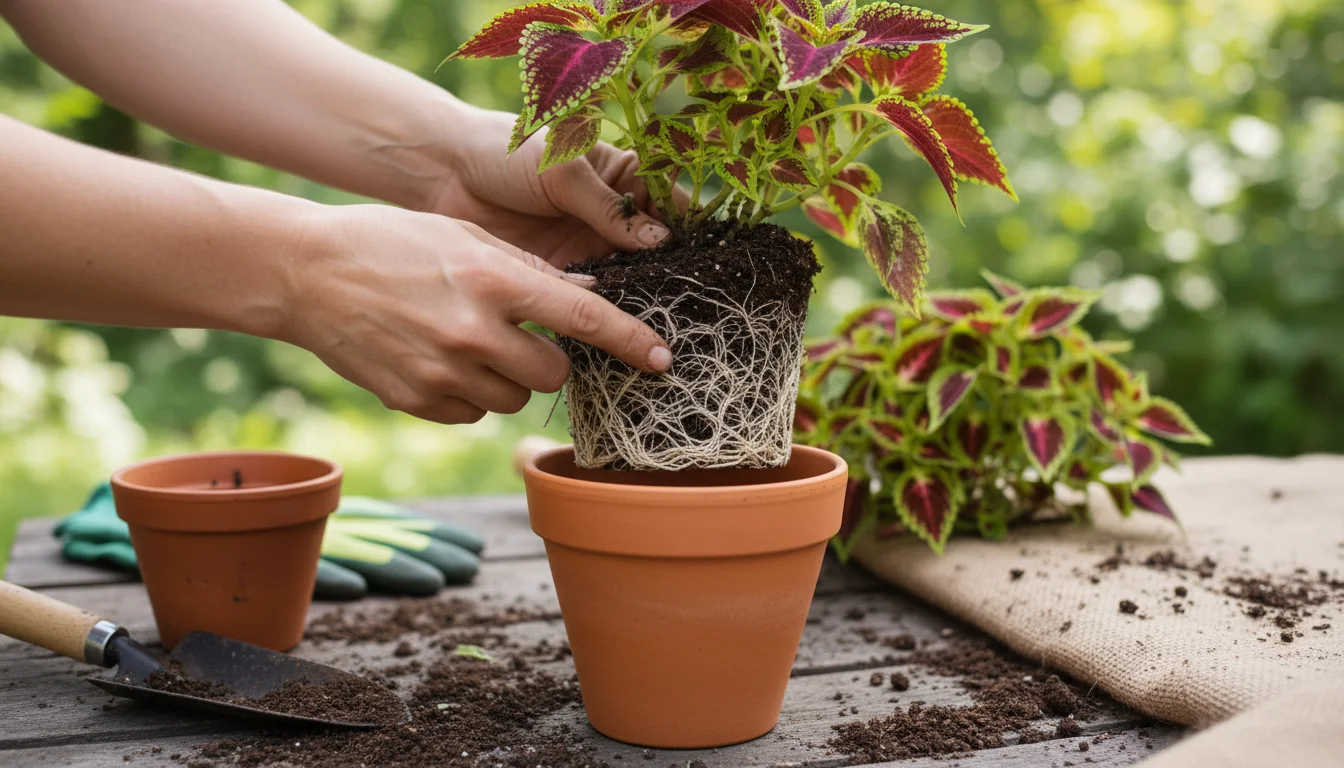
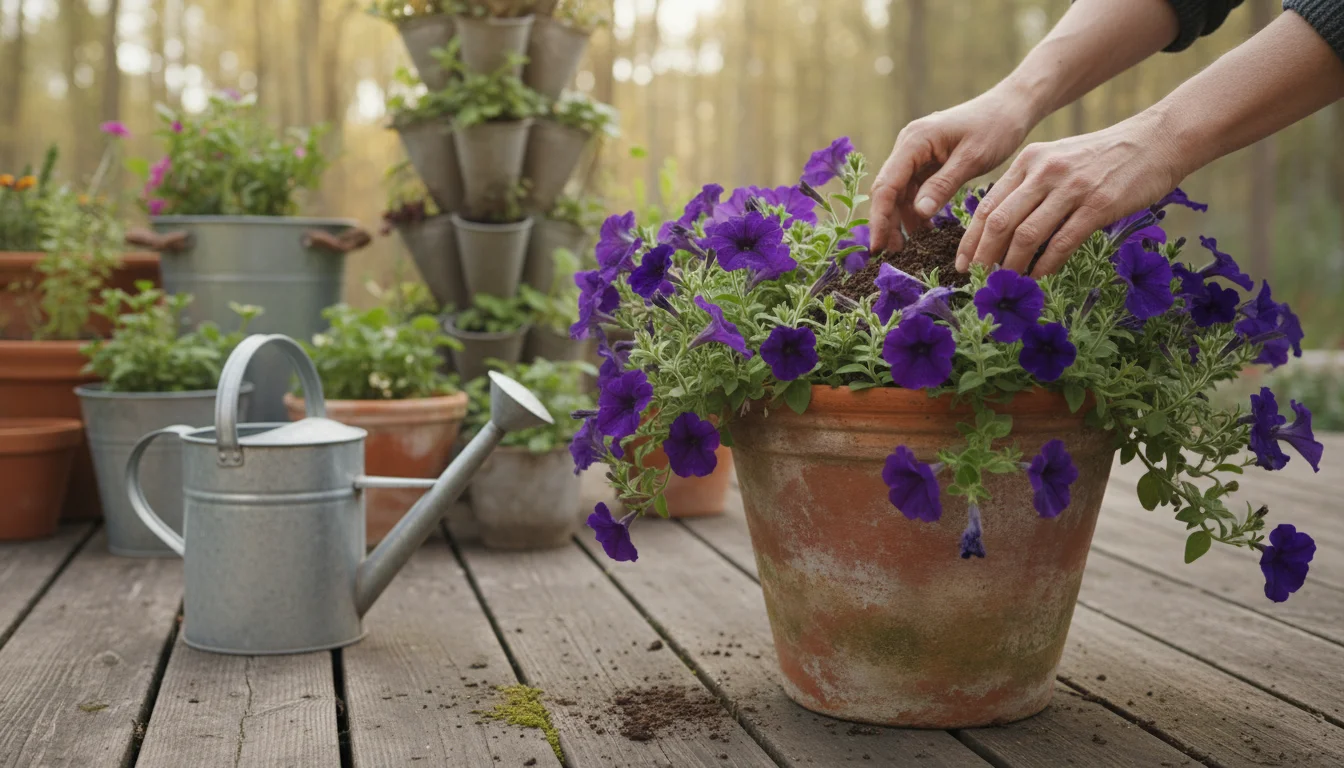
Repotting Basics
Spring is an ideal time for repotting plants that have become root-bound, meaning their roots are circling tightly around the inside of the pot. Choose a pot only one size larger than the current one (e.g., from a 6-inch to an 8-inch pot) to avoid overwatering issues. Always use fresh, peat-free potting mix. Gently loosen circling roots before placing the plant in its new home.
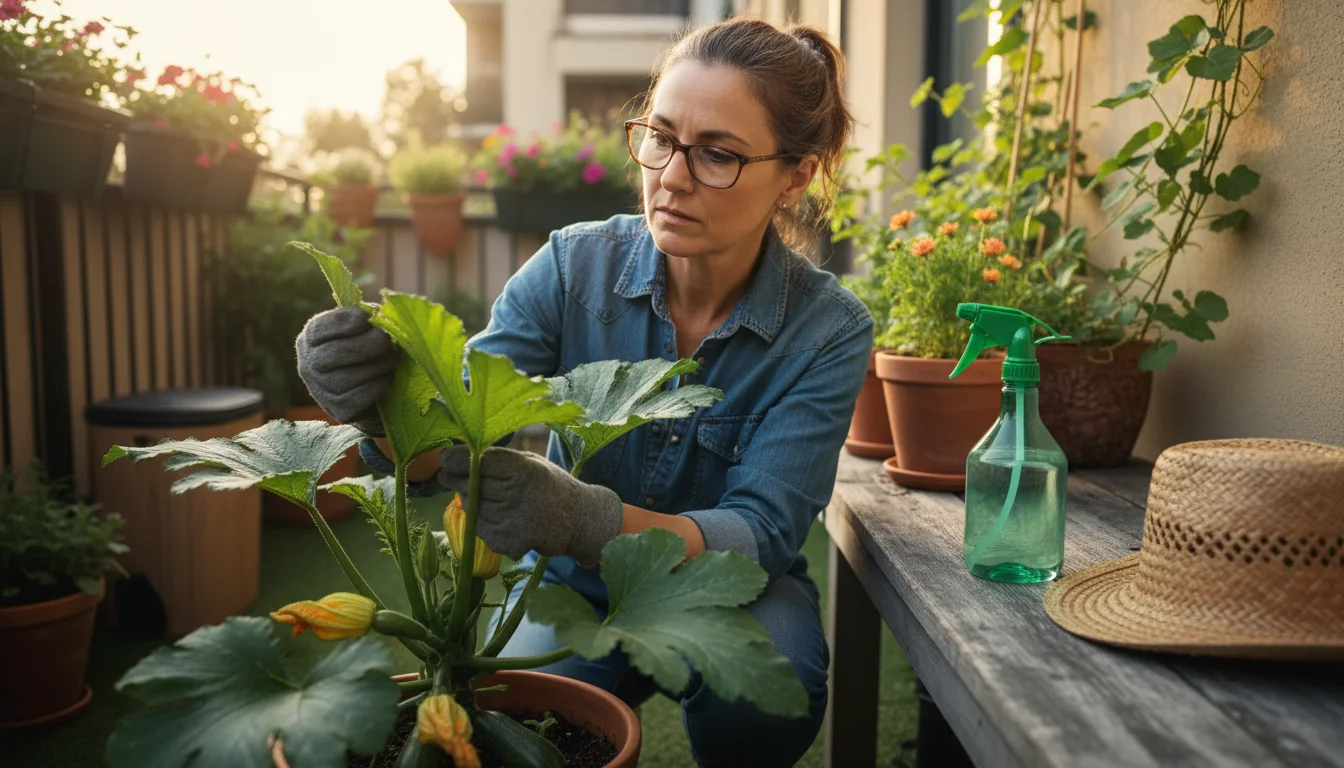
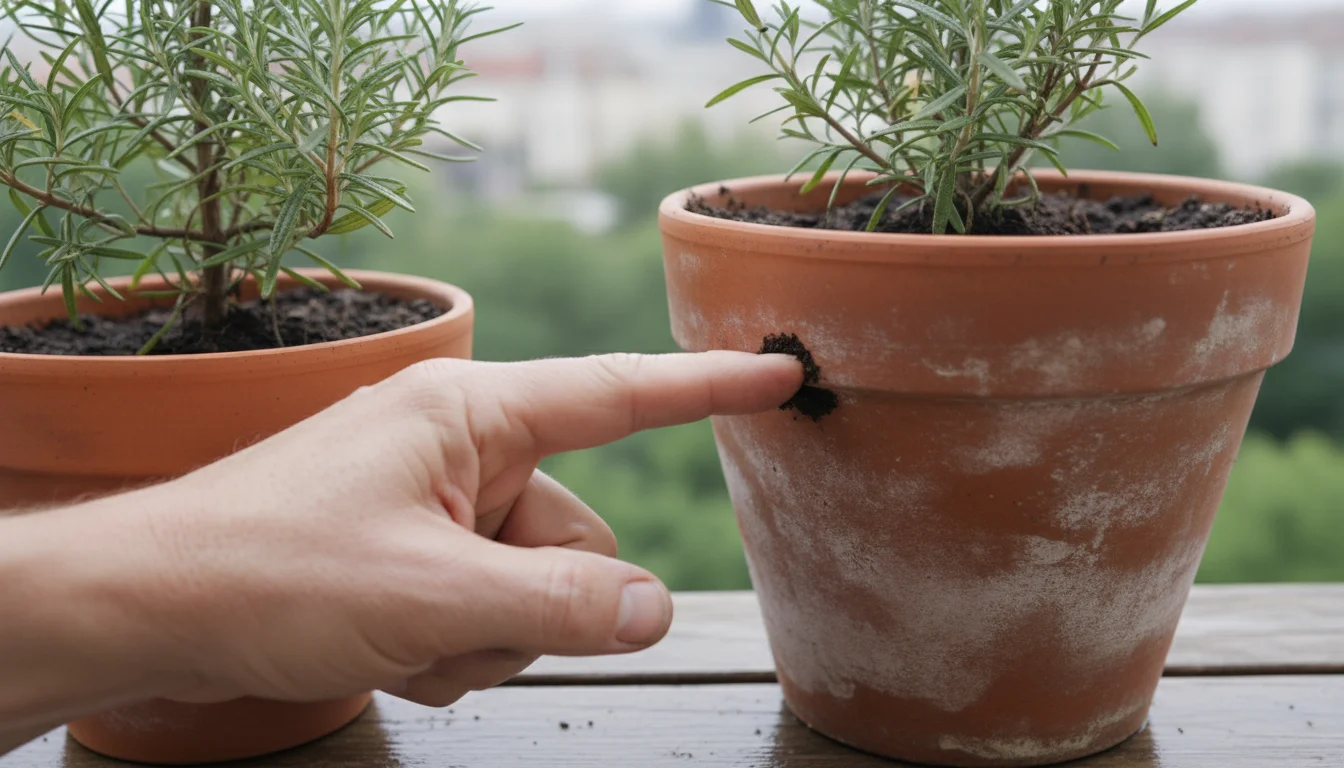
Pest Check and Prevention
Before any plant moves outdoors, inspect it thoroughly. Look under leaves, in stem crevices, and at the soil surface for any signs of pests. Treat any infestations proactively using insecticidal soap or neem oil to avoid introducing pests to your outdoor environment or allowing existing outdoor pests to take hold. A preventative spray of neem oil before moving plants can provide a layer of protection.
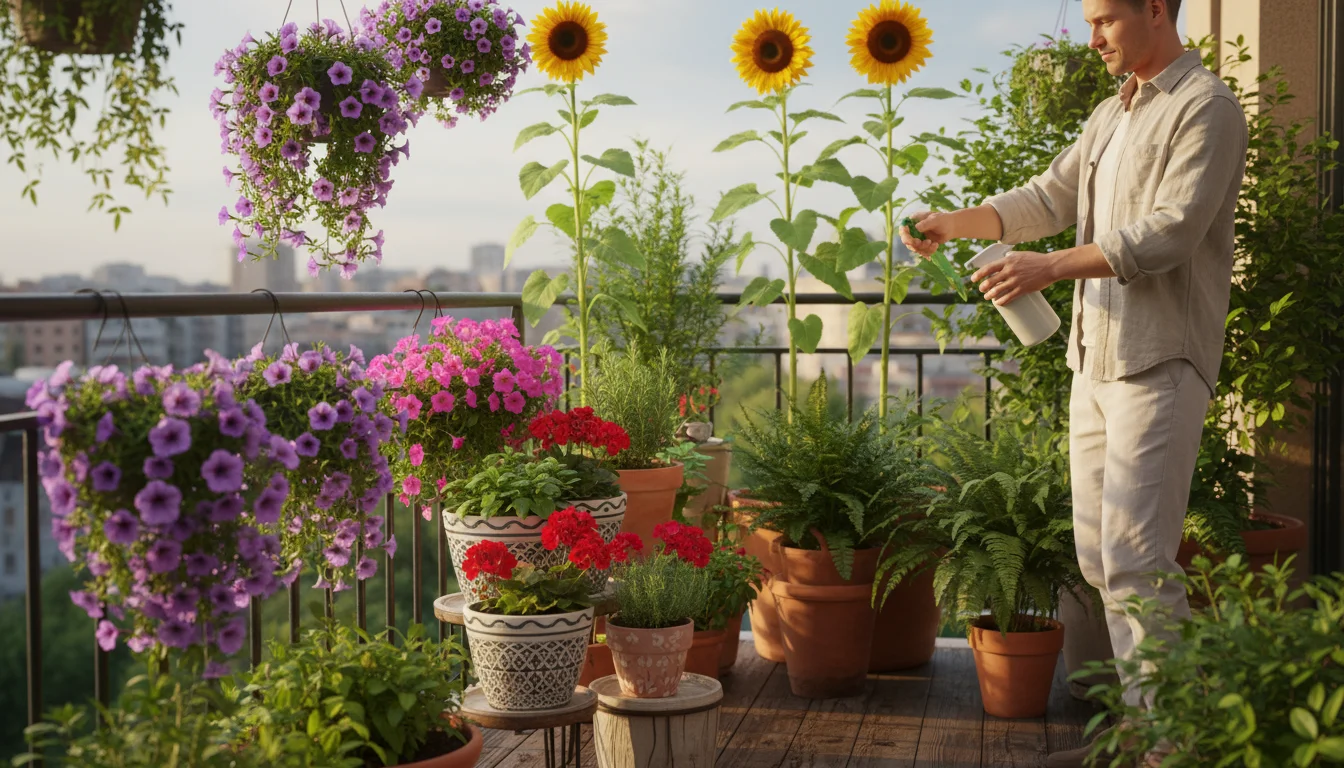
Summer Vibrancy: Optimizing Outdoor Growth
Summer brings peak growing season for many plants, especially those enjoying the outdoor environment. Your focus shifts to consistent care that supports vigorous growth, abundant blooms, and fruit production while managing the heat.
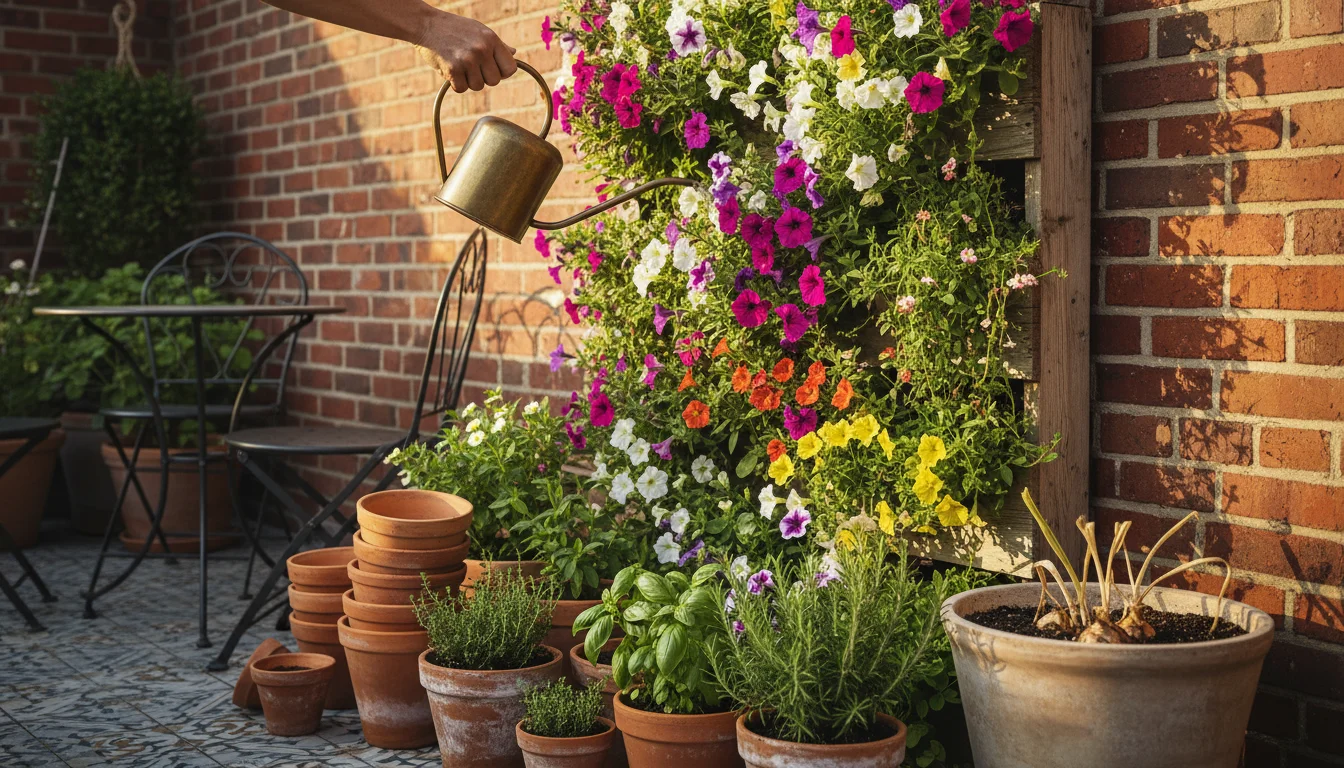
Watering During Summer Heat
Plants in outdoor pots dry out significantly faster than those indoors, especially during hot, windy weather. You might need to water daily, or even twice a day for some thirsty plants in smaller pots. The key is to water thoroughly when you do.
- Moisture Test: Always check the soil moisture before watering. Insert your finger about an inch or two into the soil. If it feels dry, it is time to water. If it feels moist, wait. This prevents overwatering, which can lead to root rot.
- Deep Watering: Water until excess drains from the bottom of the pot. This encourages roots to grow deeper, making the plant more resilient to drought. Avoid frequent, shallow watering.
- Timing: Water early in the morning or late in the evening. Watering during the hottest part of the day leads to rapid evaporation and can scorch wet leaves.
- Water-Wise Practices: Group plants with similar water needs together. Use mulch, like shredded bark or straw, on the soil surface to reduce evaporation and regulate soil temperature. Consider drip irrigation or self-watering containers for consistent moisture.
According to the University of Florida’s IFAS Extension, proper watering techniques, such as applying water slowly and deeply, are critical for container plants to thrive during warm weather conditions.
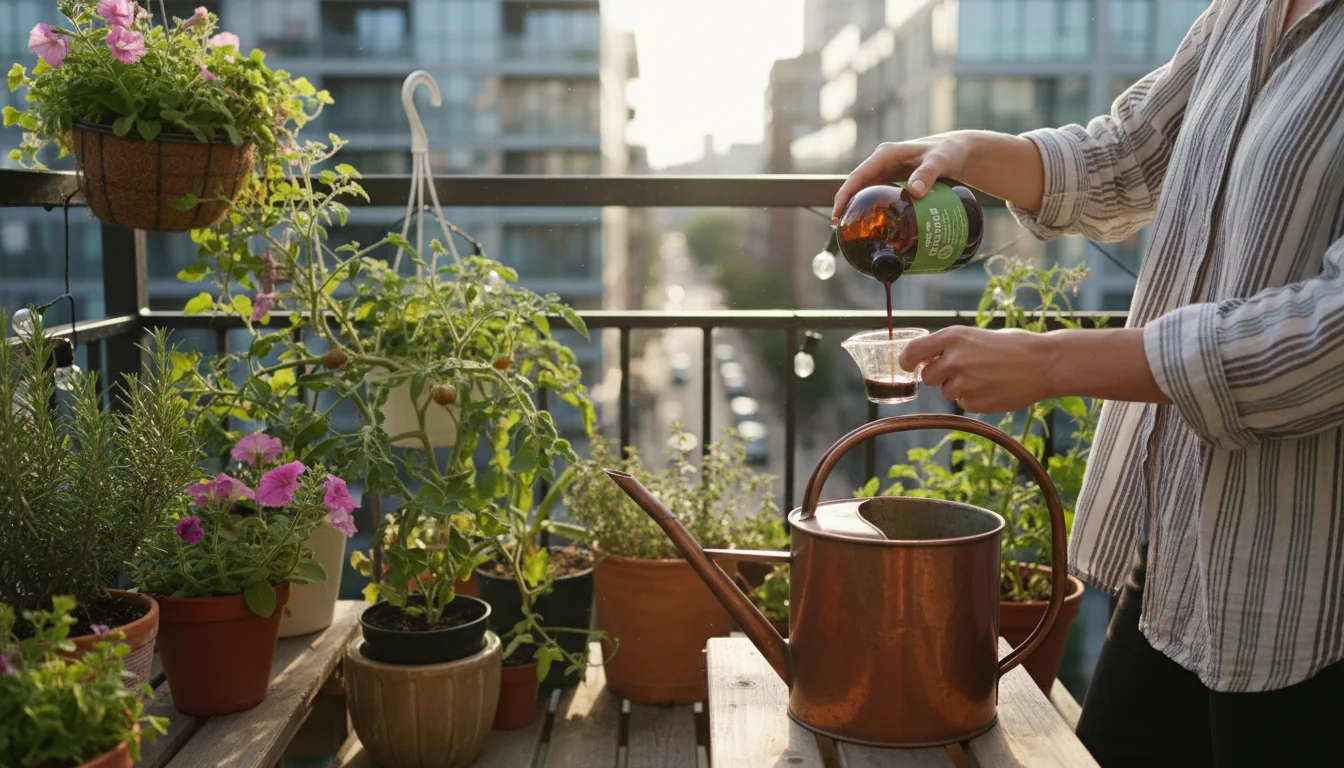
Feeding for Bloom and Growth
Actively growing plants, especially flowering annuals and fruiting vegetables, are heavy feeders. Regular fertilization replenishes nutrients lost through watering and plant uptake.
- Organic Options: Opt for organic, slow-release fertilizers or liquid organic feeds. Compost tea, worm castings, or granular organic fertilizers release nutrients gradually, preventing chemical burn and supporting soil biology.
- Timing: For most summer-blooming plants, fertilize every 2-4 weeks with a balanced liquid feed (e.g., 5-5-5 or 10-10-10) or according to product instructions for slow-release options. Reduce or stop fertilizing as plants enter dormancy or temperatures drop in late summer/early autumn.
- Read Labels: Always follow the dosage instructions on your chosen fertilizer. Over-fertilizing can be more damaging than under-fertilizing.
Shade Requirements and Heat Management
While many plants love summer sun, intense afternoon heat can be detrimental, causing wilting, leaf scorch, and stunted growth. Monitor your plants and be prepared to provide shade.
- Strategic Placement: Place sun-sensitive plants where they receive morning sun and afternoon shade, such as on an east-facing balcony or under a taller plant.
- Temporary Shade: Use shade cloth, umbrellas, or even strategically placed furniture to provide temporary relief during the hottest parts of the day.
- Grouping: Grouping pots together can create a mini-microclimate, increasing local humidity and providing some mutual shading.
- Light-colored pots: Choose lighter colored pots, as they absorb less heat than dark-colored ones, protecting roots from overheating.
Pruning for Continuous Bloom
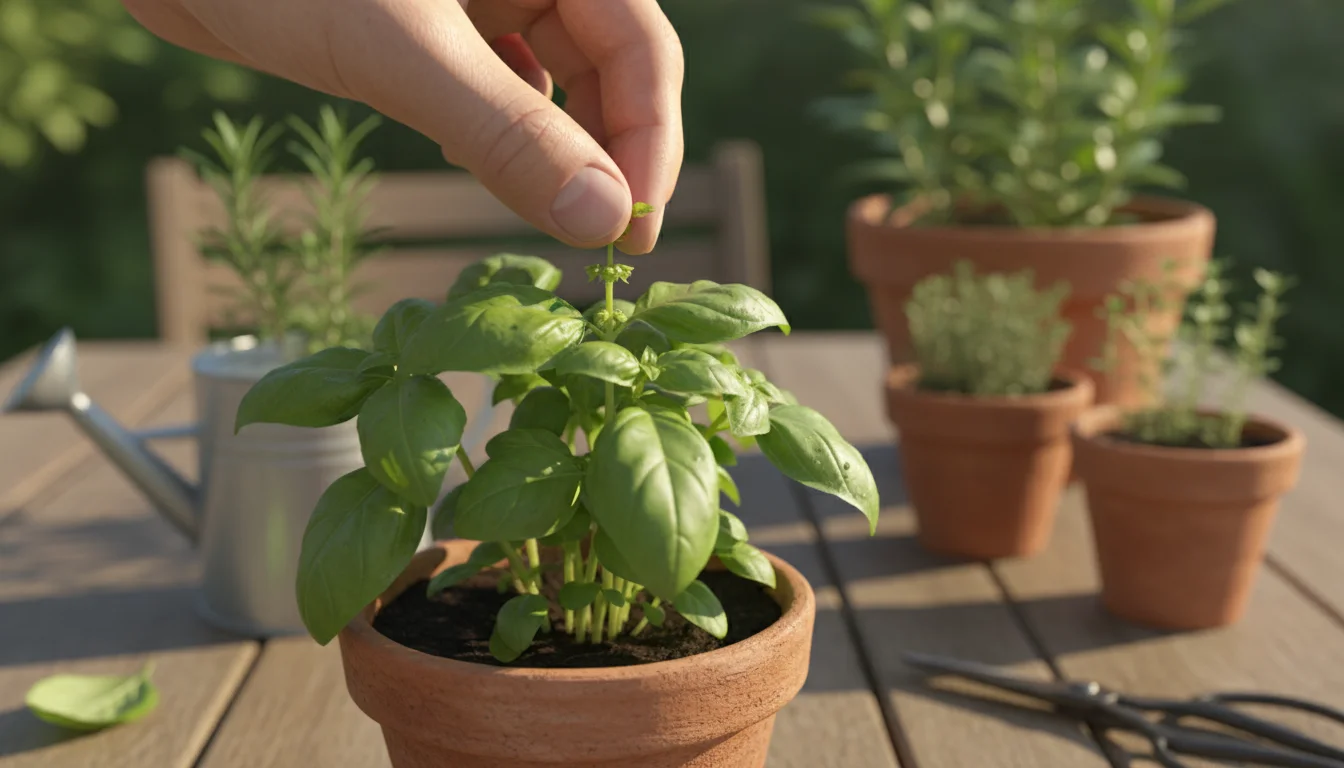
Deadheading, which means removing spent flowers, encourages many plants to produce more blooms. This directs the plant’s energy towards making new flowers instead of setting seeds. For annuals like petunias and geraniums, consistent deadheading ensures a longer, more vibrant display. For plants like basil, pinching back flowers encourages bushier growth and more leaves for culinary use.

Autumn Transition: Preparing Plants for Indoors
As summer wanes, the days shorten, and temperatures begin to dip. This signals the time to reverse your seasonal plant swaps, bringing tender plants indoors before the first frost. This crucial step protects them from cold damage and allows them to continue thriving, or at least survive, through winter.

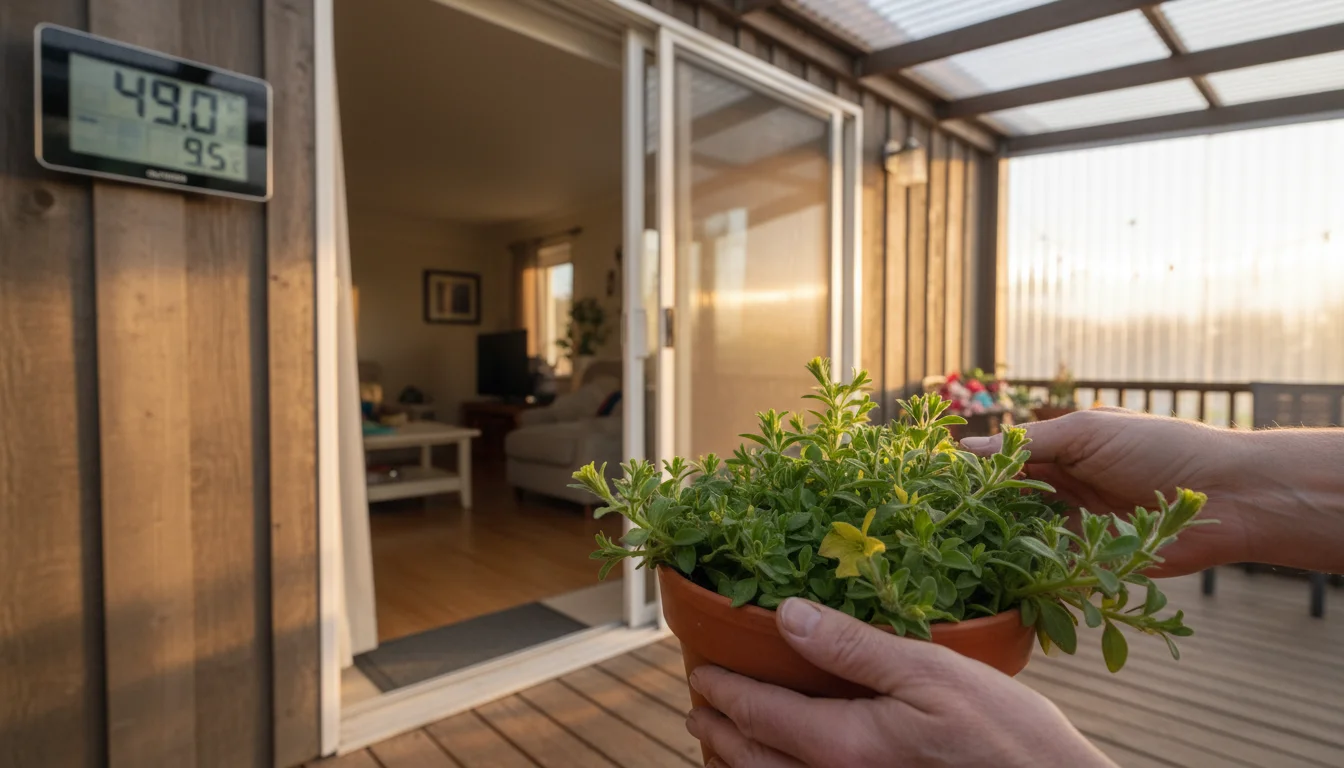
When to Bring Plants Indoors
The timing for bringing plants indoors is critical. Do not wait until the last minute. Watch your local weather forecast carefully. You should aim to bring in most tender plants when nighttime temperatures consistently fall below 50°F (10°C). Some very sensitive tropicals might need to come in even earlier, around 55°F (13°C). A single unexpected frost can severely damage or kill plants accustomed to warmer conditions.
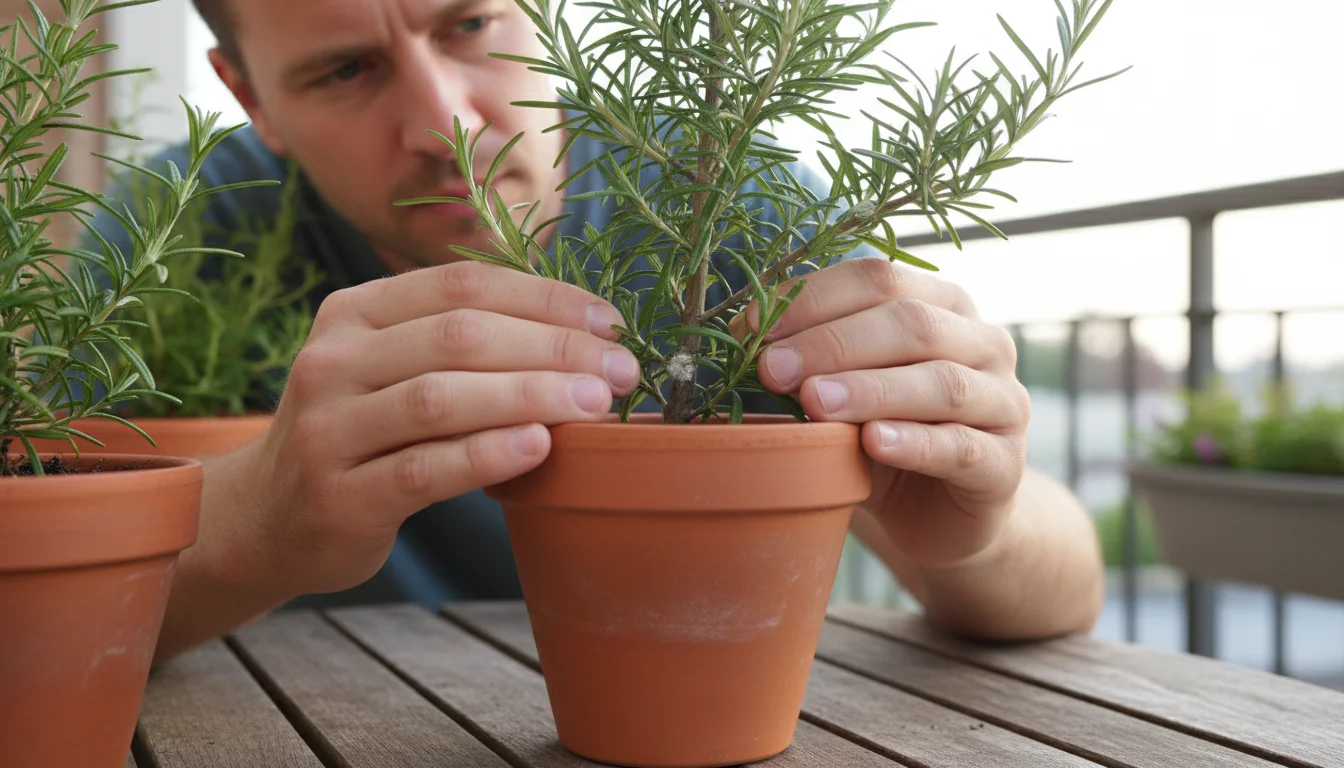
Thorough Inspection and Pest Prevention
This is arguably the most important step. Outdoor plants can harbor a multitude of pests that you do not want to introduce to your indoor environment, where they can quickly multiply without natural predators. Dedicate ample time to this inspection:
- Visual Check: Systematically examine every part of the plant. Look under leaves, in leaf axils (where the leaf meets the stem), along stems, and on the soil surface. Use a magnifying glass if necessary.
- Common Hitchhikers: Look for spider mites (tiny webs, speckled leaves), mealybugs (cottony masses), aphids (small, soft-bodied insects), whiteflies (fly up when disturbed), and ants (often indicate scale or mealybugs). Even slugs or snails can hide in pots.
- Quarantine: If you find any signs of pests, immediately isolate that plant. Place it in a separate room or a garage for at least two to four weeks. This prevents any undetected pests from spreading to your existing indoor plants.
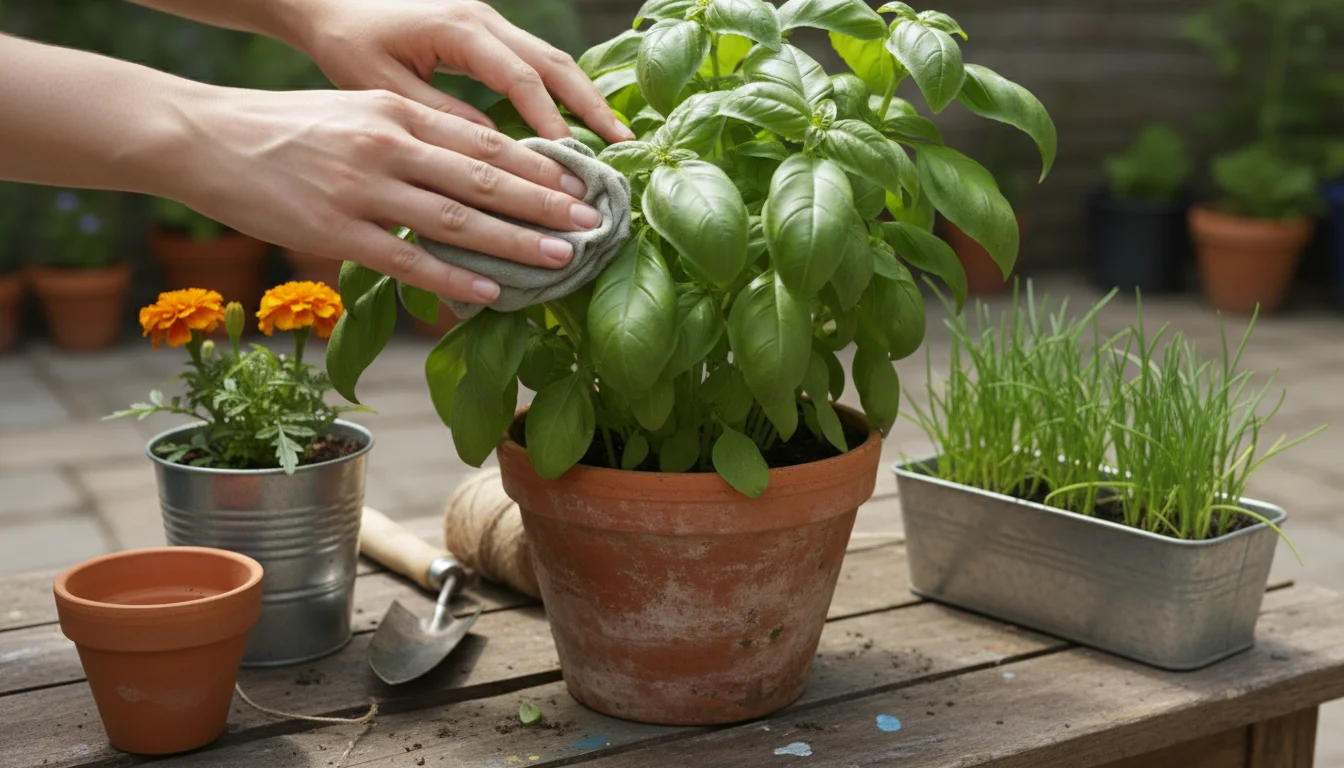
Cleaning Plants for Indoor Living
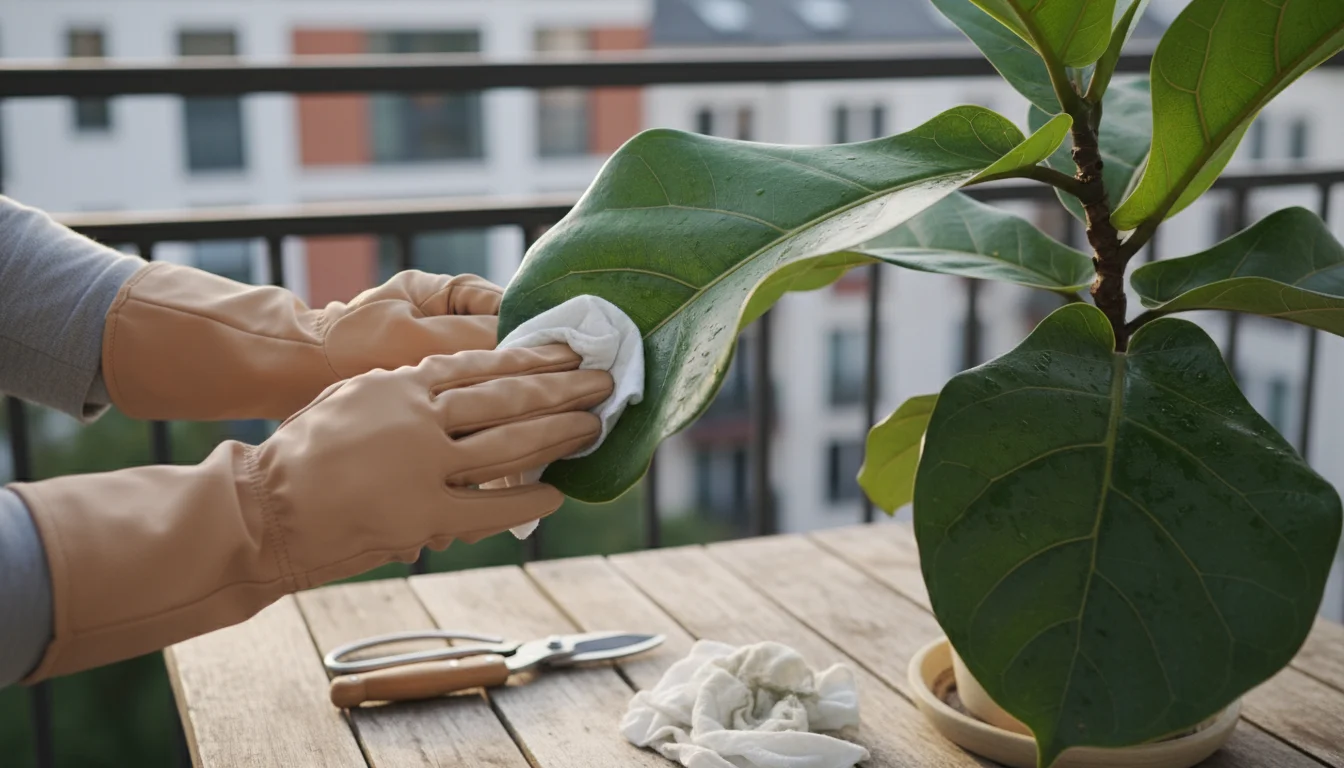
Beyond pest checks, a good clean prepares your plants for their indoor stay.
- Pruning: Trim back any leggy growth, dead leaves, or spent flowers. This reduces the overall plant mass, making it easier to manage and less attractive to pests. It also helps the plant focus energy on root development.
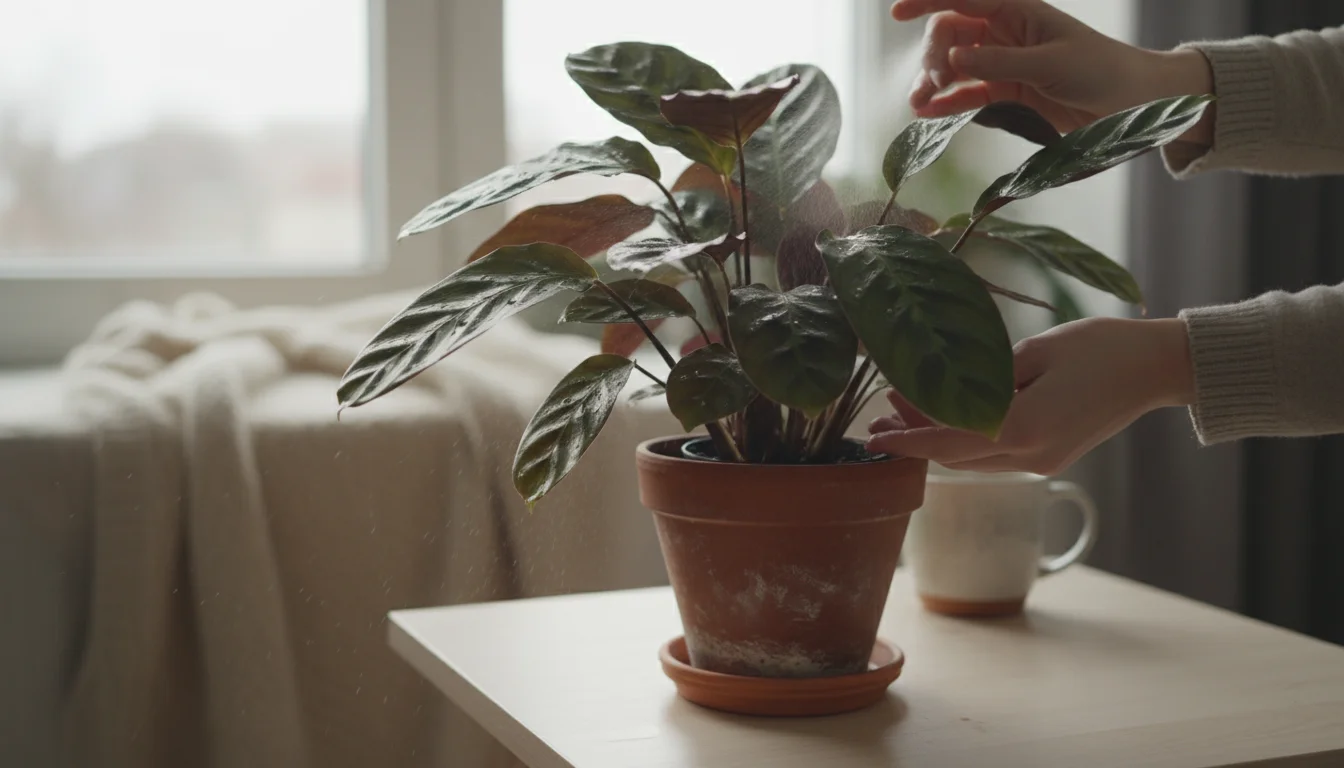
- Wiping Leaves: Gently wipe down leaves with a damp cloth to remove dust, dirt, and any lingering insects. This also improves the plant’s ability to photosynthesize.
- Showering: For many plants, a gentle shower with room-temperature water can dislodge dust and small pests. Ensure good drainage afterward.
- Soil Refresh: If you suspect soil pests, carefully remove the top inch or two of soil and replace it with fresh, sterile potting mix. You can also drench the soil with insecticidal soap diluted according to product instructions, or a neem oil solution.
Gradual Adjustment to Indoor Conditions
Just as you hardened off plants for outdoor living, a gradual transition indoors reduces shock. Indoor light is significantly less intense than outdoor light, and humidity levels often drop.
- Start Early: Bring plants indoors a few weeks before you absolutely have to. This gives them time to adjust before the stress of true winter.
- Transitional Spot: Place plants in a bright, but indirect light spot for the first week or two. A north-facing window, or a few feet away from a south-facing one, can work well.
- Humidity: Grouping plants together can slightly raise local humidity. Pebble trays (trays filled with pebbles and water, ensuring the pot sits above the water) also provide humidity without waterlogging roots.
- Watering: Expect plants to need less water indoors than they did outdoors. Always check soil moisture with your finger before watering.
Pest Prevention Strategies Indoors
Even after thorough inspection, a few pests might slip through. Maintaining good habits helps prevent outbreaks:
- Regular Inspection: Continue to check your plants weekly throughout the winter. Early detection is key to easy control.
- Good Air Circulation: Stagnant air encourages fungal diseases and some pests. Ensure good airflow around your plants.
- Humidity: Many common indoor pests, like spider mites, thrive in dry conditions. Increasing humidity can deter them.
- Quarantine New Plants: Always quarantine any new plant you bring into your home for a few weeks, even if it comes from a reputable nursery.
Winter Haven: Nurturing Indoor Plants
Winter presents unique challenges for plants, especially those accustomed to outdoor conditions or the summer sun. Your goal is to provide a “winter haven” where they can survive, and perhaps even thrive, until spring. This often means adjusting your care routine significantly.
Light: The Winter Challenge
Winter days are shorter, and the sun’s angle is lower, drastically reducing the amount and intensity of natural light available indoors. This is one of the biggest challenges for indoor plants.
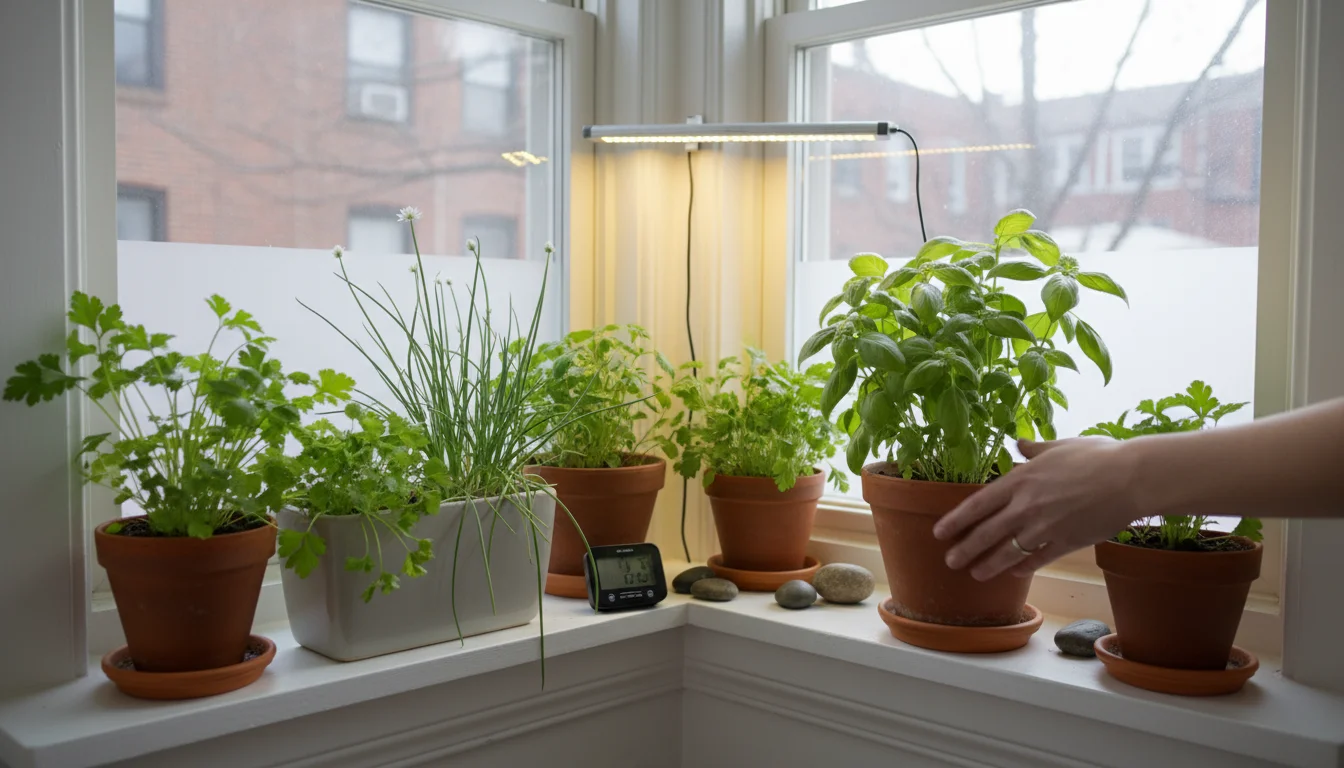
- Maximize Natural Light: Place your plants in the brightest available windows. South-facing windows offer the most light, followed by east and west. Avoid north-facing windows for most light-loving plants during winter. Clean windows regularly to remove dust that can block light.
- Rotating Pots: Rotate your plants a quarter turn every week or two. This ensures all sides of the plant receive adequate light, promoting even growth and preventing leggy, one-sided development.
- Supplement with Grow Lights: For plants that require high light or if your natural light is insufficient, consider a supplemental grow light. LED grow lights are energy-efficient and effective. Place them a few inches to a foot above your plant, depending on the light’s intensity and the plant’s needs, running them for 12-16 hours a day.
Humidity: Battling Dry Air
Indoor heating systems strip the air of moisture, creating a very dry environment that stresses many plants, particularly tropical varieties. Low humidity also encourages pests like spider mites.
- Group Plants: Placing plants close together creates a localized microclimate with slightly higher humidity as they transpire.
- Pebble Trays: Fill shallow trays with pebbles and water, then place your potted plants on top, ensuring the pot’s bottom does not sit directly in the water. The evaporating water increases humidity around the plants.
- Humidifiers: For a collection of plants or if you live in a very dry climate, a room humidifier is the most effective way to raise ambient humidity levels.
- Misting: While misting provides only a temporary boost of humidity, it can be beneficial for some plants, especially those with aerial roots like orchids or epiphytes. Ensure good air circulation to prevent fungal issues.
Watering: Less is Often More
Plants generally grow much slower, or even enter dormancy, during winter due to reduced light and cooler temperatures. This means they require significantly less water.
- The Finger Test: Your best tool is your finger. Stick it an inch or two into the soil. Only water when the soil feels dry at that depth. For dormant plants or succulents, allow the soil to dry out even further.
- Frequency Reduction: Where you might have watered weekly in summer, you might only need to water every two to four weeks in winter. There is no fixed schedule; it depends on the plant, pot size, and indoor conditions.
- Avoid Cold Water: Use room-temperature water for your plants. Cold water can shock roots.
Fertilizing: A Winter Break
Most plants do not need fertilizer during their winter dormancy or period of slow growth. Providing nutrients when they are not actively growing can lead to salt buildup in the soil, potentially damaging roots.
- Stop Fertilizing: For most plants, cease fertilization from late autumn until early spring when new growth resumes.
- Exceptions: If you are providing supplemental grow lights and your plant is actively putting out new growth, you might provide a very dilute half-strength fertilizer occasionally. However, for most home growers, a complete break is safest.
Temperature Stability
Most houseplants prefer stable indoor temperatures between 60-75°F (15-24°C). Avoid placing plants near drafty windows or doors, or close to heating vents, which can cause extreme temperature fluctuations and dry them out rapidly.

Selecting Plants for Year-Round Interest
To truly achieve year-round interest with seasonal plant swaps, you need to select a diverse palette of plants that perform well in different conditions. This strategy allows you to have something beautiful on display during every season.
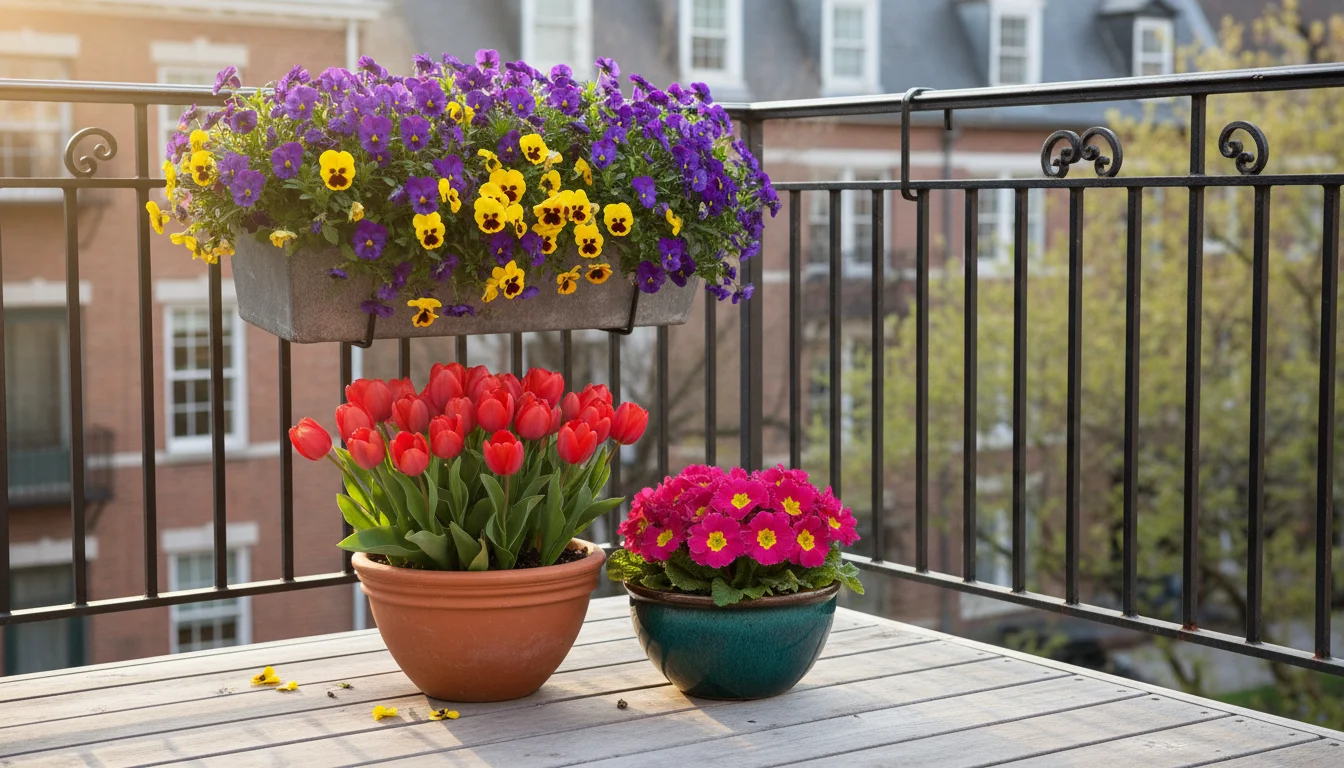
Spring Bloomers
Welcome spring with fresh, vibrant colors. These plants often thrive in cooler temperatures and signal the end of winter.
- Bulbs: Tulips, daffodils, hyacinths, and crocuses planted in autumn can burst forth with color. After flowering, they can be removed and stored or moved to a less prominent location to go dormant.
- Pansies and Violas: These cheerful annuals tolerate cool weather and often bloom from early spring until early summer heat.
- Primrose: Brightly colored, compact plants perfect for early spring containers.
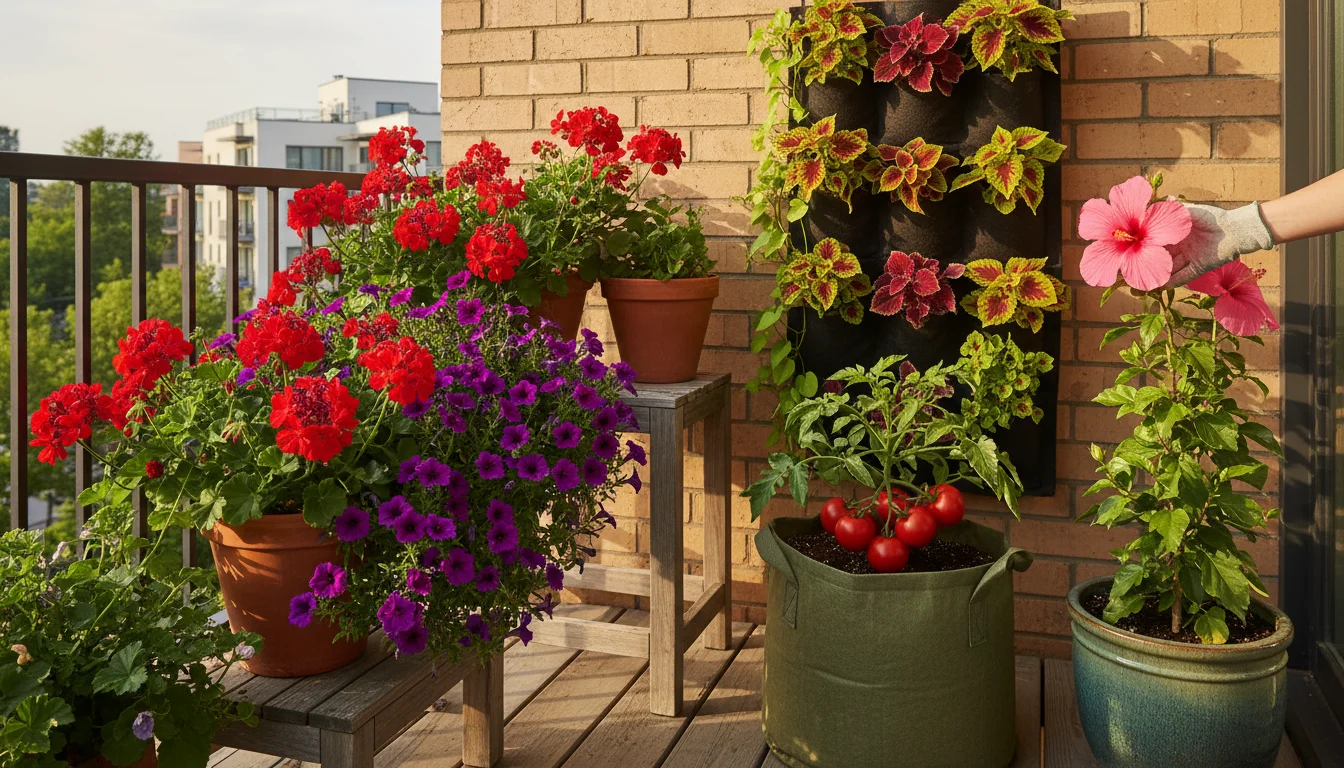
Summer Stars
These plants love warmth and sun, offering continuous blooms and lush foliage through the hottest months. Many also transition well from indoors to a bright outdoor spot for the summer.
- Flowering Annuals: Petunias, calibrachoa, impatiens (shade-lovers), geraniums, and zinnias provide continuous color.
- Tropical Plants: Hibiscus, mandevilla, bougainvillea, and elephant ears (Colocasia) thrive outdoors in summer, bringing an exotic flair. Many can be overwintered indoors.
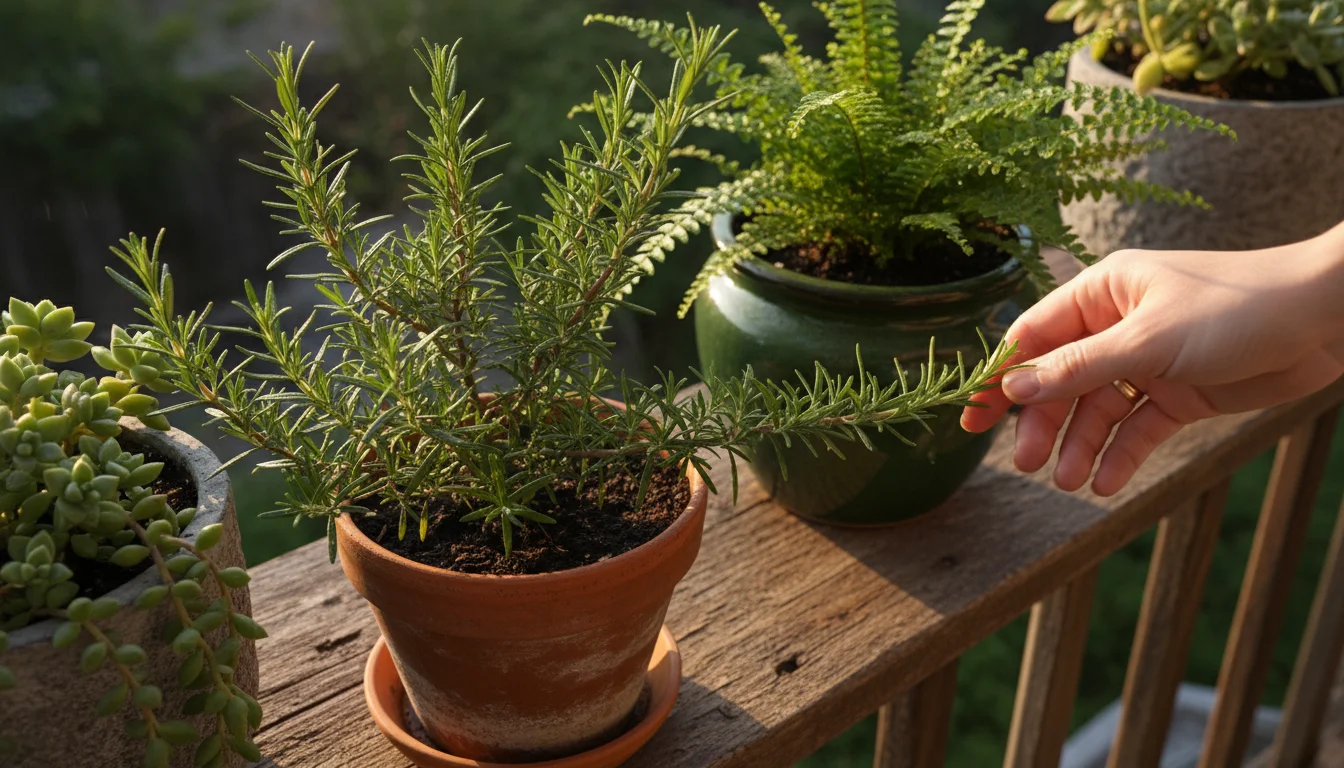
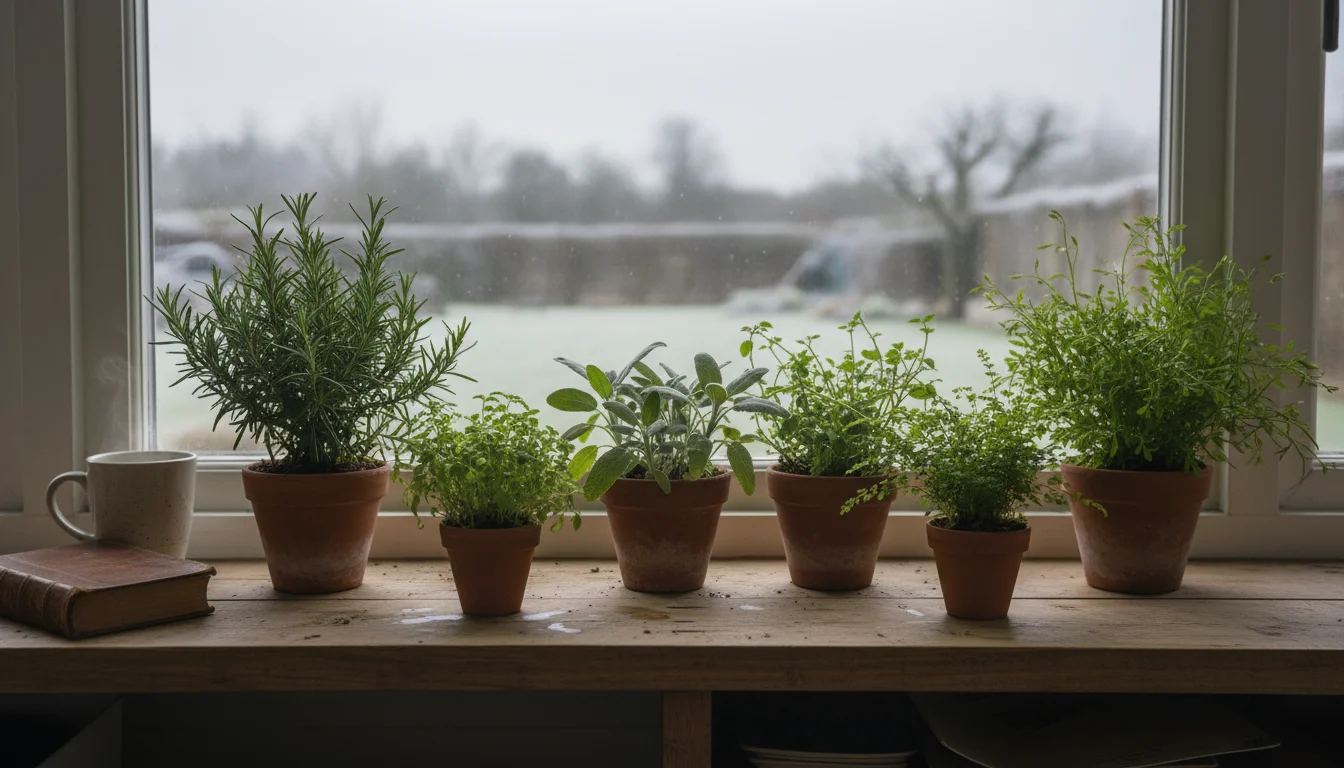
- Edibles: Dwarf tomatoes, peppers, basil, rosemary, and mint grow wonderfully in pots, providing both beauty and harvest.
- Foliage Plants: Coleus and sweet potato vine offer striking leaf colors and textures, complementing flowering plants.
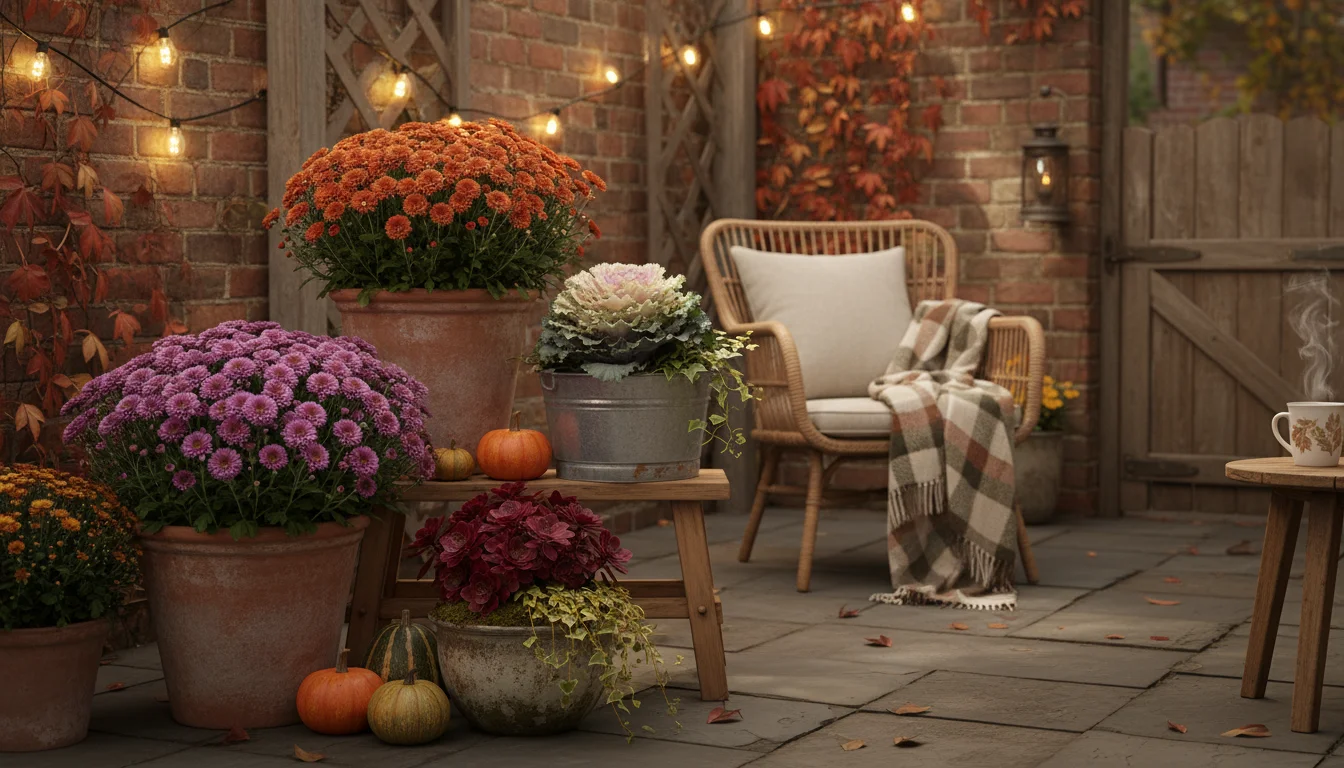
Autumn Accents
As summer fades, choose plants that offer rich colors and textures, reflecting the changing season. Many of these tolerate cooler temperatures before needing to come inside.
- Mums (Chrysanthemums): Classic autumn bloomers available in a vast array of colors.
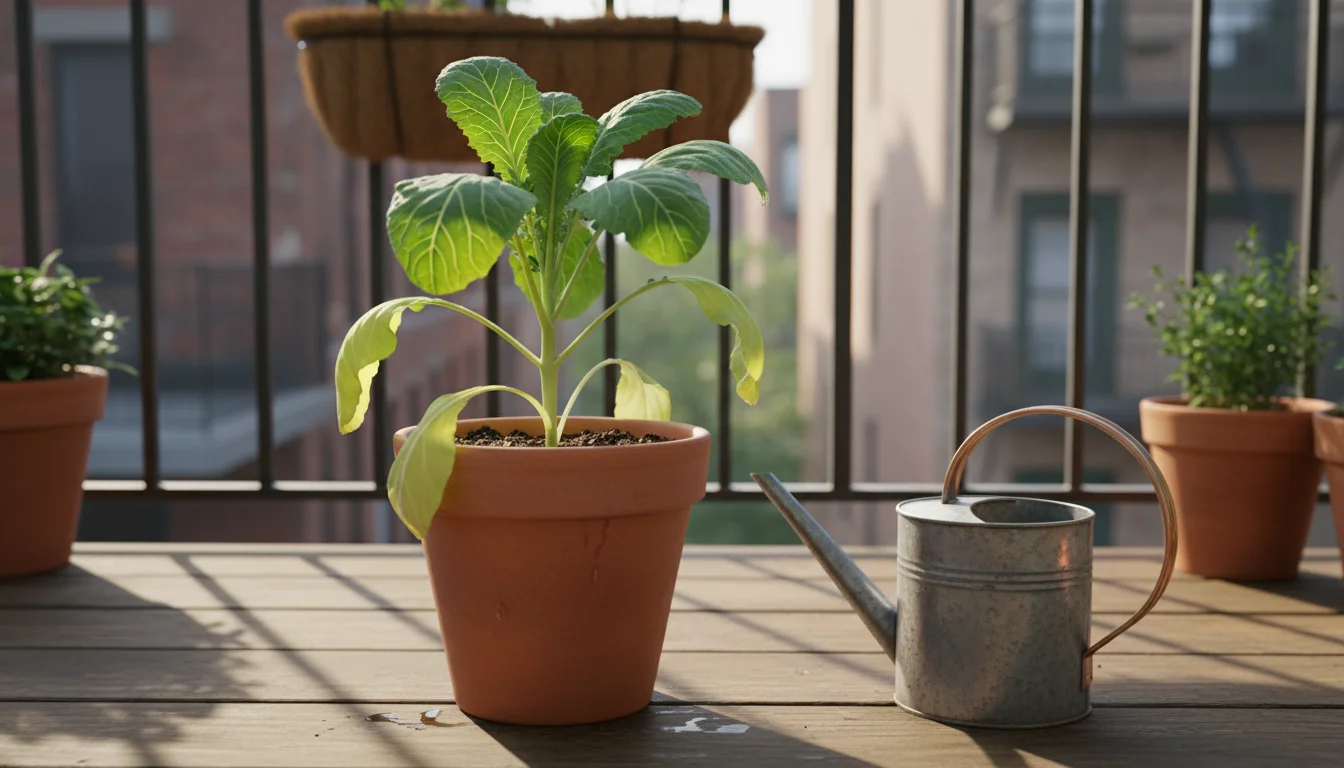
- Ornamental Cabbage and Kale: Provide striking foliage in shades of purple, green, and white that intensify with cooler weather.
- Pansies and Violas: Can be planted again in autumn for a second flush of blooms, often surviving mild winters.
- Heuchera (Coral Bells): Perennial with vibrant, colorful foliage that adds texture.
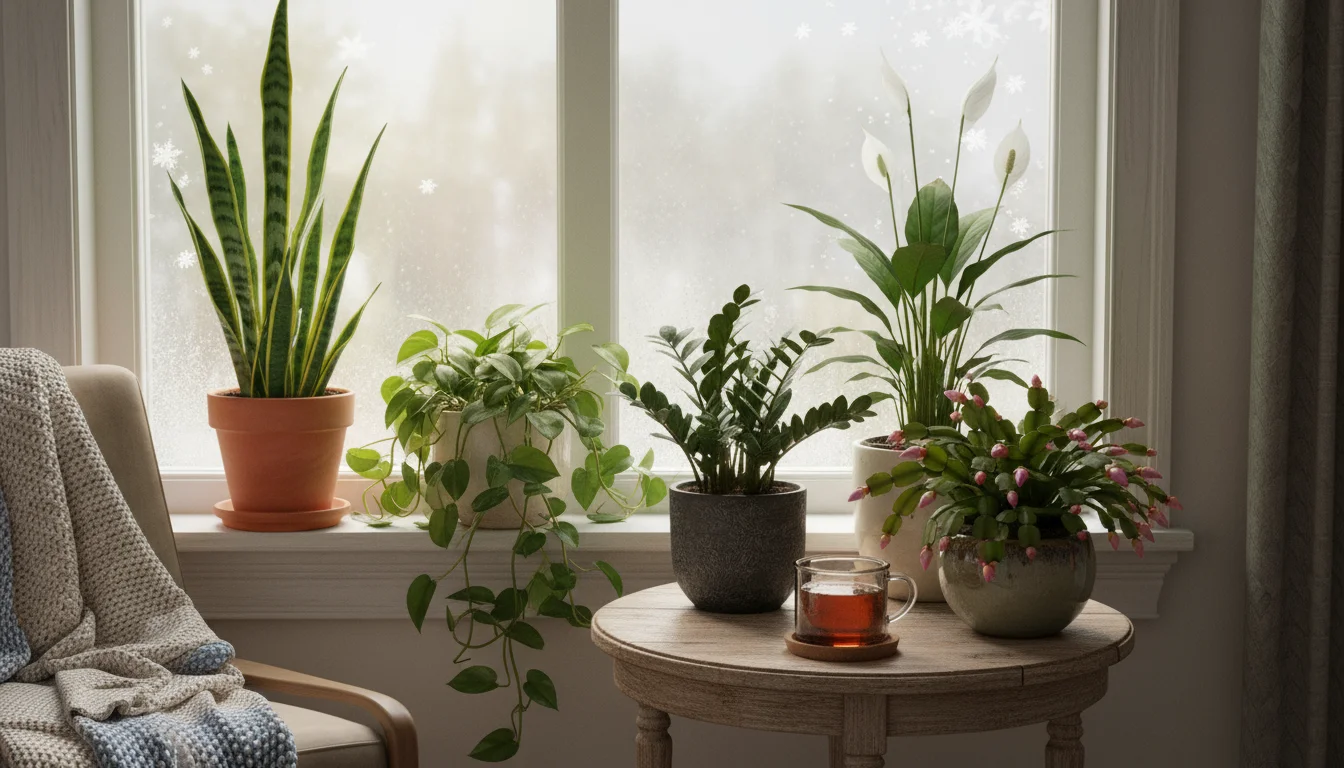
Winter Wonders (Indoors)
During the coldest months, your focus shifts to robust houseplants that can tolerate lower light and drier indoor conditions. These plants provide green relief and interest when outdoor gardening is dormant.
- Snake Plant (Sansevieria): Extremely low-maintenance, tolerant of low light and infrequent watering.
- ZZ Plant (Zamioculcas zamiifolia): Another highly resilient plant that thrives on neglect and low light.
- Pothos (Epipremnum aureum) and Philodendron (Philodendron hederaceum): Adaptable vining plants that tolerate a range of light conditions.
- Christmas Cactus (Schlumbergera): Provides beautiful winter blooms with the right care.
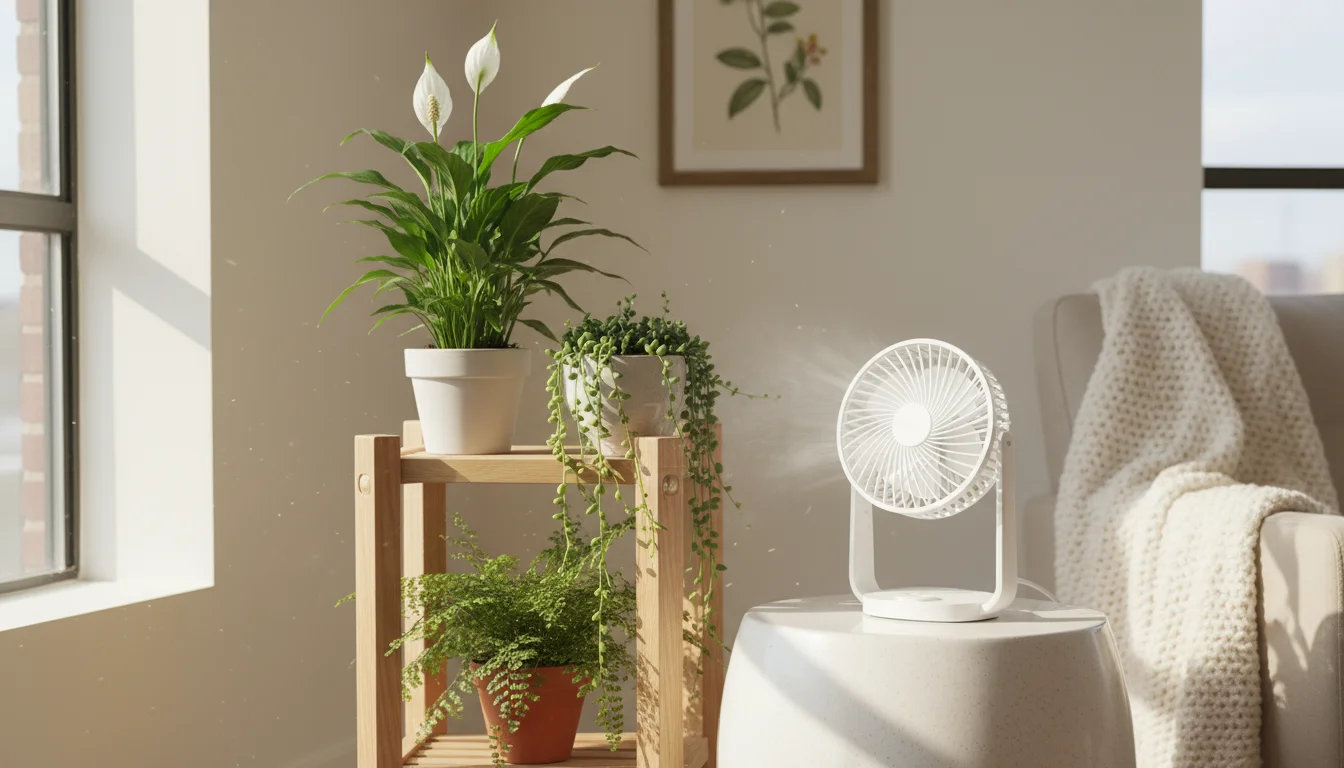
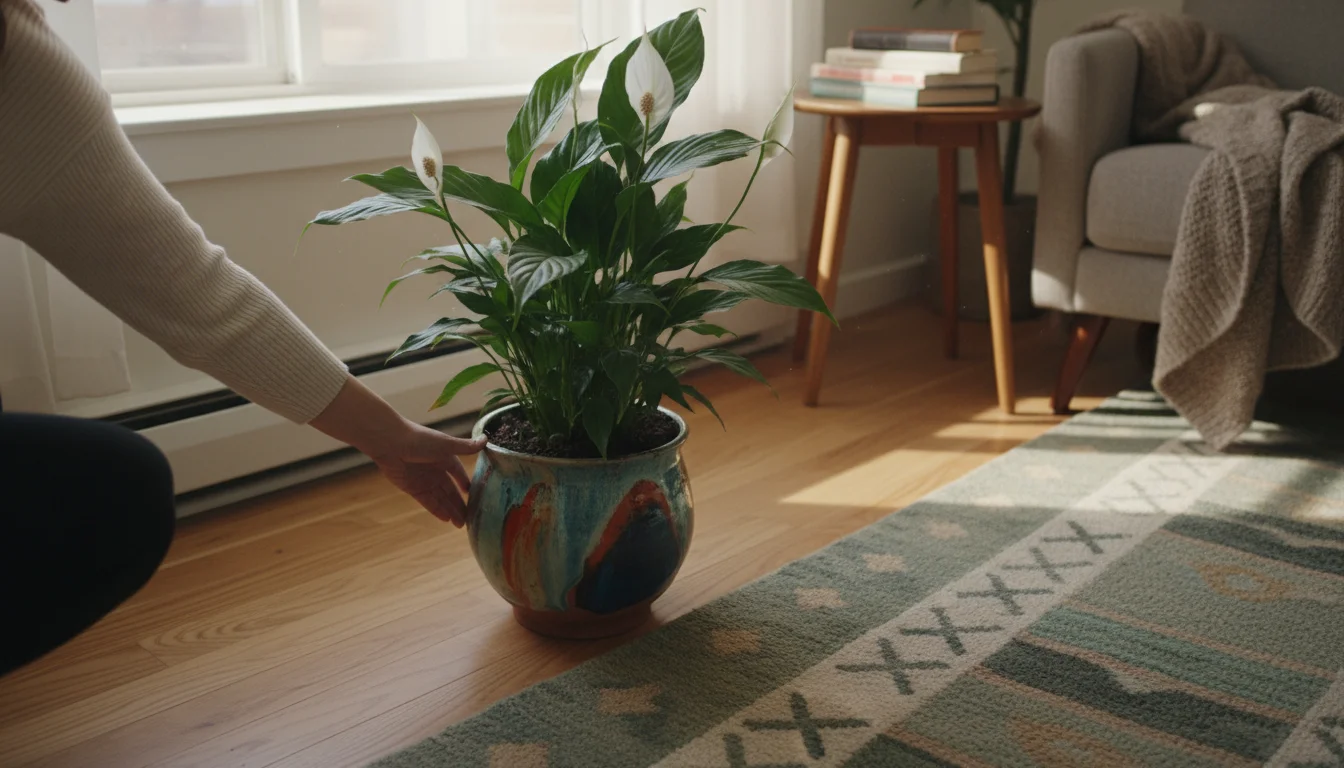
- Peace Lily (Spathiphyllum): Elegant plant that tolerates lower light and produces white flowers.
Mix and Match for Year-Round Appeal
The true magic of seasonal plant swaps comes from mixing these categories. Imagine bringing in your tropical hibiscus for winter, while a snake plant enjoys its spot. In spring, you replace your dormant bulbs with early annuals, and your hibiscus moves back out. By having a varied collection and understanding each plant’s needs, you ensure your space always has something captivating to offer.
Sustainable Swapping Practices
Gardening is inherently connected to nature, and adopting sustainable practices during your seasonal plant swaps benefits both your plants and the environment. Practical, eco-friendly habits make your gardening more responsible and often more rewarding.
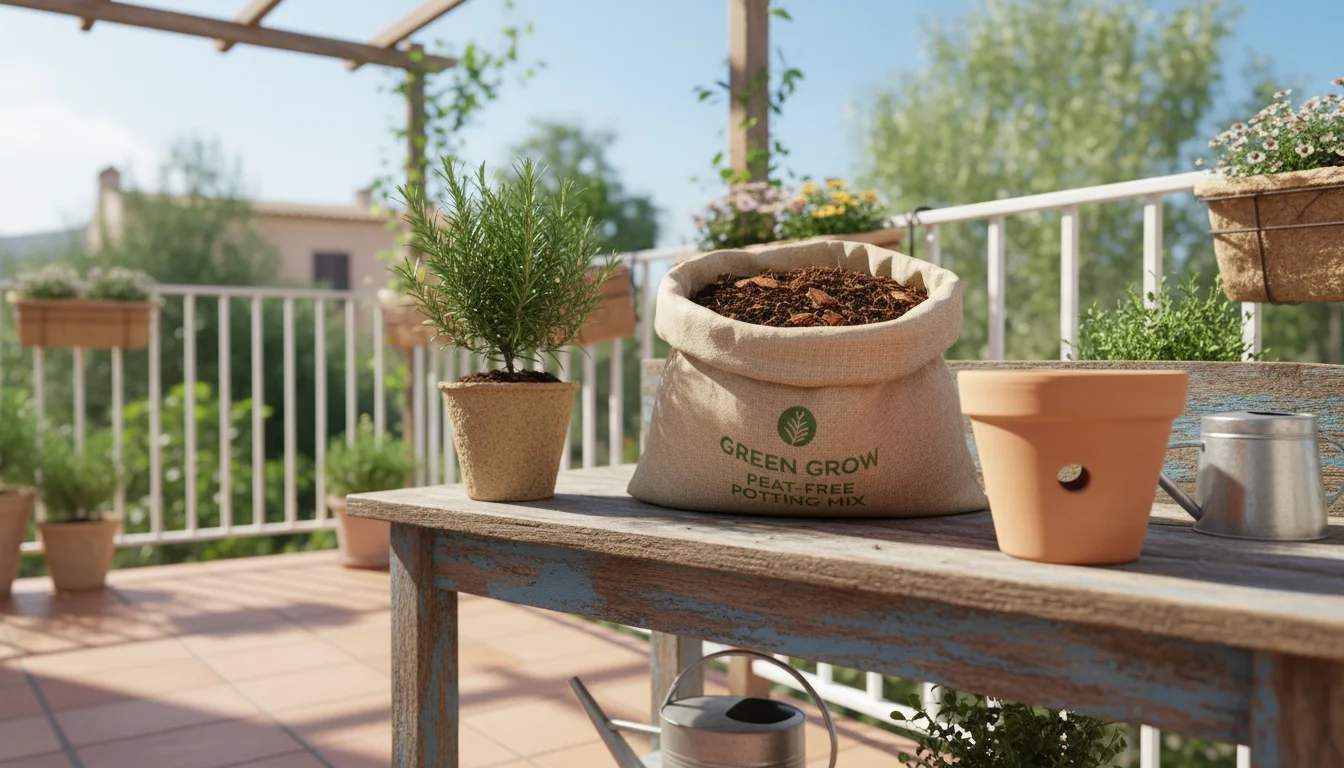
Embrace Peat-Free Potting Mixes
Peat moss, a common component in traditional potting mixes, is harvested from peat bogs, which are vital ecosystems and significant carbon sinks. Choosing peat-free alternatives reduces your environmental footprint. Many excellent options exist, made from coir (coconut fiber), composted bark, rice hulls, or other sustainable materials. These mixes often offer superior drainage and aeration.
Soil Reuse and Refreshing
You do not need to discard all your potting mix after each season. Used potting mix still contains organic matter but may have depleted nutrients and a compressed structure. You can refresh it:
- Sterilize: If you suspect soil-borne pests or diseases, you can sterilize small batches of soil by baking it in an oven (at 180-200°F for 30 minutes) or microwaving it until it reaches temperature.
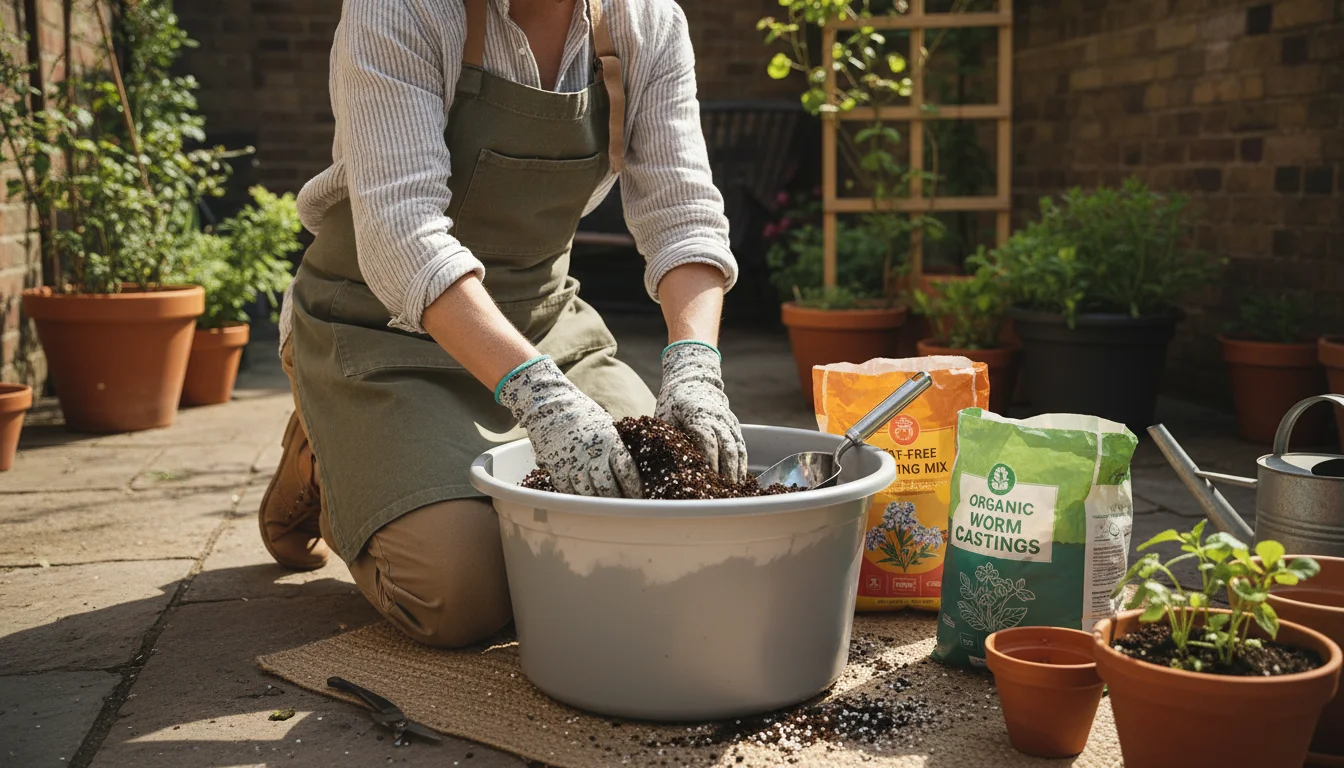
- Amend: Mix old soil with fresh, peat-free potting mix (at least 50% fresh), compost, worm castings, or perlite/vermiculite to restore structure and nutrient content. This extends the life of your potting medium and reduces waste.

Water Conservation
Water is a precious resource. Implement strategies to use it wisely:
- Rain Barrels: Collect rainwater for your container plants. Rainwater is free of chlorine and other chemicals found in tap water, which plants often prefer.
- Efficient Watering: Water deeply and thoroughly, but only when the plants need it. Avoid runoff from overwatering.
- Mulching: Apply a layer of organic mulch (like shredded leaves, wood chips, or straw) to the surface of outdoor pots. Mulch reduces water evaporation by up to 30%, suppresses weeds, and regulates soil temperature.
- Grouping Plants: As mentioned, grouping plants together can create localized humidity, reducing the rate at which individual pots dry out.
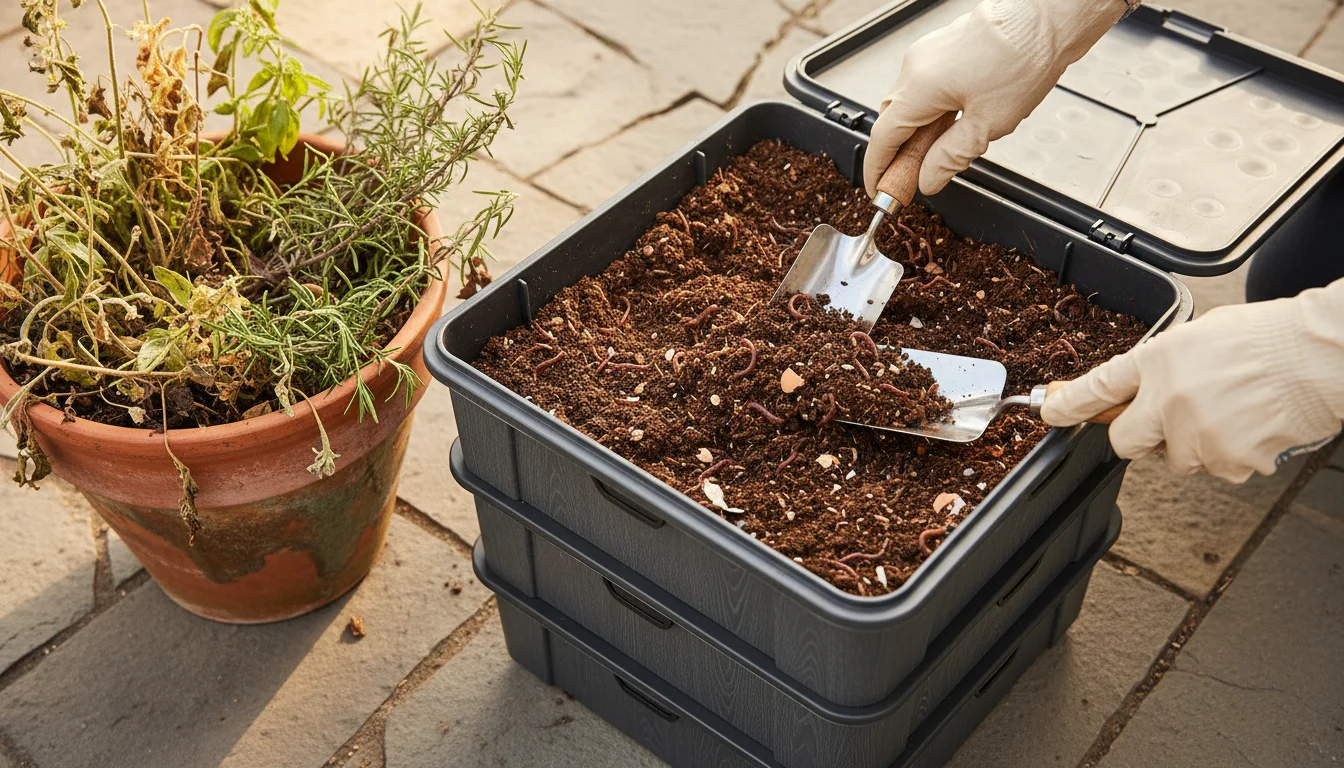
Composting Plant Debris
Instead of throwing away spent annuals, pruned branches, or dead leaves, compost them. Composting turns organic waste into nutrient-rich soil amendment, closing the loop in your garden. This diverts waste from landfills and provides valuable organic matter for your future potting mixes or garden beds. Even a small worm bin can handle kitchen scraps and some plant waste.
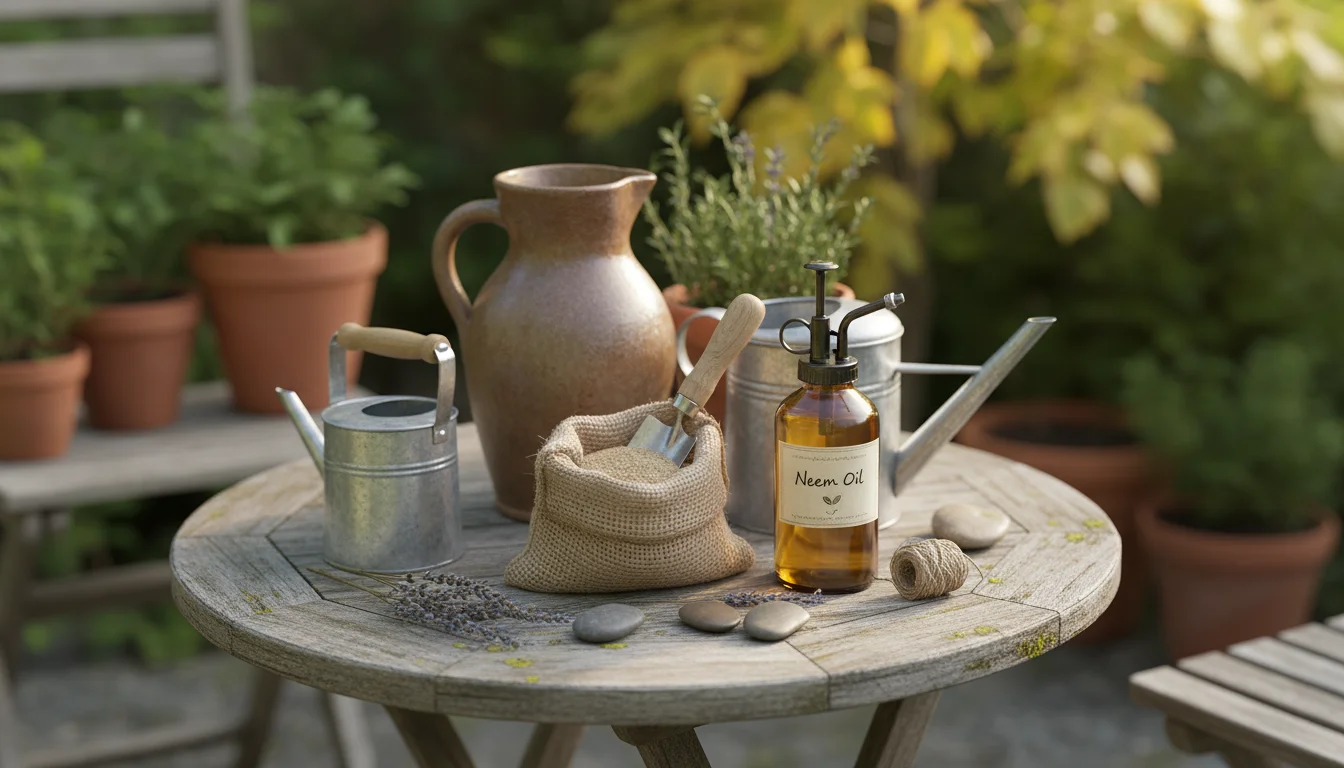
Choosing Sustainable Fertilizers and Pest Treatments
Opt for organic, naturally derived fertilizers like compost tea, worm castings, or bone meal. These feed the soil microbes as well as the plant, building healthier soil over time. For pest control, first try non-toxic methods like insecticidal soap, neem oil, or manual removal. Avoid synthetic pesticides that can harm beneficial insects and the wider environment.

Repurposing and Sharing
Be creative with containers. Old buckets, tires, or even broken ceramics can be repurposed into unique planters with proper drainage. Consider starting seeds or propagating cuttings to share with friends and neighbors. This not only builds community but also reduces the demand for commercially grown plants, which often travel long distances.

Troubleshooting Common Seasonal Issues
Even with the best planning, plants can sometimes experience stress during seasonal transitions. Knowing how to identify and address these common issues helps you act quickly and effectively, minimizing harm to your plants.
Leaf Drop After Moving
It is normal for plants to drop some leaves after a significant environmental change, such as moving from indoors to outdoors, or vice versa. This is often a plant’s way of adjusting to new light levels or humidity. For instance, a plant moving from bright outdoor sun to dimmer indoor light might shed leaves it can no longer support. This phenomenon is called “acclimatization shock.”
Solution:
- Be Patient: Give the plant time to adjust. Most will recover within a few weeks.
- Provide Consistent Care: Maintain appropriate watering and avoid fertilizing during this stressful period.
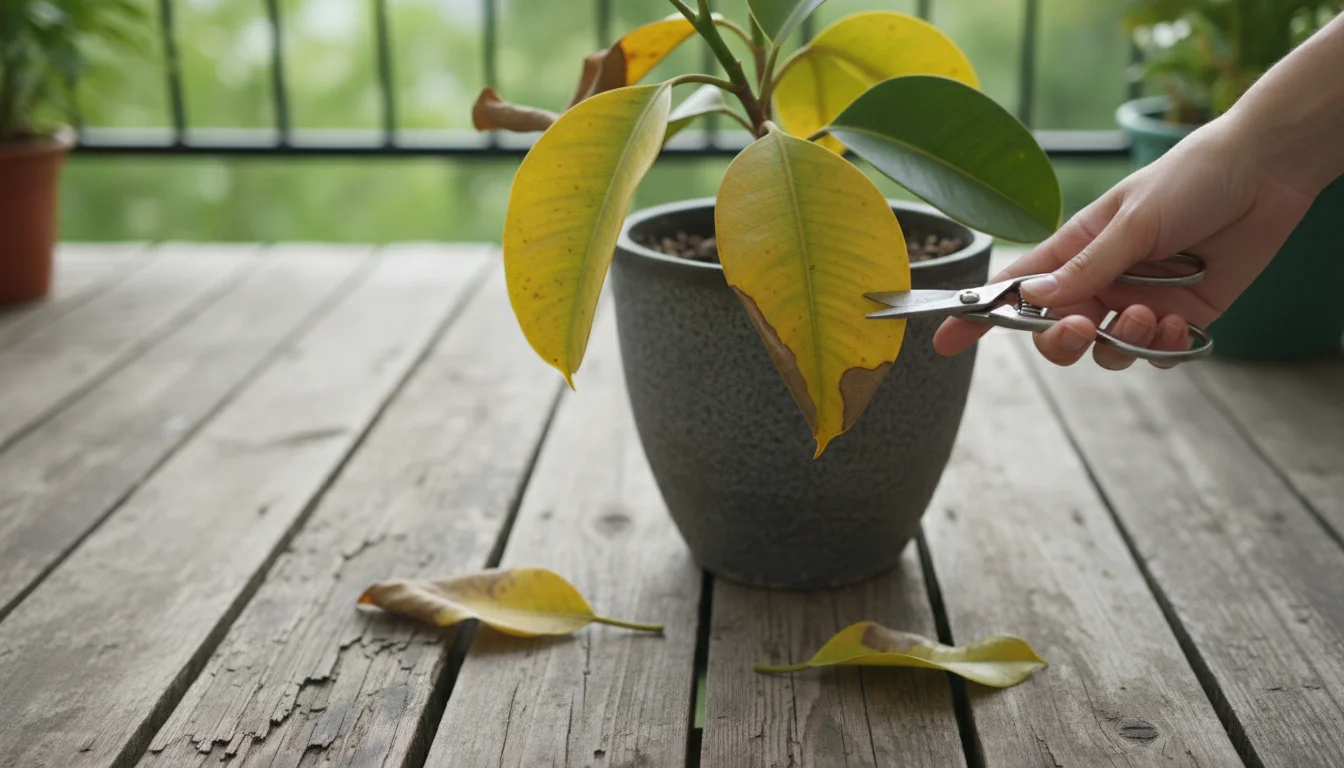
- Prune Dead Leaves: Remove yellowed or dead leaves to encourage new growth and improve air circulation.
Pest Outbreaks During Transitions
Pests are notorious for hitchhiking on plants and exploiting stressed conditions. Spider mites, mealybugs, and aphids are common culprits, especially when plants move indoors, where conditions can be ideal for their reproduction.
Solution:
- Thorough Inspection (Again!): Regularly check plants, especially before and after moving them. Look closely at leaf undersides and stem joints.
- Manual Removal: For small infestations, wipe off pests with a cotton swab dipped in rubbing alcohol, or blast them off with a strong stream of water (for outdoor plants).
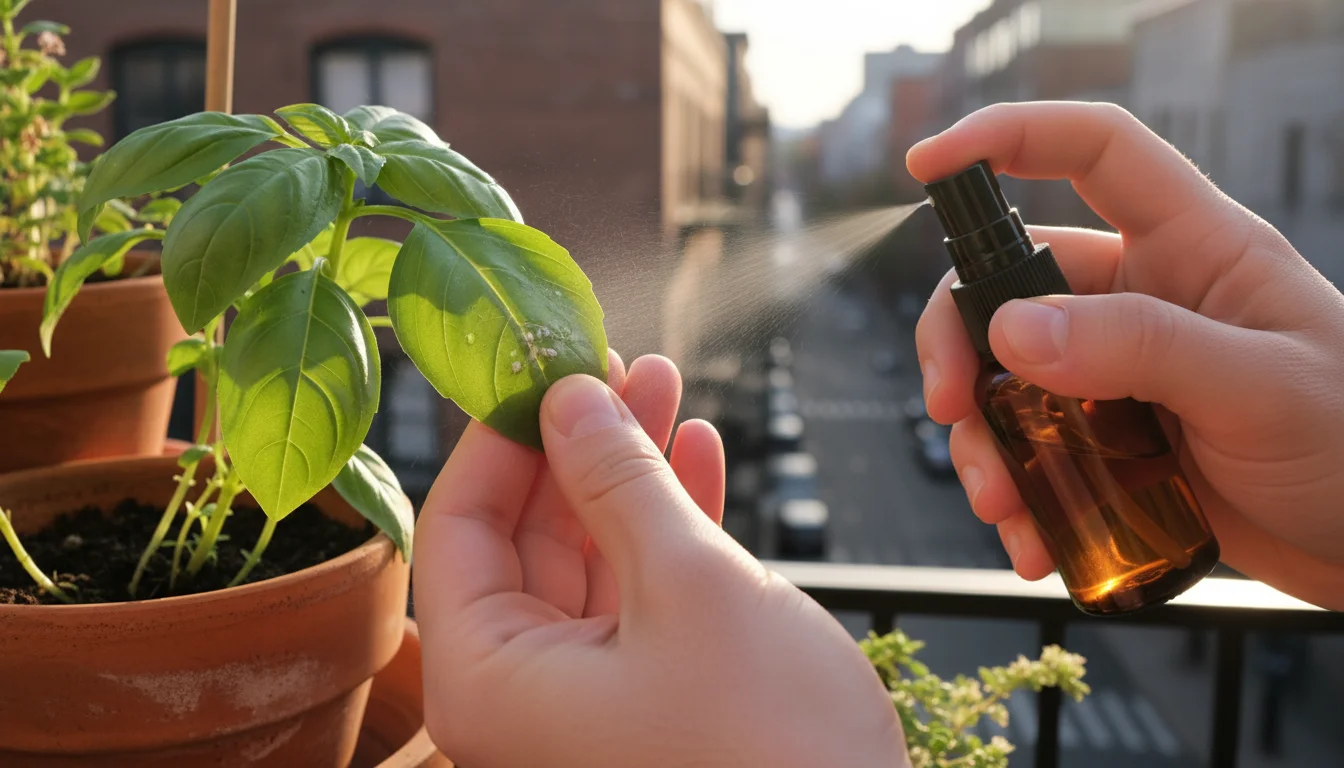
- Insecticidal Soap or Neem Oil: Apply these organic solutions according to package directions. Repeat treatments are often necessary to break the pest life cycle.
- Quarantine: Isolate any infested plant immediately to prevent spread.
Overwatering or Underwatering Symptoms
Watering needs change dramatically with seasons and location. Misjudging these changes can lead to severe problems.
- Overwatering Symptoms: Yellowing leaves, wilting despite moist soil, soft and mushy stems, stunted growth, foul odor from soil. Root rot is a common consequence.
- Underwatering Symptoms: Drooping or crispy leaves, dry and brittle soil, slow growth, leaf margins turning brown.
Solution:
- The Finger Test is Key: Always check soil moisture before watering. Allow the top inch or two of soil to dry out before rewatering, adjusting based on plant type.
- Proper Drainage: Ensure all pots have drainage holes. If overwatered, you might need to repot into fresh, drier soil, trimming any rotted roots.
- Adjust Schedule Seasonally: Plants need significantly less water in winter when growth slows. They need more water outdoors in summer due to increased evaporation.
Nutrient Deficiencies
Plants in containers eventually deplete the nutrients in their potting mix. While common during active growth, deficiencies can sometimes appear after prolonged periods in the same soil, or if you forget to fertilize actively growing plants.
Symptoms:
- Yellowing lower leaves (uniform): Often a sign of nitrogen deficiency.
- Purple coloration on leaves: Can indicate phosphorus deficiency.
- Yellowing between leaf veins (chlorosis): Suggests an iron or magnesium deficiency, often due to pH imbalances.
Solution:
- Regular Fertilization: Use a balanced, organic fertilizer during the active growing season (spring through early autumn).
- Repotting: Annually or biennially repotting into fresh potting mix replenishes nutrients.
- Soil pH Check: Sometimes nutrient uptake is hindered by incorrect soil pH. Test your soil and adjust if necessary, though this is less common for container plants with fresh potting mix.
Acclimatization Shock
This is the general term for the stress a plant experiences when suddenly moved to a drastically different environment. Symptoms can include leaf drop, wilting, stunted growth, and yellowing.
Solution:
- Harden Off: Always follow the hardening off process (gradual transition) when moving plants outdoors in spring.
- Gradual Indoor Transition: Similarly, give plants a week or two in a less extreme indoor spot before moving them to their final winter location.
- Consistent Care: Provide consistent water and avoid other stressors during the adjustment period.
Frequently Asked Questions
How do I know when exactly to move my plants indoors or outdoors?
Monitor your local weather forecast closely. For moving plants outdoors in spring, wait until nighttime temperatures consistently stay above 50-55°F (10-13°C) and all danger of frost has passed. When moving plants indoors in autumn, bring them in when nighttime temperatures consistently drop below 50-55°F to avoid cold shock and potential frost damage. Always prioritize avoiding extremes. You can consult your local agricultural extension service for average frost dates in your specific area.
What is “hardening off” and why is it so important?
“Hardening off” is the process of gradually acclimating plants to a new environment, typically when moving them from indoors to outdoors. Indoor plants are sensitive to direct sun, wind, and fluctuating temperatures. Hardening off involves slowly increasing their exposure to these outdoor elements over 7-14 days, starting with just a few hours in a shady, sheltered spot. This prevents sunburn, leaf shock, and ensures your plants adapt successfully without severe stress.
My plants look sad and dropped leaves after moving them. What happened?
This is often a common reaction called “acclimatization shock.” Plants, especially houseplants, are sensitive to sudden changes in light, temperature, and humidity. Dropping leaves is their way of adjusting to the new environment. Ensure you followed a gradual transition process like hardening off. Provide consistent, appropriate care for their new location, avoid overwatering, and be patient. Most plants recover and put out new growth once they adapt.
Can I use the same soil year after year in my pots?
It is generally not recommended to use the exact same soil indefinitely without amendment. Over time, potting soil compacts, loses its aeration, and becomes depleted of nutrients. It can also harbor dormant pests or disease pathogens. You can refresh existing soil by mixing it 50/50 with fresh, peat-free potting mix, adding compost, and perlite or vermiculite for drainage and aeration. For plants that have been in pots for a long time, full repotting into entirely fresh soil is often the best solution.
What are some good low-maintenance plants for seasonal rotation?
For low-maintenance seasonal rotation, consider hardy and adaptable plants. For summer outdoor display and winter indoor life, options like Tradescantia (wandering jew), spider plant (Chlorophytum comosum), and many types of succulent plants are excellent. They tolerate a range of light and can handle the transition well. Snake plants (Sansevieria) and ZZ plants (Zamioculcas zamiifolia) are incredibly resilient indoors in winter and can enjoy a shaded outdoor spot in summer.
For research-based plant care guidance, visit
UF/IFAS Gardening Solutions,
Missouri Botanical Garden,
Oregon State Extension — Gardening and
Chicago Botanic Garden.
Disclaimer: This article is for informational purposes only and is not a substitute for professional advice. Consult local extension services for region-specific recommendations.