
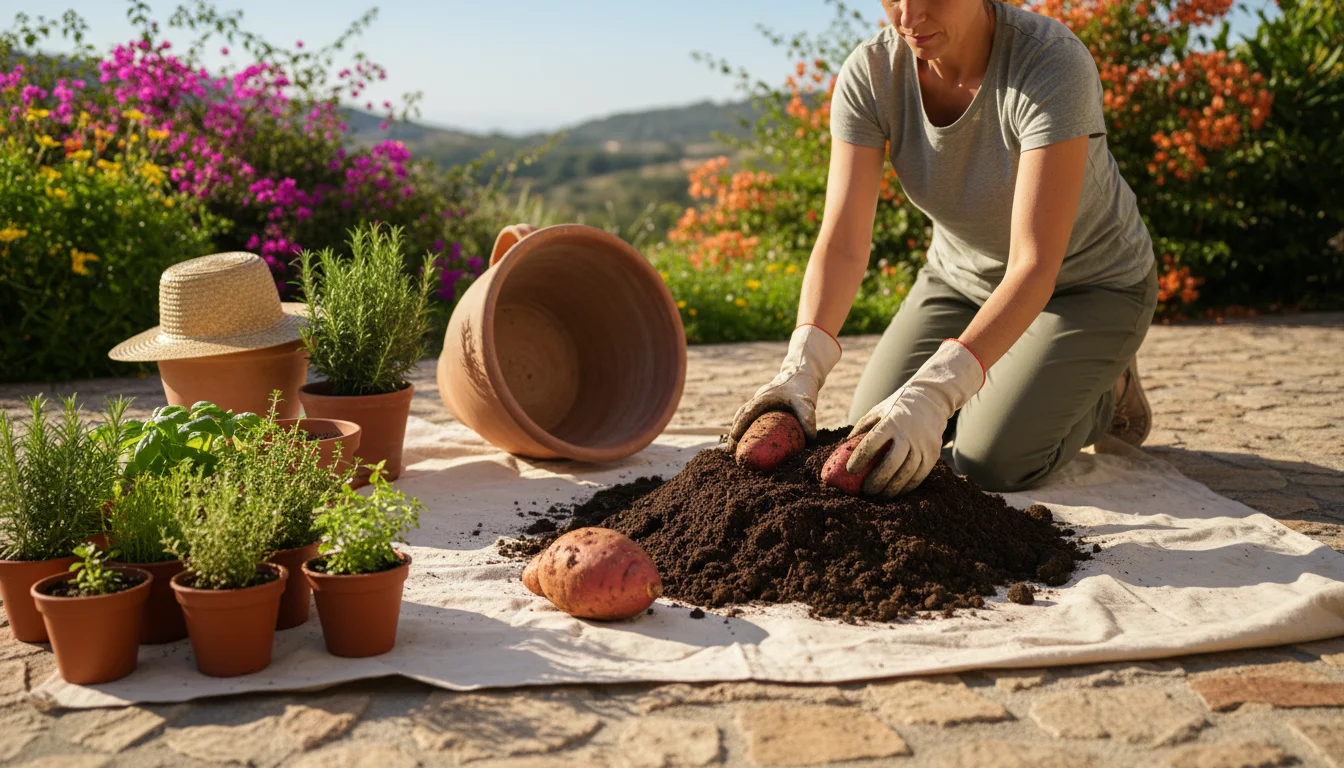
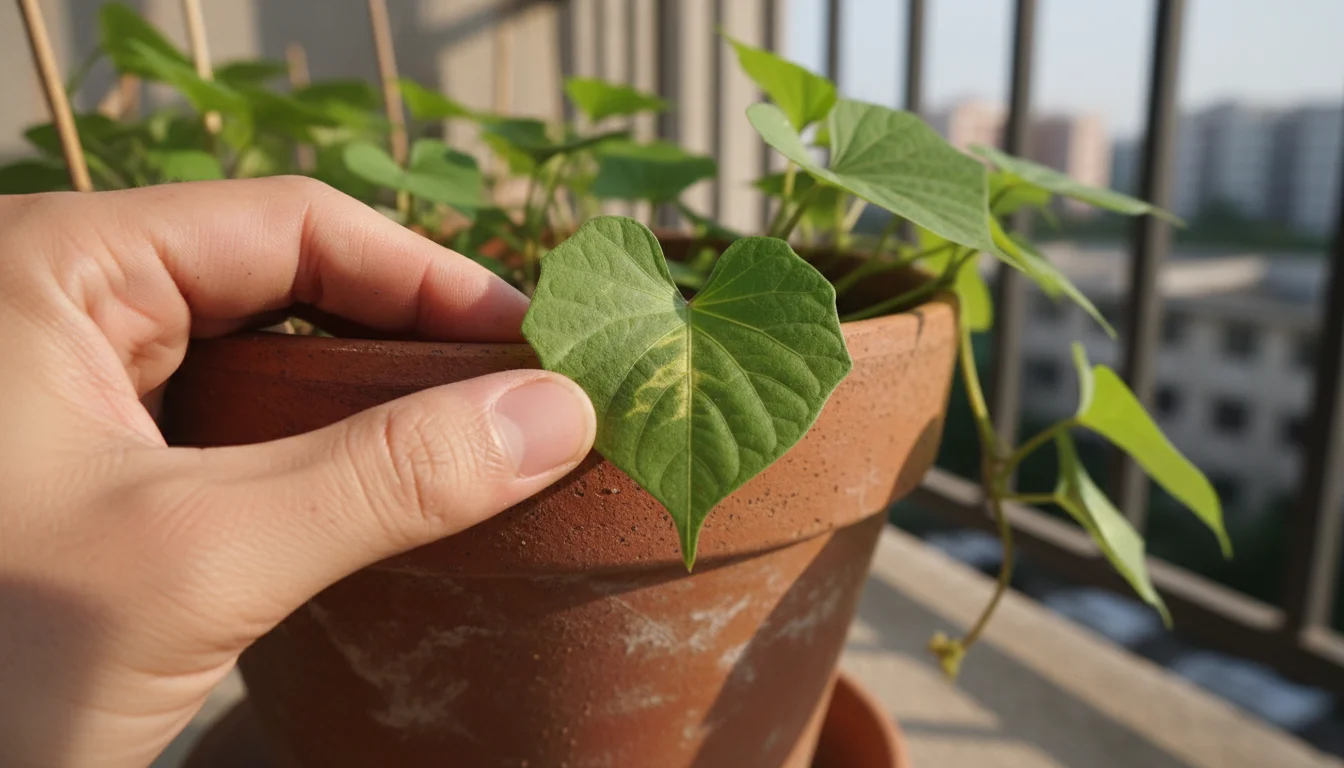
Imagine pulling vibrant, healthy sweet potatoes right from a container on your patio or balcony. This rewarding experience is entirely within reach, even if your garden footprint is small. Growing sweet potatoes in pots offers a fantastic way to enjoy delicious, homegrown produce without a large plot of land.
While the growing season is satisfying, the true magic for flavor and long-term storage happens after you pull them from the soil. Harvesting sweet potatoes, and particularly the crucial steps of curing and proper storage, often feels intimidating to new gardeners. However, with a clear, step-by-step approach, you will master these post-harvest techniques and enjoy your delicious bounty for months.
This guide demystifies the entire process, transforming what might seem like a complex endeavor into a simple, enjoyable part of your gardening journey. We provide practical insights and actionable advice, ensuring your hard work in nurturing these beautiful plants culminates in a successful harvest of sweet, flavorful tubers ready for your kitchen.
The Journey Begins: Selecting Your Container and Soil for Sweet Potatoes
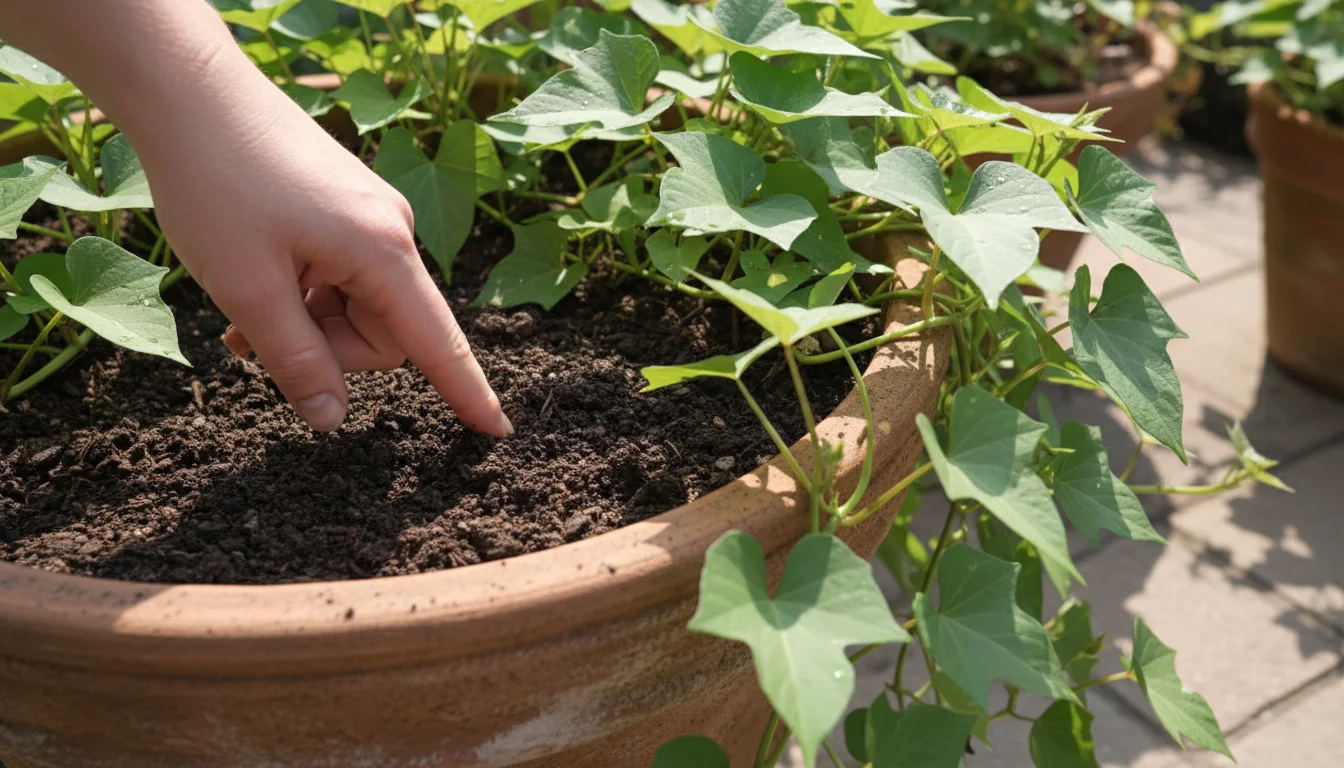
Successful container sweet potato cultivation starts with the right foundation. Your container choice and potting mix significantly impact tuber development. Remember, sweet potatoes are root vegetables, meaning they need ample space below the soil line to expand.
Choosing the Right Container for Sweet Potatoes
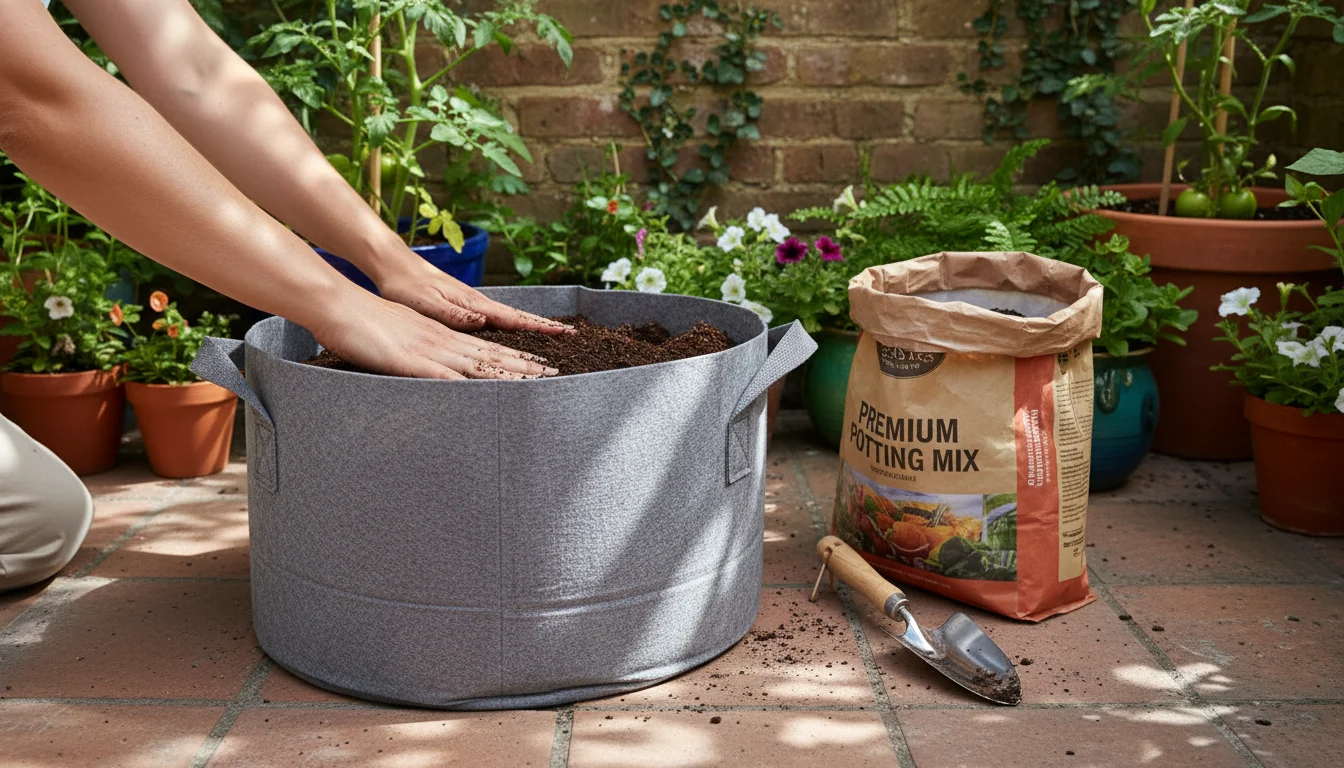
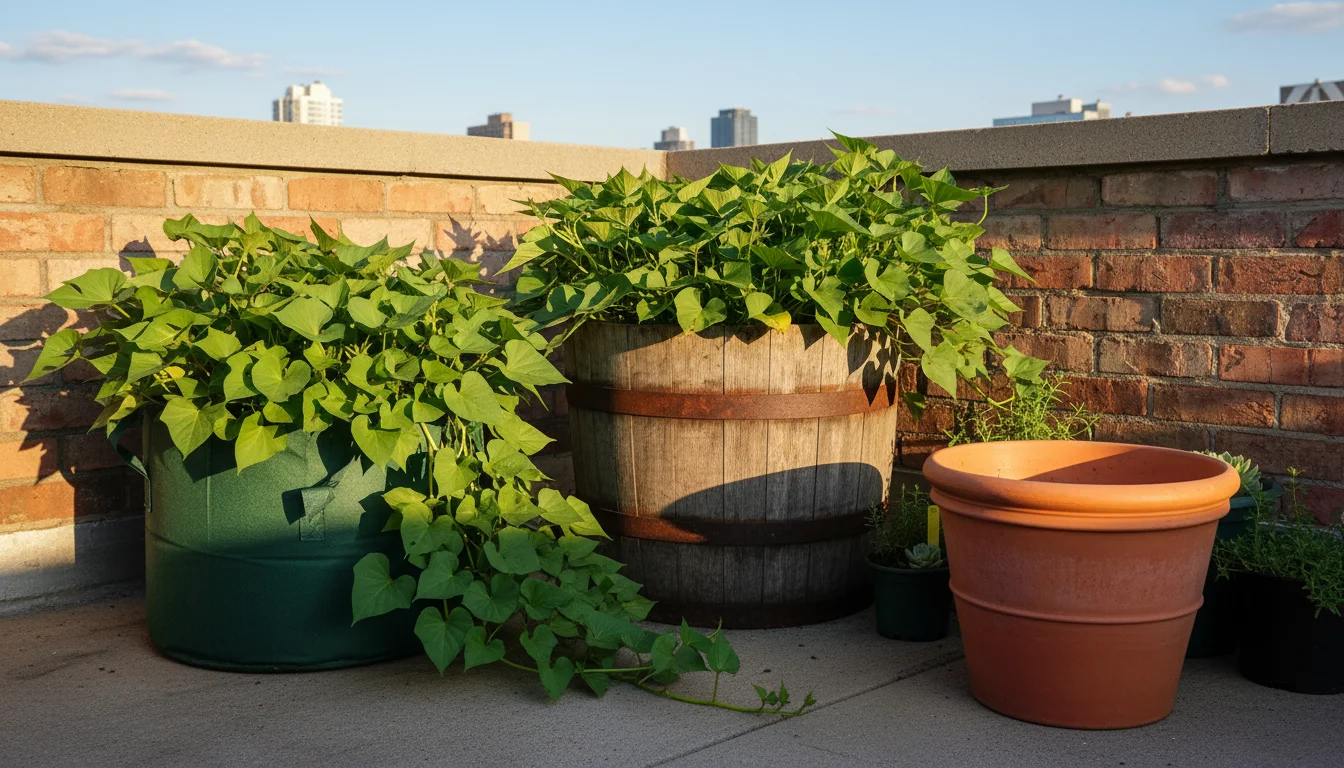
Sweet potato plants thrive in generous containers. Aim for pots that provide both width and depth to accommodate the expanding tubers. A minimum size of 15 gallons, or approximately 18-24 inches in diameter and depth, is ideal for a single plant. Larger containers, like 20-gallon or half-whiskey barrels, offer even more room for vigorous growth and larger yields. While you can use smaller pots, these often restrict tuber size. When considering container sweet potatoes, material also matters. Fabric grow bags are excellent choices because they offer superior aeration, which root vegetables appreciate, and they prevent the plant from becoming root-bound, encouraging more extensive tuber formation. Terracotta pots look appealing, but they dry out quickly, demanding more frequent watering. Plastic or glazed ceramic pots retain moisture better. Regardless of material, ensure your container has ample drainage holes. Sweet potatoes hate “wet feet,” which means sitting in soggy soil, and proper drainage prevents root rot.
Crafting the Perfect Potting Mix
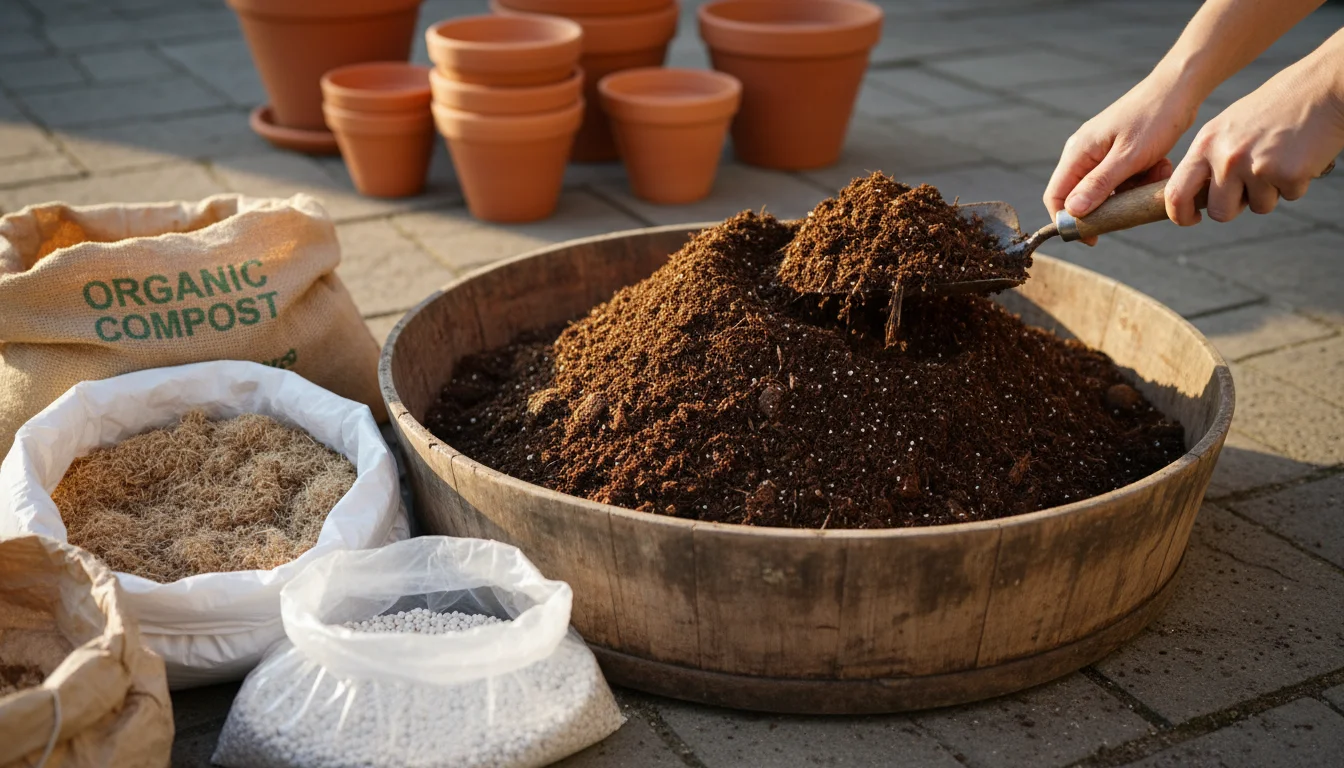
The soil you use for container sweet potatoes is not the same as garden soil. Garden soil is too dense for pots, compacting easily and restricting tuber development. Instead, opt for a high-quality, well-draining potting mix. Look for peat-free options to support sustainable gardening practices. A good potting mix for sweet potatoes typically includes a blend of:
- Composted organic matter: Provides essential nutrients and improves soil structure.
- Coconut coir or peat moss (if not peat-free): Helps retain moisture while still allowing good drainage. Coconut coir is a more sustainable alternative to peat.
- Perlite or vermiculite: Enhances drainage and aeration, crucial for root vegetables.
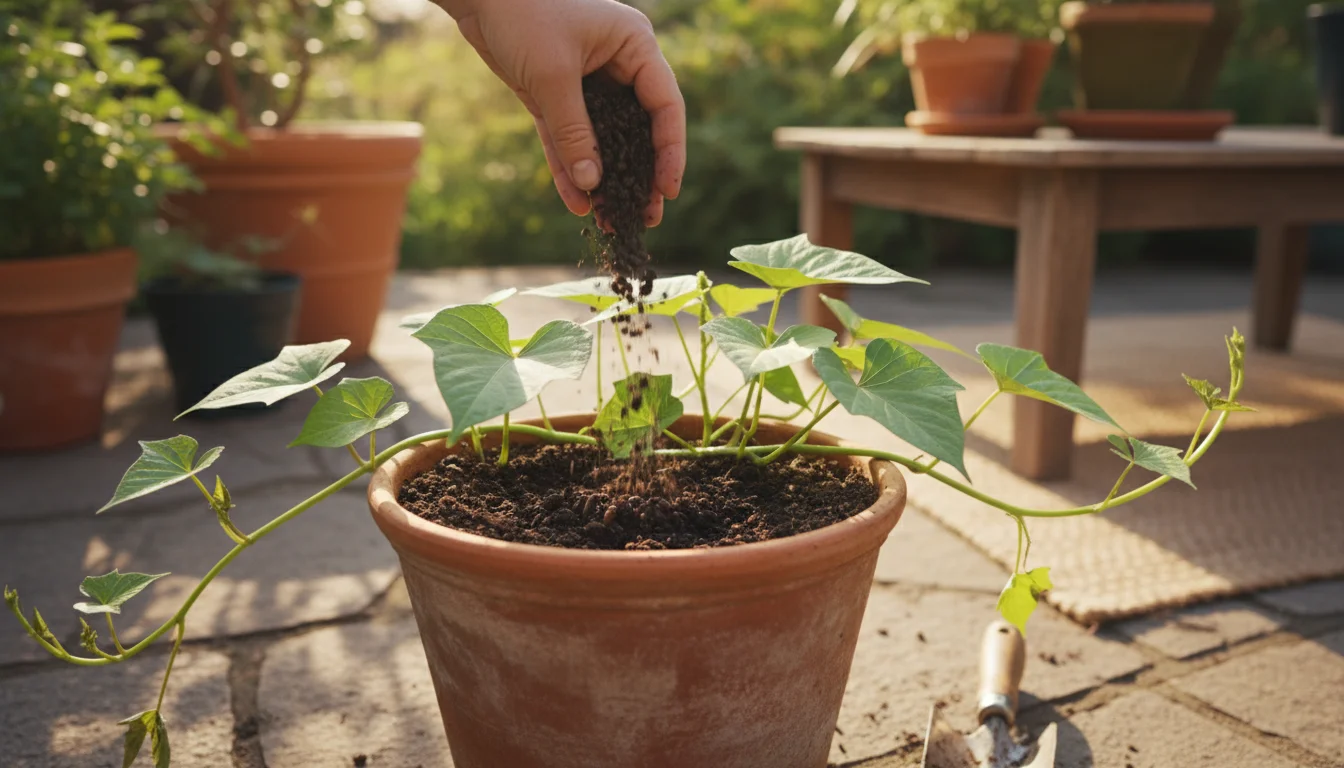
You can also create your own mix by combining equal parts compost, coconut coir, and perlite. This custom blend offers excellent drainage and nutrient availability, setting the stage for abundant sweet potato production. Before planting your sweet potato slips, enrich your potting mix with a slow-release organic fertilizer. This provides a steady supply of nutrients as your plants grow, supporting both foliage and tuber development.

Finding the Perfect Sunny Spot
Sweet potatoes are sun-lovers. They need at least 6-8 hours of direct sunlight daily to produce a good harvest. Position your containers in the sunniest spot on your patio, balcony, or small yard. While the vines tolerate some shade, consistent full sun ensures robust tuber formation. If your space receives less than ideal sun, consider varieties known to perform well in slightly less intense light, though you might see a reduction in yield.
Nurturing Your Patio Sweet Potatoes: Watering, Feeding, and Care
Once your sweet potato slips are planted, consistent care ensures vigorous growth and a generous harvest. These plants are relatively low-maintenance once established, but attention to watering and feeding makes a significant difference.
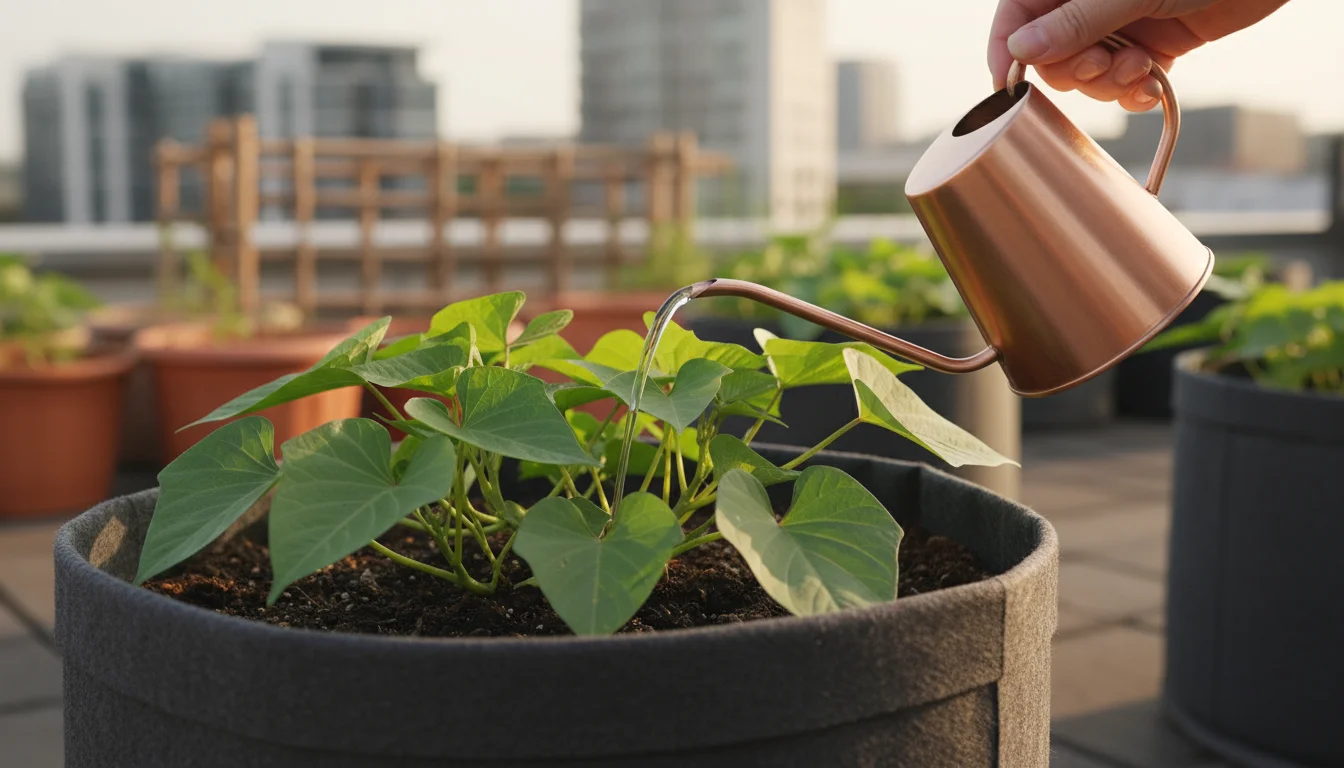
Consistent Watering Practices
Sweet potatoes require consistent moisture, particularly during dry spells and when tubers begin to form. However, they are sensitive to overwatering, which leads to root rot. The key is to keep the soil consistently moist, but not waterlogged. Water deeply until you see water draining from the bottom of your container. This encourages roots to grow deeply, accessing more nutrients and moisture. Check the soil moisture daily, especially during hot weather. Stick your finger about an inch or two into the soil. If it feels dry, it is time to water. Container plants dry out faster than in-ground gardens, so adjust your watering schedule accordingly. You will likely need to water more frequently as the plants grow larger and the weather warms.
Feeding Your Sweet Potato Plants
Sweet potatoes are moderate to heavy feeders. Beyond the initial slow-release fertilizer mixed into your potting soil, plan for supplemental feeding throughout the growing season. A balanced organic liquid fertilizer, applied every 2-4 weeks, works well. Choose a fertilizer with a slightly higher potassium (K) content, as potassium supports tuber development. Avoid high-nitrogen fertilizers, which encourage lush leafy growth at the expense of root production. Always follow the product instructions for dilution and application rates. As a sustainable practice, consider using compost tea or worm castings as a gentle, nutrient-rich feed for your plants.
Managing the Vines and General Care
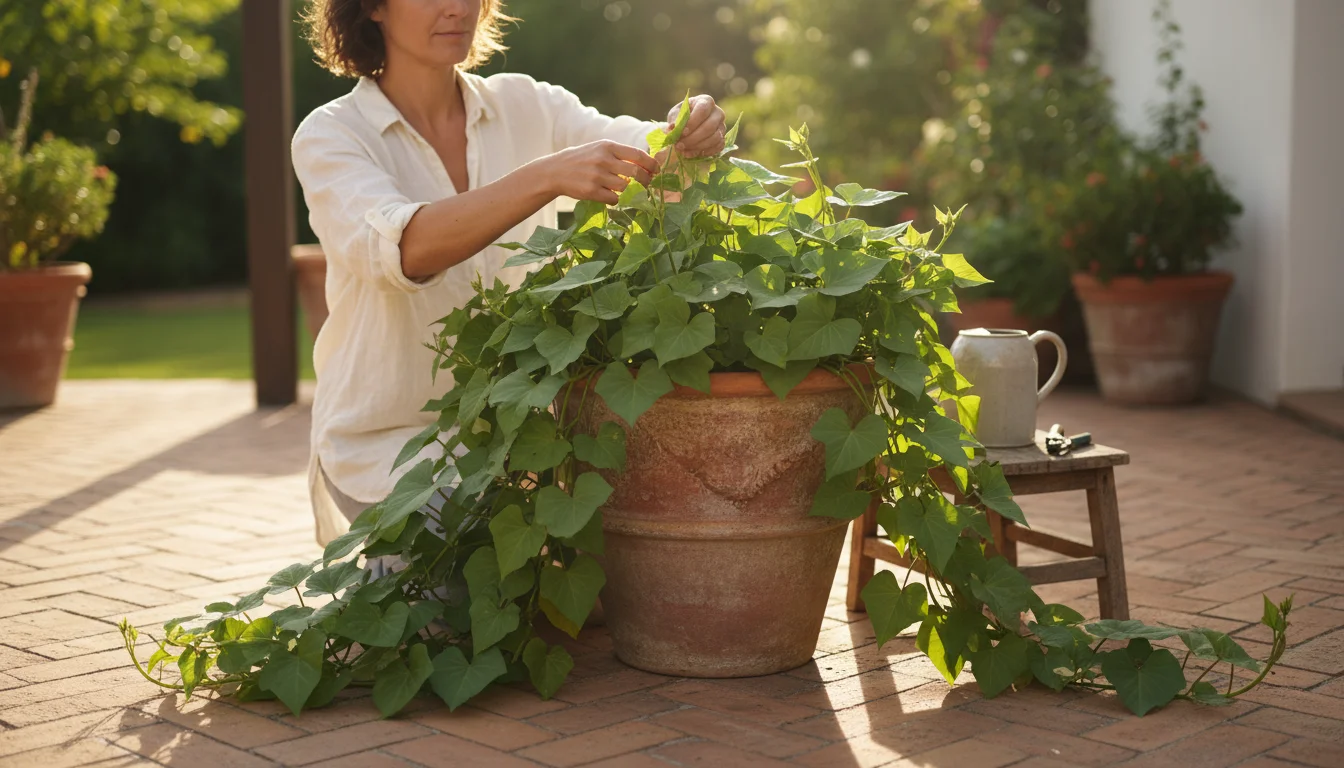
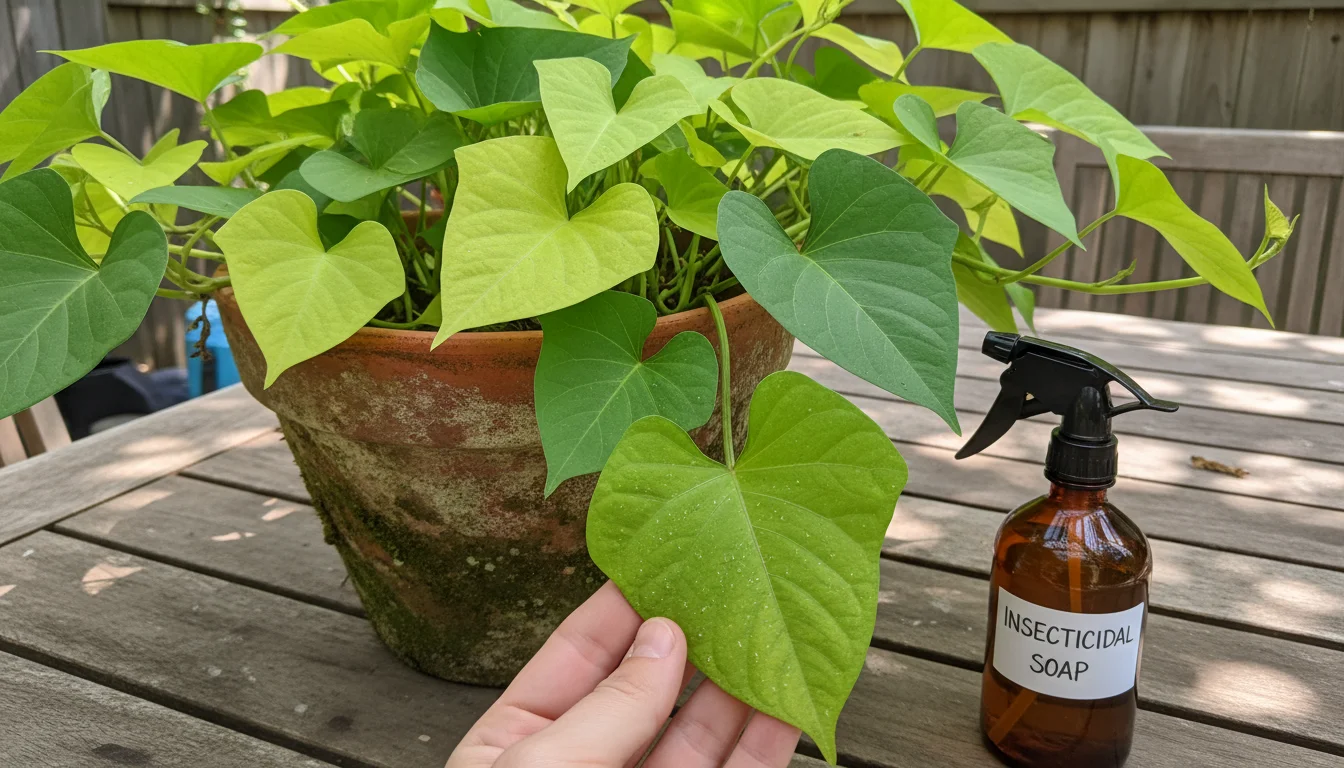
Sweet potato vines are vigorous growers. They can sprawl dramatically, reaching several feet in length. While you do not need to prune them for tuber production, you can trim the vines to maintain a tidy appearance or to prevent them from overtaking your patio. Pinching back the tips encourages bushier growth, but excessive pruning might reduce your overall yield. The trimmed leaves and vines are edible, by the way! Many people enjoy them in stir-fries or as cooked greens. Keep an eye out for common pests like aphids, though serious pest issues are less common in container-grown sweet potatoes. If you spot pests, address them promptly with organic solutions like insecticidal soap, following the principles of Integrated Pest Management (IPM).
When Are Your Container Sweet Potatoes Ready for Harvest?
Knowing when your sweet potatoes are ready to pull from the pot is crucial for both flavor and size. Unlike some vegetables that give clear visual cues, sweet potatoes hide their bounty underground, making timing a bit of a mystery for beginners. However, several reliable indicators tell you when harvesting sweet potatoes is appropriate.
Monitoring the Growing Season Duration
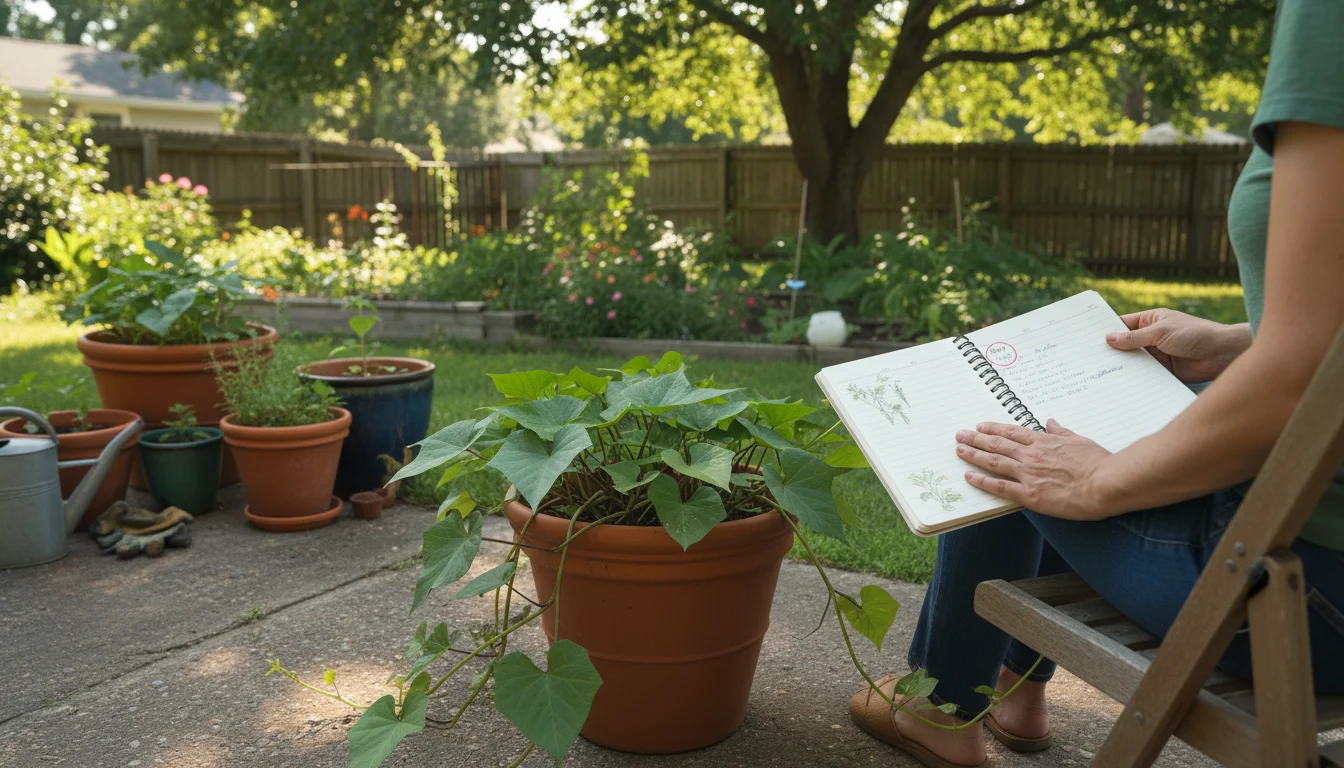
Most sweet potato varieties mature within 90 to 120 days from the time you plant your slips. Check the specific maturity days for the variety you chose. Keep a garden journal or simply note the planting date on your calendar. This timeframe provides a general guideline, but remember that local climate conditions, such as consistent warmth and ample sunlight, can influence actual maturity.
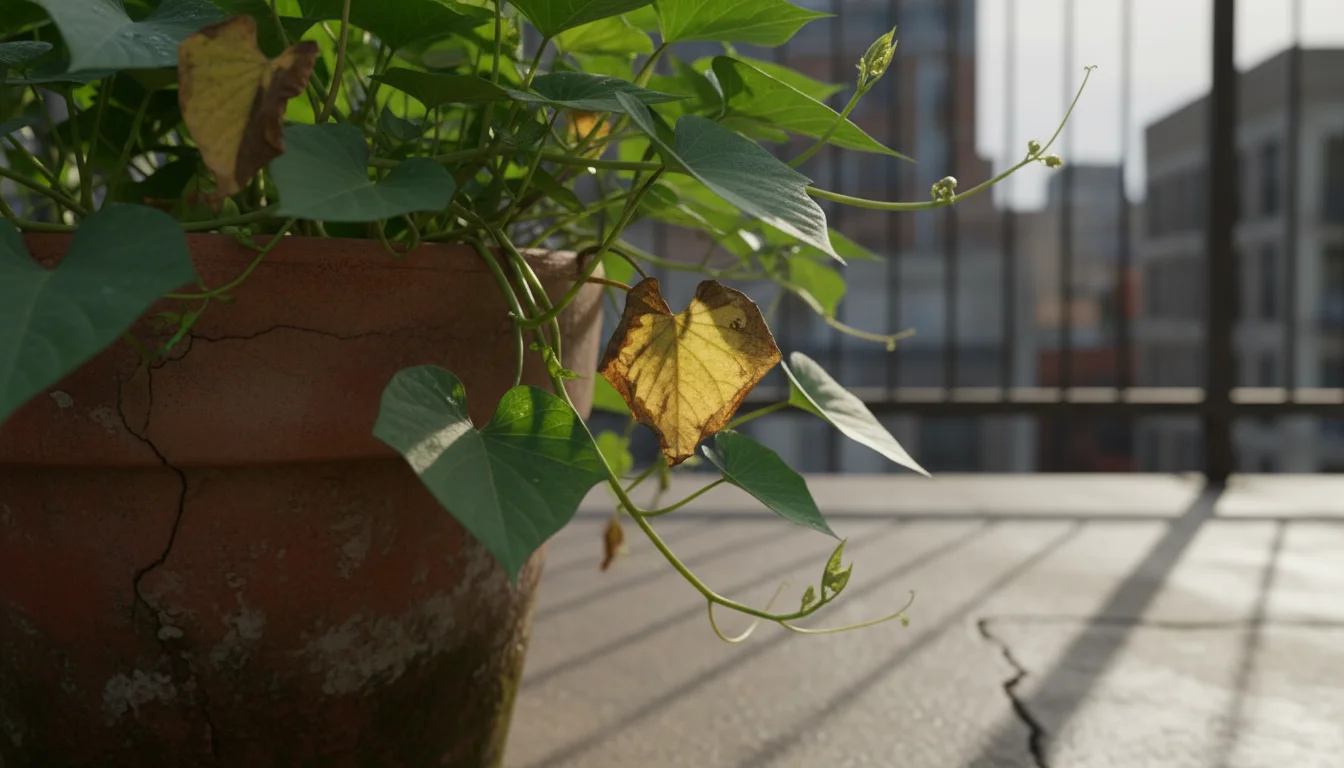
Observing Foliage Changes
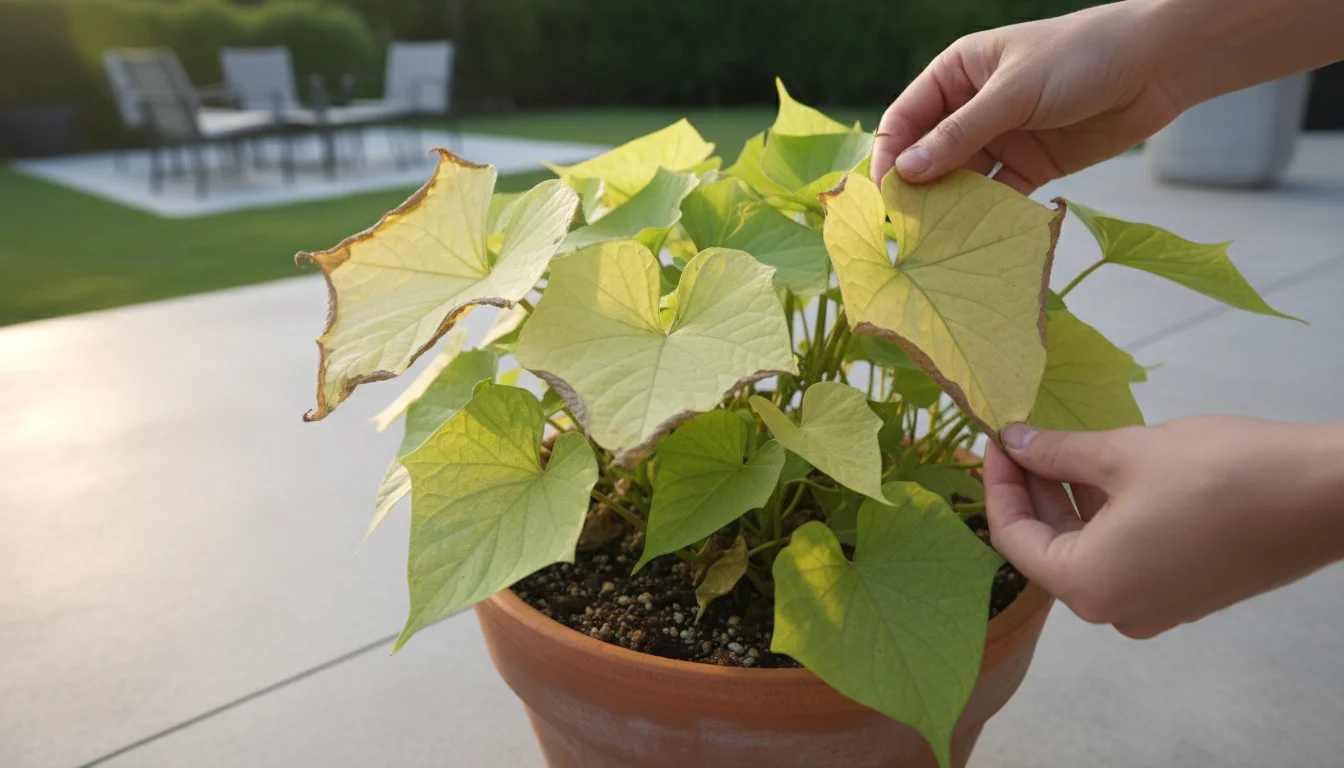
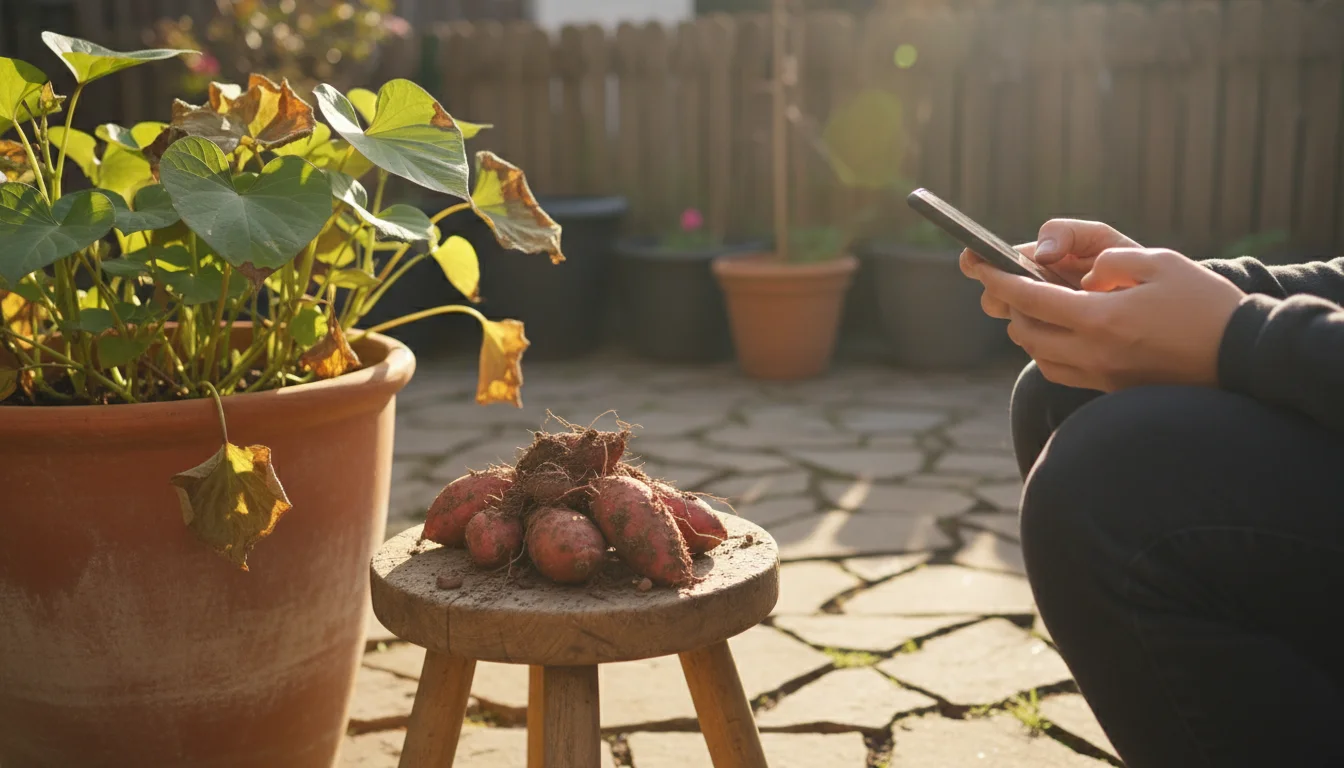
While the calendar gives you an estimate, the plant itself offers the best clues. As the sweet potatoes mature and the growing season progresses, you will notice changes in the foliage. The vigorous green vines may start to yellow and show signs of slowing growth. This natural decline indicates that the plant has redirected its energy from leaf production to tuber development. If you observe the leaves yellowing and dying back, it is a strong signal that your sweet potatoes beneath the soil are reaching their peak.
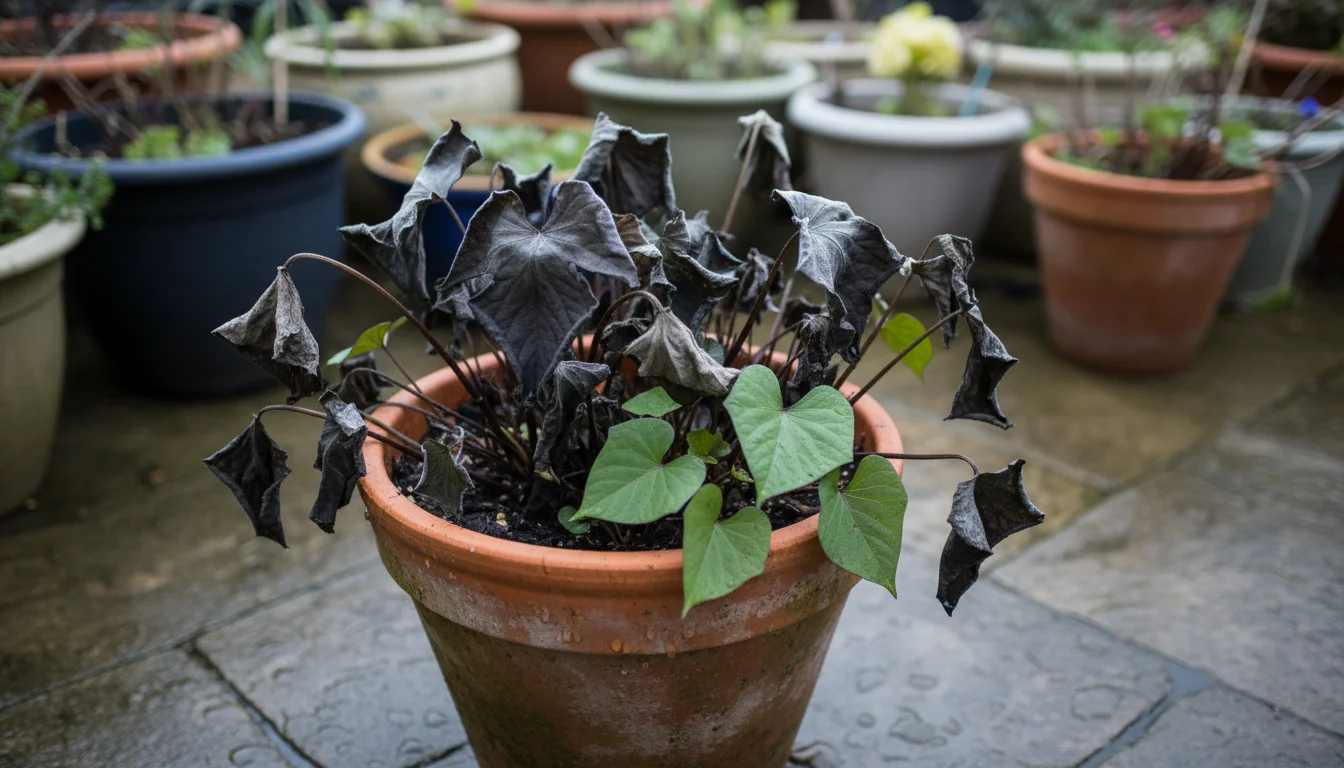
The Critical Role of Frost
In many climates, the first light frost serves as a definitive signal to harvest. Sweet potatoes are extremely sensitive to cold temperatures. A frost will damage the foliage, causing it to blacken and die. More importantly, leaving sweet potatoes in frost-affected soil can severely damage the tubers, leading to spoilage and a bitter taste. If frost is predicted, plan to harvest your sweet potatoes immediately, even if they have not reached their full maturity period or if the foliage has not fully yellowed. Prioritize protecting your harvest from cold damage.
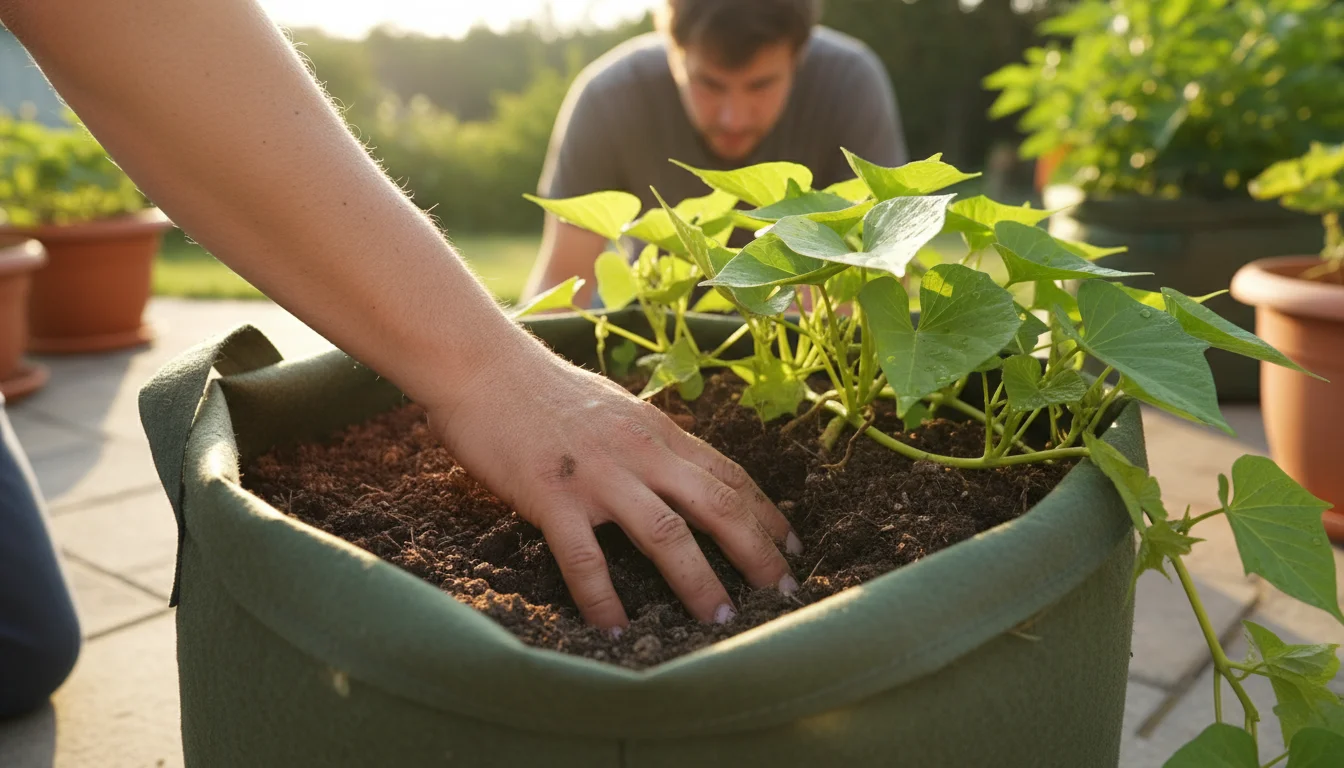
Performing a Test Dig (Optional but Recommended)
If you are unsure whether your sweet potatoes are ready, or if you want to gauge their size, you can perform a small test dig. Gently reach into the soil near the base of one of your plants. Feel around for tubers. You might be able to uncover a small one to check its size. If the tubers feel small, give them a bit more time. If you do perform a test dig, be extremely careful not to damage the main root system or any other developing tubers. After checking, carefully cover the roots again.
Ultimately, the best time for harvesting sweet potatoes in pots is when the plant’s natural life cycle nears its end, typically indicated by yellowing foliage, after the specified maturity days, and most critically, before the first hard frost. By paying attention to these cues, you maximize both the yield and the quality of your homegrown container sweet potatoes.
Step-by-Step: Harvesting Sweet Potatoes from Your Pots
The moment of truth arrives! Harvesting your container sweet potatoes is an exciting culmination of your gardening efforts. This process requires a gentle touch to avoid damaging the delicate skin of the tubers, which impacts their ability to cure and store effectively.
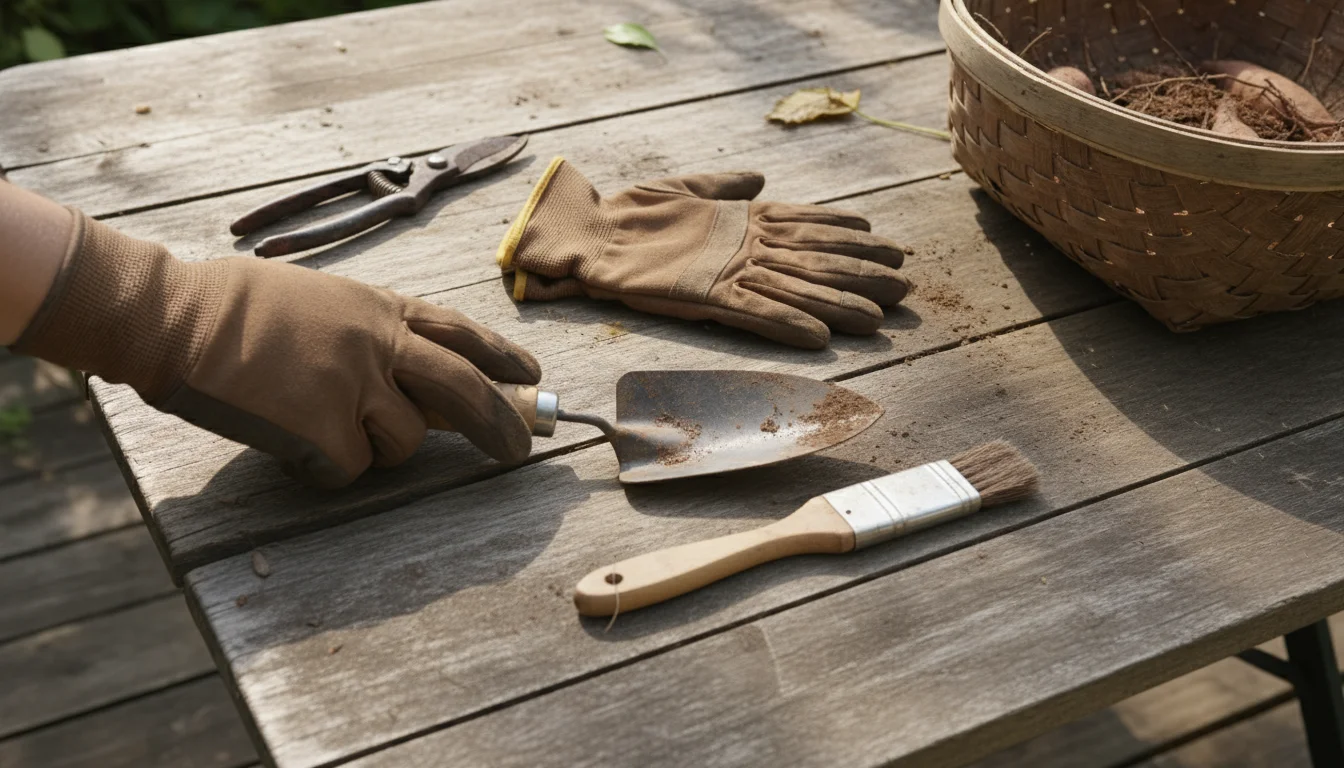
Gathering Your Tools
Before you begin, assemble the necessary items:
- Gardening gloves: Protect your hands and provide a better grip.
- Hand trowel or small spade: For loosening soil. Avoid sharp tools like pitchforks, which easily pierce tubers.
- Pruning shears or scissors: To cut back the vines.
- A soft brush or cloth: For gentle cleaning.
- Container or basket: To hold your harvested sweet potatoes.
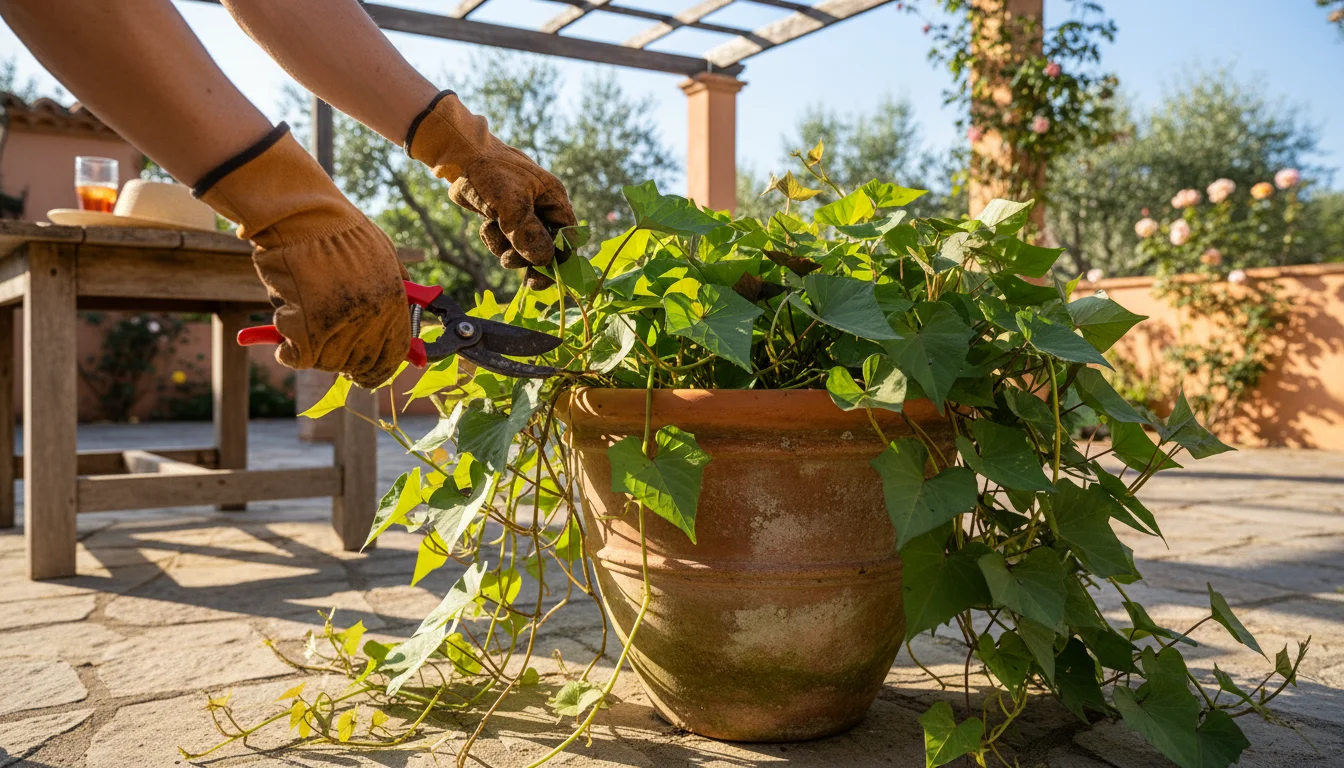
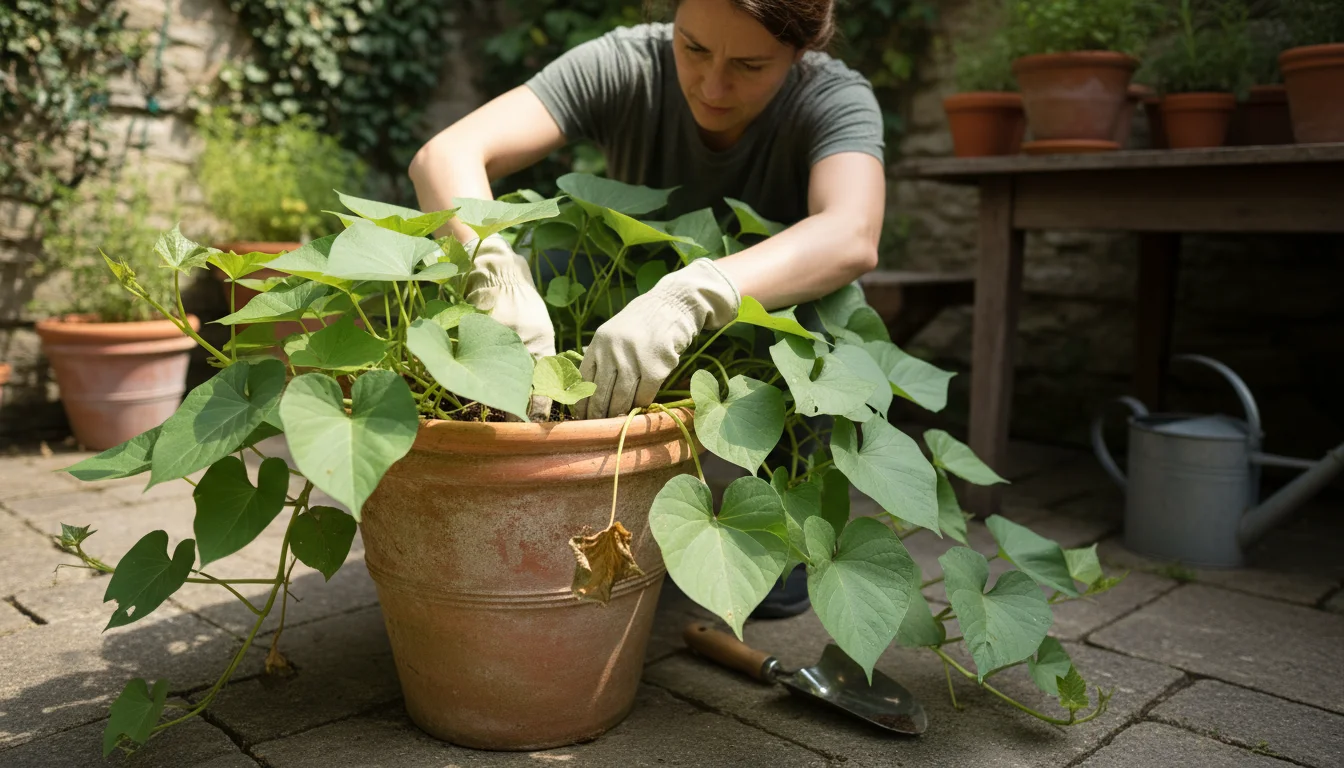
Preparing the Plant for Harvest
Begin by cutting back the extensive sweet potato vines. Use your pruning shears to snip the vines about 6-12 inches from the base of the plant, leaving a short stub. This removes the dense foliage, allowing you clear access to the soil and preventing the vines from tangling as you dig. Remember, you can keep the edible leaves for cooking if you wish.
The Gentle Excavation Process
Sweet potatoes grow in a cluster around the central stem. Their skin is very tender and bruises easily, so proceed with care. Unlike potatoes, which often grow close to the surface, sweet potatoes tend to form deeper within the container. Here is how to carefully extract them:
- Loosen the soil: Start by gently loosening the soil around the perimeter of the pot. If using a fabric grow bag, you can often just tip the bag over onto a tarp or piece of cardboard and let the soil spill out. For rigid containers, use your trowel to work around the edges, carefully prying the soil away from the pot walls.
- Lift the entire plant: Once the soil is sufficiently loosened, gently grab the remaining vine stub at the base of the plant. Slowly and carefully lift the entire root ball out of the container. If the pot is large, you might need assistance or to tip it on its side.
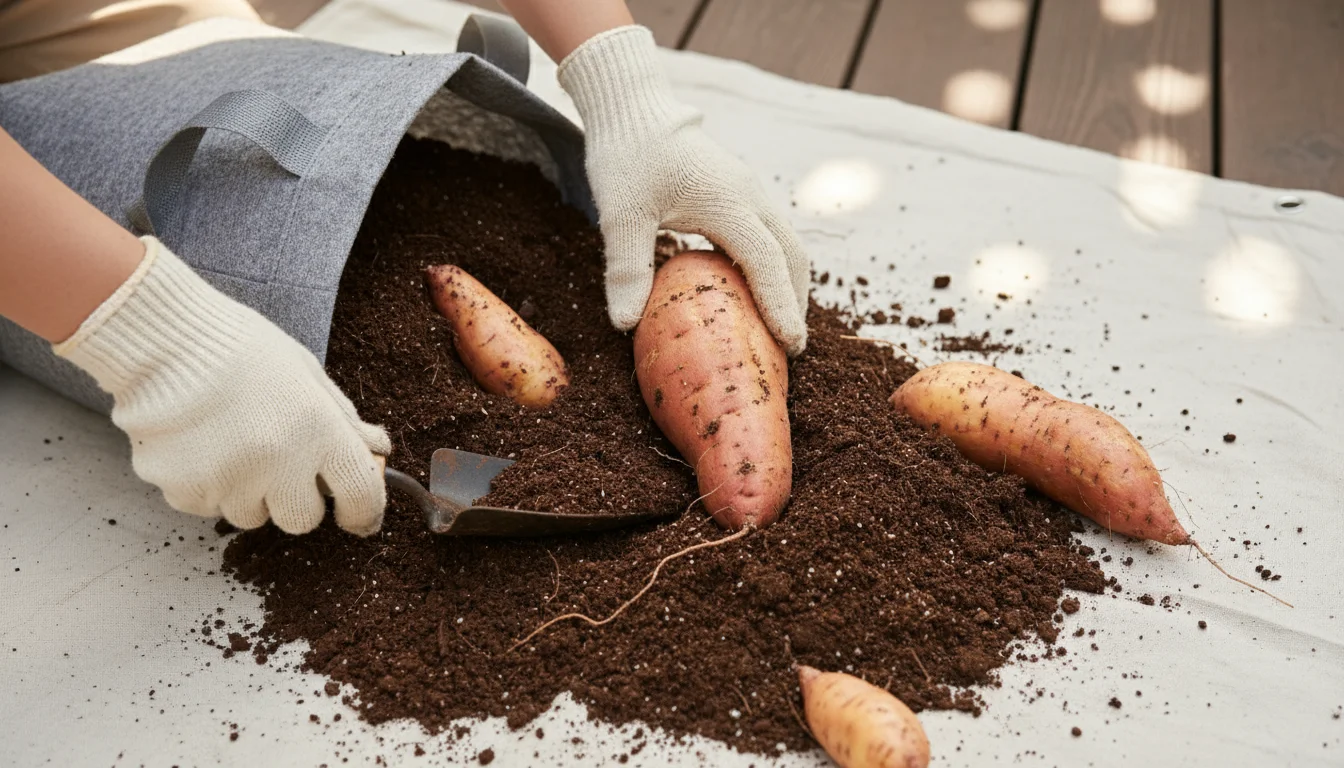
- Separate the tubers: Once the root ball is out, you will likely see clusters of sweet potatoes clinging to the central root system. Gently shake off excess soil. Then, using your hands, carefully separate the individual sweet potatoes from the main roots. Avoid pulling them harshly, as this can break their skins. The goal is to detach them with minimal damage.
- Check for hidden gems: Once you have removed the main tubers, sift through the remaining soil in the container. Sweet potatoes have a clever way of hiding, and you often find smaller, perfectly good tubers lurking deeper in the soil.
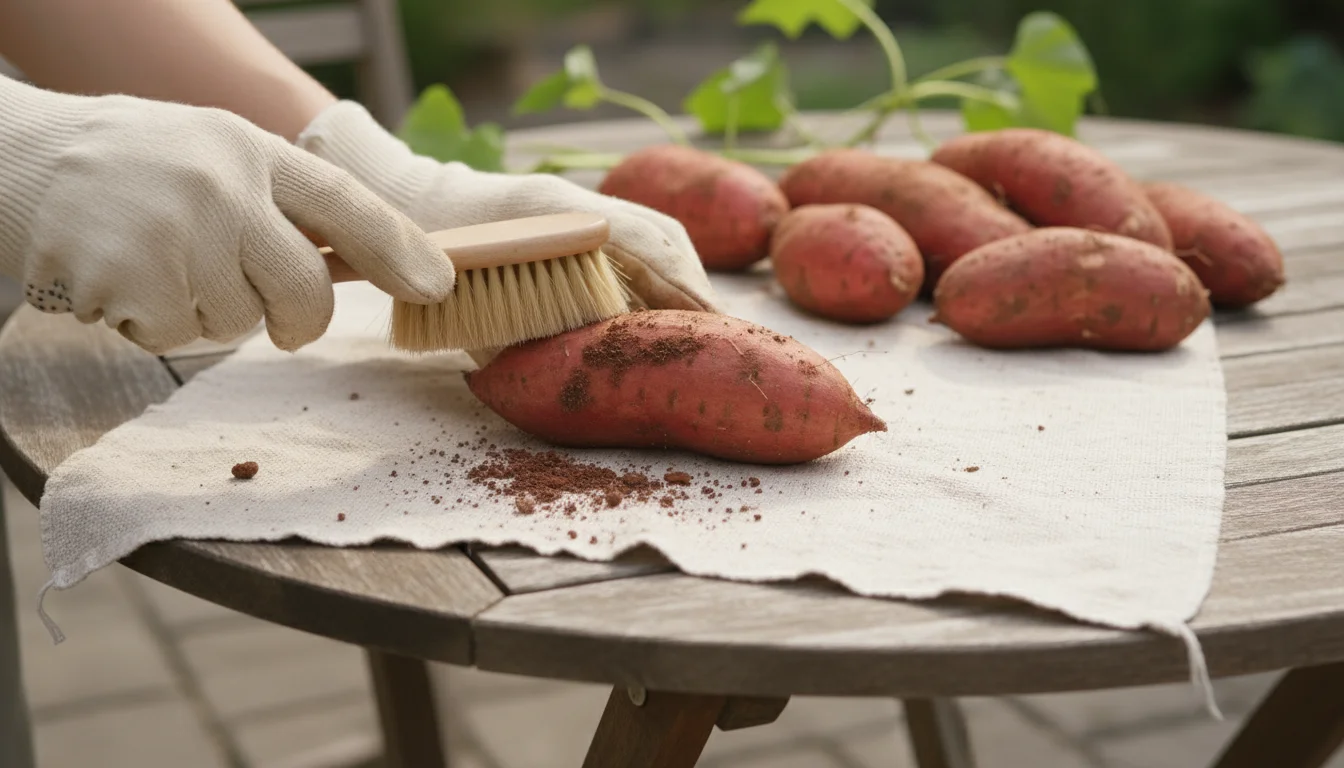
Initial Cleaning and Handling
After harvesting, resist the urge to wash your sweet potatoes with water. Water can introduce pathogens that lead to rot during storage. Instead, gently brush off any loose soil using a soft brush or cloth. Handle them as little as possible and always with care. Any nicks, cuts, or bruises create entry points for disease and reduce their storage life. Set aside any damaged tubers for immediate consumption, as they will not store well.
By following these careful steps, you ensure that your homegrown sweet potatoes are in optimal condition for the next, equally important phase: curing.

The Crucial Step: Curing Sweet Potatoes for Peak Flavor and Storage
Curing is the single most critical step after harvesting sweet potatoes, yet it is often overlooked by home gardeners. This process is not just about drying; it is a vital physiological change that transforms your freshly harvested, bland tubers into sweet, flavorful ones with a robust skin capable of long-term storage. Without proper curing, your sweet potatoes will not taste as good and will spoil quickly.
What is Curing and Why is It Essential?
Curing sweet potatoes involves holding them at specific warm temperatures and high humidity for a period. This process accomplishes two main goals:
- Heals skin damage: Any small nicks, cuts, or bruises from harvesting form calluses during curing. This “heals” the skin, making it tougher and less susceptible to rot and dehydration during storage.
- Converts starches to sugars: Freshly dug sweet potatoes contain mostly starch. The curing process initiates an enzymatic reaction that converts these starches into complex sugars, developing their characteristic sweetness and rich flavor. This is why uncured sweet potatoes taste starchy and less palatable.
The success of your sweet potato harvest truly hinges on this curing phase, impacting both taste and longevity.
Ideal Conditions for Curing Sweet Potatoes
The optimal conditions for curing are:
- Temperature: Maintain a consistent temperature between 85-95°F (29-35°C).
- Humidity: Aim for high humidity, around 80-90%.
- Duration: Cure for 5-14 days, depending on the variety and initial condition of the tubers.
Achieving these conditions, especially high humidity, requires some creativity, particularly for those wondering how to cure sweet potatoes in an apartment or small space.
Practical Methods for Curing Sweet Potatoes in an Apartment or Small Space
You do not need a dedicated curing room to achieve excellent results. Here are several effective methods for apartment dwellers and small-space gardeners:
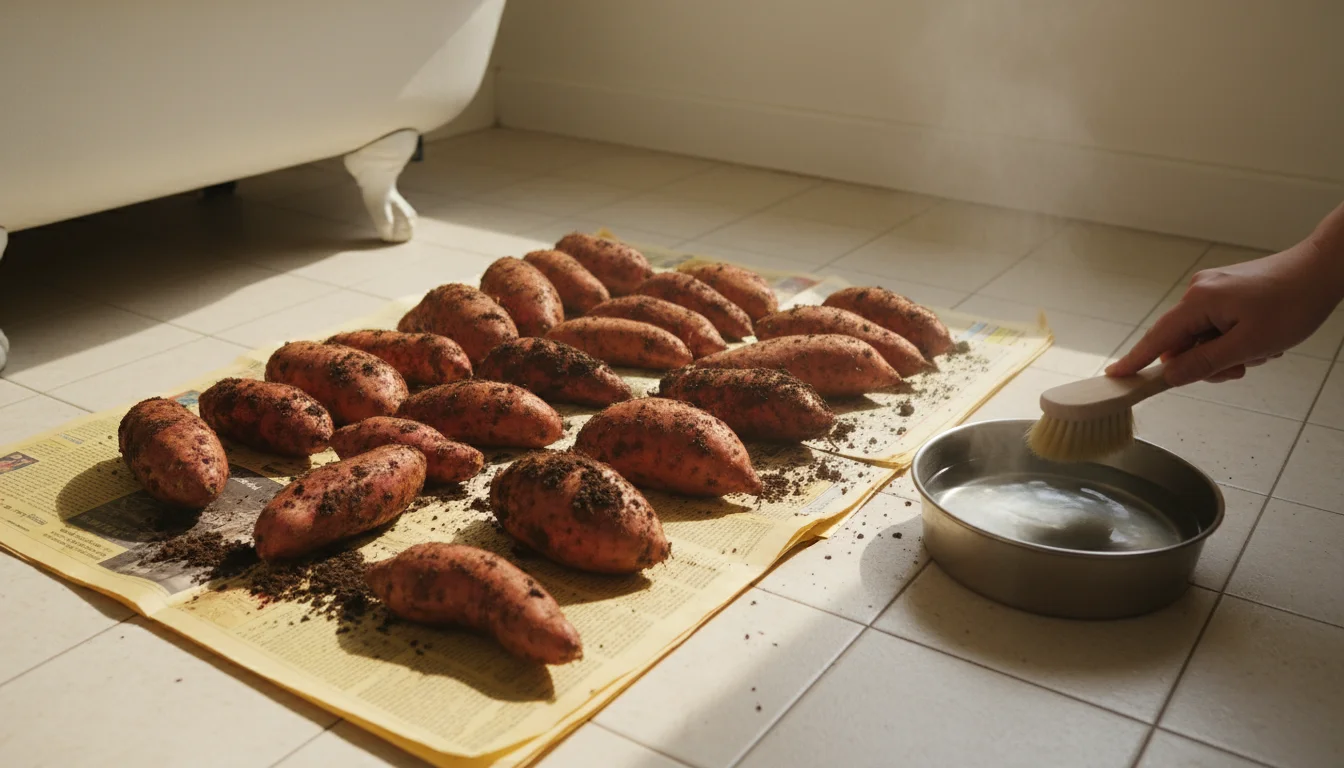
- The Warmest Room Method: Find the warmest room in your home. This might be a bathroom after a hot shower, a laundry room, or a space near a water heater or furnace. Place your sweet potatoes, spread out in a single layer, on newspaper or cardboard. If humidity is low, you can mist the air around them occasionally, or place shallow pans of water nearby to increase moisture. Avoid direct contact with water on the tubers.
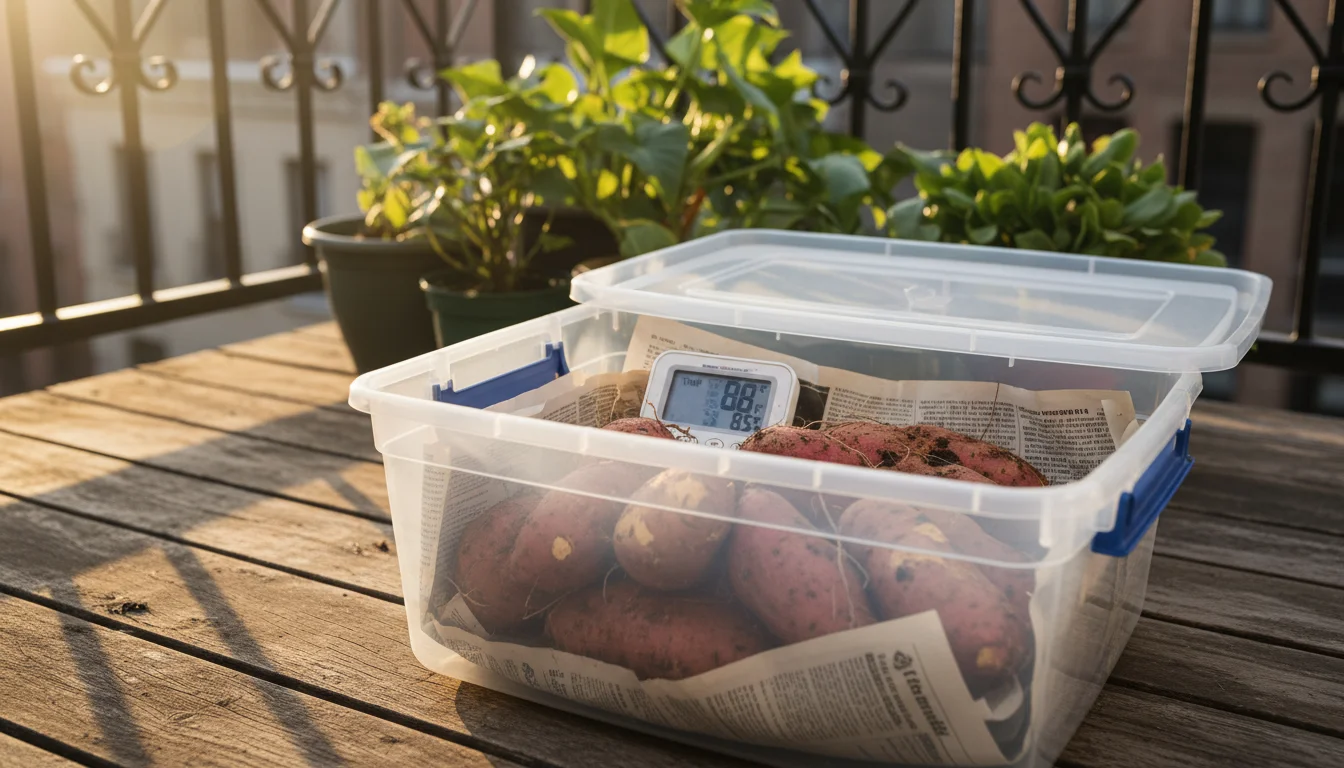
- DIY Humidity Chamber (Plastic Bin): This is an excellent method for controlling both temperature and humidity.
- Gather your sweet potatoes, a clean plastic storage bin with a lid, and a few small containers or cups.
- Line the bottom of the bin with newspaper or paper towels.
- Spread your sweet potatoes in a single layer. Avoid stacking them, as this restricts airflow and increases the risk of mold.
- Place small cups of water in the corners of the bin, making sure the water does not touch the sweet potatoes.
- Loosely cover the bin with the lid, leaving a small gap for minimal air circulation. This traps humidity.
- Place the bin in your warmest spot (e.g., near a heat vent, in a warm closet). Monitor the temperature with a thermometer.
- Check daily for condensation. If too much condensation builds up, briefly open the lid to ventilate, then re-cover.
- Using a Seedling Heat Mat: If you have a seedling heat mat, you can use it to provide consistent warmth. Place a layer of cardboard or a cooling rack over the heat mat, then spread your sweet potatoes on top. Drape a lightweight blanket or sheet over them, or create a small tent with plastic to trap warmth and humidity. Again, adding a small container of water nearby boosts humidity.
- Solar Curing (with caution): If you have a sunny, protected balcony or patio and consistently warm days (above 85°F), you can solar cure. Spread the sweet potatoes in a single layer on a dark surface (like a black tarp) in direct sunlight. Cover them loosely with a clear plastic sheet or even an old window screen to trap heat and humidity. Be extremely cautious not to overheat them, as temperatures above 100°F can cook them. Bring them indoors at night to protect from cold or moisture. This method is less controlled but can work in ideal conditions.

Monitoring and Completion
During the curing process, check your sweet potatoes periodically for signs of mold or rot. Remove any affected tubers immediately to prevent spread. After 5-14 days, the skin of your sweet potatoes should feel drier and tougher, and the tubers will have developed their characteristic sweetness. You might notice a slightly firmer texture. Once cured, they are ready for long-term storage.
Long-Term Storage: Keeping Your Homegrown Sweet Potatoes Fresh
After the critical curing process, proper storage ensures your hard-earned sweet potatoes last for many months, providing fresh produce well into the colder seasons. Storing homegrown sweet potatoes correctly prevents spoilage and maintains their flavor and texture.
Ideal Storage Conditions
Unlike many root vegetables that prefer cool, damp conditions, sweet potatoes prefer a different environment. The ideal conditions for storing homegrown sweet potatoes are:
- Temperature: A cool, but not cold, temperature of 55-60°F (13-16°C) is perfect. Avoid temperatures below 50°F (10°C), as this causes chilling injury, leading to internal browning and a hardened core. Temperatures above 60°F can encourage sprouting and premature spoilage.
- Humidity: Maintain moderate humidity, around 60-70%. Too dry, and they dehydrate; too moist, and they are susceptible to mold and rot.
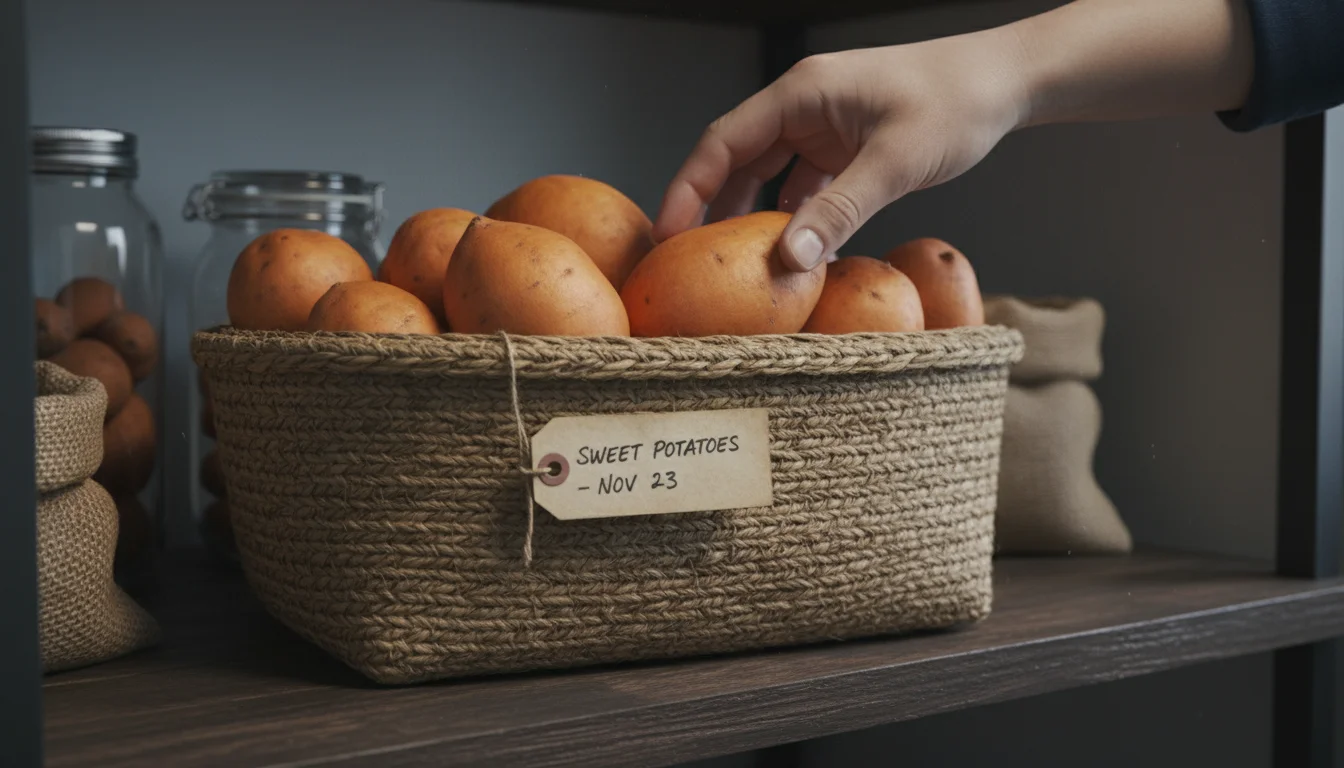
- Darkness: Store sweet potatoes in a dark location. Light can cause them to sprout prematurely.
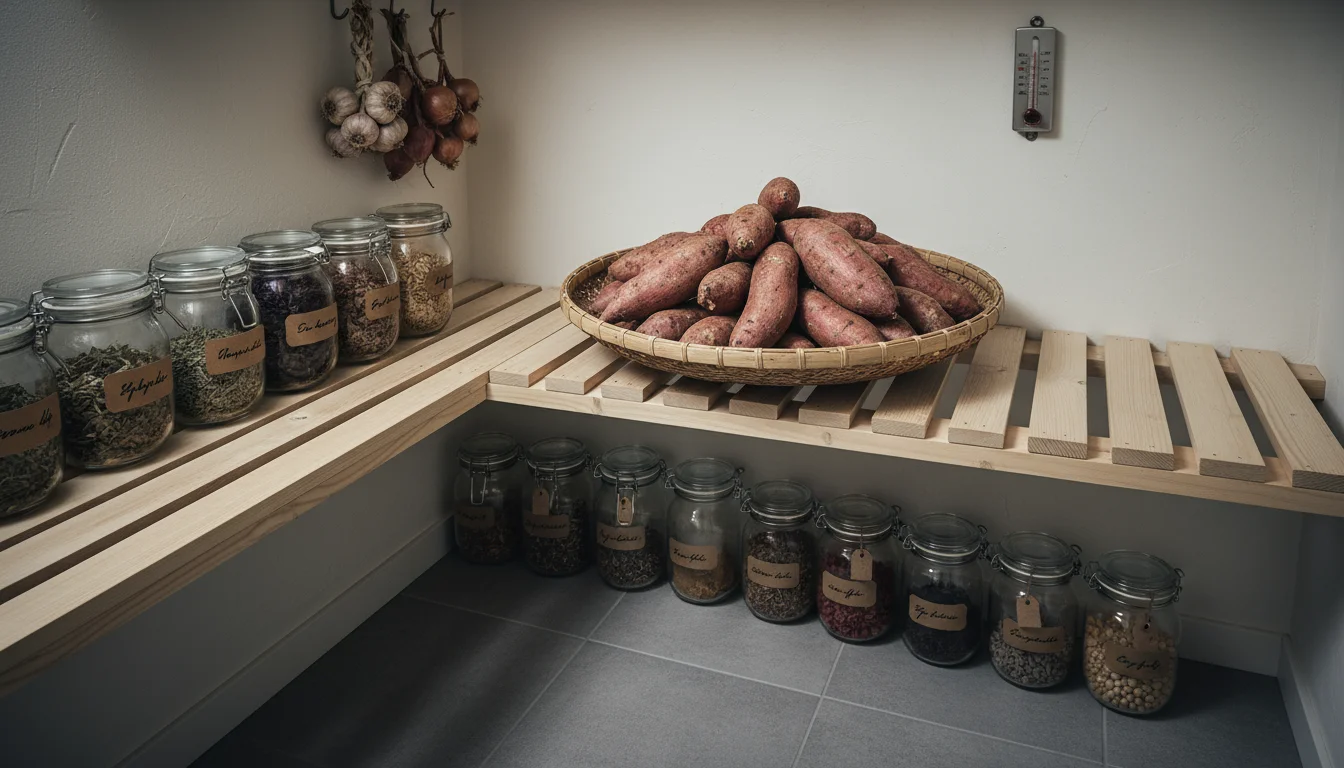
- Air Circulation: Good airflow prevents moisture buildup and the spread of mold.
Practical Storage Methods for Apartments and Small Homes
Finding a spot that meets these criteria in a typical home often requires a bit of resourcefulness:
- Basement or Cellar: If you have a basement or cellar, this is often the ideal location. These areas typically offer stable, cooler temperatures and moderate humidity.
- Closets or Pantries: An unused closet or a dark pantry, especially one on an interior wall that stays cooler, can work well. Avoid closets that share a wall with a heat source or receive direct sunlight.
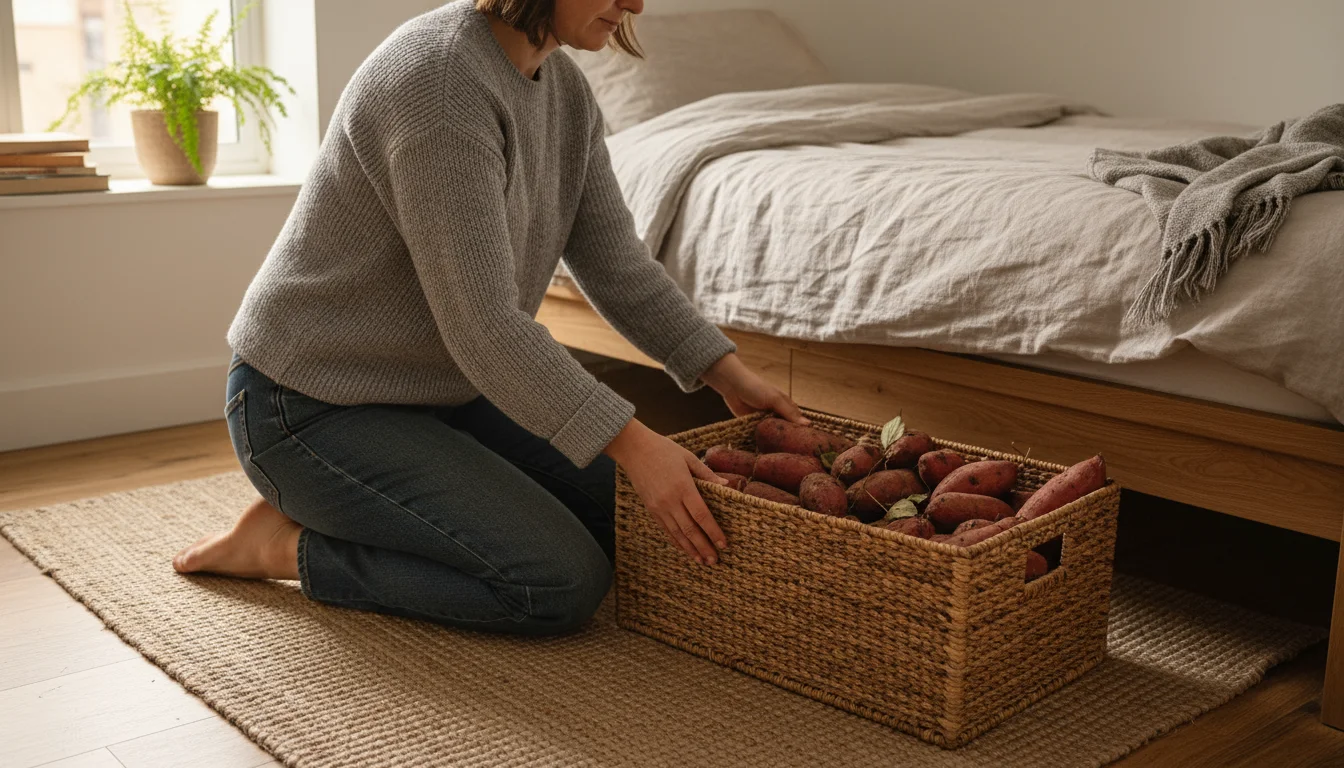
- Under Beds: In a pinch, a dark, cool spot under a bed in a room that is not frequently heated can provide adequate conditions.
- Garages (Unheated, if suitable): An unheated garage can work if its temperature remains consistently within the 55-60°F range. Monitor it closely during temperature fluctuations.
Storage Containers and Practices
How you store your sweet potatoes within your chosen location is equally important:
- Use Breathable Containers: Do not store sweet potatoes in airtight plastic bags or sealed containers. This traps moisture and encourages rot. Instead, use:
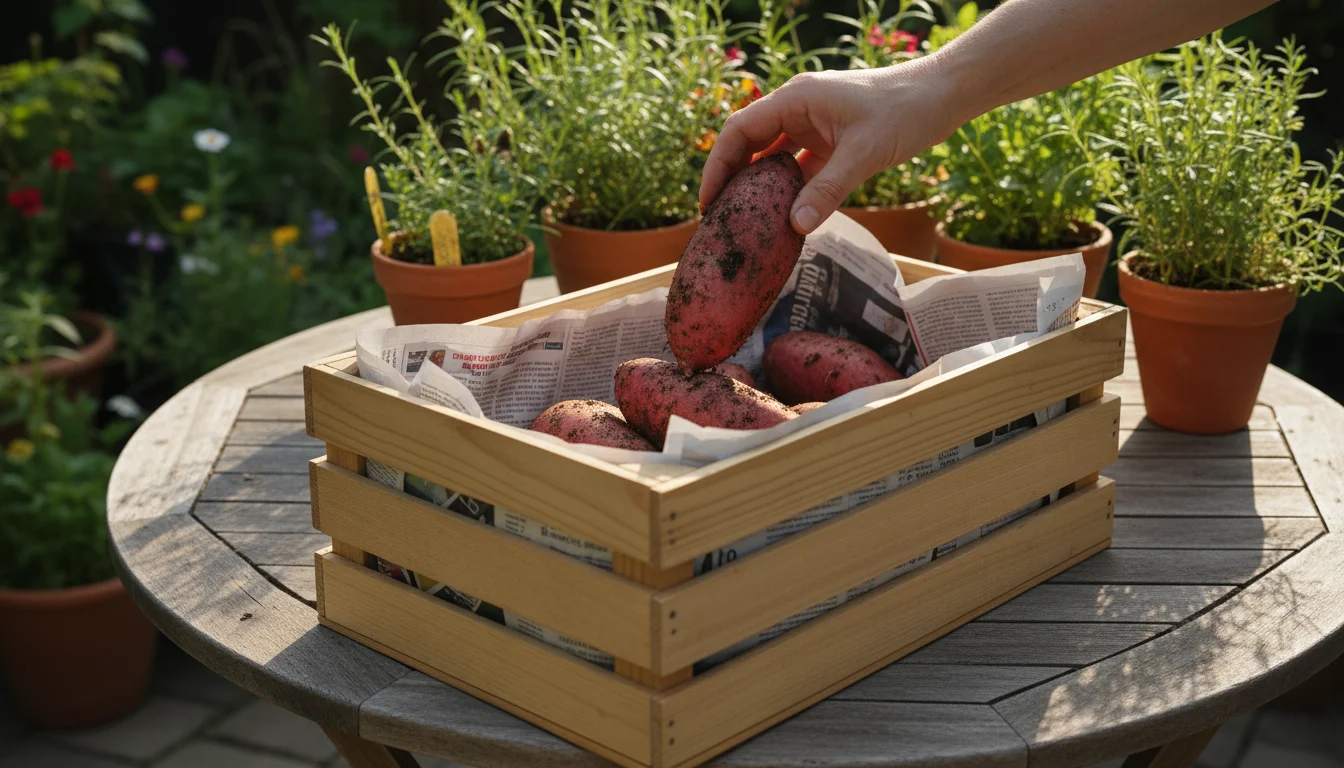
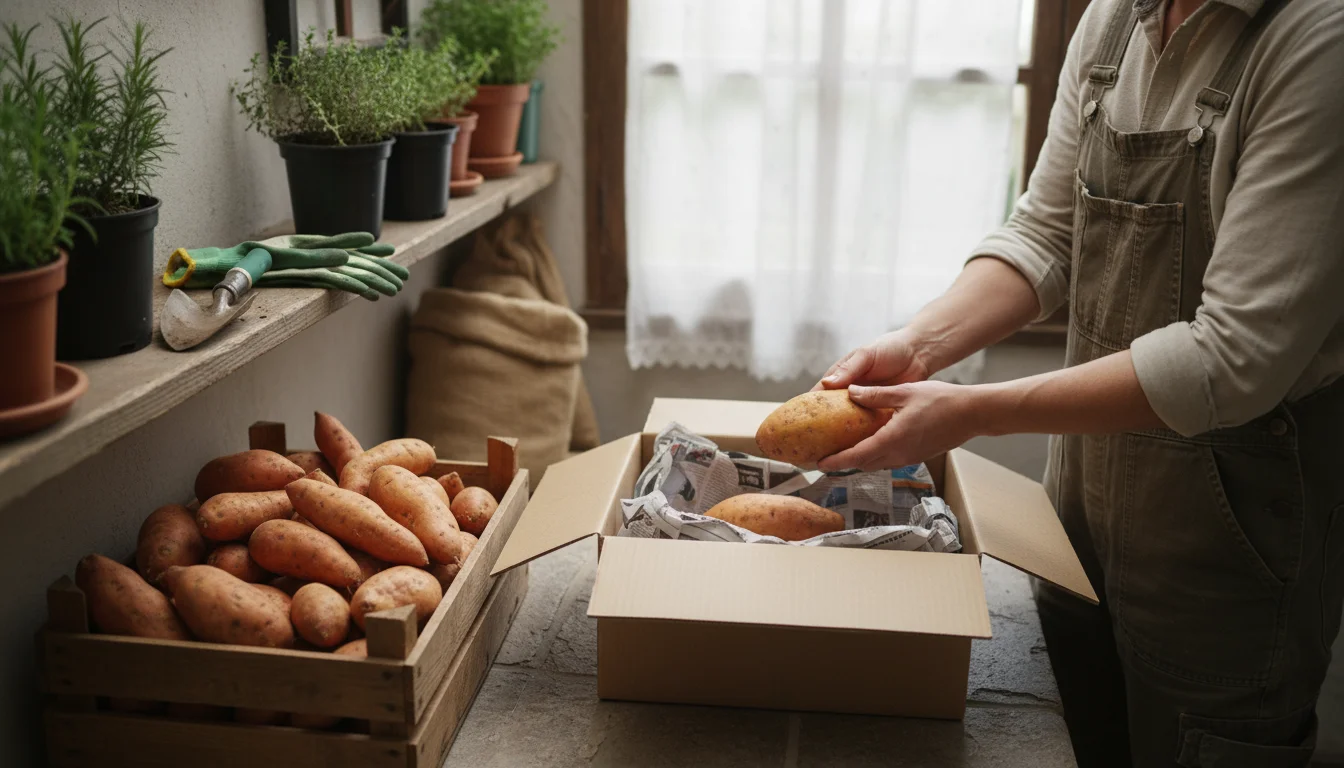
- Cardboard boxes
- Wooden crates
- Baskets
- Mesh bags
- Layering with Paper: For added protection and to absorb excess moisture, you can layer sweet potatoes with newspaper, straw, or wood shavings. This also helps prevent direct contact between tubers, which can spread spoilage.
- Single Layer or Minimal Stacking: Ideally, store sweet potatoes in a single layer. If you must stack them, keep it to a minimum and ensure good air circulation.
- Regular Inspection: Periodically check your stored sweet potatoes. Remove any that show signs of spoilage, such as soft spots, mold, or sprouting, to prevent these issues from spreading to healthy tubers.
- Keep Away from Other Produce: Store sweet potatoes separately from fruits like apples, bananas, or tomatoes, which release ethylene gas. Ethylene gas accelerates ripening and spoilage in other produce, including sweet potatoes.
With proper curing and attention to these storage guidelines, your homegrown sweet potatoes can last for 6-12 months, providing you with a delicious and nutritious harvest long after the growing season ends. This careful approach to storing homegrown sweet potatoes ensures you maximize your gardening efforts.
Troubleshooting Common Issues with Container Sweet Potatoes
Even with the best intentions, gardeners occasionally encounter challenges. Addressing common sweet potato issues in containers proactively helps ensure a successful harvest.

Small Tuber Development
One of the most frequent complaints is finding small, underdeveloped sweet potato tubers at harvest. Several factors contribute to this:
- Insufficient Container Size: The most common reason. Sweet potatoes need ample room to spread. If your pot is too small (less than 15 gallons per plant), the tubers will be constrained and small. Ensure you are using at least an 18-24 inch diameter pot.
- Lack of Sunlight: Sweet potatoes require at least 6-8 hours of direct sun daily. Less sunlight leads to reduced energy production, impacting tuber size.
- Nutrient Imbalance: Too much nitrogen (the first number in fertilizer NPK ratios) encourages lush leafy growth at the expense of tuber development. Ensure you use a balanced fertilizer or one slightly higher in potassium and phosphorus during tuber formation.
- Inconsistent Watering: Erratic watering, especially dry spells followed by heavy watering, stresses the plant and hinders tuber growth. Consistent moisture is key.
- Harvested Too Early: If you pull them before the natural maturity period (90-120 days) or before foliage begins to yellow, tubers will not have reached their full size.
Address these factors in subsequent growing seasons to see larger, more satisfying yields.
Pests and Diseases
Container-grown sweet potatoes are generally less prone to severe pest and disease issues than their in-ground counterparts, but they are not entirely immune.
- Aphids: These small, soft-bodied insects cluster on new growth and suck plant sap. They are typically managed with a strong spray of water or an application of insecticidal soap. Encourage beneficial insects like ladybugs, which are natural predators.
- Spider Mites: Tiny pests that thrive in hot, dry conditions, causing stippling on leaves and fine webbing. Increase humidity around the plants and use insecticidal soap or neem oil for control.
- Fungal Issues: Overwatering, poor drainage, or excessive humidity can lead to fungal problems like powdery mildew on leaves or, more seriously, root rot. Ensure your container has excellent drainage and avoid overhead watering to keep foliage dry. Trim back dense foliage to improve air circulation.
- Sweet Potato Weevils: While more common in warm, humid climates and large-scale farming, sweet potato weevils can occasionally affect container plants. These pests tunnel into tubers, causing significant damage. Prevention is key: ensure you start with clean, certified disease-free slips and practice good sanitation. If detected, remove and destroy infested plants and tubers immediately.
Regular inspection of your plants helps you catch problems early when they are easiest to manage with least-toxic controls. Integrated Pest Management (IPM) focuses on prevention, monitoring, and using the safest solutions first.
Yellowing Leaves (Beyond Harvest Time)
While some yellowing is normal at the end of the season signaling harvest readiness, premature yellowing can indicate a problem:
- Nutrient Deficiency: Yellowing can be a sign of a lack of nitrogen, iron, or magnesium. A balanced liquid fertilizer usually corrects this.
- Overwatering or Underwatering: Both extremes cause stress and can lead to yellow leaves. Check soil moisture before watering.
- Pest Infestation: Severe pest attacks (e.g., spider mites or aphids) can cause leaves to yellow and wilt.
Observe the pattern of yellowing (e.g., old leaves vs. new leaves, overall yellowing vs. specific spots) to help diagnose the specific issue.
By understanding these potential issues and knowing how to address them, you can proactively manage your container sweet potato patch and increase your chances of a robust and delicious harvest.

Enjoying Your Bountiful Harvest: Culinary Inspiration
After all your hard work of growing, harvesting, and curing, the best part arrives: enjoying your homegrown sweet potatoes! Cured sweet potatoes boast an incredible sweetness and versatility in the kitchen. They are not only delicious but also packed with nutrients, including vitamins A and C, and fiber.
Beyond the Traditional Bake
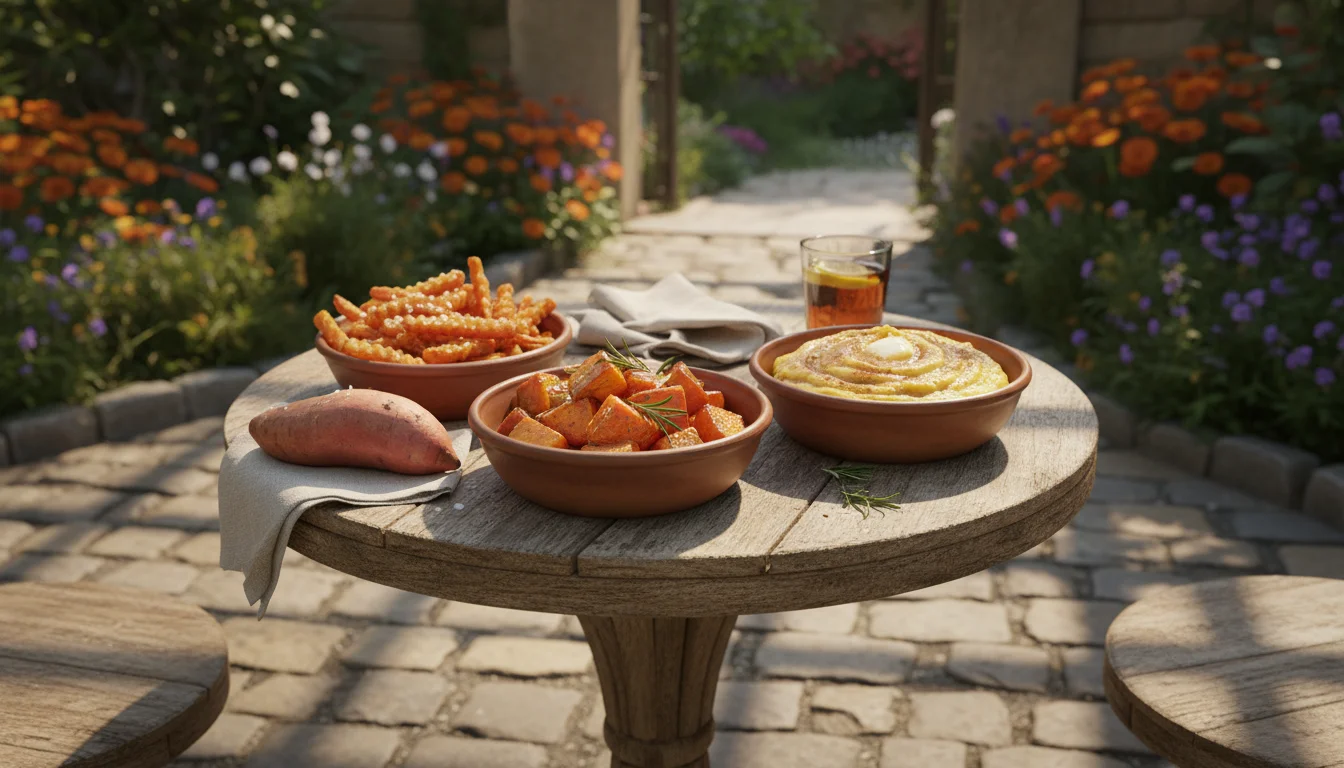
While a simple baked sweet potato is always a comforting classic, your homegrown tubers offer a world of culinary possibilities. Their natural sweetness makes them suitable for both savory and sweet dishes.
- Roasted Sweet Potatoes: Cut into cubes, toss with olive oil, salt, pepper, and herbs like rosemary or thyme. Roast at 400°F (200°C) until tender and caramelized. A touch of smoked paprika adds depth.
- Sweet Potato Fries: Cut into sticks, toss with a little oil, cornstarch (for crispiness), and your favorite seasonings (salt, pepper, garlic powder, chili powder). Bake or air-fry until golden and crispy.
- Mashed Sweet Potatoes: Boil or steam until tender, then mash with butter, a splash of milk or cream, and seasonings. For a sweet twist, add a pinch of cinnamon, nutmeg, or maple syrup. For savory, try roasted garlic and chives.
- Sweet Potato Soups and Stews: Their creamy texture makes them excellent thickeners for hearty soups and stews. They pair beautifully with ingredients like coconut milk, ginger, and curry spices.
- Sweet Potato Hash: Dice sweet potatoes and sauté with onions, peppers, and your choice of protein (bacon, sausage, black beans) for a fulfilling breakfast or dinner.
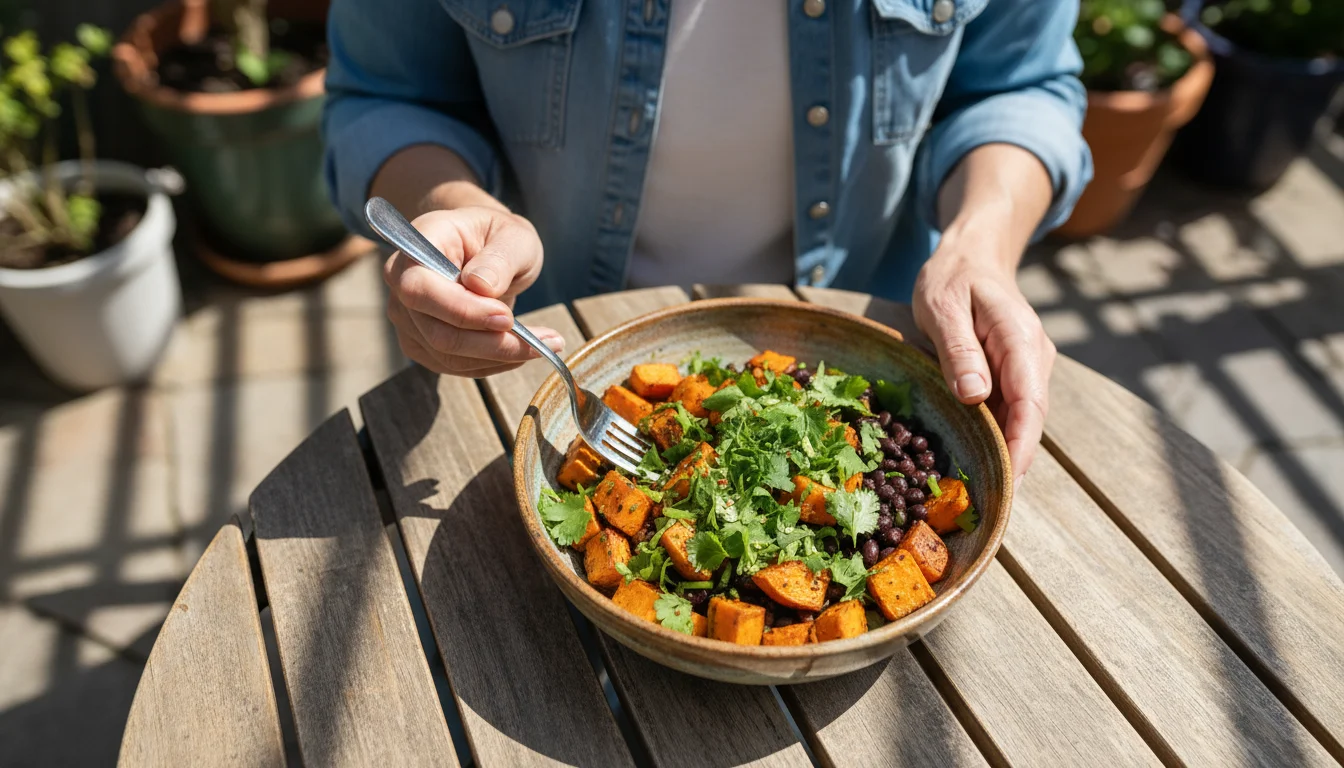
- Sweet Potato Salad: Roast or steam sweet potato cubes, then combine with black beans, corn, red onion, cilantro, and a zesty lime dressing for a refreshing side dish.
- Sweet Potato Puree for Baking: Cooked and pureed sweet potatoes are a fantastic addition to baked goods like muffins, quick breads, pies, and even brownies, adding moisture and nutrients.
Nutritional Powerhouse
Incorporating sweet potatoes into your diet boosts your intake of essential vitamins and minerals. They are an excellent source of beta-carotene (which converts to Vitamin A in the body), vital for vision and immune function. They also provide a good amount of Vitamin C, manganese, and dietary fiber, promoting digestive health. By growing your own, you ensure fresh, pesticide-free produce that tastes superior to store-bought varieties.
Do not let your delicious harvest sit in storage for too long without celebrating your success in the kitchen. Experiment with new recipes, share your bounty with friends and family, and relish the satisfaction of eating food you grew yourself. From your patio pot to your plate, your homegrown sweet potatoes are a testament to the joys of small-space gardening.
Frequently Asked Questions
Can I grow sweet potatoes from a store-bought tuber?
Yes, you can sprout “slips” from a store-bought sweet potato. Simply place a sweet potato in a jar of water, partially submerged, in a warm, sunny spot. Sprout development takes a few weeks. Once the slips are 6-8 inches long, carefully twist them off and root them in water or directly in soil before planting. This is a common and fun way to start your sweet potato patch.
What are the best sweet potato varieties for containers?
Look for varieties known for compact growth or good production in smaller spaces. ‘Beauregard’ is a popular and reliable choice for containers due to its vigorous growth and high yield. Other good options include ‘Georgia Jet’ (known for fast maturity) and ‘Vardaman’ (purple skin, orange flesh). Check with your local extension service or reputable seed suppliers for varieties best suited to your specific climate.
Do sweet potatoes need a lot of water?
Sweet potatoes need consistent moisture, especially during their growth period and when tubers are forming. However, they do not tolerate soggy soil. Water deeply and regularly, allowing the top inch or two of soil to dry out slightly between waterings. Container plants generally require more frequent watering than in-ground plants due to faster evaporation.
Why are my sweet potato tubers so small?
Small tubers are often due to insufficient container size (use at least 15-20 gallons per plant), lack of sufficient sunlight (they need 6-8 hours daily), imbalanced fertilizer (too much nitrogen, not enough phosphorus or potassium), or harvesting too early before the tubers have fully matured. Addressing these factors in future plantings helps achieve larger sweet potatoes.
Can I leave sweet potatoes in the pots over winter?
In most climates, no. Sweet potatoes are tropical plants and are highly susceptible to frost and freezing temperatures. If left in the pots, they will rot once temperatures drop below freezing. Harvest your sweet potatoes before the first frost, then cure and store them properly indoors for long-term enjoyment.
For research-based guidance on edible gardening, visit
New York Botanical Garden,
ASPCA Animal Poison Control,
Michigan State University Extension — Gardening and
University of Wisconsin Extension — Horticulture.
Disclaimer: This article is for informational purposes only and is not a substitute for professional advice. Consult local extension services for region-specific recommendations.