Do your container plants look a little tired by the end of summer? Does your potting mix feel compacted, depleted, or just lifeless? If you are like many small-space gardeners, you might be tempted to toss out old soil and buy fresh bags every spring. But there is a more sustainable, cost-effective, and surprisingly simple way to revitalize your container garden: cover cropping. This isn’t just for large farm fields, it is a powerful technique you can absolutely adapt for your pots, transforming your used soil into a vibrant, nutrient-rich foundation for next season’s growth. Discover how a little planning this fall can bring big rewards to your container plants, improving potting soil without replacing it.

Introduction to Container Cover Cropping
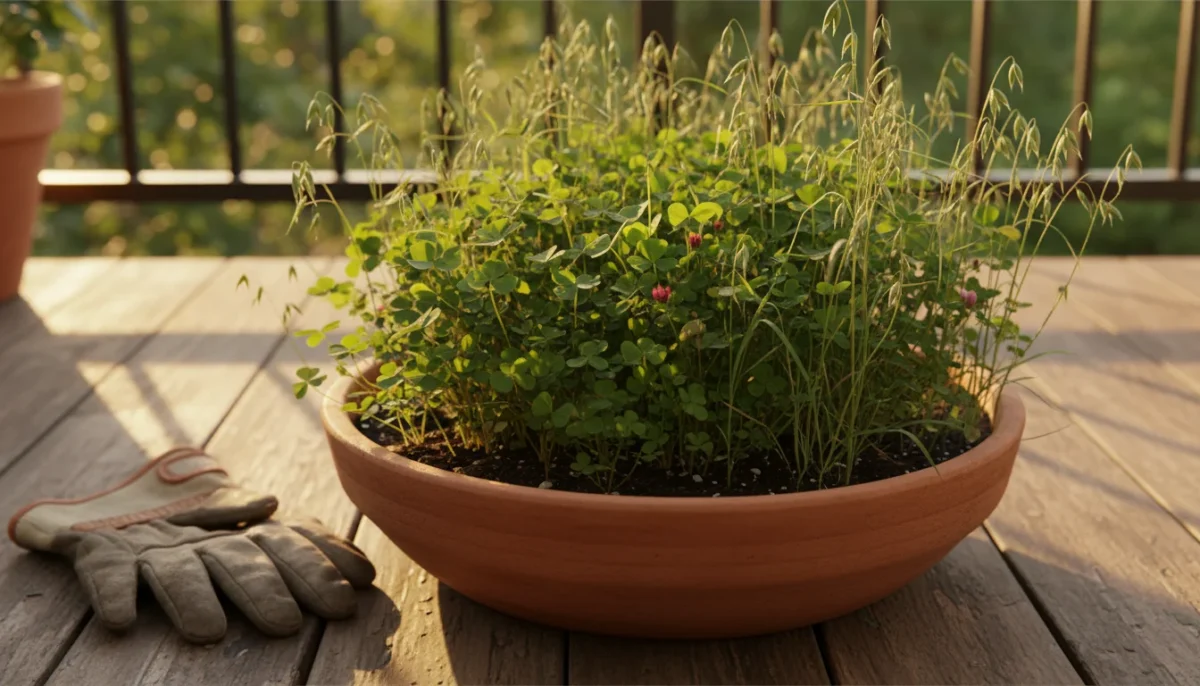
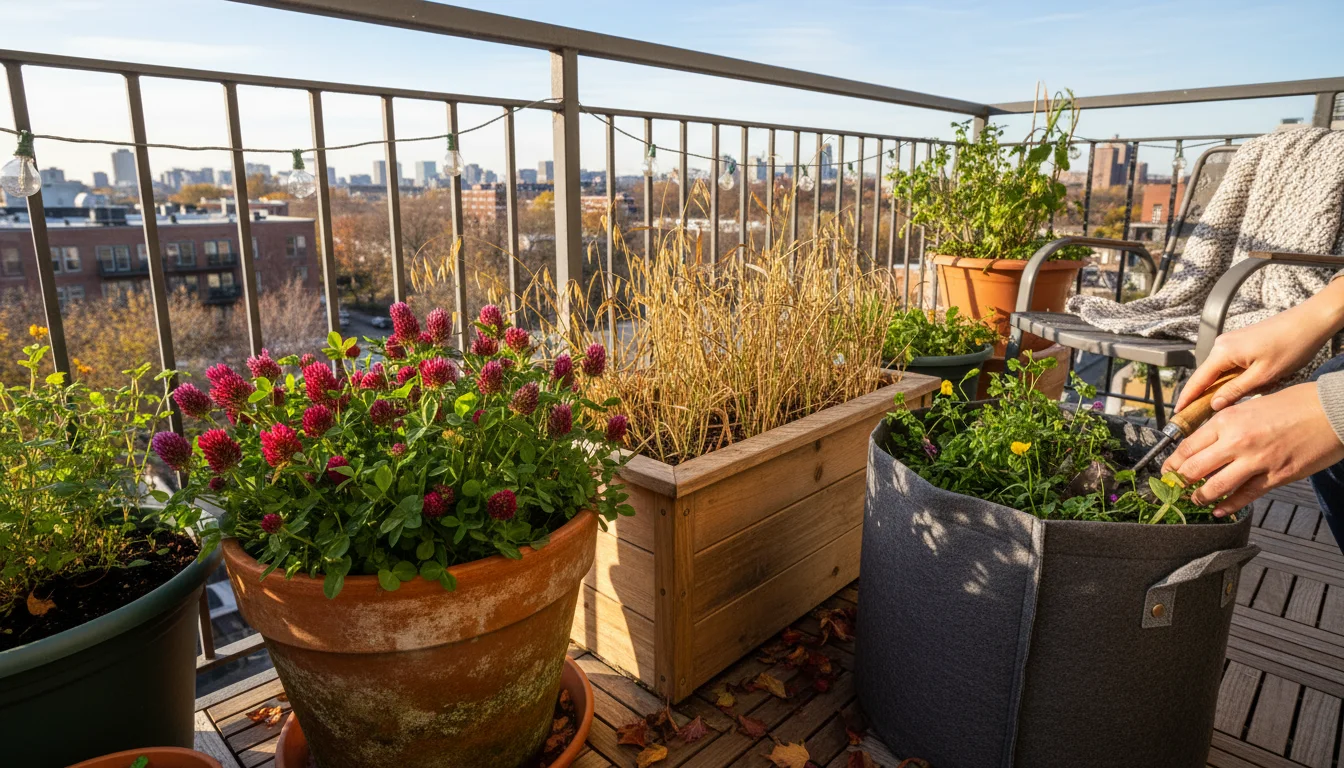
Imagine giving your potting soil a rejuvenating spa treatment every fall, without lifting a single heavy bag of new mix. That is precisely what cover cropping for containers offers you. This age-old agricultural practice, traditionally used to enhance field soil, translates beautifully to the confined world of pots and planters. You cultivate specific plants, not for their harvest, but for the incredible benefits they bring to your soil. These unsung heroes work tirelessly to enrich your soil structure, add vital nutrients, and foster a thriving microbial ecosystem. Many gardeners overlook this powerful tool, assuming it is too complex for small spaces. However, with the right approach, you unlock a sustainable secret to vibrant, healthy plants season after season, drastically improving potting soil without replacing it. You will find your plants stronger, more resilient, and less susceptible to common issues.
Think about the constant demands placed on your container soil. Each growing season, your vegetables, herbs, and flowers draw nutrients, compact the mix, and leave behind tired, less fertile substrate. Traditional solutions involve replacing soil, which creates waste and demands resources. Cover crops interrupt this cycle of depletion, offering a natural, regenerative alternative. You empower your garden to heal itself, creating a robust foundation that supports robust plant growth. This strategy aligns perfectly with an environmentally conscious gardening approach, reducing waste and reliance on external inputs. It is about working with nature, not against it, in your small-space garden.
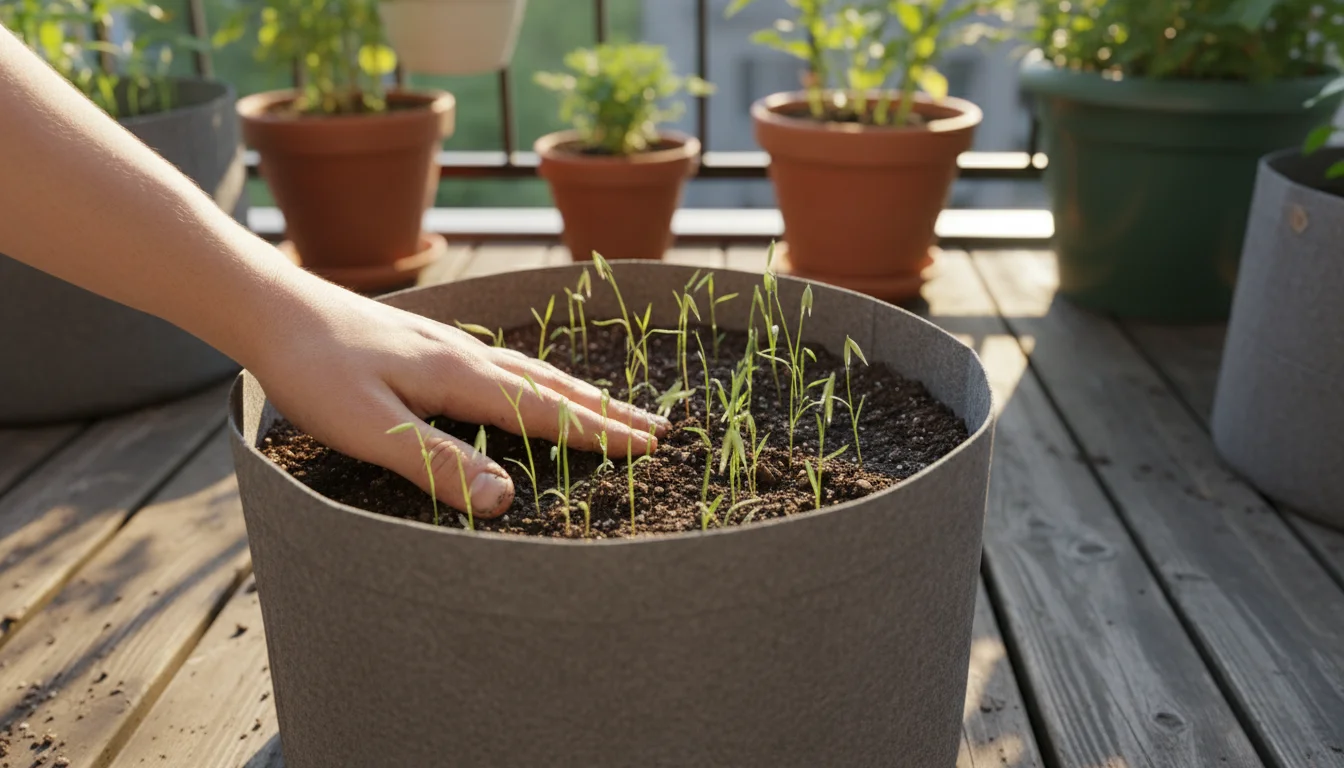
The beauty of cover cropping for pots lies in its simplicity and effectiveness. You plant selected seeds in your empty or semi-empty containers during the fall. As these seeds grow, their roots penetrate and loosen compacted soil, preventing further degradation. They capture atmospheric nitrogen, recycle essential minerals, and suppress weeds. When spring arrives, you simply cut them down and incorporate their organic matter back into the soil, creating a living compost right in your pot. This process revitalizes your container soil health, preparing it perfectly for your next round of planting. It is an active investment in the long-term fertility of your container garden, turning a potentially dormant period into a productive one.
This article guides you through everything you need to know about implementing this transformative technique. You will learn why your container soil needs this attention, which cover crops are best for small pots, a step-by-step guide to planting and care, and how to integrate these practices seamlessly into your gardening routine. Get ready to unlock the secret to perpetually healthy, productive container gardens, starting this fall.
The Lifespan of Potting Soil: Why It Needs Rebuilding
Your potting soil is not just dirt, it is a carefully engineered medium designed to provide optimal conditions for roots. It typically contains a mix of organic materials like peat or coco coir, inorganic components such as perlite or vermiculite, and often a starter dose of nutrients. This blend offers excellent drainage, aeration, and moisture retention when new. However, its effectiveness diminishes over time, and understanding why helps you appreciate the power of fall soil prep.
Nutrient Depletion
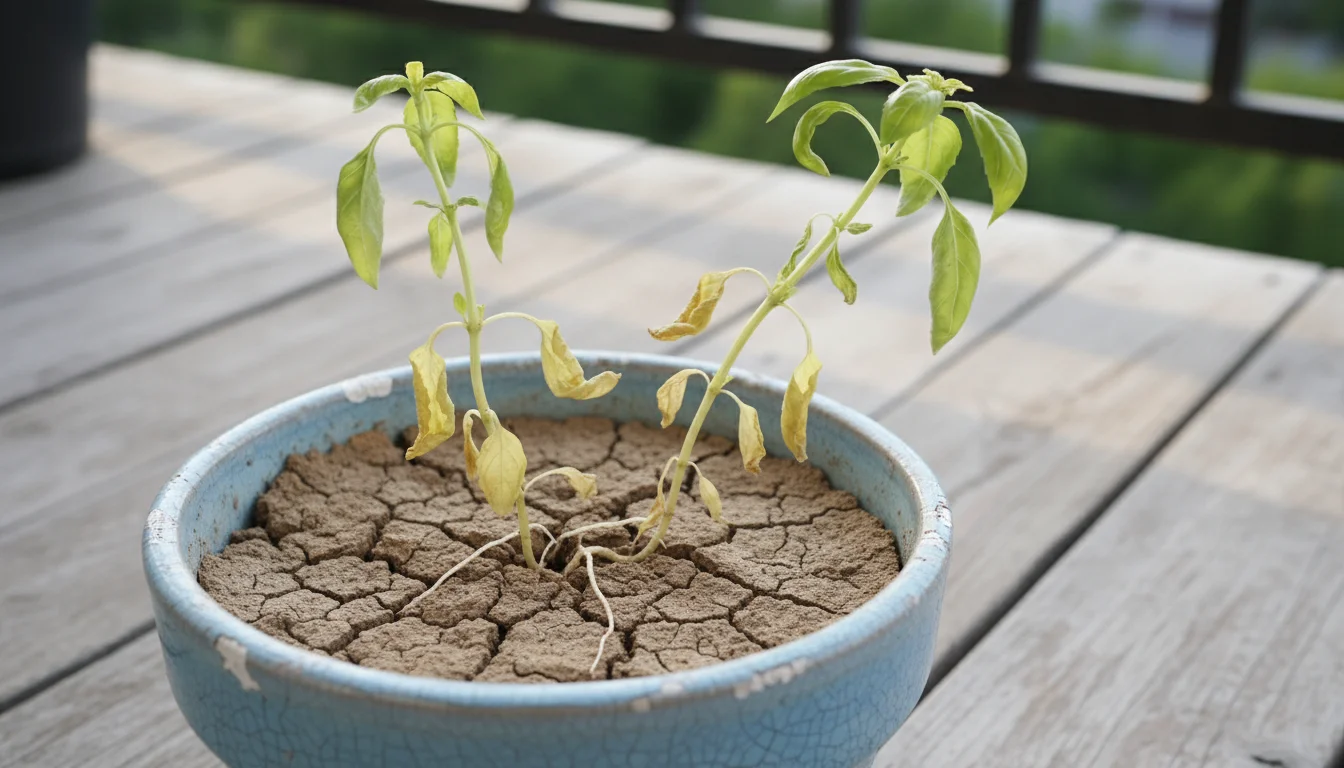
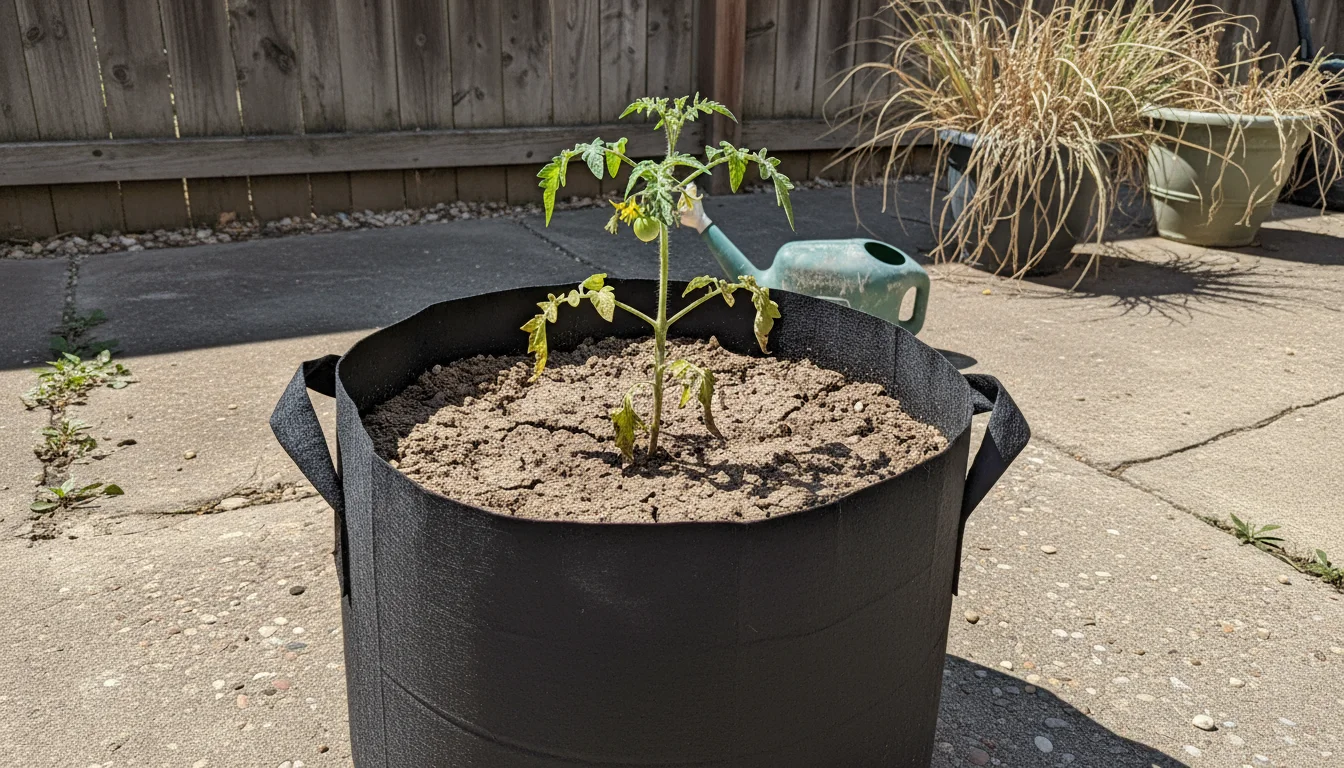
Every time your plants grow, they extract nutrients from the soil. A tomato plant, for instance, is a heavy feeder, demanding significant amounts of nitrogen, phosphorus, and potassium throughout its life cycle. Even if you fertilize regularly, some nutrients leach out with watering, and others become locked into unavailable forms. Over a single growing season, your potting mix can become severely depleted, leaving little sustenance for subsequent plantings. This nutrient drain is a primary reason why plants in old soil often appear stunted or yellowed, even with regular feeding. You are essentially asking them to grow in an empty pantry.
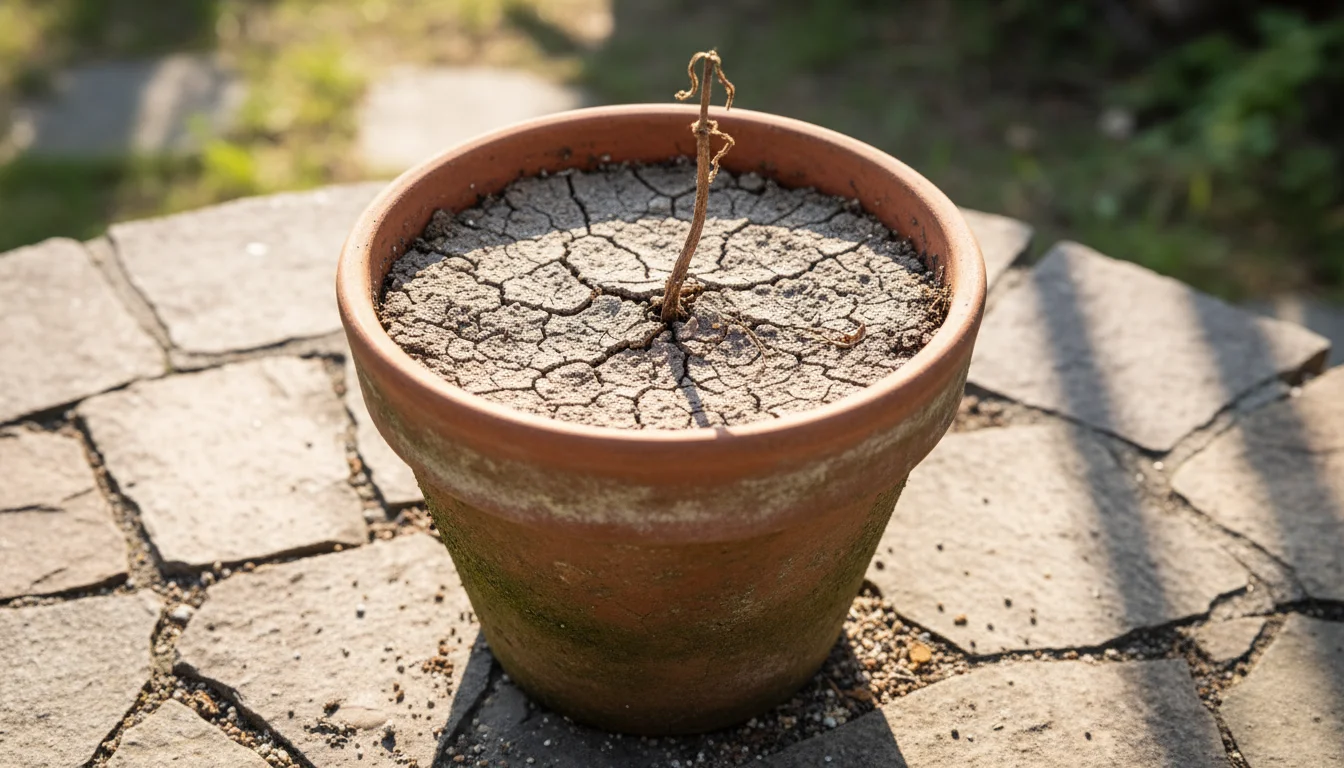
Organic Matter Breakdown and Compaction
The organic components of potting soil, like coco coir or peat, naturally decompose over time. This decomposition causes the soil structure to break down, leading to compaction. When soil compacts, air pockets diminish, reducing oxygen availability for roots and impairing drainage. Imagine trying to breathe in a cramped space, your roots face a similar struggle. Poor drainage also increases the risk of root rot, a common killer of container plants. Data shows that well-aerated soil improves root respiration and nutrient uptake efficiency by as much as 30 percent. A healthy soil structure, maintained by robust organic matter, is crucial for thriving plants.
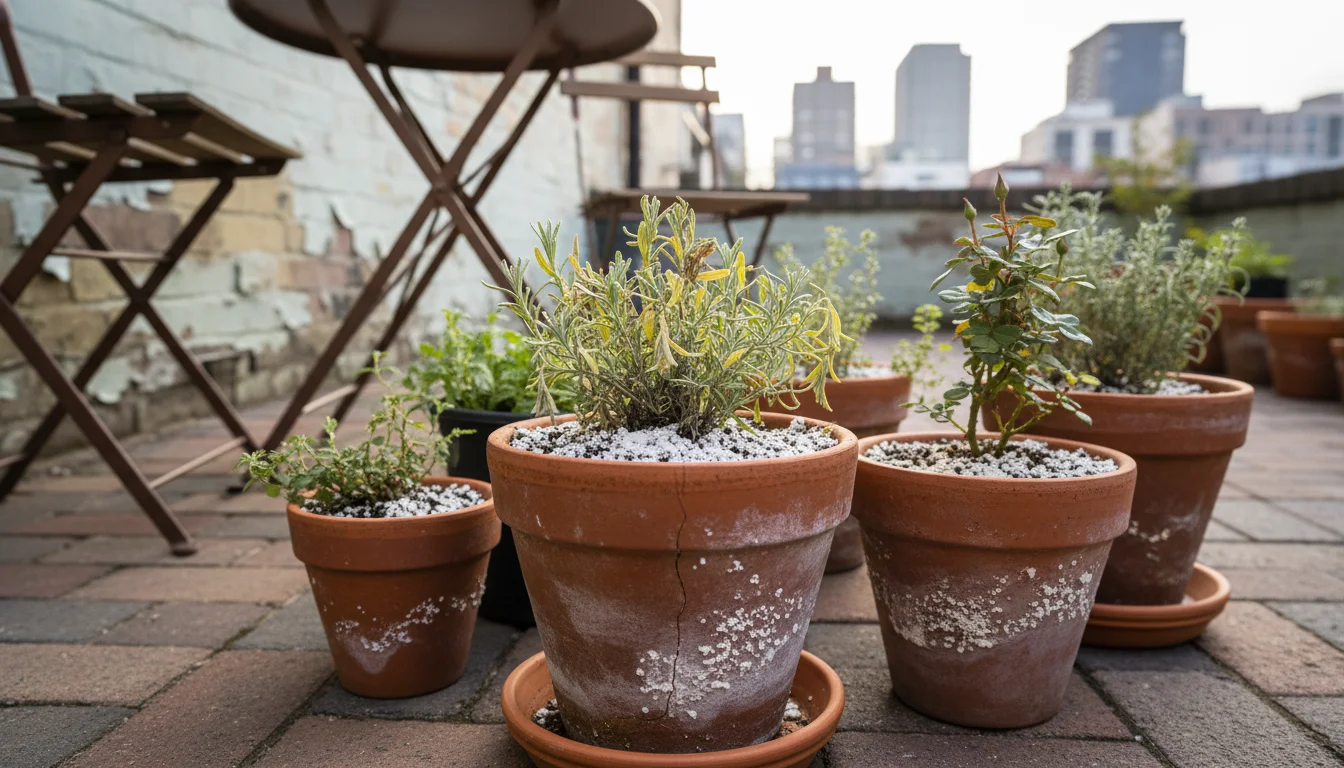
Salt Buildup
Fertilizers, especially synthetic ones, and even your tap water, can leave behind accumulated salts in your potting mix. These salts can build up to toxic levels, damaging roots and inhibiting water absorption. You might observe a white crust on the soil surface or around the pot rim, a clear indicator of salt buildup. High salt concentrations stress plants, making them more vulnerable to disease and pests. Flushing the soil occasionally helps, but consistent buildup still takes its toll.
Pathogen and Pest Accumulation
Old potting soil can harbor fungal spores, bacteria, and pest eggs from previous seasons. If you experienced issues with diseases or pests, those problems might linger in the soil, ready to infect new plants. While heat sterilization can work for small batches, it is not practical for numerous containers and it destroys beneficial microbes alongside the harmful ones. You need a method that revitalizes, not sterilizes, for true container soil health.
These factors combine to create a challenging environment for new plants. Without intervention, your once-fluffy, nutrient-rich potting mix transforms into a dense, infertile, and potentially harmful substrate. This is where cover cropping steps in as your powerful, natural solution. Instead of discarding this valuable resource, you regenerate it, turning a seemingly spent medium into a fertile foundation once more. You actively choose sustainability and robust plant health for your small garden.
What Are Cover Crops and Their Container Benefits
Cover crops are plants grown primarily to benefit the soil, rather than for direct harvest. They act as nature’s soil builders, performing essential functions that improve soil fertility, structure, and overall health. While traditionally associated with large agricultural fields, their principles apply beautifully to container gardening, offering a powerful tool for fall soil prep and sustainable growing.
The Core Functions of Cover Crops in Containers:
- Nutrient Cycling and Fixation: Many cover crops, particularly legumes like clover and vetch, form a symbiotic relationship with beneficial bacteria in the soil. These bacteria convert atmospheric nitrogen into a form plants can use, a process called nitrogen fixation. This is like getting a free, natural nitrogen fertilizer. Non-leguminous cover crops, such as cereal rye, act as “scavengers,” drawing up leftover nutrients from deeper in the pot and storing them in their biomass. When you incorporate these plants back into the soil, those stored nutrients become available for your next crop.
- Organic Matter Addition: As cover crops grow, they produce biomass above and below ground. When you terminate them (cut them down) and mix them into the soil, this organic material decomposes, adding humus. Humus is vital for improving soil structure, enhancing water retention, and feeding the beneficial microbes that keep your soil alive. Research from the University of California, Davis, shows that increasing soil organic matter by just 1 percent can dramatically improve soil water holding capacity and nutrient cycling.
- Soil Structure Improvement: The roots of cover crops are active workers. They penetrate compacted soil, creating channels that improve aeration and drainage. This is incredibly beneficial in containers, where compaction is a common issue. Their extensive root systems also bind soil particles together, preventing erosion and maintaining a loose, crumbly texture. This improved structure means healthier roots and better overall plant growth.
- Weed Suppression: Dense stands of cover crops can effectively outcompete weed seeds for light, water, and nutrients. This reduces the need for manual weeding in dormant containers, saving you time and effort. While less critical in completely empty pots, it is a significant benefit in containers where some weeds might try to take hold over winter.
- Microbial Support: The roots of cover crops exude sugars and other compounds that feed a diverse community of beneficial microorganisms in the soil. These microbes play a crucial role in nutrient cycling, disease suppression, and improving soil structure. A vibrant microbial population is the hallmark of healthy soil, directly contributing to robust container soil health.
Using cover crops in pots is a proactive strategy for improving potting soil without replacing it. You are not just adding nutrients, you are rebuilding the fundamental health and structure of your soil from the ground up. This sustainable practice reduces your reliance on bagged soil mixes and synthetic fertilizers, aligning perfectly with eco-friendly gardening principles. It is a testament to the power of natural processes in nurturing your container garden. You empower your pots to regenerate themselves, setting the stage for abundant harvests and beautiful blooms in the seasons to come.

Fall: The Prime Season for Container Soil Renewal
Why do we emphasize fall soil prep when discussing cover crops for pots? The autumn months offer a unique window of opportunity that maximizes the benefits of this practice for your container garden. As your summer annuals fade and temperatures begin to drop, your containers might sit empty and dormant. This period, however, is not a time for your soil to rest, it is an ideal moment for active regeneration.
Maximizing Growth and Nutrient Accumulation
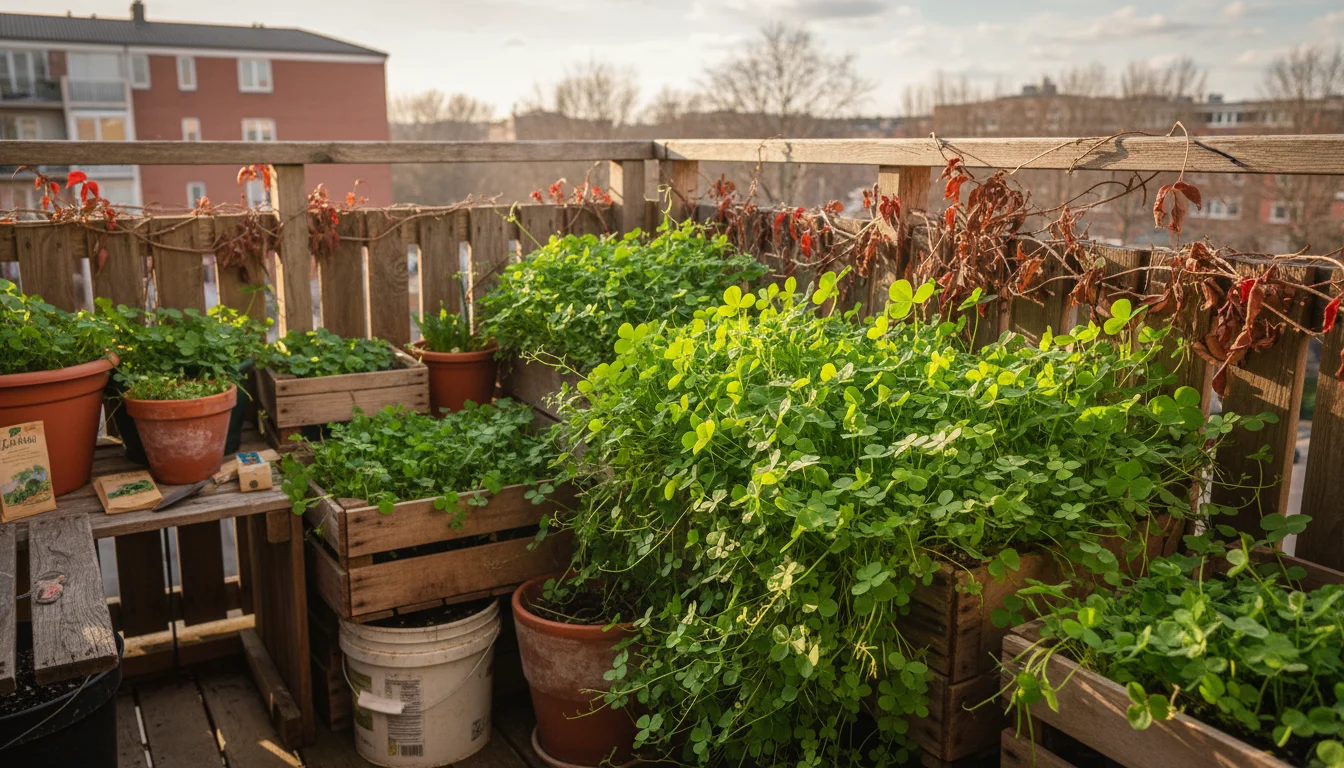
Cool-season cover crops, which are excellent choices for containers, thrive in the moderate temperatures of fall. Planting them now allows them to establish robust root systems and accumulate significant biomass before deep winter dormancy sets in. Even if top growth slows considerably during the coldest months, the roots continue their beneficial work beneath the surface, loosening soil and fostering microbial activity. This extended growth period means more organic matter and more fixed nitrogen to return to your soil in the spring.
Utilizing Residual Nutrients
After a season of heavy feeders, your container soil often retains some residual nutrients that were not fully utilized by your summer plants. If you leave your pots empty, these nutrients can leach out with winter rains and snowmelt, especially in lighter potting mixes. Cover crops act as “nutrient sponges,” capturing these leftover elements and preventing their loss. They hold these nutrients in their tissues, making them available for your spring plantings when you incorporate the cover crop. This strategy conserves valuable resources within your pots, enhancing container soil health.
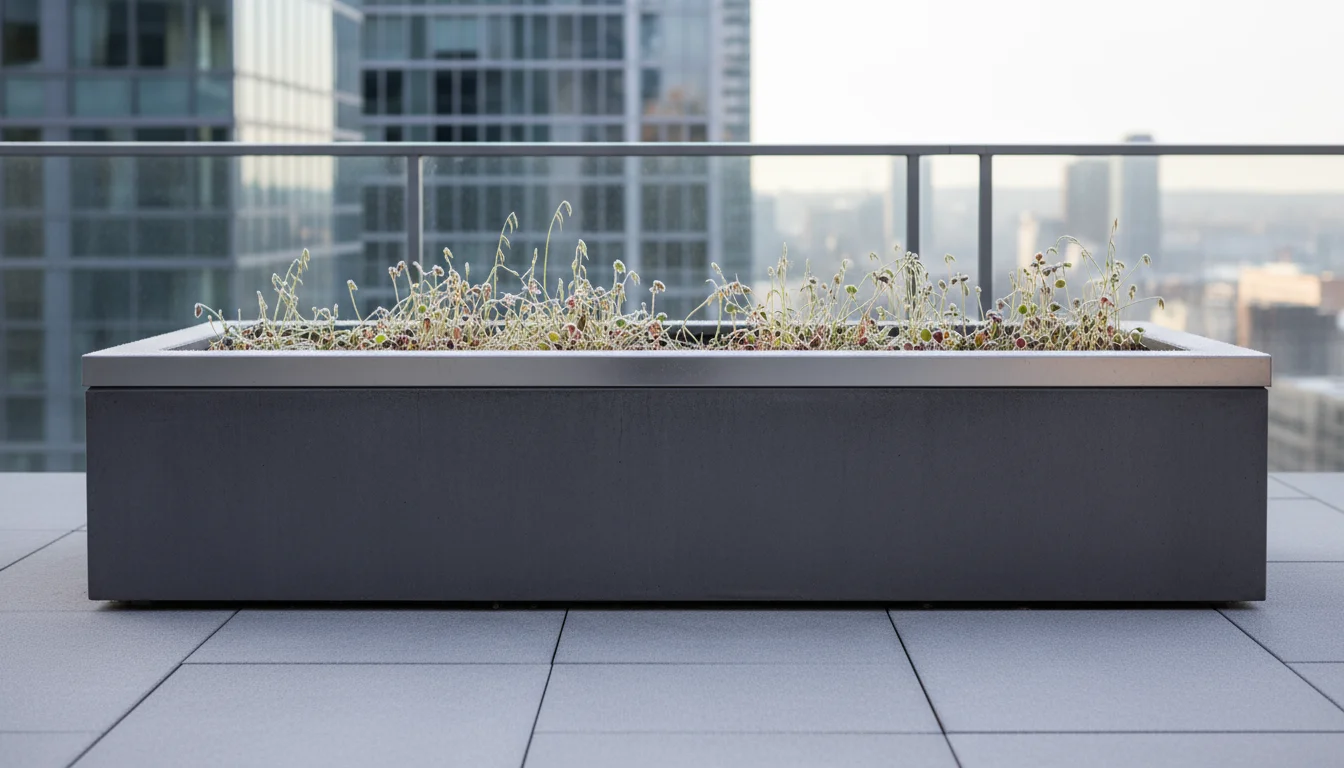
Preventing Compaction and Erosion Over Winter
Empty containers are vulnerable to compaction from rain and snow, especially if your potting mix has already started to break down. The physical presence of cover crop roots helps to maintain soil structure, preventing further settling and improving aeration. For outdoor containers, a living cover also protects the soil surface from the direct impact of harsh winter weather, reducing the risk of erosion and nutrient loss from the top layer. This is a critical aspect of how to use cover crops in containers over winter.
Getting a Head Start on Spring Fertility
By planting cover crops in the fall, you are essentially pre-loading your containers with fertility for the following spring. When spring arrives, instead of scrambling to amend tired soil or buying new bags, your pots will already be brimming with revitalized, nutrient-rich medium. This saves you time, effort, and money, allowing you to focus immediately on planting your spring crops into a truly optimal environment. You transform a period of inactivity into one of immense productivity for your soil.
Consider the contrast: an empty pot sits dormant, its soil gradually degrading, losing nutrients, and becoming compacted. A pot with cover crops actively improves its internal ecosystem, enhancing nutrient cycling, building organic matter, and preparing for future growth. The choice for a sustainable, thriving container garden becomes clear. Fall is not just the end of one growing season, it is the beginning of the next, thanks to the proactive power of cover cropping.
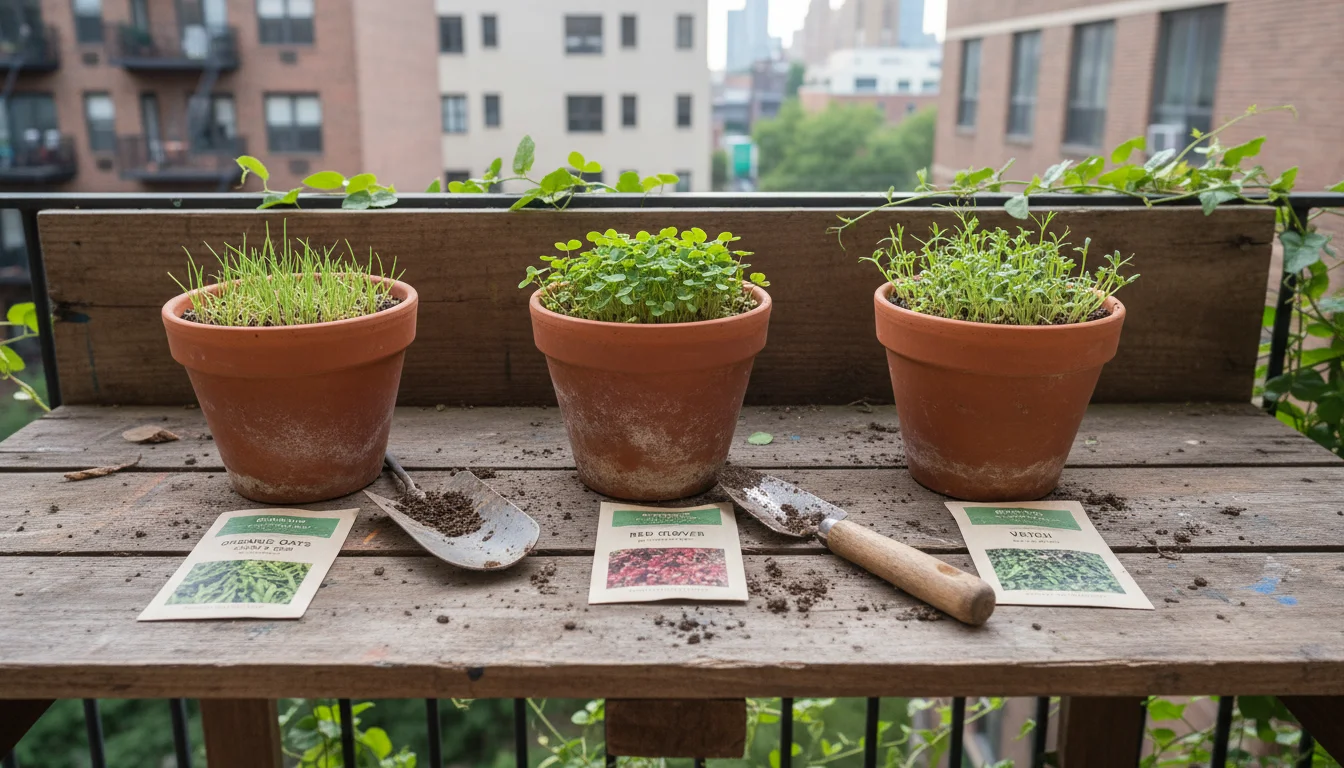
Selecting the Best Cover Crops for Small Pots
Choosing the right cover crops for pots is crucial for maximizing their benefits in a confined space. You need varieties that are effective, relatively easy to manage, and suitable for the depth and volume of typical containers. Here, we explore some of the best cover crops for small pots, categorized by their primary benefits. Remember to choose organic, untreated seeds to avoid introducing unwanted chemicals into your soil.
Leguminous Cover Crops (Nitrogen Fixers):
These are your nitrogen powerhouses, forming symbiotic relationships with soil bacteria to convert atmospheric nitrogen into plant-usable forms. They significantly contribute to improving potting soil without replacing it.
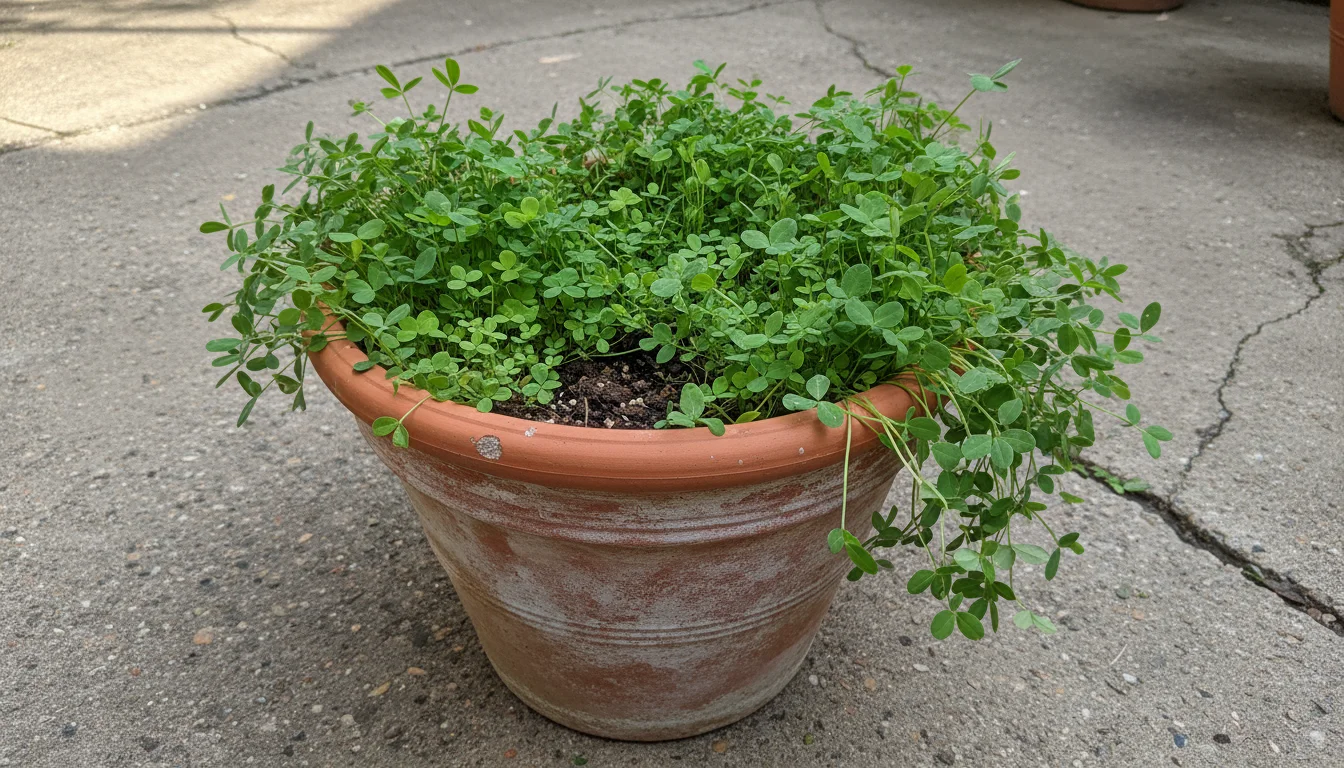
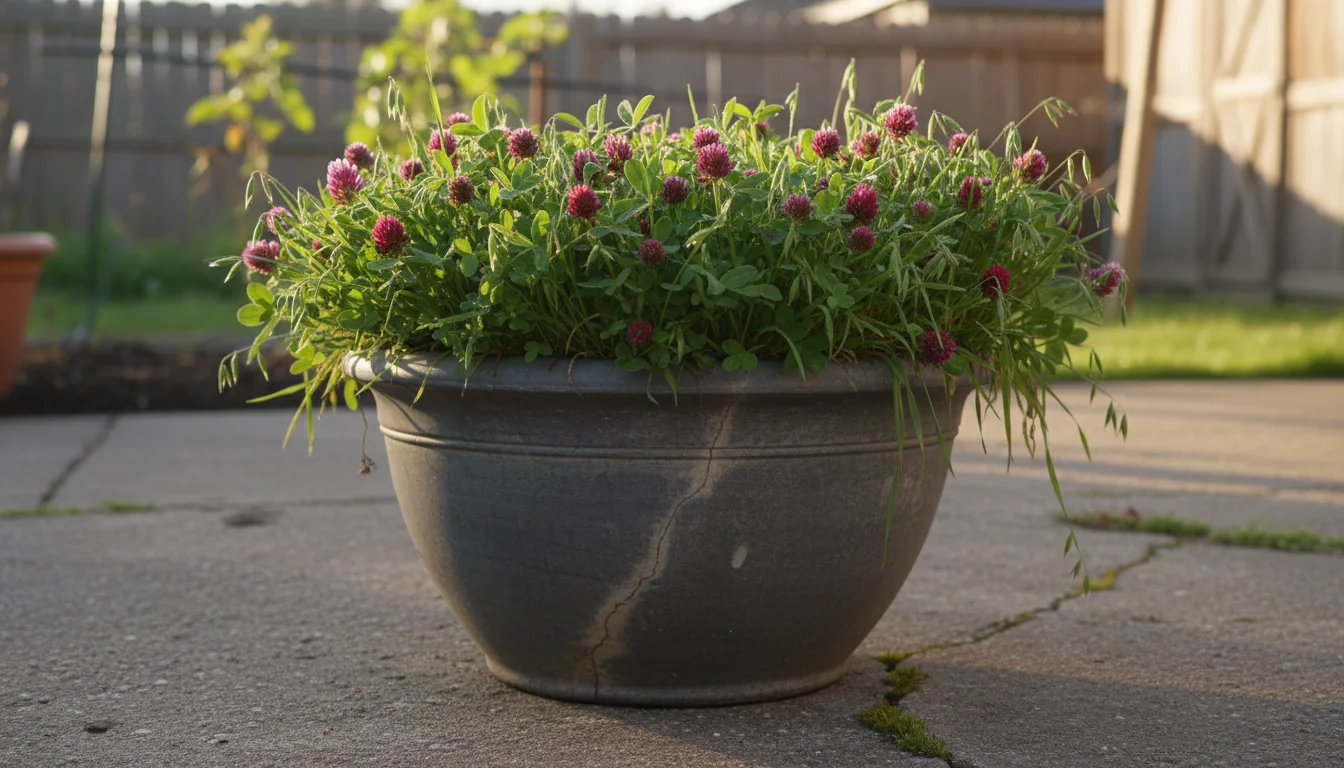
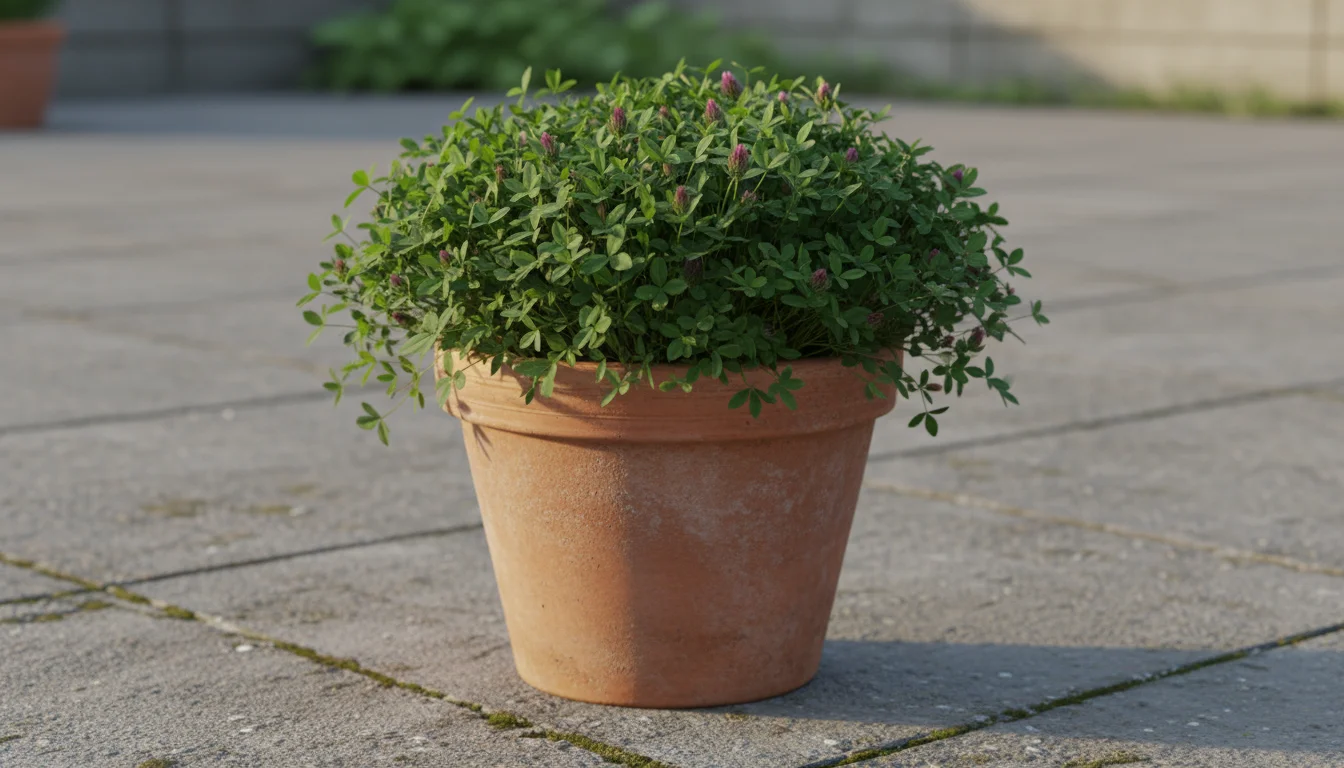
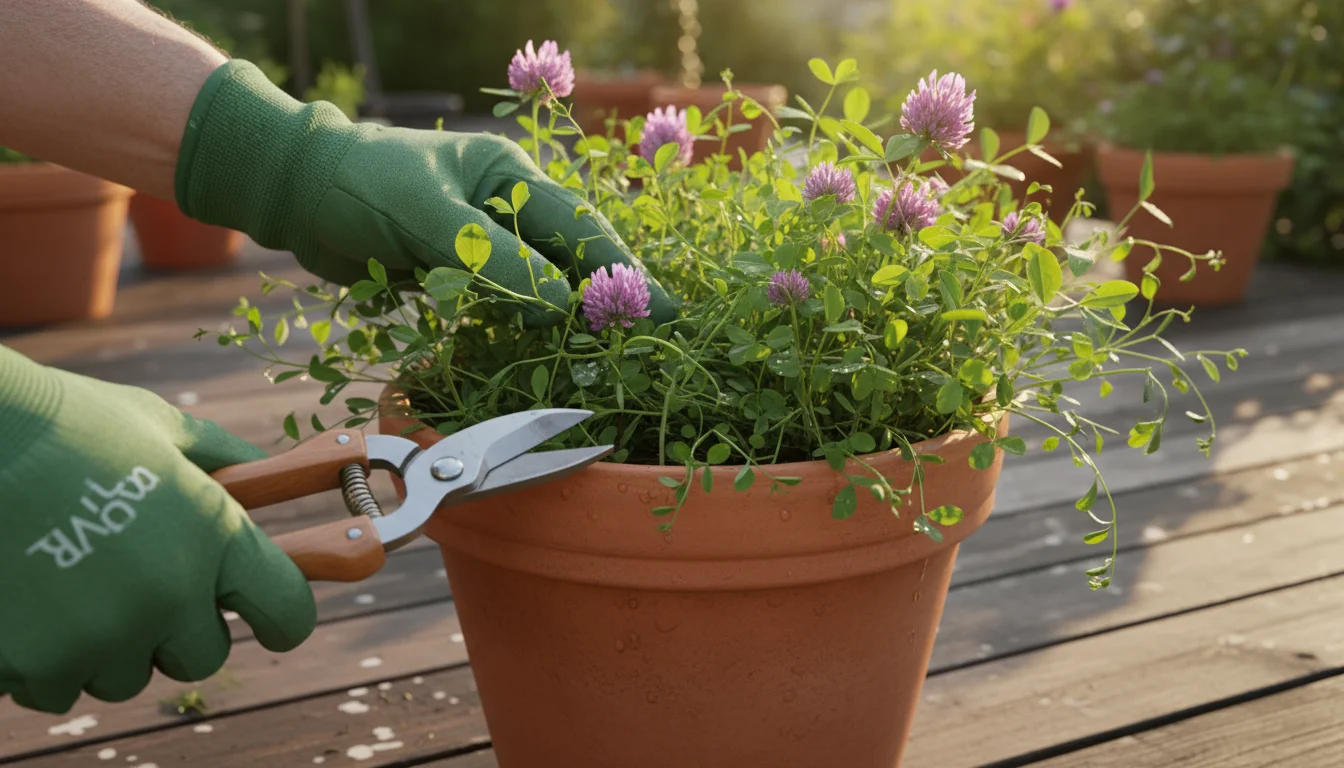
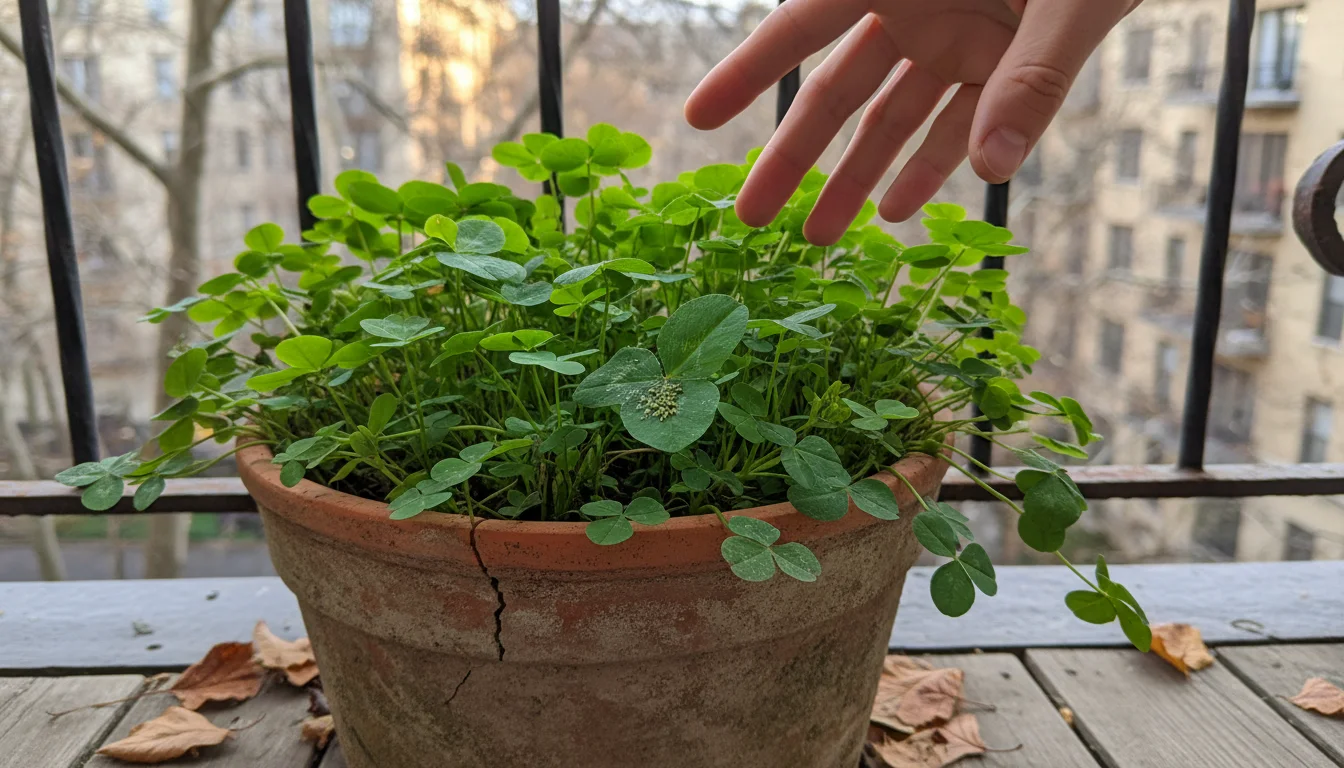
- Crimson Clover (Trifolium incarnatum): An excellent choice for its ability to fix substantial nitrogen. It establishes quickly in the fall, produces beautiful crimson blooms in spring (which you should cut down before they set seed), and has a relatively shallow root system making it suitable for medium to large pots. It also adds a good amount of organic matter.
- Hairy Vetch (Vicia villosa): Known for its exceptional nitrogen-fixing capabilities and vigorous growth. Hairy vetch produces significant biomass, which is great for adding organic matter. Its sprawling habit might require trimming in smaller pots, but it tolerates colder temperatures well.
- Fava Beans (Vicia faba): While often grown for their edible beans, fava beans make fantastic cover crops, especially in larger containers. They establish quickly, fix nitrogen, and produce a large amount of leafy growth that incorporates easily into the soil. You plant them like you would for harvest, but chop them down before they flower significantly.
- Austrian Winter Peas (Pisum sativum arvense): These are cool-season annual legumes that grow quickly, fix nitrogen, and create a good amount of green manure. Their tendrils can climb, so be aware of their growth habit in crowded container spaces. They improve soil structure and prevent erosion.

Grassy Cover Crops (Organic Matter & Soil Structure Builders):
These excel at scavenging nutrients, preventing erosion, and building robust soil structure with their fibrous root systems.
- Cereal Rye (Secale cereale): A workhorse of cover cropping, even in containers. Cereal rye has an incredibly extensive and fibrous root system that excels at breaking up compacted soil, preventing nutrient leaching over winter, and adding significant organic matter. It tolerates cold exceptionally well, making it ideal for how to use cover crops in containers over winter. Be aware it can grow quite tall, so you will need to cut it down before it goes to seed in spring.
- Oats (Avena sativa): A good option for fall planting in regions with milder winters. Oats establish quickly, prevent erosion, and add organic matter. They generally winterkill in colder climates, which means they die naturally over winter and are easier to incorporate in spring.
Mixing Cover Crops for Enhanced Benefits:
You often achieve the best results by planting a mix of cover crops. Combining a nitrogen-fixing legume with a nutrient-scavenging grass provides a more comprehensive approach to container soil health. For example, a blend of hairy vetch and cereal rye offers both nitrogen enrichment and superior soil structure improvement.
Consider a simple mix:
| Cover Crop Type | Benefit in Containers | Recommended Varieties for Small Pots |
|---|---|---|
| Legumes (Nitrogen Fixers) | Adds nitrogen, some organic matter, improves structure. | Crimson Clover, Hairy Vetch, Austrian Winter Peas |
| Grasses (Organic Matter, Structure) | Breaks compaction, scavenges nutrients, prevents erosion. | Cereal Rye, Oats |
| Mixes (Balanced Benefits) | Combines nitrogen, structure, and organic matter. | Crimson Clover & Cereal Rye blend, Hairy Vetch & Oats blend |
When selecting your seeds, consider your local climate (hardiness zone will dictate which crops survive winter), the size of your containers, and your specific soil needs. Aim for diversity to gain a wider range of benefits. This careful selection ensures you get the most out of your efforts to improve potting soil without replacing it, truly boosting your container soil health.
Step-by-Step: How to Implement Cover Crops in Your Containers
Putting cover crops into action in your container garden is a straightforward process. Follow these steps to ensure success and begin the journey to revitalized potting soil this fall.
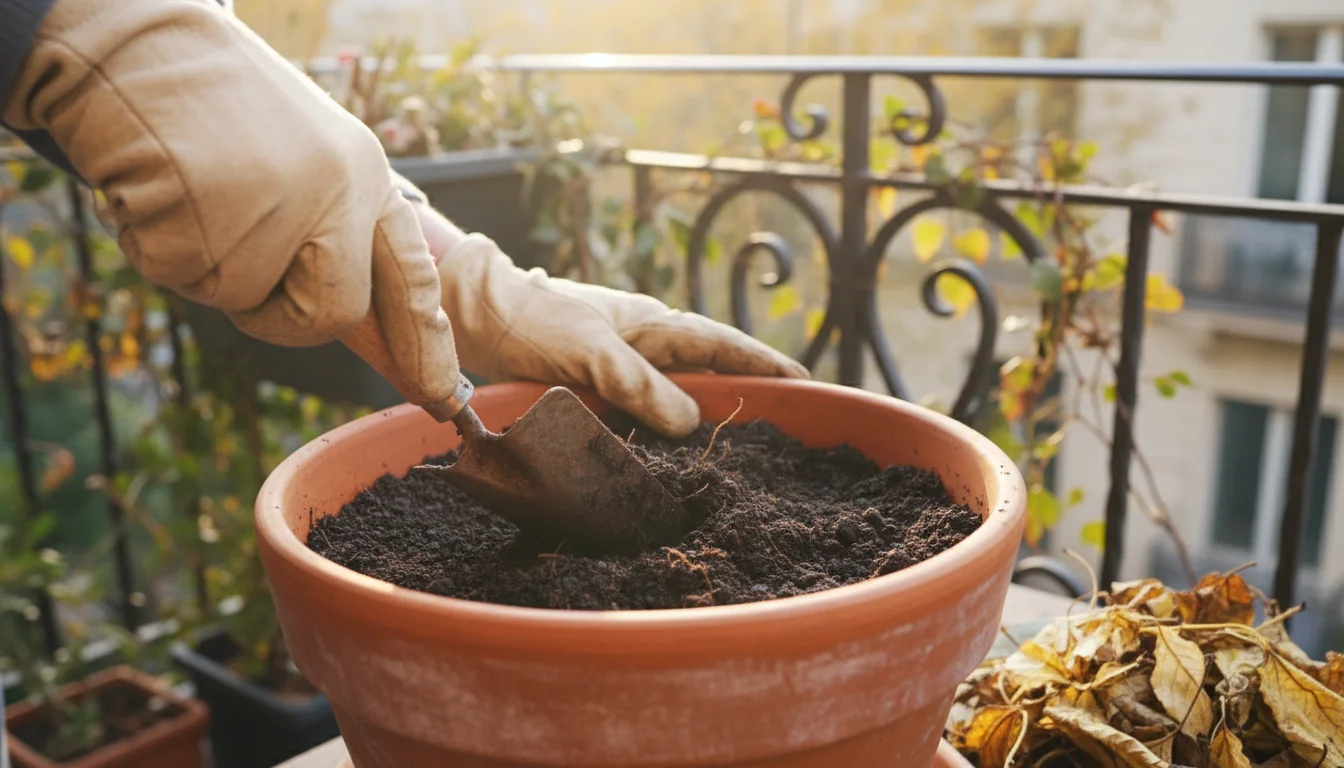
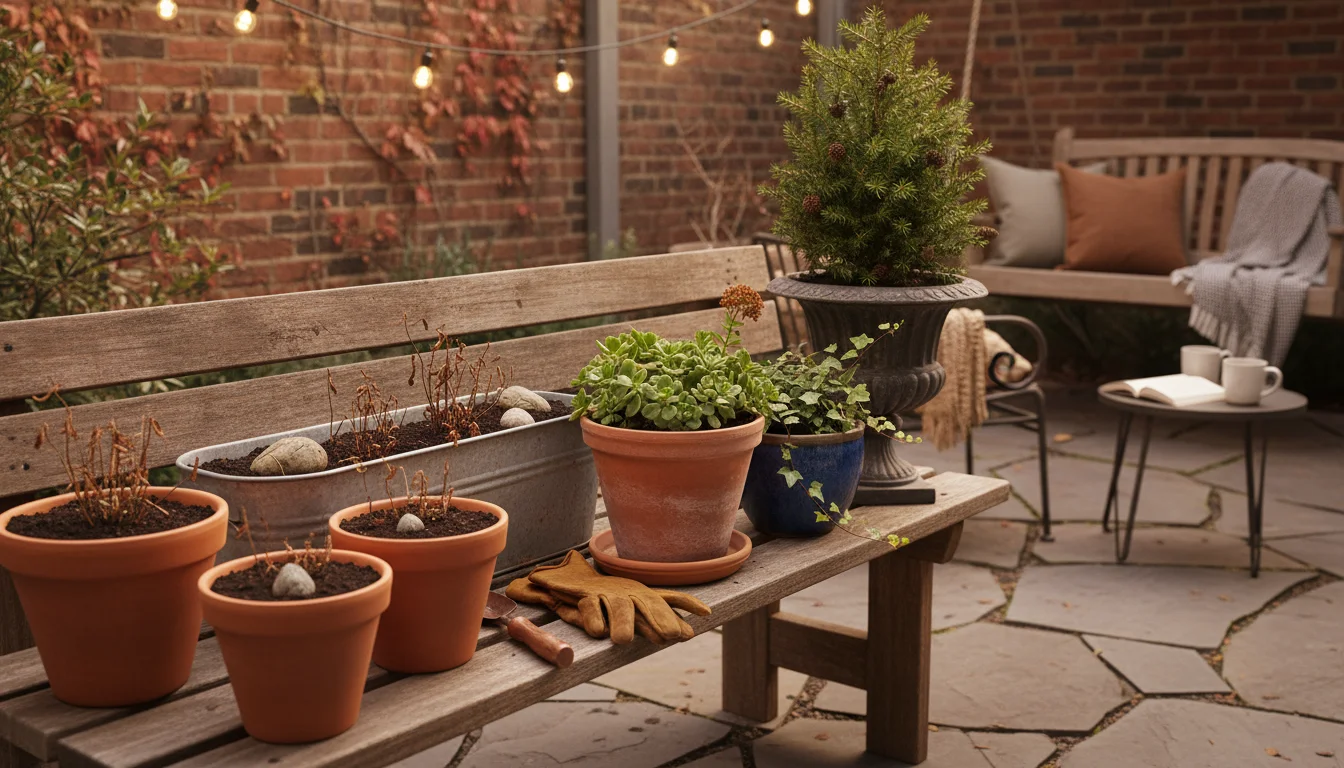
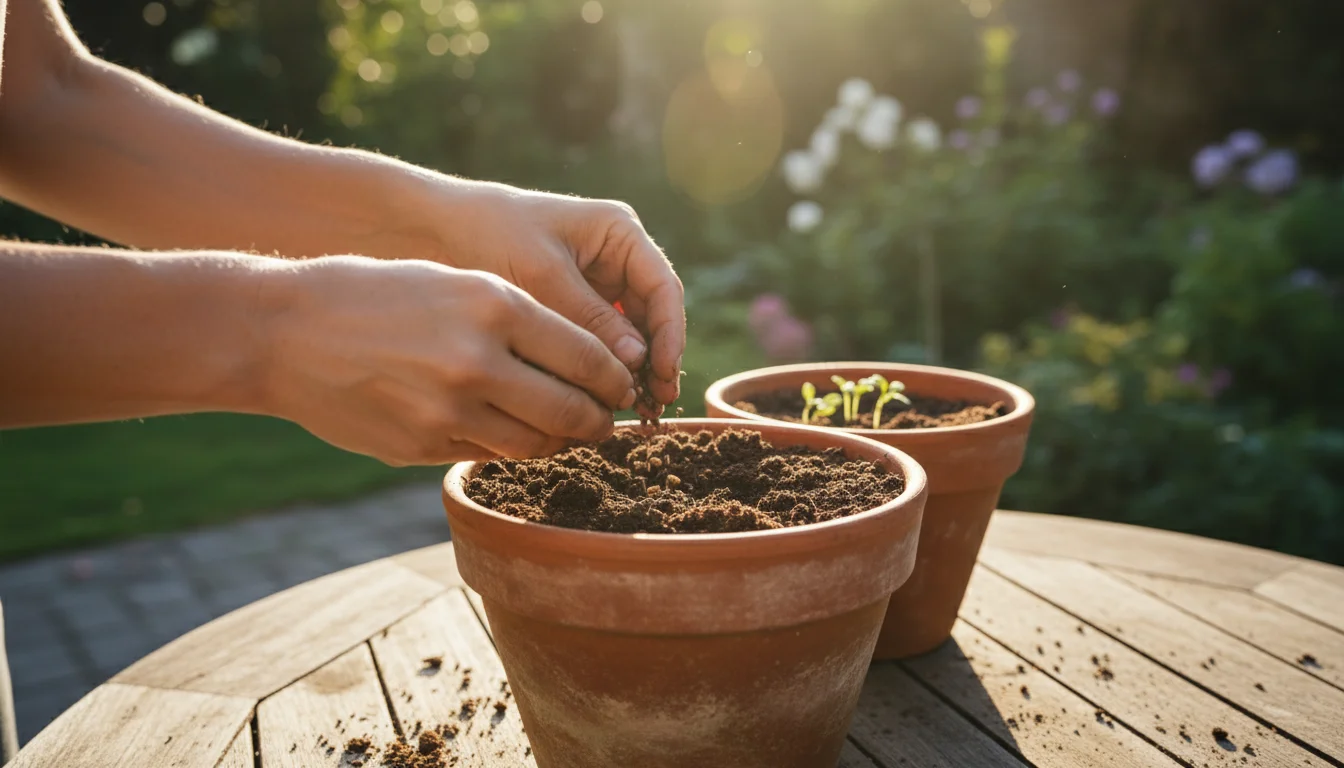
Step 1: Prepare Your Containers and Soil
- Empty and Clean: Remove any spent annuals or declining plants from your containers. Clear out all plant debris, as decaying matter can harbor pests or diseases. For perennial plants staying in their pots, you will plant around them (see notes below).
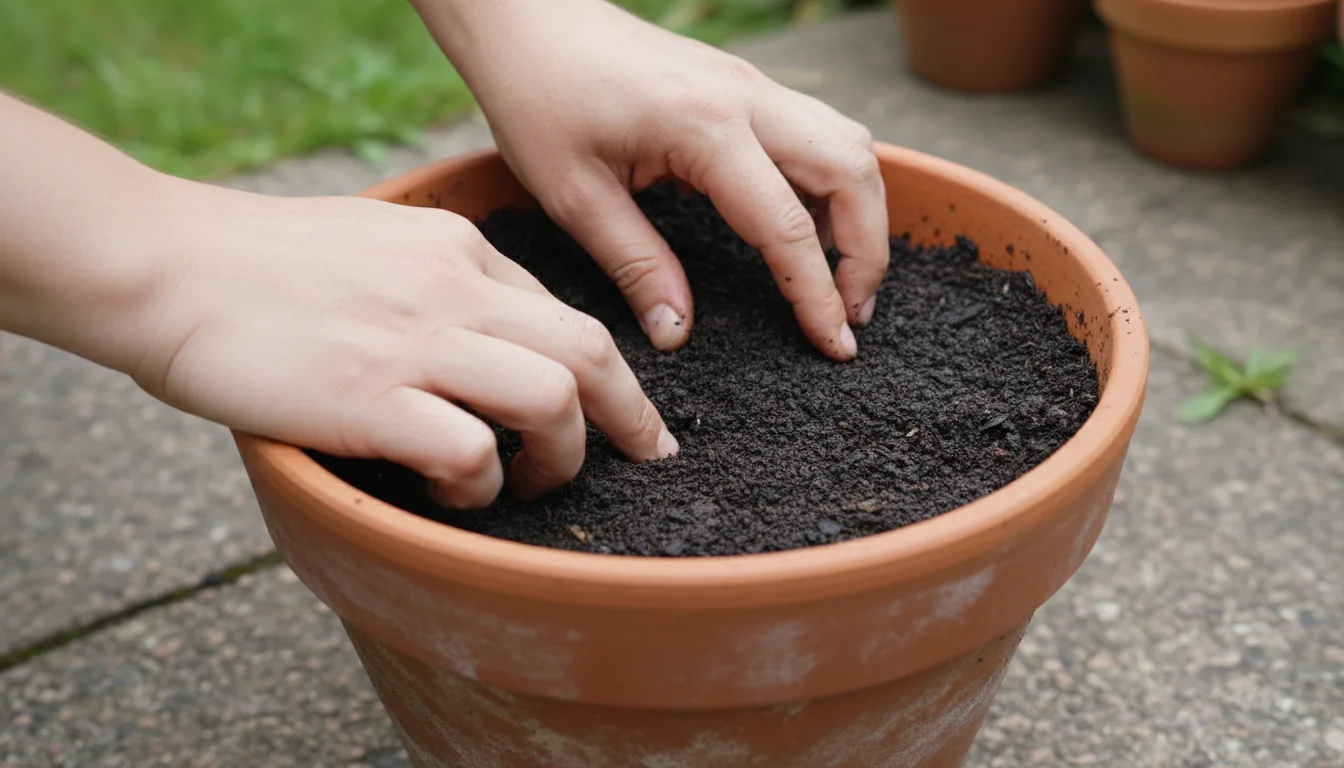
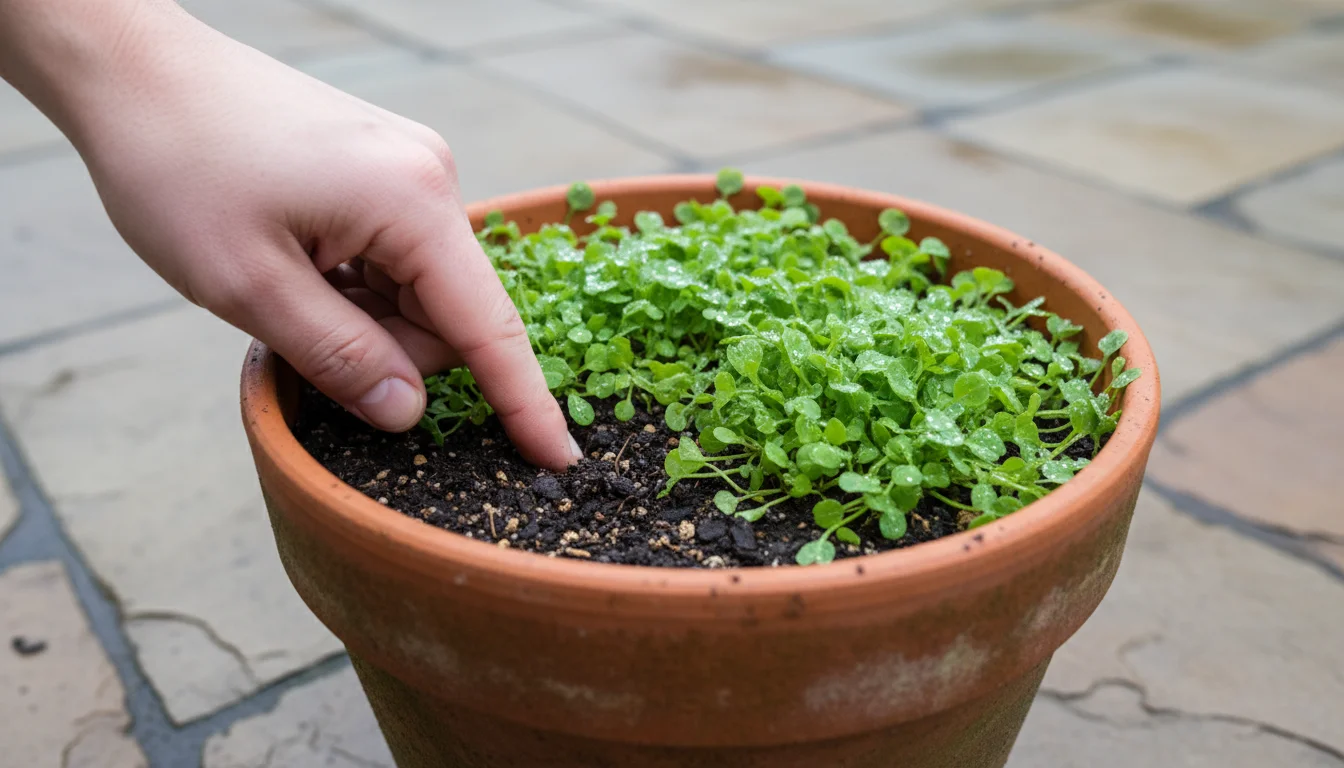
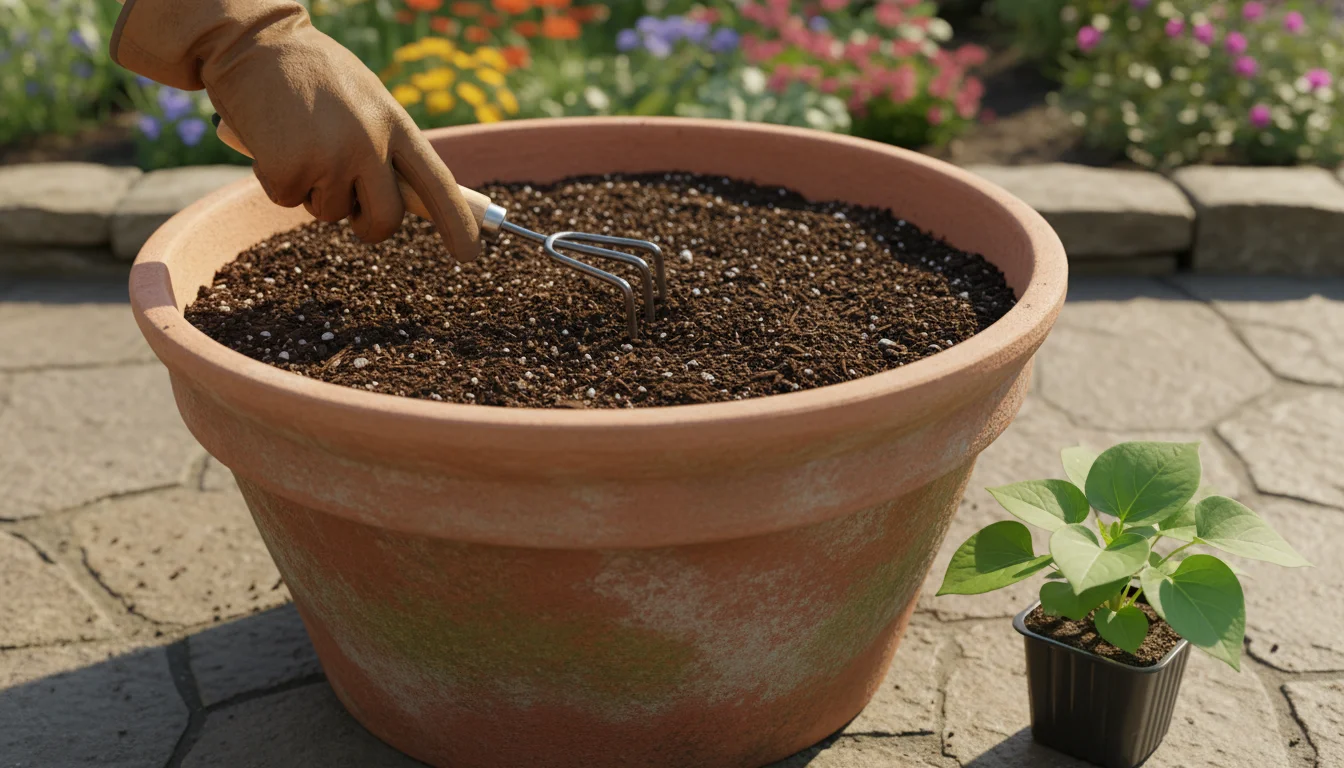
- Loosen the Top Layer: Use a hand trowel or fork to gently loosen the top 2-3 inches of your existing potting mix. This improves aeration and makes it easier for new cover crop seeds to establish contact with the soil. You do not need to replace any soil, just break up any compaction.
- Assess Soil Moisture: Your soil should be slightly moist, not waterlogged or bone dry. If it is very dry, water it lightly a day before planting.
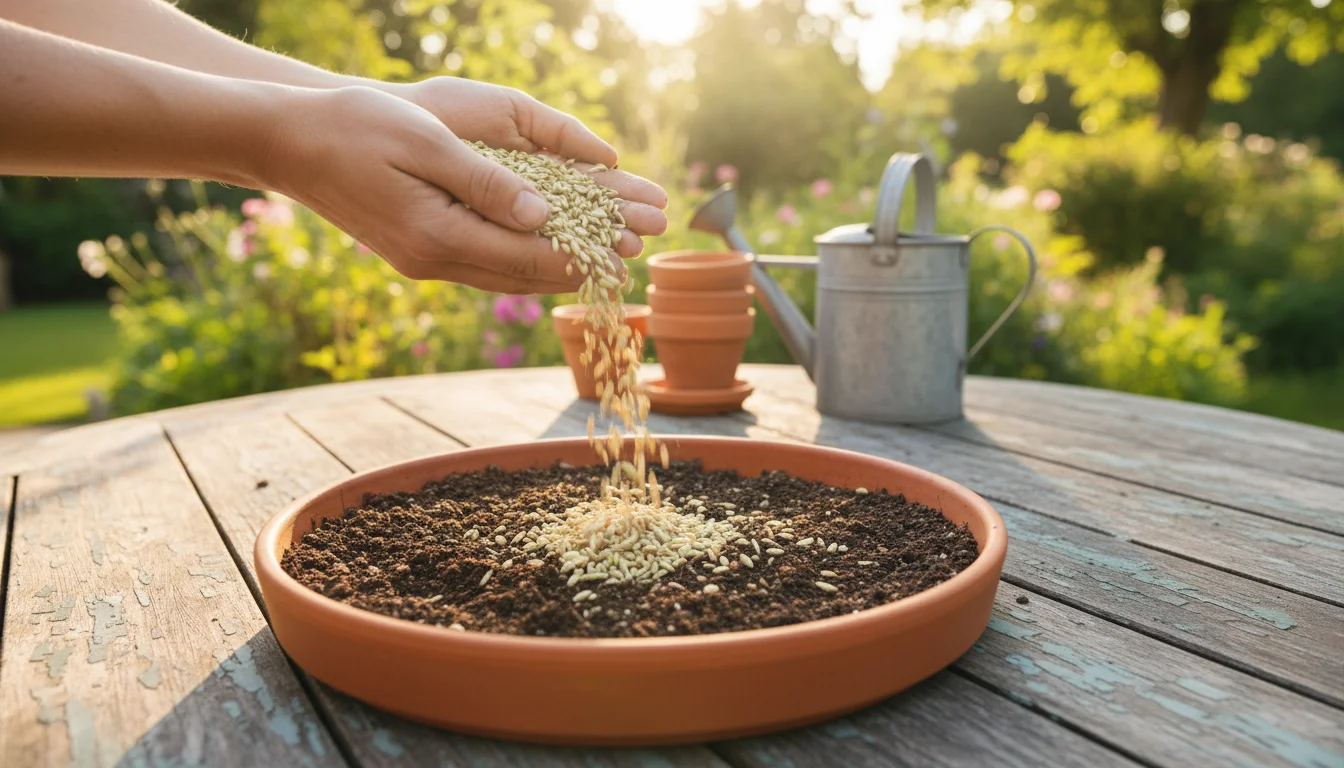
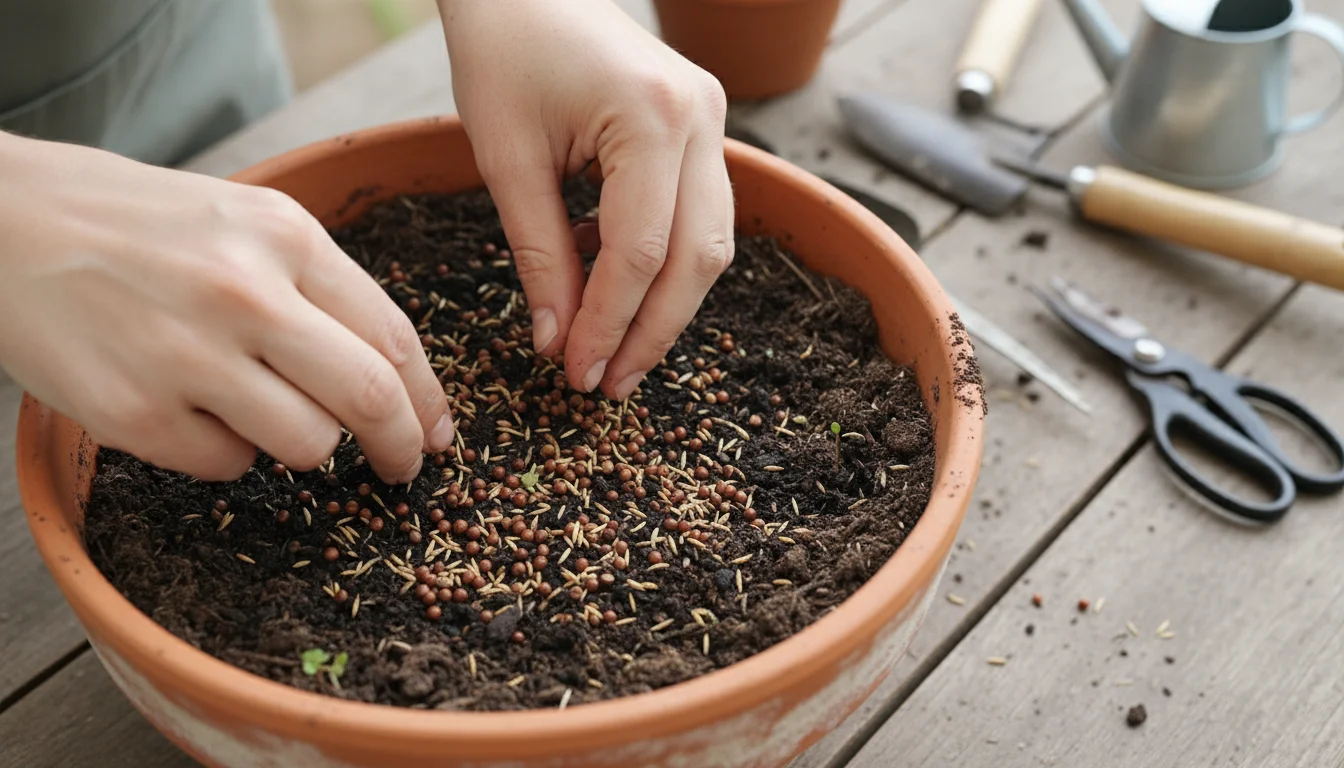
Step 2: Seed Your Cover Crops
- Choose Your Seeds: Refer to the “Selecting the Best Cover Crops for Small Pots” section to pick your preferred varieties or a beneficial mix.
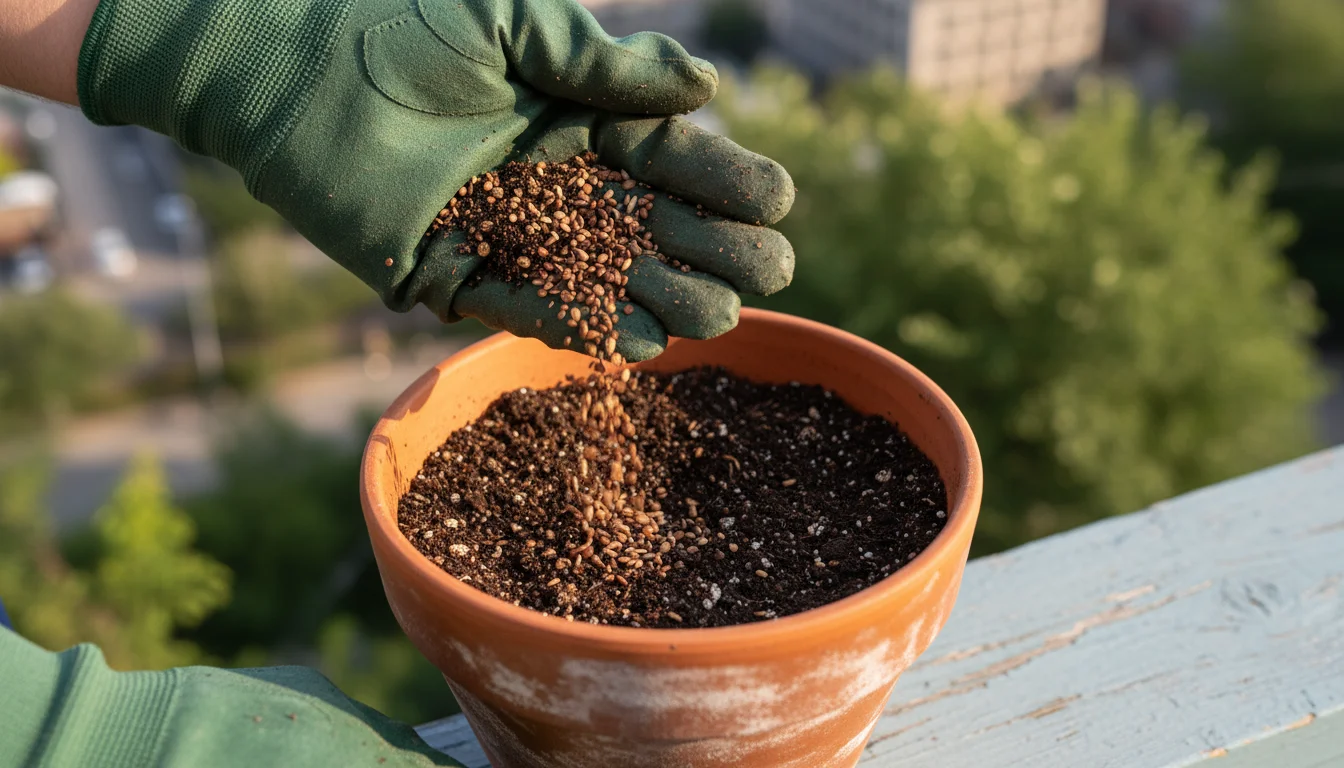
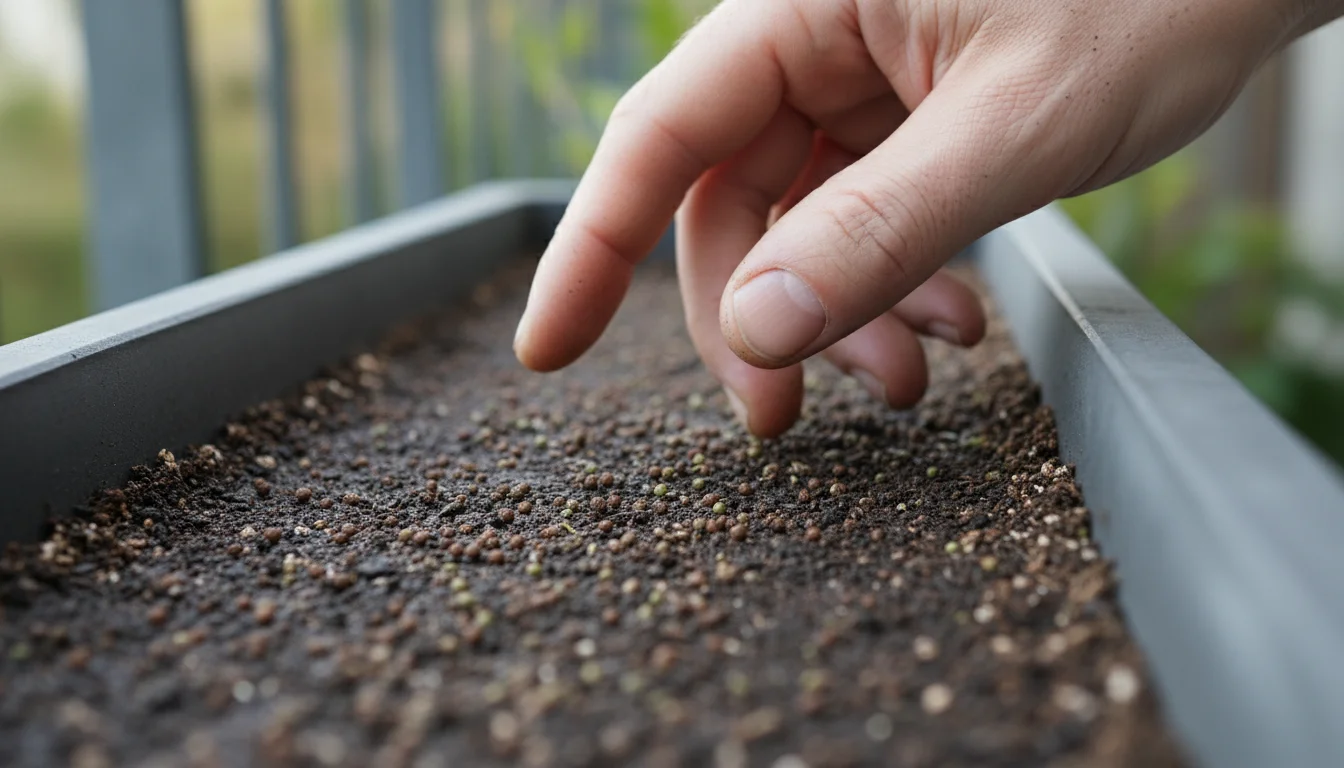
- Calculate Seeding Rate: Unlike vegetable seeds where you aim for individual plants, cover crops are often broadcast densely to form a thick mat. A general guideline is to sow a thick layer, ensuring good coverage of the soil surface. For reference, consider using about 1-2 tablespoons of seed per 12-inch diameter pot. Adjust based on seed size, smaller seeds (like clover) will be more numerous than larger ones (like fava beans).
- Broadcast Evenly: Sprinkle the seeds as uniformly as possible over the loosened soil surface. Try to avoid clumping them in one spot.
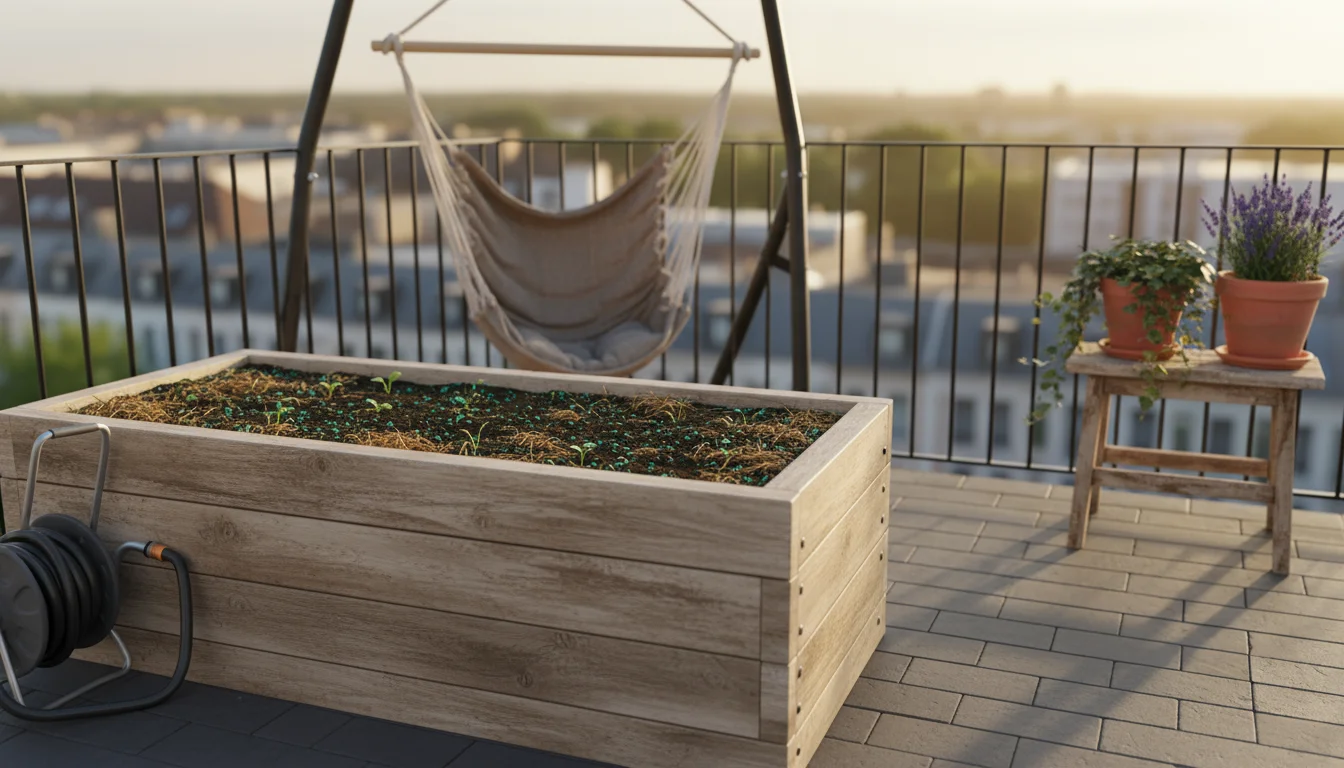
- Lightly Cover: Gently rake or sprinkle about 0.25 to 0.5 inches of your existing potting mix over the seeds. You can also use a thin layer of fresh, peat-free potting mix or compost. The goal is to provide good seed-to-soil contact and protect the seeds from birds, but do not bury them too deeply. Some tiny seeds, like clover, may only need to be pressed gently into the surface.
- Water Gently: Water your containers immediately after planting using a fine spray to avoid washing away the seeds. Ensure the top layer remains consistently moist until germination.
Step 3: Care During Growth
- Consistent Moisture: While established cover crops are relatively low-maintenance, ensure the soil remains moist, especially during dry spells in fall and early winter. You are essentially growing these plants for your soil’s benefit, so healthy growth is paramount. Avoid waterlogging, which can lead to damping off of seedlings.
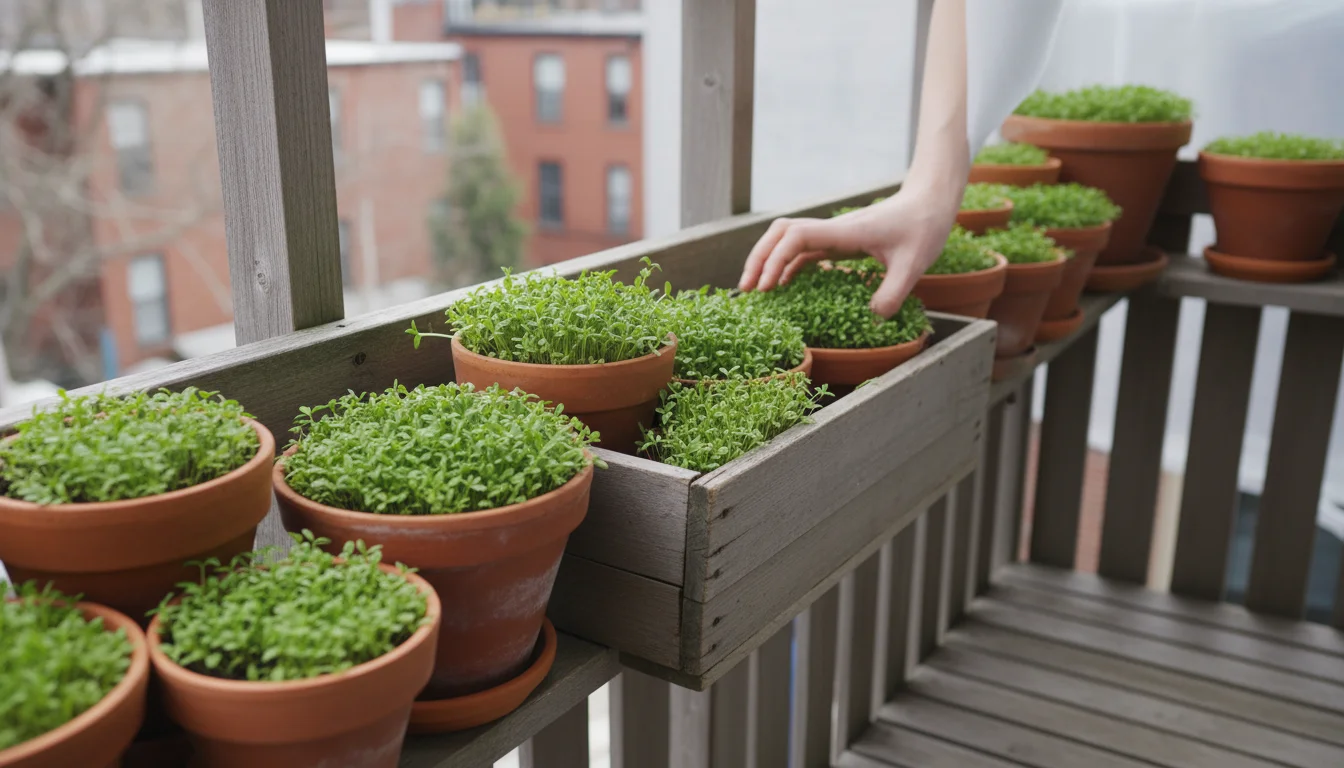
- Monitor Growth: Keep an eye on your cover crops. They should germinate within 7-14 days, depending on the variety and temperature. As they grow, they will form a green carpet.
- Winter Protection (Optional): In extremely cold climates, or for less hardy varieties, you might consider moving smaller containers into an unheated garage or against a sheltered wall to offer some protection from the harshest freezes. Most cool-season cover crops, however, are quite resilient to cold temperatures, especially varieties intended for how to use cover crops in containers over winter.
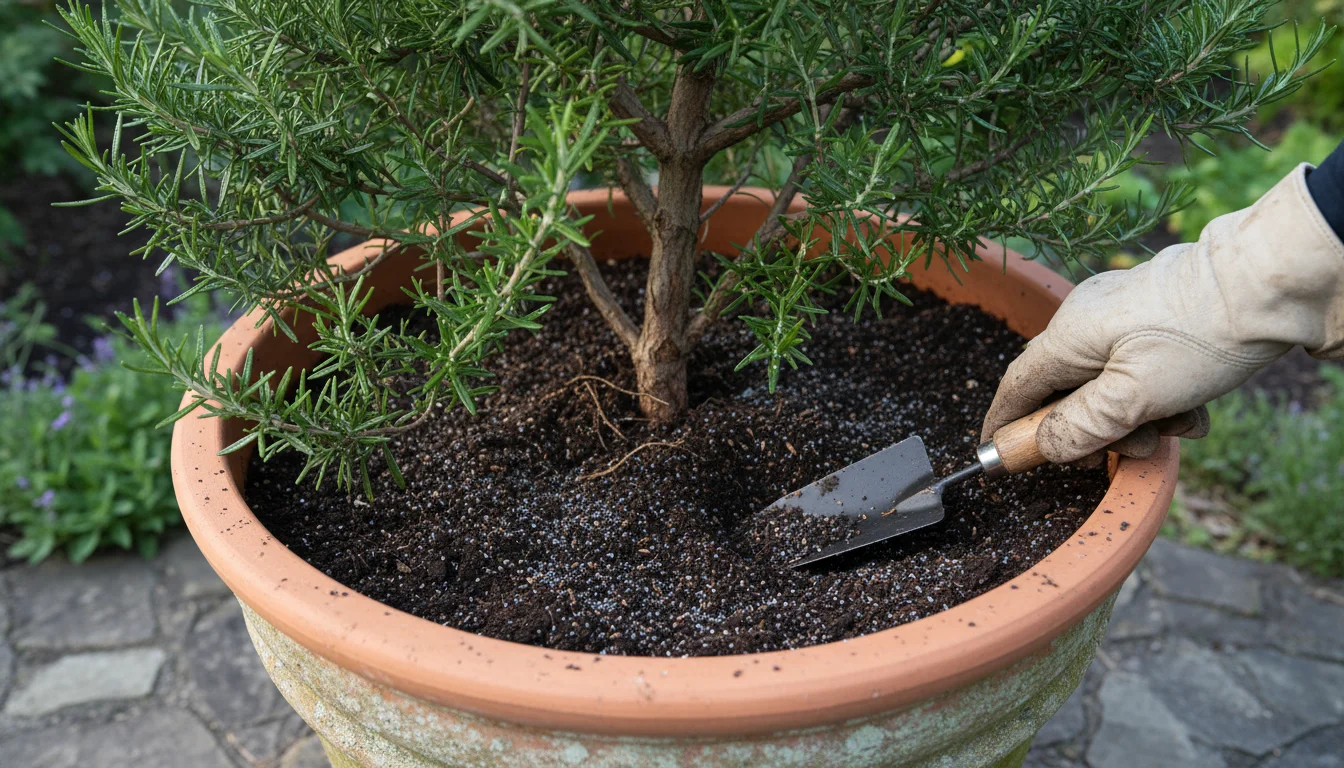
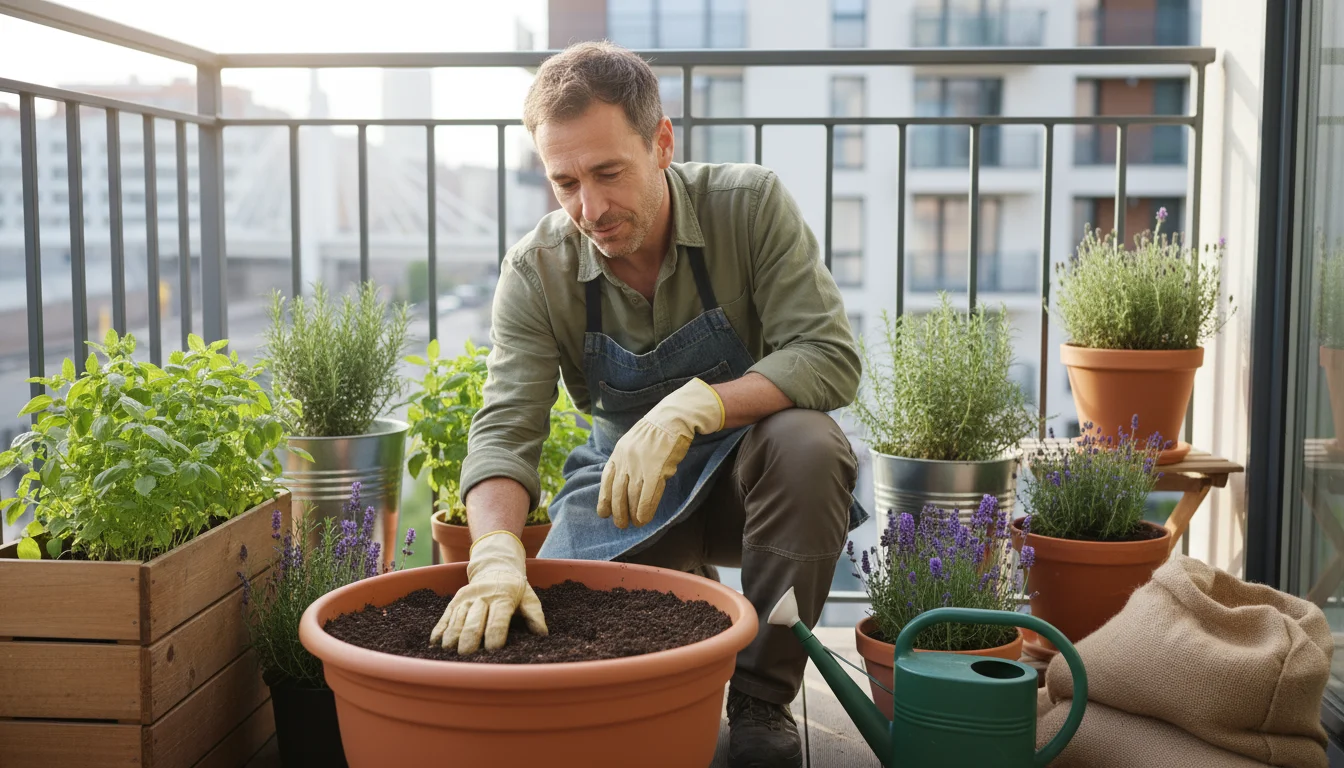
Special Considerations for Existing Perennials:
If you have perennial plants staying in their containers over winter (e.g., rosemary, lavender, small fruit bushes), you can still sow cover crops. Loosen the soil carefully around the base of the plant, avoiding major root disturbance. Sow seeds more sparsely, focusing on the open spaces. The cover crops will act as a living mulch, suppressing weeds and adding nutrients without competing excessively with the established perennial. Just remember to trim them regularly if they start to overshadow your perennial.
By following these steps, you actively participate in fall soil prep, setting the stage for robust container soil health. This method provides a clear, actionable path to improving potting soil without replacing it, embracing a sustainable and rewarding gardening practice.

Nurturing Your Container Cover Crops Over Winter
Once you have sown your cover crops in the fall, your main task shifts from planting to nurturing. While these plants are inherently low-maintenance, a little attention throughout the cooler months ensures they deliver maximum benefit to your container soil health. Understanding how to use cover crops in containers over winter effectively hinges on a few simple practices.
Watering in Cooler Temperatures:
Even though temperatures drop and plants grow slower, your cover crops still need water. Evaporation rates decrease significantly in fall and winter compared to summer, so your watering schedule will change. However, do not assume winter rain or snow is always sufficient, especially for containers which can dry out quickly, even in cold weather.
- Check Soil Moisture Regularly: Stick your finger about an inch or two into the soil. If it feels dry, it is time to water. You might find you only need to water every few weeks, or even less frequently, depending on your climate and container size.
- Water Deeply, But Infrequently: When you do water, ensure it reaches the roots. Water until you see drainage from the bottom of the pot. Avoid shallow, frequent watering, which encourages shallow root growth and can lead to salt buildup.
- Choose the Right Time: Water during the warmest part of the day, typically midday, to allow excess moisture to drain before temperatures drop overnight. This helps prevent freezing in the soil and reduces the risk of root damage.
- Outdoor vs. Sheltered Pots: Containers exposed to the elements will receive more natural precipitation, but also experience more wind and potential freezing. Sheltered pots (e.g., on a covered porch, in a cold frame) will need more conscious watering.

Monitoring Growth and Health:
Your cover crops should establish a healthy green carpet. Observe their general vigor.
- Watch for Yellowing or Stunting: While growth slows dramatically in winter, severe yellowing or stunting could indicate an issue like extreme cold stress, persistent waterlogging, or severe nutrient deficiency (unlikely if the goal is to rebuild the soil).
- Pest and Disease Check: Cover crops are generally robust, but occasional pest activity (like aphids in very mild spells) or fungal issues (from excessive moisture) can occur. Address any problems promptly with organic pest control methods if necessary, though it is rare to need intervention for cover crops.
Protecting from Extreme Cold:
Many common cover crops for pots, such as cereal rye and hairy vetch, are very cold-hardy. However, if you experience prolonged periods of deep freezes (below 20°F / -6°C), especially for smaller containers, you might consider some extra protection.
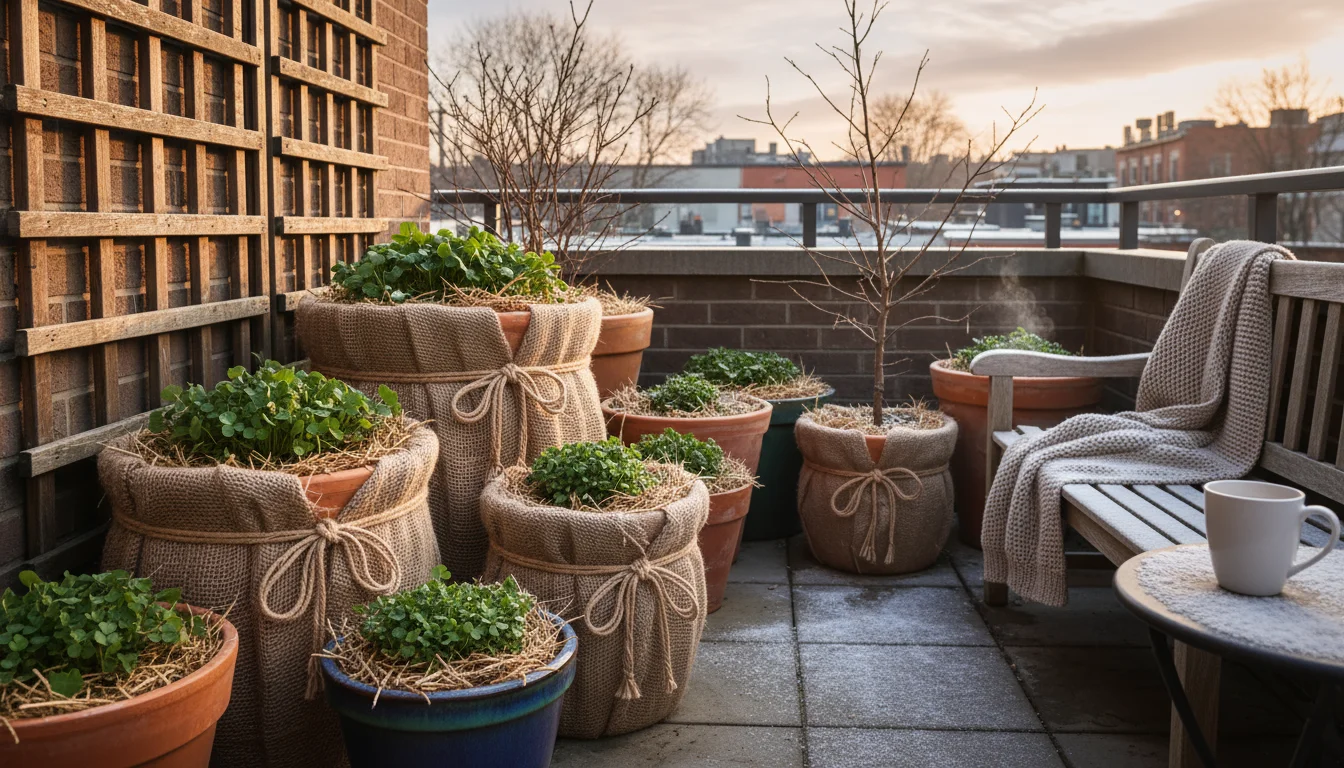
- Group Containers: Clustering your pots together can provide a microclimate that offers a few degrees of warmth.
- Insulate Pots: Wrap containers in burlap, bubble wrap, or old blankets to insulate roots from freezing temperatures.
- Move to Shelter: If possible, move smaller, tender pots into an unheated garage, shed, or cold frame during the coldest snaps. Remember, even in shelter, they still need occasional light and water.
Preparing for Spring:
As winter progresses and spring approaches, your cover crops will begin to put on more vigorous growth. This is the period where they truly bulk up on biomass and nitrogen, maximizing the benefits of your fall soil prep. You will want to be ready to terminate them before they go to seed, to prevent them from becoming weeds in your next crop. This ongoing attention ensures you maximize the value of your efforts, truly transforming your container soil health and setting your garden up for success.
By simply providing consistent, appropriate care, you allow your cover crops to do their remarkable work, steadily building fertility and structure in your pots. This low-effort, high-reward approach is how to use cover crops in containers over winter to achieve genuinely vibrant soil for your spring and summer planting, actively improving potting soil without replacing it.
Terminating and Integrating Cover Crops for Spring Planting
The final, crucial step in your container cover cropping journey is terminating the cover crops and integrating their beneficial biomass back into your potting soil. This process unlocks all the nutrients and organic matter they have accumulated, preparing your pots perfectly for spring planting. Timing is key to maximize the benefits and avoid potential issues.
When to Terminate:
You should terminate your cover crops when they are actively growing but before they set seed. For most cool-season cover crops, this typically means early to mid-spring, once soil temperatures begin to rise and you are getting ready to plant your spring vegetables or flowers. Terminating before seed set prevents them from becoming volunteer weeds in your next crop. For legumes, terminating when they start to flower or when about 10-20 percent of them are flowering maximizes nitrogen accumulation.
How to Terminate in Containers:
For container gardens, termination is simpler than in large fields.
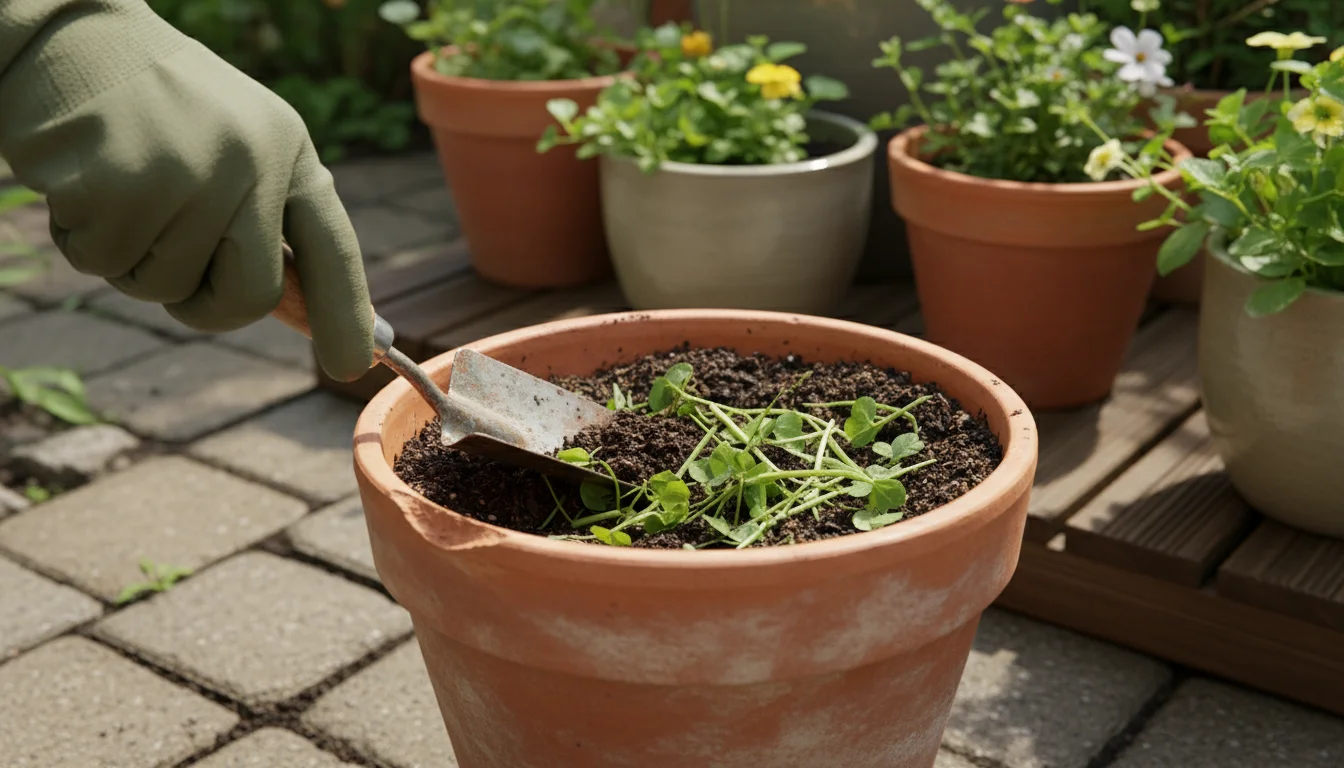
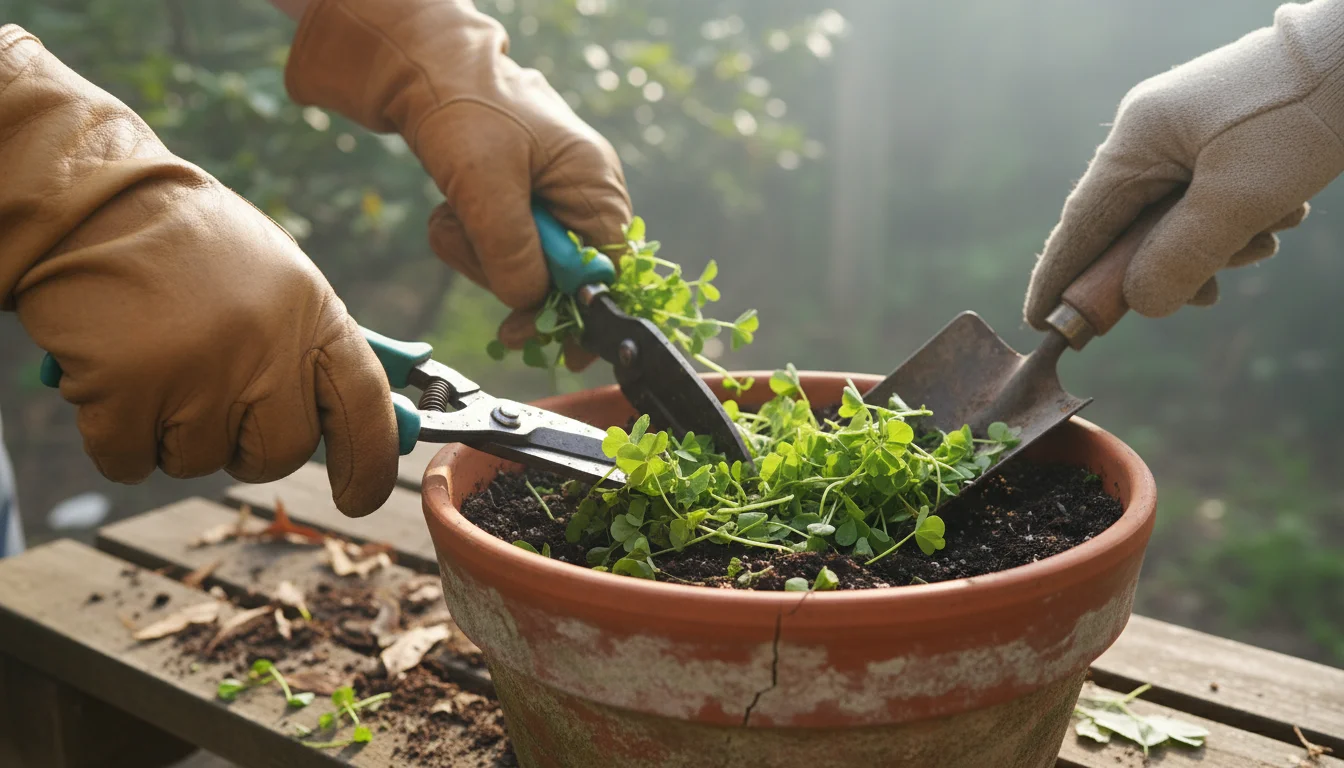
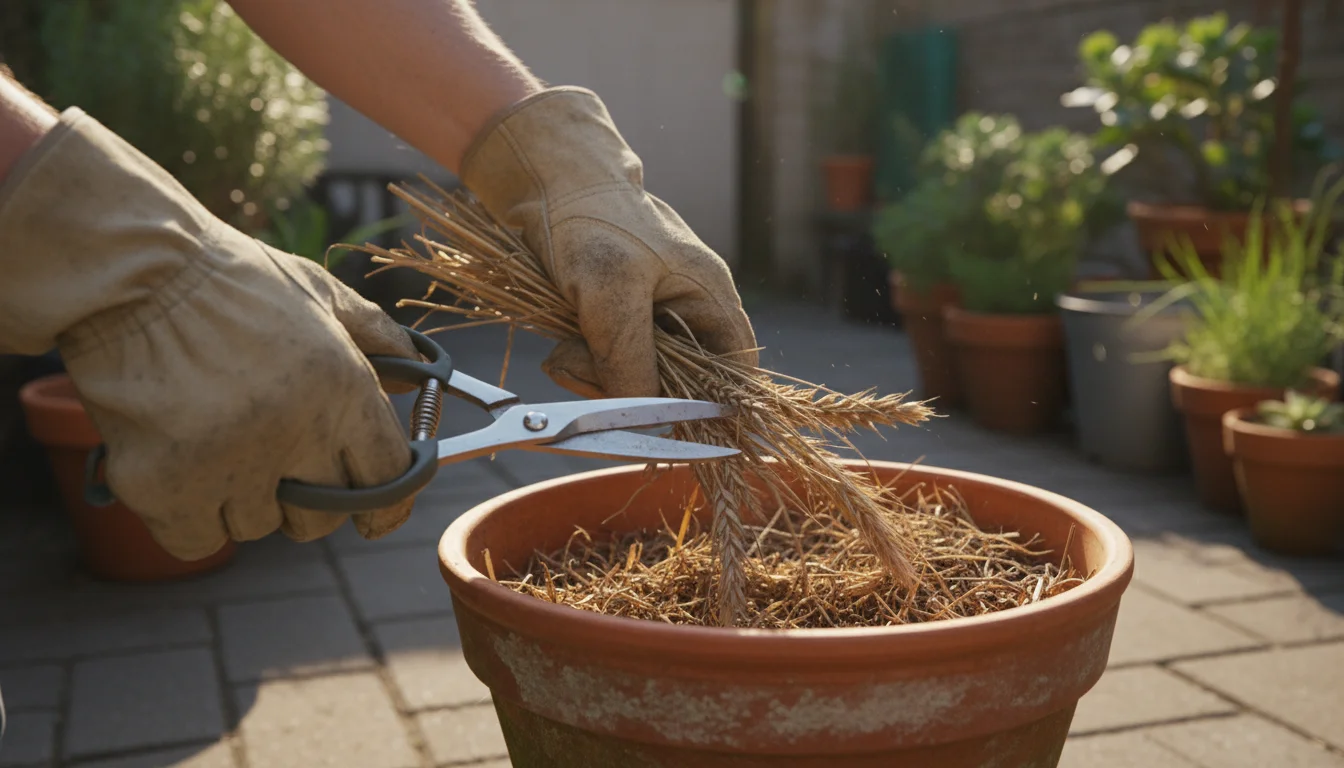
- Cut Them Down: Use sharp pruners or scissors to cut the cover crop plants down at the soil line. You want to leave the roots in place, as they will decompose and continue to improve soil structure and add organic matter. Cutting them high leaves plant material that you will integrate.
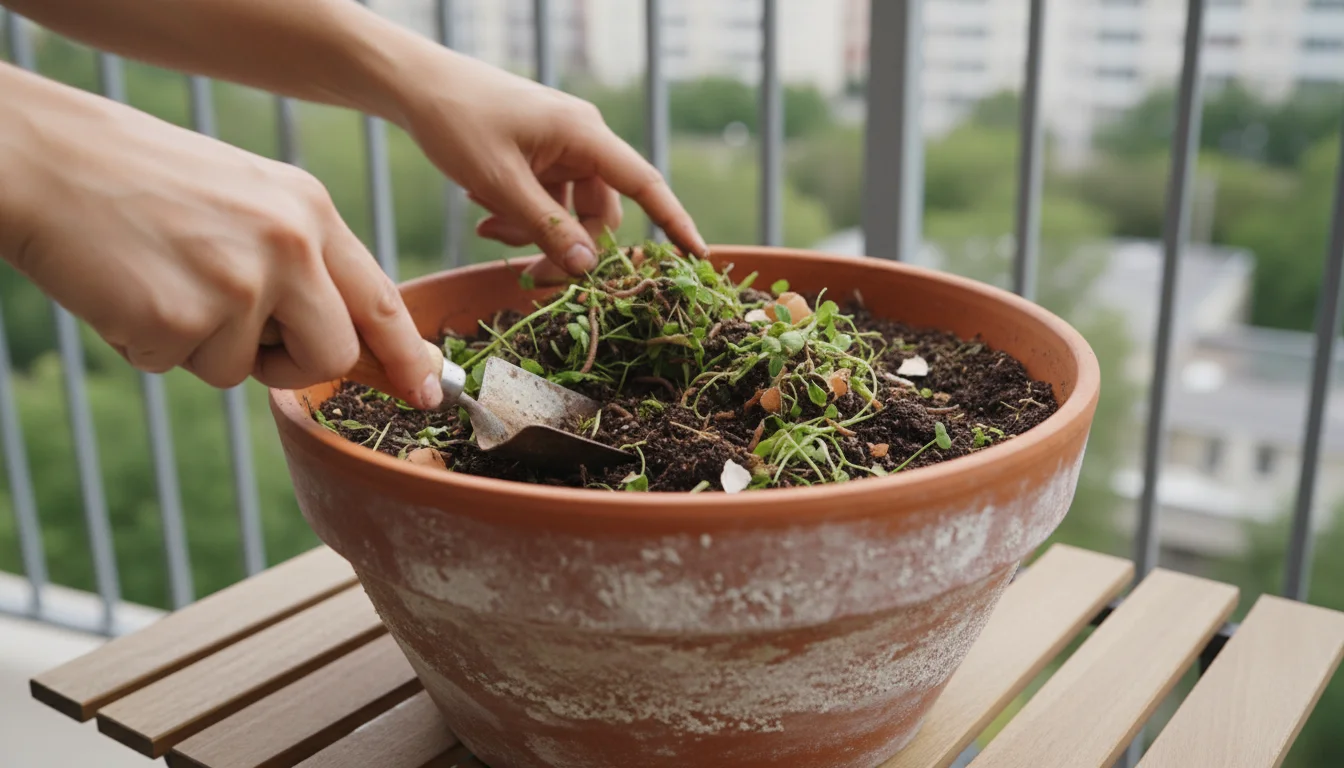
- Chop and Drop: Chop the cut plant material into smaller pieces (1-3 inches long). The smaller the pieces, the faster they will decompose. You can use your pruners or scissors for this.
- Incorporate into the Soil: Gently mix the chopped plant material into the top 2-4 inches of your potting mix using a hand trowel or fork. You do not need to bury it deeply, surface incorporation is effective. This step ensures good contact with the soil microbes that will break down the organic matter.
- Water Thoroughly: After incorporation, water the soil well. Moisture is essential for microbial activity, which drives the decomposition process.
The “Wait Period” for Nutrient Release:
Once you incorporate the cover crops, a decomposition process begins. Soil microbes break down the plant material, releasing nutrients back into the soil in a form available to your new plants. This process takes time, typically 2-4 weeks, depending on temperature and moisture levels. If you plant too soon after incorporation, your new plants might experience a temporary “nitrogen drawdown.” The microbes, busy decomposing the carbon-rich cover crop, will temporarily consume available nitrogen, making it less accessible to your young seedlings. A waiting period prevents this.
- Recommendation: Aim to terminate your cover crops 2-4 weeks before you plan to plant your next main crop. This allows sufficient time for the initial flush of decomposition and nutrient release, ensuring your new plants have access to a rich, revitalized soil.
- Exceptions: For very young, nitrogen-fixing cover crops with high green content, the waiting period can be shorter. For tougher, more mature, or carbon-aceous cover crops, lean towards the longer end of the waiting period.
Preparing for Planting After Termination:
After the waiting period, your potting soil will be noticeably different. It will likely appear darker, smell earthy, and feel more crumbly and alive. At this point, you are ready to plant your spring crops. You will find that your soil has significantly improved, often eliminating the need for extensive amendments or fresh potting mix.
- Lightly Rake: Give the soil a final light rake to create a smooth planting surface.
- Plant Your Crops: Proceed with planting your vegetables, herbs, or flowers as you normally would. You will be planting into soil that has been naturally enriched, saving you money and effort while boosting your container soil health.
This cycle of fall soil prep, winter growth, and spring integration completes the regenerative process. You are actively participating in sustainable gardening, proving that improving potting soil without replacing it is not just possible, but incredibly effective and rewarding. You have transformed your containers into self-sustaining ecosystems, ready for another season of abundant growth.
Troubleshooting Common Cover Crop Challenges in Pots
While cover cropping for containers is a relatively straightforward and low-maintenance practice, you might encounter a few common challenges. Knowing how to address them ensures your fall soil prep efforts lead to successful container soil health improvement. These practical tips help you maintain healthy cover crops for pots.
Challenge 1: Poor Germination or Uneven Stand
Symptoms: Seeds do not sprout, or only a few sparse plants emerge.
Possible Causes & Solutions:
- Insufficient Seed-to-Soil Contact: If seeds are left exposed on the surface or buried too deeply, they struggle to germinate.
- Solution: Ensure you lightly cover seeds with 0.25-0.5 inches of soil after broadcasting. Gently press them down for good contact. Tiny seeds might only need surface pressing.
- Inconsistent Moisture: Seeds need consistent moisture to germinate. If the top layer dries out, germination halts.
- Solution: Water gently immediately after planting and keep the top inch of soil consistently moist until seedlings emerge. Use a fine spray to avoid washing away seeds.
- Old or Non-Viable Seeds: Seeds lose viability over time.
- Solution: Purchase fresh, high-quality cover crop seeds from a reputable supplier.
- Soil Temperature: Some cover crops have specific temperature requirements for germination.
- Solution: Check the optimal germination temperature for your chosen cover crop. Planting too early or too late in fall can affect success.
Challenge 2: Cover Crops Not Growing Vigorously
Symptoms: Plants are stunted, yellowing, or not forming a dense mat despite proper germination.
Possible Causes & Solutions:
- Extreme Cold or Heat: While cool-season cover crops tolerate cold, extreme conditions can slow growth dramatically or cause damage.
- Solution: Ensure you selected appropriate cover crops for your winter hardiness zone. Provide shelter for smaller pots during severe cold snaps.
- Nutrient Deficiency: While cover crops improve soil, very depleted soil might initially struggle.
- Solution: A very light application of an organic, balanced liquid fertilizer (at half strength) in early fall can give them a boost. This is usually only necessary in severely impoverished soil.
- Waterlogging: Persistently soggy soil leads to root rot and poor growth.
- Solution: Ensure your containers have adequate drainage holes. Adjust watering frequency to prevent waterlogging, especially in cooler weather.
Challenge 3: Difficulty Incorporating Cover Crops in Spring
Symptoms: Cover crop biomass is tough, woody, or takes too long to break down after termination.
Possible Causes & Solutions:
- Too Mature: Allowing cover crops to become too old or woody before termination makes them harder to break down.
- Solution: Terminate your cover crops when they are still young and tender, ideally before they flower significantly. For most legumes, this means just as flowering begins. For grasses, before they send up a seed head.
- Insufficient Chopping: Large pieces of plant material decompose slowly.
- Solution: Chop the terminated cover crops into small pieces (1-3 inches) to speed up decomposition.
- Dry Soil: Microbial activity, essential for decomposition, requires moisture.
- Solution: Keep the soil consistently moist after incorporating the cover crop.
Challenge 4: Cover Crops Attracting Unwanted Pests
Symptoms: Your cover crop attracts pests like aphids or slugs.
Possible Causes & Solutions:
- Mild Weather: Unseasonably warm winter spells can lead to increased pest activity.
- Solution: Most beneficial insects thrive in a healthy ecosystem, which cover crops help create. If pest populations become problematic, manually remove them or use an organic insecticidal soap. Often, winter weather will naturally control populations.
- Not a Common Issue: Generally, cover crops are less prone to severe pest infestations than food crops, as their primary purpose is not fruit or foliage production.
By understanding these potential challenges and their simple solutions, you ensure your efforts in fall soil prep are successful. Cover cropping for pots is a powerful way of improving potting soil without replacing it, leading to superior container soil health with minimal fuss.
Frequently Asked Questions
Can I use cover crops in containers with existing perennial plants?
Yes, you can. Sow cover crop seeds more sparsely around the base of your perennial, avoiding disturbance to its root system. They will act as a living mulch, suppressing weeds and slowly releasing nutrients. Just ensure the cover crop does not grow so vigorously that it outcompetes your perennial for light or water. Trim the cover crop if it becomes too dense or tall, cutting it back before it shades your main plant.
Do I need to fertilize my cover crops in containers?
Generally, no. The purpose of cover crops is to build soil fertility, not necessarily to consume added fertilizers. If your potting mix is extremely depleted, a single, light application of a balanced organic liquid fertilizer (e.g., kelp meal solution) at half strength shortly after germination can give them a boost. However, for most container soil health scenarios, the cover crops will thrive on residual nutrients and perform their beneficial work without additional feeding. They are actively improving potting soil without replacing it, using their natural abilities.
What if my cover crops die over winter? Are they still beneficial?
Yes, they are still highly beneficial. Some cover crops, like oats in colder climates, are specifically chosen because they “winterkill,” meaning they die naturally during severe cold. Their roots still break up compacted soil, and their dead plant material adds organic matter and nutrients as it decomposes. You simply chop and incorporate the dead biomass in spring, just as you would with living cover crops. This demonstrates a key aspect of how to use cover crops in containers over winter, regardless of survival.
Can I plant my new vegetables immediately after chopping down the cover crops?
It is best to wait 2-4 weeks after chopping down and incorporating your cover crops before planting your main crops. This “waiting period” allows the cover crop material to begin decomposing, releasing its nutrients into the soil. Planting too soon can lead to a temporary “nitrogen drawdown,” where soil microbes, busy breaking down the cover crop, temporarily tie up available nitrogen, making it less accessible to your young seedlings. A short wait ensures optimal nutrient availability for your spring plants and superior container soil health.
For research-based plant care guidance, visit
ASPCA Animal Poison Control,
Michigan State University Extension — Gardening,
University of Wisconsin Extension — Horticulture and
Iowa State University Extension — Yard & Garden.
Disclaimer: This article is for informational purposes only and is not a substitute for professional advice. Consult local extension services for region-specific recommendations.