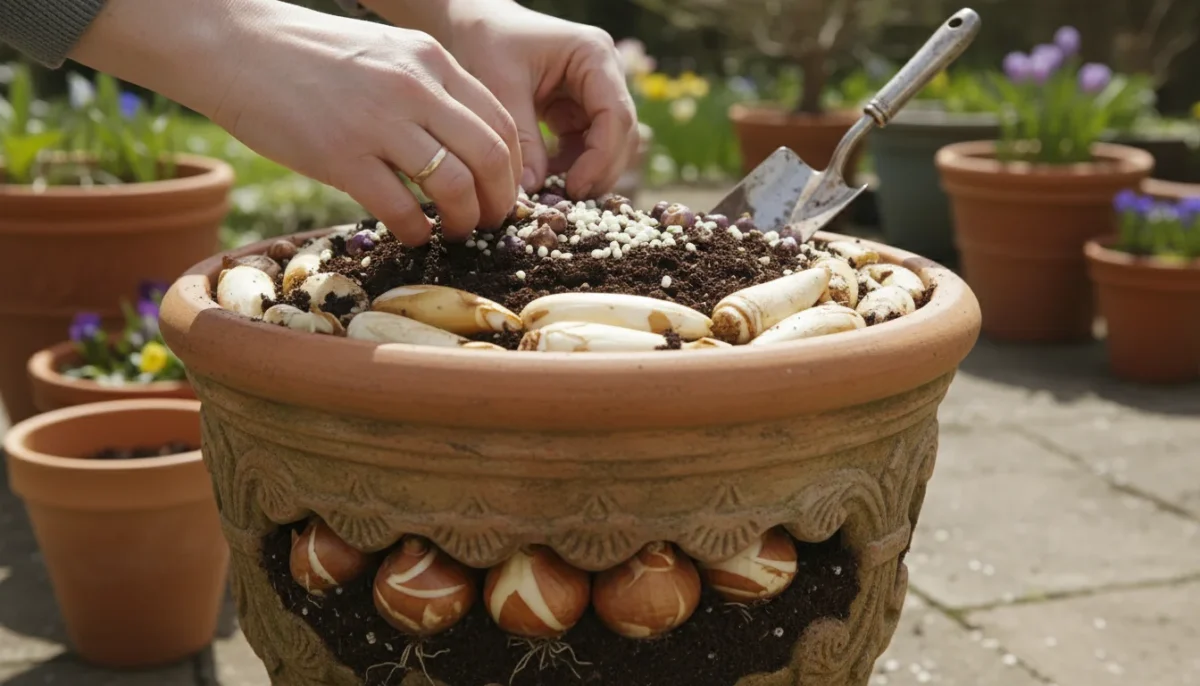
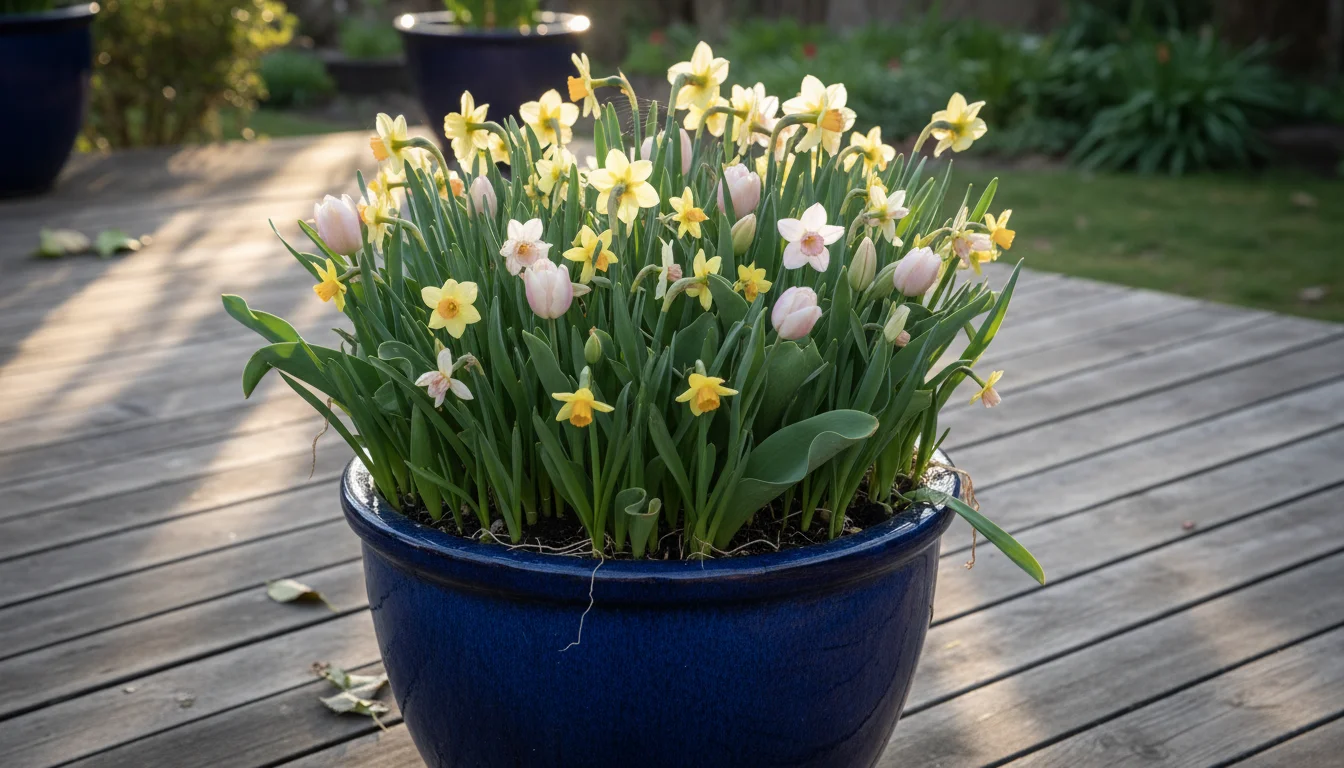
Imagine a container on your patio or balcony bursting with vibrant color from early spring all the way through late spring. This is not just a gardener’s dream, it is an achievable reality, even in the smallest spaces. You can create this stunning display with a clever technique called “lasagna bulb planting.” This method involves layering different types of spring-blooming bulbs in a single pot, much like you layer ingredients in a lasagna. Each layer holds bulbs that bloom at different times, ensuring a continuous parade of flowers.
This fall planting project offers an incredible reward for minimal effort. You prepare your pot now, and come spring, you enjoy a succession of beautiful blooms, transforming your small space into a dynamic, living art piece. Whether you have a tiny balcony, a compact patio, or just a sunny windowsill, a lasagna bulb pot provides maximum impact with minimal fuss. This guide walks you through every step, from selecting the perfect container to choosing your bulbs and caring for your spectacular spring show.

Understanding Lasagna Bulb Planting: A Layered Approach to Spring Blooms
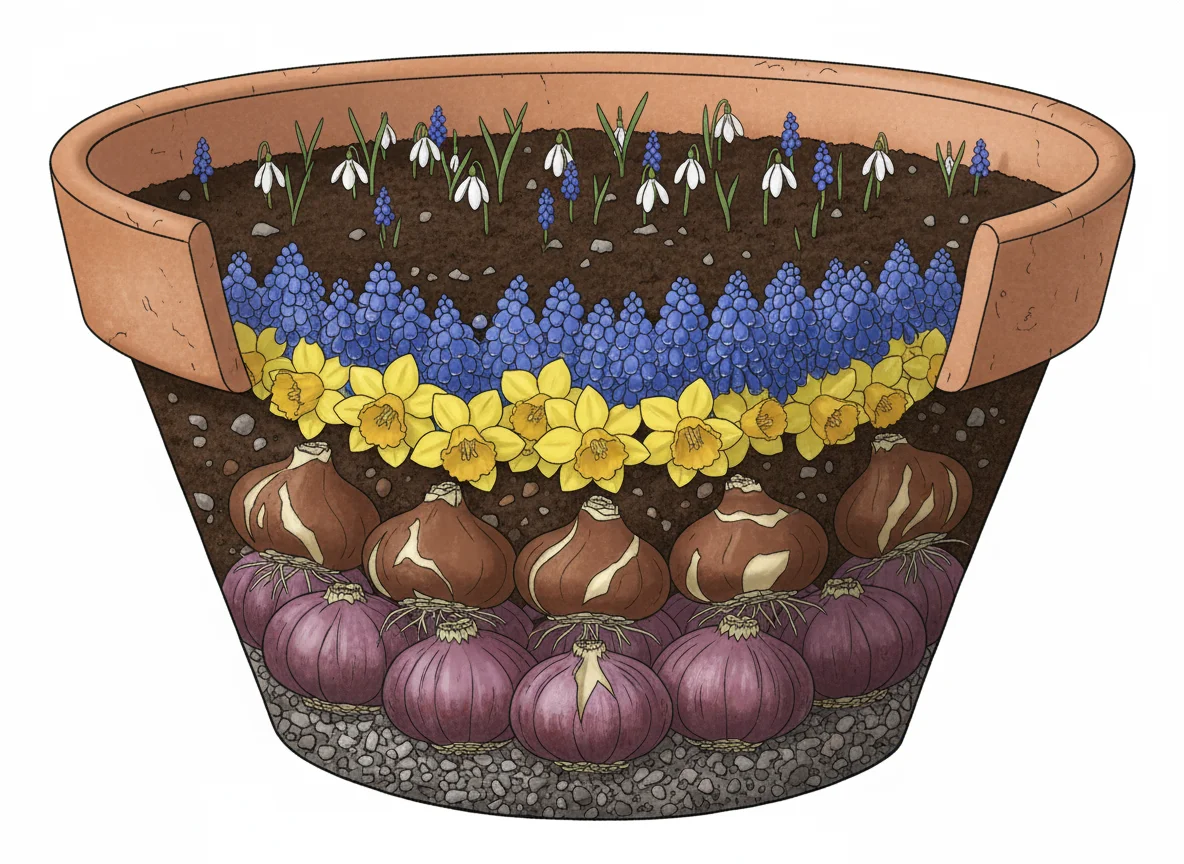
Lasagna bulb planting, also known as bulb layering or “bulb lasagne,” is a strategic way to plant multiple types of spring-flowering bulbs in one container. You arrange bulbs in layers, with the largest, latest-blooming varieties at the bottom, followed by progressively smaller, earlier-blooming bulbs closer to the surface. This technique mimics how bulbs grow naturally in the ground, but in a confined space, it allows for a magnificent, overlapping bloom sequence.
The beauty of this method lies in its efficiency and visual impact. Instead of separate pots for each type of bulb, one container delivers a continuous show. As one layer finishes blooming, the next begins, maintaining interest for weeks. This method is particularly well-suited for small-space gardeners who want a big display without sacrificing valuable real estate. You maximize vertical space and enjoy a dynamic garden experience that evolves throughout spring.
Furthermore, lasagna bulb planting simplifies maintenance. You prepare the pot once in the fall, and nature takes over. The soil and nutrients support all layers, requiring less individual attention than multiple single-bulb pots. This approach minimizes your work and maximizes your enjoyment, truly embodying the low-maintenance ethos.
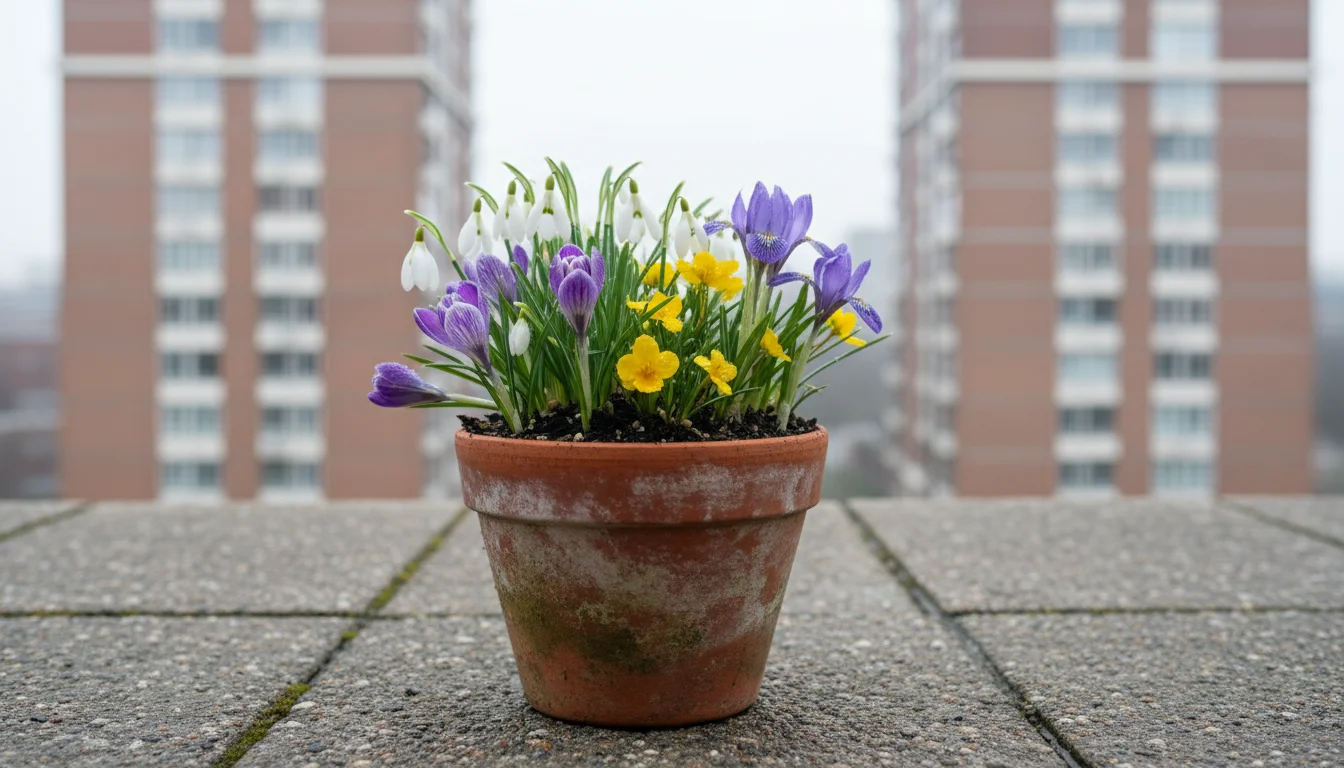
The concept relies on understanding bloom times. Early spring bulbs like crocus emerge first, pushing their leaves and flowers through the soil. As they fade, mid-spring bulbs such as daffodils or hyacinths take center stage. Finally, late-spring showstoppers, often tulips or alliums, rise to complete the cycle. This staggered approach ensures your container remains vibrant and engaging for an extended period, providing a welcoming burst of color after winter’s grey. For example, a typical lasagna pot might see snowdrops in February, crocuses in March, daffodils and hyacinths in April, and tulips in May.
This planting strategy also fosters a deeper appreciation for the timing and progression of nature. You observe the subtle shifts from one bloom to the next, learning about the life cycles of various plants. It transforms a simple container into a living calendar of spring, offering both beauty and an educational experience. The sequential blooming also helps attract early pollinators, providing a food source when other flowers are scarce. This layering system is a testament to clever gardening design, creating depth and continuous interest in a small footprint.
Selecting Your Container: The Foundation of Your Flower Show
The right container is paramount for a successful lasagna bulb pot. It provides the literal foundation for your continuous spring display. Your choice impacts not only the aesthetic of your garden but also the health and vigor of your bulbs. Consider depth, width, material, and drainage carefully.
Depth is Key for Layering
For effective layering, choose a pot that is at least 15 to 18 inches deep. This depth accommodates three distinct bulb layers, allowing each type enough space to establish roots and store energy without competing excessively. A shallow pot simply will not provide the necessary room for the deeper, later-blooming bulbs, potentially stunting their growth or preventing them from flowering entirely. A wider pot, around 18-24 inches in diameter, provides more surface area, allowing you to plant a greater number and variety of bulbs, creating a fuller, more spectacular display.
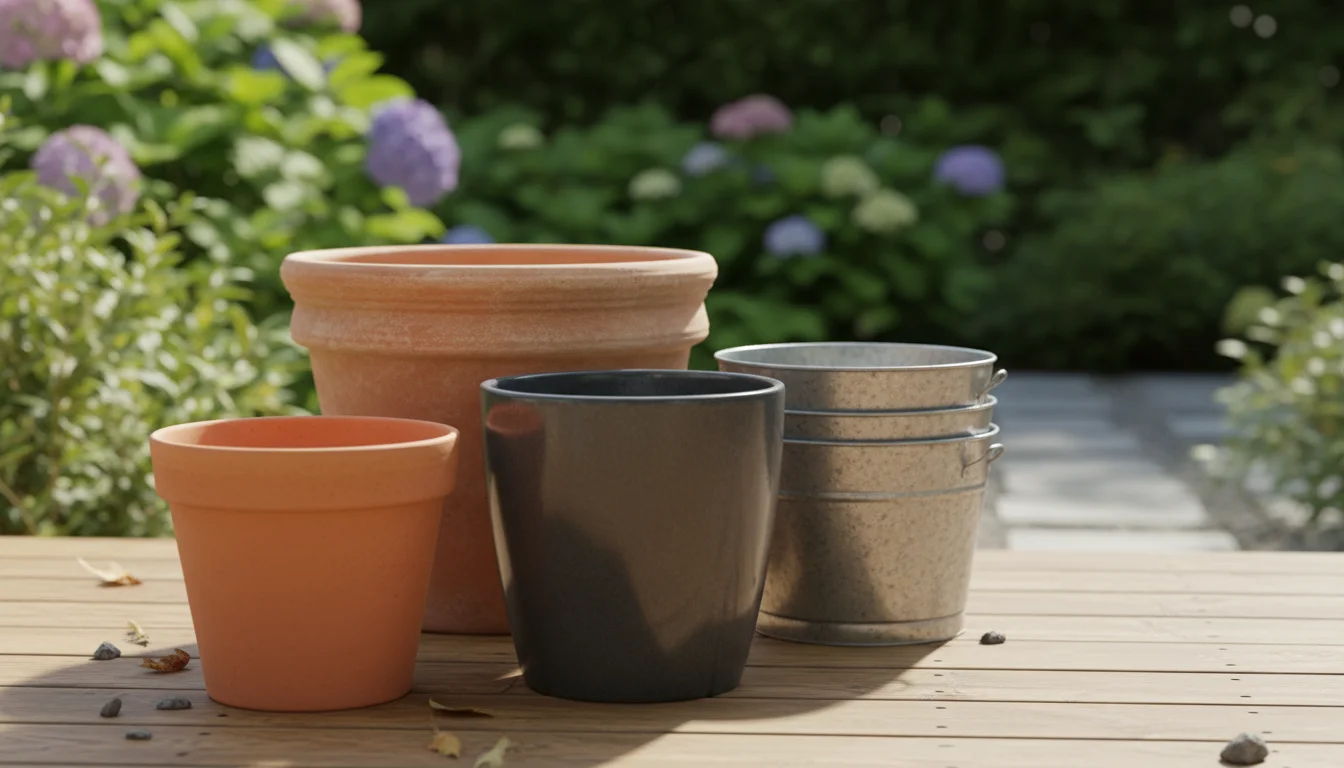
Material Matters
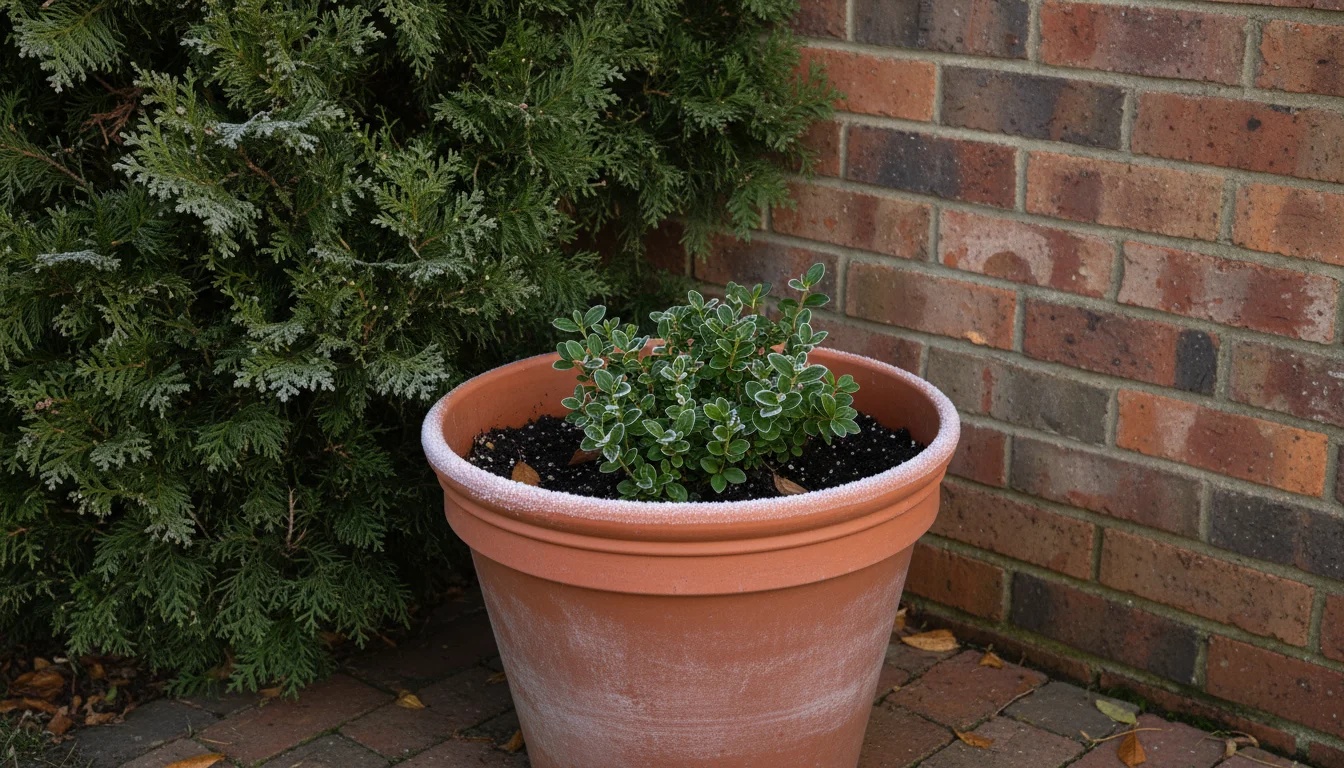
- Terracotta: These classic pots offer excellent breathability, which is beneficial for bulb health, preventing root rot. However, terracotta is porous, meaning it dries out faster and is susceptible to cracking in freezing temperatures if left outdoors and saturated. If you live in a cold climate, plan to move terracotta pots into a sheltered area during winter.
- Plastic: Lightweight, durable, and affordable, plastic pots retain moisture well, reducing watering frequency. They are also less prone to frost damage than terracotta. Ensure plastic pots have ample drainage holes to prevent waterlogging. Their aesthetic can be less natural, but many attractive designs are available.
- Ceramic/Glazed: These pots are heavy, stable, and often visually striking. They retain moisture better than terracotta but also require protection from hard freezes if left outdoors, as trapped water can expand and crack the glaze. Their weight can be a benefit in windy locations but a drawback if you need to move them.
- Wood: Cedar or redwood planters offer a natural, rustic look and good insulation for roots. Ensure they are treated to resist rot and have sufficient drainage. Untreated wood may break down faster.
Drainage is Non-Negotiable
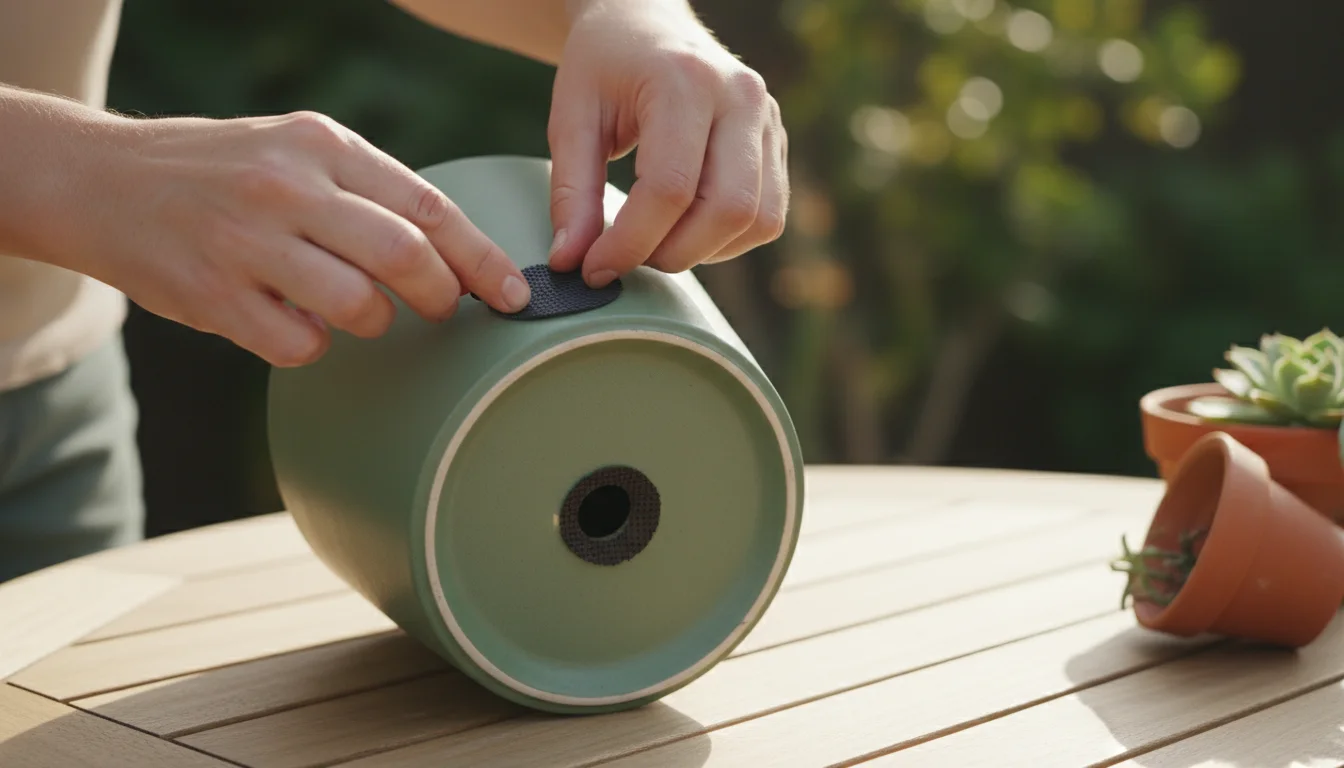
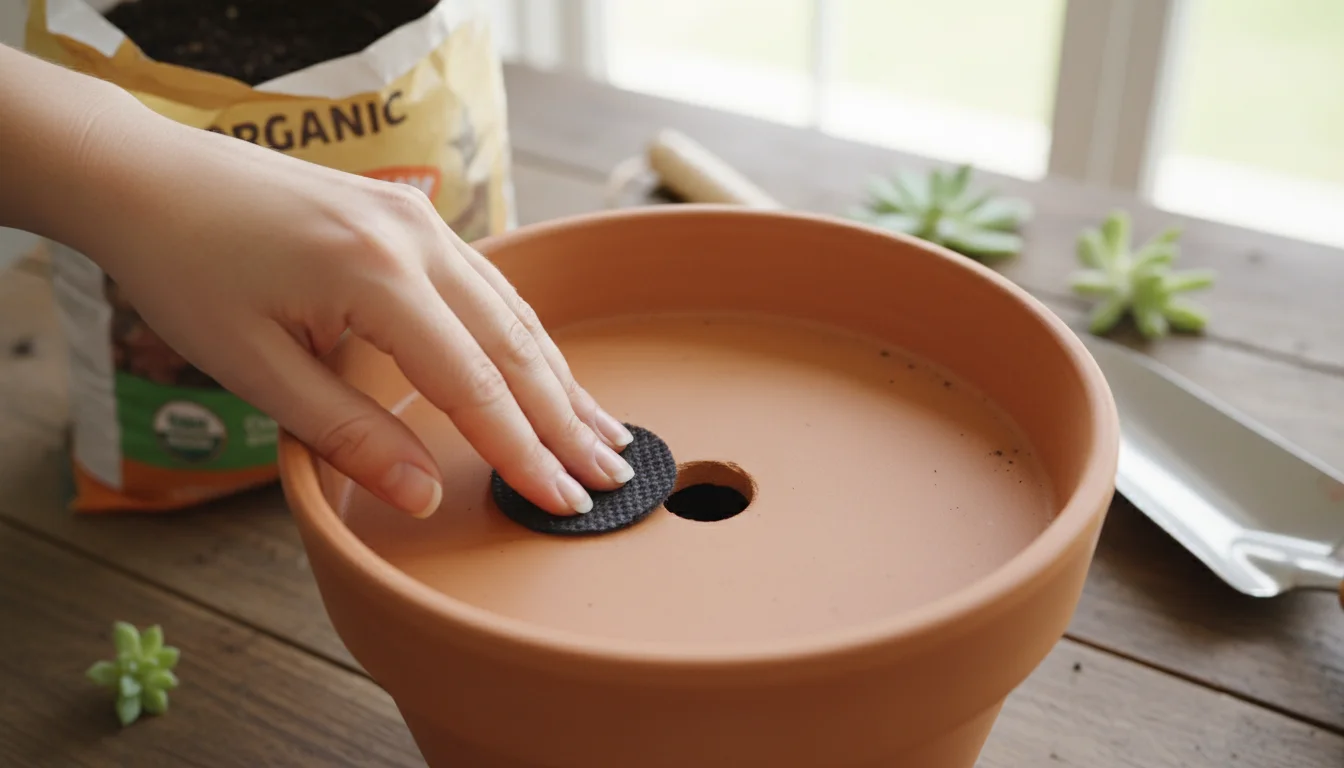
Regardless of the material, your container must have adequate drainage holes at the bottom. Bulbs absolutely despise sitting in soggy soil; it leads to rot and disease. If a pot lacks drainage holes, do not use it for bulbs. You can add a layer of gravel or broken pot shards over the drainage holes to prevent soil from washing out, but avoid filling the bottom with a thick layer of “drainage material” if it significantly reduces the planting depth. A piece of landscape fabric or a coffee filter placed over the holes works just as effectively to keep soil in while allowing water to escape.
Consider the aesthetic impact of your chosen container. A beautiful pot elevates the entire display. Choose a color and style that complements your home, balcony, or patio decor. A neutral pot allows the flowers to take center stage, while a brightly colored one can add an extra pop of personality. Remember, the container is part of the overall design, even before the blooms appear.
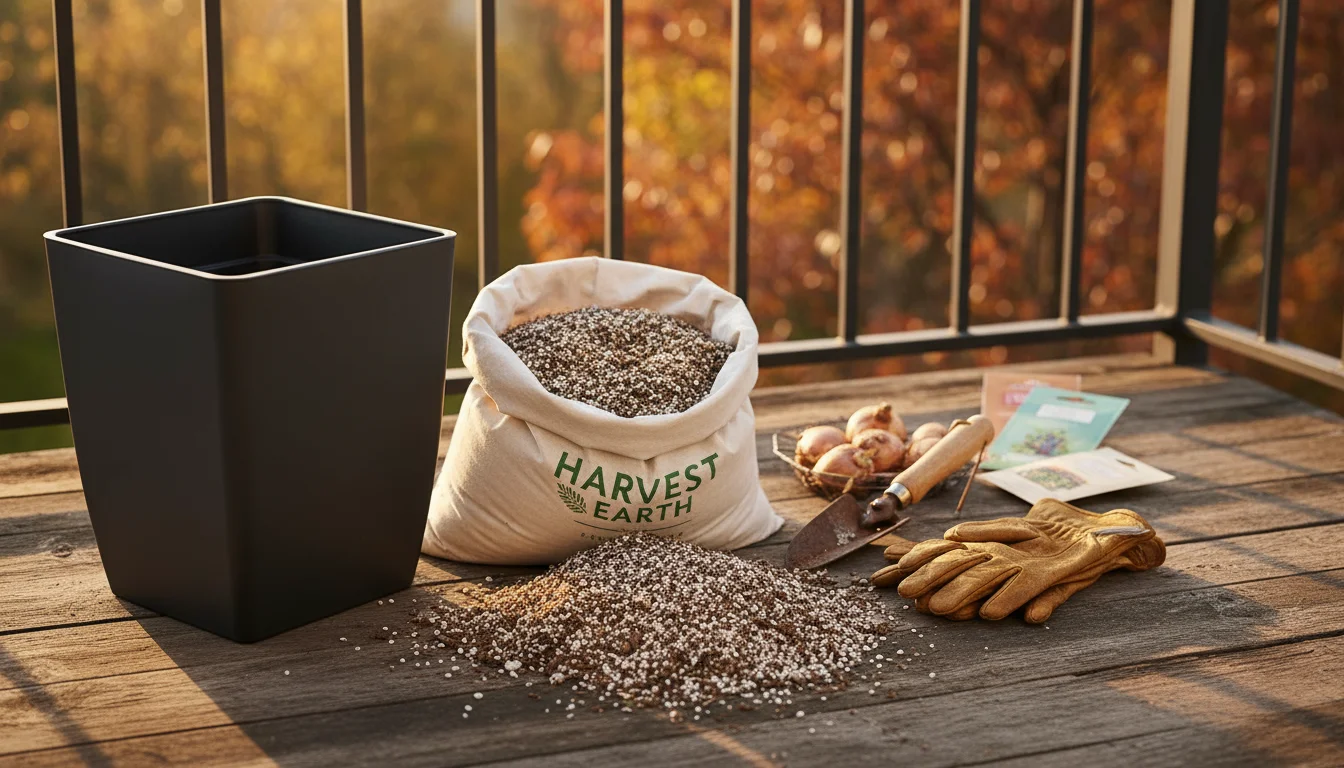
Essential Supplies for Your Fall Planting Project
Preparing your lasagna bulb pot requires a few key supplies. Gathering these items before you begin ensures a smooth and enjoyable planting experience. Investing in good quality materials makes a significant difference in the health and vibrancy of your spring display.
- A Suitable Container: As discussed, choose a pot at least 15-18 inches deep with good drainage.
- High-Quality Potting Mix: This is crucial. Do not use garden soil. Garden soil is too dense for containers, compacts easily, and often harbors weed seeds and pests. Opt for a premium, well-draining potting mix specifically formulated for containers. Look for mixes that include perlite or vermiculite to improve aeration and drainage. Good drainage means water moves through the soil easily, preventing your bulbs from sitting in excessive moisture. Some mixes also contain a slow-release fertilizer, which can be beneficial.
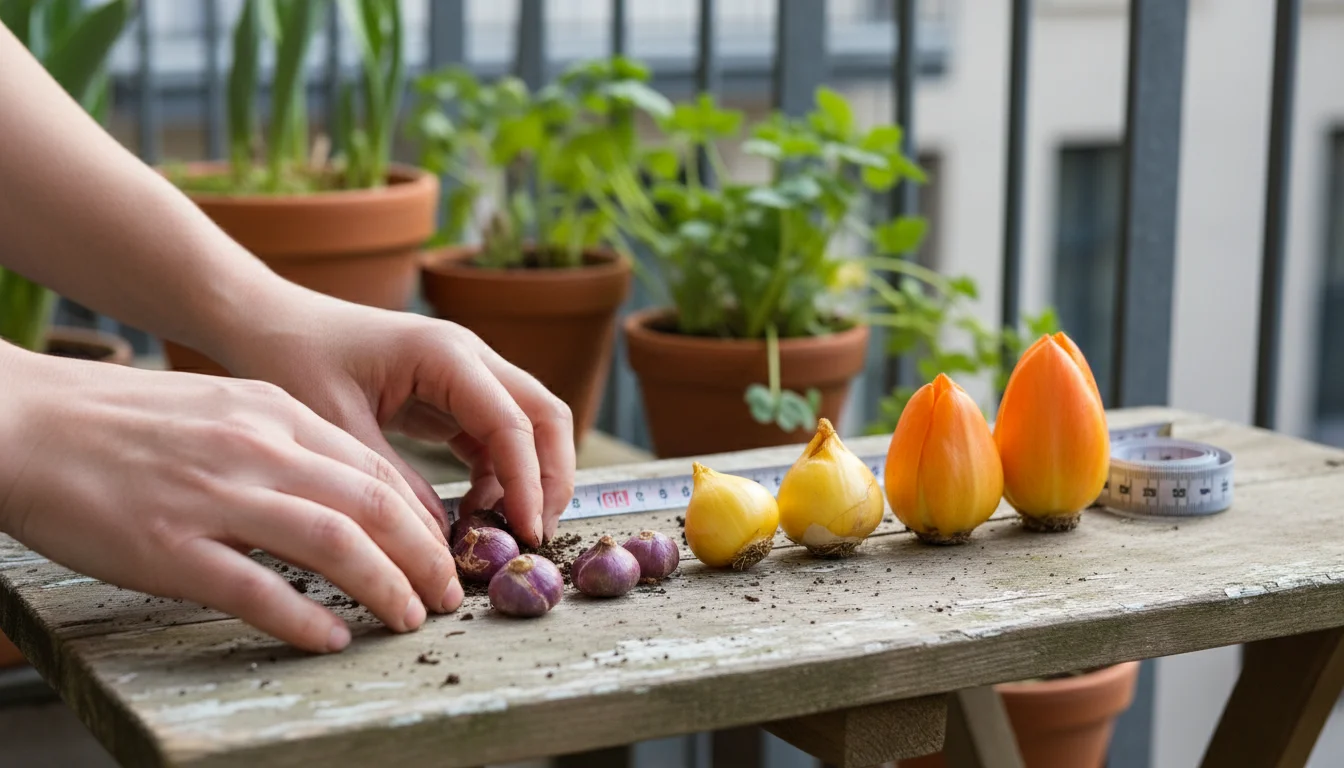
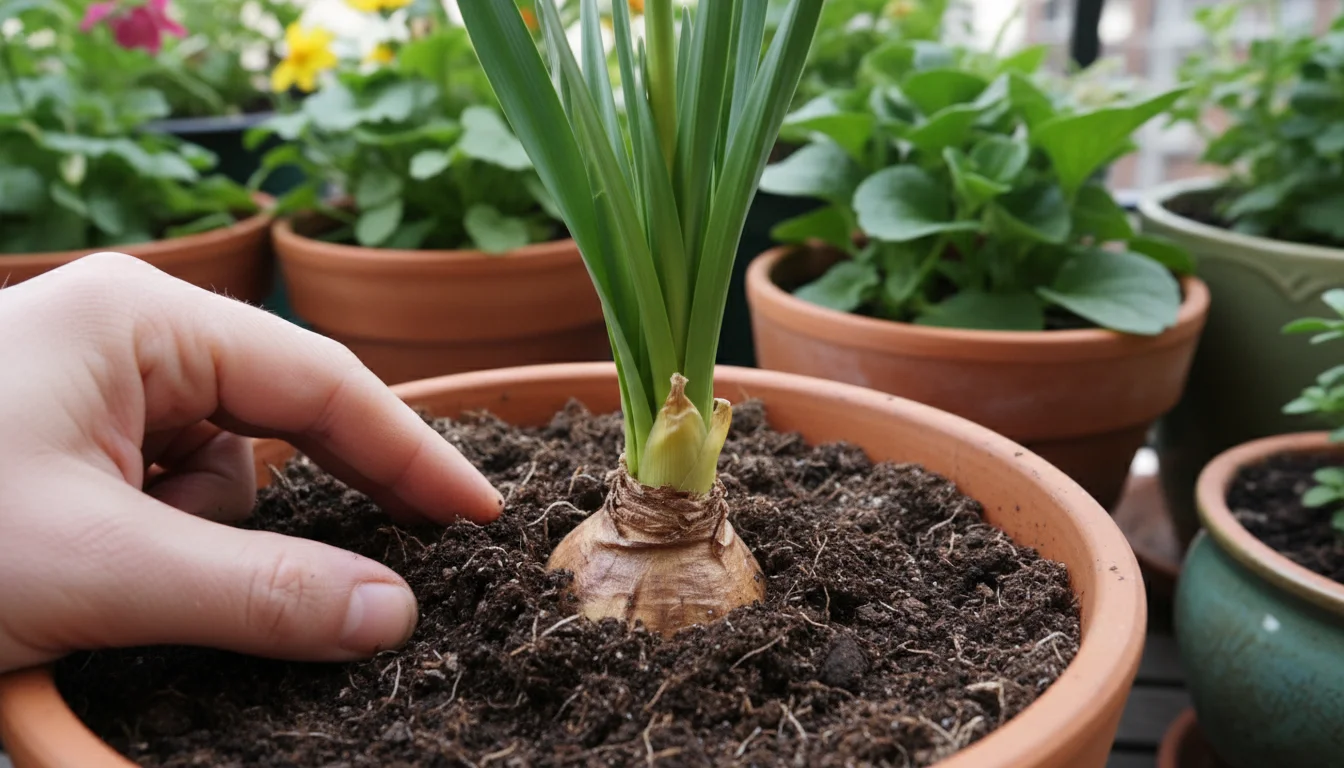
- Bulbs: Of course! Select healthy, firm bulbs from a reputable source. Avoid any that feel soft, squishy, or show signs of mold or damage. We will delve deeper into bulb selection in the next section.
- Bulb Food or Granular Slow-Release Fertilizer: While many potting mixes include some nutrients, a specialized bulb food or a balanced, slow-release granular fertilizer provides sustained nourishment. Apply it according to package directions. Avoid high-nitrogen fertilizers, which promote leafy growth over flowers. Phosphorous is particularly beneficial for root and flower development.
- Gardening Gloves: Protect your hands from dirt, debris, and potential skin irritants.
- Small Trowel or Hand Shovel: Essential for digging, scooping soil, and precisely placing bulbs.
- Watering Can: You will need to thoroughly water your newly planted bulbs immediately after planting.
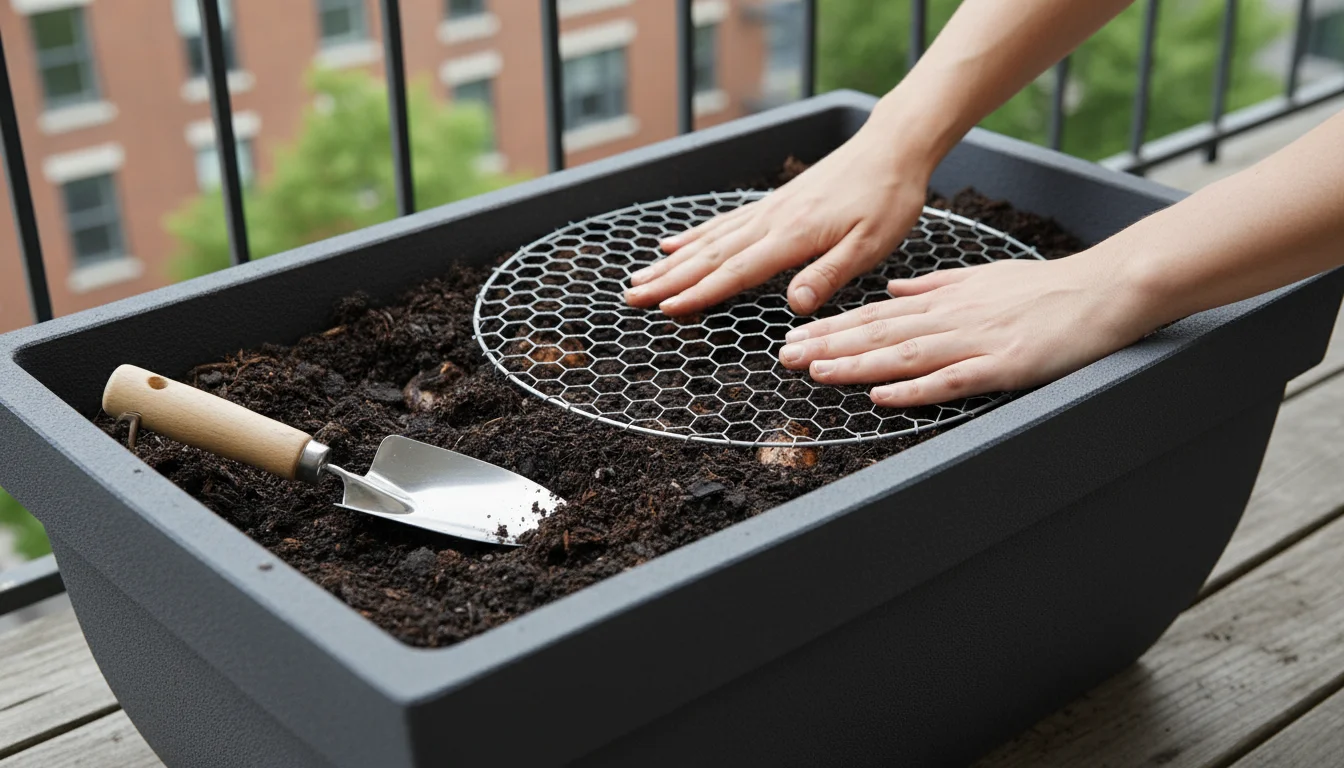
- Optional: Netting or Hardware Cloth: If squirrels or other rodents are a problem in your area, a layer of chicken wire or hardware cloth placed just below the soil surface of your top layer can deter them. Alternatively, you can cover the entire pot with netting after planting until the ground freezes.
- Optional: Landscape Fabric or Coffee Filter: To place over drainage holes, preventing soil from washing out while still allowing water to drain freely.
When selecting your potting mix, understand that “well-draining” is paramount for bulbs. It refers to the soil’s ability to allow excess water to flow out quickly, preventing roots from drowning or rotting. A good potting mix feels light and fluffy, not dense or heavy. This lightness also helps with aeration, ensuring roots receive the oxygen they need to thrive. Using the right potting mix sets your lasagna bulb pot up for success from the very beginning.
Choosing Your Spring Blooming Bulbs: A Symphony of Color
The magic of a lasagna bulb pot lies in its succession of blooms. Achieving this requires careful selection of bulbs based on their flowering times, heights, and colors. Think of yourself as an orchestra conductor, choosing instruments that will play at different moments to create a harmonious symphony.
Understand Bloom Times
Categorize your bulbs into three main groups: early, mid, and late spring. This ensures a continuous display over several weeks, often from late winter into early summer.
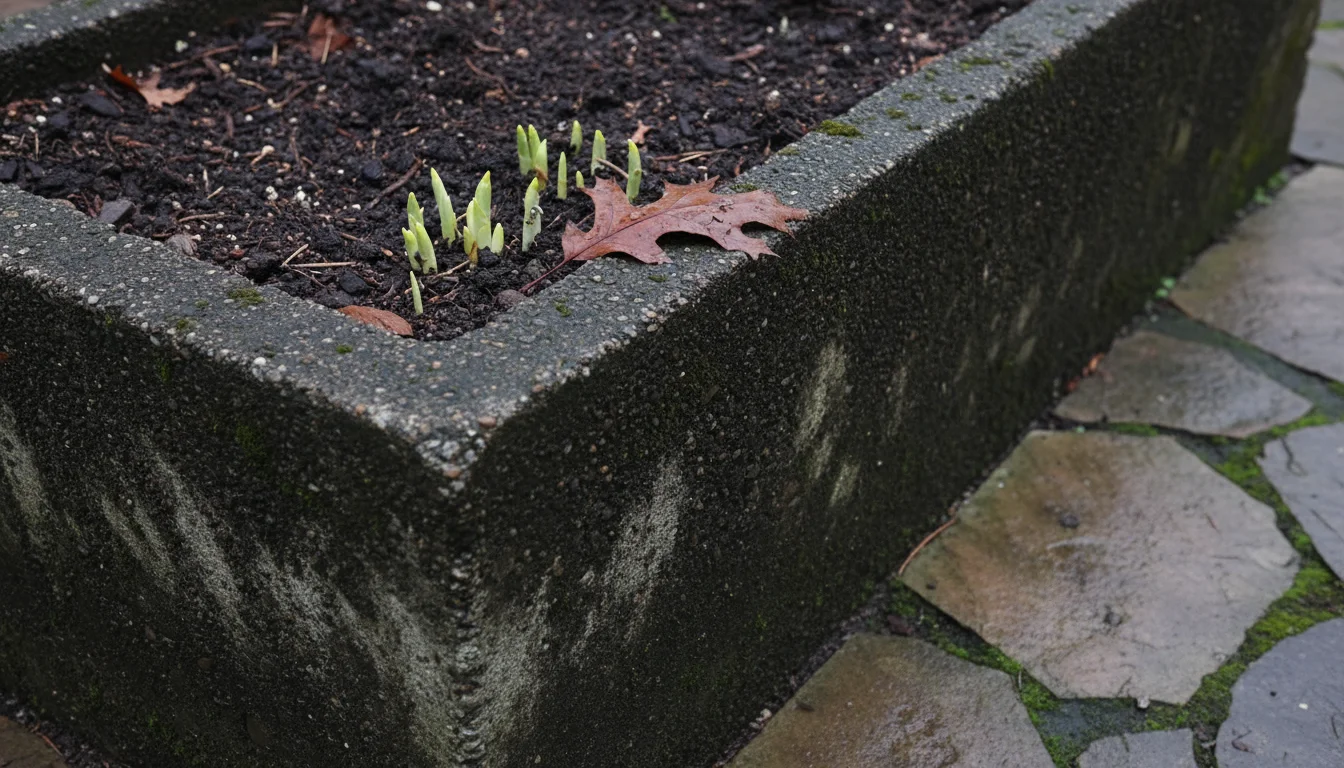
- Early Spring Bloomers (January to March): These brave souls emerge first, often pushing through snow. They are typically planted in the top layer.
- Snowdrops (Galanthus): Delicate white flowers, often the very first to appear.
- Crocus: Small, cup-shaped flowers in purple, white, yellow, and striped varieties. Great for carpeting the top layer.
- Winter Aconite (Eranthis hyemalis): Bright yellow, buttercup-like flowers.
- Dwarf Irises (Iris reticulata): Jewel-toned, fragrant flowers that add elegance.
- Mid-Spring Bloomers (April): These provide the bulk of your spring show, bringing vibrant color after the earliest bulbs fade. Plant them in the middle layer.
- Daffodils (Narcissus): Choose compact varieties for pots. Available in a wide range of sizes and colors, from classic yellow trumpets to white and orange cups. Look for ‘Tête-à-tête’ or ‘Thalia’ for containers.
- Hyacinths (Hyacinthus orientalis): Highly fragrant, dense flower spikes in blues, purples, pinks, and whites.
- Grape Hyacinths (Muscari): Clusters of tiny, bell-shaped flowers, usually blue, resembling miniature grapes.
- Late Spring Bloomers (May to Early June): These are the grand finale, often taller and more dramatic. Plant them in the bottom, deepest layer.
- Tulips (Tulipa): Enormous variety in color, shape, and height. For containers, consider shorter, sturdier varieties like “Triumph”, “Darwin Hybrid”, or “Fosteriana” tulips. You can also mix in some species tulips for earlier blooms within this layer.
- Alliums: Spherical, globe-like flowers on tall stems. ‘Purple Sensation’ is a popular choice, adding architectural interest.
Consider Height and Color Coordination
When selecting your bulbs, also visualize their mature height and how their colors will interact. Place taller varieties at the bottom, and shorter ones at the top. This layering by height ensures each bloom gets its moment in the sun and contributes to a balanced, aesthetically pleasing display.
- Color Palettes:
- Monochromatic: Choose shades of a single color (e.g., various purples from crocus to hyacinths to tulips) for a sophisticated look.
- Complementary: Pair opposite colors on the color wheel (e.g., purple and yellow) for a bold, high-contrast display.
- Harmonious: Select colors that are next to each other on the color wheel (e.g., yellow, orange, and red) for a gentle, flowing transition.
- Bulb Quantity: For a truly abundant display, do not be afraid to plant generously. Bulbs in pots can be planted more densely than in garden beds. Aim for a packed, but not suffocating, arrangement. A good rule of thumb is to place them almost shoulder-to-shoulder, ensuring they have about 1-2 inches of space between them. For a 15-18 inch diameter pot, you might use 15-20 large bulbs, 20-30 medium bulbs, and 30-50 small bulbs.
Always buy firm, unblemished bulbs. Soft spots, mold, or cuts indicate poor health and are unlikely to produce strong blooms. Healthy bulbs are your guarantee for a spectacular spring show. Storing bulbs properly before planting is also important. Keep them in a cool, dry, dark place with good air circulation until you are ready to plant, which is typically when nighttime temperatures consistently fall below 50°F (10°C), usually late September through November depending on your climate.
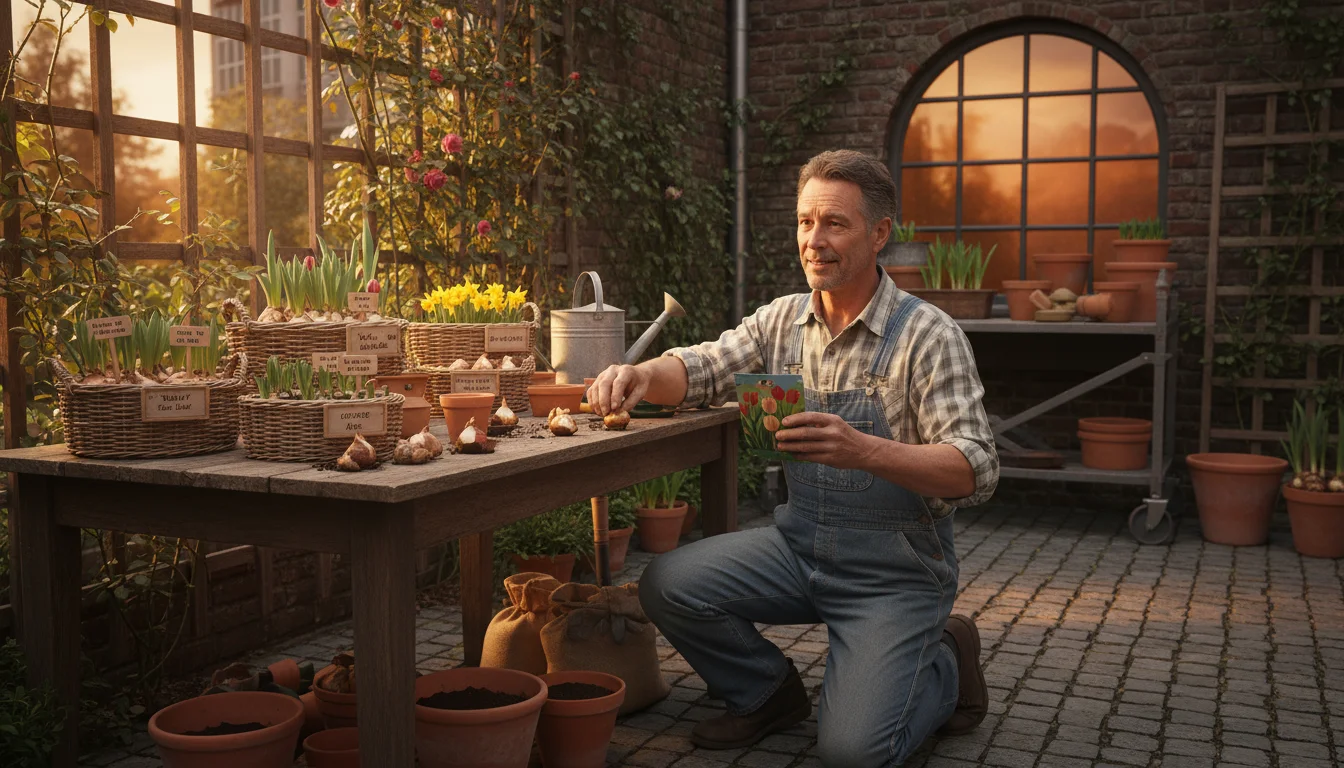
Step-by-Step Guide: How to Layer Flower Bulbs in a Container
Now that you have your container and bulbs, it is time for the fun part: planting! This step-by-step guide walks you through creating your magnificent lasagna bulb pot. Precision here guarantees a stunning result.
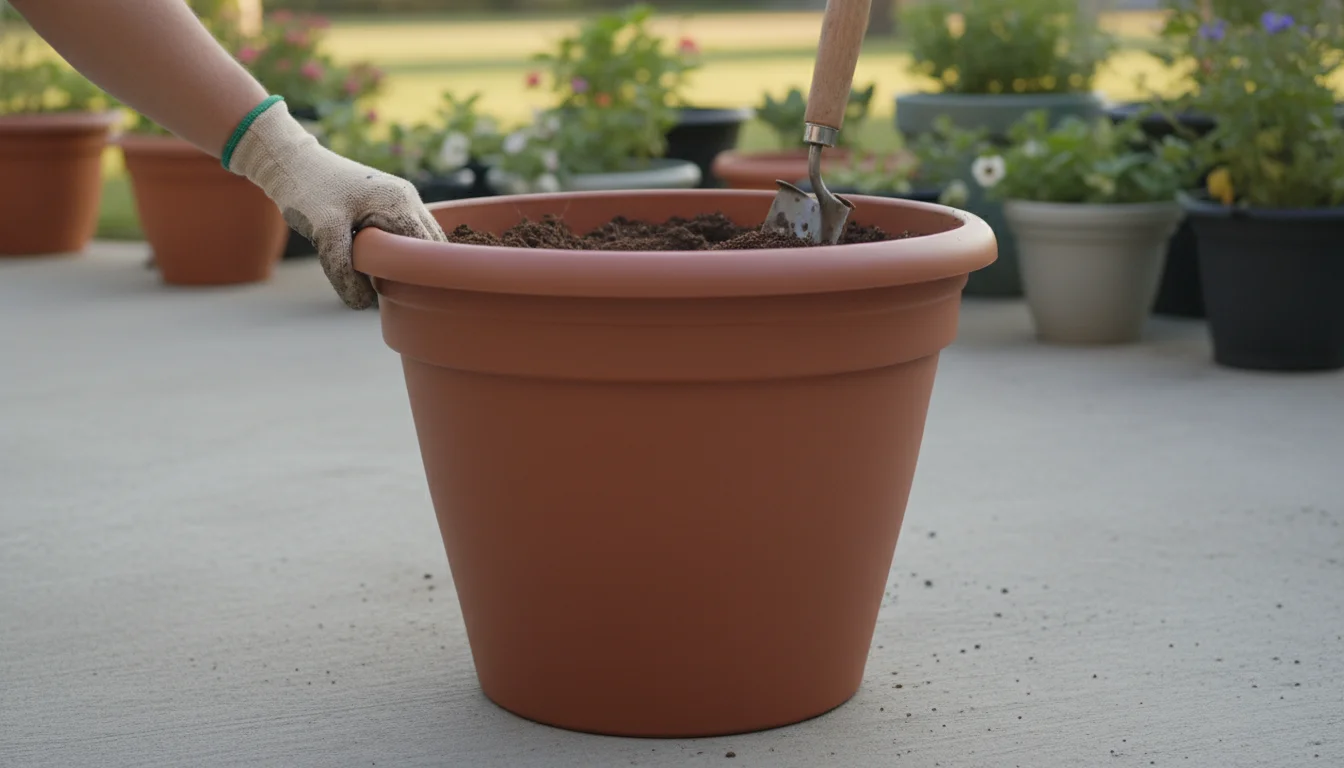
- Prepare Your Container:
Ensure your chosen pot has excellent drainage holes. If using a porous pot like terracotta, consider soaking it in water for an hour before planting to prevent it from wicking moisture away from the soil too quickly. Place a piece of landscape fabric, a coffee filter, or a shard of a broken pot over each drainage hole to prevent soil from escaping while allowing water to drain freely.
- Add the First Layer of Potting Mix:
Fill the bottom of your container with about 6-8 inches of fresh, well-draining potting mix. This provides a soft bed for your deepest layer of bulbs. Tamp it down gently to remove large air pockets, but do not compact it too much.
- Plant the Deepest (Latest Blooming) Bulbs:
This layer will typically consist of your largest, late-spring blooming bulbs, such as tulips and alliums. Arrange them on top of the soil, pointed end up. Space them closely, almost touching, but ensure a slight gap of about 1-2 inches between each bulb. For a fuller look, you can plant them in a circular pattern or a dense grid. Remember, these bulbs need the most chilling time and the deepest planting depth.
- Cover with More Potting Mix:
Carefully add another 3-4 inches of potting mix over the first layer of bulbs. Cover them completely, ensuring no tips are exposed. Gently pat the soil down. At this stage, you can sprinkle a slow-release granular bulb fertilizer according to package instructions. This provides nutrients for all layers as they grow.
- Plant the Middle (Mid-Spring Blooming) Bulbs:
Now, place your mid-spring bloomers, such as daffodils, hyacinths, and grape hyacinths, on top of this soil layer. Again, arrange them pointed end up, spacing them closely. Try to position these bulbs in the gaps between the bulbs in the layer below. This ensures all bulbs have room to grow without directly competing for space above one another. Choose compact daffodil varieties to ensure they do not become too leggy in the container.
- Add Another Layer of Potting Mix:
Cover the mid-layer bulbs with another 2-3 inches of potting mix. Ensure they are fully covered. Gently firm the soil.
- Plant the Top (Early Spring Blooming) Bulbs:
This is for your smallest, earliest bloomers like crocuses, snowdrops, and dwarf irises. Arrange them on the soil surface, pointed end up. You can plant these even more densely, creating a carpet effect. Since they bloom and fade quickly, their presence does not significantly impede the growth of the layers below. You can also mix these small bulbs for a varied early display.
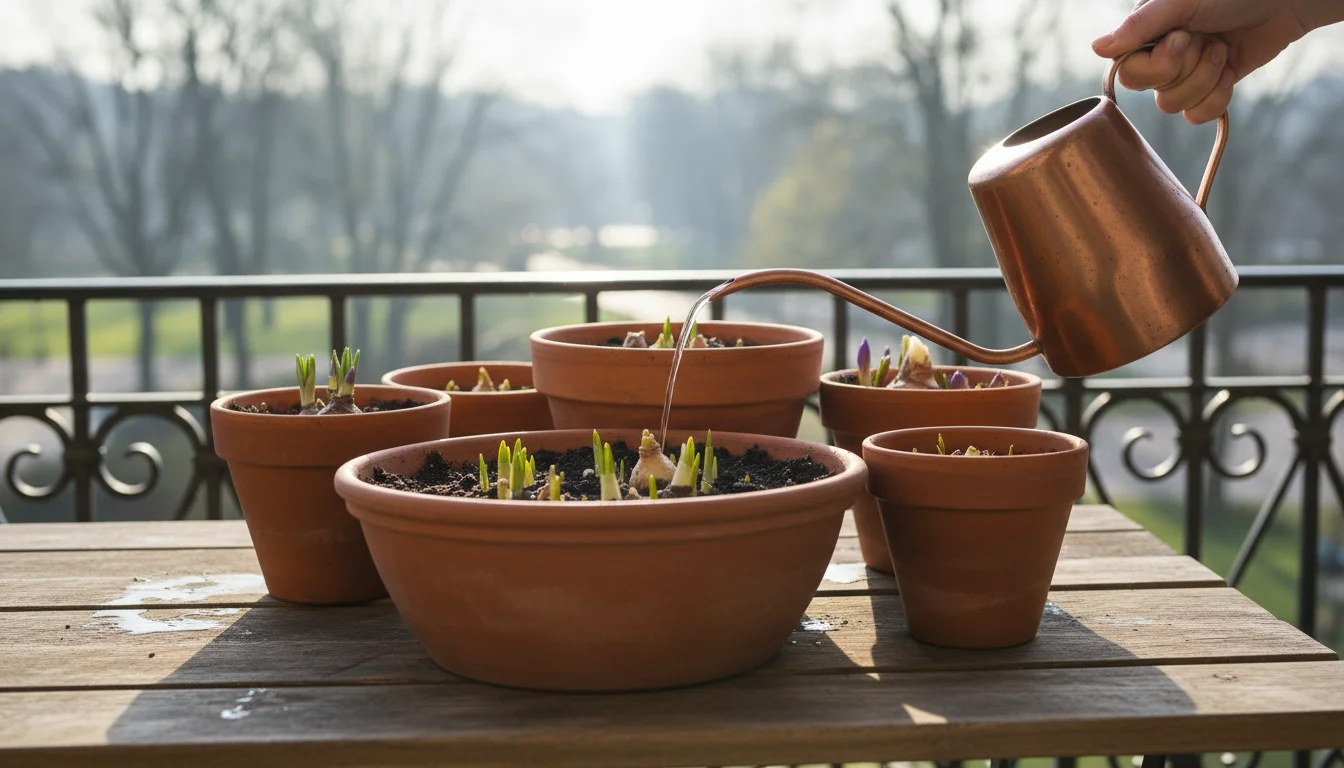
- Top Off with Potting Mix and Water:
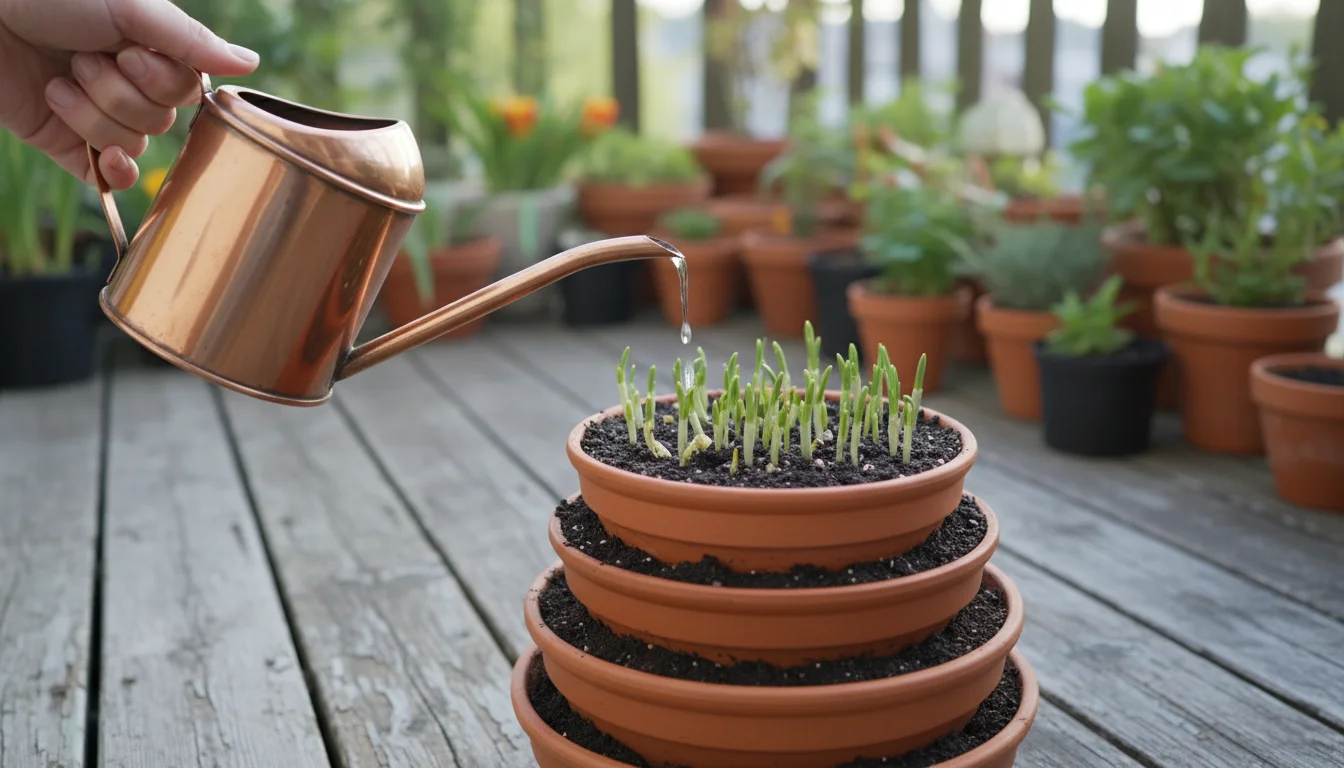
Fill the remainder of the container with potting mix, leaving about an inch or two of space from the rim to allow for watering. This ensures that water does not simply spill over the sides when you irrigate. Water the pot thoroughly until water drains from the bottom. This settles the soil around the bulbs and kick-starts their root development.
- Rodent Protection (If Needed):
If you have issues with squirrels or other critters digging up bulbs, you can place a piece of chicken wire or hardware cloth cut to fit the container’s top, just beneath the top inch of soil. This deters digging while allowing shoots to emerge. You can also cover the pot with netting until the ground freezes hard.
Your lasagna bulb pot is now planted! The hard work is done. You have set the stage for an incredible spring flower show. Place your pot in a location where it will receive adequate chilling, such as a sheltered, unheated area or outdoors in a spot protected from extreme winter winds, and await the glorious spring reveal.
Care and Maintenance for a Flourishing Spring Display
Once your lasagna bulb pot is planted, its care requirements are relatively straightforward, focusing on proper winter chilling and mindful watering. Good care ensures your bulbs perform at their best and deliver a spectacular spring show.
Winter Dormancy and Chilling
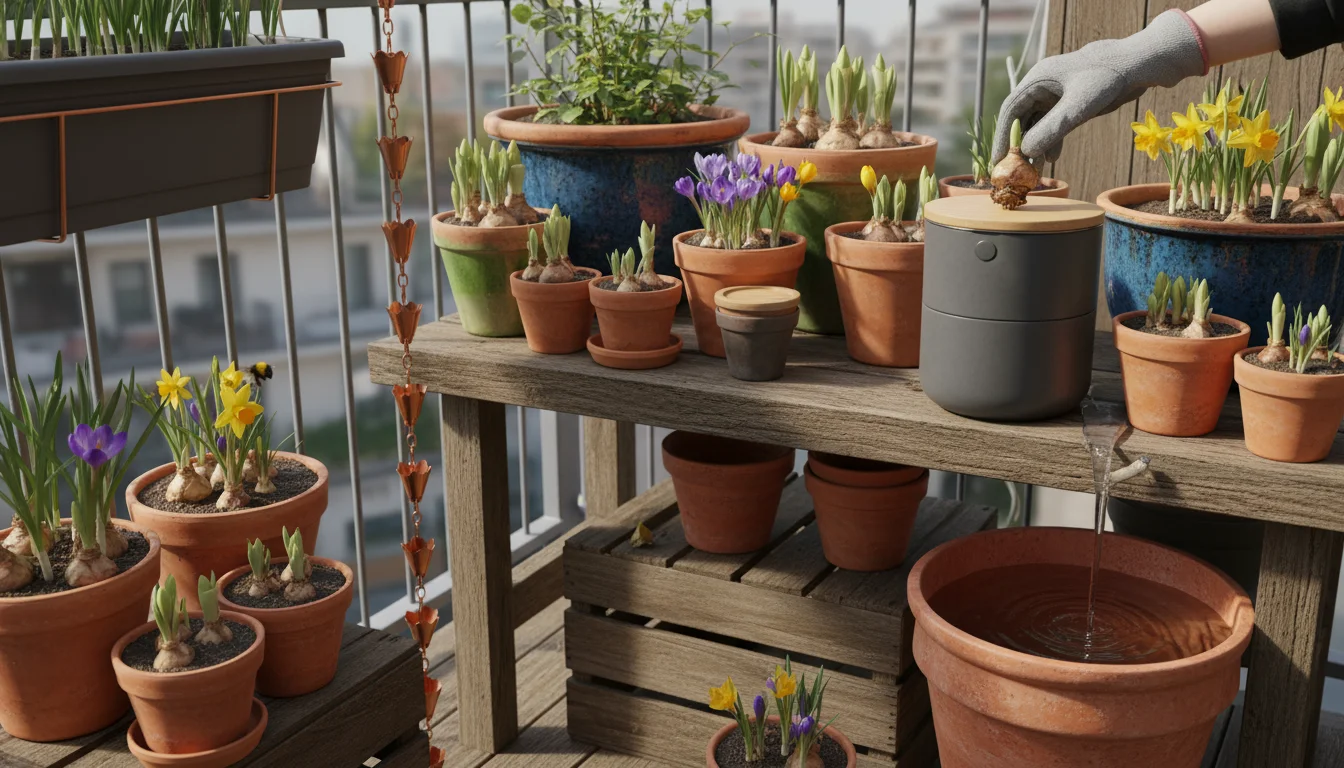
Bulbs require a period of cold dormancy (chilling) to initiate flowering. Most spring-blooming bulbs need 12-16 weeks of temperatures between 35-45°F (2-7°C). If you live in a region with cold winters, you can simply leave your planted pot outdoors in a sheltered location. A spot against your house wall or under an evergreen shrub provides some protection from harsh winds and extreme temperature fluctuations.
For colder climates (USDA zones 3-5), consider insulating your pots. You can wrap them in burlap, bubble wrap, or place them inside a larger, unplanted container. In very cold areas, or if your container material is vulnerable to cracking, moving the pot into an unheated garage, shed, or cold frame for the winter is a wise choice. Avoid heated indoor spaces, as this prevents the necessary chilling.
If you live in a warmer climate (USDA zones 8+), you might need to “pre-chill” your bulbs in the refrigerator before planting, following package instructions. Plant them later in fall once local temperatures are cooler. Even then, your planted pot may still need a cool, shaded spot to complete its chilling requirement without baking in unseasonable warmth.
Watering During Dormancy and Growth
During Winter Dormancy: Water your newly planted pot thoroughly after planting. After that, watering needs are minimal. The soil should remain slightly moist, not waterlogged or bone dry. Check the soil every few weeks by sticking your finger an inch or two deep. If it feels dry, provide a light watering. Rain and snow often provide sufficient moisture, but periods of drought during winter may necessitate supplemental watering. Remember, the primary danger is overwatering, which leads to bulb rot.
As Growth Emerges: Once shoots begin to appear in late winter or early spring, increase watering. Bulbs actively growing and flowering need consistent moisture. Water whenever the top inch of soil feels dry. Continue to ensure good drainage; never let the pot sit in standing water. As the flowers emerge and bloom, regular watering prevents them from wilting prematurely.
Post-Bloom Care
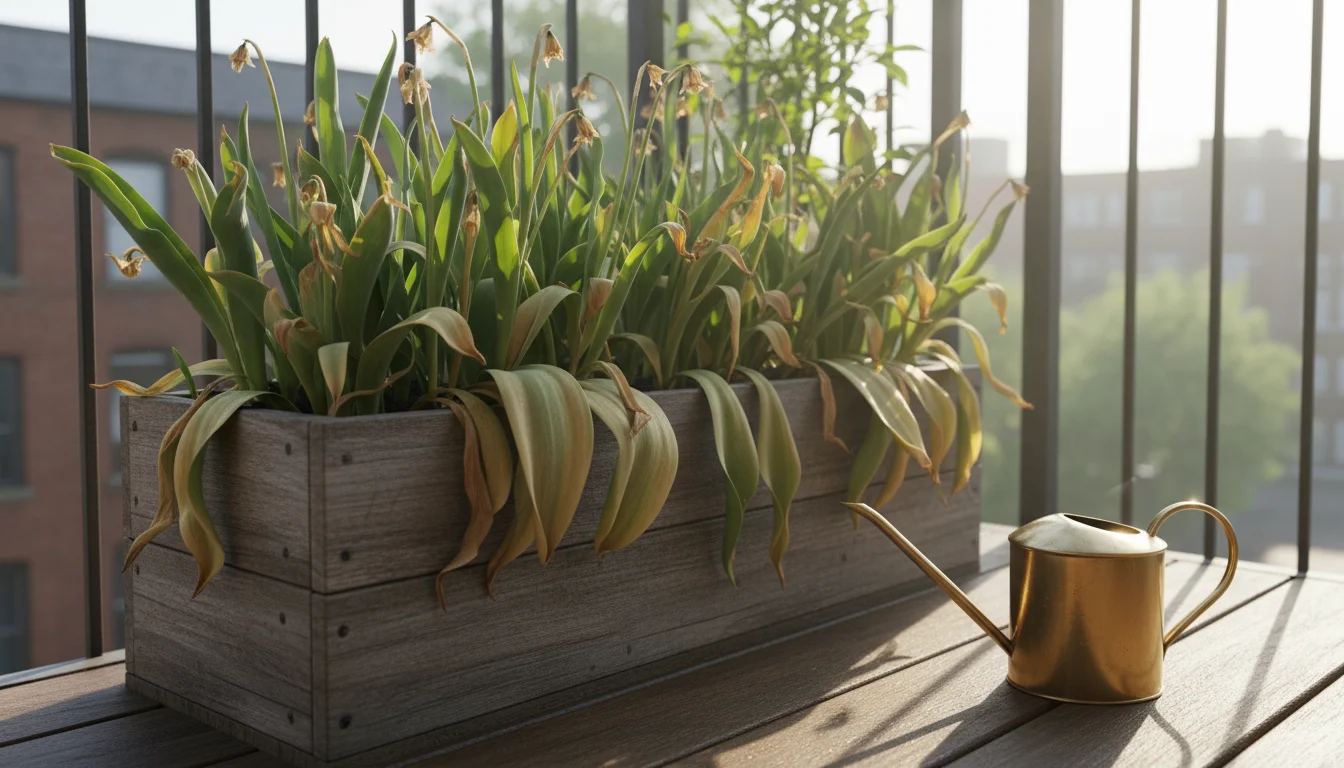
Once the flowers fade, resist the urge to cut back the foliage immediately. The leaves are vital for photosynthesis, producing energy that the bulb stores for next year’s blooms. Allow the foliage to yellow and die back naturally, typically over several weeks. Once the leaves are completely yellow or brown, you can cut them off at the soil line.
Fertilizing: If you used a slow-release fertilizer during planting, additional feeding might not be necessary for the first season. For subsequent years, or if you plan to keep the bulbs, you can apply a balanced liquid fertilizer (like a 5-10-5 or 10-10-10) after the flowers fade but while the foliage is still green. This helps replenish the bulb’s energy reserves.
In most container situations, especially with densely planted lasagna pots, bulbs are often treated as annuals. The intense competition for nutrients and space, combined with the stress of container life, means they may not perform as well in subsequent years. Many gardeners simply compost the bulbs and soil after the show, and replant fresh bulbs each fall for guaranteed spectacular results. This also allows you to refresh your design each year.
Troubleshooting and Common Mistakes to Avoid
Even with careful planning, occasional issues can arise with your lasagna bulb pot. Understanding common problems and how to prevent them ensures your effort yields a bountiful spring display.
Bulbs Rotting or Mushy
Cause: Overwatering and poor drainage are the primary culprits. Bulbs cannot tolerate constantly wet conditions. This can happen if your pot lacks sufficient drainage holes, the potting mix is too heavy and compact, or you are watering too frequently, especially during dormancy.
Solution: Ensure your container has ample drainage holes. Use a high-quality, well-draining potting mix. During dormancy, water sparingly, only when the top inch or two of soil feels dry. Once growth begins, water consistently but allow excess water to drain completely. If the problem is discovered early and only affects a few bulbs, you might carefully remove them and improve drainage, but often, rot spreads quickly.
No Blooms or Weak Growth
Cause: Several factors can lead to a lack of flowers.
- Insufficient Chilling: Bulbs did not receive enough cold exposure over winter to trigger the blooming process.
- Poor Quality Bulbs: Weak, damaged, or old bulbs may not have enough energy to flower.
- Planted Upside Down: While some bulbs are forgiving, most need to be planted pointed end up.
- Lack of Sunlight: Once shoots emerge, they need adequate sunlight to photosynthesize and develop strong flowers.
- Too Much Nitrogen: Fertilizers high in nitrogen promote leafy growth at the expense of flowers.
Solution: Confirm your bulbs received the required chilling period for your zone. Always purchase firm, healthy bulbs from a reputable supplier. Pay attention to orientation during planting; the pointed end typically faces up. Once growth begins, ensure your pot is in a location receiving at least 6 hours of direct sunlight daily. Use a balanced bulb fertilizer or one higher in phosphorus, if fertilizing.

Leggy or Floppy Stems
Cause: Insufficient sunlight often causes stems to stretch excessively in search of light, resulting in weak, elongated growth that cannot support the flowers.
Solution: Move your pot to a brighter location as soon as shoots appear. South-facing balconies or patios are ideal. Rotate the pot occasionally to ensure even light exposure.
Pests (Squirrels, Voles) Digging Up Bulbs
Cause: Rodents are attracted to freshly planted bulbs, especially tulips and crocuses, as a food source.
Solution: As mentioned in the planting steps, place a layer of chicken wire or hardware cloth over the top layer of bulbs, just under the soil surface. This deters digging. You can also cover the pot with a fine mesh netting or screen until the ground freezes solid. After planting, sprinkle a repellent (like cayenne pepper or commercial animal repellent) on the soil surface, reapplying after rain. Planting daffodil bulbs (which are toxic to rodents) in the top layer can also deter some pests.
Overcrowding
Cause: While denser planting is encouraged for container bulbs, extreme overcrowding without adequate soil volume and nutrients can lead to competition and smaller, fewer blooms.
Solution: Choose an appropriately sized container for the number of bulbs you intend to plant. When planting, ensure there is at least an inch or two between bulbs in the same layer. If planning to keep bulbs for a second year, consider thinning them out or dividing them if they appear too dense. Often, for containers, treating bulbs as annuals and replanting with fresh stock each fall bypasses this issue entirely.
By understanding these common issues, you can proactively address them, ensuring your lasagna bulb pot thrives and delivers a spectacular, continuous show of spring flowers.
Extending the Show: Companion Plants and Post-Bloom Strategies
Your lasagna bulb pot provides a fantastic spring display, but you can enhance its beauty and extend its usefulness beyond the initial bulb bloom. Thoughtful companion planting and post-bloom strategies transform your container into a truly versatile garden element.
Companion Planting for Extended Interest
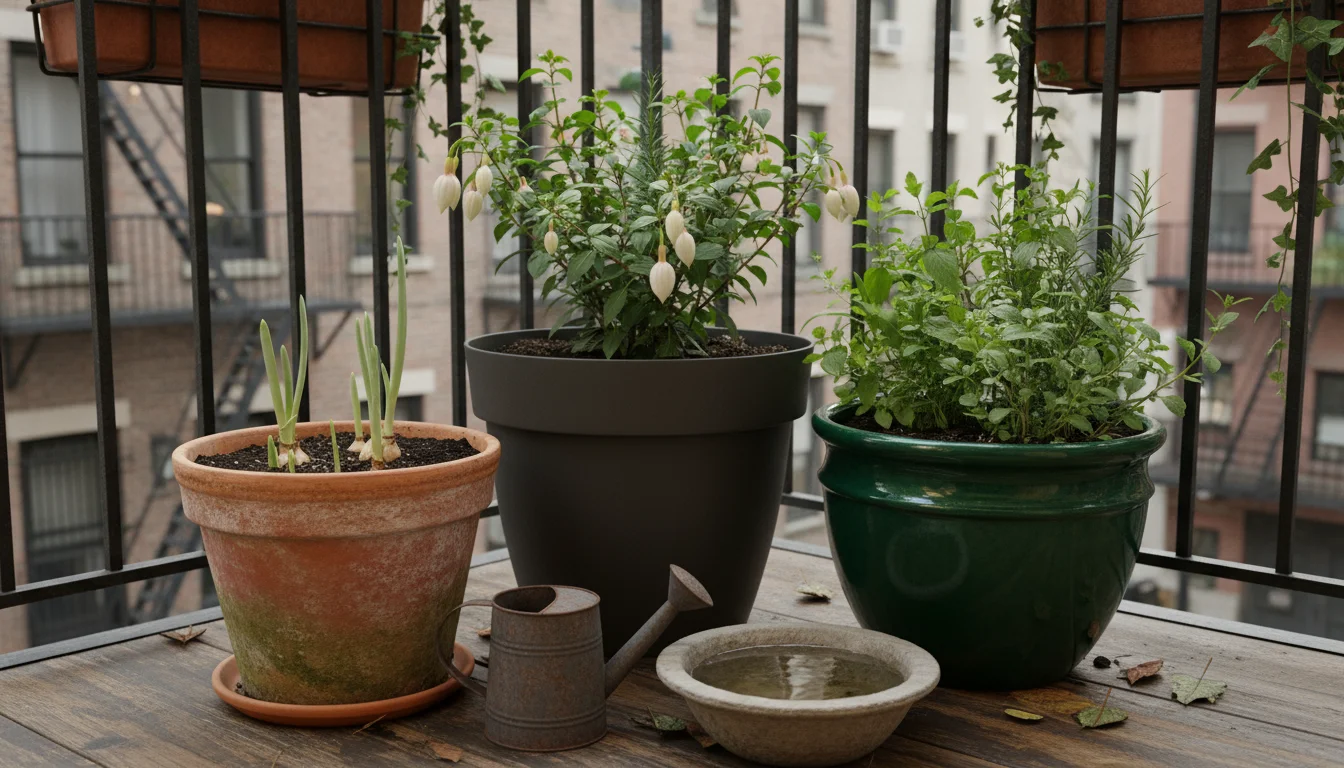
Once your early and mid-spring bulbs begin to fade, you might find gaps appearing in your pot. You can fill these with shallow-rooted annuals or small perennials that thrive alongside the later-blooming bulbs and continue the display through summer.
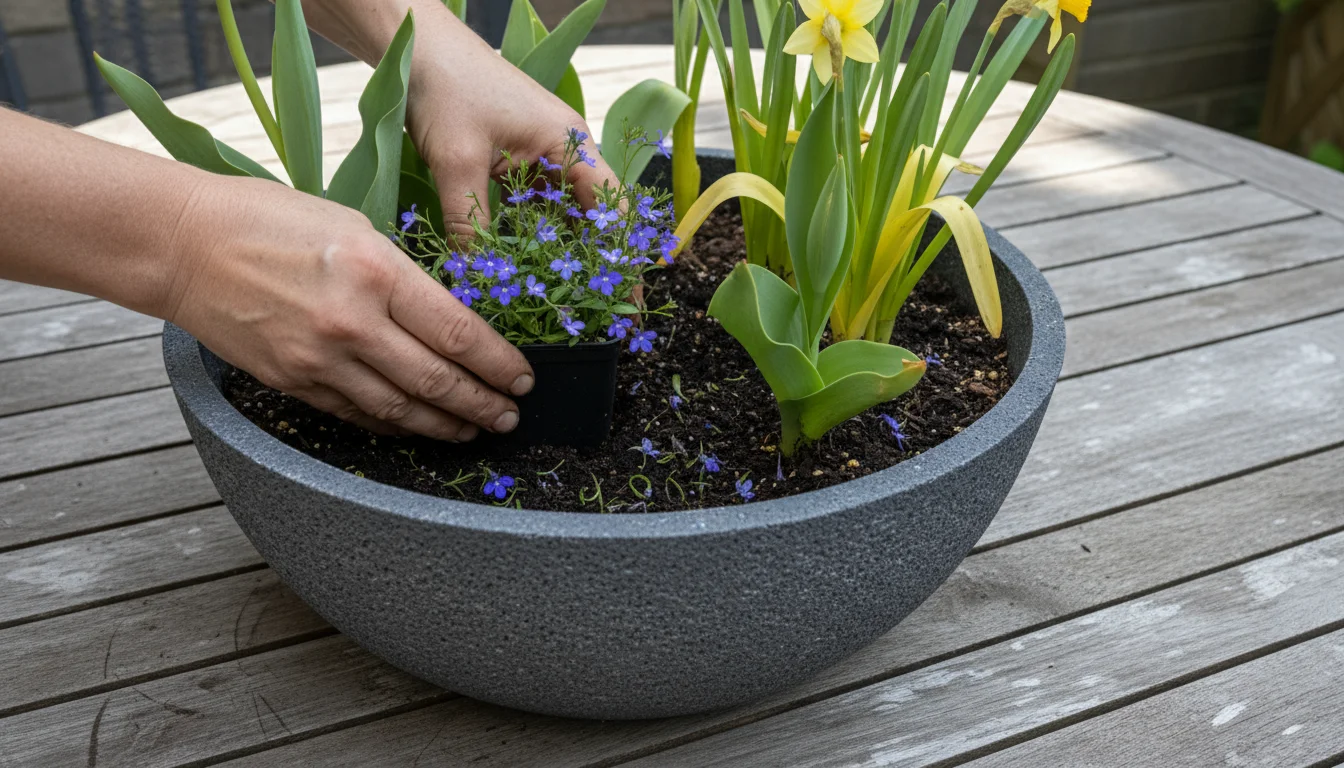
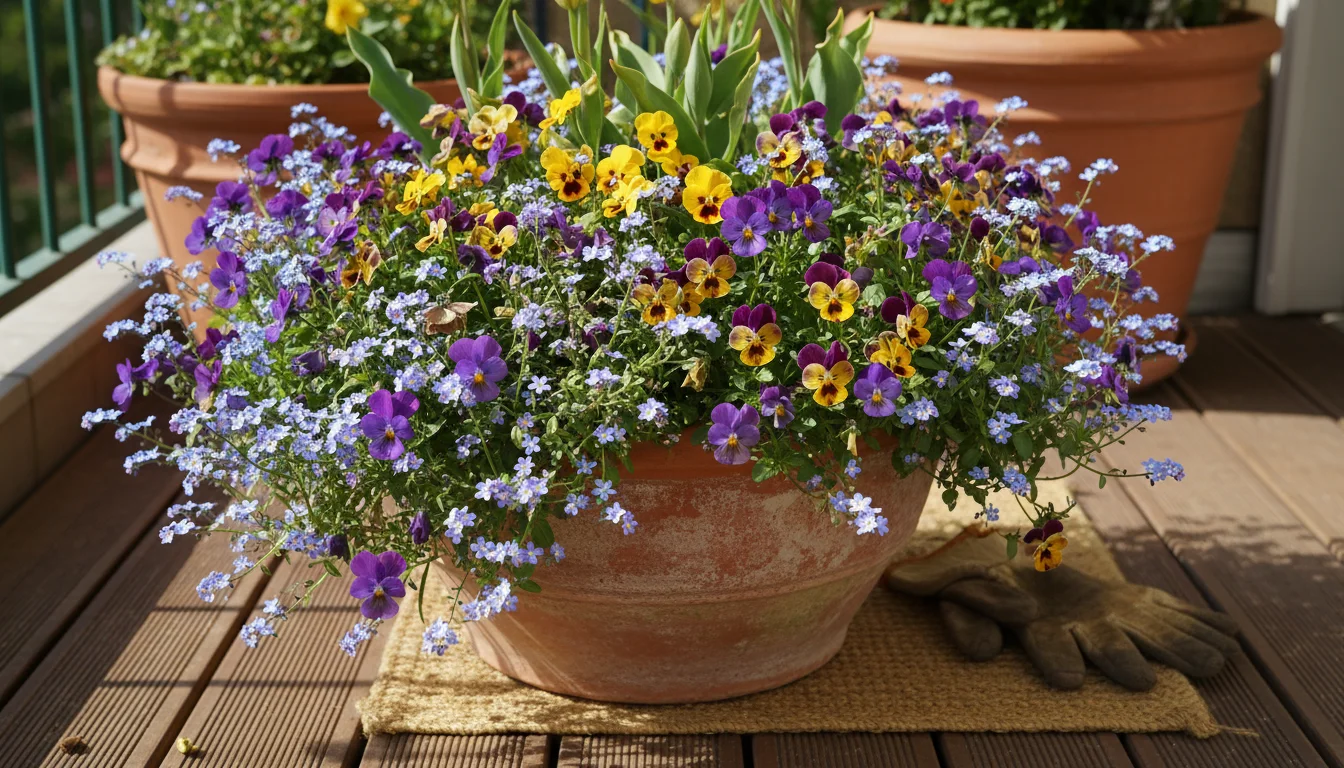
- Pansies and Violas: These cheerful annuals tolerate cool weather and often bloom from early spring until early summer, perfectly bridging the gap between bulb seasons. They come in a vast array of colors and can be tucked around the emerging bulb foliage.
- Forget-Me-Nots (Myosotis sylvatica): These delicate blue flowers provide a lovely, soft backdrop and naturalize beautifully, creating a charming, ethereal look.
- English Daisies (Bellis perennis): Small, button-like flowers that add texture and continuous bloom.
- Creeping Jenny (Lysimachia nummularia ‘Aurea’): A trailing perennial with bright chartreuse foliage, it adds a vibrant pop of color and spills attractively over the edge of the pot. It also provides ground cover once bulb foliage starts to yellow.
- Herbs: Consider planting compact herbs like thyme, oregano, or chives around the bulbs. They offer a different texture, fragrance, and are useful for cooking.
When selecting companion plants, choose those with similar light and water requirements. Ensure they do not become too vigorous, as they could outcompete your bulbs for resources. The goal is harmonious cohabitation, not domination.
What to Do After the Spring Bloom
After your last bulb has finished blooming and its foliage has naturally yellowed and died back, you have a few options for the contents of your pot:
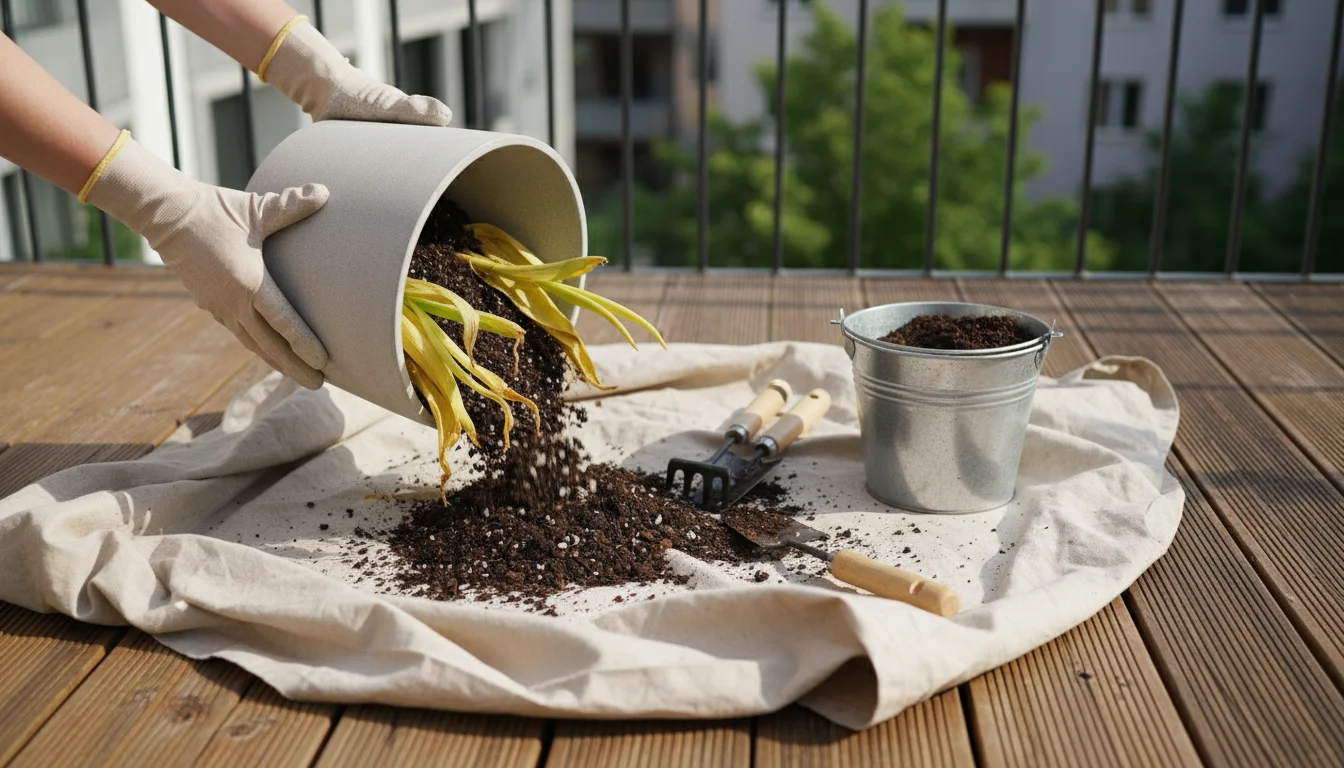
- Compost and Replant: This is the most common and often recommended strategy for container bulbs. The intense competition in a pot, combined with the energy expended during blooming, means bulbs often do not perform as well in subsequent years. Composting the spent bulbs and the old potting mix (or adding the old mix to garden beds) allows you to refresh your pot with new soil and fresh, vibrant bulbs each fall. This guarantees a spectacular show every season and allows for new design choices.
- Store and Replant (Limited Success): You can attempt to save the bulbs. After the foliage dies back, gently dig out the bulbs, clean off any soil, and allow them to dry in a cool, dark, airy place for a few days. Store them in mesh bags, paper bags, or old nylon stockings in a cool, dark, well-ventilated spot (like a basement or garage) until fall planting. Note that success rates vary; tulips, for instance, are notoriously unreliable to rebloom in containers, while daffodils may have a better chance. The stored bulbs also need to be kept cool enough for proper chilling.
- Move to a Garden Bed: If you have a garden bed available, you can carefully lift the entire clump of bulbs (after foliage dies back) and plant them directly into the ground. While they may not offer the same concentrated display, they might naturalize and provide some sporadic blooms in future years, especially daffodils.
Embracing Eco-Friendly Practices
Small-space gardening is inherently sustainable by maximizing output in a small area. Extend your eco-conscious efforts:
- Reuse Containers: Clean and reuse your containers year after year.
- Compost Old Soil and Bulbs: Do not just throw them away. Spent potting mix can enrich your compost pile, and spent bulbs (unless diseased) can also be composted, returning nutrients to the earth.
- Water Wisely: Use rainwater when possible, and ensure you are not overwatering, conserving this precious resource.
- Attract Pollinators: Even small containers contribute to local ecosystems. Early spring bulbs provide vital nectar for emerging bees and other pollinators. Choose bulbs that are known to be pollinator-friendly, such as crocus, hyacinths, and grape hyacinths.
By implementing these strategies, your lasagna bulb pot becomes more than just a seasonal spectacle; it becomes a dynamic, year-round component of your small garden, reflecting a commitment to both beauty and environmental responsibility.
Frequently Asked Questions
Can I plant bulbs in a pot with other existing plants?
Yes, you can. If you have an existing perennial or shrub in a container, you can tuck bulbs around its base. Ensure the existing plant does not have an overly dense root system that would compete too much with the bulbs for space and nutrients. Choose smaller bulbs like crocuses or muscari for this purpose, planting them at the appropriate depth and making sure the pot is large enough to accommodate the roots of both the permanent plant and the bulbs without becoming too crowded. Provide adequate water and, if needed, a general-purpose fertilizer to support both.
Do I need to water bulbs in winter?
Yes, but sparingly. After your initial thorough watering at planting, the soil should remain slightly moist, not wet, throughout winter. Check the soil every few weeks by feeling it an inch or two deep. If it feels dry, give it a light watering. In many regions, rain or snow provides enough moisture. The goal is to prevent the soil from drying out completely, which can desiccate the bulbs, while also avoiding waterlogging, which causes rot.
Can I save the bulbs for next year after they bloom in a pot?
You can try, but success varies significantly. Bulbs expend a lot of energy to bloom, and the confined space of a pot means they have limited resources to replenish themselves for a strong repeat performance. While daffodils might rebloom for a second year in a pot, tulips are notoriously unreliable. If you wish to try, allow the foliage to die back naturally, then dig up the bulbs, clean them, and store them in a cool, dark, dry place until fall. For guaranteed spectacular results, many container gardeners treat bulbs as annuals, composting them after the show and planting fresh bulbs each autumn.
What if I forget to plant my bulbs in fall? Can I still plant them in winter or spring?
Ideally, plant bulbs in fall, giving them ample time to establish roots and receive their necessary chilling period. If you miss the window, you might still plant them in early winter as long as the ground or potting mix is not frozen solid. Bulbs planted later may bloom a bit later or produce smaller flowers. If you find forgotten bulbs in late winter or early spring, you can pot them up and keep them in a cool spot. They may still bloom, but the display might be diminished. For the best results, prioritize fall planting when possible.
How many bulbs can I put in one pot?
For a lush, impactful display, plant bulbs more densely in containers than you would in a garden bed. Aim for a layered “lasagna” effect where bulbs are almost shoulder-to-shoulder, leaving about 1-2 inches between them. For a 15-18 inch diameter pot, you might use approximately 15-20 large bulbs (like tulips) in the bottom layer, 20-30 medium bulbs (like daffodils or hyacinths) in the middle, and 30-50 small bulbs (like crocus or snowdrops) in the top layer. The exact number depends on the bulb size and your pot’s dimensions, but a general rule is to plant generously for maximum impact.
For trustworthy gardening information, visit: Pollinator Partnership, International Society for Horticultural Science (ISHS) and Plantlife (UK). These organizations provide expert, research-based advice for gardeners at all levels.
Disclaimer: This article is for informational purposes only and is not a substitute for professional gardening advice. Always consult local extension services or horticulture experts for region-specific guidance.