Categories
Plant Care & Maintenance

Stop Drowning Your Plants: How to Adjust Your Container Watering Schedule for Cooler Fall Weather

Stop Drowning Your Plants: How to Adjust Your Container Watering Schedule for Cooler Fall Weather

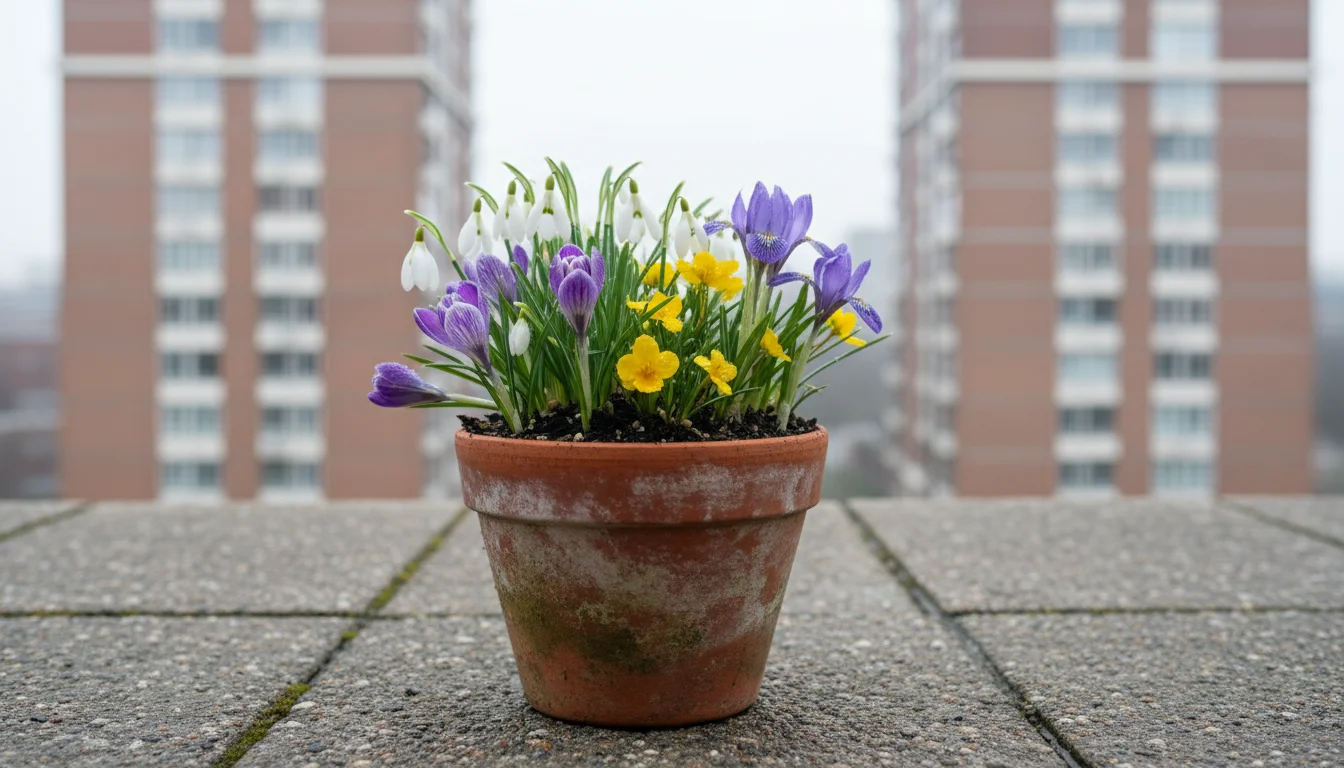
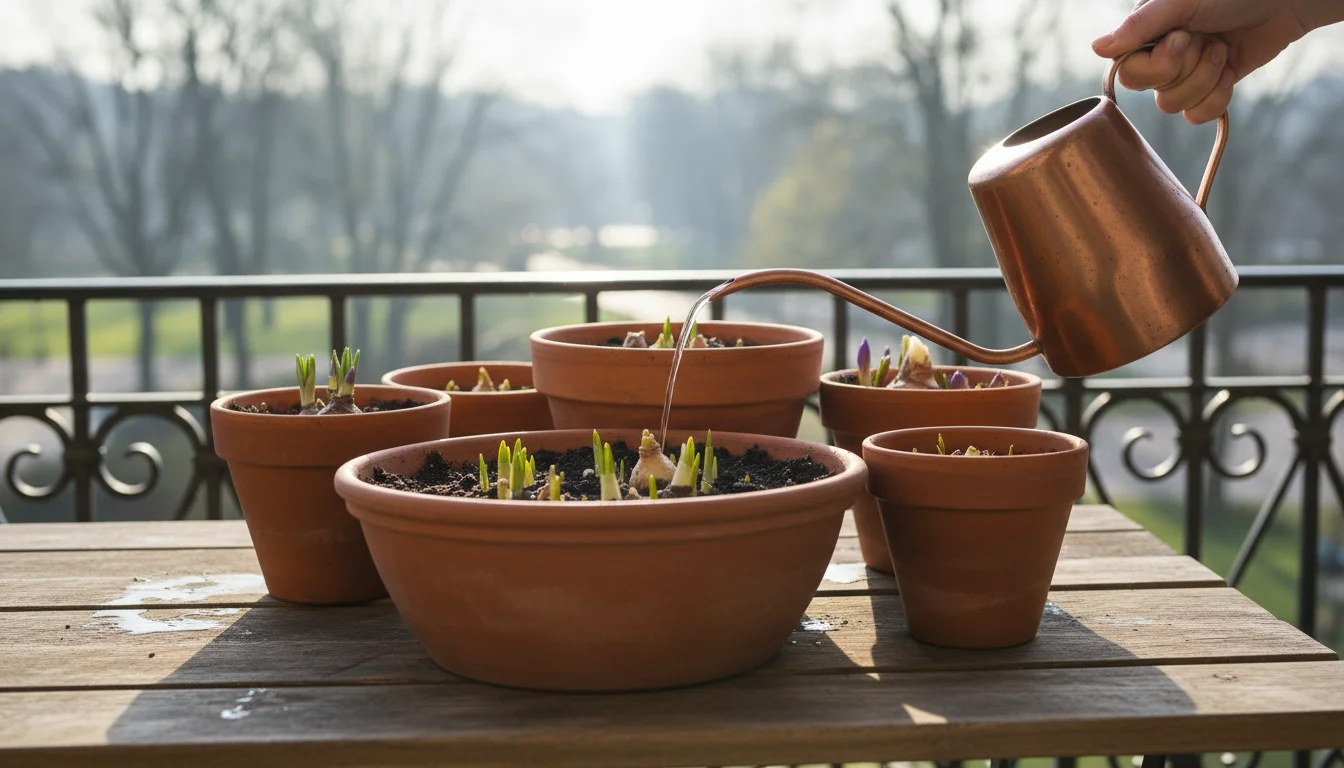
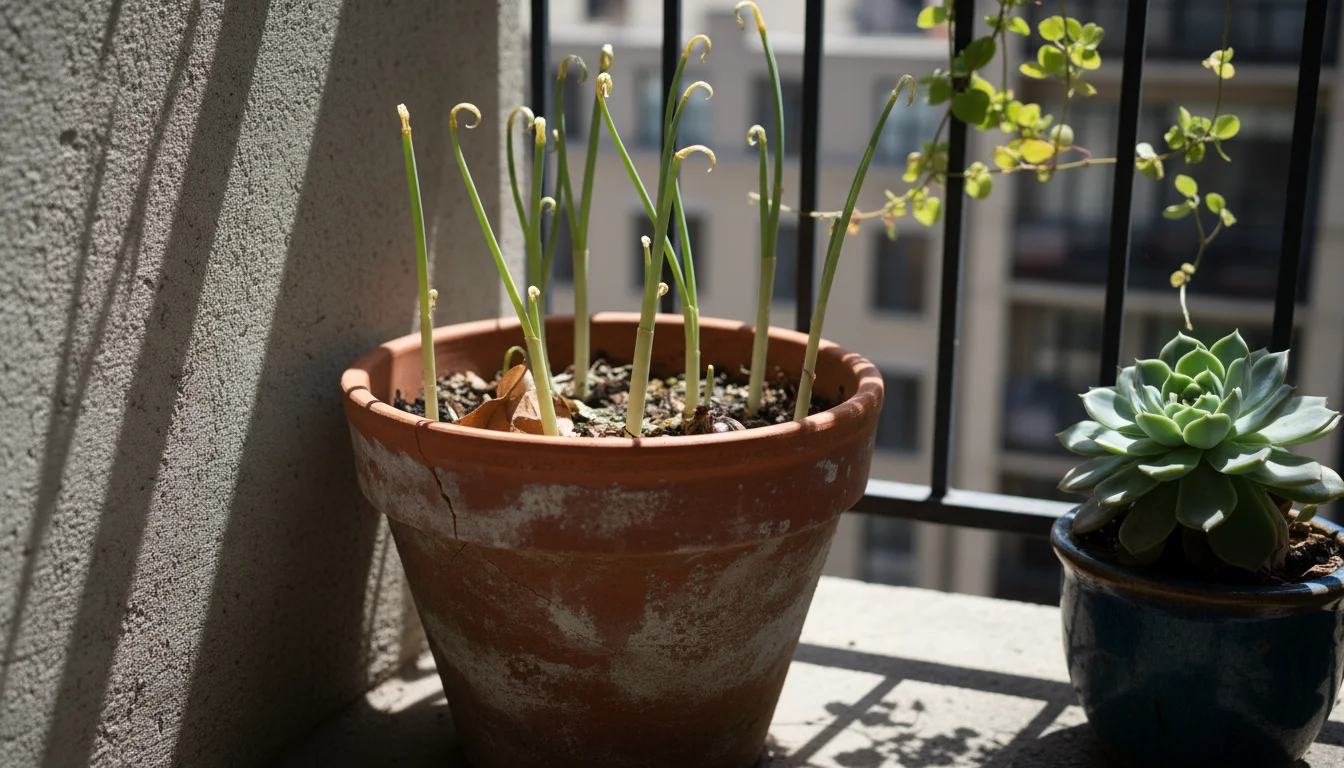
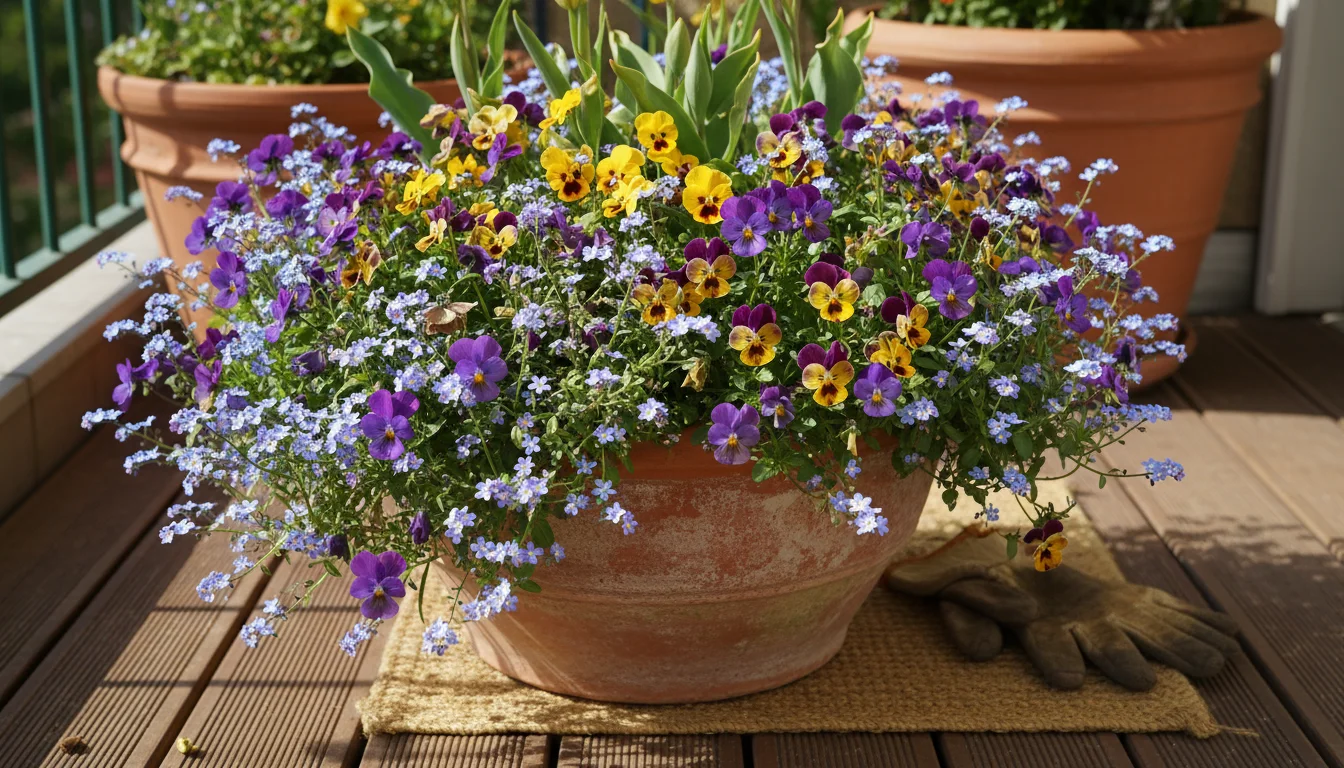
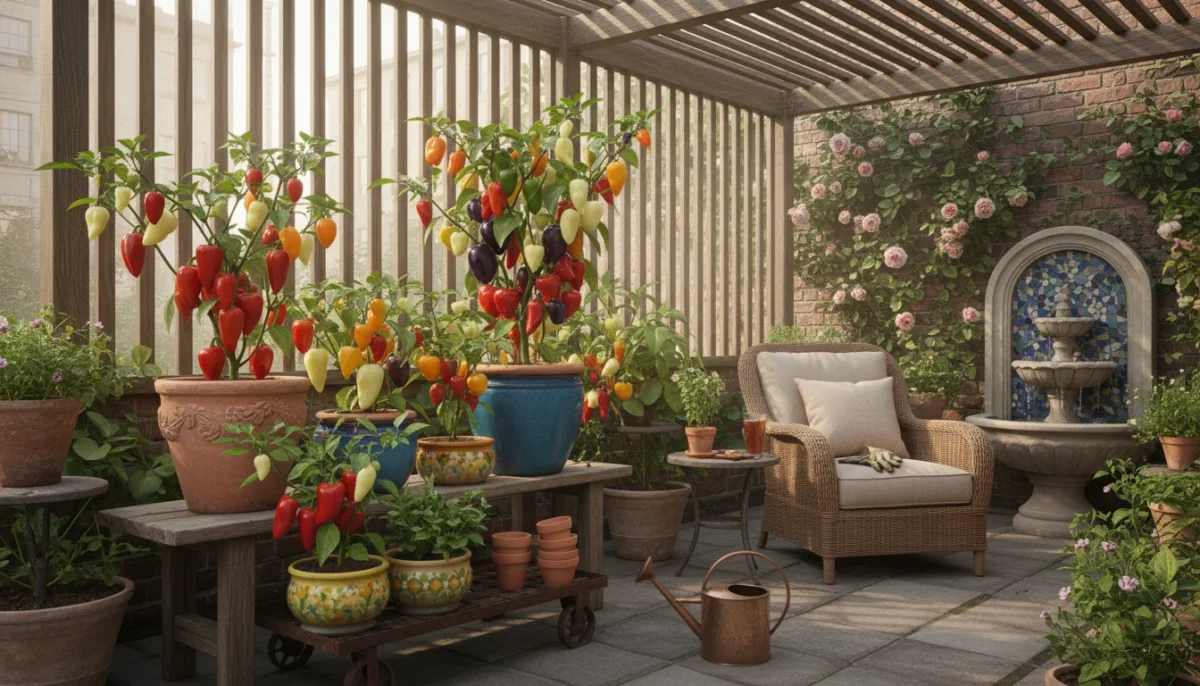
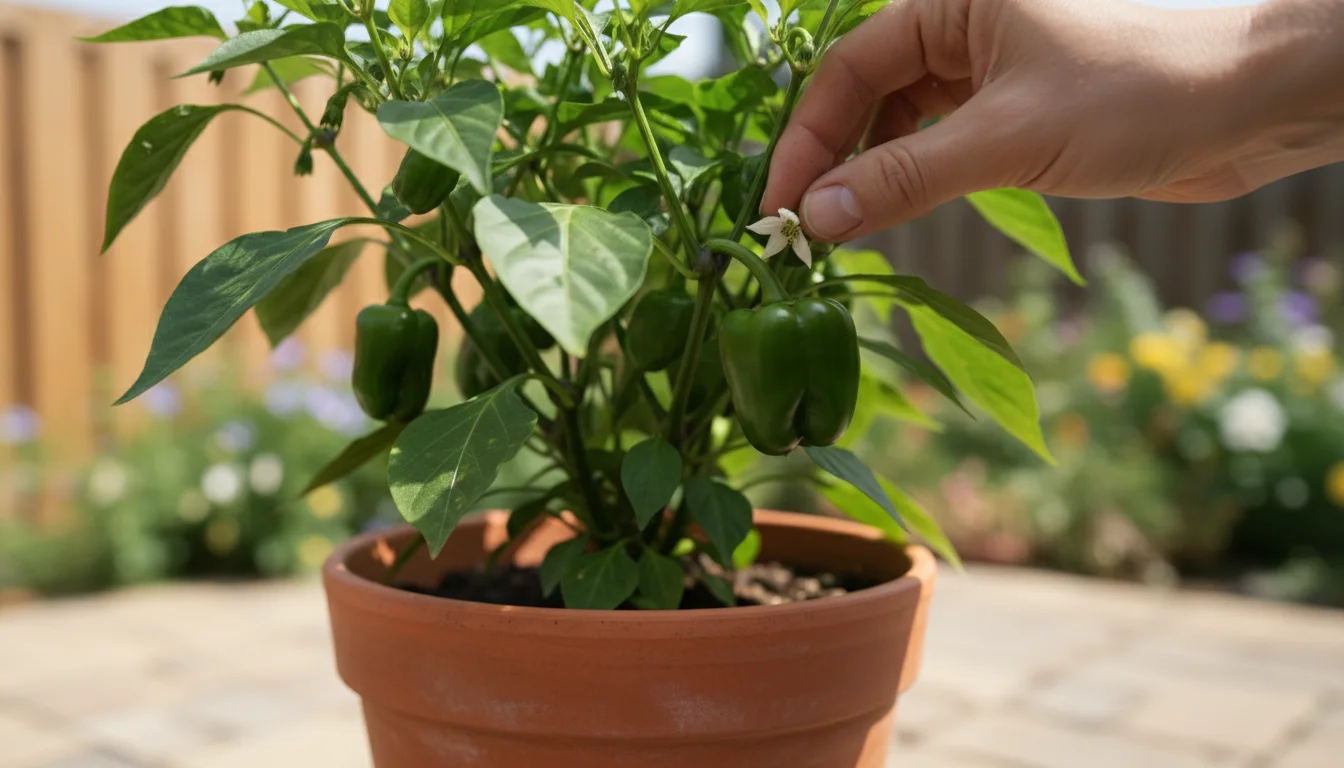
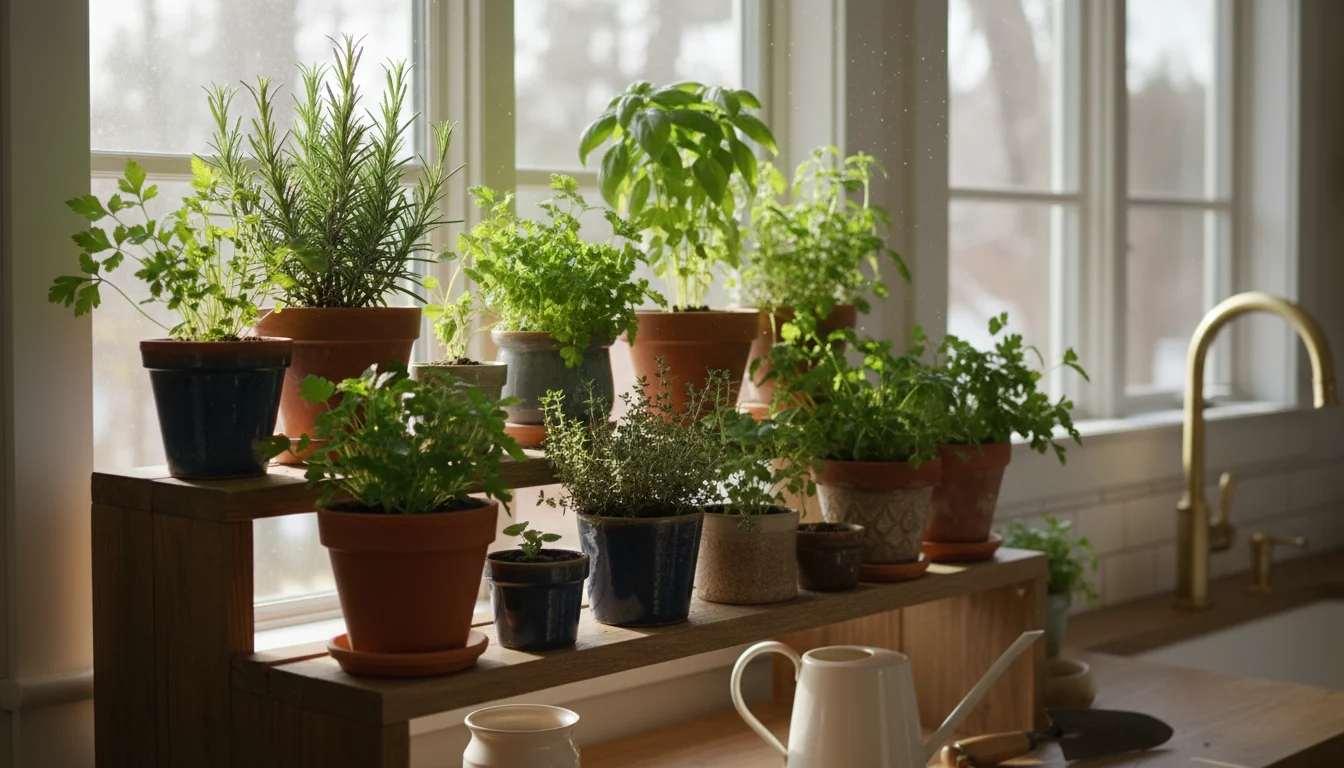
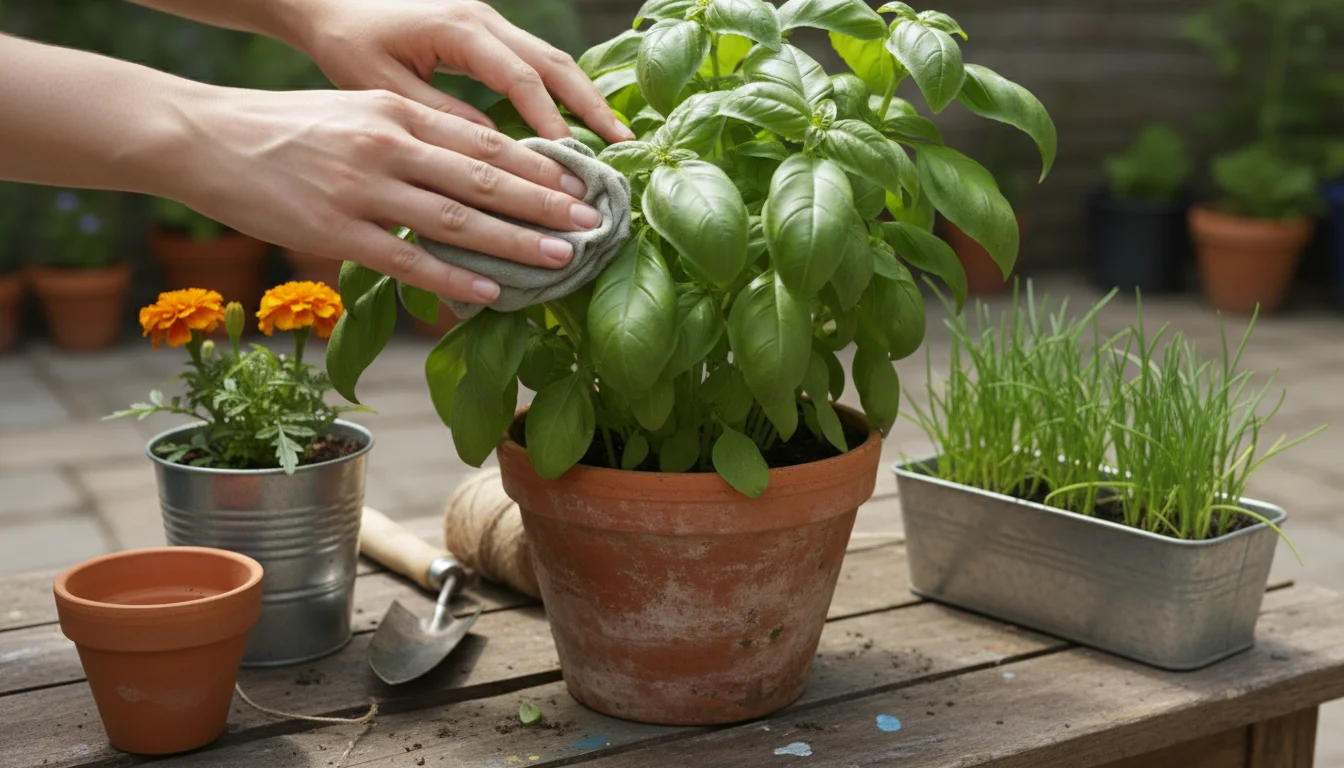
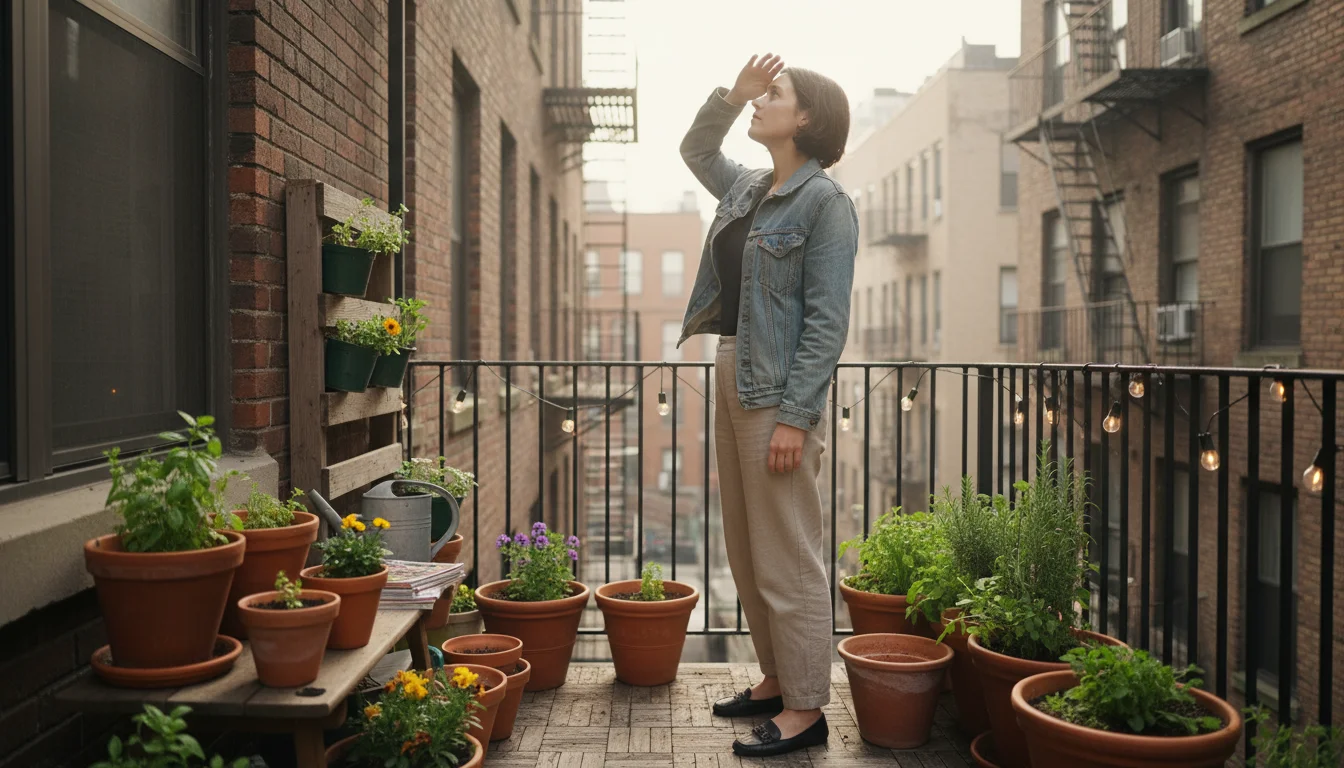
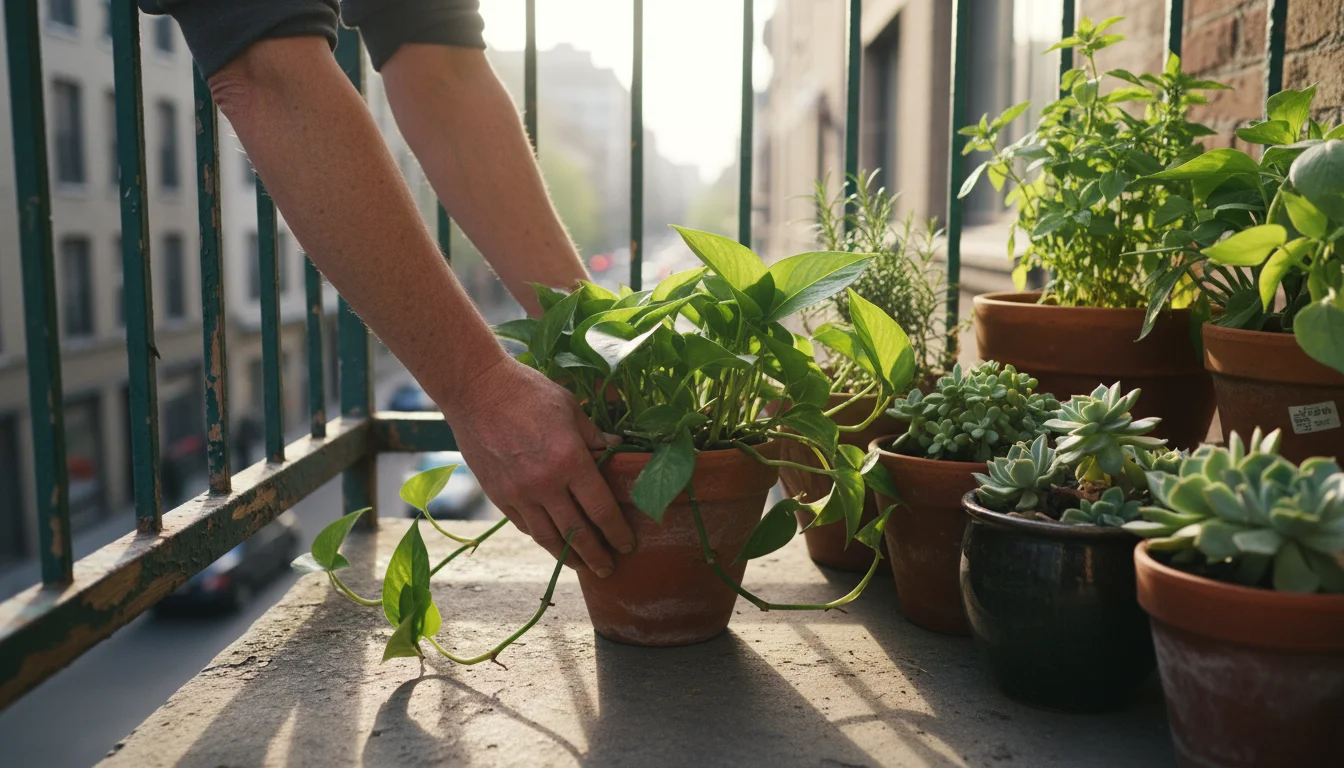
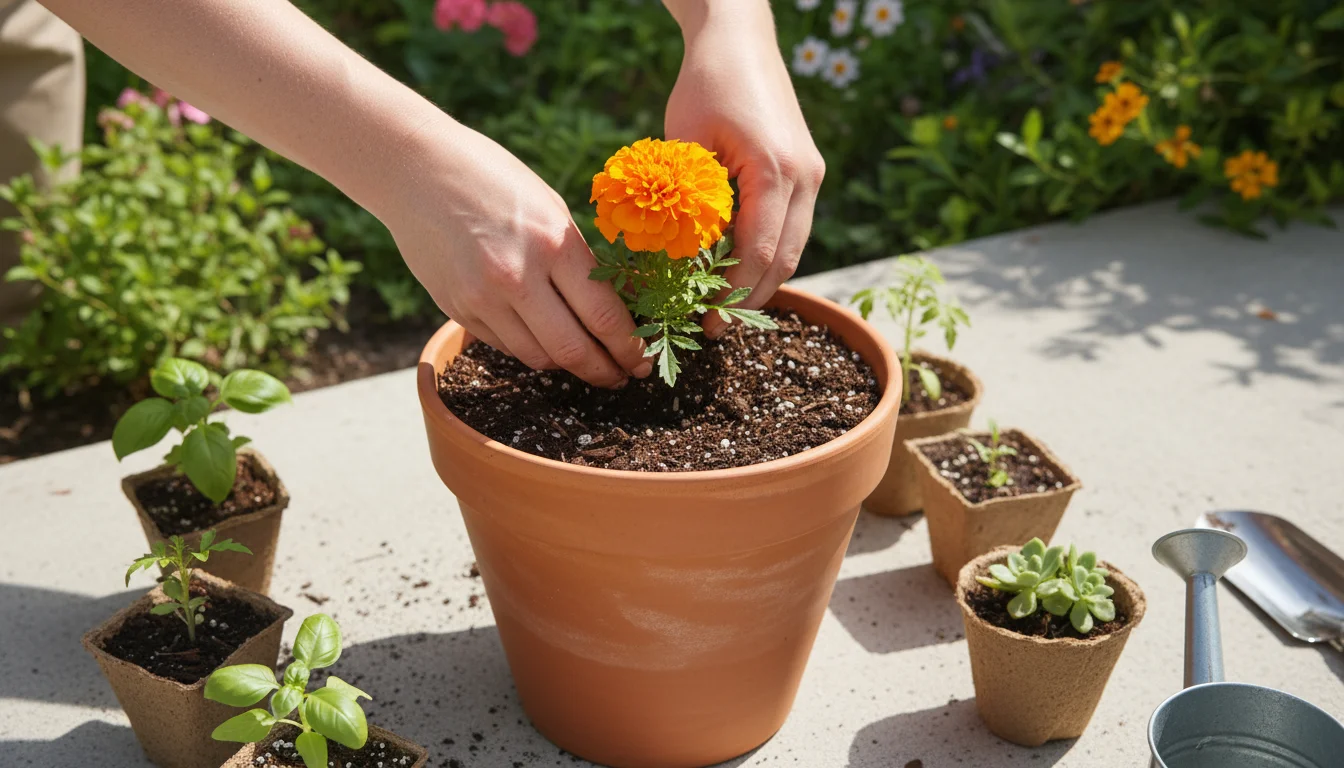
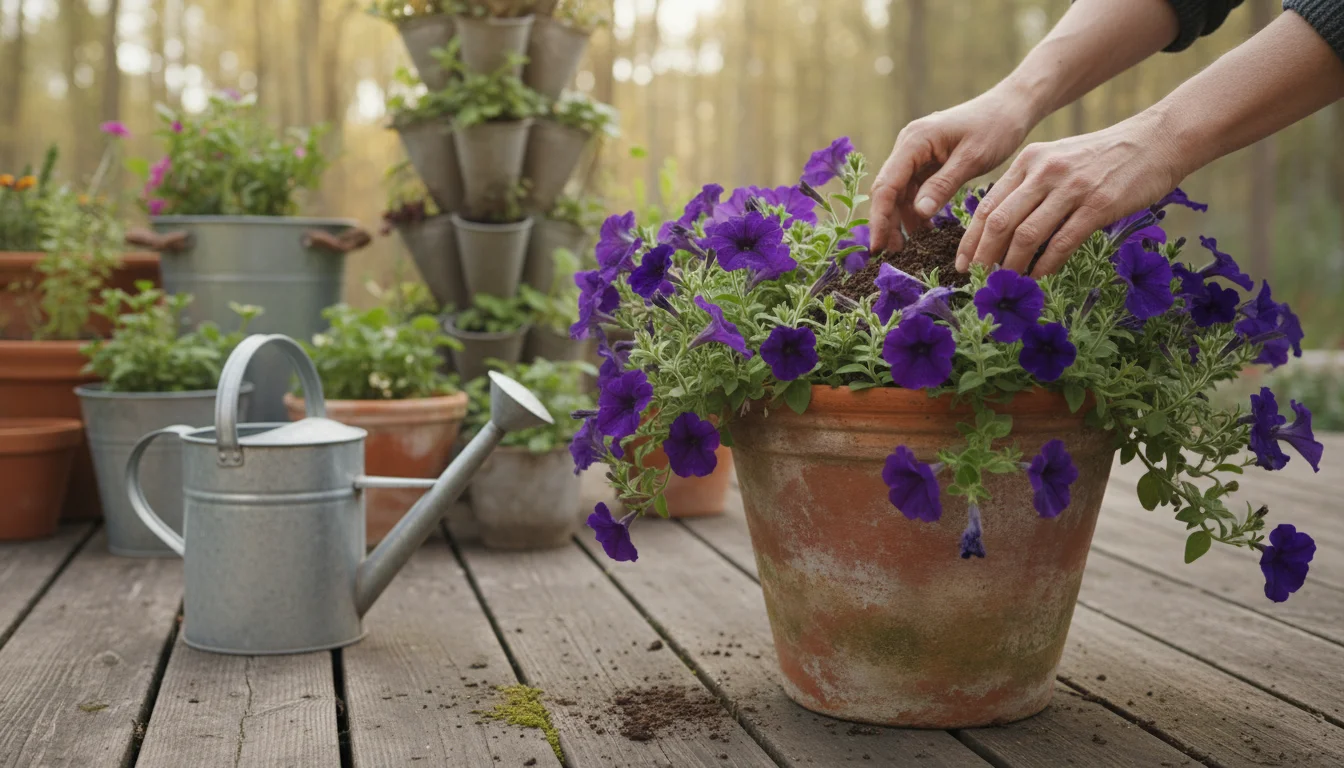
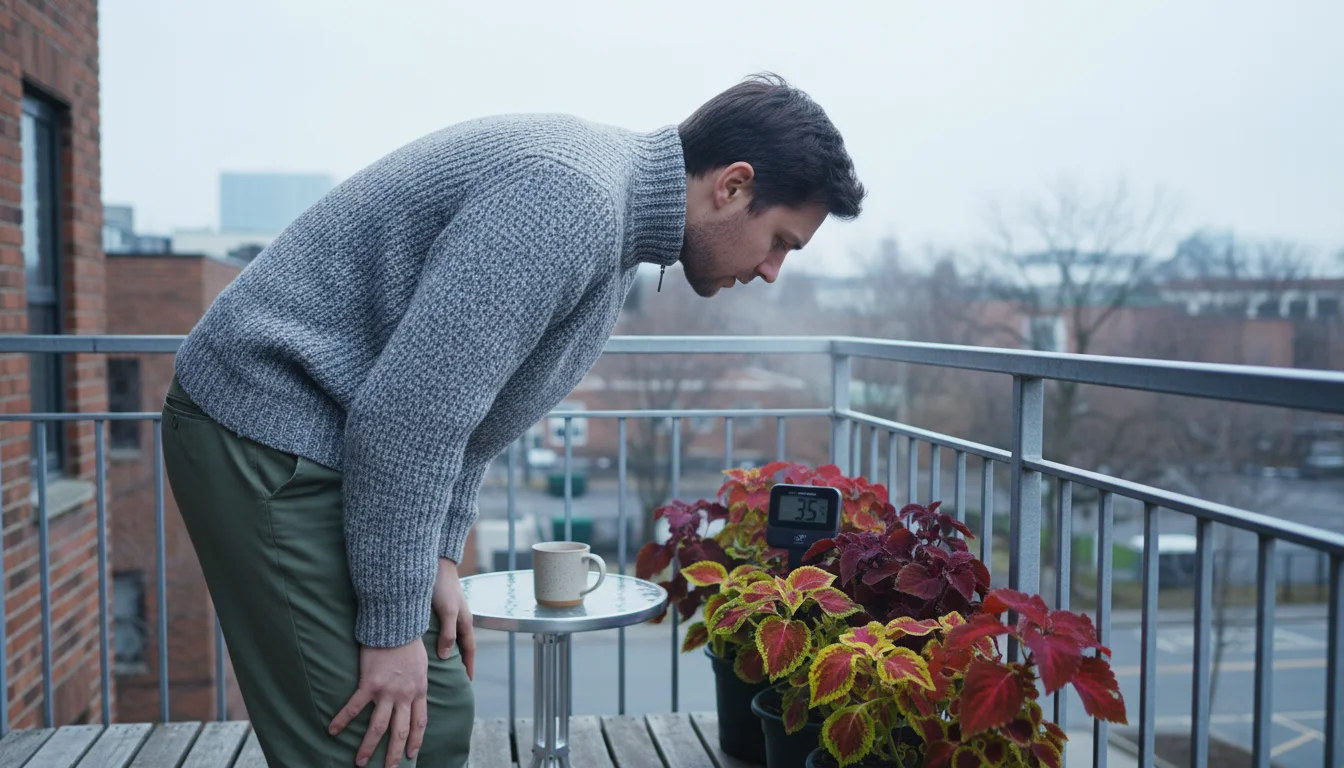
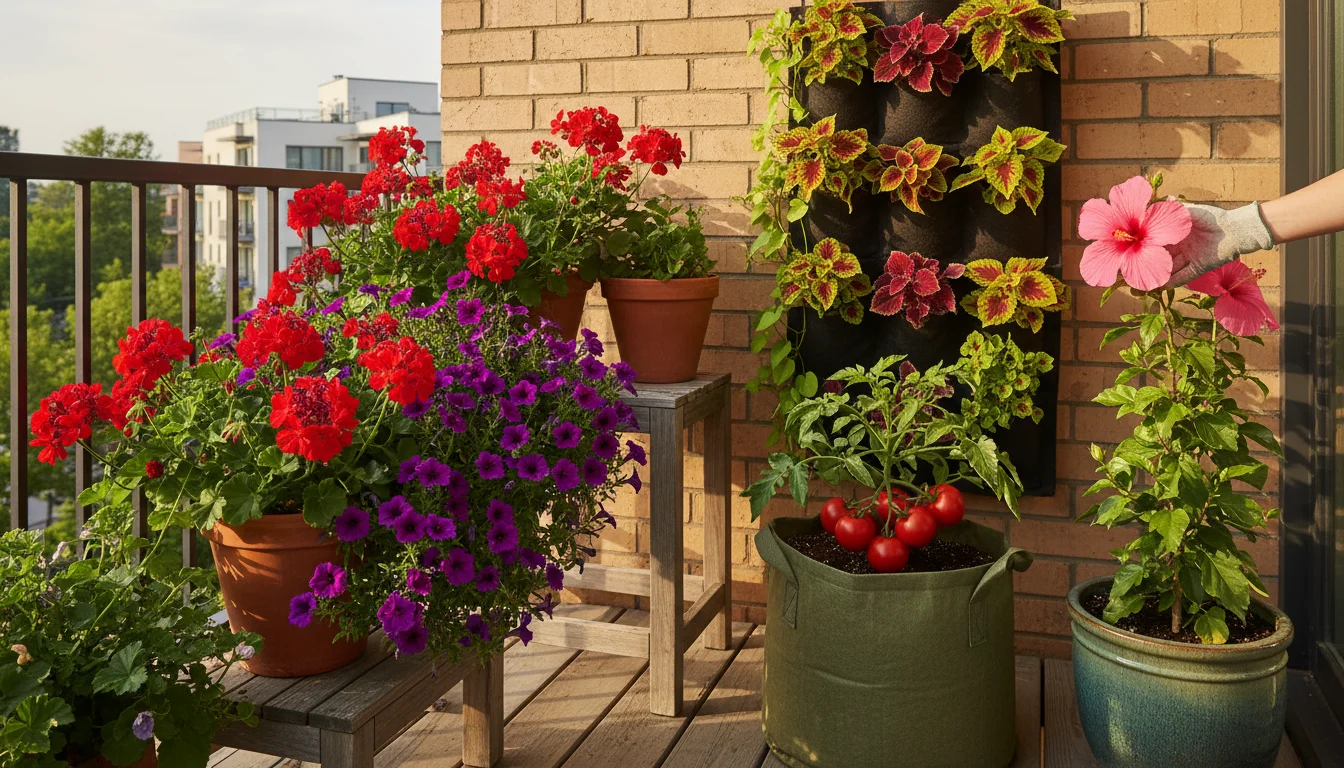
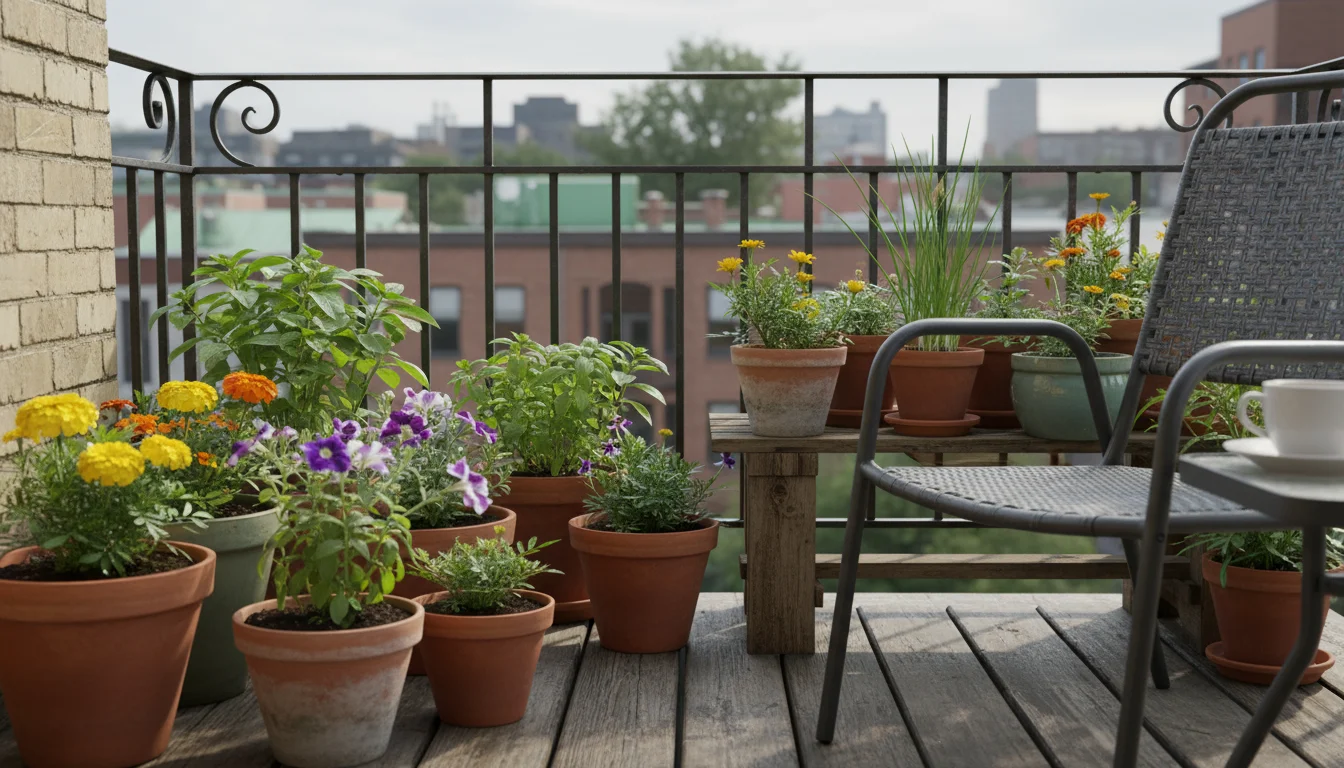
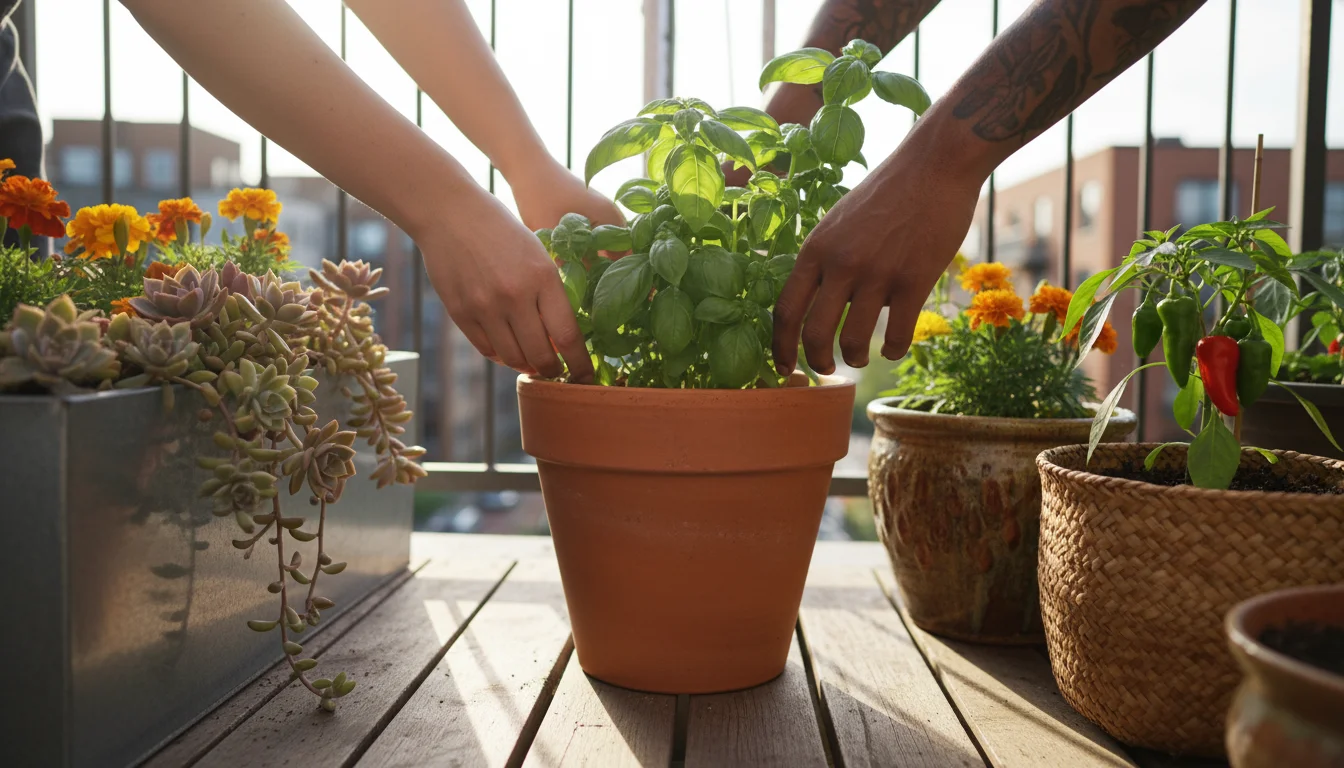
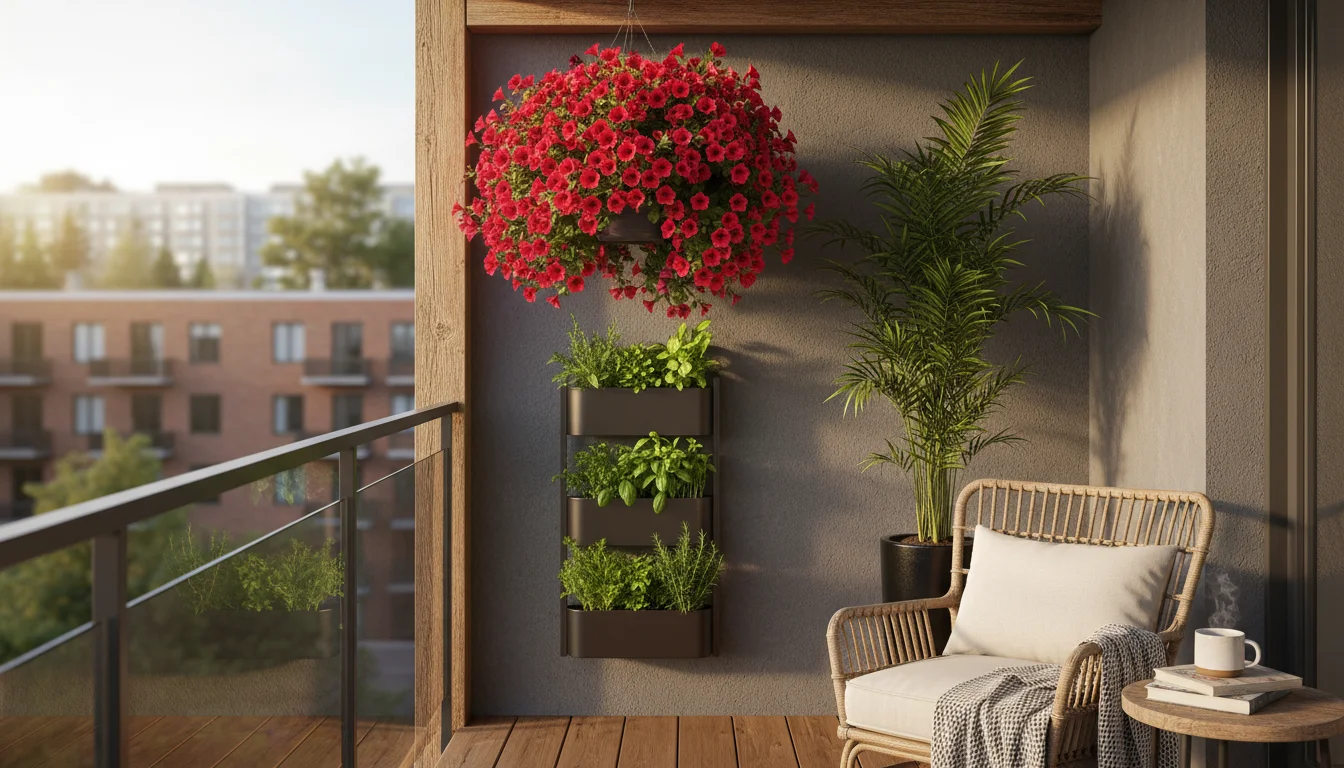
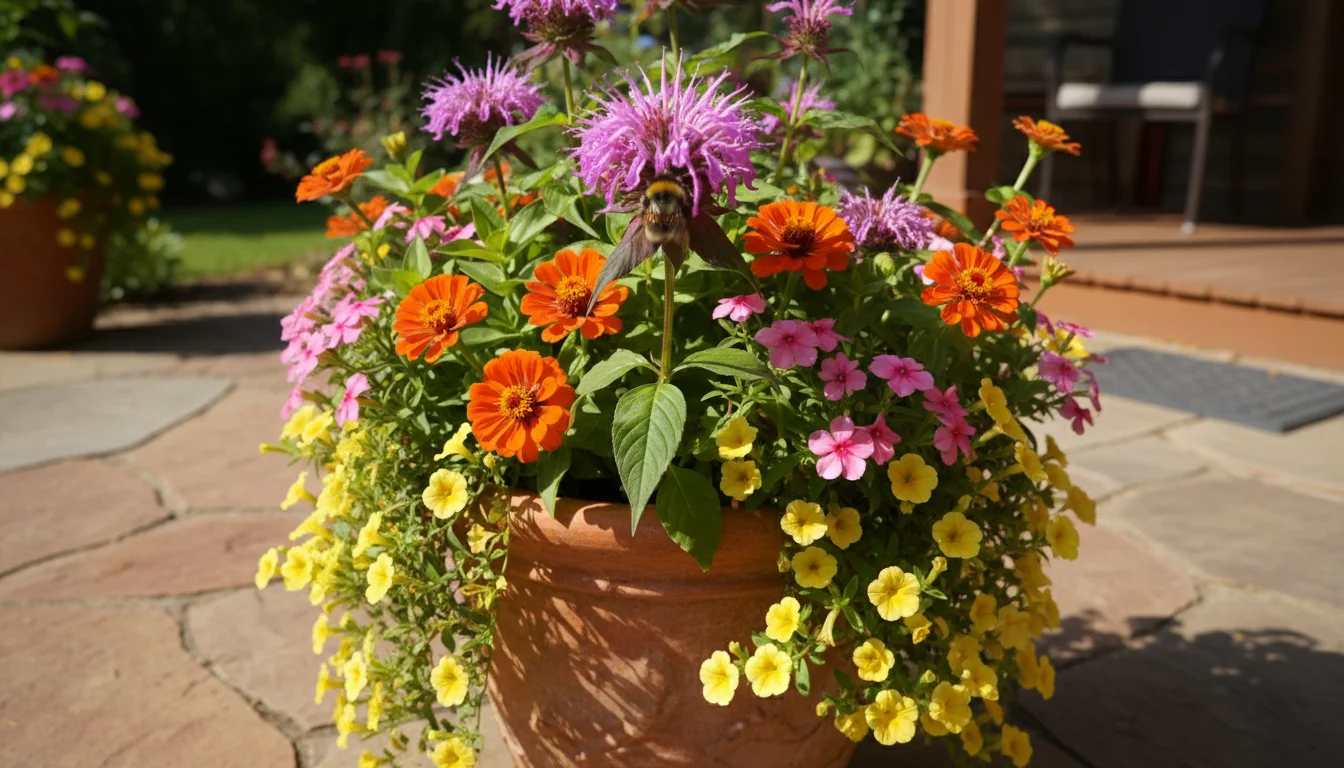
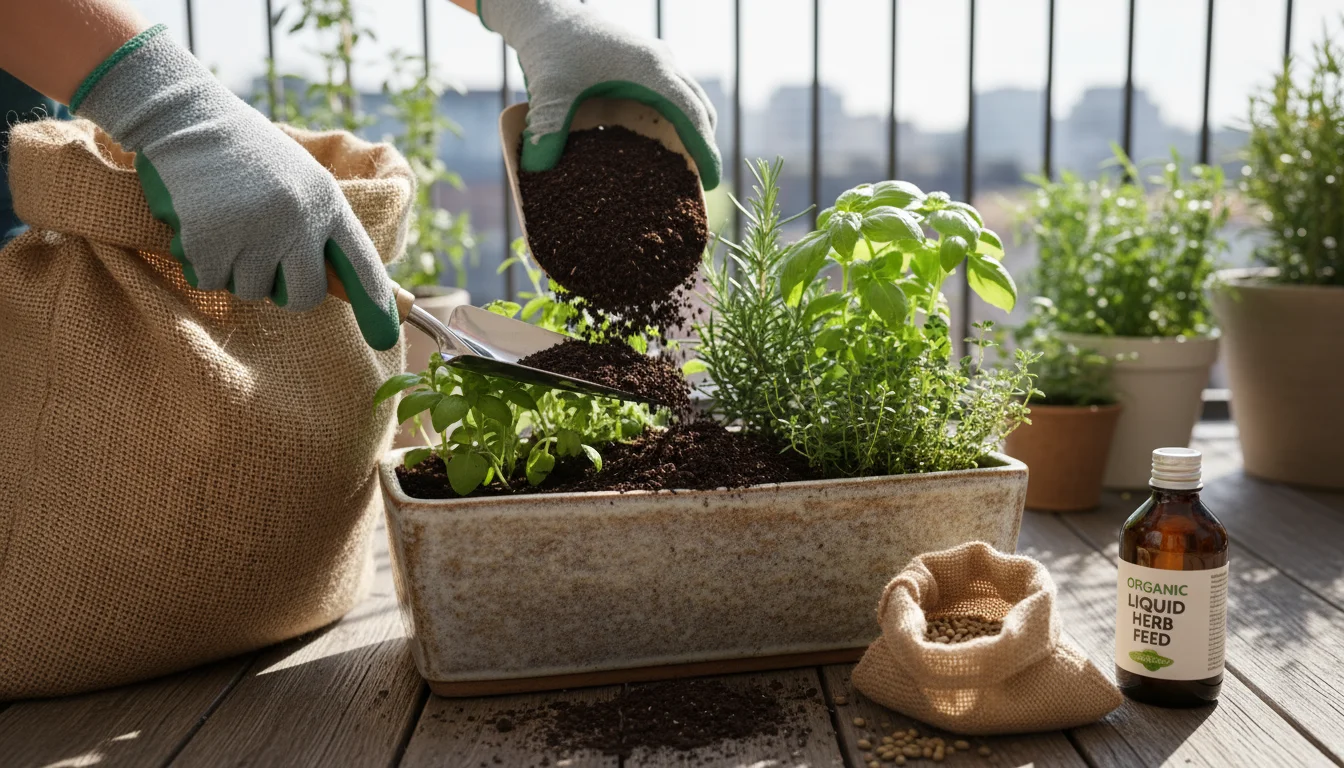
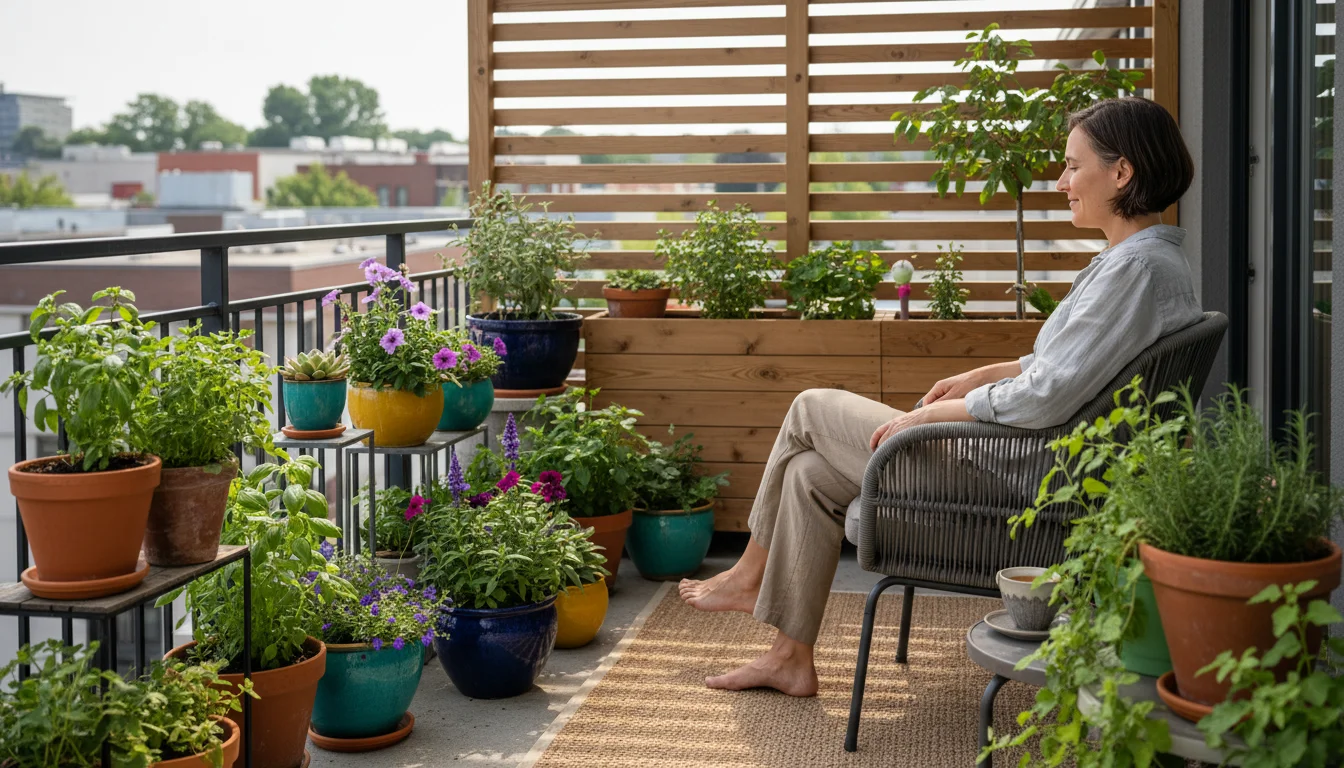
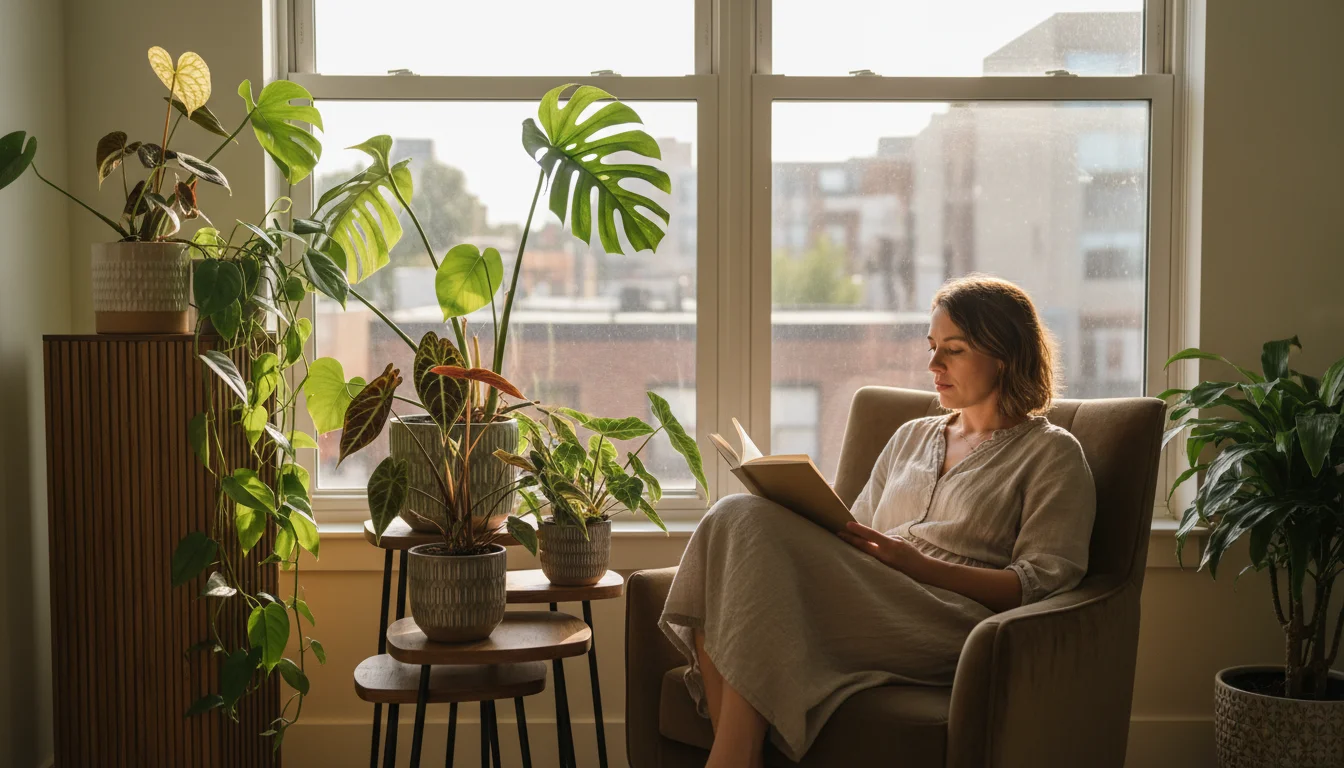
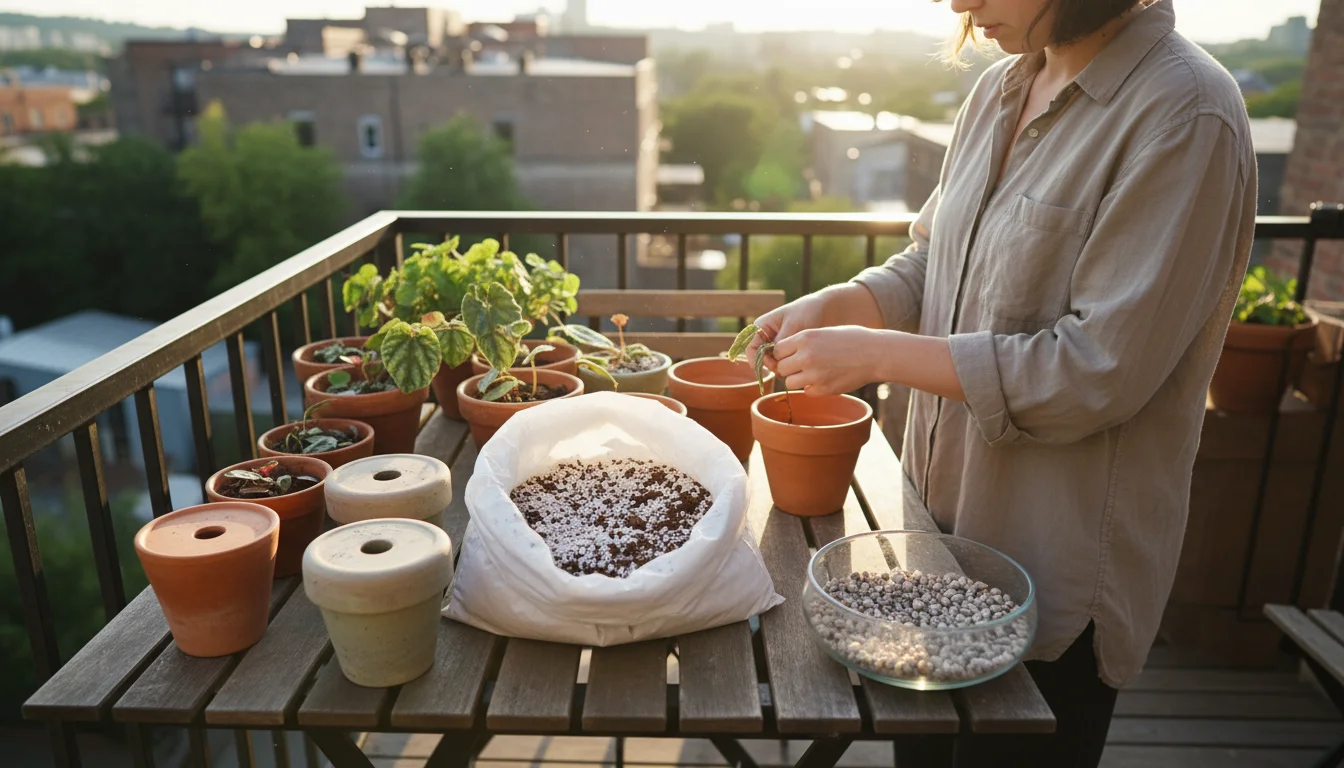
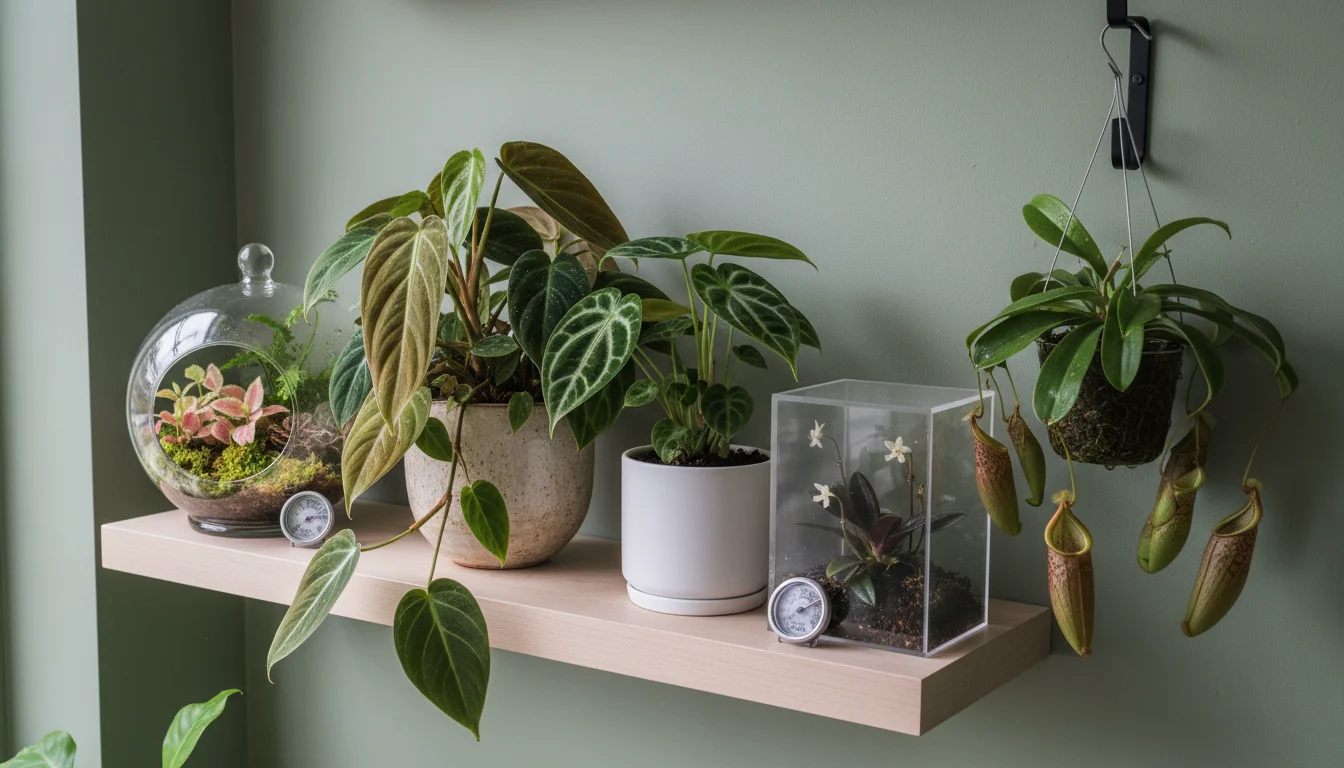
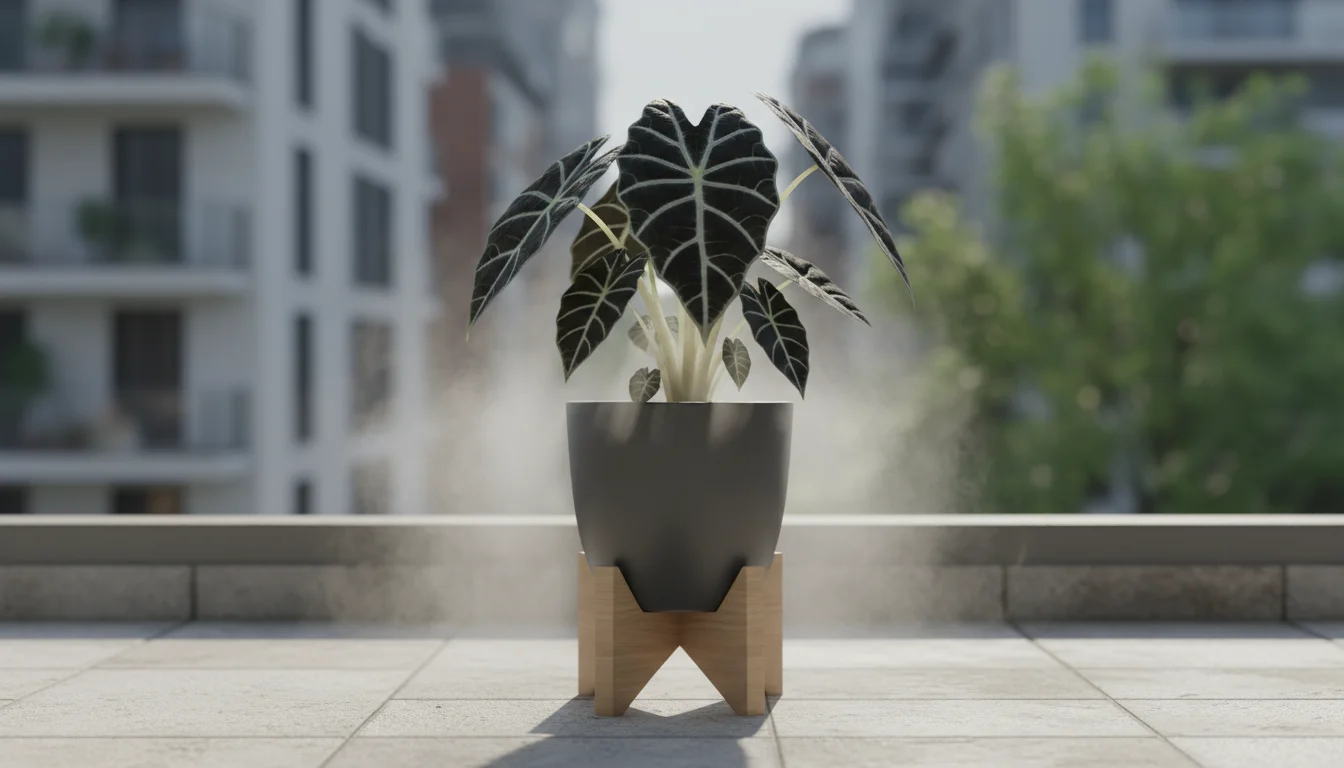
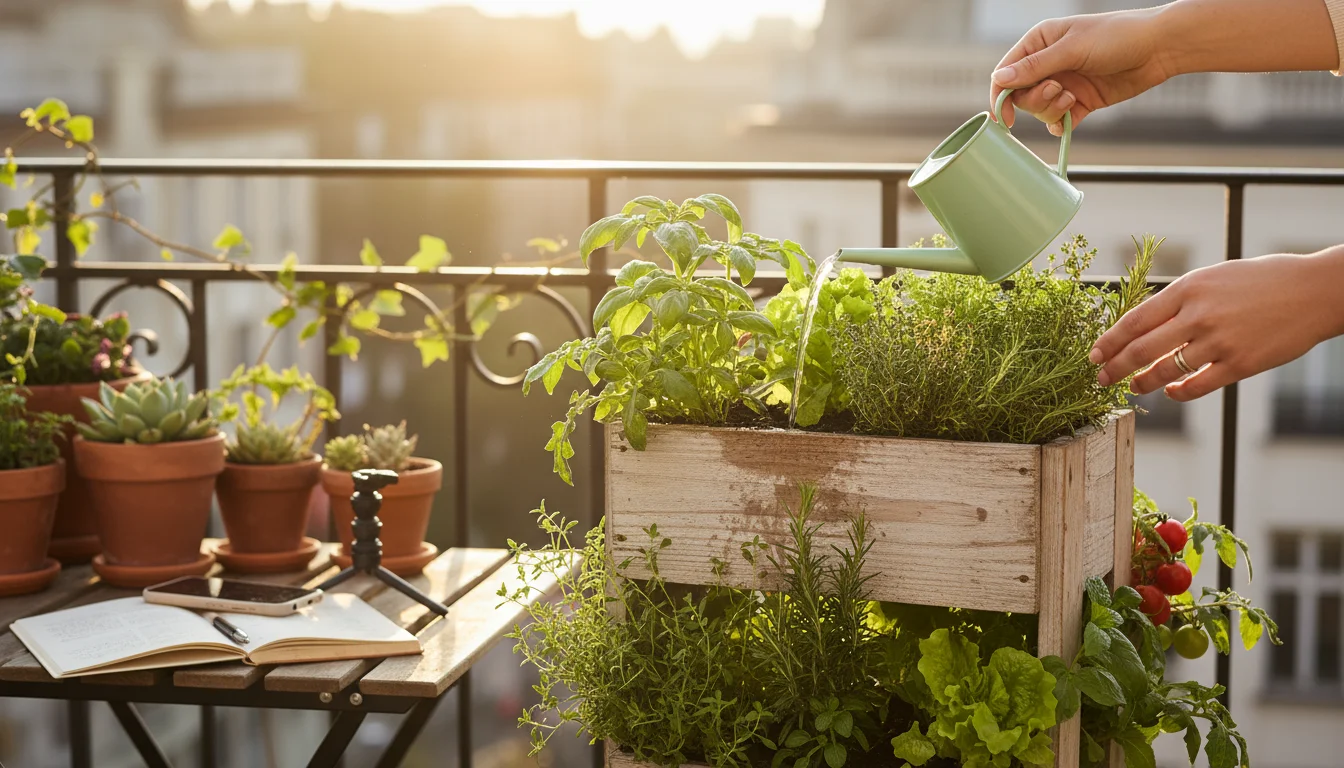
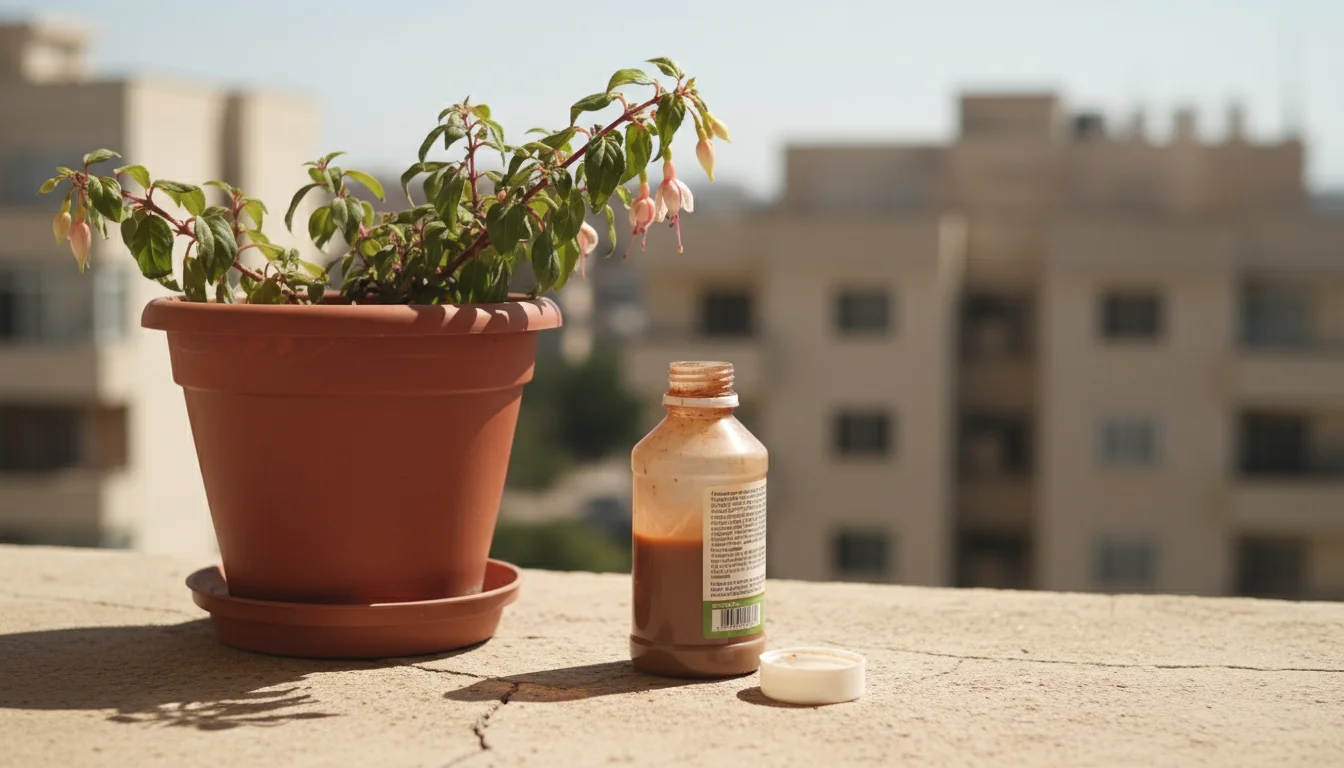
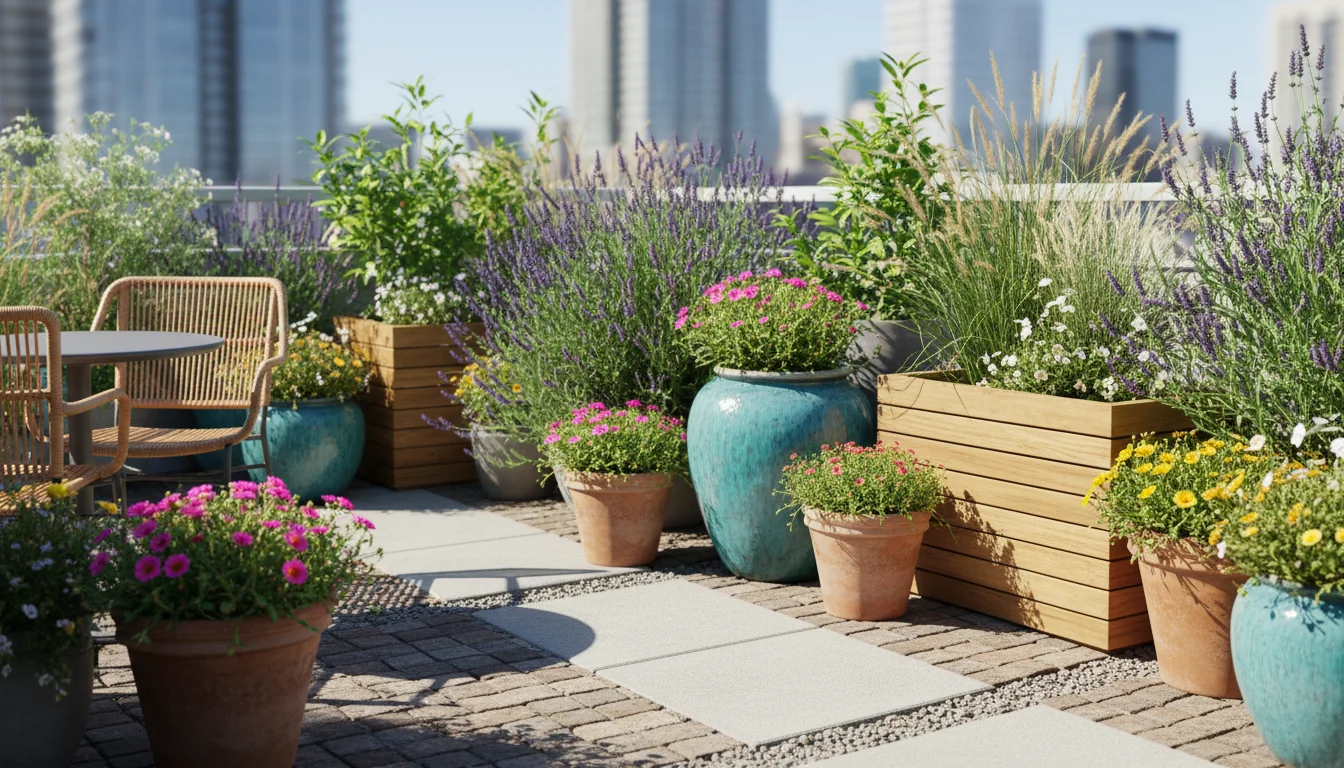
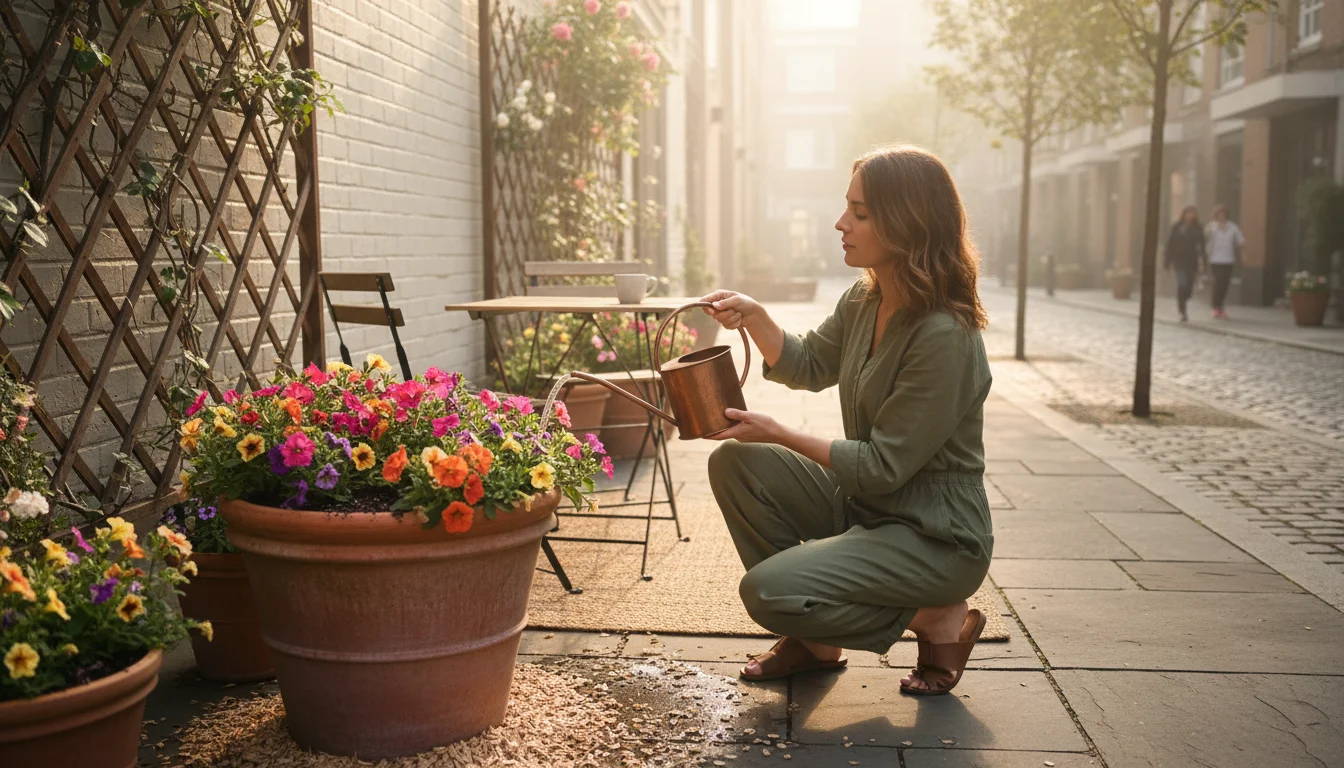
As the vibrant colors of summer gardens begin to fade, many gardeners shift their focus to preparing for cooler temperatures. You might find yourself still following the same watering habits you practiced during the scorching summer months. This common mistake, overwatering container plants as fall arrives, often leads to sad, struggling plants. Understanding how to adjust your watering schedule for cooler fall weather is crucial for the health and longevity of your potted greenery, especially in a small-space balcony garden.

Cooler temperatures, reduced sunlight, and changing plant metabolic rates significantly impact how much water your container plants need. What worked perfectly in August could drown your plants in October. This guide helps you navigate the subtle shifts required in your fall plant care, ensuring your containers thrive well into autumn and beyond. You will learn to recognize the signs of overwatering, develop an intuitive approach to checking soil moisture, and create a precise watering schedule tailored to your specific plants and environment.

Why Fall Watering Differs for Container Plants

The transition from summer to fall brings a cascade of environmental changes that directly affect your container plants’ water needs. Ignoring these shifts can quickly lead to overwatering, a far more common problem in autumn than underwatering. Here is why your watering approach must adapt:

Reduced Evaporation Rates

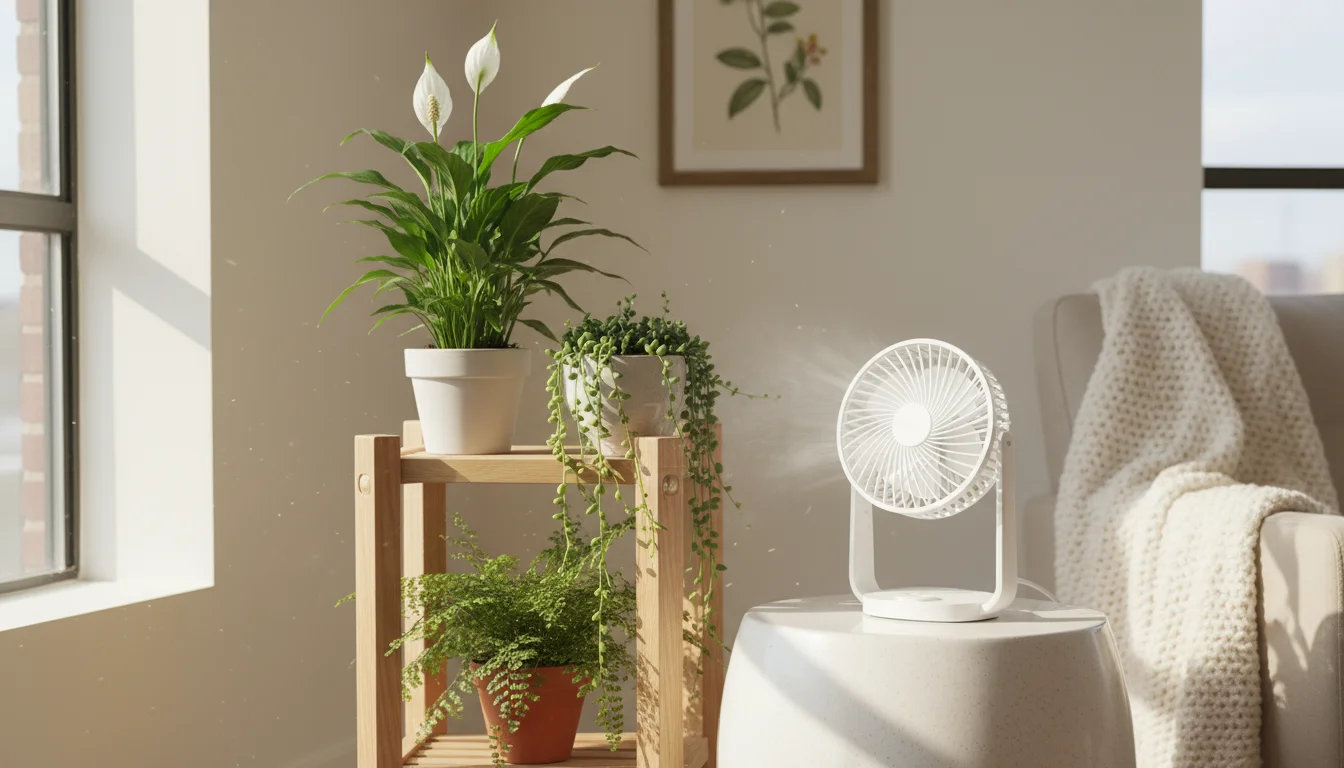
Summer’s intense heat and abundant sunshine cause water to evaporate quickly from both soil surfaces and plant leaves, a process known as transpiration. As fall settles in, temperatures drop, and the sun’s intensity diminishes. These cooler, often cloudier conditions significantly slow down evaporation. Your soil retains moisture for longer periods, meaning your plants simply do not use water as rapidly as they did during peak summer. Data from university extension services consistently shows that cooler weather can reduce soil moisture loss by 30-50% compared to summer highs, directly impacting how often to water pots in the fall.

Shorter Days and Less Sunlight

Daylight hours shorten dramatically in fall. Plants rely on sunlight for photosynthesis, the process by which they convert light energy into food. Less light means less active photosynthesis. When photosynthesis slows, plants use less water. Imagine a factory operating at half capacity, it requires less fuel. Similarly, your plants become less “thirsty” as the days grow shorter.

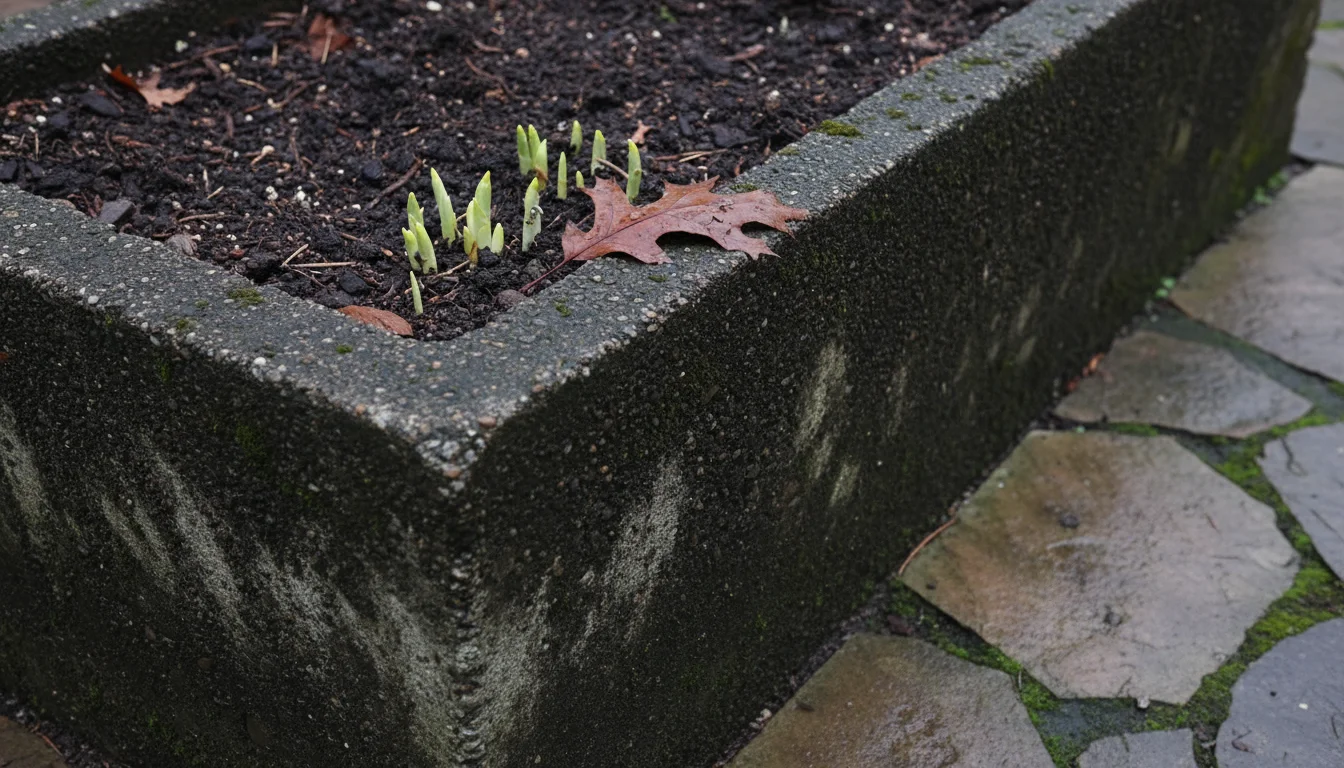
Plant Dormancy and Slowed Growth

Many plants enter a period of reduced growth or even dormancy as autumn progresses, preparing for winter. During this phase, their metabolic rate decreases substantially. They are not actively producing new leaves or flowers at the same pace, so their water consumption drops. Perennials and many shrubs in containers, for example, will naturally slow down their internal processes, signaling a need for less frequent watering. Deciduous plants may even drop their leaves, further reducing their water requirements as there are fewer surfaces for transpiration.

Increased Risk of Root Rot

Overwatering in cooler conditions poses a serious threat: root rot. When soil stays consistently wet, especially with lower evaporation, the roots sit in standing water. This deprives them of oxygen, essential for their survival. Without oxygen, roots cannot absorb nutrients or water, ironically causing the plant to show symptoms similar to underwatering, such as wilting. The lack of oxygen also creates an anaerobic environment, perfect for the proliferation of harmful fungi and bacteria that attack and decay roots. Once root rot takes hold, it is challenging to reverse, often proving fatal for the plant. This makes preventing overwatering a primary concern for fall plant care.

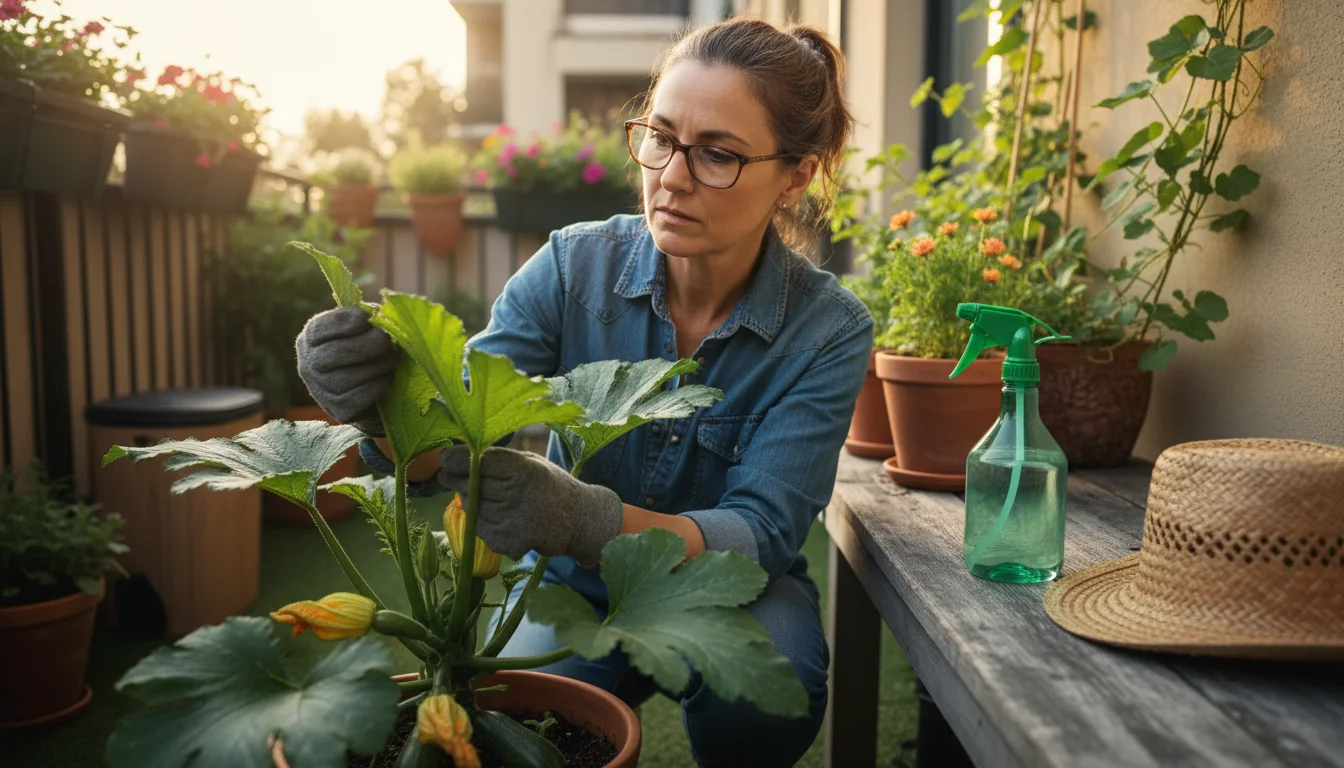
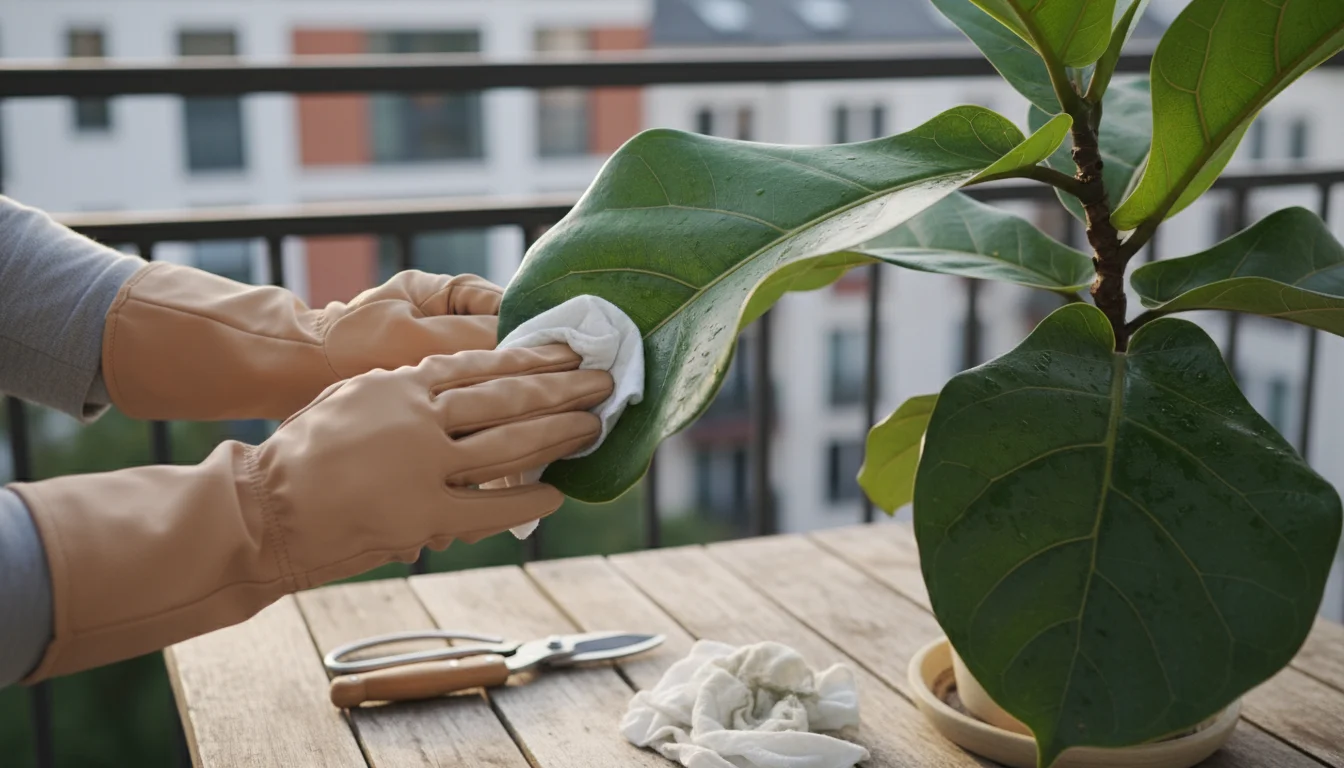
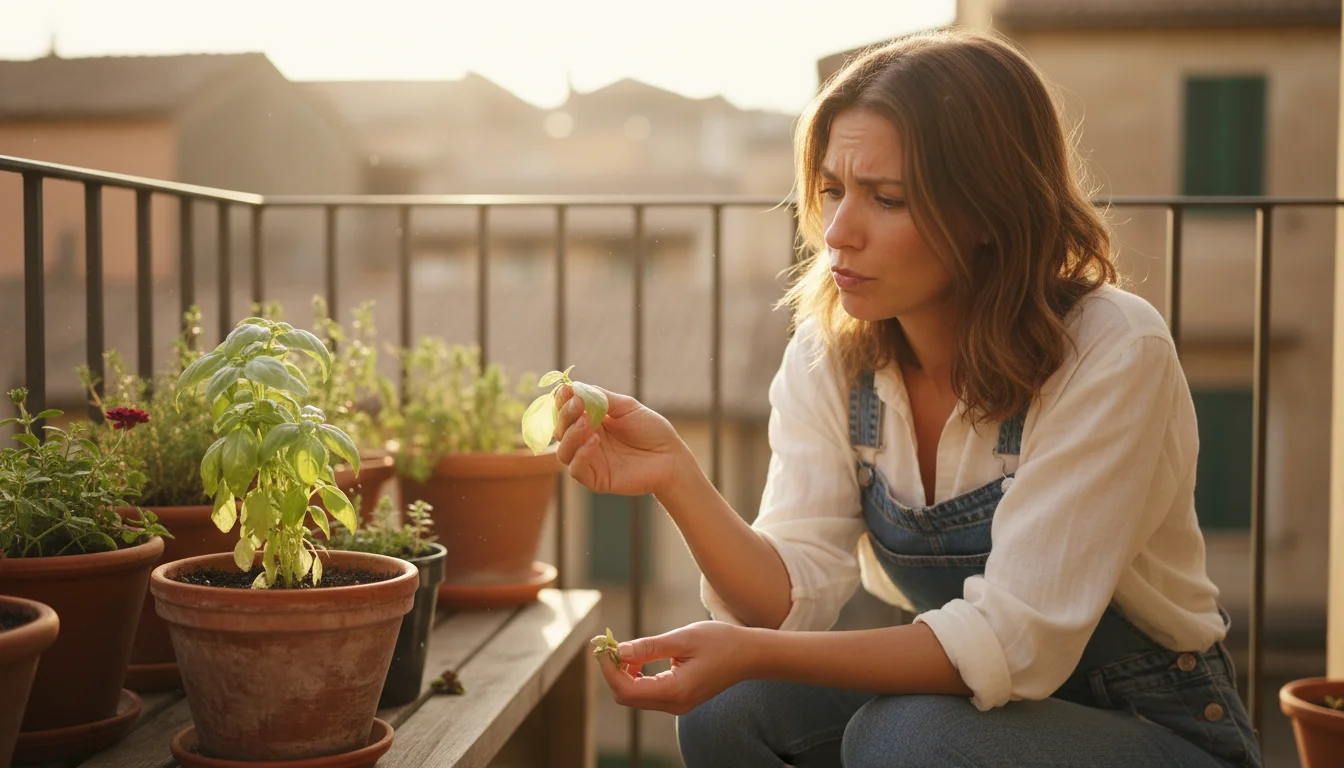
Identifying Overwatering Symptoms in Cool Weather

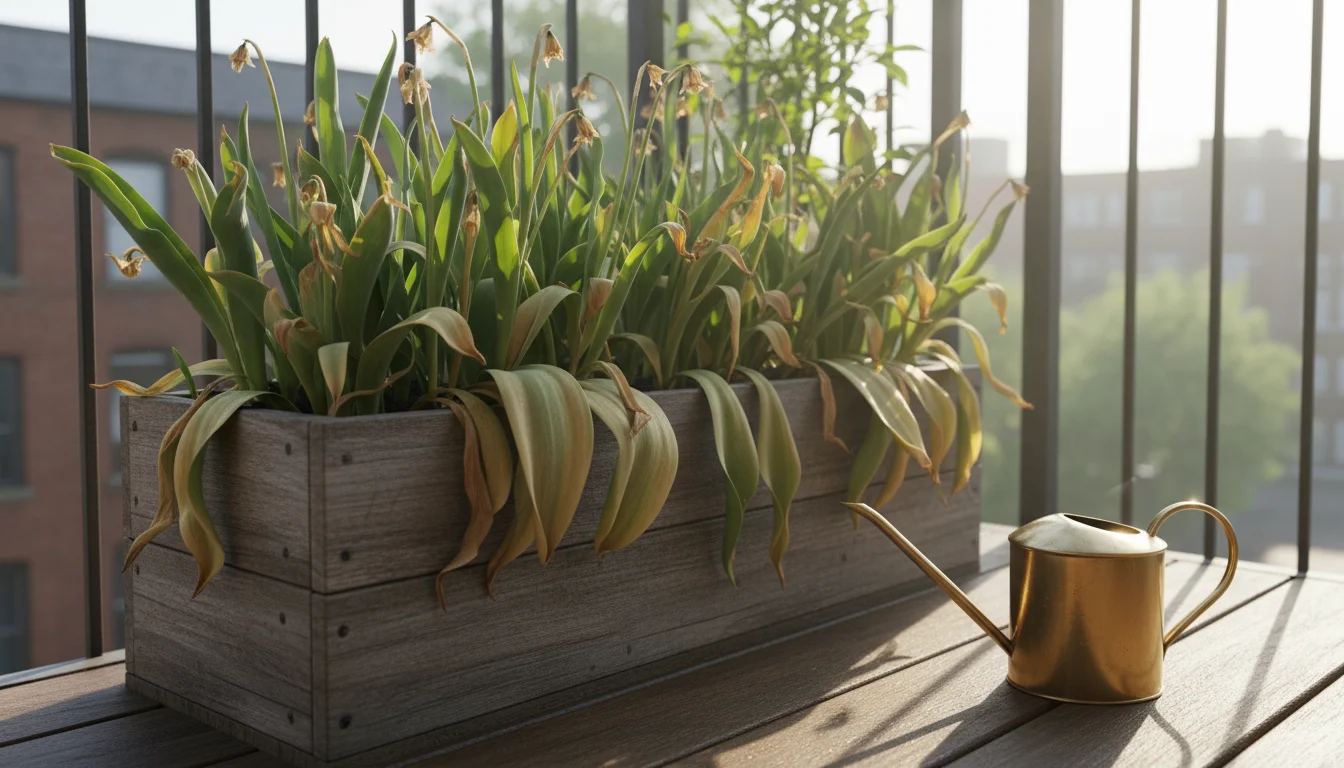
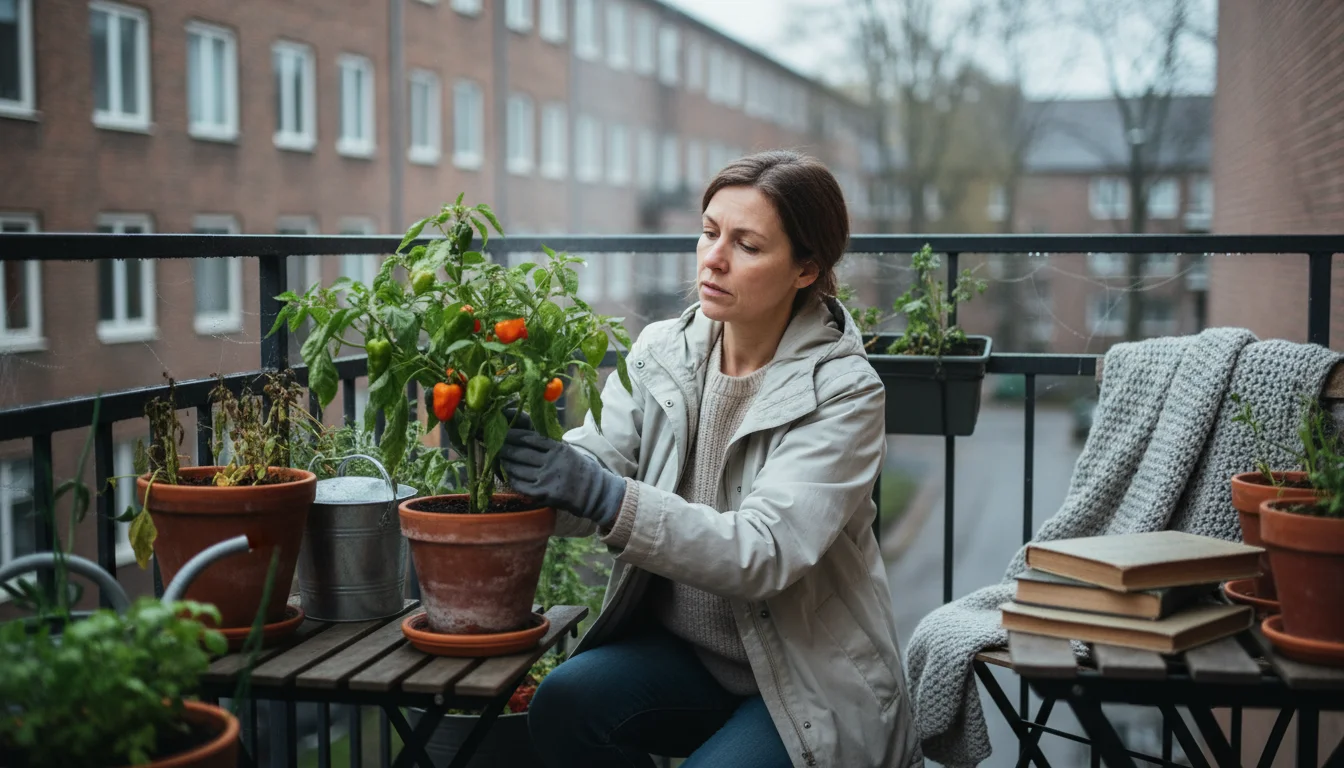
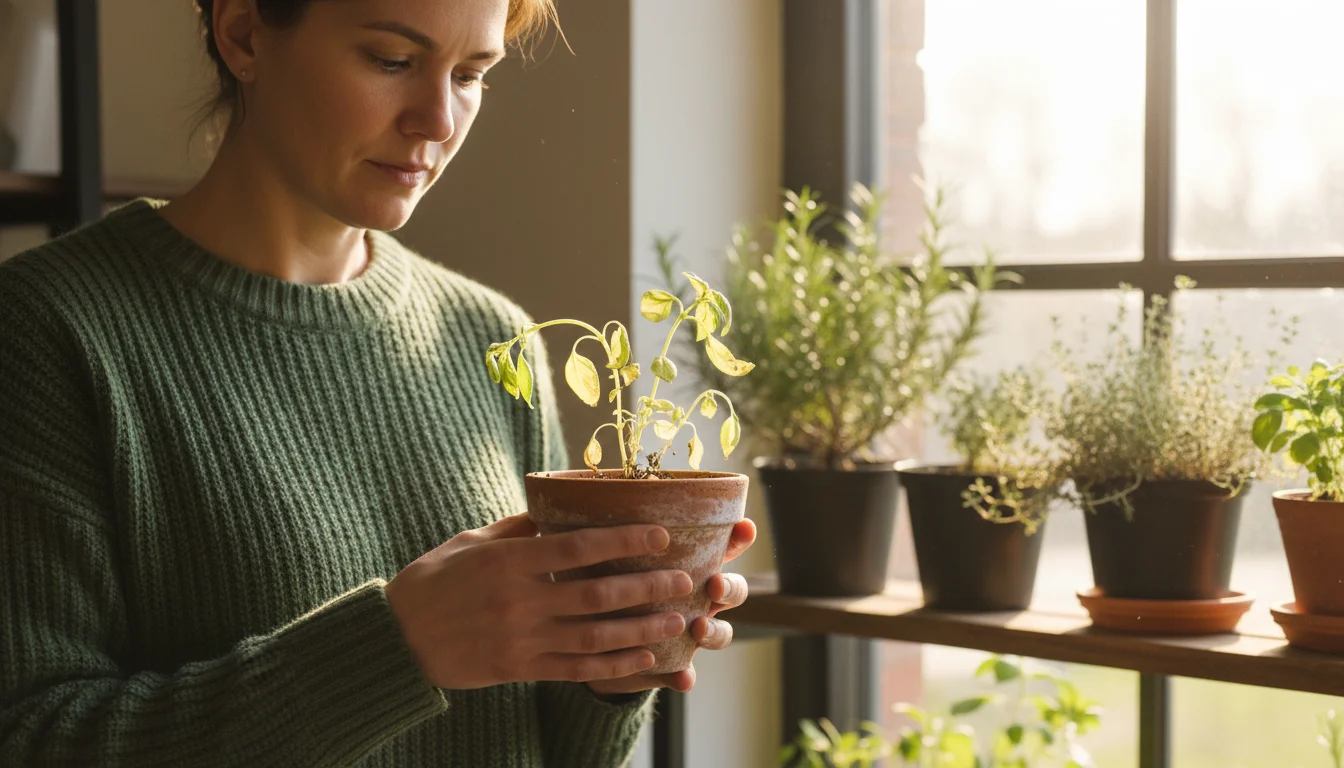
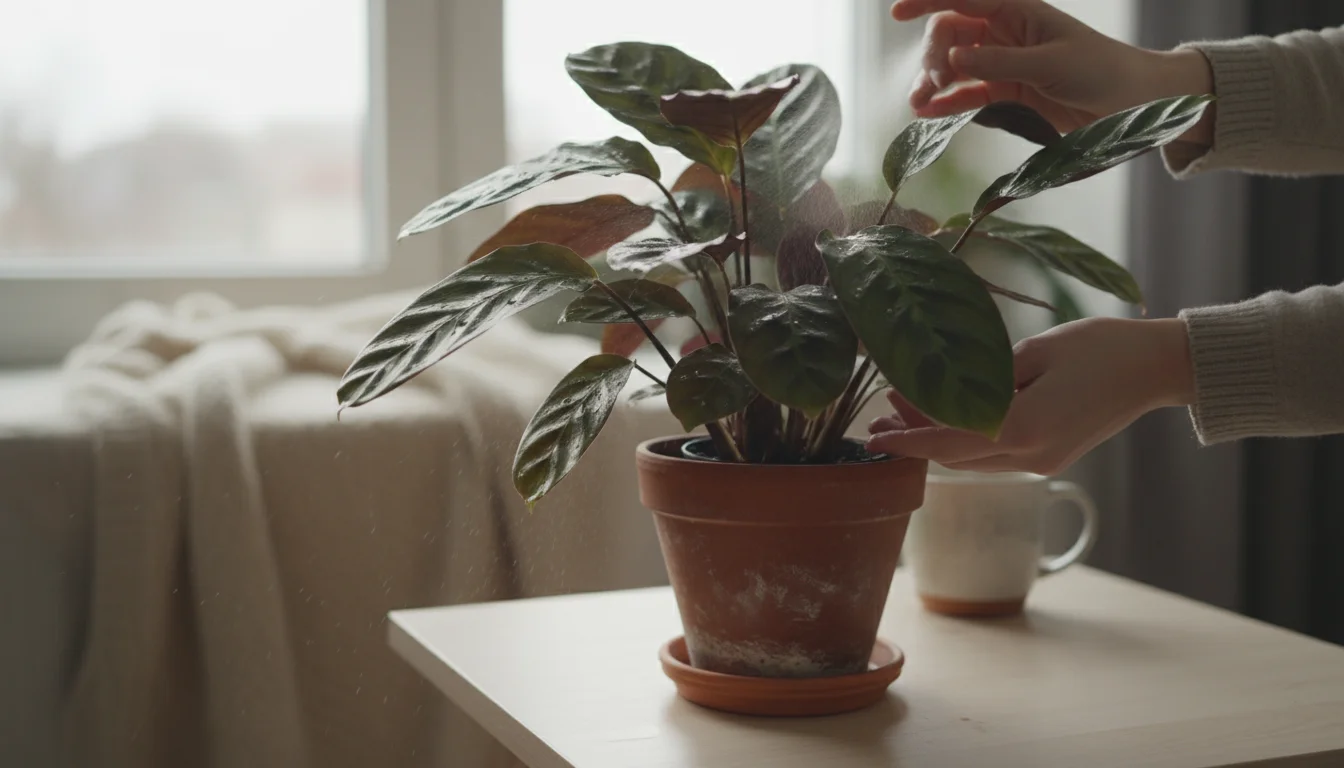
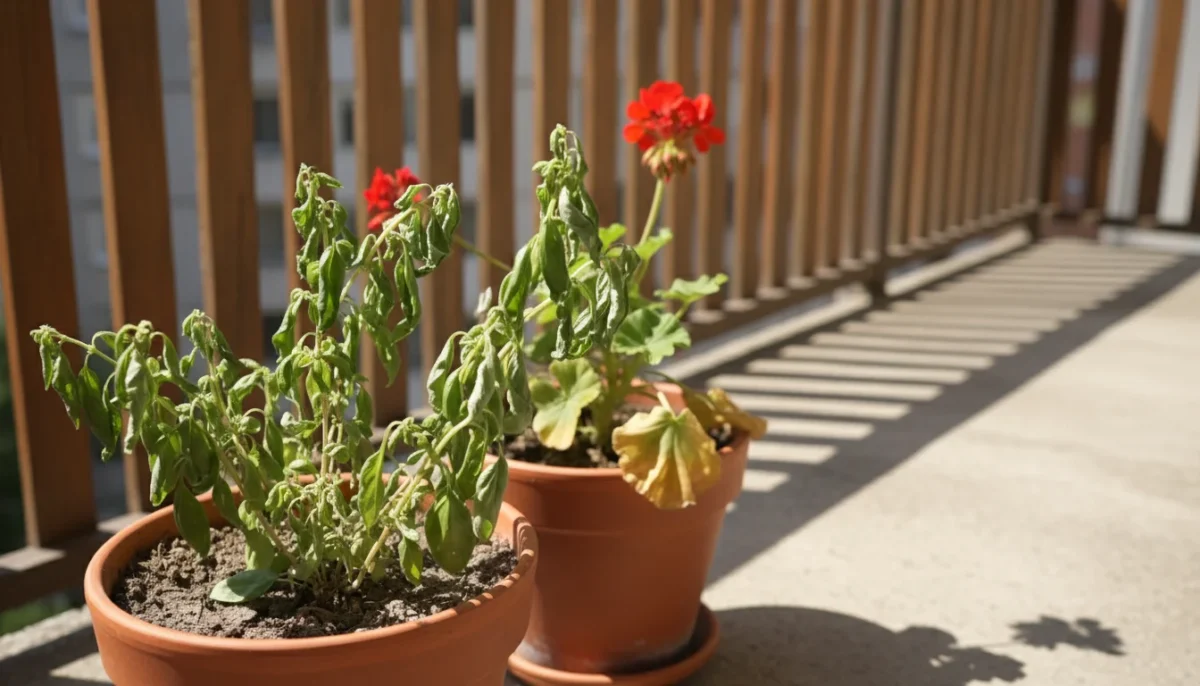
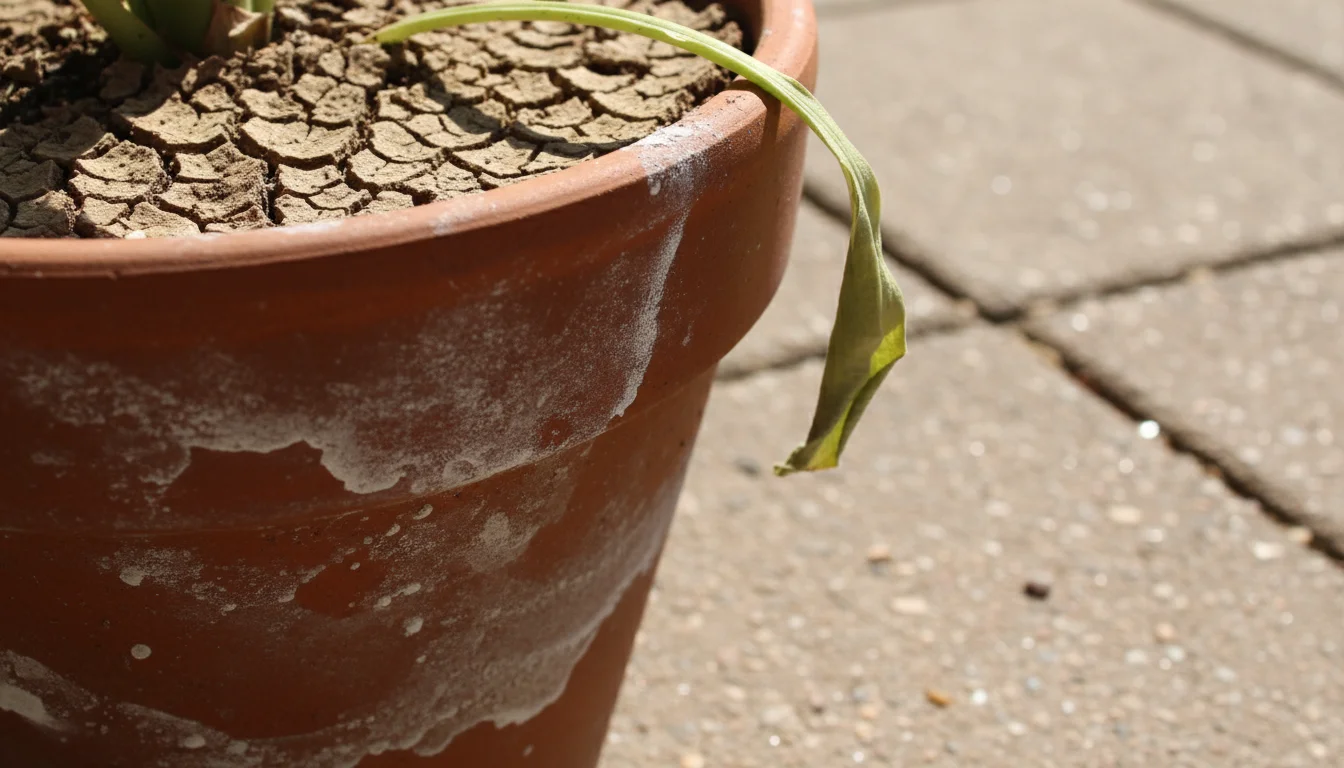
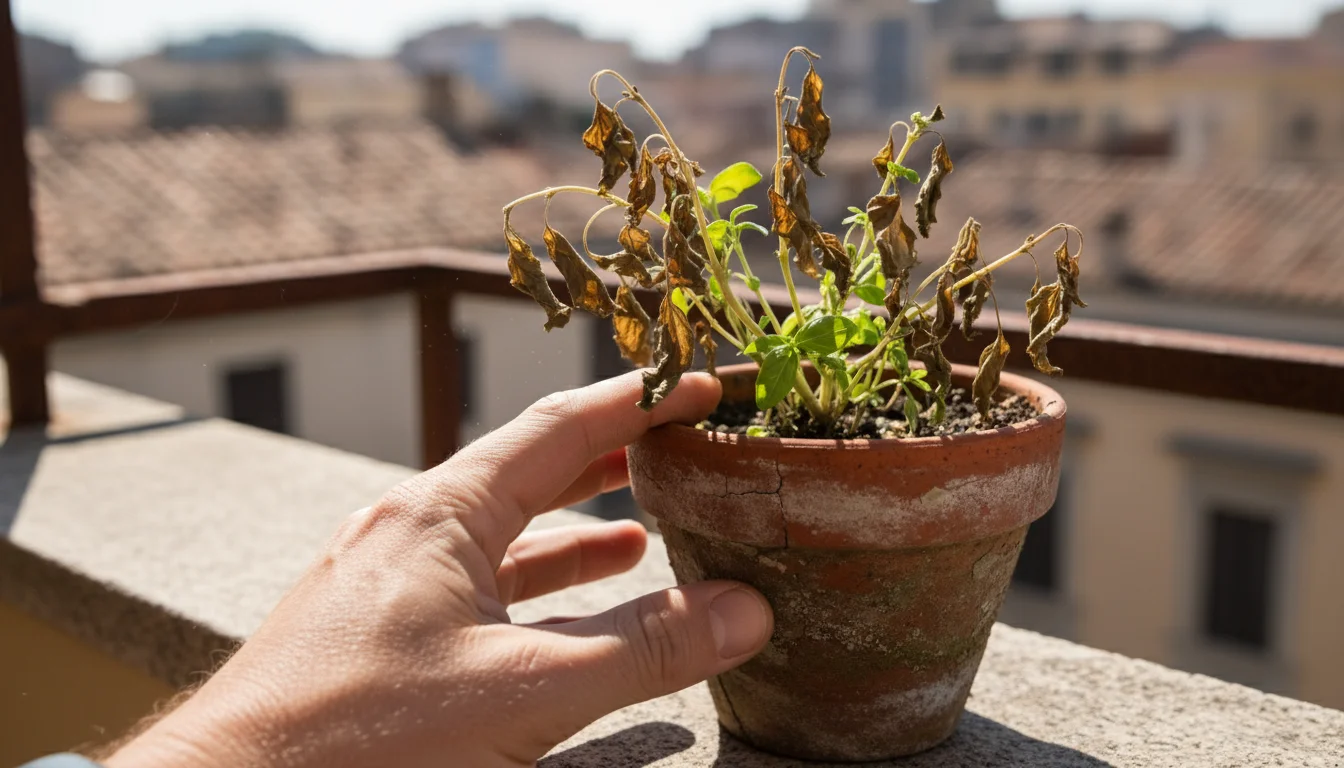
Recognizing the signs of overwatering is your first line of defense against root rot and plant decline. Many overwatering symptoms can mimic underwatering, making diagnosis tricky. However, specific indicators, especially when combined with cool weather and a moist soil profile, point clearly to excess water. Knowing these specific signs of overwatering in cool weather ensures you address the problem promptly.

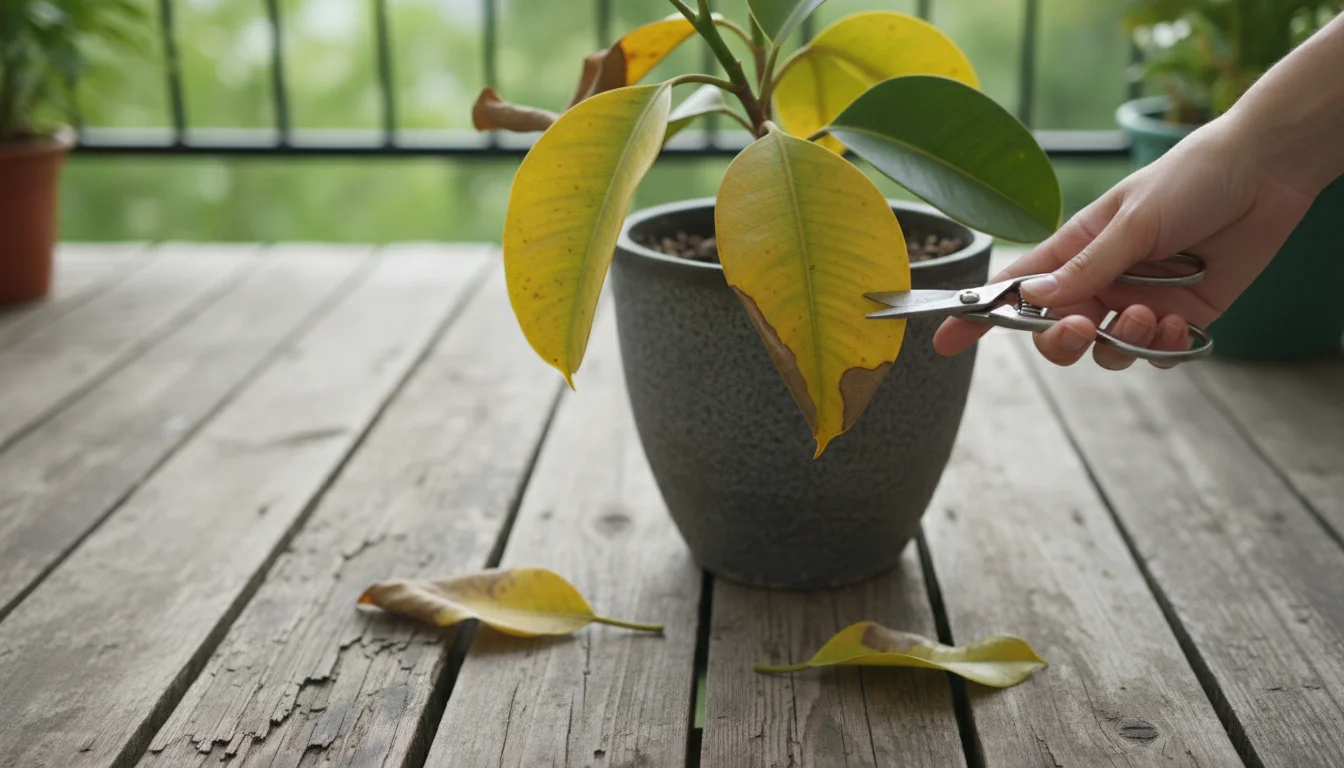
  • Wilting, Yellowing Leaves: This is the most common and often confusing symptom. Both overwatered and underwatered plants wilt. With overwatering, however, the leaves typically turn yellow before wilting, and they often feel soft and limp, not crispy. The yellowing usually starts with lower leaves and progresses upwards. This happens because roots, starved of oxygen, cannot transport water and nutrients effectively to the foliage.
  • Stunted Growth or Lack of New Growth: If your plant looks like it has stopped growing or new leaves appear small and weak, overwatering might be the culprit. The root system is stressed and cannot support healthy top growth.
  • Edema: This symptom involves small, blister-like swellings or bumps on the leaves, usually on the undersides. It occurs when a plant takes up more water than it can transpire, causing cells to burst. These bumps might turn brown or corky over time. This is a clear indicator of too much moisture.
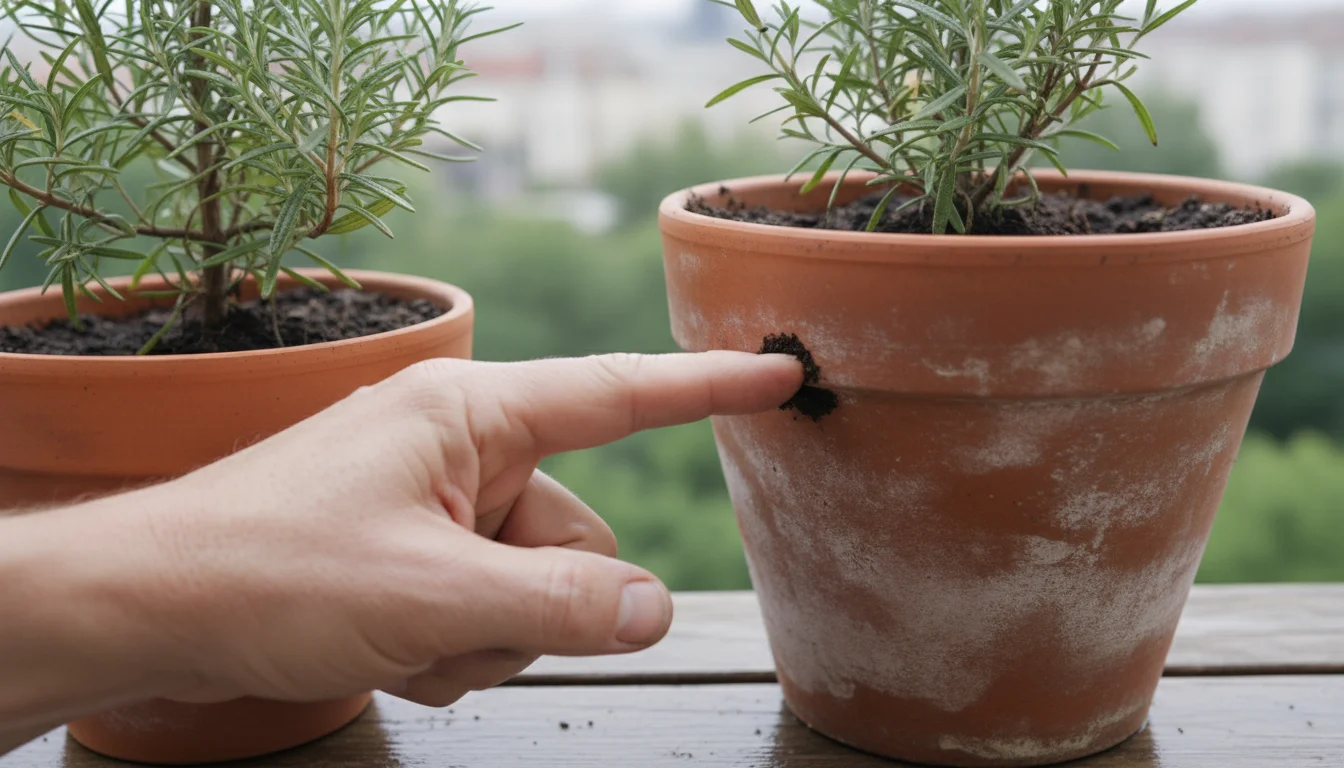
  • Foul Odor from Soil: If you detect a musty, sour, or rotten smell emanating from the soil, it is a strong sign of anaerobic conditions and potential root rot. This odor results from decaying organic matter and the proliferation of harmful bacteria due to lack of oxygen.
  • Mold or Algae Growth on Soil Surface: A green, fuzzy, or white layer on the soil surface indicates consistent excessive moisture. While not always harmful to the plant directly, it confirms that your soil is staying wet for too long, creating an environment ripe for root issues.
  • Leaves Turning Brown and Falling Off: Unlike the crispy brown leaves of an underwatered plant, overwatered leaves often turn brown and mushy, sometimes with dark spots, before dropping off. This decay is a direct result of cellular breakdown from too much water and oxygen deprivation.
  • Soft, Mushy Stem Base: If the base of your plant’s stem feels soft, mushy, or discolored (darker than usual), this is a critical sign of stem rot, which frequently accompanies root rot from overwatering. This indicates advanced damage.

When you observe these signs, first check the soil moisture deeply. If the soil is wet several inches down and you see these symptoms, you are likely dealing with overwatering. Adjusting your watering container plants routine immediately can save your plant.

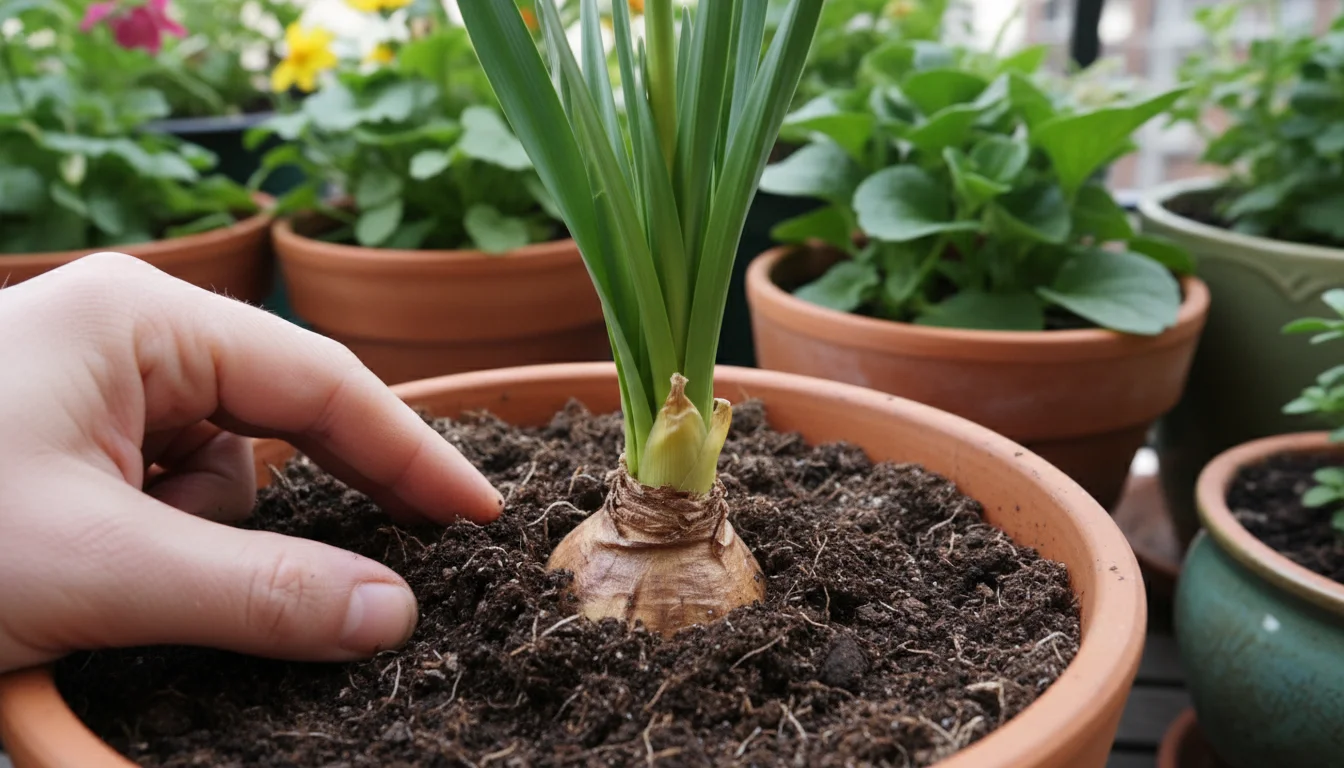
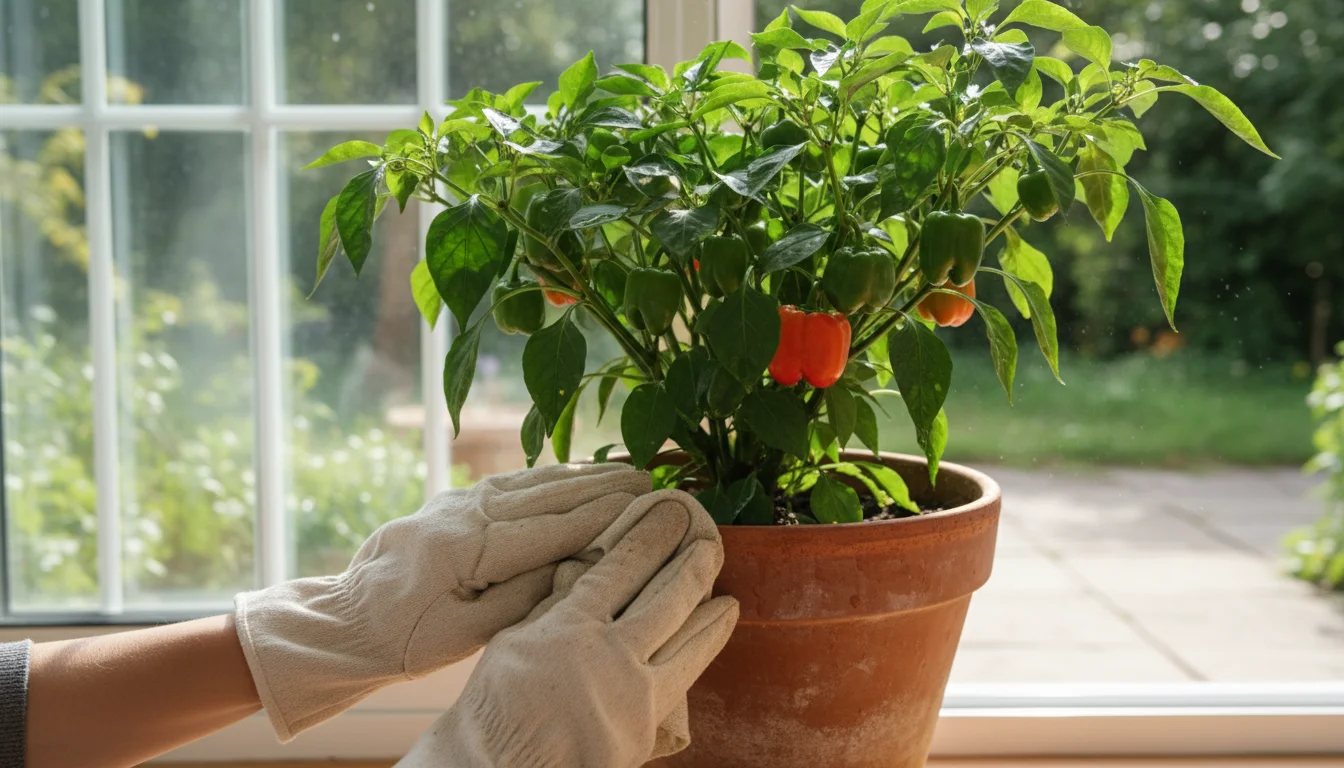
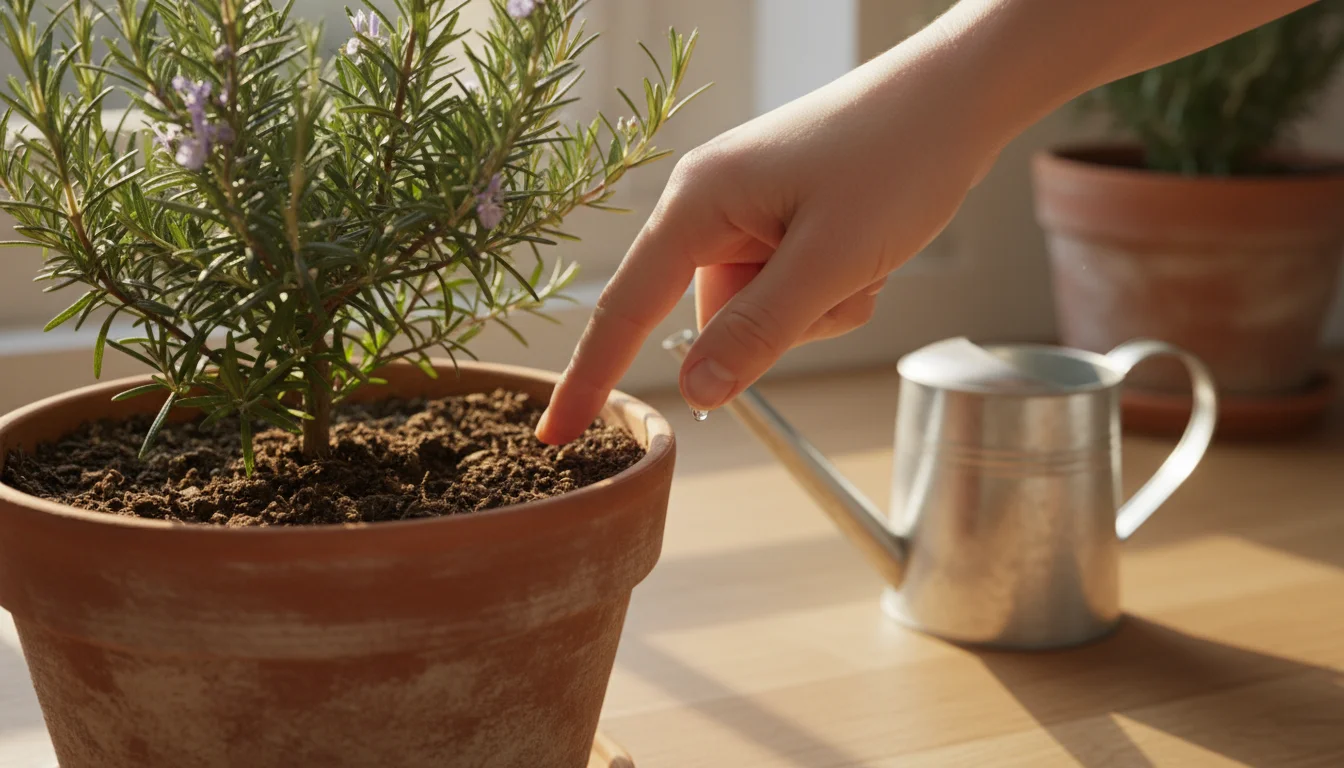
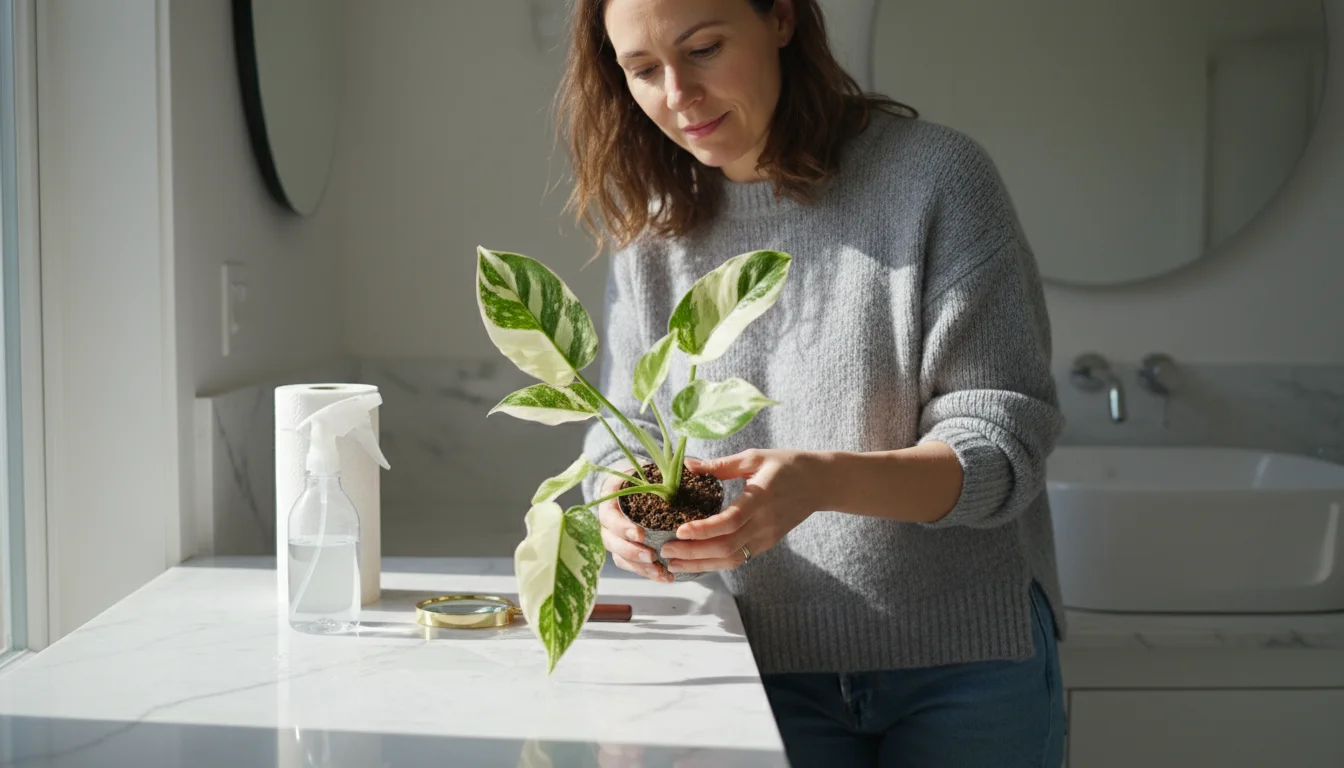
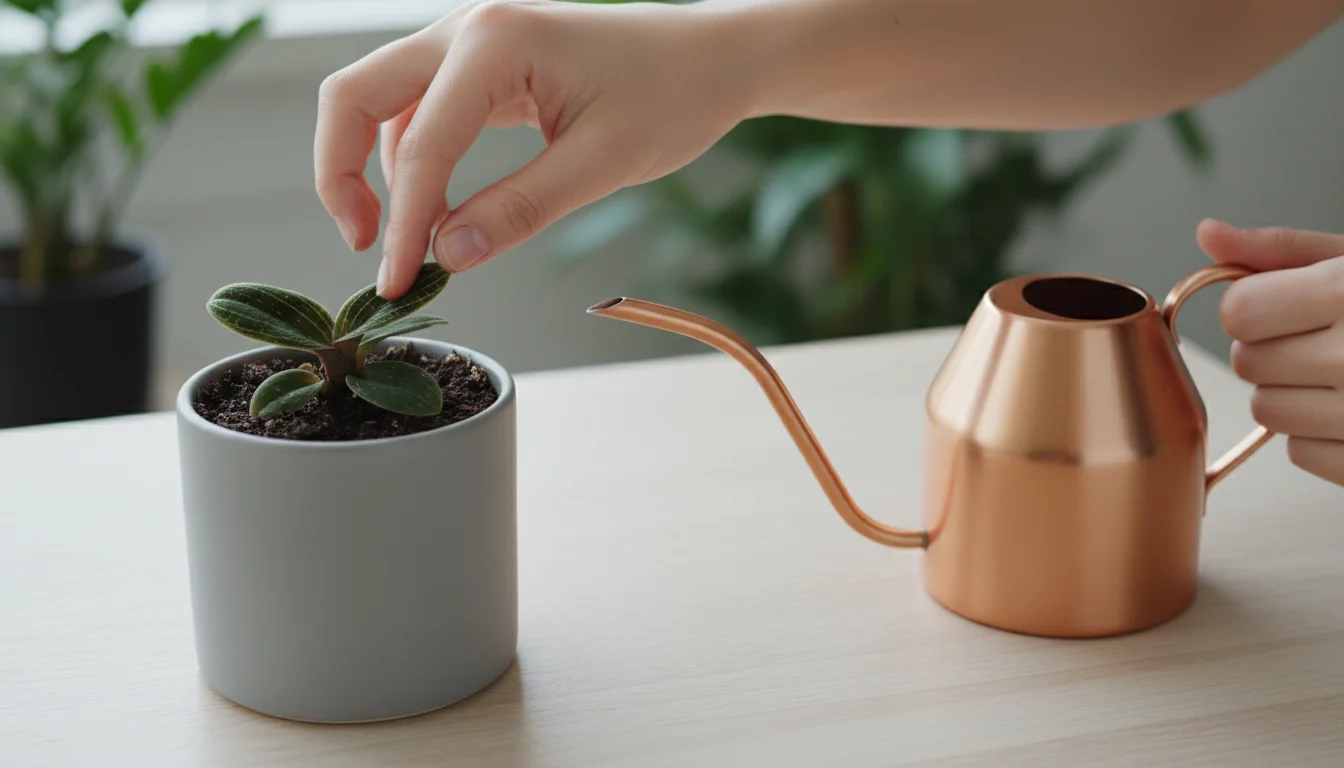
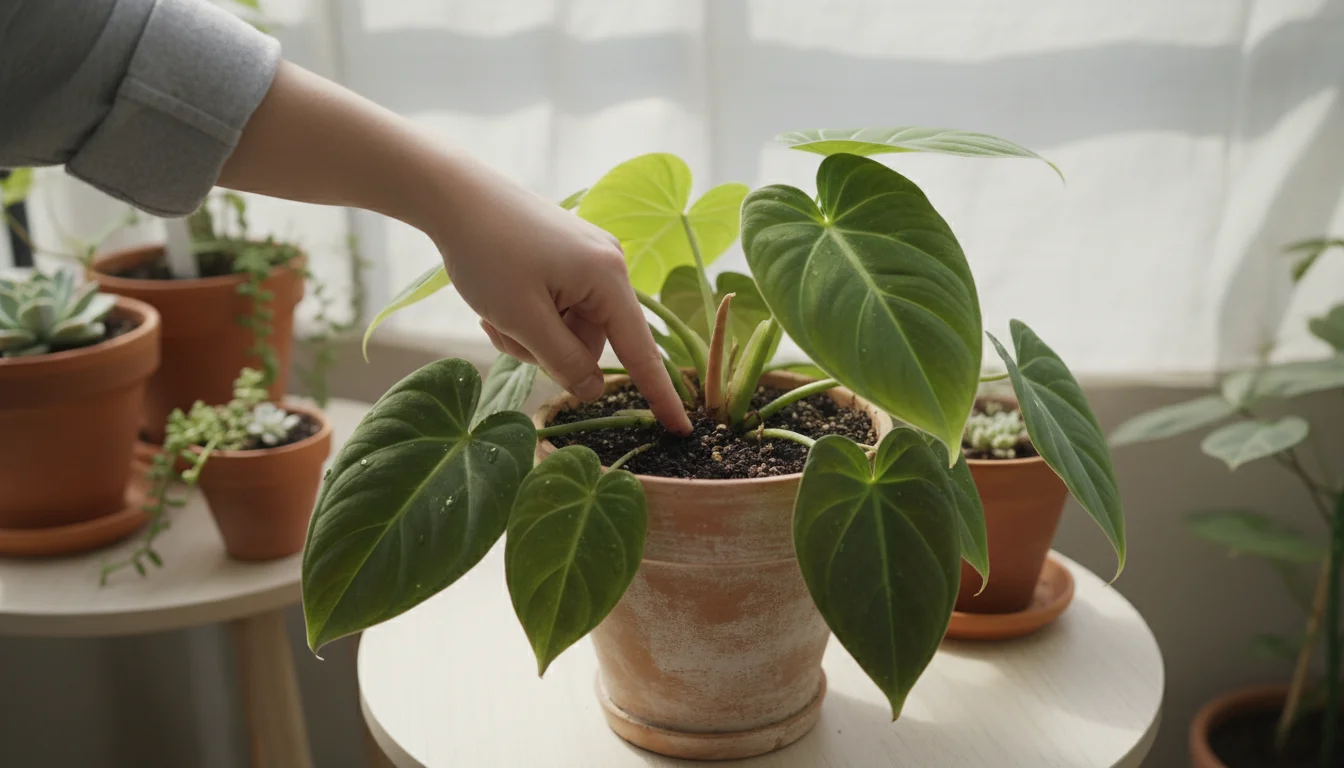
The Finger Test: Your Best Tool for Soil Moisture Assessment

Forget rigid watering schedules. The most reliable method for determining when your container plants need water in fall is the “finger test.” This simple, tactile approach allows you to assess the actual moisture level deep within the soil, giving you an accurate picture of your plant’s needs. It takes the guesswork out of how often to water pots in the fall.

Here is how to perform the finger test effectively:

  1. Insert Your Finger: Gently push your index finger about two inches (5 cm) deep into the soil. For smaller pots, one inch might suffice. You need to feel beyond the surface, as the top layer often dries out more quickly than the soil deeper down.
  2. Assess the Moisture:

    • If the soil feels dry and crumbly: Your plant likely needs water. This indicates that the moisture reservoir in the root zone is depleted.
    • If the soil feels cool and slightly damp: Wait a day or two. The plant still has sufficient moisture. Remember, in fall, “slightly damp” is often ideal, as excessive moisture leads to problems.
    • If the soil feels wet, muddy, or clings heavily to your finger: Do not water. Your plant is already saturated, and adding more water will lead to overwatering. This is a critical observation, especially in cool weather.
  3. Repeat Regularly: Make the finger test a routine. Check your plants every few days, even daily during the first week of adjusting your watering schedule. This builds your intuition and helps you understand each plant’s specific rhythm.

This method provides a direct measurement of what your plant experiences. It accounts for all variables affecting soil moisture, such as container size, soil type, plant species, and ambient weather conditions. While some gardeners use moisture meters, the finger test remains a universally accessible and highly accurate method for determining actual soil dampness, crucial for effective fall plant care.

Factors Influencing Your Fall Watering Schedule

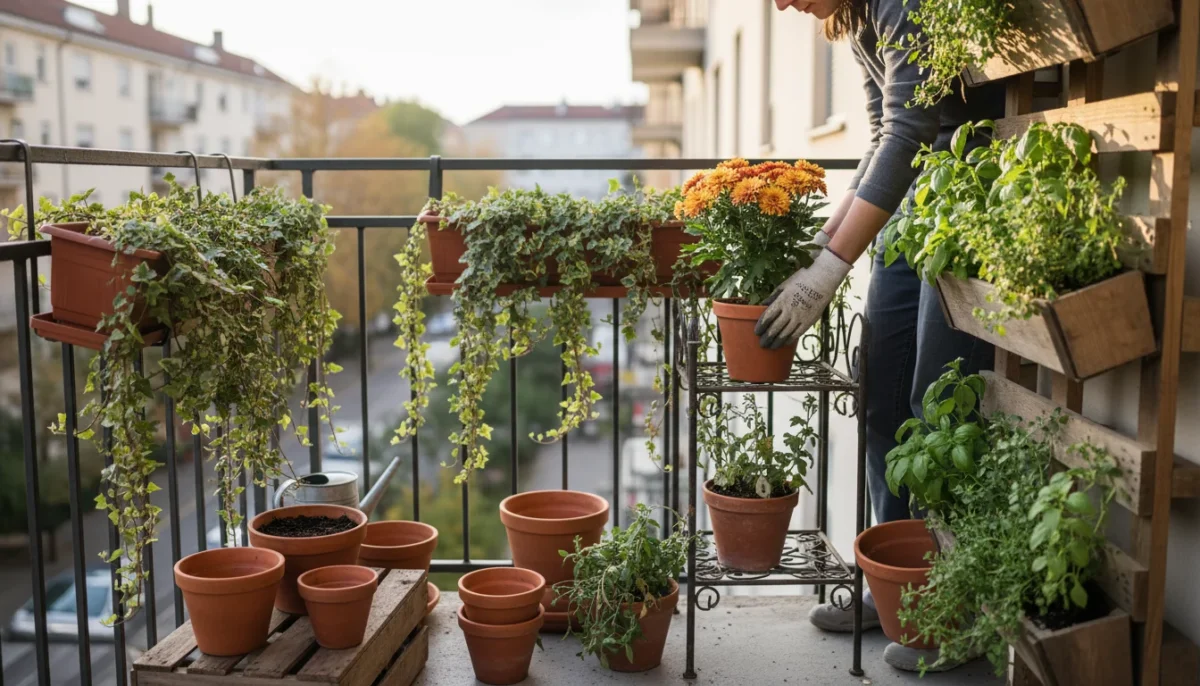
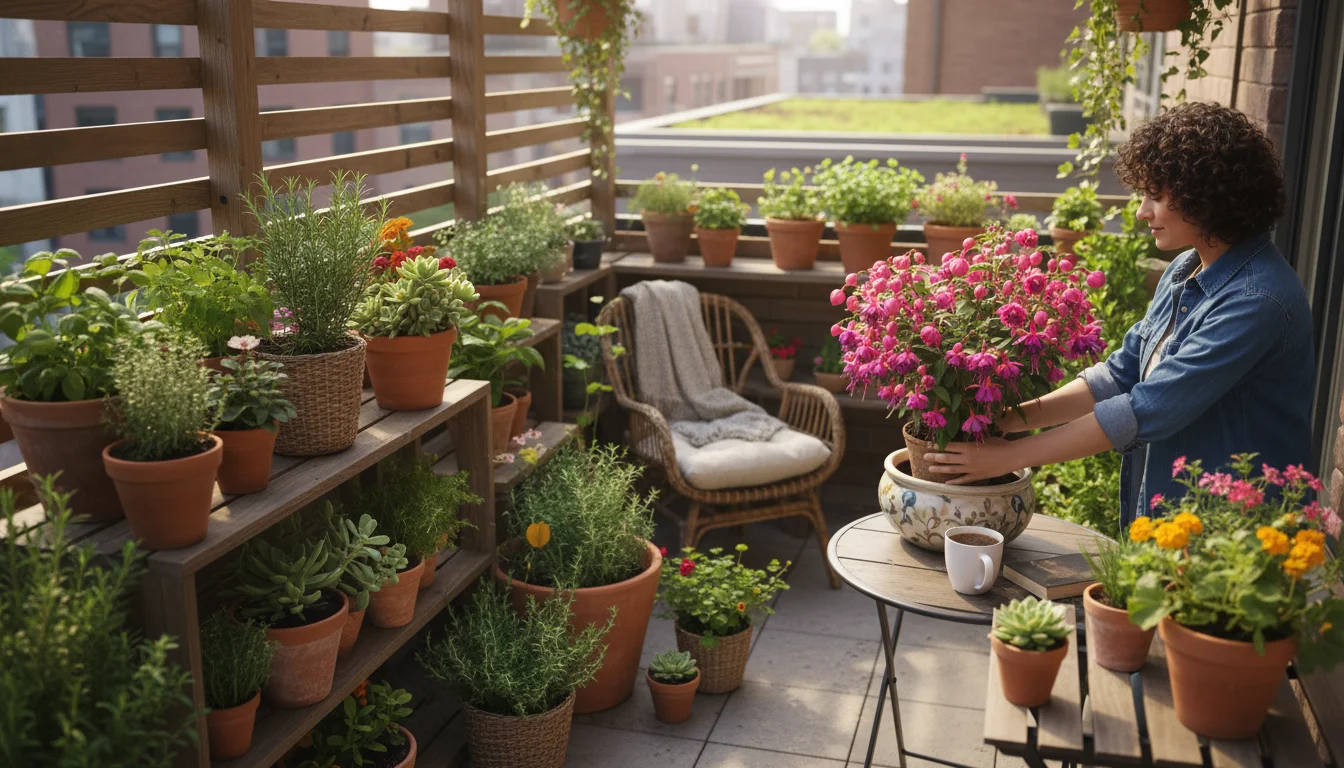
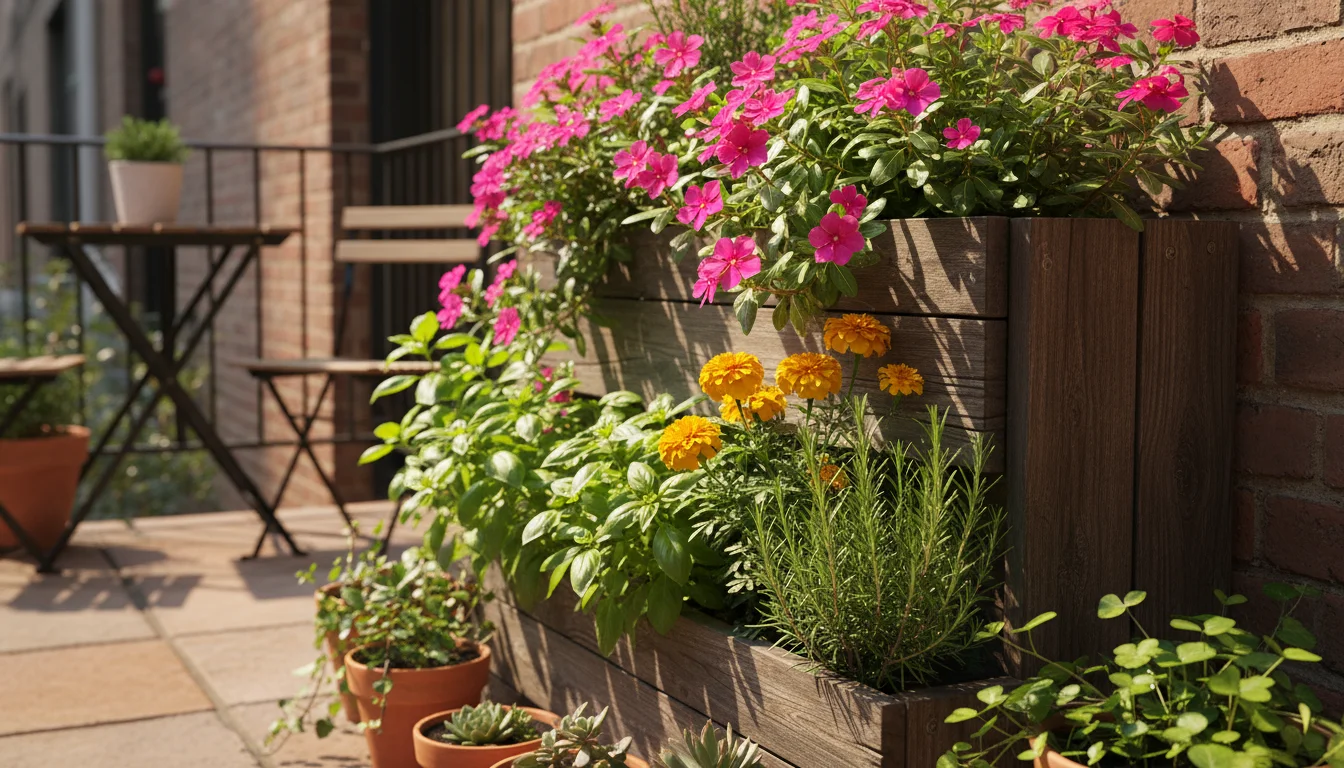
Developing an effective watering schedule for your balcony garden in autumn means considering several factors beyond just the calendar. Each element plays a significant role in how quickly your container plants use water and how long their soil stays moist. Ignoring any of these could lead to incorrect watering decisions.
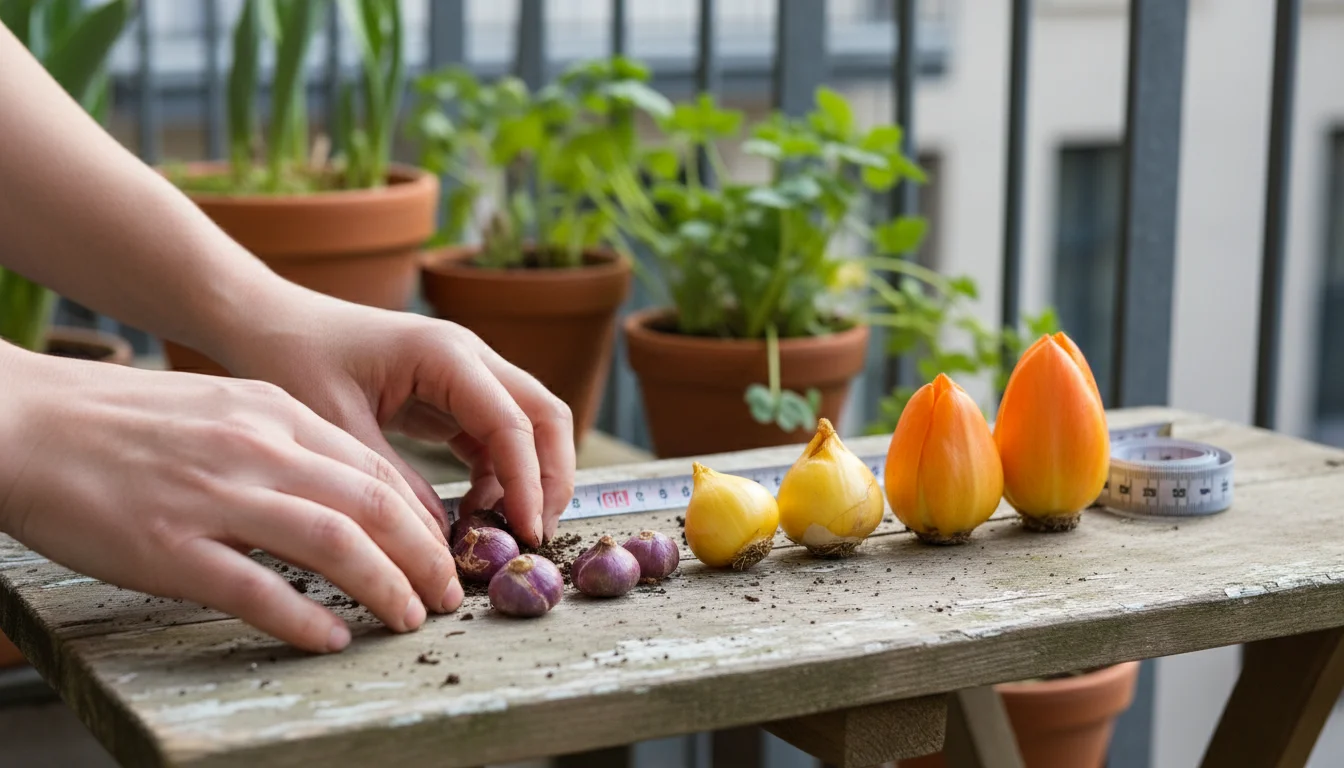
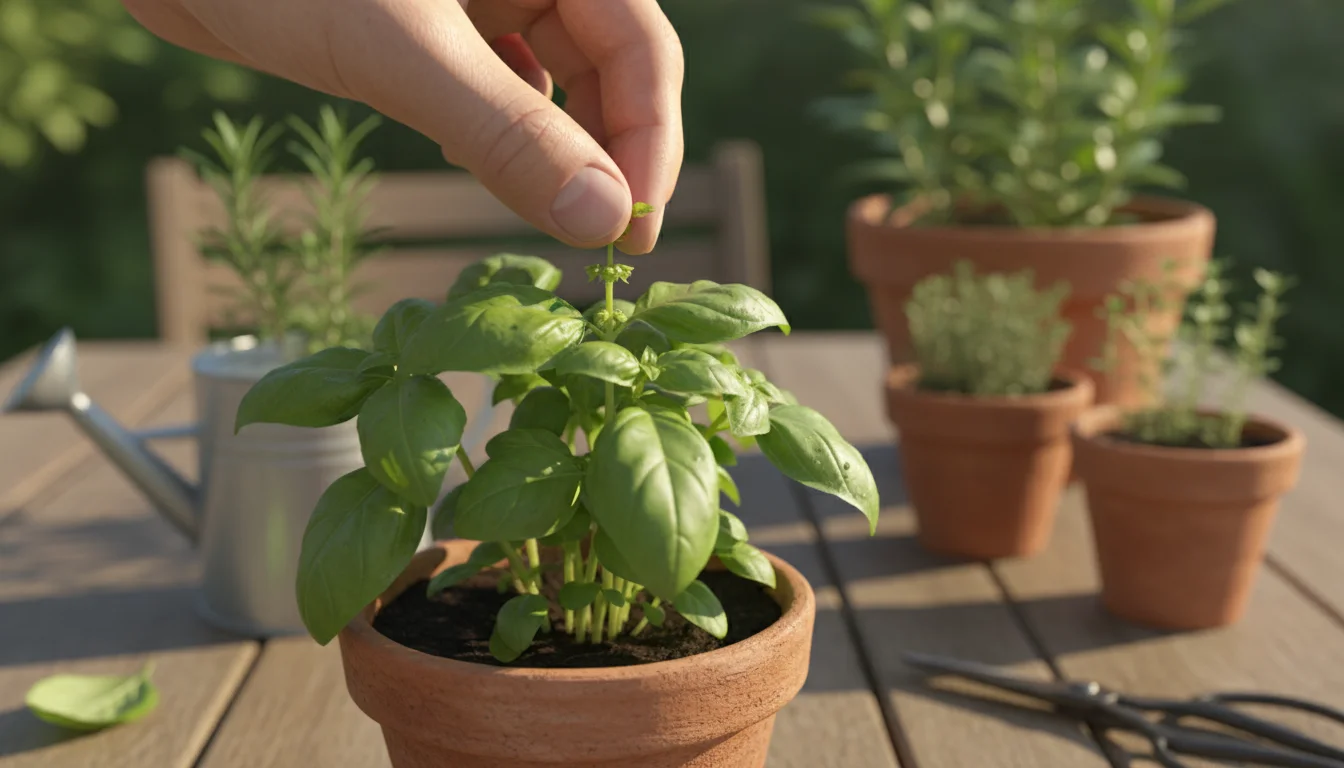
Plant Type and Size

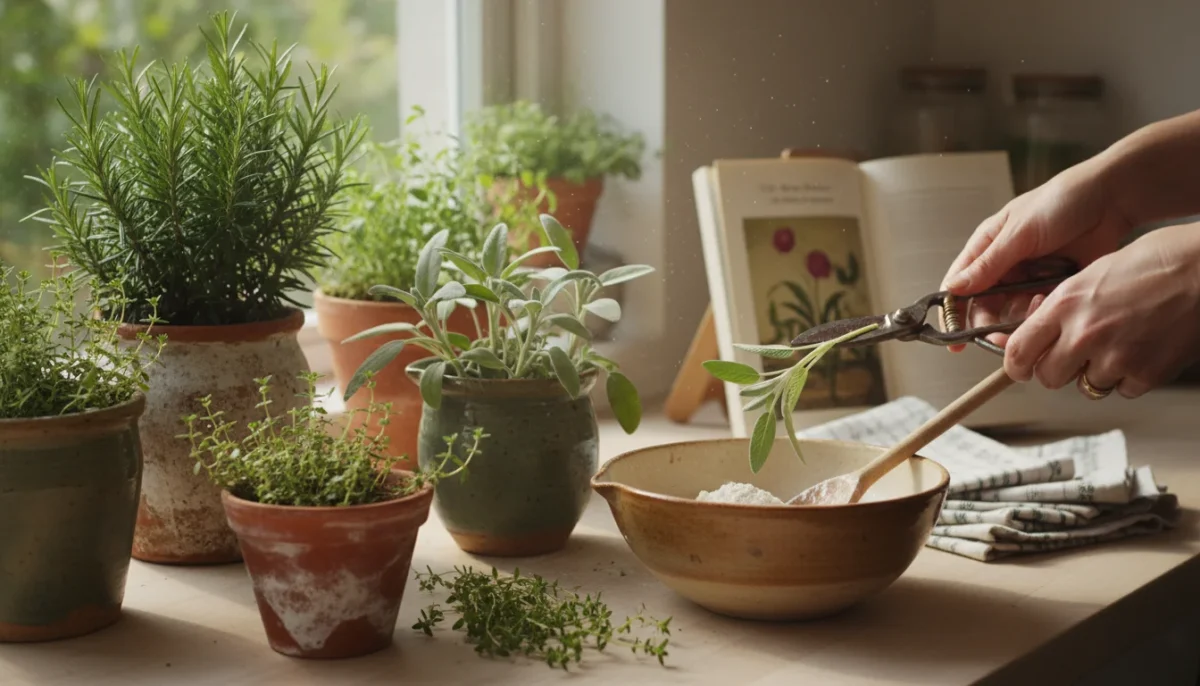
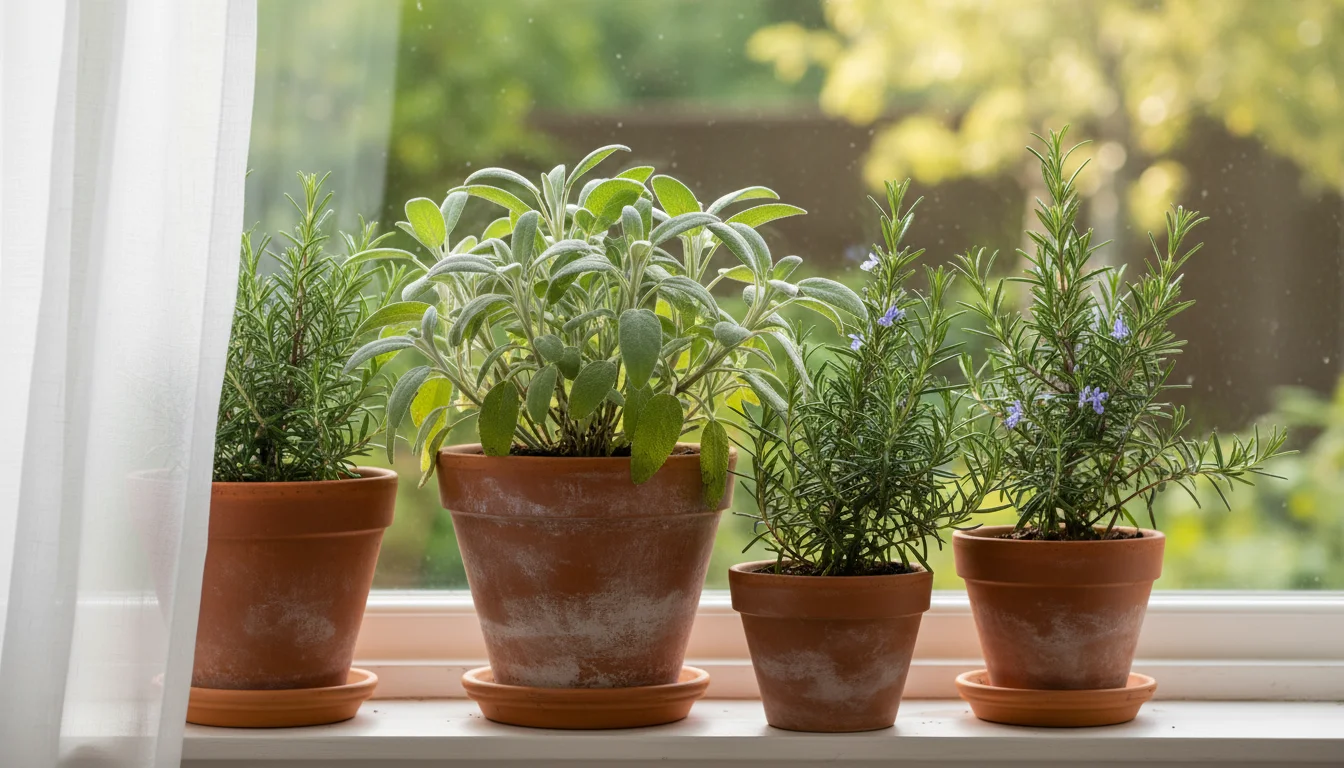
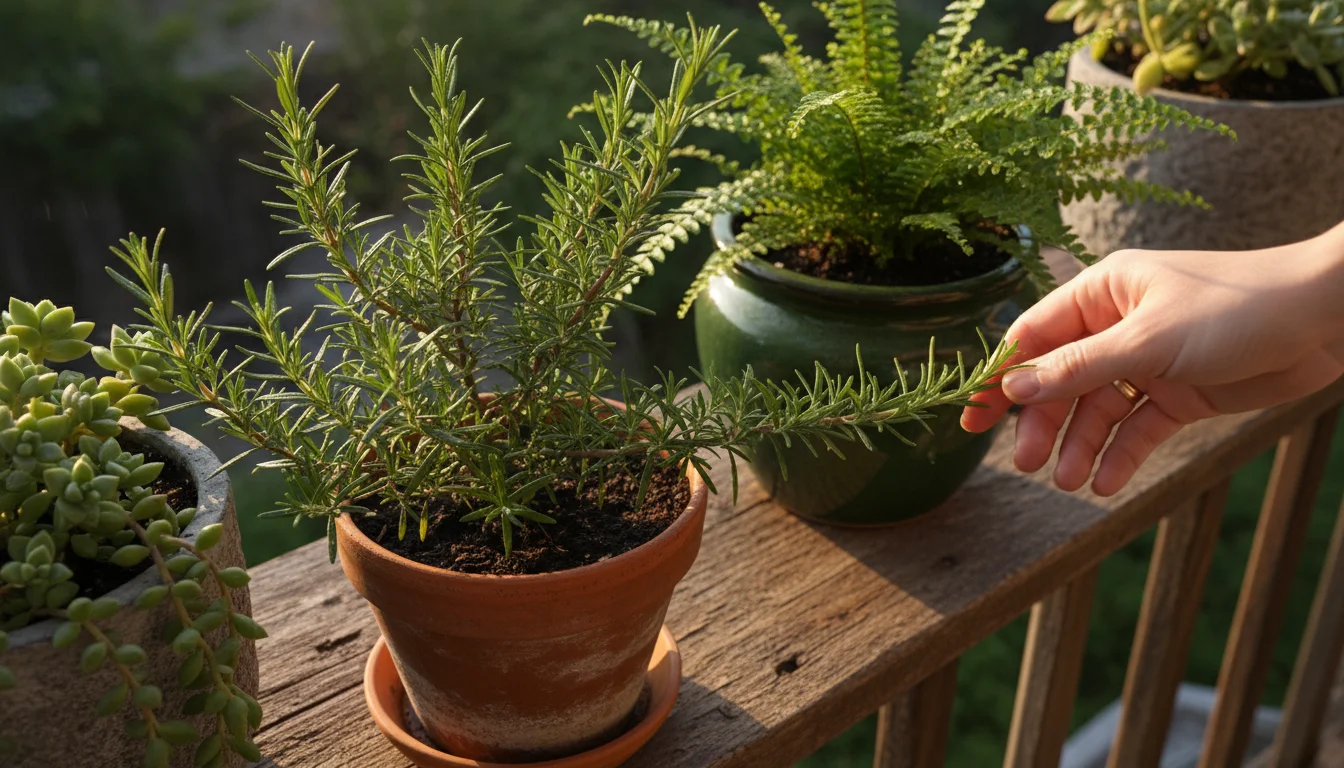
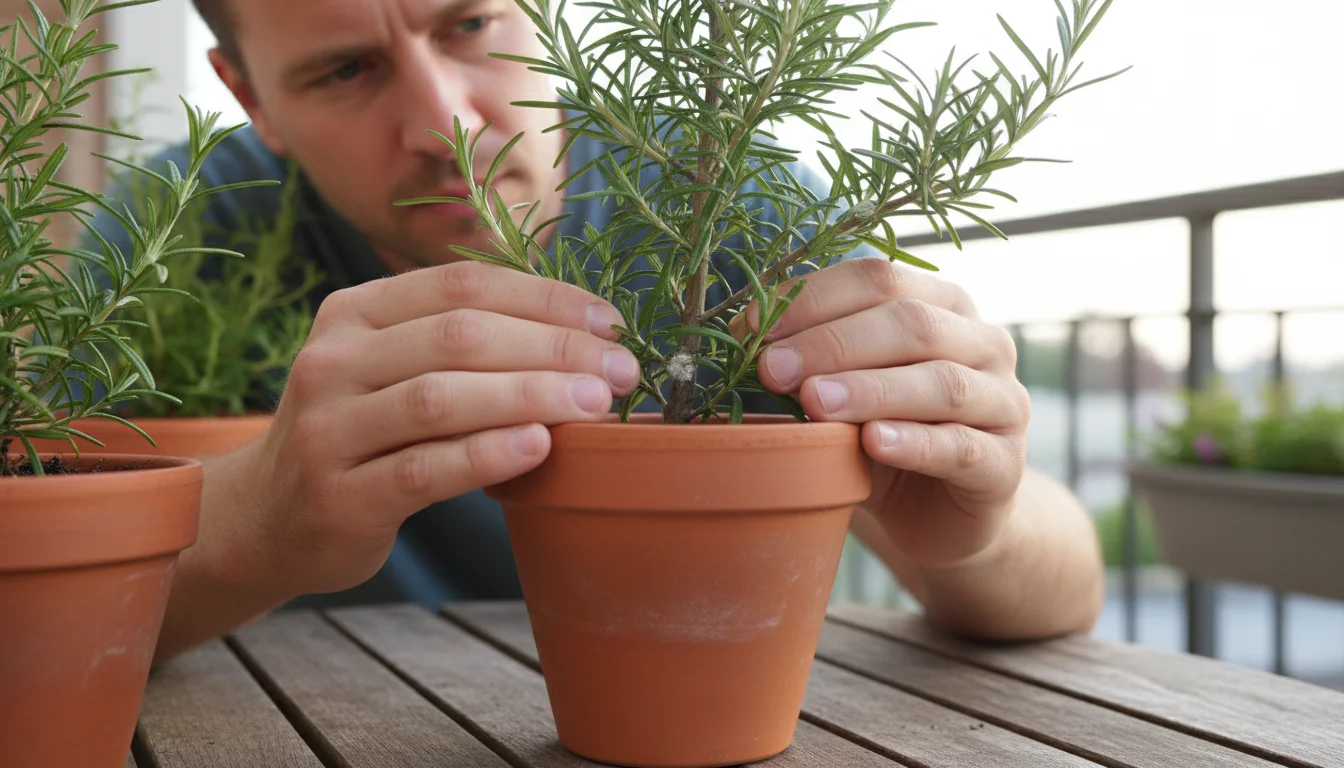
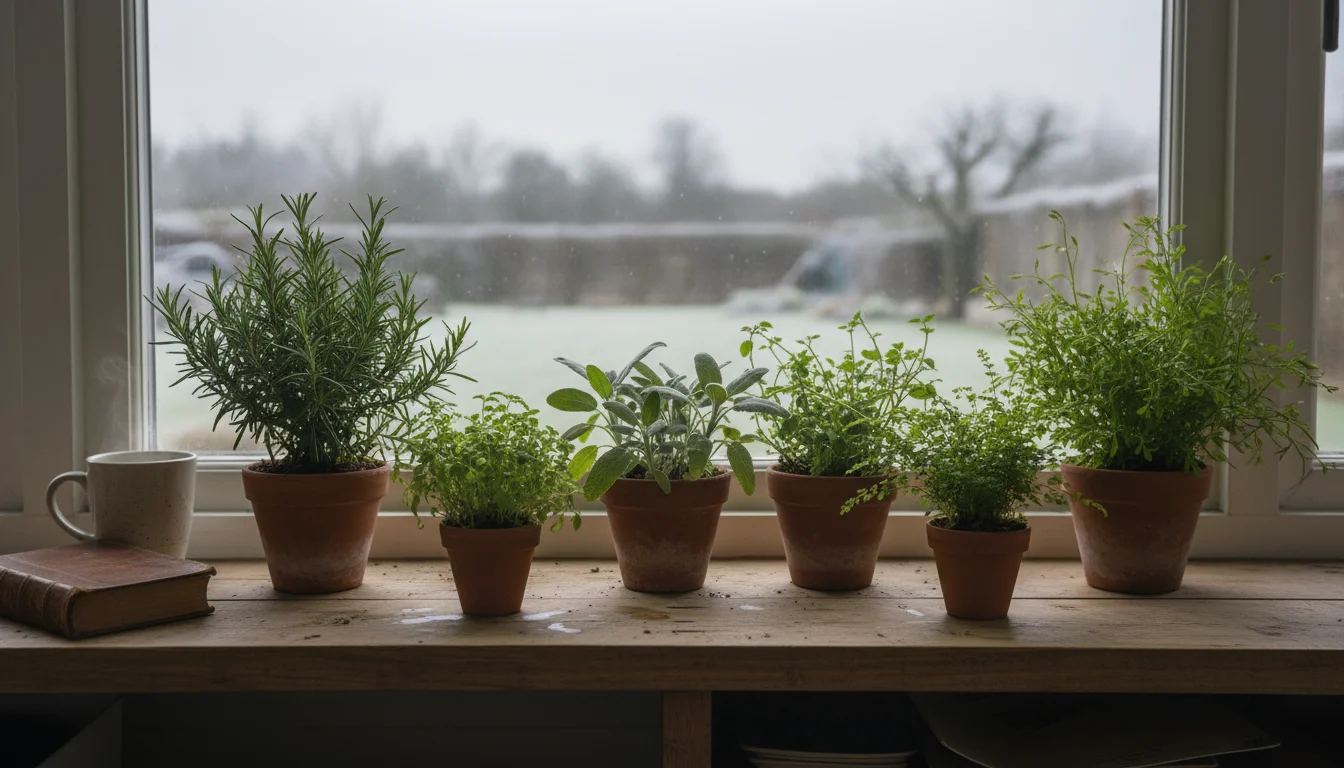
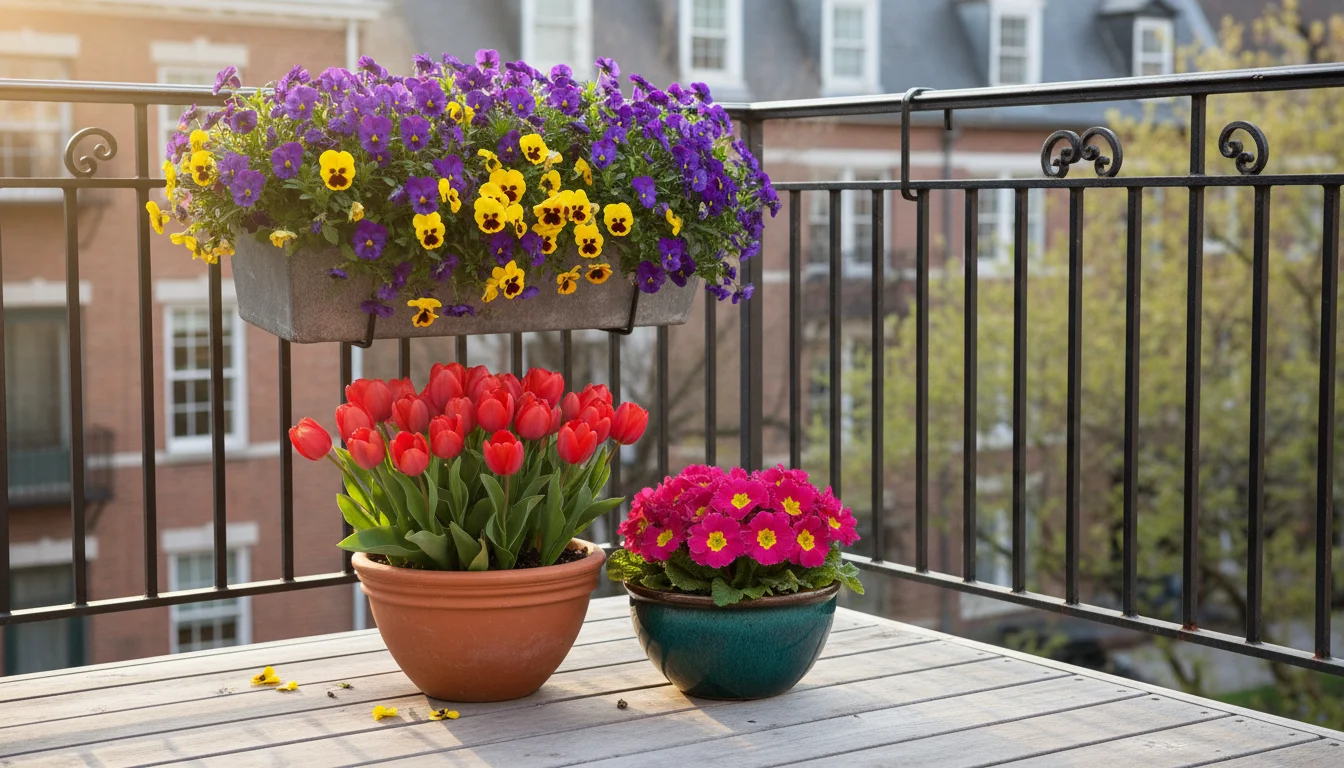
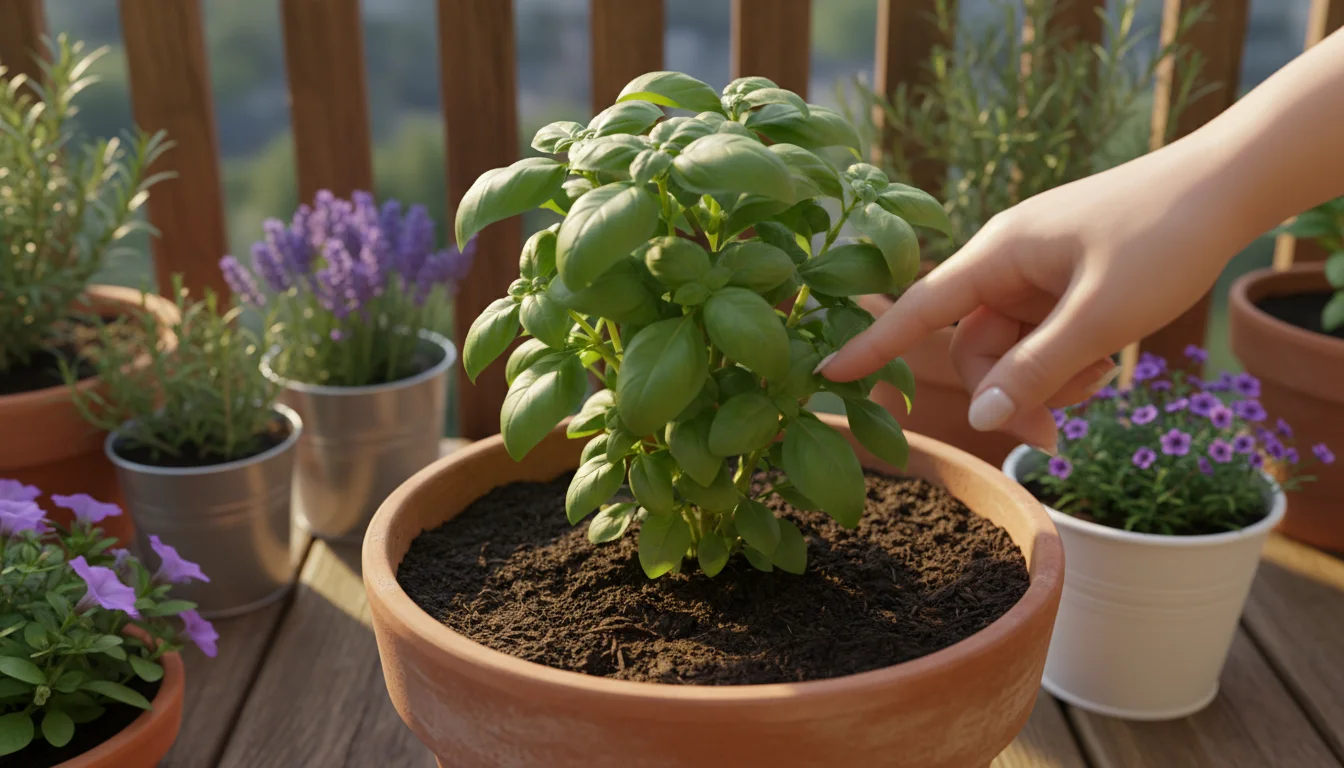
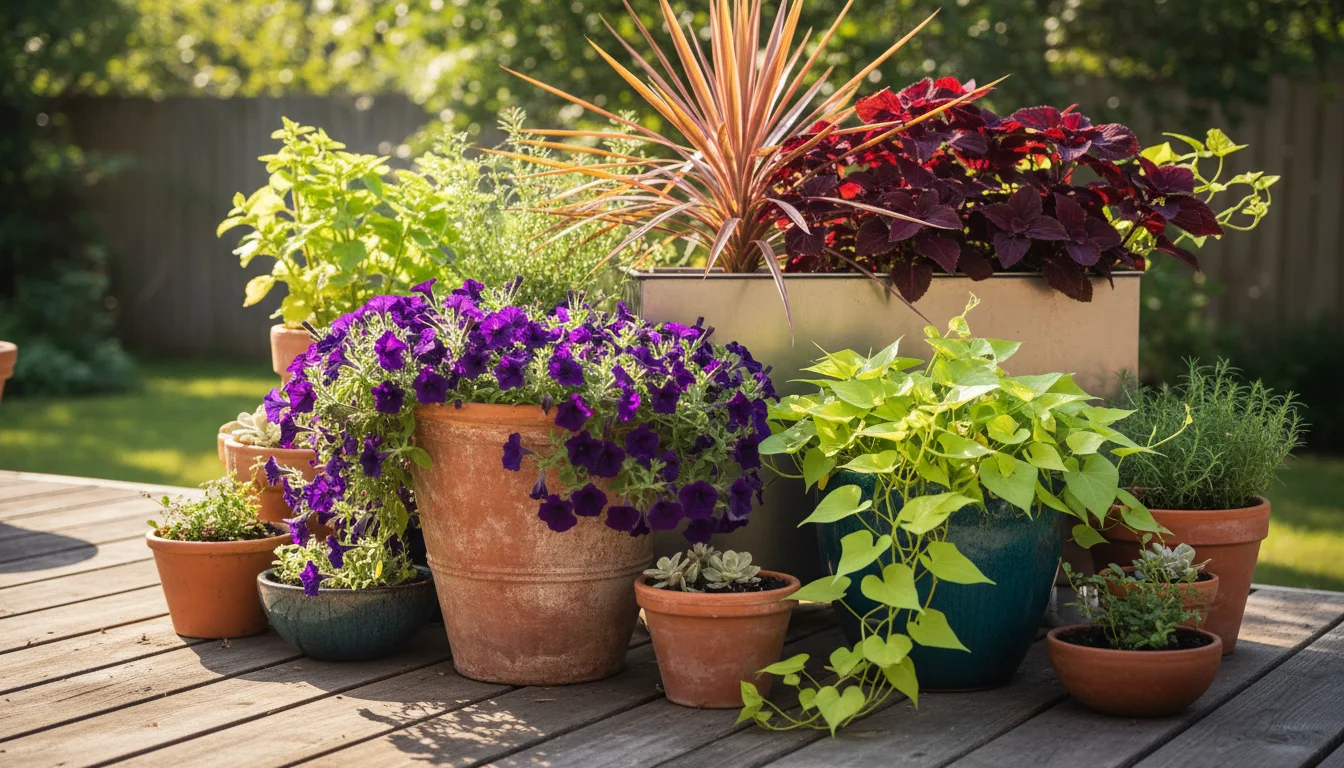
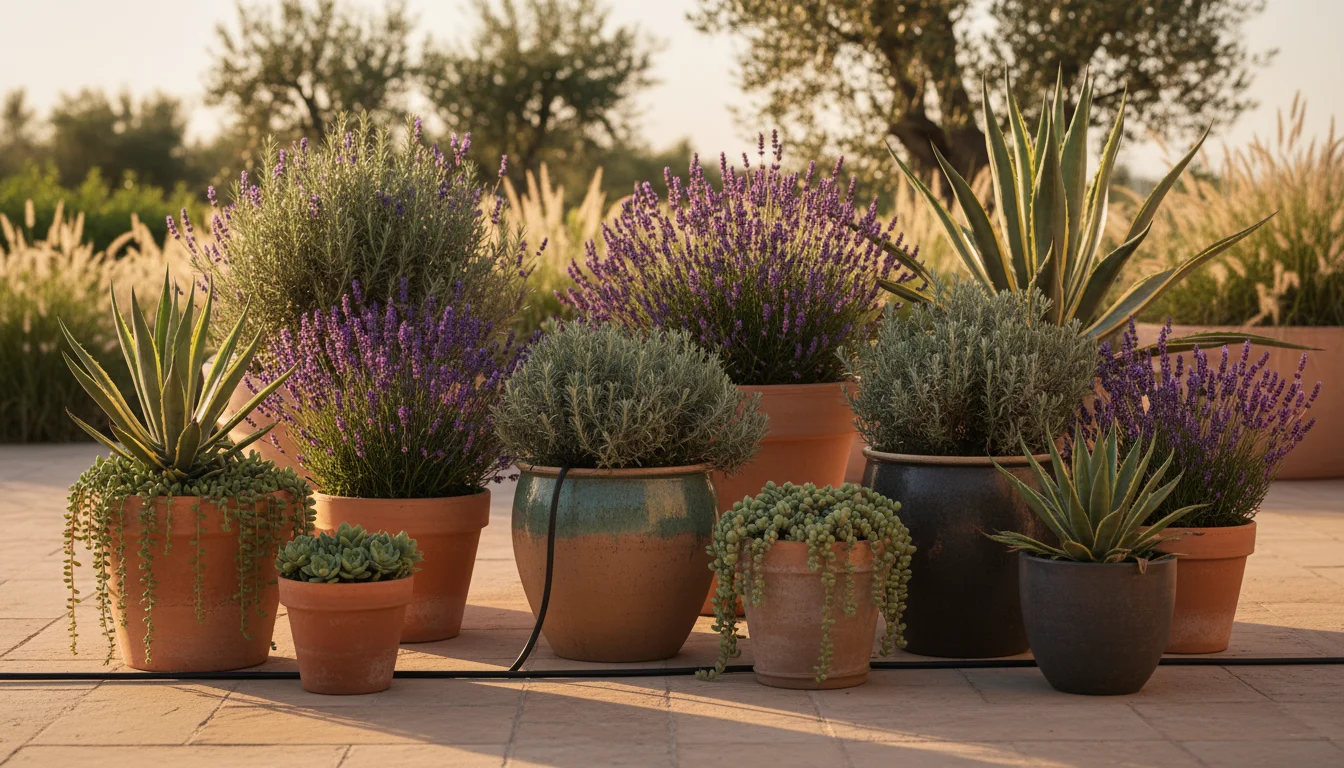
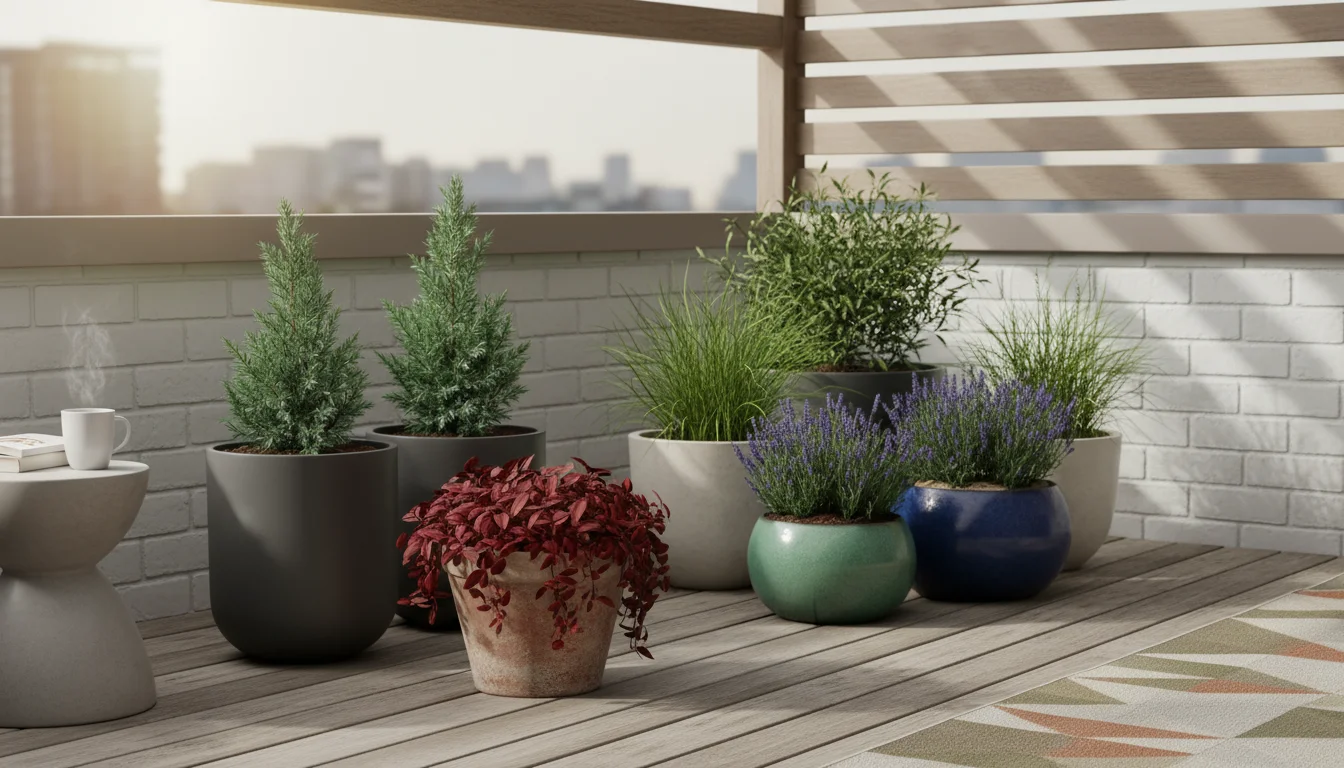
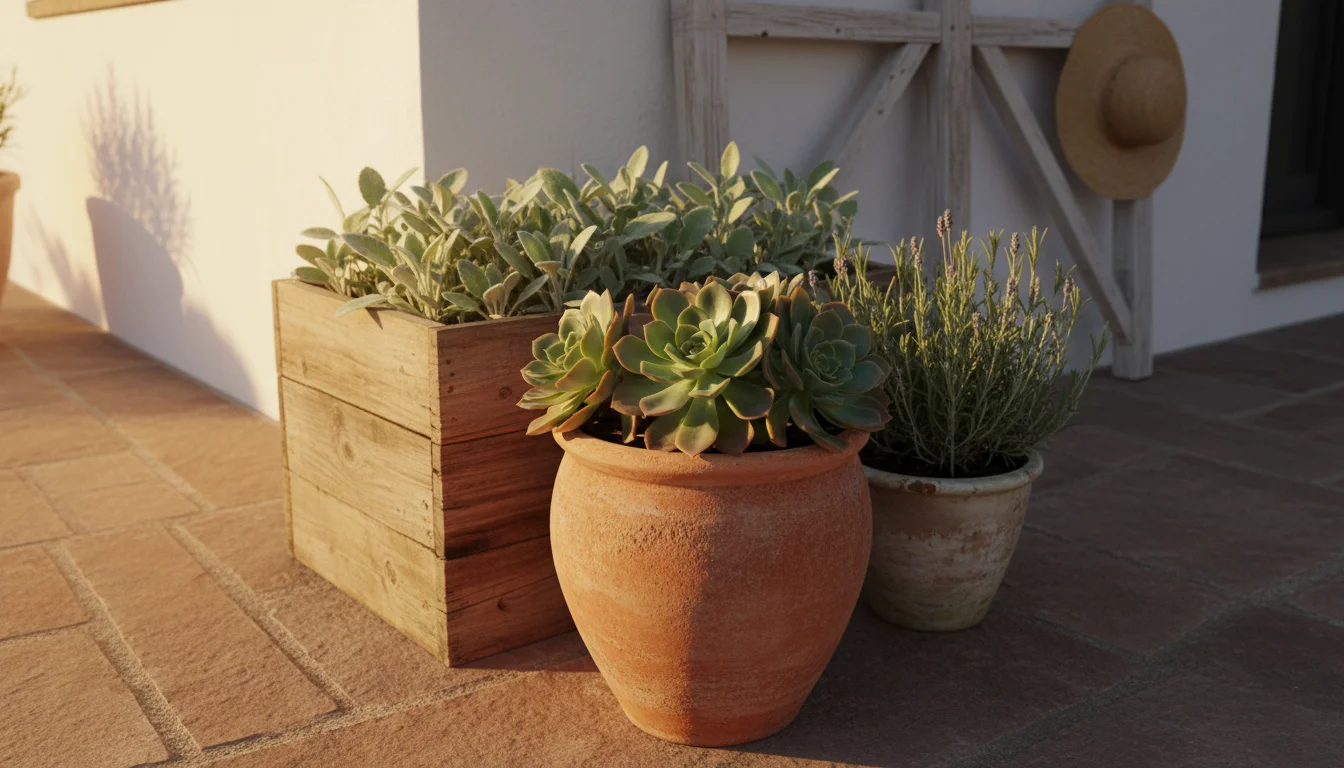
Different plants have vastly different water requirements. Succulents and cacti, adapted to arid environments, need very little water, especially in fall. Herbs like rosemary or lavender also prefer drier conditions. Foliage plants, like ferns or impatiens, might need more frequent watering, though still less than in summer. Larger plants with extensive root systems generally draw more moisture from the soil than small seedlings. Actively growing plants, even in fall, will use more water than those entering dormancy. For example, a pansy actively blooming in a fall container will require more consistent moisture than a dormant rosemary bush in a nearby pot.
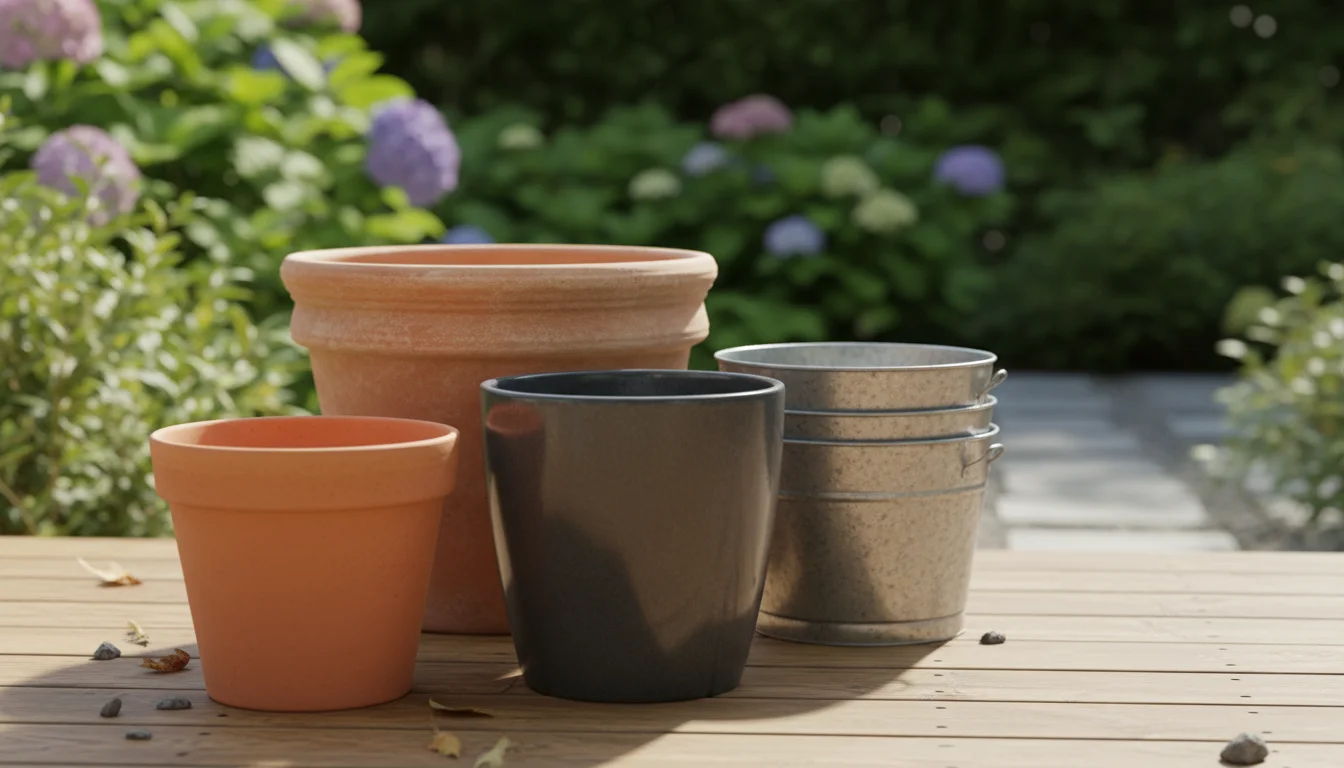
Container Material

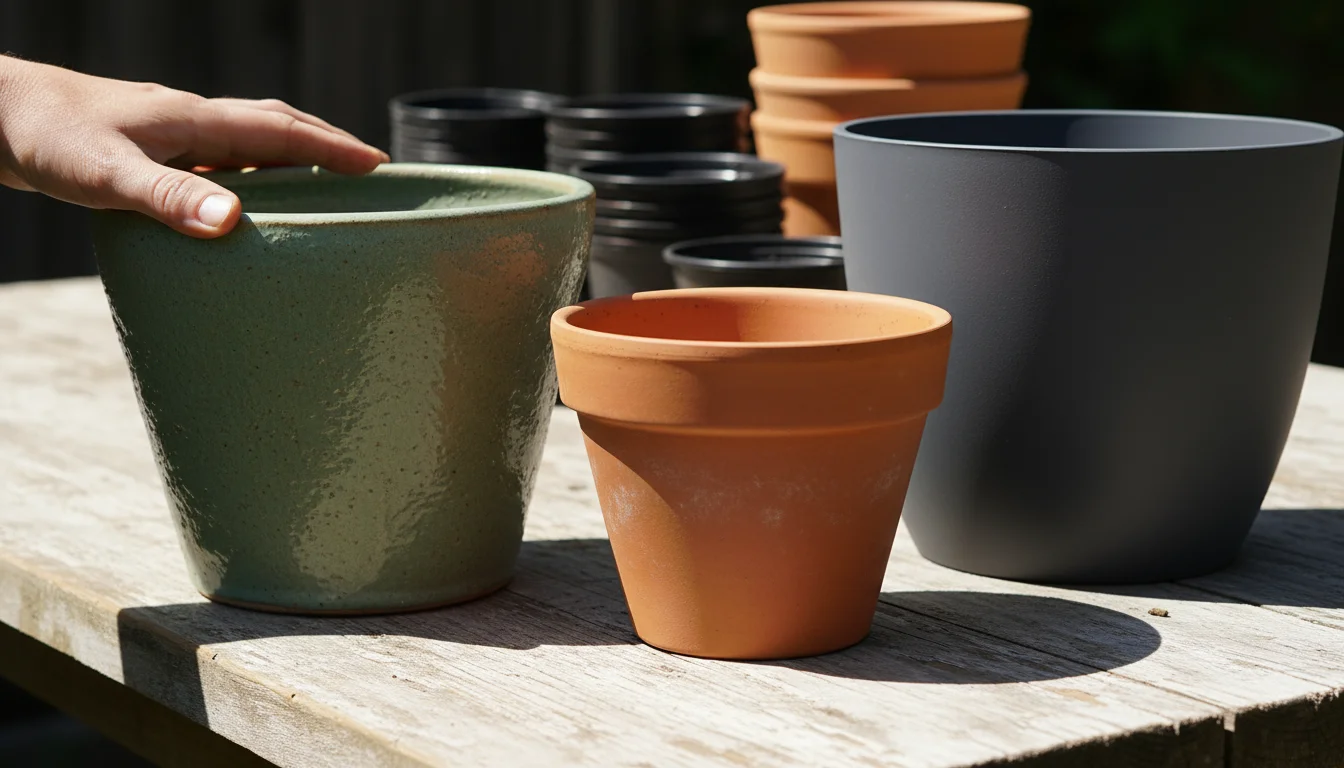
The material of your plant’s container profoundly influences how quickly the soil dries out:

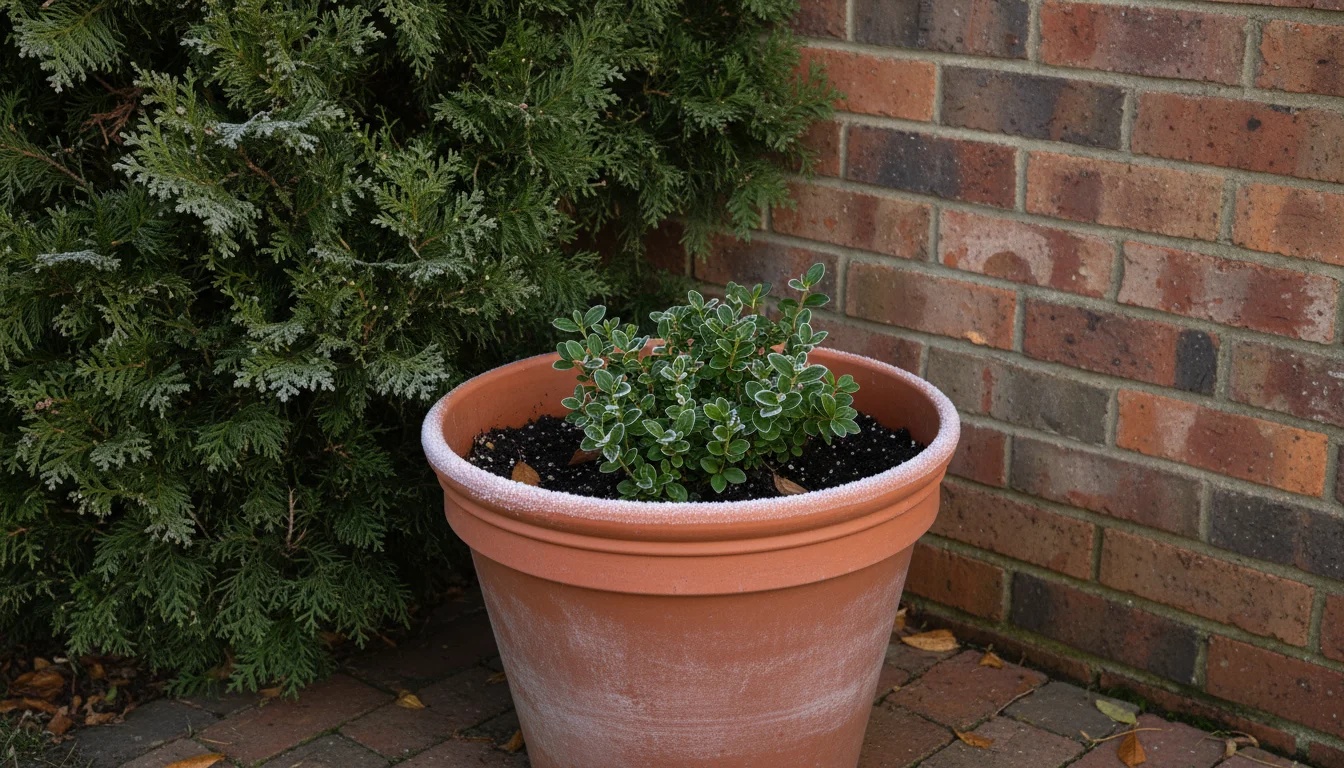
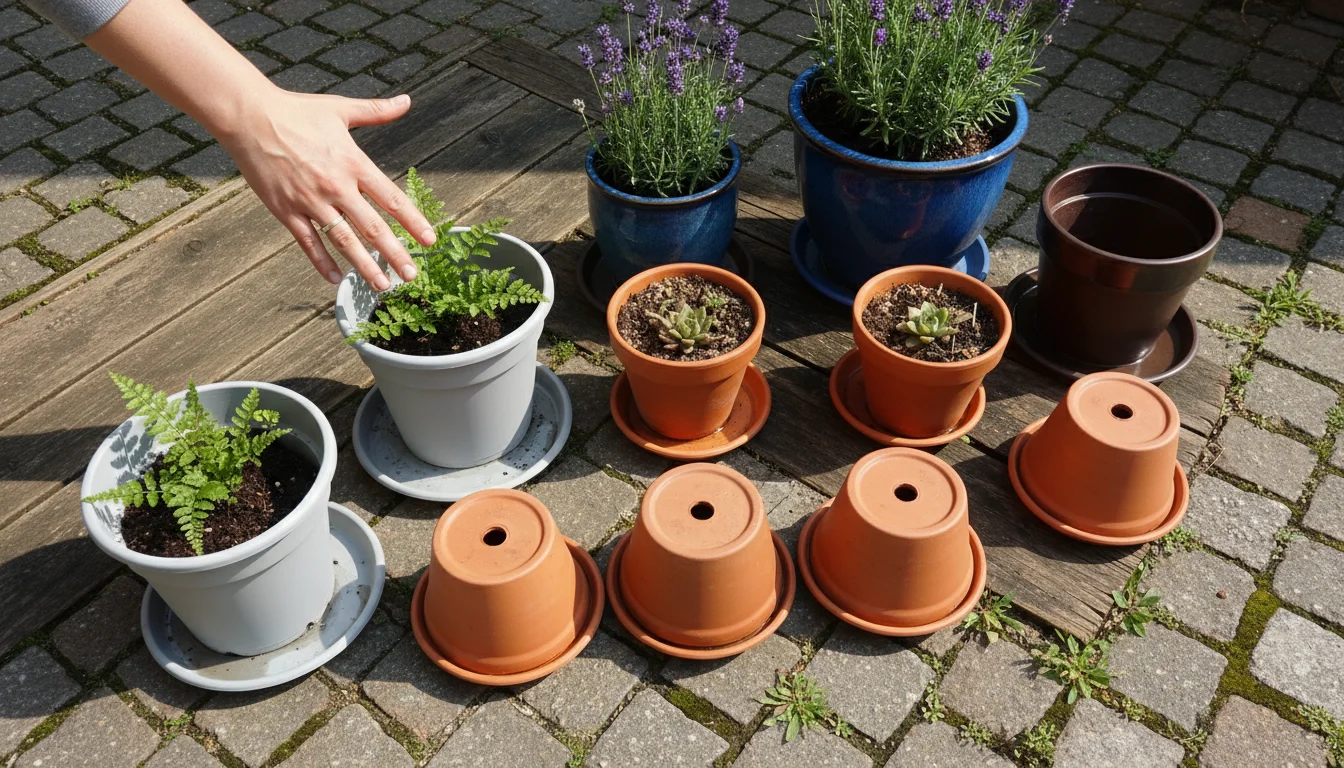
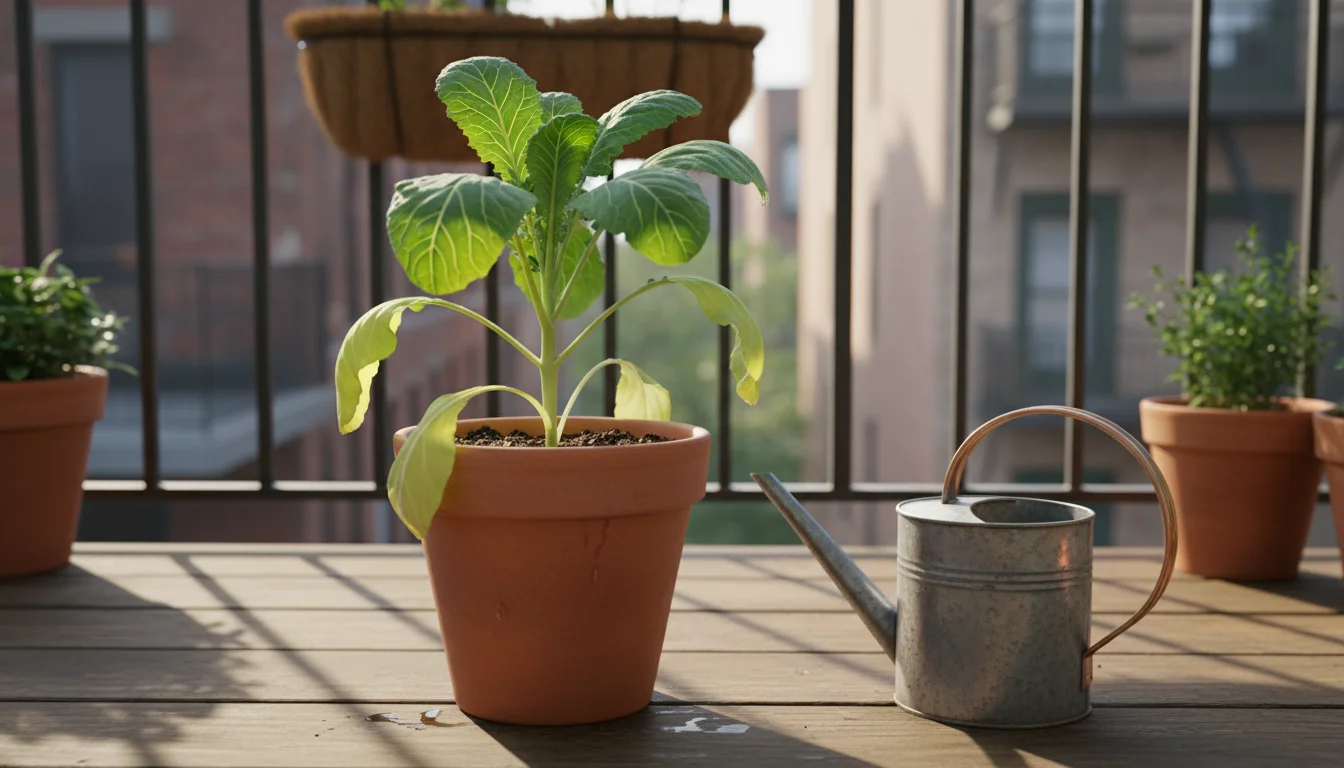
  • Terracotta and Unglazed Clay: These porous materials allow water to evaporate through the pot walls, leading to faster drying times. While beneficial in summer to prevent overwatering, in fall, this can still mean more frequent watering than a plastic pot.
  • Plastic, Glazed Ceramic, and Metal: These non-porous materials retain moisture much longer because water can only escape through the soil surface or drainage holes. This increases the risk of overwatering in cool weather, so you must check soil moisture diligently.
  • Fabric Grow Bags: These offer excellent aeration and drainage, preventing waterlogging. They allow roots to “air prune,” fostering healthier root systems. While they dry out faster than plastic, their breathability reduces root rot risk, making watering less critical in terms of timing, but still requiring attention to overall moisture levels.

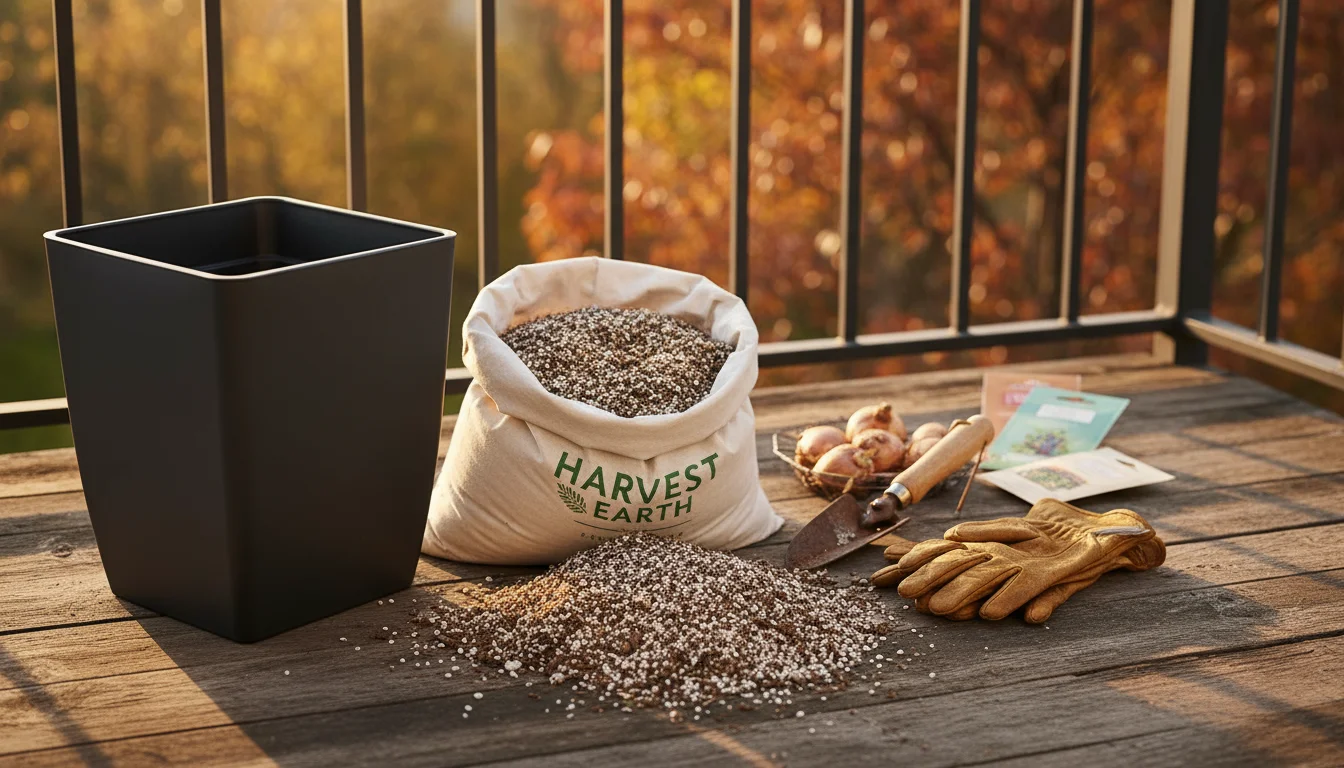
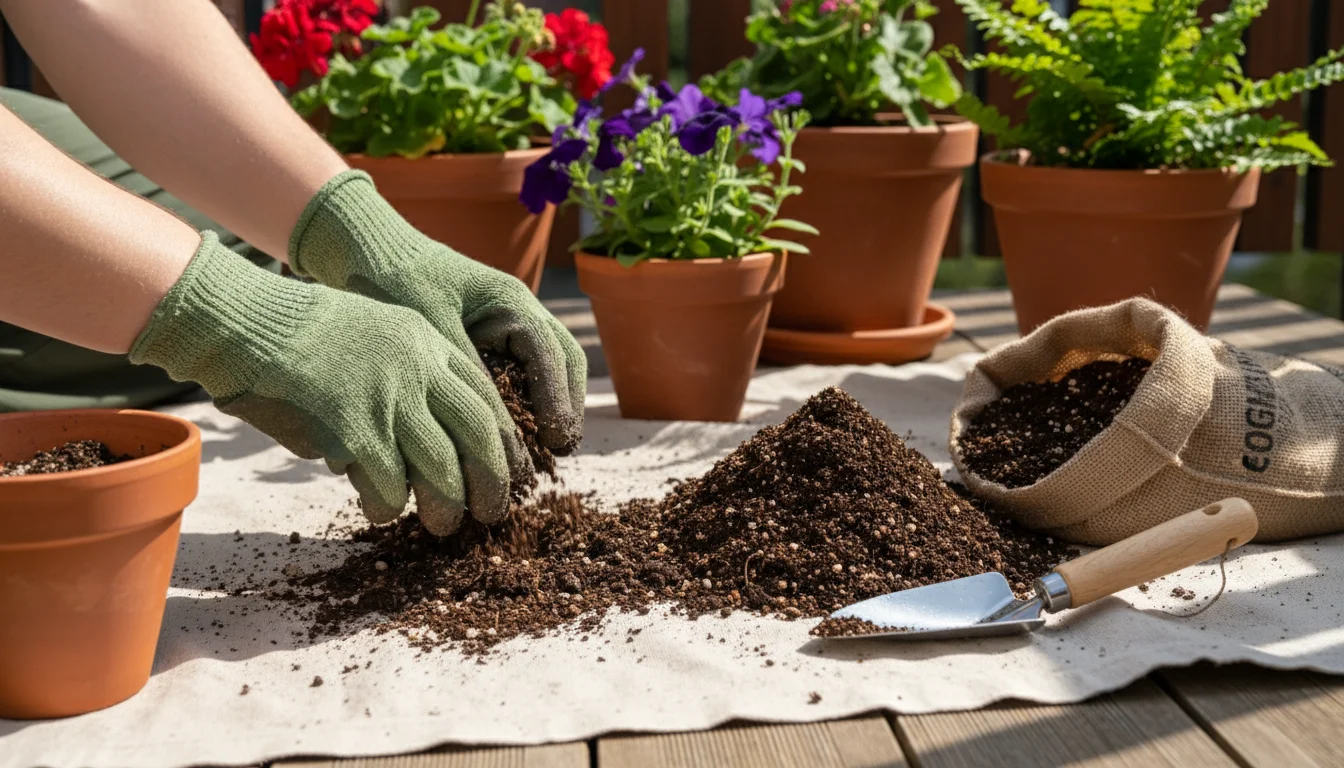
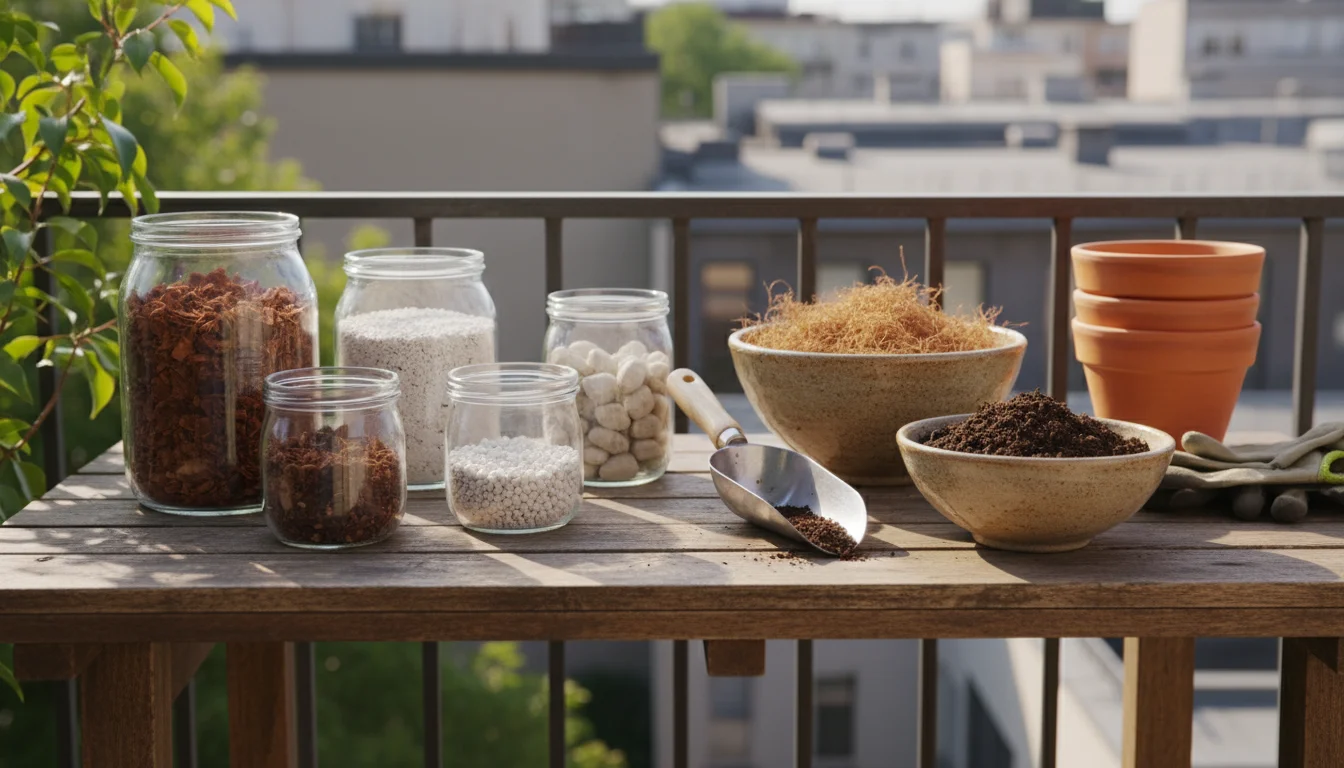
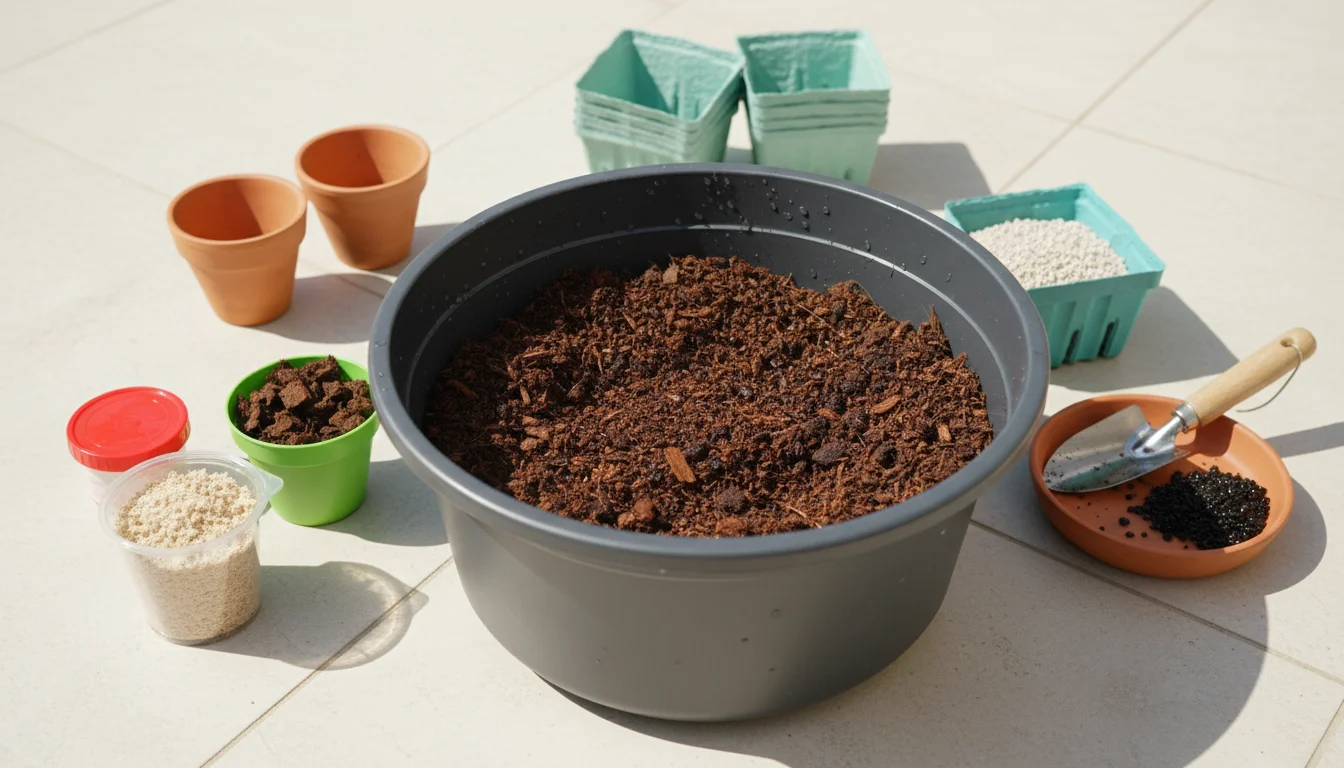
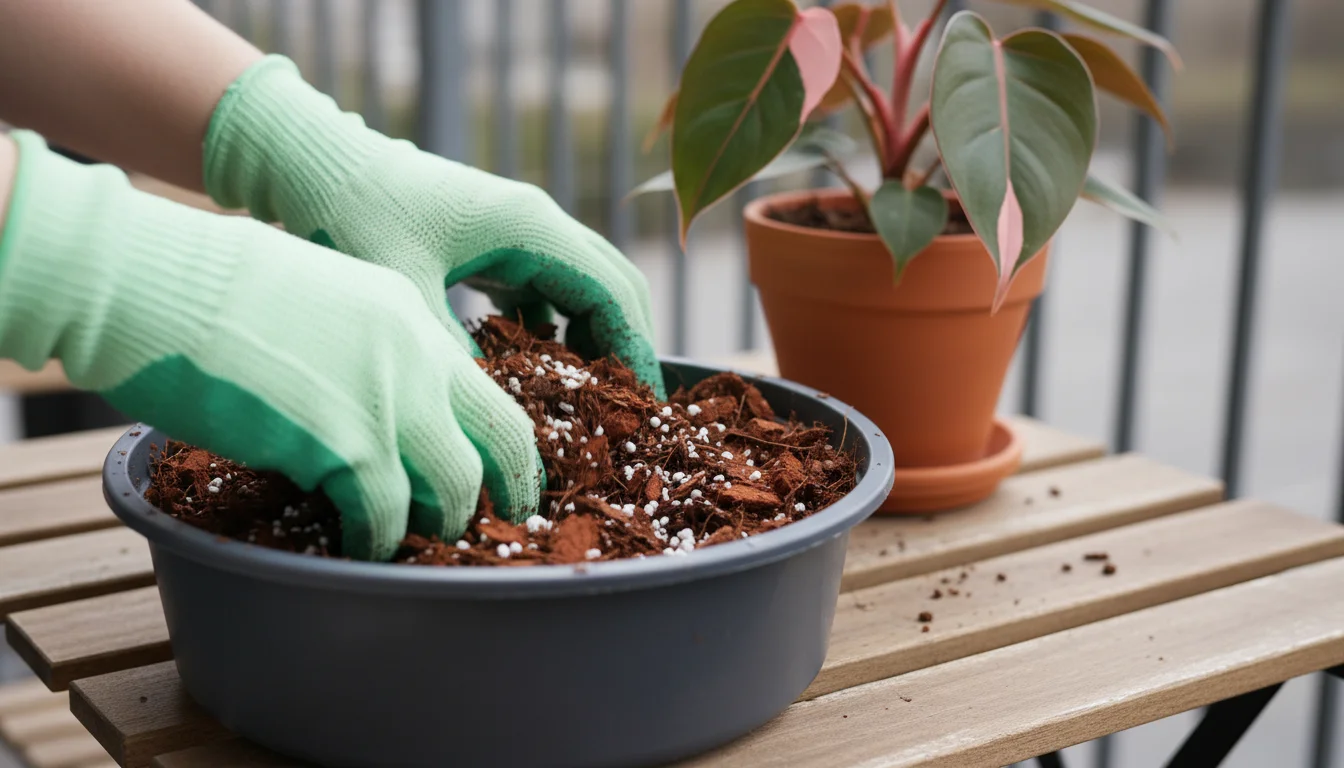
Potting Mix Composition

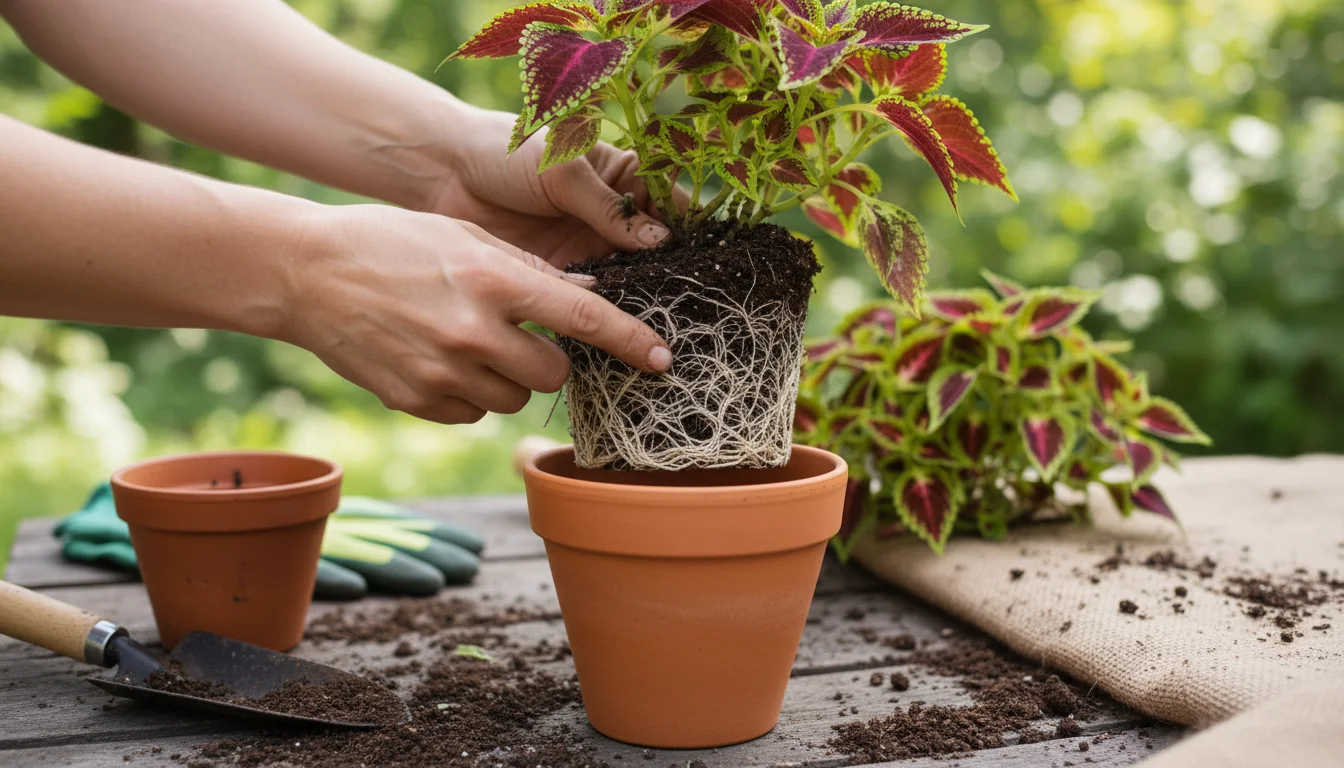
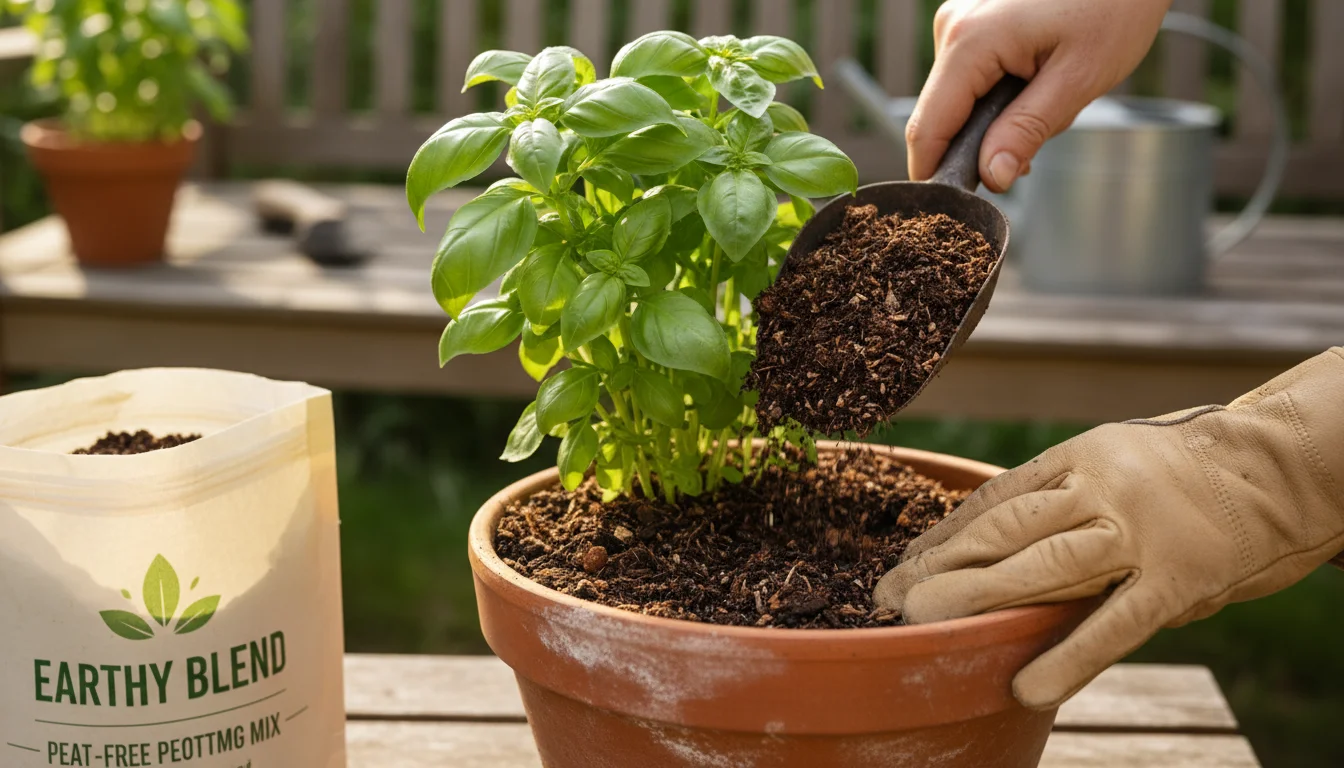
The type of potting mix you use directly affects drainage and moisture retention. A high-quality container potting mix is essential for good drainage, which describes how water moves through soil. It prevents soggy conditions. A mix rich in peat moss or coco coir holds more water, which can be problematic in fall if not managed correctly. Conversely, a mix with a high percentage of perlite, vermiculite, or bark chips improves drainage and aeration, helping to prevent root rot. Always choose a potting mix specifically designed for containers, as garden soil becomes too compact in pots, hindering drainage and airflow.
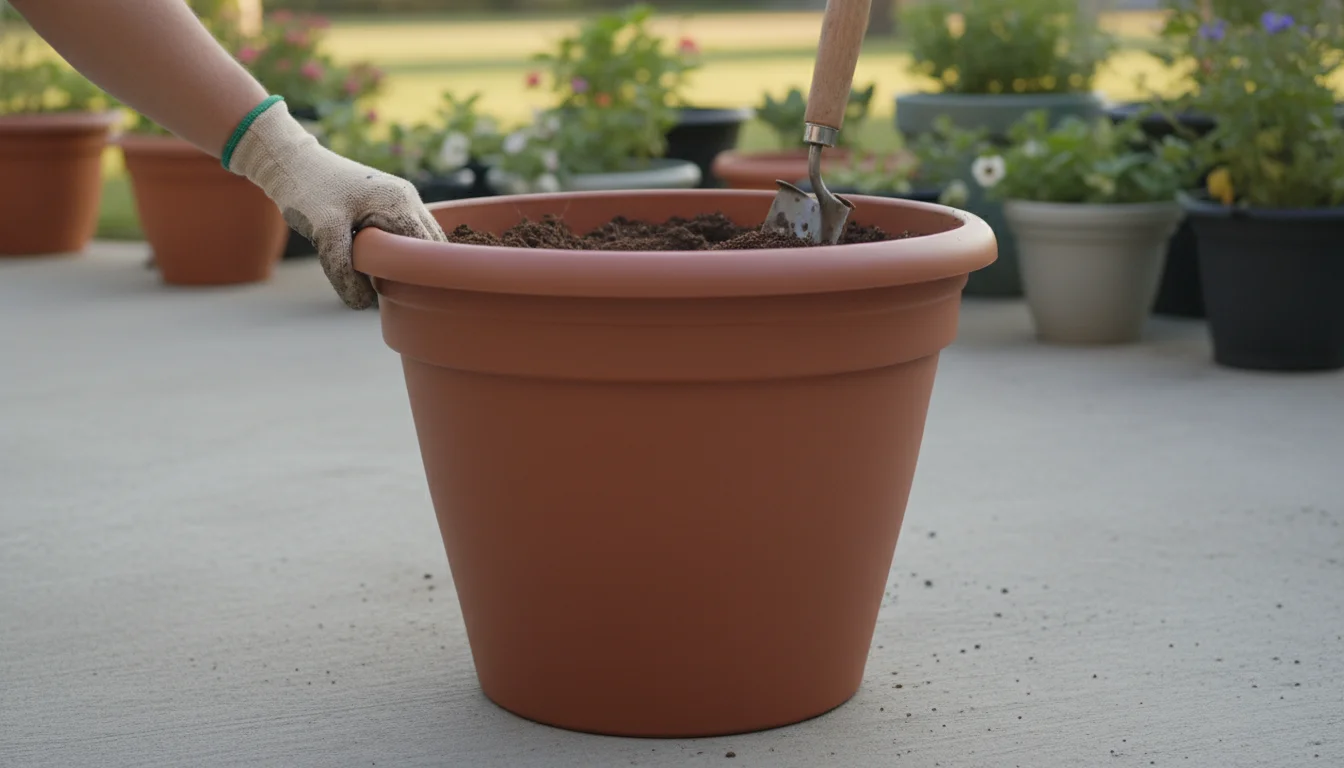
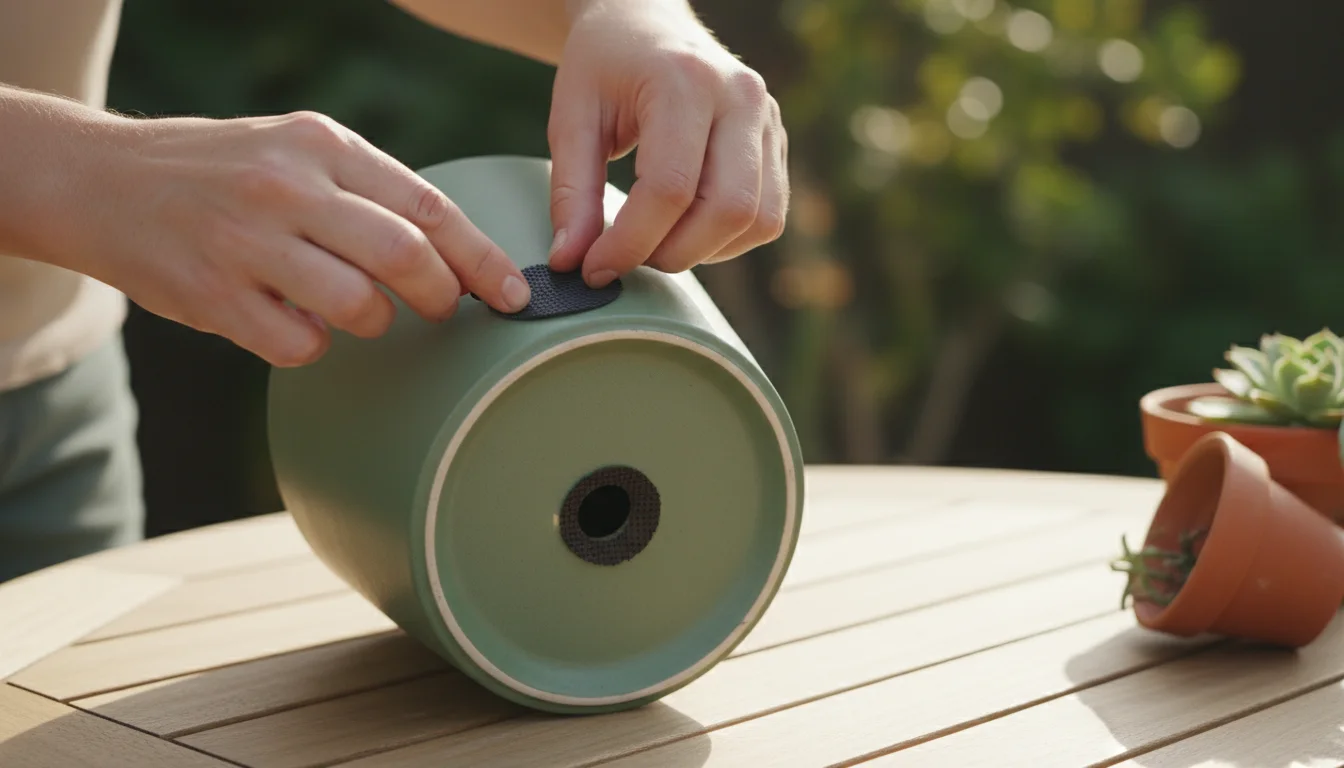
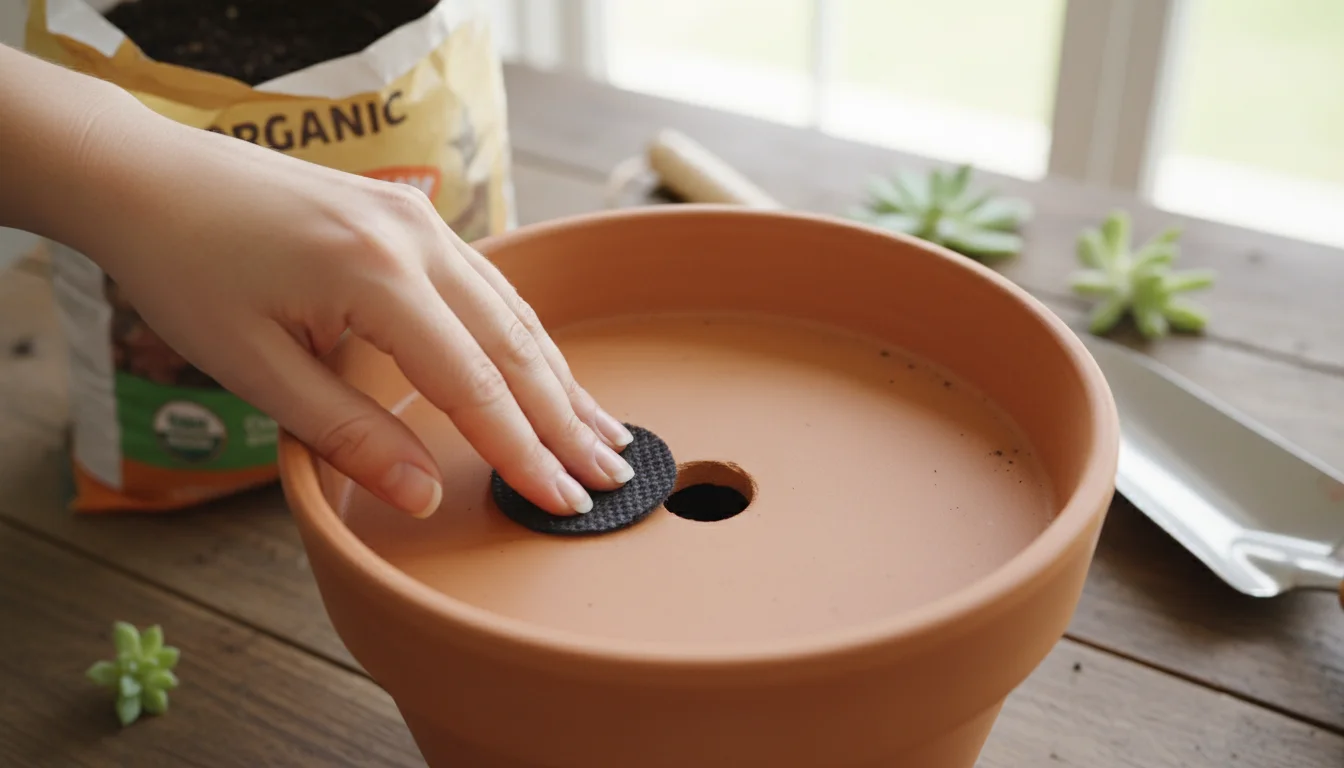
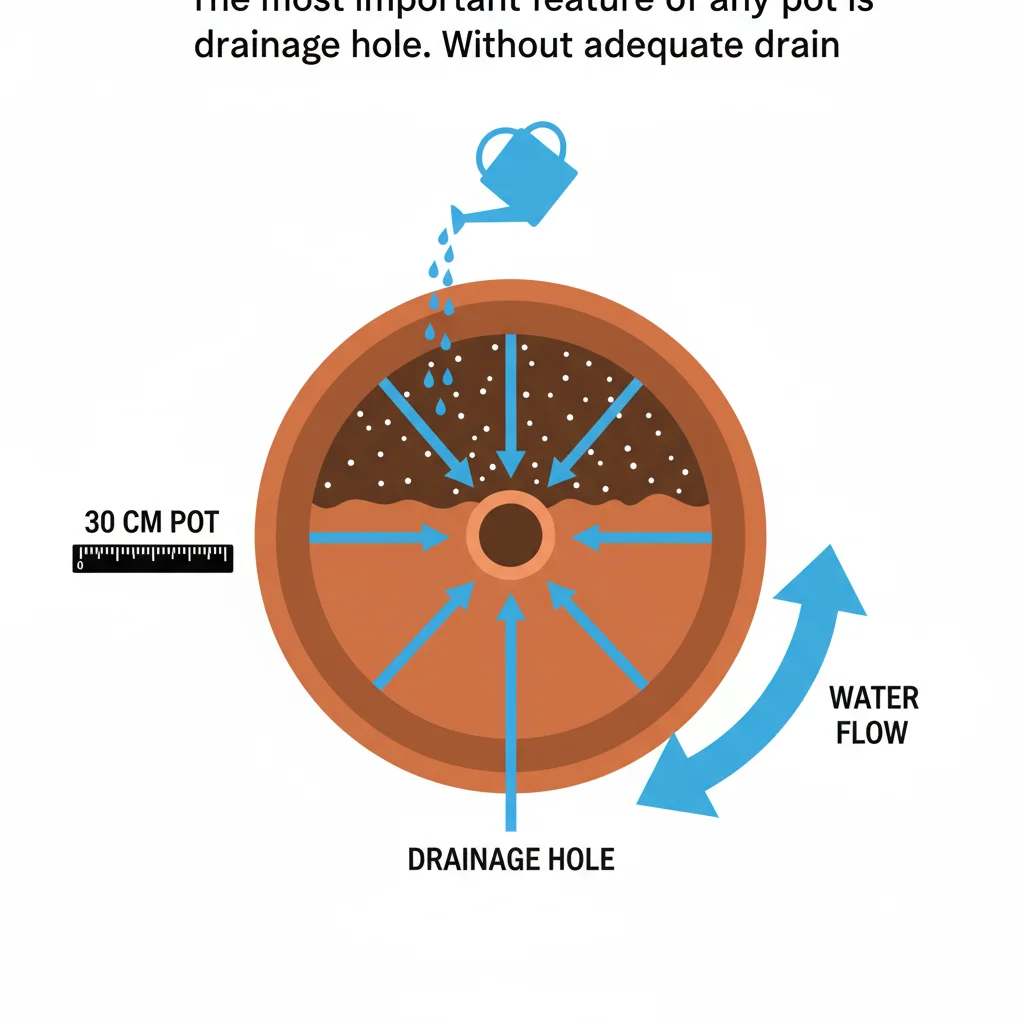
Drainage Holes

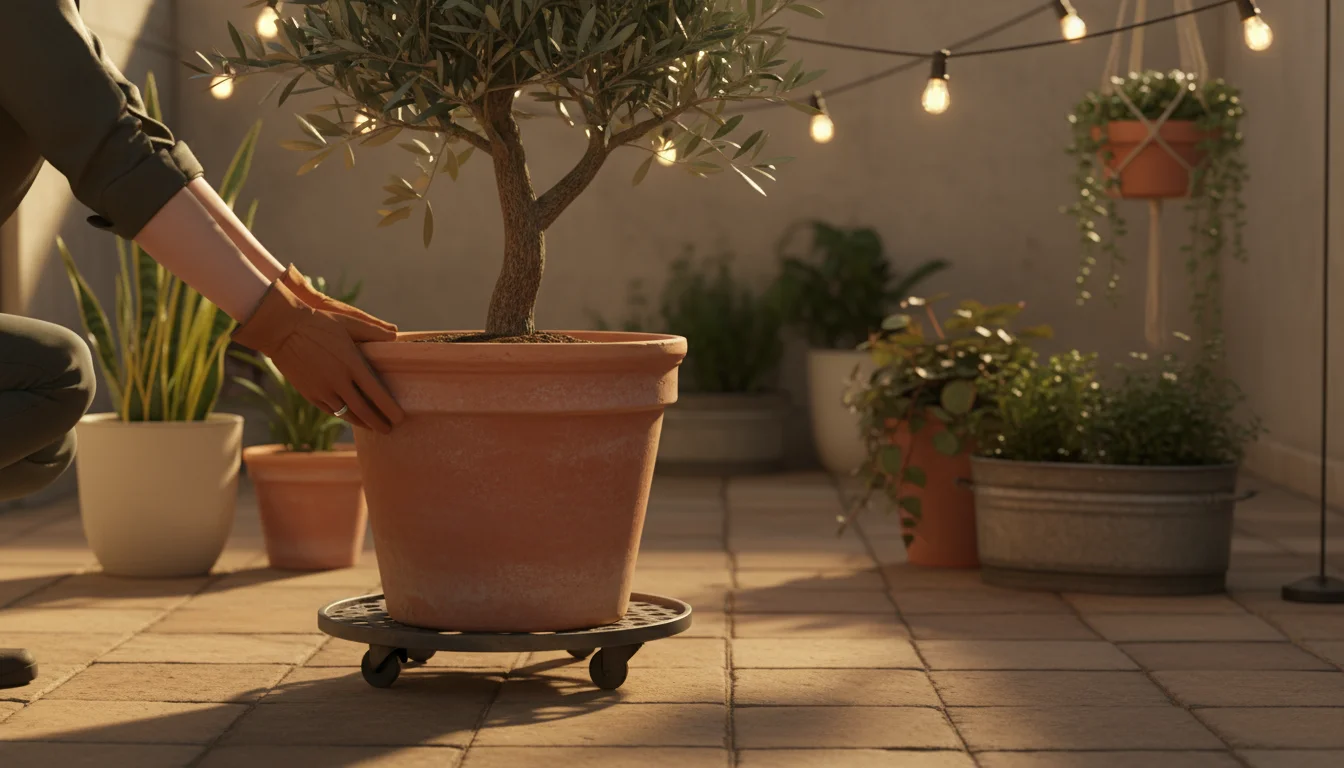
Proper drainage holes are non-negotiable for container plants. Without them, water collects at the bottom of the pot, suffocating roots and leading to inevitable root rot. Ensure every pot has at least one, preferably multiple, adequate drainage holes. If a pot lacks them, drill them yourself or choose another container. Elevating pots slightly off the ground with pot feet or blocks also improves drainage and airflow around the bottom, preventing water from pooling.

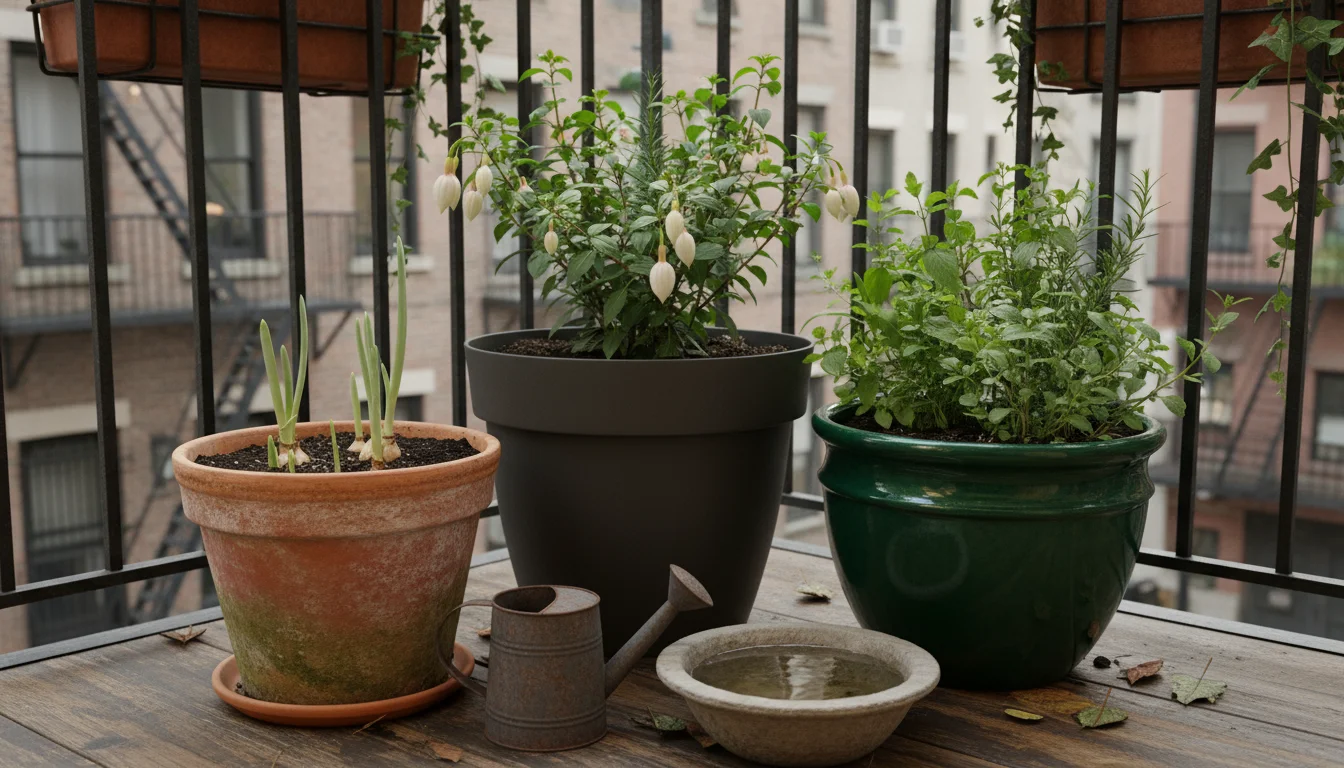
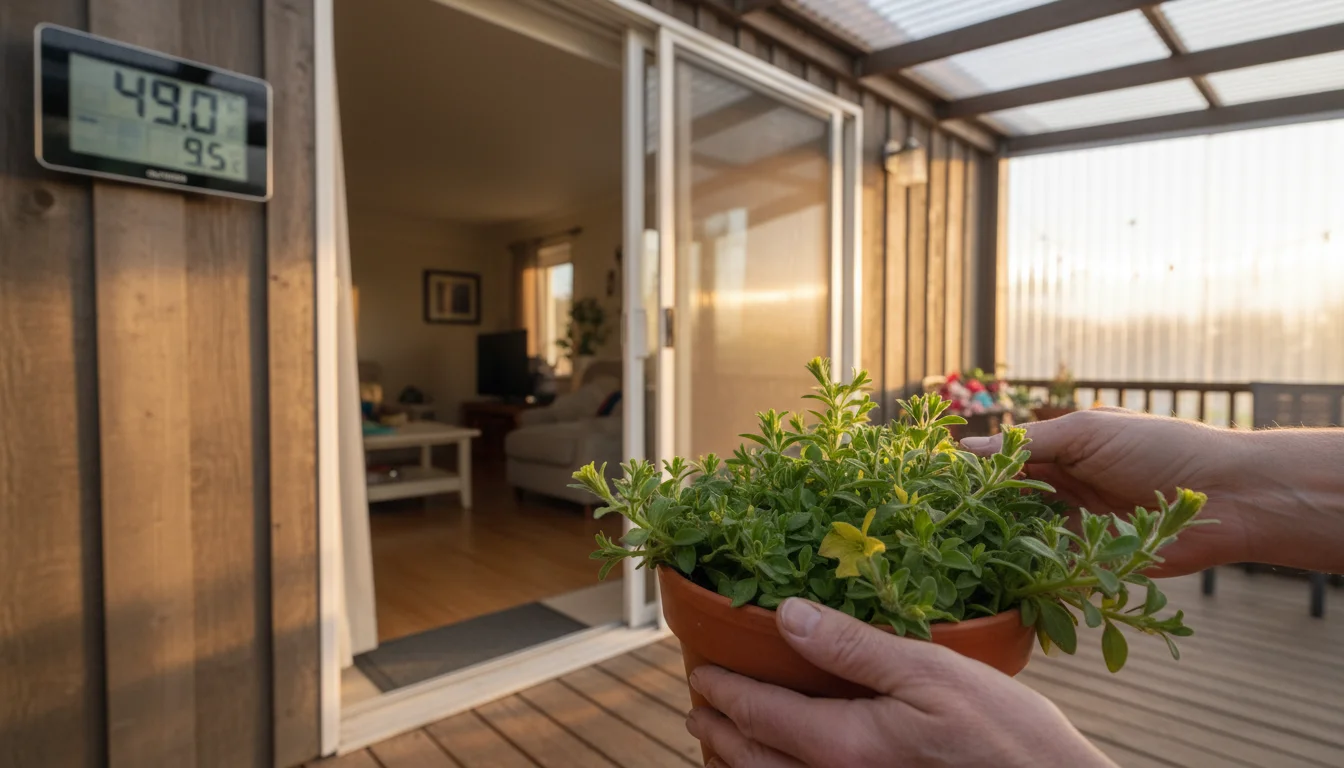
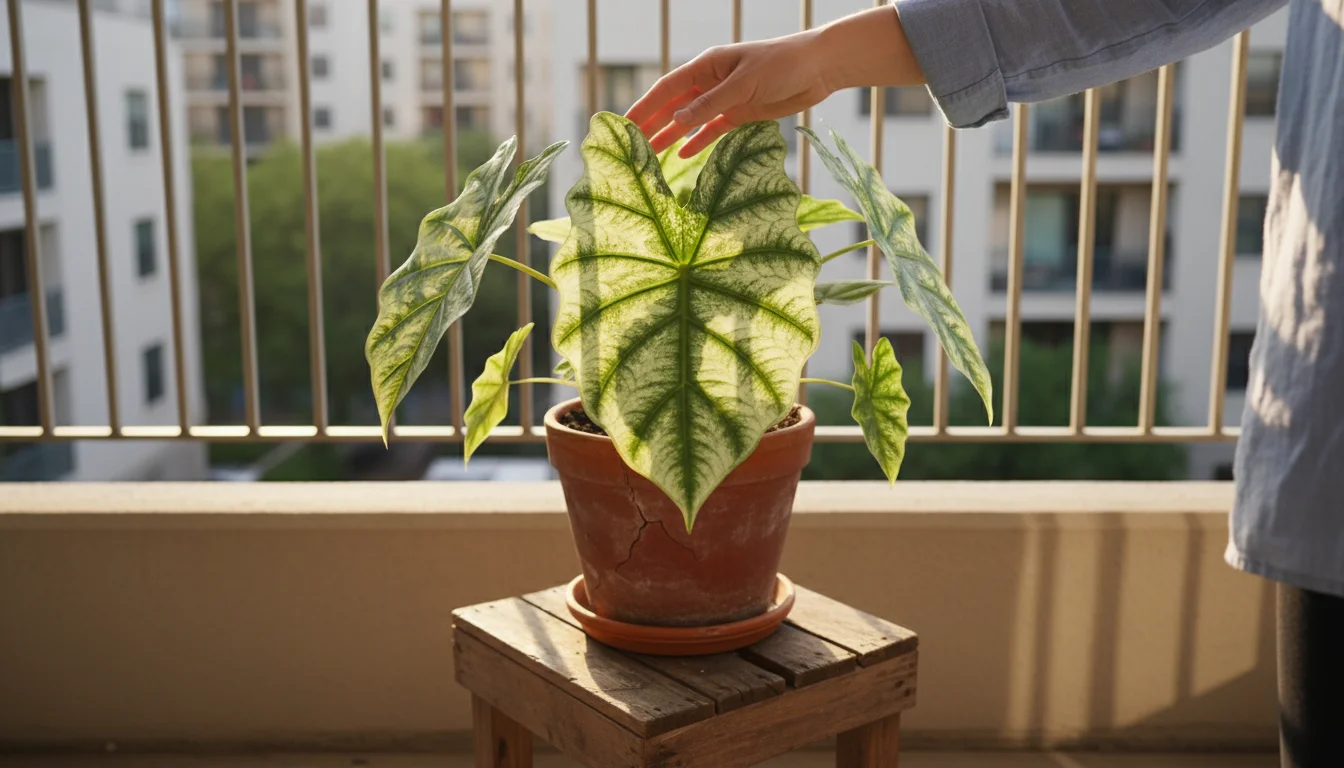
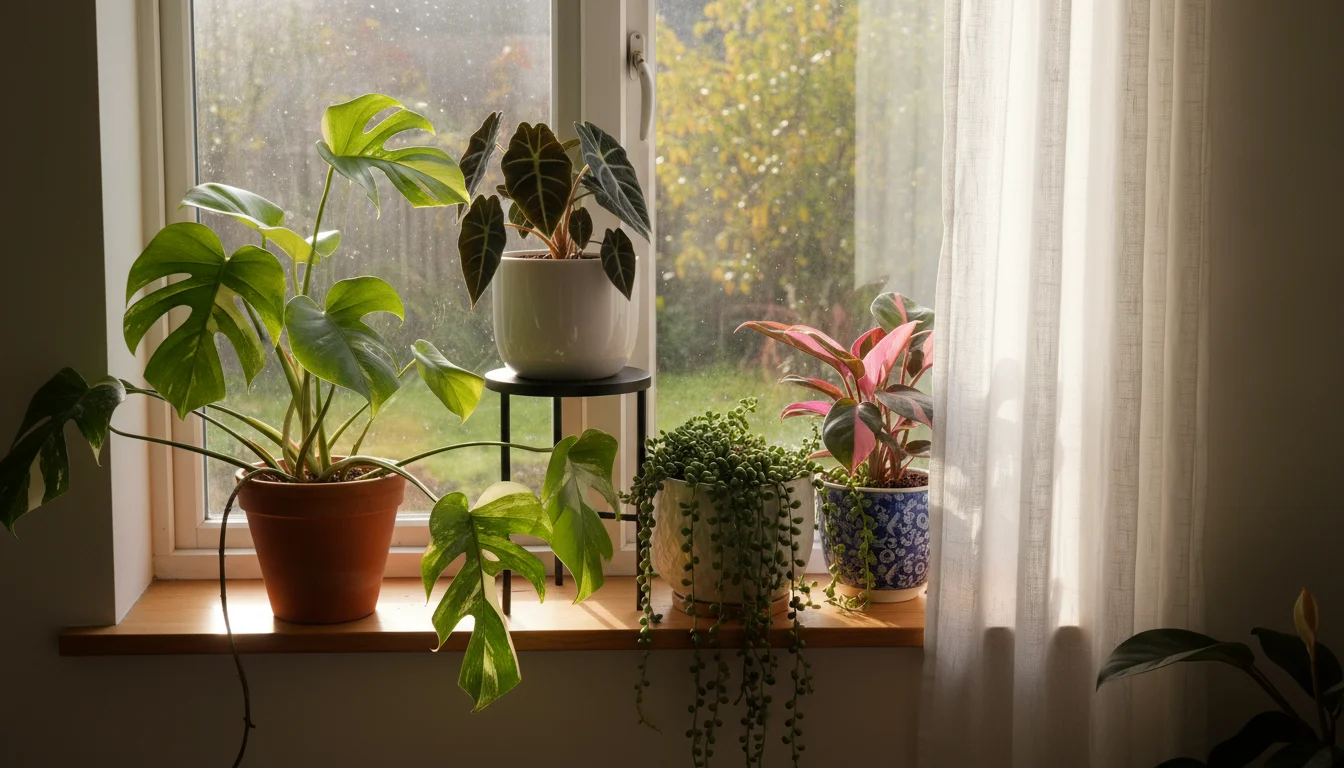
Local Weather and Environment

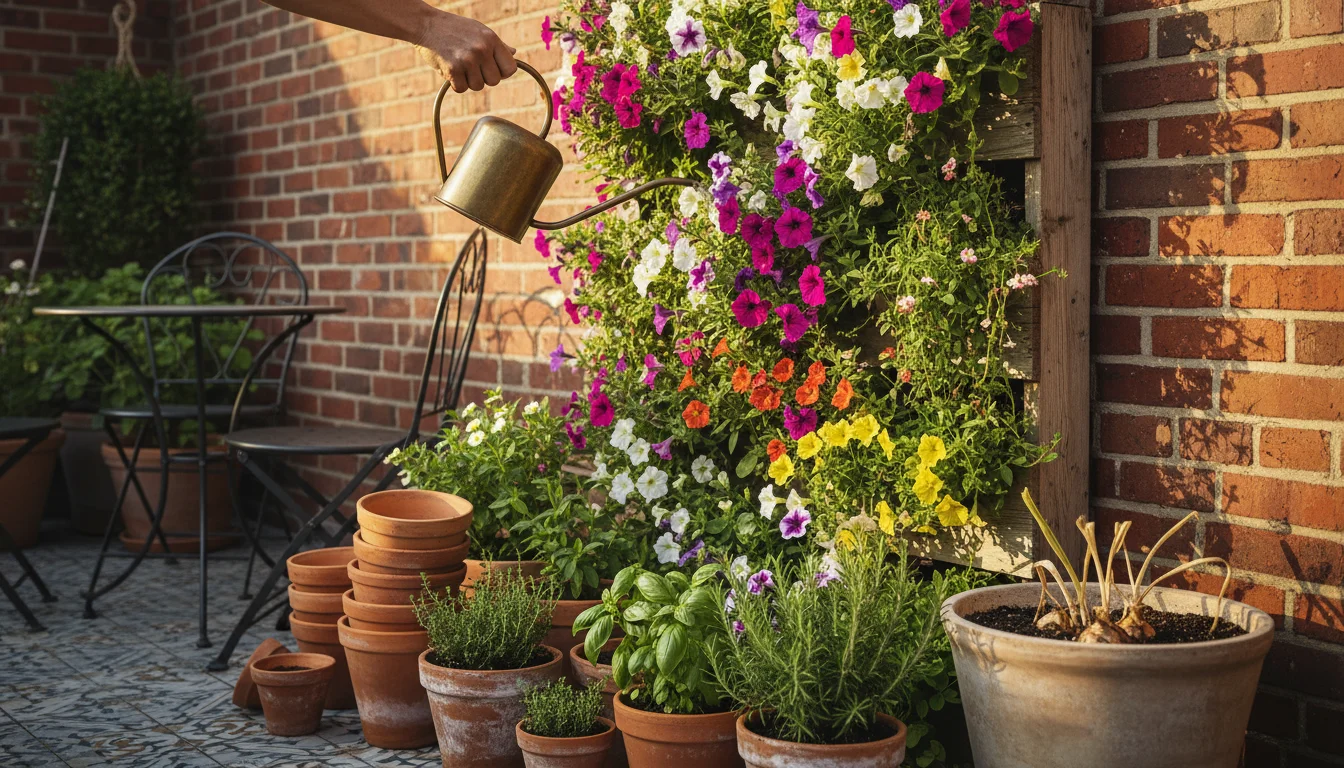
Your specific microclimate greatly impacts watering needs. A balcony garden exposed to prevailing winds will dry out faster than one sheltered by walls. Periods of rain will reduce your need to water. Even cloudy days, common in fall, mean less evaporation and slower drying soil. Monitor local forecasts and your immediate environment. On a persistently rainy or overcast week, you might not need to water at all. A sudden warm spell, however, could temporarily increase water demand, requiring a quick check and potential watering. This dynamic adjustment is key to successful watering container plants.

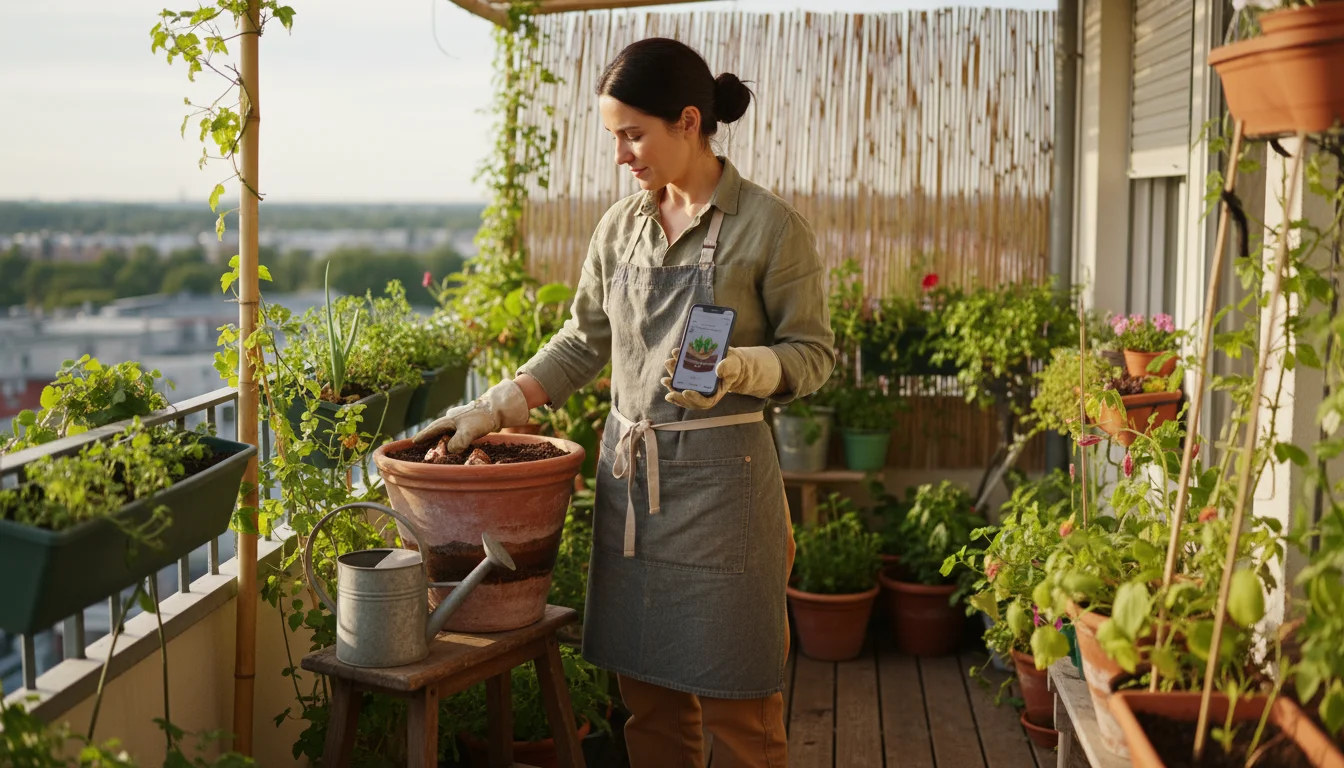
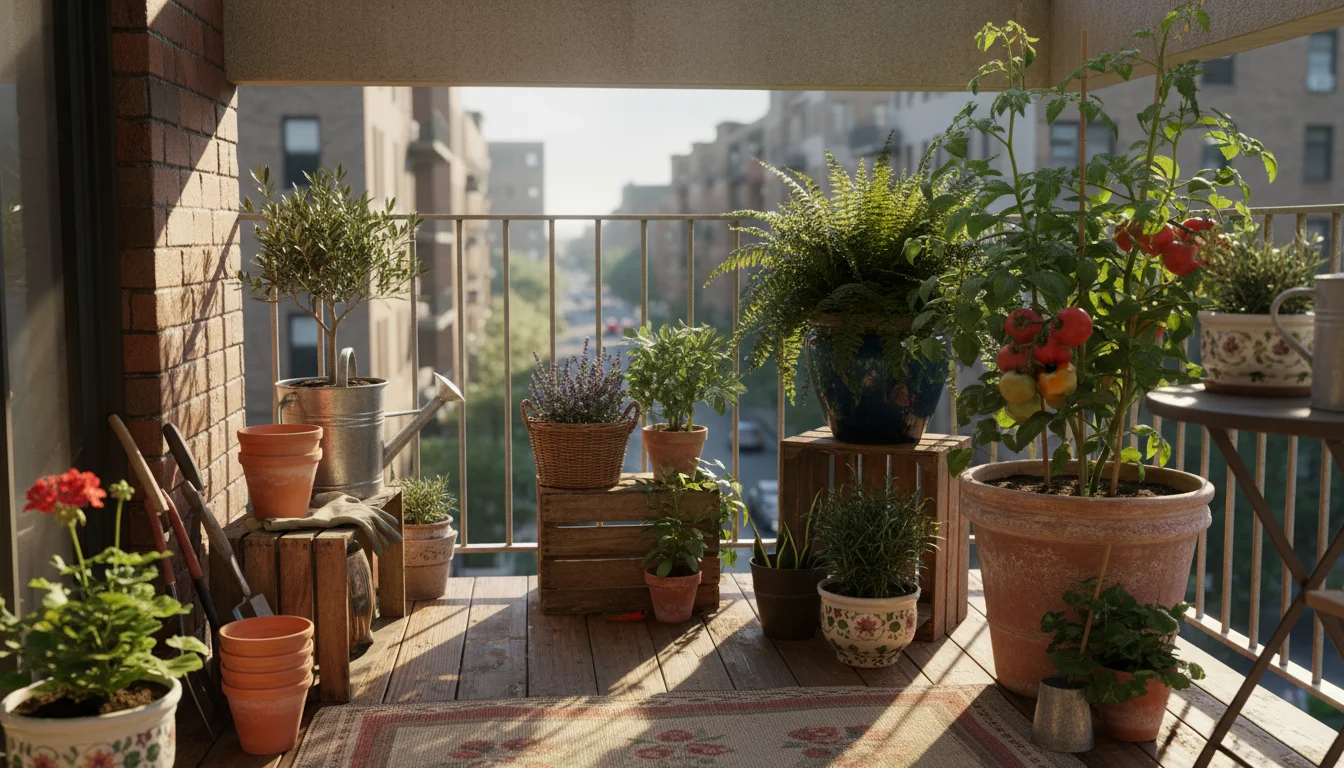
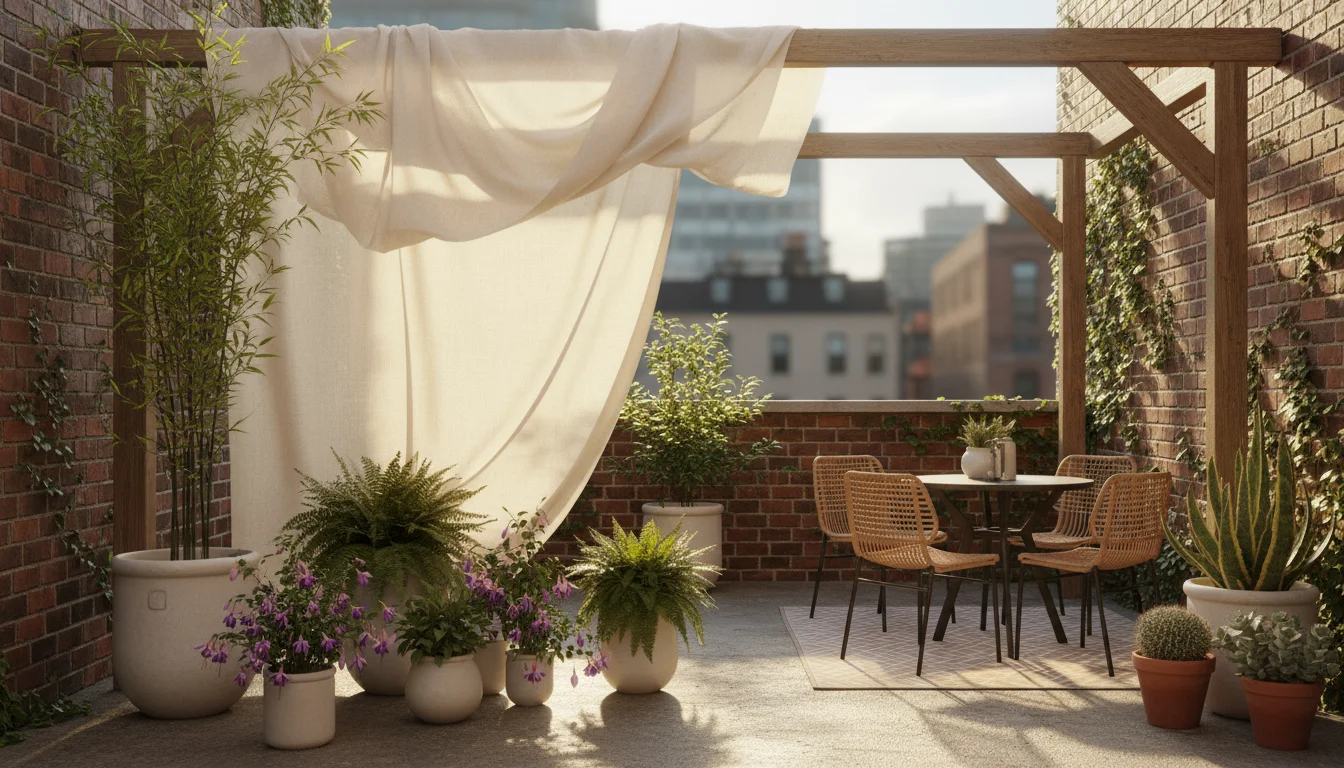
Crafting Your Tailored Fall Watering Schedule

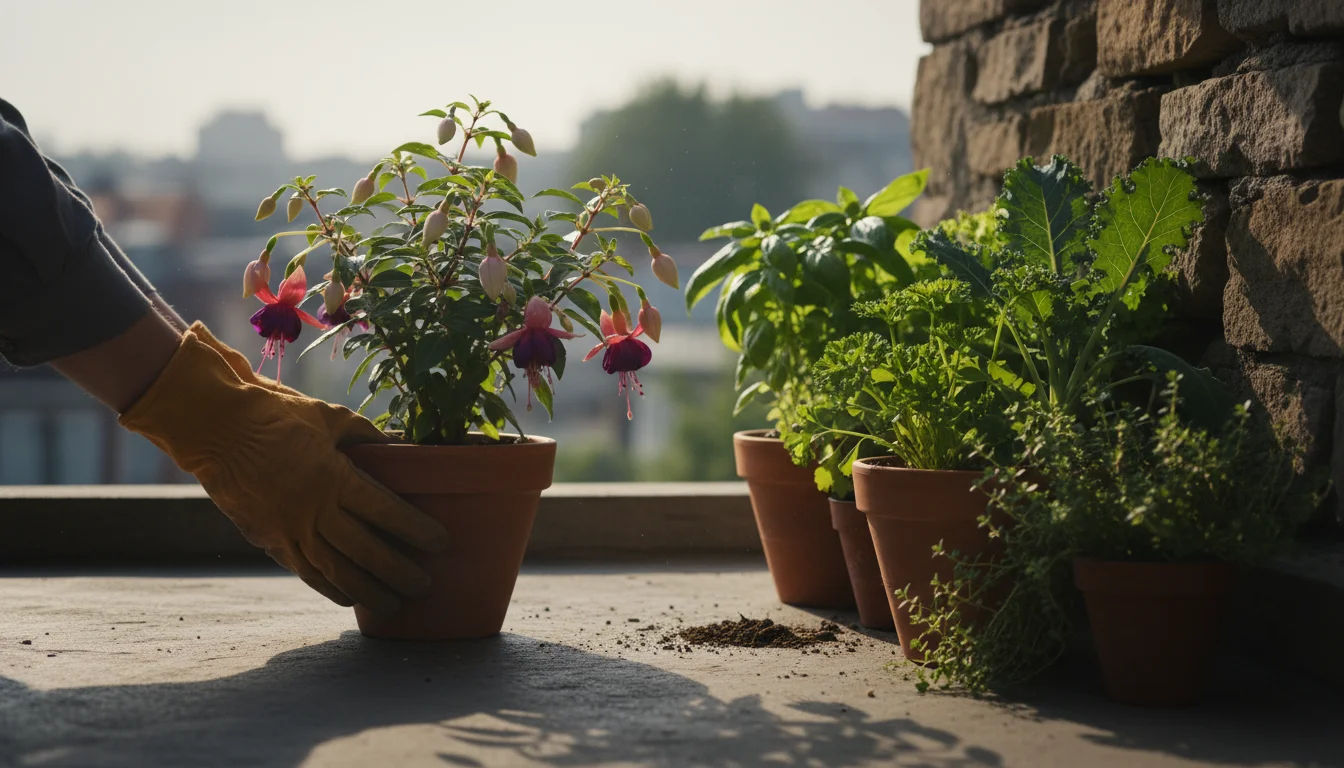
Moving from a reactive “water when it looks dry” summer approach to a proactive, mindful fall watering schedule is pivotal. Your goal is to provide consistent moisture without waterlogging the soil. This requires observation, consistency, and a willingness to adjust. Here is a step-by-step approach to creating your optimal watering schedule for balcony garden in autumn.

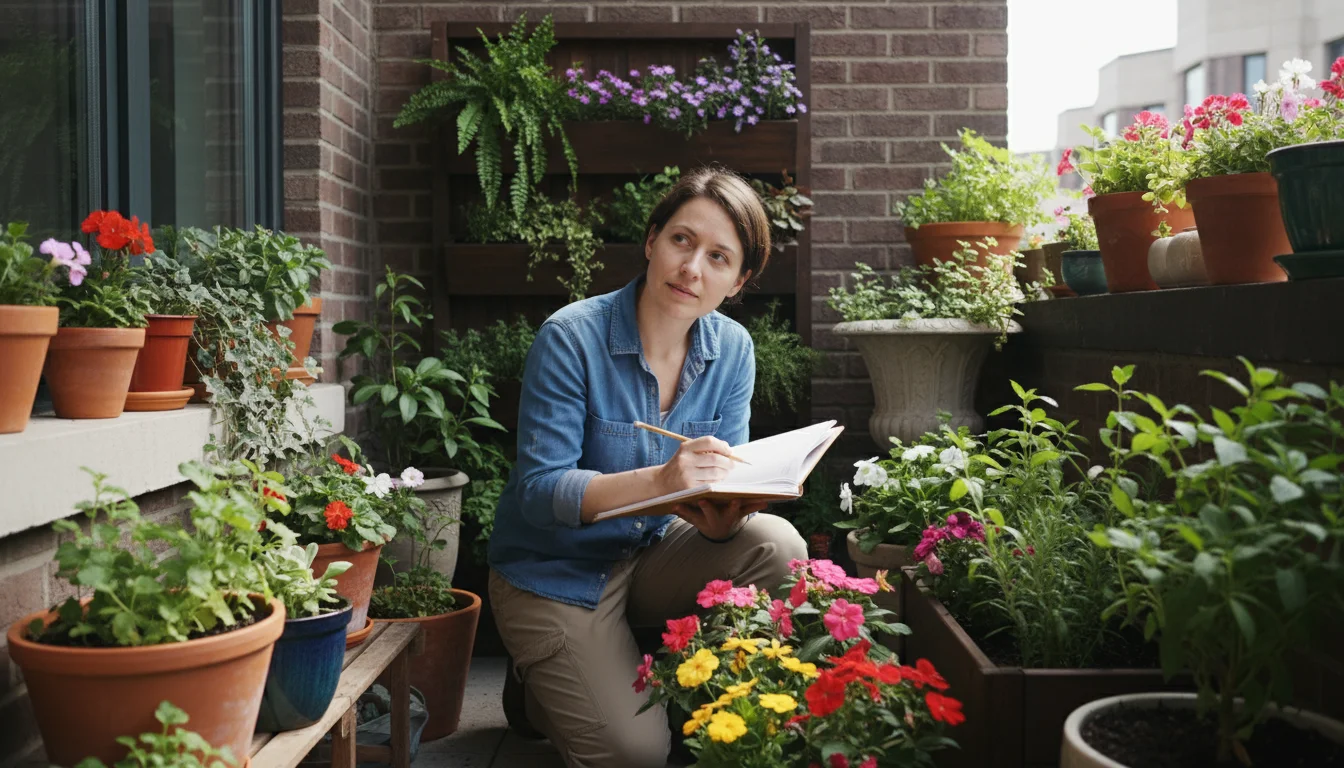
Step 1: Initial Assessment and Baseline

Before you make any changes, assess each container. Perform the finger test on every plant. Note down its plant type, container material, and current soil moisture. This gives you a baseline. If a plant feels bone dry, water it thoroughly. If it is soggy, let it dry out significantly before considering more water. You might find some plants need water every 4-5 days, while others might stretch to 10-14 days or even longer.

Step 2: Establish a Weekly Check-in Routine

Commit to checking all your container plants on a specific day each week. This creates a rhythm for your fall plant care. On your chosen day, perform the finger test on every pot. This consistent check helps you learn each plant’s drying pattern and prevents you from forgetting about less thirsty plants.

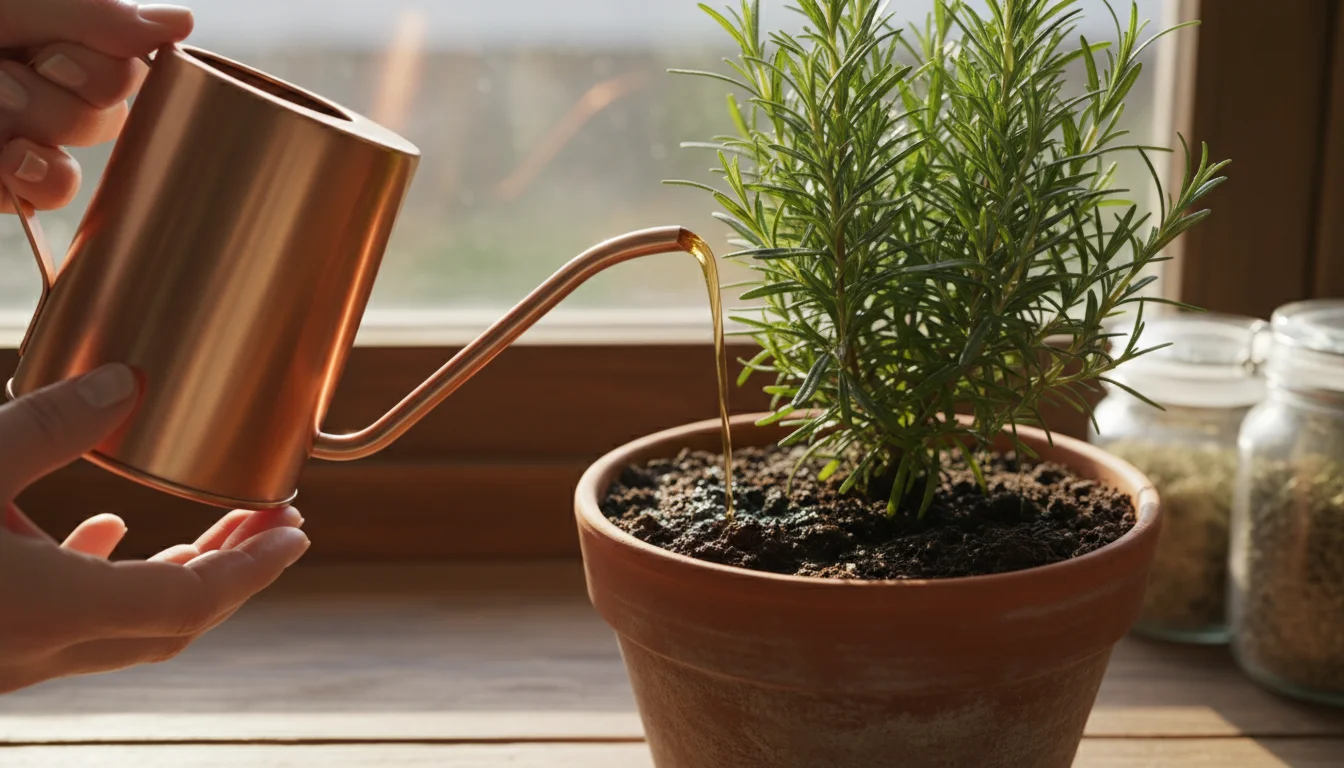
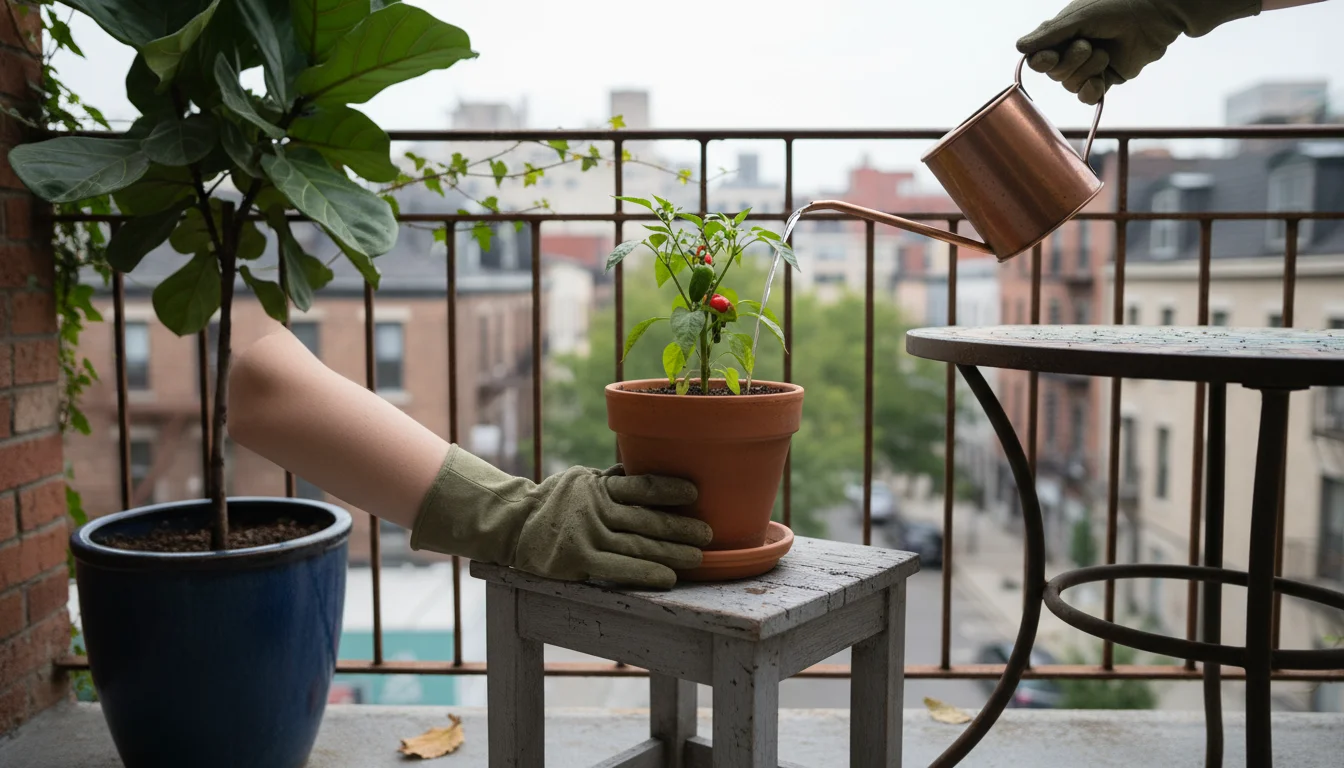
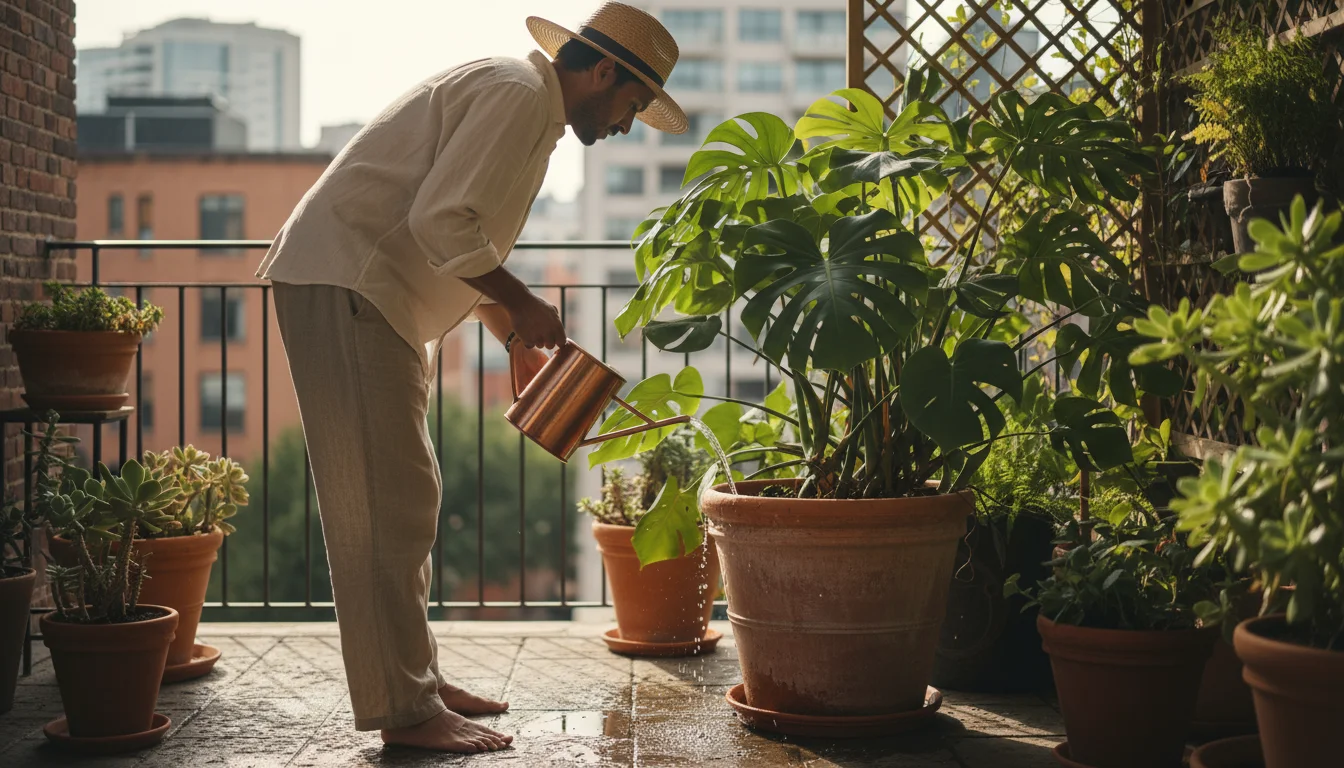
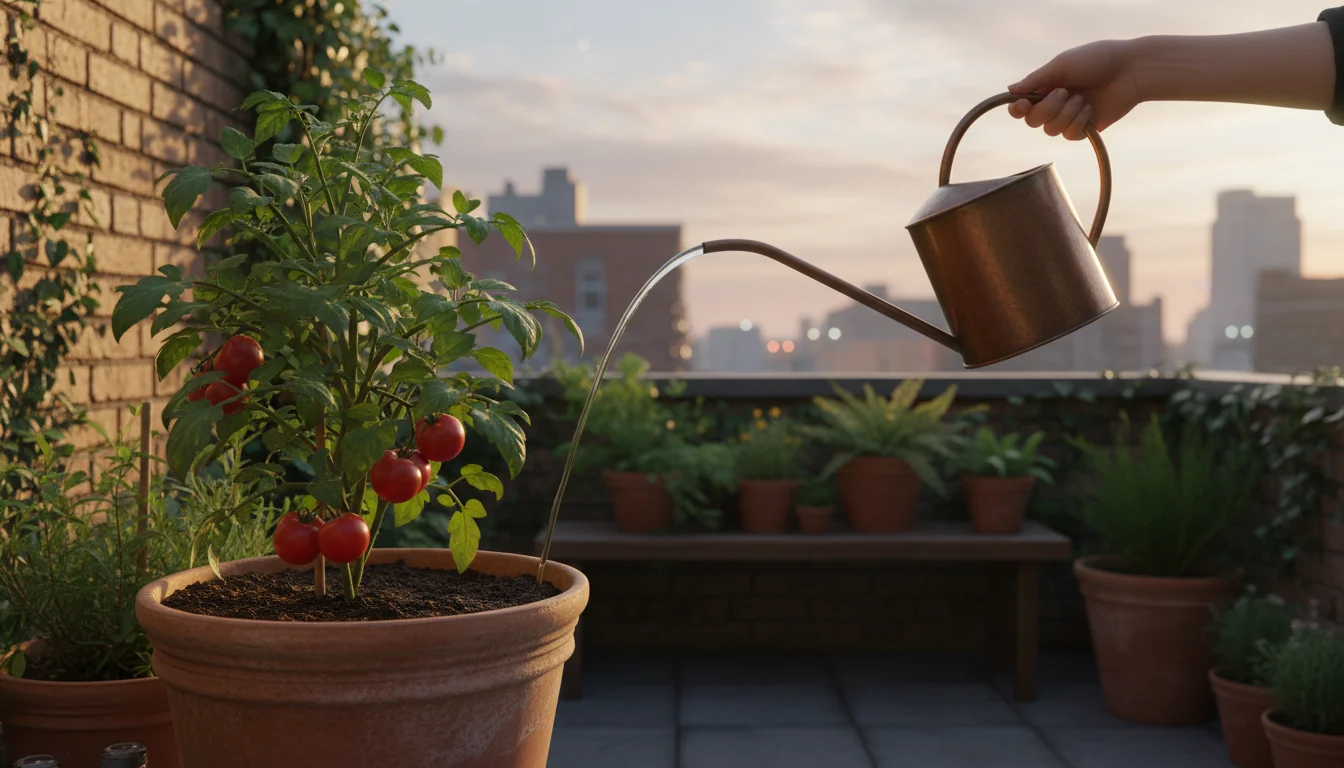
Step 3: Water Deeply, But Less Frequently

When you do water, do it thoroughly. Water until you see moisture draining from the bottom of the pot. This ensures the entire root ball receives hydration. Avoid shallow, frequent sips, which encourage shallow root growth. After watering, ensure no excess water remains in saucers for more than 30 minutes. Standing water leads to root issues. The crucial adjustment in fall is that you will perform this deep watering much less often than in summer. Where you might have watered daily or every other day in July, you might now water every 5-10 days, or even every two weeks for some plants.

Step 4: Monitor and Adjust Based on Weather

Fall weather is notoriously unpredictable. A week of warm, sunny days might mean you need to water slightly more often. A stretch of cold, rainy, or overcast days might mean you skip a scheduled watering entirely. Keep an eye on the forecast and adjust your watering container plants routine accordingly. A good rule of thumb: if it rains consistently, assume your outdoor container plants do not need additional watering for several days afterward. Always perform the finger test before reaching for the watering can.

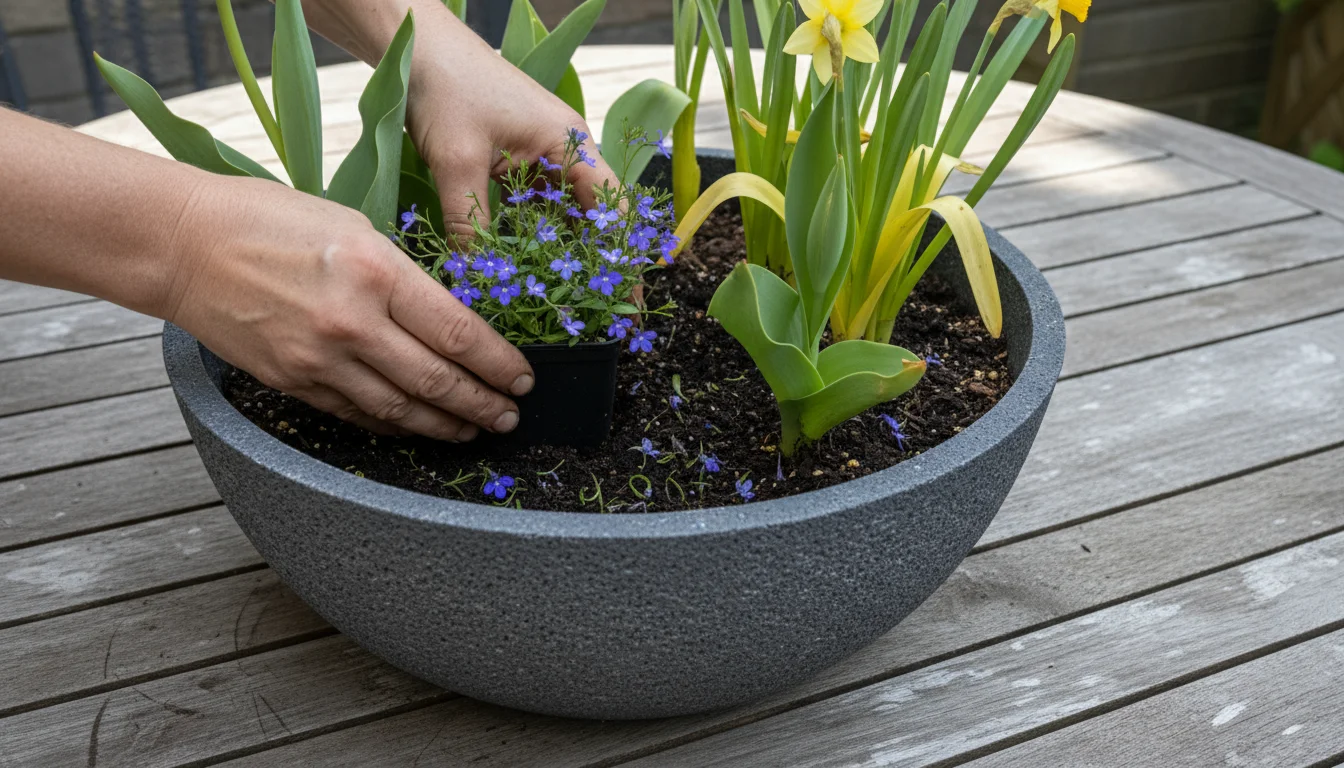
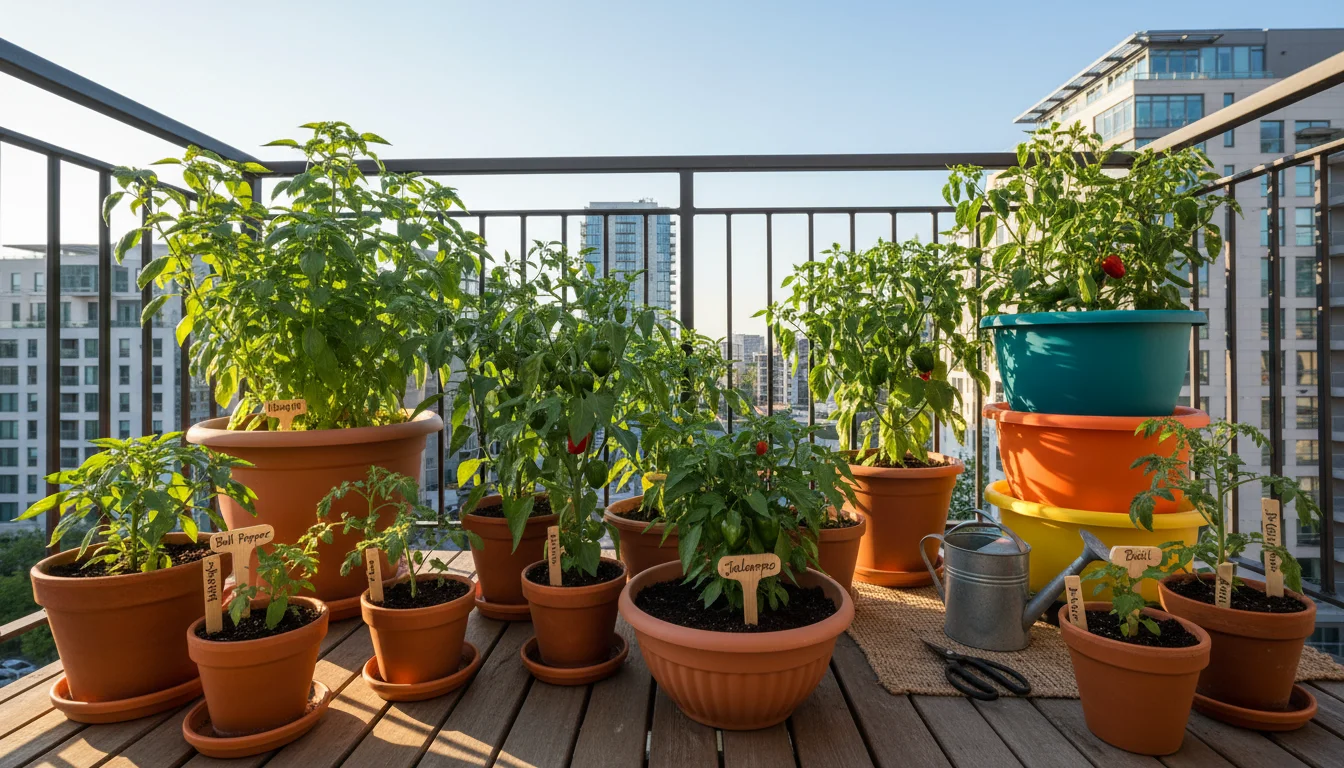
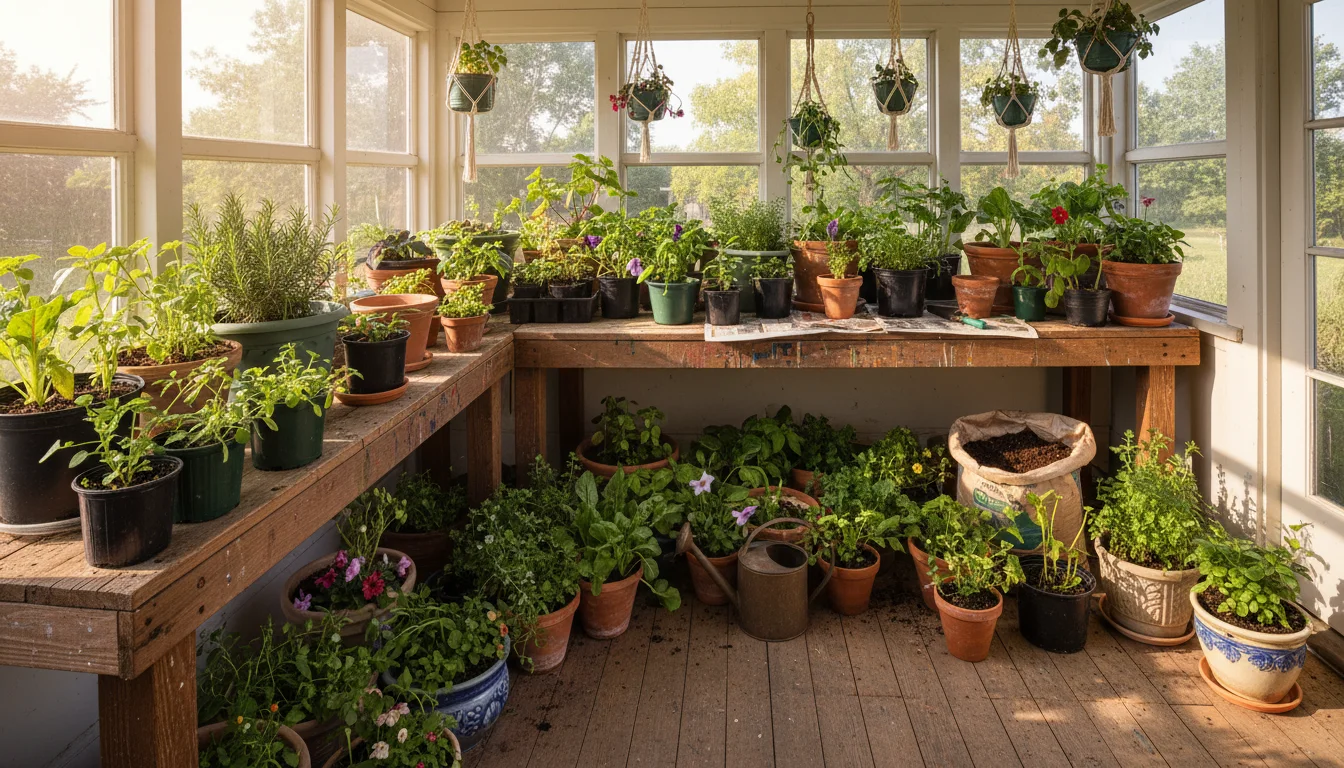
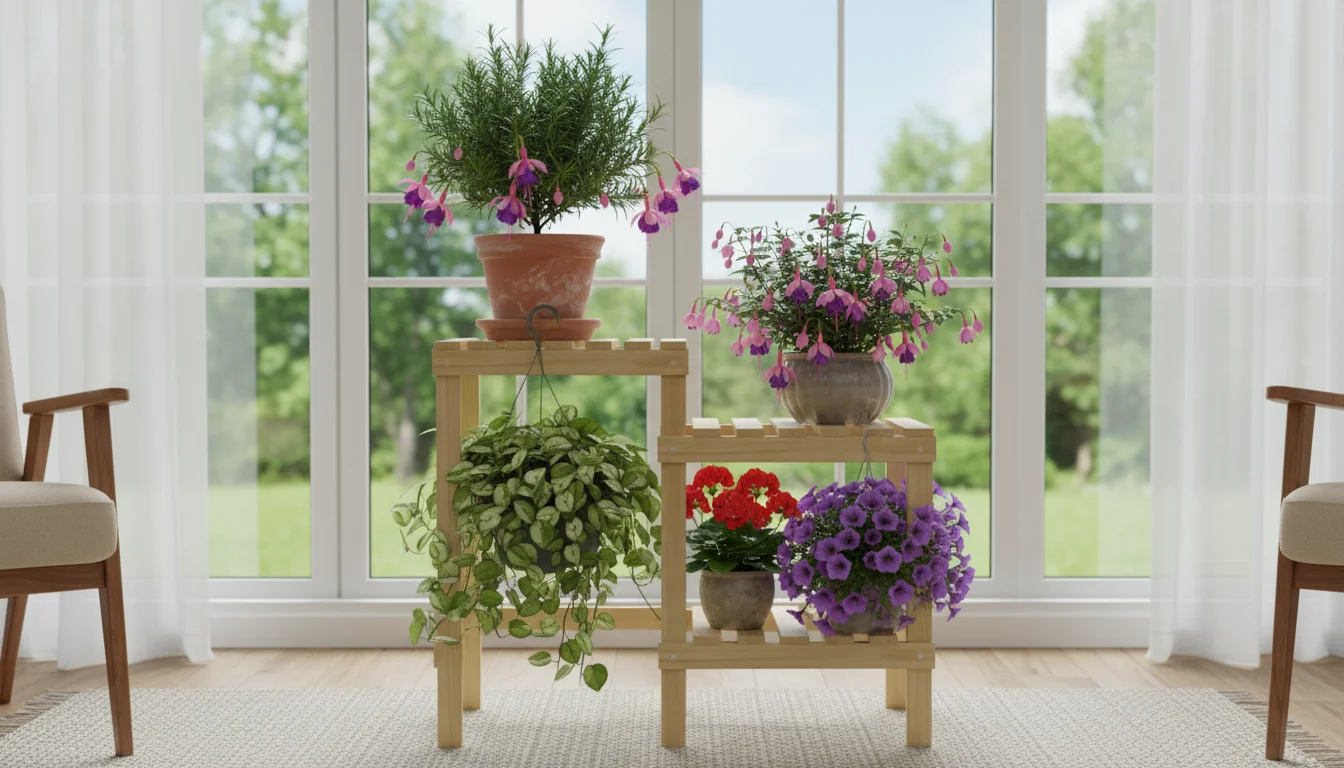
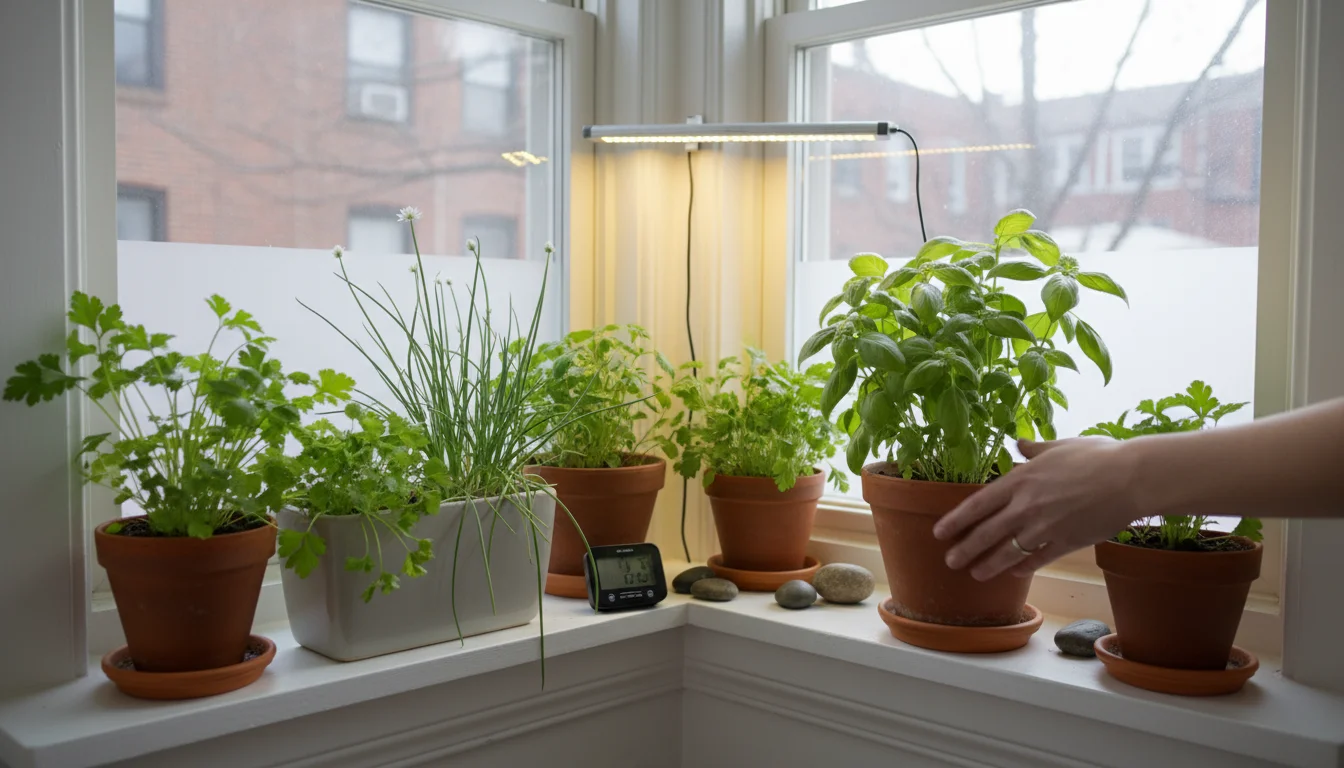
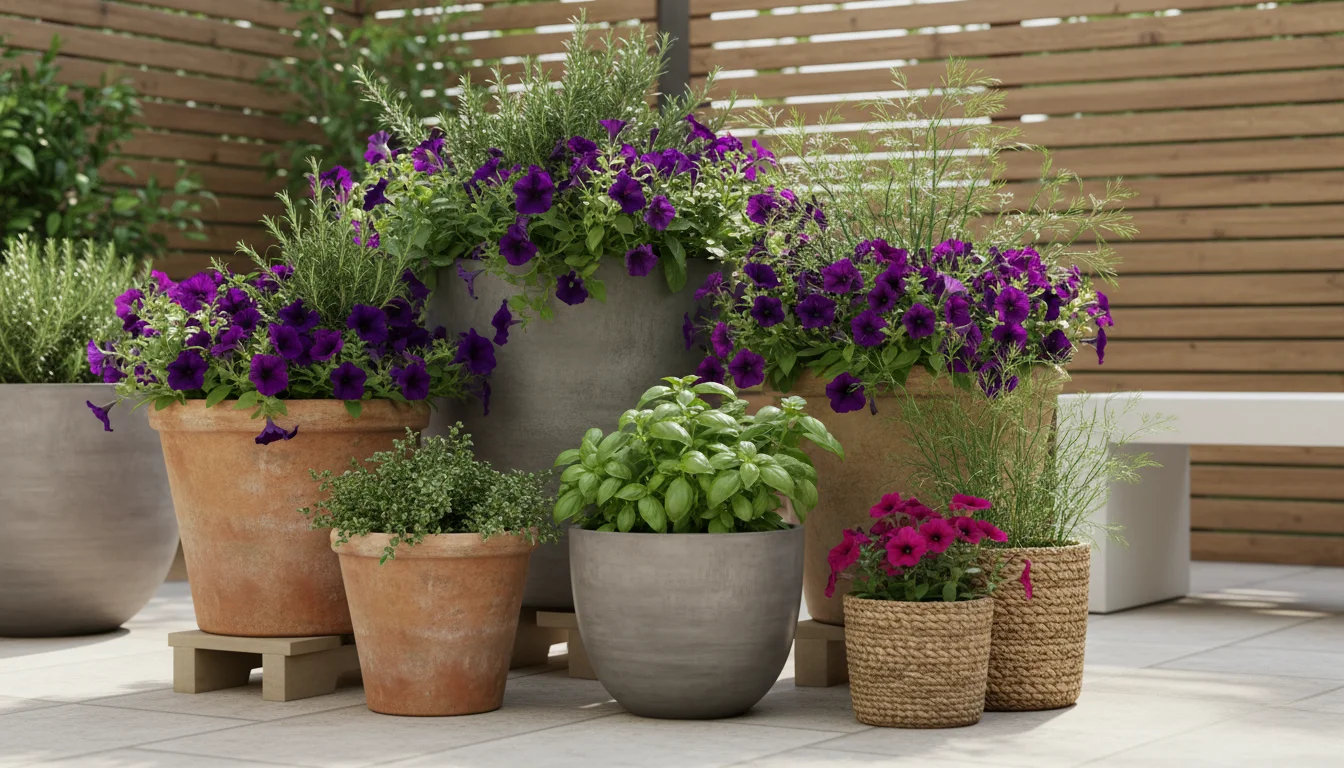
Step 5: Group Plants by Water Needs (Optional, but Recommended)

If you have many container plants, group them by similar water requirements. Place drought-tolerant plants together and moisture-loving plants together. This simplifies your routine. You can then check a group of plants with similar needs simultaneously, making your watering schedule for balcony garden in autumn more efficient.

Example Watering Schedule Adjustment:

Plant Type Summer Watering Frequency (Approx.) Fall Watering Frequency (Approx.) Notes for Fall
Impatiens, Begonias Daily to every other day Every 3-7 days Still prefer consistent moisture, but check for sogginess.
Herbs (Rosemary, Thyme) Every 2-3 days Every 7-14 days Prefer drier soil; allow to dry out almost completely.
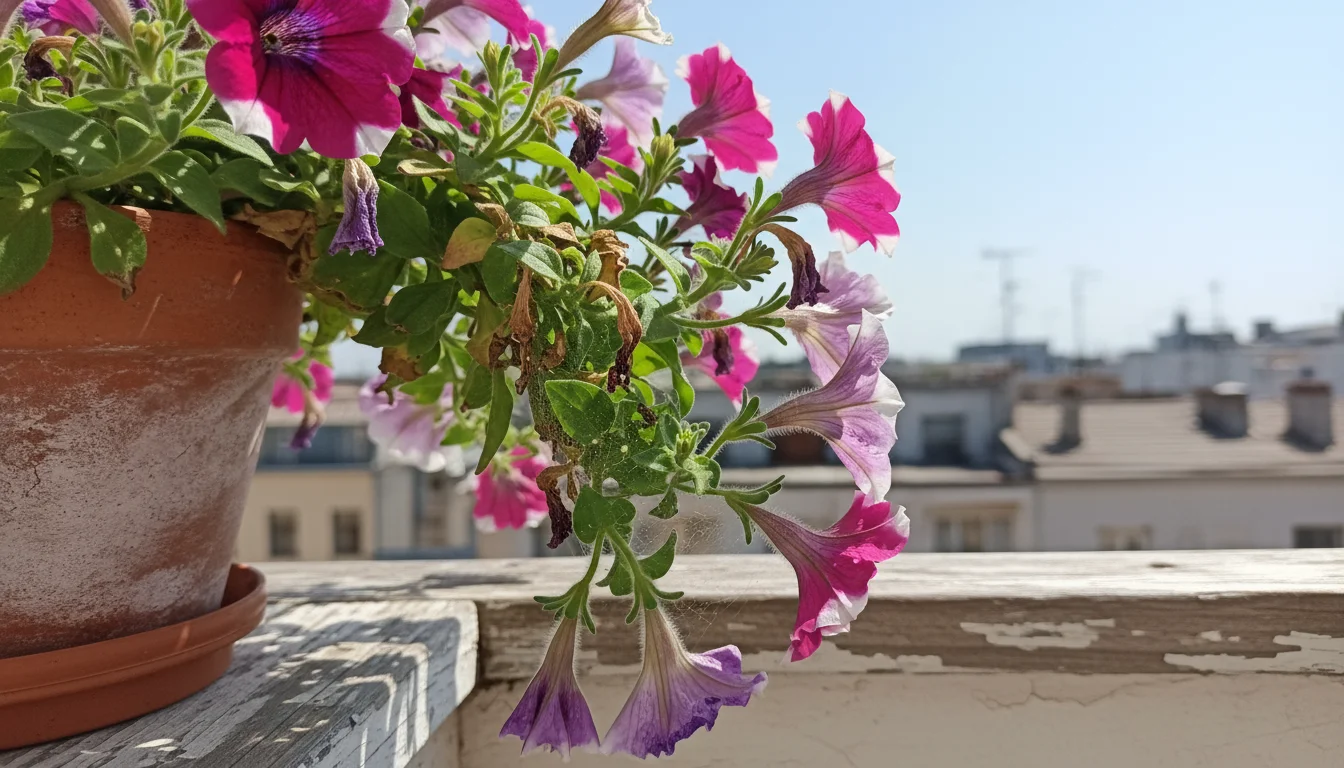
Geraniums, Petunias Every other day Every 5-10 days Tolerate slight dryness between waterings.
Succulents, Cacti Every 1-2 weeks Every 2-4 weeks or less Water only when soil is completely dry for an extended period.

Note: These are approximations. Always defer to the finger test for precise needs.

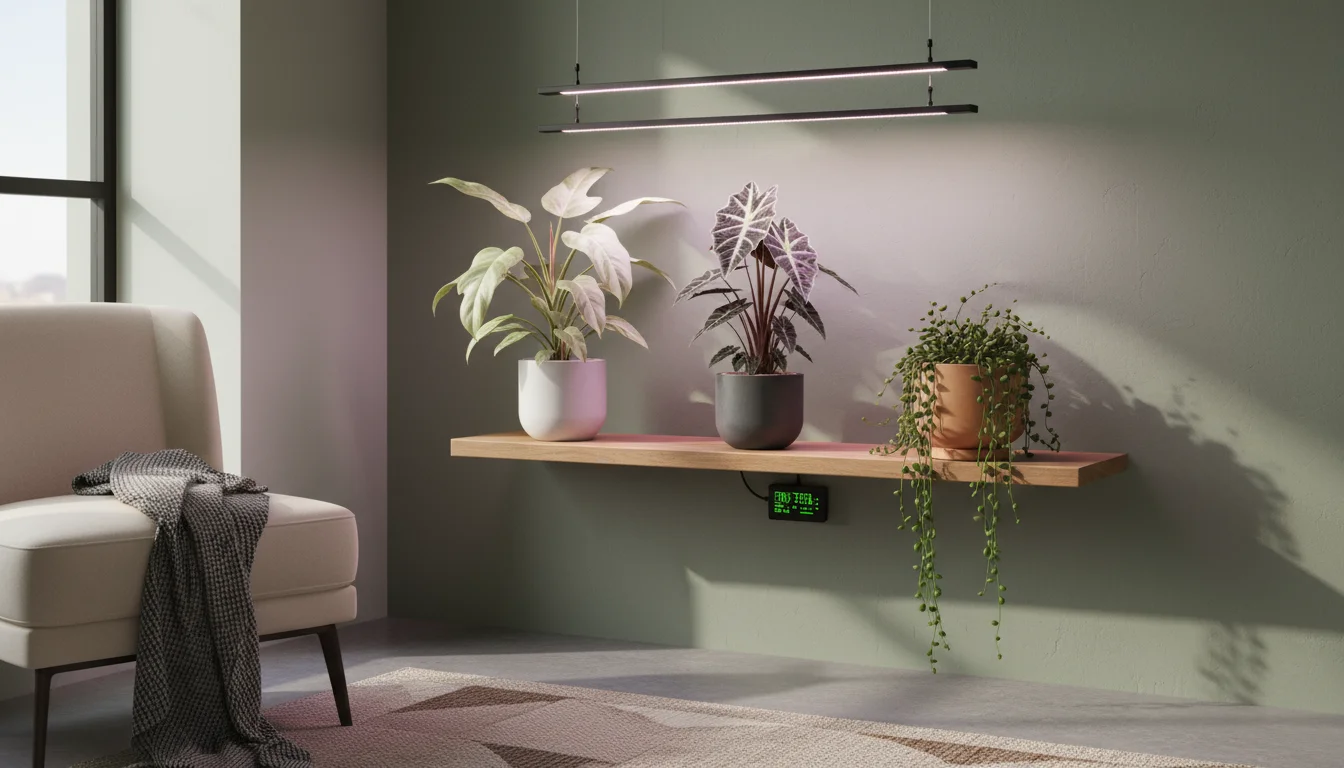
Smart Watering Tools for Autumn Container Care

While the finger test remains your most reliable method for assessing soil moisture, certain tools can assist you, particularly as you fine-tune your watering schedule for balcony garden in autumn. These tools provide supplementary information and can enhance your fall plant care routine.
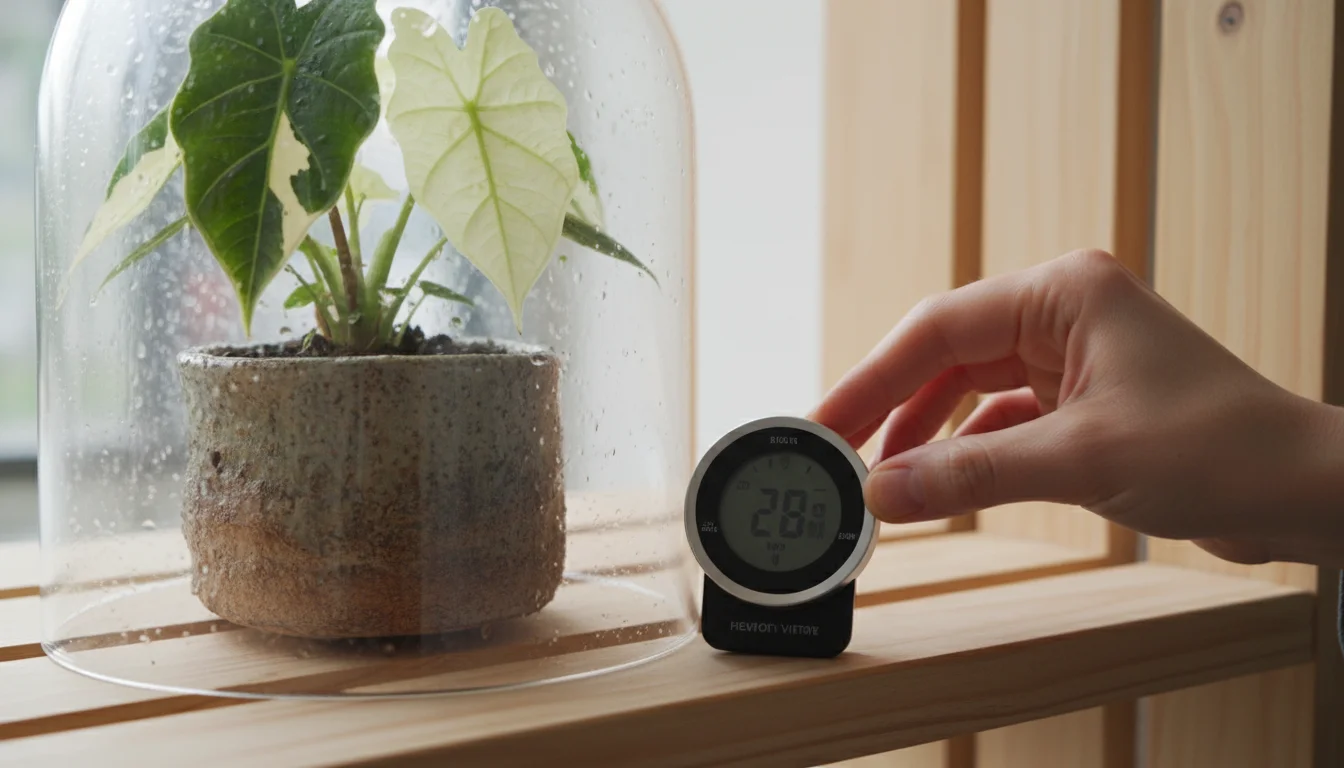
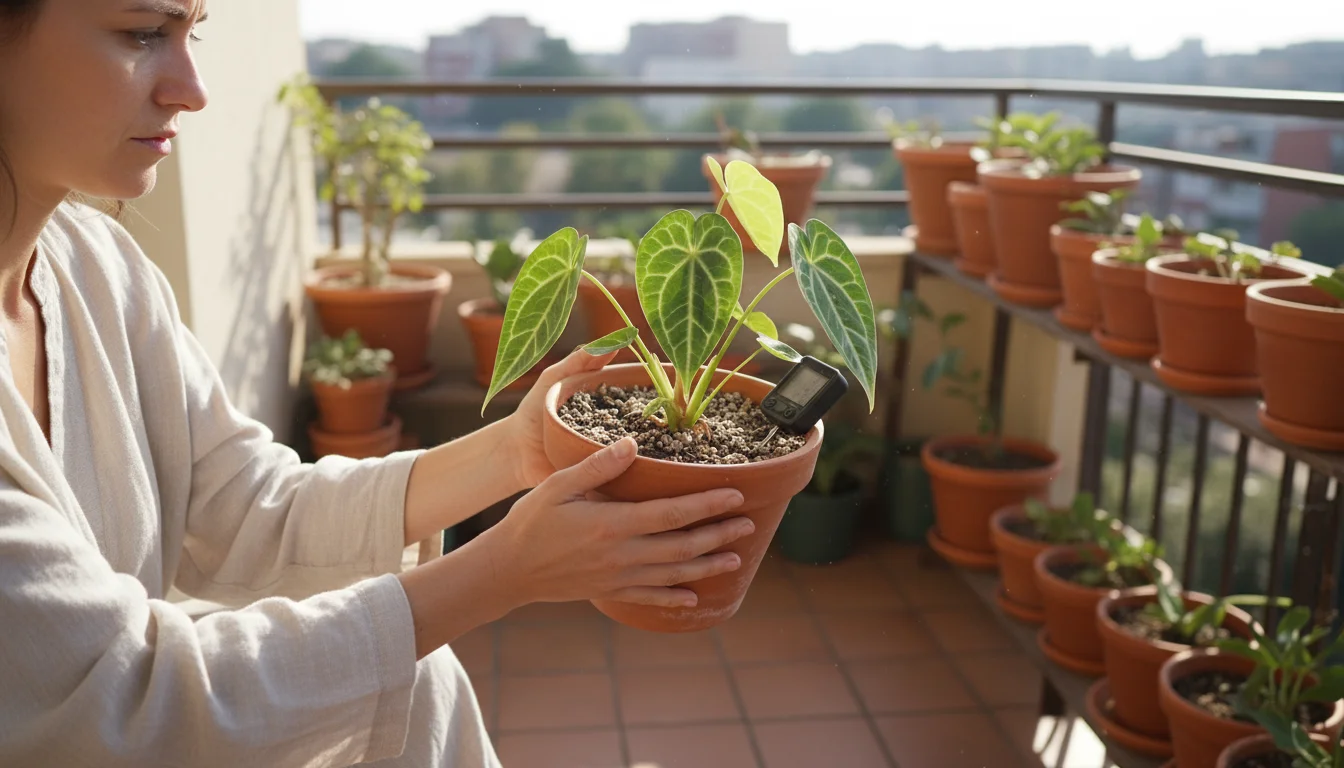
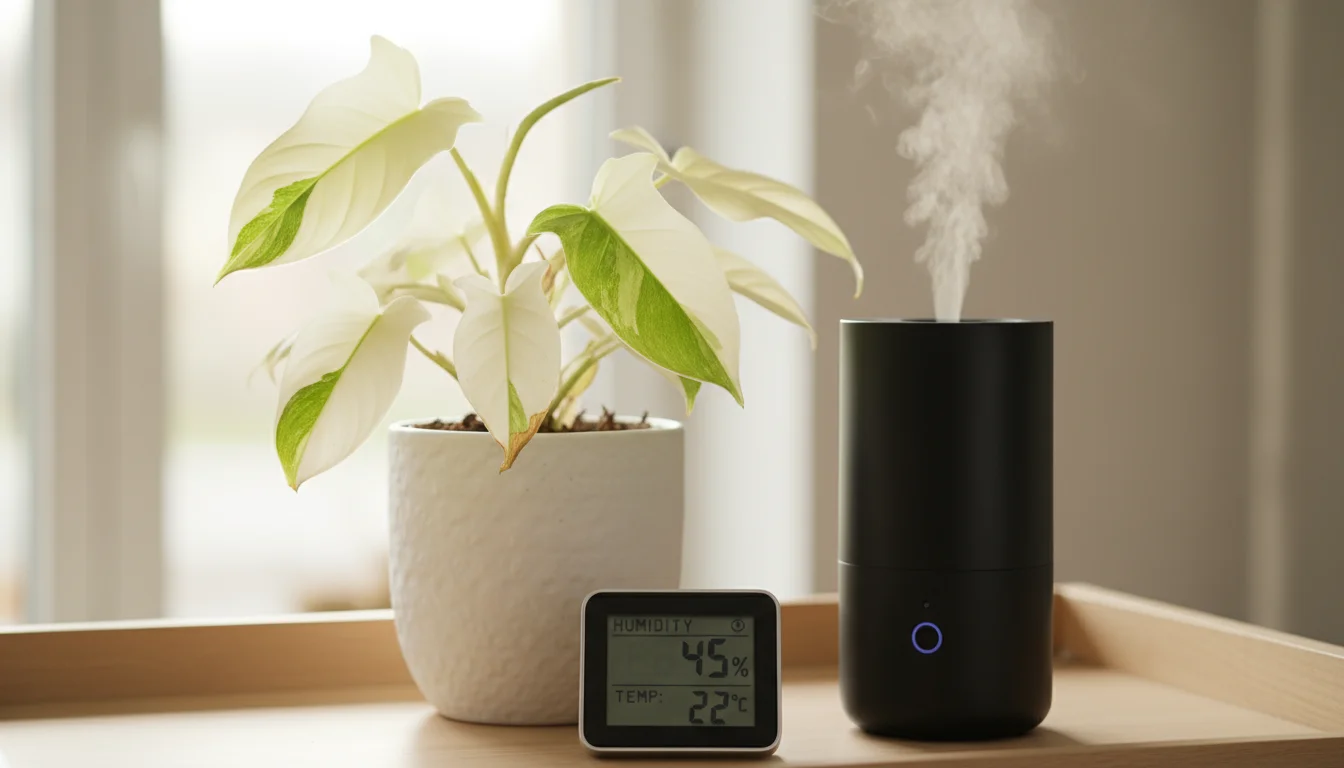
Moisture Meters

Moisture meters are handy devices that you insert into the soil to get a reading of its moisture level. They typically provide a scale from “dry” to “wet” or a numerical value. These can be particularly useful for:

  • Large Containers: Your finger might not reach deep enough into very large pots. A longer probe on a moisture meter can provide a reading from deeper within the root zone.
  • Hard-to-Reach Plants: For plants positioned in difficult spots, a meter can save you from constantly moving them or awkwardly trying to perform the finger test.
  • Beginners: If you are new to gardening, a moisture meter can offer a helpful visual confirmation as you learn to interpret how soil feels.

Caveats: Moisture meters measure electrical conductivity, which correlates with moisture but can be influenced by soil salinity or fertilizer levels. They are also prone to errors if you hit an air pocket or a piece of bark. Always use a moisture meter as a guide and cross-reference its readings with your finger test, especially when first learning how often to water pots in the fall. Calibrate your intuition rather than relying solely on the device.

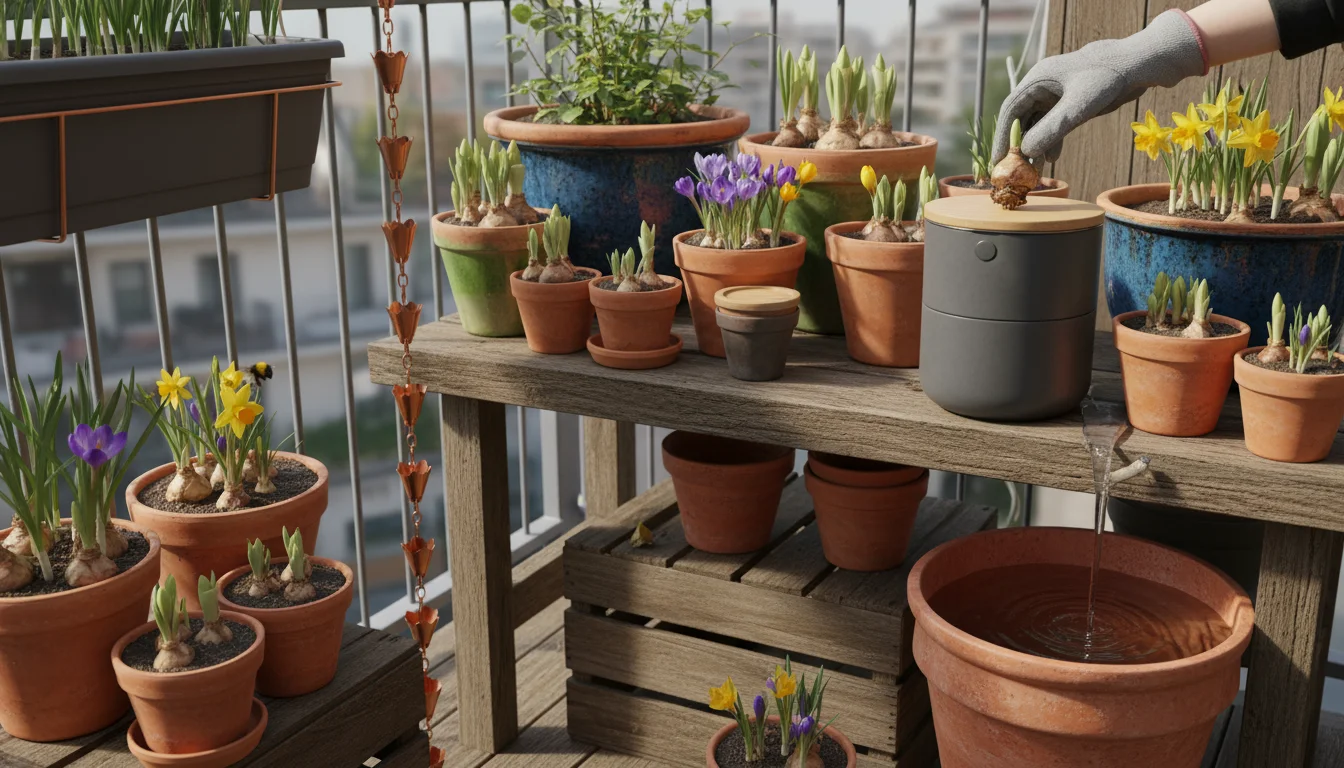
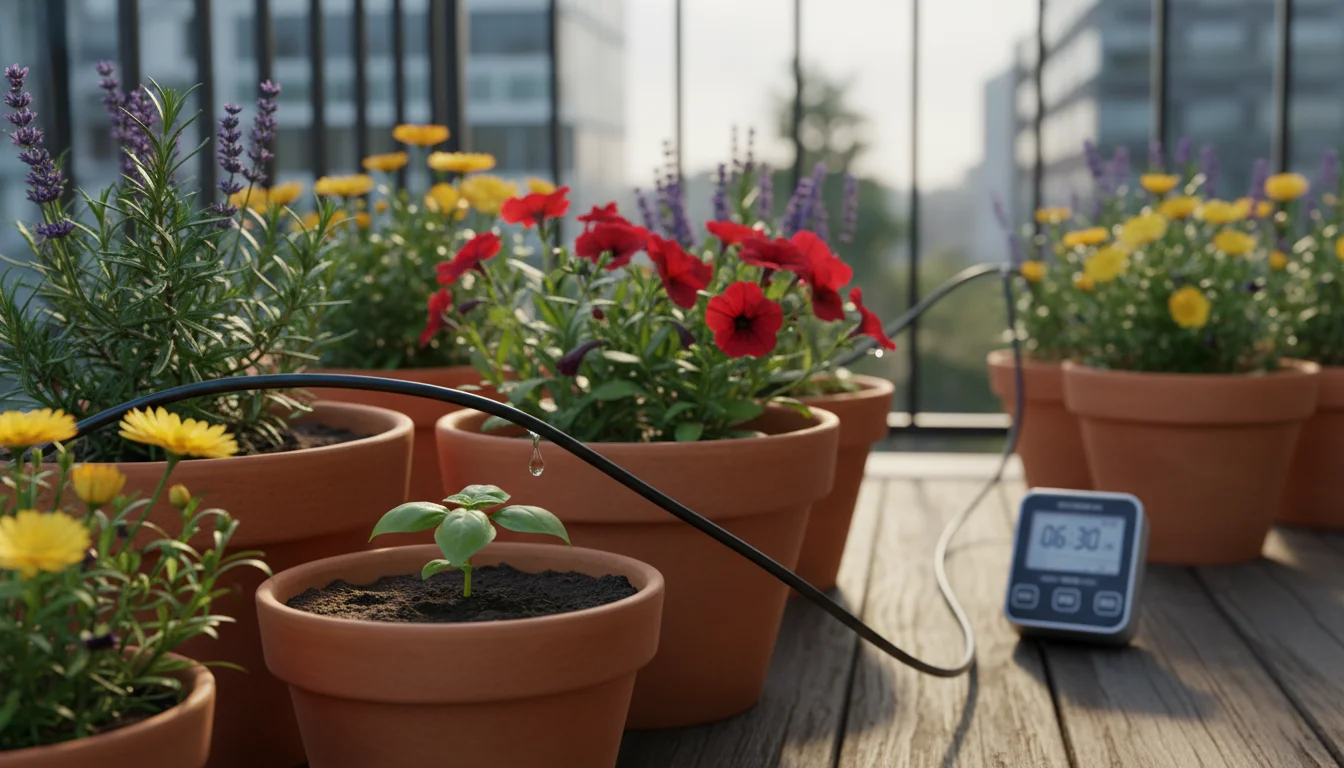
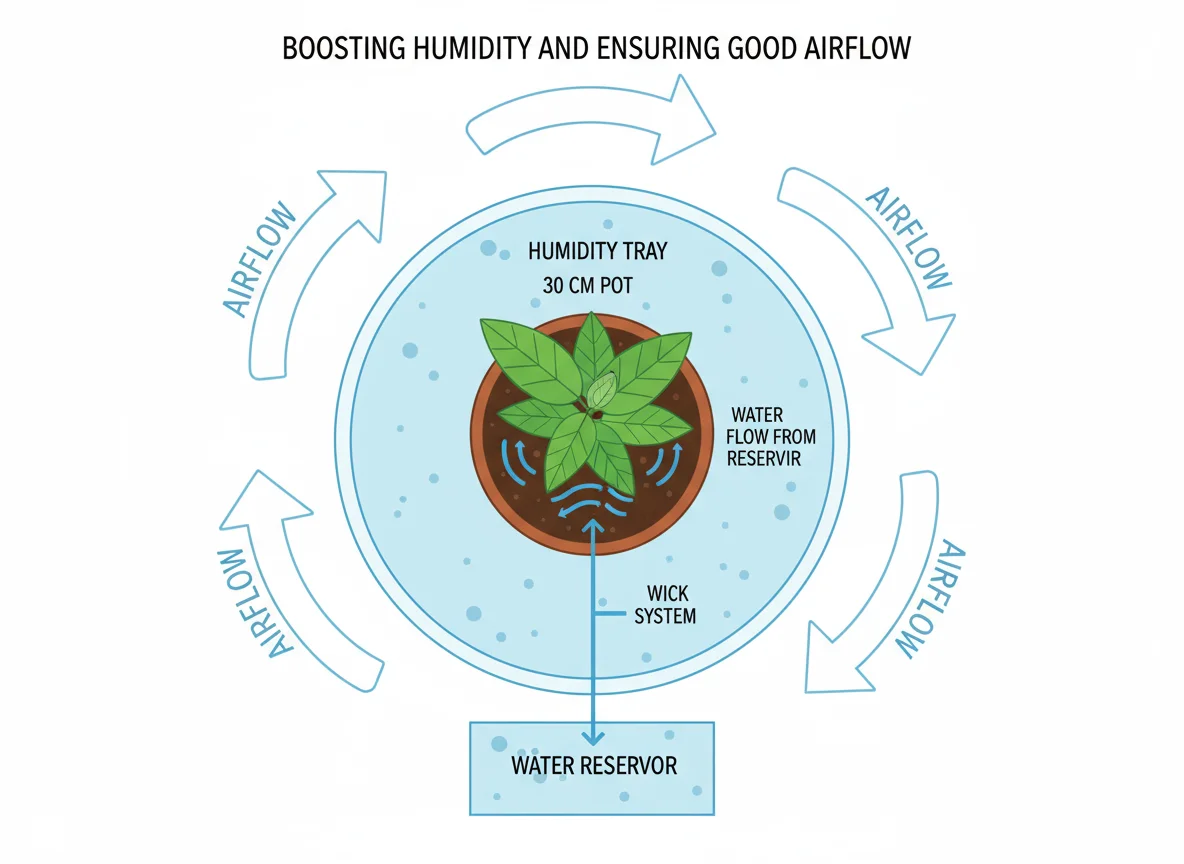
Self-Watering Pots (with Fall Adjustments)

Self-watering pots, which feature a reservoir and a wicking system to draw water up to the soil, are popular for their convenience. They can be beneficial in summer, but they require careful management in fall to prevent overwatering. The constant access to water, combined with reduced plant needs, can lead to perpetually soggy soil and root rot. If you use self-watering pots in autumn:

  • Empty the Reservoir: Allow the reservoir to completely dry out between fillings. Do not keep it consistently topped up as you would in summer.
  • Fill Partially: When you do water, fill the reservoir only partially, perhaps to one-quarter or one-half capacity, depending on the plant’s needs. This provides a shorter period of moisture before drying out.
  • Top-Water Occasionally: Sometimes, top-watering can help flush out accumulated salts and ensure the topsoil receives moisture.
  • Consider Draining for Dormant Plants: For plants entering full dormancy, you might even consider emptying the reservoir and watering from the top very sparingly, allowing the soil to dry out almost completely.

Self-watering containers can be a blessing for busy gardeners, but they demand a more hands-on approach and frequent checks of the soil directly in fall to ensure you are not creating conditions for overwatering symptoms.

Rain Gauges

For outdoor balcony gardens, a simple rain gauge helps you track natural precipitation. If your pots receive a significant amount of rain, you can skip your manual watering for several days, directly reducing the risk of overwatering container plants. This is a simple, low-tech tool that directly informs your outdoor watering decisions.

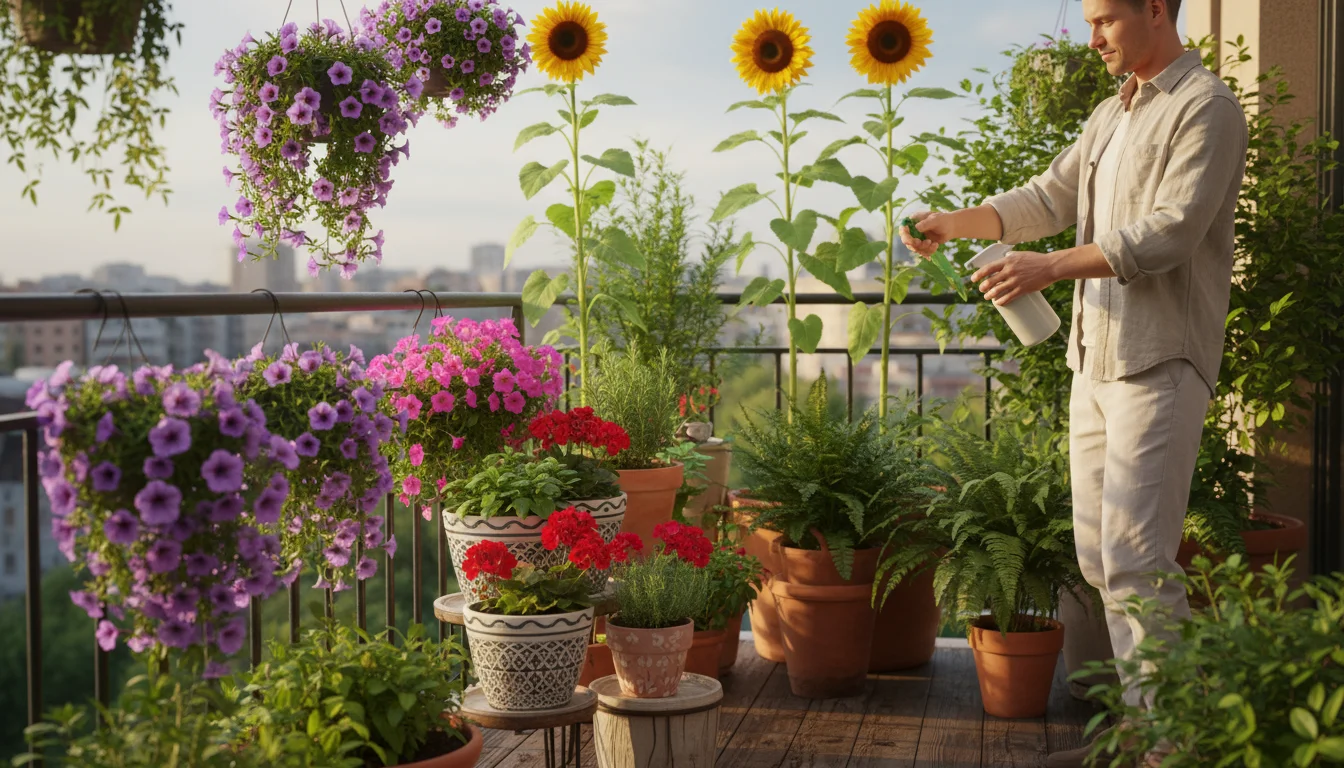
Eco-Friendly Watering Practices for Fall

As a supportive and environmentally conscious gardener, you want to ensure your fall plant care practices are not only effective but also sustainable. Adopting eco-friendly watering habits conserves water, reduces waste, and contributes to a healthier environment. Here are actionable tips for mindful watering container plants in the autumn.
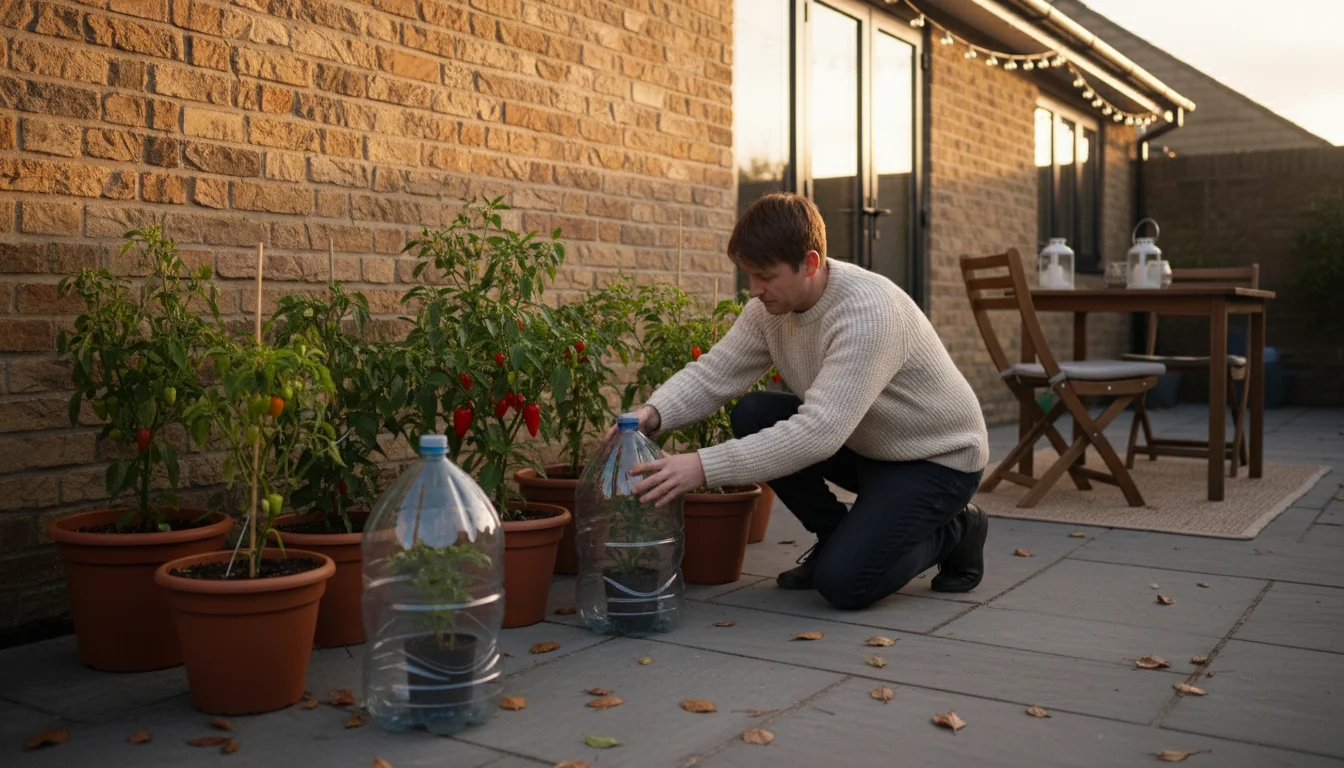
Collect Rainwater

Rainwater is naturally soft, free of chlorine and other chemicals found in tap water, making it excellent for plants. Set up a rain barrel or simply place buckets and containers strategically on your balcony or patio to capture rainfall. This collected water is perfect for your container plants and significantly reduces your reliance on municipal water sources. It is also an effective way to manage your watering schedule for balcony garden in autumn, as you are utilizing a free, natural resource.

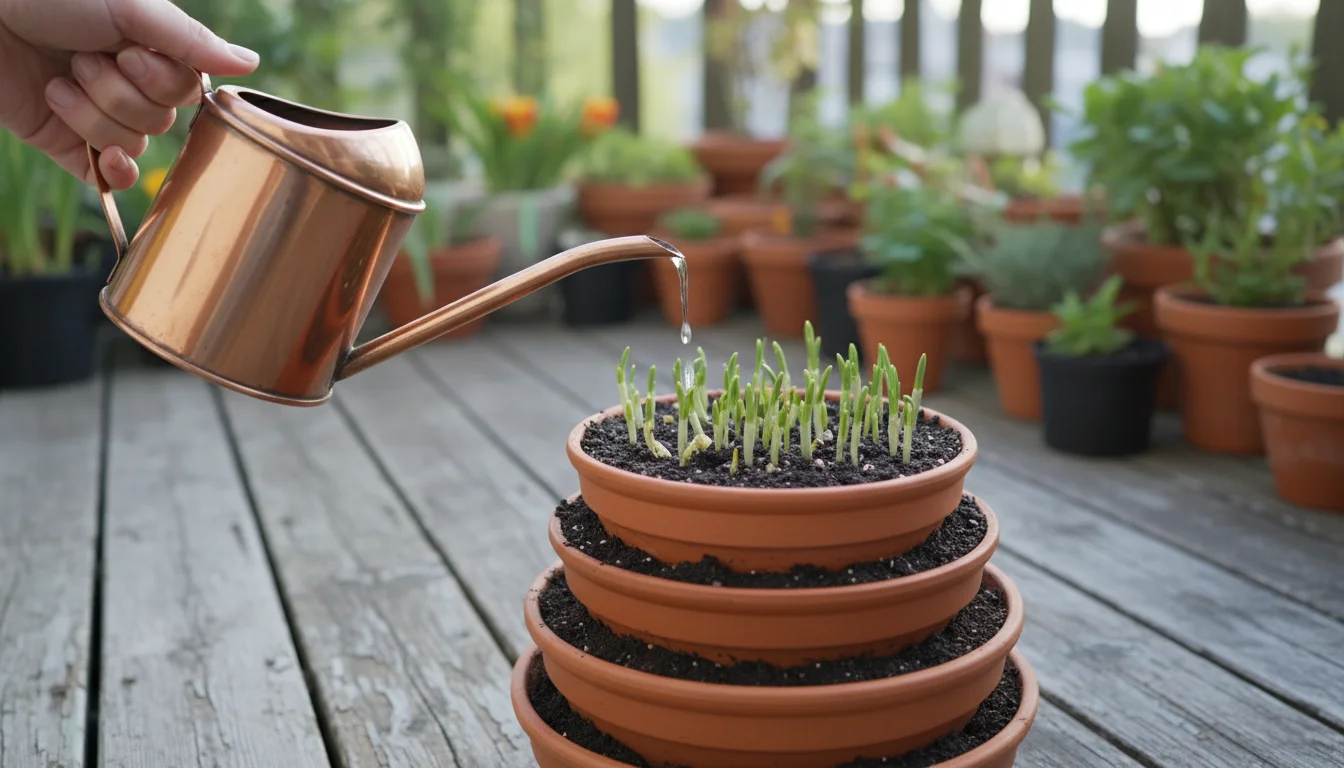
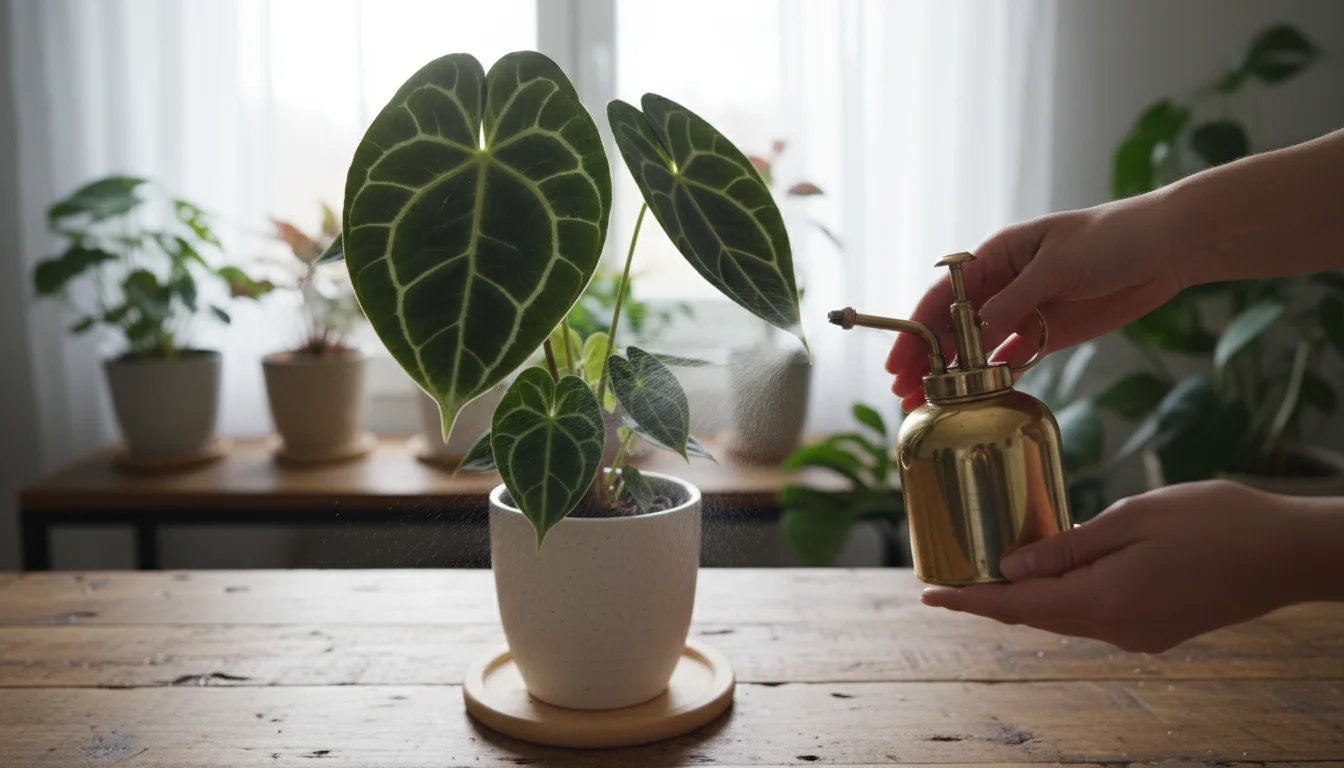
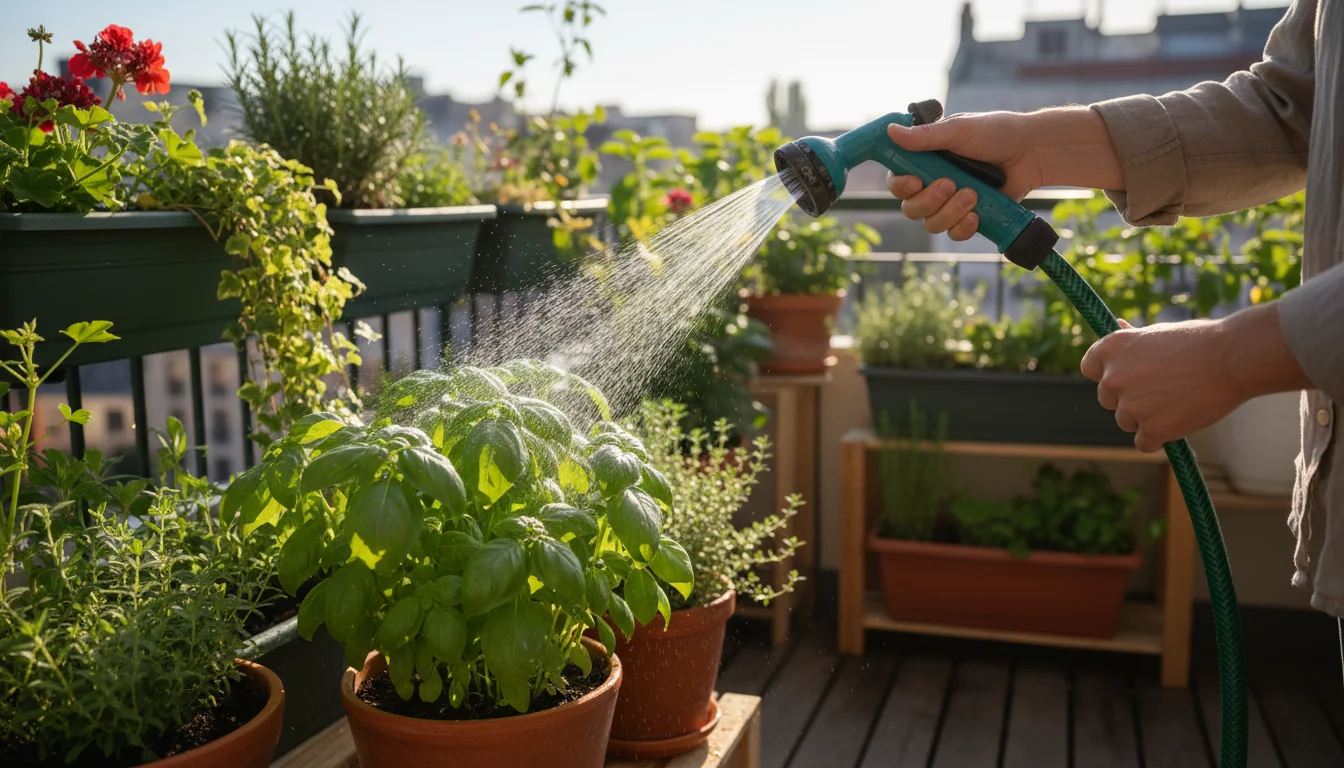
Water in the Morning

The best time to water your container plants, even in fall, is in the morning. This timing allows the plants to absorb the water before the slight warmth of the day encourages evaporation, yet it also provides enough time for the foliage to dry before evening. Wet leaves overnight, especially in cool, damp fall conditions, can lead to fungal diseases. Early morning watering ensures your plants get the hydration they need without prolonged dampness.

Mulch Your Containers

Applying a layer of mulch to the top of your container soil offers numerous benefits. Organic mulches like shredded bark, wood chips, or coco coir effectively reduce water evaporation from the soil surface, helping the soil retain moisture longer. A 1-2 inch layer of mulch can decrease watering frequency by 20-30%. Mulch also helps moderate soil temperature, insulating roots from sudden drops in temperature, and suppresses weed growth, which would otherwise compete for water. This simple practice significantly contributes to efficient watering container plants.

Prioritize and Consolidate

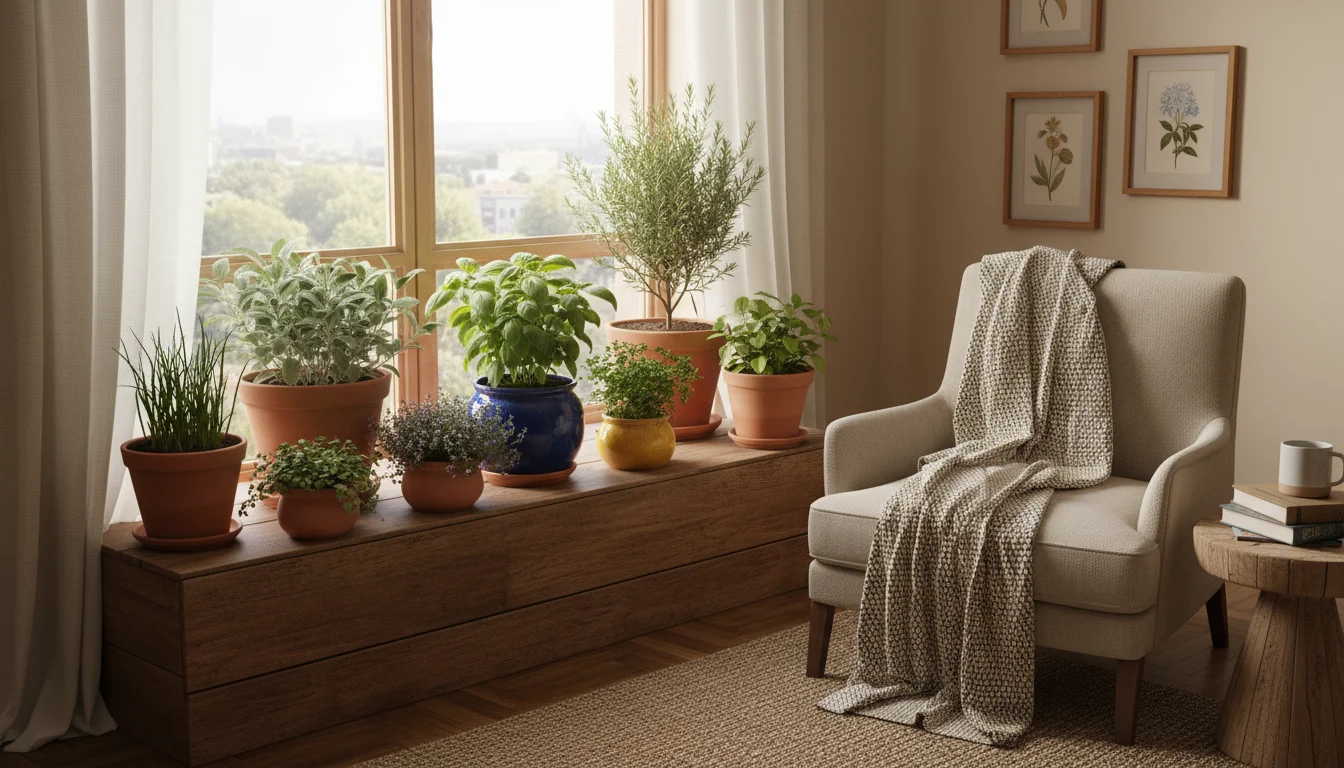
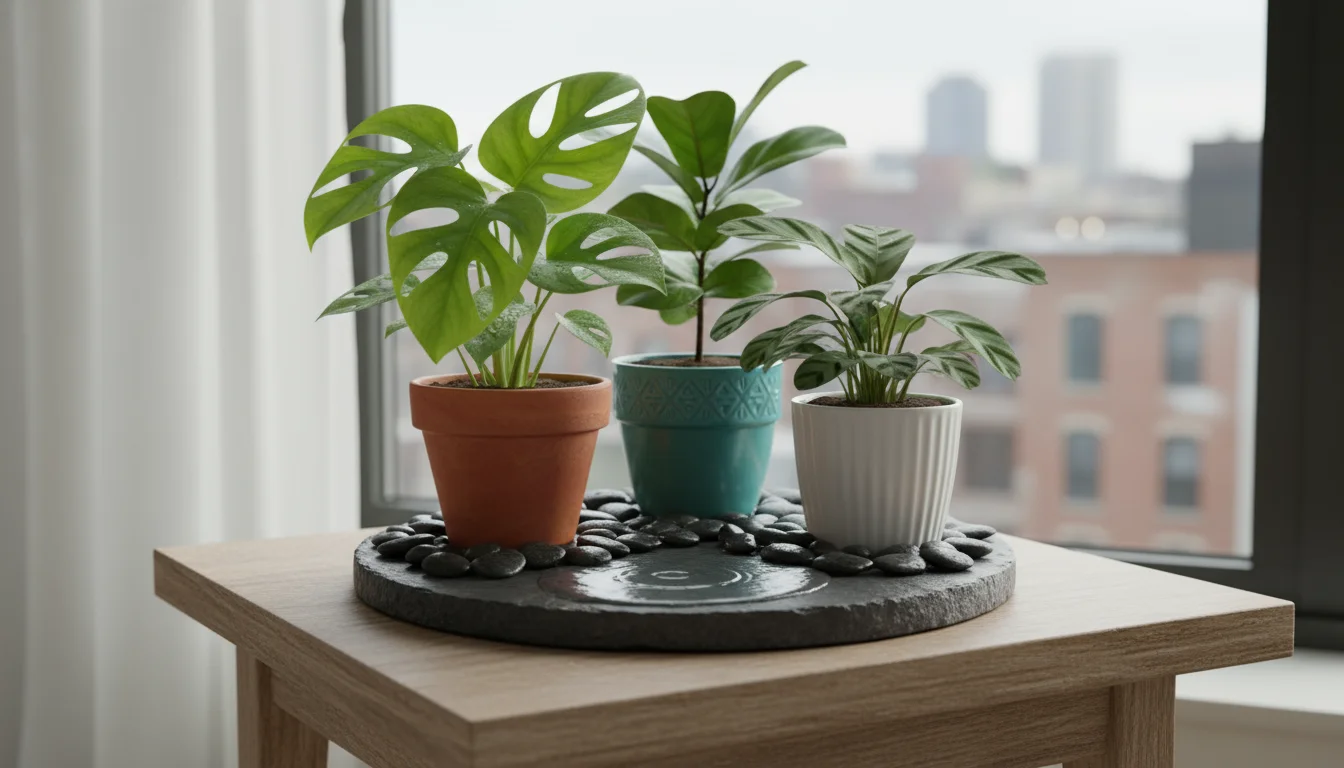
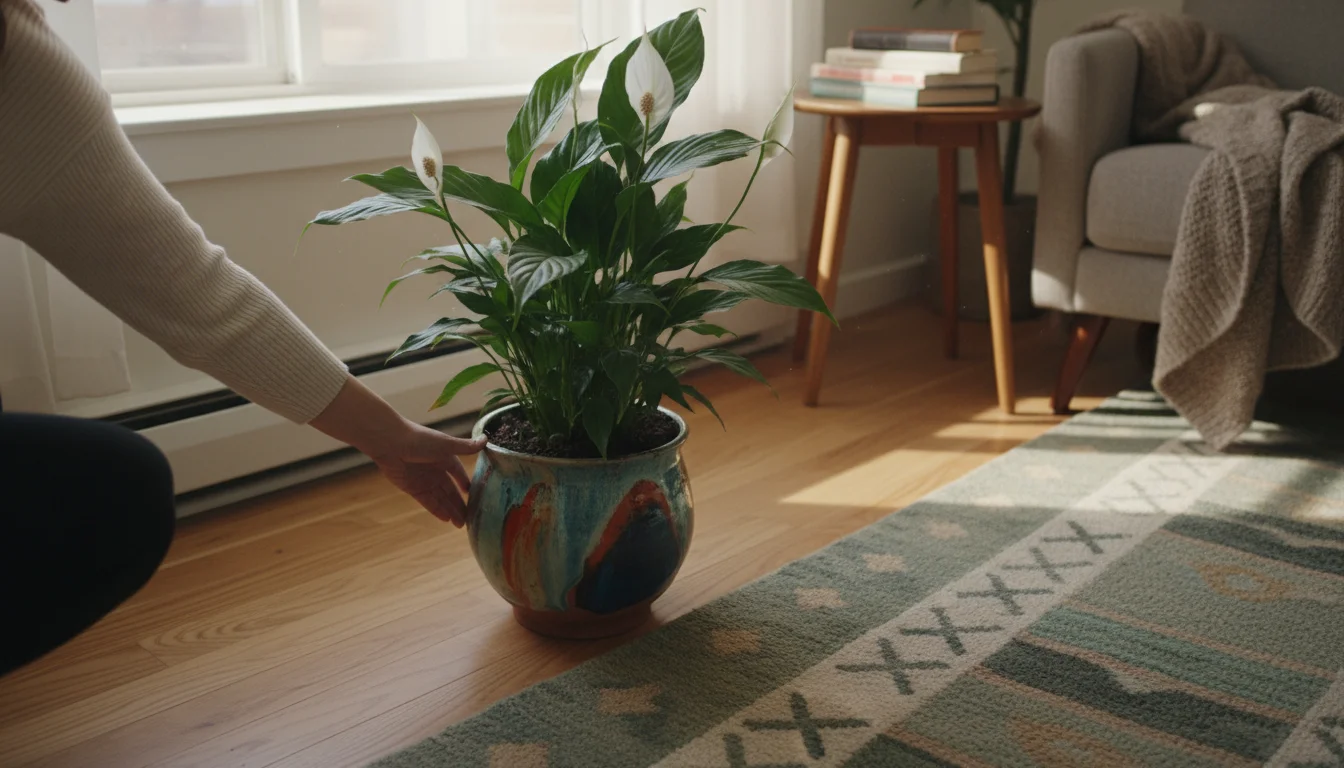
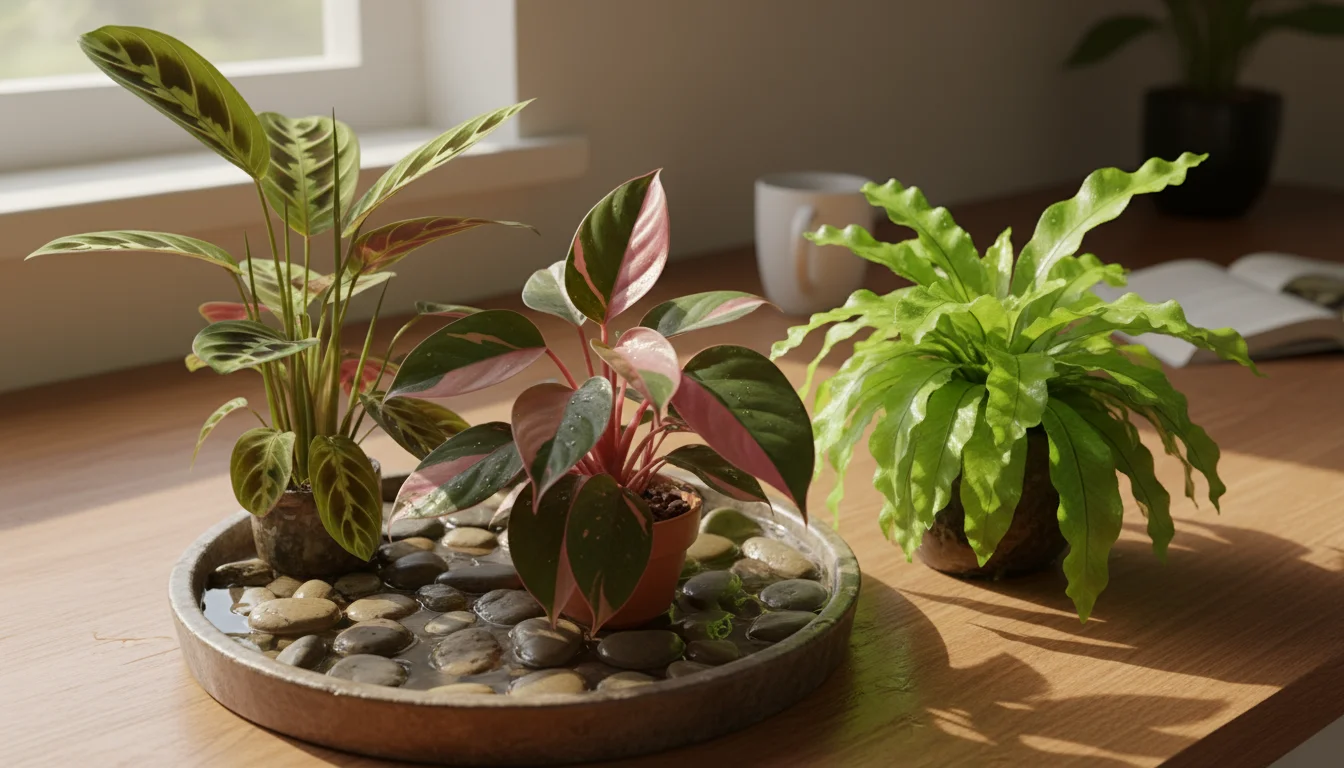
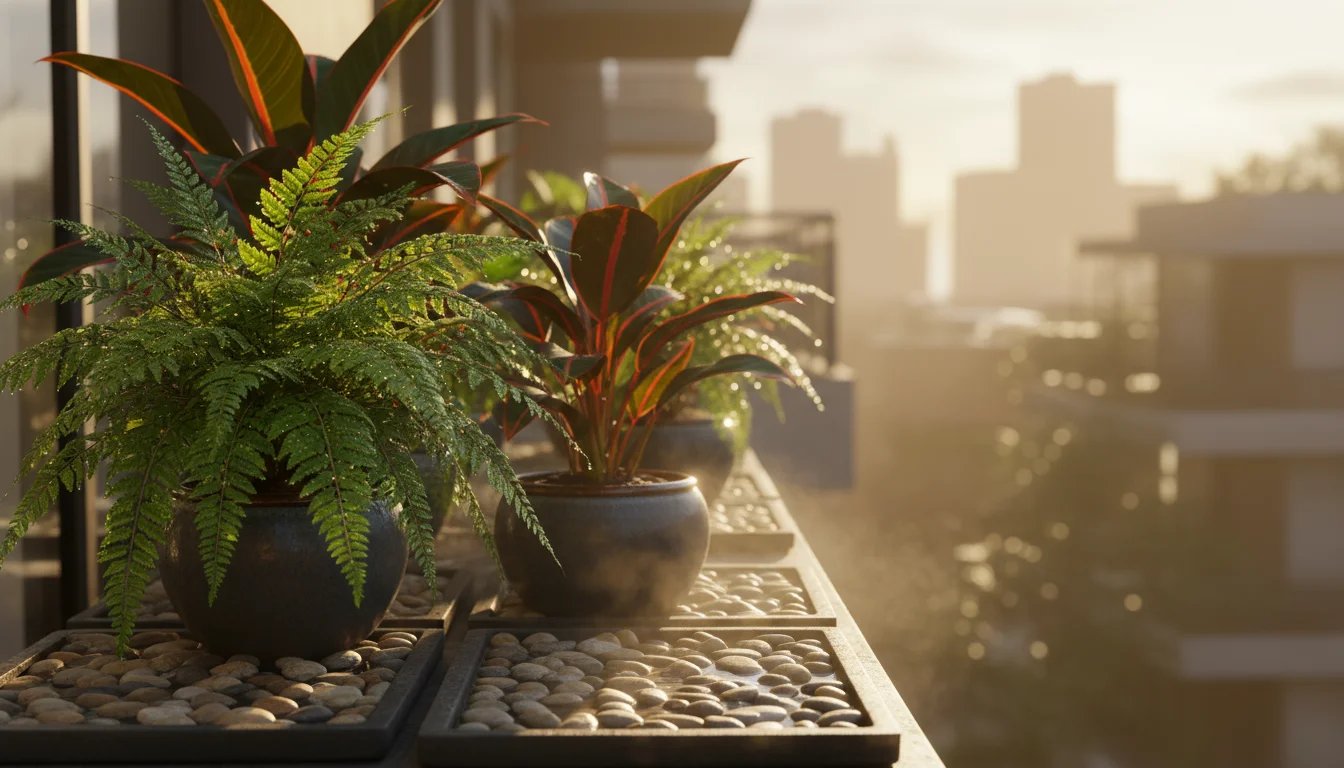
In fall, some container plants might be reaching the end of their life cycle or preparing for dormancy. Prioritize your watering efforts on plants you want to keep thriving or overwinter. Consider consolidating smaller pots into larger ones, which naturally retain moisture better due to a larger soil volume. If you have several small pots that dry out quickly, grouping them together can create a slightly more humid microclimate, reducing water loss.

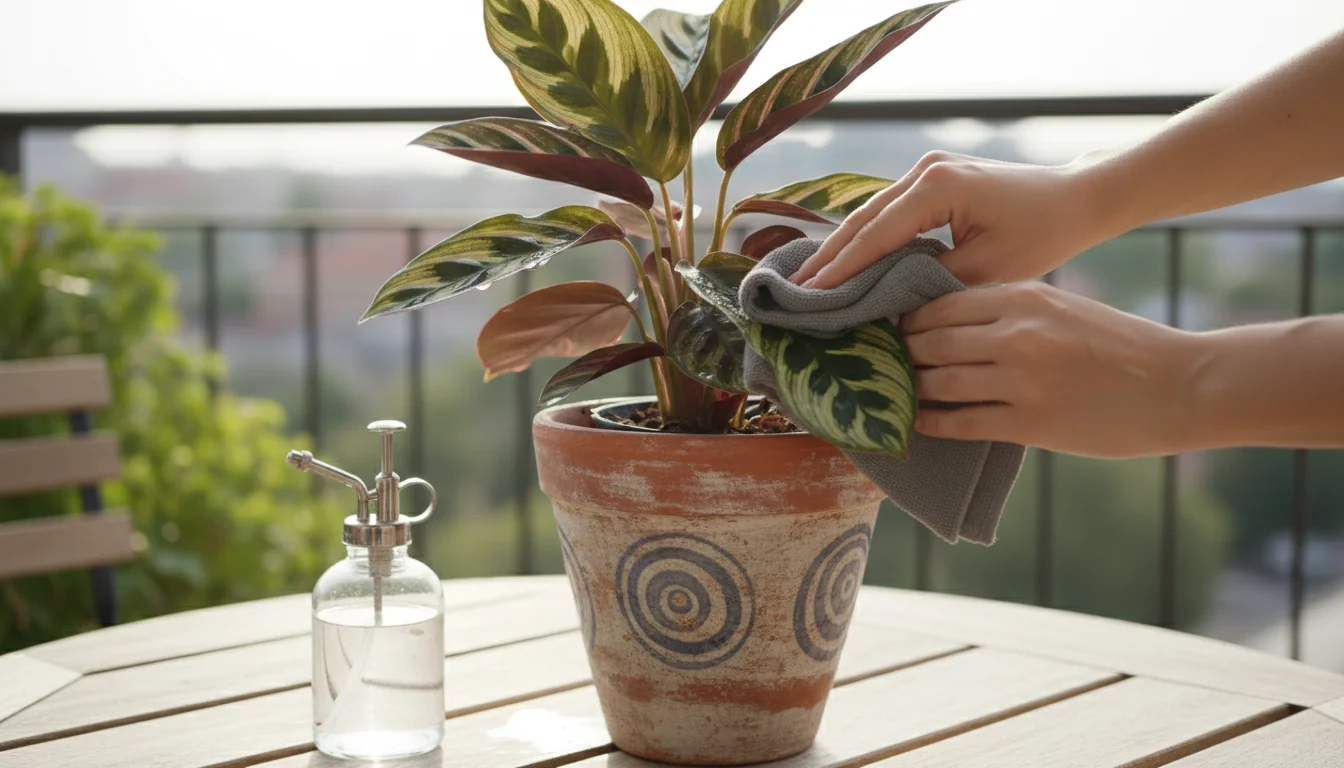
Check for Leaks and Efficient Delivery

Ensure your watering can or hose is not leaking, wasting precious water. Deliver water directly to the soil surface around the base of the plant, avoiding spraying foliage unnecessarily. This direct delivery ensures water reaches the roots where it is needed most, minimizing runoff and evaporation. For very dense foliage, gently push leaves aside to water the soil directly. This careful approach optimizes every drop of water for your fall plant care.

Troubleshooting Common Fall Watering Mistakes

Even with the best intentions, you might encounter challenges when adjusting your watering schedule for cooler fall weather. Recognizing these common mistakes and knowing how to correct them can save your plants and reduce your gardening frustration. Preventing signs of overwatering in cool weather is key.

Mistake 1: Sticking to a Rigid Summer Watering Schedule

The Problem: You continue to water your container plants every other day, or even daily, because that is what worked in July. You fail to account for cooler temperatures and reduced sunlight.

The Solution: Immediately switch to an “as needed” watering approach based on the finger test. Begin by extending the time between waterings. If you watered every two days in summer, try every five days in fall, then adjust further. You are looking to feel dry soil at least two inches deep before you add more water. This is the fundamental shift in how often to water pots in the fall.

Mistake 2: Relying Solely on Surface Soil Appearance

The Problem: The top inch of soil looks dry, so you water. However, deeper in the pot, the soil is still saturated, especially in cooler conditions where surface evaporation is slow.

The Solution: Always use the finger test to check soil moisture at least two inches deep. The surface can be misleading. For larger containers, a moisture meter can provide deeper insights. If you notice signs of overwatering symptoms, pause all watering immediately and let the pot dry out substantially.

Mistake 3: Poor Drainage

The Problem: Your pots lack adequate drainage holes, or the drainage holes are blocked. Water accumulates at the bottom, leading to root rot.

The Solution: Ensure all your containers have sufficient drainage holes. If not, drill them. If you suspect blocked drainage, gently remove the plant from its pot (if possible) and clear any obstructions. You might need to repot with fresh, well-draining potting mix. Elevating pots with pot feet can also improve drainage and prevent standing water in saucers.

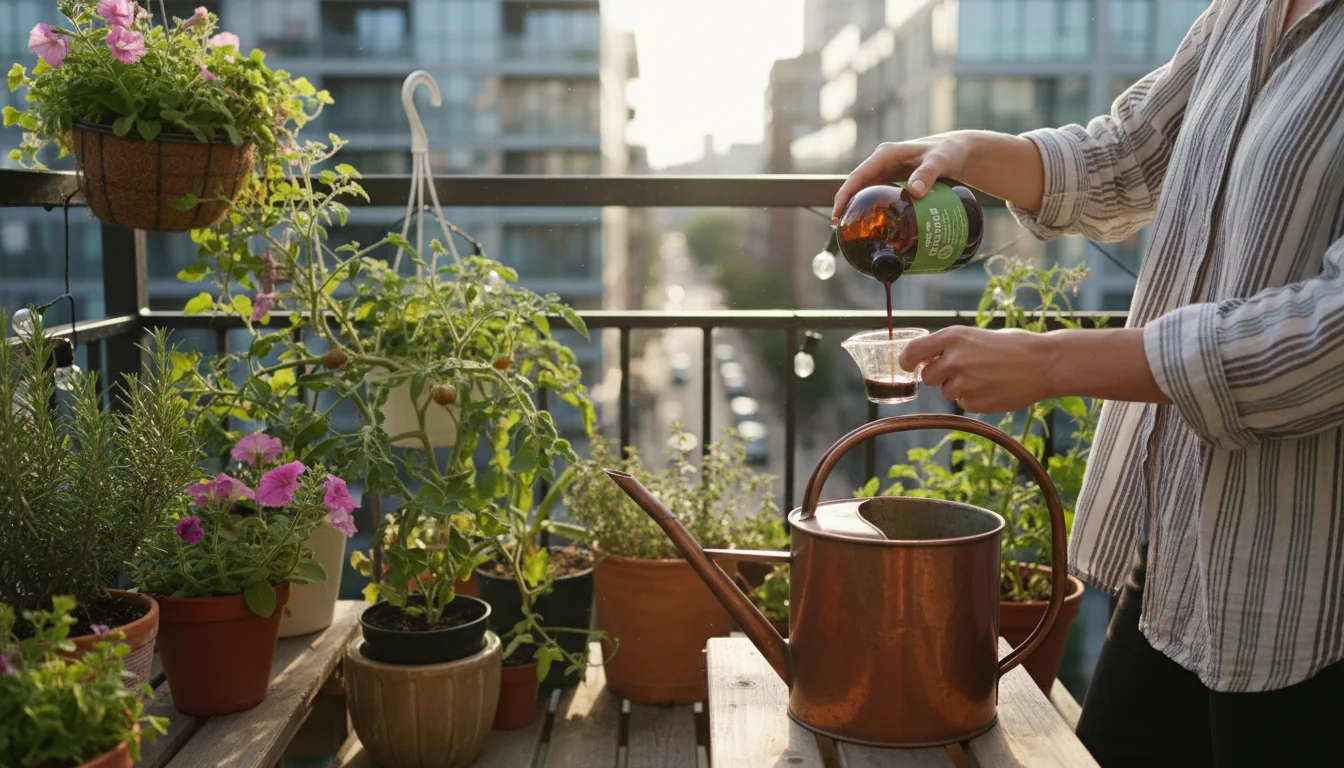
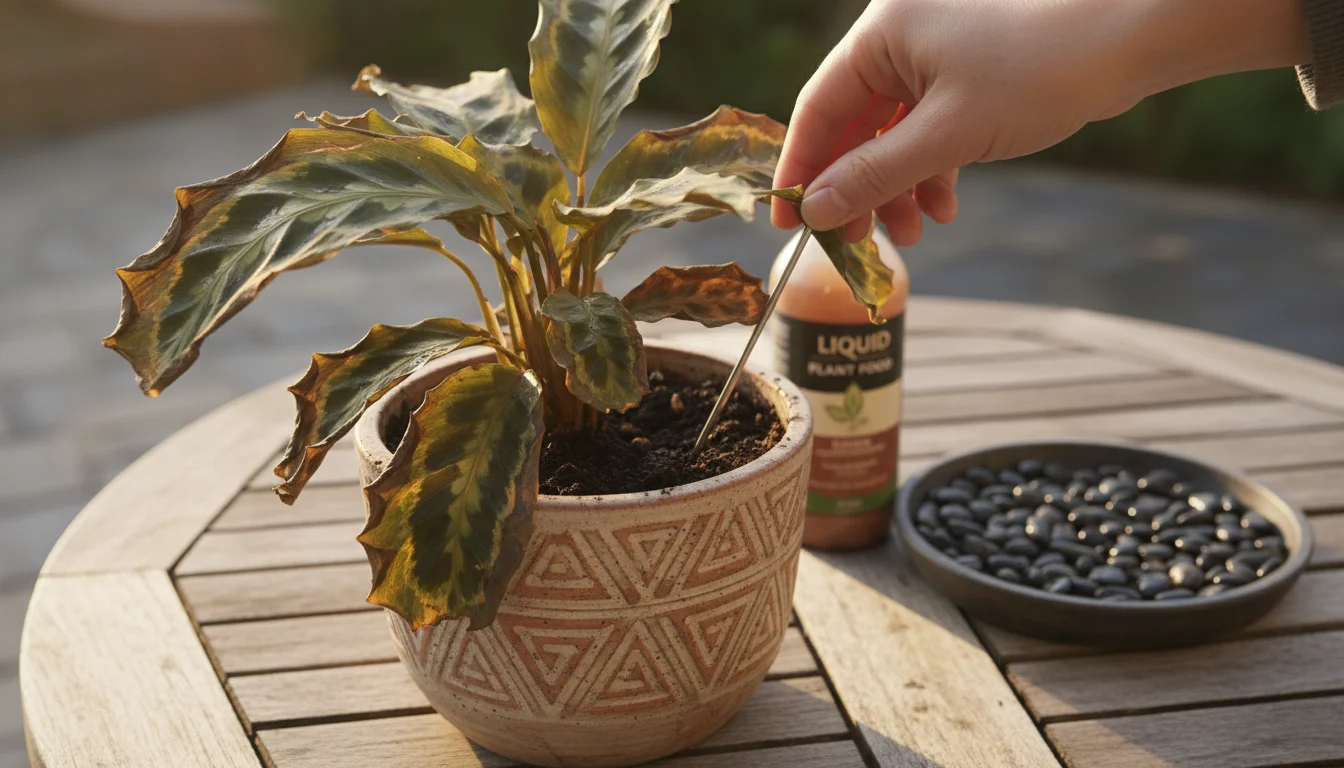
Mistake 4: Over-Fertilizing with Overwatering

The Problem: You continue to fertilize heavily in fall, combined with overwatering. This can lead to a buildup of salts in the soil, exacerbating root stress and contributing to nutrient lockout, where roots cannot absorb nutrients even if they are present.

The Solution: Reduce or cease fertilization for most container plants in fall as they enter dormancy. If you must fertilize, use a very diluted solution. This reduces salt buildup and allows your plant to conserve energy for essential functions, rather than pushing new growth it cannot sustain in cooler weather. For plants you intend to overwinter indoors, light fertilization might resume once they are established in their winter location, but only after addressing any overwatering issues.

Mistake 5: Neglecting Saucers and Trays

The Problem: You water your plants, and the excess water collects in the saucer beneath the pot, where it sits for hours or days, re-saturating the soil and creating a perfect environment for root rot.

The Solution: Always empty saucers within 30 minutes of watering. If you cannot empty them, use pot feet or elevate the pot with stones to ensure the pot base is not sitting directly in standing water. This simple act drastically reduces the risk of overwatering container plants.

By proactively addressing these common pitfalls, you equip yourself for successful fall plant care. Your container plants will thank you with healthier growth and a better chance of surviving the cooler months.

Frequently Asked Questions

How often should I water my balcony garden in autumn?

There is no fixed schedule. The frequency for watering your balcony garden in autumn depends on factors like plant type, container size and material, soil mix, and local weather. The best approach is to check the soil moisture every few days by inserting your finger two inches deep. Water only when the soil feels dry at that depth, which often means watering every 5-14 days or less, a significant reduction from summer frequencies.

What are the primary signs of overwatering in cool weather?

Signs of overwatering in cool weather include yellowing, wilting leaves that feel soft, stunted growth, a musty odor from the soil, mold or algae on the soil surface, and a mushy stem base. These symptoms occur because saturated soil deprives roots of oxygen, leading to decay. These differ from underwatering where leaves are typically crispy brown and dry.

Can I use self-watering pots in the fall?

Yes, you can use self-watering pots in the fall, but with caution. You must adjust your approach. Instead of keeping the reservoir constantly full, allow it to completely dry out between fillings. You might also fill the reservoir only partially, or even water from the top occasionally and drain the reservoir for plants entering dormancy. This prevents the soil from remaining perpetually saturated, which leads to overwatering symptoms.

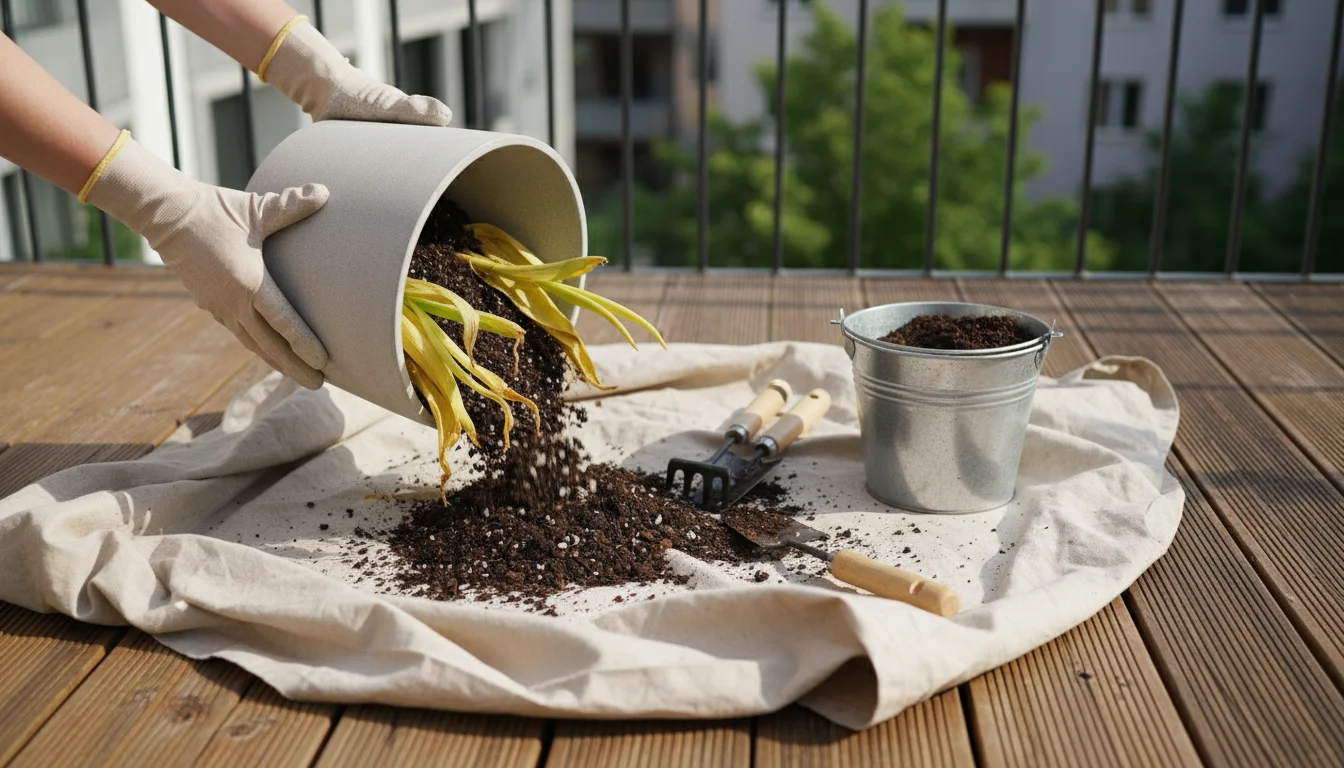
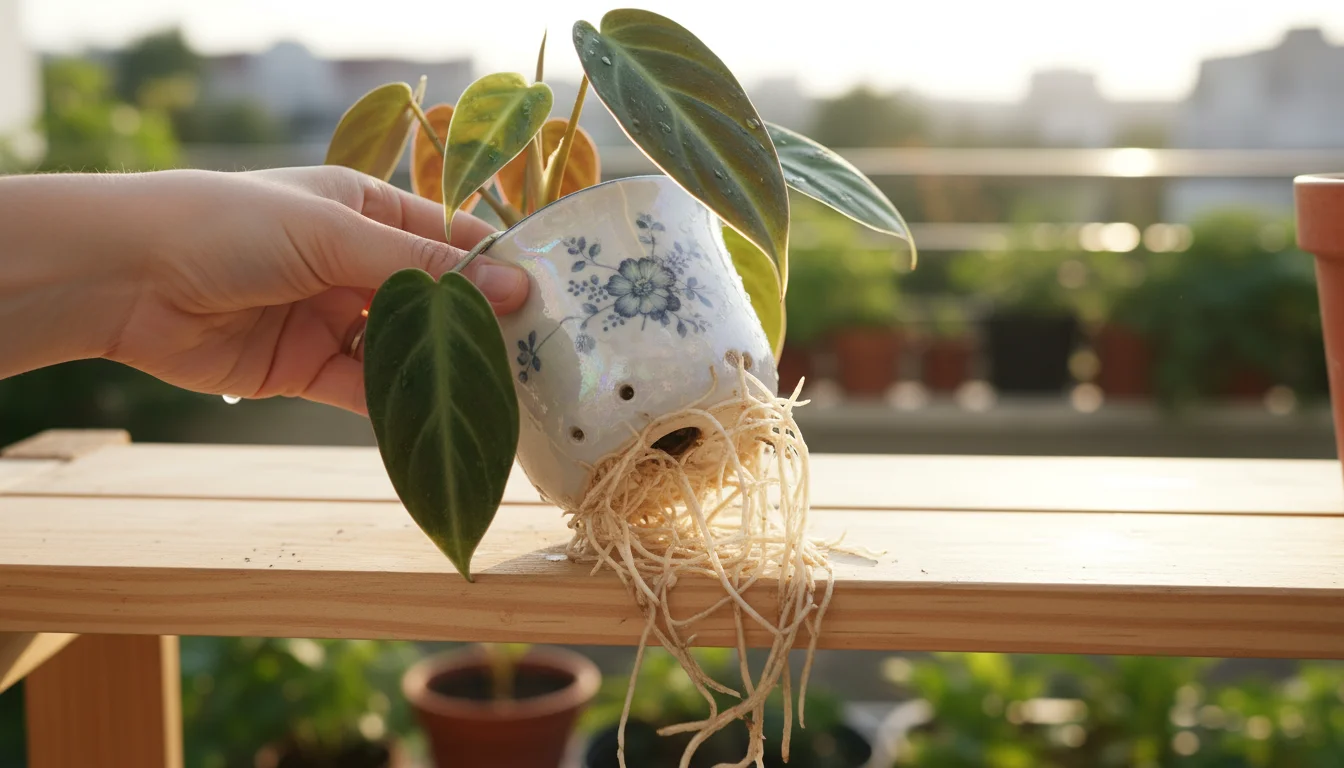
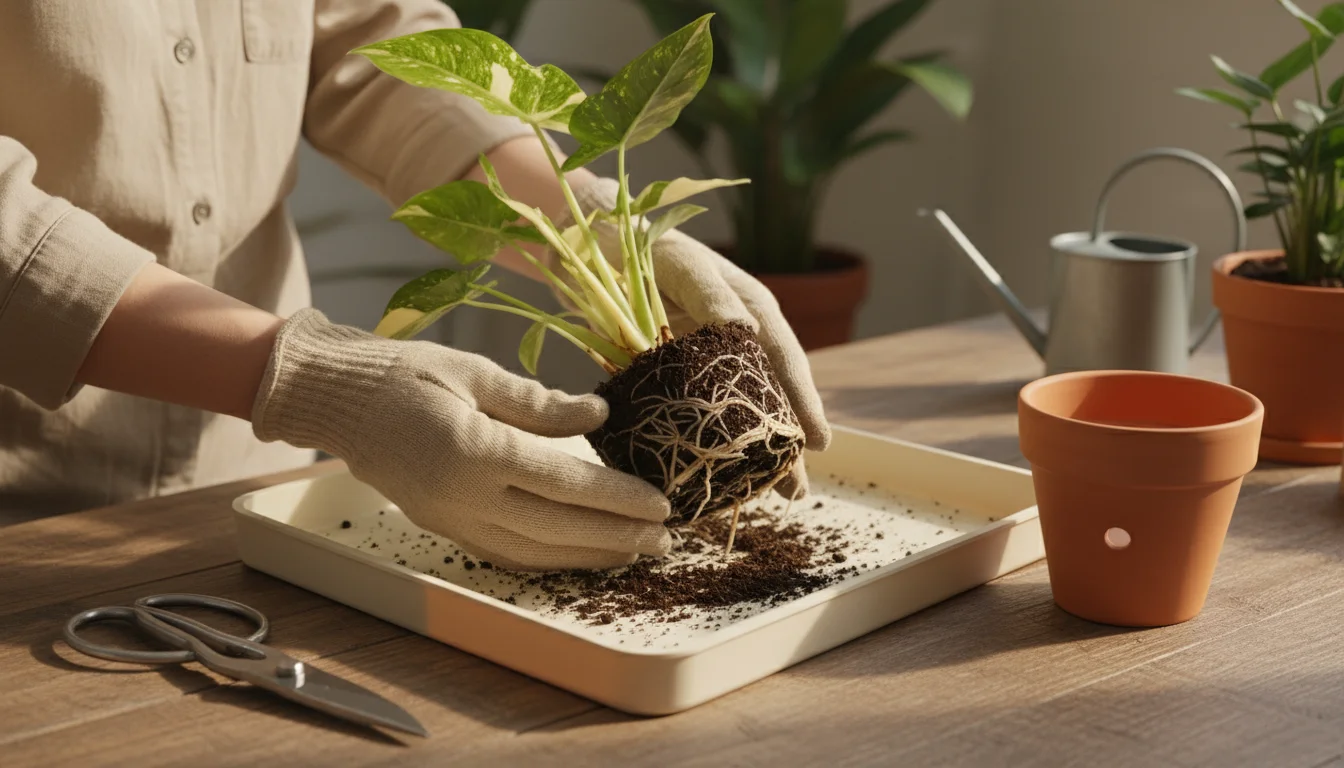
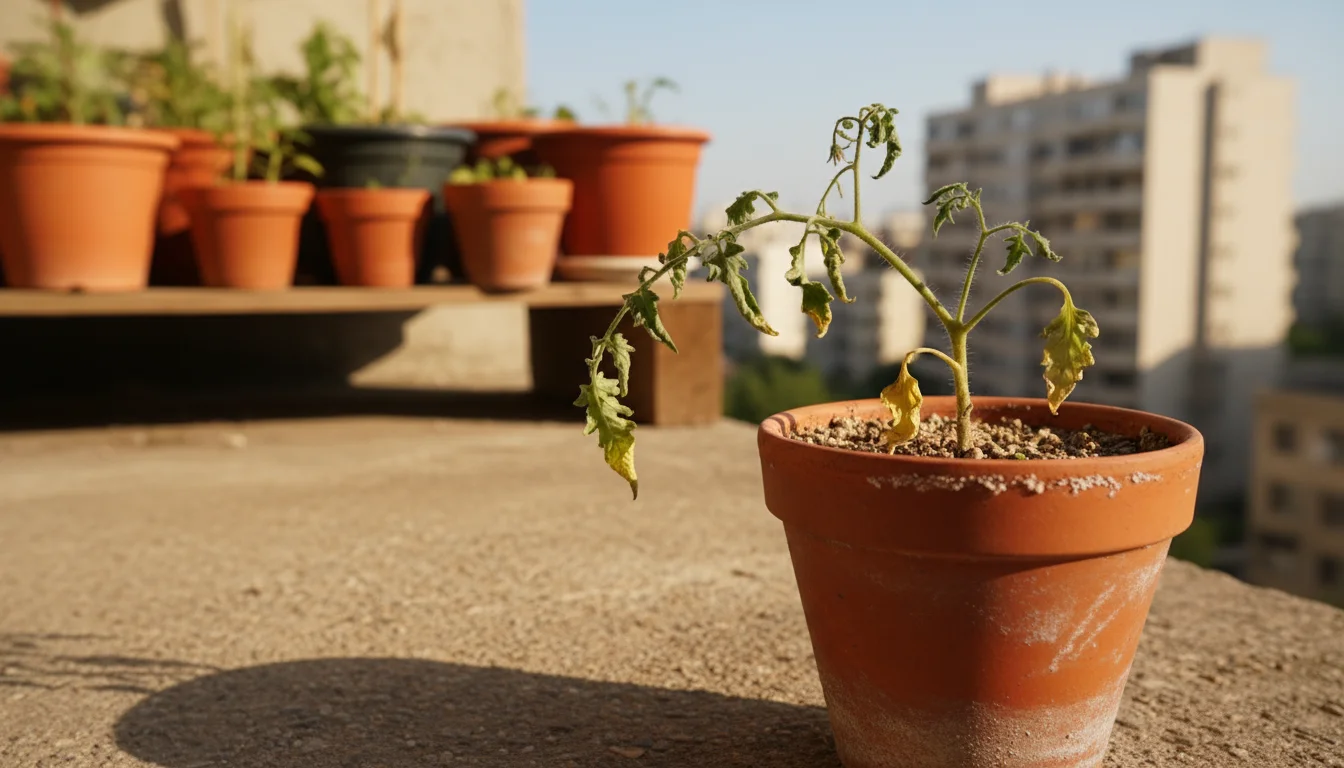
My plant is wilting, but the soil is wet. What should I do?

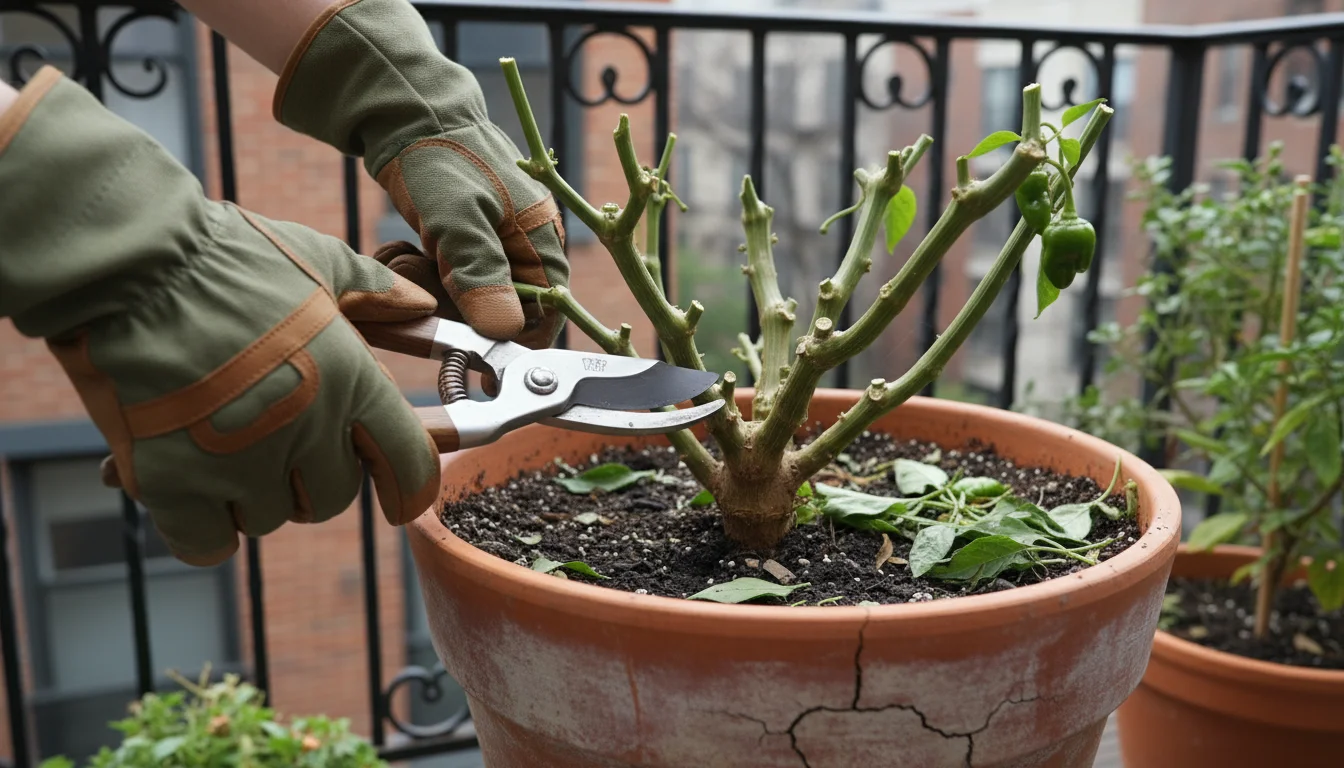
Wilting with wet soil indicates overwatering and potential root rot. Immediately stop watering. Gently remove the plant from its pot and inspect the roots. Trim off any soft, mushy, or black roots. Repot into fresh, well-draining potting mix in a clean pot (or the same pot, cleaned) and allow the soil to dry out significantly before reintroducing any water. Ensure the pot has adequate drainage holes.

Should I fertilize my container plants in autumn?

For most container plants, reduce or stop fertilization in autumn. As temperatures drop and daylight shortens, plants naturally slow their growth and prepare for dormancy. Continued heavy fertilization can encourage tender new growth that is vulnerable to cold and can lead to salt buildup in the soil, especially if combined with reduced watering. Resume light fertilization only when plants show active growth in spring or if overwintering indoors with sufficient light and warmth.

For trustworthy gardening information, visit:
Louisiana State University AgCenter — Lawn & Garden,
Mississippi State University Extension — Lawn & Garden,
Arkansas Extension — Yard & Garden,
Kansas State University Extension — Horticulture and
Oklahoma State University Extension — Lawn & Garden. These organizations provide expert, research-based advice for gardeners at all levels.

Disclaimer: This article is for informational purposes only and is not a substitute for professional gardening advice. Always consult local extension services or horticulture experts for region-specific guidance.

Categories
Container Gardening

How to Plant a ‘Lasagna’ Bulb Pot This Fall for a Non-Stop Spring Flower Show

Imagine a container on your patio or balcony bursting with vibrant color from early spring all the way through late spring. This is not just a gardener’s dream, it is an achievable reality, even in the smallest spaces. You can create this stunning display with a clever technique called “lasagna bulb planting.” This method involves layering different types of spring-blooming bulbs in a single pot, much like you layer ingredients in a lasagna. Each layer holds bulbs that bloom at different times, ensuring a continuous parade of flowers.

This fall planting project offers an incredible reward for minimal effort. You prepare your pot now, and come spring, you enjoy a succession of beautiful blooms, transforming your small space into a dynamic, living art piece. Whether you have a tiny balcony, a compact patio, or just a sunny windowsill, a lasagna bulb pot provides maximum impact with minimal fuss. This guide walks you through every step, from selecting the perfect container to choosing your bulbs and caring for your spectacular spring show.

Person's hands layering various spring-flowering bulbs in a terracotta pot on a sunny patio, showing different bulb sizes in layers.
Layering bulbs for a continuous spring flower show on a small patio.

Understanding Lasagna Bulb Planting: A Layered Approach to Spring Blooms

Lasagna bulb planting, also known as bulb layering or “bulb lasagne,” is a strategic way to plant multiple types of spring-flowering bulbs in one container. You arrange bulbs in layers, with the largest, latest-blooming varieties at the bottom, followed by progressively smaller, earlier-blooming bulbs closer to the surface. This technique mimics how bulbs grow naturally in the ground, but in a confined space, it allows for a magnificent, overlapping bloom sequence.

The beauty of this method lies in its efficiency and visual impact. Instead of separate pots for each type of bulb, one container delivers a continuous show. As one layer finishes blooming, the next begins, maintaining interest for weeks. This method is particularly well-suited for small-space gardeners who want a big display without sacrificing valuable real estate. You maximize vertical space and enjoy a dynamic garden experience that evolves throughout spring.

Furthermore, lasagna bulb planting simplifies maintenance. You prepare the pot once in the fall, and nature takes over. The soil and nutrients support all layers, requiring less individual attention than multiple single-bulb pots. This approach minimizes your work and maximizes your enjoyment, truly embodying the low-maintenance ethos.

The concept relies on understanding bloom times. Early spring bulbs like crocus emerge first, pushing their leaves and flowers through the soil. As they fade, mid-spring bulbs such as daffodils or hyacinths take center stage. Finally, late-spring showstoppers, often tulips or alliums, rise to complete the cycle. This staggered approach ensures your container remains vibrant and engaging for an extended period, providing a welcoming burst of color after winter’s grey. For example, a typical lasagna pot might see snowdrops in February, crocuses in March, daffodils and hyacinths in April, and tulips in May.

This planting strategy also fosters a deeper appreciation for the timing and progression of nature. You observe the subtle shifts from one bloom to the next, learning about the life cycles of various plants. It transforms a simple container into a living calendar of spring, offering both beauty and an educational experience. The sequential blooming also helps attract early pollinators, providing a food source when other flowers are scarce. This layering system is a testament to clever gardening design, creating depth and continuous interest in a small footprint.

An array of empty garden pots on a wooden patio deck: terracotta, grey glazed ceramic, and a stone-colored resin planter, all with visible drainage.
Choosing the perfect pots for a beautiful spring display.

Selecting Your Container: The Foundation of Your Flower Show

The right container is paramount for a successful lasagna bulb pot. It provides the literal foundation for your continuous spring display. Your choice impacts not only the aesthetic of your garden but also the health and vigor of your bulbs. Consider depth, width, material, and drainage carefully.

Deep terracotta pot on a concrete patio, a gloved hand resting on its rim, emphasizing its substantial size and depth.
This deep, wide pot is perfect for a stunning layered bulb display.

Depth is Key for Layering

For effective layering, choose a pot that is at least 15 to 18 inches deep. This depth accommodates three distinct bulb layers, allowing each type enough space to establish roots and store energy without competing excessively. A shallow pot simply will not provide the necessary room for the deeper, later-blooming bulbs, potentially stunting their growth or preventing them from flowering entirely. A wider pot, around 18-24 inches in diameter, provides more surface area, allowing you to plant a greater number and variety of bulbs, creating a fuller, more spectacular display.

A natural grouping of diverse container pots on an urban balcony, featuring terracotta, modern plastic, and vibrant glazed ceramic planters.
Choosing the right pot material makes all the difference for your spring bulbs.

Material Matters

  • Terracotta: These classic pots offer excellent breathability, which is beneficial for bulb health, preventing root rot. However, terracotta is porous, meaning it dries out faster and is susceptible to cracking in freezing temperatures if left outdoors and saturated. If you live in a cold climate, plan to move terracotta pots into a sheltered area during winter.
  • Plastic: Lightweight, durable, and affordable, plastic pots retain moisture well, reducing watering frequency. They are also less prone to frost damage than terracotta. Ensure plastic pots have ample drainage holes to prevent waterlogging. Their aesthetic can be less natural, but many attractive designs are available.
  • Ceramic/Glazed: These pots are heavy, stable, and often visually striking. They retain moisture better than terracotta but also require protection from hard freezes if left outdoors, as trapped water can expand and crack the glaze. Their weight can be a benefit in windy locations but a drawback if you need to move them.
  • Wood: Cedar or redwood planters offer a natural, rustic look and good insulation for roots. Ensure they are treated to resist rot and have sufficient drainage. Untreated wood may break down faster.
Hands placing landscape fabric over a drainage hole in a matte sage green ceramic planter on a wooden table.
Good drainage is essential for healthy bulbs and a stunning spring display.

Drainage is Non-Negotiable

Regardless of the material, your container must have adequate drainage holes at the bottom. Bulbs absolutely despise sitting in soggy soil; it leads to rot and disease. If a pot lacks drainage holes, do not use it for bulbs. You can add a layer of gravel or broken pot shards over the drainage holes to prevent soil from washing out, but avoid filling the bottom with a thick layer of “drainage material” if it significantly reduces the planting depth. A piece of landscape fabric or a coffee filter placed over the holes works just as effectively to keep soil in while allowing water to escape.

Consider the aesthetic impact of your chosen container. A beautiful pot elevates the entire display. Choose a color and style that complements your home, balcony, or patio decor. A neutral pot allows the flowers to take center stage, while a brightly colored one can add an extra pop of personality. Remember, the container is part of the overall design, even before the blooms appear.

Essential fall planting supplies on a balcony deck: a deep grey container, an open bag of premium potting mix with perlite, and a trowel.
Gathering all the essentials for a fabulous fall planting project!

Essential Supplies for Your Fall Planting Project

Preparing your lasagna bulb pot requires a few key supplies. Gathering these items before you begin ensures a smooth and enjoyable planting experience. Investing in good quality materials makes a significant difference in the health and vibrancy of your spring display.

  1. A Suitable Container: As discussed, choose a pot at least 15-18 inches deep with good drainage.
  2. High-Quality Potting Mix: This is crucial. Do not use garden soil. Garden soil is too dense for containers, compacts easily, and often harbors weed seeds and pests. Opt for a premium, well-draining potting mix specifically formulated for containers. Look for mixes that include perlite or vermiculite to improve aeration and drainage. Good drainage means water moves through the soil easily, preventing your bulbs from sitting in excessive moisture. Some mixes also contain a slow-release fertilizer, which can be beneficial.
  3. Bulbs: Of course! Select healthy, firm bulbs from a reputable source. Avoid any that feel soft, squishy, or show signs of mold or damage. We will delve deeper into bulb selection in the next section.
  4. Bulb Food or Granular Slow-Release Fertilizer: While many potting mixes include some nutrients, a specialized bulb food or a balanced, slow-release granular fertilizer provides sustained nourishment. Apply it according to package directions. Avoid high-nitrogen fertilizers, which promote leafy growth over flowers. Phosphorous is particularly beneficial for root and flower development.
  5. Gardening Gloves: Protect your hands from dirt, debris, and potential skin irritants.
  6. Small Trowel or Hand Shovel: Essential for digging, scooping soil, and precisely placing bulbs.
  7. Watering Can: You will need to thoroughly water your newly planted bulbs immediately after planting.
  8. Optional: Netting or Hardware Cloth: If squirrels or other rodents are a problem in your area, a layer of chicken wire or hardware cloth placed just below the soil surface of your top layer can deter them. Alternatively, you can cover the entire pot with netting after planting until the ground freezes.
  9. Optional: Landscape Fabric or Coffee Filter: To place over drainage holes, preventing soil from washing out while still allowing water to drain freely.

When selecting your potting mix, understand that “well-draining” is paramount for bulbs. It refers to the soil’s ability to allow excess water to flow out quickly, preventing roots from drowning or rotting. A good potting mix feels light and fluffy, not dense or heavy. This lightness also helps with aeration, ensuring roots receive the oxygen they need to thrive. Using the right potting mix sets your lasagna bulb pot up for success from the very beginning.

A gardener on a sunlit patio thoughtfully selects various spring bulbs from labeled baskets on a wooden table, planning a container garden.
Choosing the perfect bulbs for a stunning spring display.

Choosing Your Spring Blooming Bulbs: A Symphony of Color

The magic of a lasagna bulb pot lies in its succession of blooms. Achieving this requires careful selection of bulbs based on their flowering times, heights, and colors. Think of yourself as an orchestra conductor, choosing instruments that will play at different moments to create a harmonious symphony.

A terracotta pot on an urban balcony filled with blooming early spring bulbs: white snowdrops, purple crocus, yellow winter aconite, and dwarf irises.
Our lasagna bulb pot is delivering an early spring symphony of colors!

Understand Bloom Times

Categorize your bulbs into three main groups: early, mid, and late spring. This ensures a continuous display over several weeks, often from late winter into early summer.

  • Early Spring Bloomers (January to March): These brave souls emerge first, often pushing through snow. They are typically planted in the top layer.
    • Snowdrops (Galanthus): Delicate white flowers, often the very first to appear.
    • Crocus: Small, cup-shaped flowers in purple, white, yellow, and striped varieties. Great for carpeting the top layer.
    • Winter Aconite (Eranthis hyemalis): Bright yellow, buttercup-like flowers.
    • Dwarf Irises (Iris reticulata): Jewel-toned, fragrant flowers that add elegance.
  • Mid-Spring Bloomers (April): These provide the bulk of your spring show, bringing vibrant color after the earliest bulbs fade. Plant them in the middle layer.
    • Daffodils (Narcissus): Choose compact varieties for pots. Available in a wide range of sizes and colors, from classic yellow trumpets to white and orange cups. Look for ‘Tête-à-tête’ or ‘Thalia’ for containers.
    • Hyacinths (Hyacinthus orientalis): Highly fragrant, dense flower spikes in blues, purples, pinks, and whites.
    • Grape Hyacinths (Muscari): Clusters of tiny, bell-shaped flowers, usually blue, resembling miniature grapes.
  • Late Spring Bloomers (May to Early June): These are the grand finale, often taller and more dramatic. Plant them in the bottom, deepest layer.
    • Tulips (Tulipa): Enormous variety in color, shape, and height. For containers, consider shorter, sturdier varieties like “Triumph”, “Darwin Hybrid”, or “Fosteriana” tulips. You can also mix in some species tulips for earlier blooms within this layer.
    • Alliums: Spherical, globe-like flowers on tall stems. ‘Purple Sensation’ is a popular choice, adding architectural interest.
Hands arranging purple crocus, yellow daffodil, and orange tulip bulbs on a potting bench next to an empty terracotta pot.
Carefully choosing bulbs to create a beautiful, layered spring display.

Consider Height and Color Coordination

When selecting your bulbs, also visualize their mature height and how their colors will interact. Place taller varieties at the bottom, and shorter ones at the top. This layering by height ensures each bloom gets its moment in the sun and contributes to a balanced, aesthetically pleasing display.

  • Color Palettes:
    • Monochromatic: Choose shades of a single color (e.g., various purples from crocus to hyacinths to tulips) for a sophisticated look.
    • Complementary: Pair opposite colors on the color wheel (e.g., purple and yellow) for a bold, high-contrast display.
    • Harmonious: Select colors that are next to each other on the color wheel (e.g., yellow, orange, and red) for a gentle, flowing transition.
  • Bulb Quantity: For a truly abundant display, do not be afraid to plant generously. Bulbs in pots can be planted more densely than in garden beds. Aim for a packed, but not suffocating, arrangement. A good rule of thumb is to place them almost shoulder-to-shoulder, ensuring they have about 1-2 inches of space between them. For a 15-18 inch diameter pot, you might use 15-20 large bulbs, 20-30 medium bulbs, and 30-50 small bulbs.

Always buy firm, unblemished bulbs. Soft spots, mold, or cuts indicate poor health and are unlikely to produce strong blooms. Healthy bulbs are your guarantee for a spectacular spring show. Storing bulbs properly before planting is also important. Keep them in a cool, dry, dark place with good air circulation until you are ready to plant, which is typically when nighttime temperatures consistently fall below 50°F (10°C), usually late September through November depending on your climate.

A hand places landscape fabric over a drainage hole inside a clean terracotta pot, with a bag of potting mix nearby.
Preparing your pot is the first step for a spectacular spring display.

Step-by-Step Guide: How to Layer Flower Bulbs in a Container

Now that you have your container and bulbs, it is time for the fun part: planting! This step-by-step guide walks you through creating your magnificent lasagna bulb pot. Precision here guarantees a stunning result.

  1. Prepare Your Container:

    Ensure your chosen pot has excellent drainage holes. If using a porous pot like terracotta, consider soaking it in water for an hour before planting to prevent it from wicking moisture away from the soil too quickly. Place a piece of landscape fabric, a coffee filter, or a shard of a broken pot over each drainage hole to prevent soil from escaping while allowing water to drain freely.

  2. Add the First Layer of Potting Mix:

    Fill the bottom of your container with about 6-8 inches of fresh, well-draining potting mix. This provides a soft bed for your deepest layer of bulbs. Tamp it down gently to remove large air pockets, but do not compact it too much.

  3. Plant the Deepest (Latest Blooming) Bulbs:

    This layer will typically consist of your largest, late-spring blooming bulbs, such as tulips and alliums. Arrange them on top of the soil, pointed end up. Space them closely, almost touching, but ensure a slight gap of about 1-2 inches between each bulb. For a fuller look, you can plant them in a circular pattern or a dense grid. Remember, these bulbs need the most chilling time and the deepest planting depth.

  4. Cover with More Potting Mix:

    Carefully add another 3-4 inches of potting mix over the first layer of bulbs. Cover them completely, ensuring no tips are exposed. Gently pat the soil down. At this stage, you can sprinkle a slow-release granular bulb fertilizer according to package instructions. This provides nutrients for all layers as they grow.

  5. Plant the Middle (Mid-Spring Blooming) Bulbs:

    Now, place your mid-spring bloomers, such as daffodils, hyacinths, and grape hyacinths, on top of this soil layer. Again, arrange them pointed end up, spacing them closely. Try to position these bulbs in the gaps between the bulbs in the layer below. This ensures all bulbs have room to grow without directly competing for space above one another. Choose compact daffodil varieties to ensure they do not become too leggy in the container.

  6. Add Another Layer of Potting Mix:

    Cover the mid-layer bulbs with another 2-3 inches of potting mix. Ensure they are fully covered. Gently firm the soil.

  7. Plant the Top (Early Spring Blooming) Bulbs:

    This is for your smallest, earliest bloomers like crocuses, snowdrops, and dwarf irises. Arrange them on the soil surface, pointed end up. You can plant these even more densely, creating a carpet effect. Since they bloom and fade quickly, their presence does not significantly impede the growth of the layers below. You can also mix these small bulbs for a varied early display.

Bulb lasagna cross-section: 3 layers of bulbs (tulips, daffodils, crocuses) in soil, showing staggered planting depths in a container.

  1. Top Off with Potting Mix and Water:

    Fill the remainder of the container with potting mix, leaving about an inch or two of space from the rim to allow for watering. This ensures that water does not simply spill over the sides when you irrigate. Water the pot thoroughly until water drains from the bottom. This settles the soil around the bulbs and kick-starts their root development.

  2. Rodent Protection (If Needed):

    If you have issues with squirrels or other critters digging up bulbs, you can place a piece of chicken wire or hardware cloth cut to fit the container’s top, just beneath the top inch of soil. This deters digging while allowing shoots to emerge. You can also cover the pot with netting until the ground freezes hard.

Your lasagna bulb pot is now planted! The hard work is done. You have set the stage for an incredible spring flower show. Place your pot in a location where it will receive adequate chilling, such as a sheltered, unheated area or outdoors in a spot protected from extreme winter winds, and await the glorious spring reveal.

A hand gently waters a terracotta pot with tiny green bulb shoots emerging from the moist soil on a weathered wooden balcony.
Mindful watering helps these spring beauties emerge after their winter rest.

Care and Maintenance for a Flourishing Spring Display

Once your lasagna bulb pot is planted, its care requirements are relatively straightforward, focusing on proper winter chilling and mindful watering. Good care ensures your bulbs perform at their best and deliver a spectacular spring show.

A terracotta pot with dormant bulbs rests against a brick house wall under an evergreen shrub, lightly frosted, symbolizing winter chilling.
Keeping your bulb pot cozy and sheltered for its essential winter chill.

Winter Dormancy and Chilling

Bulbs require a period of cold dormancy (chilling) to initiate flowering. Most spring-blooming bulbs need 12-16 weeks of temperatures between 35-45°F (2-7°C). If you live in a region with cold winters, you can simply leave your planted pot outdoors in a sheltered location. A spot against your house wall or under an evergreen shrub provides some protection from harsh winds and extreme temperature fluctuations.

For colder climates (USDA zones 3-5), consider insulating your pots. You can wrap them in burlap, bubble wrap, or place them inside a larger, unplanted container. In very cold areas, or if your container material is vulnerable to cracking, moving the pot into an unheated garage, shed, or cold frame for the winter is a wise choice. Avoid heated indoor spaces, as this prevents the necessary chilling.

If you live in a warmer climate (USDA zones 8+), you might need to “pre-chill” your bulbs in the refrigerator before planting, following package instructions. Plant them later in fall once local temperatures are cooler. Even then, your planted pot may still need a cool, shaded spot to complete its chilling requirement without baking in unseasonable warmth.

A person's hand gently waters a terracotta pot with small green shoots emerging. Other dormant pots sit nearby on a wooden table.
Spring shoots are emerging and need consistent moisture.

Watering During Dormancy and Growth

During Winter Dormancy: Water your newly planted pot thoroughly after planting. After that, watering needs are minimal. The soil should remain slightly moist, not waterlogged or bone dry. Check the soil every few weeks by sticking your finger an inch or two deep. If it feels dry, provide a light watering. Rain and snow often provide sufficient moisture, but periods of drought during winter may necessitate supplemental watering. Remember, the primary danger is overwatering, which leads to bulb rot.

As Growth Emerges: Once shoots begin to appear in late winter or early spring, increase watering. Bulbs actively growing and flowering need consistent moisture. Water whenever the top inch of soil feels dry. Continue to ensure good drainage; never let the pot sit in standing water. As the flowers emerge and bloom, regular watering prevents them from wilting prematurely.

Rectangular planter on an urban balcony with yellowing tulip and daffodil foliage after blooming, a watering can nearby.
Letting spring bulb foliage naturally fade, an important step for next year’s blooms.

Post-Bloom Care

Once the flowers fade, resist the urge to cut back the foliage immediately. The leaves are vital for photosynthesis, producing energy that the bulb stores for next year’s blooms. Allow the foliage to yellow and die back naturally, typically over several weeks. Once the leaves are completely yellow or brown, you can cut them off at the soil line.

Fertilizing: If you used a slow-release fertilizer during planting, additional feeding might not be necessary for the first season. For subsequent years, or if you plan to keep the bulbs, you can apply a balanced liquid fertilizer (like a 5-10-5 or 10-10-10) after the flowers fade but while the foliage is still green. This helps replenish the bulb’s energy reserves.

In most container situations, especially with densely planted lasagna pots, bulbs are often treated as annuals. The intense competition for nutrients and space, combined with the stress of container life, means they may not perform as well in subsequent years. Many gardeners simply compost the bulbs and soil after the show, and replant fresh bulbs each fall for guaranteed spectacular results. This also allows you to refresh your design each year.

Dark concrete pot on flagstone patio with sparse, pale, leggy bulb sprouts, some slightly yellowed, and a damp leaf on the soil.
See signs of struggle in your emerging bulb sprouts? We can help you fix it.

Troubleshooting and Common Mistakes to Avoid

Even with careful planning, occasional issues can arise with your lasagna bulb pot. Understanding common problems and how to prevent them ensures your effort yields a bountiful spring display.

A hand gently probes damp soil in a terracotta pot with a struggling bulb plant on an urban balcony.
Feeling the soil to see why this little plant is looking droopy.

Bulbs Rotting or Mushy

Cause: Overwatering and poor drainage are the primary culprits. Bulbs cannot tolerate constantly wet conditions. This can happen if your pot lacks sufficient drainage holes, the potting mix is too heavy and compact, or you are watering too frequently, especially during dormancy.

Solution: Ensure your container has ample drainage holes. Use a high-quality, well-draining potting mix. During dormancy, water sparingly, only when the top inch or two of soil feels dry. Once growth begins, water consistently but allow excess water to drain completely. If the problem is discovered early and only affects a few bulbs, you might carefully remove them and improve drainage, but often, rot spreads quickly.

Weak, pale green, leggy bulb shoots with no flowers in a terracotta pot on a balcony, with a healthy succulent blurred in background.
Why aren’t my spring bulbs blooming? This weak growth needs some TLC.

No Blooms or Weak Growth

Cause: Several factors can lead to a lack of flowers.

  • Insufficient Chilling: Bulbs did not receive enough cold exposure over winter to trigger the blooming process.
  • Poor Quality Bulbs: Weak, damaged, or old bulbs may not have enough energy to flower.
  • Planted Upside Down: While some bulbs are forgiving, most need to be planted pointed end up.
  • Lack of Sunlight: Once shoots emerge, they need adequate sunlight to photosynthesize and develop strong flowers.
  • Too Much Nitrogen: Fertilizers high in nitrogen promote leafy growth at the expense of flowers.

Solution: Confirm your bulbs received the required chilling period for your zone. Always purchase firm, healthy bulbs from a reputable supplier. Pay attention to orientation during planting; the pointed end typically faces up. Once growth begins, ensure your pot is in a location receiving at least 6 hours of direct sunlight daily. Use a balanced bulb fertilizer or one higher in phosphorus, if fertilizing.

Yellow tulips with noticeably long, bending stems in a terracotta pot on a sunny urban balcony floor.
Tulips with leggy stems reaching for sun on a bright balcony.

Leggy or Floppy Stems

Cause: Insufficient sunlight often causes stems to stretch excessively in search of light, resulting in weak, elongated growth that cannot support the flowers.

Solution: Move your pot to a brighter location as soon as shoots appear. South-facing balconies or patios are ideal. Rotate the pot occasionally to ensure even light exposure.

Gardener's hands placing galvanized chicken wire inside a modern container pot on a balcony to protect bulbs.
Securing those precious bulbs from critters with a simple wire mesh.

Pests (Squirrels, Voles) Digging Up Bulbs

Cause: Rodents are attracted to freshly planted bulbs, especially tulips and crocuses, as a food source.

Solution: As mentioned in the planting steps, place a layer of chicken wire or hardware cloth over the top layer of bulbs, just under the soil surface. This deters digging. You can also cover the pot with a fine mesh netting or screen until the ground freezes solid. After planting, sprinkle a repellent (like cayenne pepper or commercial animal repellent) on the soil surface, reapplying after rain. Planting daffodil bulbs (which are toxic to rodents) in the top layer can also deter some pests.

Deep indigo pot on a wooden deck, packed with spring bulbs. Numerous tulips and daffodils appear small and pale, indicating overcrowding.
Too many bulbs can lead to smaller, less vibrant blooms in a container.

Overcrowding

Cause: While denser planting is encouraged for container bulbs, extreme overcrowding without adequate soil volume and nutrients can lead to competition and smaller, fewer blooms.

Solution: Choose an appropriately sized container for the number of bulbs you intend to plant. When planting, ensure there is at least an inch or two between bulbs in the same layer. If planning to keep bulbs for a second year, consider thinning them out or dividing them if they appear too dense. Often, for containers, treating bulbs as annuals and replanting with fresh stock each fall bypasses this issue entirely.

By understanding these common issues, you can proactively address them, ensuring your lasagna bulb pot thrives and delivers a spectacular, continuous show of spring flowers.

Hands planting vibrant blue lobelia into a large grey container already containing fading bulb foliage and pink petunias on a patio.
Thoughtful companion planting keeps this bulb pot vibrant all season long.

Extending the Show: Companion Plants and Post-Bloom Strategies

Your lasagna bulb pot provides a fantastic spring display, but you can enhance its beauty and extend its usefulness beyond the initial bulb bloom. Thoughtful companion planting and post-bloom strategies transform your container into a truly versatile garden element.

A terracotta pot on a wooden deck, filled with vibrant purple and yellow pansies, blue forget-me-nots, and fading green bulb leaves.
Filling those post-bloom gaps with cheerful annuals for continuous color.

Companion Planting for Extended Interest

Once your early and mid-spring bulbs begin to fade, you might find gaps appearing in your pot. You can fill these with shallow-rooted annuals or small perennials that thrive alongside the later-blooming bulbs and continue the display through summer.

  • Pansies and Violas: These cheerful annuals tolerate cool weather and often bloom from early spring until early summer, perfectly bridging the gap between bulb seasons. They come in a vast array of colors and can be tucked around the emerging bulb foliage.
  • Forget-Me-Nots (Myosotis sylvatica): These delicate blue flowers provide a lovely, soft backdrop and naturalize beautifully, creating a charming, ethereal look.
  • English Daisies (Bellis perennis): Small, button-like flowers that add texture and continuous bloom.
  • Creeping Jenny (Lysimachia nummularia ‘Aurea’): A trailing perennial with bright chartreuse foliage, it adds a vibrant pop of color and spills attractively over the edge of the pot. It also provides ground cover once bulb foliage starts to yellow.
  • Herbs: Consider planting compact herbs like thyme, oregano, or chives around the bulbs. They offer a different texture, fragrance, and are useful for cooking.

When selecting companion plants, choose those with similar light and water requirements. Ensure they do not become too vigorous, as they could outcompete your bulbs for resources. The goal is harmonious cohabitation, not domination.

Gardener's hands emptying a pot of spent bulb foliage and old soil onto a tarp, next to fresh soil and a bag of new bulbs on a wooden balcony.
Out with the old, in with the new! Getting ready for next spring’s show.

What to Do After the Spring Bloom

After your last bulb has finished blooming and its foliage has naturally yellowed and died back, you have a few options for the contents of your pot:

  1. Compost and Replant: This is the most common and often recommended strategy for container bulbs. The intense competition in a pot, combined with the energy expended during blooming, means bulbs often do not perform as well in subsequent years. Composting the spent bulbs and the old potting mix (or adding the old mix to garden beds) allows you to refresh your pot with new soil and fresh, vibrant bulbs each fall. This guarantees a spectacular show every season and allows for new design choices.
  2. Store and Replant (Limited Success): You can attempt to save the bulbs. After the foliage dies back, gently dig out the bulbs, clean off any soil, and allow them to dry in a cool, dark, airy place for a few days. Store them in mesh bags, paper bags, or old nylon stockings in a cool, dark, well-ventilated spot (like a basement or garage) until fall planting. Note that success rates vary; tulips, for instance, are notoriously unreliable to rebloom in containers, while daffodils may have a better chance. The stored bulbs also need to be kept cool enough for proper chilling.
  3. Move to a Garden Bed: If you have a garden bed available, you can carefully lift the entire clump of bulbs (after foliage dies back) and plant them directly into the ground. While they may not offer the same concentrated display, they might naturalize and provide some sporadic blooms in future years, especially daffodils.
A gloved hand drops a spent bulb into a compost caddy on a balcony amidst pots of emerging spring bulbs and a hovering bee.
Reuse pots, compost old bulbs, and welcome pollinators to your patio!

Embracing Eco-Friendly Practices

Small-space gardening is inherently sustainable by maximizing output in a small area. Extend your eco-conscious efforts:

  • Reuse Containers: Clean and reuse your containers year after year.
  • Compost Old Soil and Bulbs: Do not just throw them away. Spent potting mix can enrich your compost pile, and spent bulbs (unless diseased) can also be composted, returning nutrients to the earth.
  • Water Wisely: Use rainwater when possible, and ensure you are not overwatering, conserving this precious resource.
  • Attract Pollinators: Even small containers contribute to local ecosystems. Early spring bulbs provide vital nectar for emerging bees and other pollinators. Choose bulbs that are known to be pollinator-friendly, such as crocus, hyacinths, and grape hyacinths.

By implementing these strategies, your lasagna bulb pot becomes more than just a seasonal spectacle; it becomes a dynamic, year-round component of your small garden, reflecting a commitment to both beauty and environmental responsibility.

A gardener on her urban balcony thoughtfully examines a newly planted 'lasagna' bulb pot, holding her phone for reference.
Getting all the details right for a stunning spring bloom.

Frequently Asked Questions

Can I plant bulbs in a pot with other existing plants?

Yes, you can. If you have an existing perennial or shrub in a container, you can tuck bulbs around its base. Ensure the existing plant does not have an overly dense root system that would compete too much with the bulbs for space and nutrients. Choose smaller bulbs like crocuses or muscari for this purpose, planting them at the appropriate depth and making sure the pot is large enough to accommodate the roots of both the permanent plant and the bulbs without becoming too crowded. Provide adequate water and, if needed, a general-purpose fertilizer to support both.

Do I need to water bulbs in winter?

Yes, but sparingly. After your initial thorough watering at planting, the soil should remain slightly moist, not wet, throughout winter. Check the soil every few weeks by feeling it an inch or two deep. If it feels dry, give it a light watering. In many regions, rain or snow provides enough moisture. The goal is to prevent the soil from drying out completely, which can desiccate the bulbs, while also avoiding waterlogging, which causes rot.

Can I save the bulbs for next year after they bloom in a pot?

You can try, but success varies significantly. Bulbs expend a lot of energy to bloom, and the confined space of a pot means they have limited resources to replenish themselves for a strong repeat performance. While daffodils might rebloom for a second year in a pot, tulips are notoriously unreliable. If you wish to try, allow the foliage to die back naturally, then dig up the bulbs, clean them, and store them in a cool, dark, dry place until fall. For guaranteed spectacular results, many container gardeners treat bulbs as annuals, composting them after the show and planting fresh bulbs each autumn.

What if I forget to plant my bulbs in fall? Can I still plant them in winter or spring?

Ideally, plant bulbs in fall, giving them ample time to establish roots and receive their necessary chilling period. If you miss the window, you might still plant them in early winter as long as the ground or potting mix is not frozen solid. Bulbs planted later may bloom a bit later or produce smaller flowers. If you find forgotten bulbs in late winter or early spring, you can pot them up and keep them in a cool spot. They may still bloom, but the display might be diminished. For the best results, prioritize fall planting when possible.

How many bulbs can I put in one pot?

For a lush, impactful display, plant bulbs more densely in containers than you would in a garden bed. Aim for a layered “lasagna” effect where bulbs are almost shoulder-to-shoulder, leaving about 1-2 inches between them. For a 15-18 inch diameter pot, you might use approximately 15-20 large bulbs (like tulips) in the bottom layer, 20-30 medium bulbs (like daffodils or hyacinths) in the middle, and 30-50 small bulbs (like crocus or snowdrops) in the top layer. The exact number depends on the bulb size and your pot’s dimensions, but a general rule is to plant generously for maximum impact.

For trustworthy gardening information, visit: Pollinator Partnership, International Society for Horticultural Science (ISHS) and Plantlife (UK). These organizations provide expert, research-based advice for gardeners at all levels.

Disclaimer: This article is for informational purposes only and is not a substitute for professional gardening advice. Always consult local extension services or horticulture experts for region-specific guidance.

Categories
Edible Gardening

Don’t Give Up on Your Potted Peppers! 5 Ways to Ripen Your Final Harvest Before the First Frost

As the days shorten and a crisp chill fills the air, you likely find yourself admiring your potted pepper plants, still laden with beautiful, albeit green, fruits. For many small-space gardeners, this late season harvest presents a familiar dilemma. You have invested time, care, and anticipation into these plants, and now, with the threat of the first frost looming, you want to ensure those vibrant peppers reach their full, colorful potential. Giving up on your pepper plants now means missing out on delicious, homegrown flavor. Fortunately, you have several effective strategies to encourage ripening peppers, safeguarding your bounty and extending the harvest in small gardens. This guide provides practical, actionable insights to help you get those green peppers to turn red, yellow, or orange before winter truly sets in.

A close view of hands gently examining vibrant red bell peppers on a potted plant on a small urban patio.
Enjoying the beauty and bounty of the season’s final pepper harvest.

Preparing for Your Final Pepper Harvest

Your pepper plants, whether bell peppers, jalapeños, or exotic chilies, thrive in warm, sunny conditions. As temperatures drop in late summer and early fall, their growth slows, and the ripening process can stall. This is particularly true for plants in containers, which experience temperature fluctuations more dramatically than those planted directly in the ground. The goal for your late season harvest becomes two-fold: protect your plants from cold temperatures and encourage existing fruits to ripen.

The key to successful fall container gardening with peppers lies in proactive planning. Understand that peppers need consistent warmth to transition from green to their mature color. While green peppers are edible, they often lack the full sweetness or heat characteristic of their ripened state. For instance, a green bell pepper offers a crisp, slightly bitter flavor, but a red one provides significantly more sweetness and a higher concentration of Vitamin C. Recognizing these differences empowers you to make informed decisions about your ripening strategies.

Begin by assessing your plants. How many green peppers remain? What size are they? Smaller, immature fruits have less chance of ripening completely, while larger, nearly full-size peppers are excellent candidates for assisted ripening. A careful assessment guides your strategy, ensuring you apply the most effective methods for your specific situation. This active approach increases your success rate in turning those green fruits into a vibrant, flavorful final yield.

Woman kneeling on a balcony, gently touching leaves of a potted pepper plant in cool, overcast autumn light.
Checking the peppers for signs of the changing season.

Recognizing the Frost Threat: A Container Gardener’s Guide

Understanding the timing of the first frost is crucial for protecting pepper plants from cold. Frost can quickly damage or kill tender plants like peppers, turning leaves black and rendering fruits unusable. Local weather forecasts provide the most immediate indication, but also observe environmental cues. Nights consistently dropping below 45 degrees Fahrenheit signal danger, even if frost has not yet formed. Actual frost occurs when temperatures hit 32 degrees Fahrenheit or below, causing ice crystals to form on plant surfaces.

Container plants are particularly vulnerable to frost because their root systems lack the insulating protection of the earth. The potting mix cools down faster and freezes more readily than garden soil. This accelerated cooling affects the entire plant, making rapid action necessary. Monitor nighttime temperatures diligently. When forecasts predict temperatures near or below 40 degrees Fahrenheit, or certainly below 35 degrees Fahrenheit, you must take protective measures. A single unexpected cold snap can wipe out weeks of effort. Acting promptly prevents disappointment and secures your late season harvest.

Person's gloved hands meticulously wipe a terracotta pot containing a pepper plant, positioned by an open glass door for indoor transition.
Carefully cleaning our potted peppers before they come inside for the season.

Method 1: Bringing Your Pepper Plants Indoors

One of the most effective ways to encourage ripening peppers and protect pepper plants from cold is to move them indoors. This strategy works exceptionally well for small-space gardeners with container plants. Bringing your potted peppers inside allows them to escape freezing temperatures entirely, providing the consistent warmth they need for their fruits to mature.

Follow these steps for a successful indoor transition:

  1. Inspect Thoroughly: Before bringing any plant inside, inspect it for pests. Look carefully under leaves, in crevices, and on stems for aphids, spider mites, or other hitchhikers. Treat any infestations with a gentle insecticidal soap or by wiping them off with a damp cloth. This preventative step protects your houseplants from new pest problems.
  2. Clean the Pot: Wipe down the outside of the container to remove any dirt or debris. This keeps your indoor space clean and reduces the chance of tracking soil or pests inside.
  3. Prune Selectively: Remove any obviously dead, diseased, or yellowing leaves. Also, snip off any very small, immature peppers that have little chance of ripening. The plant can then direct its energy towards the larger, more developed fruits.
  4. Provide Light: Peppers need abundant light to ripen. Place your indoor pepper plant in your brightest south-facing window. If natural light is insufficient, supplement with a grow light. A simple LED grow light, available online or at garden centers, provides the necessary spectrum for ripening. Aim for 12-16 hours of light per day.
  5. Maintain Humidity: Indoor environments, especially with heating systems running, can be very dry. Peppers prefer moderate humidity. You can increase humidity by placing the pot on a pebble tray filled with water, ensuring the pot itself does not sit in the water. Grouping plants together also raises local humidity.
  6. Water Sparingly: Plants use less water indoors than outdoors. Allow the top inch or two of soil to dry out completely before watering again. Overwatering can lead to root rot.
  7. Avoid Fertilizing: Do not fertilize your pepper plants once they are indoors for ripening. The goal now is to encourage fruit maturation, not new vegetative growth.

With proper indoor conditions, you will observe how to make green peppers turn red on the plant, or yellow, or orange, as they gradually shift color over several weeks. This method effectively extends your harvest and brings a touch of your garden inside.

Adult gardener placing a DIY plastic bottle cloche over a potted pepper plant against a house wall on a small patio at dusk.
Protect your potted peppers from frost with simple DIY cloches!

Method 2: Creating a Protective Microclimate

When bringing plants indoors is not feasible, or for milder frosts, you can create a localized protective microclimate around your potted peppers. This strategy helps in fall container gardening by providing crucial insulation and warmth, protecting pepper plants from cold.

Consider these options:

  • Move Pots to Sheltered Locations: Relocate your containers to warmer, more protected spots. A south-facing wall, under a porch overhang, or even inside an unheated garage or shed during the coldest nights offers significant protection. The thermal mass of a wall can radiate warmth, and enclosed spaces shield from wind chill and direct frost.
  • Use Cloches: A cloche is a bell-shaped or dome-shaped cover placed over individual plants. You can purchase commercial cloches or create your own from repurposed materials. A clear plastic soda bottle with the bottom cut off, or a milk jug with the bottom removed, works well. Place it over the pepper plant in the evening and remove it in the morning once temperatures rise above freezing. This traps ground heat, keeping the plant warmer.
  • Implement Row Covers: For multiple potted plants grouped together, a row cover offers broader protection. These lightweight fabric covers allow light and water to penetrate while insulating plants from cold temperatures. Drape the row cover over hoops or stakes placed around your pots, ensuring the fabric does not directly touch the plants. Anchor the edges to prevent wind from lifting it. Row covers can provide 4-8 degrees Fahrenheit of frost protection, significantly aiding ripening peppers during cool snaps.
  • Construct a Mini-Greenhouse: Small, portable greenhouses, often made with PVC frames and clear plastic sheeting, are excellent for fall container gardening. These structures create a warmer, more humid environment, which can accelerate ripening. Place your potted peppers inside, ensuring adequate ventilation on warmer days to prevent overheating and fungal issues.

These microclimates trap latent heat from the soil and air, preventing frost from settling directly on the delicate foliage and fruit. They are invaluable tools for extending the harvest in small gardens when outdoor temperatures become marginal.

Bare hand pinching off a small flower from a potted pepper plant with larger green peppers, set on a compact patio.
Give those developing peppers the energy they need by pinching off new flowers.

Method 3: Strategic Pruning and Energy Focus

As the season wanes, your pepper plant’s energy naturally shifts from producing new growth and flowers to ripening existing fruits. You can assist this process and encourage how to make green peppers turn red on the plant through strategic pruning. This method redirects the plant’s resources to where they are most needed.

Here is how to apply strategic pruning:

  1. Remove New Flowers and Small Fruits: Any flowers or tiny fruits that appear late in the season have virtually no chance of maturing before frost. They will only drain the plant’s energy. Pinch these off immediately. This ensures that the plant directs all its available energy towards the larger, more developed fruits that have a real possibility of ripening.
  2. Prune Back Vegetative Growth: Cut back some of the leafy, non-fruiting branches. This exposes existing peppers to more sunlight and improves air circulation, both of which can aid ripening. Be judicious with pruning; you still need enough foliage for photosynthesis, but removing excess leaves helps. Aim for about 20-30% of the non-fruiting foliage. This concentrated energy helps ripening peppers mature faster.
  3. Top the Plant (Optional): For plants with many small peppers, consider “topping” them a few weeks before the anticipated first frost. This involves cutting off the main growing tip of each stem. Topping encourages the plant to stop vertical growth and instead funnel energy into ripening the existing fruits. This is particularly useful for varieties that produce an abundance of smaller peppers, promoting a more uniform late season harvest.

By focusing the plant’s energy, you enhance its ability to complete the ripening process, especially for those green peppers poised for a color change. This method is a direct way to influence how to make green peppers turn red on the plant, improving both the quantity and quality of your final yield.

Green bell peppers, some starting to blush orange, displayed on a wooden counter with a paper bag.
Bringing the final green peppers indoors for ripening.

Method 4: Harvesting and Ripening Off the Plant

Sometimes, despite your best efforts, the first hard frost arrives before all your peppers have ripened on the plant. Do not despair. You can still salvage a significant portion of your late season harvest by ripening peppers off the plant. This method is surprisingly effective and ensures you do not waste your hard-earned bounty.

Here are the steps for off-plant ripening:

  1. Harvest All Mature Green Peppers: Before the frost hits, pick all your green peppers that have reached their full size, even if they show no signs of color change. Use sharp pruners or scissors to cut the stem, leaving a small piece attached to the pepper. This prevents damage and reduces the risk of rot.
  2. Clean the Peppers: Gently wipe any dirt or debris from the harvested peppers. Ensure they are dry before storage.
  3. Select a Warm Location: Peppers need warmth to ripen, even off the plant. Place your green peppers in a single layer in a warm spot, ideally between 65 and 75 degrees Fahrenheit. A sunny windowsill works, but a paper bag in a warm room is often more consistent. Avoid direct, intense sunlight, as it can cause them to shrivel.
  4. Use the “Paper Bag” Method: Place the peppers in a paper bag. The bag traps ethylene gas, a natural plant hormone that promotes ripening. You can accelerate this process by adding an ethylene-producing fruit, such as a ripe apple or banana, to the bag with the peppers. The apple or banana releases ethylene, signaling the peppers to ripen faster.
  5. Monitor Regularly: Check the peppers daily. As they ripen, their color will change. Remove any peppers that show signs of softening or rotting to prevent them from affecting others.
  6. Patience is Key: Ripening peppers off the plant takes time, often several days to a few weeks, depending on the pepper variety and its initial maturity. You might not achieve the same vibrant color and flavor as sun-ripened peppers, but they will still be delicious and perfectly edible.

This technique is a lifesaver for extending the harvest in small gardens, allowing you to enjoy your peppers even after the growing season has officially ended outdoors. It maximizes your yield and reduces waste from early frosts.

Gloved hands pruning a pepper plant in a terracotta pot on a wooden balcony deck, with trimmed leaves scattered nearby.
Aggressively pruning our pepper plants for their winter rest!

Method 5: Overwintering Your Pepper Plants

While technically not a method for ripening your *final* harvest, overwintering your pepper plants in containers offers a fantastic way to extend the harvest in small gardens into *next* season. It means you get a head start in spring, with larger, more robust plants that produce earlier and more abundantly. This advanced technique saves your established plants from the cold, allowing them to produce another year.

Here is how to overwinter your potted pepper plants:

  1. Harvest All Peppers: Before the first hard frost, strip your plants of all remaining peppers, ripe or unripe. You can ripen the green ones off the plant using Method 4.
  2. Prune Aggressively: Cut back the plant significantly. Remove all foliage, leaving only the main stems with a few nodes. Aim to reduce the plant’s size by 50-75%. This minimizes the energy needed for maintenance during dormancy.
  3. Inspect and Treat for Pests: Just like bringing plants indoors, thoroughly inspect for pests. Treat any infestations to avoid bringing unwanted guests into your home.
  4. Repot (Optional): If your plant is in a very large container, you might consider repotting it into a smaller pot for the winter, especially if space is limited. Use fresh, sterile potting mix if repotting.
  5. Choose a Cool, Dark Location: Unlike ripening indoors, overwintering requires a cool, dormant state. Place the pruned plant in a cool, dark, frost-free location where temperatures remain consistently between 45 and 60 degrees Fahrenheit. An unheated garage, shed, or basement often works well.
  6. Water Sparingly: During dormancy, the plant needs very little water. Water just enough to prevent the potting mix from completely drying out, perhaps once every 2-4 weeks. The goal is to keep the roots alive, not to encourage active growth.
  7. Monitor for Pests and Diseases: Check your overwintering plants periodically for signs of pests or fungal issues. Address any problems immediately.
  8. Reintroduce in Spring: As spring approaches and temperatures rise, gradually reintroduce your pepper plant to light and warmth. Increase watering, and once new growth appears, you can begin light fertilization. Harden off the plant before moving it permanently outdoors after the last frost date.

Overwintering is an excellent strategy for dedicated container gardeners, particularly for favorite or heirloom varieties. It provides a significant advantage for your next growing season, effectively extending your overall pepper production cycle.

A thriving balcony garden features various potted pepper plants in terracotta and a vertical planter. A basil plant provides a natural windbreak, and
Balcony bounty! Thoughtful planting and care help these peppers thrive.

General Tips for Extending Your Pepper Season

Beyond these five primary methods, several general practices enhance your success with ripening peppers and protecting pepper plants from cold, especially in a fall container gardening context. These tips contribute to a healthier plant, which is more resilient to cooler temperatures and more efficient at ripening its fruits.

* Choose the Right Varieties: For fall container gardening and a late season harvest, select pepper varieties known for shorter maturity times or those that ripen quickly. For example, some early bell pepper varieties or smaller chili types mature faster than large, thick-walled peppers. Plan ahead in future seasons to plant varieties better suited for regions with shorter growing seasons.
* Optimize Container Size and Placement: Ensure your peppers grow in adequately sized containers, typically at least 5 gallons for optimal growth and root health. Dark-colored pots absorb more solar heat, which can be beneficial in cooler weather. Position pots in the sunniest, most sheltered spot possible, especially as the sun’s angle changes in fall.
* Maintain Soil Health: A healthy potting mix supports a healthy plant. Use a high-quality, well-draining, peat-free potting mix. Good soil aeration and nutrient availability make the plant more robust and better equipped to handle stress. Avoid compacted soil, which hinders root function.
* Efficient Watering Practices: While peppers need consistent moisture, overwatering in cooler temperatures can lead to root rot. Allow the top inch or two of the potting mix to dry out before watering deeply. In fall, plants generally require less water than in the heat of summer. Efficient watering conserves resources and promotes plant health.
* Consider Windbreaks: Wind chill significantly impacts container plants. Even a simple barrier like a row of other plants, a trellis, or a temporary screen can reduce wind exposure, keeping the plant warmer and allowing it to focus energy on ripening peppers.
* Reflective Mulch: For very late-season plants, placing reflective mulch, such as aluminum foil or white plastic sheeting, around the base of the plant can reflect sunlight upwards. This increases light exposure to the undersides of leaves and fruits and helps warm the soil, encouraging ripening.
* Provide Adequate Drainage: Regardless of the season, proper drainage is critical for potted plants. Ensure your containers have ample drainage holes to prevent waterlogging, which can stress plants and make them more susceptible to cold damage.
* Support Pollinators: While ripening focuses on existing fruits, remember that pollinator support earlier in the season is vital for fruit set. Encourage local pollinators by planting diverse flowers, even in small spaces. A thriving ecosystem leads to a more abundant harvest from the start, reducing the pressure for a frantic late season harvest.

By implementing these general tips, you create a more resilient growing environment for your peppers, maximizing your chances for a successful and prolonged harvest well into the cooler months. These practices contribute significantly to extending the harvest in small gardens, making your gardening efforts more rewarding.

A person sits on a patio chair, holding a journal and thoughtfully observing container pepper plants on a cozy balcony.
Got questions about your peppers? We’ve got answers to help you out.

Frequently Asked Questions

Will green peppers ripen after I pick them?

Yes, many green peppers will continue to ripen off the plant, especially if they have reached their full size and have begun to show any hint of color change. Place them in a warm location, ideally in a paper bag with a ripe apple or banana, to speed up the process by trapping ethylene gas.

What temperature kills pepper plants?

Pepper plants are very sensitive to cold. Temperatures consistently below 40 degrees Fahrenheit (4 degrees Celsius) can stress them significantly, stopping growth and ripening. A hard frost, which occurs at 32 degrees Fahrenheit (0 degrees Celsius) or below, typically kills unprotected pepper plants, damaging foliage and fruit.

How can I make my pepper plants produce more before frost?

To maximize production before frost, focus the plant’s energy on existing fruits. Pinch off any new flowers or very small, immature peppers that will not have time to ripen. This redirects the plant’s resources to developing and ripening the larger peppers already on the plant, improving your late season harvest.

Can I overwinter bell pepper plants indoors?

Yes, you can successfully overwinter bell pepper plants indoors. This involves pruning them heavily, providing a cool, dark, and frost-free location, and watering very sparingly through the winter. This allows the plant to go dormant and then revive in the spring for an earlier and more abundant harvest next season.

Do pepper plants need full sun to ripen?

Peppers absolutely need full sun, at least 6-8 hours daily, to ripen effectively. Sunlight provides the energy for photosynthesis, which is essential for fruit development and the production of pigments that give peppers their mature colors. Insufficient light will significantly slow or halt the ripening process.

For research-based guidance on edible gardening, visit
University of Arizona Cooperative Extension — Gardening,
University of Alaska Fairbanks Extension — Gardening,
University of Georgia Extension — Gardening and
Louisiana State University AgCenter — Lawn & Garden.

Disclaimer: This article is for informational purposes only and is not a substitute for professional advice. Consult local extension services for region-specific recommendations.

Categories
Indoor Plants

Grow an Indoor ‘Holiday Flavors’ Herb Garden for Thanksgiving and Beyond

The aroma of freshly baked turkey, savory stuffing, and warm pumpkin pie signals the arrival of the holiday season. Imagine enhancing these festive dishes with vibrant, homegrown herbs, plucked directly from your windowsill. An indoor herb garden offers unparalleled freshness, convenience, and a touch of green vibrancy, even in the smallest of spaces. You do not need a sprawling backyard or complex equipment to cultivate these flavorful additions. With a few simple steps, you can cultivate a thriving indoor herb garden, ensuring your Thanksgiving table and future meals are infused with the unmistakable taste of your own efforts.

Starting an indoor herb garden brings a unique satisfaction, connecting you directly to the food you prepare. For apartment dwellers and those with compact homes, this approach perfectly aligns with a low-maintenance, high-reward gardening philosophy. This guide provides practical, actionable insights, enabling you to grow best herbs for holiday cooking with confidence and ease. Prepare to transform your culinary creations with fresh sage, rosemary, thyme, and parsley, all while embracing sustainable practices and maximizing your living space.

A hand snips fresh sage from a terracotta pot into a mixing bowl with stuffing ingredients on a sunlit kitchen counter.
Fresh sage from the garden, straight into Thanksgiving stuffing – that’s convenience!

The Magic of an Indoor Herb Garden for the Holidays

The holiday season, particularly Thanksgiving, revolves around food, family, and gratitude. Fresh herbs play a starring role in many traditional recipes, from savory turkey dressings to aromatic roasted vegetables and spiced desserts. While store-bought herbs are readily available, growing your own offers distinct advantages. Imagine the convenience of stepping into your kitchen and snipping exactly what you need, minutes before adding it to your dish. You eliminate last-minute grocery runs, reduce food waste, and enjoy superior flavor. Herbs harvested just before use retain their maximum potency and aroma, elevating your holiday cooking to new heights.

An indoor herb garden also brings a piece of nature indoors, especially welcome during the colder months. It adds greenery and a pleasant fragrance to your home, transforming a simple windowsill or a corner shelf into a vibrant, living display. This project perfectly suits small-space living, requiring minimal square footage and delivering significant returns in terms of culinary enhancement and aesthetic appeal. Your efforts in cultivating an indoor herb garden provide a sustainable source of flavor, minimizing packaging waste and supporting a more self-sufficient lifestyle. As a plant coach, I advocate for these low-effort routines that connect you with nature without demanding extensive resources or expertise. This season, let your home garden contribute directly to the festive spirit, making your holiday meals truly unforgettable.

Vibrant sage and rosemary plants thrive in terracotta pots on a clean, sunlit windowsill, ready for holiday cooking.
Your holiday herb stars, thriving indoors on a bright windowsill.

Choosing Your Holiday Herb Stars: Best Varieties for Indoor Success

Selecting the right herbs is the first crucial step toward a successful indoor herb garden. For Thanksgiving and general holiday cooking, certain herbs stand out due to their robust flavor, versatility in the kitchen, and adaptability to indoor conditions. Focus on these `fall herbs` to maximize your success and culinary impact.

Sage (Salvia officinalis): This herb is synonymous with Thanksgiving. Its earthy, slightly peppery flavor is indispensable for turkey stuffing, gravies, and roasted root vegetables. Sage thrives indoors with bright light and good air circulation. It tends to be a bit more drought-tolerant than other herbs, so avoid overwatering. When you are `growing sage and rosemary on a windowsill`, ensure sage gets the brightest spot.

Rosemary (Rosmarinus officinalis): Pungent and piney, rosemary brings a distinct aromatic quality to roasted meats, potatoes, and even breads. It is a woody perennial that appreciates ample light, mimicking its Mediterranean origins. Rosemary plants grown indoors can become quite architectural, offering a beautiful visual element. Like sage, `growing sage and rosemary on a windowsill` requires consistent bright light.

Thyme (Thymus vulgaris): Delicate yet incredibly flavorful, thyme complements almost any savory dish. Use it in poultry, soups, stews, and vegetable preparations. Thyme is generally forgiving indoors, preferring well-draining soil and plenty of light. Its small leaves and creeping habit make it an attractive addition to a mixed herb pot.

Parsley (Petroselinum crispum or P. neapolitanum): Flat-leaf (Italian) parsley offers a more robust flavor than its curly counterpart, making it ideal for culinary use. It is a cornerstone herb for garnishes, sauces, and fresh additions to almost any meal. Parsley needs consistent moisture and bright, indirect light to flourish. It is a heavy feeder compared to the woody herbs, meaning it benefits from regular, gentle fertilization.

Chives (Allium schoenoprasum): While not strictly a “holiday herb” in the traditional sense for Thanksgiving, chives offer a mild oniony flavor that brightens many dishes. They are easy to grow indoors, even in slightly lower light conditions than woody herbs, and can be harvested repeatedly. Consider adding chives for versatility in your `winter herb garden kit ideas` for broader cooking applications.

You can start these herbs from seeds, but for quicker results, especially with woody herbs like sage and rosemary, purchase small starter plants from a nursery. Look for healthy, compact plants without signs of pests or disease. This approach significantly shortens the time until your first harvest, ensuring you have fresh herbs ready for `holiday cooking`.

Healthy sage, rosemary, and thyme herbs in assorted pots on a windowsill, bathed in soft, diffused light from a window with a sheer curtain.
Herbs flourishing in the perfect, gentle light of a sunny windowsill.

Light Made Simple: Illuminating Your Indoor Herb Garden

Light stands as the most critical factor for a thriving `indoor herb garden`, particularly when `growing sage and rosemary on a windowsill`. Most culinary herbs are sun-loving plants by nature, requiring at least 4-6 hours of direct sunlight or 8-12 hours of bright, indirect light daily to produce flavorful foliage. Understanding your home’s light conditions is essential for placing your herbs optimally.

Bright Indirect Light: This refers to a location near a window where the light is abundant but the sun’s direct rays do not hit the plant’s leaves for extended periods. Think of a spot beside a south or west-facing window, perhaps diffused by a sheer curtain, or a few feet away from an unobstructed east-facing window. Direct, intense afternoon sun, especially through glass, can scorch delicate herb leaves.

Window Orientation:

  • South-facing windows offer the most intense and consistent light throughout the day. These are often ideal for sun-loving herbs like rosemary and sage, but you might need a sheer curtain to prevent scorching, especially during midday.
  • West-facing windows provide strong afternoon light, which can be quite hot. Similar to south-facing, use caution or a sheer curtain.
  • East-facing windows receive gentle morning sun, which is less intense and generally excellent for a wide variety of herbs, including parsley and thyme.
  • North-facing windows provide the least amount of light, primarily bright indirect light. While some low-light tolerant plants might survive here, it is generally insufficient for most culinary herbs to thrive and produce robust flavor.

Position your herbs as close to the light source as possible without touching the cold glass in winter. Rotate your pots every few days to ensure all sides of the plant receive adequate light, promoting even growth.

When natural light is insufficient, especially during shorter winter days or in north-facing rooms, supplemental lighting becomes crucial. Compact fluorescent lights (CFLs) or LED grow lights are efficient and effective options. A small LED grow light strip positioned 6-12 inches above your herbs for 12-14 hours a day can make a significant difference, preventing leggy growth and ensuring robust flavor. This is particularly useful for maximizing the yield from your `fall herbs` throughout the darker months.

Hands filling a terracotta pot with potting mix on a sunny balcony table, with herb seedlings and more mix nearby.
Setting up the perfect home for your holiday herbs.

The Right Home: Pots and Potting Mix for Thriving Herbs

Choosing the correct container and potting mix lays the foundation for a healthy `indoor herb garden`. These elements directly impact water retention, drainage, and nutrient availability, which are all critical for vigorous growth, especially for your chosen `holiday cooking` herbs.

Choosing the Right Pot:

The most important feature of any pot is a drainage hole. Without adequate drainage, water accumulates at the bottom, leading to root rot, the silent killer of many houseplants.

  • Terracotta Pots: These are porous, allowing air and moisture to pass through their walls. This helps prevent overwatering and is excellent for herbs that prefer slightly drier conditions, such as rosemary and sage. However, they dry out faster, requiring more frequent watering.
  • Plastic Pots: Lightweight and inexpensive, plastic pots retain moisture more effectively than terracotta. They are a good choice for herbs like parsley that prefer consistently moist soil. Ensure adequate drainage holes are present.
  • Ceramic Pots: These can be very decorative. Glazed ceramic pots retain moisture similarly to plastic, while unglazed ones behave more like terracotta. Always check for a drainage hole.

30cm pot diagram showing drainage hole at the base; arrows indicate water flow out of the hole.

For individual herbs, choose pots that are 6-8 inches in diameter. This size provides enough space for root development without being so large that the soil stays wet for too long. If you plan to create a `winter herb garden kit ideas` arrangement with multiple herbs, use a larger trough-style container, ensuring each plant has adequate space and light.

Potting Mix:

Your herbs require a well-draining, airy potting mix that provides good aeration for roots. Avoid using garden soil, which compacts easily in pots, suffocating roots and hindering drainage.

  • Peat-free potting mix: Opt for peat-free options made from sustainable materials like coco coir, composted bark, and perlite or pumice. Peat extraction can be environmentally damaging, so choosing peat-free aligns with eco-conscious gardening.
  • Additives for drainage: If your chosen potting mix feels too dense, amend it with additional perlite or pumice. A ratio of 3 parts potting mix to 1 part perlite or pumice often works well. These materials create air pockets, preventing compaction and improving drainage.
  • Nutrient content: A good quality potting mix usually contains some nutrients to get your plants started. However, remember that container plants deplete nutrients faster, so you will need to supplement later.

Never place a layer of gravel or broken pot shards at the bottom of your pot. This actually hinders drainage by creating a “perched water table” where water accumulates just above the gravel layer, still leading to root rot. Instead, ensure a good quality potting mix and a proper drainage hole are your main concerns.

A person's finger checks soil moisture in a terracotta pot holding a healthy rosemary plant. A watering can is in the background.
The ‘finger test’ is your best guide for knowing when to water your herbs.

Watering Wisdom: Keeping Your Holiday Herbs Hydrated, Not Drowned

Watering correctly is paramount for a successful indoor herb garden. Both overwatering and underwatering can cause significant stress, leading to yellowing leaves, wilting, and ultimately, plant death. Your goal is to provide consistent moisture without waterlogging the soil.

The Finger Test: Your Best Guide

Forget rigid watering schedules. The most reliable way to determine if your herbs need water is the “finger test.”

  1. Stick your index finger about 1-2 inches deep into the soil.
  2. If the soil feels dry at that depth, it is time to water.
  3. If it feels moist, wait a day or two and retest.

This method accounts for variations in temperature, humidity, and pot material, all of which affect how quickly soil dries out. Woody herbs like sage and rosemary prefer the top 1-2 inches of soil to dry out completely between waterings. Leafy herbs like parsley and chives prefer more consistent moisture, meaning you should water when the top inch of soil feels just barely dry.

How to Water:

When you water, do so thoroughly. Pour water slowly over the entire surface of the soil until it begins to drain out of the bottom of the pot. Ensure the entire root ball gets saturated. Empty any excess water from the saucer within 15-30 minutes. Allowing your plant to sit in standing water invites root rot. Use room-temperature water, as cold water can shock plant roots.

Signs of Trouble:

  • Drooping or wilting leaves: This can indicate either too little or too much water. Perform the finger test. If the soil is bone dry, water thoroughly. If it is soggy, you are likely overwatering.
  • Yellowing leaves: Often a sign of overwatering. Root rot prevents roots from absorbing nutrients, leading to yellow foliage.
  • Crispy, browning leaf tips: Typically points to underwatering or low humidity.

Sustainable Watering Practices:

Consider capturing rainwater or using filtered tap water if your local water is heavily chlorinated. Mulching the soil surface with a thin layer of coco coir or fine bark chips can help reduce evaporation, especially in dry indoor environments. Understanding your herbs’ individual needs and observing their response to your watering habits empowers you to provide optimal care, ensuring a robust `indoor herb garden` ready for `holiday cooking` and beyond.

Person's hands gently pour liquid fertilizer from a watering can onto a rosemary plant in a pot on a sunlit windowsill.
Nourishing your indoor herbs with gentle, consistent care.

Feeding Your Fall Herbs: Gentle Nutrition for Robust Growth

While light and water are the primary drivers of plant growth, nutrients play a supporting yet crucial role, especially for herbs grown in containers. Potting mixes initially provide some nutrients, but these become depleted over time as your herbs grow and you harvest their leaves. Regular, gentle fertilization ensures your `fall herbs` remain vigorous and flavorful throughout their indoor life.

When to Fertilize:

Begin fertilizing your indoor herbs approximately 4-6 weeks after potting them in fresh soil. During the active growing seasons (spring and summer), you can fertilize every 2-4 weeks. However, during fall and winter, when light levels are lower and plant growth naturally slows, reduce fertilization to once every 4-6 weeks or even less frequently. Overfertilizing during slower growth periods can lead to nutrient burn and harm your plants. Observe your herbs; if new growth appears pale or stunted, they may need a boost.

Choosing the Right Fertilizer:

Opt for a balanced liquid fertilizer formulated for edibles or houseplants. Look for an N-P-K ratio (Nitrogen, Phosphorus, Potassium) that is relatively even, such as 5-5-5 or 10-10-10, or slightly higher in nitrogen for leafy growth (e.g., 2-1-2).

  1. Liquid Organic Fertilizers: These are excellent choices for edible plants, as they often contain a broader range of micronutrients and improve soil health over time. Examples include diluted fish emulsion or seaweed extract.
  2. Synthetic Liquid Fertilizers: If using synthetic options, always dilute them to half or even quarter strength of the manufacturer’s recommendation. Herbs are sensitive to excessive salts, and over-fertilization can quickly lead to burnt leaf tips and stunted growth.

How to Fertilize:

Always apply liquid fertilizer to moist soil, never dry. Fertilizing dry roots can cause root burn. Mix the diluted fertilizer according to instructions and water your herbs as you normally would, using the fertilizer solution instead of plain water. This ensures even distribution and minimizes the risk of concentrated nutrient pockets.

Remember, less is often more when it comes to fertilizing `indoor herb garden` plants. You aim to supplement, not overwhelm. Consistent, gentle feeding supports healthy foliage, ensuring your herbs deliver peak flavor for `holiday cooking` and beyond, making your `winter herb garden kit ideas` truly productive.

Person's hands using sharp shears to harvest leaves from a basil plant in a terracotta pot on a sunny kitchen windowsill.
Snip for success! Pruning your herbs helps them grow back fuller.

Harvesting and Pruning: Maximizing Your Holiday Yield

Harvesting your herbs correctly is a key skill that not only provides you with fresh ingredients for `holiday cooking` but also encourages your plants to grow bushier and more productive. Think of harvesting as a form of pruning, guiding your herb’s growth habit.

The Art of Harvesting:

  1. Start early: Begin harvesting once your herb plants are established and have several sets of true leaves. For most herbs, this means when they are 6-8 inches tall. Early, light harvesting stimulates growth.
  2. Use sharp tools: Always use clean, sharp scissors or pruning shears to make clean cuts. This prevents crushing stems and minimizes the risk of disease.
  3. Harvest from the top: For most bushy herbs like basil, mint, and thyme, snip off the top few sets of leaves, just above a leaf node (the point where leaves or branches emerge from the main stem). This encourages the plant to branch out, resulting in a fuller, more robust plant. Avoid removing more than one-third of the plant’s foliage at a time to prevent shocking it.
  4. Target outer leaves: For herbs like parsley or cilantro, you can harvest outer leaves near the base of the plant. This allows the inner, younger leaves to continue growing.
  5. Pinch off flowers: If your herbs begin to produce flower stalks (a process known as “bolting”), pinch them off immediately. Flowering often signals the end of the plant’s life cycle for annuals, and it can cause the leaves to become bitter. Removing flowers directs the plant’s energy back into leaf production, prolonging your harvest.

Specific Herb Harvesting Tips:

  • Rosemary and Sage: These woody herbs benefit from regular tip pruning. Snip off new growth at the tips of branches, just above a leaf node. This prevents them from becoming leggy and encourages branching. Be mindful when `growing sage and rosemary on a windowsill` to harvest strategically to maintain their shape and productivity.
  • Thyme: You can snip off whole sprigs or just the tips. Thyme responds well to frequent, light harvesting.
  • Parsley: Harvest individual stems with leaves from the outer parts of the plant, cutting close to the base.

Regular harvesting is a positive feedback loop: the more you harvest correctly, the more your `indoor herb garden` produces. This practice ensures a continuous supply of fresh, aromatic herbs for your `holiday cooking` and keeps your plants healthy and vibrant throughout the colder months.

A person gently holds a small terracotta pot containing a yellowing, drooping basil plant, thoughtfully inspecting it near a sunny window.
Is your indoor basil looking a bit sad? Time for a quick check-up!

Troubleshooting Common Indoor Herb Challenges

Even experienced gardeners encounter challenges, and your indoor herb garden is no exception. Understanding common issues and their solutions empowers you to quickly diagnose problems and keep your `fall herbs` thriving. Most problems stem from environmental factors or basic care practices.

1. Yellowing Leaves:

This is one of the most frequent complaints.

  • Overwatering: The most common cause. Yellowing leaves, often accompanied by soft, mushy stems or a musty odor from the soil, point to root rot. Immediately reduce watering, ensure good drainage, and consider gently removing the plant from its pot to inspect roots. If roots are brown and mushy, prune affected parts and repot into fresh, well-draining soil.
  • Underwatering: While less common than overwatering for yellowing, prolonged dryness can cause lower leaves to yellow and eventually crisp up. The plant will also appear generally droopy. Water thoroughly when the soil is dry.
  • Nutrient Deficiency: After prolonged growth in the same pot, the soil’s nutrients deplete. General yellowing, especially in older leaves, suggests a need for fertilization. Refer to the section on feeding your herbs.
  • Insufficient Light: Plants might yellow and stretch (become “leggy”) if they are not receiving enough light. Move your `indoor herb garden` closer to a bright window or provide supplemental grow lights.

2. Leggy, Stretched Growth:

If your herbs are reaching dramatically for the light, with long stems and sparse leaves, they are “legging out.” This directly indicates insufficient light. Relocate your plants to a brighter spot or invest in a grow light. Regular pruning (as described in the harvesting section) can also help encourage bushier growth, but addressing the light issue is paramount. This often happens with `growing sage and rosemary on a windowsill` if the light is not intense enough.

3. Wilting:

Leaves drooping and losing their firmness.

  • Underwatering: The soil is bone dry, and the plant has no water to support its cell structure. Water immediately and thoroughly. The plant should perk up within a few hours.
  • Overwatering/Root Rot: Roots cannot absorb water if they are rotting. The symptoms mimic underwatering, but the soil will be saturated. Check the soil moisture and follow steps for overwatering.
  • Extreme Temperatures: Sudden drops or spikes in temperature can cause wilting. Ensure your herbs are not in drafty areas or too close to heat vents.

4. Pests:

Common indoor herb pests include fungus gnats, aphids, and spider mites.

  • Fungus Gnats: Small, dark flies buzzing around the soil. They are attracted to consistently wet potting mix. Let the top inch or two of soil dry out between waterings. Yellow sticky traps can help catch adults.
  • Aphids: Tiny, pear-shaped insects often found on new growth. They suck plant sap, causing distorted leaves. Wipe them off with a damp cloth, spray with insecticidal soap, or use a strong jet of water (do this outside or in a sink).
  • Spider Mites: Microscopic, they create fine webbing, especially on the undersides of leaves. They thrive in dry conditions. Increase humidity and regularly wipe down leaves with a damp cloth or use insecticidal soap.

For any pest, early detection is key. Regularly inspect your plants, especially the undersides of leaves. For severe infestations, consult a local garden center for appropriate, organic solutions safe for edible plants. These troubleshooting tips ensure your `indoor herb garden` remains productive for all your `holiday cooking` needs.

A vibrant collection of potted herbs like rosemary, thyme, and parsley on a wooden stand by a sunlit kitchen window, next to a cutting board.
Keep fresh flavors growing all winter long right in your kitchen.

Expanding Your Winter Herb Garden: Beyond Thanksgiving Meals

While your initial focus centers on `fall herbs` for `holiday cooking`, your `indoor herb garden` offers fresh flavors throughout the entire winter season and beyond. The beauty of these low-maintenance plants is their ability to provide continuous harvests, transforming your kitchen into a year-round culinary oasis.

Continuing the Harvest:

The same care principles you applied for Thanksgiving herbs—adequate light, judicious watering, and regular harvesting—will sustain your plants through winter. During shorter, darker days, growth naturally slows. Reduce watering frequency and fertilizer application to match this slower pace. Your herbs may not produce as prolifically as they do in summer, but they will still offer fresh sprigs for soups, stews, roasted dishes, and herbal teas. `Growing sage and rosemary on a windowsill` can provide you with these robust flavors all winter long.

Exploring More Winter Herbs:

Once you master the holiday essentials, consider expanding your `indoor herb garden`. Many other herbs thrive indoors and can diversify your winter culinary repertoire:

  • Mint: Varieties like peppermint or spearmint are wonderfully fragrant and great for teas or desserts. Keep mint in its own pot, as it spreads vigorously.
  • Oregano: A hardy herb that tolerates somewhat less light than rosemary, perfect for Italian or Mediterranean dishes.
  • Bay Laurel: While slower growing, a small bay tree can provide fresh bay leaves for stews and sauces for years. It requires bright light.
  • Lemon Balm: Known for its soothing, lemony scent, ideal for teas and light desserts.

Winter Herb Garden Kit Ideas:

Consider creating or gifting `winter herb garden kit ideas`. These typically include:

  • A selection of small pots (with drainage holes, of course!).
  • High-quality peat-free potting mix.
  • Seeds or starter plants of easy-to-grow herbs.
  • A small pair of plant snips.
  • Optional: A compact LED grow light for optimal growth.

These kits make excellent gifts for fellow foodies or aspiring indoor gardeners, fostering a connection with fresh produce even when outdoor gardens are dormant. You can also assemble a themed kit, like a “Tea Lover’s Herb Garden” with mint, lemon balm, and chamomile, or an “Italian Kitchen Collection” with oregano, parsley, and basil (though basil is often more challenging in low winter light). Your success with `holiday cooking` herbs can be a stepping stone to a diverse and productive `indoor herb garden` that brings joy and flavor all year.

A person stands by a kitchen windowsill, thoughtfully observing a small basil plant among other container herbs.
What’s on your mind about your indoor garden?

Frequently Asked Questions

Can I grow herbs from grocery store cuttings?

Yes, you can propagate many herbs from cuttings taken from grocery store purchases, particularly rosemary, sage, and mint. Select healthy, non-flowering stems about 4-6 inches long. Remove the lower leaves and place the cutting in a glass of water. Change the water every few days. Once roots develop (this can take several weeks), plant the cuttings in a small pot with well-draining potting mix. Keep the soil consistently moist until the plant is established.

How much light do my herbs *really* need?

Most culinary herbs, especially those used in `holiday cooking` like sage and rosemary, truly thrive with at least 6 hours of direct sunlight daily. If direct sun is unavailable, aim for 8-12 hours of bright, indirect light. This means placing them very close to a south, east, or west-facing window, or supplementing with an LED grow light for 12-14 hours per day to ensure they produce robust flavor and vigorous growth.

Why are my herb leaves turning yellow?

Yellowing leaves most commonly indicate overwatering. Check the soil moisture. If it feels soggy, reduce watering frequency and ensure your pot has adequate drainage. Other causes include underwatering (leaves may also become crispy), nutrient deficiency (especially in older leaves), or insufficient light (plants might also appear leggy). Address the underlying cause to restore your herb’s vitality.

What is the best way to harvest herbs for cooking?

Use clean, sharp scissors or pruners. For most herbs, snip off the top few sets of leaves, just above a leaf node, to encourage bushier growth. For herbs like parsley, harvest individual stems from the outer parts of the plant, cutting close to the base. Always avoid removing more than one-third of the plant’s foliage at a single time to prevent stressing it.

Do I need a special indoor herb garden kit?

No, a special `indoor herb garden` kit is not necessary. You can easily assemble your own using readily available components. You need pots with drainage holes, a good quality peat-free potting mix, seeds or starter plants of your preferred `fall herbs`, and adequate light. While commercial kits can be convenient, understanding the basic needs of your plants allows you to create a thriving herb garden with simple, everyday supplies.

Growing an indoor ‘Holiday Flavors’ herb garden is a rewarding and practical endeavor. You enhance your `holiday cooking` with the freshest ingredients, bring natural beauty into your home, and cultivate a sense of accomplishment. With these practical tips and a little attention, you will enjoy a vibrant `indoor herb garden` not just for Thanksgiving, but as a continuous source of joy and flavor throughout the colder months. Enjoy the process, savor the results, and let your `winter herb garden kit ideas` flourish.

For research-based houseplant care, visit
University of Delaware Extension — Gardening,
University of Vermont Extension — Gardening and
University of New Hampshire Extension — Yard & Garden.

Disclaimer: This article is for informational purposes only and is not a substitute for professional advice. Consult local extension services for region-specific recommendations.

Categories
Seasonal Tips

Seasonal Plant Swaps: Rotate Pots for Year-Year-Round Interest

Your garden, whether a sprawling backyard or a small balcony, offers a dynamic canvas for beauty and growth. The secret to maintaining vibrant, healthy plants and continuous visual appeal throughout the year often lies in a strategy known as seasonal plant swaps. This approach involves rotating your potted plants, moving them between indoor and outdoor environments, and choosing species that thrive in specific conditions as the seasons change. It transforms your gardening from a static display into a living, evolving landscape, even in the smallest of spaces.

Embracing seasonal plant swaps gives you the power to keep your plant collection thriving, prevent common issues, and refresh your living spaces without constant overhauls. You will discover how thoughtful rotation maximizes light exposure, optimizes temperature conditions, and minimizes pest and disease problems. This guide empowers you with the knowledge to make intelligent choices for your plants, ensuring they receive the care they need to flourish no matter the season. You are about to unlock a simpler, more rewarding way to garden.

A close-up of a person's hands placing a potted mum on a tiered plant stand on a sunny urban balcony, surrounded by diverse container plants and empty
Swapping in fresh plants keeps this small balcony vibrant all year long.

The Power of Seasonal Plant Swaps

Seasonal plant swaps represent more than just moving pots around. This practice is a strategic gardening technique offering a multitude of benefits for both your plants and your enjoyment of them. It ensures continuous interest in your garden and home, prevents plant burnout, and actively contributes to healthier, more robust specimens. Consider these advantages:

A collection of vibrant summer annuals and fading spring bulbs in various containers on a patio, ready for seasonal rotation.
Fresh blooms and fading foliage, ready for their seasonal refresh.

Continuous Visual Appeal

Imagine your space always looking fresh and engaging. Seasonal plant swaps make this vision a reality. As one plant group finishes its display, another takes its place, ready to shine. For example, spring-flowering bulbs can transition out as summer annuals move in, ensuring your pots remain vibrant. This rotation prevents the dull periods often seen when relying on a single plant palette year-round, keeping your small garden dynamic and exciting.

A person carries a large, red hibiscus plant in a pot from indoors onto a sunny urban patio, surrounded by other thriving container plants.
Bringing out the tropicals for a sun-soaked summer on the patio!

Optimal Growth Conditions

Plants are living organisms with specific needs for light, temperature, and humidity. These conditions fluctuate dramatically with the seasons. A sunny window in winter might become too intense in summer, and outdoor temperatures perfect for growth in spring can turn deadly in a summer heatwave. Seasonal plant swaps allow you to relocate your plants to environments where they receive their ideal conditions. For instance, moving sun-loving tropicals outdoors for the summer provides them with the intense light they crave, leading to stronger growth and more abundant blooms, while bringing them indoors before frost protects them from cold damage. This proactive adjustment directly translates to healthier plants.

Hands gently cleaning the leaves of a potted basil plant on a patio table, with other containers in the background.
A quick wipe can prevent pests and keep your plants healthy.

Pest and Disease Prevention

Pests and diseases often thrive under specific environmental conditions. Bringing plants indoors for winter without inspection can introduce unwanted guests, while leaving susceptible plants outdoors during peak pest season can lead to infestations. By performing seasonal plant swaps, you create opportunities for thorough inspection. Before moving plants, you can check for pests, treat any issues, and clean foliage, significantly reducing the likelihood of widespread problems. This practice also breaks the life cycles of some pests that might otherwise become established. For example, bringing citrus plants indoors can help avoid outdoor scale infestations, while moving herbs outside can help reduce indoor fungus gnat populations.

A multi-tiered vertical planter filled with vibrant petunias and calibrachoa on a small, sunny urban patio. Stacked empty pots are visible nearby, hin
Maximizing every inch of your patio with clever container choices and seasonal swaps.

Maximized Space Utilization

For those with small spaces, such as balconies, patios, or limited indoor sills, seasonal plant swaps are a game-changer. You do not need a vast garden to enjoy a diverse collection. Instead, you utilize your available space efficiently throughout the year. Your summer annuals might occupy outdoor pots, while your dormant winter plants rest discreetly. Your indoor plants enjoy prime window real estate during winter, then transition to a shaded outdoor spot in summer. This clever rotation allows you to cultivate a wider variety of plants than your static space might otherwise permit, making every square foot productive.

Person's hands gently placing a vibrant fuchsia pot among other diverse container plants on a sunlit urban patio.
A touch of color and a fresh perspective for the season.

A Refresh for Your Mind and Home

Beyond the practical benefits for your plants, seasonal plant swaps offer a refreshing change for you. Rearranging plants, introducing new textures and colors, and seeing your plants respond positively to their new environments brings a sense of accomplishment and renewed interest. It allows you to engage with your garden in a meaningful way all year, preventing gardening fatigue and fostering a deeper connection with your plant collection. This simple act of rotation revitalizes your space and your spirit.

A person on a small balcony reviews notes in a gardening journal, surrounded by potted plants, planning arrangements.
Thinking through the perfect spot for each plant this season.

Planning Your Seasonal Rotation Strategy

Effective seasonal plant swaps begin with thoughtful planning. A well-considered strategy ensures smooth transitions for your plants and maximizes their health and beauty. You need to understand your environment and your plants before you start moving pots around.

Person on a small urban balcony observes sunlight patterns among container plants and empty pots, assessing light exposure.
What’s the best spot? Observing sunlight on the balcony.

Assess Your Environment

Before you move a single pot, take stock of your available spaces. This includes both your indoor and outdoor areas. You want to identify microclimates that will benefit your plants.

  • Light Exposure: Observe where sunlight falls throughout the day and how it changes seasonally. A south-facing window offers intense light, while an east-facing spot gets gentler morning sun. Outdoors, note areas that receive full sun (6+ hours), partial sun (3-6 hours), or full shade (less than 3 hours). Knowing these light patterns helps you place plants appropriately.
  • Temperature Zones: Understand the typical temperature ranges indoors and outdoors. Outdoors, know your USDA hardiness zone and average frost dates. Indoors, identify warmer or cooler rooms, and areas near drafts or heat sources.
  • Humidity Levels: Indoor humidity often drops significantly in winter due to heating systems. Outdoors, humidity can fluctuate with weather patterns. Consider how you will mitigate these changes during transitions.
  • Available Space: Inventory your pot capacity indoors and out. Are there shelves, plant stands, or hanging options that can accommodate plants during different seasons?
Person's hand gently checking the soil moisture of a basil plant, surrounded by thriving rosemary and fern containers on a sun-dappled patio.
Understanding each plant’s needs keeps your garden thriving year-round.

Know Your Plants

Each plant species has unique preferences. Creating a simple inventory of your plants, noting their ideal conditions, will guide your rotation decisions.

  • Light Needs: Does your plant prefer bright, indirect light, full sun, or shade?
  • Water Requirements: Does it like consistently moist soil, or does it prefer to dry out between waterings?
  • Temperature Tolerance: What are its minimum and maximum temperature tolerances? Is it sensitive to frost?
  • Dormancy Cycle: Some plants enter a period of rest, or dormancy, in winter, requiring less water and no fertilizer. Knowing this prevents accidental overwatering.
  • Growth Habit: How large will it get? Does it trail, climb, or grow upright? This affects placement.
Overhead view of diverse garden pots (plastic, terracotta, glazed ceramic) with visible drainage holes and matching saucers on a patio surface.
Choosing the right containers simplifies your seasonal plant swaps.

Container Choices for Easy Swaps

Selecting the right containers simplifies seasonal plant swaps significantly. Consider these aspects:

  • Drainage Holes: Always choose pots with drainage holes to prevent root rot, especially when moving plants outdoors where they might receive unexpected rain.
  • Pot Material:
    • Plastic pots are lightweight, retain moisture well, and are easy to move. They are excellent for plants that need consistent moisture.
    • Terracotta pots are porous, allowing soil to dry out faster, which is good for plants that prefer drier conditions or if you tend to overwater. They are heavier but offer good stability outdoors.
    • Glazed ceramic pots offer aesthetic appeal and retain moisture better than terracotta, but can be heavy.
  • Matching Saucers: Essential for indoor plants to protect surfaces. Ensure saucers fit well and are easy to clean.
  • Mobility: For larger, heavier pots, consider rolling plant caddies or stands with wheels. These make moving substantial plants a breeze and prevent back strain.
Potted plants on a workbench and floor in a sun porch, serving as a plant staging area with gardening tools and potting mix.
Setting up a spot where plants can take a breather and get ready for their next adventure.

Creating a Staging Area

Designate a temporary “staging area” for plants undergoing transition. This might be a sheltered porch, a garage with good light, or a spare room. This area allows plants to gradually adjust to new light levels and temperatures before reaching their final destination, reducing stress. It also provides a workspace for inspection and any necessary care before a full move.

A person's weathered hands gently place a potted Pothos plant onto a sunny urban balcony among other container plants.
Carefully moving houseplants to their spring spot on the balcony.

Spring Renewal: Moving Plants Outdoors

As winter’s chill recedes, the promise of spring beckons. Moving your houseplants outdoors is a fantastic way to invigorate them, providing them with brighter light, fresh air, and often higher humidity. However, this transition requires care to prevent shock.

Weathered hands gently cup the leaves of a potted calibrachoa on a patio, with a digital thermometer showing 49°F on the wall.
Gently checking on plants, waiting for warmer nights to move them out.

When to Make the Move

Timing is crucial. The most important factor is nighttime temperatures. Wait until all danger of frost has passed in your area. For many regions, this means consistent nighttime temperatures above 50-55°F (10-13°C). Consult your local extension service for average last frost dates. Remember that plants accustomed to indoor environments are sensitive to sudden cold.

A gloved hand gently adjusts a small pepper plant in a terracotta pot on a wooden stool, shaded on an urban balcony.
Giving this little pepper plant its first taste of the great outdoors.

Hardening Off: The Gentle Transition

Hardening off is the process of gradually acclimating indoor plants to outdoor conditions. Skipping this step often results in sunburn, leaf drop, and stress. It takes about 7-14 days.

  1. Day 1-3: Place plants in a sheltered, shady spot outdoors for 2-4 hours. A north-facing porch or under a dense tree canopy works well. Bring them indoors overnight.
  2. Day 4-6: Increase outdoor exposure to 4-6 hours, moving them to a spot with slightly brighter indirect light for part of that time. Continue to bring them in at night.
  3. Day 7-9: Extend outdoor time to 6-8 hours, introducing them to filtered morning sun or dappled shade for a few hours. Bring them in at night, especially if temperatures drop.
  4. Day 10-14: Most plants can now stay outdoors overnight, as long as temperatures remain above their minimum tolerance. Gradually move them to their final outdoor location, which might include more direct sun if appropriate for the species.

During hardening off, keep soil consistently moist, as plants dry out faster outdoors. Watch for signs of stress, such as yellowing leaves or sunburned spots, and move the plant back to a shadier, more protected spot if these occur.

Urban balcony corner with container plants. A sun-loving tomato plant is in bright sun, while a fern is in shade under an overhang.
Matching your plant’s light needs for a thriving container garden.

Choosing the Right Outdoor Spot

Match the plant’s light needs to your outdoor environment. A plant that thrives in bright, indirect indoor light might appreciate a spot with morning sun and afternoon shade outdoors. Sun-loving plants can often handle more direct sun after hardening off. Protect plants from strong winds, which can dry out foliage and damage delicate stems.

A pair of hands carefully planting a vibrant orange marigold seedling into a terracotta pot filled with dark potting mix, surrounded by other plant st
Get your hands dirty! Planting new life for vibrant spring containers.

Spring Planting Ideas for Outdoor Pots

Spring is also the time to fill outdoor containers with plants that will flourish through the warmer months. Consider planting:

  • Annuals: Petunias, impatiens, marigolds, and zinnias offer continuous color.
  • Herbs: Basil, mint, parsley, and chives thrive in pots and are easily accessible for cooking.
  • Vegetables: Compact varieties of tomatoes, peppers, bush beans, and leafy greens do well in containers.
  • Tender Perennials/Tropicals: Cannas, elephant ears, and hibiscus can spend their summer outdoors, providing a lush, exotic feel.

When planting, use a high-quality, well-draining potting mix. A good general rule of thumb is to use a mix that holds moisture but still feels light and airy. Incorporating some compost can boost soil health.

Hands gently separating the root-bound roots of a vibrant coleus plant above a new terracotta pot, on a balcony railing.
Give those roots a little space to stretch out and grow!

Repotting Basics

Spring is an ideal time for repotting plants that have become root-bound, meaning their roots are circling tightly around the inside of the pot. Choose a pot only one size larger than the current one (e.g., from a 6-inch to an 8-inch pot) to avoid overwatering issues. Always use fresh, peat-free potting mix. Gently loosen circling roots before placing the plant in its new home.

Gardener inspecting the underside of a zucchini leaf in a terracotta pot on a patio bench. An eco-friendly spray bottle is nearby.
Checking under leaves before plant swaps keeps your garden happy and pest-free.

Pest Check and Prevention

Before any plant moves outdoors, inspect it thoroughly. Look under leaves, in stem crevices, and at the soil surface for any signs of pests. Treat any infestations proactively using insecticidal soap or neem oil to avoid introducing pests to your outdoor environment or allowing existing outdoor pests to take hold. A preventative spray of neem oil before moving plants can provide a layer of protection.

Vibrant container garden on a sunny balcony with lush flowers, herbs, and a person misting plants.
Enjoying the peak of summer growth on a vibrant balcony garden.

Summer Vibrancy: Optimizing Outdoor Growth

Summer brings peak growing season for many plants, especially those enjoying the outdoor environment. Your focus shifts to consistent care that supports vigorous growth, abundant blooms, and fruit production while managing the heat.

Hands testing the dry soil of a petunia in a terracotta pot on a patio, with a watering can nearby.
Always check soil moisture before giving your pots a drink.

Watering During Summer Heat

Plants in outdoor pots dry out significantly faster than those indoors, especially during hot, windy weather. You might need to water daily, or even twice a day for some thirsty plants in smaller pots. The key is to water thoroughly when you do.

  • Moisture Test: Always check the soil moisture before watering. Insert your finger about an inch or two into the soil. If it feels dry, it is time to water. If it feels moist, wait. This prevents overwatering, which can lead to root rot.
  • Deep Watering: Water until excess drains from the bottom of the pot. This encourages roots to grow deeper, making the plant more resilient to drought. Avoid frequent, shallow watering.
  • Timing: Water early in the morning or late in the evening. Watering during the hottest part of the day leads to rapid evaporation and can scorch wet leaves.
  • Water-Wise Practices: Group plants with similar water needs together. Use mulch, like shredded bark or straw, on the soil surface to reduce evaporation and regulate soil temperature. Consider drip irrigation or self-watering containers for consistent moisture.

According to the University of Florida’s IFAS Extension, proper watering techniques, such as applying water slowly and deeply, are critical for container plants to thrive during warm weather conditions.

On a sunny urban balcony, hands carefully measure liquid organic fertilizer into a watering can amidst thriving container plants.
Nourishing those thirsty, hungry plants with a little love!

Feeding for Bloom and Growth

Actively growing plants, especially flowering annuals and fruiting vegetables, are heavy feeders. Regular fertilization replenishes nutrients lost through watering and plant uptake.

  • Organic Options: Opt for organic, slow-release fertilizers or liquid organic feeds. Compost tea, worm castings, or granular organic fertilizers release nutrients gradually, preventing chemical burn and supporting soil biology.
  • Timing: For most summer-blooming plants, fertilize every 2-4 weeks with a balanced liquid feed (e.g., 5-5-5 or 10-10-10) or according to product instructions for slow-release options. Reduce or stop fertilizing as plants enter dormancy or temperatures drop in late summer/early autumn.
  • Read Labels: Always follow the dosage instructions on your chosen fertilizer. Over-fertilizing can be more damaging than under-fertilizing.
A light linen sheet draped over a simple frame provides cool shade for potted ferns and fuchsias on a sunny urban patio, with lighter colored pots vis
Keeping plants cool and happy on a hot afternoon with a little shade.

Shade Requirements and Heat Management

While many plants love summer sun, intense afternoon heat can be detrimental, causing wilting, leaf scorch, and stunted growth. Monitor your plants and be prepared to provide shade.

  • Strategic Placement: Place sun-sensitive plants where they receive morning sun and afternoon shade, such as on an east-facing balcony or under a taller plant.
  • Temporary Shade: Use shade cloth, umbrellas, or even strategically placed furniture to provide temporary relief during the hottest parts of the day.
  • Grouping: Grouping pots together can create a mini-microclimate, increasing local humidity and providing some mutual shading.
  • Light-colored pots: Choose lighter colored pots, as they absorb less heat than dark-colored ones, protecting roots from overheating.
Fingers pinching the top leaves of a healthy green basil plant in a terracotta pot.
Pinching basil for bushier growth and more leaves.

Pruning for Continuous Bloom

Deadheading, which means removing spent flowers, encourages many plants to produce more blooms. This directs the plant’s energy towards making new flowers instead of setting seeds. For annuals like petunias and geraniums, consistent deadheading ensures a longer, more vibrant display. For plants like basil, pinching back flowers encourages bushier growth and more leaves for culinary use.

Person gently carries a potted fuchsia plant from an urban patio through an open door into a home during autumn.
Time to bring those tender plants indoors for a cozy winter.

Autumn Transition: Preparing Plants for Indoors

As summer wanes, the days shorten, and temperatures begin to dip. This signals the time to reverse your seasonal plant swaps, bringing tender plants indoors before the first frost. This crucial step protects them from cold damage and allows them to continue thriving, or at least survive, through winter.

Person in a sweater checking a digital thermometer amidst potted coleus and herbs on a small, overcast balcony in late afternoon.
Keeping an eye on the temperature to protect your delicate container plants.

When to Bring Plants Indoors

The timing for bringing plants indoors is critical. Do not wait until the last minute. Watch your local weather forecast carefully. You should aim to bring in most tender plants when nighttime temperatures consistently fall below 50°F (10°C). Some very sensitive tropicals might need to come in even earlier, around 55°F (13°C). A single unexpected frost can severely damage or kill plants accustomed to warmer conditions.

A gardener intently inspects a rosemary plant in a terracotta pot on a balcony table, looking closely for pests.
Checking every nook and cranny for unwanted visitors.

Thorough Inspection and Pest Prevention

This is arguably the most important step. Outdoor plants can harbor a multitude of pests that you do not want to introduce to your indoor environment, where they can quickly multiply without natural predators. Dedicate ample time to this inspection:

  1. Visual Check: Systematically examine every part of the plant. Look under leaves, in leaf axils (where the leaf meets the stem), along stems, and on the soil surface. Use a magnifying glass if necessary.
  2. Common Hitchhikers: Look for spider mites (tiny webs, speckled leaves), mealybugs (cottony masses), aphids (small, soft-bodied insects), whiteflies (fly up when disturbed), and ants (often indicate scale or mealybugs). Even slugs or snails can hide in pots.
  3. Quarantine: If you find any signs of pests, immediately isolate that plant. Place it in a separate room or a garage for at least two to four weeks. This prevents any undetected pests from spreading to your existing indoor plants.
Close-up of gloved hands wiping a large green leaf of a potted plant on a wooden balcony table, with pruning shears nearby.
Cleaning up plants before they come inside for the cooler months.

Cleaning Plants for Indoor Living

Beyond pest checks, a good clean prepares your plants for their indoor stay.

  • Pruning: Trim back any leggy growth, dead leaves, or spent flowers. This reduces the overall plant mass, making it easier to manage and less attractive to pests. It also helps the plant focus energy on root development.
  • Wiping Leaves: Gently wipe down leaves with a damp cloth to remove dust, dirt, and any lingering insects. This also improves the plant’s ability to photosynthesize.
  • Showering: For many plants, a gentle shower with room-temperature water can dislodge dust and small pests. Ensure good drainage afterward.
  • Soil Refresh: If you suspect soil pests, carefully remove the top inch or two of soil and replace it with fresh, sterile potting mix. You can also drench the soil with insecticidal soap diluted according to product instructions, or a neem oil solution.
Potted rosemary, fuchsia, and pothos plants on a wooden stand near a window, receiving soft indirect light. A pebble tray is visible.
Giving plants gentle light and humidity for a smooth indoor transition.

Gradual Adjustment to Indoor Conditions

Just as you hardened off plants for outdoor living, a gradual transition indoors reduces shock. Indoor light is significantly less intense than outdoor light, and humidity levels often drop.

  • Start Early: Bring plants indoors a few weeks before you absolutely have to. This gives them time to adjust before the stress of true winter.
  • Transitional Spot: Place plants in a bright, but indirect light spot for the first week or two. A north-facing window, or a few feet away from a south-facing one, can work well.
  • Humidity: Grouping plants together can slightly raise local humidity. Pebble trays (trays filled with pebbles and water, ensuring the pot sits above the water) also provide humidity without waterlogging roots.
  • Watering: Expect plants to need less water indoors than they did outdoors. Always check soil moisture with your finger before watering.
A small fan provides air circulation for an arrangement of potted indoor plants on a shelf, including a peace lily and string of pearls.
Good airflow is key for healthy, pest-free indoor plants.

Pest Prevention Strategies Indoors

Even after thorough inspection, a few pests might slip through. Maintaining good habits helps prevent outbreaks:

  • Regular Inspection: Continue to check your plants weekly throughout the winter. Early detection is key to easy control.
  • Good Air Circulation: Stagnant air encourages fungal diseases and some pests. Ensure good airflow around your plants.
  • Humidity: Many common indoor pests, like spider mites, thrive in dry conditions. Increasing humidity can deter them.
  • Quarantine New Plants: Always quarantine any new plant you bring into your home for a few weeks, even if it comes from a reputable nursery.
A person's hands gently misting the glossy leaves of a potted Calathea plant indoors, bathed in soft winter light.
Give your indoor plants a humidity boost during dry winter months.

Winter Haven: Nurturing Indoor Plants

Winter presents unique challenges for plants, especially those accustomed to outdoor conditions or the summer sun. Your goal is to provide a “winter haven” where they can survive, and perhaps even thrive, until spring. This often means adjusting your care routine significantly.

Person rotating a potted basil plant on a bright window shelf with a grow light supplementing winter sun.
Give your plants the best light, even when winter days are short!

Light: The Winter Challenge

Winter days are shorter, and the sun’s angle is lower, drastically reducing the amount and intensity of natural light available indoors. This is one of the biggest challenges for indoor plants.

  • Maximize Natural Light: Place your plants in the brightest available windows. South-facing windows offer the most light, followed by east and west. Avoid north-facing windows for most light-loving plants during winter. Clean windows regularly to remove dust that can block light.
  • Rotating Pots: Rotate your plants a quarter turn every week or two. This ensures all sides of the plant receive adequate light, promoting even growth and preventing leggy, one-sided development.
  • Supplement with Grow Lights: For plants that require high light or if your natural light is insufficient, consider a supplemental grow light. LED grow lights are energy-efficient and effective. Place them a few inches to a foot above your plant, depending on the light’s intensity and the plant’s needs, running them for 12-16 hours a day.
Three tropical plants in various pots sit on a water-filled pebble tray on a wooden table indoors, enhancing humidity.
Boosting humidity for happy plants with a simple pebble tray setup.

Humidity: Battling Dry Air

Indoor heating systems strip the air of moisture, creating a very dry environment that stresses many plants, particularly tropical varieties. Low humidity also encourages pests like spider mites.

  • Group Plants: Placing plants close together creates a localized microclimate with slightly higher humidity as they transpire.
  • Pebble Trays: Fill shallow trays with pebbles and water, then place your potted plants on top, ensuring the pot’s bottom does not sit directly in the water. The evaporating water increases humidity around the plants.
  • Humidifiers: For a collection of plants or if you live in a very dry climate, a room humidifier is the most effective way to raise ambient humidity levels.
  • Misting: While misting provides only a temporary boost of humidity, it can be beneficial for some plants, especially those with aerial roots like orchids or epiphytes. Ensure good air circulation to prevent fungal issues.
A person's index finger performs the soil moisture test on a potted rosemary plant, with visibly dry soil in a terracotta pot on a balcony.
The finger test: Your best tool for knowing when to water.

Watering: Less is Often More

Plants generally grow much slower, or even enter dormancy, during winter due to reduced light and cooler temperatures. This means they require significantly less water.

  • The Finger Test: Your best tool is your finger. Stick it an inch or two into the soil. Only water when the soil feels dry at that depth. For dormant plants or succulents, allow the soil to dry out even further.
  • Frequency Reduction: Where you might have watered weekly in summer, you might only need to water every two to four weeks in winter. There is no fixed schedule; it depends on the plant, pot size, and indoor conditions.
  • Avoid Cold Water: Use room-temperature water for your plants. Cold water can shock roots.
An indoor arrangement of container plants on a wooden shelf, under soft winter light, showing plants like rosemary and sage resting in terracotta pots
Winter rest: Let your container plants take a natural break from feeding.

Fertilizing: A Winter Break

Most plants do not need fertilizer during their winter dormancy or period of slow growth. Providing nutrients when they are not actively growing can lead to salt buildup in the soil, potentially damaging roots.

  • Stop Fertilizing: For most plants, cease fertilization from late autumn until early spring when new growth resumes.
  • Exceptions: If you are providing supplemental grow lights and your plant is actively putting out new growth, you might provide a very dilute half-strength fertilizer occasionally. However, for most home growers, a complete break is safest.
Person's arm moving a healthy houseplant in a colorful pot away from a white heating vent in a cozy room.
Keeping houseplants comfy and away from drafts is key!

Temperature Stability

Most houseplants prefer stable indoor temperatures between 60-75°F (15-24°C). Avoid placing plants near drafty windows or doors, or close to heating vents, which can cause extreme temperature fluctuations and dry them out rapidly.

Diverse small potted plants on a patio table, including an evergreen, pansies, and sedum, with an empty pot and gloves.
Planning a fresh look for the patio with a mix of plants and colors!

Selecting Plants for Year-Round Interest

To truly achieve year-round interest with seasonal plant swaps, you need to select a diverse palette of plants that perform well in different conditions. This strategy allows you to have something beautiful on display during every season.

A vibrant small urban balcony corner in early spring, showcasing a lively arrangement of container plants. Purple and yellow pansies spill from a grey
My tiny balcony is finally bursting with fresh spring colors!

Spring Bloomers

Welcome spring with fresh, vibrant colors. These plants often thrive in cooler temperatures and signal the end of winter.

  • Bulbs: Tulips, daffodils, hyacinths, and crocuses planted in autumn can burst forth with color. After flowering, they can be removed and stored or moved to a less prominent location to go dormant.
  • Pansies and Violas: These cheerful annuals tolerate cool weather and often bloom from early spring until early summer heat.
  • Primrose: Brightly colored, compact plants perfect for early spring containers.
A sun-drenched urban balcony shows red geraniums, purple calibrachoa, a dwarf tomato, and colorful coleus in various pots. A hand tends a pink hibiscu
Summer stars: vibrant blooms and fresh edibles on a sunny balcony.

Summer Stars

These plants love warmth and sun, offering continuous blooms and lush foliage through the hottest months. Many also transition well from indoors to a bright outdoor spot for the summer.

  • Flowering Annuals: Petunias, calibrachoa, impatiens (shade-lovers), geraniums, and zinnias provide continuous color.
  • Tropical Plants: Hibiscus, mandevilla, bougainvillea, and elephant ears (Colocasia) thrive outdoors in summer, bringing an exotic flair. Many can be overwintered indoors.
  • Edibles: Dwarf tomatoes, peppers, basil, rosemary, and mint grow wonderfully in pots, providing both beauty and harvest.
  • Foliage Plants: Coleus and sweet potato vine offer striking leaf colors and textures, complementing flowering plants.
An inviting autumn patio corner displaying terracotta, galvanized, and ceramic pots filled with colorful mums, ornamental kale, pansies, and Heuchera.
Elevate your outdoor space with these vibrant autumn container plants.

Autumn Accents

As summer fades, choose plants that offer rich colors and textures, reflecting the changing season. Many of these tolerate cooler temperatures before needing to come inside.

  • Mums (Chrysanthemums): Classic autumn bloomers available in a vast array of colors.
  • Ornamental Cabbage and Kale: Provide striking foliage in shades of purple, green, and white that intensify with cooler weather.
  • Pansies and Violas: Can be planted again in autumn for a second flush of blooms, often surviving mild winters.
  • Heuchera (Coral Bells): Perennial with vibrant, colorful foliage that adds texture.
Collection of thriving indoor plants: Snake Plant, Pothos, ZZ Plant, Peace Lily, Christmas Cactus on a bright winter windowsill.
Bringing life indoors: these plants brighten up even the coldest days.

Winter Wonders (Indoors)

During the coldest months, your focus shifts to robust houseplants that can tolerate lower light and drier indoor conditions. These plants provide green relief and interest when outdoor gardening is dormant.

  • Snake Plant (Sansevieria): Extremely low-maintenance, tolerant of low light and infrequent watering.
  • ZZ Plant (Zamioculcas zamiifolia): Another highly resilient plant that thrives on neglect and low light.
  • Pothos (Epipremnum aureum) and Philodendron (Philodendron hederaceum): Adaptable vining plants that tolerate a range of light conditions.
  • Christmas Cactus (Schlumbergera): Provides beautiful winter blooms with the right care.
  • Peace Lily (Spathiphyllum): Elegant plant that tolerates lower light and produces white flowers.
A spring patio corner featuring a terracotta pot of purple pansies, a ceramic pot with a budding hibiscus, a snake plant, and gardening gloves on a wo
Keep your patio fresh all year by mixing and swapping plants like these.

Mix and Match for Year-Round Appeal

The true magic of seasonal plant swaps comes from mixing these categories. Imagine bringing in your tropical hibiscus for winter, while a snake plant enjoys its spot. In spring, you replace your dormant bulbs with early annuals, and your hibiscus moves back out. By having a varied collection and understanding each plant’s needs, you ensure your space always has something captivating to offer.

A person's gloved hands on a sunny balcony, sifting old potting soil onto a canvas tarp with fresh compost nearby.
Reusing potting mix gives your plants a fresh start and helps the environment.

Sustainable Swapping Practices

Gardening is inherently connected to nature, and adopting sustainable practices during your seasonal plant swaps benefits both your plants and the environment. Practical, eco-friendly habits make your gardening more responsible and often more rewarding.

Opened bag of textured peat-free potting mix, showing coir and bark, next to a rosemary plant and terracotta pot on a wooden bench.
Choose peat-free mixes for healthy plants and a healthier planet.

Embrace Peat-Free Potting Mixes

Peat moss, a common component in traditional potting mixes, is harvested from peat bogs, which are vital ecosystems and significant carbon sinks. Choosing peat-free alternatives reduces your environmental footprint. Many excellent options exist, made from coir (coconut fiber), composted bark, rice hulls, or other sustainable materials. These mixes often offer superior drainage and aeration.

A person in gloves mixes potting soil, compost, and perlite in a tub on a small patio, with gardening supplies nearby.
Giving old potting soil new life.

Soil Reuse and Refreshing

You do not need to discard all your potting mix after each season. Used potting mix still contains organic matter but may have depleted nutrients and a compressed structure. You can refresh it:

  • Sterilize: If you suspect soil-borne pests or diseases, you can sterilize small batches of soil by baking it in an oven (at 180-200°F for 30 minutes) or microwaving it until it reaches temperature.
  • Amend: Mix old soil with fresh, peat-free potting mix (at least 50% fresh), compost, worm castings, or perlite/vermiculite to restore structure and nutrient content. This extends the life of your potting medium and reduces waste.
A slender gray rain barrel collects water on a small, mulched patio garden with grouped container plants and a watering can nearby.
Water-wise gardening keeps your pots thriving, even in small spaces.

Water Conservation

Water is a precious resource. Implement strategies to use it wisely:

  • Rain Barrels: Collect rainwater for your container plants. Rainwater is free of chlorine and other chemicals found in tap water, which plants often prefer.
  • Efficient Watering: Water deeply and thoroughly, but only when the plants need it. Avoid runoff from overwatering.
  • Mulching: Apply a layer of organic mulch (like shredded leaves, wood chips, or straw) to the surface of outdoor pots. Mulch reduces water evaporation by up to 30%, suppresses weeds, and regulates soil temperature.
  • Grouping Plants: As mentioned, grouping plants together can create localized humidity, reducing the rate at which individual pots dry out.
Hands aerate dark vermicompost in a compact worm bin on a patio, alongside spent plant debris in a terracotta pot.
Turning plant scraps into rich soil for your container garden.

Composting Plant Debris

Instead of throwing away spent annuals, pruned branches, or dead leaves, compost them. Composting turns organic waste into nutrient-rich soil amendment, closing the loop in your garden. This diverts waste from landfills and provides valuable organic matter for your future potting mixes or garden beds. Even a small worm bin can handle kitchen scraps and some plant waste.

An overhead view of various organic gardening supplies, including bone meal, neem oil, and worm castings, arranged on a rustic patio table.
Natural solutions for a healthy, thriving container garden.

Choosing Sustainable Fertilizers and Pest Treatments

Opt for organic, naturally derived fertilizers like compost tea, worm castings, or bone meal. These feed the soil microbes as well as the plant, building healthier soil over time. For pest control, first try non-toxic methods like insecticidal soap, neem oil, or manual removal. Avoid synthetic pesticides that can harm beneficial insects and the wider environment.

Close-up of hands planting a small herb seedling into a chipped teacup on a balcony table with other upcycled planters.
Giving new life to old cups and starting small plants to share.

Repurposing and Sharing

Be creative with containers. Old buckets, tires, or even broken ceramics can be repurposed into unique planters with proper drainage. Consider starting seeds or propagating cuttings to share with friends and neighbors. This not only builds community but also reduces the demand for commercially grown plants, which often travel long distances.

Person on a balcony examining a container plant with a few yellow leaves. Other healthy potted plants are visible in the background.
Spotting early signs of stress helps plants bounce back faster.

Troubleshooting Common Seasonal Issues

Even with the best planning, plants can sometimes experience stress during seasonal transitions. Knowing how to identify and address these common issues helps you act quickly and effectively, minimizing harm to your plants.

A hand with pruning shears tending to a Ficus elastica plant with yellowing leaves in a terracotta pot on a wooden deck.
Gentle care helps plants recover from moving stress.

Leaf Drop After Moving

It is normal for plants to drop some leaves after a significant environmental change, such as moving from indoors to outdoors, or vice versa. This is often a plant’s way of adjusting to new light levels or humidity. For instance, a plant moving from bright outdoor sun to dimmer indoor light might shed leaves it can no longer support. This phenomenon is called “acclimatization shock.”

Solution:

  • Be Patient: Give the plant time to adjust. Most will recover within a few weeks.
  • Provide Consistent Care: Maintain appropriate watering and avoid fertilizing during this stressful period.
  • Prune Dead Leaves: Remove yellowed or dead leaves to encourage new growth and improve air circulation.
Close-up of hands treating a container plant leaf for pests on a balcony. One hand gently holds a green leaf, while the other dabs a cotton swab on it
Gently inspecting and treating small pests on a container plant.

Pest Outbreaks During Transitions

Pests are notorious for hitchhiking on plants and exploiting stressed conditions. Spider mites, mealybugs, and aphids are common culprits, especially when plants move indoors, where conditions can be ideal for their reproduction.

Solution:

  • Thorough Inspection (Again!): Regularly check plants, especially before and after moving them. Look closely at leaf undersides and stem joints.
  • Manual Removal: For small infestations, wipe off pests with a cotton swab dipped in rubbing alcohol, or blast them off with a strong stream of water (for outdoor plants).
  • Insecticidal Soap or Neem Oil: Apply these organic solutions according to package directions. Repeat treatments are often necessary to break the pest life cycle.
  • Quarantine: Isolate any infested plant immediately to prevent spread.
A hand performs the 'finger test' by gently touching the soil in a vibrant basil plant's terracotta pot on a sunny balcony, surrounded by other potted
Always check soil moisture with the finger test before watering.

Overwatering or Underwatering Symptoms

Watering needs change dramatically with seasons and location. Misjudging these changes can lead to severe problems.

  • Overwatering Symptoms: Yellowing leaves, wilting despite moist soil, soft and mushy stems, stunted growth, foul odor from soil. Root rot is a common consequence.
  • Underwatering Symptoms: Drooping or crispy leaves, dry and brittle soil, slow growth, leaf margins turning brown.

Solution:

  • The Finger Test is Key: Always check soil moisture before watering. Allow the top inch or two of soil to dry out before rewatering, adjusting based on plant type.
  • Proper Drainage: Ensure all pots have drainage holes. If overwatered, you might need to repot into fresh, drier soil, trimming any rotted roots.
  • Adjust Schedule Seasonally: Plants need significantly less water in winter when growth slows. They need more water outdoors in summer due to increased evaporation.
Container-grown collard greens on a balcony with lower leaves yellowed and newer leaves showing yellowing between veins.
My collards are clearly asking for some help! Time for fresh nutrients.

Nutrient Deficiencies

Plants in containers eventually deplete the nutrients in their potting mix. While common during active growth, deficiencies can sometimes appear after prolonged periods in the same soil, or if you forget to fertilize actively growing plants.

Symptoms:

  • Yellowing lower leaves (uniform): Often a sign of nitrogen deficiency.
  • Purple coloration on leaves: Can indicate phosphorus deficiency.
  • Yellowing between leaf veins (chlorosis): Suggests an iron or magnesium deficiency, often due to pH imbalances.

Solution:

  • Regular Fertilization: Use a balanced, organic fertilizer during the active growing season (spring through early autumn).
  • Repotting: Annually or biennially repotting into fresh potting mix replenishes nutrients.
  • Soil pH Check: Sometimes nutrient uptake is hindered by incorrect soil pH. Test your soil and adjust if necessary, though this is less common for container plants with fresh potting mix.
A collection of small potted plants, including marigolds, petunias, and herbs, arranged on an urban balcony for hardening off. Some pots are in partia
Give new outdoor plants a gentle introduction to their new home.

Acclimatization Shock

This is the general term for the stress a plant experiences when suddenly moved to a drastically different environment. Symptoms can include leaf drop, wilting, stunted growth, and yellowing.

Solution:

  • Harden Off: Always follow the hardening off process (gradual transition) when moving plants outdoors in spring.
  • Gradual Indoor Transition: Similarly, give plants a week or two in a less extreme indoor spot before moving them to their final winter location.
  • Consistent Care: Provide consistent water and avoid other stressors during the adjustment period.
A small potting bench on a patio holds potted nasturtium and rosemary plants, alongside gardening gloves, an open journal, and a smartphone showing a
Your outdoor workstation for gardening questions and seasonal plans.

Frequently Asked Questions

How do I know when exactly to move my plants indoors or outdoors?

Monitor your local weather forecast closely. For moving plants outdoors in spring, wait until nighttime temperatures consistently stay above 50-55°F (10-13°C) and all danger of frost has passed. When moving plants indoors in autumn, bring them in when nighttime temperatures consistently drop below 50-55°F to avoid cold shock and potential frost damage. Always prioritize avoiding extremes. You can consult your local agricultural extension service for average frost dates in your specific area.

What is “hardening off” and why is it so important?

“Hardening off” is the process of gradually acclimating plants to a new environment, typically when moving them from indoors to outdoors. Indoor plants are sensitive to direct sun, wind, and fluctuating temperatures. Hardening off involves slowly increasing their exposure to these outdoor elements over 7-14 days, starting with just a few hours in a shady, sheltered spot. This prevents sunburn, leaf shock, and ensures your plants adapt successfully without severe stress.

My plants look sad and dropped leaves after moving them. What happened?

This is often a common reaction called “acclimatization shock.” Plants, especially houseplants, are sensitive to sudden changes in light, temperature, and humidity. Dropping leaves is their way of adjusting to the new environment. Ensure you followed a gradual transition process like hardening off. Provide consistent, appropriate care for their new location, avoid overwatering, and be patient. Most plants recover and put out new growth once they adapt.

Can I use the same soil year after year in my pots?

It is generally not recommended to use the exact same soil indefinitely without amendment. Over time, potting soil compacts, loses its aeration, and becomes depleted of nutrients. It can also harbor dormant pests or disease pathogens. You can refresh existing soil by mixing it 50/50 with fresh, peat-free potting mix, adding compost, and perlite or vermiculite for drainage and aeration. For plants that have been in pots for a long time, full repotting into entirely fresh soil is often the best solution.

What are some good low-maintenance plants for seasonal rotation?

For low-maintenance seasonal rotation, consider hardy and adaptable plants. For summer outdoor display and winter indoor life, options like Tradescantia (wandering jew), spider plant (Chlorophytum comosum), and many types of succulent plants are excellent. They tolerate a range of light and can handle the transition well. Snake plants (Sansevieria) and ZZ plants (Zamioculcas zamiifolia) are incredibly resilient indoors in winter and can enjoy a shaded outdoor spot in summer.

For research-based plant care guidance, visit
UF/IFAS Gardening Solutions,
Missouri Botanical Garden,
Oregon State Extension — Gardening and
Chicago Botanic Garden.

Disclaimer: This article is for informational purposes only and is not a substitute for professional advice. Consult local extension services for region-specific recommendations.

Categories
Garden Design & Ideas

10 Small Garden Layouts That Maximize Every Inch

Transforming a small outdoor area into a lush, functional, and inviting garden presents a unique opportunity. Whether you work with a balcony, a compact patio, a narrow courtyard, or a modest backyard, intelligent design unlocks the full potential of every square inch. As your design coach, I will guide you through practical, actionable strategies for crafting a small garden layout that looks incredible and remains easy to maintain. You will discover how to create depth, enhance usability, and bring your green vision to life, even in the tightest spaces.

A woman on an urban balcony gauges the late afternoon sun, thoughtfully planning her small container garden layout before placing any pots.

Understanding Your Small Space

Before you place a single pot, thoroughly analyze your small garden layout. This crucial first step ensures your design works with your environment, not against it. Consider factors such as sun exposure, wind patterns, existing structures, and your view from indoors. A thorough understanding helps you select appropriate plants and design elements, leading to a thriving and attractive space.

A woman on a patio kneels with a clipboard, observing strong direct sunlight on a vertical herb garden contrasting with deep shadows on shade-loving h

Mapping Sun and Shade

Sunlight represents a primary driver of plant health. Observe how the sun moves across your space throughout the day and across seasons. A simple sun map involves checking your garden every few hours for a day, noting which areas receive full sun (six or more hours), partial sun (three to six hours), or full shade (less than three hours). This data directly influences plant selection, preventing costly mistakes and plant stress. For example, a south-facing balcony will provide ample light for sun-loving vegetables, while a north-facing courtyard may excel with shade-tolerant ferns and hostas.

Urban balcony corner: sun-loving nasturtiums by a reflective wall, shade herbs in a vertical planter under an overhang, wind-resistant lavender in a h

Assessing Microclimates and Environmental Factors

Every small garden has unique microclimates, which are localized atmospheric conditions differing from the general climate. A sheltered corner might be warmer, while an open balcony experiences stronger winds. You might have reflective surfaces, like a light-colored wall, creating a heat pocket, or an overhang providing permanent shade. Account for wind, especially on upper-story balconies, as it desiccates plants quickly and topples containers. Choose wind-resistant pots and secure trellises to mitigate these challenges. For precise plant selection based on your specific conditions, consult resources like the Oregon State Extension — Gardening guides, which offer regional advice tailored to various environmental factors.

A person stands contemplatively on a compact urban patio, holding a notebook amidst various pots, a vertical herb garden, and a small bistro set, envi

Defining Your Needs and Desires

What do you want your small garden to do for you? Do you envision a quiet reading nook, an herb garden for cooking, a vibrant display of flowers, or a space for outdoor dining? Clearly define your priorities. For example, if entertaining is key, allocate more space for seating. If fresh produce tops your list, prioritize raised beds or large planters for edibles. Knowing your purpose helps you streamline your garden design small space, ensuring every element serves a function and contributes to your enjoyment.

Elevated view of a narrow urban balcony zoned into dining, lounge with tiered planter, and vertical vegetable garden areas.

The Power of Zoning: Defining Areas

Even in a compact area, creating distinct zones transforms a chaotic space into an organized and highly functional garden. Zoning involves delineating specific areas for different activities, making your small garden feel larger and more purposeful. Think of your outdoor space as an extension of your home, with “rooms” for dining, relaxing, or growing.

A compact patio's relaxation, dining, and growing zones defined by a tall planter, rug, and various container plants under soft natural light.

Creating Functional Zones

Divide your garden into imaginary sections. For instance, a small patio might have a “dining zone” with a bistro table, a “relaxation zone” with a comfortable chair, and a “growing zone” for your favorite plants. Use subtle cues to define these areas, such as a different paving material, an area rug, or a tall planter acting as a soft partition. You are not building walls, but rather suggesting boundaries that guide the eye and direct traffic flow.

Small urban patio with a bistro table, showing ample clearance behind a pulled-out chair to a vertical garden, demonstrating smart spatial design.

Ensuring Clear Traffic Flow and Clearances

Effective zoning also considers movement. You need clear pathways that allow comfortable passage without bumping into plants or furniture. A common guideline for comfortable passage is a minimum width of 24 inches for a single person, expanding to 36 inches for two people to walk side-by-side. For seating, ensure enough clearance to pull chairs out easily. A good rule of thumb for dining areas is to allow at least 30-36 inches behind each chair from the edge of the table to any obstruction. This attention to detail prevents your garden from feeling cramped and ensures practical usability. Thoughtful consideration of your traffic patterns helps you maximize garden space.

A sun-drenched patio corner showing a trellis covered in jasmine and tall planters separating a seating area from a compact utility zone.

Using Vertical Elements to Define Zones

Vertical elements excel at defining zones without taking up precious floor space. A decorative screen or a trellis covered in climbing plants can separate a seating area from a service area. A tall, narrow planter creates a soft boundary, providing both visual interest and privacy. These elements contribute to the overall aesthetics while serving a practical zoning purpose, helping you create a cohesive small garden layout.

Lush vertical garden on a brick patio wall, featuring fabric pockets of flowers/herbs, tiered edible planters, and a climbing jasmine trellis.

Vertical Gardening Unlocked: Elevate Your Design

Vertical gardening is perhaps the most impactful strategy for any small garden layout, allowing you to cultivate upwards when horizontal space runs out. It adds visual interest, boosts plant capacity, and creates a sense of enclosure and privacy. You literally grow up, transforming blank walls or fences into living tapestries.

Vibrant purple clematis climbs a black metal trellis against a weathered red brick wall on a small urban patio, softening the hard surface.

Trellises and Climbing Plants

Trellises offer a classic and elegant way to go vertical. Install them against walls, fences, or even freestanding as room dividers. Choose vining plants like clematis, jasmine, or edible options such as cucumbers and pole beans. Securely attach trellises to ensure stability, especially in windy conditions. The visual impact of a wall covered in lush foliage dramatically softens hard surfaces and adds a natural element to your garden design small space.

A sun-dappled brick wall on a small patio showcasing a fabric pocket planter with herbs and impatiens, alongside wall-mounted terracotta pots holding

Wall Planters and Pocket Systems

Wall planters come in various forms, from individual pots mounted to a frame to fabric pocket systems. These are perfect for herbs, succulents, or small flowering annuals. Ensure your wall can support the weight of the planters, especially when filled with wet soil. Proper drainage is key; avoid systems where water accumulates, as this can lead to root rot. For detailed guidance on wall planter selection and setup, the Cornell Garden-Based Learning site provides excellent resources.

A tiered dark metal and wood shelving unit on a patio, holding sun-loving herbs, cascading petunias, and shade-tolerant lettuce, bathed in golden ligh

Tiered Stands and Shelving Units

Tiered plant stands, shelving units, and ladders allow you to display multiple plants in a compact footprint. They are versatile, portable, and provide varying levels for different plant sizes and sun requirements. Place sun-loving plants on higher shelves and shade-tolerant options below. This layering adds visual depth and maximizes garden space efficiently. Consider shelving made from weather-resistant materials like treated wood, metal, or durable plastic.

Vibrant terracotta railing planters with petunias and ivy on a dark railing, complemented by wicker hanging baskets with fuchsias and lobelia overhead

Utilizing Railings and Overhangs

Do not forget railings on balconies or deck edges. Railing planters attach securely, offering additional planting space without consuming floor area. Hanging baskets suspended from overhangs or sturdy hooks also contribute to vertical layering, spilling color and foliage downwards. Always check weight limits for railings and overhangs, particularly with multiple heavy, watered planters.

Hands gently repositioning a terracotta pot with basil on a small, sunny urban balcony amidst other diverse containers.

Smart Container Strategies: Flexibility and Impact

Containers are the cornerstone of small-space gardening, providing unparalleled flexibility and design opportunities. A thoughtful container strategy allows you to experiment with different plants, adapt to changing conditions, and easily refresh your garden’s look.

A hand selects from empty large pots: a green glazed ceramic, terra cotta, and charcoal fiberglass, on a wooden surface.

Choosing the Right Sizes and Materials

Resist the urge to buy many small pots. A few larger containers create more impact and provide a better environment for plant roots, reducing the need for frequent watering. Aim for pots with a minimum diameter of 10-12 inches for most plants, and much larger for small shrubs or substantial edible crops. Regarding materials, terra cotta breathes well but dries out quickly; plastic retains moisture but can look less elegant; glazed ceramic offers excellent moisture retention and aesthetic appeal; and lightweight options like fiberglass suit balconies with weight restrictions. Choose materials that complement your overall small garden layout.

A modern patio with a cohesive grouping of container gardens in varying heights, featuring pots made of terracotta, concrete, and woven baskets with l

Cohesion in Color and Finish

While variety is good, a cohesive color or finish palette for your containers creates a more unified and sophisticated look. Choose pots in similar shades of gray, terra cotta, blue, or a mix of natural textures. This cohesion allows your plants to be the stars, rather than having the containers compete for attention. Grouping containers of varying heights but similar finishes also enhances visual appeal.

Person effortlessly guiding a large potted olive tree on a wheeled base across a sun-dappled patio, demonstrating easy plant mobility.

Wheeled Bases for Flexibility

For larger, heavier containers, invest in wheeled bases or dollies. This simple addition allows you to easily move plants to optimize sun exposure, bring tender plants indoors during cold snaps, or reconfigure your garden design small space for entertaining. Mobility offers tremendous adaptability, empowering you to adjust your small garden layout on a whim.

Modern dark grey planter on a balcony with a burgundy ornamental grass (thriller), pink petunias (filler), and purple sweet potato vine (spiller).

Container Planting Techniques: The Thriller, Filler, Spiller

For visually compelling containers, employ the “Thriller, Filler, Spiller” technique.

  • Thriller: A tall, dramatic plant placed in the center or back of the pot, providing vertical interest (e.g., ornamental grass, canna lily, small upright shrub).
  • Filler: Medium-height plants that fill out the middle ground of the container, adding volume and texture (e.g., impatiens, coleus, petunias).
  • Spiller: Trailing plants that cascade over the edge of the pot, softening the hard lines and adding movement (e.g., sweet potato vine, creeping jenny, lobelia).

This combination ensures a balanced, full, and attractive display that maximizes garden space vertically and horizontally within each pot.

A layered balcony garden with a fuchsia in the foreground, creating depth with varied pots and a vertical planter on a brick wall.

Crafting Visual Depth and Focal Points

Making a small garden feel larger involves tricking the eye. By creating visual depth and strategically placing focal points, you can transform a flat, confined space into a dynamic and expansive-feeling oasis. A focal point is simply the first thing your eye notices, drawing it into the garden.

View from a living room window onto a small, tidy container patio garden. Arranged pots create a visual path to a dwarf Japanese maple.

Establishing Clear Sightlines

Consider the view from your most frequent vantage points, such as your living room window or your primary seating area. Design your small garden layout to direct the eye through the space. Create pathways, even if symbolic, that lead the gaze towards an interesting element. Avoid placing bulky items directly in your primary sightline, which can make the space feel cluttered and visually blocked.

A vibrant red dwarf Japanese maple in a charcoal pot acts as a singular focal point at the far end of a small, well-designed urban patio garden.

Defining Focal Points

Every garden benefits from a focal point. This could be a striking plant, a piece of garden art, a small water feature, or an attractive seating arrangement. In a small space, one strong focal point is generally more effective than several competing ones. Place it at the far end of your view, drawing the eye through the garden and suggesting greater distance. For example, a vibrant red Japanese maple in a corner pot or a carefully chosen sculpture can anchor your design.

An L-shaped urban patio shows both symmetrical (identical planters flanking a stool) and asymmetrical (varied pots) container arrangements.

Symmetry Versus Asymmetry

You can achieve balance through either symmetry or asymmetry.

  • Symmetry: Creates a formal, orderly feel. This involves mirroring elements on either side of a central axis, like two identical planters flanking an entryway. It brings a sense of calm and structure to a small garden.
  • Asymmetry: Offers a more natural, dynamic, and informal look. Balance is achieved through contrast in size, texture, and placement, without direct mirroring. For instance, a large plant on one side might be balanced by a grouping of smaller pots on the other. Asymmetry often feels more relaxed and allows for greater creativity in a small garden layout.

Choose the approach that best suits your personal style and the architecture of your home.

Urban balcony with cascading petunias in a hanging basket, wall-mounted herb planter, and tall potted bamboo palm, illustrating vertical layers.

Using Eye-Level Anchors

Don’t limit visual interest to ground level. Incorporate elements at various heights to create layers and draw the eye upwards. This could include a tall plant, a hanging basket, a wall-mounted piece of art, or decorative lighting. These eye-level anchors provide visual interest and prevent the garden from feeling flat, contributing to a more dynamic small garden layout.

Close-up of diverse containers on a deck, showcasing colorful plants like violet petunias, chartreuse vine, red yucca, and burgundy coleus.

Color, Texture, and Seasonal Interest

The judicious use of color and texture, combined with planning for seasonal appeal, dramatically elevates your small garden layout. These elements create visual richness and ensure your garden remains engaging throughout the year.

Vertical garden planter on an urban balcony showcasing green foliage, white petunias, and silver-leafed plants in charcoal containers.

Crafting a Cohesive Color Palette

In small spaces, a limited color palette often works best, creating a sense of harmony and reducing visual clutter. Choose two or three primary colors and use various shades and tones within that range. For example, a palette of greens, whites, and silvers can create a serene, sophisticated look. Vibrant colors like reds, oranges, and yellows add energy but use them sparingly as accents to avoid overwhelming the space. Consider the color of your hardscaping and existing structures when developing your palette. For reliable plant color ideas, explore resources like Kew Science — Plants of the World, which offers extensive plant descriptions including bloom and foliage colors.

Medium close-up of contrasting foliage plants like hosta, coleus, and ornamental grass in various containers on a patio, highlighted by dappled mornin

The Power of Foliage Contrast

Do not rely solely on flowers for color. Foliage offers enduring interest and a wide array of greens, purples, silvers, and variegated patterns. Contrasting foliage textures—fine, feathery leaves next to broad, glossy ones—adds depth and dynamism even in the absence of blooms. Think of plants like coleus, hostas, Heuchera, and various ornamental grasses for their impressive foliage. Foliage contrast ensures your garden design small space remains appealing even during non-flowering periods.

A small patio corner featuring vibrant purple petunias, a deep purple Heuchera, and a dwarf boxwood in various containers, hinting at year-round seaso

Planning for Seasonal Interest

To ensure your small garden layout remains vibrant all year, select plants with staggered bloom times or those that offer multi-seasonal appeal. Include early spring bulbs, summer annuals, fall foliage plants, and perhaps a small evergreen for winter structure.

Consider this sample plant palette for year-round interest in a sunny, small garden:

Season Plant Type Example Plants Key Contribution
Spring Bulbs & Early Bloomers Dwarf Daffodils, Crocus, Primroses First burst of color, cheerful
Summer Annuals & Perennials Petunias, Geraniums, Salvia, Coneflower Continuous vibrant blooms, pollinator attraction
Fall Foliage & Late Bloomers Chrysanthemums, Heuchera (foliage), Ornamental Grasses Rich textures, warm colors, structural interest
Winter Evergreen Structure Dwarf Conifers, Boxwood, Hellebore Greenery, form, subtle winter blooms

This strategic selection ensures there is always something to catch your eye, enhancing the value of your garden design small space across all seasons.

Twilight view of a small patio corner with various container plants, illuminated by warm string lights and solar spotlights for ambiance.

Illuminating Your Small Garden: Lighting for Ambiance and Safety

Lighting extends the usability of your small garden into the evening hours, creating inviting ambiance and ensuring safe navigation. Thoughtful lighting transforms your outdoor space into a magical retreat after sunset.

Compact urban balcony at twilight with layered lighting: warm string lights, plant uplights, task lighting on a grill, and a glowing lantern.

Layered Lighting for Ambiance

Employ different types of lighting to create depth and interest.

  • Task Lighting: Bright enough for activities like grilling or reading.
  • Accent Lighting: Highlights specific features, such as a striking plant, a piece of art, or a water feature. Uplighting from below often creates dramatic shadows.
  • Ambient Lighting: Provides a general glow, creating a comfortable and inviting atmosphere. String lights, lanterns, or soft overhead fixtures fall into this category.

Avoid harsh, bright lights that create glare. Instead, opt for warmer color temperatures to foster a relaxing environment.

Three rustic wooden garden steps at dusk, lit by warm LED strip lights beneath each riser and a solar path light at the base, bordered by potted plant

Practical Lighting for Safety

Ensure pathways and steps are adequately lit to prevent trips and falls. Solar-powered path lights offer an easy, wire-free solution for ground-level illumination. For steps, consider recessed lights or subtle strip lighting. All outdoor electrical fixtures must be rated for outdoor use and installed according to local electrical codes. For safety guidelines regarding outdoor electrical installations, resources like the University of Minnesota Extension offer practical advice.

Cozy small patio at twilight with warm bistro string lights draped along a fence and solar stake lights illuminating a cluster of container plants.

String Lights and Solar Stakes

String lights (bistro lights) add an instant festive and cozy atmosphere. Drape them across a pergola, along a fence, or weave them through a trellis. Solar-powered stake lights are perfect for highlighting container groupings or garden beds without the need for external power sources, making them a low-maintenance choice for maximizing garden space’s evening appeal.

Cozy private patio corner with a dark rattan armchair, concrete side table with a book, and a dark wood privacy screen with climbing clematis and tall

Privacy and Comfort in Compact Spaces

In a small garden, privacy and comfort are paramount. You want your outdoor retreat to feel secluded and protected from prying eyes and harsh elements. Strategic placement of screens, plants, and comfort elements elevates the usability and enjoyment of your small garden layout.

Urban patio with a black metal trellis covered in green vine, a tall planter with ornamental grass, and a small bubbling water feature.

Creating Visual and Auditory Screening

Address privacy needs with vertical elements. Lattice panels, bamboo screens, or decorative metal panels offer immediate visual barriers. Plant fast-growing vines on these structures to create a living wall. Tall, narrow planters filled with dense shrubs or ornamental grasses also provide effective screening without occupying much ground space. To soften urban noise, consider adding a small water feature; the gentle sound of bubbling water provides pleasant auditory screening. For specific plant suggestions for privacy, UF/IFAS Gardening Solutions offers regional plant lists.

A woman reads comfortably under a retractable shade sail on a small balcony, surrounded by container plants and a vertical garden.

Controlling Microclimates for Comfort

Earlier, you assessed your garden’s microclimates. Now, actively manage them for comfort.

  • Wind Breaks: If your space is exposed, strategically place dense shrubs, sturdy screens, or even outdoor curtains to block prevailing winds.
  • Shade Sails: For sunny spots, a retractable shade sail or umbrella provides welcome relief from intense sun, making your patio or balcony usable during hot afternoons.
  • Heat Pockets: If your garden suffers from excessive heat due to reflective surfaces, introduce plants with large leaves or consider painting walls a lighter, non-reflective color to reduce heat absorption.

These adjustments make your small garden more comfortable, encouraging you to spend more time enjoying your meticulously designed space.

Elevated view of a cozy small urban balcony corner featuring a light wooden storage bench, colorful outdoor cushions, a draped throw, and various cont

Thoughtful Seating and Textiles

Comfortable seating is essential. Opt for compact, multi-functional furniture, such as benches with built-in storage or foldable bistro sets. Soften hard surfaces with outdoor cushions, pillows, and throws. These textiles add a layer of coziness and personality. Remember to choose weather-resistant materials for all outdoor furnishings to ensure longevity.

Lush, low-maintenance container garden with lavender, sedum, and nasturtiums thriving on an urban balcony, glistening with morning dew.

Sustainable Planting for Low-Maintenance Beauty

A beautiful small garden layout does not require constant effort. By embracing sustainable planting choices, you create a garden that thrives with minimal intervention, benefiting both you and the environment.

A small bee pollinates a purple coneflower in a terracotta pot on an urban patio, surrounded by other native plants in containers.

Embracing Native and Pollinator-Friendly Plants

Prioritize native plants adapted to your local climate. They require less water, fertilizer, and pest control because they naturally resist local diseases and pests. Native plants also support local ecosystems, providing vital food and habitat for pollinators like bees and butterflies. Look for regional guides from your local extension service to identify suitable native species for your area. Examples include coneflowers, milkweed, bee balm, and various native grasses.

Collection of terracotta and glazed pots with lavender, rosemary, agave, sedum, showing a visible drip irrigation system on a patio during golden hour

Water-Wise Plant Choices

Select drought-tolerant plants, especially if you live in a region with water restrictions or simply want to conserve resources. Succulents, sedums, lavender, rosemary, and many ornamental grasses are excellent choices that thrive with less water. Group plants with similar water needs together to optimize irrigation schedules. Implementing efficient watering systems, such as drip irrigation for containers, further reduces water waste and simplifies maintenance, allowing you to maximize garden space without excess water consumption.

Close-up of hands applying chunky, peat-free potting mix, rich with compost and wood fibers, to a thriving basil plant in a terracotta pot on a balcon

Using Peat-Free Potting Mixes

For container gardening, choose high-quality, peat-free potting mixes. Peat harvesting has significant environmental impacts. Sustainable alternatives often use coir, compost, or wood fibers. These mixes provide excellent drainage and aeration, crucial for healthy root development in pots. Regularly refresh the top layer of your potting mix with compost to replenish nutrients.

Vibrant container garden with purple bee balm, orange zinnias, pink pentas, and yellow calibrachoa, with a bumblebee on a flower.

The Thriller, Filler, Spiller for Pollinators

Adapt the “Thriller, Filler, Spiller” concept with pollinator-friendly plants.

  • Thriller: A tall flowering plant like a bee balm (Monarda) or a small butterfly bush (Buddleia ‘Lo & Behold’ series).
  • Filler: Mid-height flowers like zinnias, cosmos, or pentas.
  • Spiller: Trailing plants like calibrachoa or sweet alyssum.

This combination offers a continuous feast for pollinators and brings vibrant life to your small garden layout. Ensure you choose plants that are not treated with systemic pesticides harmful to bees.

Person relaxing in a modern armchair on a small patio, surrounded by diverse, low-maintenance container gardens and vertical planters.

Maintenance by Design: Making it Easy

The best small garden layout is one you genuinely enjoy, not one that burdens you with endless chores. Design for low maintenance from the outset, and you will spend more time relaxing and less time working.

A patio with several pots of low-maintenance plants: dwarf conifer, sedum, lavender, and ornamental grass.

Selecting Low-Upkeep Choices

When choosing plants, prioritize those with low maintenance requirements. Look for species that are naturally pest and disease resistant, do not require frequent deadheading, and have a tidy growth habit. Avoid plants that are known to be aggressive spreaders or require constant pruning to stay within bounds. Consider slow-growing dwarf varieties of shrubs and trees to minimize the need for frequent trimming. Selecting the right plants upfront drastically reduces future effort.

Drip irrigation line watering a basil plant in a terracotta pot on a sunny balcony, with a timer visible in the background.

Smart Irrigation Rhythm

Establish an efficient watering routine. Manual watering is often required for containers, but you can simplify it. Water deeply when the top inch or two of soil feels dry, rather than frequent, shallow watering. This encourages deeper root growth, making plants more resilient. For multiple containers, consider a simple drip irrigation system connected to a timer. This automates watering, ensures consistency, and saves you time and effort. You can find comprehensive watering guides from university extension services, such as Oregon State Extension’s gardening resources, that provide regional watering recommendations.

Hands scooping fresh compost into a balcony herb planter with fertilizer and tools, illustrating container plant care.

Potting Mix Refresh and Fertilization

Container plants deplete soil nutrients over time. To keep them thriving, plan an annual potting mix refresh. Every spring, scrape off the top few inches of old potting mix and replace it with fresh, nutrient-rich peat-free compost. You can also incorporate a slow-release granular fertilizer at this time. For liquid feed, use a balanced organic fertilizer every 2-4 weeks during the growing season. Consistent, measured feeding supports robust plant growth without excessive effort. This simple routine maintains healthy plants without the need for constant vigilance, making your garden design small space truly low-maintenance.

Person sitting on a patio chair observing a vibrant container garden with various pots, herbs, and a vertical planter on a small patio.

Frequently Asked Questions

How do I make my tiny balcony garden feel bigger?

To make your tiny balcony garden feel bigger, use vertical space extensively with wall planters and trellises. Choose a limited color palette for cohesion, incorporate reflective surfaces like mirrors to create depth, and select compact, multi-functional furniture. Ensure clear pathways and a strong focal point to draw the eye, making the space feel more expansive.

What are the best plants for a low-maintenance small garden?

For a low-maintenance small garden, choose native plants, succulents, ornamental grasses, and compact evergreen shrubs. These often require less water, fertilizer, and pest management. Examples include Sedum, Lavender, Dwarf Nandina, and various Heuchera varieties, all contributing to a beautiful small garden layout with minimal effort.

Can I grow vegetables in a small garden layout?

Absolutely. Many vegetables thrive in small garden layouts. Focus on compact, bush, or vining varieties that you can train vertically. Examples include bush beans, compact tomatoes (like ‘Patio’ or ‘Tiny Tim’), radishes, lettuce, spinach, and vining crops like cucumbers or pole beans grown on trellises. Use large containers to provide ample root space.

How do I provide privacy in a small urban garden?

To provide privacy in a small urban garden, use a combination of vertical elements. Install lattice screens with climbing vines, place tall, dense container shrubs like bamboo (in pots to control spread) or narrow evergreens, and consider outdoor curtains or shade sails for overhead privacy. These elements create visual barriers and a sense of enclosure.

What is the most common mistake in small garden design?

The most common mistake in small garden design is overstuffing the space with too many elements or oversized plants. This leads to a cluttered, cramped feel that diminishes enjoyment. Instead, focus on a few well-chosen plants and design features, ensuring each item has a purpose and sufficient room to thrive, allowing you to maximize garden space effectively.

Disclaimer: This article is for informational purposes only and is not a substitute for professional advice. Consult local extension services for region-specific recommendations.

Categories
Indoor Plants

Rare Houseplants Worth Collecting

Stepping into the world of rare houseplants opens up a fascinating dimension of gardening, even within your compact living space. You discover unique foliage, striking patterns, and the thrill of nurturing something truly special. This journey is immensely rewarding, offering a deeper connection to the botanical world. However, collecting rare and exotic indoor plants requires a thoughtful approach, balancing their specific needs with your environment and ensuring you contribute to sustainable practices.

This guide prepares you for the exciting challenge of acquiring and caring for these botanical treasures. You will learn how to identify true rarity, source plants responsibly, and provide the precise care that allows your unique collection to flourish. Prepare to transform your home into a verdant sanctuary of exceptional beauty.

Close-up of a Monstera 'Albo Variegata' leaf showing striking white and green marbling in a light grey ceramic pot.

Why Collect Rare Houseplants?

The allure of rare houseplants goes far beyond simple aesthetics. For many plant enthusiasts, it is a passion driven by curiosity, challenge, and the desire to cultivate something truly extraordinary. You bring a piece of the world’s botanical diversity into your living space, enriching your environment with unique textures, colors, and forms.

One primary reason individuals begin collecting rare houseplants is their unique beauty. These are often plants with highly variegated leaves, unusual leaf shapes, or striking patterns that mass-market plants simply do not offer. Imagine a Philodendron with vibrant pink splashes or a Monstera with intricate white marbling. These plants serve as living art pieces, immediately drawing the eye and becoming conversation starters.

Beyond visual appeal, the challenge of successful cultivation motivates many collectors. Rare plants frequently demand specific care conditions that differ significantly from common houseplants. Mastering these requirements brings a deep sense of accomplishment. You develop a more profound understanding of plant physiology and environmental control. This educational aspect transforms you from a casual plant owner into a dedicated horticulturist, honing your skills with each new specimen.

The community aspect also plays a significant role. Collecting rare houseplants often connects you with a global network of fellow enthusiasts. You share knowledge, swap cuttings, and celebrate successes. This sense of belonging enriches your hobby, providing support and inspiration from a community that understands your passion. Online forums, social media groups, and local plant swaps become valuable resources for learning and connection.

Lastly, some collectors view rare plants as an investment. While plant prices can fluctuate, particularly sought-after varieties can appreciate in value, making propagating and selling cuttings a potential side venture. However, you should approach collecting primarily for the joy and beauty the plants offer, with any financial returns considered a bonus. Focus on responsible acquisition and cultivation, and the rewards, both personal and potentially monetary, will follow.

Close-up of hands gently misting the unique, deeply veined leaves of a rare Anthurium clarinervium in a pot on a patio table.

Understanding Rarity and Value in the Plant World

When you embark on collecting rare houseplants, it is crucial to understand what truly constitutes rarity and how value is determined. Not every plant labeled “rare” on an online marketplace genuinely fits the description. True rarity stems from several factors, including natural habitat limitations, slow growth rates, difficulty in propagation, and recent hybridization or mutation.

Plants naturally rare in their native environments, perhaps due to specific soil requirements, limited geographical range, or slow reproduction cycles, often command higher prices. For example, some species of Anthurium or Philodendron grow only in very specific microclimates in rainforests, making them difficult to find and export ethically. This scarcity contributes directly to their rarity and perceived value.

Propagation difficulty also significantly impacts a plant’s availability and cost. Some exotic indoor plants root slowly from cuttings or require specific laboratory conditions for tissue culture propagation. If a plant takes months or even years to produce a single propagule, its market supply remains low, driving up its value. Consider the common Pothos, which propagates readily, versus a highly variegated Monstera, which produces far fewer viable cuttings in the same timeframe.

Variegation, a genetic mutation causing a lack of chlorophyll in parts of the leaf, often elevates a plant’s rarity and price. A prime example is the Monstera deliciosa ‘Albo Variegata’. The striking white patterns make it highly desirable, but the variegation also means less chlorophyll, leading to slower growth and more challenging propagation compared to its non-variegated counterpart. Similarly, specific cultivars or hybrids developed by plant breeders, if produced in limited numbers, also become rare.

Market trends and demand heavily influence perceived value. A plant might become “trendy” due to social media popularity, creating artificial scarcity and inflated prices. While these plants are genuinely unique and beautiful, their high price might not always reflect inherent rarity but rather current demand. You should research a plant’s botanical history and propagation methods to distinguish true rarity from market hype. Check botanical society resources or reputable horticultural sites for information on species origins and conservation status. For research-based houseplant care, you can visit Oregon State Extension — Gardening.

Ethical considerations are paramount. Ensure your desired rare plant is not illegally wild-collected. Many countries have strict regulations on plant export. Reputable nurseries propagate their plants responsibly, often through tissue culture or by growing mother plants from legally sourced cuttings. Always inquire about the origin of your rare specimens. Supporting ethical suppliers helps protect natural ecosystems and promotes sustainable horticulture.

Hands carefully unpack a rare variegated Philodendron plant from shipping materials on a small balcony table, surrounded by other potted plants.

Sourcing Your Exotic Indoor Plants Ethically and Safely

Finding rare houseplants requires diligence, patience, and a commitment to ethical sourcing. The thrill of the hunt is part of the experience, but your choices impact both the environment and your success as a collector. Always prioritize reputable sources to avoid disappointment and inadvertently supporting unsustainable practices.

A woman thoughtfully examines a small, elegantly potted variegated houseplant at a bright, boutique specialty plant nursery.

Where to Look for Rare Houseplants

Your search begins by identifying trustworthy vendors. You have several avenues to explore:

  • Specialty Plant Nurseries: These brick-and-mortar stores often carry a curated selection of unusual plants. You can inspect plants in person, ask staff for care advice, and build relationships with knowledgeable experts. Local nurseries prioritize healthy stock and can offer localized guidance.
  • Reputable Online Retailers: Many online shops specialize in rare and exotic plants. Research reviews extensively before purchasing. Look for vendors with transparent shipping policies, clear images of the actual plant you receive, and strong customer service. Websites like Etsy also feature many small-scale propagators, but vet individual sellers carefully.
  • Plant Swaps and Fairs: Local plant societies or botanical garden events sometimes host plant swaps or sales. This offers a fantastic opportunity to acquire unique cuttings or smaller plants at a lower cost, directly from other collectors. You also connect with your local plant community.
  • Facebook Groups and Forums: Numerous online communities dedicate themselves to rare plants. Members often sell or trade cuttings. Exercise caution, use secure payment methods, and always request recent photos of the exact plant or cutting you will receive.

Person on a sunny balcony intensely examining a rare houseplant's online listing on a tablet, showing detailed photos and reviews.

Due Diligence Before You Buy

Before committing to a purchase, especially online, conduct thorough due diligence:

  1. Check Reviews: Read reviews on multiple platforms. Look for consistent positive feedback regarding plant health, accuracy of descriptions, and shipping quality.
  2. Ask for Current Photos: Do not rely solely on stock photos. Request recent, clear pictures of the exact plant you will receive, including close-ups of leaves, stems, and the root system if possible.
  3. Understand Shipping: Inquire about shipping methods, packaging, and heat/cold packs, especially if you order during extreme weather. Discuss their damage policy and what happens if a plant arrives stressed or damaged.
  4. Verify Origin: Ask about the plant’s origin. Reputable sellers propagate their stock or source it legally. Avoid sellers who cannot provide this information or hint at wild collection.

Woman carefully inspects a new variegated houseplant on a clean bathroom counter, with a spray bottle and magnifier nearby.

Quarantine and Introduction Protocols

Once your new rare houseplant arrives, implement a strict quarantine protocol to protect your existing collection. New plants can carry pests, diseases, or fungal issues that devastate your established greenery. This step is non-negotiable for any new plant, especially rare and potentially expensive specimens.

  1. Isolate Immediately: Place the new plant in a separate room or a corner far from other plants. A bathroom or spare bedroom often works well. Ensure it has adequate light and stable temperatures.
  2. Inspect Thoroughly: Examine every part of the plant. Check the tops and undersides of leaves, stems, and the soil surface for any signs of pests (spider mites, thrips, mealybugs, scale), unusual spots, or mold.
  3. Initial Treatment: Even if you see no pests, wipe down the leaves with a horticultural oil solution or a neem oil mixture. You can also spray the entire plant with an insecticidal soap as a preventative measure.
  4. Monitor Closely: Observe the plant daily for at least two to four weeks. Look for new growth, yellowing leaves, dropping leaves, or any resurgence of pests.
  5. Repot (Optional but Recommended): Consider repotting the plant into your preferred, fresh, well-draining potting mix after a few days, especially if the current soil looks poor or compact. This helps you inspect roots and eliminate potential soil-borne pests.
  6. Integration: Only introduce the new plant to your main collection once you are absolutely confident it is healthy and pest-free.

Close-up of a hand adjusting a digital hygrometer inside a glass cloche protecting a rare variegated Alocasia 'Frydek' in a ceramic pot.

Essential Care for Rare Specimens: Beyond the Basics

Caring for rare houseplants often demands more precision than their common counterparts. While the fundamental principles of light, water, and humidity remain, the stakes are higher, and the margin for error is smaller. You must tailor your approach, understanding that generic advice might not suffice for these delicate and often expensive plants.

Many rare plants originate from specific tropical or subtropical environments. Replicating aspects of their natural habitat as closely as possible is key to their success in your home. This means paying closer attention to microclimates, airflow, and soil aeration, alongside the standard care elements.

One critical aspect is consistency. Rare plants often react poorly to sudden changes in their environment. Maintain stable temperatures, consistent watering schedules, and unchanging light conditions as much as possible. Avoid moving them frequently, especially when they are acclimatizing to your home.

Another often overlooked element is observation. Spend time each day or every other day actively looking at your plants. Observe the color of the leaves, the turgidity of the stems, the moisture level of the soil, and any new growth. Early detection of issues, whether it is a nutrient deficiency, pest infestation, or improper watering, allows you to intervene quickly before problems become severe. Your proactive engagement makes a significant difference in the longevity and health of your rare collection.

Consider the investment you make, both financially and emotionally, in these plants. This investment justifies using higher quality inputs: premium potting mixes, filtered water (especially if your tap water is hard or chlorinated), and appropriate supplemental lighting if natural light is insufficient. These small upgrades contribute significantly to the overall well-being of your precious specimens.

A hand gently shades a rare variegated Alocasia on a balcony plant stand, showing filtered light.

Light Made Simple for Rare Plants

Light is the fuel for photosynthesis, essential for all plant life. For rare houseplants, understanding and providing the correct light intensity is paramount, as many exotic indoor plants come from understories of tropical forests where they receive filtered light. Misinterpreting light requirements is a common pitfall that leads to stunted growth or decline.

Young woman reading a book in a bright urban apartment corner, surrounded by lush, rare houseplants thriving in decorative containers under diffused w

Defining Light Levels

Forget vague terms. Let us break down light practically for your small-space environment:

  • Low Light: This refers to an area several feet away from a window, or a room with only a north-facing window. You could comfortably read a book here without additional light. Plants that tolerate low light manage, but rarely thrive, in these conditions. Examples include ZZ plants and Snake Plants. Most rare plants do not perform well in genuinely low-light conditions.
  • Medium Light: This is a brighter area, but still without direct sun. It is a few feet from an east or west-facing window, or near a south-facing window that receives no direct sun. You can perform detailed tasks without strain here.
  • Bright Indirect Light: This is the sweet spot for most rare and exotic houseplants. Imagine standing near a window where the sun never directly hits the leaves. This is typically within 1-3 feet of an east-facing window, or a south/west-facing window with a sheer curtain diffusing the harsh sunlight. The light is strong and consistent, but the leaves never scorch. This condition mimics the dappled light of a rainforest canopy.
  • Bright Direct Light: Unfiltered sunlight directly striking the leaves for several hours. This is typically near an unobstructed south or west-facing window. Few rare tropical plants tolerate this without scorching, especially those with delicate or variegated foliage.

A vibrant collection of rare houseplants thriving in an East-facing window, with gentle morning light filtering in. Plants are in various pots on a si

Window Orientation and Distance

Your window orientation significantly impacts available light:

  • North-facing Window: Provides consistent, gentle light. Suitable for plants requiring low to medium indirect light. Most rare aroids will struggle here without supplemental light.
  • East-facing Window: Offers gentle morning sun, followed by bright indirect light for the rest of the day. This is often ideal for many rare tropical plants. Place plants directly in the window.
  • West-facing Window: Delivers intense afternoon sun, which can be too harsh. Place plants a few feet back or use a sheer curtain to diffuse the light. This provides excellent bright indirect light.
  • South-facing Window: Gives the strongest light throughout the day. Always use a sheer curtain or position plants several feet away to achieve bright indirect conditions.

Distance is Key: Light intensity decreases exponentially with distance from the window. Moving a plant just 3 feet back from a window can reduce light by more than half. For rare plants requiring bright indirect light, position them as close to an appropriate window as possible without exposing them to direct sun.

Compact display of diverse rare houseplants under slim LED grow lights on a wooden shelf in a cozy apartment, with a visible timer.

Supplemental Lighting Solutions

If your natural light is insufficient, especially in small apartments or during winter months, high-quality grow lights are an excellent investment for rare plants. Modern LED grow lights are energy-efficient, compact, and emit specific spectrums beneficial for plant growth. You do not need large, industrial lights; small, full-spectrum LEDs suffice for a small collection.

  • Placement: Position grow lights 6-12 inches above your plant canopy. Adjust based on the plant’s reaction. Too close, and leaves may burn; too far, and they stretch.
  • Duration: Provide 12-14 hours of artificial light per day, mimicking natural daylight cycles. Use a simple timer for consistency.

Always err on the side of brighter indirect light for rare plants. While common plants might tolerate suboptimal conditions, your prized exotic specimens will truly flourish when their light needs are precisely met.

A gardener's hands gently checking the soil moisture of a delicate Jewel Orchid plant in a grey ceramic pot on a balcony shelf.

Watering Without Guesswork for Sensitive Roots

Watering correctly is perhaps the most challenging aspect of houseplant care, and for rare specimens with delicate root systems, it becomes even more critical. Overwatering leads to root rot, a silent killer, while consistent underwatering causes stress and stunted growth. The goal is to provide adequate moisture when the plant needs it, allowing for proper aeration between waterings.

A person's hand gently inserts a finger into the soil of a rare Philodendron verrucosum plant on a balcony table.

The Finger Test: Your Primary Tool

The most reliable method for determining when to water remains the finger test:

  1. Insert Your Finger: Gently insert your index finger about 2-3 inches deep into the potting mix, near the center of the pot.
  2. Assess Moisture:
    • If the soil feels damp, wait a few more days.
    • If the soil feels dry at that depth, it is likely time to water.

This test varies for different plants. For many rare aroids, allow the top 1-2 inches of soil to dry out. For succulents or plants prone to rot, let the soil dry out even further, sometimes 50% or more of the pot’s depth. Always research the specific plant’s preference.

Woman gently lifts terracotta pot with rare Anthurium plant on sunny balcony. Dry soil and subtle leaf droop visible, moisture meter on rim.

Soil Moisture Cues

Beyond the finger test, observe these cues from your plant and its environment:

  • Pot Weight: A pot feels significantly lighter when dry compared to when it is thoroughly watered. Lift your pots to gauge their weight over time.
  • Leaves: Wilting or drooping leaves often indicate a need for water. However, wilting can also signify overwatering and root rot, so cross-reference with the finger test. Yellowing leaves frequently point to overwatering.
  • Moisture Meters: While not as foolproof as the finger test, a good quality moisture meter provides a numerical reading of soil moisture. Use it as a supplemental tool, ensuring you calibrate it regularly and clean the probe.
  • Potting Mix Color: Darker soil usually indicates moisture, while lighter soil suggests dryness. This is a surface-level indicator, but it helps.

Person on a sunny balcony waters a Monstera, water visibly draining from the terracotta pot onto the stone pavers, with other rare houseplants in cont

How to Water Effectively

  1. Water Thoroughly: When you water, do so until water drains freely from the bottom of the pot. This ensures the entire root ball receives moisture and flushes out accumulated salts. Discard any standing water in the saucer after 15-30 minutes.
  2. Temperature Matters: Use room-temperature water. Cold water shocks roots and slows nutrient absorption. If your tap water is heavily chlorinated, let it sit out for 24 hours to allow chlorine to dissipate.
  3. Watering Intervals:
    Plant Type Example Typical Interval (Approx.) Finger Test Guide
    Most Aroids (Philodendron, Monstera) Every 7-14 days Top 1-2 inches dry
    Alocasia, Anthurium Every 5-10 days Top 1 inch just dry
    Succulents, Cacti Every 2-4 weeks Soil completely dry
    Ferns, Calatheas (humidity lovers) Every 5-7 days Top 0.5 inch just dry

    Note: These are approximations. Adjust based on environmental factors like light, humidity, and pot size.

  4. Bottom Watering: For some rare plants, bottom watering prevents soil compaction and allows the plant to absorb water at its own pace. Place the pot in a tray of water for 20-30 minutes, allowing the plant to wick water upwards. Remove and let excess drain.

Close-up of hands pouring cooled vegetable water from a pitcher onto a rare variegated Monstera in a terracotta pot on a patio table.

Water-Wise Habits for Sustainability

Practice water-wise habits to benefit your plants and the environment. Collect rainwater or dechlorinated water for your plants when possible. Reuse water from cooking vegetables (once cooled) as it contains beneficial nutrients. Avoid letting your hose run needlessly. Your mindful approach conserves resources while ensuring your rare plants thrive.

Various distinct potting mix components like bark, perlite, coco coir, and compost, displayed in small containers on a wooden table with a trowel, on

Potting Mix and Repotting Strategies for Delicate Varieties

The right potting mix is the foundation for a healthy root system, especially for rare and sensitive plants. It provides structural support, aeration, and moisture retention. A generic all-purpose mix rarely suffices for exotic indoor plants. You need to understand components and customize your blend for optimal growth.

Various potting mix components – coco coir, compost, perlite – displayed separately and partially mixed in a small tub on a clean patio surface.

Understanding Potting Mix Components

A good potting mix balances moisture retention with excellent drainage and aeration. Here are key components, emphasizing sustainable choices:

  • Peat-Free Base: Traditional peat moss is not a sustainable choice due to its environmental impact. Opt for peat-free alternatives.
    • Coco Coir: A sustainable alternative derived from coconut husks. It holds moisture well, provides good aeration, and is naturally pH neutral.
    • Compost: Provides nutrients and improves soil structure. Use high-quality, well-rotted compost.
  • Aeration Enhancers: These prevent compaction and promote healthy root growth, crucial for rare plants prone to root rot.
    • Perlite: Lightweight, volcanic rock that creates air pockets, improving drainage and aeration.
    • Pumice: Similar to perlite but heavier, offering more stability. It retains some moisture and provides excellent drainage.
    • Orchid Bark (Fir Bark): Large, chunky pieces that create significant air pockets. Excellent for epiphytic plants like many aroids and orchids.
    • Lava Rock (Scoria): Porous and heavy, enhancing drainage and providing minerals.
  • Moisture Retainers (Optional/Specific):
    • Vermiculite: A mineral that retains water and nutrients. Use sparingly, as too much makes a mix too dense.
    • Sphagnum Moss: Excellent for high humidity and propagation, but it compacts and degrades over time. Often used as a top dressing or in specific propagation mixes.

Gloved hands mix coco coir, orchid bark, and perlite in a small tub on a balcony table, with a rare Philodendron 'Pink Princess' blurred in background

Customizing Your Mix for Rare Plants

Different plant families require different ratios. Here are common blends for exotic indoor plants:

  • For Most Aroids (Philodendron, Monstera, Anthurium):
    • 1 part coco coir (or compost)
    • 1 part orchid bark
    • 1 part perlite or pumice
    • (Optional: a handful of worm castings for nutrients)

    This mix provides excellent drainage, essential for their aerial roots, while retaining sufficient moisture.

  • For Alocasia, Calathea (higher moisture needs, but still good drainage):
    • 2 parts coco coir (or compost)
    • 1 part perlite
    • 0.5 part orchid bark
    • (Optional: a small amount of vermiculite for extra moisture retention)
  • For Epiphytic Cacti (e.g., Rhipsalis, Epiphyllum):
    • 1 part coco coir
    • 1 part orchid bark
    • 0.5 part perlite

Close-up of an ungloved hand gently tilting a small ceramic pot, revealing white roots growing out of the drainage holes of a rare Philodendron.

When to Repot Rare Houseplants

Repotting is a stressful event for any plant, especially rare and sensitive ones. Only repot when necessary:

  • Root-Bound: Roots grow out of drainage holes, circle the pot, or push the plant upwards.
  • Stunted Growth: The plant stopped growing despite ideal conditions, suggesting it ran out of space or nutrients.
  • Soil Degradation: The potting mix breaks down, becomes compacted, or smells sour, indicating poor aeration and drainage.
  • Acclimation: After acquiring a new plant, if its current soil is clearly unsuitable or heavily compacted.

Repot during the plant’s active growing season (spring or early summer) to allow it to recover quickly. Avoid repotting during dormancy or stress.

Gloved hands inspecting the root ball of a rare houseplant on a potting mat with sterile pruners and a new terracotta pot nearby on a balcony table.

Repotting Process: Step-by-Step

  1. Prepare: Gather your new pot (only one size larger, typically 1-2 inches in diameter), fresh potting mix, sterile pruners, and gloves.
  2. Loosen: Gently tip the plant on its side and carefully slide it out of its current pot. Avoid pulling it by the stem.
  3. Inspect Roots: Carefully tease apart some of the outer roots. Trim any circling, mushy, or dark (rotting) roots with your sterile pruners. Healthy roots appear firm and white or light tan.
  4. Add Mix: Place a layer of fresh potting mix in the bottom of the new pot.
  5. Position: Center the plant in the new pot, ensuring the top of the root ball sits at the same level as it did in the old pot.
  6. Fill: Backfill around the roots with the new mix, gently tapping the pot to settle the soil. Avoid compacting the soil too much; you want good aeration.
  7. Water: Water thoroughly until water drains from the bottom. This helps settle the soil and provides initial hydration.
  8. Recover: Place the repotted plant in a slightly shadier spot for a week or two to reduce stress, then return it to its usual location.

A person on a balcony preparing to pot a rare houseplant, with diverse pots, well-aerated potting mix, and decorative gravel. Drainage holes are visib

Drainage Explained

Excellent drainage is not optional; it is fundamental. Choose pots with drainage holes. A common myth suggests adding a layer of gravel or broken pot pieces at the bottom of the pot improves drainage. This actually creates a “perched water table,” where water accumulates just above the drainage layer, potentially leading to root rot. Instead, rely on a well-aerated potting mix and proper pot size for drainage.

Young adult adjusting a clip-on fan among rare houseplants on a tiered stand, with a humidifier misting nearby in a sunlit apartment.

Humidity and Airflow: Critical for Exotics

Many rare houseplants originate from humid, tropical environments. Replicating these conditions in your home, especially a dry apartment, poses a challenge. Achieving the right balance of humidity and airflow is crucial for preventing leaf crisping, promoting robust growth, and warding off fungal issues.

A rare variegated Philodendron showing crispy leaf edges, next to a modern humidifier emitting mist, with a digital hygrometer displaying 68% humidity

Understanding Humidity Requirements

Most tropical rare plants thrive in relative humidity levels between 60% and 80%. Your average home usually hovers between 30% and 50%, particularly in winter when heating systems dry the air. Low humidity manifests as crispy leaf edges, stunted new growth, or susceptibility to spider mites.

Cluster of three thriving houseplants on a kitchen counter, one on a pebble tray, demonstrating practical humidity solutions.

Practical Humidity Boosts Without Special Equipment

You do not need an expensive humidifier for every plant. Implement these simple, effective strategies:

  1. Pebble Trays: Fill a shallow tray with pebbles and water, ensuring the plant pot sits *on* the pebbles, not *in* the water. As the water evaporates, it increases humidity immediately around the plant. Regularly replenish the water.
  2. Grouping Plants: Plants naturally release moisture through transpiration. Grouping several plants together creates a localized microclimate with higher humidity. This is an efficient, space-saving strategy.
  3. Location in Your Home: Bathrooms and kitchens typically have higher ambient humidity due to water use. If you have suitable light, consider placing some humidity-loving rare plants in these rooms.
  4. Misting (with caution): While popular, misting offers only a temporary, superficial humidity boost. It evaporates quickly. If you choose to mist, use filtered or distilled water to avoid mineral deposits on leaves. Mist early in the day to allow leaves to dry, preventing fungal problems. For plants with velvety leaves (like some Anthuriums), avoid misting entirely, as water spots can damage them.

A small sealed glass terrarium, a rare Alocasia plant under a lifted glass cloche, and a lit plant cabinet with aroids on a wooden shelf.

Terrariums and Humidity Domes

For your most delicate or high-humidity-loving rare plants, enclosed environments offer superior control:

  • Closed Terrariums: Small, sealed glass containers create a self-sustaining humid ecosystem. Ideal for tiny plants that require extreme humidity and stable conditions. Ensure adequate drainage at the bottom.
  • Glass Cabinets or Wardrobes: Repurposing an IKEA cabinet into a “plant cabinet” is a popular solution for collectors. You can install grow lights and small fans inside, creating a controlled, high-humidity environment for multiple plants.
  • Cloches or Domes: Placing a clear glass or plastic cloche over a single plant temporarily boosts localized humidity. Remember to vent it periodically to allow for air exchange.

A collection of rare potted houseplants with a small oscillating fan and open balcony door providing airflow, bathed in golden light.

The Importance of Airflow

High humidity without good airflow is a recipe for disaster. Stagnant, moist air creates perfect conditions for fungal diseases (powdery mildew, botrytis) and bacterial infections. Good airflow prevents these issues and strengthens plant stems.

  • Gentle Air Circulation: Open windows periodically (weather permitting) or use a small, oscillating fan on a low setting in your plant area. Position the fan so it creates a gentle breeze, not a direct gale.
  • Spacing: Avoid overcrowding your rare plants. Ensure enough space between them for air to circulate freely around each plant.

Balancing high humidity with good airflow creates a thriving environment for your rare plants, minimizing risks while maximizing their potential for vibrant growth.

Close-up of hands gently inspecting the underside of a variegated houseplant leaf on a weathered wooden railing, soft light.

Troubleshooting and Pest Management for Precious Plants

Even the most experienced plant collectors encounter issues. For rare and often expensive specimens, early detection and swift, gentle intervention are paramount. Ignoring a problem can quickly lead to irreversible damage. You need to become a plant detective, understanding common symptoms and employing integrated pest management (IPM) basics.

Calathea houseplant with crispy and yellowing leaves in a ceramic pot on a patio table, a hand uses a soil moisture meter to check soil moisture.

Common Plant Ailments and Their Causes

Symptom Possible Cause(s) Actionable Insight
Yellowing Leaves (overall) Overwatering, nutrient deficiency, natural aging, cold draft Check soil moisture with finger test; ensure drainage. Consider a balanced liquid fertilizer if soil is dry and plant is active.
Yellowing Leaves (lower, older) Natural aging, mild nutrient deficiency (nitrogen) Normal process for older leaves. If excessive, check for root issues or consider feeding.
Brown, Crispy Leaf Edges Low humidity, underwatering, mineral buildup (from tap water) Increase humidity (pebble tray, grouping). Check soil moisture. Flush soil with distilled water periodically.
Mushy, Black Stems/Roots Root rot (severe overwatering, poor drainage) Unpot immediately. Trim all mushy, dark roots with sterile pruners. Repot in fresh, well-draining mix. Reduce watering frequency.
Drooping/Wilting Leaves Underwatering, overwatering (root rot), transplant shock Check soil moisture. If dry, water thoroughly. If wet, investigate for root rot. Provide stable conditions after repotting.
Small, Stunted New Growth Insufficient light, nutrient deficiency, root-bound, pest infestation Increase light intensity. Fertilize during growing season. Check for pests. Consider repotting.

Close-up of hands gently wiping a healthy, variegated rare houseplant leaf in a pot on a balcony, emphasizing preventative care.

Integrated Pest Management (IPM) Basics for Rare Plants

IPM focuses on prevention and using the least toxic methods first. This approach is ideal for your valuable rare collection.

  1. Prevention is Key:
    • Quarantine New Plants: As discussed, isolate all new arrivals for 2-4 weeks.
    • Inspect Regularly: Make it a habit to examine your plants weekly. Check leaf tops and undersides, stems, and soil surface. Early detection prevents outbreaks.
    • Maintain Optimal Conditions: Healthy plants resist pests better. Provide appropriate light, humidity, water, and air circulation. Stressed plants become pest magnets.
    • Cleanliness: Remove fallen leaves and debris from the soil surface. Wipe down leaves periodically to remove dust and potential pest eggs.
  2. Identification: Accurately identify the pest. Common culprits include:
    • Spider Mites: Tiny, create fine webbing, cause stippling on leaves. Thrive in dry conditions.
    • Mealybugs: White, cottony masses in leaf axils and along stems.
    • Aphids: Small, soft-bodied insects, often green or black, cluster on new growth.
    • Thrips: Slender, tiny insects, cause silvery streaks and distorted new growth.
    • Fungus Gnats: Annoying flying insects, larvae live in consistently wet soil.
    • Scale: Small, brown, immobile bumps on stems and leaves.
  3. Treatment (Least Toxic First):
    • Manual Removal: For small infestations, pick off pests by hand, use a cotton swab dipped in rubbing alcohol, or blast them off with a strong stream of water (for sturdy plants).
    • Insecticidal Soap: An effective, low-toxicity option for many soft-bodied pests. Mix according to instructions. Spray thoroughly, ensuring coverage on leaf undersides. Repeat every 5-7 days for several weeks.
    • Neem Oil: A natural pesticide that disrupts pest life cycles. Mix with water and a few drops of dish soap (as an emulsifier). Spray weekly. It also acts as a preventative.
    • Horticultural Oil: Smothers pests. Use carefully, following instructions, as some plants are sensitive.
    • Sticky Traps: Yellow sticky traps effectively catch adult flying insects like fungus gnats and thrips, helping to monitor pest populations.
    • Biological Controls: For persistent issues, consider predatory mites for spider mites or beneficial nematodes for fungus gnat larvae. These are living organisms and require specific conditions.
  4. Isolate and Monitor: Always isolate infested plants to prevent spread. Continue monitoring after treatment to ensure pests are eradicated. It often takes several applications to break the pest life cycle.

Remember that a healthy plant is your best defense. By maintaining optimal conditions and regularly inspecting your rare collection, you significantly reduce the risk of major pest or disease outbreaks, allowing your beautiful plants to thrive.

A vibrant collection of rare houseplants including variegated Monstera, Alocasia 'Frydek', and Philodendron 'Pink Princess' on a modern plant stand on

Top Rare Houseplants to Consider

Diving into the world of rare houseplants introduces you to an incredible diversity of forms, colors, and textures. While countless plants could earn the “rare” designation, a few stand out for their beauty, collectibility, and unique characteristics. Remember, “rare” can mean highly sought after due to aesthetics or truly limited in supply. Here are five exceptional exotic indoor plants worth considering for your collection, along with their general care quirks.

Close-up of a vibrant Philodendron 'Pink Princess' with distinct pink and green variegated leaves on a moss pole, on an urban balcony at golden hour.

1. Philodendron ‘Pink Princess’ (Philodendron erubescens ‘Pink Princess’)

This striking aroid has captivated collectors with its dark green, heart-shaped leaves splashed with vibrant, bubblegum-pink variegation. Each leaf unfurls with a unique pattern, making every new growth a delightful surprise. The ‘Pink Princess’ truly lives up to its regal name.

  • Unique Needs: The intensity of the pink variegation depends heavily on bright indirect light. Too little light results in less pink or even solid green leaves, while too much direct sun can scorch the delicate variegated parts. It appreciates consistent moisture, allowing the top inch of soil to dry between waterings, and thrives in high humidity (60-80%). Support it with a moss pole for larger leaves and aerial root attachment.
  • Why Collect: Its iconic pink variegation offers a stunning contrast, making it a living piece of art. It also offers the rewarding challenge of maintaining its vibrant color.

Hands gently cup a large, dramatically variegated and fenestrated Monstera 'Albo Variegata' leaf on a balcony, showing white and green patterns.

2. Monstera deliciosa ‘Albo Variegata’

The ‘Albo Variegata’ is arguably the queen of rare houseplants, renowned for its dramatic fenestrated leaves painted with large, stark white patches. These white sections contrast beautifully with the deep green, creating a mesmerizing marbled effect. Each leaf is truly unique, showcasing splashes, half-moons, or even entire sections of pure white.

  • Unique Needs: This plant demands very bright indirect light. The white parts of the leaves lack chlorophyll, meaning they cannot photosynthesize. Insufficient light results in less variegation or smaller leaves. Overwatering is a common killer; allow the top 2-3 inches of its chunky, well-draining soil mix to dry out. High humidity (70%+) encourages healthy growth and larger fenestrations. Provide a sturdy support like a moss pole for upward growth.
  • Why Collect: The ‘Albo’ offers unparalleled visual drama and a sense of prestige. Its classic Monstera fenestrations combined with brilliant white variegation create a timeless, iconic look.

Close-up of an Anthurium clarinervium's large, dark green, heart-shaped leaf with prominent, silvery-white veins, in a modern ceramic pot.

3. Anthurium clarinervium

Unlike its more common flowering relatives, Anthurium clarinervium is prized for its foliage. Its large, dark green, heart-shaped leaves boast thick, prominent silvery-white veins, giving them a velvety, almost embossed appearance. The texture alone makes this a highly desirable specimen.

  • Unique Needs: This Anthurium needs very bright indirect light, but never direct sun which scorches its delicate leaves. It requires consistently moist, but never soggy, chunky aroid mix. High humidity (70%+) is essential to prevent crispy leaf edges, but misting is generally not recommended due to its velvety leaf texture which can develop spots. Ensure good airflow to prevent fungal issues.
  • Why Collect: Its deeply textured, intricately veined foliage offers a sophisticated elegance that sets it apart. It adds a luxurious, sculptural element to any plant collection.

Velvety deep green Alocasia 'Frydek' with prominent white veins in a charcoal pot on a balcony, subtly misty.

4. Alocasia ‘Frydek’ (Alocasia micholitziana ‘Frydek’)

Known as the Green Velvet Alocasia, ‘Frydek’ features velvety, deep green, arrow-shaped leaves with starkly contrasting, bright white veins. The leaves have a rich, luxurious feel and a dramatic appearance. It is a true showstopper for its striking texture and pattern.

  • Unique Needs: ‘Frydek’ requires bright indirect light to maintain its vibrant coloration and encourage strong growth. It loves consistently moist soil, but also demands excellent drainage; never let it sit in standing water. High humidity (60-80%) is critical, otherwise, its leaf tips and edges crisp. This plant is prone to dormancy if conditions are not ideal or during winter, sometimes dropping all its leaves. Reduce watering significantly during dormancy. Watch for spider mites, a common pest for Alocasias.
  • Why Collect: Its velvety texture and bold veining make it an incredibly tactile and visually arresting plant. It brings an exotic, jungle feel to your indoor space.

Vibrant Rhaphidophora tetrasperma on a moss pole, showing its deeply fenestrated leaves, in a sunlit container garden on an urban balcony.

5. Rhaphidophora tetrasperma ‘Monstera Minima’ (often mislabeled)

While often called ‘Monstera Minima’ or ‘Mini Monstera,’ this plant is actually a species of Rhaphidophora. It boasts small, deeply lobed, bright green leaves that resemble a miniature Monstera deliciosa, making it incredibly popular for its compact vining habit and intricate foliage. It is a fast grower, quickly adding a lush, tropical vibe.

  • Unique Needs: Provide bright indirect light to encourage its characteristic fenestrations and compact growth. It tolerates slightly lower humidity than some other rare aroids, but still appreciates 50%+ relative humidity. Allow the top inch of soil to dry before watering. As a vining plant, it benefits immensely from a moss pole or trellis for support, which also encourages larger leaves.
  • Why Collect: Its rapid growth and miniature Monstera-like appearance make it an accessible entry into the world of rare-ish aroids. It is less demanding than some other rare plants, yet offers high visual impact.

Remember, each of these plants, while beautiful, requires dedication and specific environmental conditions. Do thorough research on individual care requirements before adding them to your collection. The joy of collecting comes from seeing these unique beauties thrive under your care.

Hands inspecting a Philodendron 'Pink Princess' on a balcony, with a smartphone displaying plant care info, surrounded by diverse container plants.

Frequently Asked Questions

What makes a houseplant “rare” versus just uncommon?

Rarity typically stems from several factors, including limited natural habitats, slow growth or propagation rates, or being a specific, less common cultivar. An uncommon plant might just be less popular or harder to find in general nurseries, but easily propagated. Truly rare plants often have restricted availability due to botanical or horticultural challenges, not simply market demand. For example, a plant requiring specific laboratory tissue culture to propagate in large numbers is genuinely rarer than a plant that is simply “trendy.”

Are rare houseplants harder to care for than common ones?

Generally, yes. Many rare houseplants are niche species that originate from very specific, stable environments, like rainforest understories. They often have tighter tolerances for light, humidity, and watering. They tend to be less forgiving of mistakes or fluctuations in environmental conditions compared to robust, common houseplants like Pothos or ZZ plants. You need to provide more precise care to help them thrive.

Can I propagate rare houseplants to increase my collection or share?

Absolutely, propagating rare houseplants is a rewarding part of the hobby. Many aroids, for instance, propagate well from stem cuttings with nodes, often rooting in water, sphagnum moss, or perlite. Some rare plants, however, are notoriously difficult to root and may require advanced techniques or specific conditions. Always research the best propagation method for your specific plant. Sharing cuttings within the plant community is a wonderful way to expand your and others’ collections sustainably.

What should I do if my rare houseplant starts to decline?

Act quickly and systematically. First, review the plant’s care: light, water, humidity, and temperature. Is anything significantly different or suboptimal? Next, thoroughly inspect for pests, especially on leaf undersides and new growth. Check the soil for signs of root rot (mushy, smelly roots) or extreme dryness. Sometimes, a change in environment (moving it to a brighter spot or increasing humidity) or a gentle repot into fresh, well-draining soil can revive it. Isolate the declining plant immediately to protect others in your collection.

Is it ethical to buy rare houseplants, especially if they are expensive?

Ethical sourcing is crucial. You should only purchase rare houseplants from reputable growers and nurseries that propagate their plants responsibly, either from established mother plants or through tissue culture. Avoid any seller that hints at wild-collected plants, as this contributes to habitat destruction and illegal trade. An expensive price tag does not inherently mean unethical sourcing; it often reflects propagation difficulty, slow growth, or high demand. Prioritize transparency from your seller regarding the plant’s origin. Your choices support either sustainable practices or harmful ones.

For research-based houseplant care, visit
Oregon State Extension — Gardening,
Brooklyn Botanic Garden,
New York Botanical Garden and
Royal Horticultural Society (RHS).

Disclaimer: This article is for informational purposes only and is not a substitute for professional advice. Consult local extension services for region-specific recommendations.

Categories
Seasonal Tips

Summer Care: How to Keep Plants Alive in Heat Waves

Heat waves challenge even the most experienced gardeners. Scorching temperatures and relentless sun stress your plants, whether they live indoors or outdoors. Maintaining a thriving garden or a vibrant collection of houseplants during these extreme conditions requires specific, proactive strategies. This guide provides practical, actionable insights to protect your green companions and ensure they survive the summer heat.

You can safeguard your plants from the harshest summer conditions by understanding how heat affects them, implementing effective watering techniques, and providing essential protection. We will walk you through critical steps to prevent wilting, nutrient deficiencies, and irreversible damage, helping your plants bounce back strong when cooler weather returns.

Heat-stressed basil and geranium plants in terracotta pots on a sunny urban balcony. Basil shows drooping leaves, soil is dry.

Understanding Heat Stress in Plants

Plants experience stress when environmental conditions become unfavorable. During a heat wave, high temperatures push plants beyond their comfort zone, leading to a cascade of physiological responses. Recognizing the signs of heat stress early allows you to intervene before significant damage occurs.

A small tomato plant in a terracotta pot on a sunny urban balcony, its leaves slightly drooping and soil dry from heat.

How Heat Affects Plants

Plants cool themselves through a process called transpiration. Water moves from their roots, through their stems, and evaporates from tiny pores on their leaves called stomata. This evaporative cooling mimics human sweating. During extreme heat, however, plants struggle to transpire fast enough to cool down, or they close their stomata to conserve water, which prevents cooling and reduces photosynthesis.

Common Symptoms of Heat Stress:

  • Wilting: Leaves droop as cells lose turgor pressure due to lack of water. While often a sign of thirst, persistent wilting even after watering indicates severe stress or root damage.
  • Leaf Scorch/Burn: Brown or crispy edges or spots on leaves, particularly on the parts exposed to direct sun. This indicates cellular damage from excessive heat and UV radiation.
  • Stunted Growth: Plants prioritize survival over growth, diverting energy from producing new leaves or flowers.
  • Flower or Fruit Drop: High temperatures inhibit pollination and fruit set, causing plants to abort developing flowers or fruits to conserve resources.
  • Yellowing Leaves (Chlorosis): While many factors cause yellowing, heat stress can inhibit nutrient uptake, leading to chlorosis, especially in older leaves.
  • Dull or Faded Color: Vibrant green leaves may appear washed out or grayish as chlorophyll breaks down or photosynthesis slows.

The severity of heat stress depends on plant species, age, soil conditions, and the duration of the heat wave. Young plants and those in containers are particularly vulnerable, experiencing heat stress plants much more quickly than established plants in the ground.

Person's hands carefully watering a tiered vertical planter filled with herbs and small vegetables on a sunny urban balcony.

Mastering Summer Watering: Your Plant’s Lifeline

Watering correctly is the single most critical factor in keeping your plants alive during summer heat. Extreme temperatures dramatically increase evaporation from soil and transpiration from leaves, meaning your plants need more water more frequently. However, simply pouring water on your plants without strategy can do more harm than good.

Person watering a patio tomato plant deeply in a terracotta pot with a copper watering can during the soft light of dawn.

The Principles of Smart Summer Watering

Effective summer garden care involves understanding when, how much, and how to water. Your goal is to provide sufficient moisture deep into the root zone without creating waterlogged conditions that lead to root rot.

  1. Water Deeply: Shallow watering encourages roots to stay near the surface, making them more susceptible to drying out. Deep watering promotes a robust root system that can access moisture from deeper soil layers. For most plants, aim for water to penetrate 6-8 inches deep into the soil.
  2. Water Early in the Morning: The coolest part of the day minimizes water loss to evaporation. Watering at night leaves foliage wet, creating an ideal environment for fungal diseases. Watering in the middle of the day loses too much water to rapid evaporation before it reaches the roots.
  3. Check Soil Moisture: Do not water on a strict schedule. Instead, feel the soil. Stick your finger 2-3 inches into the soil. If it feels dry, it is time to water. For larger pots or garden beds, use a soil moisture meter for more accuracy. This prevents both underwatering and overwatering.
  4. Use the Right Tools: A soaker hose or drip irrigation system delivers water directly to the root zone, minimizing waste and ensuring deep penetration for outdoor plants. For potted plants, a watering can with a long spout helps direct water without splashing foliage.
  5. Water Slowly: Fast watering often leads to runoff, especially in compacted or heavily sloped areas. Allow water to soak in gradually. You may need to water in several short sessions to allow proper absorption.

Specific Considerations for Indoor Plants

Indoor plants are also susceptible to heat stress, especially if placed near windows that intensify sunlight or in rooms without adequate air circulation. Your watering in summer strategy for indoor plants needs adjustment:

  • Increased Frequency: You will likely need to water indoor plants more often than in cooler months. Perform the finger test regularly.
  • Humidity: While not direct watering, higher indoor humidity reduces transpiration rates, helping plants retain moisture. We discuss this further in a later section.
  • Potting Mix: Ensure your potting mix drains well but also retains some moisture. Peat-free mixes with coco coir, perlite, and vermiculite provide excellent aeration and moisture retention.
  • Grouping Plants: Grouping plants together slightly increases local humidity, reducing individual plant water loss.

Monitoring your plants closely and adjusting your watering routine based on their specific needs and the current weather conditions will ensure they receive adequate hydration. Consistent and deep watering practices significantly reduce the impact of heat stress plants experience.

Urban balcony garden with various container plants under a white fabric shade cloth casting dappled shadows. A hand adjusts the fabric.

Providing Shade and Protection from Scorching Sun

Direct, intense sunlight combined with high temperatures accelerates water loss and can burn plant foliage. Providing adequate shade and protection is crucial for vulnerable plants during a heat wave. This simple measure can significantly reduce heat stress plants endure.

A person's hands secure shade cloth over a delicate potted plant on a hot patio, with other container plants grouped under an umbrella.

Strategies for Outdoor Plants

  1. Shade Cloths: Deploying shade cloth offers the most effective protection for garden beds and sensitive plants. Look for cloths that block 30-50% of sunlight. Drape them over hoops or a simple frame, ensuring good air circulation underneath.
  2. Temporary Structures: Use umbrellas, tarps, or even old sheets secured to stakes to create temporary shade during the hottest parts of the day. Position them to block afternoon sun, which is typically the most intense.
  3. Relocate Potted Plants: Move container plants to naturally shadier spots, such as under trees, on a covered patio, or beneath the eaves of your house. Grouping them closely together can also offer some mutual shading.
  4. Strategic Planting: For future planning, consider planting heat-sensitive plants on the east side of taller, heat-tolerant plants or structures that provide afternoon shade.
  5. Mulching: Apply a 2-4 inch layer of organic mulch around the base of your plants. Mulch, like wood chips, straw, or shredded leaves, insulates the soil, keeping roots cooler and reducing evaporation. Ensure the mulch does not touch the plant stems directly to prevent rot.

Vibrant indoor plants on a floating shelf, bathed in soft, diffused afternoon light filtering through a sheer white curtain.

Protecting Indoor Plants

Even indoor plants need protection from direct, intense sunlight during a heat wave. Move plants away from south or west-facing windows that receive harsh afternoon sun. Use sheer curtains, blinds, or even relocate plants to a north or east-facing room if possible. An increase in indoor temperature can cause significant heat stress plants even indoors.

Remember, the goal is to filter the harsh sun, not to eliminate light entirely. Plants still need light for photosynthesis, but during extreme heat, moderation is key.

Close-up of hands misting vibrant container plants on a sunny balcony, with a pebble tray visible, demonstrating humidity and airflow.

Boosting Humidity and Ensuring Good Airflow

High temperatures often bring dry air, especially indoors or in arid climates. Low humidity increases transpiration, leading to more rapid water loss from plant leaves. Creating a more humid microclimate and ensuring proper air circulation helps plants manage heat stress effectively.

Diagram showing labeled parts and water flow for a container or layout.

Close-up of lush container plants grouped on a small balcony, with pots sitting on pebble trays filled with water and stones, in soft morning light.

Increasing Humidity

  • Pebble Trays: Place potted plants on trays filled with pebbles and water. As the water evaporates, it increases localized humidity around the plant without allowing the pot to sit directly in water, which can cause root rot.
  • Misting: Lightly misting foliage can provide a temporary humidity boost, particularly for plants that thrive in high humidity, such as ferns and tropical houseplants. Do this early in the morning so leaves dry quickly, preventing fungal issues. This is a temporary solution and not a substitute for proper watering.
  • Grouping Plants: Plants naturally release moisture into the air. Grouping several plants together can create a small humid microclimate.
  • Humidifiers: For indoor plant collections, a room humidifier offers the most consistent and effective way to increase ambient humidity, especially during periods of watering in summer when indoor air conditioning can dry the air.

A gardener's hands gently prune dense leaves from a thriving container basil plant on a sunny urban balcony, thinning foliage for better airflow.

Ensuring Good Airflow

While humidity is beneficial, stagnant, hot, humid air creates a breeding ground for pests and diseases. Good air circulation prevents this and helps regulate leaf temperatures.

  • Outdoor Plants: Ensure plants are not excessively crowded. Prune away dense foliage to improve airflow through the canopy. This helps reduce fungal problems that can arise when humidity is high.
  • Indoor Plants: Use a small oscillating fan on a low setting to gently circulate air in rooms with houseplants. Avoid directing the fan directly at plants, as this can dry them out. Keep windows slightly open if temperatures allow, particularly in the mornings or evenings.

Balancing humidity and airflow creates an environment where plants can breathe, cool themselves, and absorb moisture efficiently, significantly reducing the impact of heat stress plants might otherwise experience.

Heat-stressed fuchsia plant in a terracotta pot on a sunny balcony, with an untouched bottle of liquid fertilizer beside it.

Nutrition and Fertilizing During Hot Spells

Your plants require nutrients to grow, but fertilizing during a heat wave can actually harm them. High temperatures can exacerbate issues related to nutrient uptake and osmotic stress. Adjusting your fertilization strategy for summer garden care is vital.

Close-up of parched, cracked soil in a terracotta pot with faint white salt residue, a single drooping leaf, under strong sun.

Why to Be Cautious with Fertilizer During Heat Waves

Fertilizers, especially synthetic ones, contain salts. When temperatures soar, plants already struggle to absorb water. Adding more salts to the soil increases its osmotic pressure, making it even harder for roots to take up water. This can lead to fertilizer burn, where the plant’s roots are essentially dehydrated by the surrounding soil solution. Furthermore, stressed plants do not efficiently utilize nutrients; their energy goes towards survival, not growth.

Best Practices for Fertilizing in Summer:

  1. Reduce or Pause Fertilizing: The safest approach during an active heat wave is to completely stop fertilizing. Allow your plants to focus their energy on coping with the environmental stress. Resume a regular feeding schedule once temperatures return to normal.
  2. Use Organic, Slow-Release Options: If you must fertilize, opt for organic, slow-release fertilizers or compost. These break down gradually, releasing nutrients slowly and minimizing the risk of salt buildup. Organic options often improve soil structure and microbial activity, which benefits plants long-term.
  3. Dilute Liquid Fertilizers: If using liquid fertilizers, dilute them to half or even quarter strength when temperatures are consistently high but not yet at heat-wave levels. Always apply to moist soil, never dry.
  4. Focus on Soil Health: Healthy soil naturally provides many nutrients. Incorporate compost or well-rotted manure into your garden beds before summer. This creates a nutrient-rich, well-draining environment that buffers plants against stress. Look for peat-free potting mixes for containers, as they often contain beneficial amendments.

Think of it this way: when you are sick, you focus on rest and recovery, not intense exercise or a huge meal. Your plants need the same approach during extreme heat. Prioritize hydration and protection over growth stimulation.

Close-up of a hand gently turning over a vibrant green basil leaf in a pot, meticulously inspecting its underside for tiny red specks.

Pest and Disease Vigilance in Summer Heat

Heat waves do not just stress plants; they can also create conditions favorable for pests and diseases. Stressed plants become more susceptible to attack, and some pests, like spider mites, thrive in hot, dry environments. Implementing proactive pest and disease management is an integral part of summer garden care.

Close-up of a stressed container petunia on a balcony railing, with subtle spider mite webbing on leaves and tiny yellow stippling.

Common Summer Pests and Diseases

  • Spider Mites: These tiny pests flourish in hot, dry conditions. Look for fine webbing on the undersides of leaves and tiny yellow or brown stippling. They can quickly decimate stressed plants.
  • Aphids: While common year-round, populations can explode in summer. They cluster on new growth, sucking sap and weakening plants.
  • Thrips: These small, slender insects cause silvering or bronzing of leaves and distort new growth and flowers.
  • Fungal Diseases: While heat and dryness can deter some fungi, sudden shifts in humidity, overhead watering, or prolonged leaf wetness (if you water incorrectly) can still lead to issues like powdery mildew or various leaf spots, especially on stressed plants.

Person gently hosing a basil plant in a pot on a sunny balcony. Water mists foliage, with other container plants in background.

Prevention and Treatment Strategies

  1. Regular Inspections: Inspect your plants daily or every other day, especially during a heat wave. Check the undersides of leaves, new growth, and flower buds. Early detection is key.
  2. Good Airflow: As mentioned, proper air circulation helps prevent fungal diseases and makes it harder for some pests to establish colonies.
  3. Hose Off Pests: A strong spray of water from a hose can dislodge spider mites and aphids from outdoor plants. Do this in the morning so foliage dries quickly.
  4. Neem Oil Spray: Neem oil is an organic, broad-spectrum pesticide that disrupts the life cycle of many common pests. Apply it in the evening to avoid leaf burn in hot sun, and always follow package directions. Ensure you use a product safe for edible plants if treating vegetables.
  5. Insecticidal Soap: Another effective organic option, insecticidal soap smothers soft-bodied pests. Ensure good coverage, especially on the undersides of leaves.
  6. Healthy Plants: Vigorously growing plants are naturally more resistant to pests and diseases. While a heat wave limits growth, all the other strategies (proper watering, shade, good soil) contribute to overall plant health, making them less attractive targets.
  7. Clean Up Debris: Remove fallen leaves or plant debris from around your plants. This eliminates hiding spots for pests and reduces sources of fungal spores.

Staying vigilant and responding quickly to any signs of pests or diseases helps maintain your plant’s health when it is already under significant pressure from the heat.

Vibrant heat-tolerant plants in various containers on a sunny patio, seen from a high angle, looking lush and healthy.

Choosing Resilient Plants for Heat-Prone Gardens

The best defense against heat waves often begins with plant selection. Opting for species naturally adapted to hot climates reduces the amount of intervention needed during extreme summer temperatures. This proactive approach significantly simplifies your summer garden care.

Sun-drenched patio corner with heat-tolerant container plants: a waxy echeveria, silvery Lamb's Ear, and small-leaf lavender.

Characteristics of Heat-Tolerant Plants

Plants that thrive in heat often possess specific adaptations:

  • Thick, Fleshy Leaves: Succulents and cactuses store water in their leaves and stems, allowing them to withstand prolonged dry periods.
  • Silvery or Hairy Foliage: A reflective surface or fuzzy texture on leaves (like Lamb’s Ear or Lavender) helps reflect sunlight and reduce water loss.
  • Small or Needle-like Leaves: Smaller leaf surface areas minimize water evaporation.
  • Deep Root Systems: Plants with extensive root systems can tap into deeper soil moisture reserves.
  • Waxy Cuticles: A thick, waxy coating on leaves reduces transpiration.
  • Native Plants: Plants indigenous to your region are often excellent choices because they are naturally adapted to local climate extremes, including summer heat waves.

A multi-tiered vertical planter brimming with vibrant, sun-loving plants like Vinca, Marigolds, Basil, and Sedum on a hot patio.

Recommended Heat-Tolerant Plants

Category Heat-Tolerant Plant Examples Key Characteristics
Annual Flowers Vinca (Catharanthus roseus), Portulaca (Moss Rose), Zinnia, Marigold, Gomphrena Thrive in full sun, tolerate dry conditions, vibrant blooms.
Perennial Flowers Sedum, Lavender, Salvia, Coneflower (Echinacea), Yarrow (Achillea), Daylily Drought-tolerant once established, many attract pollinators.
Edibles/Herbs Okra, Sweet Potato, Southern Pea (Cowpea), Basil, Rosemary, Thyme, Hot Peppers Many thrive in hot weather, some are native to warm climates.
Shrubs/Trees Crape Myrtle, Oleander, Juniper, Russian Sage, some varieties of ornamental grasses Drought-tolerant, offer structural interest, often provide shade.
Indoor Plants Snake Plant (Sansevieria), ZZ Plant (Zamioculcas zamiifolia), Cast Iron Plant (Aspidistra elatior), Succulents Tolerate neglect, lower light, and fluctuating temperatures better than many others.

When selecting plants, always consider your USDA hardiness zone and average summer temperatures. Researching the specific needs of each plant helps you make informed choices, setting your small-space garden up for success even during peak summer heat.

Hands gently repositioning a potted fuchsia on a balcony, moving it towards other container plants in a shadier spot.

Pre-Heat Wave Preparation: Proactive Steps

Preventative measures are far more effective than reactive interventions. Preparing your plants and garden before a heat wave hits gives them the best chance of survival. This proactive approach to summer garden care significantly reduces heat stress plants might otherwise experience.

Woman deeply watering a potted calibrachoa plant with a metal can on an urban patio. Fresh mulch and a temporary shade structure are visible.

Your Pre-Heat Wave Checklist:

  1. Thorough Watering: Give all your plants, especially those outdoors and in containers, a very deep watering a day or two before the heat wave is forecast to begin. Ensure the soil is thoroughly saturated. This builds up a moisture reserve in the root zone.
  2. Apply Mulch: If you have not already, add a 2-4 inch layer of organic mulch around outdoor plants. This insulates the soil, reduces evaporation, and keeps roots cooler. Remember to keep mulch a few inches away from plant stems.
  3. Provide Shade: Set up shade cloths, temporary structures, or move potted plants to shadier locations before the scorching sun arrives. Do not wait until your plants are already wilting.
  4. Prune Selectively: Remove any dead, diseased, or heavily damaged leaves. While some light pruning helps with airflow, avoid heavy pruning just before or during a heat wave, as new growth is particularly vulnerable and large cuts can stress the plant. Pruning promotes new growth, which requires more energy and water.
  5. Harvest Produce: If you have fruits or vegetables ripening, harvest them before the heat wave. High temperatures can cause premature ripening, sunscald, or reduce the quality of produce.
  6. Check Irrigation Systems: Ensure drip lines, soaker hoses, and sprinklers function correctly. Check for leaks or blockages. Calibrate timers if you use them, but be prepared to override them for manual checks.
  7. Boost Indoor Humidity: If you have tropical houseplants, set up pebble trays or run a humidifier a day in advance to get humidity levels up.

By taking these steps, you empower your plants with the resources and protection they need to withstand the challenging conditions of a heat wave. Early preparation truly makes a difference in preventing heat stress plants often experience.

For research-based plant care guidance, visit
Missouri Botanical Garden,
Oregon State Extension — Gardening and
Chicago Botanic Garden.

Person's hands gently prune yellowed leaves from a heat-stressed container plant on a shaded patio, with other pots in soft focus.

Recovery and Post-Heat Wave Care

After a heat wave passes, your plants need careful attention to recover. While some damage may be irreversible, proper post-heat wave care helps them regain their strength and minimize long-term impact. This phase is just as important as preparation and active summer garden care.

Close-up of a person's bare hand gently assessing heat-stressed basil leaves with crisp brown edges in a terracotta pot on a sunny balcony.

Steps for Plant Recovery:

  1. Continue Monitoring Water: While the immediate threat of extreme heat subsides, plants may still be dehydrated. Maintain your vigilant watering schedule until temperatures normalize and plants show signs of recovery. Continue to check soil moisture before watering.
  2. Assess Damage: Wait a few days for the full extent of the damage to become apparent. Remove any leaves that are completely crisped, yellow, or dead. Prune away branches that have clearly died back. Do not be tempted to remove too much healthy or partially damaged foliage right away, as these leaves may still be photosynthesizing to some extent.
  3. Resist Immediate Fertilizing: Your plants are still recovering. Avoid fertilizing immediately after a heat wave. Wait until you see signs of new, healthy growth (usually a week or two after temperatures stabilize) before resuming a very diluted feeding schedule.
  4. Maintain Shade, Then Acclimate: Keep shade in place for a few days even after the heat wave breaks, especially if temperatures remain high. Gradually remove shade structures or move plants back to sunnier spots over several days, allowing them to slowly re-acclimate to brighter light.
  5. Address Pest Re-emergence: Stressed plants remain vulnerable. Continue to monitor for pests, as weakened plants are easier targets. Treat as necessary using the methods discussed previously.
  6. Consider Repotting (Later): If a potted plant appears severely root-bound or the potting mix has broken down significantly due to constant watering, plan to repot it once it has fully recovered and cooler weather is stable. Repotting a stressed plant during or immediately after a heat wave adds further stress.

Patience is key during the recovery phase. Your plants need time to heal and adjust. Consistent, gentle care allows them to bounce back and continue thriving in your garden or home.

Woman thoughtfully examines a slightly wilting basil plant in a terracotta pot on a sunny balcony, with other container plants in soft focus.

Frequently Asked Questions

Can I water my plants during the hottest part of the day?

Avoid watering during the hottest part of the day (mid-morning to late afternoon). A significant amount of water evaporates before it reaches the roots, making the watering less efficient. Water droplets on leaves can also magnify sunlight, potentially causing leaf scorch. The best time to water is early morning.

My plant is wilting, should I water it immediately?

Wilting indicates stress, often from lack of water. First, check the soil moisture by sticking your finger 2-3 inches deep. If it feels dry, water thoroughly. If the soil is already moist, wilting could be a sign of overwatering (root rot) or severe heat stress. If the soil is moist, move the plant to a shadier spot and provide good airflow, then monitor.

What is the difference between drought stress and heat stress?

Drought stress results specifically from a lack of water, causing wilting and eventual desiccation. Heat stress, while often accompanied by drought, refers to the physiological damage caused by high temperatures themselves, such as protein denaturation or impaired photosynthesis, even if water is available. They frequently occur together, intensifying plant damage.

Can I use ice cubes to water my plants in summer?

While ice cubes provide a slow release of water, they are generally not recommended for most plants. The extreme cold can shock roots and potentially damage plant tissues. It is far better to use room-temperature water applied slowly and deeply to the soil. For orchids, a few ice cubes are sometimes suggested, but for most plants, avoid this method.

Should I mist my plants more often during a heat wave?

Misting offers a very temporary increase in humidity and provides minimal benefit for cooling. While some humidity-loving plants appreciate it, frequent misting in hot, humid conditions without good airflow can encourage fungal diseases. Focus on deep soil watering and providing consistent humidity through pebble trays or humidifiers rather than just misting. If you do mist, do it early in the morning so leaves dry quickly.

Disclaimer: This article is for informational purposes only and is not a substitute for professional advice. Consult local extension services for region-specific recommendations.

For additional plant care resources and information, consider exploring:
National Garden Association or
Royal Horticultural Society.