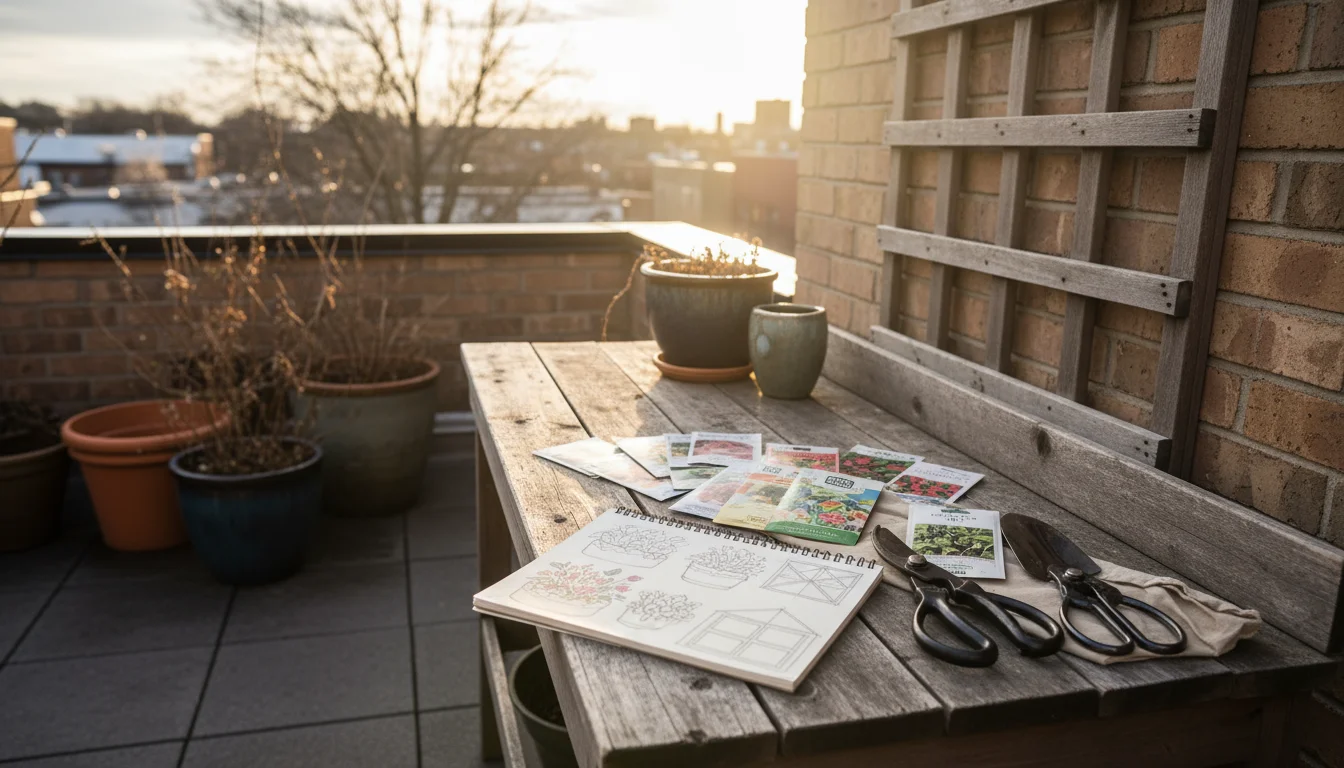
For centuries, saffron has held its place as the world’s most expensive spice, renowned for its vibrant color, unique aroma, and distinct flavor. Often associated with exotic landscapes and expansive fields, the idea of growing this prized ingredient in your own small garden, on a balcony, or a patio might seem like a distant dream. However, you can indeed grow saffron, *Crocus sativus*, right in your containers. This article will guide you through the practical steps to plant fall bulbs in containers, ensuring you understand exactly how to grow saffron in a pot on a balcony, from selecting the right bulbs to harvesting saffron from containers, bringing this luxurious spice within your reach. Prepare for the satisfying reward of harvesting your own crimson threads, a testament to your gardening skill.
The Allure of Homegrown Saffron
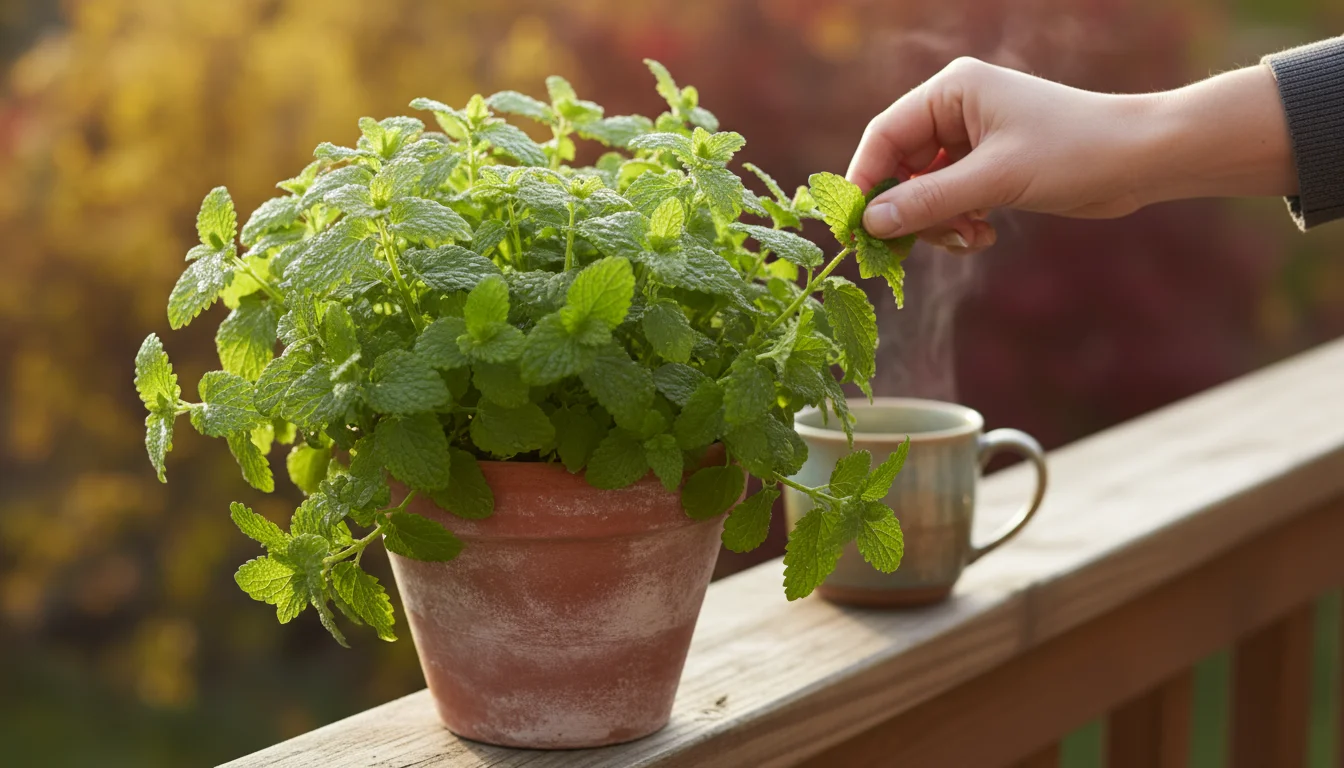
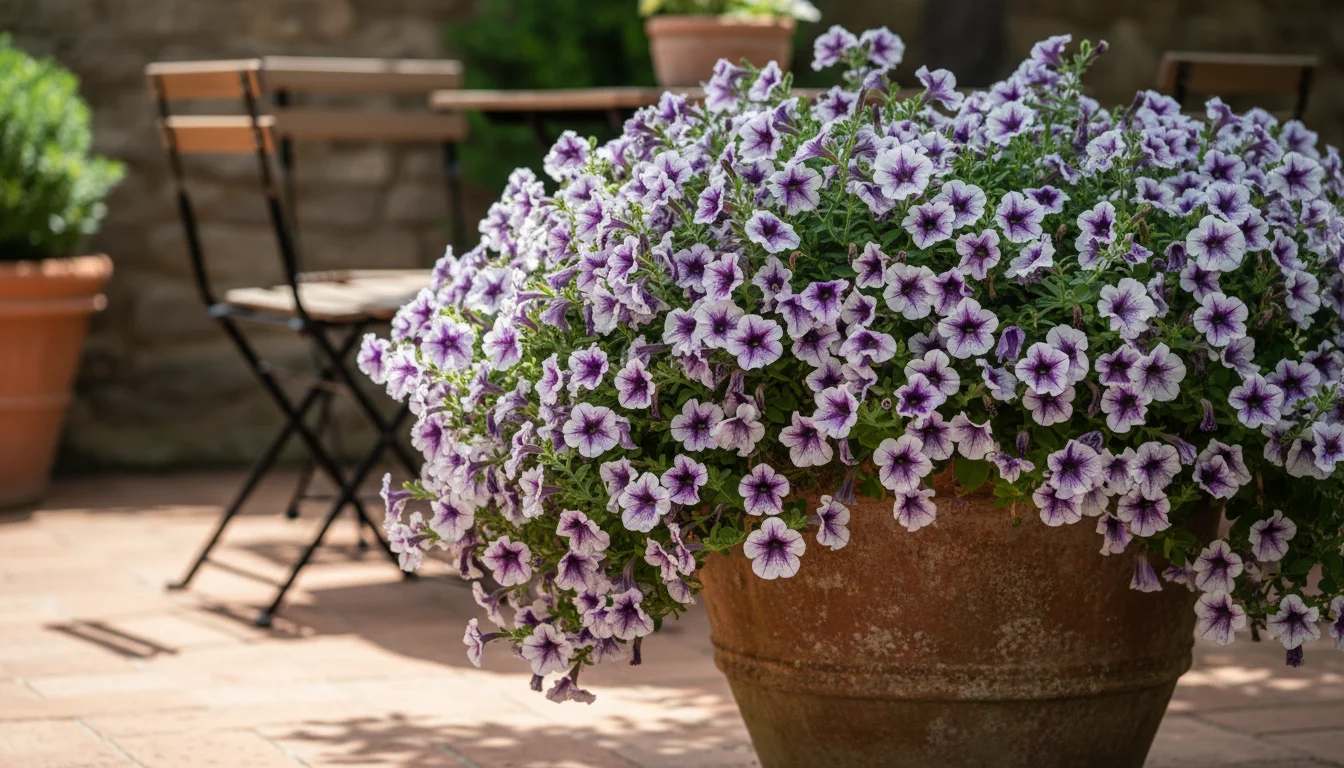
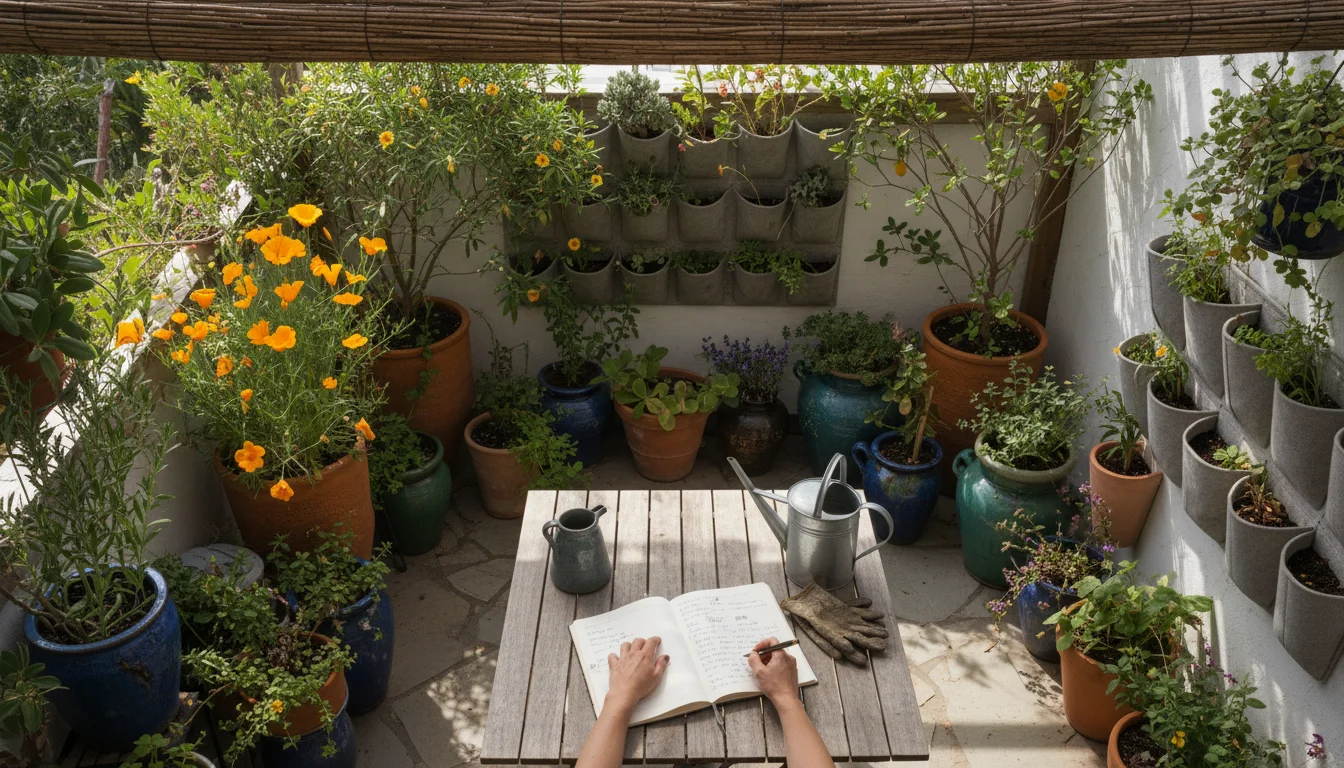
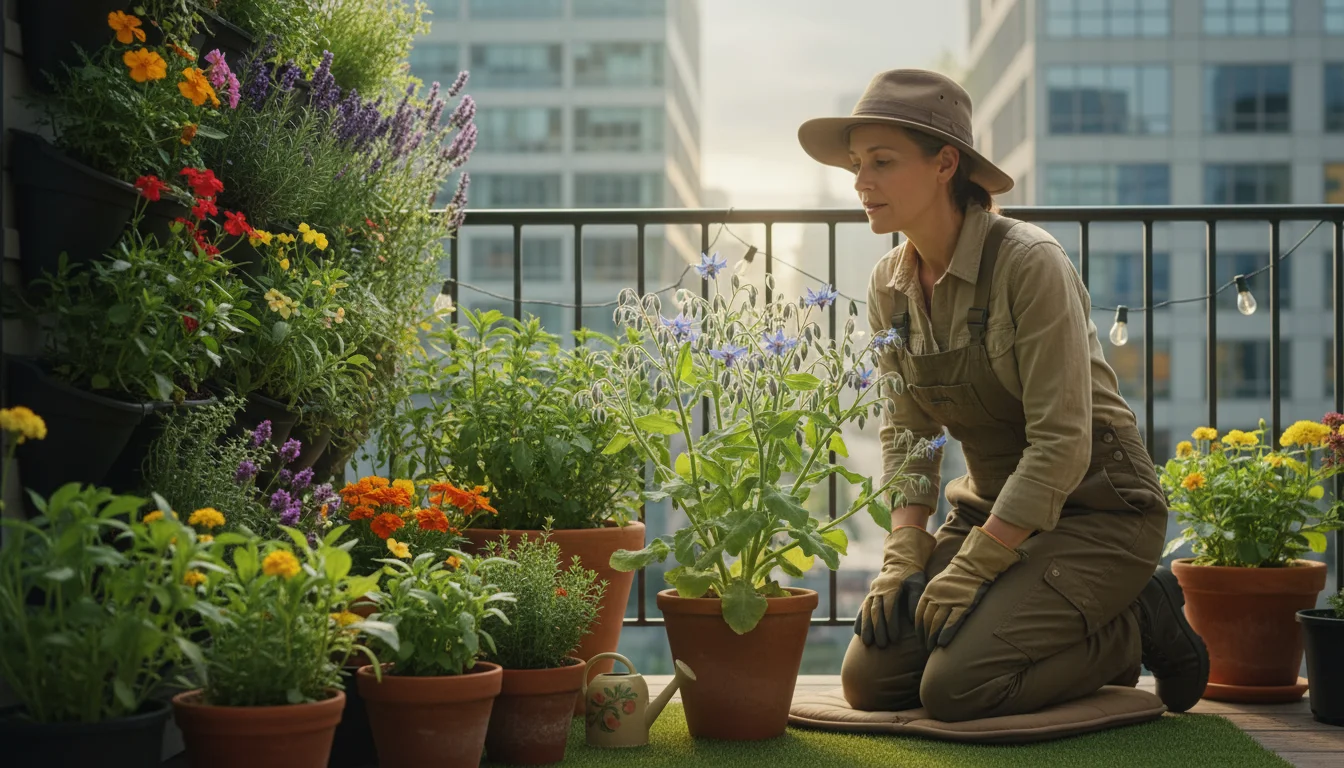
The prospect of cultivating your own saffron offers more than just culinary delight, it provides a unique gardening experience. Saffron, derived from the dried stigmas of the *Crocus sativus* flower, holds a legendary status due to its labor-intensive harvest. Each bloom yields only three delicate, thread-like stigmas, requiring thousands of flowers to produce a single pound of the spice. This intensive process explains its steep market price. However, when you grow saffron yourself, you bypass these costs and gain immense satisfaction.
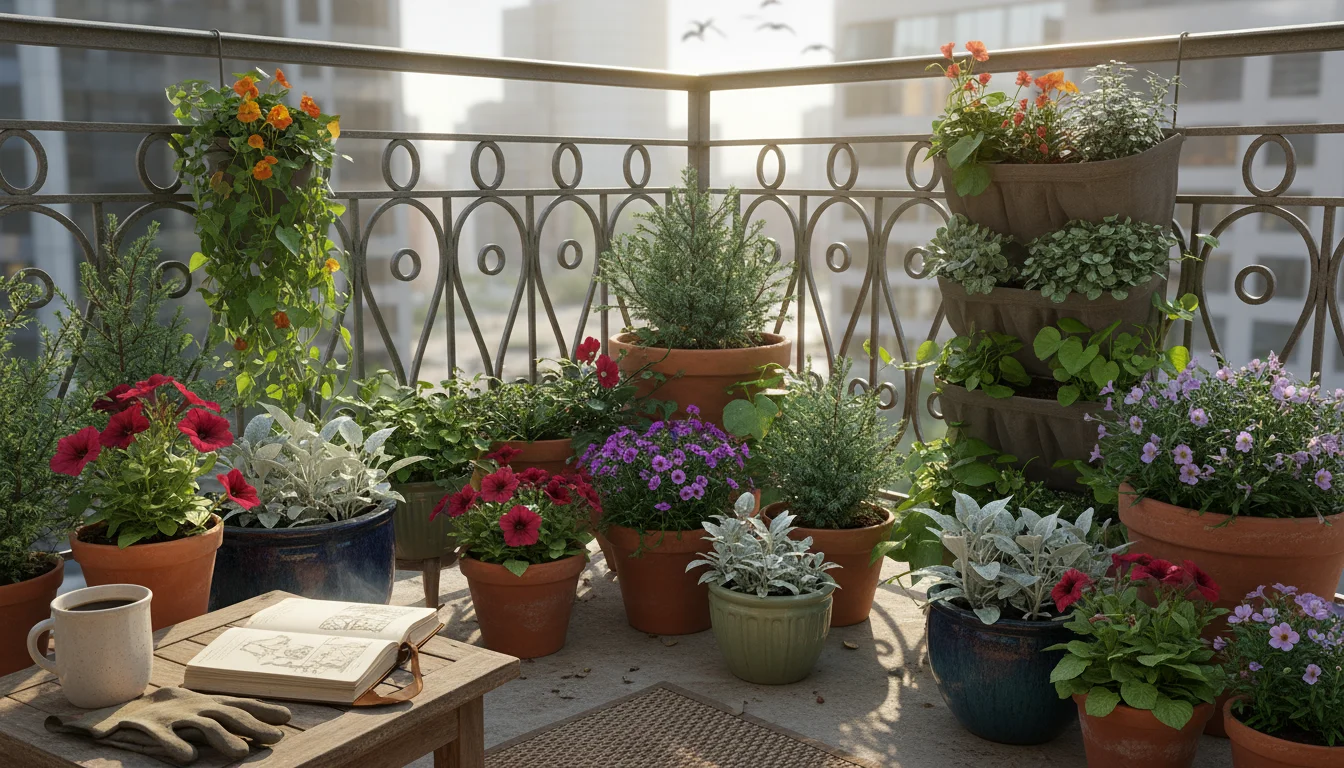
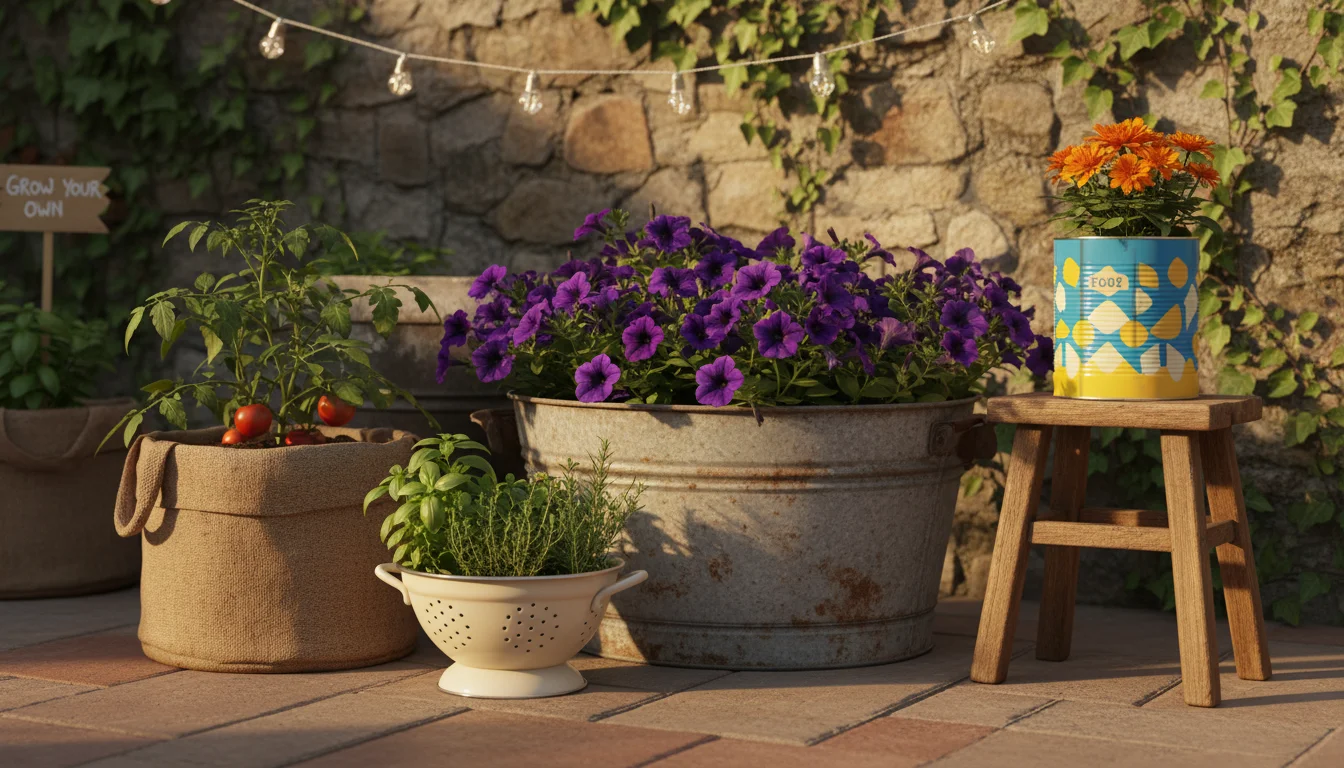
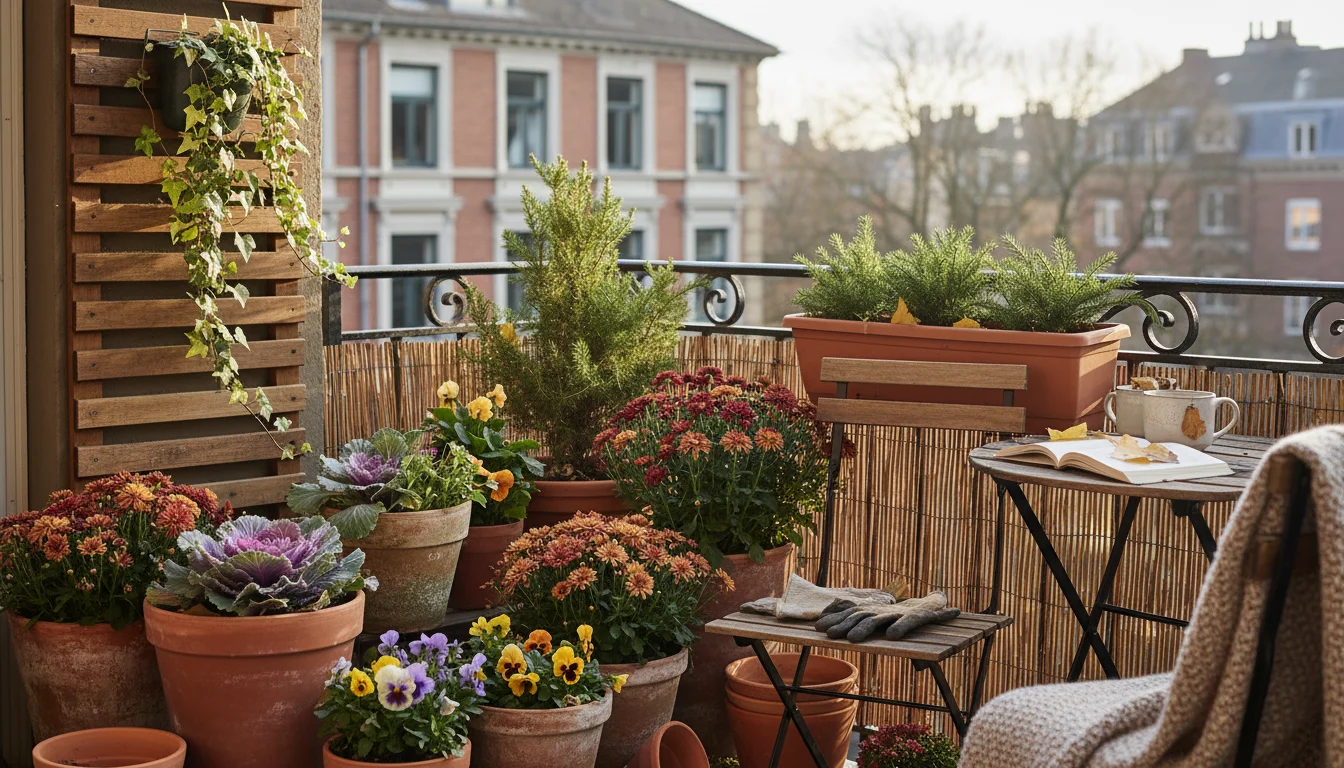
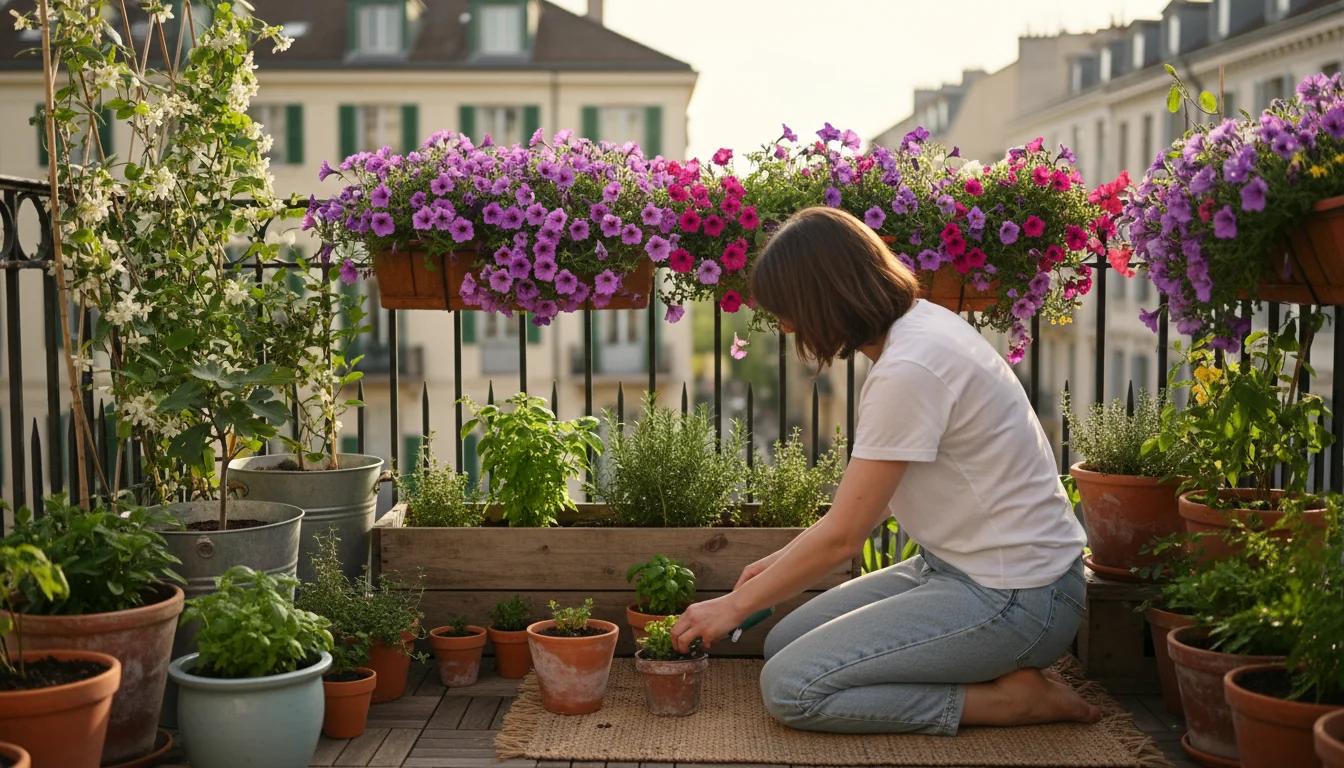
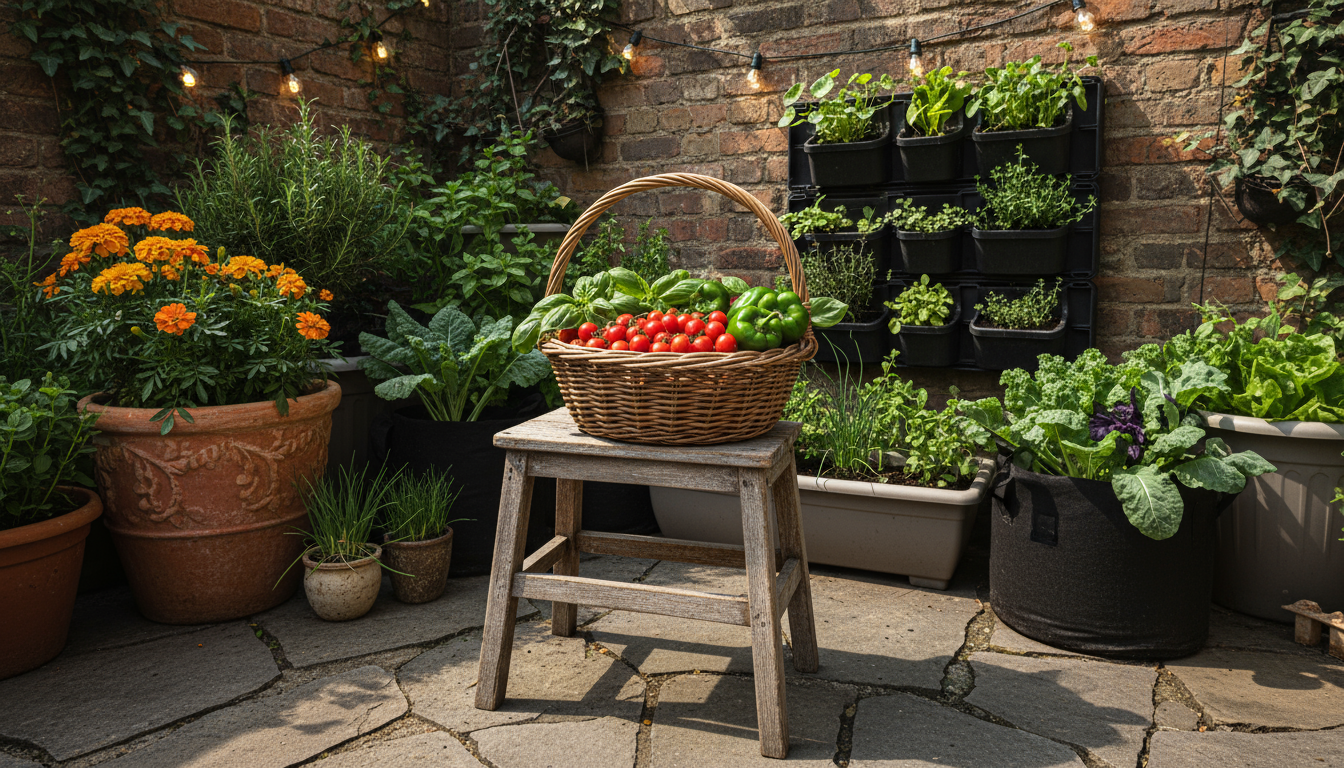
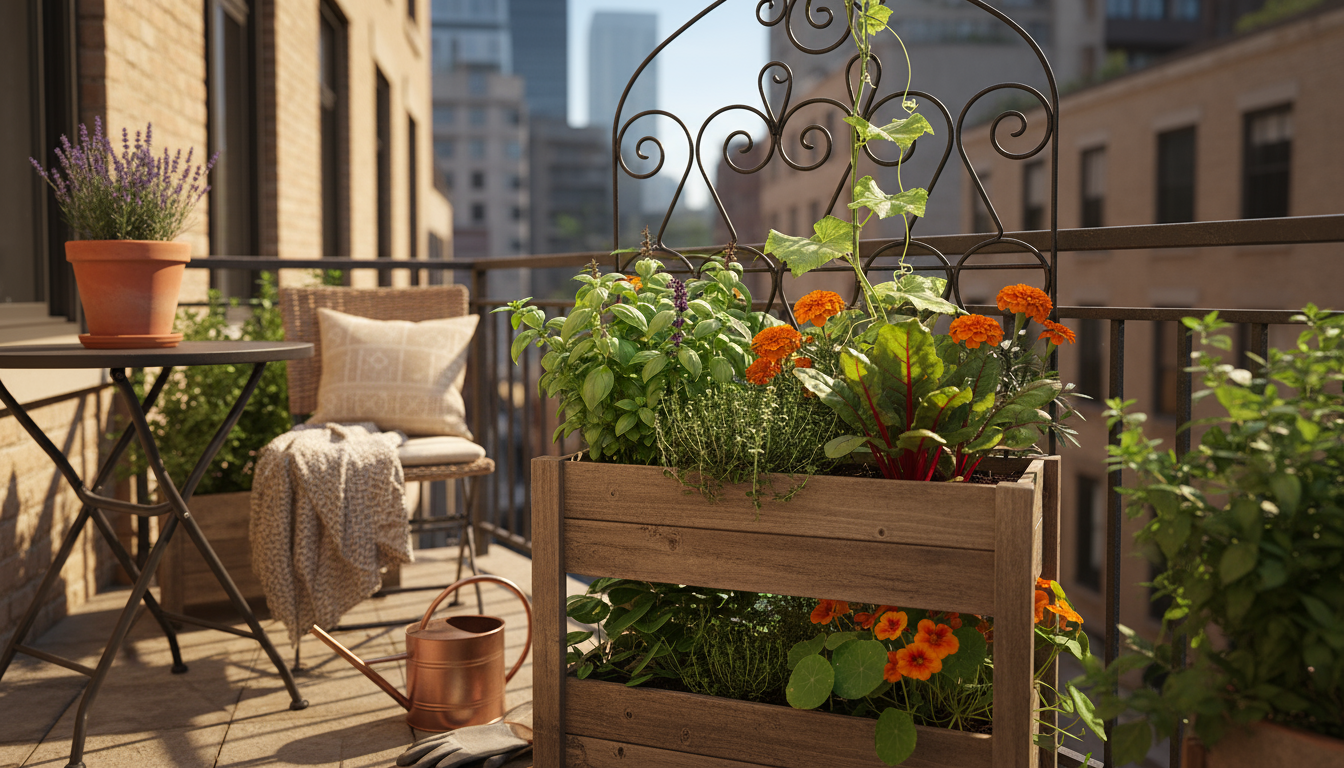
Think about the quality. Store-bought saffron can vary greatly in freshness and potency. By harvesting your own, you guarantee the freshest, most vibrant saffron possible. You control the growing conditions, ensuring your spice is free from unwanted chemicals or additives. Beyond the financial and quality benefits, growing saffron connects you to an ancient agricultural practice, transforming your balcony or small yard into a miniature spice farm. It’s an aspirational project that is surprisingly achievable, particularly for those with limited gardening space. Imagine adding your hand-picked saffron to paella, risotto, or even a comforting cup of tea. This is a journey of cultivating not only a spice but also a profound sense of accomplishment.
Understanding *Crocus sativus*: Your Saffron Source
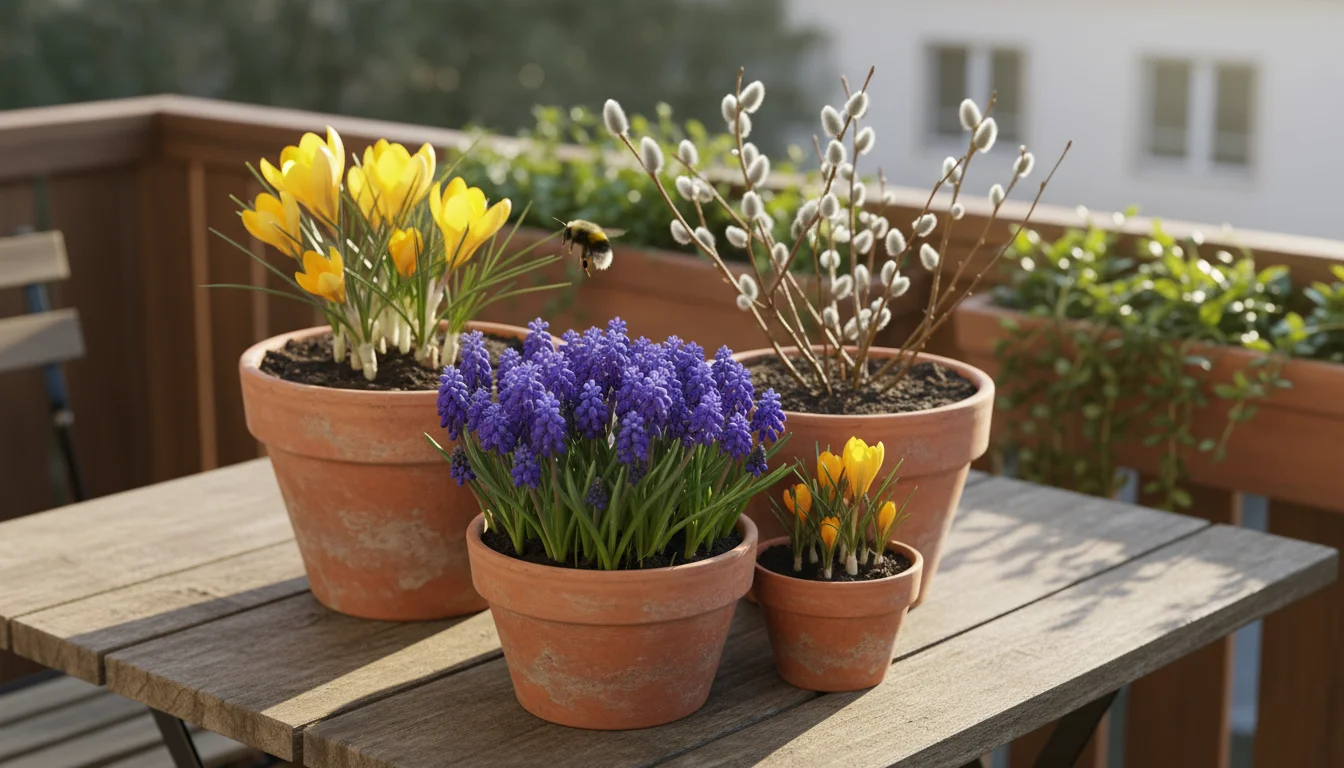
To successfully grow saffron, first understand the plant itself. *Crocus sativus*, often called the saffron crocus, is a fall-flowering perennial corm. A corm resembles a bulb, but it is actually a swollen underground stem that stores food. Unlike the ornamental crocuses that herald spring, saffron crocuses bloom in the autumn. This distinction is crucial when planning your planting schedule.
The plant typically reaches a height of 4 to 6 inches. Its slender, grass-like leaves emerge either before or concurrently with the flowers in the fall, persisting through winter and into spring before dying back in early summer. The striking violet flowers, often appearing in late September or October, are the star of the show. Each bloom contains three prominent, bright red-orange stigmas, which are the saffron threads. These stigmas extend from a yellow stamen, making them easy to identify and harvest.
*Crocus sativus* thrives in well-drained soil and prefers full sun. While it can tolerate some partial shade, especially in hotter climates, maximizing sun exposure generally leads to more abundant flowering and, consequently, more saffron. It is surprisingly resilient and can adapt to a range of temperatures, making it suitable for many regions. The corms multiply over time, producing smaller offsets that can be separated and replanted, increasing your saffron yield year after year. Understanding these fundamental characteristics sets the stage for successful cultivation in containers.
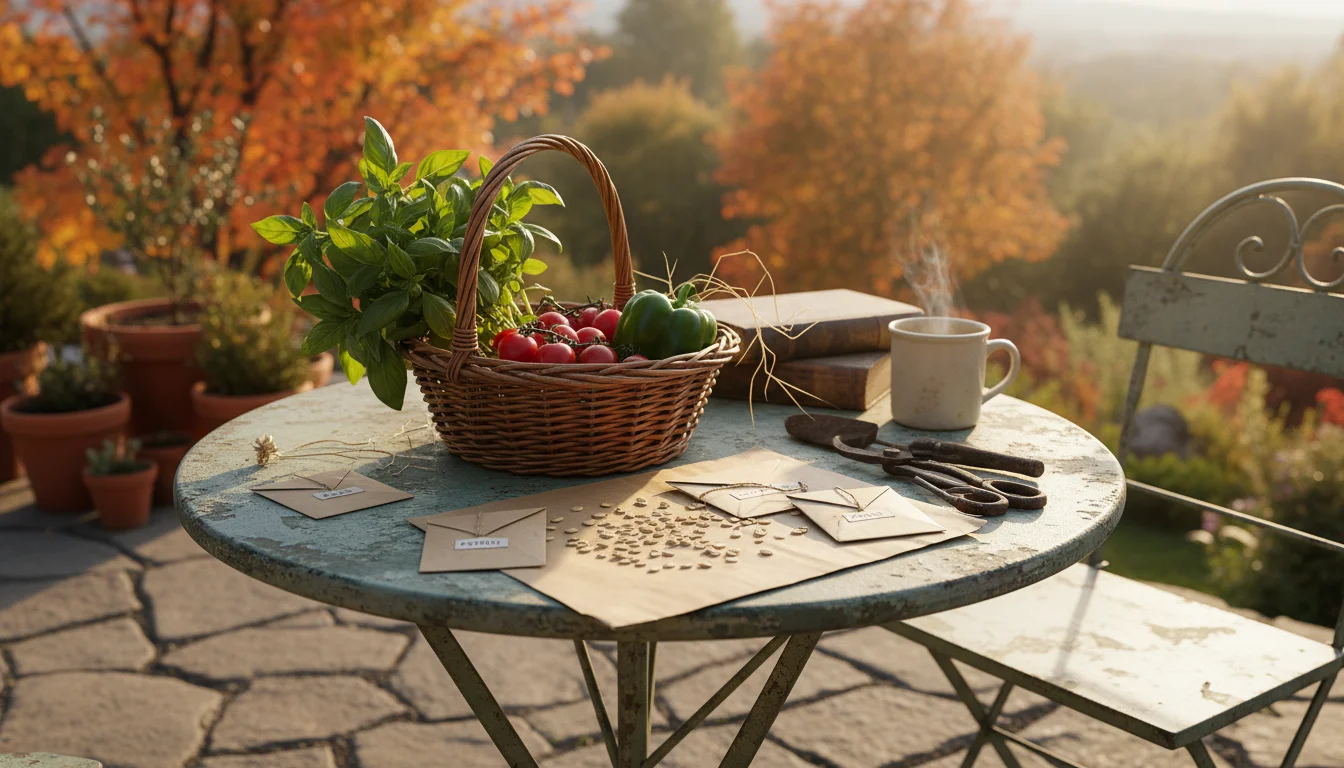
Selecting the Best Saffron Crocus Bulbs
The success of your saffron harvest begins with choosing high-quality saffron crocus corms. Think of these corms as the foundation of your entire project, and a strong foundation ensures a thriving plant. When you buy corms, you are purchasing the potential for future saffron.
Prioritize reputable suppliers. Purchasing from established nurseries or specialized bulb companies guarantees you receive true *Crocus sativus* corms, not a look-alike ornamental variety. Online retailers are often a convenient source, but always check reviews and look for companies that specialize in edible or uncommon bulbs. Avoid generic garden stores that might mislabel or offer inferior stock.
When inspecting corms, look for several key indicators of health:
- Firmness: Healthy corms feel firm to the touch. Avoid any that feel soft, mushy, or show signs of rot. These are likely diseased or damaged.
- Size: Larger corms, typically those with a circumference of 9-10 cm or more, generally produce more flowers in their first year. While smaller corms will eventually produce saffron, they may take an extra year to establish and flower prolifically.
- Absence of Damage: Check for any cuts, nicks, or bruises. Minor blemishes are usually fine, but significant damage can compromise the corm’s ability to grow.
- Mold or Pests: Ensure there are no visible signs of mold, fungus, or insect infestation. Healthy corms should be clean and dry.
Purchase your corms in late summer or early fall, which aligns with the ideal planting time. The fresher the corms, the better their chances of establishment and flowering. Aim to plant them within a few weeks of purchase to prevent them from drying out or sprouting prematurely in storage. Investing in good quality corms pays dividends in the form of a successful and rewarding saffron harvest.
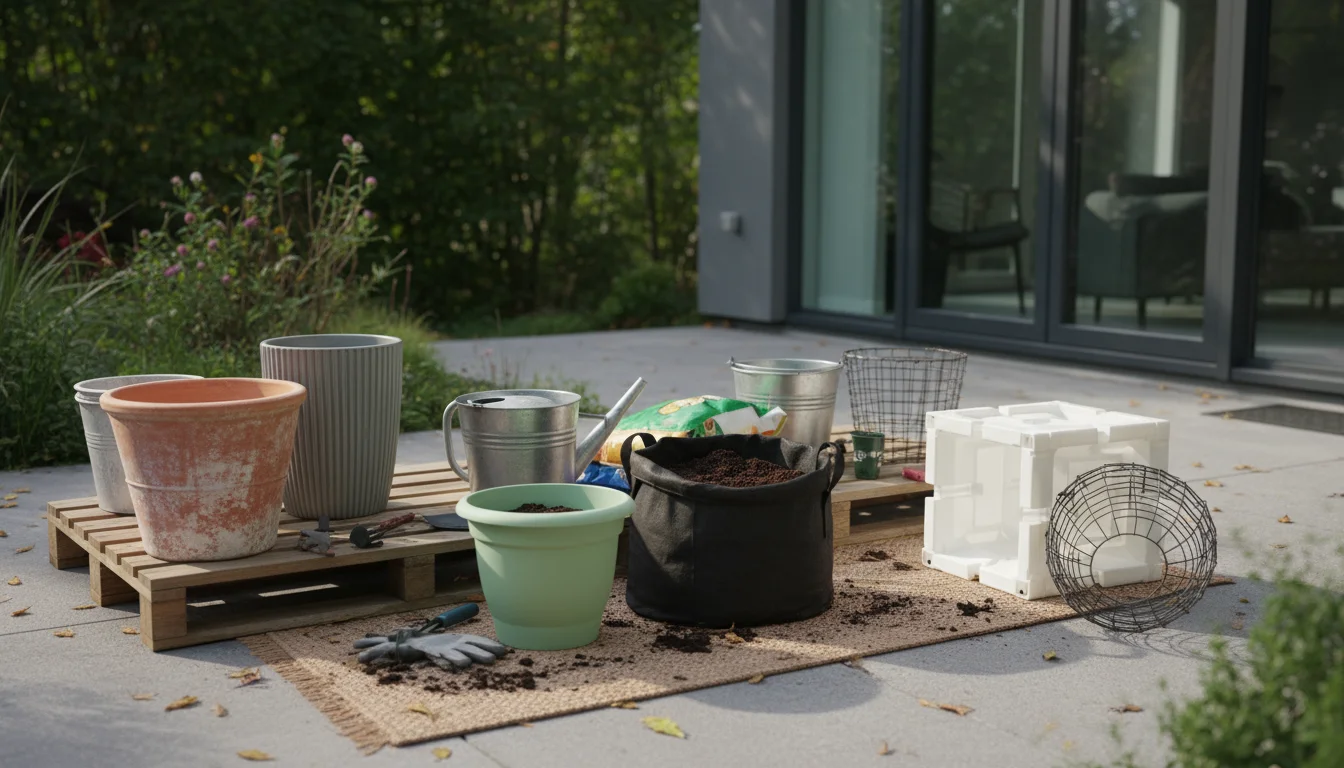
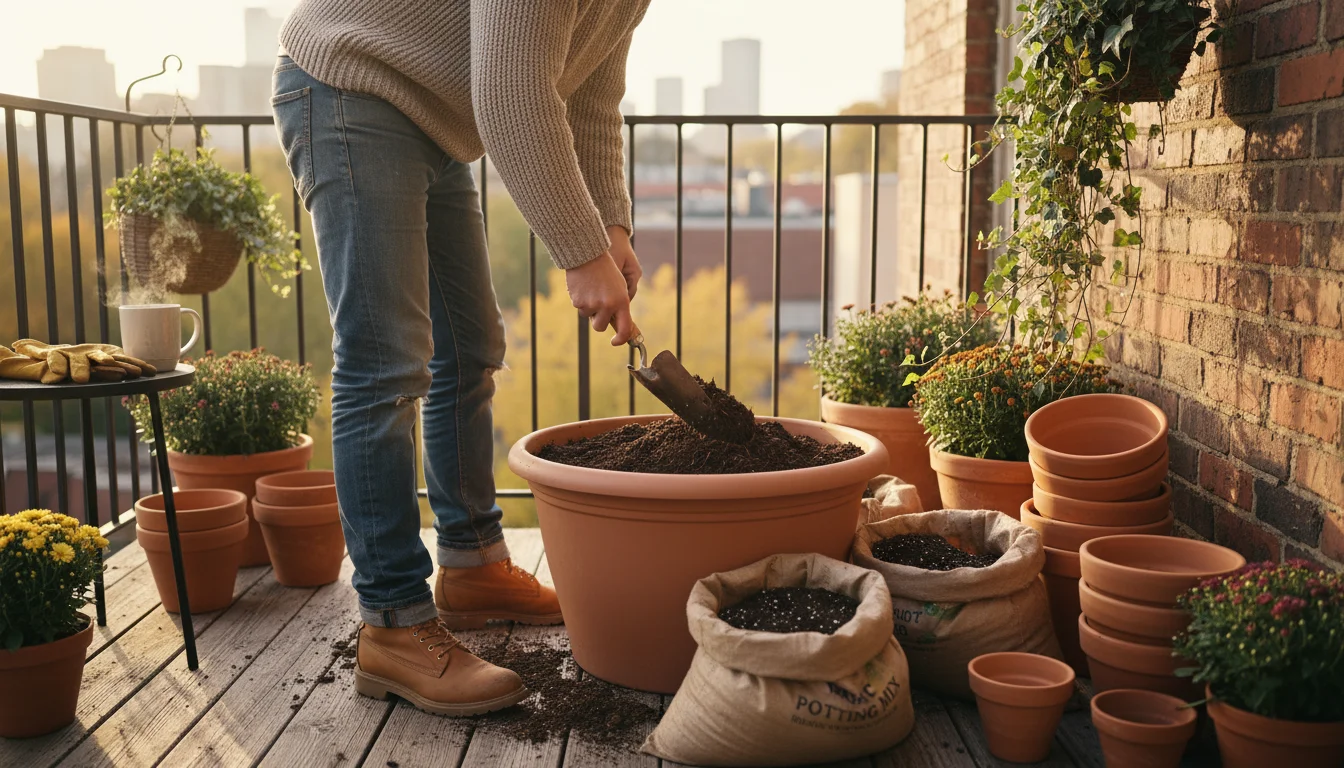
Choosing Containers and Crafting the Perfect Potting Mix
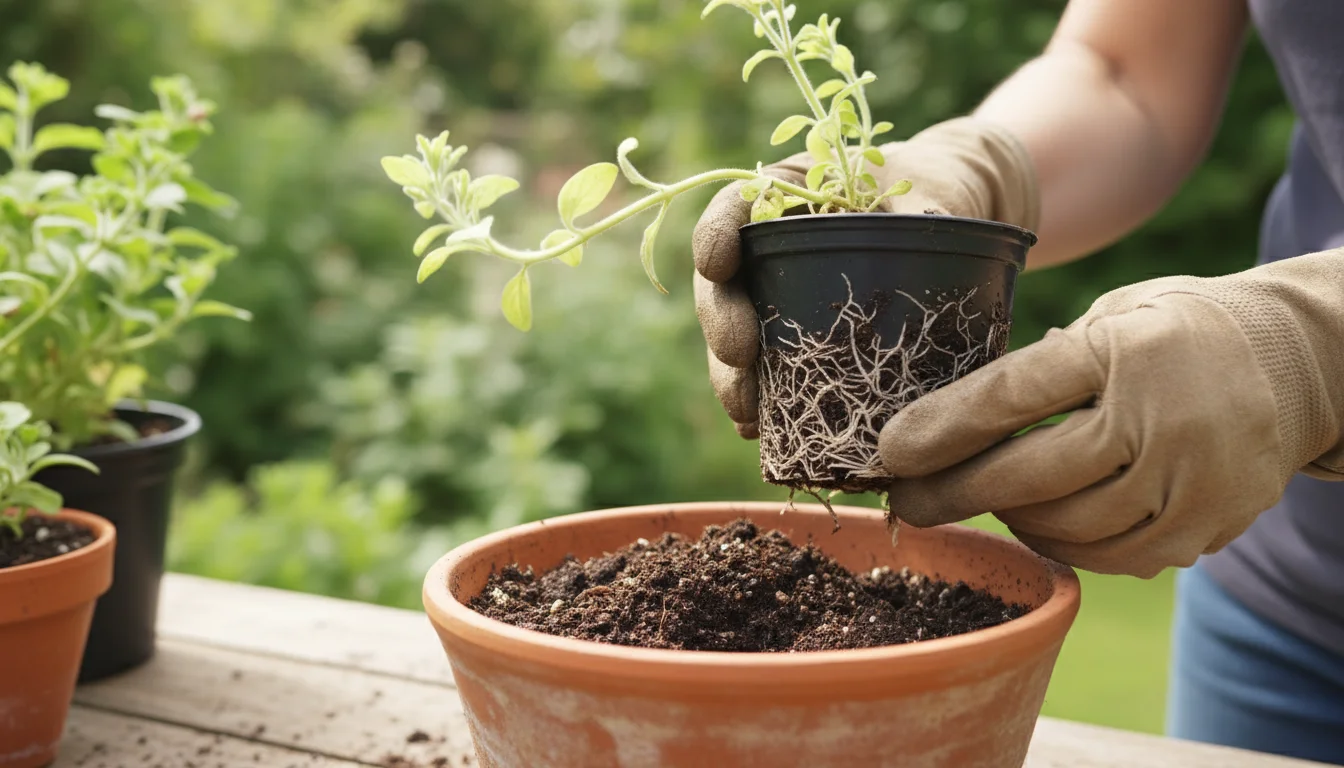
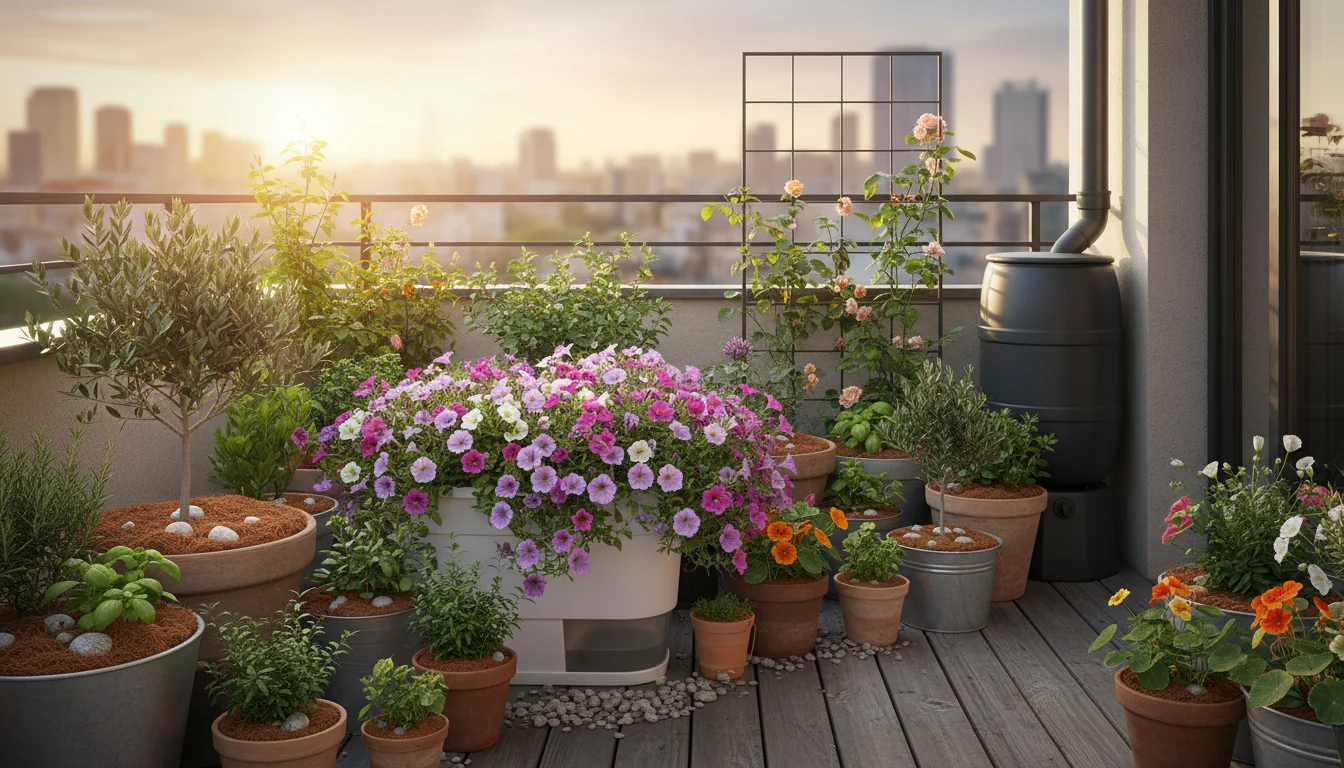
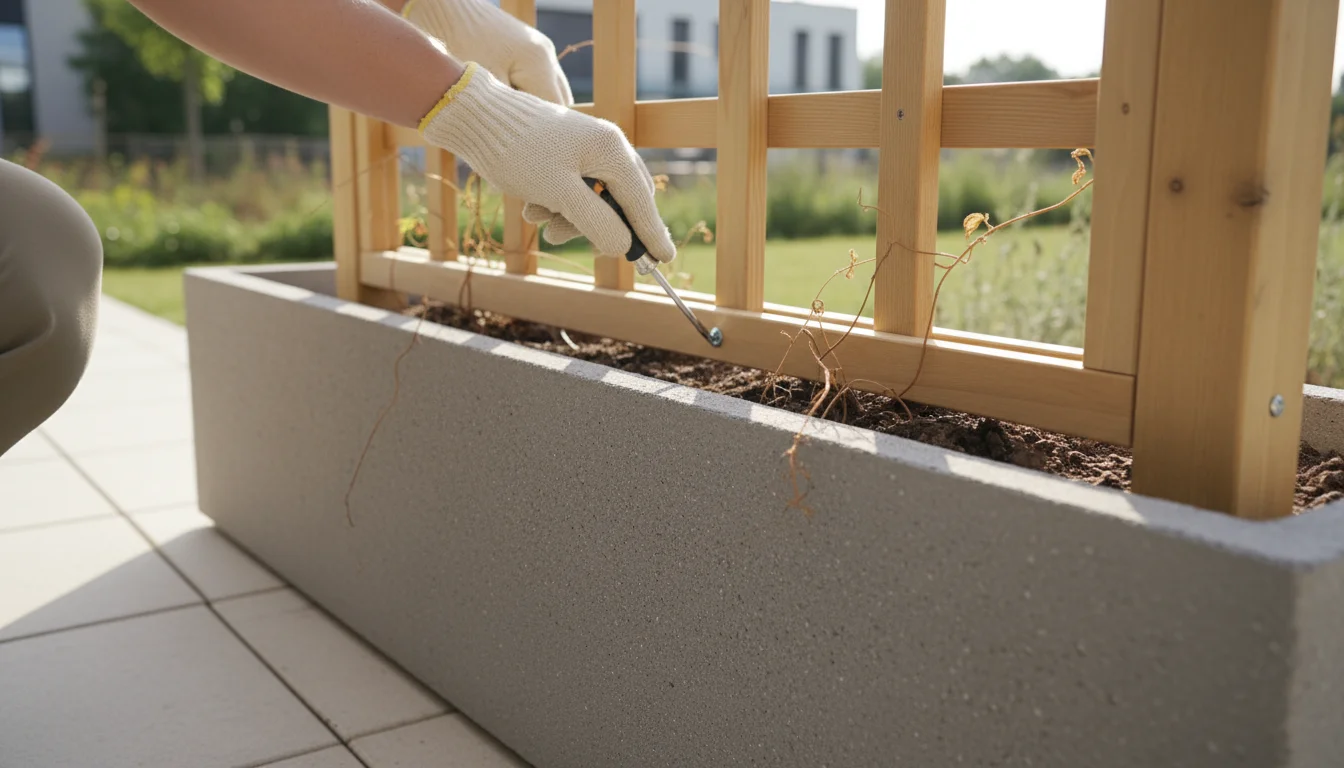
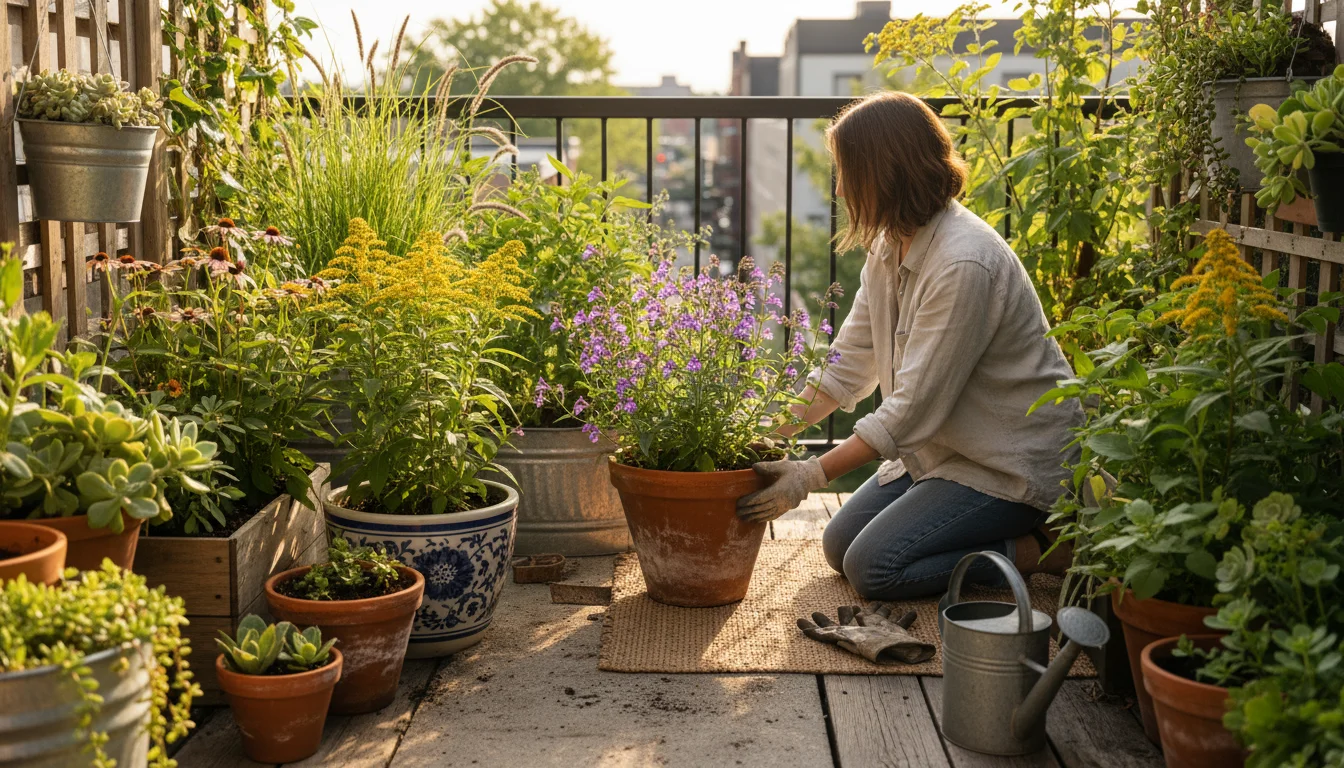
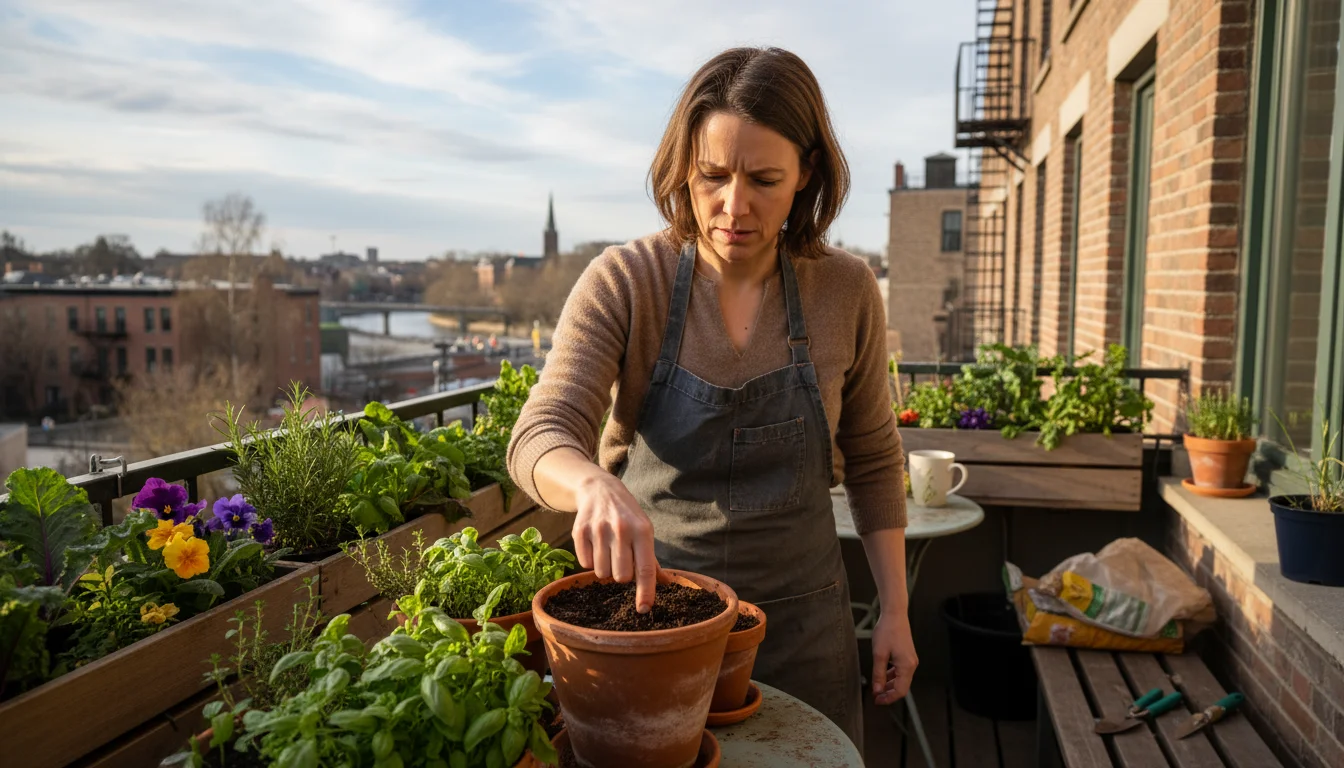
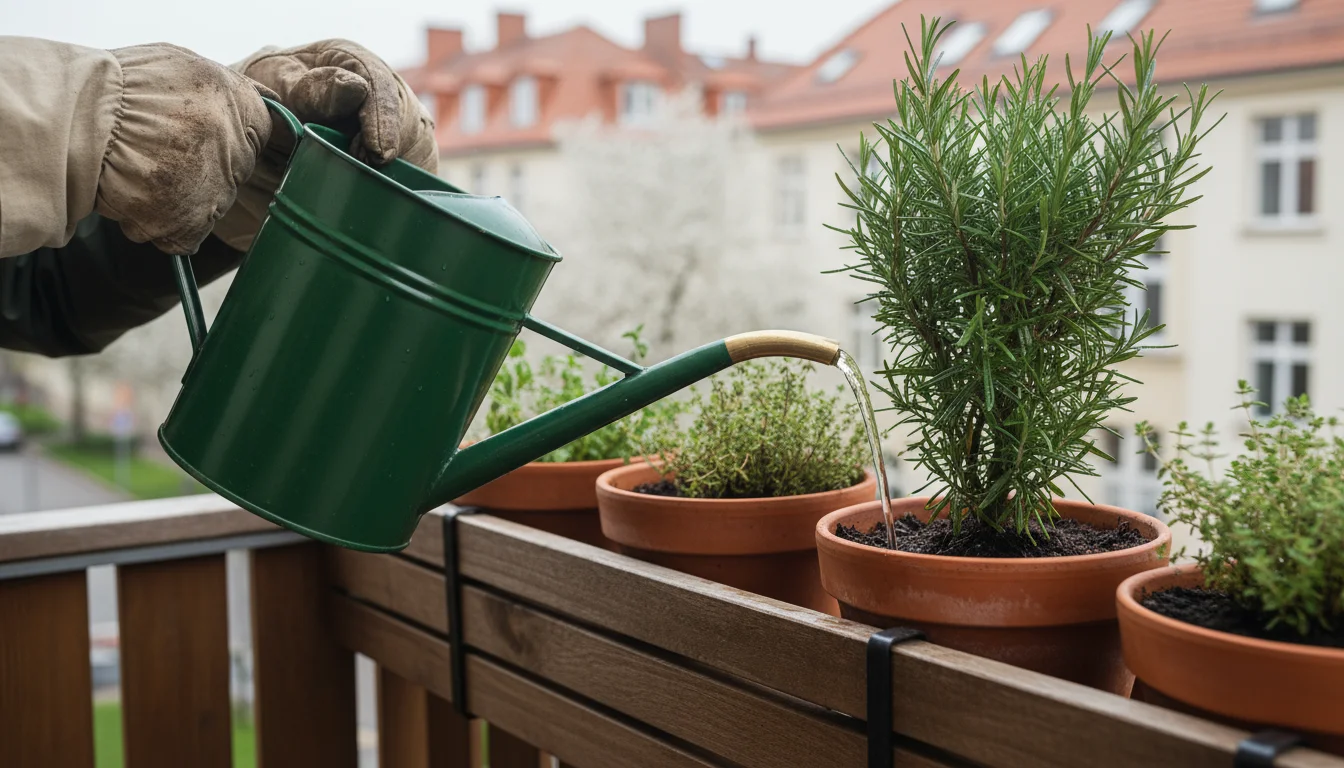
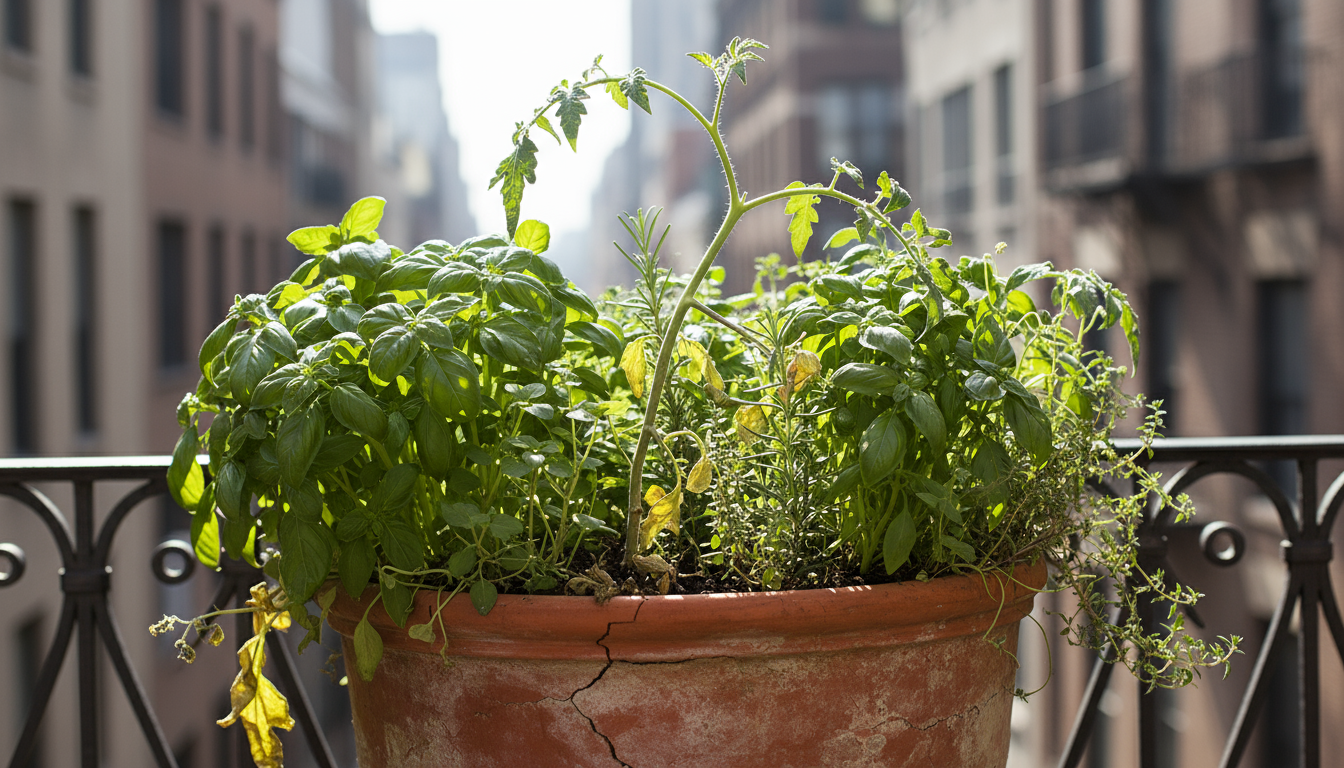
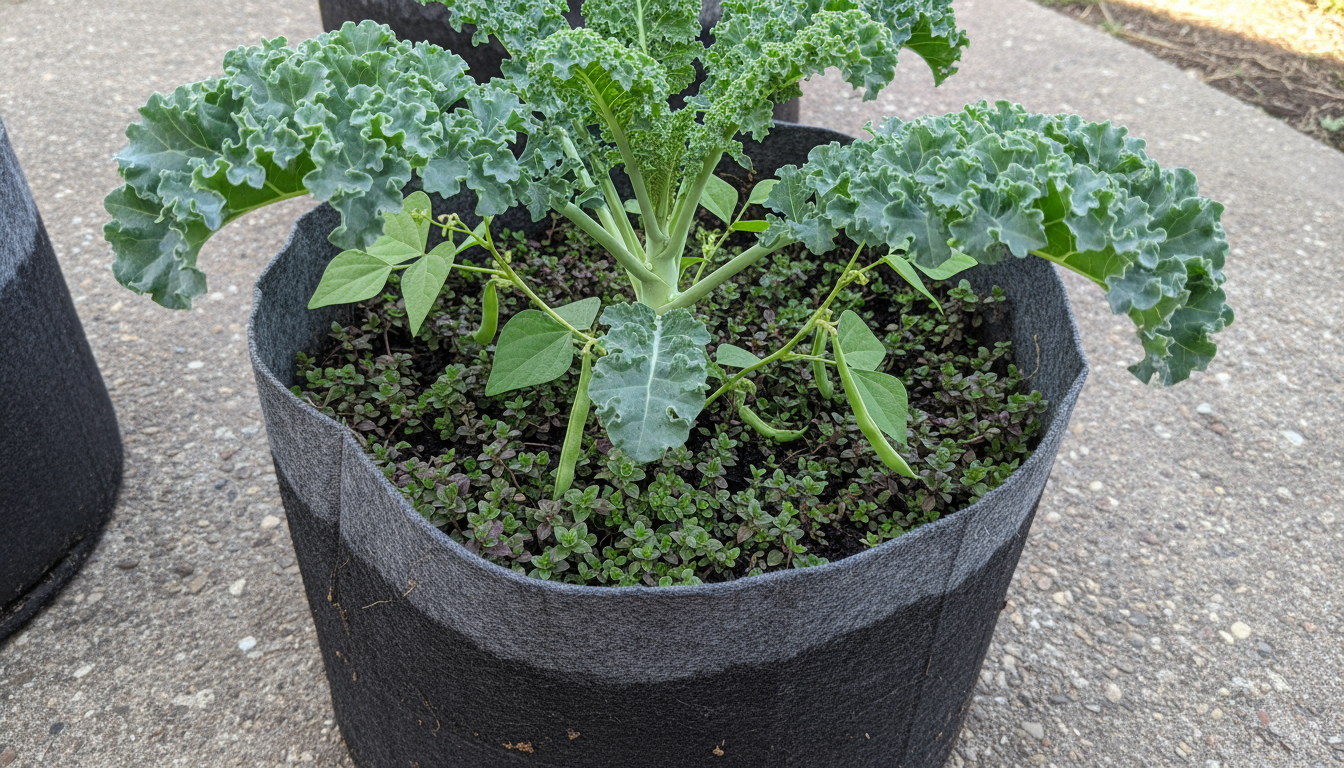
Growing saffron in containers requires careful consideration of both your pot and your soil. These two elements are critical for providing the ideal environment for your *Crocus sativus* corms to thrive, especially when you are learning how to grow saffron in a pot on a balcony or patio.
Selecting the Right Container
Your choice of container significantly impacts drainage, root space, and overall plant health.
- Size: A pot at least 6 to 8 inches deep and wide is suitable for housing several saffron crocus corms. While the plants themselves are small, the corms need adequate space to multiply and produce offsets. For a visually impactful display, consider larger containers 12-18 inches in diameter.
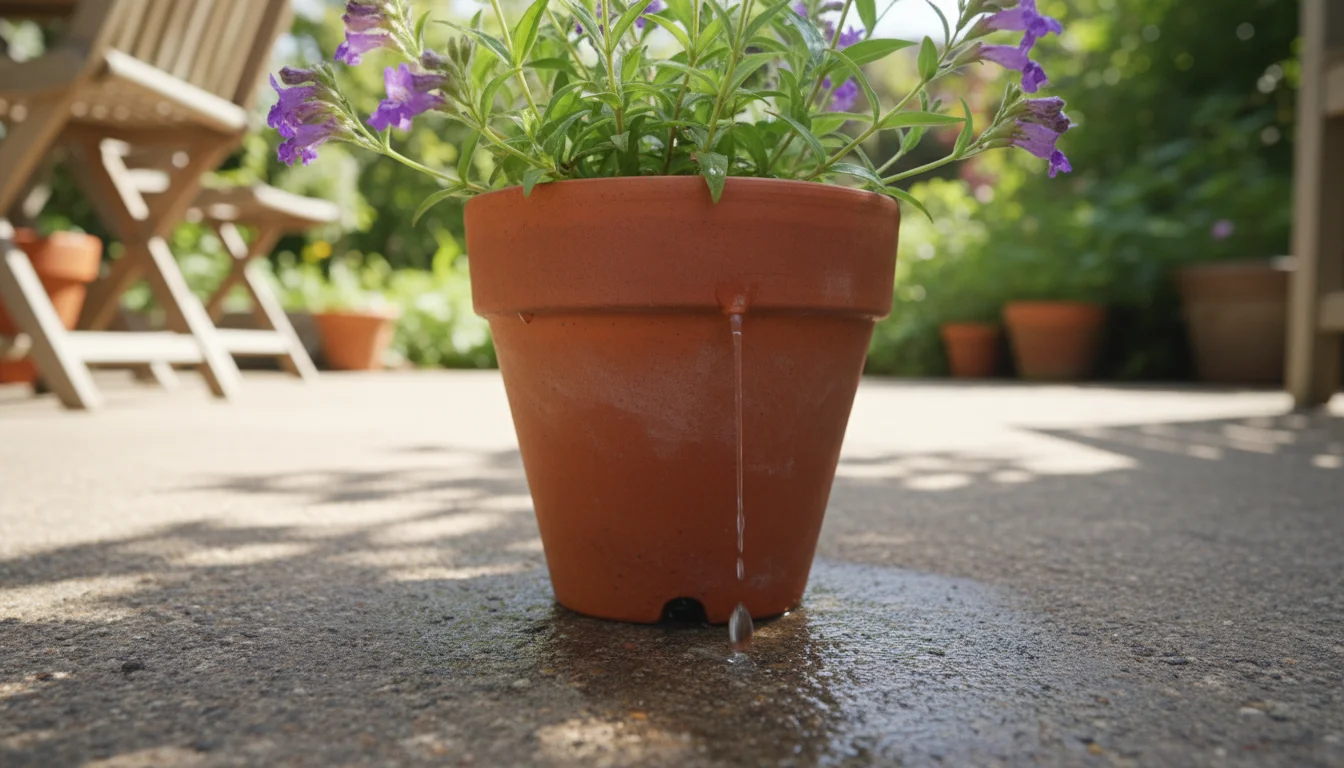
- Drainage: This is paramount. Saffron crocuses absolutely require excellent drainage. Choose pots with multiple drainage holes at the bottom. Without proper drainage, waterlogged soil leads to corm rot, which is a common cause of failure.
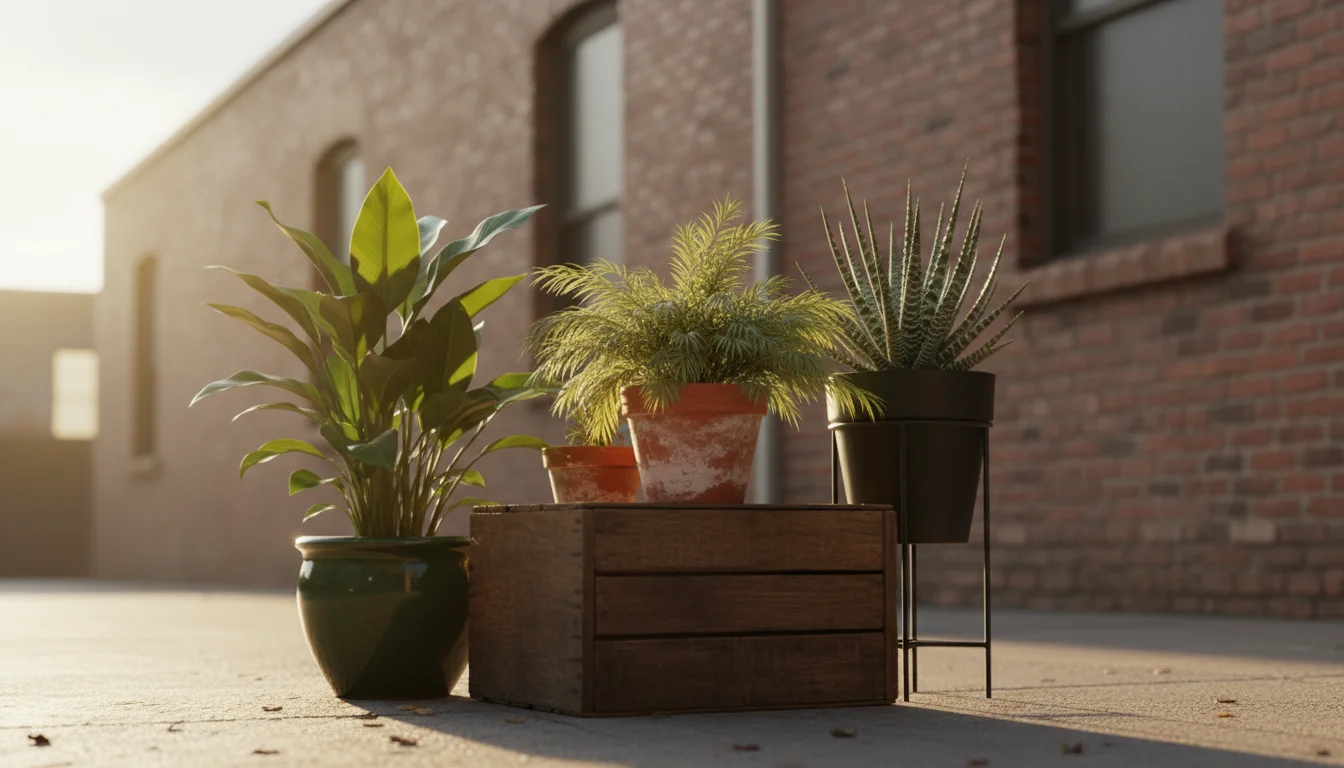
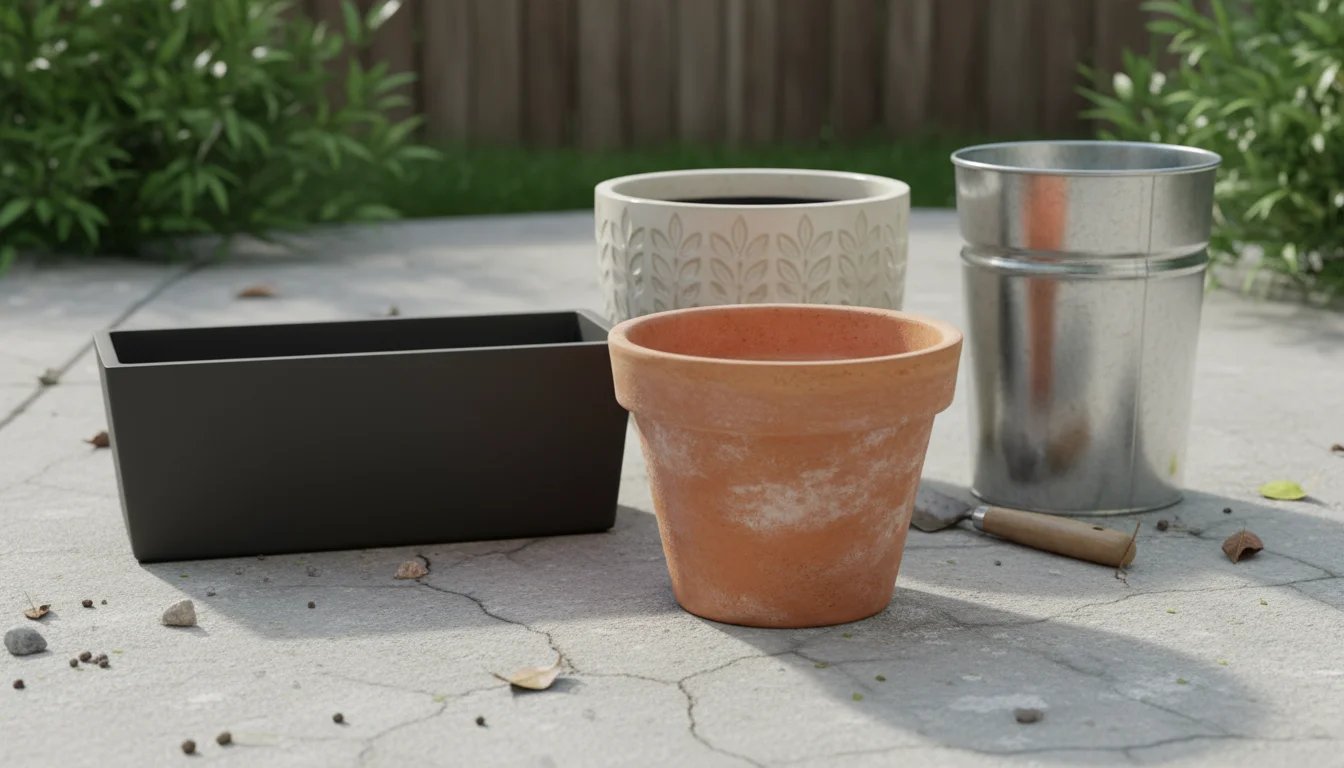
- Material: Terracotta pots are excellent because their porous nature allows for good air circulation and evaporation, helping to prevent soggy soil. Plastic pots also work but require more vigilant watering as they retain moisture longer. Glazed ceramic or concrete pots are also viable, provided they have ample drainage. Avoid anything that holds water excessively.
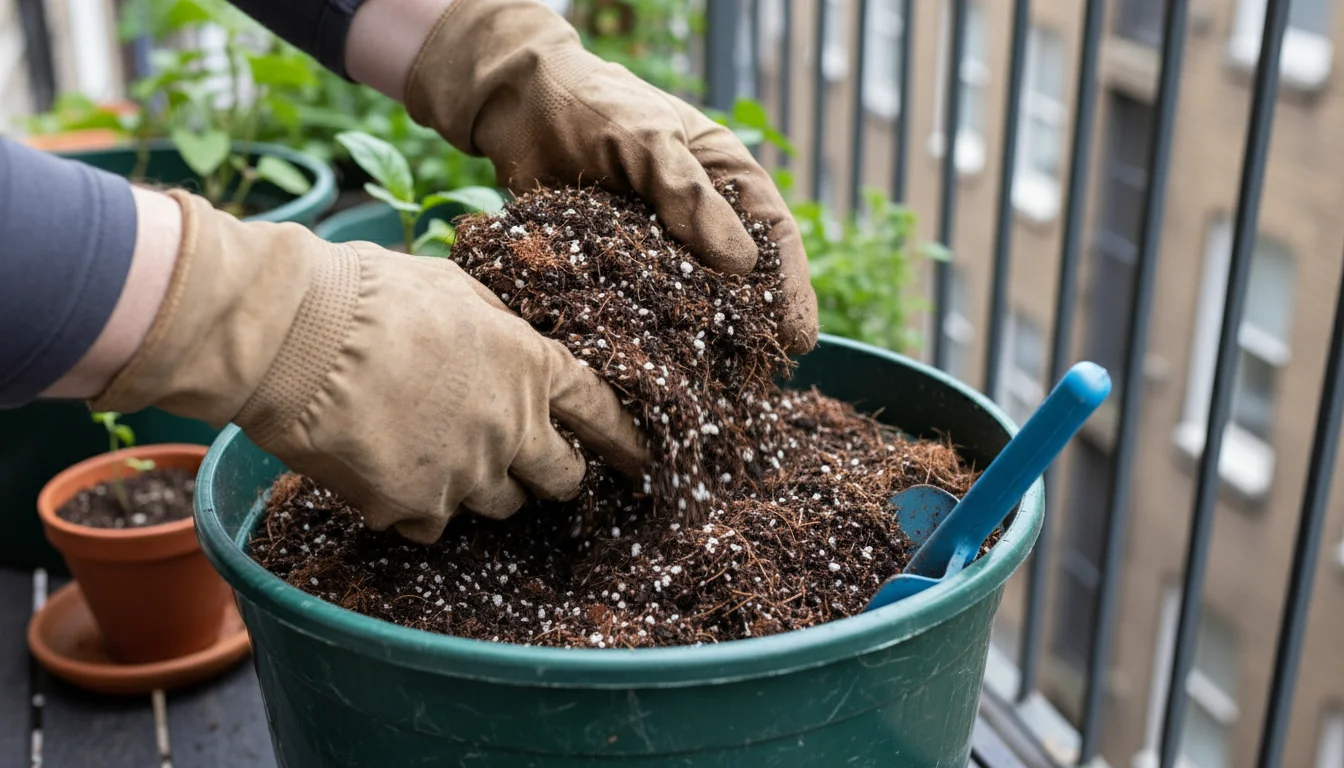
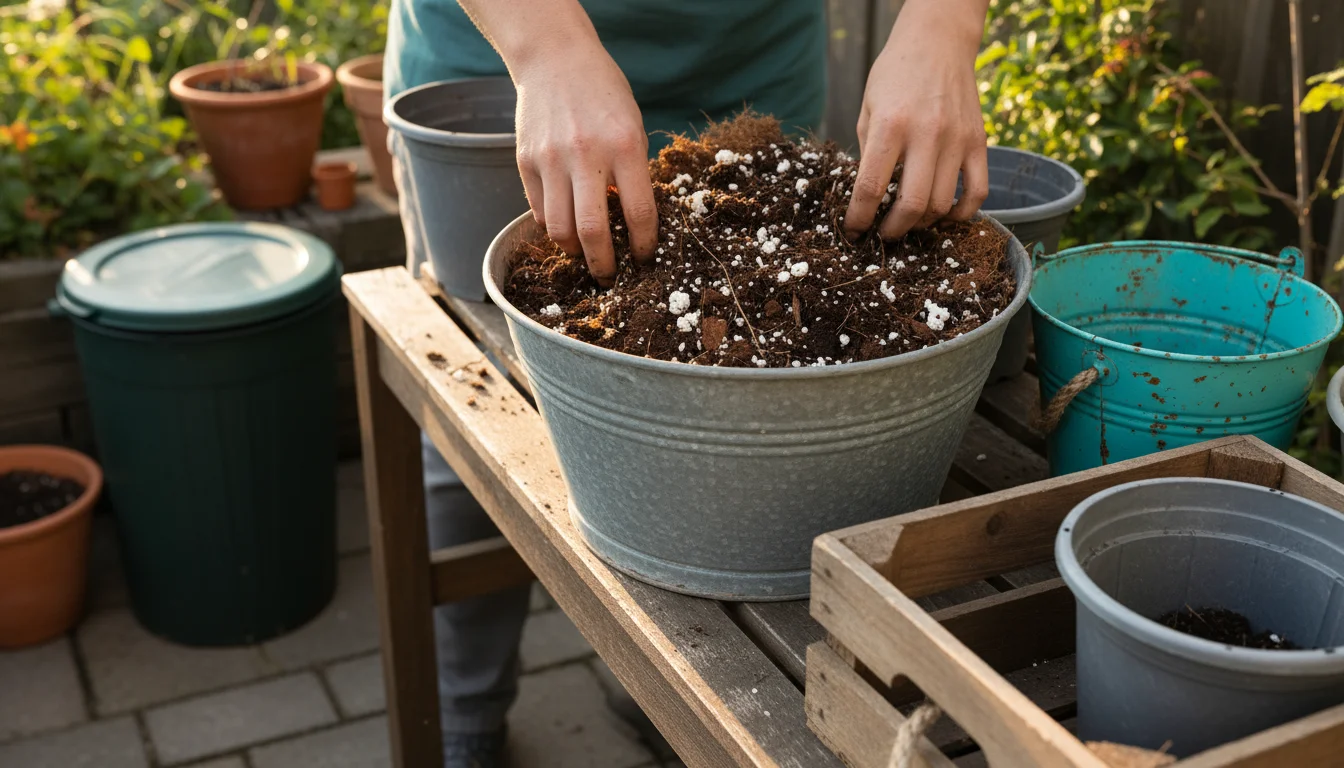
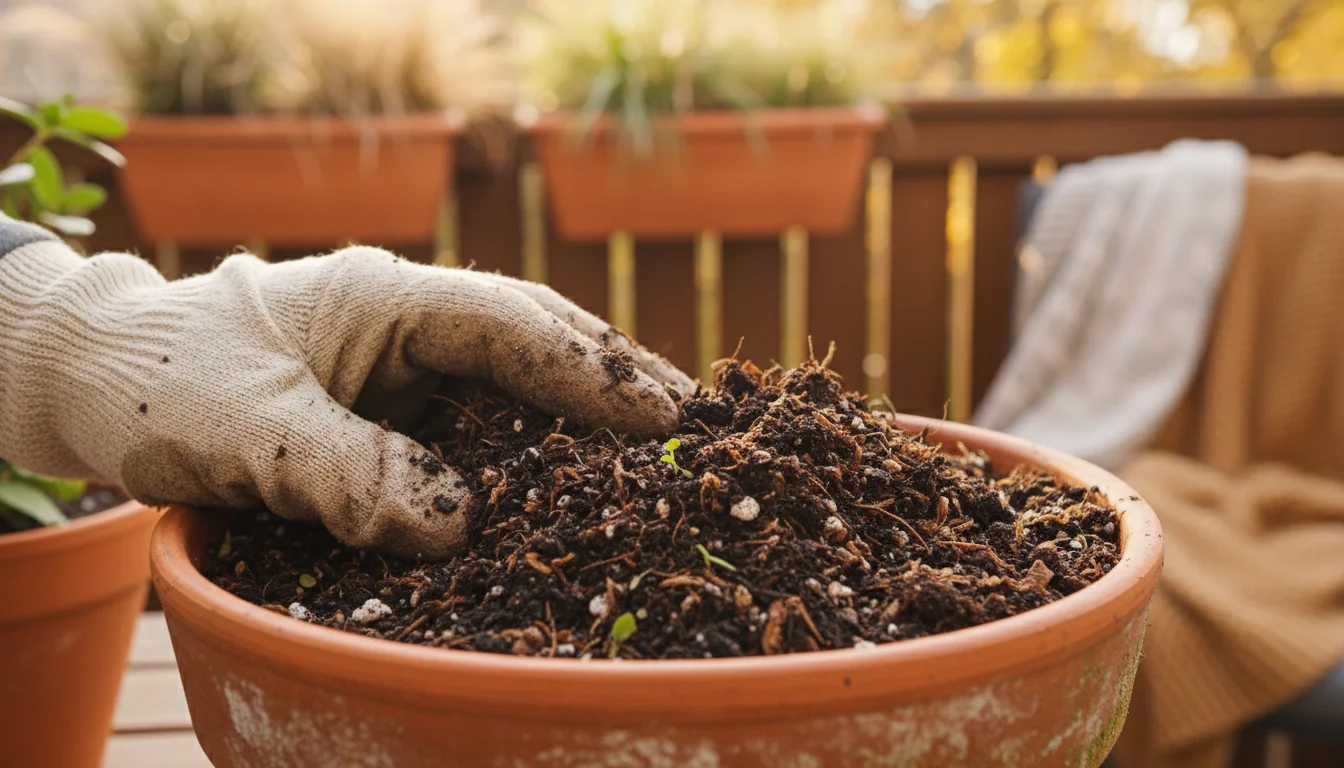
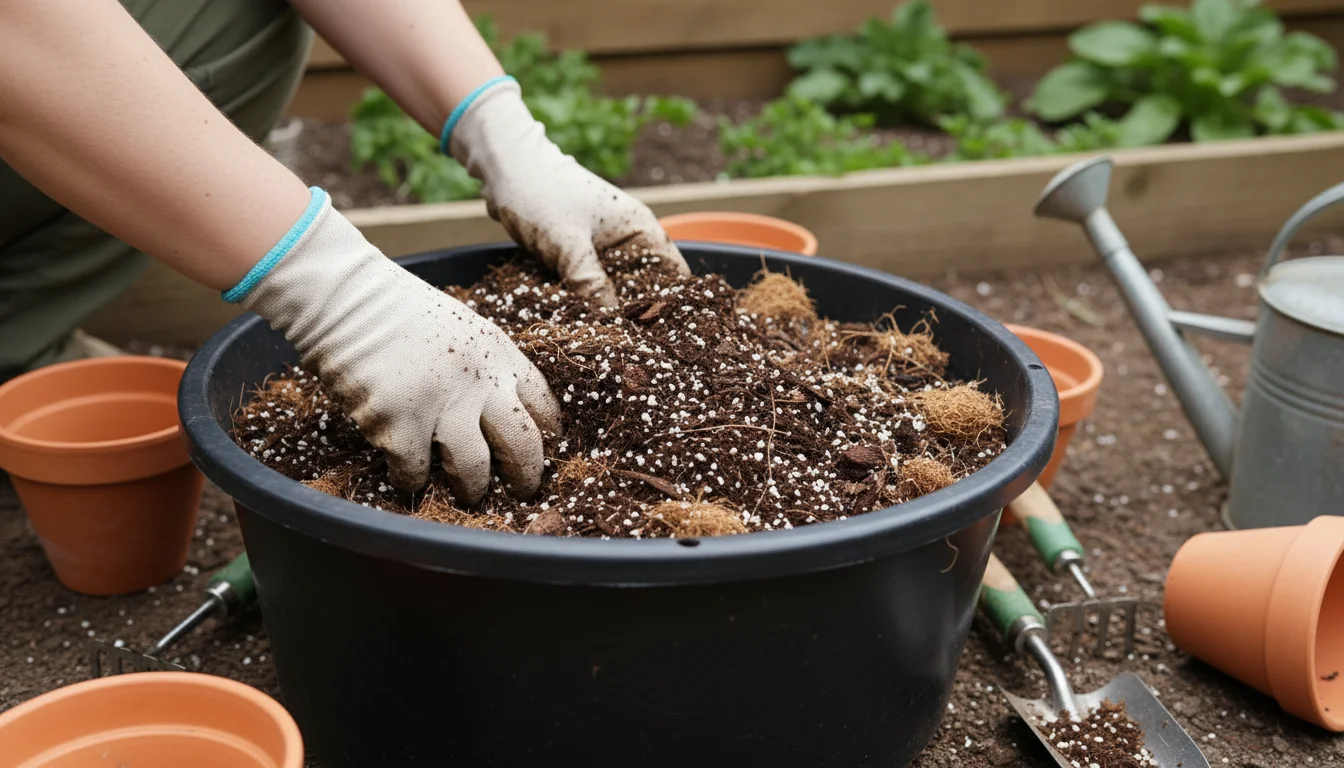
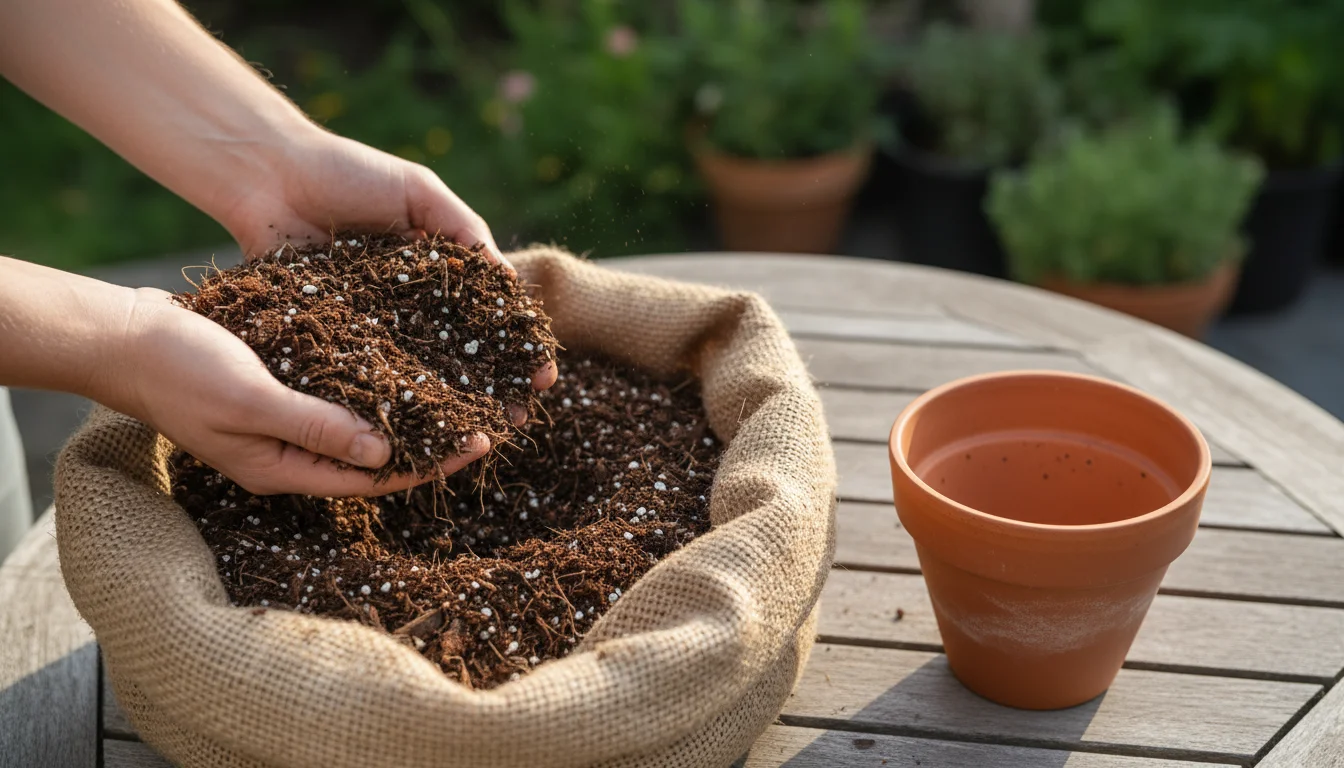
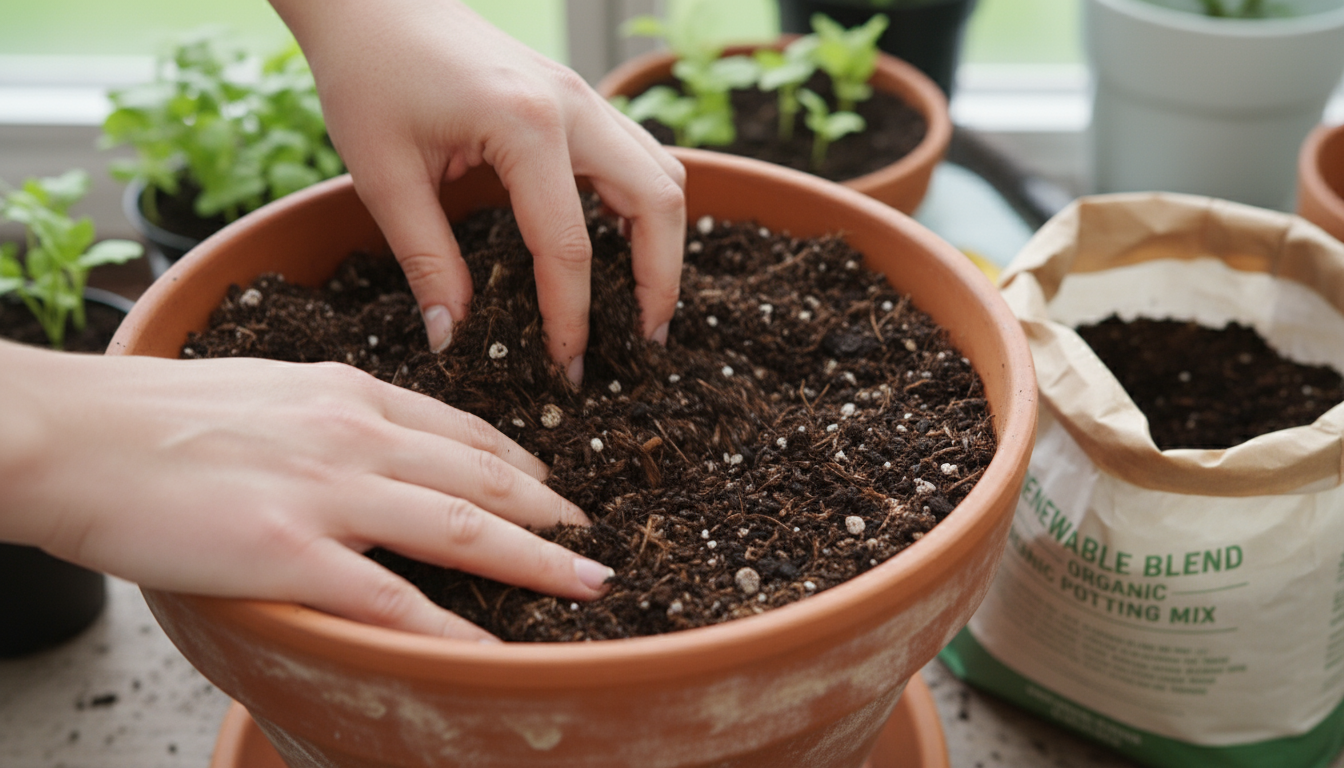
Crafting the Perfect Potting Mix
The soil environment directly influences corm health and flower production. Saffron crocuses prefer sandy, well-draining soil with a neutral pH, around 6.5 to 7.0.
Creating your own mix or amending a commercial one provides the best results:
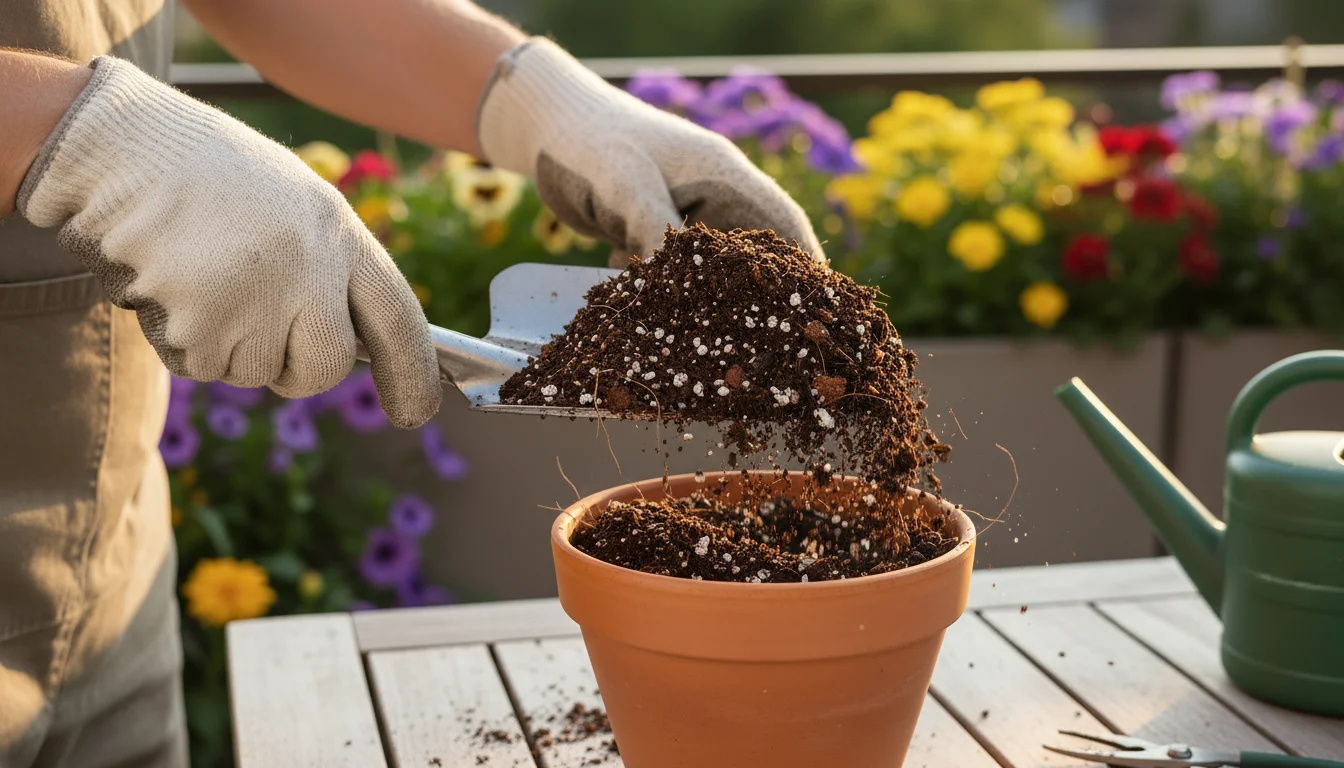
- High-Quality Potting Mix: Start with a good general-purpose potting mix. Avoid heavy garden soil, which compacts easily in containers and restricts drainage.
- Amend for Drainage: Incorporate materials that enhance drainage and aeration. Perlite, coarse sand, or small gravel are excellent choices. A common ratio is 2 parts potting mix to 1 part perlite or coarse sand. This creates a friable, gritty texture that allows water to pass through quickly.
- Nutrient Content: While saffron crocuses do not require excessively rich soil, a balanced slow-release fertilizer or a small amount of compost can be beneficial during planting. Over-fertilization, especially with nitrogen, can promote leaf growth at the expense of flowers, so exercise caution.
Ensure your potting mix is well-aerated, preventing compaction around the corms. This combination of a suitable container and a specialized potting mix creates an environment where your saffron crocuses can flourish, leading to a successful spice harvest.
Step-by-Step: Planting Your Saffron Crocus Bulbs
Planting crocus sativus bulbs in fall is a straightforward process, crucial for their successful establishment and subsequent flowering. Follow these steps for optimal results, whether you are preparing a single pot or several for your small space.
Timing is Key
Plant your saffron crocus corms in late summer or early fall, typically from August to early October, before the first hard frost. This timing allows the corms to establish roots before winter, setting them up for autumn blooms.
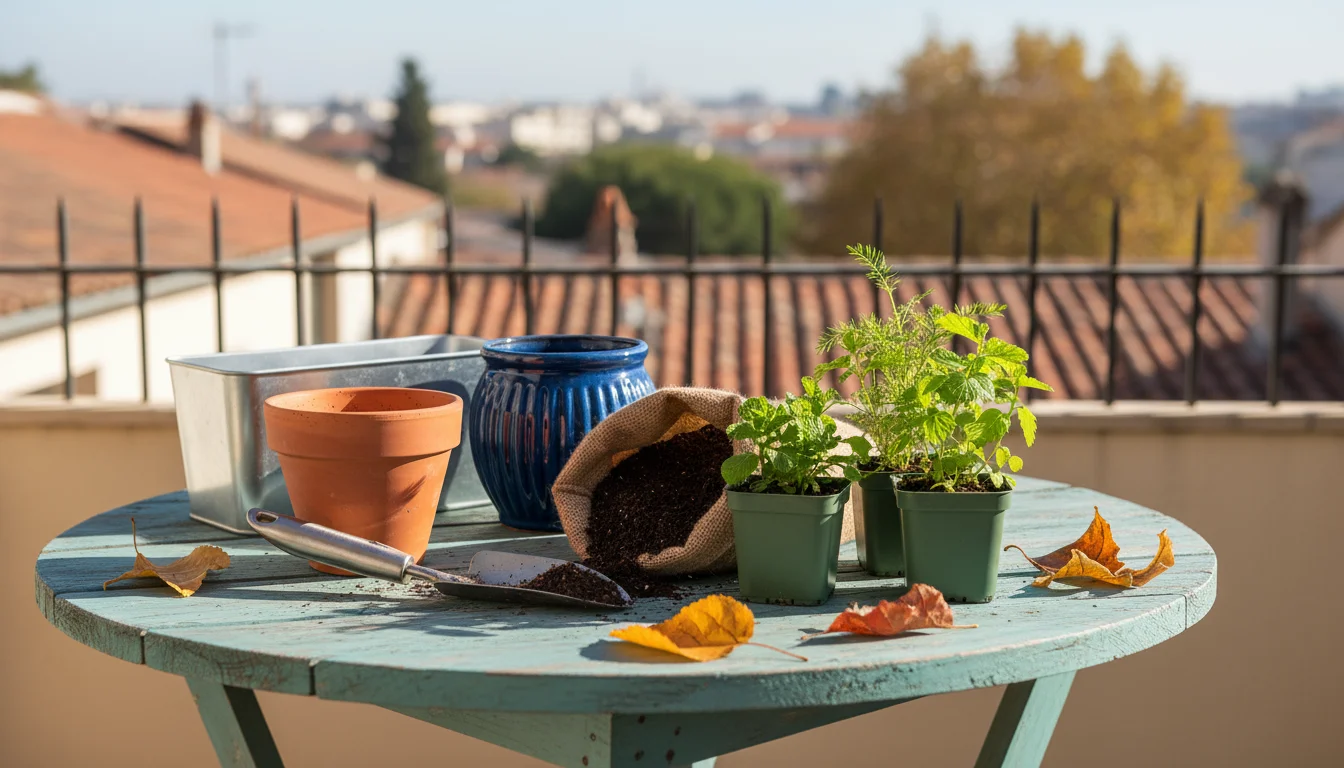
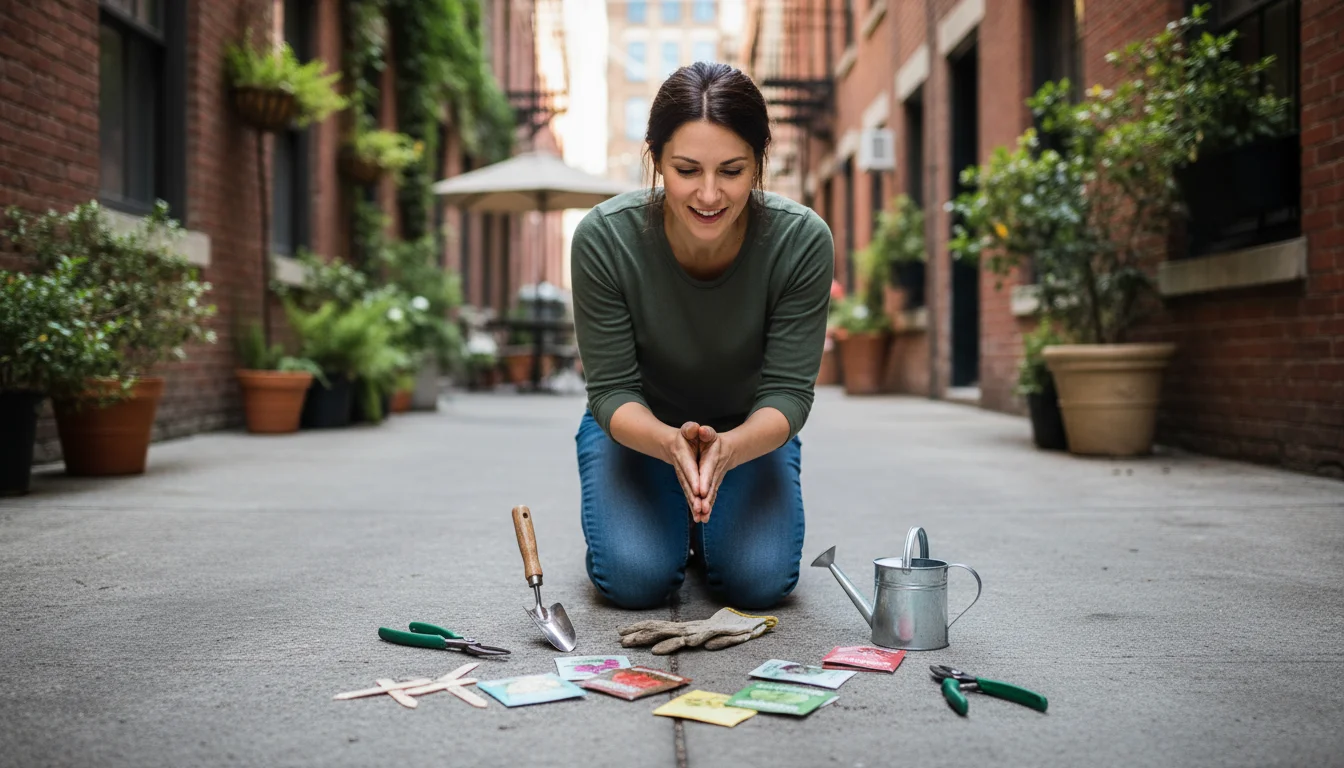
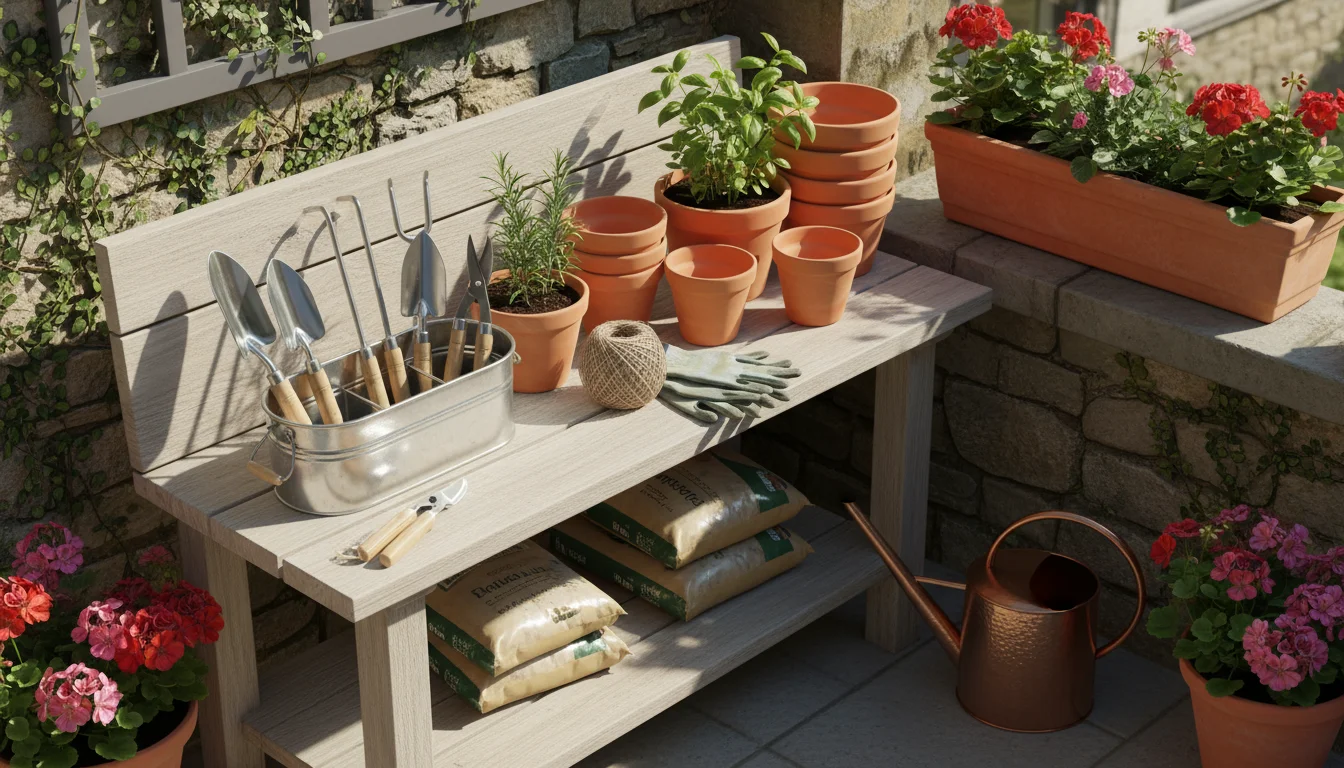
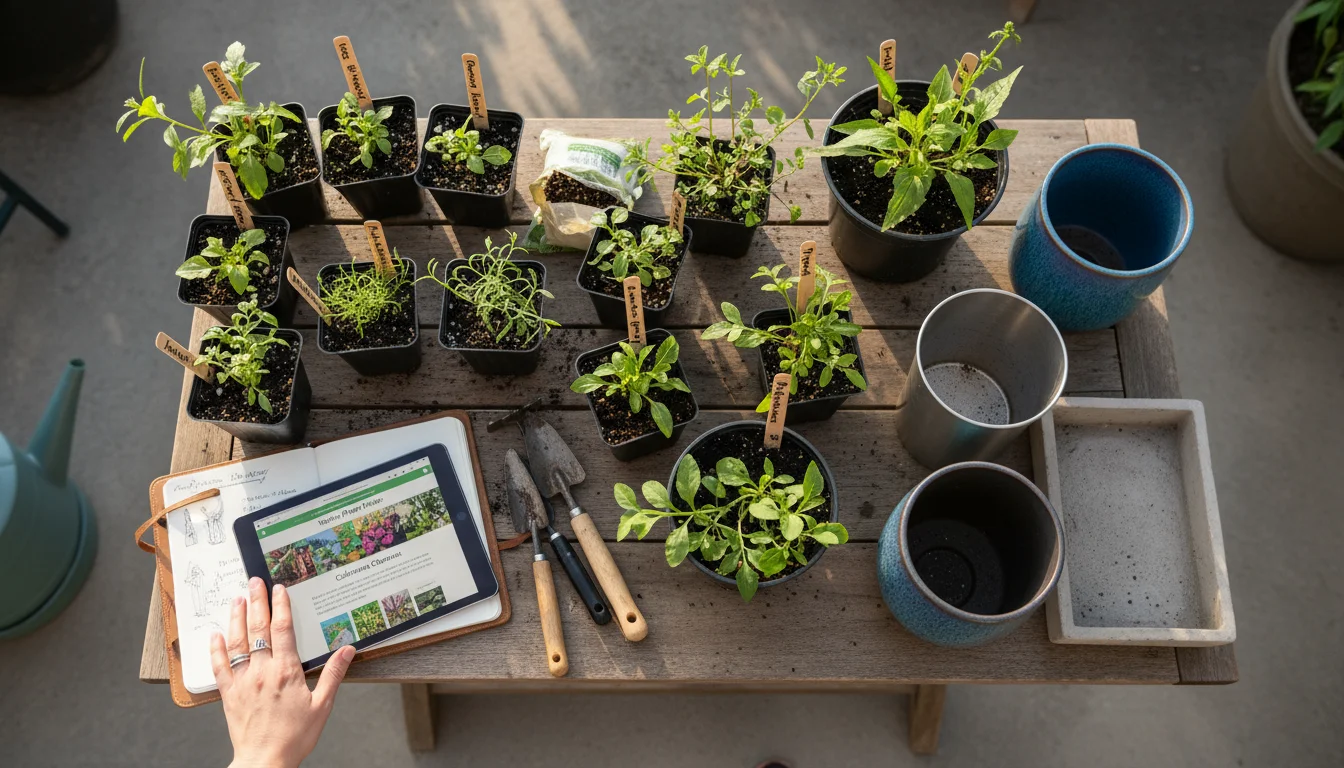
Gather Your Materials
Before you begin, assemble everything you need:
- Saffron crocus corms
- Chosen containers with drainage holes
- Prepared well-draining potting mix
- A small trowel or hand spade
- Watering can
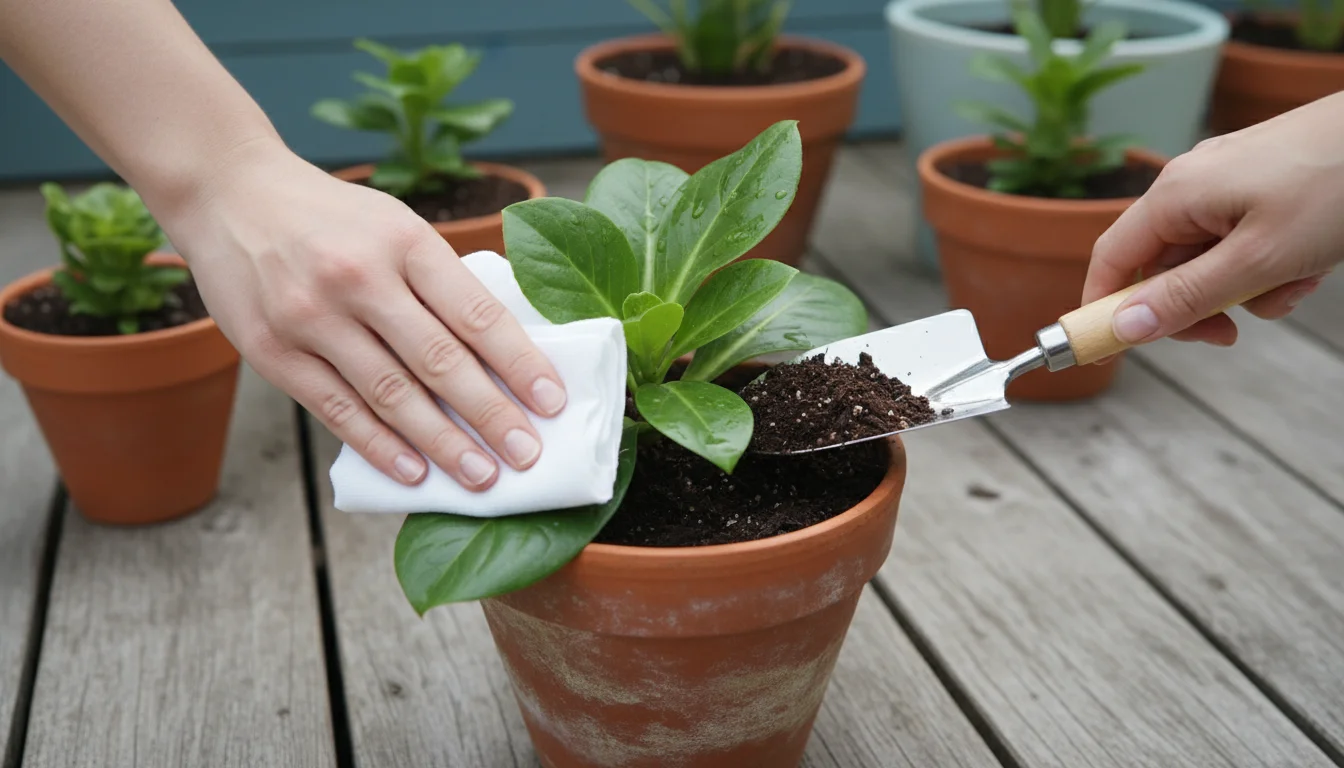
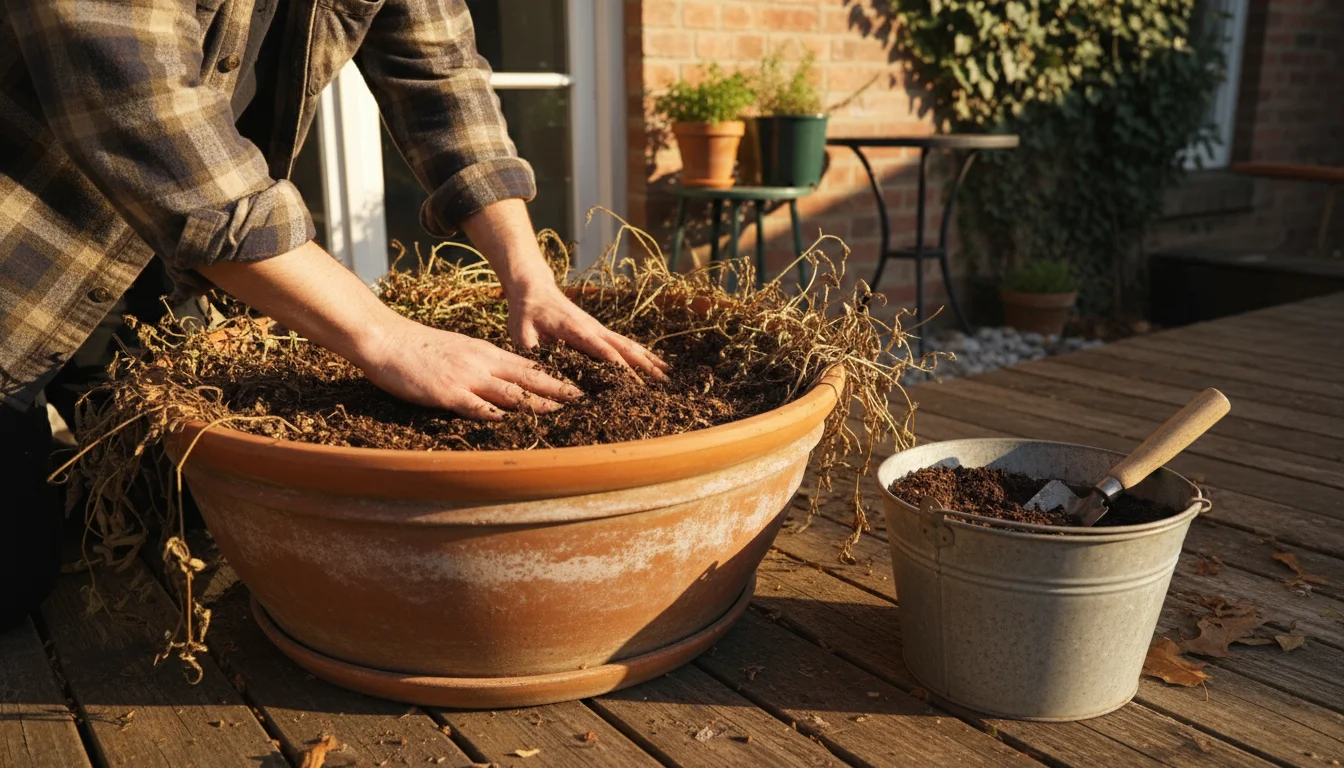
The Planting Process
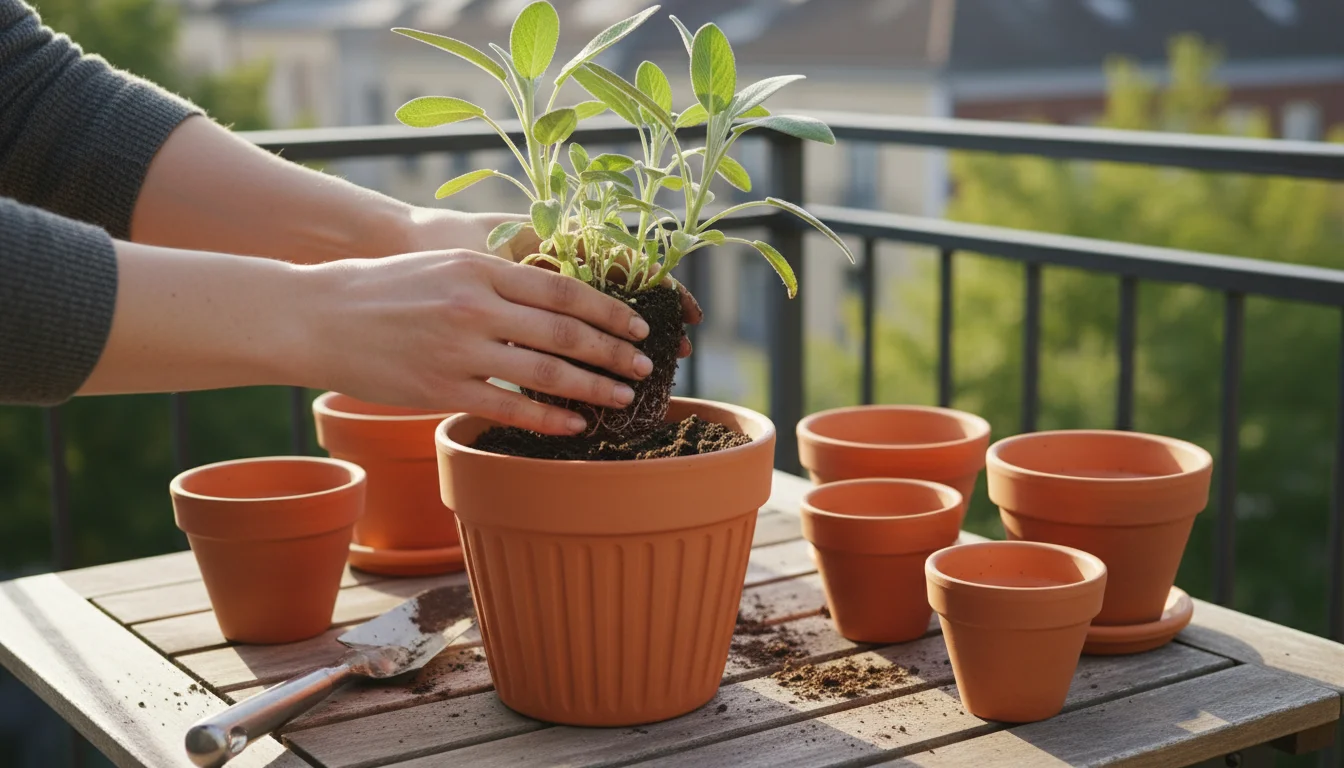
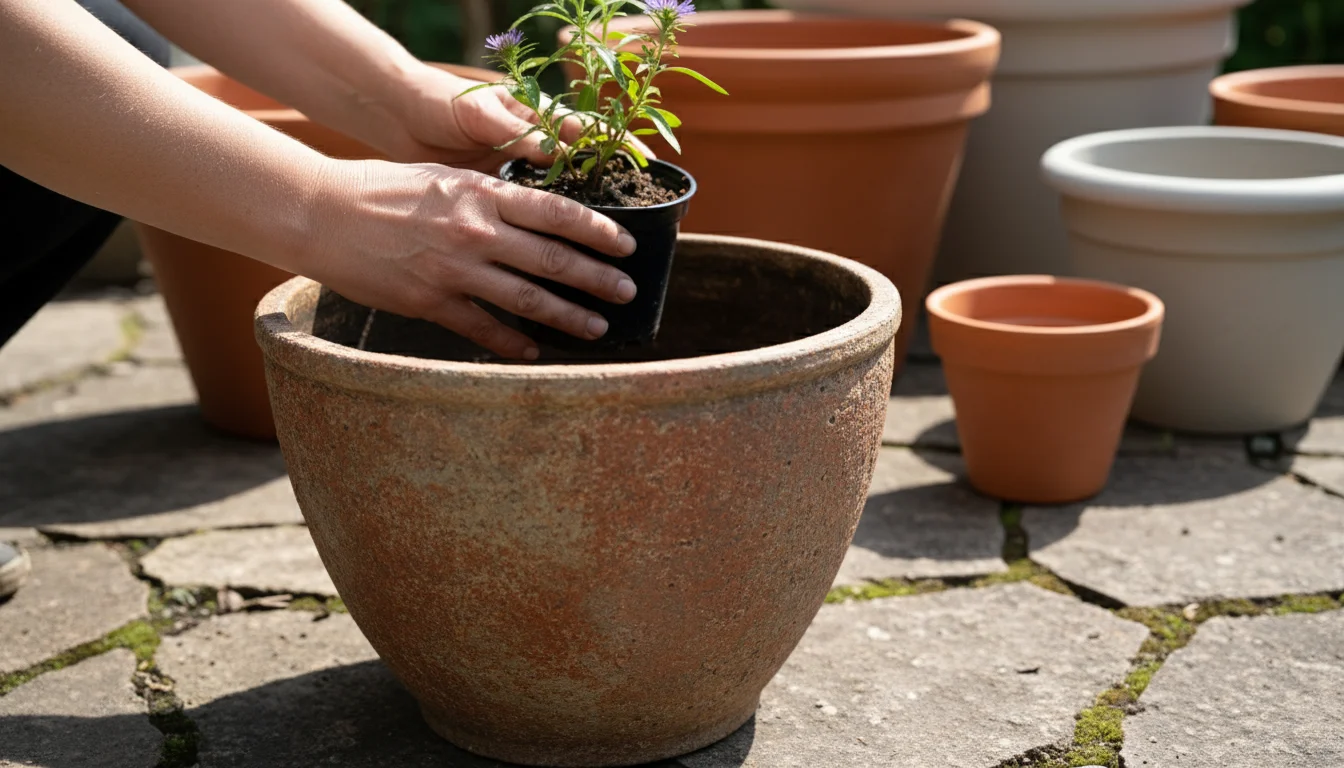
- Prepare Your Container: Fill your chosen pot with the prepared potting mix, leaving about 2-3 inches of space from the rim. Gently pat the soil down to remove any large air pockets, but do not compact it too much.
- Position the Corms: Place the corms pointed end up. If you cannot discern a clear “up” side, plant them on their side, and they will orient themselves. Space the corms approximately 3-4 inches apart from each other. For a 6-inch pot, you might plant 3-5 corms. In larger containers, you can plant more, maintaining the spacing.
- Planting Depth: Cover the corms with 4-6 inches of soil. This depth protects them from temperature fluctuations and helps anchor the plant.
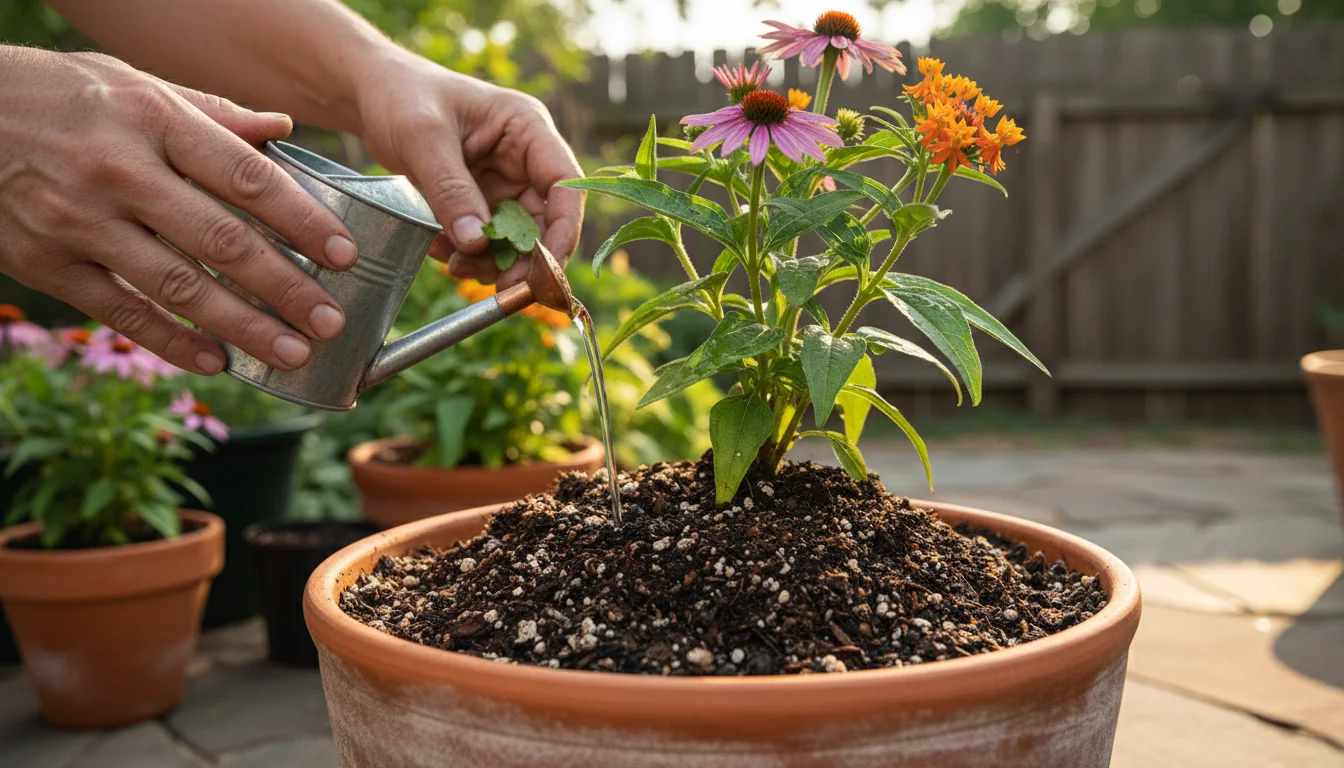
- Water Thoroughly: After planting, water the container deeply. Ensure water drains freely from the bottom of the pot. This initial watering helps settle the soil around the corms and signals them to begin rooting.
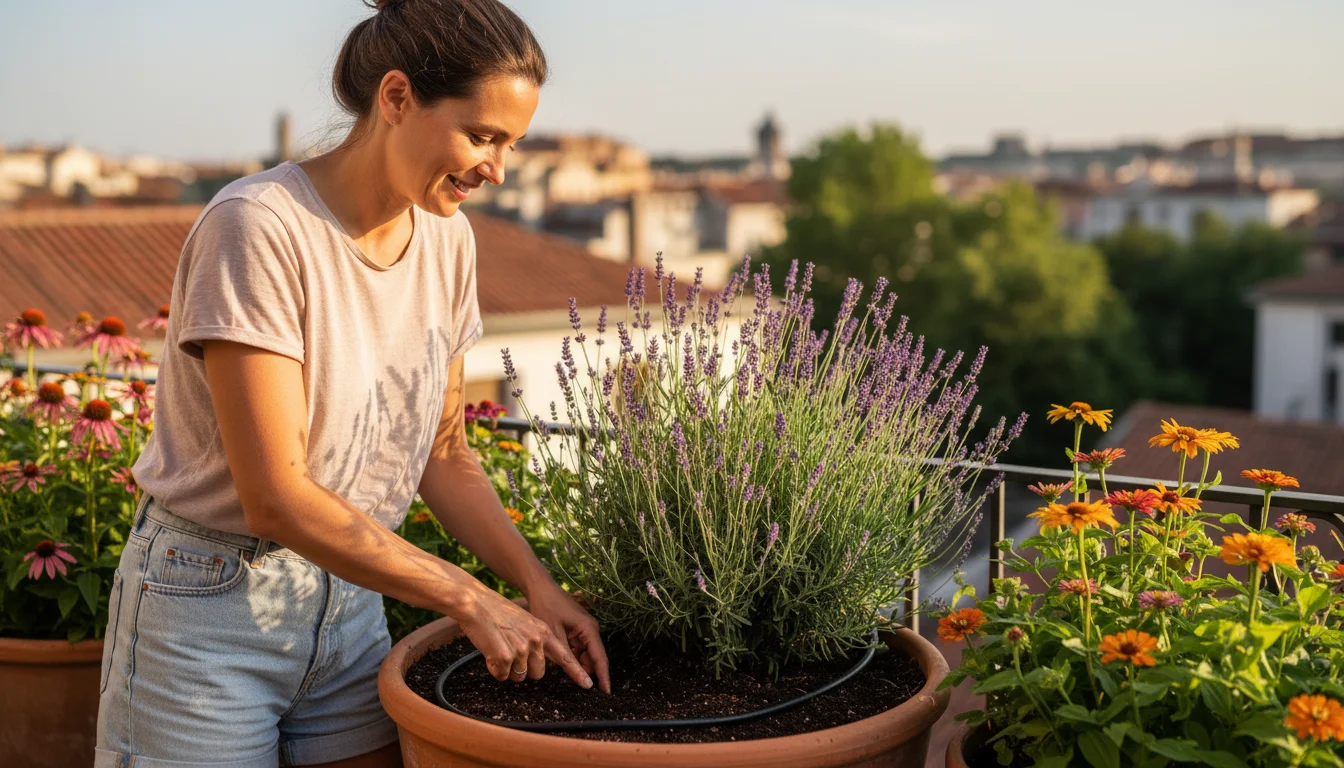
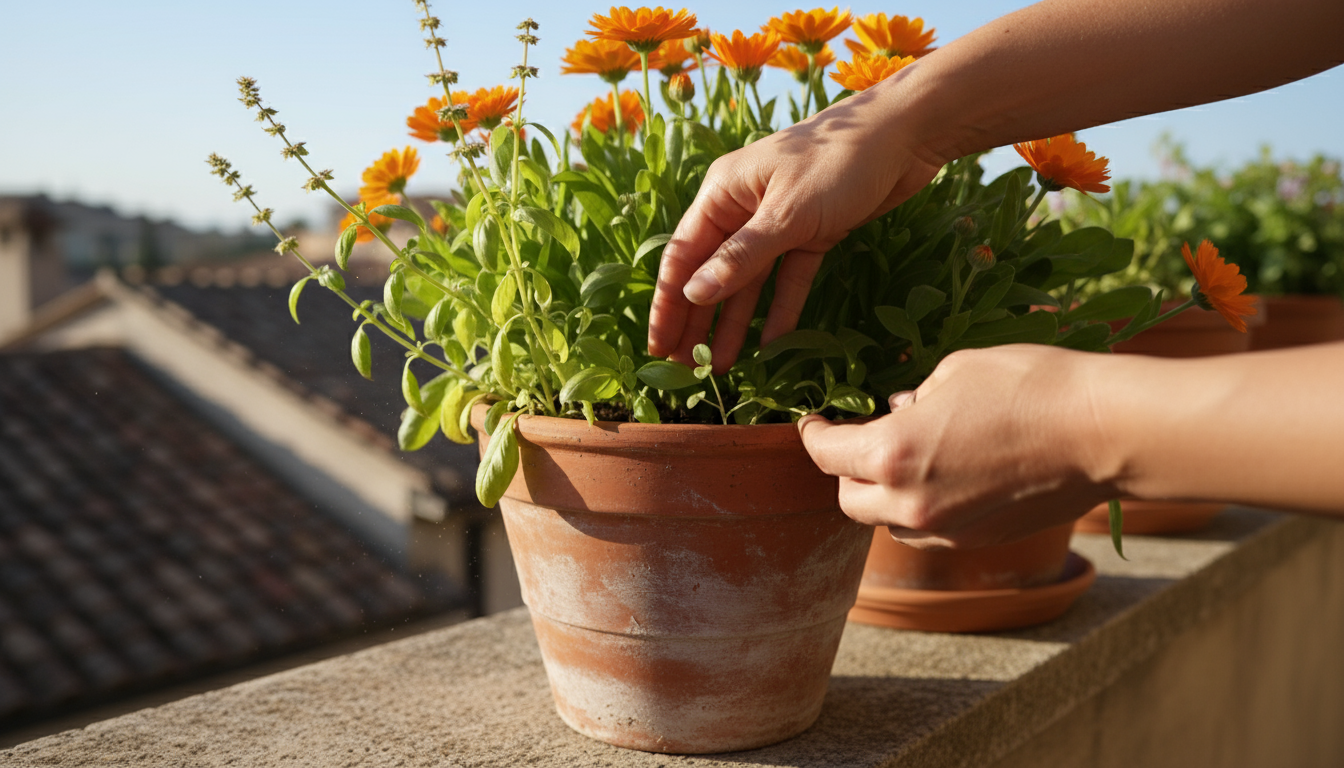
- Placement: Place your container in a location that receives full sun for at least 6-8 hours daily. A sunny balcony or patio corner is ideal. Adequate sunlight is vital for flower production.
The planting depth and spacing are crucial details for allowing each corm sufficient room to grow and multiply. By following these instructions for planting crocus sativus bulbs in fall, you provide the best start for your saffron patch, ensuring robust plants and a satisfying harvest of delicate spice.
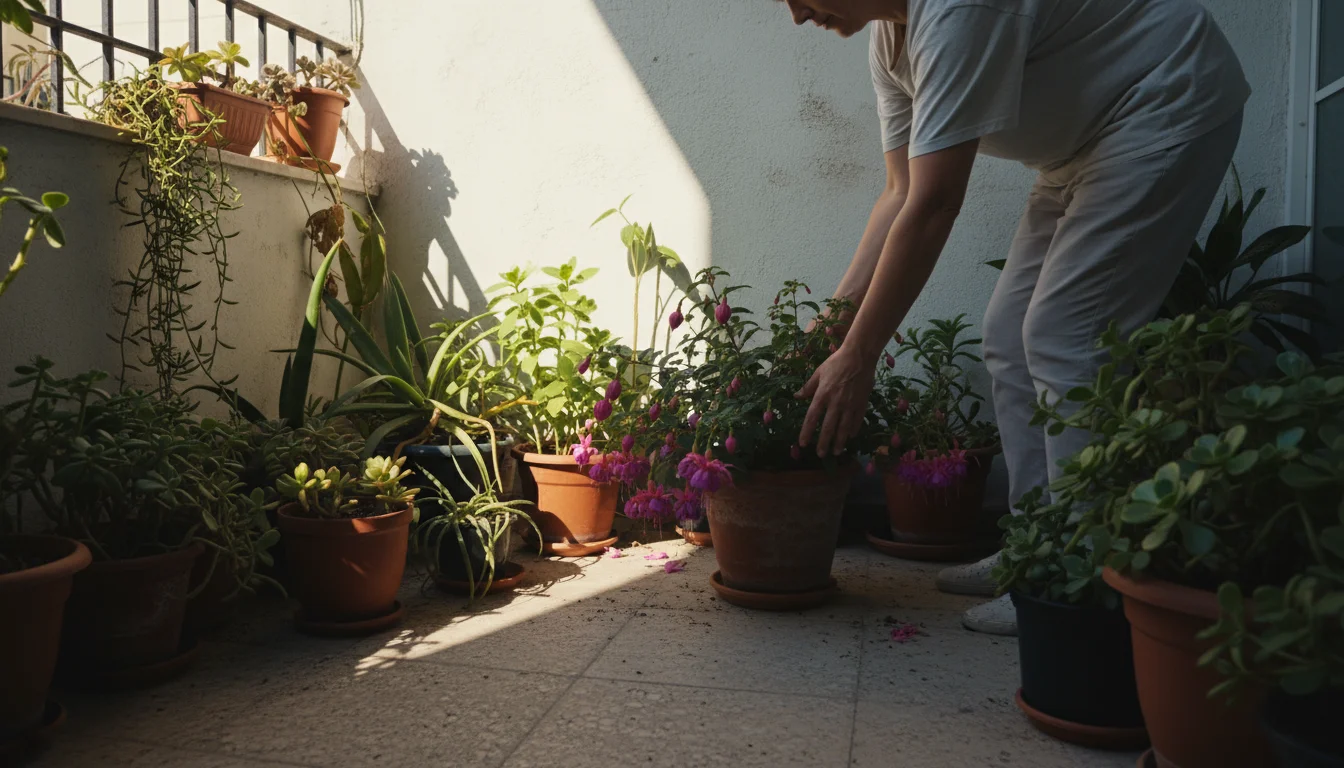
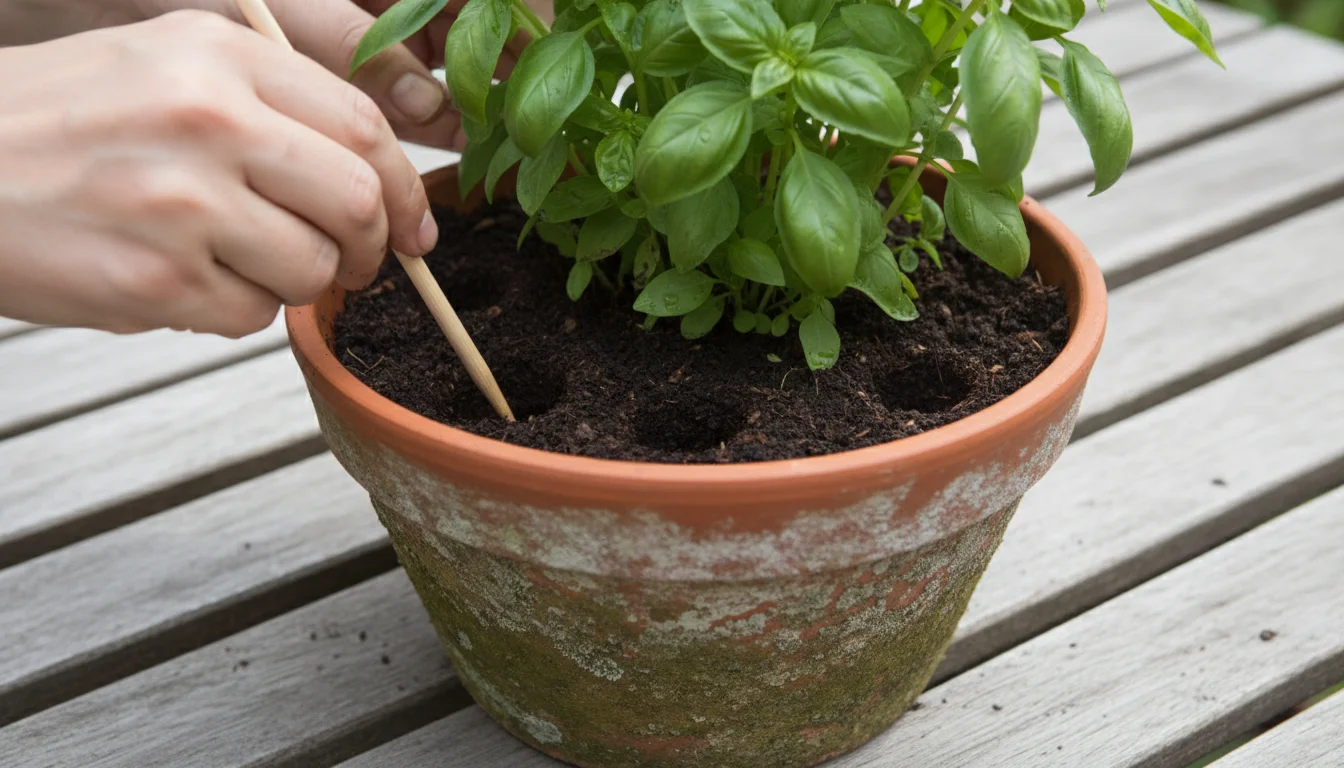
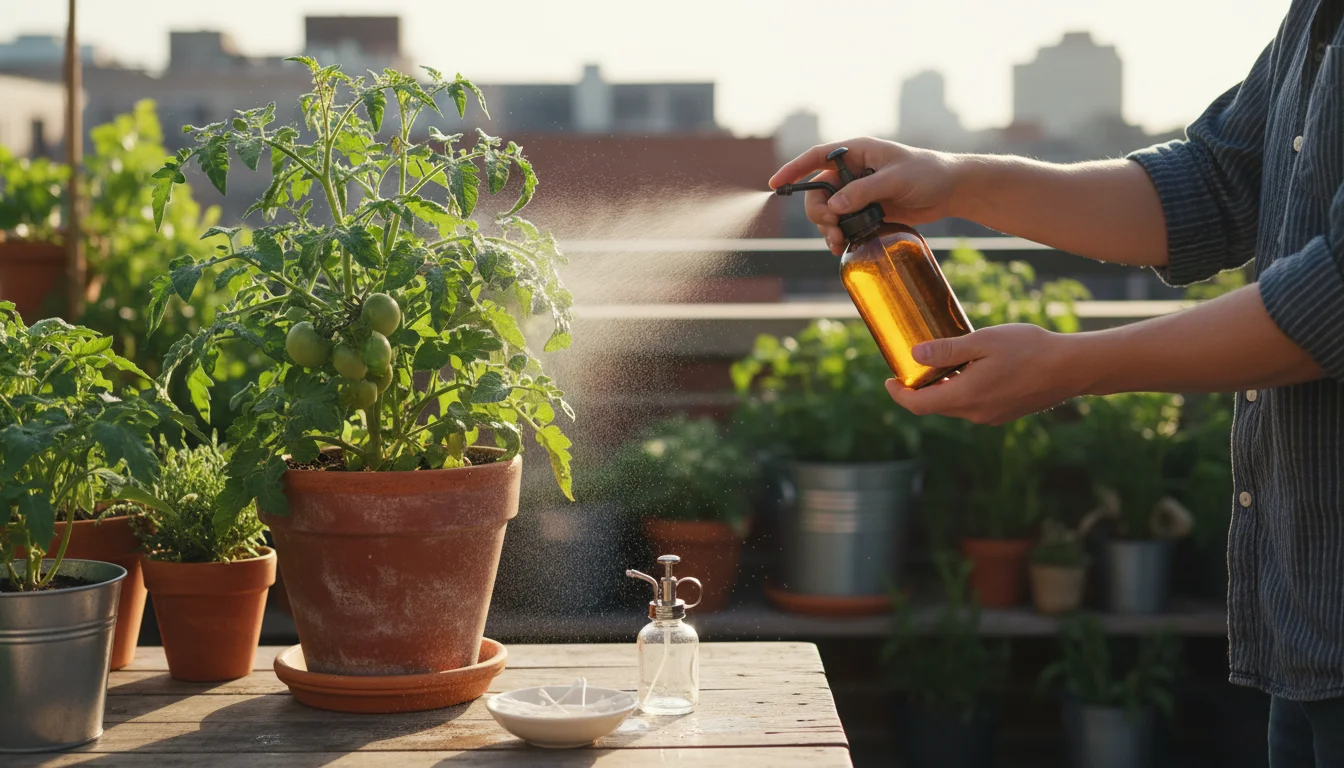
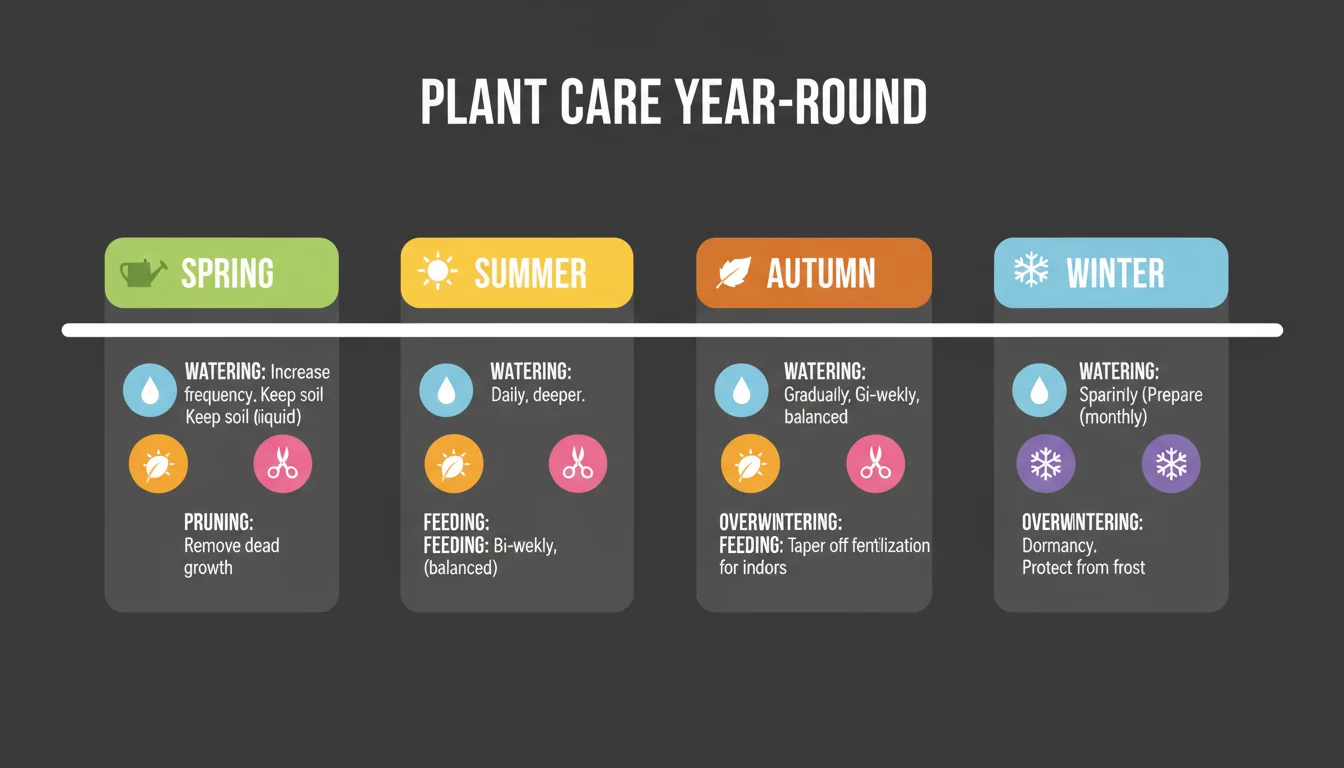
Essential Care for a Bountiful Saffron Harvest
Once your saffron crocus corms are planted, providing consistent, appropriate care maximizes their chances of flowering and producing a good yield of saffron. This involves understanding their needs for water, light, and protection.
Watering Regimen
Saffron crocuses prefer moist, but never waterlogged, soil during their active growth period.
- Post-Planting: After the initial deep watering, reduce frequency. Allow the top 1-2 inches of soil to dry out between waterings.
- During Flowering: As flowers begin to appear in autumn, ensure the soil remains consistently moist but not saturated. Overwatering is the most common cause of corm rot.
- Dormancy: Once the leaves yellow and die back in late spring or early summer, the corms enter a dormant period. During this time, they require very little to no water. Protect containers from excessive rain to prevent rot.
Always check soil moisture by feeling it with your finger before watering. The goal is consistent moisture without stagnation.
Light Requirements
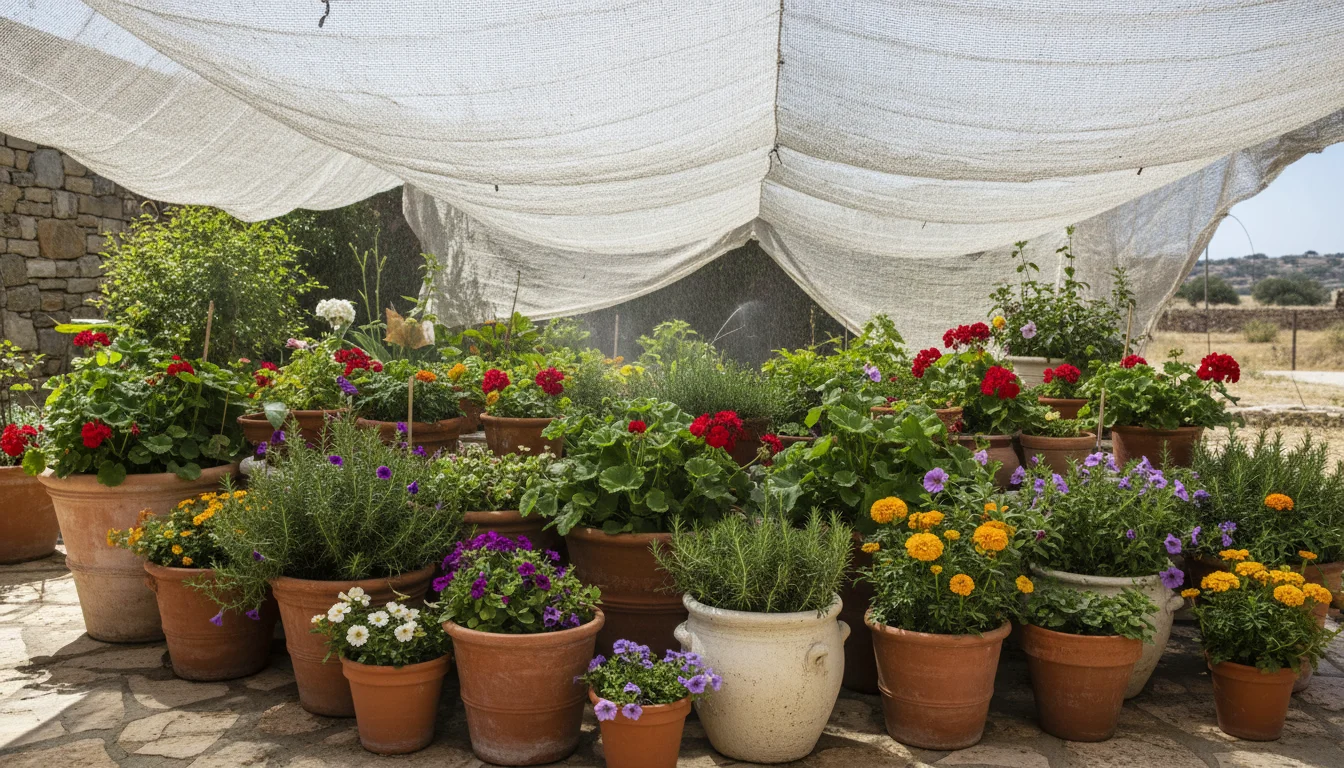
*Crocus sativus* thrives in full sun. Place your containers where they receive at least 6 to 8 hours of direct sunlight daily. In areas with intense summer heat, some afternoon shade can be beneficial, but for flowering, morning sun is particularly important. A sunny balcony, patio, or south-facing window box is often an ideal location.
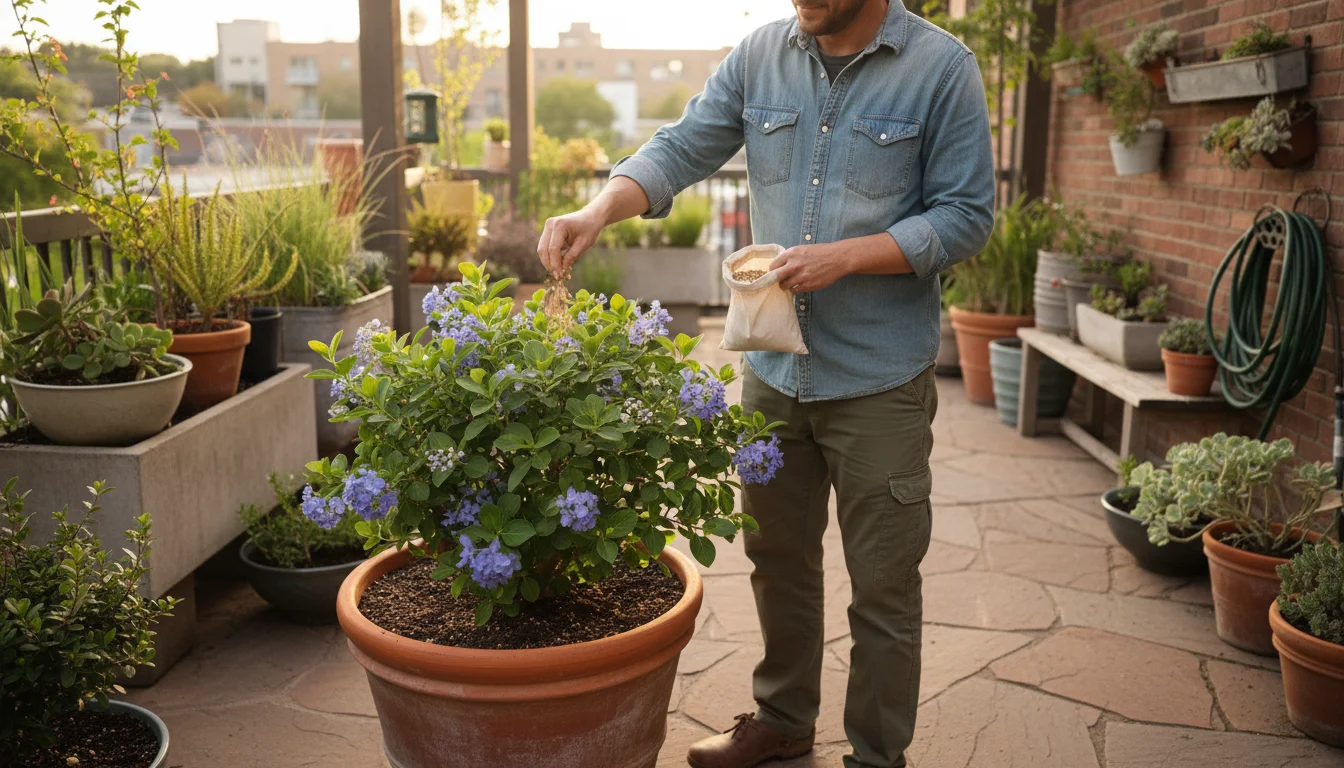
Nutrient Needs
Saffron crocuses are not heavy feeders. Excessive nitrogen can promote foliage at the expense of flowers.
- Initial Feeding: If your potting mix did not include slow-release fertilizer, you can apply a balanced, low-nitrogen fertilizer (e.g., 5-10-10) at half strength when foliage first emerges in the fall.
- Annual Boost: Consider a light application of a bulb-specific fertilizer in early autumn each year to support flowering and corm development.
- Compost: A top dressing of compost can also provide gentle, slow-release nutrients.
Winter Protection (for temperate climates)
While saffron crocuses are hardy, container-grown plants are more susceptible to freezing temperatures than those in the ground.
- Insulation: In regions with harsh winters (USDA Zone 5 and below), consider wrapping your containers in burlap or bubble wrap for insulation.
- Relocation: Move pots against a sheltered wall, into an unheated garage, or a cold frame during extreme cold spells.
- Mulch: A layer of straw or wood chips on top of the soil can provide additional insulation.
In warmer climates (USDA Zone 6 and above), minimal winter protection is usually necessary, provided the soil remains well-drained. By adhering to these care practices, your saffron crocus plants will establish robustly, promising you a rewarding autumn harvest.
For trustworthy gardening information, visit:
International Society for Horticultural Science (ISHS), Plantlife (UK) and Botanical Society of America. These organizations provide expert, research-based advice for gardeners at all levels.
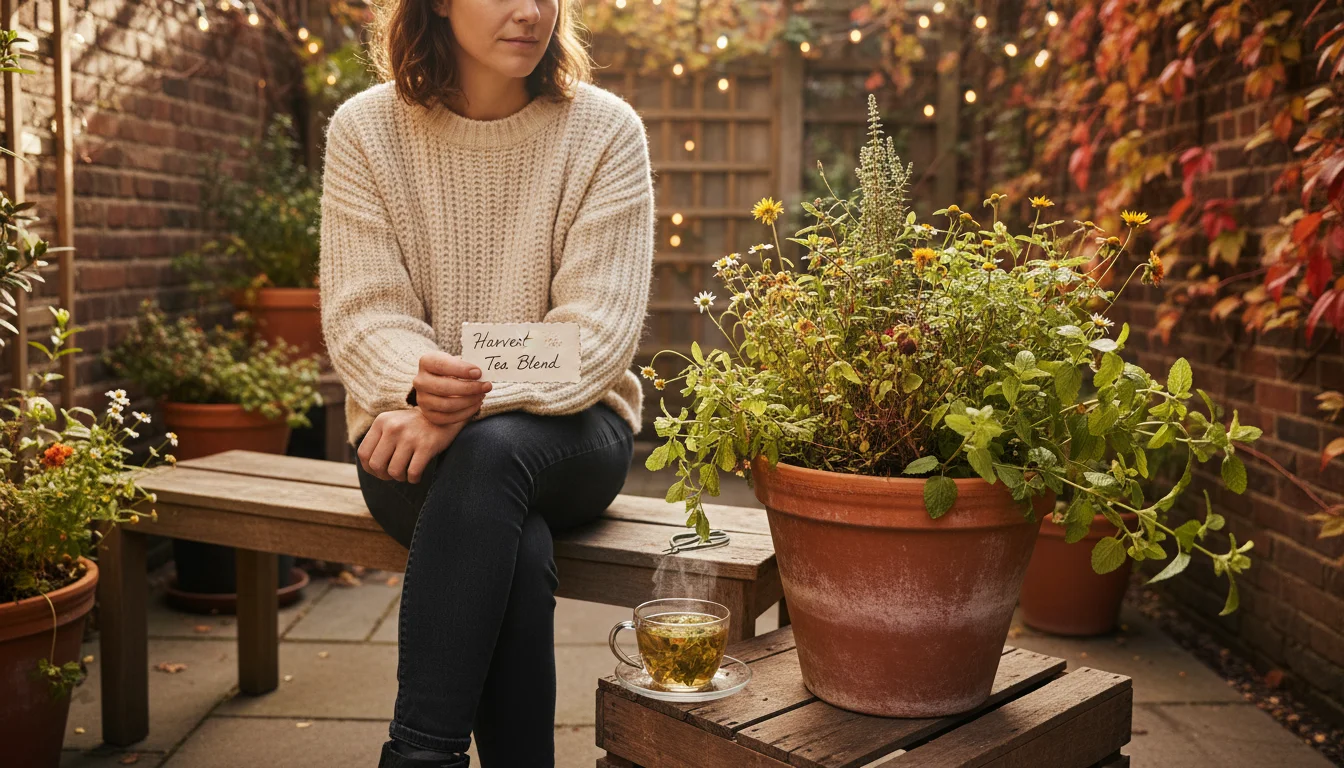
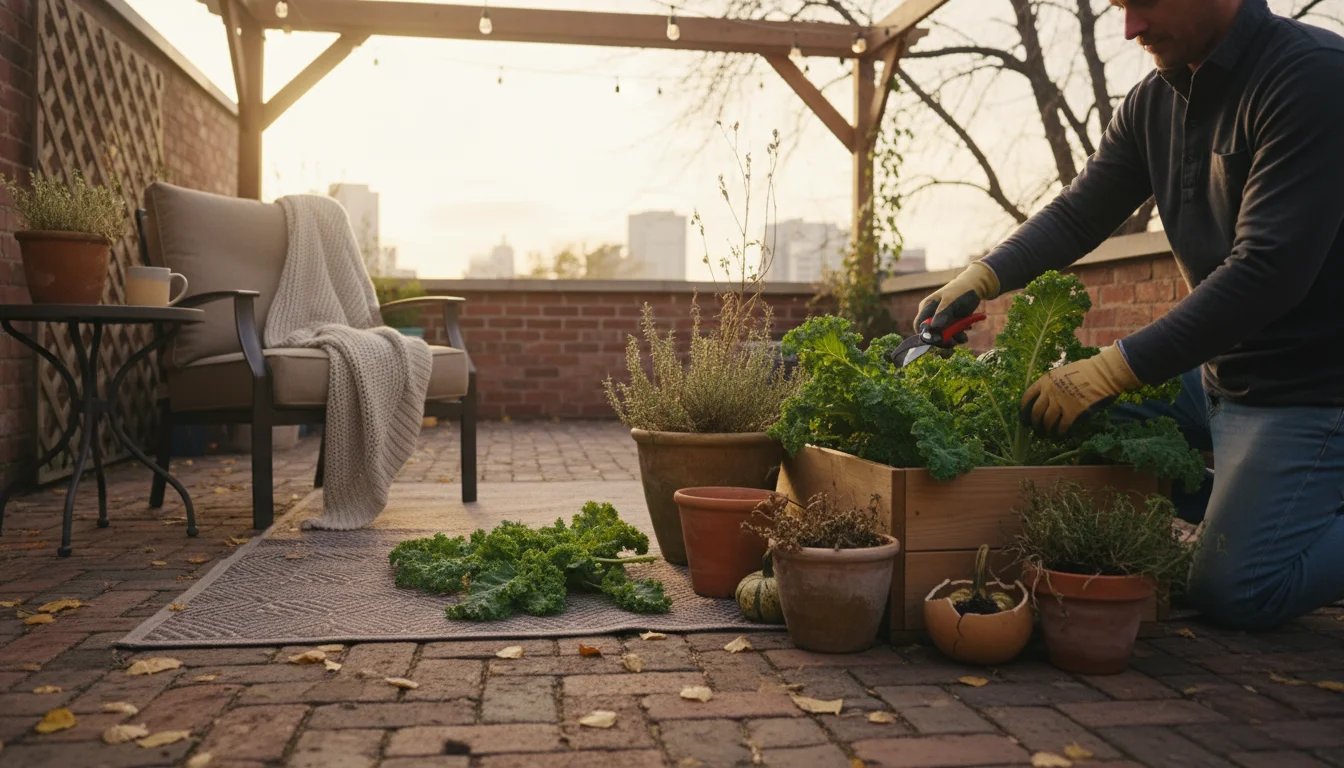
The Delicate Dance: Harvesting and Curing Your Saffron
The moment your saffron crocuses burst into bloom in autumn signals the start of the most exciting phase: harvesting saffron from containers. This process requires a gentle touch and careful timing, but it is immensely rewarding.
When to Harvest
Saffron flowers typically appear in late September or October, depending on your climate and planting time. Monitor your plants daily once you see the first buds. The ideal time to harvest is in the morning, shortly after the flowers open and before the sun becomes too strong. Harvesting at this time preserves the stigmas’ vibrant color and aromatic compounds. Each corm can produce multiple flowers over a few weeks, so your harvest will extend over a period.
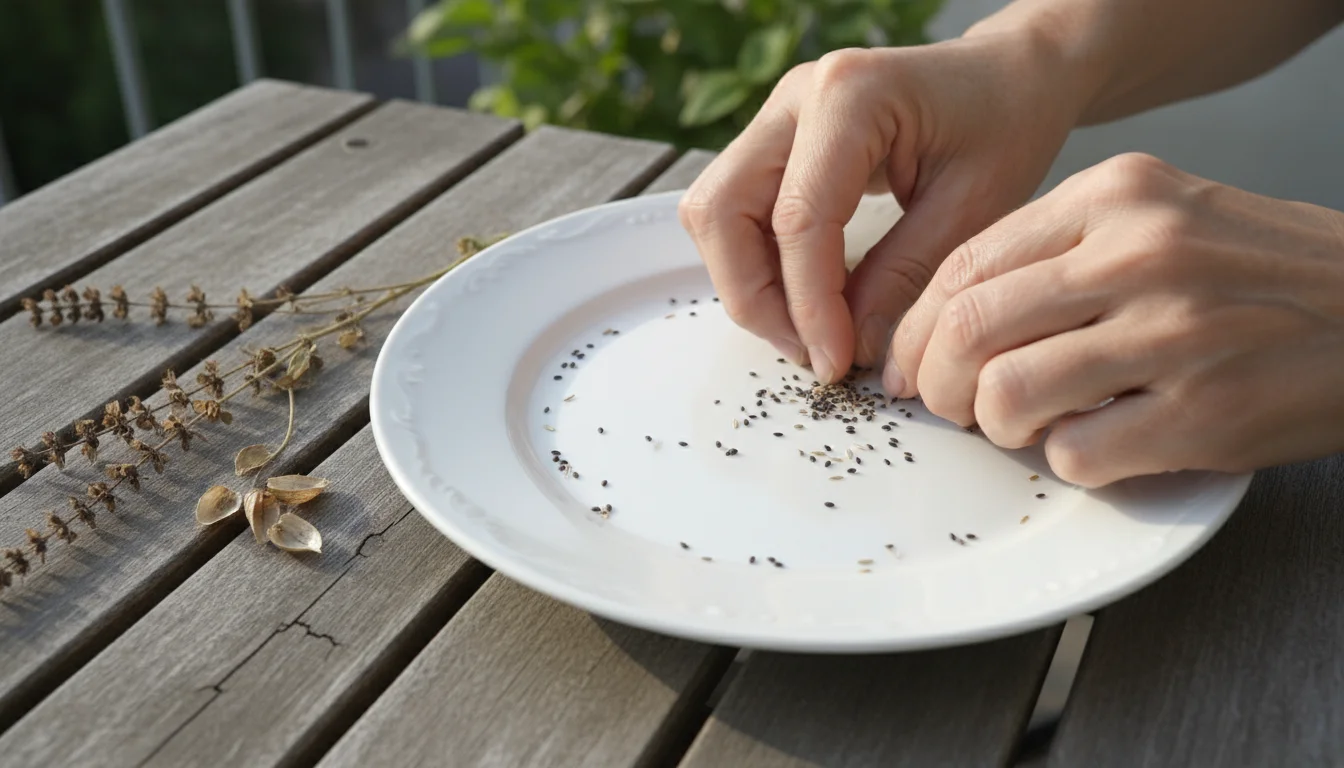
The Harvesting Method
The method for harvesting saffron is simple, yet requires precision:
- Identify the Stigmas: Open the freshly bloomed purple flower. Inside, you will see three prominent, vivid red-orange threads, which are the stigmas. The yellow parts are the stamens, which you do not want to harvest.
- Pluck Carefully: Using clean tweezers, or simply your fingertips if you have a steady hand, gently grasp the three red-orange stigmas where they emerge from the base of the flower. Carefully pull them out. They should detach relatively easily.
- Repeat for Each Flower: Work through all open flowers. Each flower yields three stigmas. Place the harvested threads on a clean paper towel or a small, non-porous dish.
This hand-picking process, while meticulous, is why saffron is so valuable. For your home harvest, even a small quantity of flowers provides enough saffron for several dishes.
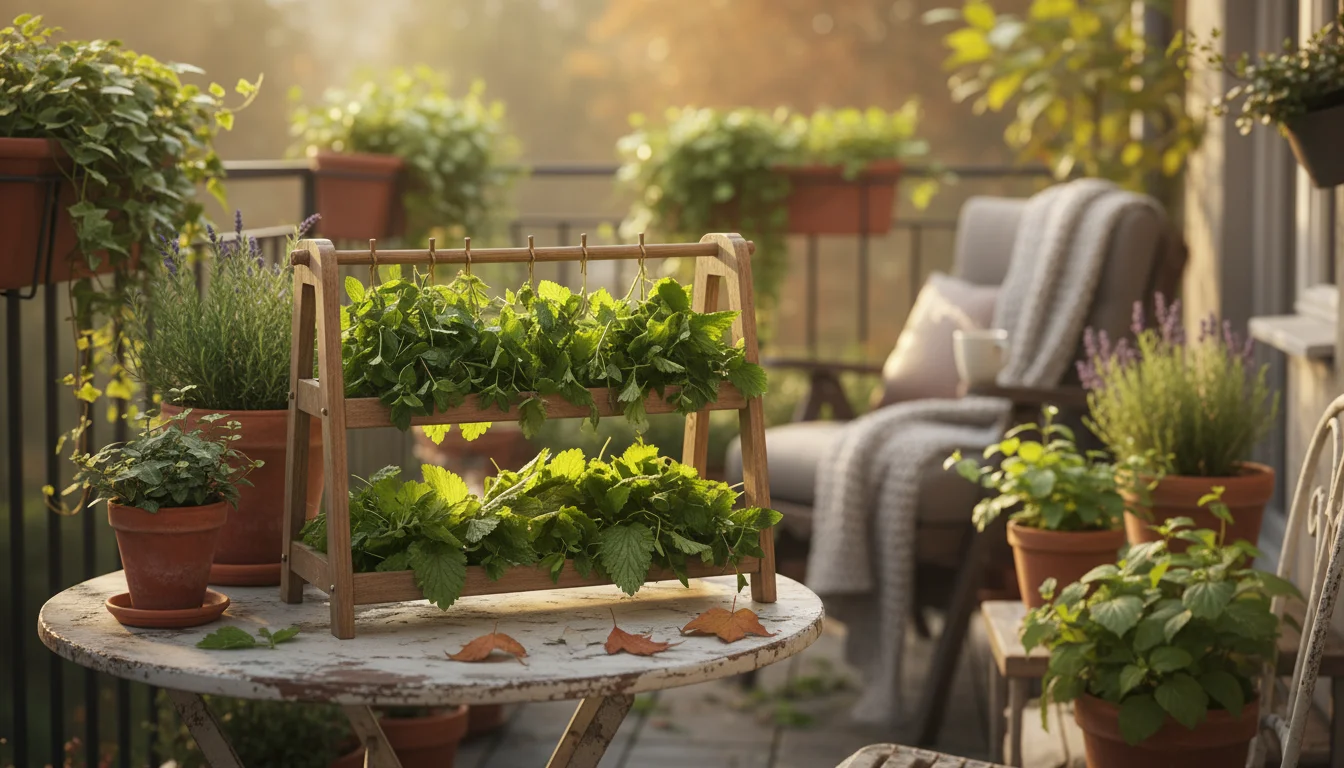
Curing Your Saffron
Curing is the drying process that preserves the saffron threads, intensifying their flavor and aroma, and allowing for long-term storage. Do not skip this critical step.
Here is how to cure your saffron:
- Immediate Drying: Once you harvest the stigmas, you need to dry them immediately. Fresh stigmas will mold if left undried.
- Gentle Heat Method:
- Option A (Oven): Preheat your oven to its lowest possible setting, usually around 100-150°F (40-65°C). Turn the oven off after it reaches temperature, or leave the door slightly ajar to prevent excessive heat buildup.
- Option B (Food Dehydrator): If you own a food dehydrator, set it to the lowest temperature, typically around 95-105°F (35-40°C).
- Option C (Warm Place): You can also dry them in a warm, dry room, but this takes longer and risks mold if humidity is high.
- Arrange the Threads: Spread the saffron threads in a single layer on a clean baking sheet lined with parchment paper, or on a dehydrator tray.
- Dry Until Brittle: Place the tray in the preheated, turned-off oven or dehydrator. Dry the threads until they become brittle and snap easily, typically taking 15-30 minutes, or a few hours in a dehydrator. They will shrink considerably in size and intensify in color. Avoid over-drying or burning them, as this destroys their delicate compounds.
- Cool Completely: Allow the cured saffron threads to cool completely before storing them.
By diligently following these harvesting and curing steps, you transform fresh stigmas into the precious spice, ready for your culinary adventures. This hands-on experience provides a deeper appreciation for this magnificent plant and its delicate bounty.
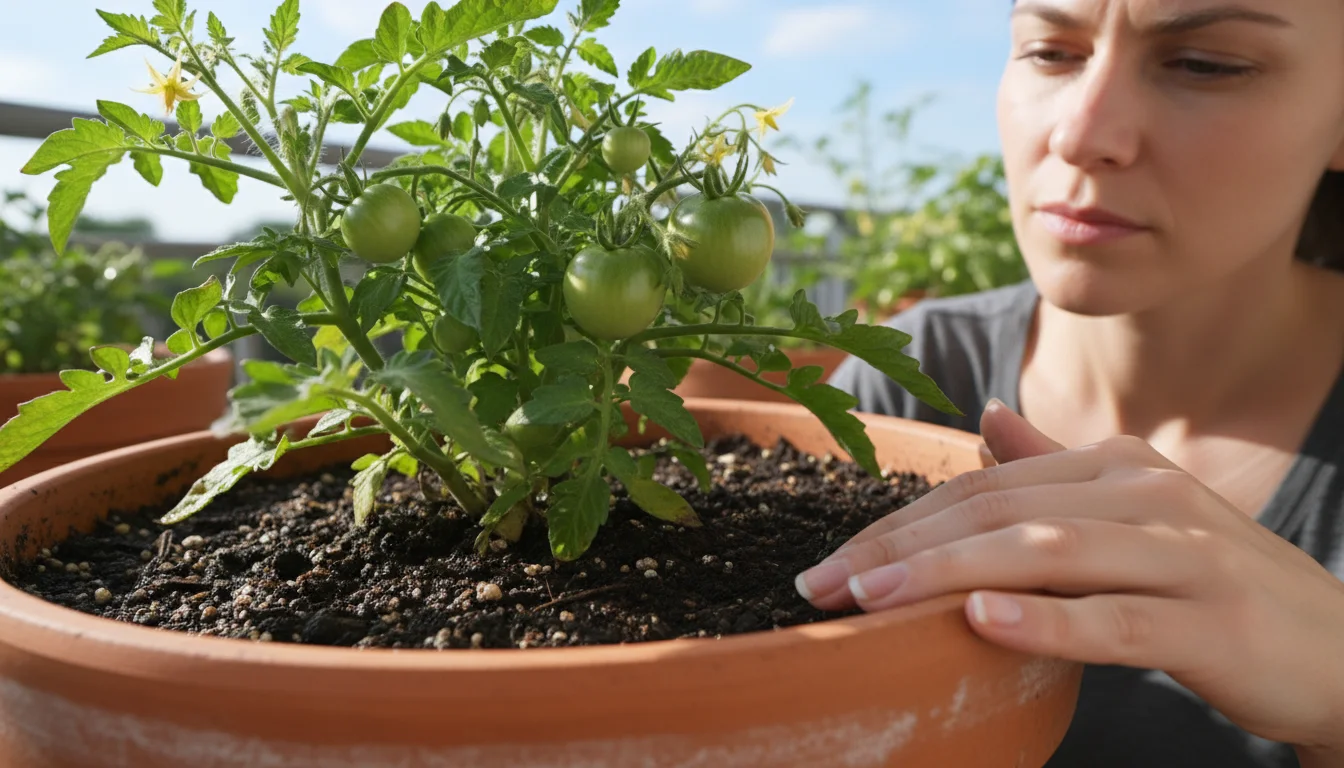
Troubleshooting Common Challenges and Maximizing Your Yield
While saffron crocus is relatively low-maintenance, you might encounter a few challenges. Addressing these proactively helps you maintain healthy plants and maximize your saffron yield. This section covers common issues and offers strategies to ensure your plants thrive.
Common Problems and Solutions
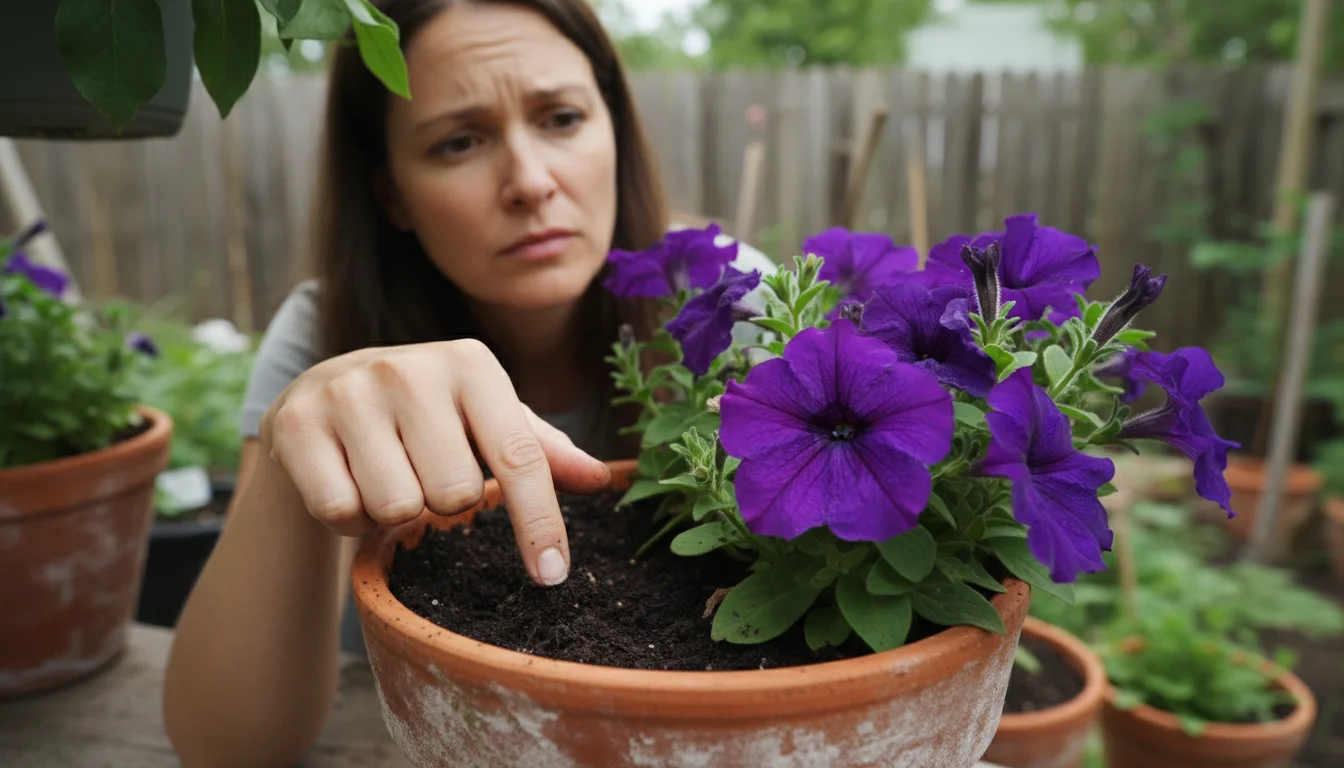
- No Flowers or Few Flowers:
- Issue: Your plants are growing foliage but not blooming, or producing very few flowers.
- Cause: Often insufficient sunlight. Saffron crocuses need full sun, at least 6-8 hours daily. Other causes include immature corms (they often bloom sparsely in their first year), nutrient imbalance (too much nitrogen promotes leaf growth), or overly wet soil.
- Solution: Relocate containers to a sunnier spot. Ensure good drainage. Fertilize with a low-nitrogen, high-phosphorus fertilizer in the fall. Be patient, as yield improves in subsequent years.
- Corm Rot:
- Issue: Corms become soft, mushy, or smell foul.
- Cause: Primarily overwatering and poor drainage. Waterlogged soil creates an anaerobic environment where fungal pathogens thrive.
- Solution: Ensure your containers have ample drainage holes and your potting mix is very well-draining. Water only when the top few inches of soil are dry. During dormancy, protect containers from excessive rain. If rot is extensive, you may need to discard affected corms to prevent spread.
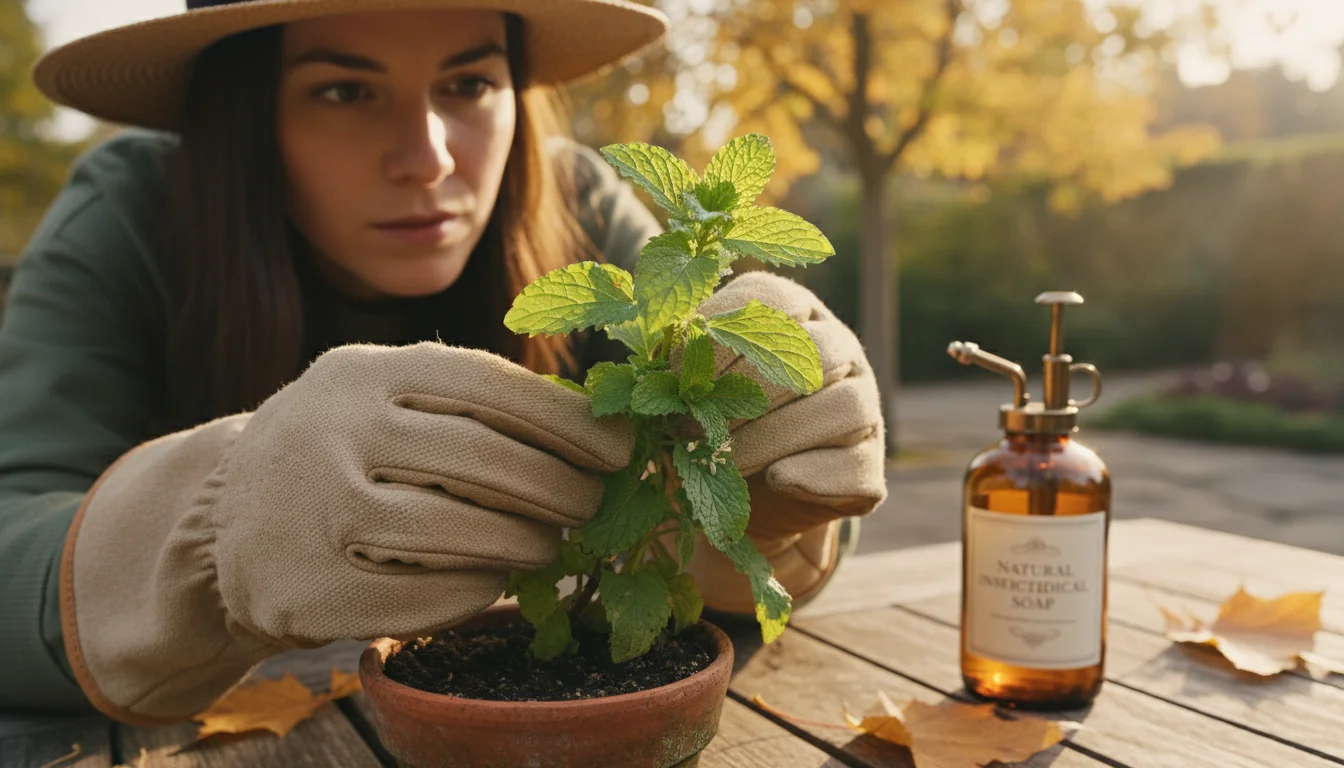
- Pests:
- Issue: Chewed leaves or damaged corms.
- Cause: Saffron crocuses are generally pest-resistant. However, rodents (mice, squirrels) might dig up and eat corms. Aphids or slugs can sometimes be an issue, though less common in containers.
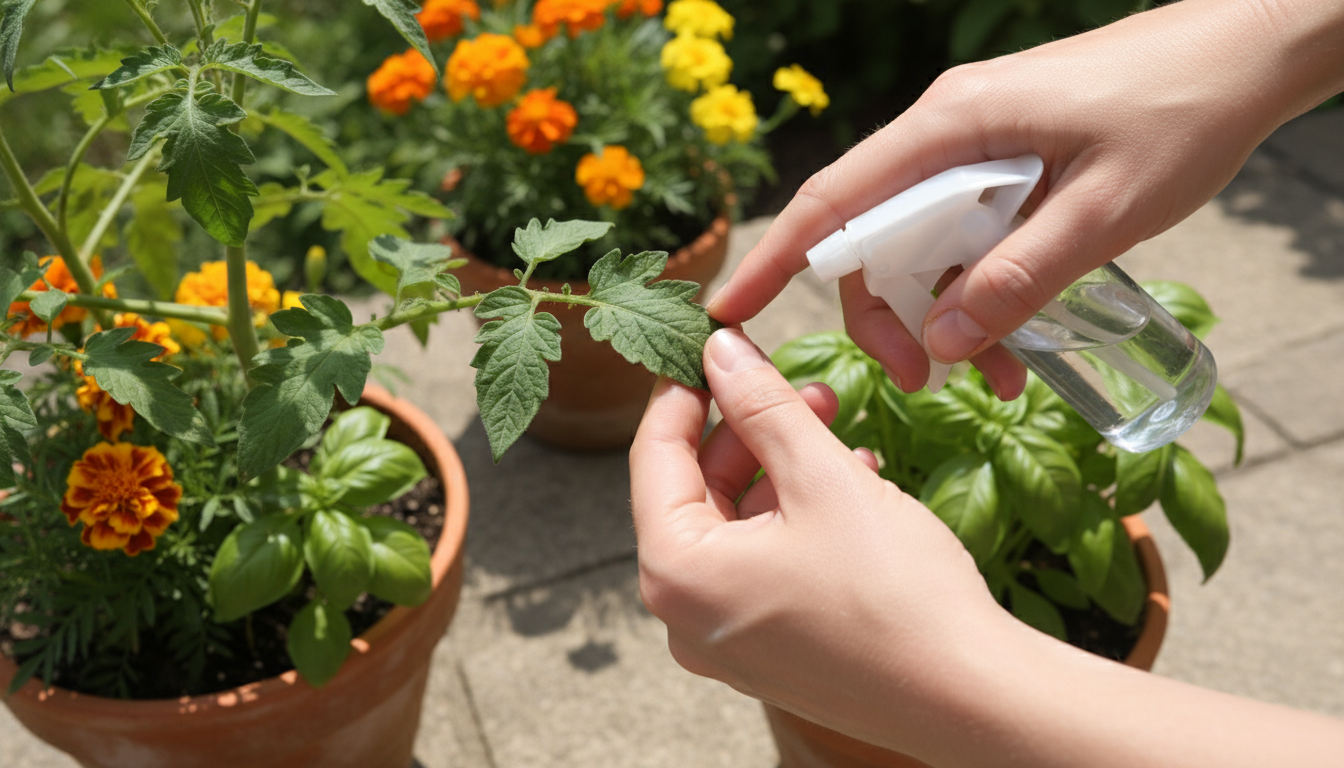
- Solution: For rodents, place wire mesh or chicken wire over the top of your pots, securing it to prevent digging. Use physical barriers or traps. For aphids, a strong spray of water or insecticidal soap can manage infestations. For slugs, hand-pick them or use eco-friendly slug baits.
- Fungal Diseases (e.g., Fusarium):
- Issue: Brown spots on leaves, stunted growth, or corms decaying from the inside.
- Cause: Fungal diseases are often linked to poor air circulation, high humidity, or contaminated soil.
- Solution: Use fresh, sterile potting mix. Ensure good spacing between corms for air circulation. Avoid overhead watering if possible, or water in the morning so foliage dries quickly. Remove and destroy affected plants to prevent spread.
Maximizing Your Yield
To get the most saffron from your container garden, consider these strategies:
- Adequate Sunlight: Reinforce positioning your containers in the sunniest spot possible. Sunlight directly correlates with flower production.
- Proper Spacing: Do not overcrowd corms in the container. Give them room to grow and multiply. Overcrowding can lead to smaller flowers and fewer stigmas.
- Annual Dormancy: Allow the corms to go completely dormant in summer. Reduce watering and provide a warm, dry period. This rest cycle is essential for future blooming.
- Corm Division: Every 3-4 years, consider lifting the corms during their summer dormancy. Separate the smaller offsets from the parent corms and replant them. This prevents overcrowding and rejuvenates your planting, encouraging more vigorous growth and flower production.
- Environmental Protection: Protect your container plants from harsh winds or extreme weather conditions that can damage delicate flowers.
By staying vigilant and implementing these practical solutions, you can overcome common gardening hurdles and enjoy a consistently productive saffron patch, year after year. This proactive approach ensures you maximize your efforts in harvesting saffron from containers.
Storing and Savoring Your Homemade Saffron
After the careful process of planting, nurturing, harvesting, and curing, you now possess your very own homegrown saffron. Proper storage ensures your prized spice retains its potency, flavor, and vibrant color for a long time. Then, understanding how to use it unlocks a world of culinary possibilities.
Storing Your Saffron
The key to preserving saffron is protecting it from light, air, and moisture.
- Airtight Container: Once completely dried and cooled, transfer your saffron threads to a small, airtight container. A glass jar with a tight-fitting lid is ideal.
- Dark, Cool Place: Store the container in a dark, cool, and dry pantry or cupboard. Avoid storing it near heat sources like stoves or direct sunlight, which degrade saffron quickly.
- Avoid Refrigeration: Refrigeration can introduce moisture and is generally not recommended unless you live in a very humid environment, even then, ensure your container is perfectly sealed.
- Longevity: Properly stored saffron can maintain its quality for up to two years, though its potency is highest in the first year. You will notice a slight fade in color and aroma over time, but it remains usable.
Do not grind your saffron until immediately before use. Whole threads retain their flavor compounds much better than ground spice.
Savoring Your Homemade Saffron in the Kitchen
Homegrown saffron is a versatile ingredient that elevates many dishes. A little goes a long way, so use it sparingly to appreciate its unique profile.
Preparing Saffron for Use:
Always steep your saffron threads before adding them to a dish. This process, called “blooming,” releases the color, aroma, and flavor compounds.
- Crush (Optional): Gently crush the threads between your fingers or in a mortar and pestle just before steeping, if desired, to expose more surface area.
- Steep: Place the threads in a small amount of warm liquid, such as water, broth, milk, or wine, depending on your recipe. About 1/4 to 1/2 cup of liquid for a pinch of saffron is sufficient.
- Soak: Let the saffron steep for at least 10-20 minutes, or even longer, to allow the color and flavor to fully infuse into the liquid. You will see the liquid turn a deep golden-yellow.
- Add to Dish: Add both the saffron threads and the infused liquid to your recipe. This ensures even distribution and maximum flavor.
Culinary Applications:
- Paella and Risotto: These classic dishes are perhaps the most famous applications for saffron, where its color and flavor are central.
- Seafood Dishes: Saffron complements fish and shellfish beautifully, enhancing their natural sweetness.
- Desserts: Incorporate saffron into rice pudding, custards, or ice cream for an unexpected, exotic twist.
- Breads and Pastries: Saffron adds a beautiful golden hue and subtle aroma to sweet breads and rolls.
- Teas and Beverages: A few threads steeped in hot water create a soothing and aromatic tea.
Experiment with small amounts at first to understand the intensity of your homegrown saffron. The satisfaction of using a spice you nurtured from a corm to a crimson thread will make every meal extraordinary.
Frequently Asked Questions
What is the difference between saffron crocus and other ornamental crocuses?
The primary difference lies in their species and blooming time. Saffron crocus, *Crocus sativus*, blooms in the fall and is the specific plant that produces the edible spice from its stigmas. Ornamental crocuses, such as *Crocus vernus* or *Crocus tommasinianus*, typically bloom in the spring and do not yield edible saffron. Always ensure you purchase *Crocus sativus* corms if you intend to harvest saffron.
How much saffron can I expect from one plant or a small pot?
Each saffron crocus flower produces three stigmas. An individual corm might produce between 1 to 5 flowers in its first year, increasing to 5-10 flowers in subsequent years as it matures and multiplies. To harvest a usable amount of saffron, say enough for a few meals throughout the year, you will need at least 20-50 corms. A 12-inch diameter pot can comfortably hold about 10-15 corms, yielding perhaps a pinch or two of dried saffron per season, which is still a rewarding amount for home use.
Do saffron crocuses come back every year?
Yes, *Crocus sativus* is a perennial plant. If planted in suitable conditions with well-drained soil and adequate sunlight, the corms will overwinter and produce new flowers each fall. They also multiply underground, producing smaller “cormlets” that will mature and flower in subsequent years, gradually increasing your saffron patch over time.
Can I grow saffron in warm climates?
Saffron crocus prefers temperate climates with distinct seasons, requiring a cold dormancy period to initiate flowering. It thrives best in USDA Hardiness Zones 6 to 9. While it can tolerate some warmth, very hot and humid summers can be challenging, as the corms are prone to rot in consistently wet, hot soil. If you are in a warmer climate, ensure excellent drainage and consider providing some afternoon shade during intense heat.
When should I plant saffron crocus bulbs?
Plant saffron crocus corms in late summer or early fall, typically from August through early October, before the first significant frost. This timing allows the corms to establish a root system before the colder weather sets in and prepares them to bloom in the autumn. Prompt planting after purchase is always best.
Disclaimer: This article is for informational purposes only and is not a substitute for professional gardening advice. Always consult local extension services or horticulture experts for region-specific guidance.