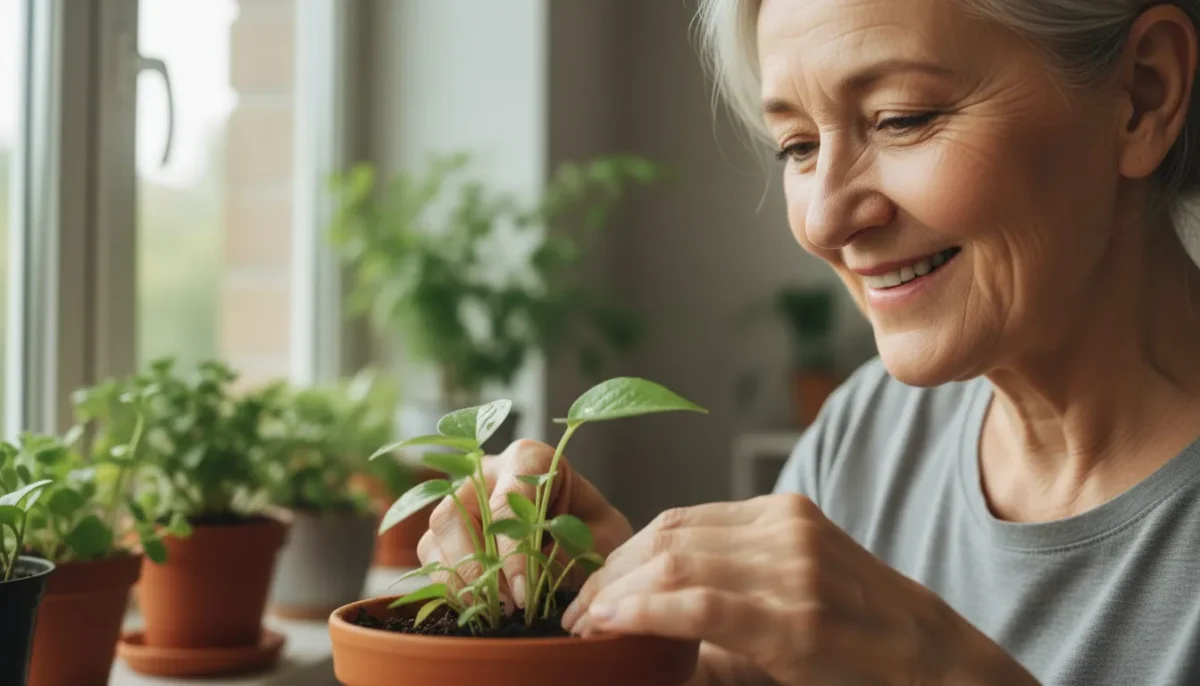
Embarking on the journey of indoor gardening brings immense satisfaction, but it also presents unique challenges. Many aspiring plant parents feel discouraged when their green companions struggle, often attributing it to a lack of a “green thumb.” The truth is, successful houseplant care hinges on understanding fundamental needs and establishing simple routines, especially when you live in an apartment or a compact home. This guide equips you with practical, actionable insights, transforming you into a confident plant caretaker.
We focus on low-effort, high-reward strategies that work for small spaces and busy schedules. You will learn to identify common houseplant mistakes and apply proven houseplant care techniques. This approach allows your indoor gardening efforts to flourish, bringing natural beauty into your living space without overwhelming your daily life.
Disclaimer: This article is for informational purposes only and is not a substitute for professional advice. Consult local extension services for region-specific recommendations.

Light Made Simple: Your Plant’s Essential Energy Source
Understanding light forms the cornerstone of effective houseplant care. Plants perform photosynthesis, converting light energy into the sugars they need to grow. Providing the correct amount and intensity of light prevents common houseplant mistakes and ensures your plants thrive. Your home’s windows define its light profile, so learn to interpret them.
Defining Light Levels
We categorize indoor light into three primary types:
- Low Light: This refers to an area several feet away from a window, or a room with only a small, north-facing window. Think of it as a dimly lit corner where you can read only with effort. Plants in low light areas receive minimal direct sun, typically less than two hours daily, if any. East-facing windows can sometimes provide low light in areas far from the glass, after the morning sun has passed.
- Medium Light / Bright Indirect Light: This is the sweet spot for most houseplants. It means a space near a window, perhaps within three to five feet, where the sun never directly hits the leaves. Imagine a sheer curtain diffusing the direct sunlight, or a spot where the sun’s rays reflect off walls before reaching the plant. South or west-facing windows often provide bright indirect light when filtered by a sheer curtain or positioned a few feet back. East-facing windows naturally offer bright indirect light for most of the day after the morning sun.
- Bright Direct Light: This describes a spot where the sun’s rays directly touch your plant’s leaves for several hours a day. This typically occurs in south-facing windows, or west-facing windows in the afternoon. Few houseplants tolerate unfiltered, intense direct sun for prolonged periods without scorching their leaves. Succulents and cacti are notable exceptions.
Understanding Window Orientation
The direction your windows face dictates the type and intensity of light they offer:
- North-Facing Windows: These provide the least intense light. They receive consistent, soft, indirect light throughout the day. Ideal for low-light tolerant plants like ZZ plants, snake plants, and pothos.
- East-Facing Windows: These offer gentle morning sun for a few hours, then bright indirect light for the rest of the day. This is excellent for many tropical houseplants, providing warmth without harsh intensity. Many philodendrons, peperomias, and peace lilies thrive here.
- West-Facing Windows: These deliver intense afternoon sun, which can be hot and strong. If you place plants here, consider using a sheer curtain to diffuse the light, or position plants a few feet away from the window glass to provide bright indirect conditions. Otherwise, use these for plants that enjoy stronger light, such as some cacti or citrus plants.
- South-Facing Windows: These provide the most consistent and intense light throughout the day, often direct for many hours. Like west-facing windows, they require careful management. Use sheer curtains or place plants further back for bright indirect light. They suit sun-loving plants like succulents, some flowering plants, or robust Ficus varieties.
Practical Placement Examples
To apply these concepts, consider these examples:
- A snake plant thrives in a low-light corner, six feet from a north-facing window, needing minimal light to survive.
- A pothos enjoys bright indirect light, hanging three feet from an east-facing window, receiving morning sun and diffused light later.
- A ZZ plant tolerates a desk far from a south-facing window, relying on ambient light rather than direct rays.
- A peace lily flourishes two feet from a west-facing window, with a sheer curtain filtering the afternoon sun.
Remember, light conditions change with the seasons. Winter brings lower light levels and shorter days, while summer offers longer, more intense light. Adjust your plant placement accordingly. Observing your plant’s response, such as leggy growth (stretching towards light) or scorched leaves (too much direct sun), provides direct feedback on your light choices.

Watering Without Guesswork: The Key to Plant Health
Overwatering causes more common houseplant mistakes and plant deaths than any other factor. Root rot, a fungal disease, thrives in soggy conditions, depriving roots of oxygen. Underwatering, while less common for immediate death, stunts growth and stresses plants. Mastering proper watering ensures your plants receive exactly what they need.
The Finger Test: Your Most Reliable Tool
Forget fixed schedules. The best way to determine when to water involves feeling the soil:
- Insert your index finger about one to two inches deep into the potting mix. For larger pots, go deeper, three to four inches.
- Assess the moisture level. If the soil feels damp or cool, wait.
- If the soil feels dry, crumbly, and room temperature, it is time to water.
This simple test accounts for variables like humidity, pot size, and plant type, which all influence drying times. For smaller plants, lift the pot; a significantly lighter pot indicates dry soil.
Soil Moisture Cues
Your plant’s soil offers visual and tactile clues:
- Dry Soil: Often appears lighter in color, shrinks away from the pot edges, and feels crunchy or very light when lifted.
- Damp Soil: Appears darker, feels cool and slightly sticky, and the pot feels heavier.
Different plants prefer different drying periods. Succulents and cacti prefer their soil to dry out completely between waterings. Tropical foliage plants, such as ferns or peace lilies, prefer consistently moist, but not soggy, soil, often drying out only an inch or two deep before receiving more water.
How to Water Effectively
When you do water, do it thoroughly:
- Water from the top: Pour water slowly over the soil surface until it begins to drain from the bottom of the pot. Ensure the entire soil ball becomes saturated.
- Allow drainage: Let the pot sit in its saucer or cachepot for 15-30 minutes.
- Empty excess water: Crucially, empty any standing water from the saucer or cachepot. Leaving roots submerged in water leads to root rot.
This method ensures the roots receive adequate hydration and flushes out accumulated salts from fertilizers. For plants in smaller pots, or those that are particularly susceptible to root rot, consider bottom watering. Place the pot in a tray of water, allowing the soil to absorb moisture through the drainage holes for 20-30 minutes, then remove and let it drain fully.
Water Quality and Sustainable Practices
Tap water often contains chlorine and other chemicals. Letting water sit in an open container for 24 hours allows chlorine to dissipate. For extremely sensitive plants, consider filtered water or rainwater. Practicing water-wise habits means watering only when necessary and avoiding wasteful runoff. Collect rainwater for your plants where possible. This sustainable approach benefits both your plants and the environment.
Choosing the Right Pot: Foundations for Healthy Growth
The pot you select plays a significant role in your plant’s health, influencing drainage, aeration, and aesthetic appeal. Your choice impacts how quickly the soil dries and how much oxygen reaches the roots, making it an essential part of effective houseplant care.
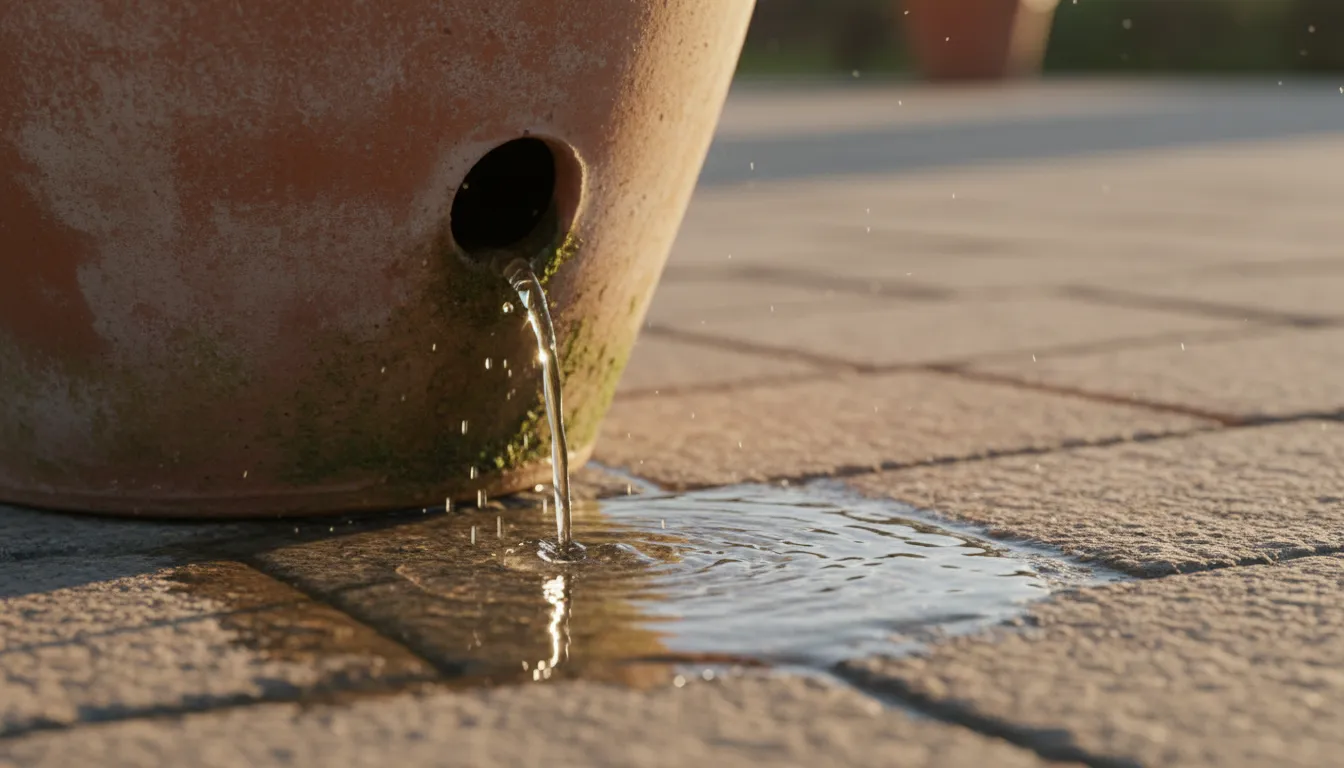
Drainage Holes Are Non-Negotiable
Every single pot housing a living plant must have drainage holes. This is perhaps the most crucial rule for preventing common houseplant mistakes like root rot. Drainage holes allow excess water to escape, preventing the soil from becoming waterlogged. If a beautiful pot lacks drainage, use it as a cachepot, which means you place your plant in a functional pot with drainage inside the decorative pot.
Potting Material Matters
Different materials offer distinct advantages:
- Plastic Pots: These are lightweight, inexpensive, and retain moisture longer than terracotta. They are excellent for plants that prefer consistently moist soil, like ferns or peace lilies, or for individuals who tend to underwater. Their flexibility makes repotting easier, as you can gently squeeze the sides to loosen the root ball.
- Terracotta Pots: Made from porous clay, terracotta pots allow air and moisture to evaporate through their walls. This makes the soil dry out faster, which is ideal for plants that prefer drier conditions, such as succulents, cacti, or snake plants. Terracotta’s breathability helps prevent overwatering, but it also means more frequent watering for moisture-loving plants. They are heavier and more fragile than plastic.
- Ceramic Pots: Glazed ceramic pots are non-porous, similar to plastic in terms of moisture retention. They offer a wide range of decorative options and add weight, which can stabilize top-heavy plants. Always ensure they have a drainage hole.
Cachepots and Saucers
Cachepots, as mentioned, are decorative outer pots without drainage holes. They catch water that drains from the inner nursery pot, preventing spills. Always ensure you empty any collected water from the cachepot to prevent your plant’s roots from sitting in stagnant water. Saucers serve the same purpose for pots with drainage, collecting excess water. Match the saucer size to the pot to catch all runoff.
The Drainage Layer Myth
You may hear advice to add a layer of gravel, broken pottery, or packing peanuts at the bottom of a pot for “better drainage.” This is a common misconception and often detrimental. Instead of improving drainage, this layer creates a perched water table, where water accumulates just above the gravel, potentially making the actual potting mix more prone to sogginess. Proper drainage comes from appropriate soil mix, adequate drainage holes, and correct watering techniques. The best practice is to fill the pot entirely with a suitable potting mix.
Pot Size Considerations
Choosing the right pot size impacts growth and watering needs:
- Upsizing: Only move a plant into a larger pot when its roots have filled its current container. Typically, this means going up by one or two inches in diameter. For example, a plant in a 6-inch pot would move to an 8-inch pot. Too large a pot holds excess soil, which retains too much moisture and increases the risk of root rot.
- Right Fit: A plant’s root system should comfortably fill about two-thirds of the pot, leaving room for a fresh layer of soil and some future growth. Small plants in small pots dry out faster, while large plants in large pots dry out slower.
Observing your plant’s growth and checking its root system (gently lifting it from the pot) will guide your decisions on pot size and timing for repotting.
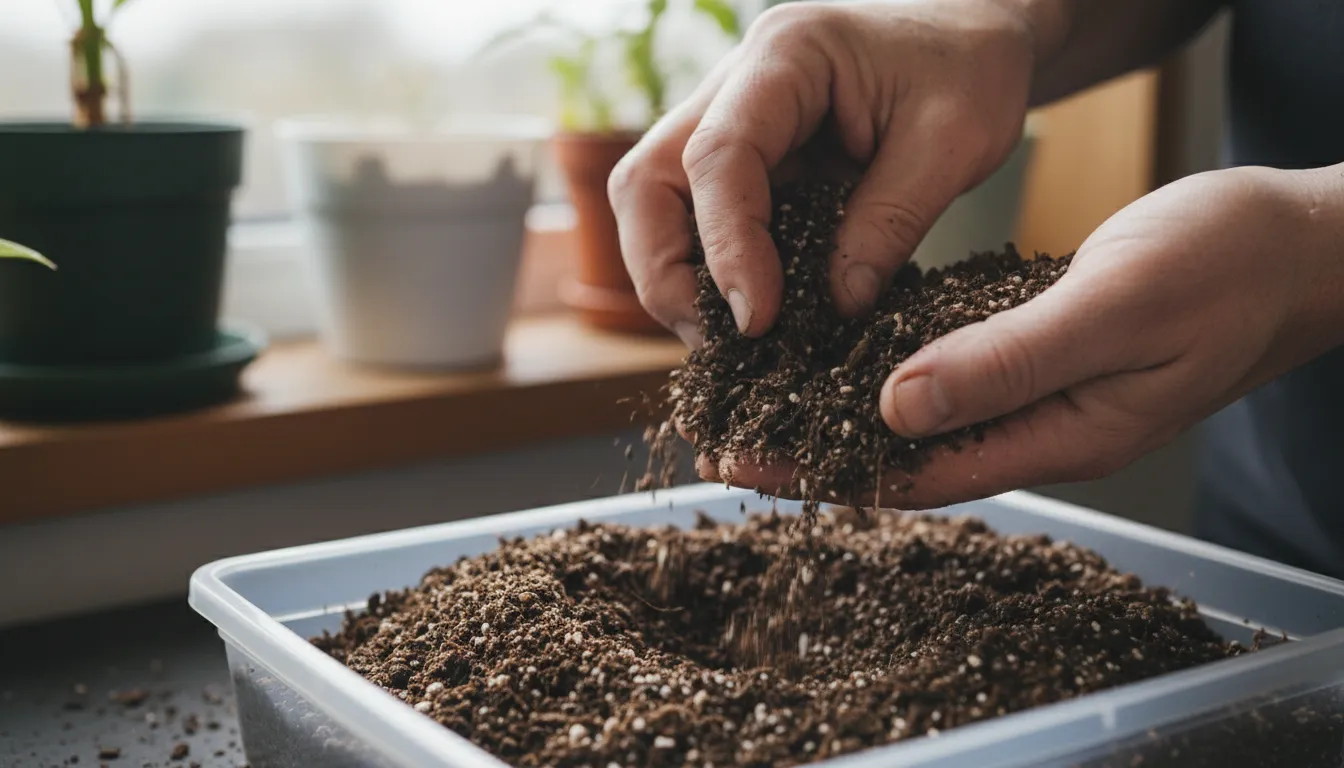
Potting Mix and Repotting: Giving Your Plants a Fresh Start
The right potting mix provides the necessary support, nutrients, and crucial balance of moisture retention and drainage. Repotting, when done correctly, invigorates your plants and addresses common houseplant mistakes associated with root-bound conditions.
Understanding Potting Mix Components
Commercial potting mixes are blends designed to offer aeration, drainage, and water retention. Key components include:
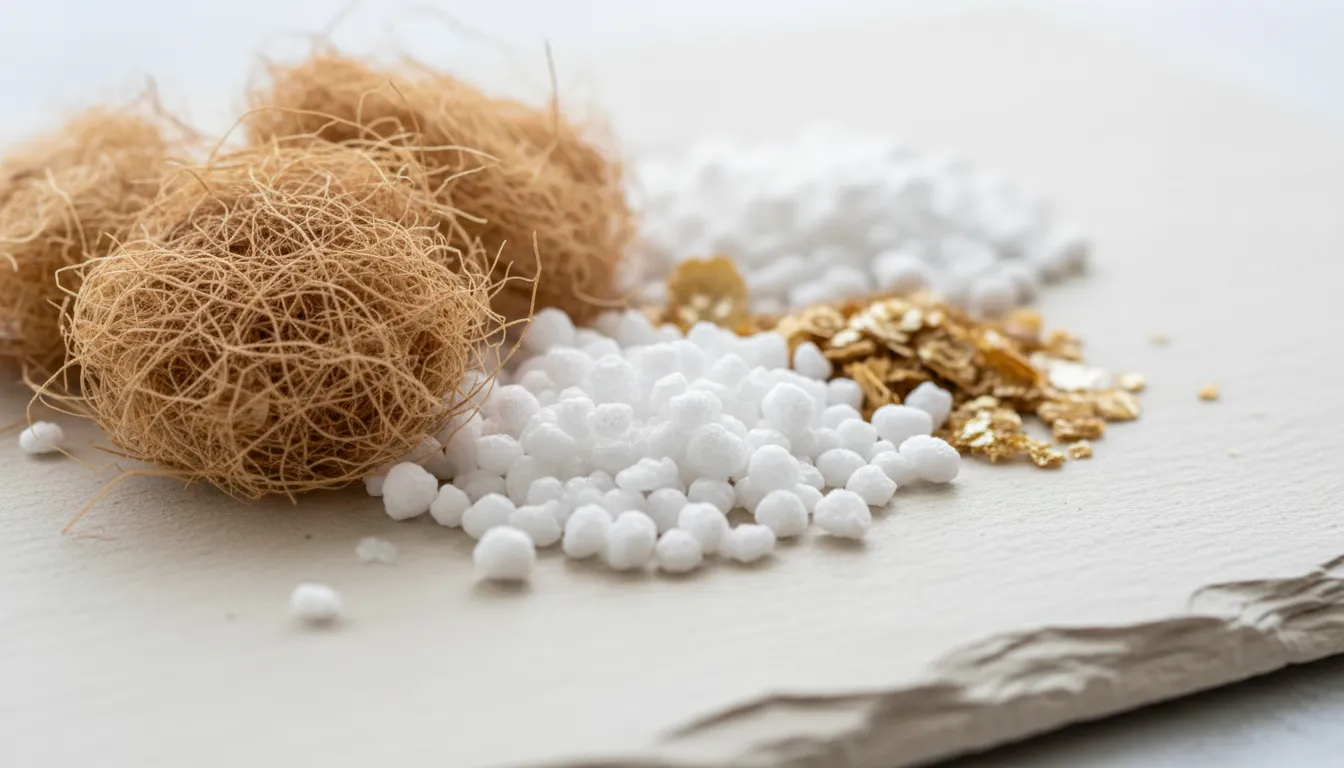
- Peat Moss or Coco Coir: These provide the base for moisture retention. Peat moss is traditionally used but faces sustainability concerns. Coco coir, a renewable byproduct of coconut processing, offers an excellent, environmentally conscious alternative. It holds moisture while also allowing for good aeration.
- Perlite or Pumice: These lightweight, porous materials improve drainage and aeration. They prevent the mix from compacting, allowing oxygen to reach roots and excess water to escape. Perlite often looks like white foam balls, while pumice resembles small, light gray stones.
- Vermiculite: This material also retains moisture and nutrients, slowly releasing them to the plant. It tends to hold more water than perlite.
- Bark (Orchid Bark): For plants like aroids (philodendrons, pothos) that naturally grow on trees, bark chips provide excellent drainage and mimic their epiphytic growing conditions.
Choosing a Peat-Free Mix
For environmentally conscious indoor gardening, opt for peat-free potting mixes. Peat bogs are vital carbon sinks, and harvesting peat contributes to greenhouse gas emissions and habitat destruction. Many high-quality, sustainable alternatives using coco coir, composted bark, and other renewable materials are readily available. These mixes perform just as well, if not better, for most houseplants.
When to Repot
Your plant signals its need for a new home. Look for these signs:
- Roots Grew Through Drainage Holes: This is a clear indicator that the plant has outgrown its current pot.
- Stunted Growth or Yellowing Leaves: If your plant’s growth slows or leaves yellow despite proper watering and light, it might be root-bound and unable to access enough nutrients or water.
- Water Runs Straight Through: If water quickly drains without saturating the soil, the root ball is likely too dense, preventing water absorption.
- Soil Compaction: Over time, potting mix breaks down and compacts, reducing aeration. Repotting replenishes fresh, aerated soil.
- More Plant Than Pot: The plant looks disproportionately large for its container, often becoming top-heavy.
Spring and early summer are ideal times to repot, as plants are actively growing and recover more quickly from the disturbance.
Step-by-Step Repotting Guide
Repotting is a straightforward process:
- Prepare Your Materials: Gather your new pot (one size up, typically 1-2 inches larger in diameter), fresh peat-free potting mix, and a small trowel or scoop.
- Gently Remove the Plant: Lay the plant on its side. Grasp the stem close to the soil line and gently pull while pressing around the pot’s sides to loosen the root ball. If it resists, you may need to slide a knife around the inner edge of the pot.
- Inspect the Roots: Examine the roots. Healthy roots are firm and white or light tan. Dark, mushy, or foul-smelling roots indicate root rot, which you should trim away with clean shears. Gently tease apart any circling or tightly packed roots at the bottom of the root ball to encourage outward growth.
- Add Fresh Potting Mix: Place a layer of fresh potting mix at the bottom of the new pot. The amount depends on the size of your plant’s root ball, ensuring the plant sits at the same soil level as it did in its old pot. The soil line should be about one inch below the rim of the new pot to allow for watering.
- Position the Plant: Center the plant in the new pot.
- Fill with Soil: Backfill around the root ball with fresh potting mix, gently tamping it down to remove large air pockets. Avoid compacting it too tightly; you want aeration.
- Water Thoroughly: Water the plant immediately after repotting until water drains from the bottom. This settles the soil around the roots.
- Post-Repotting Care: Place the repotted plant in its usual spot, or a slightly shadier location for a few days to help it recover from the stress. Avoid fertilizing for a month or two, as the fresh potting mix usually contains enough nutrients.
For research-based houseplant care, you can visit the Brooklyn Botanic Garden or the University of Minnesota Extension websites for further guidance on potting mixes and repotting techniques.

Humidity and Airflow: Creating an Ideal Microclimate
Most popular houseplants originate from tropical and subtropical regions, where high humidity and consistent airflow are natural. Our indoor environments, especially with central heating and air conditioning, often fall short. Addressing these factors improves plant health and prevents common houseplant mistakes, such as crispy leaf edges or fungal issues.
Why Humidity Matters
Humidity refers to the amount of moisture in the air. Low humidity causes plants to lose water rapidly through transpiration, leading to:
- Crispy or Brown Leaf Edges: A classic sign, especially on plants like calatheas, ferns, and prayer plants.
- Stunted Growth: Plants expend energy compensating for water loss rather than growing.
- Increased Pest Susceptibility: Pests like spider mites thrive in dry conditions.
Aim for indoor humidity levels between 50-70% for most tropical plants. Your indoor environment typically sits much lower, often around 30-40% without intervention.
Practical Humidity Boosts
You can effectively increase localized humidity without investing in a large humidifier:
- Pebble Trays: Fill a shallow tray with pebbles and add water to just below the top of the pebbles. Place your potted plant on top of the pebbles, ensuring the pot’s base does not sit in the water. As the water evaporates, it increases humidity around the plant. This works well for individual plants or small groupings.
- Grouping Plants: Plants naturally release moisture through their leaves. Grouping several plants together creates a miniature humid microclimate, benefiting all of them. This strategy works particularly well for collections of plants on shelves or tables.
- Misting: While misting offers a temporary boost, its effects are fleeting. It can provide a quick refreshment for plants, but do not rely on it as your sole humidity solution. Misting excessively, especially on fuzzy-leaved plants or those prone to fungal issues, can sometimes cause problems. Focus on techniques that provide sustained humidity.
- Bathroom Placement: Bathrooms, with their regular showers, naturally have higher humidity. If you have a window in your bathroom, it can be an ideal spot for humidity-loving plants like ferns or orchids.
The Importance of Airflow
Good airflow prevents stagnant, humid conditions that encourage fungal diseases and pests. While humidity is good, stagnant moisture is not. Air movement helps dry plant leaves after watering or misting, reducing the risk of mold or bacterial spots.
- Avoid Overcrowding: Give your plants some breathing room. Overcrowded plants block airflow, creating pockets of stagnant air.
- Gentle Air Circulation: An oscillating fan on its lowest setting, placed a few feet away from your plants, provides excellent circulation. Do not aim it directly at your plants, as a constant strong breeze can dry them out.
- Open Windows: When weather permits, opening a window for a short period introduces fresh air and improves circulation. Avoid placing plants directly in a strong, cold draft.
Striking the right balance between humidity and airflow creates a resilient, healthy environment for your indoor garden, reducing the likelihood of common houseplant mistakes related to environmental stress.

Easy Plants for Every Space: Your Low-Maintenance Allies
Starting with resilient, low-maintenance plants builds confidence and minimizes the chances of common houseplant mistakes. These plants forgive minor care lapses and thrive in a range of indoor conditions, making them perfect for beginners or those with limited time and space. Remember to always check if a plant is pet-safe if you have animals in your home. You can consult sources like the ASPCA’s plant list for toxicity information.
Top Picks for Low Light
These plants tolerate, and even prefer, less intense light:
- Snake Plant (Sansevieria trifasciata): Famous for its upright, architectural leaves and extreme tolerance for neglect. It thrives in low light, handles infrequent watering, and purifies air.
- ZZ Plant (Zamioculcas zamiifolia): With its glossy, dark green foliage, the ZZ plant is incredibly drought-tolerant and performs well in very low light conditions. It stores water in its rhizomes, so err on the side of underwatering.
- Pothos (Epipremnum aureum): A versatile vining plant that adapts to various light levels, including low light. Its trailing stems look beautiful in hanging baskets or on shelves. Many varieties exist, offering different variegation.
- Cast Iron Plant (Aspidistra elatior): Lives up to its name, tolerating deep shade, neglect, and temperature fluctuations. It requires minimal fuss.
Top Picks for Bright Indirect Light
Most common houseplants flourish in bright indirect light:
- Philodendron (various species, e.g., hederaceum, heartleaf philodendron): Another fantastic vining plant with heart-shaped leaves. Like pothos, it comes in many forms and tolerates some neglect. It signals thirst by drooping its leaves.
- Peace Lily (Spathiphyllum spp.): Known for its elegant white spathes and deep green leaves. It prefers consistently moist soil and bright indirect light. It visibly droops when thirsty, offering a clear watering cue.
- Prayer Plant (Maranta leuconeura): Famous for its striking foliage and habit of folding its leaves up at night, resembling praying hands. It prefers higher humidity and consistently moist soil.
- Spider Plant (Chlorophytum comosum): Easy to grow, produces “spiderettes” that you can propagate. It thrives in bright indirect light and tolerates occasional drying out.
- Peperomia (various species): A diverse genus with many leaf shapes, textures, and colors. Most prefer bright indirect light and tolerate periods of dryness between waterings. Many are compact, perfect for small spaces.
Styling and Placement for Small Spaces
Maximize your small space with clever plant placement:
- Hanging Baskets: Free up floor and shelf space by using hanging planters for vining plants like pothos, philodendron, or spider plants.
- Vertical Shelves: Utilize vertical space with tiered shelving units, allowing you to display multiple plants without taking up much floor area.
- Plant Stands: Elevate plants to catch more light or create visual interest without cluttering surfaces. Choose slim, multi-tiered stands for efficiency.
- Windowsill Gardens: For plants that enjoy consistent light, your windowsill is prime real estate. Ensure plants are not pressed against cold glass in winter or scorched by direct sun in summer.
Integrating plants into your small space creates a sense of calm and connection to nature, enhancing your indoor gardening experience.

Troubleshooting Common Problems: Diagnosing and Fixing Issues
Even with the best care, your plants might occasionally show signs of distress. Learning to diagnose and address these common houseplant mistakes proactively is a key aspect of successful indoor gardening. This section empowers you to read your plant’s signals and take corrective action.
Yellow Leaves: A Common Sign
Yellowing leaves are perhaps the most frequent complaint from plant owners, and they can indicate several issues:
- Overwatering: The most common cause. Saturated soil starves roots of oxygen, leading to root rot. Leaves often turn yellow and feel soft or mushy. Address this by reducing watering frequency, checking soil moisture thoroughly before watering, and ensuring excellent drainage. Repotting into fresh, well-draining soil and a clean pot might be necessary if root rot is advanced.
- Underwatering: Leaves turn yellow, often starting from the bottom, and feel dry and crispy. The plant may also droop dramatically. Correct by watering thoroughly until water drains from the bottom.
- Nutrient Deficiency: Older leaves might yellow if the plant lacks essential nutrients. This is less common in recently repotted plants. Use a balanced liquid fertilizer during the growing season (spring and summer), following package directions. Yellowing veins with green leaf tissue can indicate iron deficiency.
- Normal Aging: Plants shed old leaves as new growth emerges. If only a few bottom leaves yellow and fall, and the rest of the plant looks healthy, it is likely normal senescence.
- Pest Infestation: Some pests, like spider mites or scale, can cause yellowing as they feed on plant sap. Inspect your plant for visible pests.
Root Rot: The Silent Killer
Root rot results from persistently waterlogged soil, which suffocates roots and promotes harmful fungal growth. By the time you notice symptoms above ground, the problem is often severe:
- Symptoms: Wilting, yellowing, or browning leaves despite moist soil. Stunted growth. A foul, musty odor from the soil.
- Action: Carefully remove the plant from its pot. Inspect the roots. Healthy roots are firm and white or light tan. Rotted roots appear black, brown, or mushy and often smell unpleasant. Trim away all affected roots with clean, sharp shears. Repot the plant into a clean pot with fresh, well-ddraining, peat-free potting mix. Adjust your watering habits immediately.
Fungus Gnats: Annoying but Harmless (Mostly)
These tiny, dark, flying insects often appear around houseplants. They are attracted to consistently moist soil, where their larvae feed on decaying organic matter and sometimes delicate root hairs.
- Prevention: The best defense is allowing the top inch or two of soil to dry out completely between waterings. This eliminates their breeding ground.
- Treatment:
- Yellow Sticky Traps: Place these near your plants to catch adult gnats.
- Beneficial Nematodes: These microscopic worms are natural predators to gnat larvae and safe for plants, pets, and humans. Apply them as a soil drench.
- Bacillus thuringiensis israelensis (BTI): Found in products like Mosquito Bits, BTI is a bacterium that specifically targets gnat larvae when added to water and used for irrigation.
Integrated Pest Management (IPM) Basics
Effective pest control involves a holistic approach, not just spraying chemicals. IPM prioritizes prevention and non-toxic solutions:
- Inspection: Regularly inspect your plants, especially the undersides of leaves and stem joints, for any signs of pests. Early detection simplifies treatment.
- Quarantine New Plants: Always keep new plants separate from your existing collection for 2-4 weeks to ensure they are pest-free before introducing them.
- Hygienic Practices: Remove fallen leaves and spent flowers from the soil surface to eliminate hiding spots for pests. Clean your tools regularly.
- Physical Removal: For small infestations, physically wipe away pests with a damp cloth or cotton swab dipped in rubbing alcohol. You can also use a strong stream of water (in a sink or shower) to dislodge pests like spider mites.
- Organic Solutions:
- Insecticidal Soap: Effective against soft-bodied pests like aphids, spider mites, mealybugs, and whiteflies. Always follow label directions.
- Neem Oil: A natural insecticide that disrupts pest feeding and reproduction. Mix with water and a few drops of dish soap, then spray thoroughly, coating all leaf surfaces. You can find more information on safe pest controls from reputable sources like the Royal Horticultural Society (RHS).
- Environmental Adjustments: As discussed, increasing humidity often deters spider mites, while allowing soil to dry out prevents fungus gnats.
By consistently applying these troubleshooting and pest management techniques, you keep your plants resilient and reduce common houseplant mistakes, ensuring a healthier indoor garden.
Seasonal Adjustments: Adapting Your Care Routine
Your houseplants do not operate on a fixed schedule. Their needs shift with the seasons, mirroring the natural world outside. Adapting your houseplant care routine for changing light levels, temperatures, and humidity ensures their continuous health and prevents common houseplant mistakes due to static care routines.
Winter Slowdown: Less Light, Less Water, Less Food
Winter presents the greatest challenge for indoor plants, especially in colder climates. Shorter days and lower sun angles significantly reduce available light. Combined with drier indoor air from heating systems, plants enter a period of reduced growth or dormancy.
- Light: Move plants closer to windows, especially south or west-facing ones, to maximize the limited light. Clean windows and plant leaves to allow for better light absorption. Consider supplemental grow lights if your plants are struggling or if you wish to maintain active growth.
- Watering: This is critical. Plants use less water when growing slowly. Reduce your watering frequency dramatically. Allow the soil to dry out more thoroughly between waterings than you would in summer. The “finger test” becomes even more important. Overwatering in winter is a leading cause of root rot.
- Humidity: Indoor heating systems drastically reduce humidity. Employ strategies like pebble trays and grouping plants to counteract this. A small humidifier can also be beneficial in very dry environments.
- Fertilizing: Stop fertilizing entirely during winter. Plants cannot effectively use nutrients when dormant, and excess fertilizer salts can accumulate in the soil, potentially harming roots. Resume feeding in spring when new growth appears.
- Temperature: Avoid placing plants directly next to drafty windows or heat vents, as sudden temperature fluctuations stress them.
Summer Growth: More Light, More Water, More Food
Summer brings longer days, warmer temperatures, and often higher humidity, prompting a period of active growth for most houseplants.
- Light: While summer offers abundant light, the intensity can be too much for some plants. Direct, unfiltered afternoon sun in a south or west-facing window can scorch leaves. Consider moving plants back a few feet from the window or using sheer curtains to diffuse intense light.
- Watering: Plants will use water more quickly due to active growth and increased evaporation. Check soil moisture more frequently, often requiring watering every few days. Ensure thorough watering and always empty excess from saucers.
- Fertilizing: This is the prime time to fertilize. Use a balanced liquid fertilizer at half the recommended strength every 2-4 weeks. This supports the plant’s active growth phase.
- Humidity: Natural humidity might be higher, but air conditioning can also dry the air. Continue monitoring and providing humidity boosts as needed.
- Outdoor Vacations: Some houseplants benefit from a summer vacation outdoors in a shady, protected spot, but always check for pests before bringing them back inside.
Vacation Watering Strategies
Planning for your plants when you go away ensures they remain healthy:
- Short Trips (1-3 days): Water thoroughly before you leave. Group plants together in a slightly shadier spot to reduce water loss.
- Medium Trips (4-7 days):
- Bottom Watering: Thoroughly water plants by letting them soak in a tray of water for 30 minutes, then drain well.
- Pebble Trays: Use large pebble trays with water to increase ambient humidity.
- Bathtub Method: Place plants in a bathtub with an inch or two of water. Use old towels to protect surfaces. Ensure plants are elevated on bricks or grates so their roots are not directly in water. This is a temporary solution for a few days.
- Long Trips (Over a week):
- Wick Systems: Set up a self-watering wick system using cotton ropes to draw water from a reservoir into the pot.
- Self-Watering Pots: Invest in self-watering pots that have a built-in reservoir.
- Ask a Friend: The most reliable method for extended periods is to have a trusted friend or neighbor water your plants. Leave clear, written instructions and show them your “finger test” method.
By adjusting your care to the rhythm of the seasons, you provide your houseplants with the optimal conditions they need to thrive year-round, making your indoor gardening journey much more successful.
Frequently Asked Questions
Can I use garden soil for my indoor plants?
No, you should not use garden soil for your indoor plants. Garden soil is too dense, often contains pests, diseases, and weed seeds, and does not provide the aeration and drainage necessary for potted plants. It compacts quickly in a pot, leading to poor root health and common houseplant mistakes like root rot. Always use a high-quality, sterile potting mix specifically formulated for indoor plants, preferably a peat-free option.
How do I know if my plant is getting too much or too little light?
Your plant gives clear signals. Too much light often causes scorched or bleached-looking leaves, especially on the side facing the window. Leaves may also turn yellow or dull. Too little light results in leggy, stretched-out growth with sparse or small leaves, as the plant reaches for a light source. Leaves might also lose variegation or become pale green. Observe these changes and adjust your plant’s placement accordingly.
Should I fertilize my houseplants in winter?
Generally, no. Most houseplants enter a period of reduced growth or dormancy during the shorter, darker days of winter. Fertilizing during this time can lead to a buildup of salts in the soil, which can burn the roots and stress the plant. Resume fertilization in spring when you observe new, active growth, using a diluted liquid fertilizer.
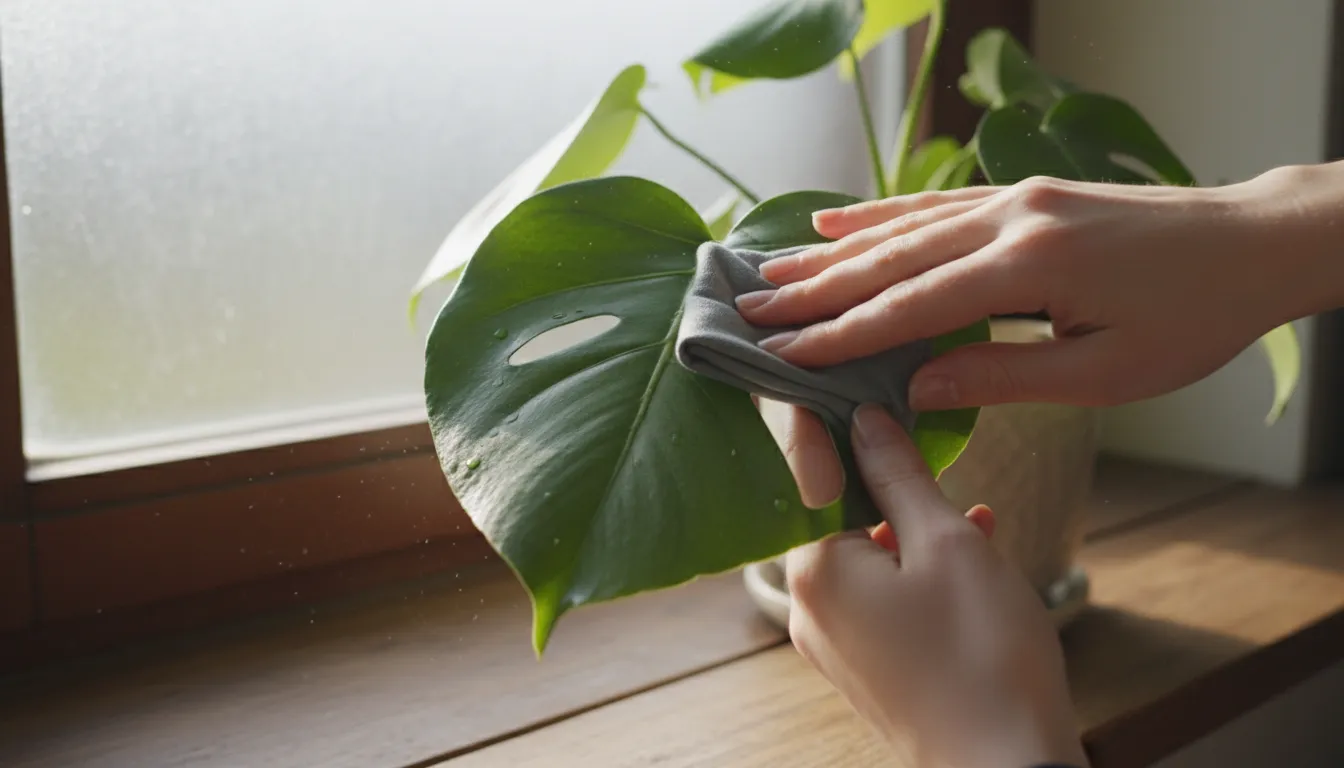
How do I clean my plant’s leaves?
Dust accumulates on leaves, blocking light and hindering photosynthesis. Regularly wipe your plant’s leaves with a soft, damp cloth or sponge. Support the leaf with one hand as you wipe with the other. For plants with many small leaves, you can gently rinse them in a sink or shower with lukewarm water. Ensure good drainage after rinsing. Avoid using leaf shine products, which can clog pores.
My plant is suddenly drooping, even after I just watered it. What’s wrong?
Sudden drooping after watering can signal several issues. If the soil is very wet, you may have overwatered, and the plant is suffering from early root rot. If the soil was bone dry before watering, the plant might be in shock and needs time to rehydrate, though it should perk up within a few hours to a day. Check the drainage holes to ensure they are not clogged. If the issue persists, inspect the roots for signs of rot and repot if necessary.
For more detailed resources and research-based advice on plant care, visit organizations like the New York Botanical Garden or the Missouri Botanical Garden. These institutions provide invaluable information to support your indoor gardening journey.