The White Crust Conundrum: What That Buildup on Your Terracotta Pots Means for Your Plants in Winter
Learn what the white crust on your terracotta pots means for your plants in winter, how to identify its source,…
Read More →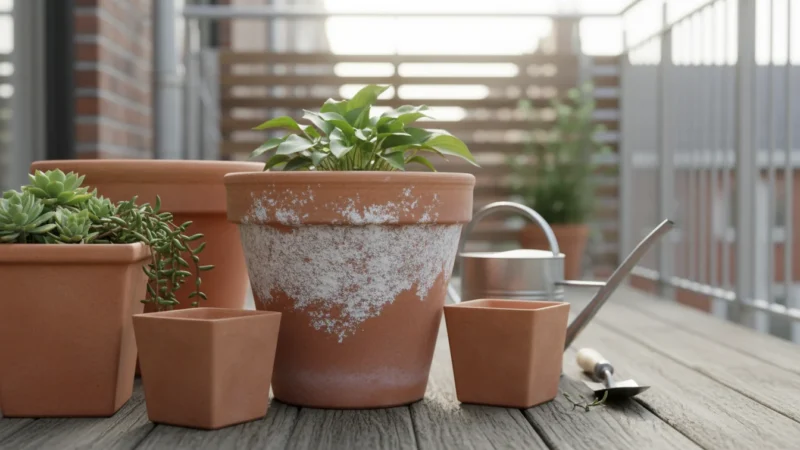
Learn what the white crust on your terracotta pots means for your plants in winter, how to identify its source,…
Read More →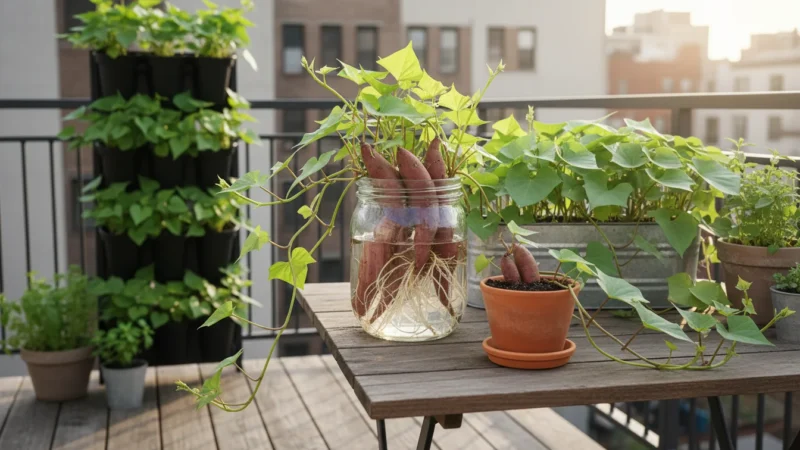
Learn how to grow a lush, vining sweet potato houseplant this winter from a grocery store spud with this easy,…
Read More →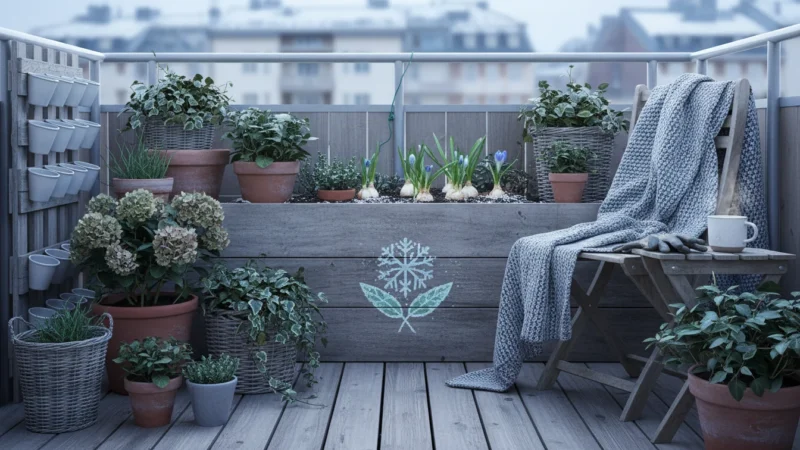
Learn how to use your cold balcony as a natural "ice box" to force spring bulbs in pots, enjoying early…
Read More →
Learn how to naturally boost your houseplant humidity and combat dry indoor air by strategically grouping your plants for a…
Read More →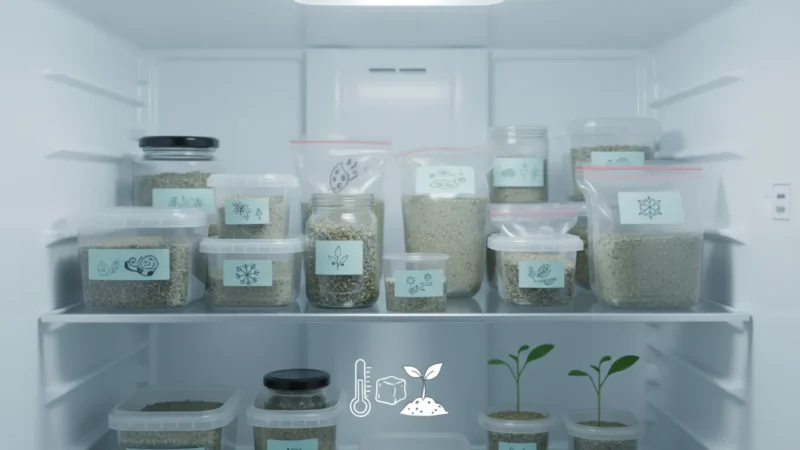
Unlock early blooms by learning cold stratification, a simple method to 'trick' seeds into sprouting using your refrigerator this winter.
Read More →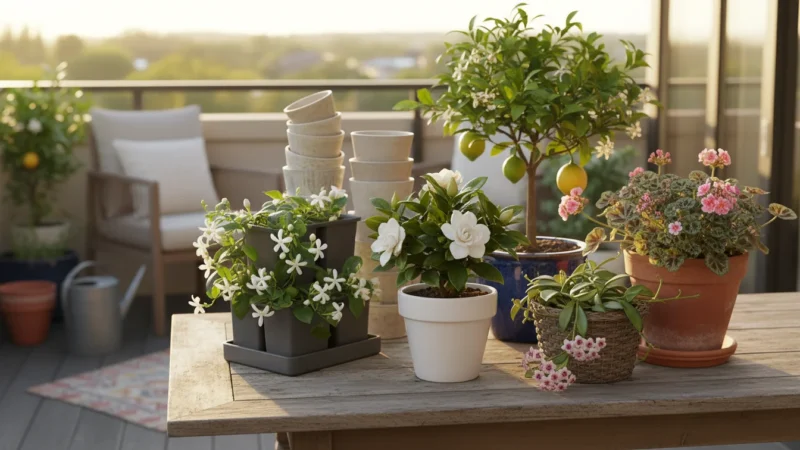
Discover 5 incredibly fragrant houseplants that bloom in winter, transforming your small space with delightful scents and practical care tips.
Read More →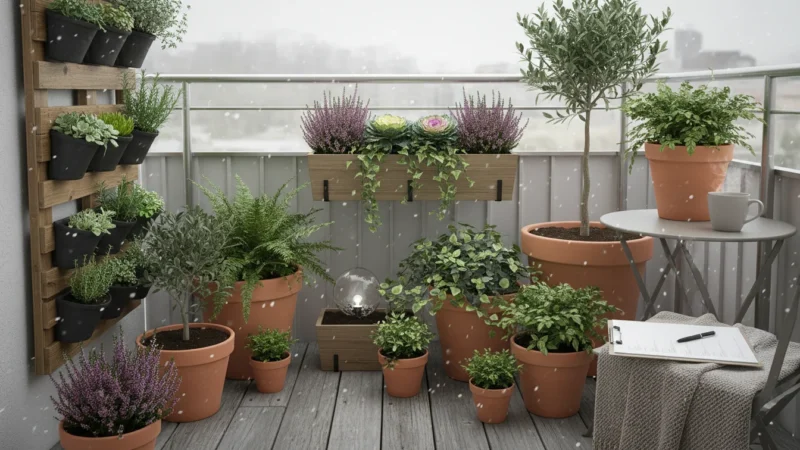
Create a vacation-proof winter houseplant plan for your apartment with this pre-trip checklist, ensuring your plants thrive while you are…
Read More →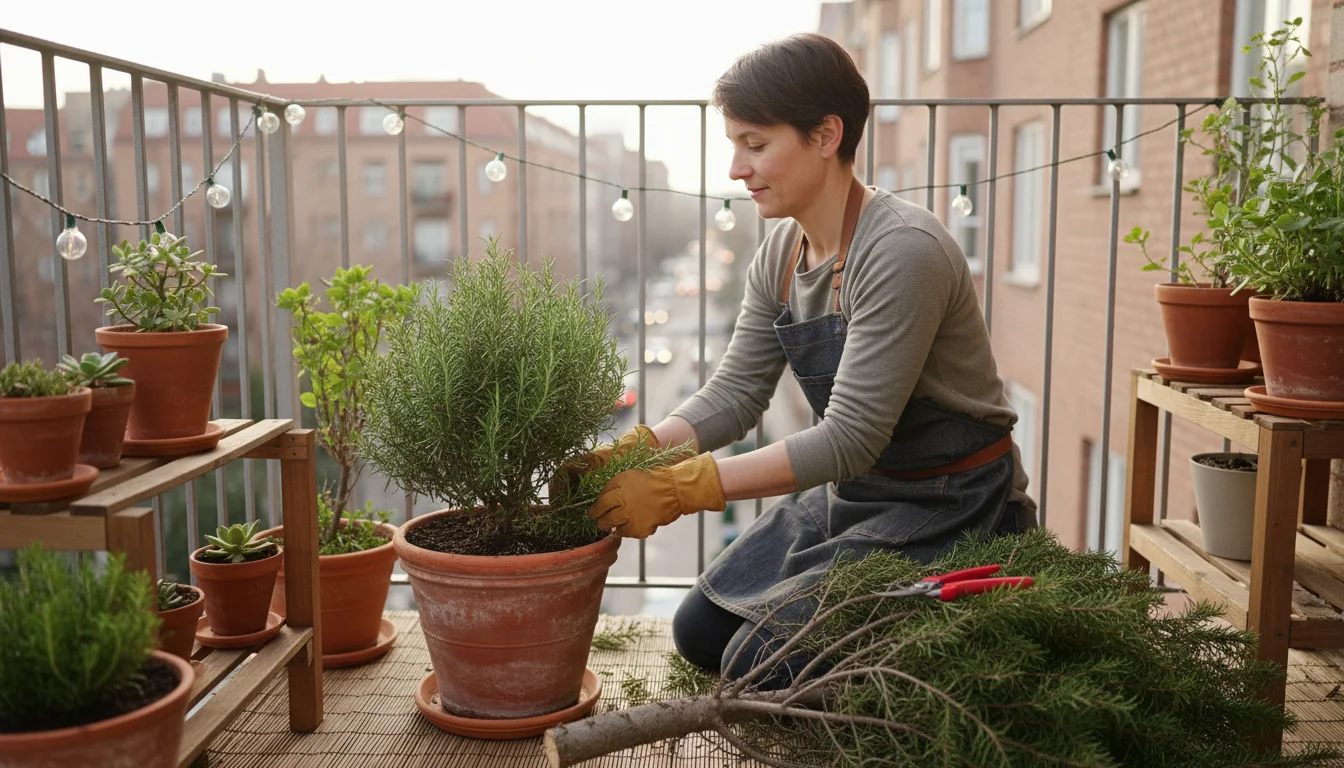
Transform your old Christmas tree into valuable resources for your container garden with these 5 genius, sustainable repurposing ideas.
Read More →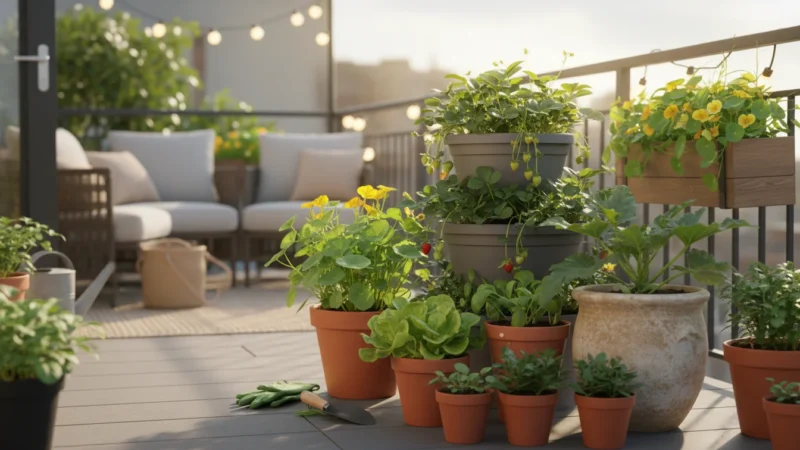
Learn how to kickstart your summer harvest with 5 fast-growing vegetables you can still plant in late spring, perfect for…
Read More →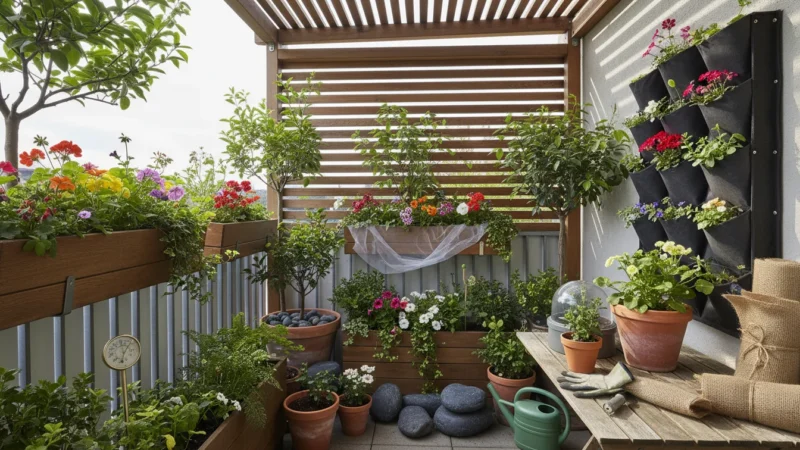
Protect your balcony garden from spring's strong winds! Learn 5 simple ways to create windbreaks, secure pots, choose tough plants,…
Read More →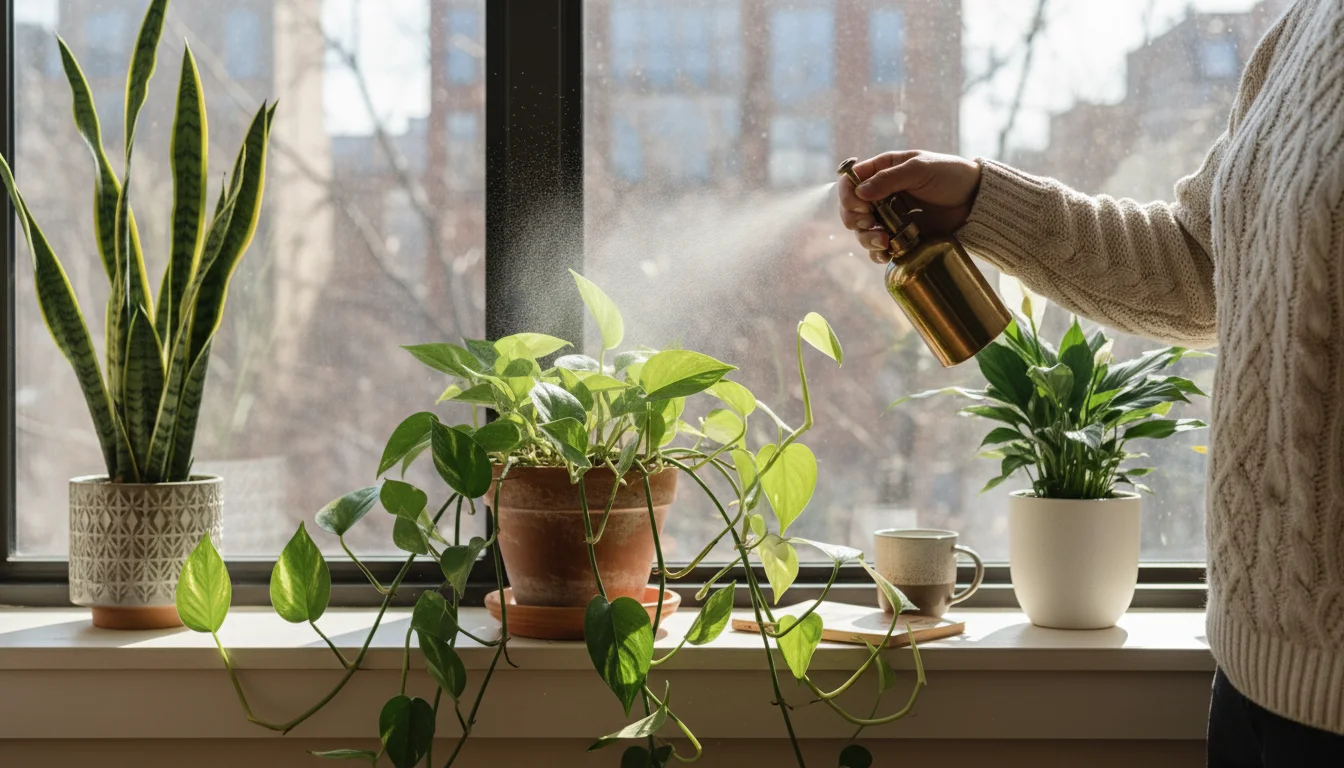
Discover how a 5-minute daily houseplant ritual can transform your winter, boosting mental health and wellness through mindful care and…
Read More →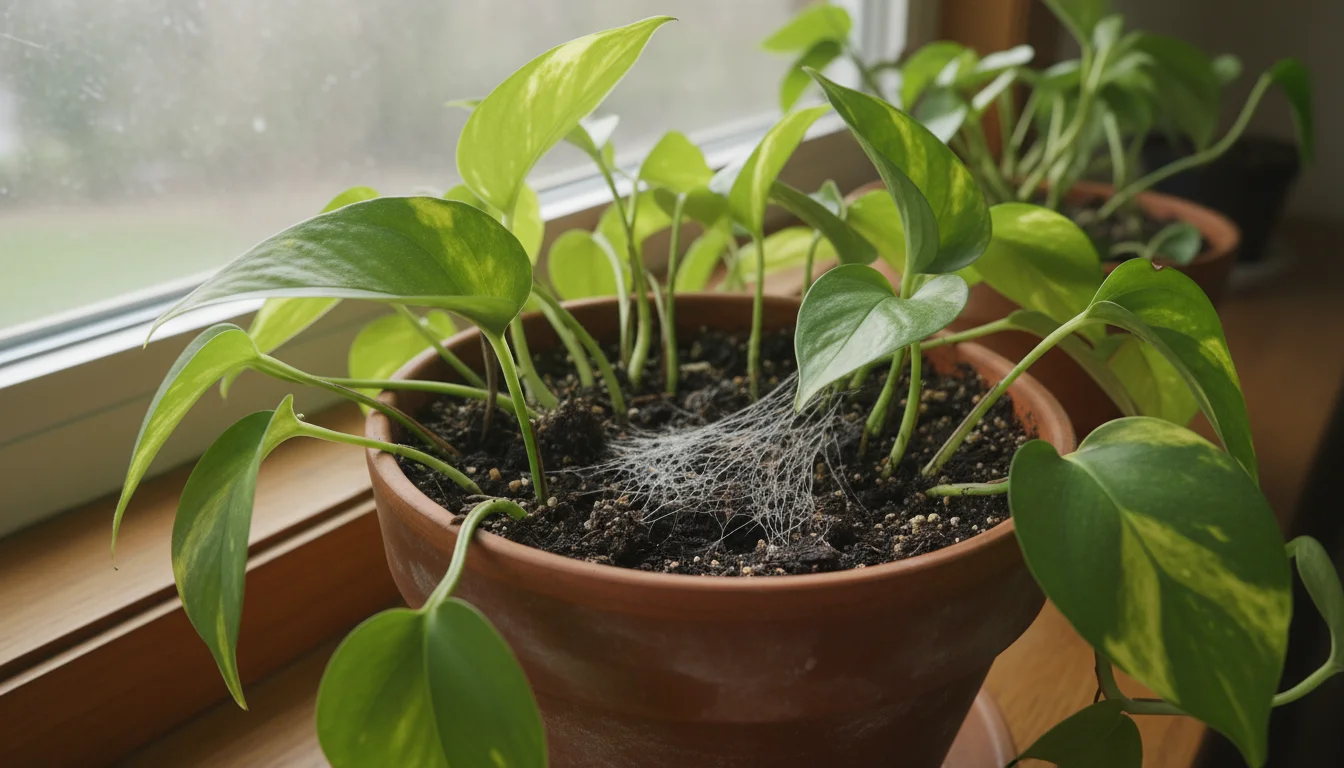
Learn to identify, remove, and prevent white fuzz on your houseplant soil, especially in winter, with practical tips from a…
Read More →