Grow Your Own Ginger Indoors: The Easiest, Most Rewarding Winter Windowsill Project
Grow fresh ginger on your windowsill this winter! This easy, rewarding project brings tropical spice to your kitchen with minimal…
Read More →Grow salads, herbs, and compact fruit in containers and raised boxes. Succession sowing, soil mixes for edibles, balcony trellises, and harvest handling—built for small footprints and steady yields.
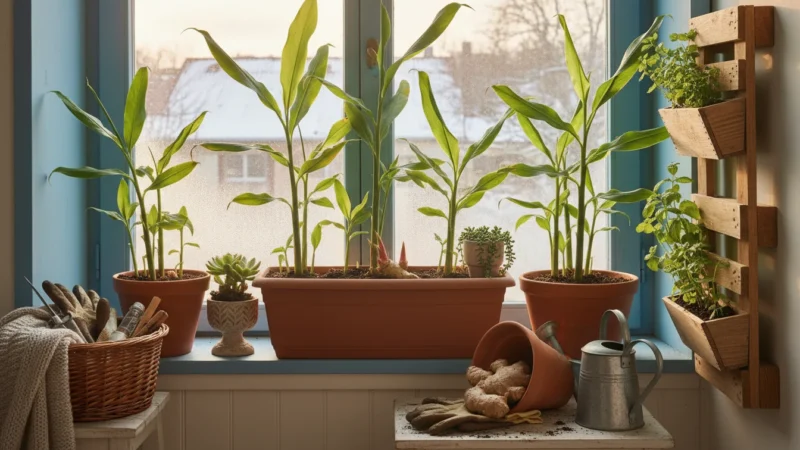
Grow fresh ginger on your windowsill this winter! This easy, rewarding project brings tropical spice to your kitchen with minimal…
Read More →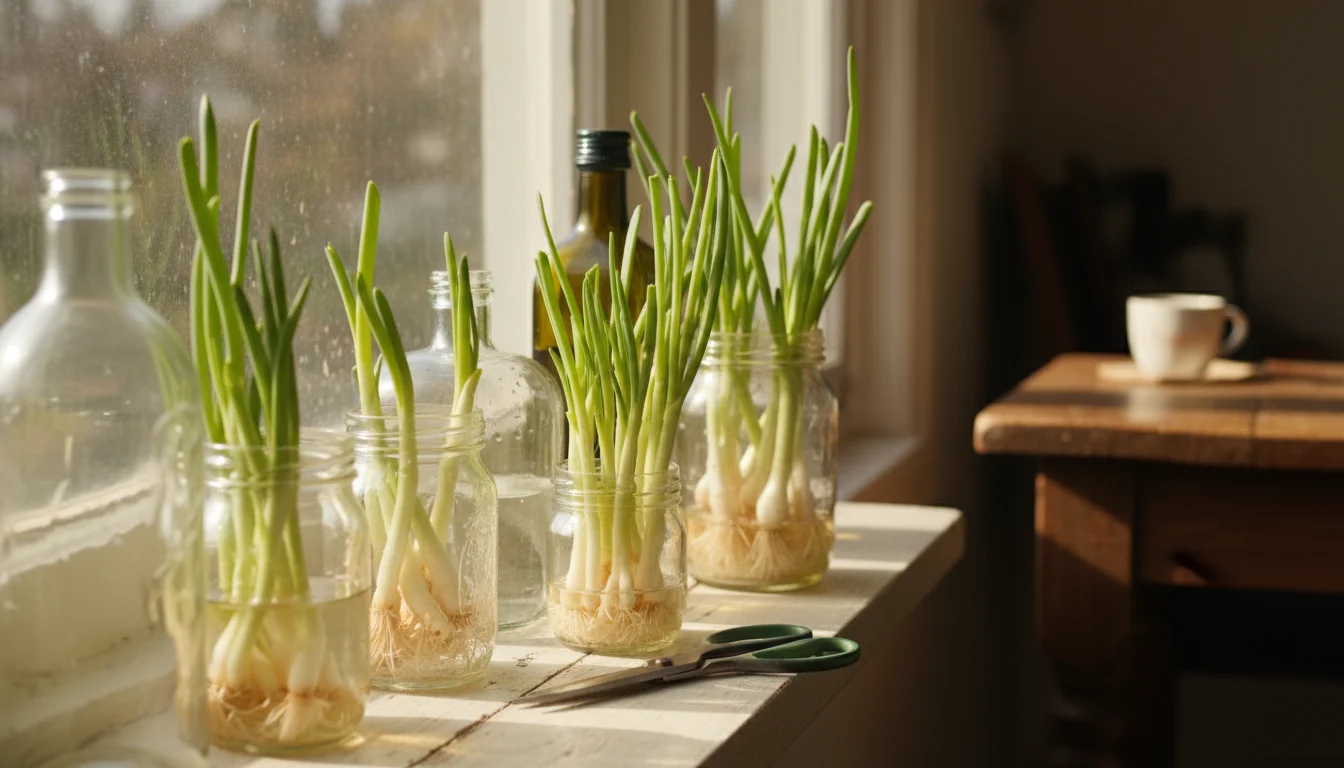
Learn how to grow an endless supply of green onions on your windowsill from kitchen scraps with this simple, step-by-step…
Read More →
Transform your patio pumpkin into a delicious snack with this guide on how to roast perfect pumpkin seeds, from planting…
Read More →
Learn the easiest way to preserve your fall herb harvest with our 5-minute herb salt recipe. This simple method transforms…
Read More →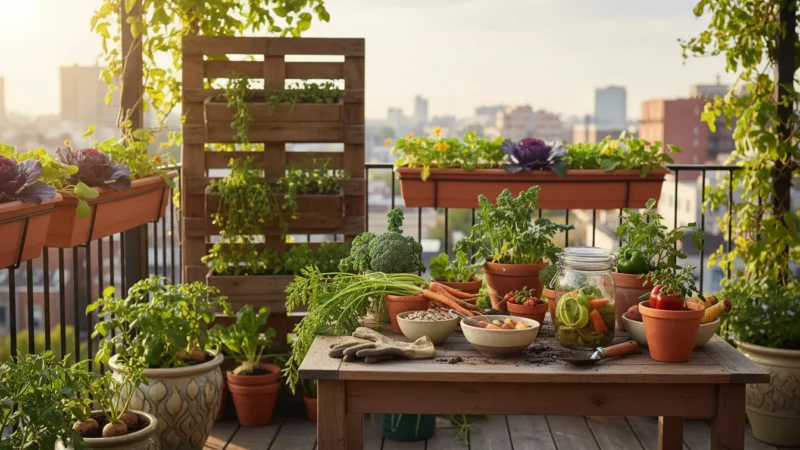
Learn how to transform carrot tops, beet greens, and broccoli stems from your container garden into delicious, no-waste meals this…
Read More →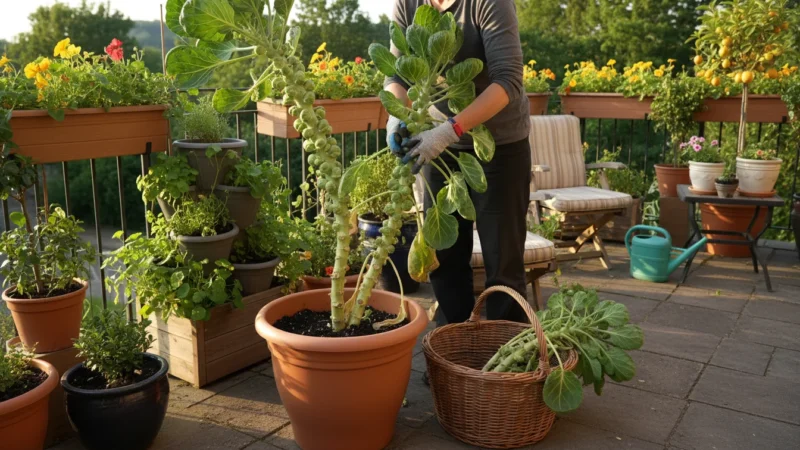
Grow and harvest brussels sprouts from containers! This beginner's guide covers planting, picking, and preparing your patio-grown crop.
Read More →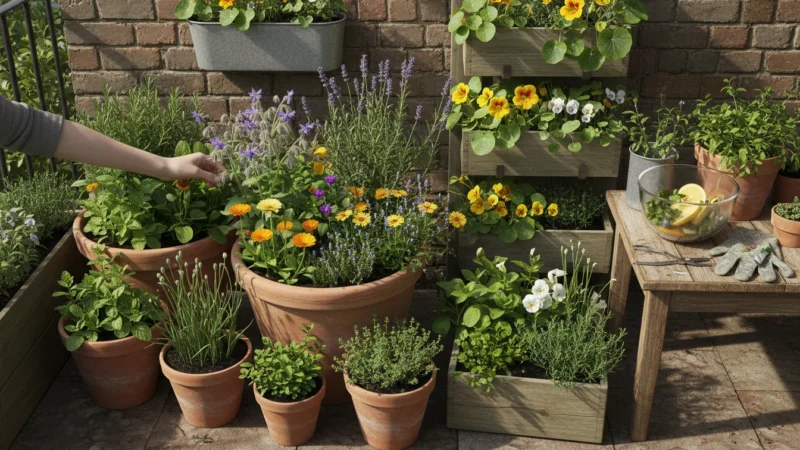
Learn to grow a beautiful and practical indoor cocktail garnish garden this fall, featuring hardy herbs and edible flowers for…
Read More →
Create a continuous salad bar in one pot! Learn how to grow multiple cut-and-come-again lettuces together for fresh harvests all…
Read More →
Add serious flavor to fall meals with spicy mustards and wasabi arugula! Grow these zesty greens easily in cool-weather window…
Read More →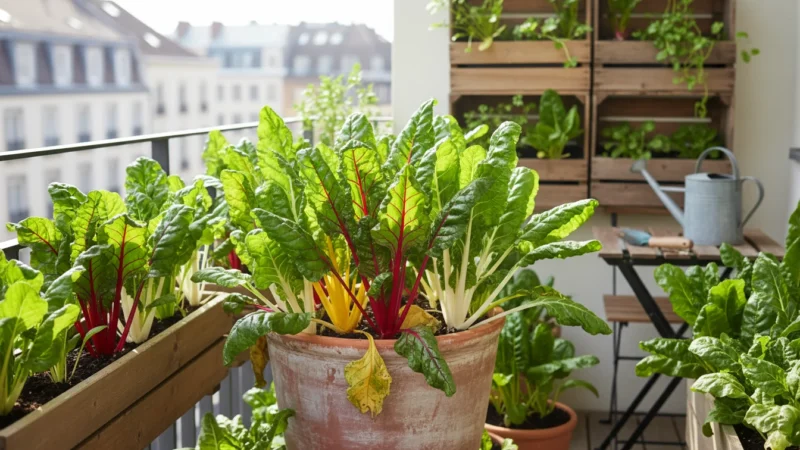
Discover why Swiss chard is the ultimate fall container vegetable! Easy to grow, cold-hardy, and continuously productive for small spaces.
Read More →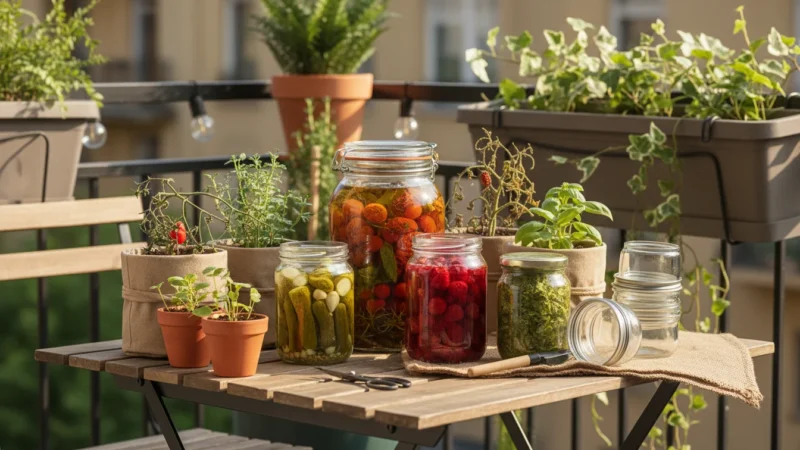
Learn 5 easy ways to preserve your final balcony harvest, from herb salts and infused oils to quick pickles, maximizing…
Read More →
Transform your end of season green tomatoes into a tangy, flavorful relish with this easy, small-batch recipe, perfect for balcony…
Read More →