Your Balcony’s ‘No Vacancy’ Sign: 5 Simple Spring Habits to Prevent Pests Before They Start
Learn 5 simple spring habits for effective balcony pest control. Prevent aphids, spider mites, and other pests before they start…
Read More →Seasonal routines for watering, feeding, pruning, and repotting. Diagnose common issues fast and keep plants healthy with short weekly habits and simple tools.
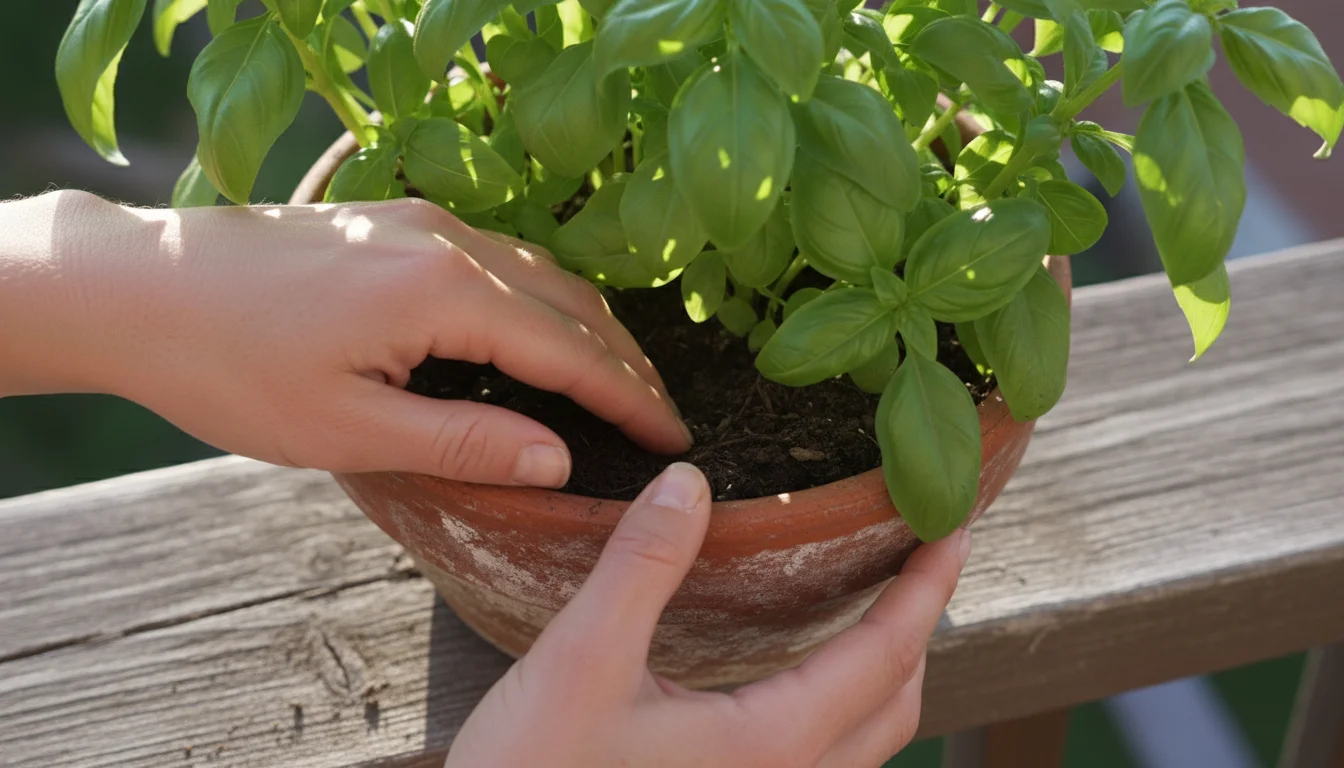
Learn 5 simple spring habits for effective balcony pest control. Prevent aphids, spider mites, and other pests before they start…
Read More →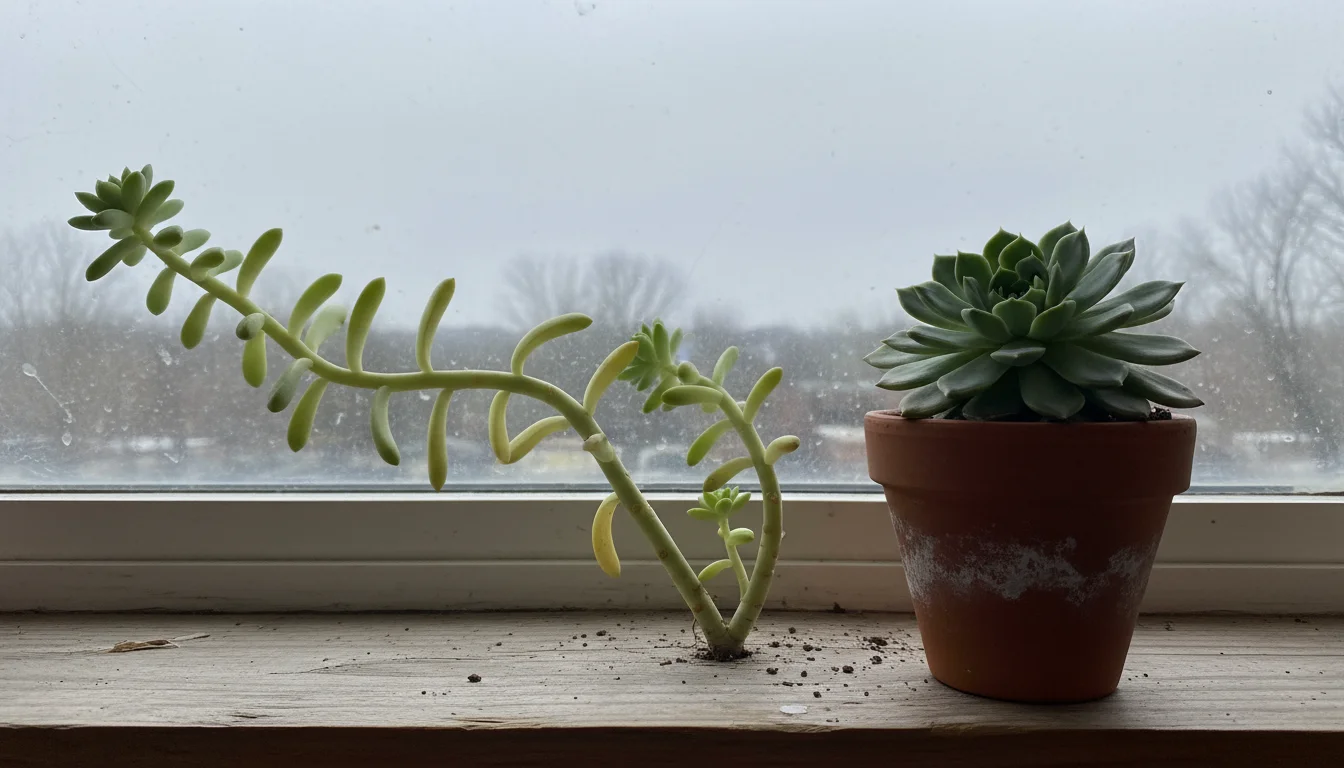
Learn why your succulent is stretching (etiolation) in winter and get practical tips for diagnosing, fixing, and preventing leggy growth…
Read More →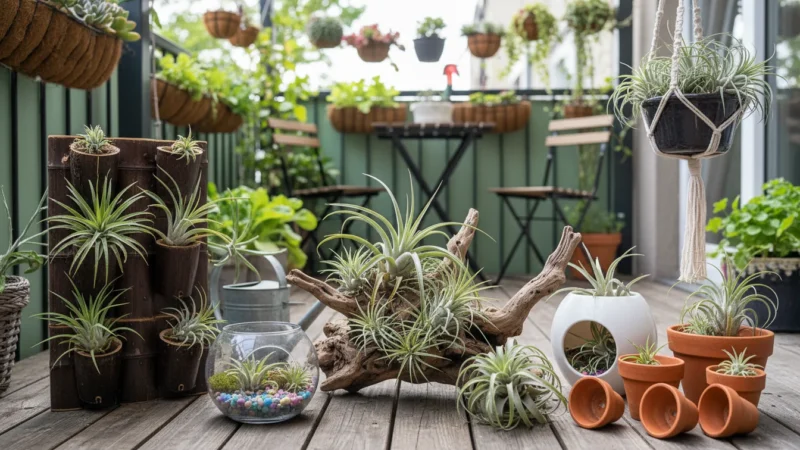
Learn essential air plant care tips for winter, including watering, humidity, and revival methods, to keep your Tillandsia thriving in…
Read More →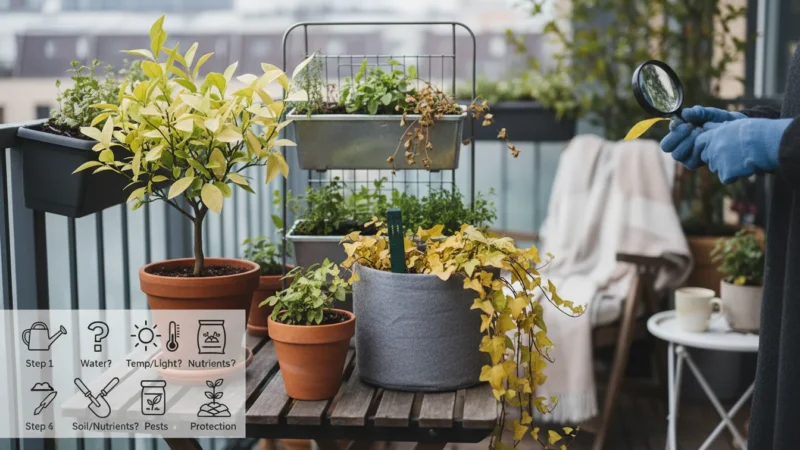
Diagnose yellow leaves on your houseplants this winter with our 5-step checklist covering watering, light, humidity, nutrients, and pests for…
Read More →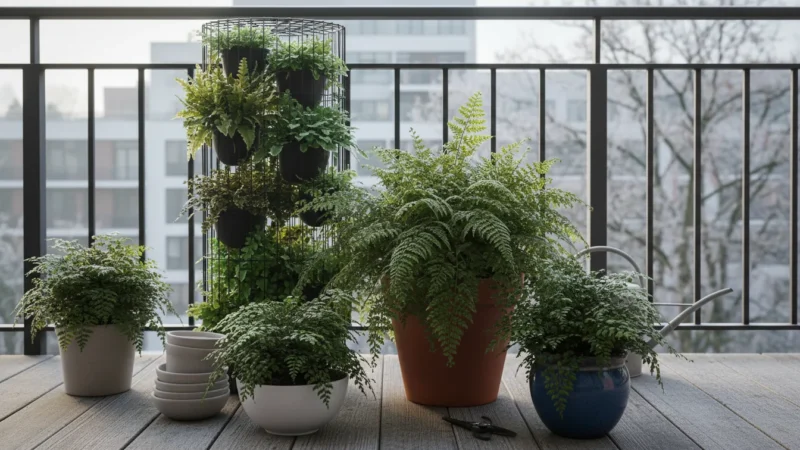
Master winter fern care in your urban apartment with this guide, solving issues like brown fronds, low humidity, and finding…
Read More →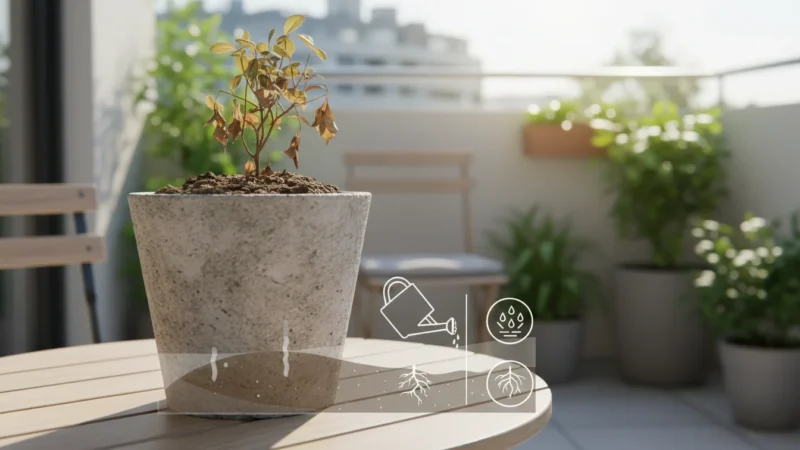
Is your indoor plant soil hard and water-repellent? Learn why your potting mix becomes hydrophobic in winter and get actionable…
Read More →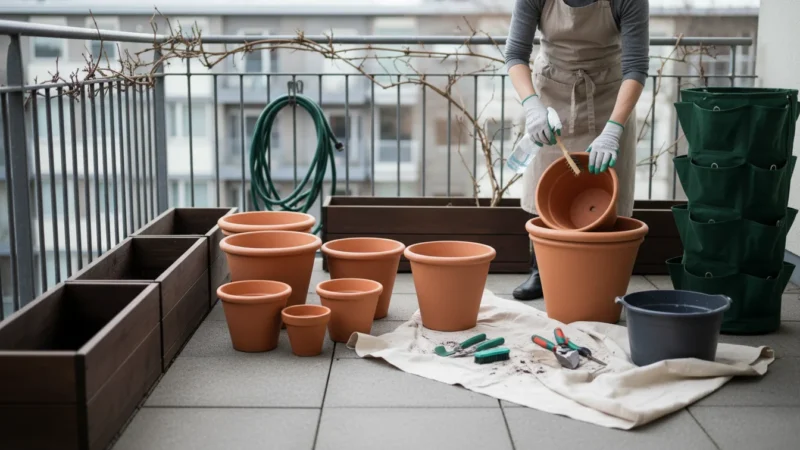
Learn how to disinfect your indoor gardening tools, from pruners to trowels, to prevent pest and disease spread for a…
Read More →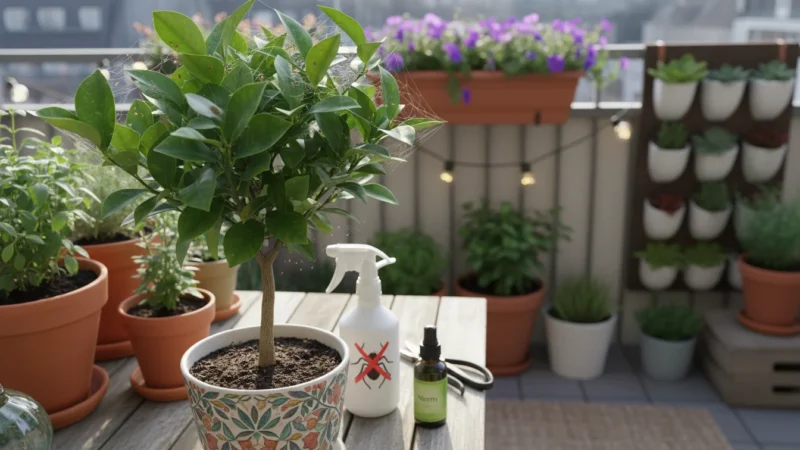
Combat spider mites on your indoor plants this winter with this complete guide. Learn identification, prevention, and natural treatments for…
Read More →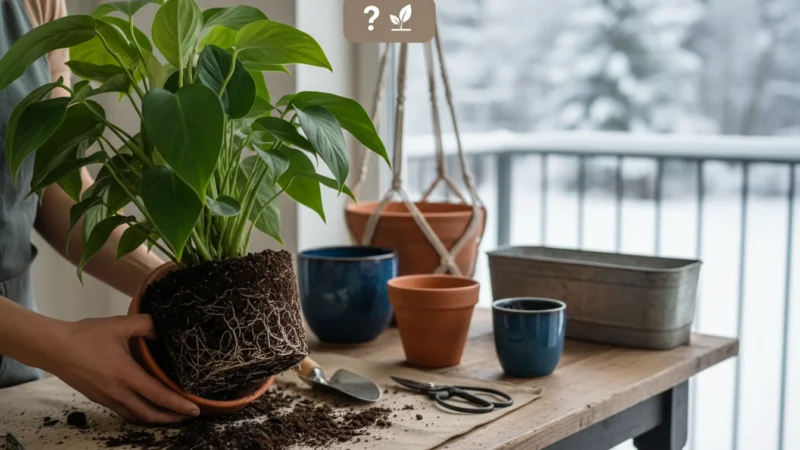
Learn when it is truly okay to repot houseplants in winter for emergencies like root rot, and how to do…
Read More →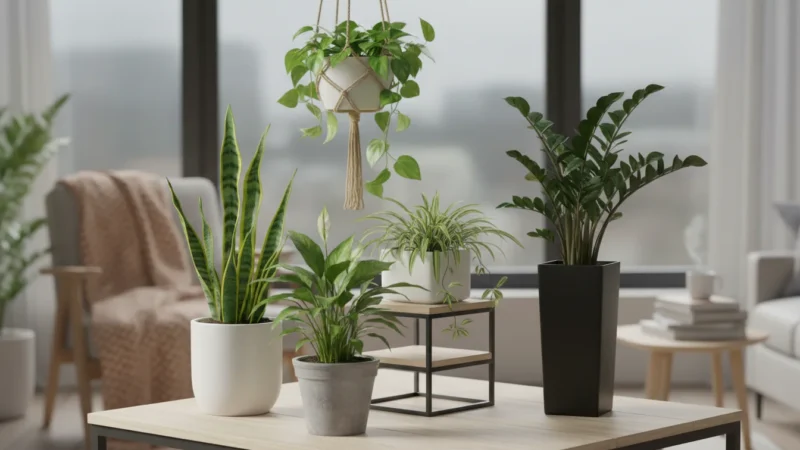
Improve your indoor air quality this winter with 5 easy-care, air-purifying houseplants that thrive in low light and dry heating…
Read More →
Give your houseplants a spa day! Learn how to make a natural 3-ingredient leaf shine and pest deterrent using common…
Read More →
Learn 7 common winter houseplant mistakes even experts make, like overwatering and low light, to keep your indoor plants thriving…
Read More →