The Fungus Gnat Annihilation Plan: A 4-Pronged Attack for Apartment Gardeners
Eliminate fungus gnats from your apartment plants with our 4-pronged attack: master watering, use Bti, deploy traps, and maintain sanitation…
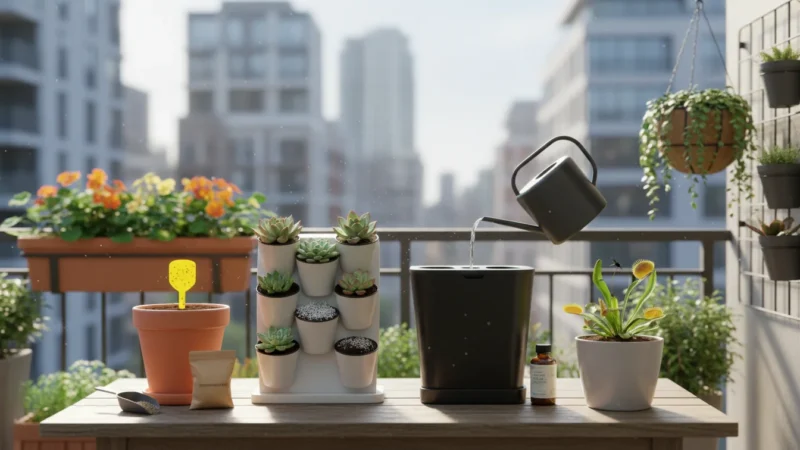
Read More →Seasonal routines for watering, feeding, pruning, and repotting. Diagnose common issues fast and keep plants healthy with short weekly habits and simple tools.
Eliminate fungus gnats from your apartment plants with our 4-pronged attack: master watering, use Bti, deploy traps, and maintain sanitation…
Read More →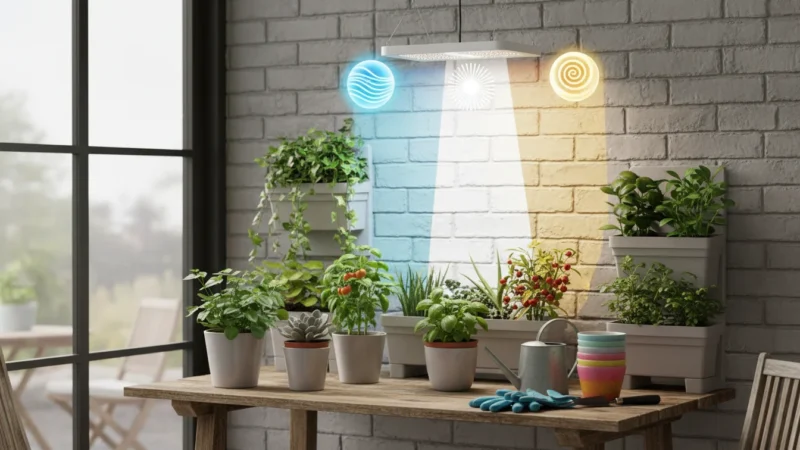
Decode grow light terms like PPFD, lumens, and watts with this beginner-friendly guide to choosing and using indoor plant lighting…
Read More →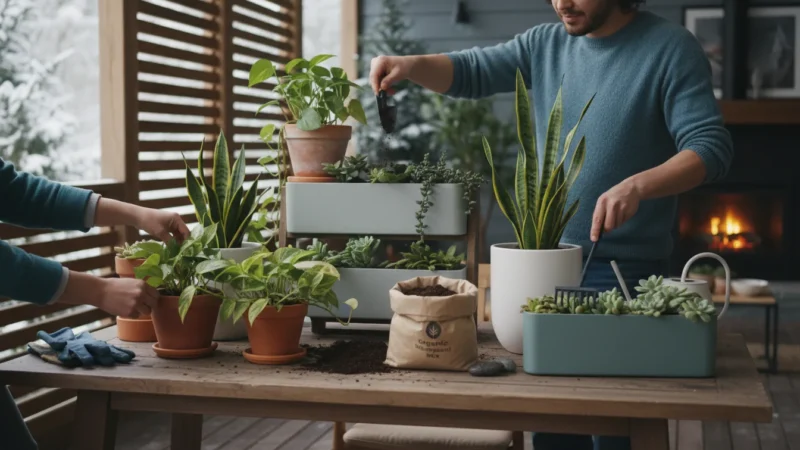
Refresh your houseplants this winter with top dressing, a low-effort method to boost nutrients and improve soil health without stressful…
Read More →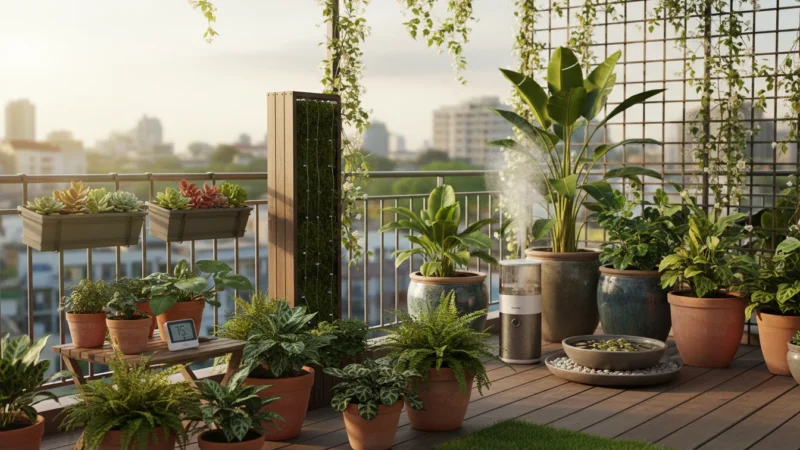
Discover effective humidity hacks for your houseplants this winter, ranking methods from misting to humidifiers for real results in your…
Read More →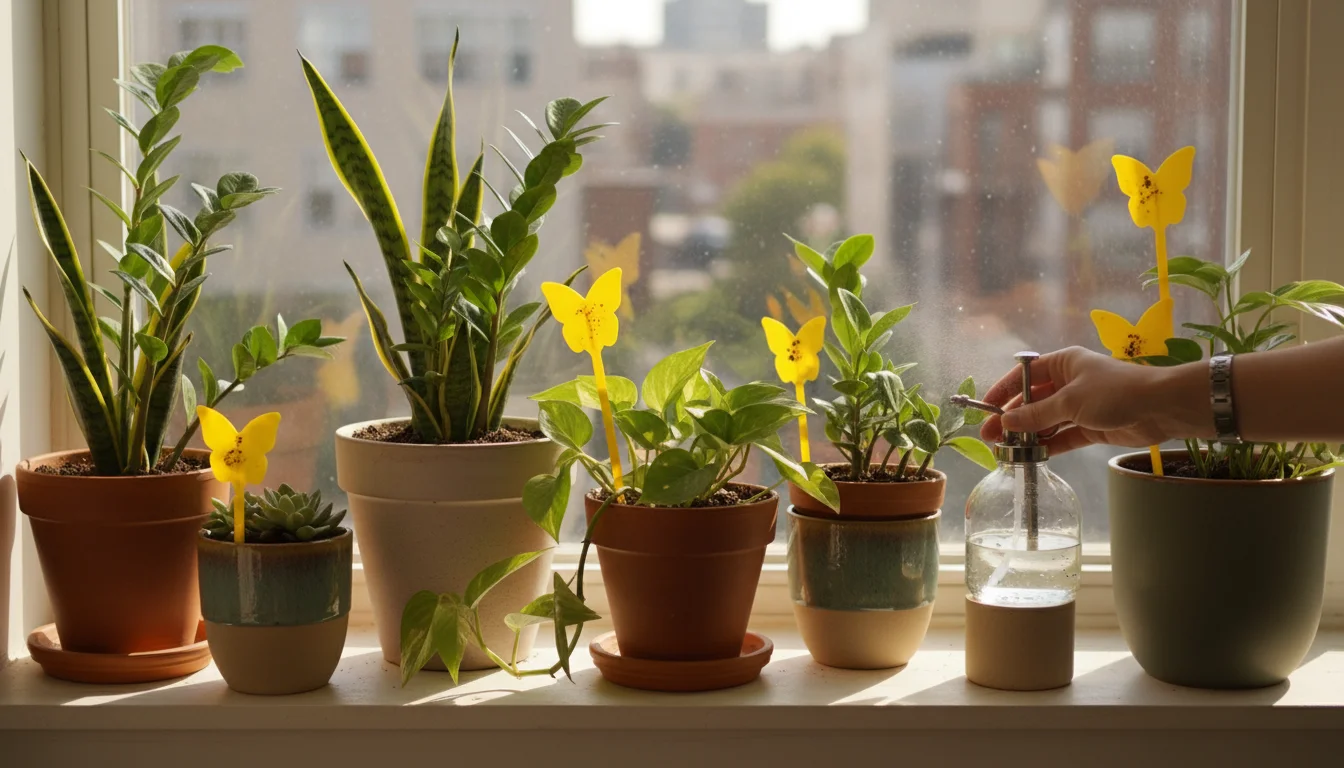
Discover the secret to a pest-free indoor garden this winter with non-toxic yellow sticky traps for houseplants. Learn how to…
Read More →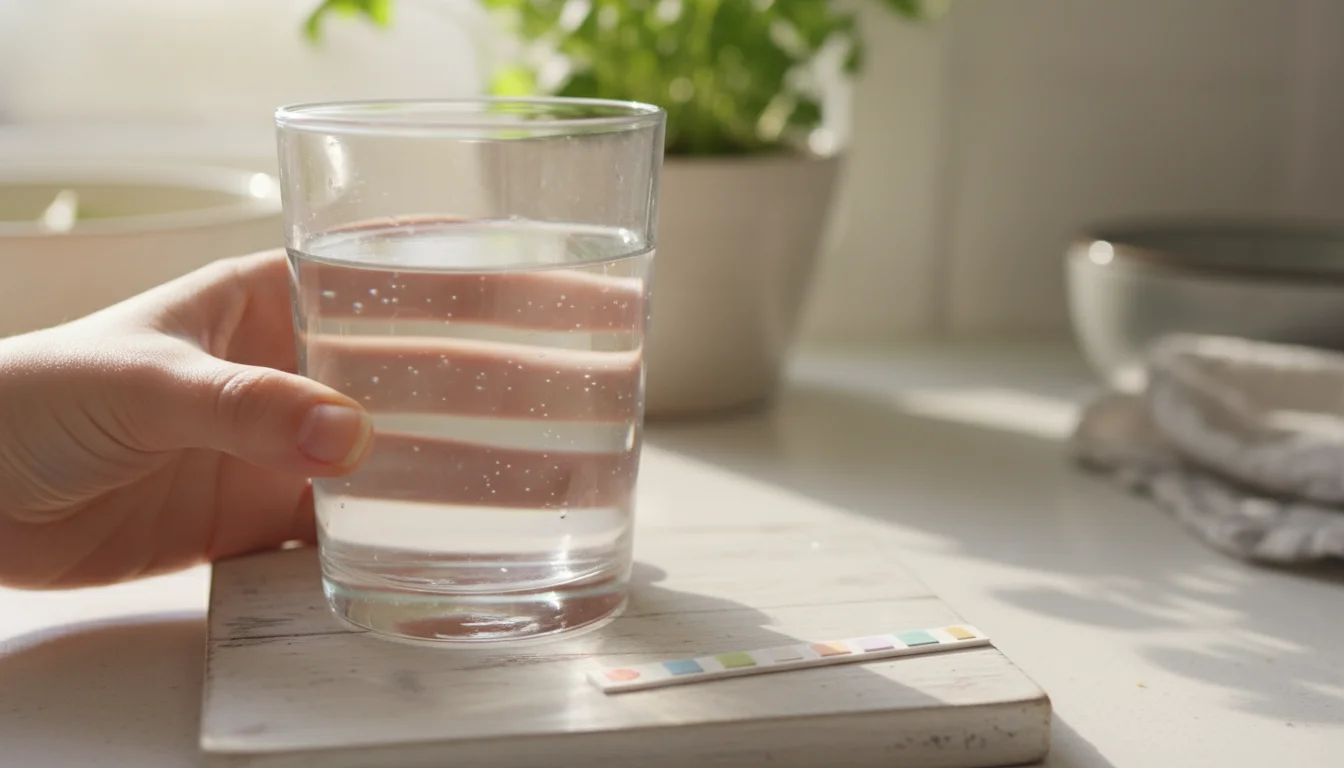
Learn if your tap water is toxic to houseplants this winter and discover practical solutions for healthier plants, from simple…
Read More →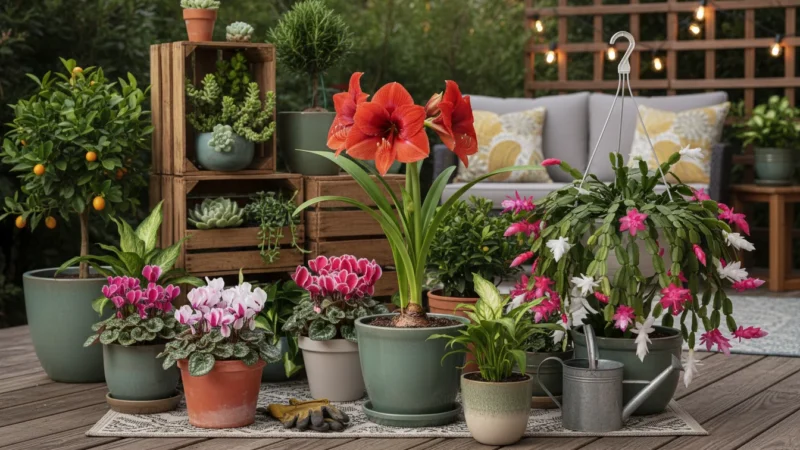
Learn how to keep your gifted Amaryllis and Christmas Cactus thriving and reblooming year after year with our practical, step-by-step…
Read More →
Learn to keep your houseplants healthy through winter with this 5-point inspection list, covering pest checks, watering, light, and common…
Read More →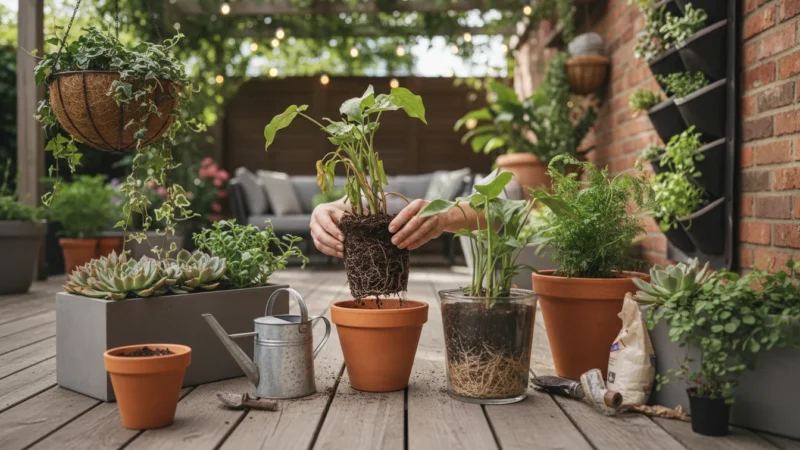
Learn to diagnose, treat, and prevent root rot in your houseplants this winter with our step-by-step guide for overwatered plants.
Read More →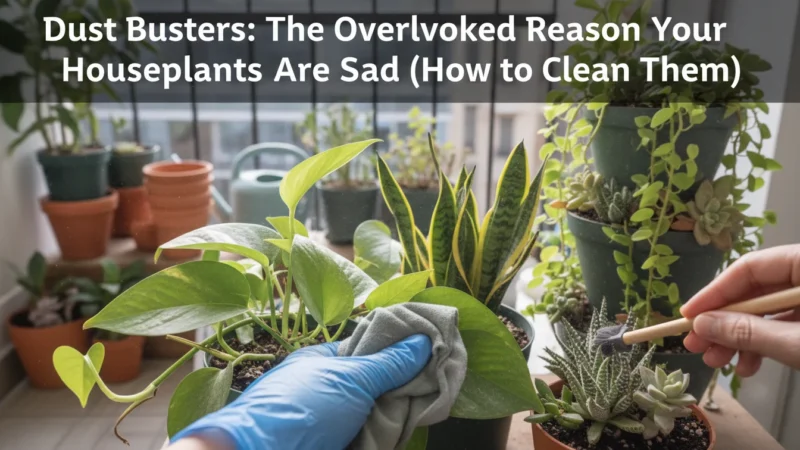
Learn why dusty leaves make your houseplants sad and discover simple, actionable steps to clean them, boosting plant health and…
Read More →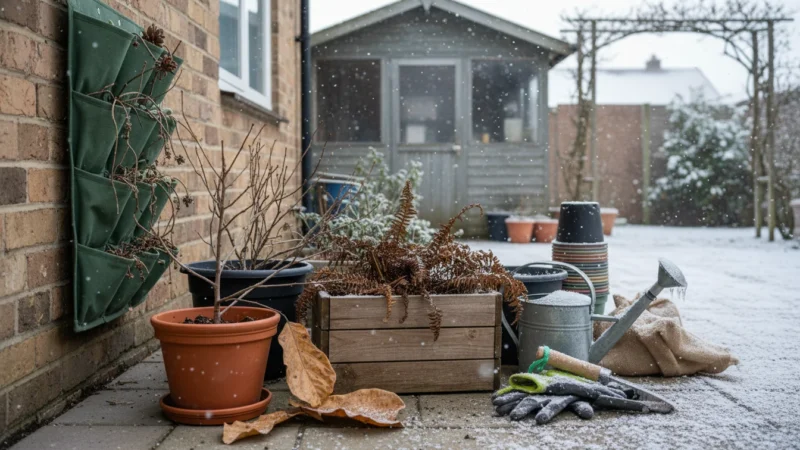
Learn to save your houseplant after winter leaf drop with this practical guide, addressing common causes and providing actionable recovery…
Read More →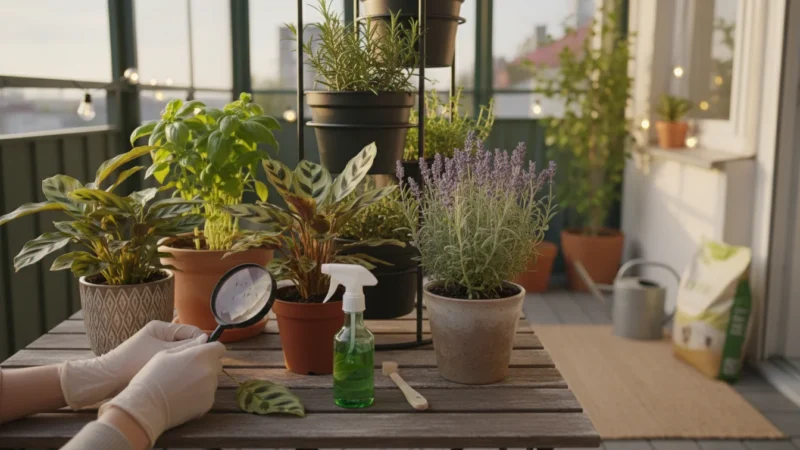
Learn to identify and eliminate winter's top 3 houseplant pests: fungus gnats, spider mites, and mealybugs, with practical, eco-friendly solutions.
Read More →