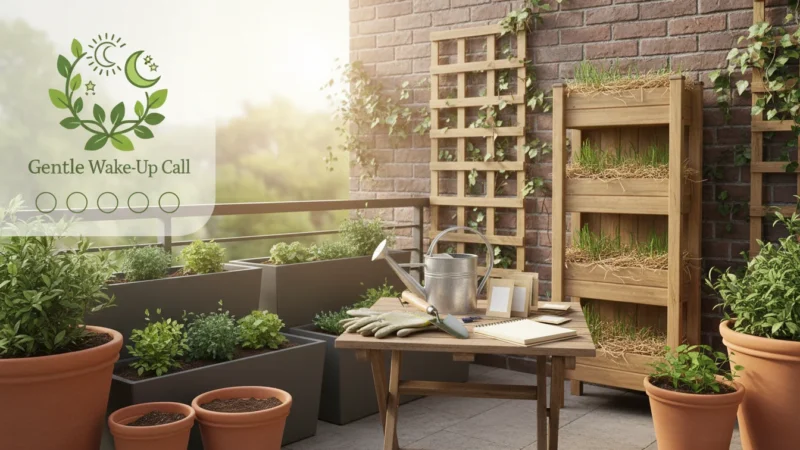
The ‘Gentle Wake-Up Call’: Your Late-Winter Checklist for Waking Up Dormant Potted Plants
Learn to gently wake up your dormant potted plants in late winter for a thriving spring. Get actionable tips for…
Read More →Month-by-month prompts for planting, feeding, pruning, and frost or heat prep. Quick checklists that keep containers and indoor plants on track all year.
Learn to gently wake up your dormant potted plants in late winter for a thriving spring. Get actionable tips for…
Read More →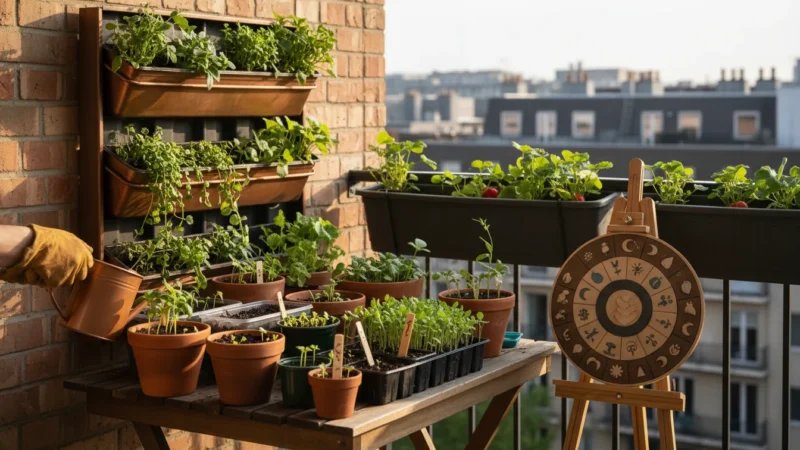
Start your apartment garden early with this month-by-month seed-starting calendar for January-March. Get practical advice for your balcony or patio.
Read More →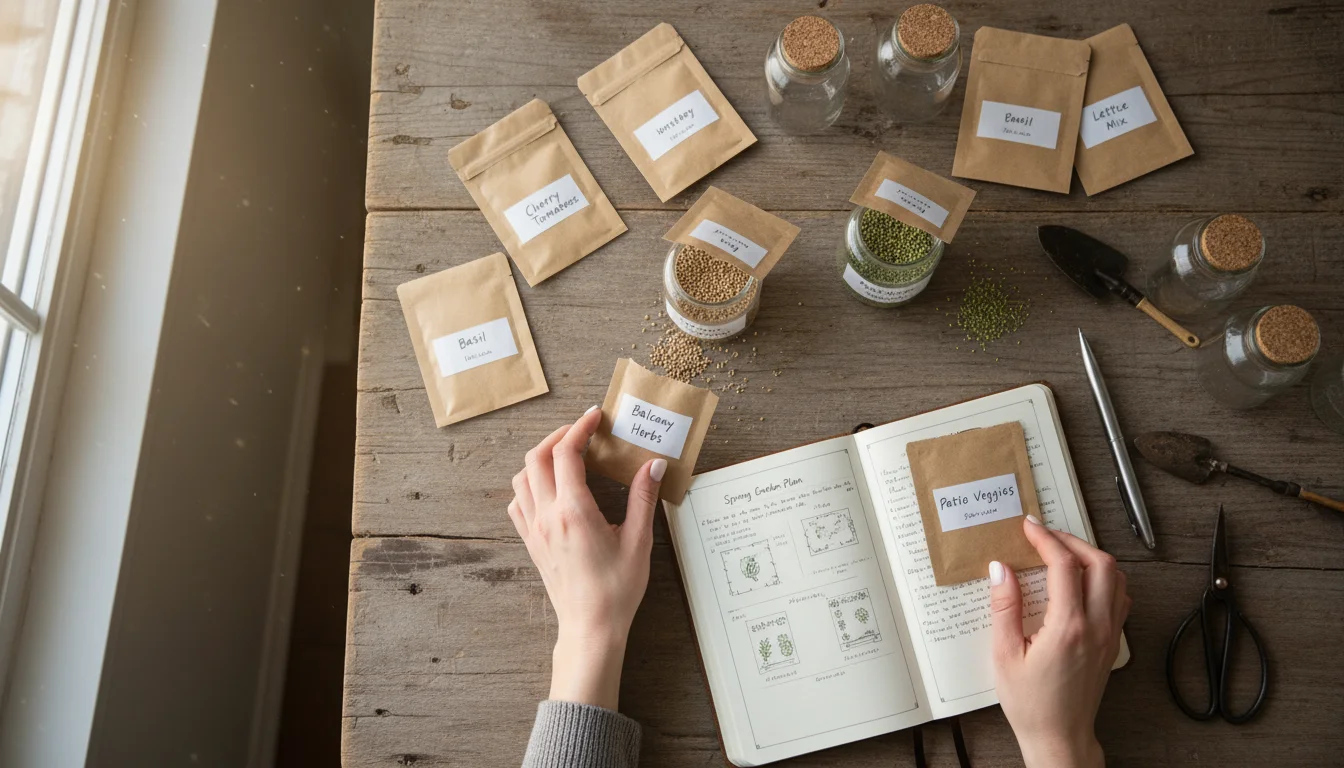
Organize your seed collection this winter with our guide to smart storage, viability testing, and practical planning for your small…
Read More →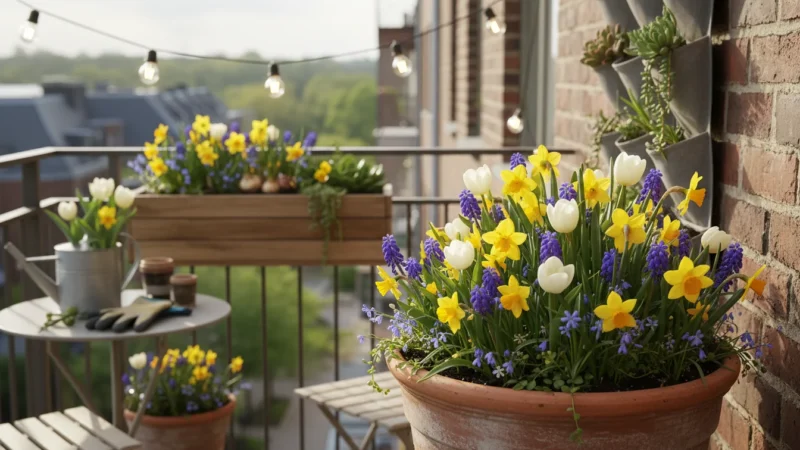
Create stunning spring blooms with zero chilling! Learn to plant low-maintenance Paperwhites and prepared Hyacinths in pots for an effortless…
Read More →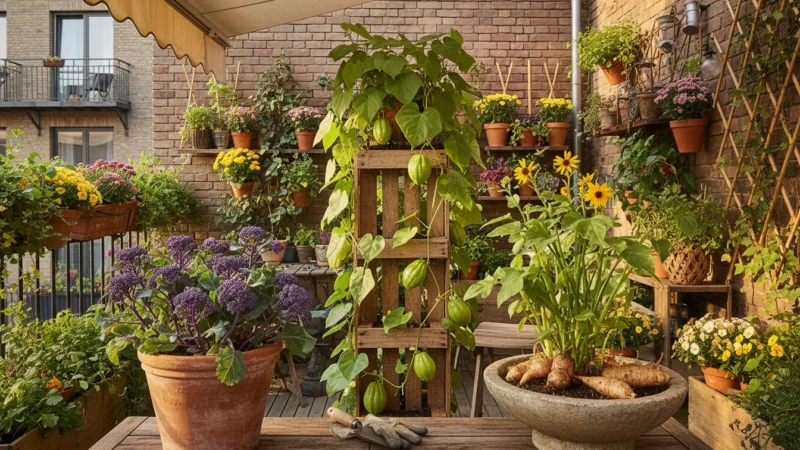
Discover three easy-to-grow, "weird" fall vegetables (kohlrabi, turnips, pak choi) that thrive in containers, perfect for your small space garden.
Read More →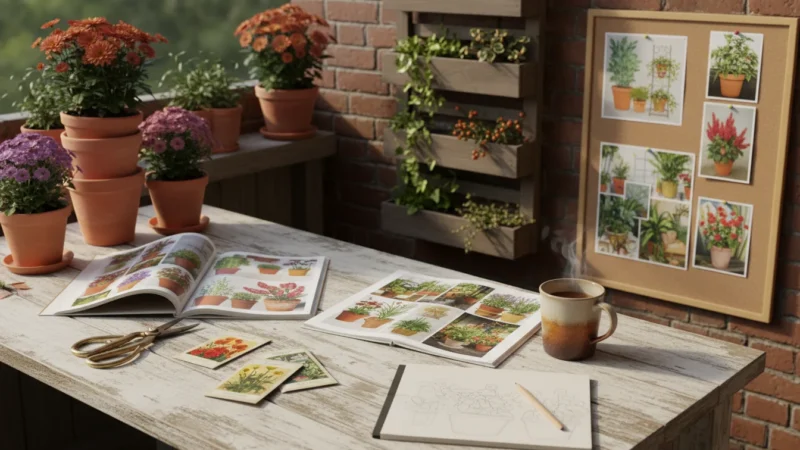
Learn to create a fall seed catalog dream board to plan your perfect 2025 balcony garden, a fun, free way…
Read More →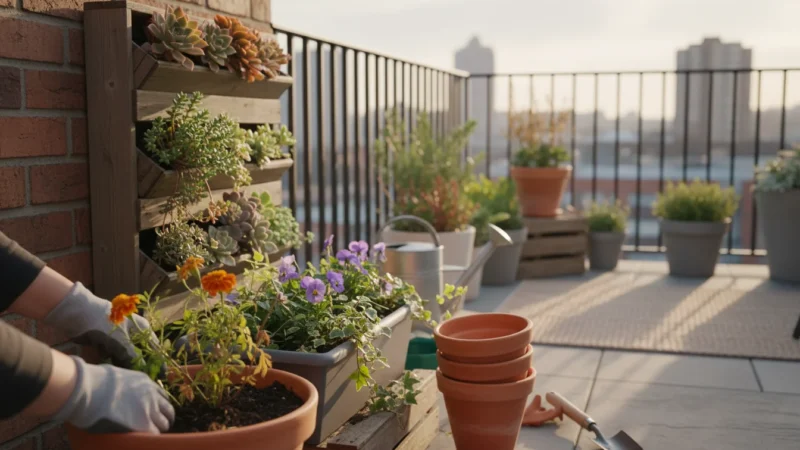
Transition your balcony planters from summer to fall with this mindful guide, covering cleanup, soil refresh, and inspiring fall plant…
Read More →Learn the 'Winter Wishlist' strategy for fall garden planning, budgeting, and designing your dream balcony garden for next spring.
Read More →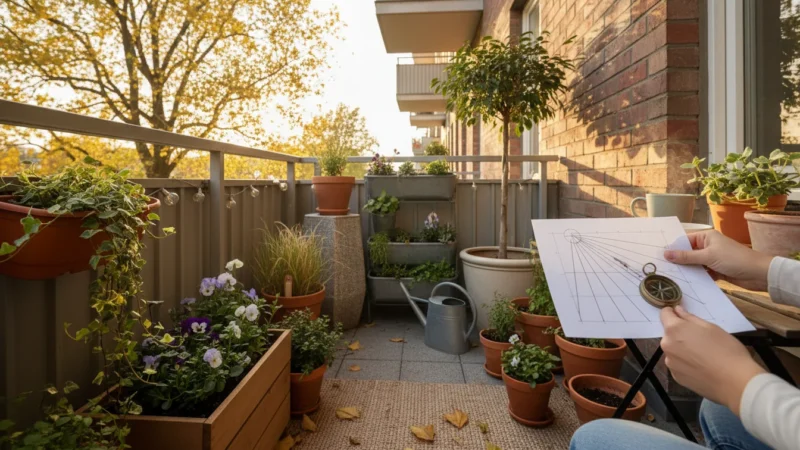
Map your balcony's changing fall sunlight to plan a thriving garden next year. Get practical steps, plant choices, and actionable…
Read More →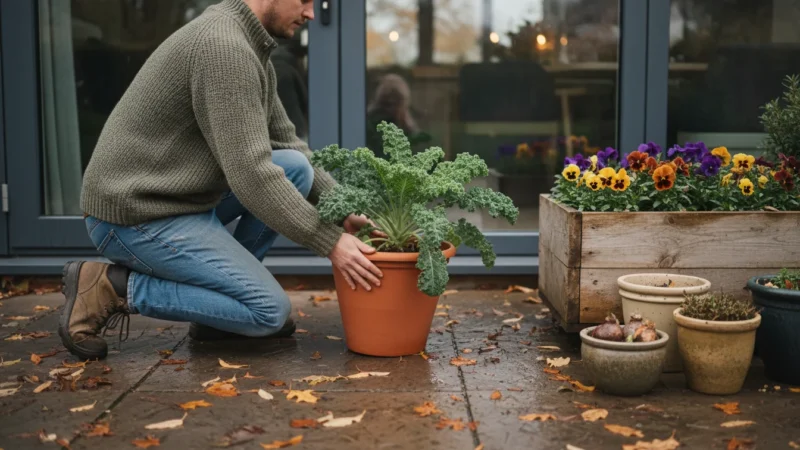
Discover 6 fast-growing, cold-tolerant crops you can still plant in containers even in late fall. Get practical tips for a…
Read More →
Master fall garden planning for your small space. Learn to use a reverse garden journal to reflect on this year's…
Read More →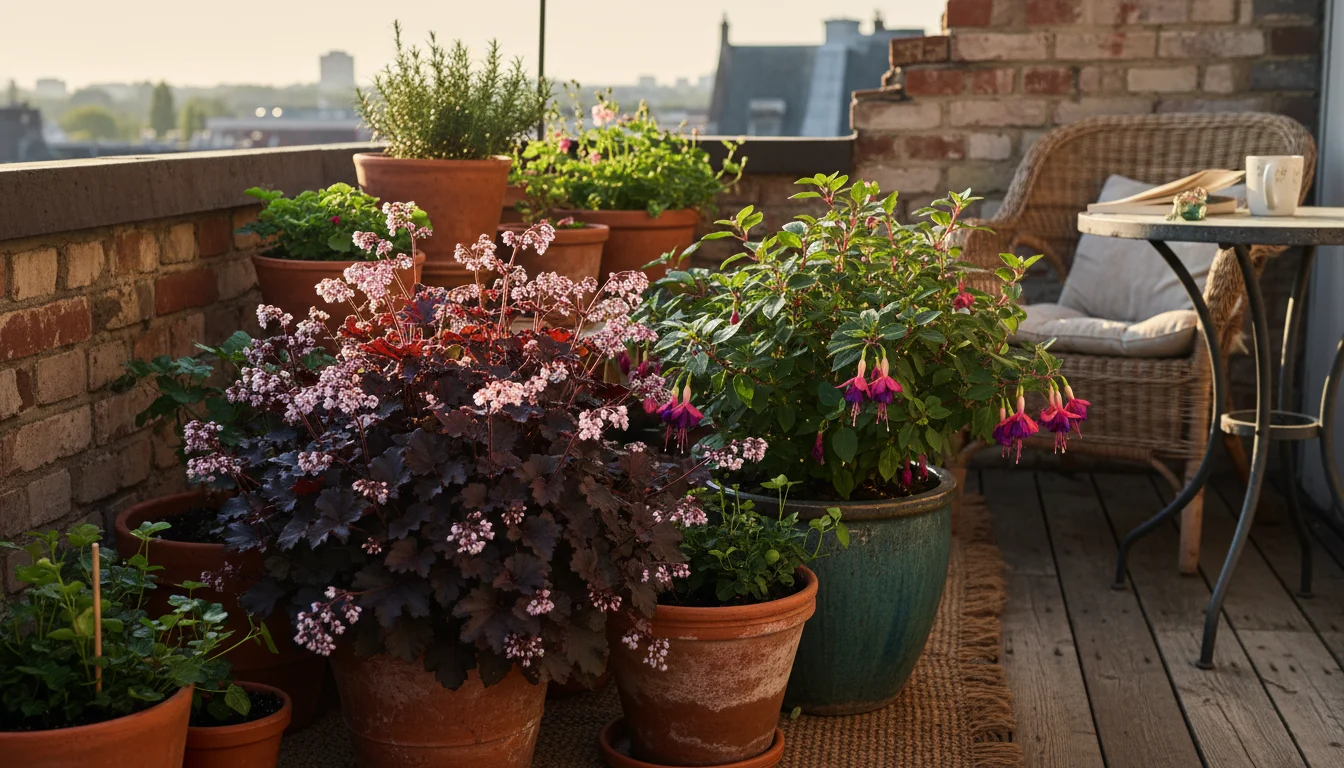
Discover 8 winter-hardy perennials perfect for small containers. Plant this fall and enjoy beautiful blooms that return year after year.
Read More →