Holiday Garden Projects: Festive Containers and Displays
Learn about holiday garden projects: festive containers and displays. Discover tips on holiday garden projects, Christmas garden ideas, festive planters.
Read More →Month-by-month prompts for planting, feeding, pruning, and frost or heat prep. Quick checklists that keep containers and indoor plants on track all year.
Learn about holiday garden projects: festive containers and displays. Discover tips on holiday garden projects, Christmas garden ideas, festive planters.
Read More →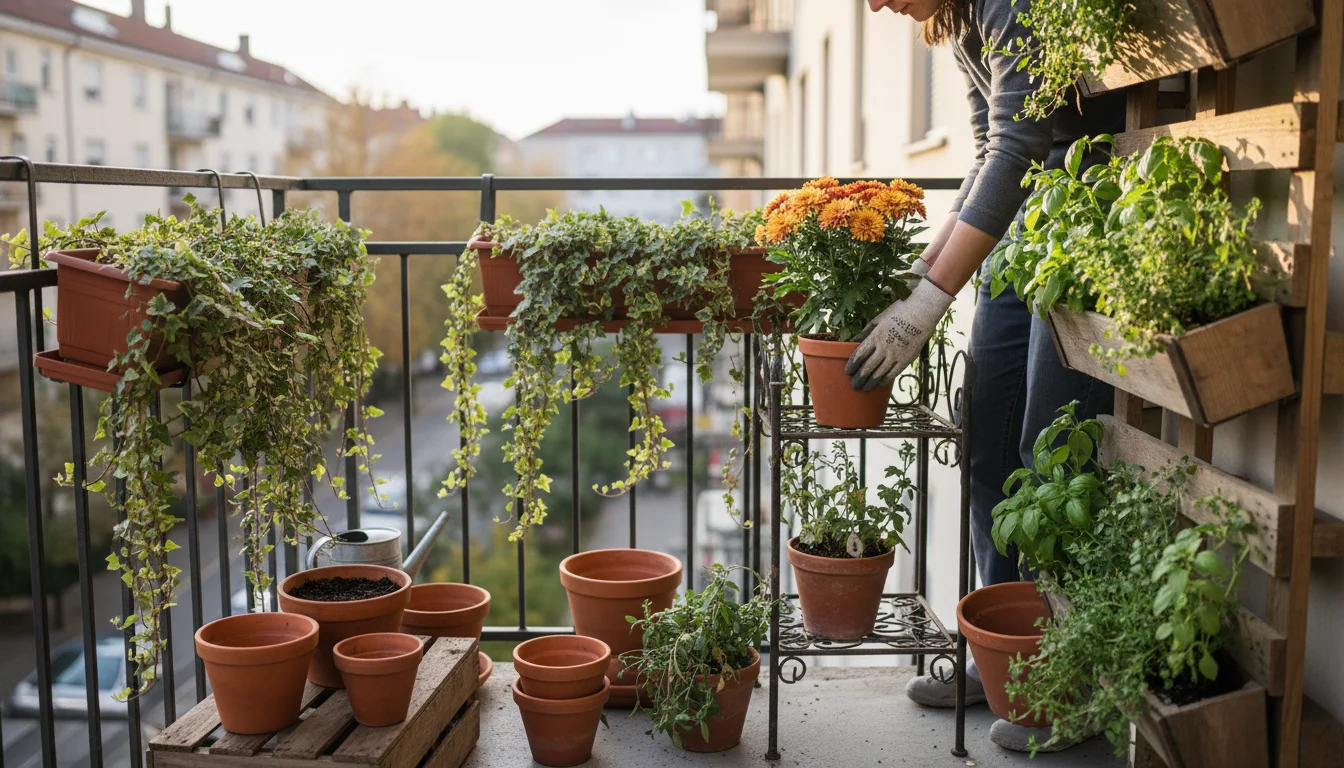
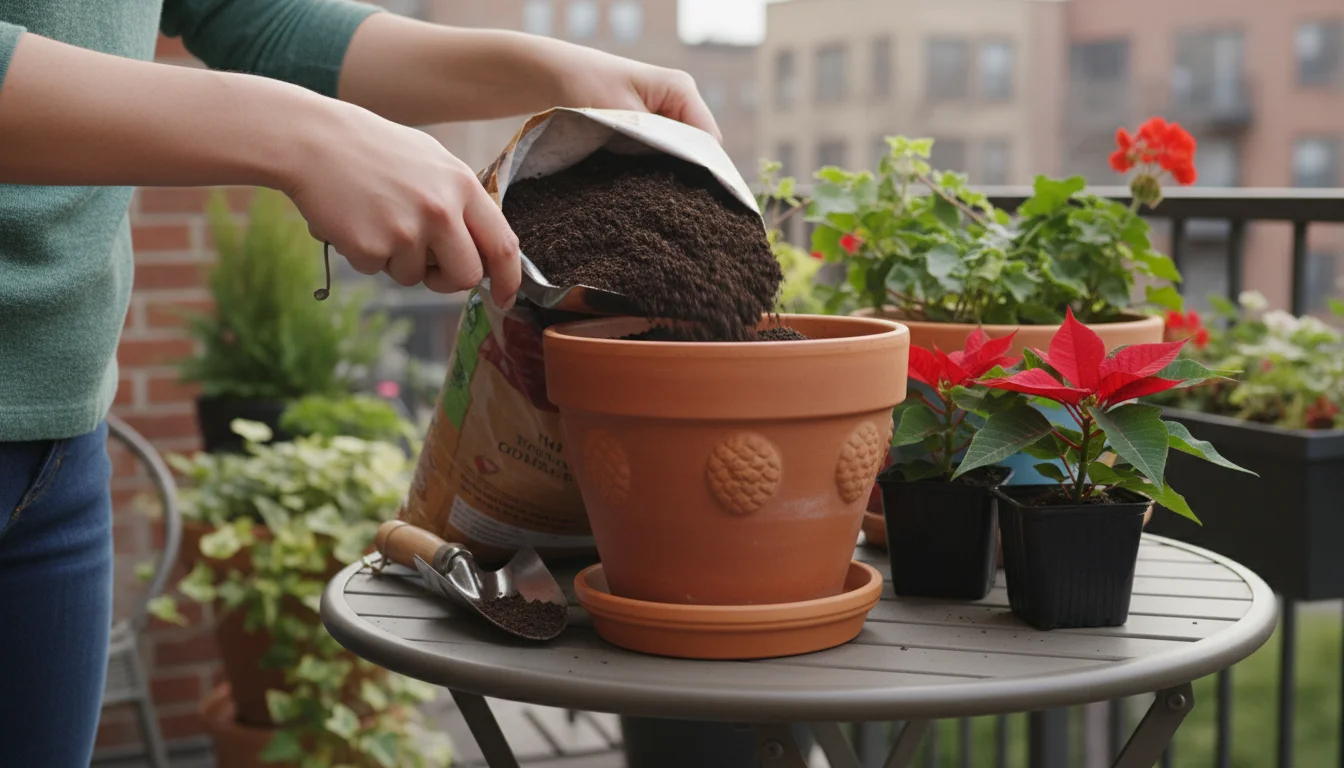
Your garden, whether a sprawling backyard or a small balcony, offers a dynamic canvas for beauty and growth. The secret…
Read More →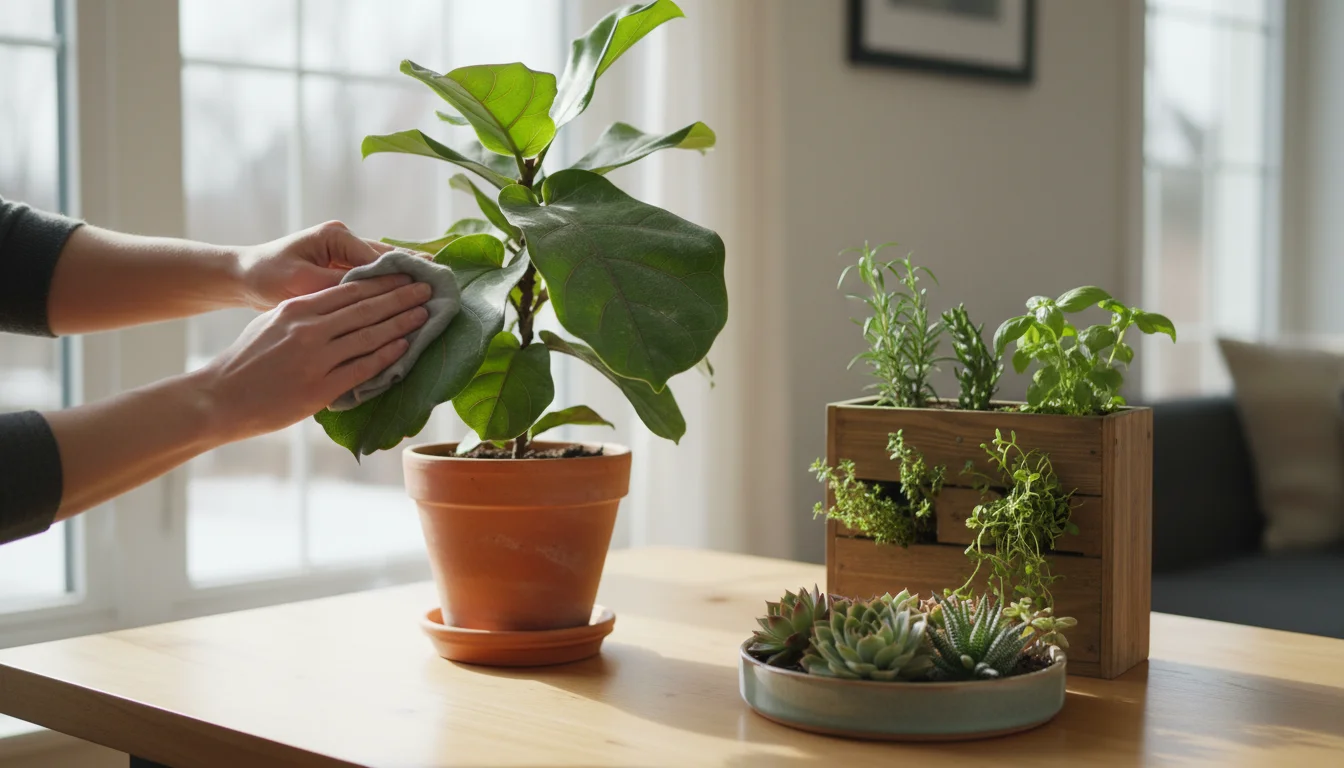
Learn about indoor gardening projects for winter days. Discover tips on winter indoor gardening, winter plant projects, grow food indoors.
Read More →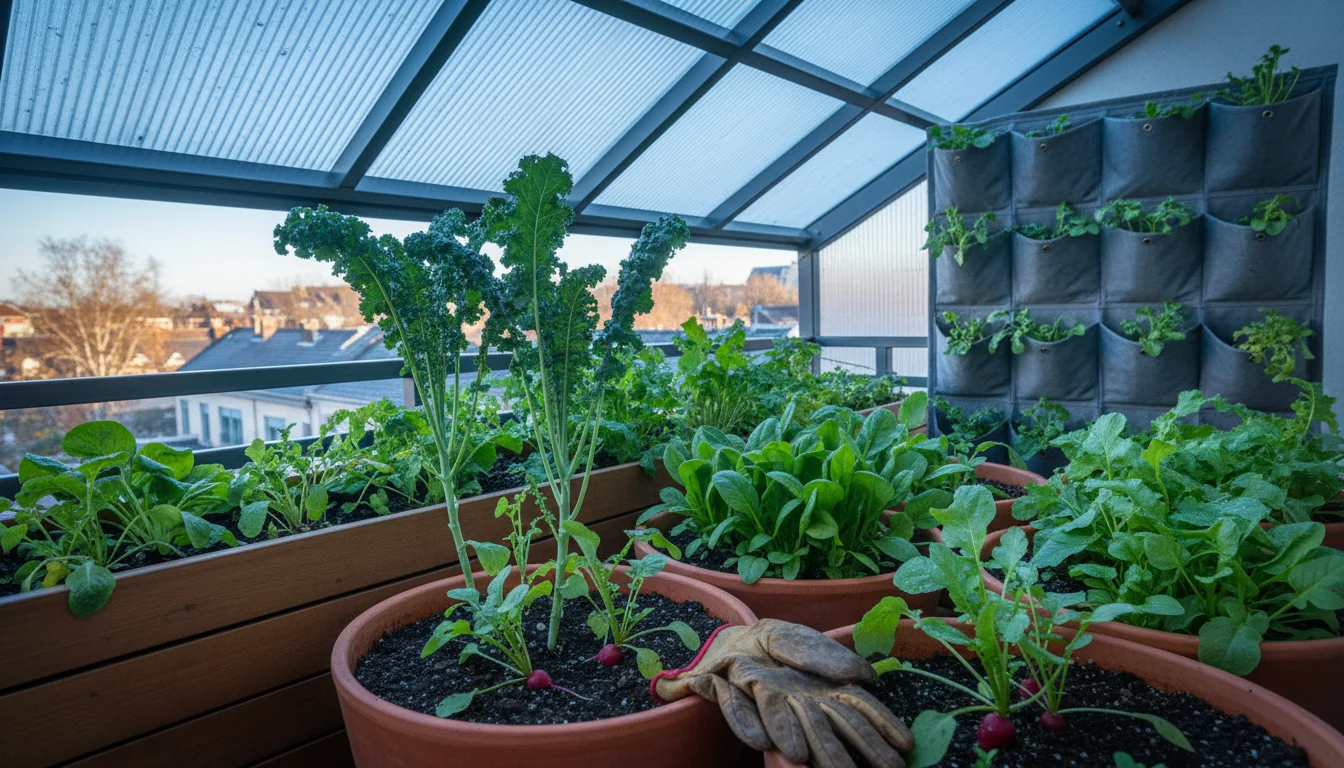
Learn about best crops for fall harvest in containers. Discover tips on fall container crops, autumn harvest gardening, seasonal planting.
Read More →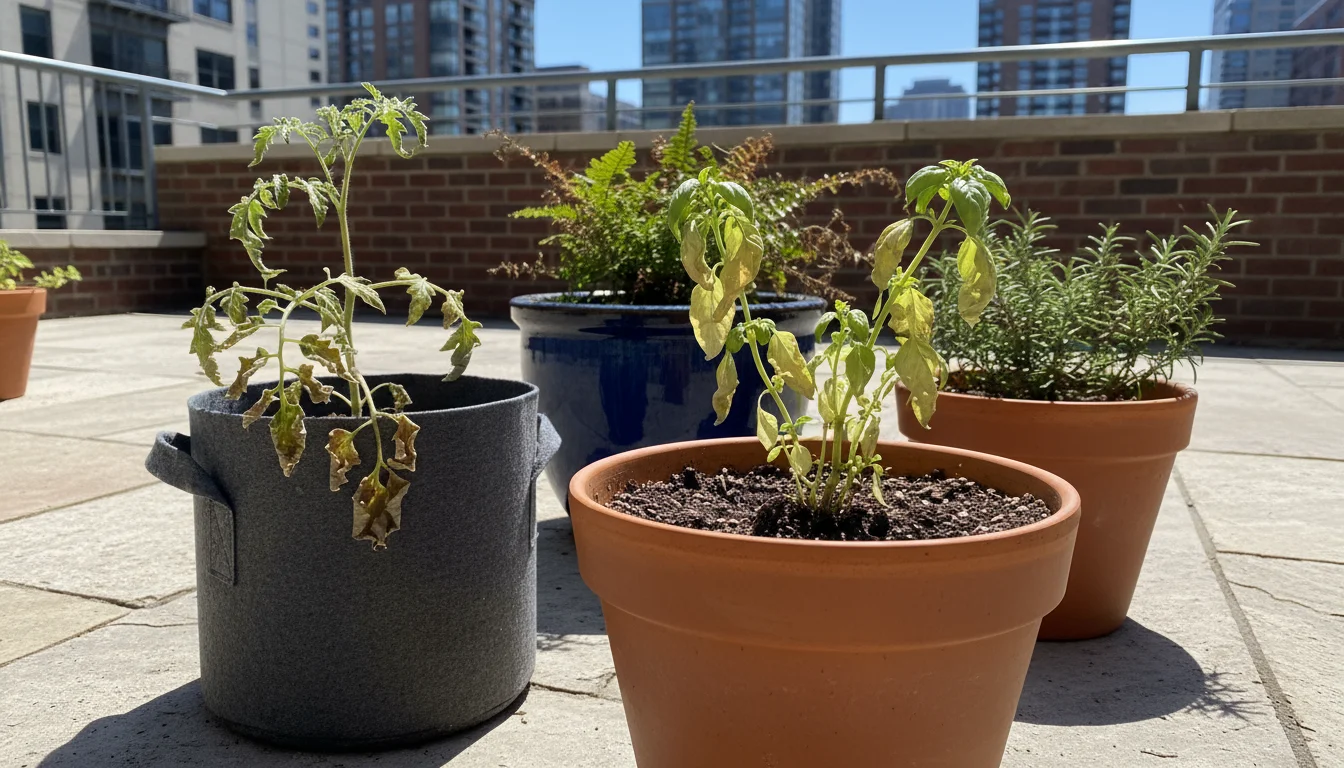
Learn about beating summer heat stress in small gardens. Discover tips on summer heat stress plants, watering summer, plant protection.
Read More →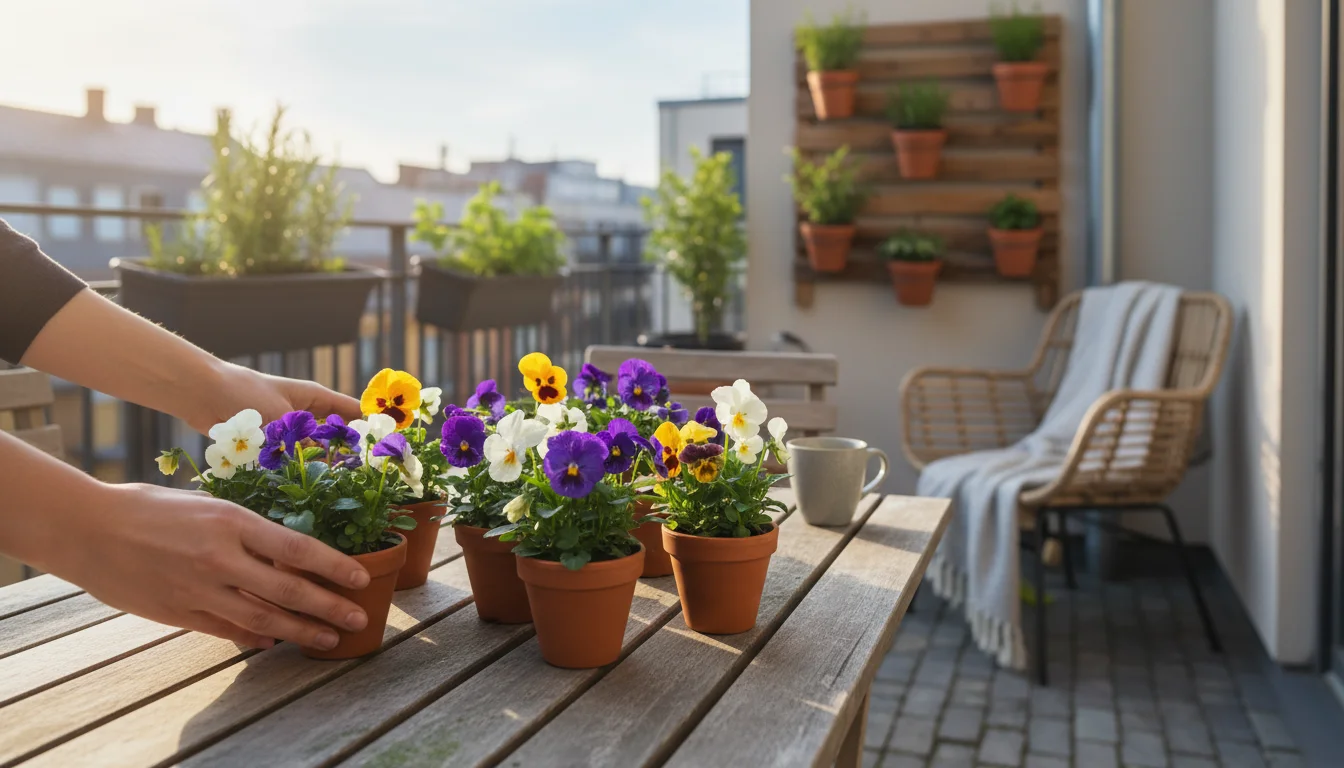
Learn about early spring garden prep checklist. Discover tips on spring garden prep, early gardening tips, container gardening spring.
Read More →
Learn about seasonal rotation for container vegetables. Discover tips on crop rotation containers, seasonal vegetable gardening.
Read More →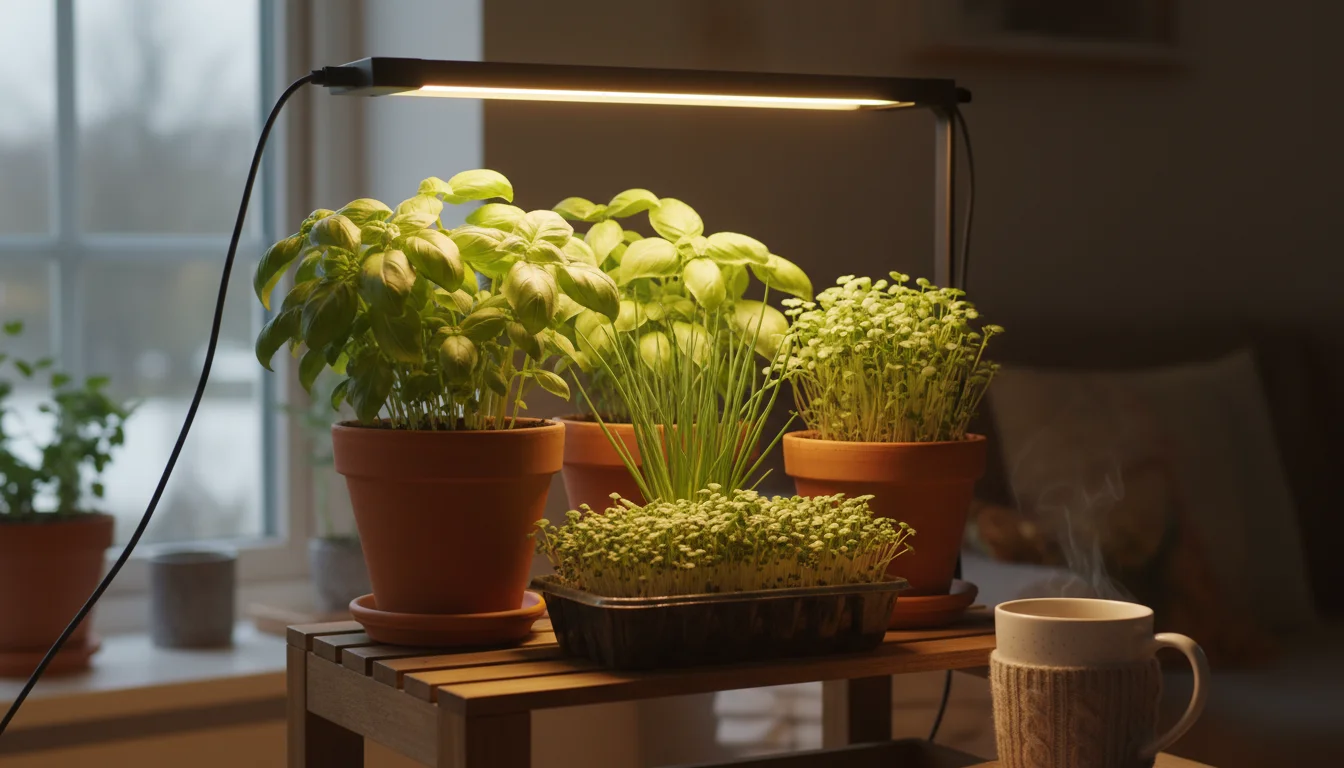
Learn about winter indoor gardening: keep growing all year. Discover tips on winter gardening indoors, grow indoors winter, indoor food…
Read More →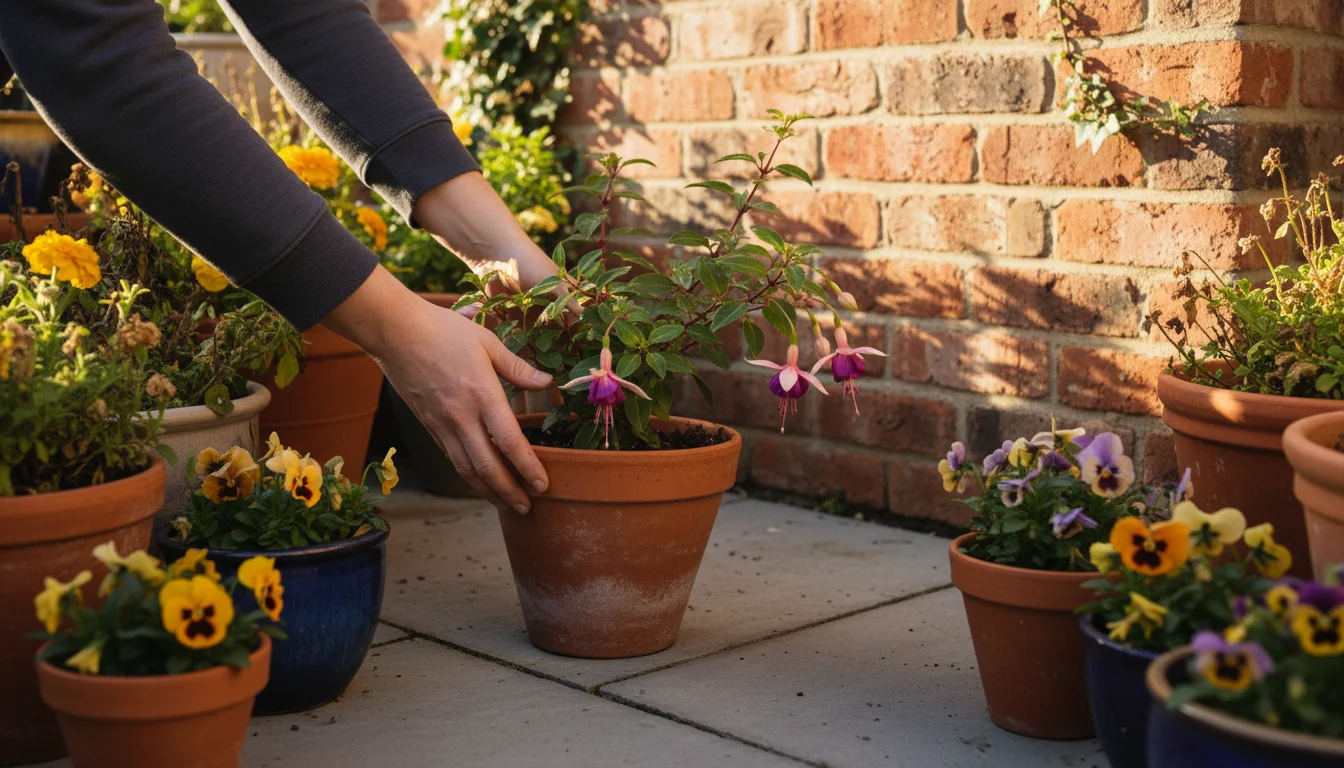
Learn about fall gardening tasks for small-space growers. Discover tips on fall gardening tasks, autumn garden prep, small garden fall.
Read More →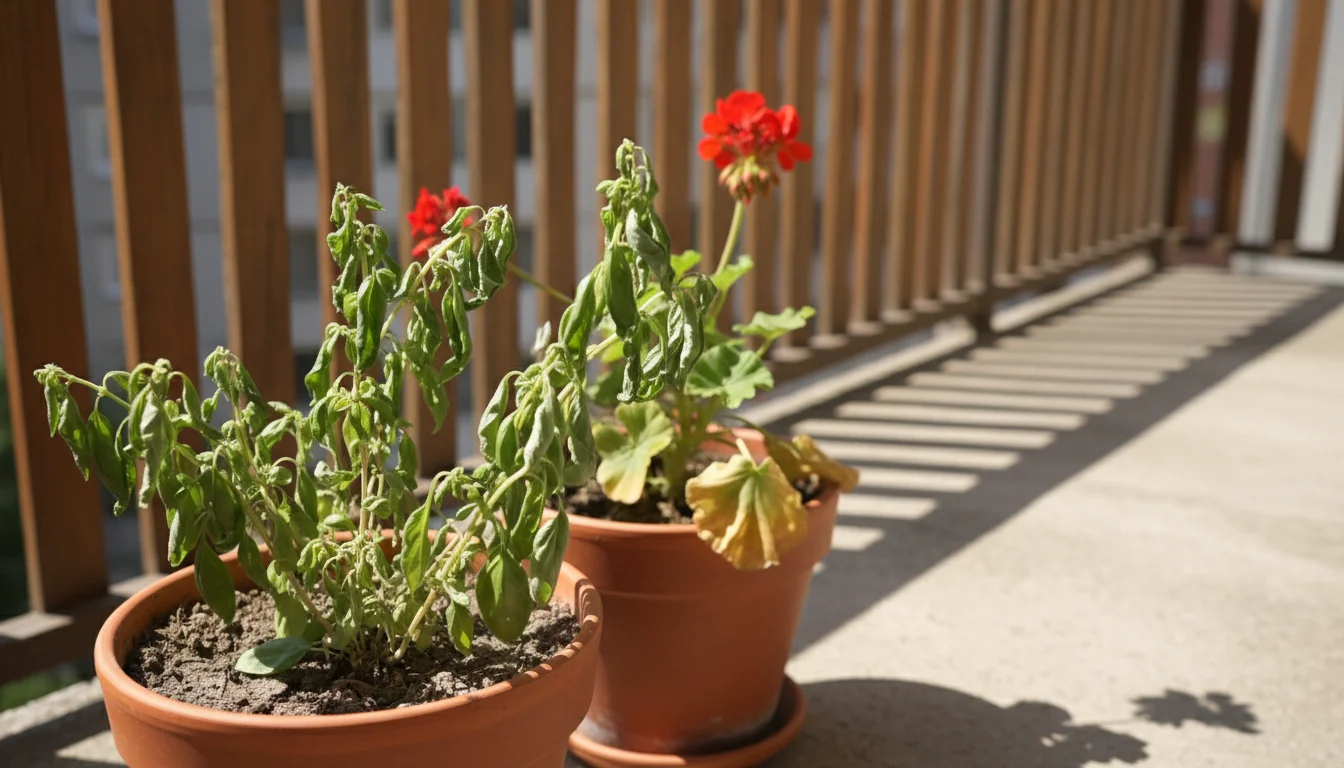
Learn about summer care: how to keep plants alive in heat waves. Discover tips on summer garden care, heat stress…
Read More →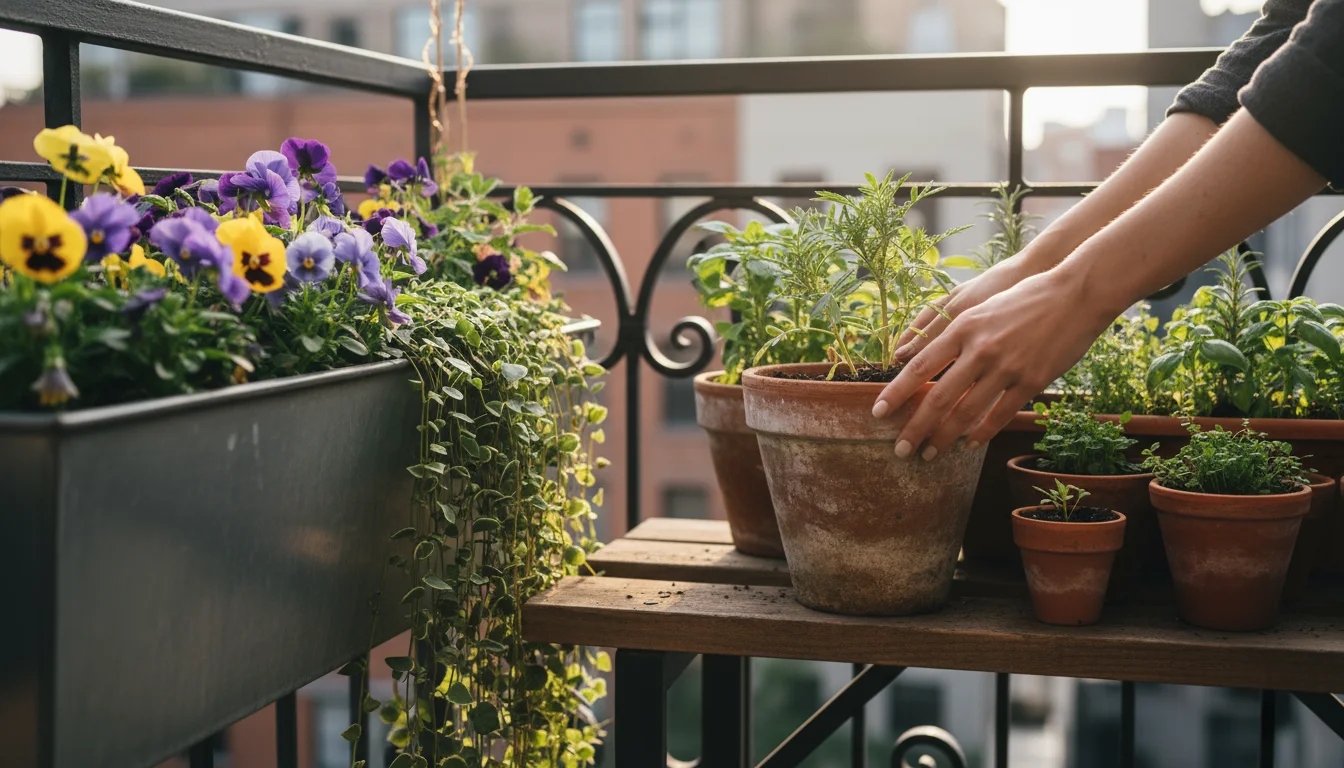
Learn about spring planting guide for container gardeners. Discover tips on spring planting guide, seasonal gardening, container planting.
Read More →