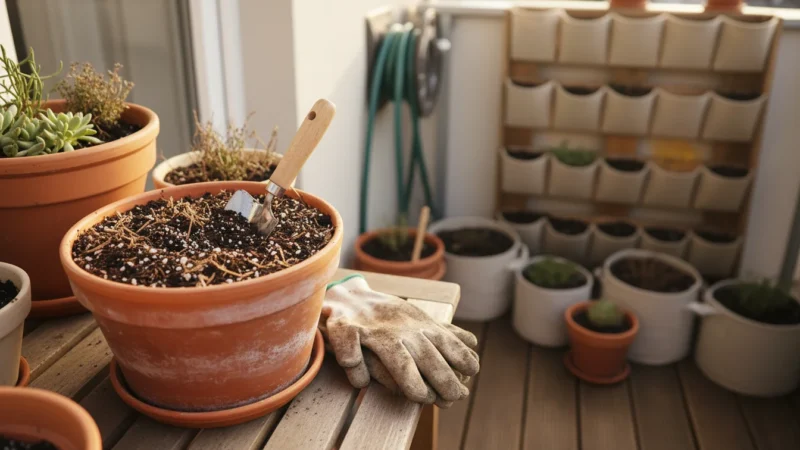
The Winter Soil Remix: A Beginner’s Guide to Amending Potting Mix for Better Drainage and Happier Roots
Learn to remix your potting mix for better drainage and happier roots this winter with our beginner's guide to amending…
Read More →Low-waste habits: peat-free mixes, water-wise setups, composting in tight places, and native or pollinator-friendly picks that support local ecology.
Learn to remix your potting mix for better drainage and happier roots this winter with our beginner's guide to amending…
Read More →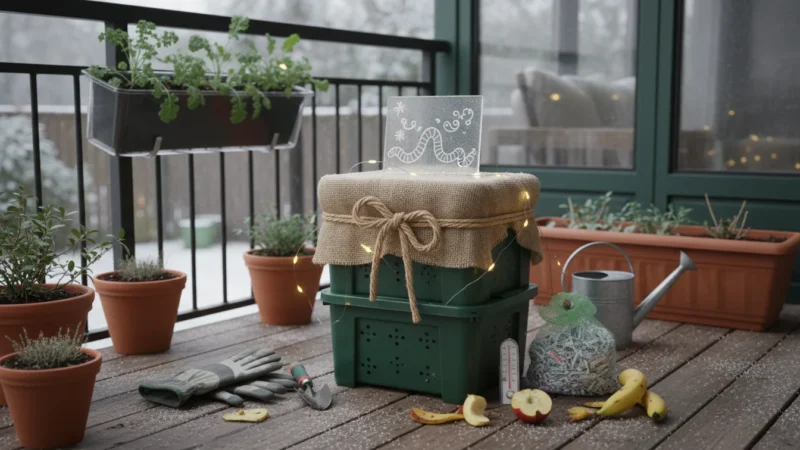
Start your odorless winter worm bin in your apartment. This guide covers small-scale vermicomposting for beginners, DIY bins, and using…
Read More →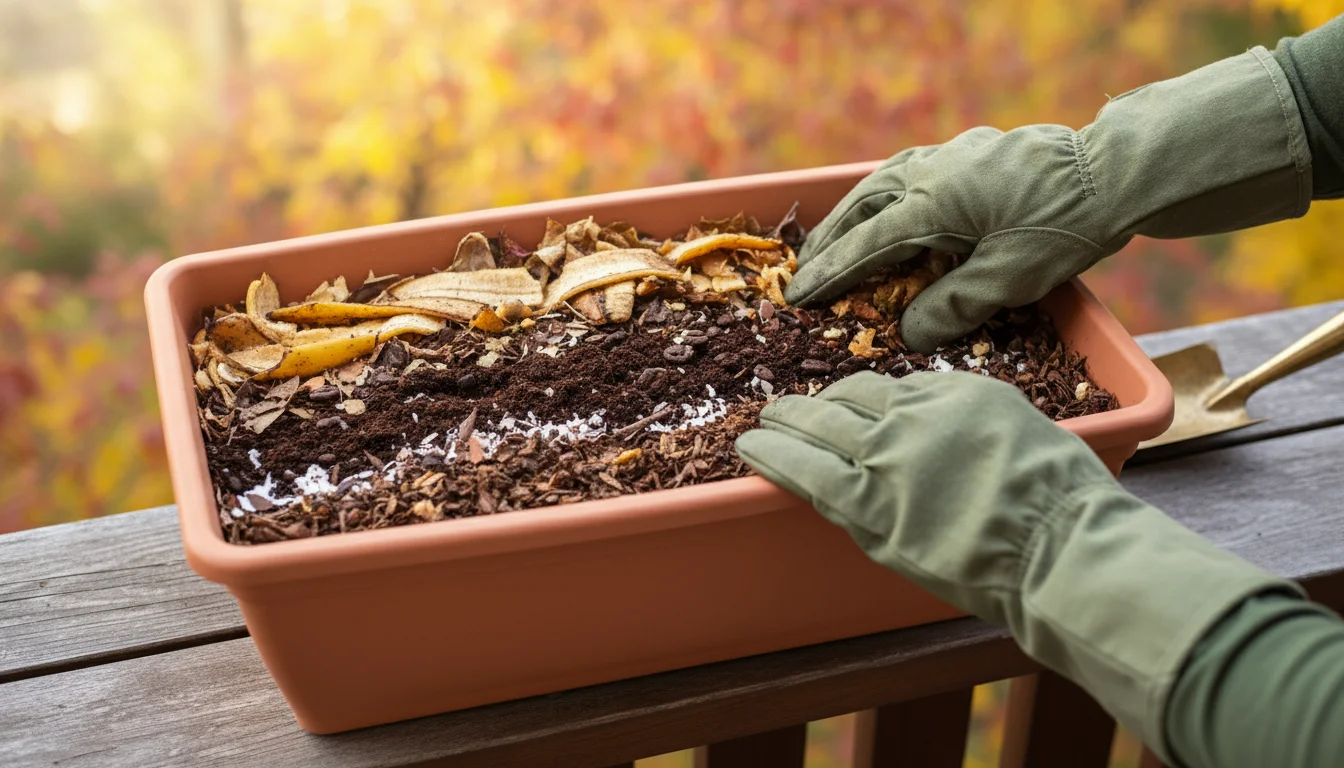
Learn the simple lasagna composting method to build rich, nutrient-dense soil directly in your balcony pots this fall for healthier…
Read More →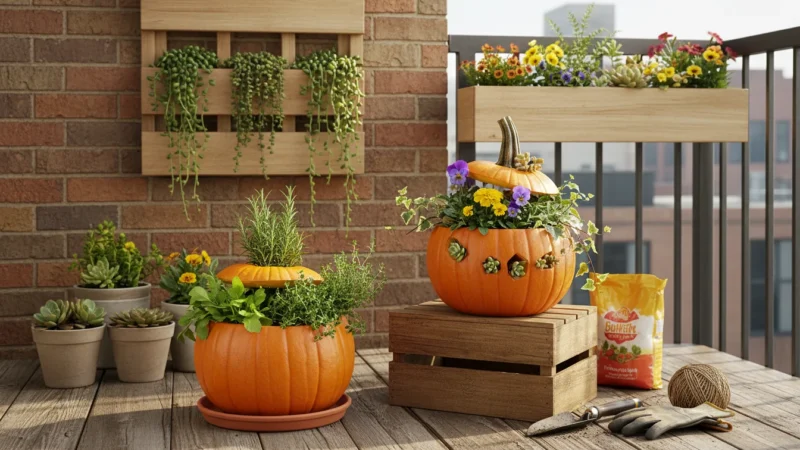
Transform your old jack-o'-lantern into nutrient-rich soil for your container garden with this easy, step-by-step guide to pumpkin composting in…
Read More →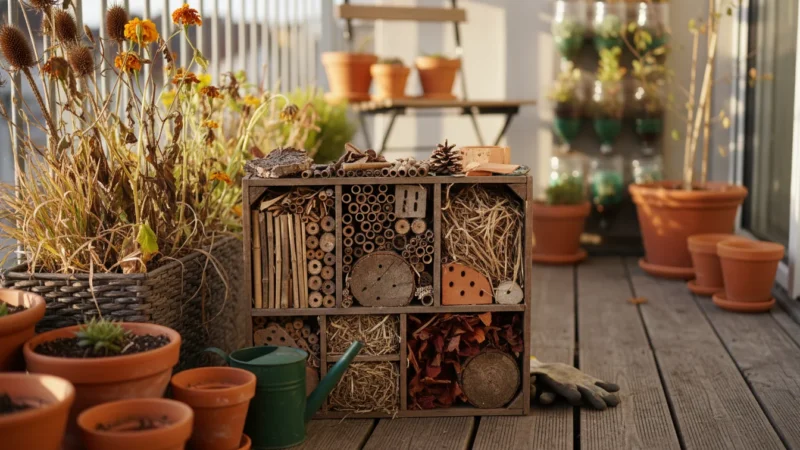
Learn how to build a balcony bug hotel using fall garden debris, providing a vital winter haven for beneficial insects…
Read More →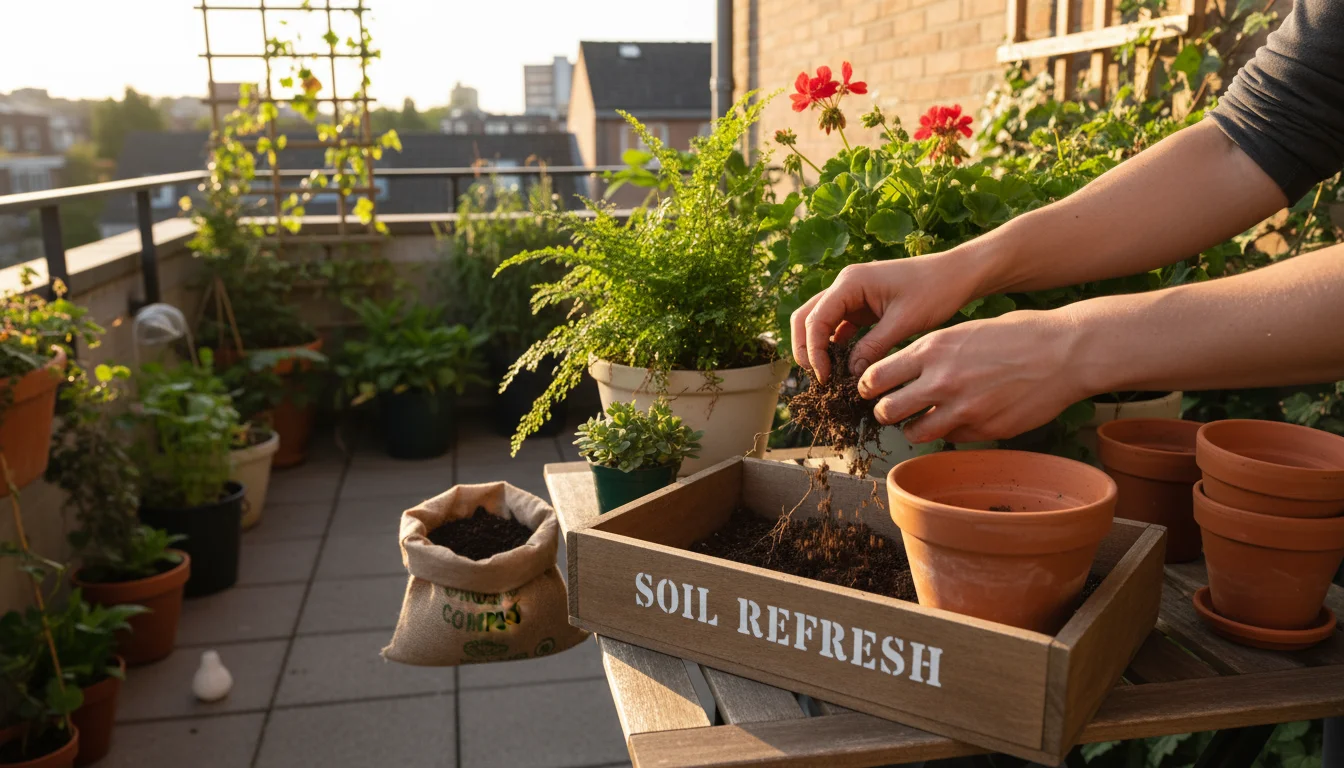
Learn if and how to sterilize used potting mix this fall, including oven methods and alternatives, to prepare your small-space…
Read More →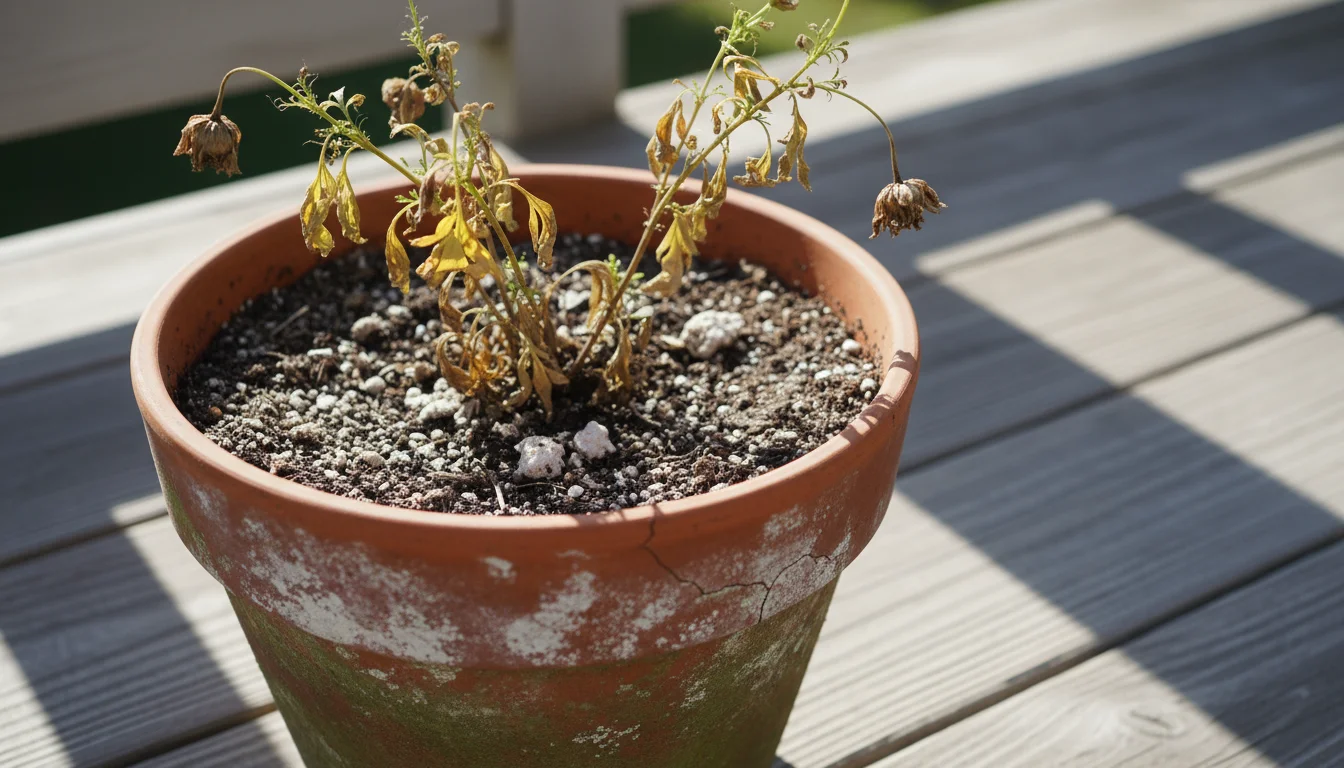
Refresh your fall potting soil with our 'choose your own adventure' guide, offering practical steps to reuse and amend your…
Read More →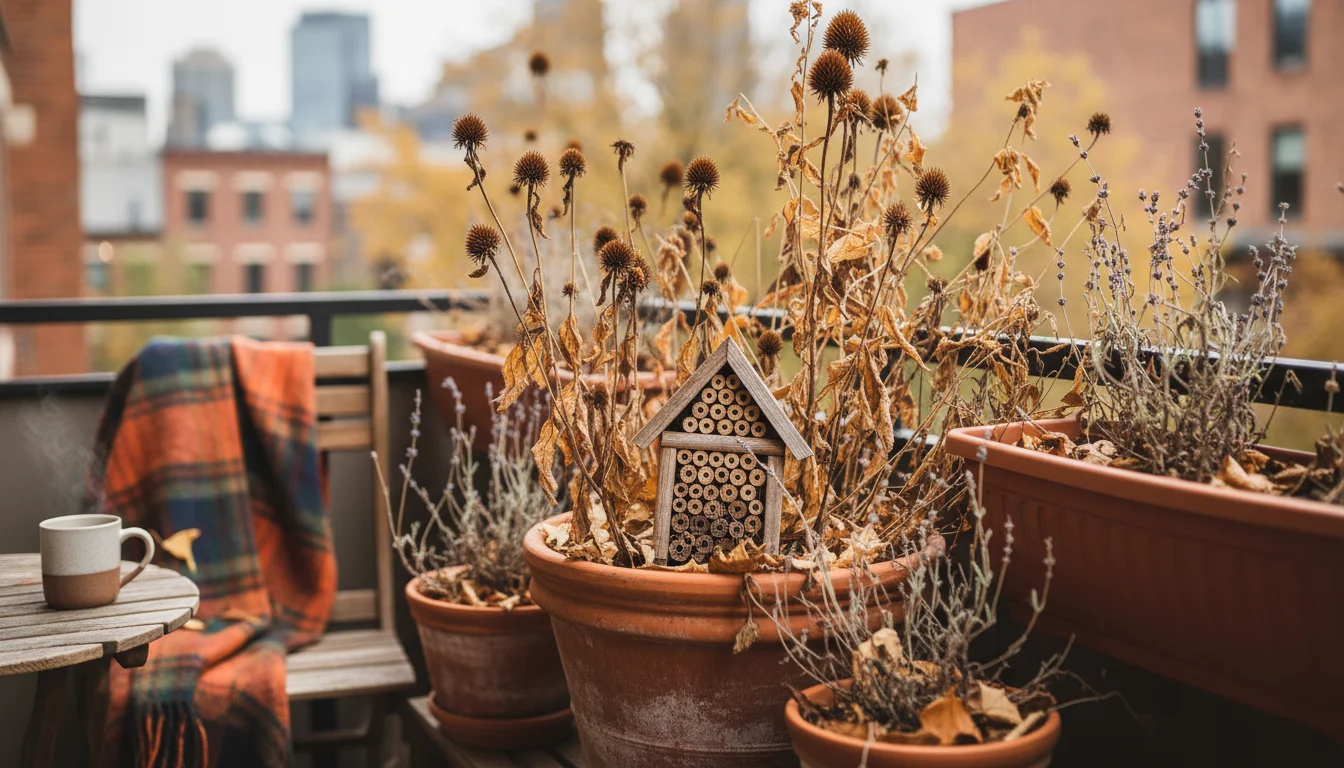
Learn how to create an easy winter shelter for beneficial insects in your balcony pots, supporting pollinators and pest controllers…
Read More →
Learn the chop and drop method for container gardens to turn fall cleanup into a simple, effective way to feed…
Read More →
Discover the 'Leave It Be' method for your balcony: leave 5 specific plants uncut this fall to provide vital food…
Read More →
Learn how to perform a fall soil reset, amending and storing used potting mix to save money and grow healthier…
Read More →
Learn to make nutrient-rich leaf mold for your container garden using a simple trash bag method. Transform fall leaves into…
Read More →