The ‘Fall Soil Autopsy’: What Your Potting Mix is Telling You After a Long Summer
Learn to diagnose and rejuvenate your potting mix with a "Fall Soil Autopsy," ensuring healthier container plants for future growing…
Read More →Low-waste habits: peat-free mixes, water-wise setups, composting in tight places, and native or pollinator-friendly picks that support local ecology.
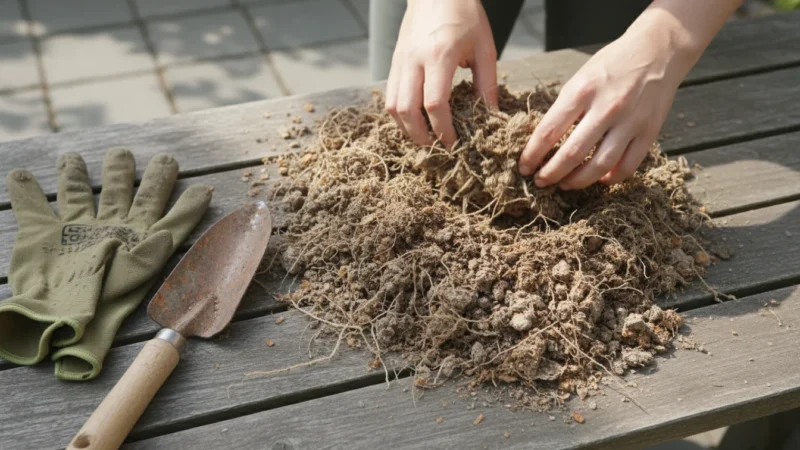
Learn to diagnose and rejuvenate your potting mix with a "Fall Soil Autopsy," ensuring healthier container plants for future growing…
Read More →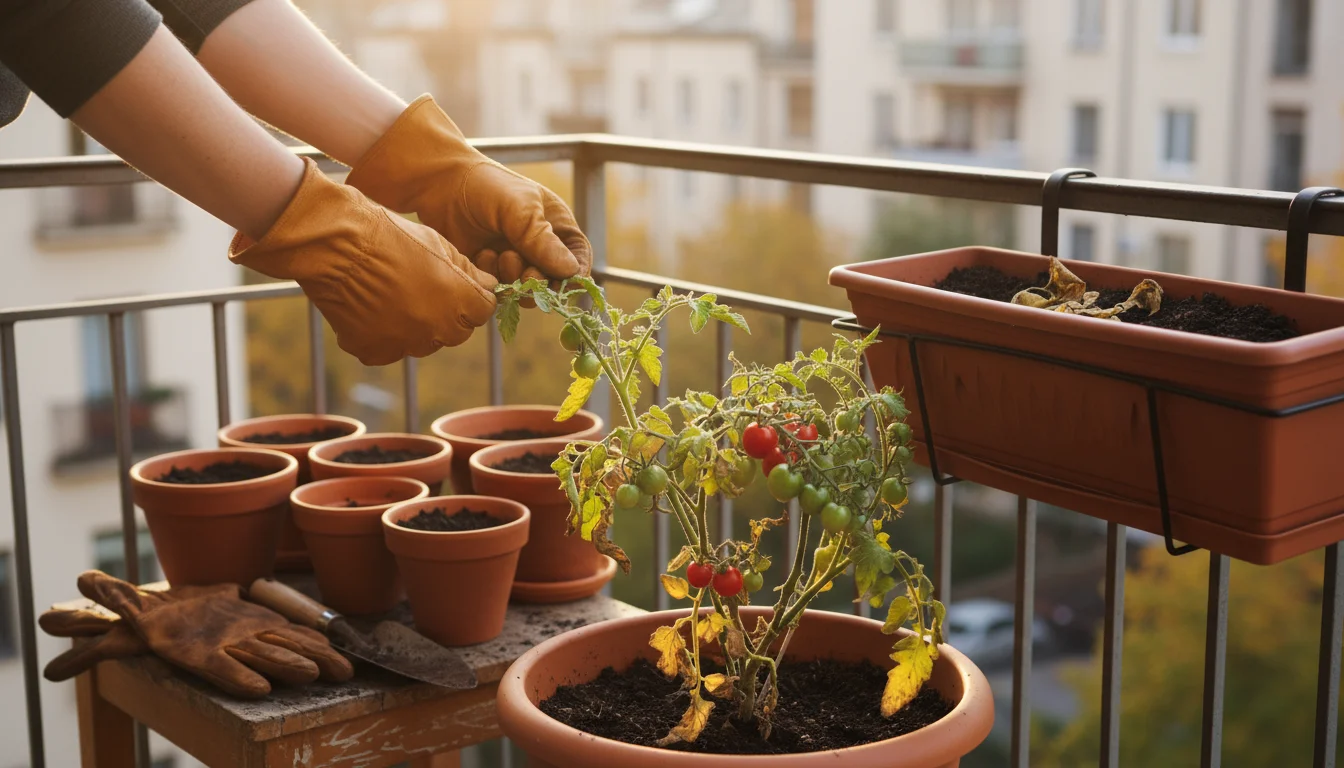
Learn how to properly handle fall garden cleanup for your apartment, including dead plant disposal, soil reuse, and apartment composting…
Read More →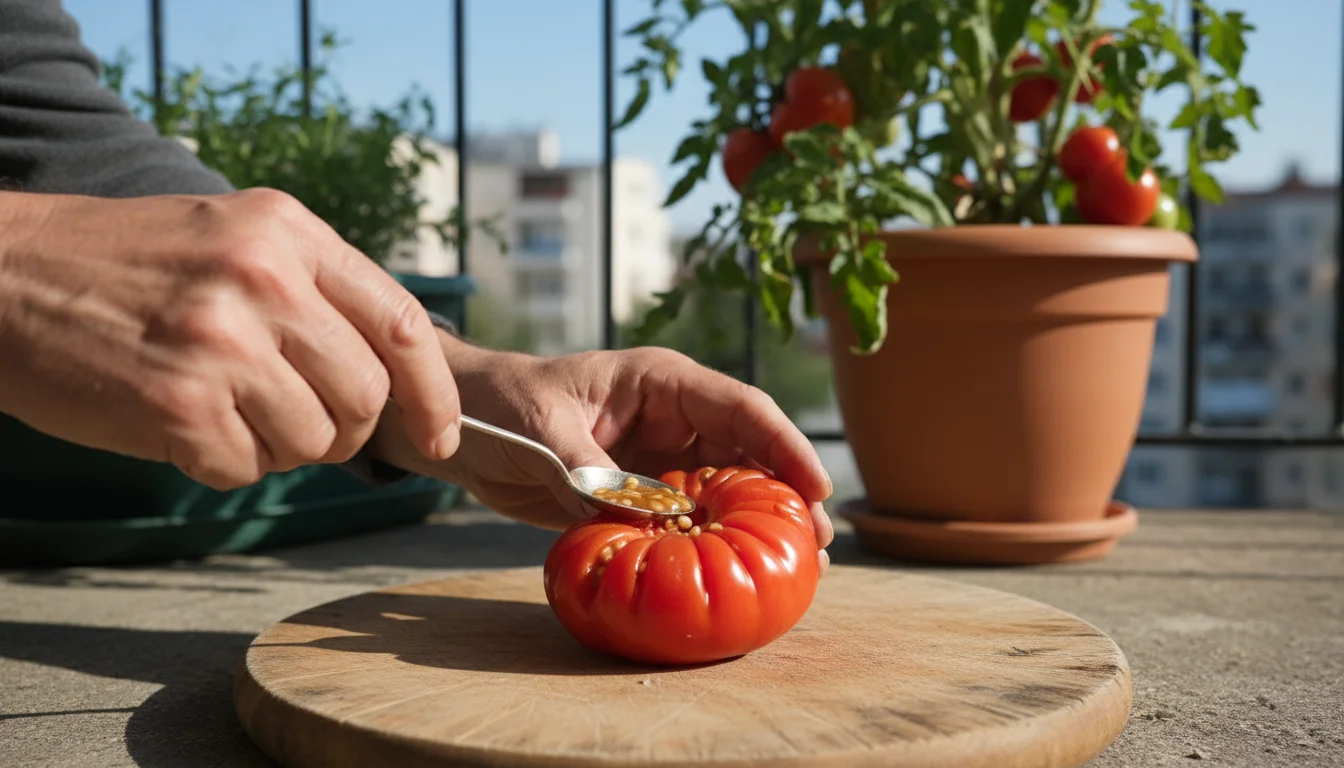
Save seeds from your balcony garden this fall! Learn why autumn is perfect for seed saving and how to preserve…
Read More →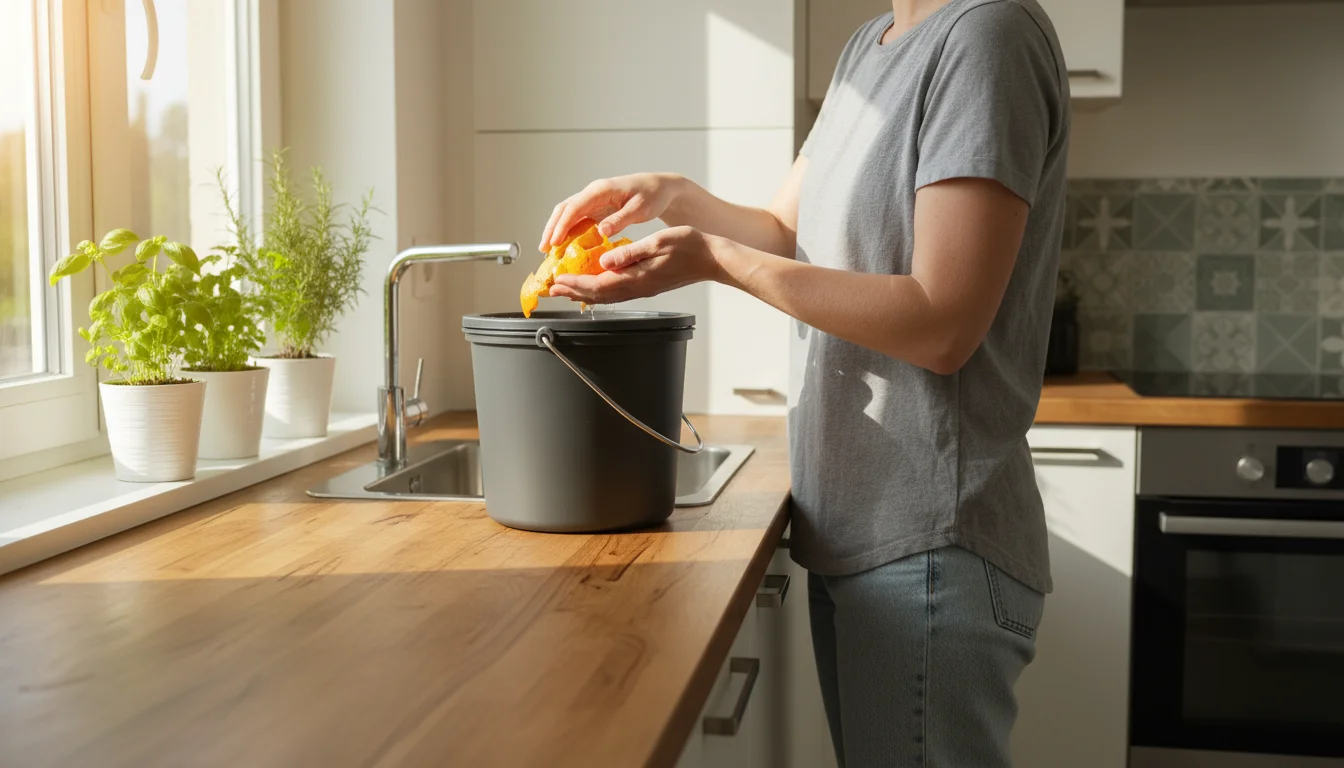
Learn about indoor composting with bokashi buckets. Discover tips on indoor composting, bokashi compost, small kitchen compost.
Read More →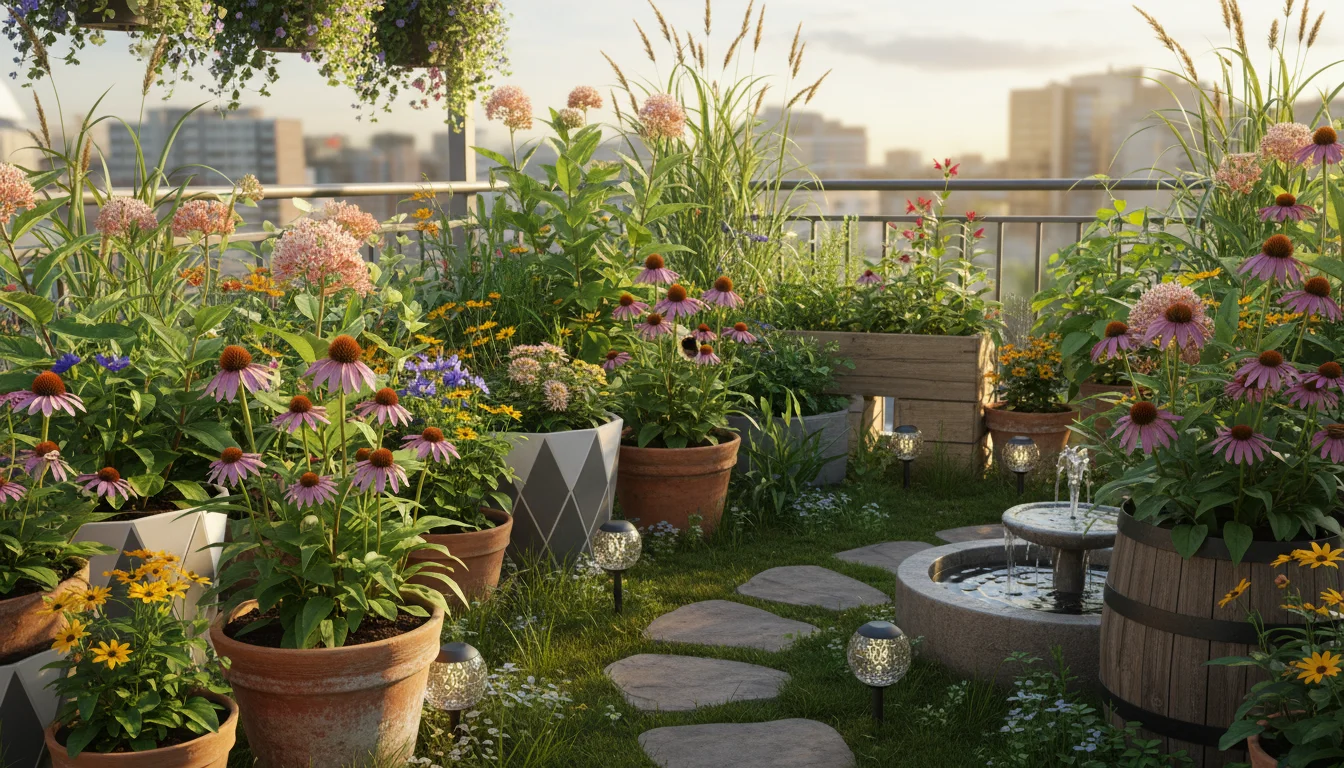
Learn about the case for native plants in urban gardens. Discover tips on native plants urban, sustainable gardening, eco-friendly garden.
Read More →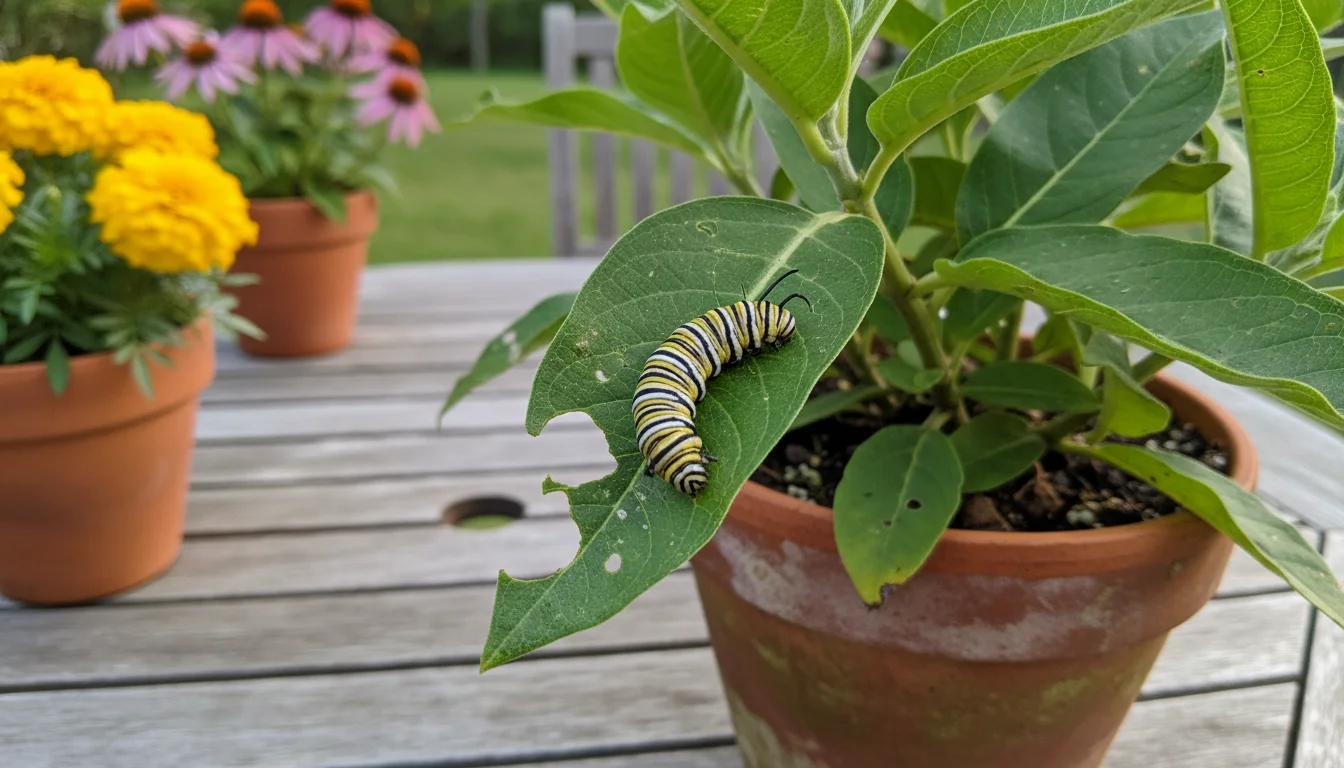
Learn about attracting butterflies with the right plants. Discover tips on butterfly plants, pollinator friendly garden, small space gardening.
Read More →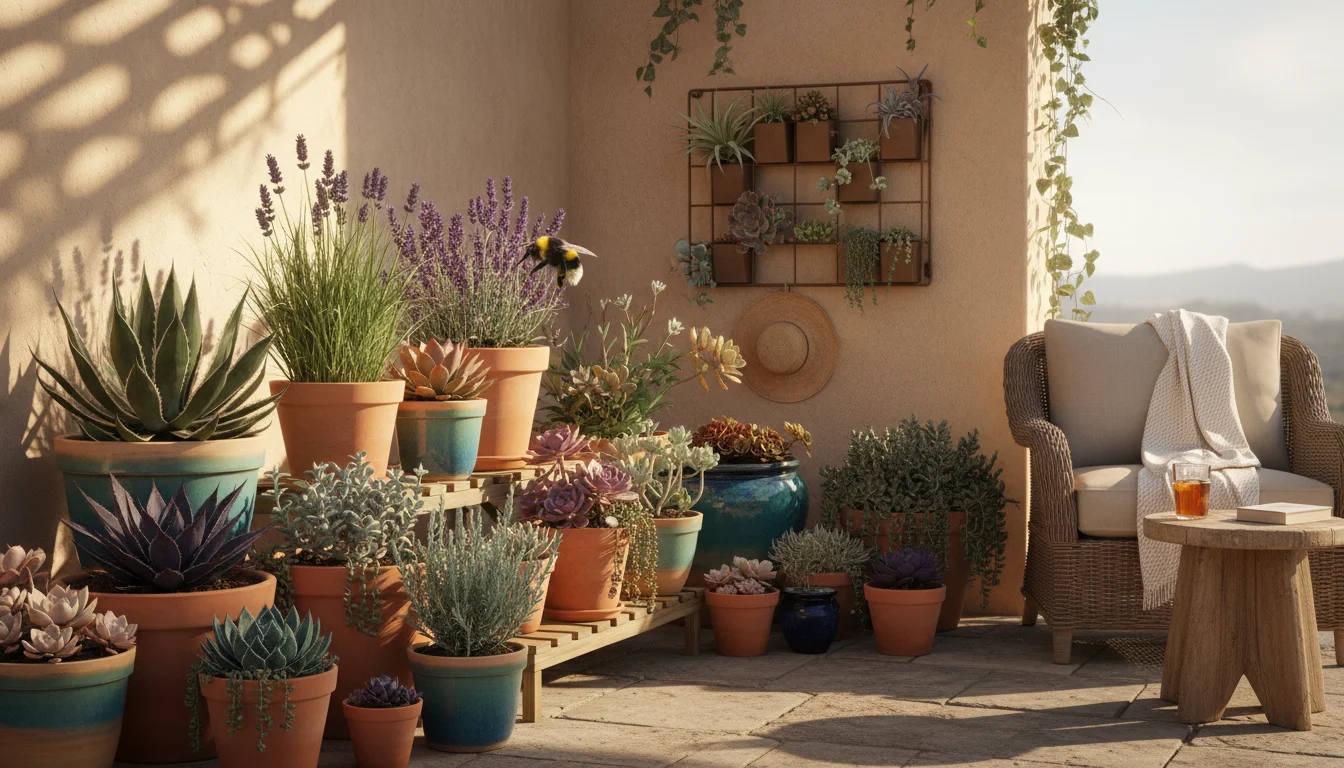
Learn about low-water gardening for drought-prone areas. Discover tips on low water gardening, drought tolerant container plants, xeriscape.
Read More →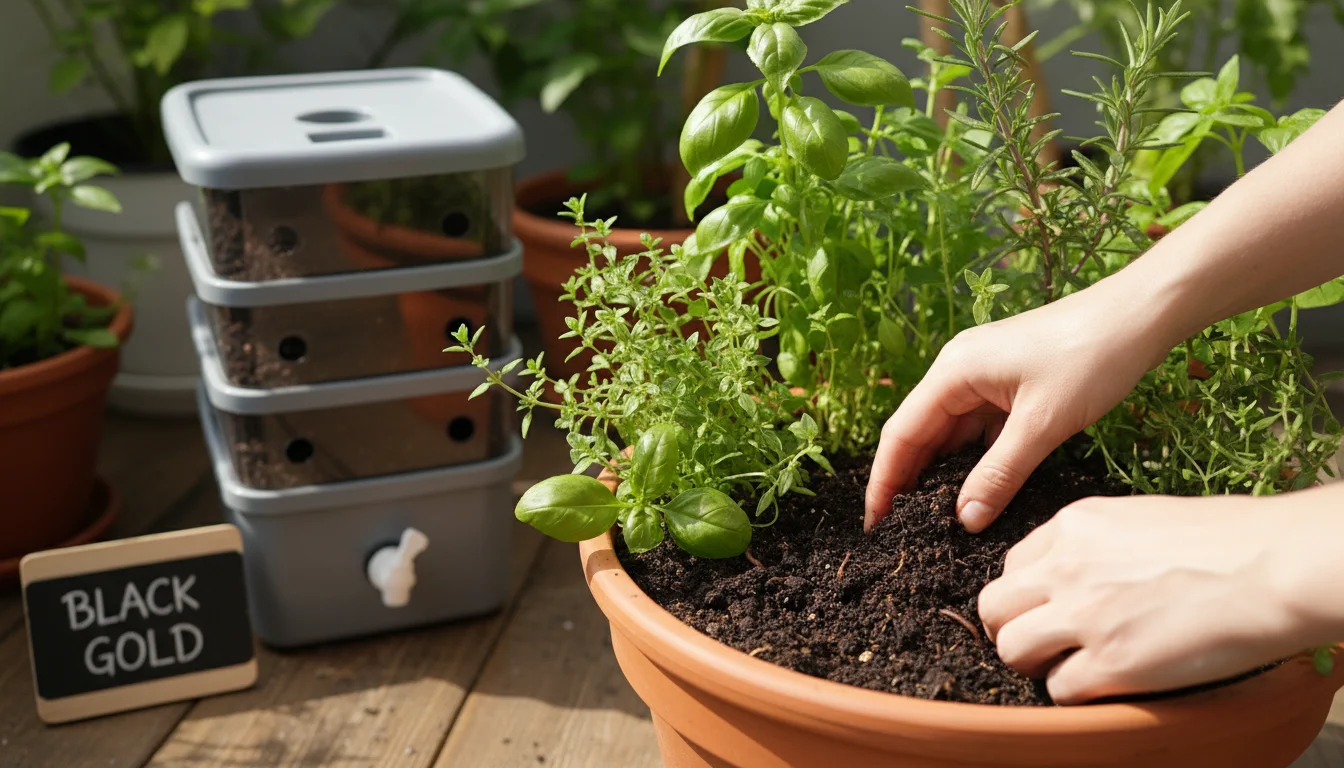
Learn about small-space composting hacks that actually work. Discover tips on small space composting, compost hacks, eco gardening.
Read More →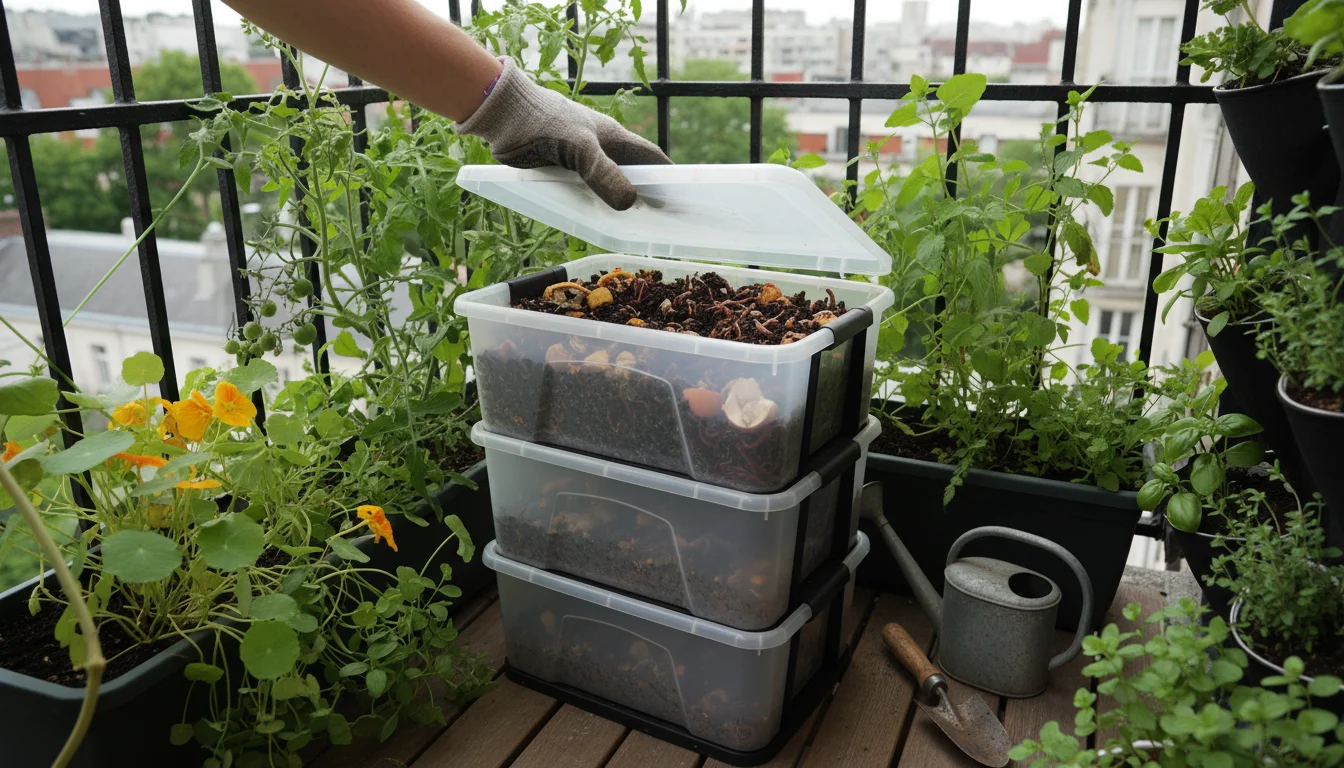
Learn about diy worm bin for kitchen scraps. Discover tips on worm composting, DIY worm bin, vermicomposting small space.
Read More →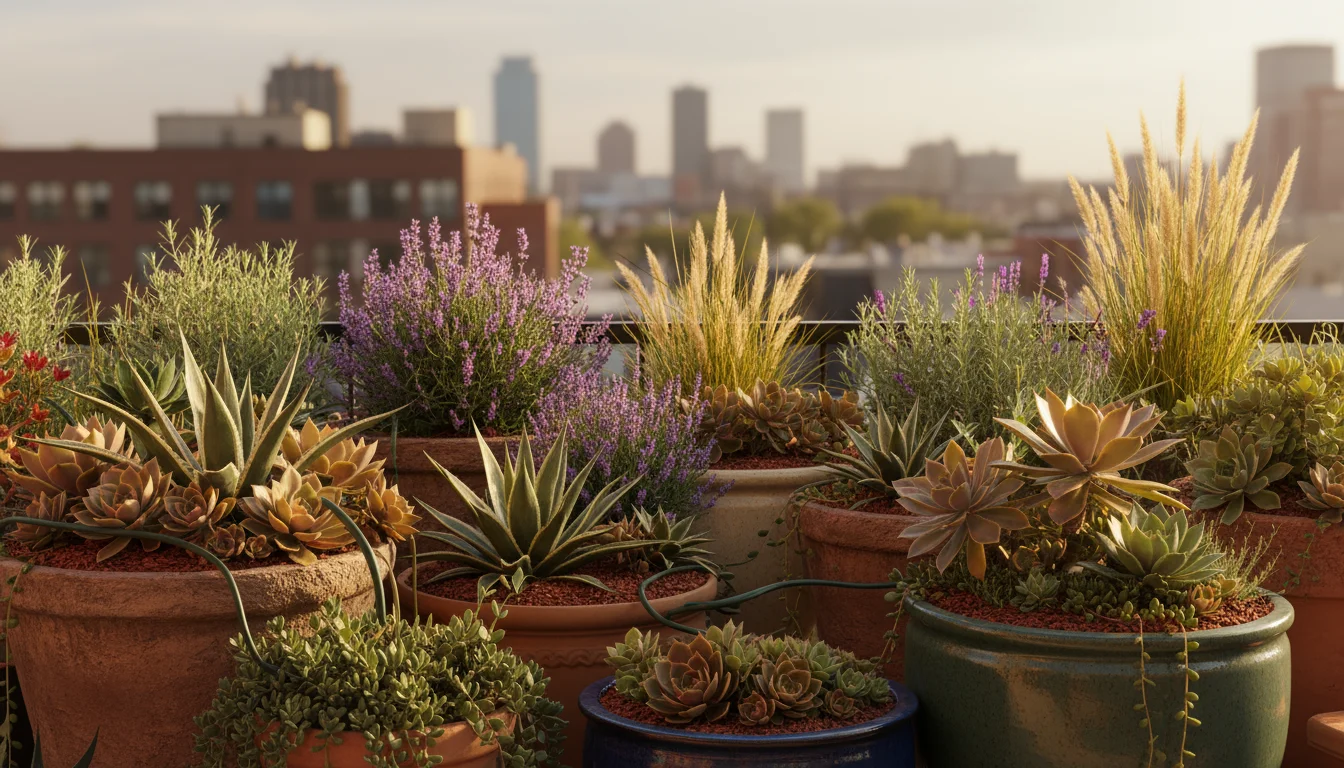
Learn about xeriscaping tips for water-saving gardens. Discover tips on xeriscape container, drought tolerant plants, water wise garden.
Read More →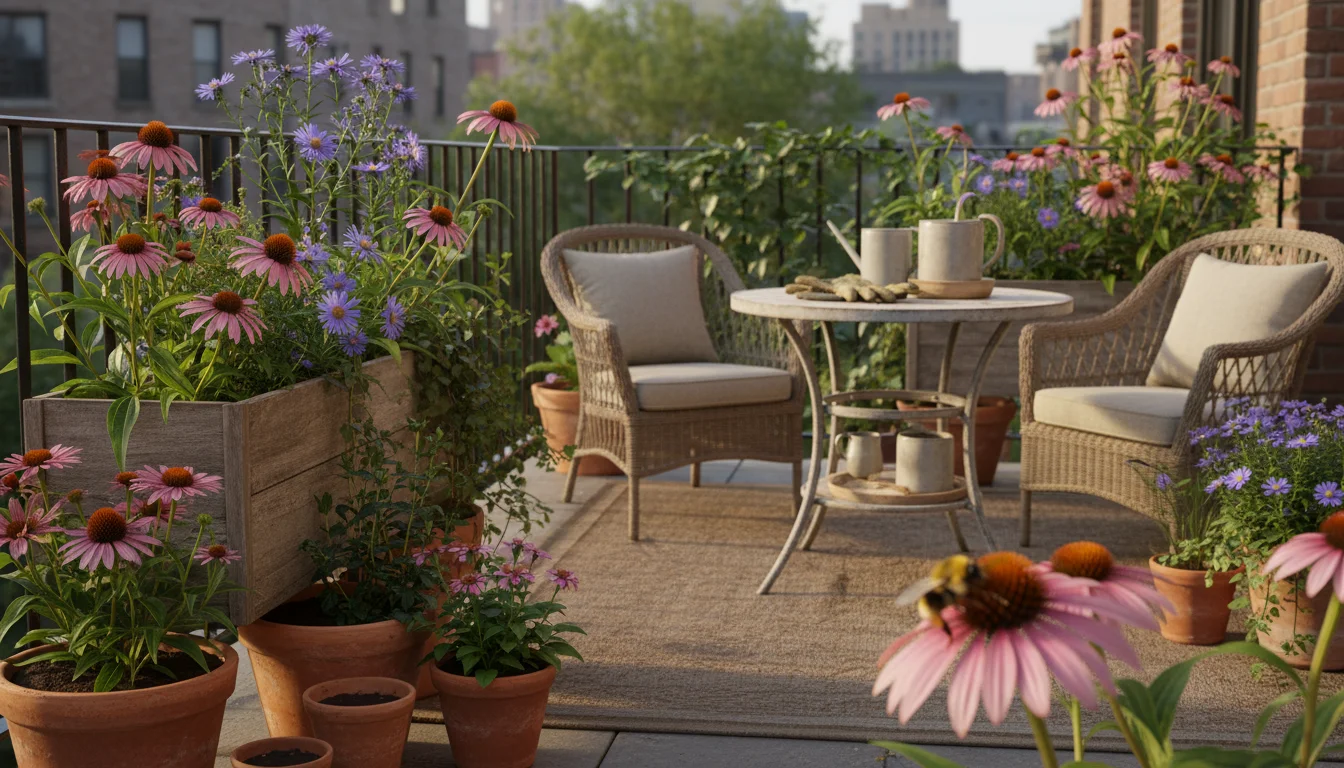
Learn about native plants that thrive in containers. Discover tips on native plants container, eco gardening, sustainable garden.
Read More →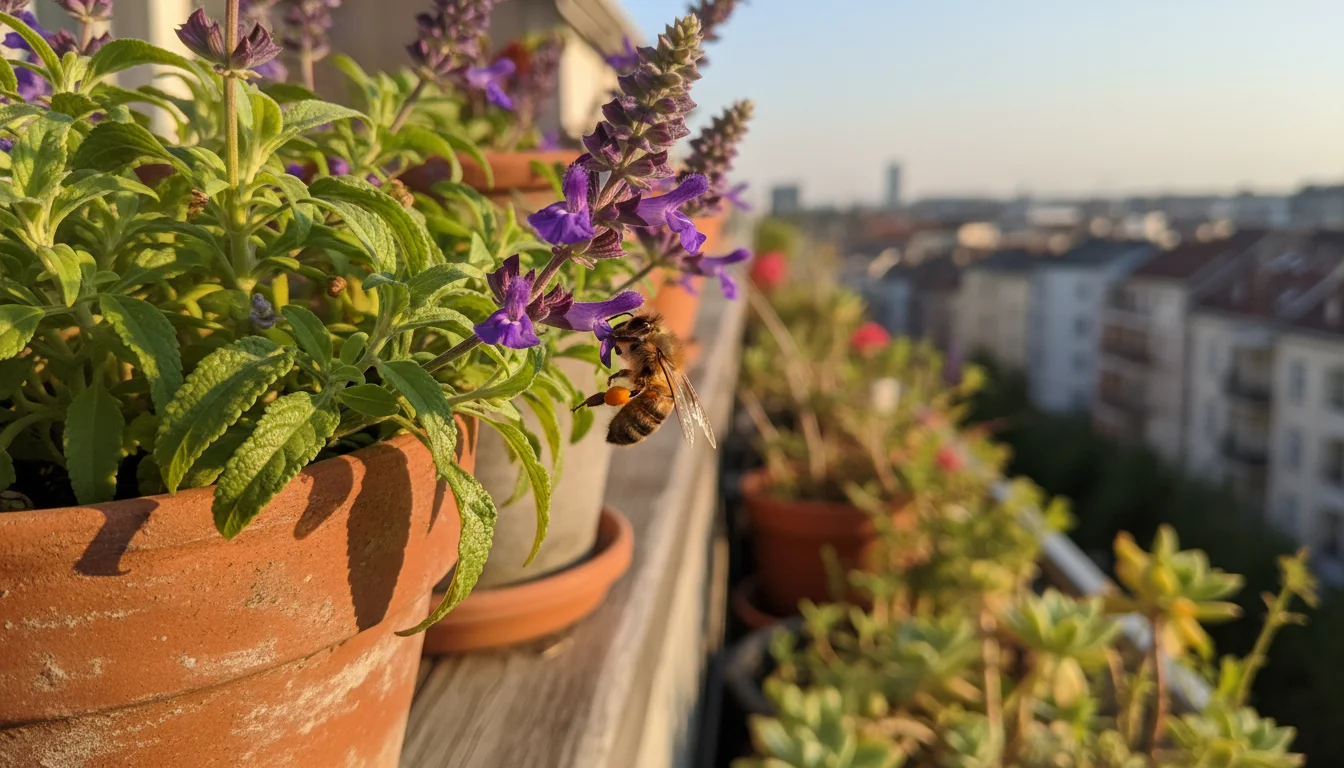
Learn about pollinator-friendly plants for balconies and patios. Discover tips on pollinator plants, bees butterflies garden, small space gardening.
Read More →