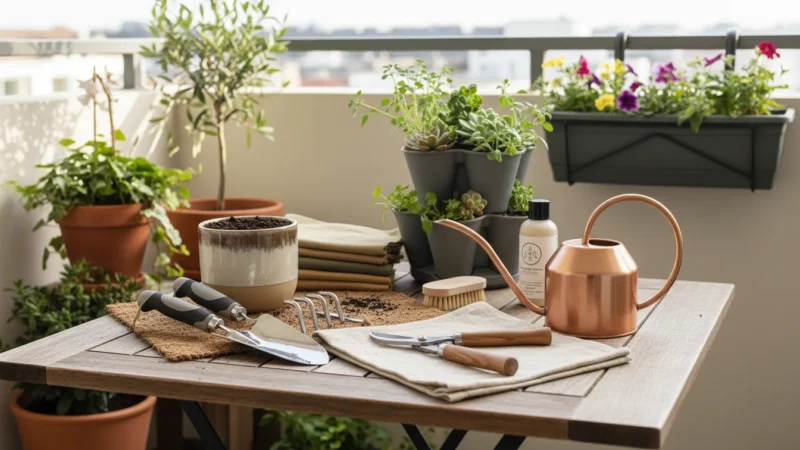
The ‘No-Mess’ Indoor Gardener’s Toolkit: 7 Essential Supplies for Tidy Apartment Plant Care
Equip your home with the 7 essential tools for mess-free indoor plant care. Keep your apartment tidy and your houseplants…
Read More →Honest, lightweight tool picks for container and patio gardening. When to choose hand tools, watering gear, soil accessories, and storage that saves space.
Equip your home with the 7 essential tools for mess-free indoor plant care. Keep your apartment tidy and your houseplants…
Read More →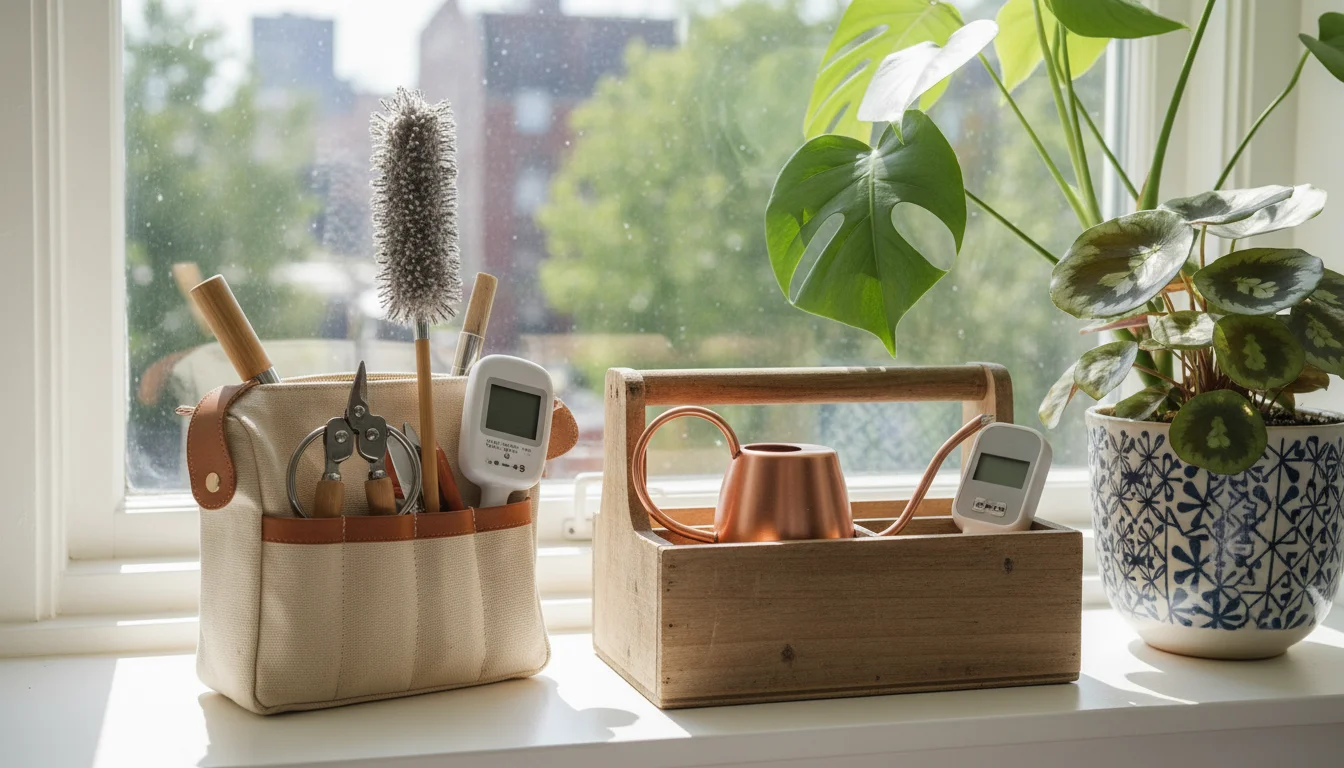
Assemble your indoor gardening 'go-bag' for winter houseplant care. Get practical insights on essential tools, supplies, and organization for small…
Read More →
Equip your apartment plants for winter with 3 essential gadgets: an LED grow light, a moisture meter, and a humidity…
Read More →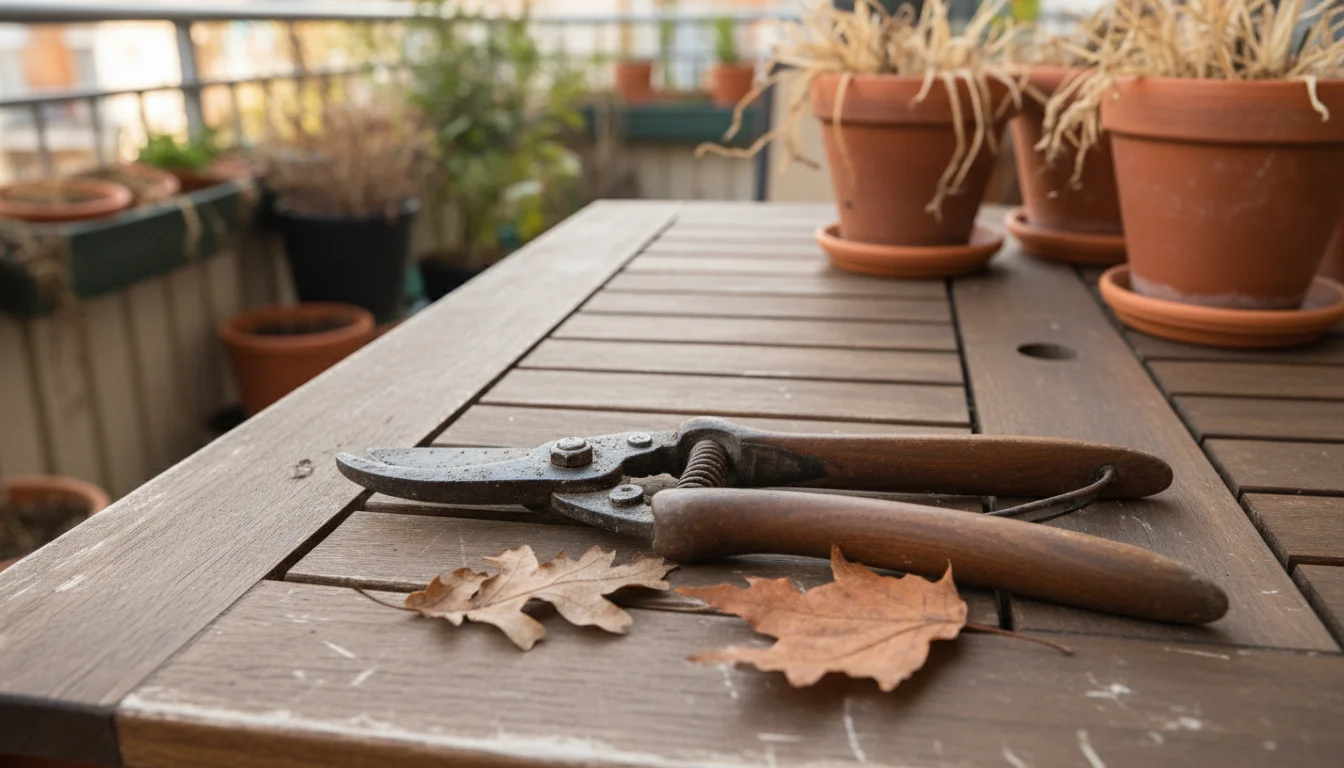
Learn how to clean, sharpen, and properly store your container gardening tools for winter. Extend tool life and ensure readiness…
Read More →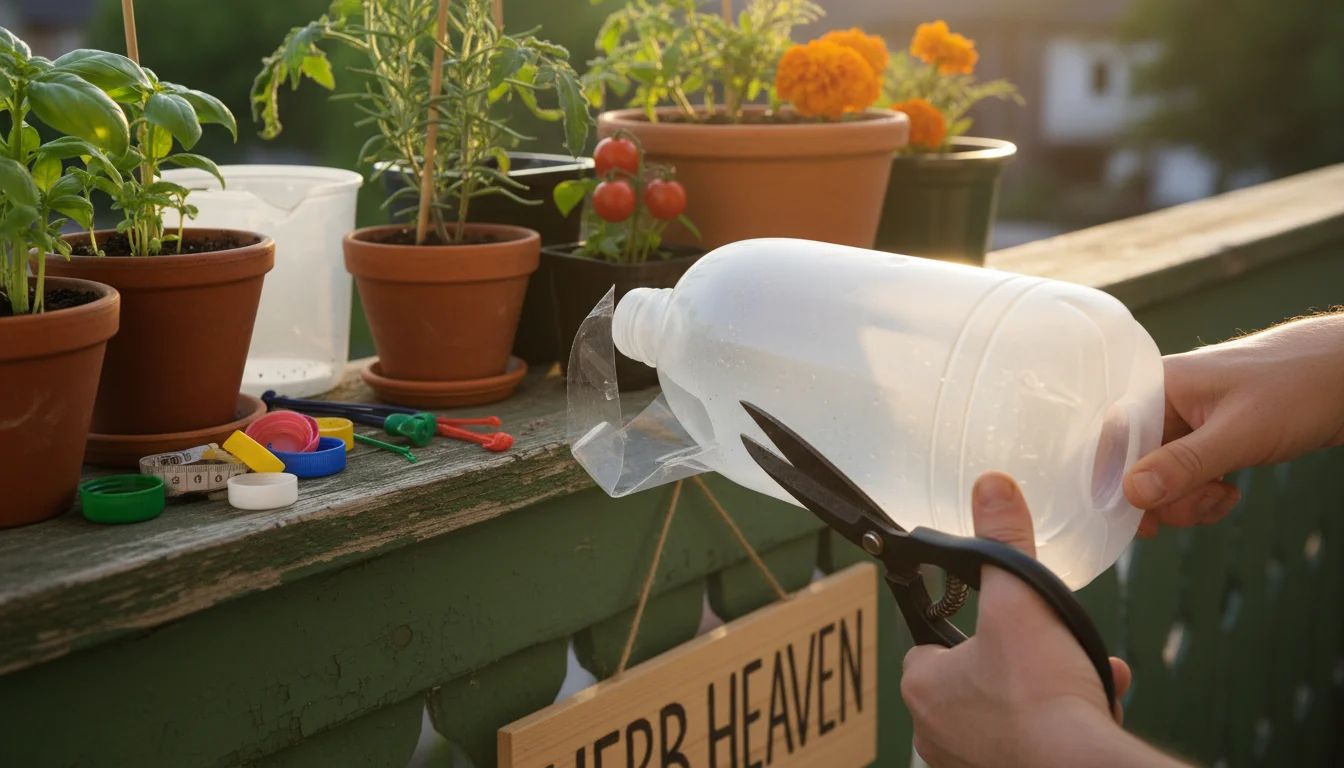
Learn about diy garden tool hacks with everyday items. Discover tips on garden tool hacks, DIY gardening tips, creative tool…
Read More →
Learn about tech for gardeners: apps and sensors worth using. Discover tips on garden apps, smart garden sensors, best gardening…
Read More →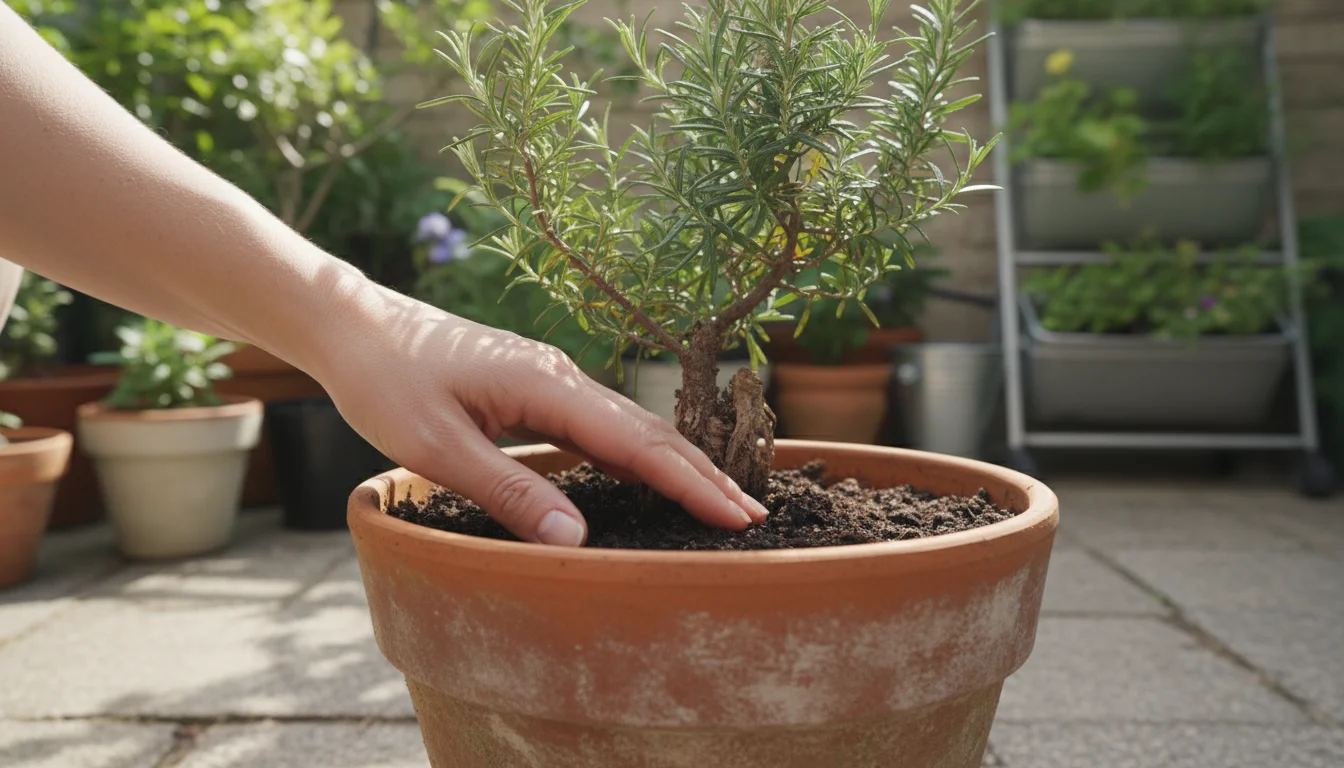
Learn about gardening gloves tested: which protect best?. Discover tips on gardening gloves, best gloves for gardening, tool reviews.
Read More →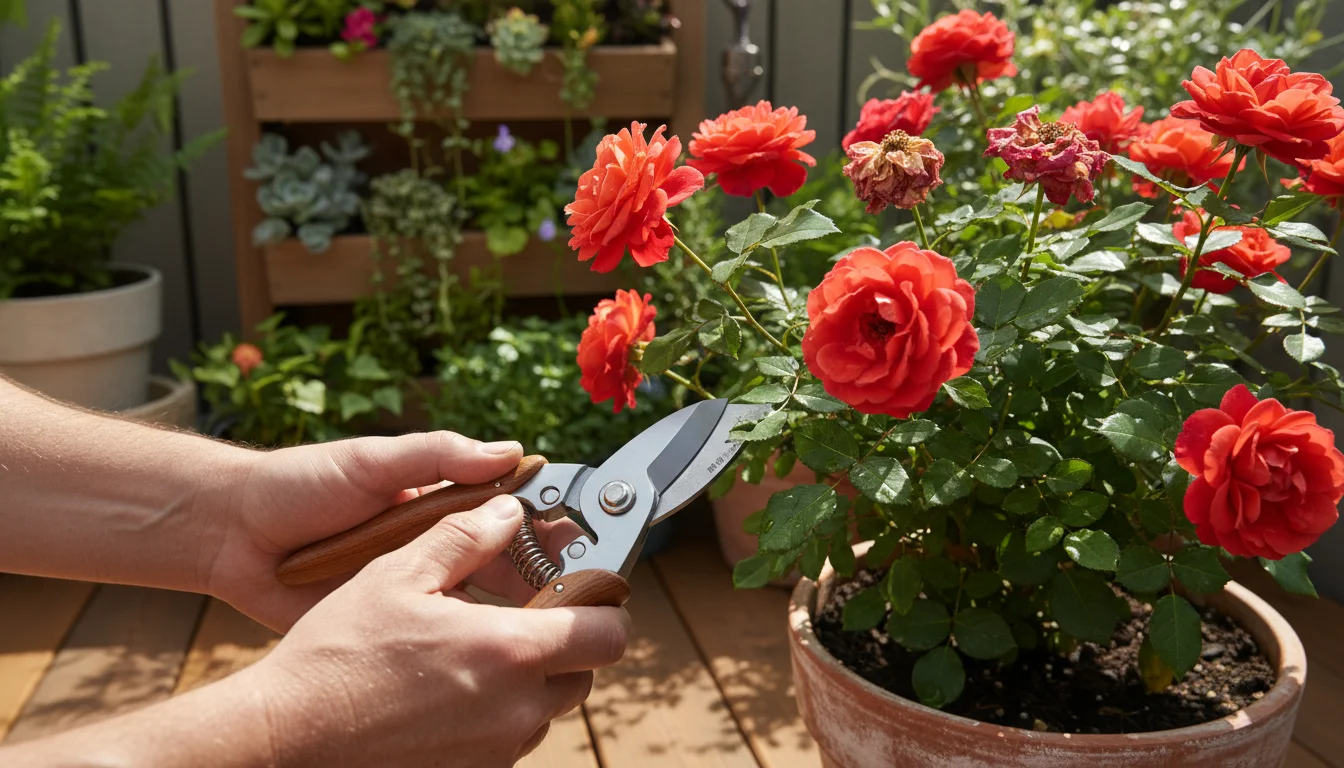
Learn about the best hand pruners for gardeners. Discover tips on best garden pruners, hand pruner reviews, pruning shears.
Read More →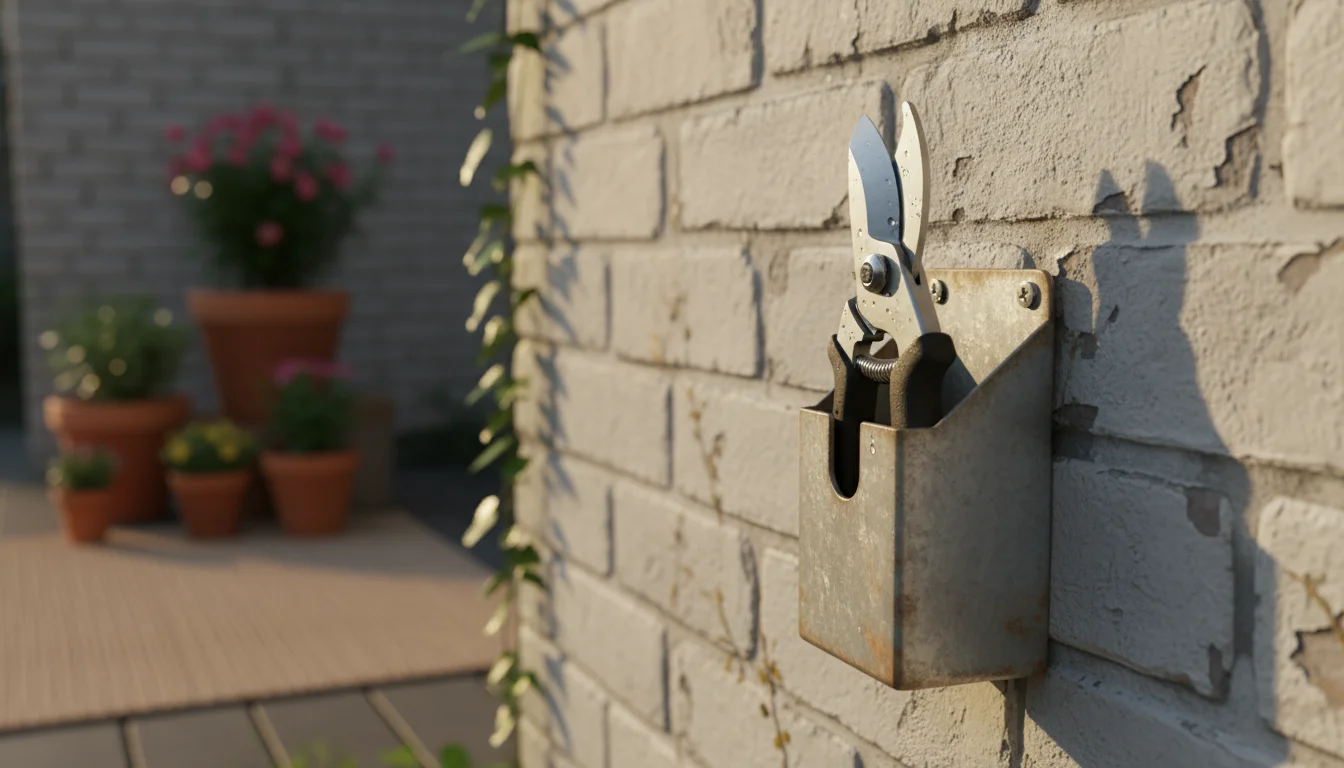
Learn about tool storage solutions for small homes. Discover tips on garden tool storage, organizing garden tools, small space storage.
Read More →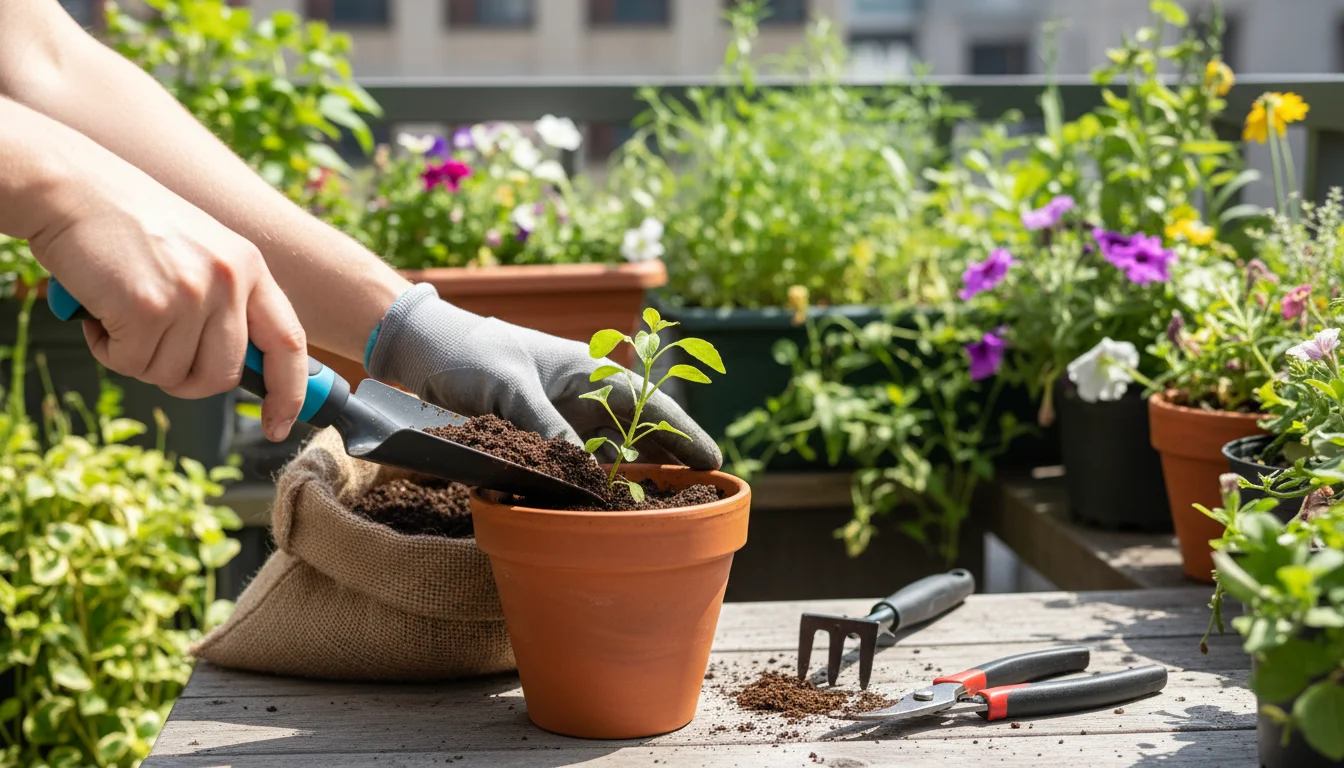
Learn about affordable garden gadgets that make life easier. Discover tips on garden gadgets, budget tools, gardening hacks.
Read More →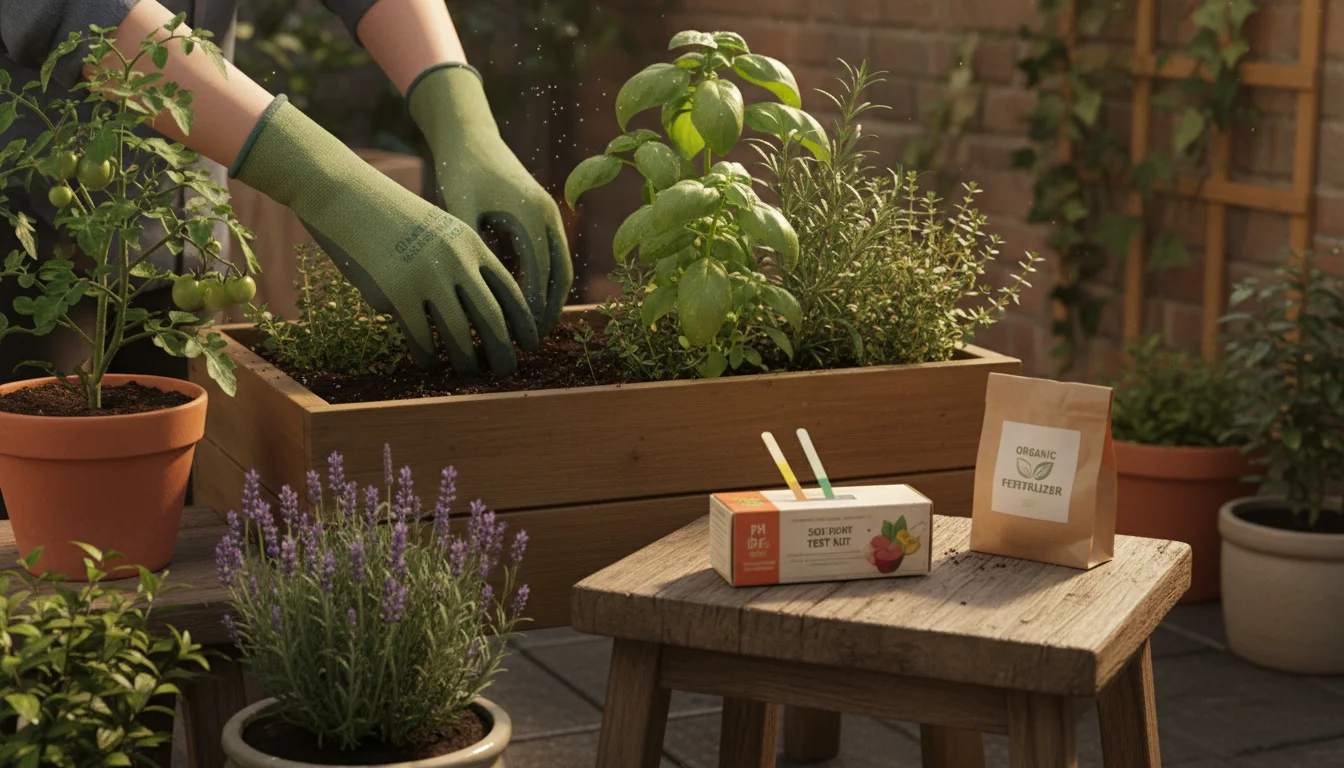
Learn about soil test kits compared: which one should you buy?. Discover tips on soil test kits, garden soil testing,…
Read More →
Learn about do you really need grow lights? a complete guide. Discover tips on grow lights, indoor garden lighting, best…
Read More →