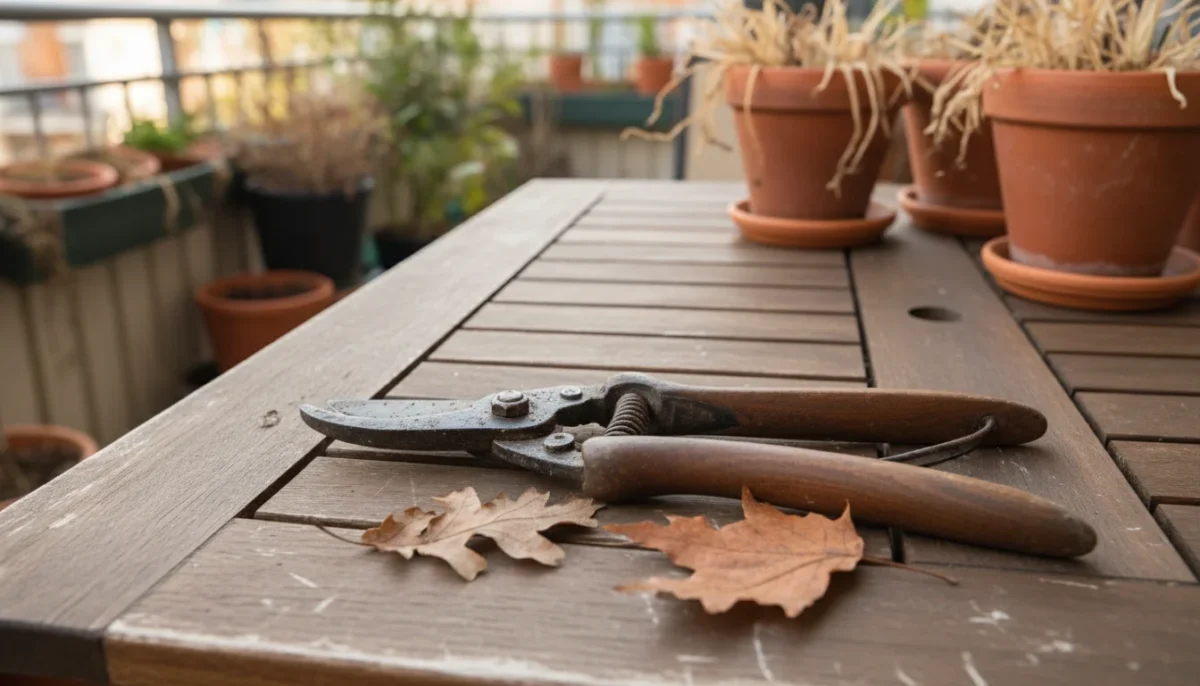
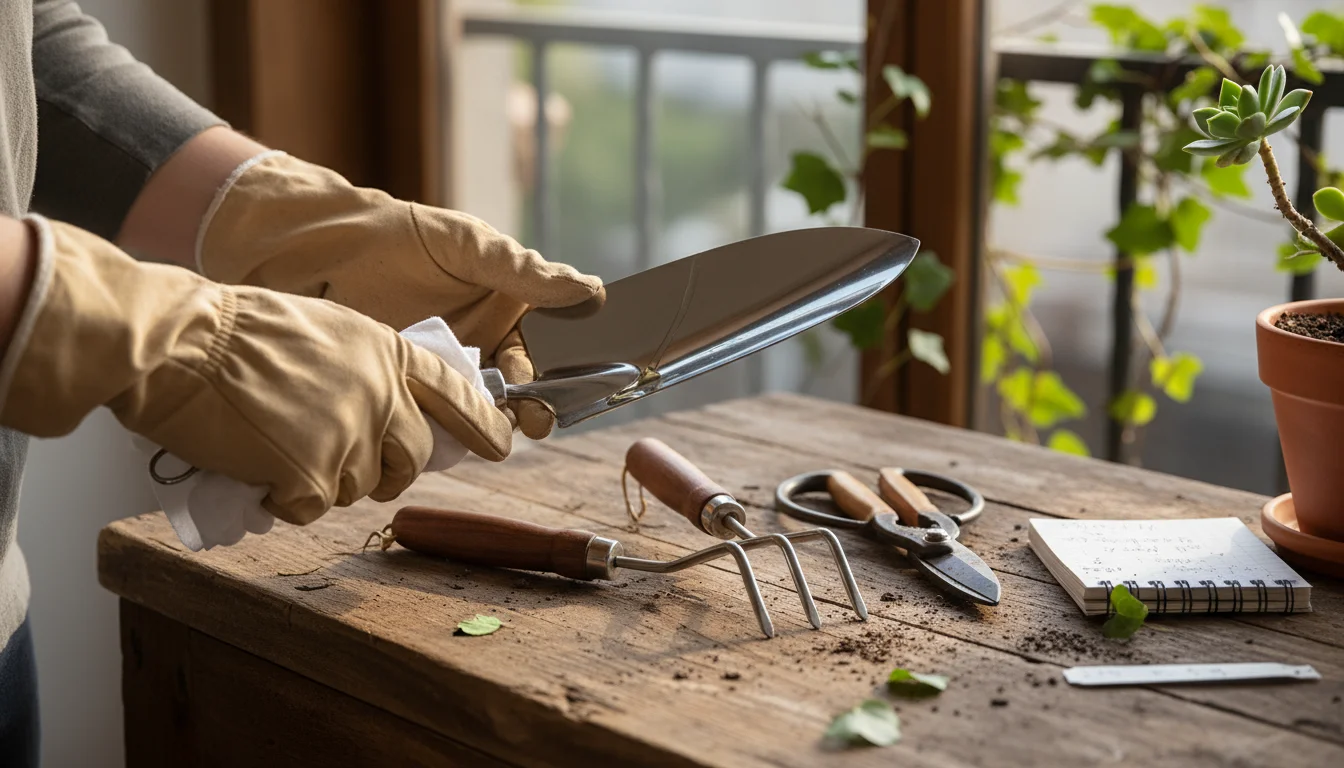
The Fall Tool Tune-Up: How to Clean and Store Your Container Gardening Tools for Winter
As the cooler days of autumn arrive and your container garden winds down, you must shift your focus from planting and tending to a crucial task: preparing your gardening tools for winter storage. Neglecting your tools, especially those used for small-space container gardening, leads to rust, dull blades, and unnecessary replacements. A little effort now ensures your beloved pruners, trowels, and cultivators remain in top condition, ready for action when spring returns. This guide provides practical, actionable steps to clean, sharpen, and store your essential gardening gear effectively, extending their lifespan and saving you money.

Why Proper Fall Tool Maintenance Matters for Small-Space Gardeners
For gardeners with limited space, every tool earns its spot. Investing in quality tools means they should last for years, but only with consistent care. The end of the growing season presents an ideal window for thorough garden tool maintenance. During active growing months, sap, soil, and plant debris accumulate on your tools. This residue, if left uncleaned, attracts moisture and encourages rust, a common enemy of metal tools. Rust compromises tool integrity, making blades brittle and hinges stiff. Dull blades, whether from use or corrosion, require more effort, increasing accident risk and delivering imprecise cuts that harm your plants.
Consider your hand pruners. Throughout the season, you make countless cuts, snipping spent blooms, shaping herbs, or harvesting vegetables from your containers. Each cut leaves microscopic bits of plant matter and sap on the blades. If you simply toss these pruners into a bucket or hang them up without cleaning, that sticky sap hardens and creates a perfect environment for rust to form, especially in humid conditions. A rusty blade struggles to cut cleanly, tearing plant tissue instead of making a sharp incision. This damages your plants, potentially introducing diseases through ragged wounds. For example, a study published in the Journal of Horticultural Science indicated that clean, sharp tools reduce disease transmission in certain plant varieties by minimizing cellular damage. Therefore, taking time for this essential fall garden task ensures your tools function effectively and helps protect your plants’ health next season.
Neglected tools also create unnecessary hassle and cost. Rust and dullness force you to exert more force, leading to fatigue and a higher risk of slipping, cutting yourself, or even breaking the tool. Imagine digging in a packed container with a rusty, blunt trowel; the effort multiplies, and the soil resists your movements. A sharp, clean trowel slices through soil effortlessly. Regularly replacing tools because of preventable damage represents a significant financial drain over time. Quality gardening tools are an investment. Protecting that investment through diligent `garden tool maintenance` means you buy fewer tools, saving money you can then dedicate to seeds, plants, or other garden enhancements.
Proper cleaning and `storing garden tools` also prepare you for a swift start in spring. Imagine reaching for your favorite trowel for early spring planting, only to find it caked with dried soil and rust. That is a frustrating delay, consuming valuable time you could spend planting. By cleaning and organizing your tools now, you eliminate future hassles. You save time and energy, allowing you to focus on the joy of planting rather than scrambling to clean neglected equipment. This proactive approach underscores the value of `preparing gardening tools for winter storage`, ensuring your container garden is ready for a seamless transition into the new growing season.

Gather Your Gear: Essential Supplies for Tool Cleaning
Before you begin the hands-on process of your fall tool tune-up, assemble all necessary cleaning supplies. Having everything within reach streamlines the task and prevents interruptions. Most of these items are inexpensive and readily available at hardware stores, garden centers, or even around your home. You likely own many of these already, making your `fall garden tasks` both simple and cost-effective.
Here is a comprehensive list of what you need, along with why each item proves useful:
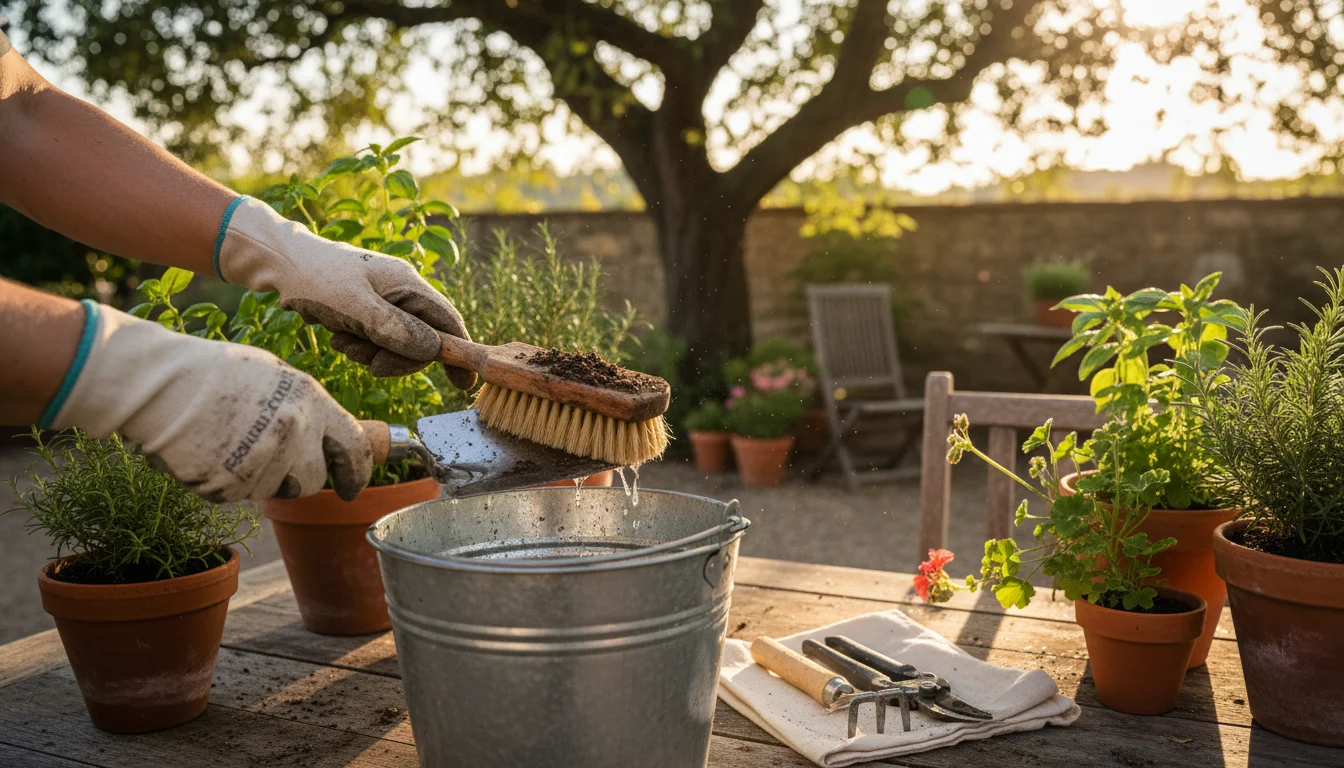
- Stiff-bristled brush or wire brush: This is your primary tool for attacking dried soil, stubborn clay, and plant residue. A stiff-bristled brush works well for general cleaning, while a wire brush provides extra scrubbing power for heavily caked-on grime or light rust on durable metal parts.
- Bucket or large basin: Essential for mixing soapy water and soaking tools. Choose a size that accommodates your largest hand tools comfortably.
- Dish soap or mild detergent: A small amount of ordinary dish soap effectively breaks down sticky sap, oily residues, and general dirt without harming your tools. Avoid harsh industrial cleaners.
- Old rags or towels: You will need several. Use some for wiping down tools, others for drying, and a dedicated rag for oil application. Microfiber cloths prove particularly effective for a streak-free dry.
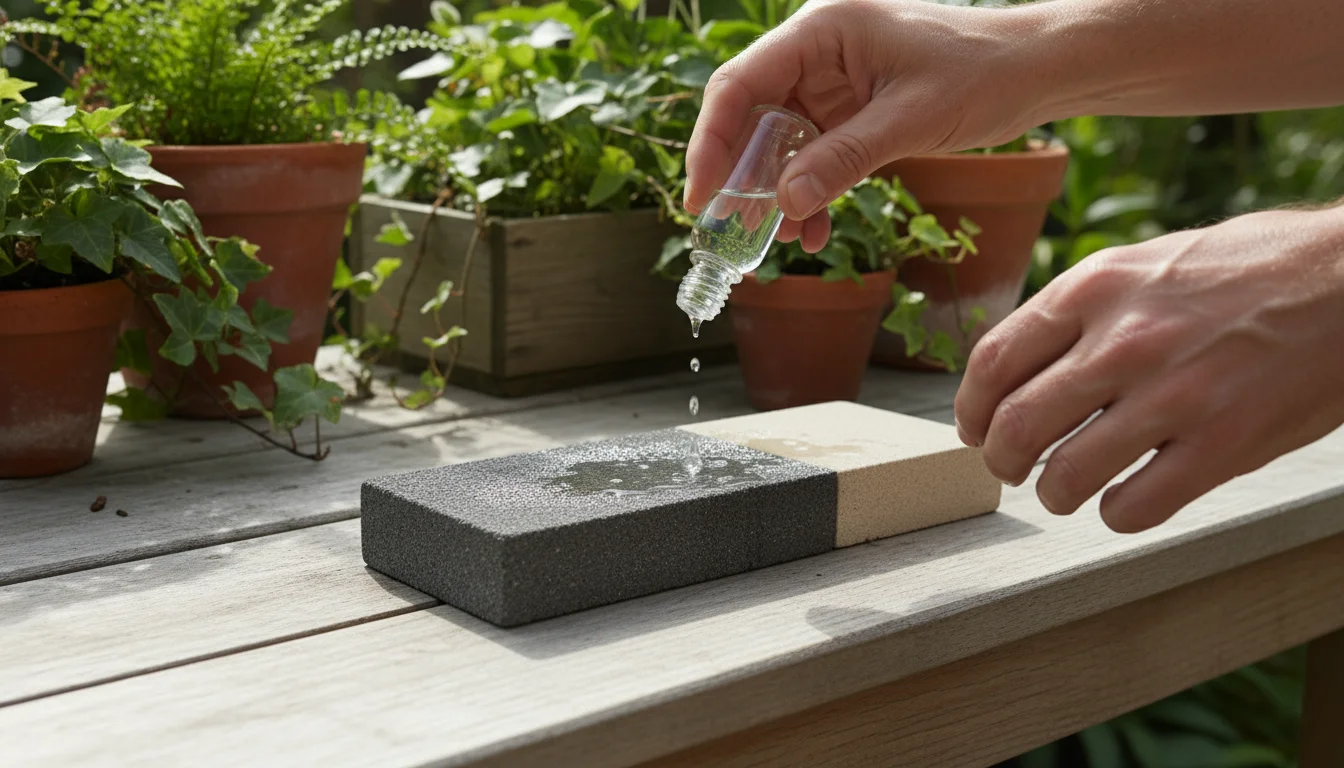
- Steel wool (fine grade) or sandpaper (150-220 grit): These abrasives are indispensable for removing light rust spots and smoothing rough patches on metal. Fine steel wool (0000 grade) is gentle, while 150-grit sandpaper provides more bite for stubborn areas. For very heavy rust, you might step up to a 60-grit or 80-grit sandpaper, but use it with extreme caution to avoid excessive scratching.
- Sharpening stone or diamond file: Crucial for restoring a keen edge to your bladed tools. A dual-sided stone (coarse and fine grit) offers versatility for both initial shaping and final polishing. Look for one designed for garden tools or general utility knives. This is key for `sharpening hand pruners for beginners`.
- Rubbing alcohol (isopropyl alcohol) or mineral spirits: These solvents excel at dissolving sticky tree sap and sterilizing blades. Rubbing alcohol is generally safer for casual use and evaporates quickly, while mineral spirits offer more potent cleaning for grease and tar.
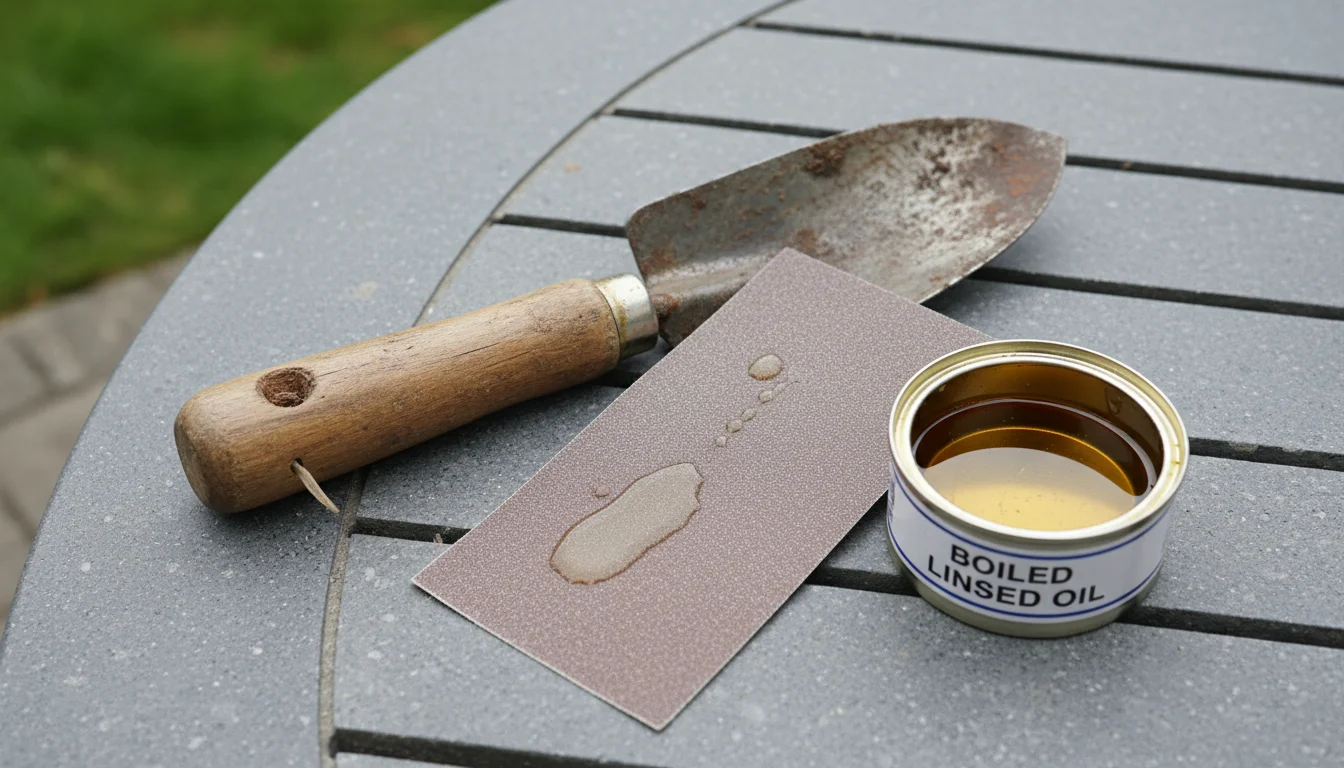
- Penetrating oil (e.g., WD-40) or vegetable oil: Use penetrating oil to loosen rusty or stiff mechanisms and to clean stubborn grime. For lubricating and protecting against rust, a light machine oil or even everyday vegetable oil (like canola or linseed oil) works well and offers a more eco-friendly choice for tools used with edible plants.
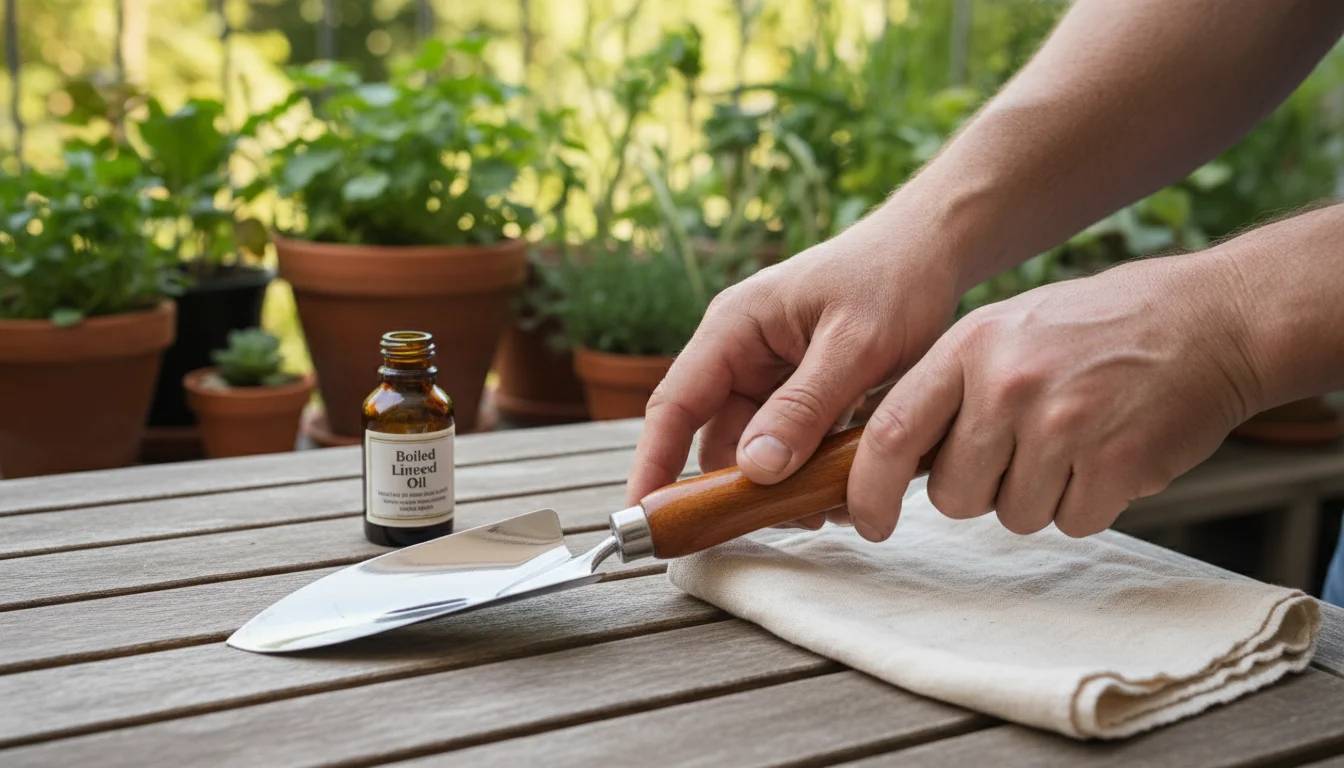
- Linseed oil (boiled) or mineral oil: Specifically for conditioning wooden handles. Boiled linseed oil penetrates and protects wood, preventing cracking and splintering. Mineral oil offers a non-toxic alternative for a softer finish.
- Gloves: Protect your hands from dirt, rust, sharp edges, and cleaning agents. Standard gardening gloves or more robust work gloves are suitable.
- Safety glasses: Always wear eye protection when using wire brushes, sharpening tools, or working with any debris that might become airborne. Your vision is priceless.
Having these items ready significantly simplifies your `fall garden tasks` and ensures a comprehensive cleaning process. Once you gather your supplies, you are well-prepared to tackle the actual cleaning of your container gardening tools, transforming them from weary workhorses to gleaming, ready-for-winter assets.
Step-by-Step Guide to Cleaning Your Hand Tools
Cleaning your gardening tools might seem daunting, but it is a straightforward process once you establish a routine. Follow these steps to ensure every tool gets the attention it deserves, focusing on common container gardening tools like trowels, hand cultivators, and pruners. This thorough cleaning forms the foundation of `preparing gardening tools for winter storage`.
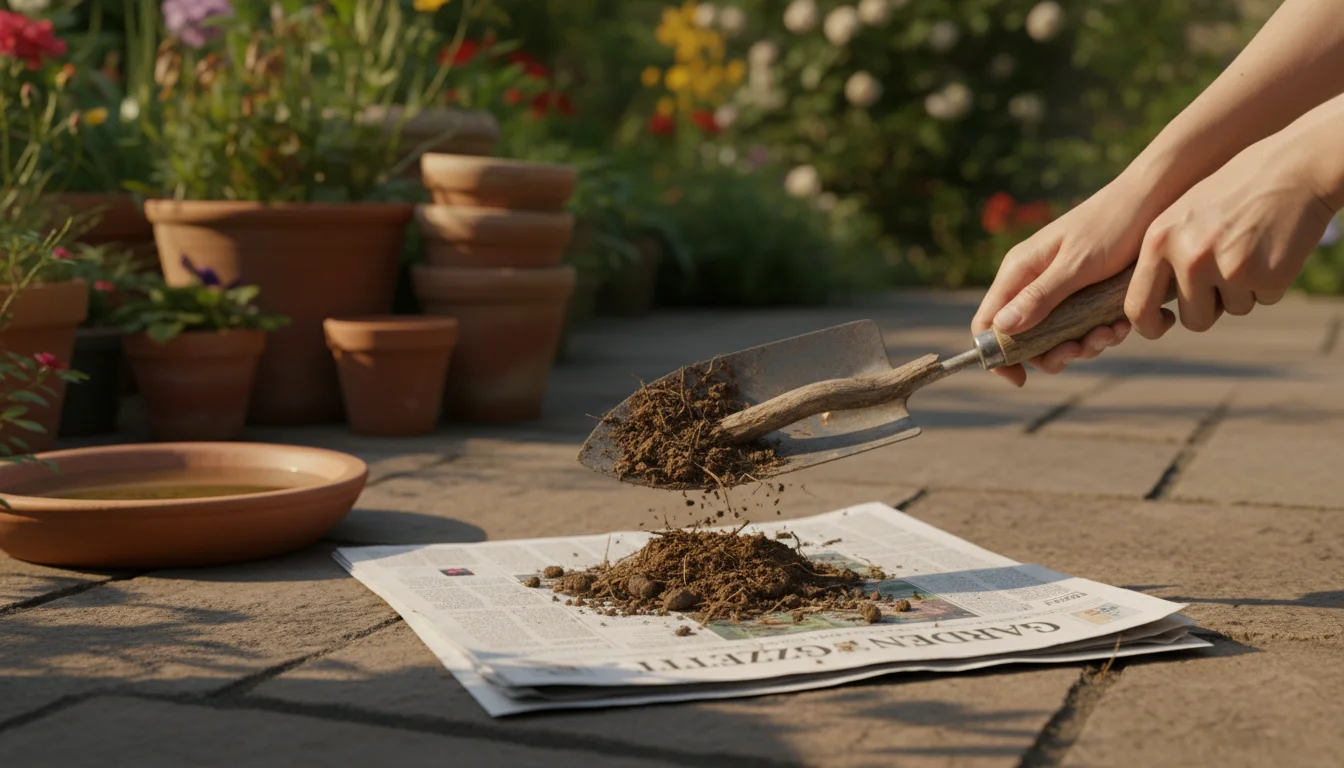
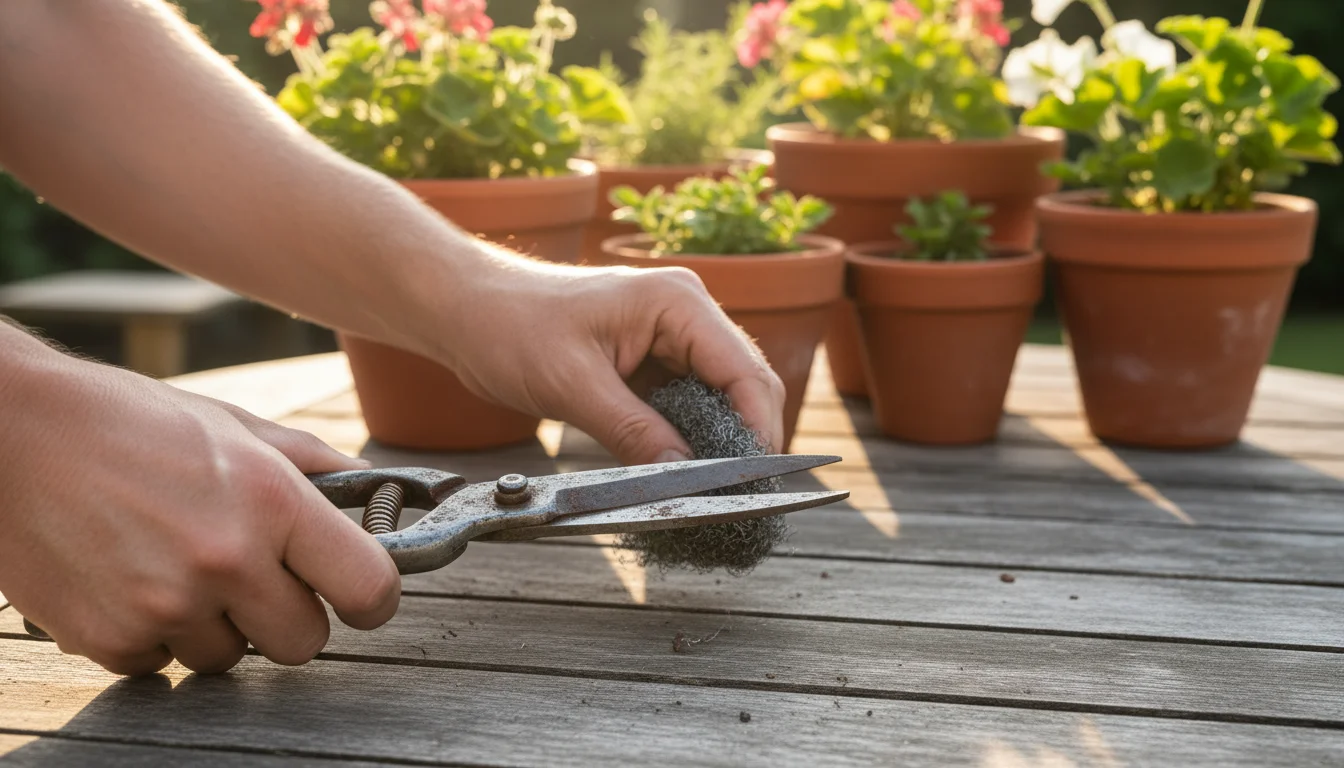
Step 1: Remove Loose Debris
Begin by using your stiff-bristled brush or a stick to scrape off any large clumps of soil, plant material, or mud from your tools. Do this over a designated area, like a tarp or an old newspaper, where you can collect the debris for composting or disposal. Pay particular attention to the crevices of trowels and the spaces between the tines of cultivators. For pruners, gently open and close the blades to dislodge any trapped plant matter. Use an old toothbrush or a small poker to get into tight spots around the pivot bolt. Removing dry, loose material first makes subsequent washing far more effective.
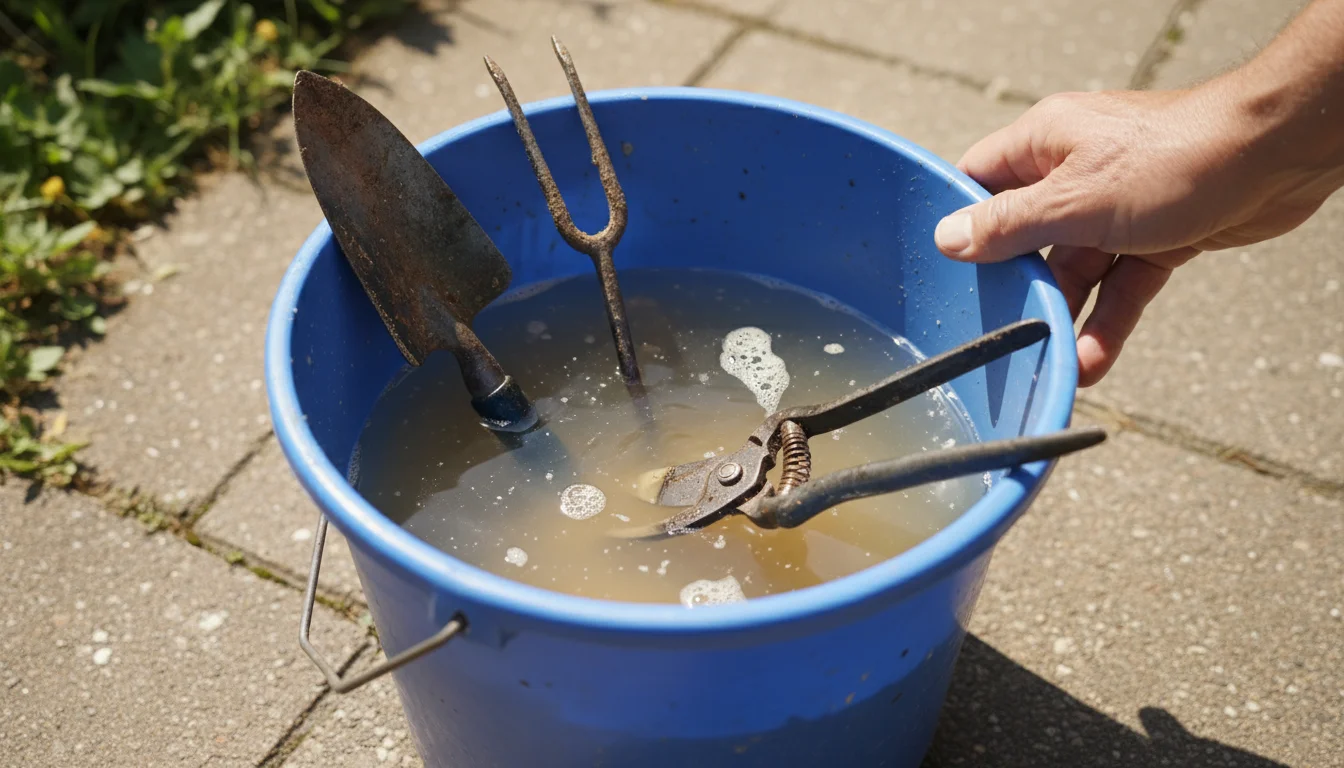
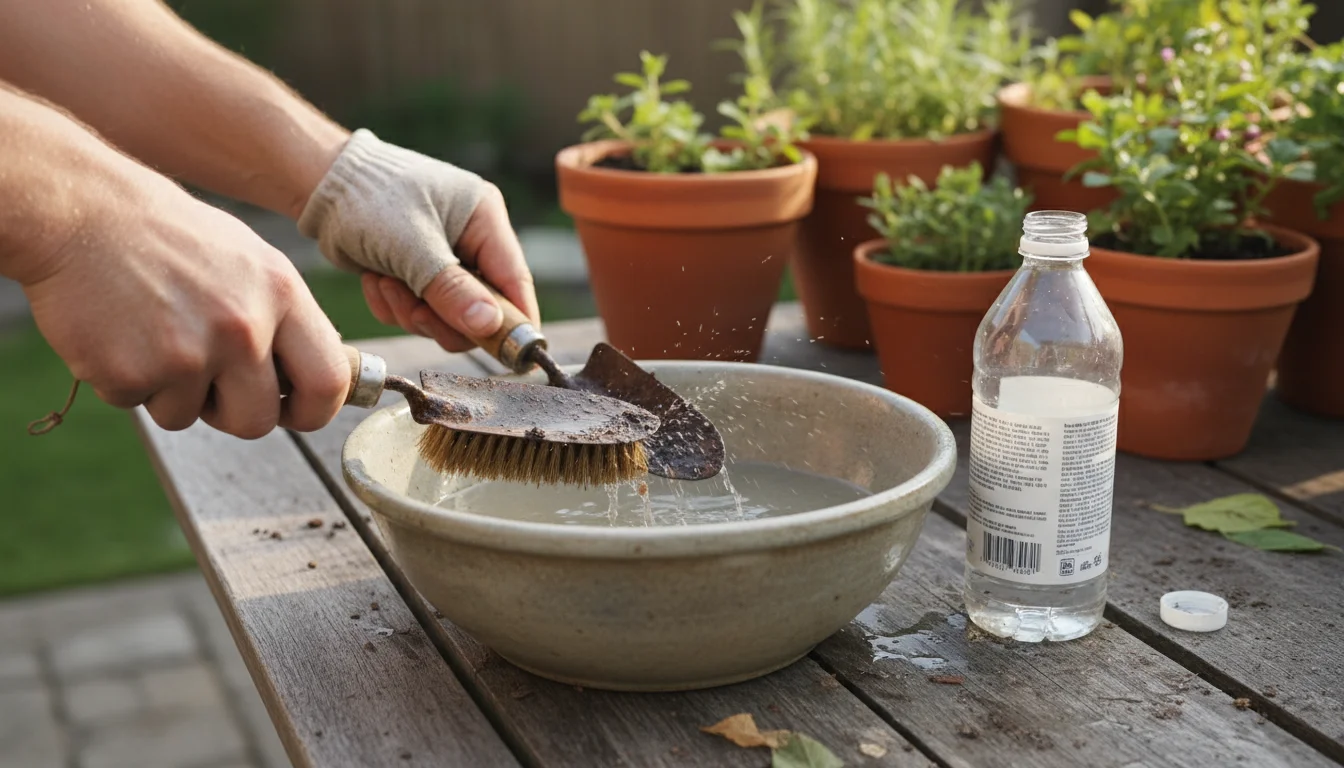
Step 2: Wash with Soapy Water
Fill your bucket with warm water and add a few drops of mild dish soap. Submerge the metal parts of your tools, allowing them to soak for 5-10 minutes. This soaking period is particularly helpful for loosening stubborn, caked-on soil, especially heavy clay, and softening dried sap. For tools with wooden handles, avoid prolonged soaking to prevent the wood from swelling, cracking, or weakening. Instead, wash the metal parts carefully, keeping the wooden handles as dry as possible, or clean them separately with a damp cloth.
Use your stiff brush or a scouring pad to thoroughly clean all surfaces. Scrub away any remaining dirt, sap, and grime. For pruners, pay close attention to the hinge mechanism, springs, and the cutting edge, ensuring you remove all traces of residue. A small detail brush or old toothbrush proves invaluable here. Rinse each tool thoroughly under running water to remove all soap residue, which could otherwise leave a film and attract more dirt. Ensure the water runs clear from all parts.
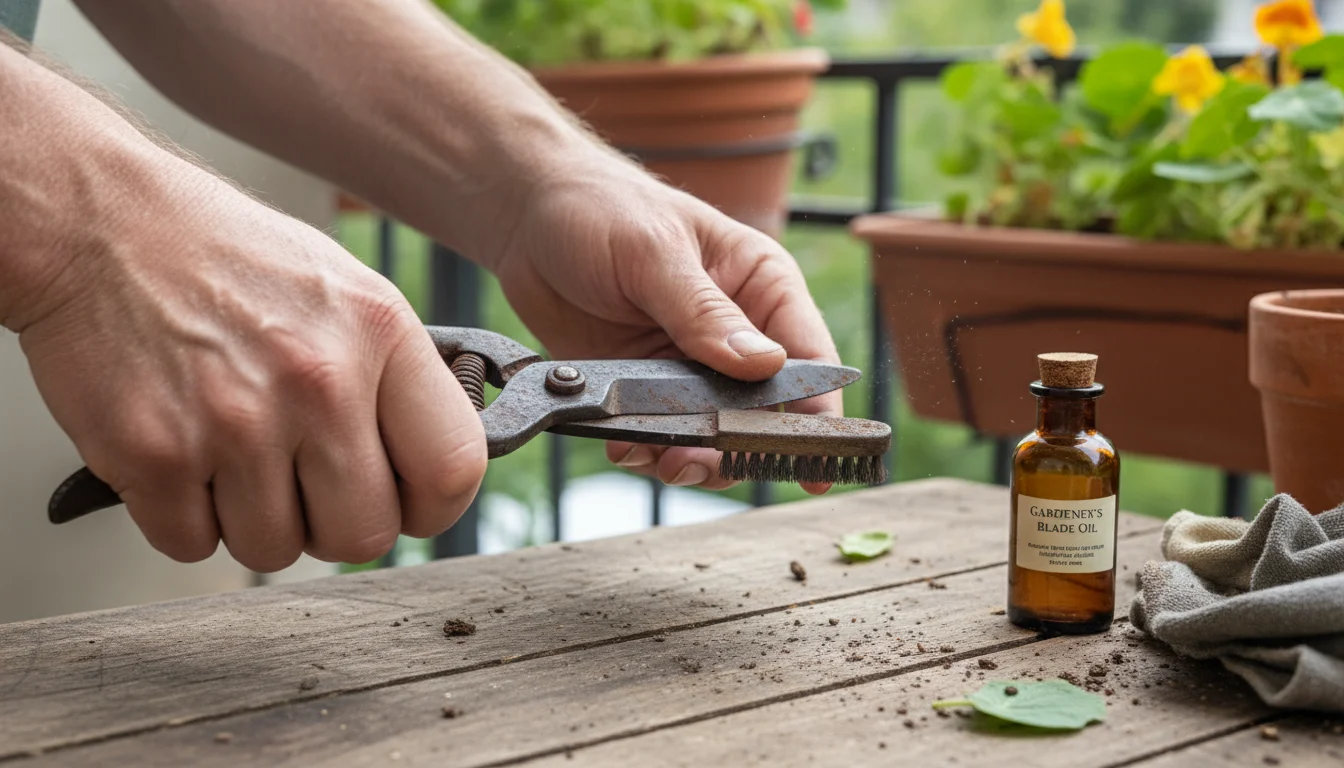
Step 3: Tackle Rust and Stubborn Sap
Now, address any rust spots or hardened sap. This is where you learn `how to clean rust off garden shears` and other metal tools, restoring their original luster and functionality. Remember that rust is iron oxide, and its removal prevents further corrosion and maintains the tool’s strength.
- For Light Rust: Use fine-grade steel wool (0000 is ideal) or 150-220 grit sandpaper. Rub gently in circular motions until the rust disappears, revealing the clean metal underneath. For awkward spots, wrap the sandpaper around a small dowel, pencil, or screwdriver to reach into tight curves. This abrasive action mechanically removes the rust layer.
- For Heavier Rust: If rust is pervasive and deeply embedded, you might need a more aggressive approach. A wire brush can be effective, but use it carefully to avoid scratching the metal excessively. Alternatively, create a paste of baking soda and water, apply it liberally to the rusted areas, and let it sit for several hours or even overnight. The baking soda’s mild abrasive nature, combined with its alkalinity, helps lift the rust. Then, scrub with steel wool or a stiff brush. For very stubborn rust, you can also use a rust eraser, which is a block of abrasive material designed for this purpose.
- For Stubborn Sap: Sap can be notoriously sticky and resistant to water. Apply rubbing alcohol (isopropyl alcohol) or mineral spirits to a clean rag and firmly wipe down the blades and metal surfaces where sap resides. The solvents effectively dissolve the sap. For very thick, hardened sap, apply the solvent, let it sit for a minute to penetrate, then carefully use a non-abrasive scraper, like an old plastic credit card or a plastic putty knife, to gently lift the sap without scratching the metal.
After addressing rust and sap, wipe the tools clean with a fresh, dry rag to remove any lingering residue from the cleaning agents.
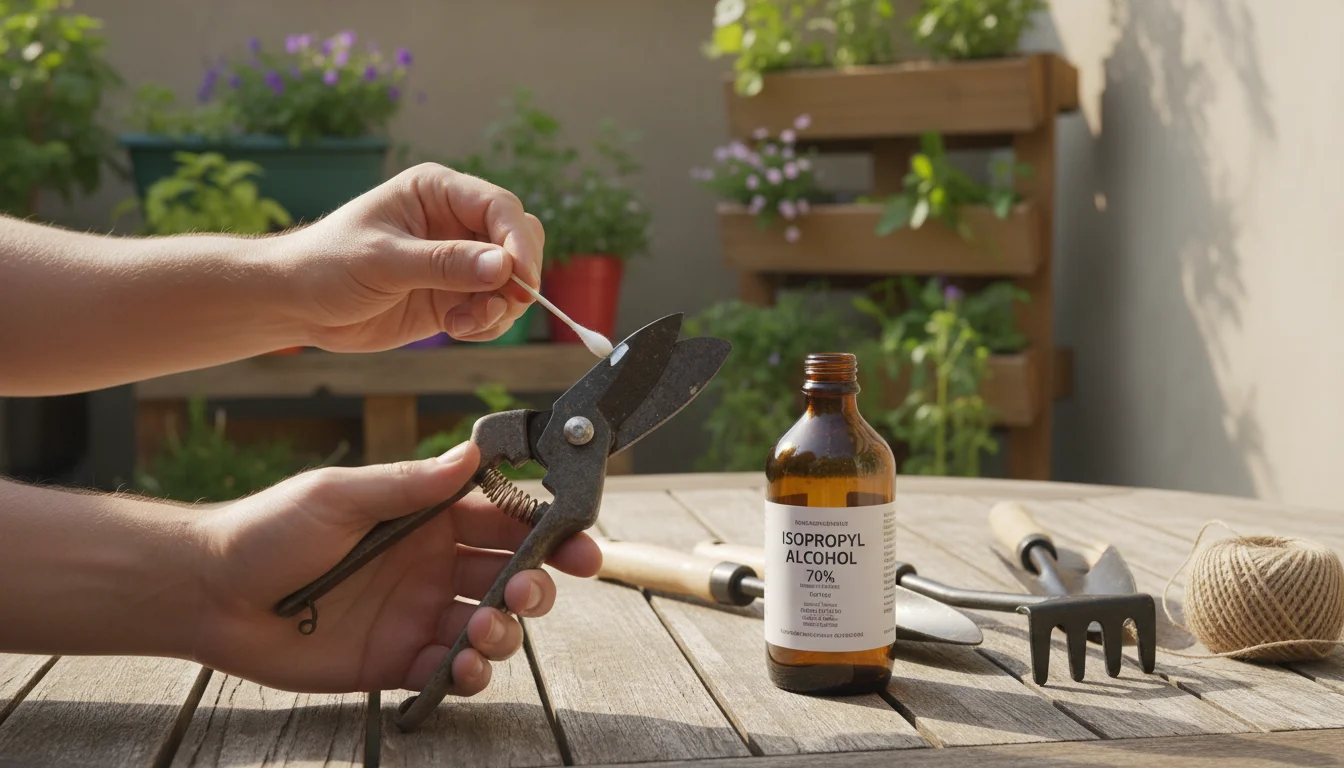
Step 4: Sterilize Blades
Sterilizing your blades is a crucial step that prevents the spread of plant diseases from one plant to another. When you prune a diseased plant and then use the same tool on a healthy one, you risk transmitting pathogens. Dip a clean cloth or cotton swab in rubbing alcohol (70% or higher isopropyl alcohol) or a 10% bleach solution (1 part bleach to 9 parts water). Thoroughly wipe down all cutting surfaces of your pruners, snips, and any bladed tool that contacts plant tissue. Let the alcohol evaporate completely, or if using bleach, rinse the tool thoroughly and dry it immediately to prevent corrosion. This simple act significantly reduces the chance of fungal, bacterial, or viral disease transmission in your garden next season.
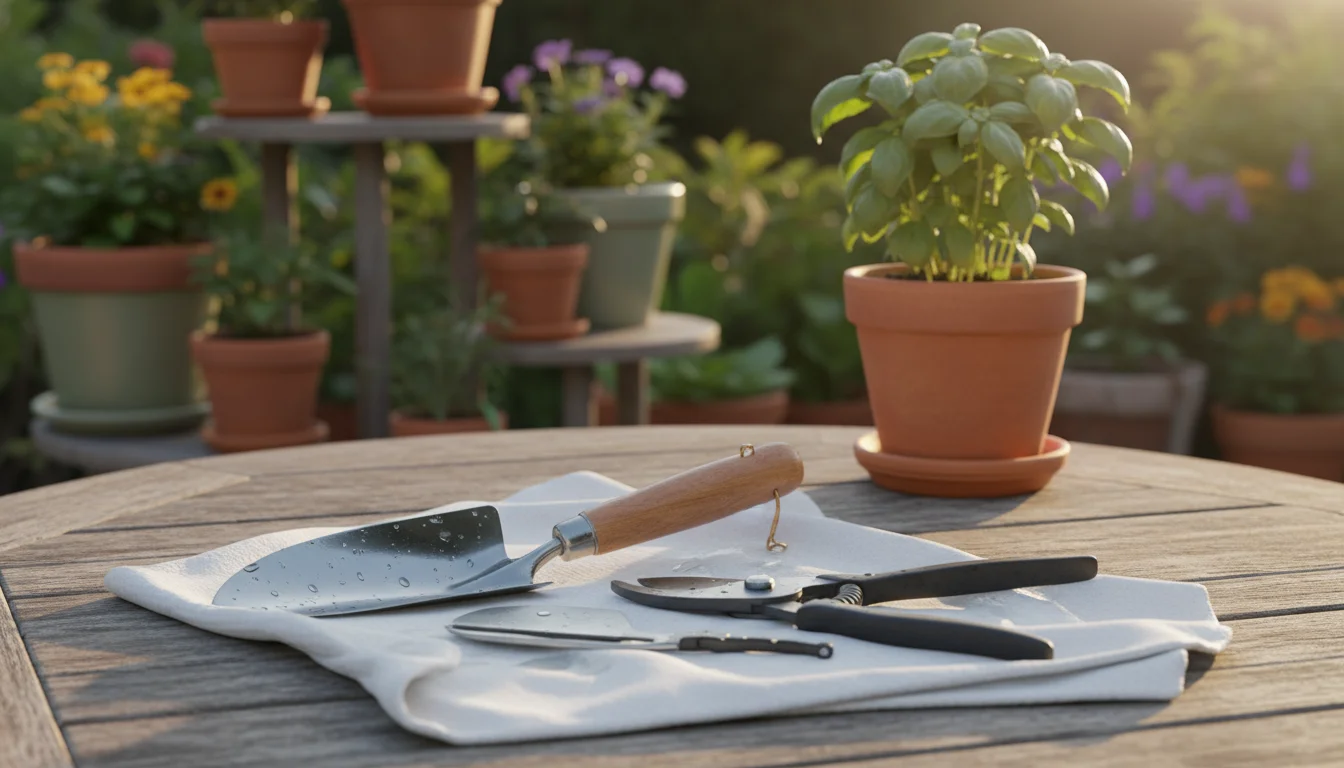
Step 5: Thorough Drying
This is a critical step for `preparing gardening tools for winter storage`. Any residual moisture, even tiny droplets, encourages rust formation during the storage period. Use clean, absorbent, dry rags to meticulously wipe down every single part of your tools. For tools with moving parts, like pruners, open and close them several times while wiping to ensure all moisture evaporates from hinges, springs, and pivot points. You can also leave them out in a dry, warm spot, such as indoors or in a sunny garage, for a few hours to air-dry completely before moving to the final protection step. If you live in a humid environment, consider using a fan or even a hairdryer on a low, cool setting to ensure absolute dryness. This thoroughness forms the cornerstone of effective `garden tool maintenance`.
Sharpening for Success: Keeping Your Blades Keen
A sharp tool is a safe tool. It requires less force to operate, reducing strain on your hands and wrists, and makes clean cuts that promote plant health. Dull blades tear and crush plant tissue, leading to stress and potential entry points for diseases. This section focuses on `sharpening hand pruners for beginners`, but the principles apply to other bladed tools as well, ensuring your tools are always ready to perform their best.
Understanding Your Sharpening Stone
Most sharpening stones, also known as whetstones, have two sides: a coarse grit for removing nicks, reshaping the edge, and quickly removing metal, and a fine grit for refining and polishing the edge to razor sharpness. Always apply a few drops of water or honing oil to the stone before sharpening. This lubrication prevents metal particles from clogging the stone’s pores, reduces friction and heat build-up, and helps achieve a smoother, more effective sharpening action. Consistency in lubrication is key to a good edge.
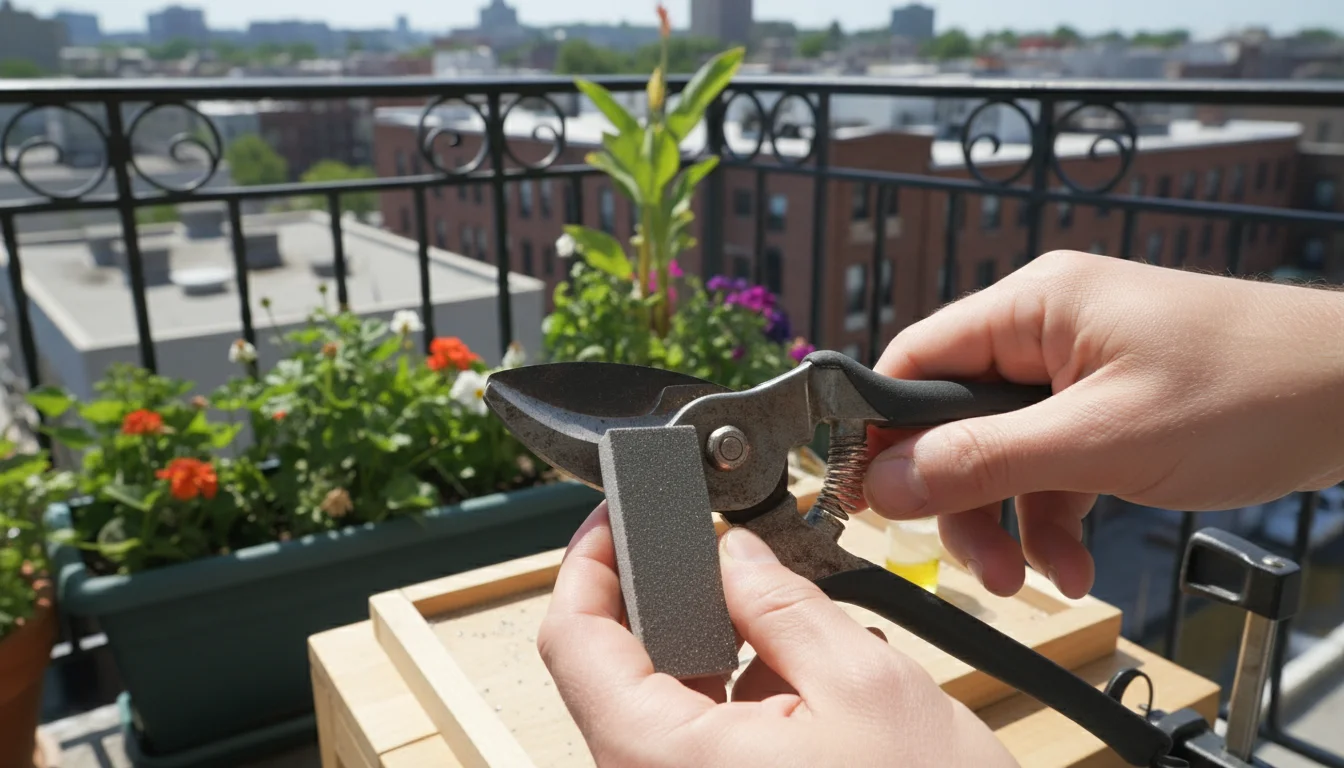
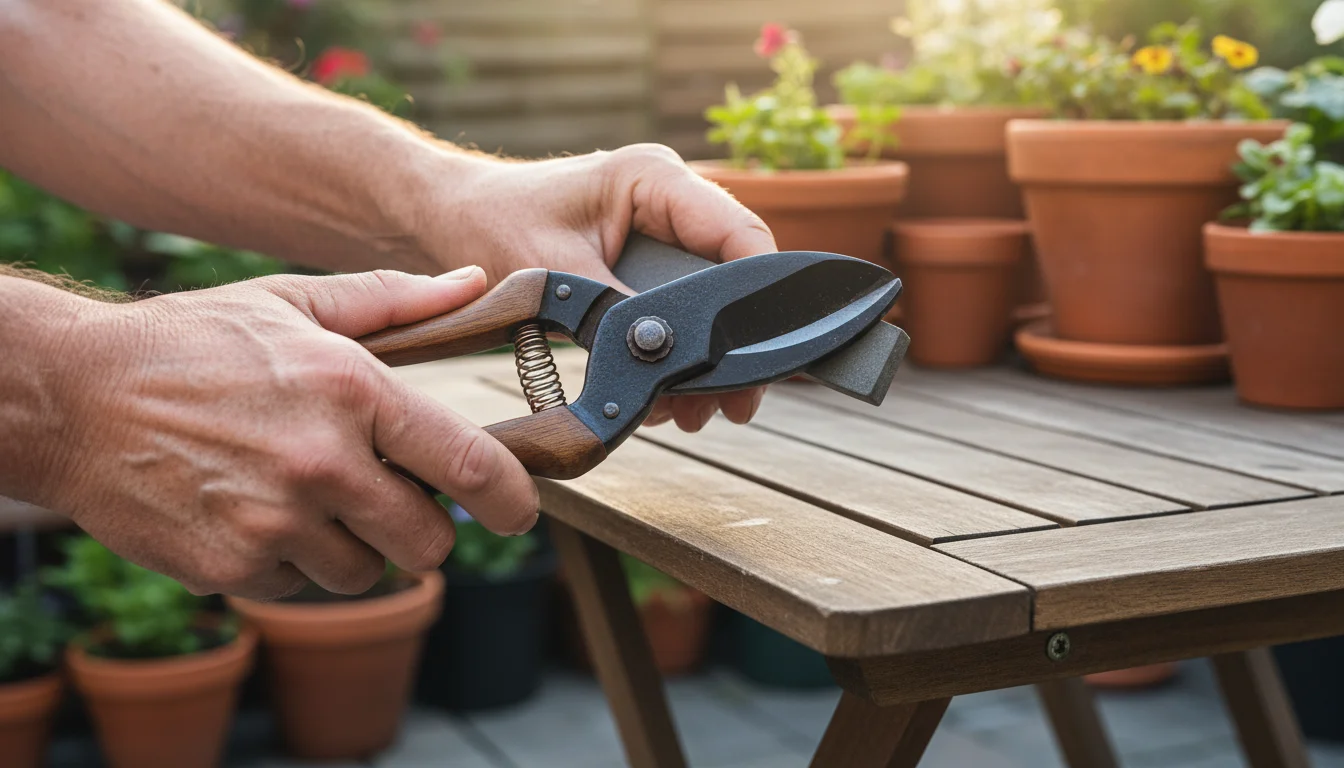
Sharpening Hand Pruners (Bypass Type)
Bypass pruners, common in container gardening, have two blades that slide past each other like scissors. Only one blade, the cutting blade, needs sharpening because it has the beveled edge. The other, the hook blade, provides support and does not have a sharp edge. Keeping your pruners sharp is a vital aspect of `garden tool maintenance`.
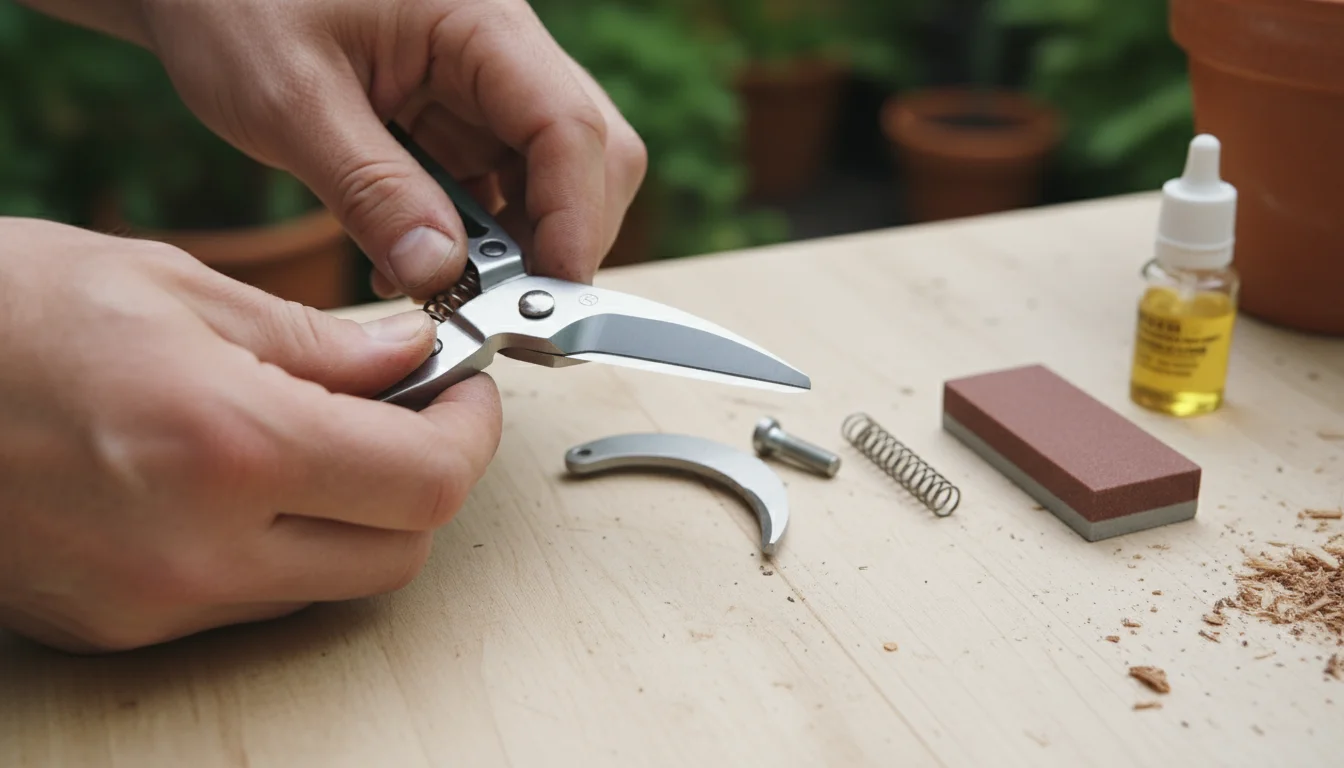
- Disassemble (if possible): For the most thorough and safest sharpening, disassemble your pruners by removing the center bolt. This allows you to work on each blade individually. If you cannot disassemble them, open the blades as wide as possible and secure them to prevent accidental closure.
- Identify the Beveled Edge: The cutting blade has a single bevel, meaning one side is flat, and the other is angled. You only sharpen the beveled side. The flat side should remain flat, with no new bevel created.
- Maintain the Angle: This is the most crucial step. Hold the sharpening stone at the exact same angle as the original bevel of the blade. This angle is often around 20-25 degrees for garden tools. If you change the angle, you change the blade’s geometry, making it less effective or even damaging it. You can mark the bevel with a permanent marker first; if your sharpening strokes remove the marker evenly, you hold the correct angle.
- Sharpening Strokes (Coarse Side): Start with the coarse side of your stone. Place the beveled edge of the blade against the stone, maintaining the consistent angle. Push the blade across the stone in one direction, from the pivot point to the tip, using firm, even pressure. Imagine you are trying to slice a thin layer off the stone. Repeat this 10-15 times, or until you feel a slight burr (a tiny, almost imperceptible lip of metal) forming along the entire length of the flat side of the blade. The burr indicates you have removed enough metal to create a new, sharp edge.
- Refine the Edge (Fine Side): Flip the stone to the fine grit side. Repeat the sharpening strokes on the beveled edge, using lighter pressure. This step polishes the edge, removing any microscopic imperfections left by the coarser grit and achieving a truly keen edge. Perform 5-10 strokes.
- Remove the Burr: On the flat, non-beveled side of the blade, lay the sharpening stone completely flat against the surface. With one or two very gentle strokes, push the blade across the stone. This action removes the burr you created, leaving a clean, sharp edge. Do not apply pressure or try to create a new bevel on this side.
- Reassemble and Test: Reassemble your pruners if you took them apart. Test their sharpness on a piece of paper or a small twig. A truly sharp pruner should slice through paper cleanly and effortlessly, without tearing. If it snags, repeat the refining and burr removal steps.
Sharpening Trowels, Hand Cultivators, and Weeding Hoes
While these tools do not require the razor sharpness of pruners, a sharpened edge significantly improves their efficiency in the soil. A dull trowel pushes soil rather than slices it, making digging harder.
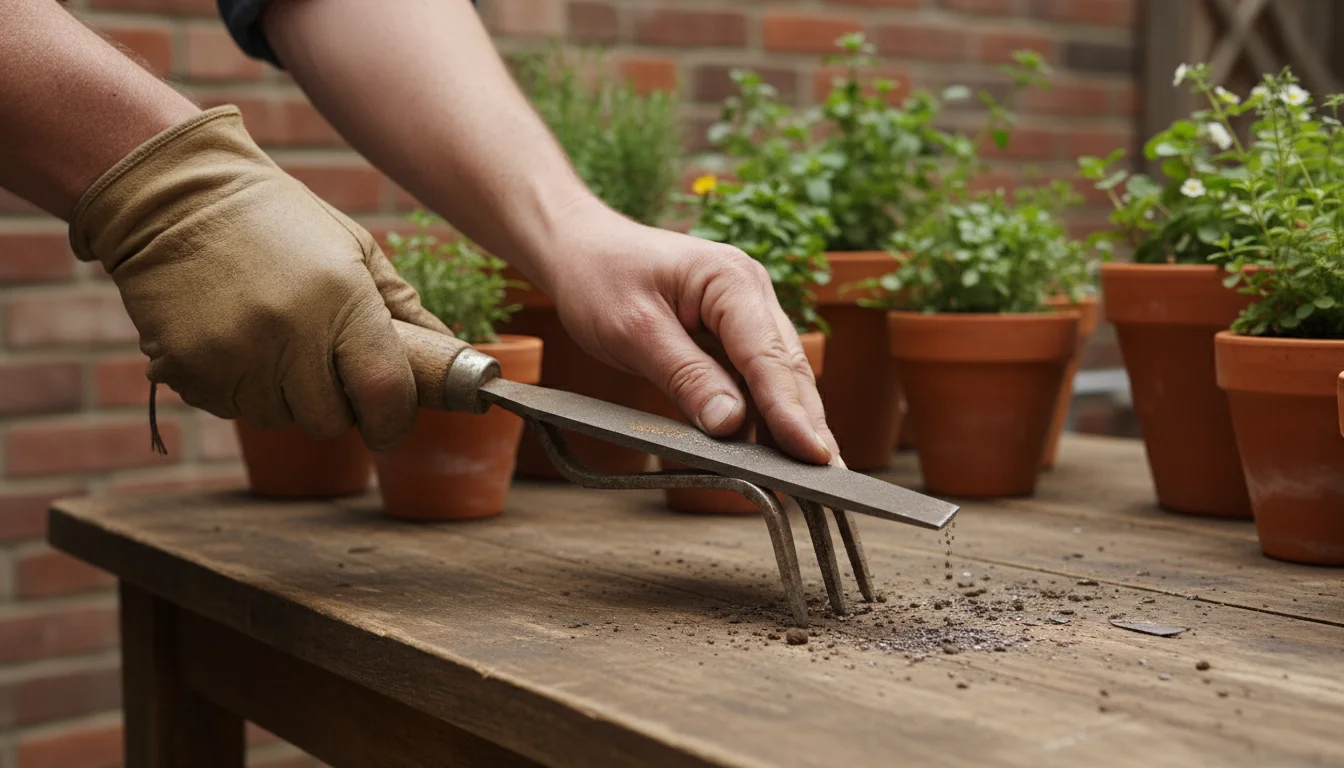
- Identify the Edge: Most trowels and hand hoes have a single bevel on their leading edge. You only sharpen this beveled side.
- Use a Flat File or Coarse Stone: Use a flat file or the coarse side of your sharpening stone. Hold the tool securely.
- Maintain Angle and File: Place the file or stone against the beveled edge, matching the original angle. Push the file away from you along the edge in smooth, consistent strokes. Repeat until the edge feels sharper and any nicks are removed. For cultivators, address each tine individually if it has a discernible edge.
- Smooth (Optional): For a smoother edge, you can finish with the fine side of a sharpening stone using lighter strokes.
Regular sharpening as part of your `garden tool maintenance` routine ensures your tools perform optimally and reduces the effort you need to expend in the garden. This small investment of time pays significant dividends in tool longevity and gardening enjoyment, making `fall garden tasks` productive and rewarding.
Rust Prevention and Lubrication: Protecting Your Investment
After cleaning and sharpening, the final critical steps involve preventing rust and lubricating moving parts. These actions are paramount for `preparing gardening tools for winter storage` and ensuring their smooth operation next season. Proper rust prevention significantly extends the life of your metal tools, which often represent a considerable investment for even small-space gardeners. Neglecting this stage means your careful cleaning efforts quickly become undone by moisture during storage.
Applying Protective Oil
Once your tools are completely dry, apply a thin coat of oil to all metal surfaces. This creates a protective barrier against humidity and oxygen, the primary drivers of rust.
- Choose Your Oil: You have several effective options.
- Mineral Oil: A common, non-toxic choice, readily available, and safe for tools used with edible plants. It forms a good protective layer.
- Boiled Linseed Oil: Provides excellent protection and a nice finish, particularly for tools you want to handle frequently. It polymerizes (dries) over time, creating a harder, more durable protective layer. Ensure you use “boiled” linseed oil, as raw linseed oil takes a very long time to dry.
- Light Machine Oil (e.g., 3-in-One oil): A reliable option for general lubrication and rust prevention, especially for moving parts.
- Vegetable Oil (e.g., canola, olive oil): A readily available, biodegradable, and non-toxic alternative, especially suitable for tools used near food. While effective, it can sometimes become a bit sticky over very long storage periods, so consider reapplying mid-winter if storage is extended.
- Penetrating Oil (e.g., WD-40): Excellent for freeing stiff parts and cleaning, but for long-term rust protection, a dedicated machine oil or mineral oil provides a more durable barrier.
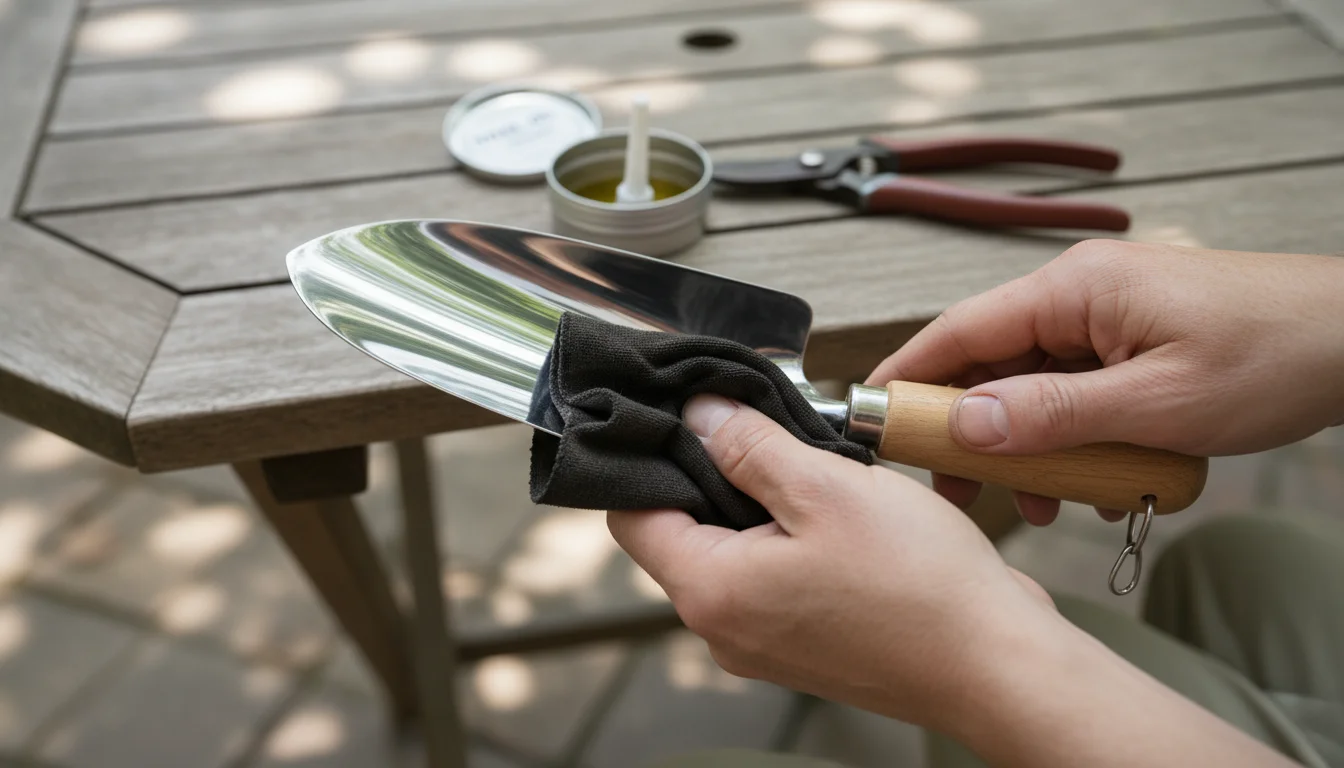
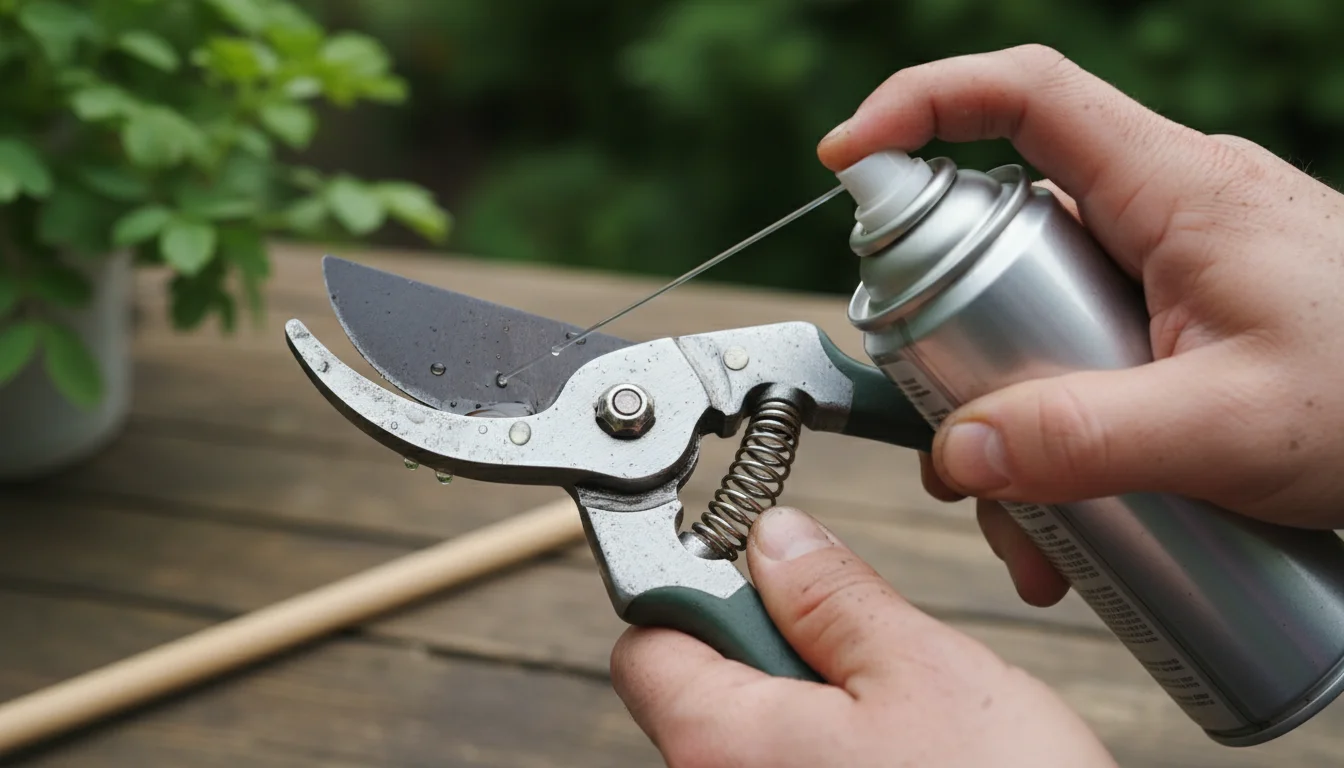
- Application Method: Apply a few drops of your chosen oil onto a clean, soft rag. Wipe down all metal parts of your tools, ensuring an even, thin coating over the entire surface. For tools with springs and hinges, like pruners or loppers, apply a drop of oil directly to the pivot points, springs, and any other moving mechanisms. Open and close the tool several times to work the oil deep into the mechanism, ensuring complete coverage and smooth operation.
- Wipe Excess: Use a separate, clean, dry rag to meticulously wipe off any excess oil. You want a fine, protective film, not a greasy residue that attracts dust, dirt, or can transfer to your hands or storage surfaces. A light sheen is sufficient for protection.
This oil layer acts as a barrier against moisture, effectively preventing rust during the damp winter months. This is a fundamental aspect of effective `garden tool maintenance` and prolongs the functional life of your tools significantly.
Conditioning Wooden Handles
If your tools feature wooden handles, they also benefit immensely from conditioning. Wooden handles can dry out, crack, splinter, and become uncomfortable to grip over time, especially if exposed to sun and rain. Proper conditioning preserves their integrity and feel.
- Clean Handles: Ensure wooden handles are thoroughly clean and completely dry. Use a brush to remove any lingering dirt, and if necessary, a fine-grit sandpaper (220-grit) to smooth out any rough spots or small splinters.
- Apply Linseed Oil: Apply a generous amount of boiled linseed oil (or tung oil, another excellent choice) to the wooden handles with a clean cloth. Rub it in well, ensuring the wood saturates evenly. Allow it to soak in for 15-30 minutes, or longer for very dry wood. The oil penetrates the wood fibers, nourishing them from within.
- Wipe Off Excess: After the soaking period, use a fresh, clean cloth to wipe off any excess oil completely. You do not want a sticky residue. Repeat this process yearly as part of your `fall garden tasks`, or more often if the wood appears dry, faded, or starts to feel rough. This treatment preserves the wood, restoring its natural luster and strength, and improves your grip, making the tool more comfortable to use.
Treating wooden handles not only preserves their appearance but also improves your grip and the overall longevity of the tool. Remember that rags used with linseed oil can spontaneously combust, so always lay them flat to dry completely outdoors before disposal, or soak them in water.
Smart Storage Solutions for Your Container Gardening Tools
Proper storage proves just as vital as cleaning and oiling for `preparing gardening tools for winter storage`. Even the most meticulously cleaned tools can suffer damage if stored incorrectly. For small-space gardeners, efficient storage also means maximizing every inch of available space. You need solutions that are practical, protect your tools from the elements, and keep them accessible when needed for those unexpected mild winter days or early spring planting.
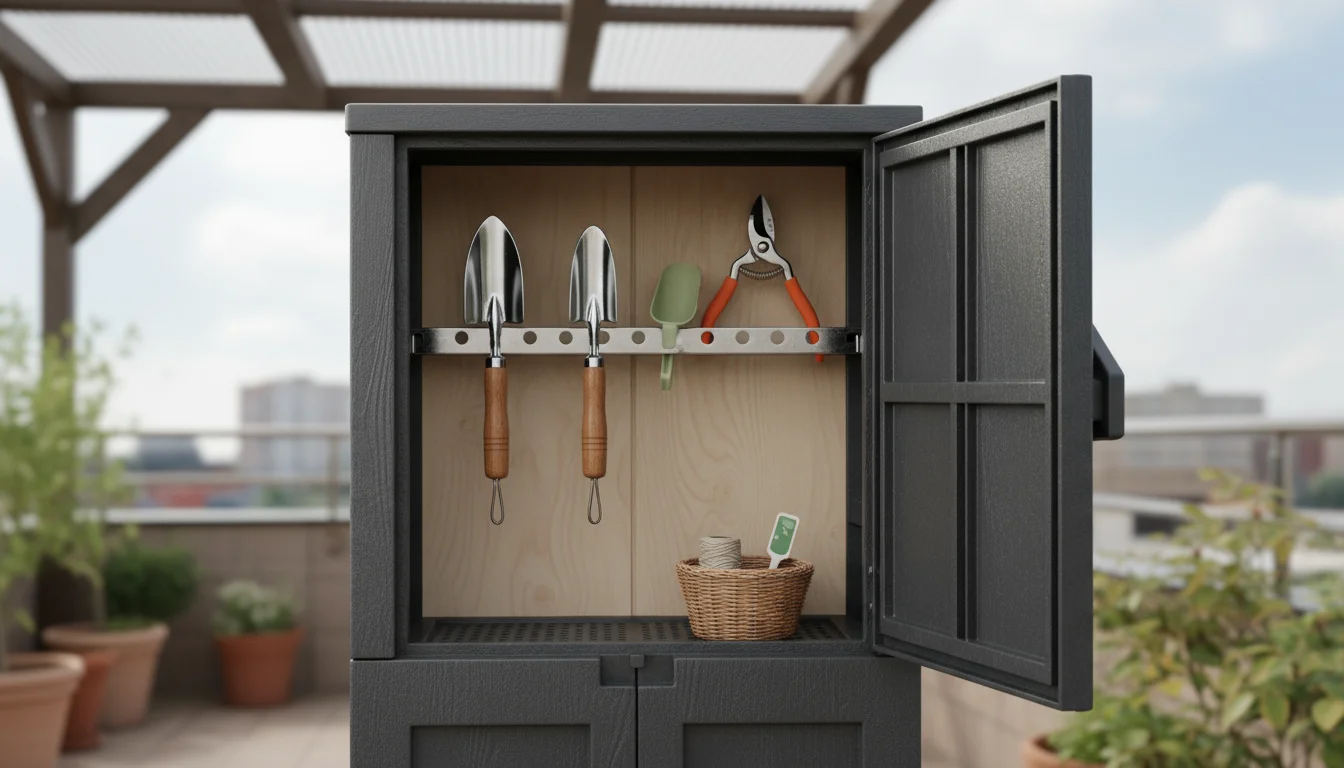
The Ideal Storage Environment
Regardless of your chosen storage method, always aim for a dry, well-ventilated, and protected environment. An unheated shed, garage, utility closet, or even a covered balcony storage cabinet is often suitable, provided it stays dry and is not prone to extreme temperature fluctuations or condensation. Avoid storing tools outdoors, exposed to the elements (rain, snow, direct sun), or in damp basements, as this negates all your cleaning and rust-prevention efforts and accelerates rust and wood degradation. Consistent dryness is more critical than a specific temperature for tool preservation.
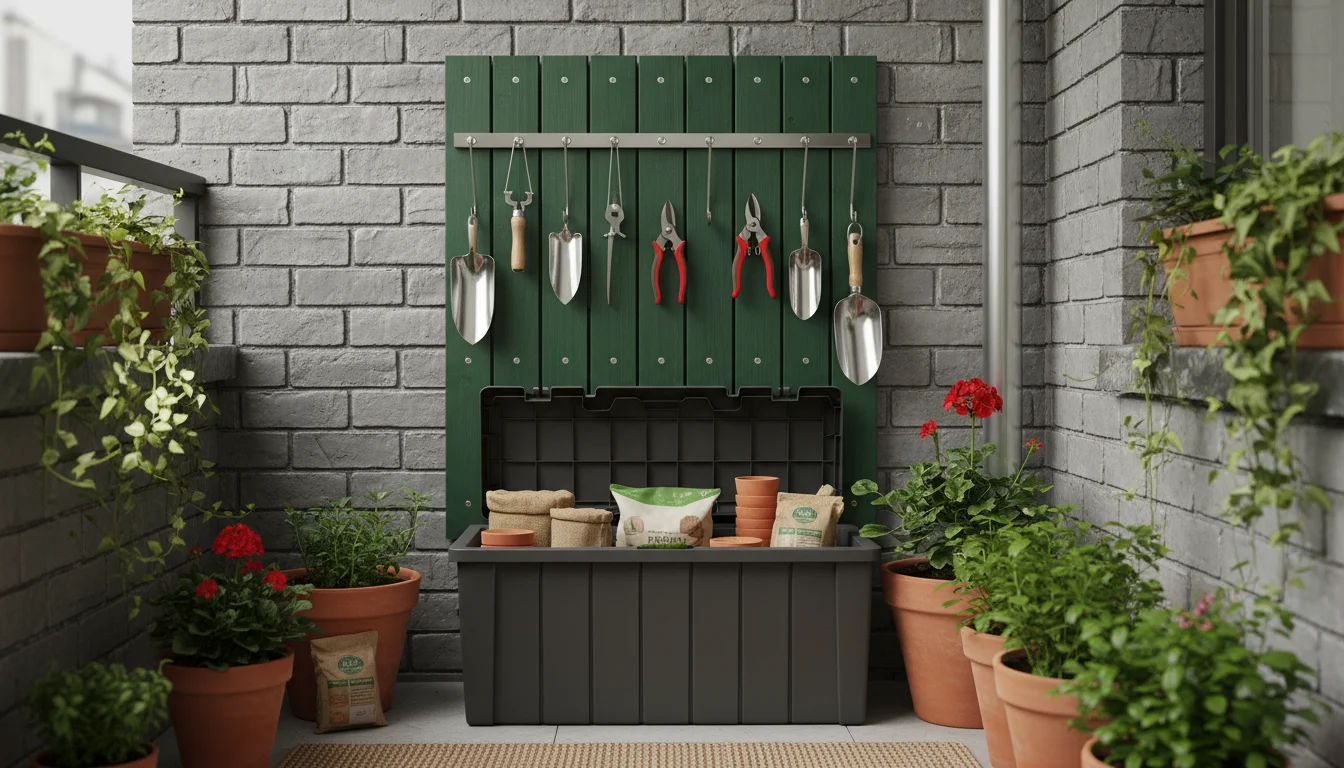
Small-Space Storage Ideas
Limited space requires creative thinking. Here are several effective solutions for `storing garden tools` in a small footprint, offering both protection and accessibility:
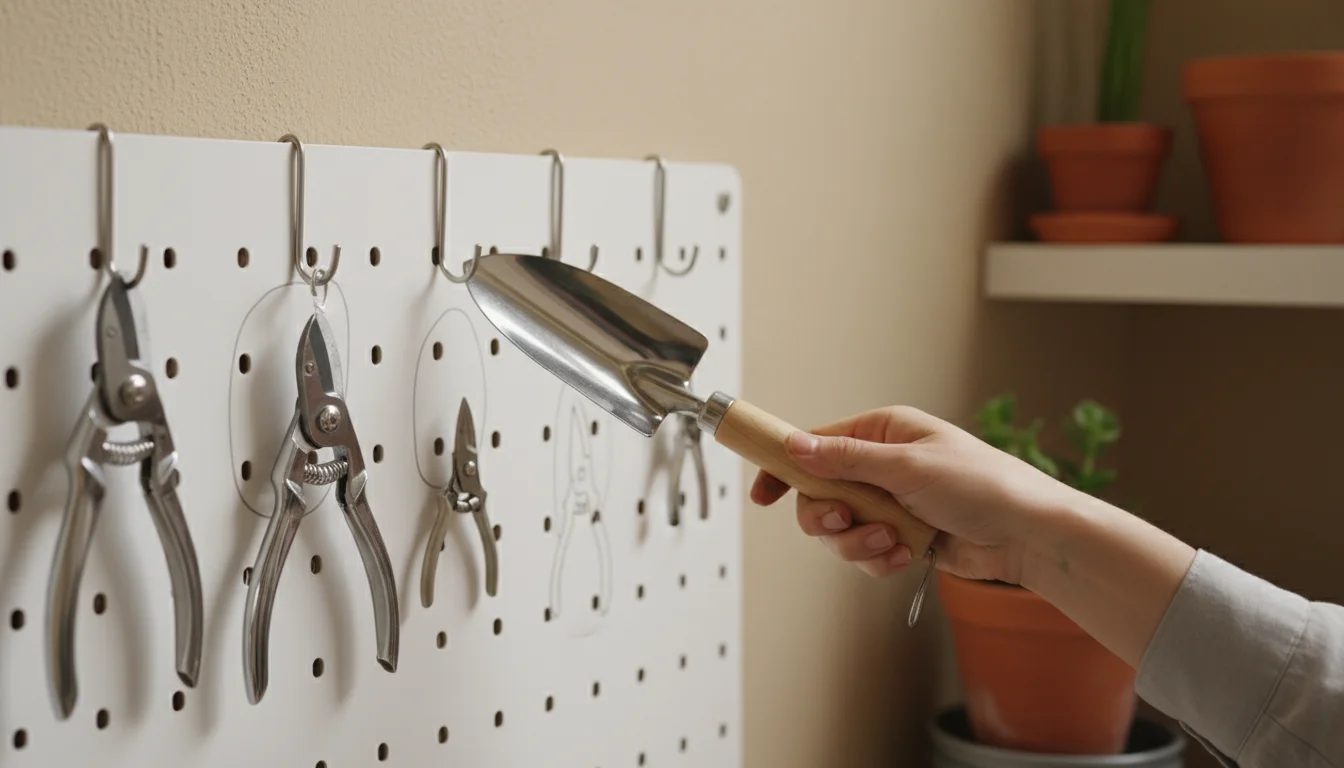
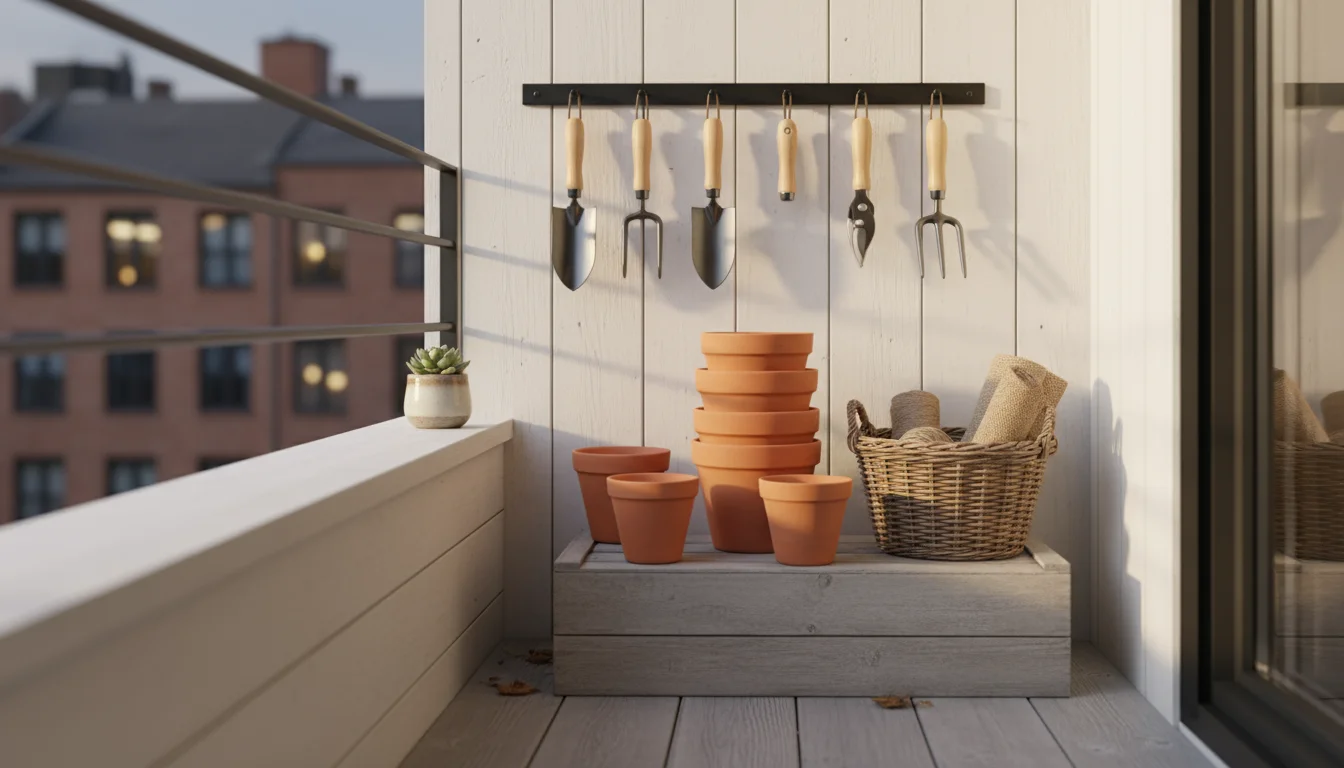
- Wall-Mounted Organizers: Pegboards or slatted tool racks are excellent for vertical storage. They allow you to hang trowels, hand cultivators, pruners, snips, and other small tools, keeping them off the floor and visible. This approach maximizes vertical space, which is often underutilized on balconies, in small sheds, or even inside a narrow utility closet. Consider outlining where each tool goes on the pegboard for easy return and a tidy appearance. Hooks and clips can be adjusted to fit various tool shapes and sizes.
- Tool Caddies or Buckets: A dedicated gardening tool caddy or a sturdy five-gallon bucket with an organizer insert keeps frequently used hand tools together and portable. You can easily grab the caddy and carry it to your containers, then store it away neatly on a shelf, in a corner, or inside a small cabinet. For longer-term storage, ensure all tools inside the caddy are clean, dry, and oiled to prevent them from rubbing together and potentially damaging each other.
- Clear Plastic Bins with Lids: For tools you use less frequently, delicate items, or those you want to give extra protection from dust and moisture, clear plastic storage bins are ideal. They provide a sealed environment, and because they are clear, you can easily see what is inside without opening every bin. Add a desiccant packet (like silica gel, often found with new electronics or shoes) inside each bin for extra moisture absorption, especially in humid climates. Stackable bins are great for saving space.
- DIY Tool Organizers: Repurpose household items into clever storage solutions. Old mailboxes can be mounted on a wall to hold trowels. PVC pipes, cut to various lengths and mounted vertically on a board, can create custom slots for tools. Wooden crates with custom-built dividers also work well. The key is to create compartments that keep tools from banging against each other, which can damage their sharpened edges or finishes.
- Dedicated Shelf Space or Drawer: Even a small shelf in a closet, a corner of your patio covered by an awning, or a deep utility drawer can become a designated tool station. Combine this with small bins, trays, or even repurposed kitchen drawer organizers to keep items neatly separated and prevent them from rattling around. For drawers, consider lining them with a rubber mat to prevent tools from sliding.
Keep your tools dry, protected, and organized. Implementing smart storage solutions tailored to your space protects your investment, extends tool life, and makes next spring’s gardening season more enjoyable and efficient. This proactive approach to `fall garden tasks` ensures you are ready when the first signs of new growth appear, without the frustration of searching for or refurbishing neglected tools.
Addressing Common Tool Trouble: Troubleshooting Tips
Even with diligent care, issues can arise with your gardening tools. Knowing how to troubleshoot common problems helps you maintain your equipment longer and avoid premature replacements. This section covers what to do when your tools are not performing as expected, ensuring your `garden tool maintenance` efforts are effective and truly extend the life of your valuable equipment.
Stubborn Rust That Won’t Budge
If you encounter rust that resists steel wool and sandpaper, more intensive methods might be necessary. Address significant rust promptly, as it can weaken metal, especially on thin blades.
- Vinegar Soak: For heavily rusted metal tools (ensure they do not have wooden or delicate plastic handles that could be damaged), soak them in white vinegar overnight. The acetic acid in vinegar reacts with and helps dissolve rust. After soaking, vigorously scrub the tools with a wire brush or coarse steel wool. Rinse thoroughly under clean water to remove all vinegar residue, then dry immediately and completely to prevent new rust from forming. Follow up with oiling.
- Oxalic Acid or Rust Removers: Commercial rust removers, often containing oxalic acid, are very effective for severe rust. These products are available at hardware stores. Always follow the manufacturer’s instructions carefully, working in a well-ventilated area and wearing appropriate personal protective equipment, including gloves and eye protection. These chemicals can be potent.
- Electrolysis (Advanced): For valuable or antique tools, or those with intricate details, electrolysis offers a non-abrasive rust removal method that does not remove any good metal. This involves creating a simple setup with a battery charger, water, washing soda, and a sacrificial anode. This is a more advanced technique and requires careful research, safety precautions, and a clear understanding of the process before attempting.
Stiff or Sticky Pruners
If your bypass pruners or loppers feel stiff, squeaky, or sticky even after thorough cleaning and oiling, the issue might be dried sap deep within the pivot mechanism, a misaligned blade, or a slightly bent spring. Smooth operation is essential for clean cuts and reducing hand fatigue.
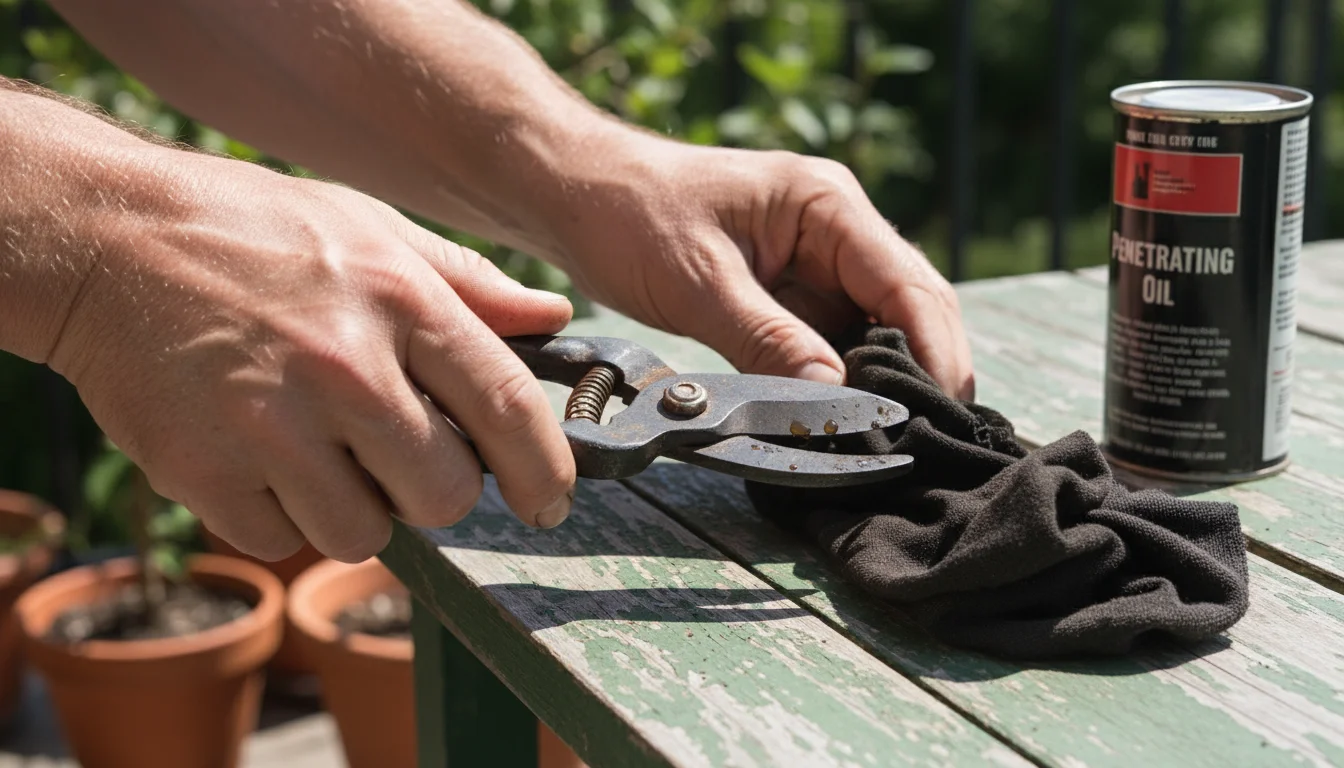
- Deep Cleaning with Penetrating Oil: Apply a generous amount of penetrating oil (like WD-40, or a specific tool lubricant) directly into the pivot point and any visible springs or moving parts. Open and close the pruners repeatedly to work the oil into the mechanism. Allow the oil to sit for 5-10 minutes to penetrate and dissolve any hidden grime. Then, wipe away any dislodged gunk. Repeat if necessary until movement becomes smooth.
- Check the Spring: If your pruners have a spring-loaded mechanism, ensure the spring is not bent, corroded, or dislodged. A light application of oil on the spring can improve its function. If the spring is broken or severely damaged, some manufacturers offer replacement parts, which is a more sustainable option than replacing the entire tool.
- Blade Alignment and Tension: Sometimes, the screw or bolt holding the blades together can be too tight or too loose, affecting alignment and causing stiffness or wobble. Carefully adjust it slightly (usually a quarter turn at a time) using the appropriate wrench or screwdriver. Test the action after each small adjustment. You want a firm, smooth closure without excessive friction or lateral blade movement.
Damaged Wooden Handles
Cracked, splintered, or broken wooden handles are not just uncomfortable; they are dangerous, as they can lead to loss of grip or tool failure during use. Address these promptly.
- Sanding and Oiling (Minor Damage): For minor splinters, rough patches, or faded wood, use fine-grit sandpaper (220-400 grit) to smooth the wood. Then, apply several coats of boiled linseed oil to recondition and protect the handle, as detailed in the rust prevention section. This revitalizes the wood and prevents further deterioration.
- Epoxy Repair (Small Cracks): For small, stable cracks in solid wooden handles, a wood-specific epoxy adhesive can fill and reinforce the handle. Clean the crack thoroughly, apply the epoxy, and clamp the handle tightly while the epoxy cures according to product instructions. This can effectively seal and strengthen the handle, preventing the crack from spreading.
- Replacement (Severe Damage): For severely damaged, broken, or extensively splintered handles, replacement is the safest option. Continuing to use a tool with a compromised handle risks injury. Many tool manufacturers sell replacement handles for their products. Universal replacement handles are also available at hardware stores. Replacing a handle allows you to retain a good quality tool head, which is both economical and sustainable.
By proactively addressing these common tool troubles, you safeguard your investment and keep your `fall garden tasks` efficient and enjoyable. Remember, a little attention to detail keeps your tools ready for every gardening challenge, minimizing waste and maximizing their utility.
Extending Your Tool’s Lifespan: A Sustainable Approach
Embracing a sustainable approach in your container gardening extends beyond plant choices and soil practices. It includes how you care for and manage your tools. By focusing on longevity and responsible choices, you minimize waste, conserve resources, and ultimately save money. This aligns perfectly with the ethos of SimpleGardenJoy.com, emphasizing practical, eco-conscious gardening, even for `fall garden tasks`.
Invest in Quality, Not Quantity
Initially, a higher-quality tool might seem like a larger expense. However, a well-made tool, constructed from durable materials like forged steel, stainless steel, and solid wood, lasts significantly longer than cheaper alternatives made from stamped metal or plastic. These tools withstand the rigors of gardening, hold an edge better after `sharpening hand pruners for beginners`, and are often designed for easier maintenance and repair. Consider this an investment that pays dividends over many years, reducing the need for frequent replacements. For example, a quality pair of bypass pruners from a reputable brand might cost more upfront, but its ability to be sharpened repeatedly, to have its spring replaced, and its sturdy construction make it a far more sustainable and economical choice than several pairs of disposable, flimsy pruners that quickly dull or break. Data consistently shows that products designed for repair and longevity have a lower environmental footprint over their lifetime.
Repair, Don’t Replace
One of the cornerstones of sustainable tool management is the commitment to repair rather than immediate replacement. As discussed in the troubleshooting section, many common tool issues, from dull blades to stiff hinges or cracked handles, are fixable with a little effort and knowledge. Learning `how to clean rust off garden shears` or effectively sharpening your tools are skills that empower you to maintain your tools for decades. Seek out replacement parts when available, such as new springs for pruners, replacement bolts, or new handles for larger tools. Many manufacturers offer spare parts precisely for this purpose. This mindset significantly reduces demand for new manufacturing, conserves raw materials and energy, and keeps perfectly functional tool heads or components out of landfills, embodying true environmental responsibility.
Responsible Disposal
Even with the best care, tools eventually reach the end of their useful life. When a tool is truly beyond repair, broken beyond functional use, or poses a safety risk, consider its components for responsible disposal. This ensures that valuable materials are reclaimed and hazardous waste is managed correctly.
- Recycle Metal: Many local recycling centers or scrap metal yards accept metal components. Separate metal from plastic, rubber, or wood handles if possible before recycling. Check with your municipal waste management services for guidelines on metal recycling in your area.
- Repurpose: Can a broken tool find new life in a different form? A sturdy trowel head with a broken handle might become part of a garden art project or a unique signpost. A large, broken tool handle could be useful for smaller craft projects or as stakes. Creative repurposing delays landfill disposal and gives an item a second life.
- Donate: Tools still in usable condition, even if not perfect, might be welcomed by community gardens, school gardening programs, tool libraries, or charitable organizations. Often, a tool that is no longer ideal for your needs can be perfectly adequate for someone else who might not have access to new equipment.

Eco-Friendly Cleaning and Lubrication
Choose environmentally friendly cleaning and lubricating agents whenever possible. This not only protects your tools but also minimizes your environmental impact, especially when residues might wash into the soil near your containers.
- Soapy Water: Simple dish soap and water are effective for most general cleaning. Look for biodegradable or plant-based dish soaps.
- Vinegar: White vinegar is a natural, non-toxic rust remover. Its mild acidity works wonders without introducing harsh chemicals.
- Vegetable Oil: For lubricating and rust prevention, vegetable oil (such as canola, sunflower, or recycled cooking oil, as long as it is clean) is a biodegradable and non-toxic alternative to petroleum-based oils. This is particularly important for tools used with edible plants, as it minimizes any potential chemical residue transfer.
- Avoid Harsh Chemicals: Minimize the use of strong chemical cleaners, degreasers, or corrosive rust removers that can be harmful to the environment, soil, and aquatic life if not disposed of properly. If you must use them, always follow safety guidelines and dispose of residues responsibly according to local regulations.
By integrating these sustainable practices into your `garden tool maintenance` routine, you contribute to a healthier planet while ensuring your small garden thrives. Your efforts in `preparing gardening tools for winter storage` become a part of a larger commitment to mindful living and gardening, fostering a more sustainable relationship with your tools and the environment.
Frequently Asked Questions
How often should I clean my gardening tools?
Ideally, perform a quick clean after each use, especially for pruning shears that cut live plants. A simple wipe down with a damp cloth to remove sap and soil, followed by a thorough dry, prevents immediate buildup. Conduct a comprehensive cleaning and sharpening session, like this fall tune-up, at least once a year. If you garden intensely, use your tools frequently, or live in a very humid climate, you might benefit from two thorough cleanings per year, perhaps in late spring and again in fall, to ensure optimal performance and longevity.
Can I use a dishwasher to clean my metal gardening tools?
No, never put metal gardening tools in a dishwasher. The harsh detergents, high water temperatures, and prolonged exposure to moisture in a dishwasher severely damage tools. This combination causes immediate and aggressive rust, dulls blades rapidly, and degrades plastic or wooden handles, leading to cracking, fading, or splintering. Dishwashers also blast off any protective oils you applied. Always hand-wash and meticulously dry your tools for their best longevity and performance.
What is the best way to prevent rust on new tools?
New tools benefit significantly from preventative measures right from the start. Even if they appear oiled from the factory, give them a light coating of a protective oil like mineral oil or boiled linseed oil (for metal parts) before their first use. Crucially, always clean and thoroughly dry your tools immediately after each use. Never put them away dirty or damp. Store them in a dry, protected environment away from direct moisture, extreme temperature fluctuations, and condensation. A thin, consistent layer of oil before long-term storage, as detailed in this guide, provides the best long-term rust protection and ensures your tools remain in pristine condition.
Is it safe to sharpen tools with a grinding wheel?
For most common hand tools like pruners, snips, or trowels, a high-speed grinding wheel is generally too aggressive and generates excessive heat. This heat can damage the temper of the steel blade, making it brittle and more prone to chipping or breaking. Use a sharpening stone, a diamond file, or a specialized tool sharpener, especially for beginners. These methods allow for more control over the sharpening angle and prevent overheating. Grinding wheels are more suitable for heavy-duty tools like axes or shovels by experienced users who understand how to control heat buildup and maintain precise angles.
My tool has a plastic handle. Does it need conditioning?
Plastic handles do not require conditioning or oiling in the same way wooden ones do. However, they still benefit from care. Always clean plastic handles with soapy water and ensure they are dry. Regularly inspect them for signs of cracks, brittleness, or deterioration, especially if the tool is often left in direct sunlight, which can degrade plastics over time. If the plastic becomes significantly brittle or breaks, consider if replacement parts are available from the manufacturer. If not, replace the tool for safety reasons, as a compromised handle can make a tool unsafe to use.
For trustworthy gardening information, visit:
Iowa State University Extension — Yard & Garden,
Washington State University Hortsense,
University of Minnesota Extension,
Penn State Extension — Trees, Lawns and Landscapes and
Clemson University Extension — Home & Garden. These organizations provide expert, research-based advice for gardeners at all levels.
Disclaimer: This article is for informational purposes only and is not a substitute for professional gardening advice. Always consult local extension services or horticulture experts for region-specific guidance.