Follow the Sun: A Practical Guide to ‘Light Mapping’ Your Apartment for Maximum Winter Plant Survival
Learn light mapping to identify the best indoor plant placement and ensure your houseplants thrive with optimal winter sunlight.
Read More →Practical care for houseplants that fit apartment light and schedules. Clear watering cues, repotting steps, pest fixes, and styling ideas using shelves, hangers, and small planters to keep rooms fresh without high effort.
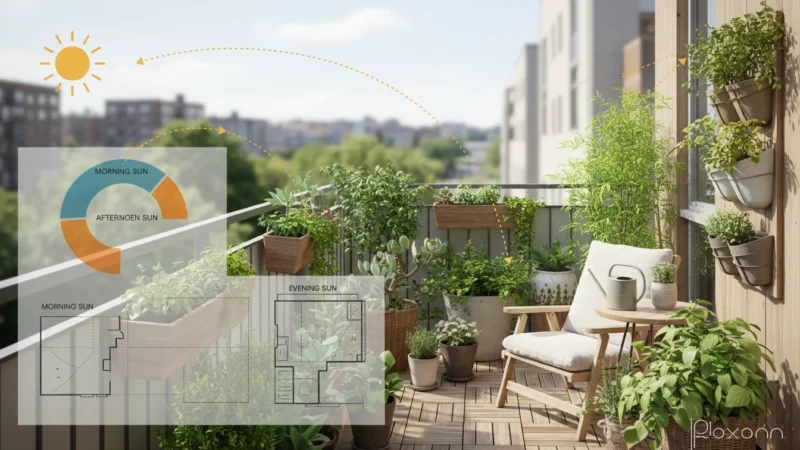
Learn light mapping to identify the best indoor plant placement and ensure your houseplants thrive with optimal winter sunlight.
Read More →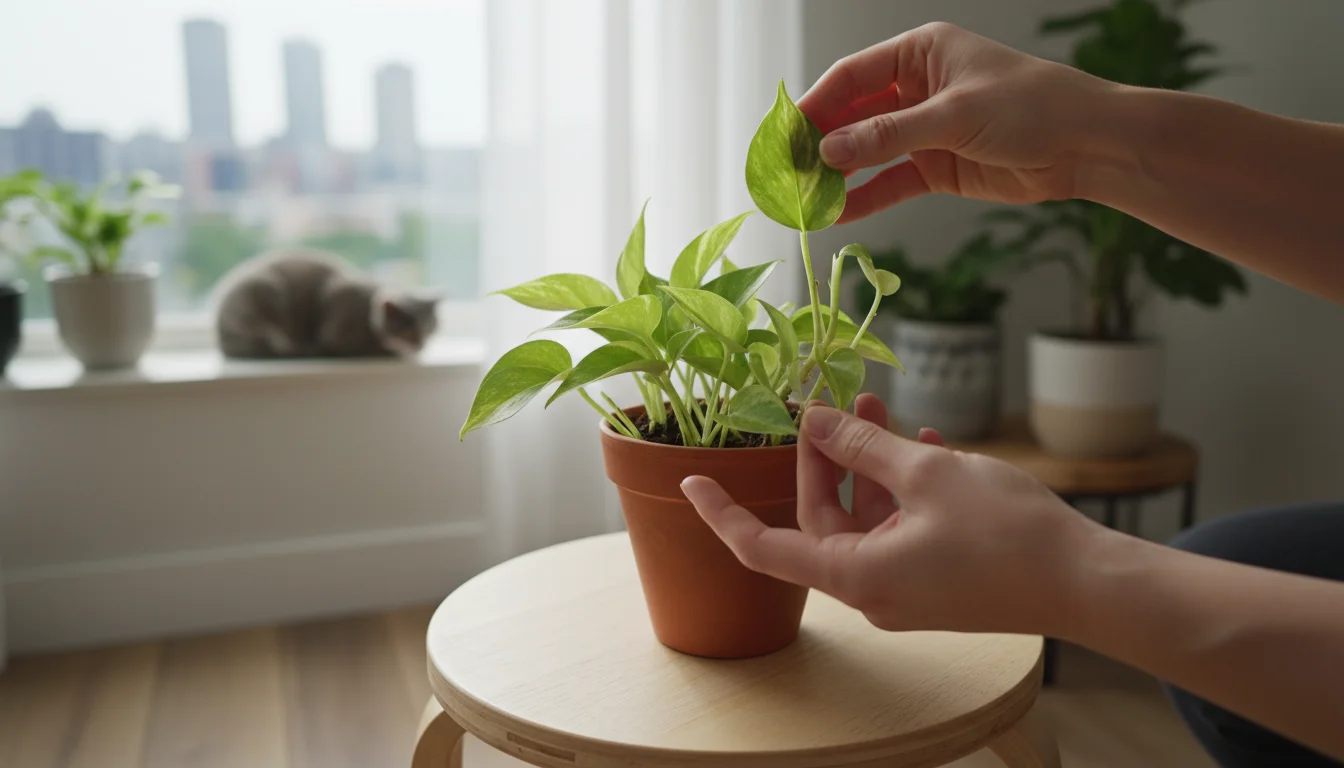
Learn essential steps for quarantining new plants to protect your indoor garden from unwanted houseplant pests like spider mites and…
Read More →
Unlock the secrets to winter houseplant care by learning which indoor plants actively grow and how to properly feed them…
Read More →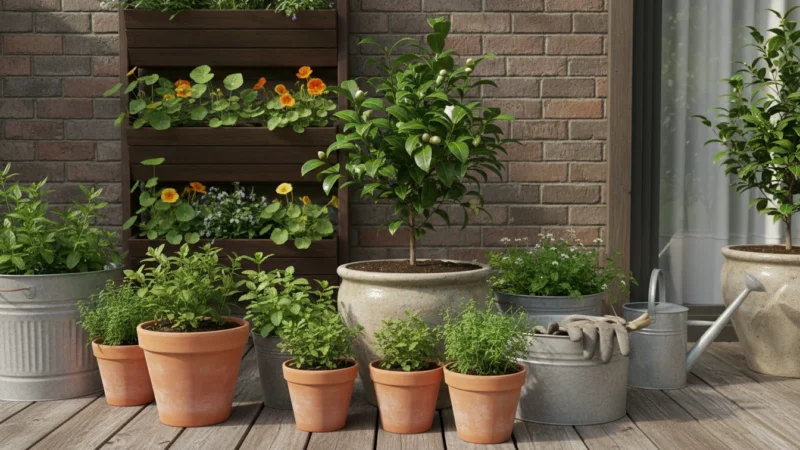
Learn to grow your own Camellia sinensis tea plant indoors in a pot with this comprehensive guide for beginners. Get…
Read More →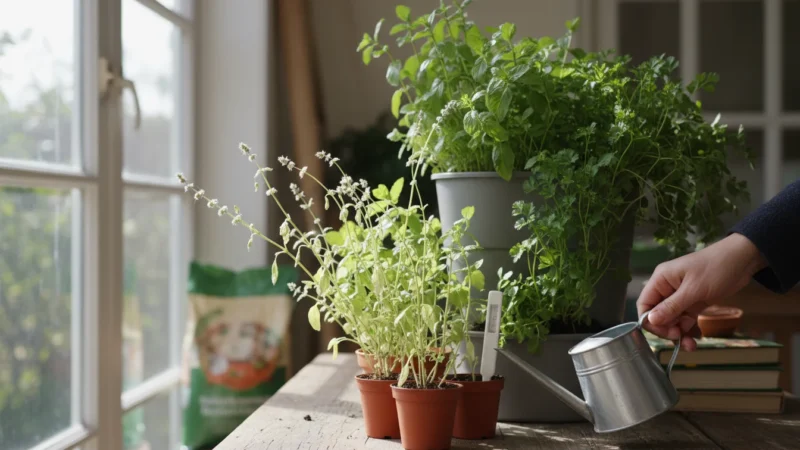
Learn why your indoor herbs are thin and leggy, especially in winter. Get practical tips and steps to fix etiolation…
Read More →
Learn to grow a tropical pineapple from a grocery store top with this zero-waste guide, perfect for small-space indoor gardening.
Read More →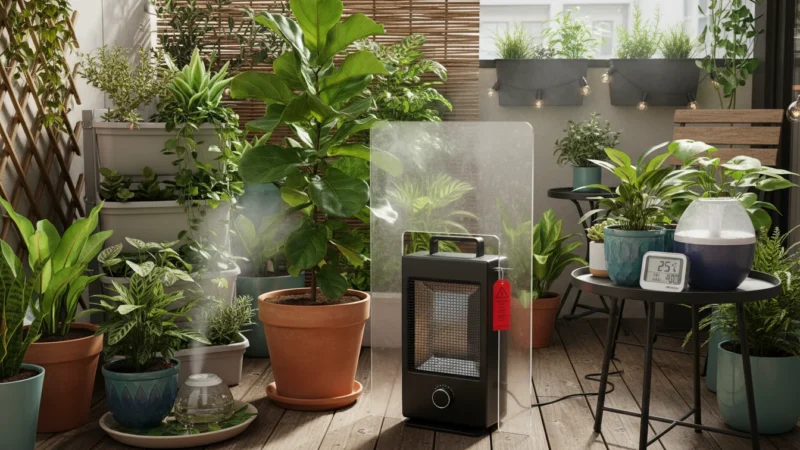
Learn how to protect your houseplants from dry apartment air and heating systems by creating effective microclimates for optimal growth.…
Read More →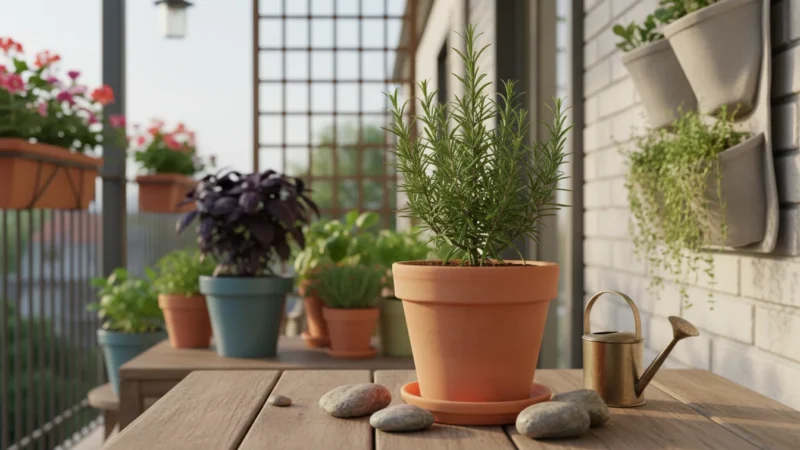
Learn to keep a single potted herb thriving all winter with a minimalist grow light. This guide offers practical tips…
Read More →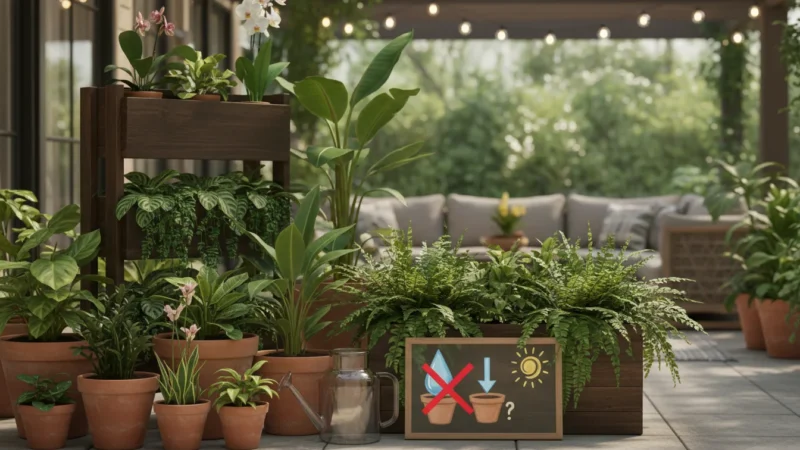
Debunk the ice cube watering myth and learn practical, actionable tips for properly watering your tropical houseplants in winter, even…
Read More →
Learn how to multiply your favorite woody herbs like rosemary and thyme indoors this winter with our step-by-step propagation guide.
Read More →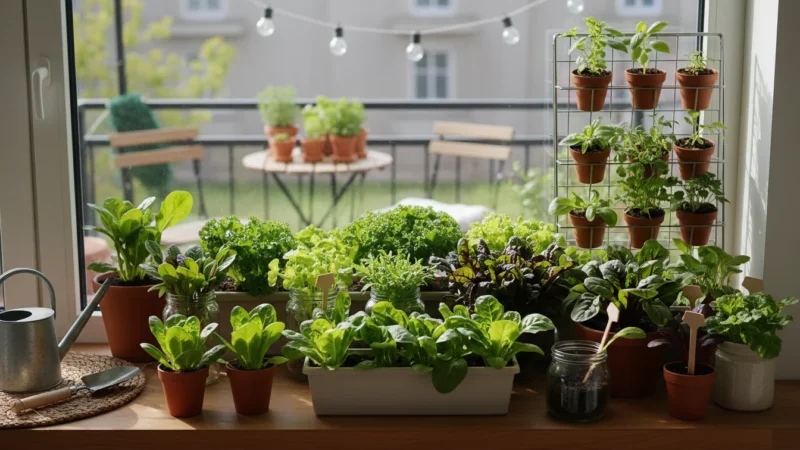
Learn to grow nutrient-dense microgreens indoors all winter with this beginner's guide to creating a productive windowsill salad bar.
Read More →
Learn how grouping houseplants in winter creates a humid microclimate, boosting health and protecting your green friends from dry indoor…
Read More →