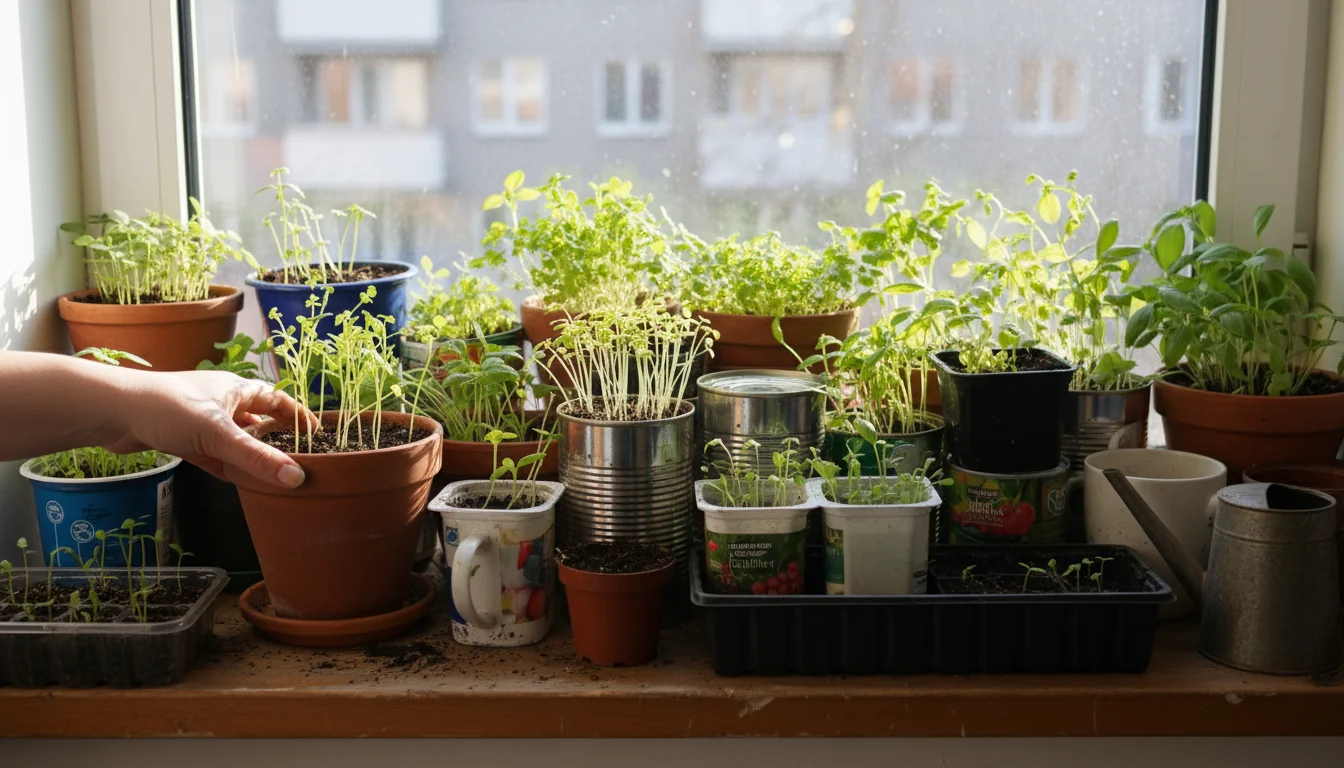
Many small-space gardeners face a common question: what do you do with old potting soil after your plants finish their season? Throwing it away feels wasteful and costly, especially when you maintain multiple containers on a balcony or patio. The good news is that you absolutely can reuse old potting soil, but doing so requires the right approach. Simply dumping new plants into exhausted soil leads to disappointing results. This guide empowers you to transform spent potting mix into a vibrant, life-sustaining medium for your next growing adventure, saving you money and contributing to a more sustainable garden.
For those just starting out, reviewing a beginner’s guide to container gardening can provide a great overview of setting up your patio garden.
Reusing your container soil reduces waste, conserves resources, and cuts down on gardening expenses. We will show you the practical, step-by-step methods for refreshing potting mix, identifying when your soil is a candidate for reuse, and understanding what amendments make it thrive again. Let us turn that old soil into a fertile foundation for new growth.

The Fundamentals of Potting Soil: Why It Matters
Before you begin the process of refreshing your potting mix, understand what potting soil is and why it differs from the dirt in your garden. Potting soil, often called potting mix, is a carefully engineered blend designed to provide an optimal growing environment in containers. It is sterile, lightweight, and offers superior drainage and aeration compared to dense garden soil. These characteristics are crucial for container plants, which do not have the vast root-growing area or the extensive microbial life of an in-ground garden.
If you are short on time, you might prefer a potting soil refresh guide designed for busy gardeners.
What Potting Soil is Made Of
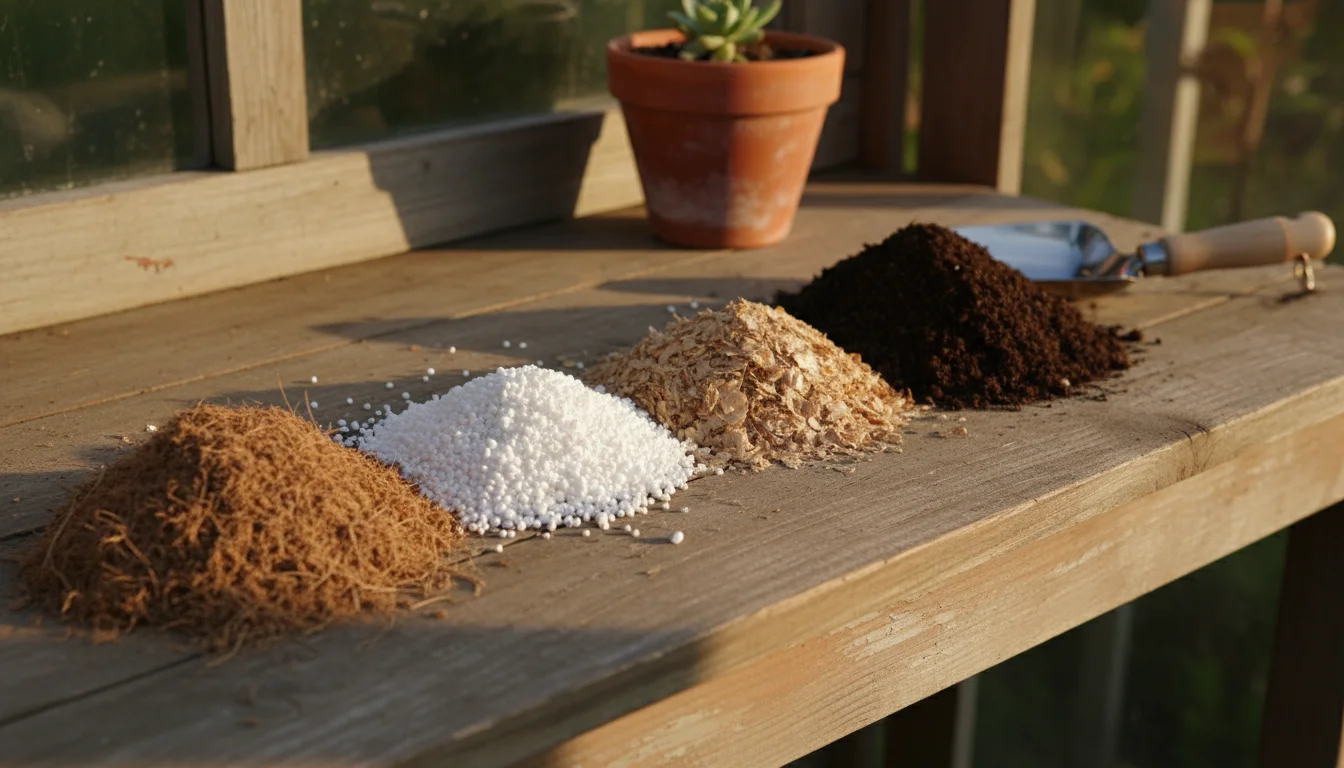
Commercial potting mixes typically contain a combination of ingredients, each serving a specific purpose:
- Peat Moss or Coir: These provide structure, hold moisture, and contribute to the soil’s lightweight nature. Peat moss is harvested from bogs, raising environmental concerns, leading many gardeners to opt for coir, a sustainable byproduct of coconut processing.
- Perlite: White, lightweight volcanic glass pebbles. Perlite improves drainage and aeration by creating small air pockets, preventing compaction and root rot.
- Vermiculite: A mineral that expands when heated. Vermiculite retains moisture and nutrients, releasing them slowly to plant roots. It also improves aeration.
- Compost or Composted Forest Products: These add essential organic matter, providing a slow release of nutrients and supporting beneficial microbial activity.
- Wetting Agents: Some mixes include these to help the soil absorb water evenly, particularly after it has dried out completely.
- Slow-Release Fertilizers: Many commercial mixes come with a starter dose of nutrients to support plant growth for the first few weeks.
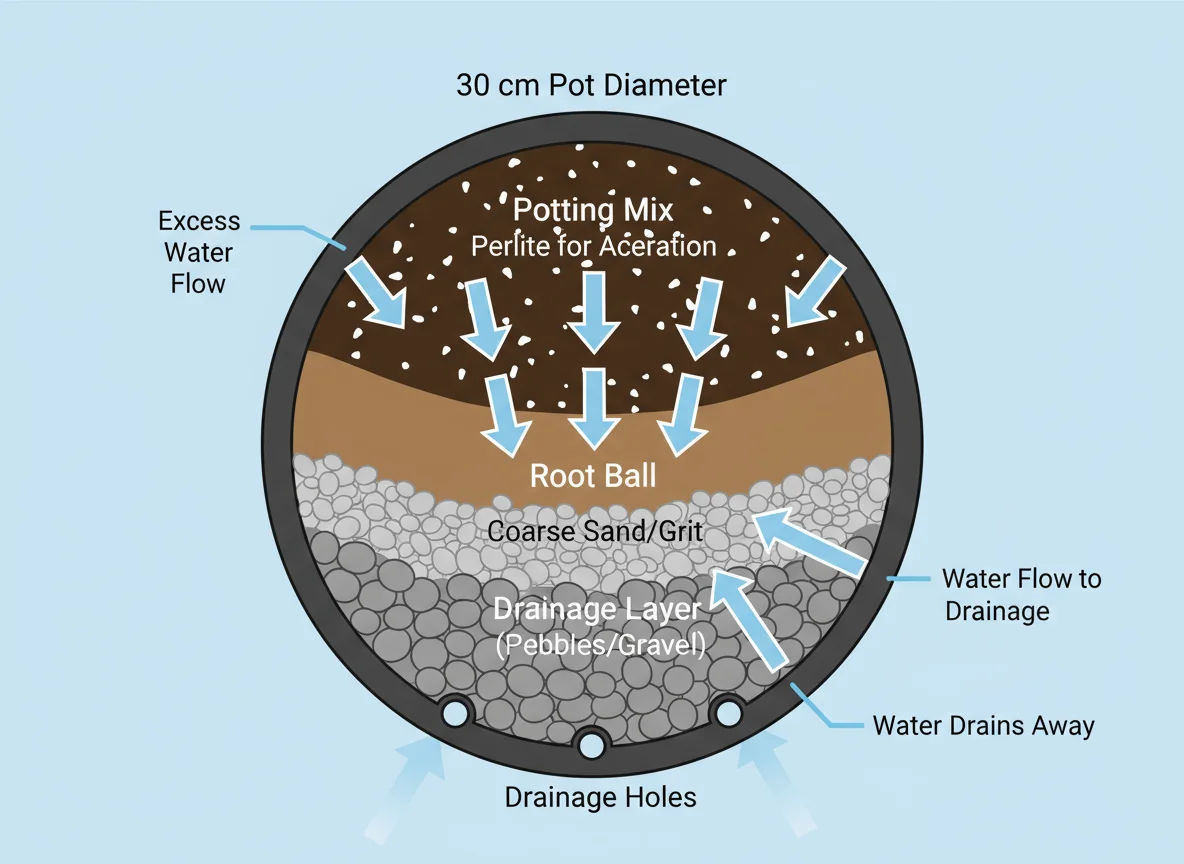
The Importance of Good Drainage and Aeration
In a container, plant roots are confined. They need a consistent supply of oxygen to function properly. Potting mix provides excellent drainage, meaning water moves through it efficiently, preventing the soil from becoming waterlogged. Waterlogging suffocates roots, leading to root rot and plant death. Simultaneously, the porous structure of potting mix allows air to circulate, ensuring roots receive the oxygen they need for respiration and nutrient uptake. Garden soil, when used in containers, often compacts quickly, hindering drainage and aeration, which creates an unhealthy environment for roots.
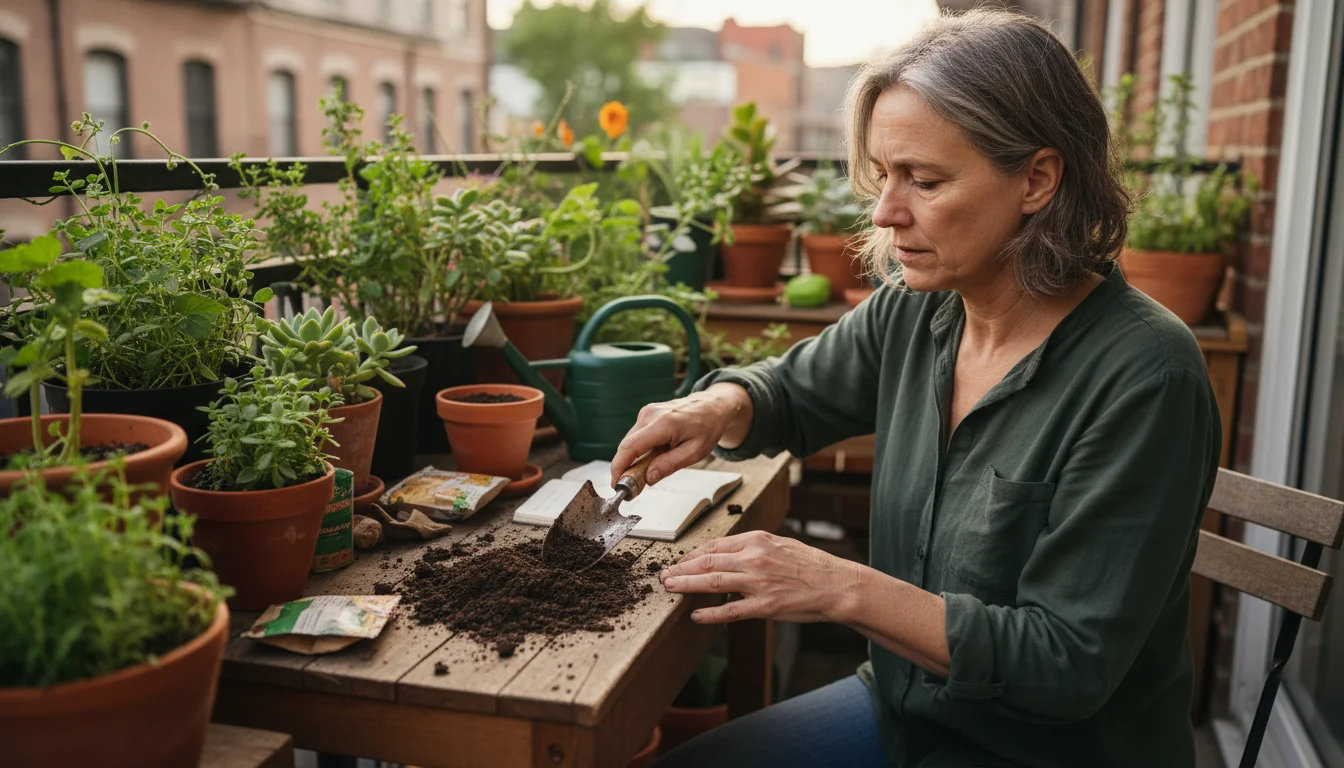
Assessing Your Old Potting Soil: Is It Reusable?
Not all old potting soil is created equal, and knowing when to keep it and when to toss it is the first step in successful reuse. Before you even consider adding amendments, you must thoroughly inspect your spent container soil. This careful assessment helps prevent the spread of diseases or pests and ensures your efforts yield healthy plants.
Before you refill your containers, follow a checklist for empty garden pots to handle last season’s roots properly.
Visual Inspection: Look, Feel, and Smell
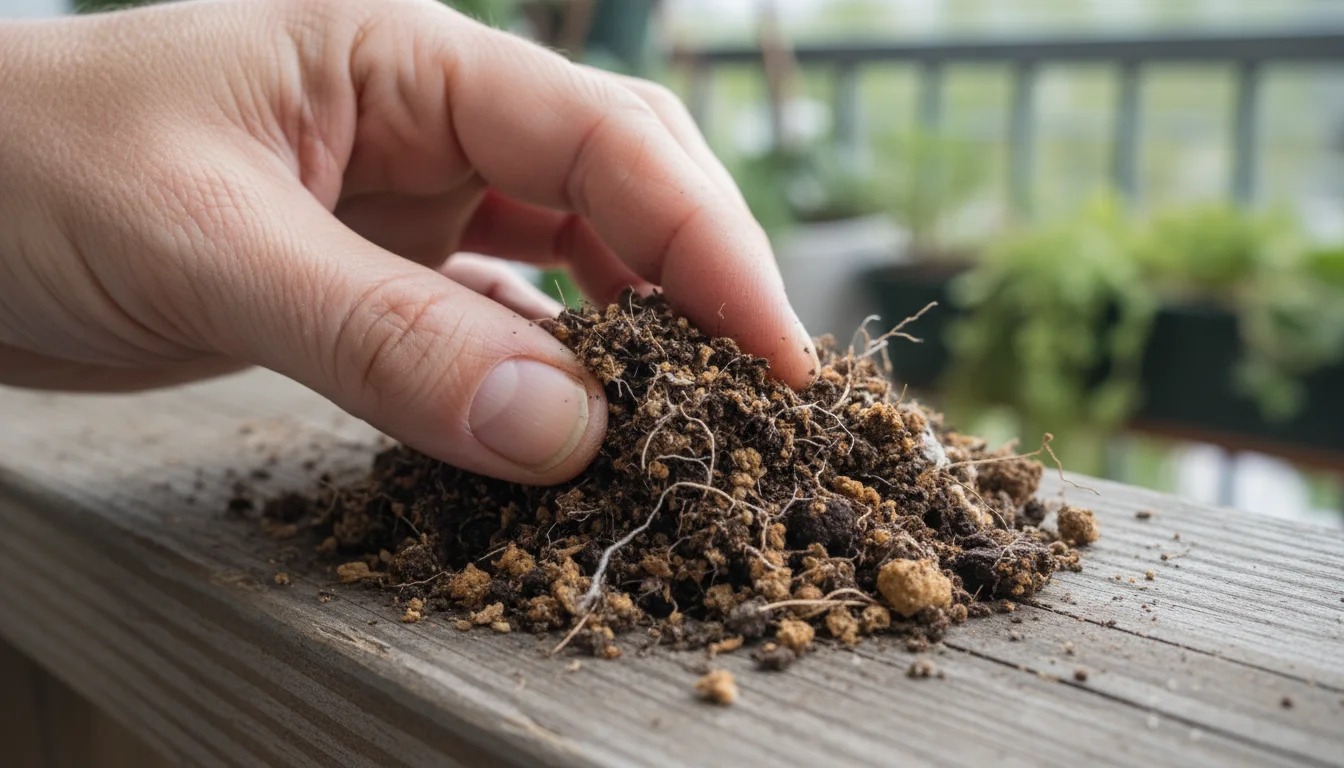
The best way to start your assessment is by engaging your senses:
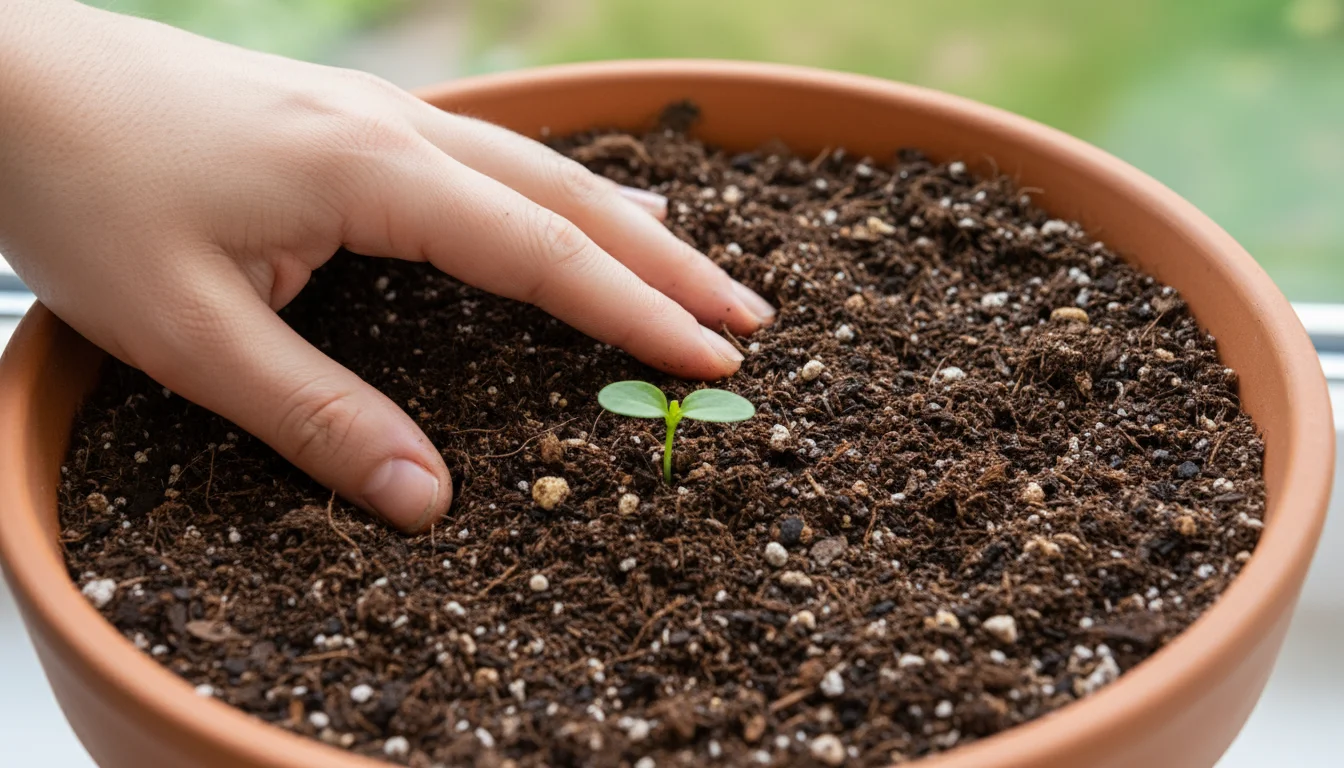
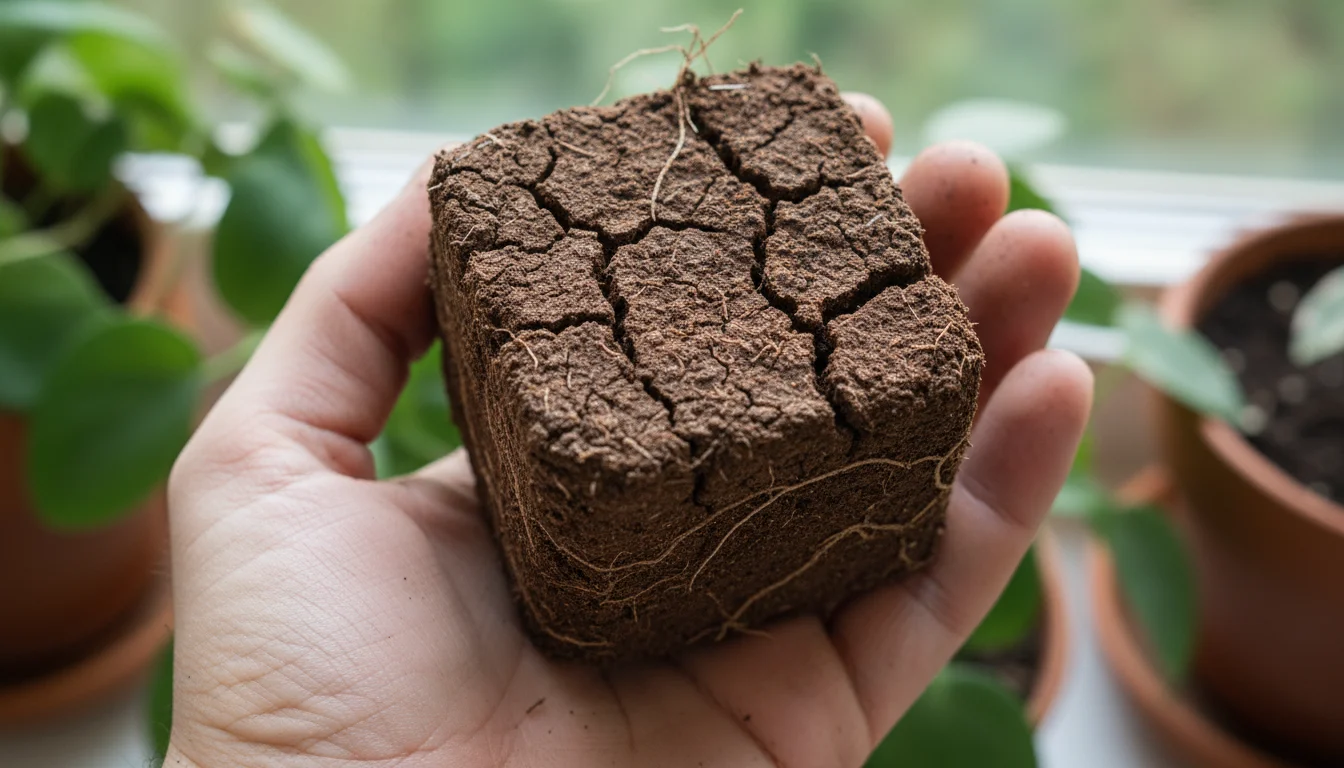
- Look: Observe the texture and color. Healthy, reusable potting soil should appear somewhat loose and crumbly, though perhaps a bit compacted compared to fresh mix. You might see some residual root fragments, which is normal. Avoid soil that looks overly dense, caked, or muddy. Look for any visible signs of pests, such as tiny insects, larvae, or eggs. Also, check for mold or fungi, which may appear as white, green, or black patches on the surface or throughout the soil.
- Feel: Pick up a handful of the soil. Does it feel heavy and waterlogged, or extremely dry and dusty? Good soil, even old soil, should retain some lightness. When you squeeze it, it should crumble apart easily rather than forming a solid, unyielding mass. Excessive grit or sand indicates a breakdown of organic matter or improper initial mix composition.
- Smell: Healthy soil has a pleasant, earthy scent, indicating beneficial microbial activity. A foul, sour, or putrid smell suggests anaerobic conditions, possibly due to overwatering or poor drainage, which fosters harmful bacteria. Soil with a distinctly chemical odor might indicate residual herbicides or other harmful substances.
Crucial Considerations: Previous Plant Health and Pest History
Beyond the sensory evaluation, think back to the plants that grew in the soil previously:
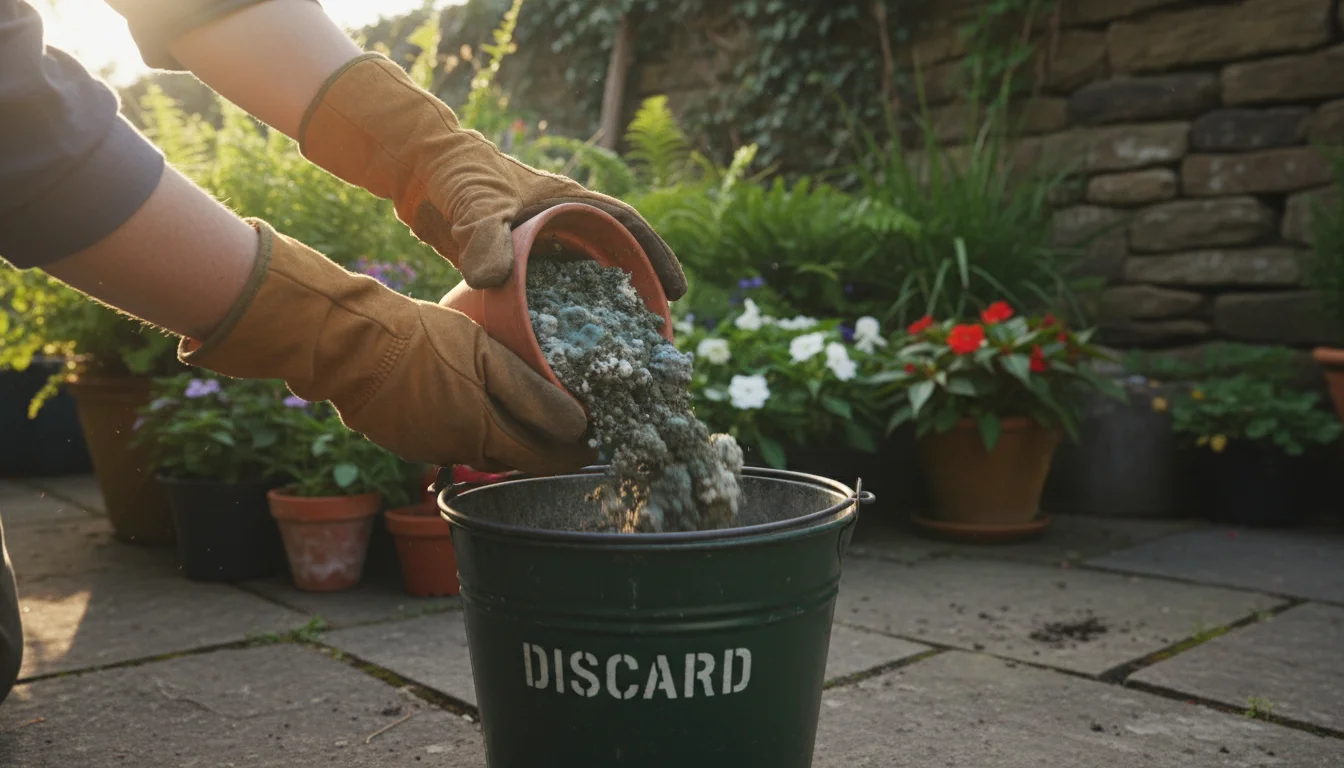
- Did the previous plant suffer from disease? If your previous plant succumbed to a fungal disease (like root rot, damping-off, or Fusarium wilt), a bacterial infection, or a viral issue, discard the soil. Disease pathogens can persist in the soil and infect new plants, even after attempts at sterilization.
- Were there significant pest infestations? If you battled persistent pests like fungus gnats, spider mites, mealybugs, or nematodes, the soil might harbor eggs, larvae, or dormant stages of these pests. While some sterilization methods can help, it is often safer to dispose of heavily infested soil, especially if you plan to grow edible plants.
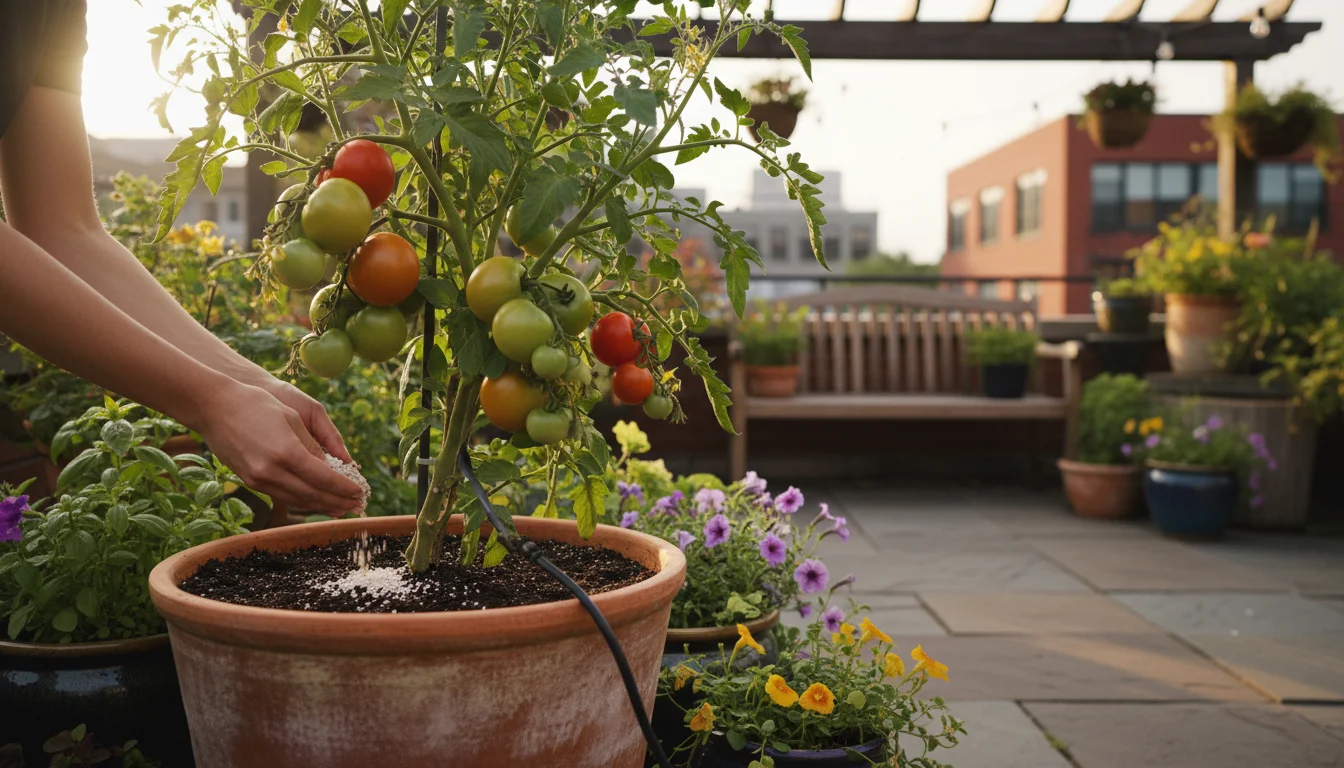
- Was the plant a heavy feeder? Plants like tomatoes, corn, or roses consume a lot of nutrients. While you will replenish nutrients during the refreshing process, extremely depleted soil might require more amendments. However, this factor alone does not make the soil unusable; it simply means you need to add more.
By carefully assessing these factors, you ensure that you are working with a viable base for your refreshed potting mix, setting your new plants up for success rather than inherited problems.
The Science Behind Soil Degradation in Containers
Understanding why potting soil degrades helps you effectively rejuvenate it. Potting mix is not inert; it is a dynamic environment that changes over time, especially within the confines of a container. Several processes contribute to its breakdown, reducing its effectiveness for plant growth.
One advanced way to combat this degradation is cover cropping for containers, which helps rebuild soil structure during the off-season.
Nutrient Depletion
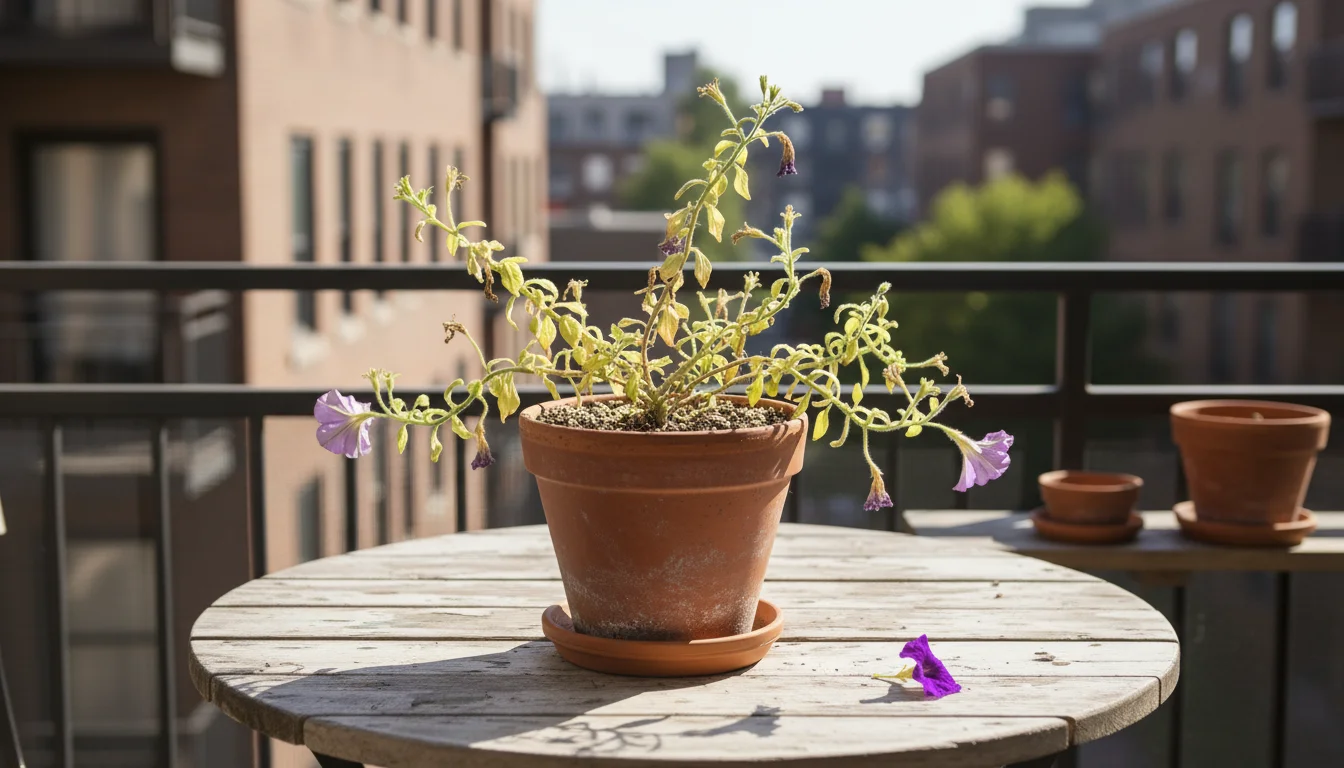
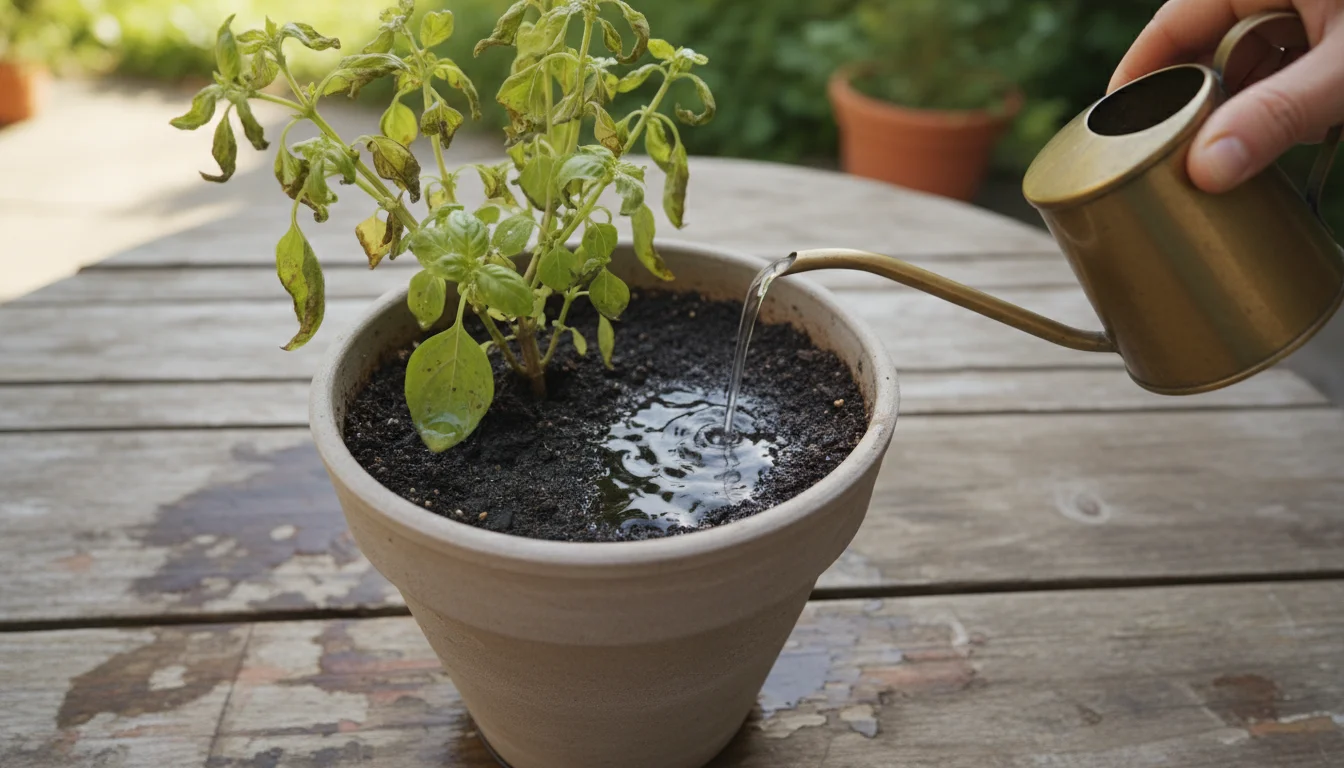
Plants actively absorb nutrients from the soil as they grow. Each watering can also leach soluble nutrients from the container, carrying them out through the drainage holes. Over a growing season, the available nitrogen, phosphorus, potassium, and micronutrients diminish significantly. This depletion leads to nutrient deficiencies in new plants, resulting in stunted growth, yellowing leaves, and poor flowering or fruiting.
Organic Matter Breakdown
Ingredients like peat moss, coir, and compost are organic. Over time, microorganisms in the soil break down this organic matter, consuming it as food. This decomposition reduces the volume of the potting mix, causing it to settle and become more compact. As organic matter breaks down, the soil loses its ability to retain moisture effectively and its capacity to provide the excellent aeration crucial for root health. The light, fluffy structure that defines fresh potting mix gradually diminishes.
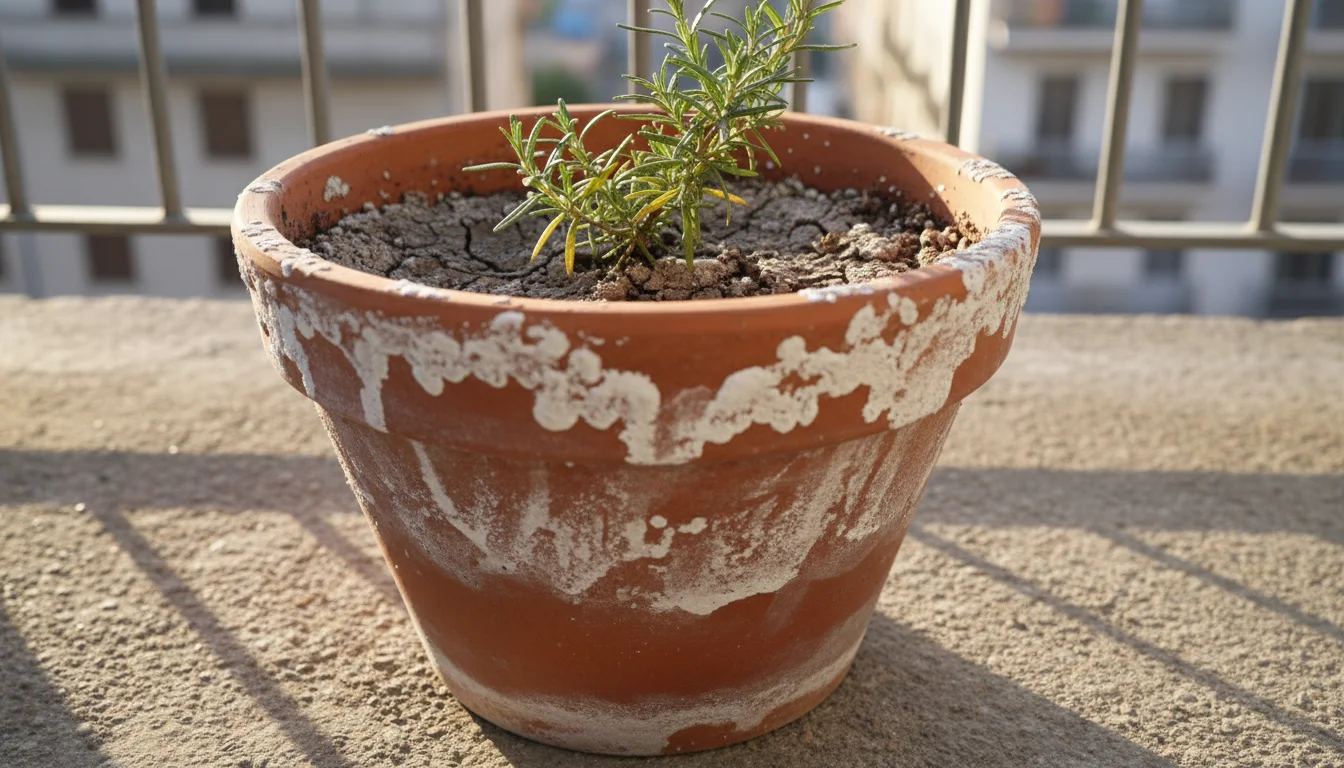
Salt Buildup
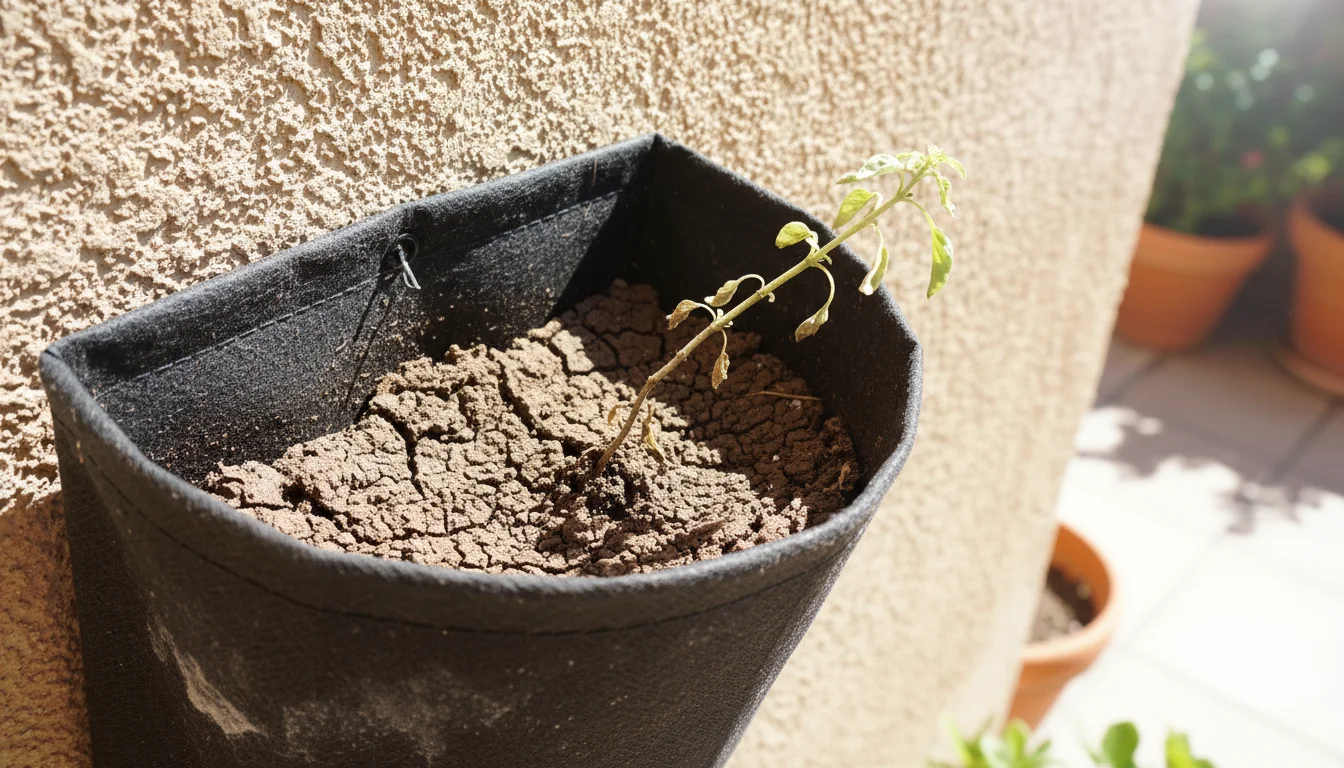
Fertilizers, whether synthetic or organic, contain salts. Tap water, especially in areas with hard water, also contributes dissolved minerals. When water evaporates from the soil surface, these salts are left behind. Over time, salt concentrations can build up to toxic levels, damaging plant roots, inhibiting water uptake, and causing leaf burn. You might observe a white crust on the soil surface or around the edges of the pot, a clear indicator of salt accumulation.
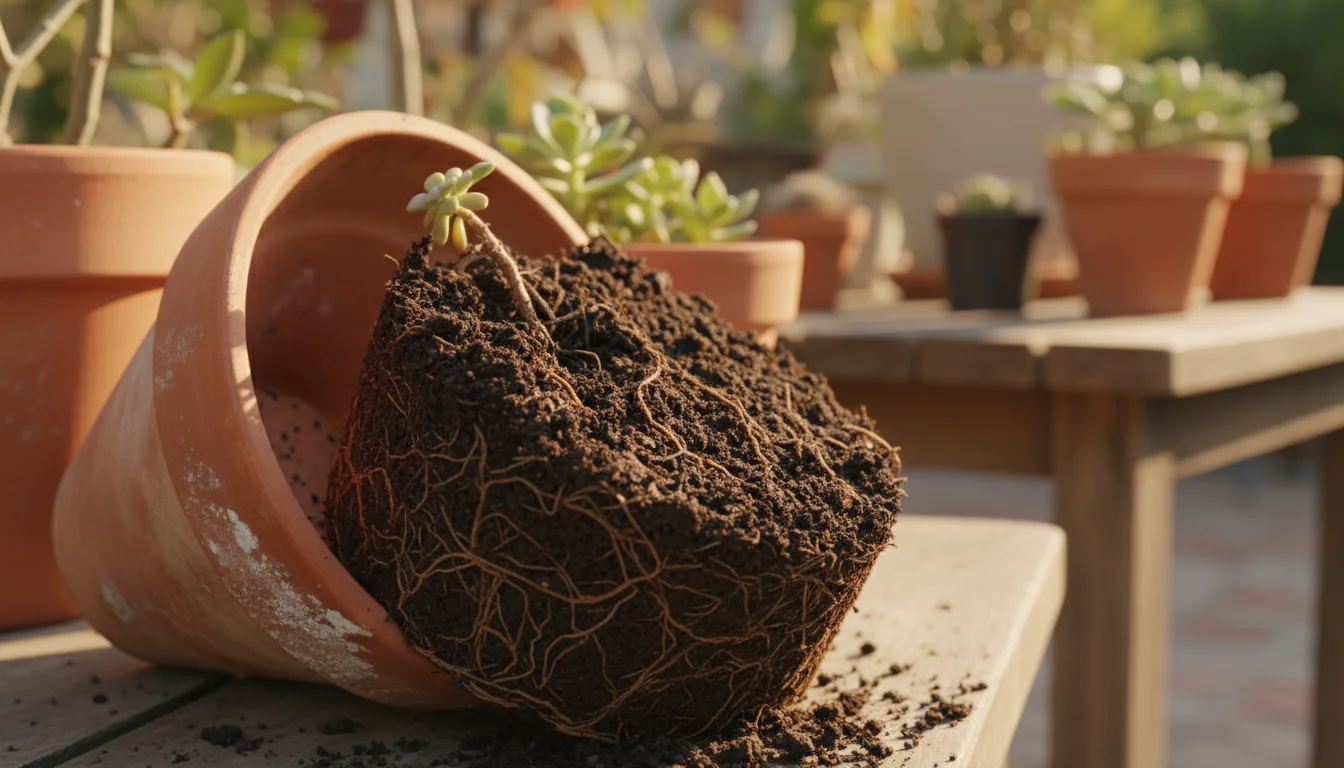
Compaction
Repeated watering, root growth, and the breakdown of organic matter contribute to soil compaction. As the soil particles settle closer together, the air pockets within the mix shrink. This reduction in pore space diminishes both drainage and aeration, making it harder for roots to breathe and for water to penetrate evenly. Compacted soil can lead to water pooling on the surface and eventually to root rot.
Pathogen and Pest Accumulation
Even if a previous plant appeared healthy, microscopic pathogens like fungal spores or dormant insect eggs can persist in the soil. These dormant threats can lie in wait, ready to infect or infest a new, unsuspecting plant. This is a primary reason why assessing the previous plant’s health is so critical when deciding to reuse potting soil. While proper sterilization can mitigate some of these risks, it is not always 100% effective.
Understanding these processes helps you appreciate the need for refreshing potting mix. By addressing nutrient loss, organic matter breakdown, salt buildup, and potential pest issues, you restore the soil’s vitality and create a healthy environment for your new plants.
Step-by-Step Guide to Refreshing Potting Mix
Rejuvenating old potting soil is a straightforward process that anyone can master. Follow these steps to transform your spent container soil into a healthy medium ready for new plants.
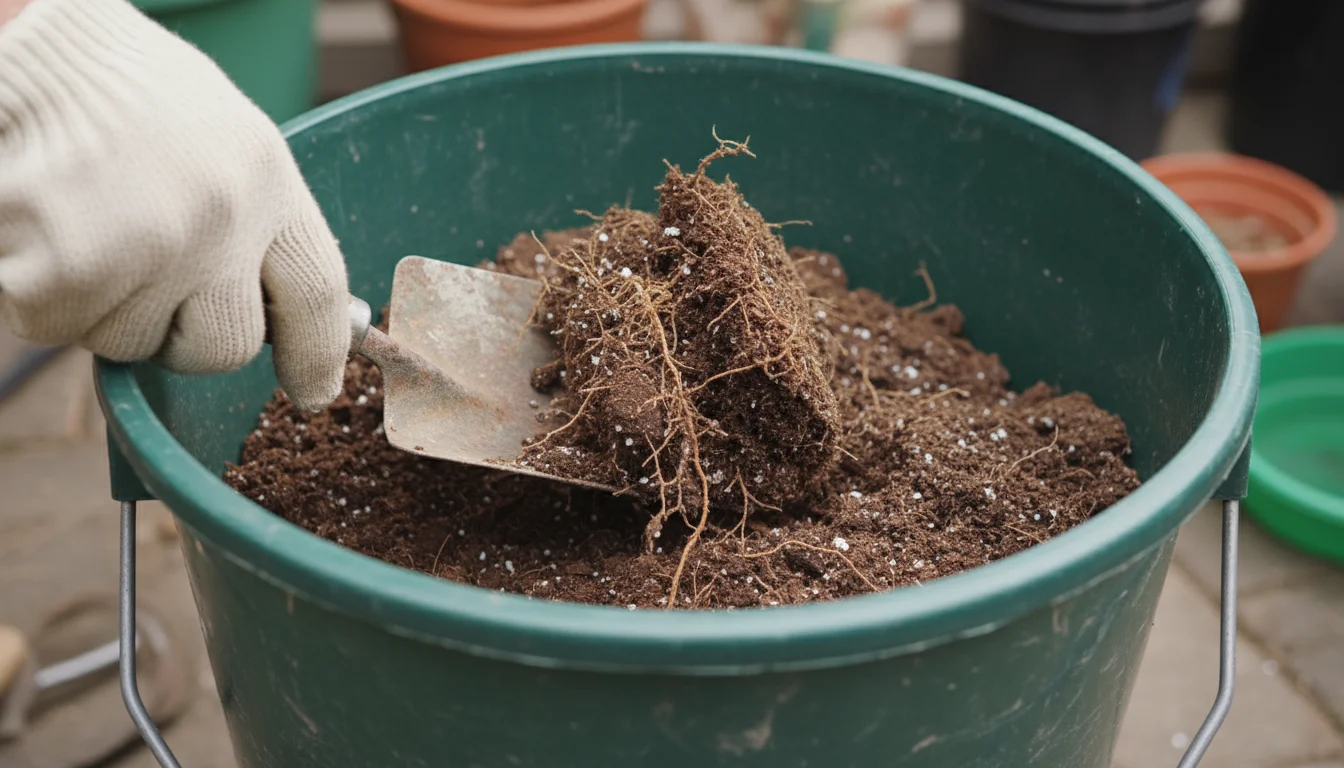
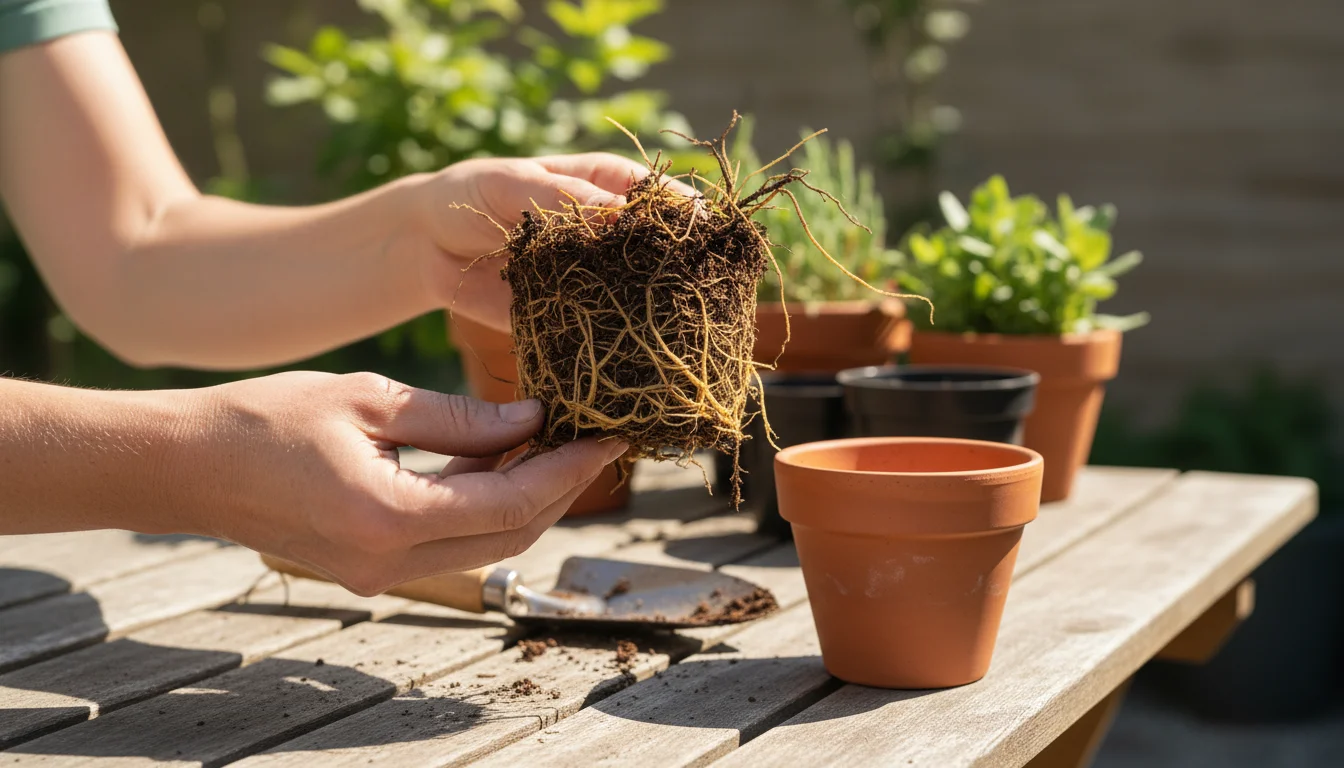
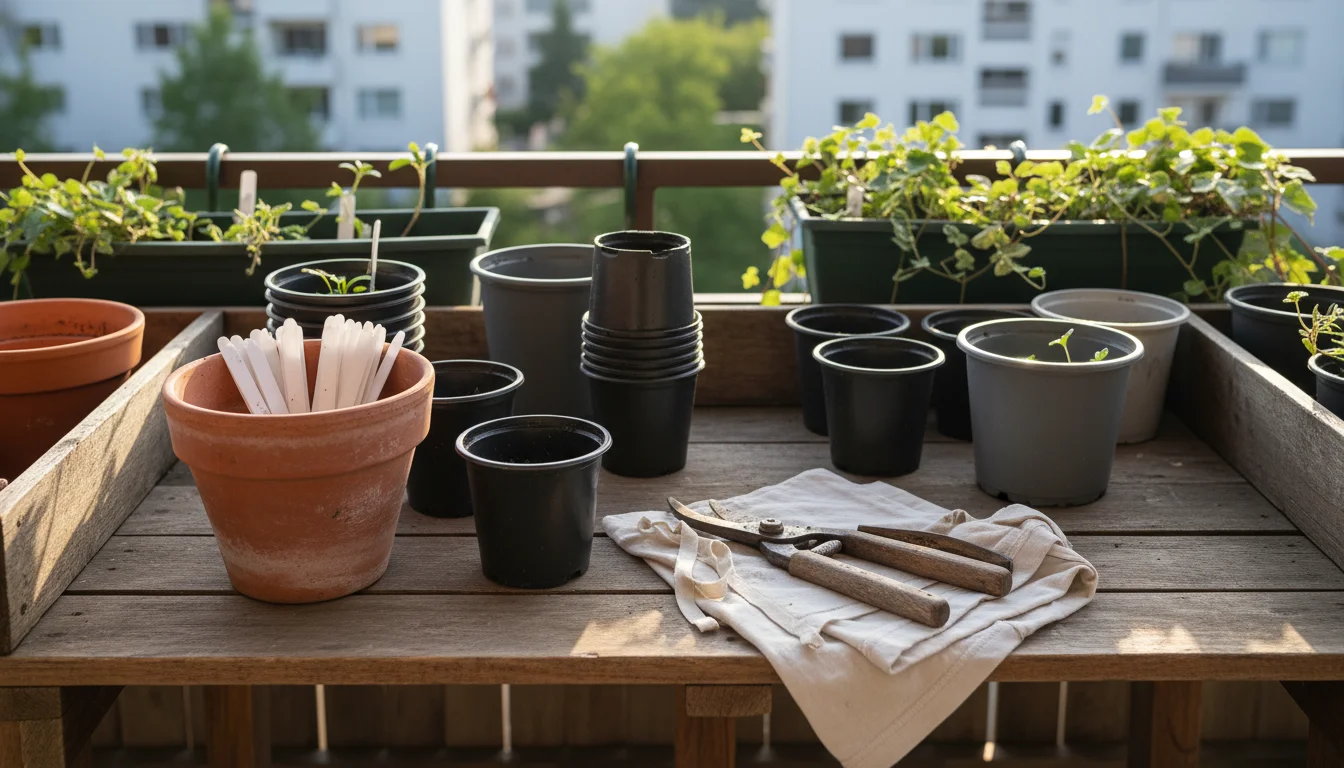
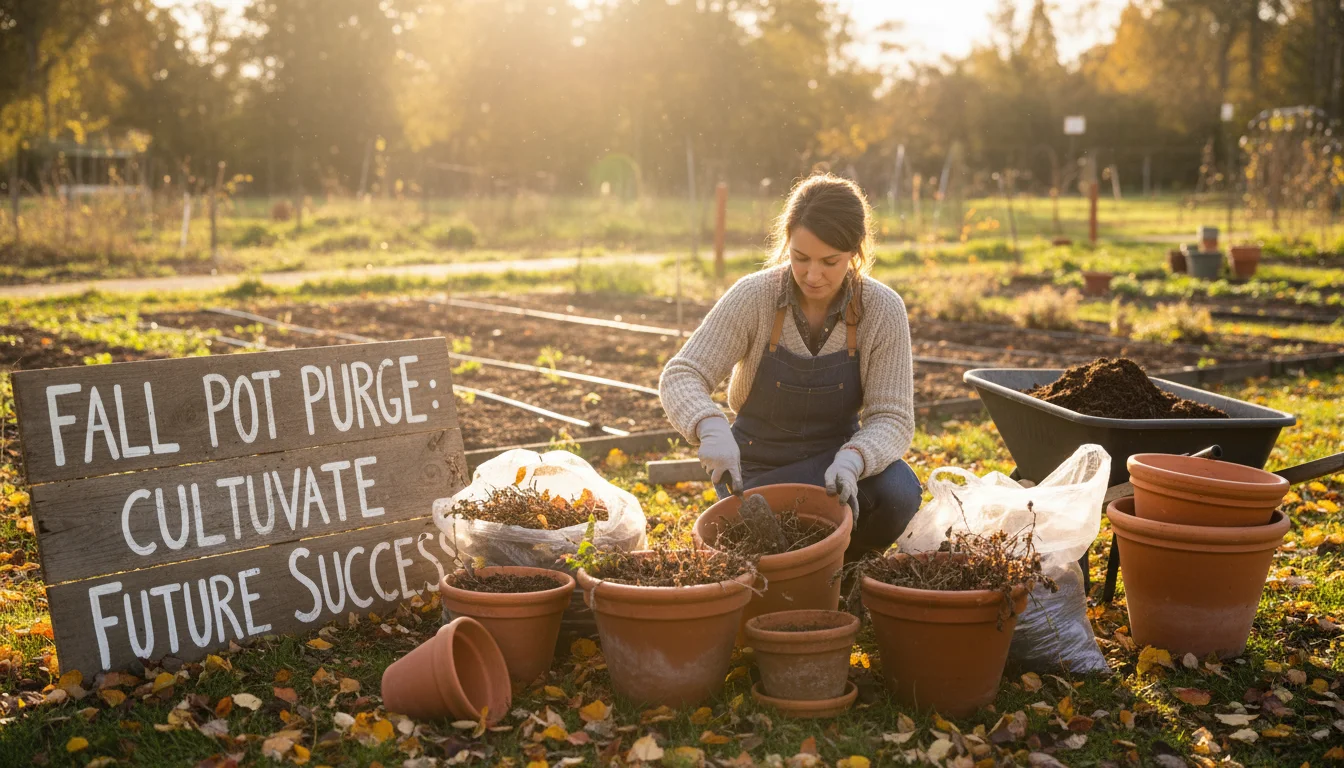
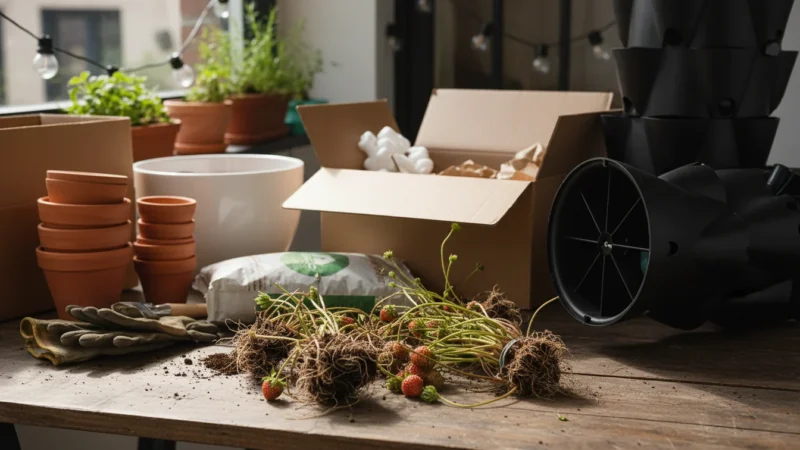
Step 1: Empty and Collect Your Old Potting Soil
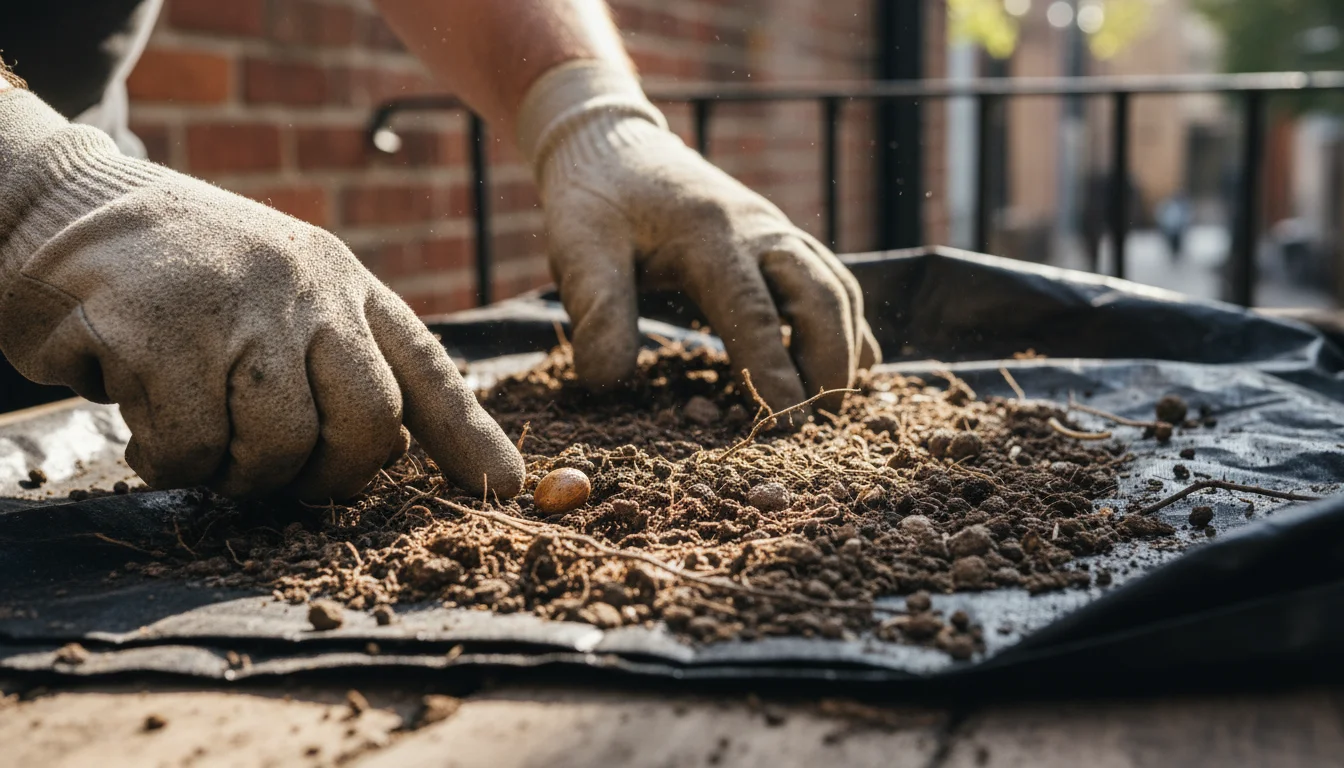
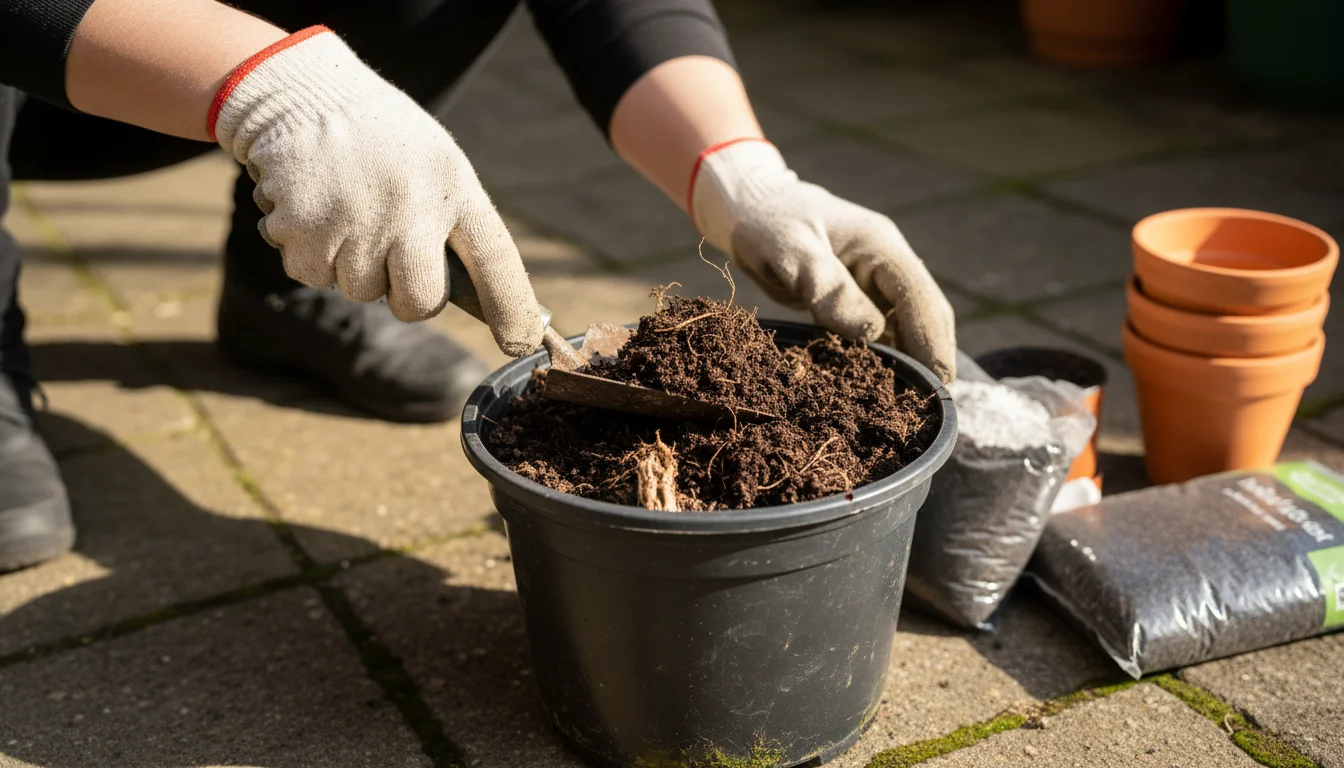
Carefully remove all plants from their containers. Empty the old potting soil into a large bucket, wheelbarrow, or designated tarp. This centralizes your efforts and keeps your workspace tidy. This is also your first real opportunity to get a close look at the soil after it has been freed from the pot. Use a trowel or your hands to break up any large clumps of soil that may have formed around the root ball of the previous plant.
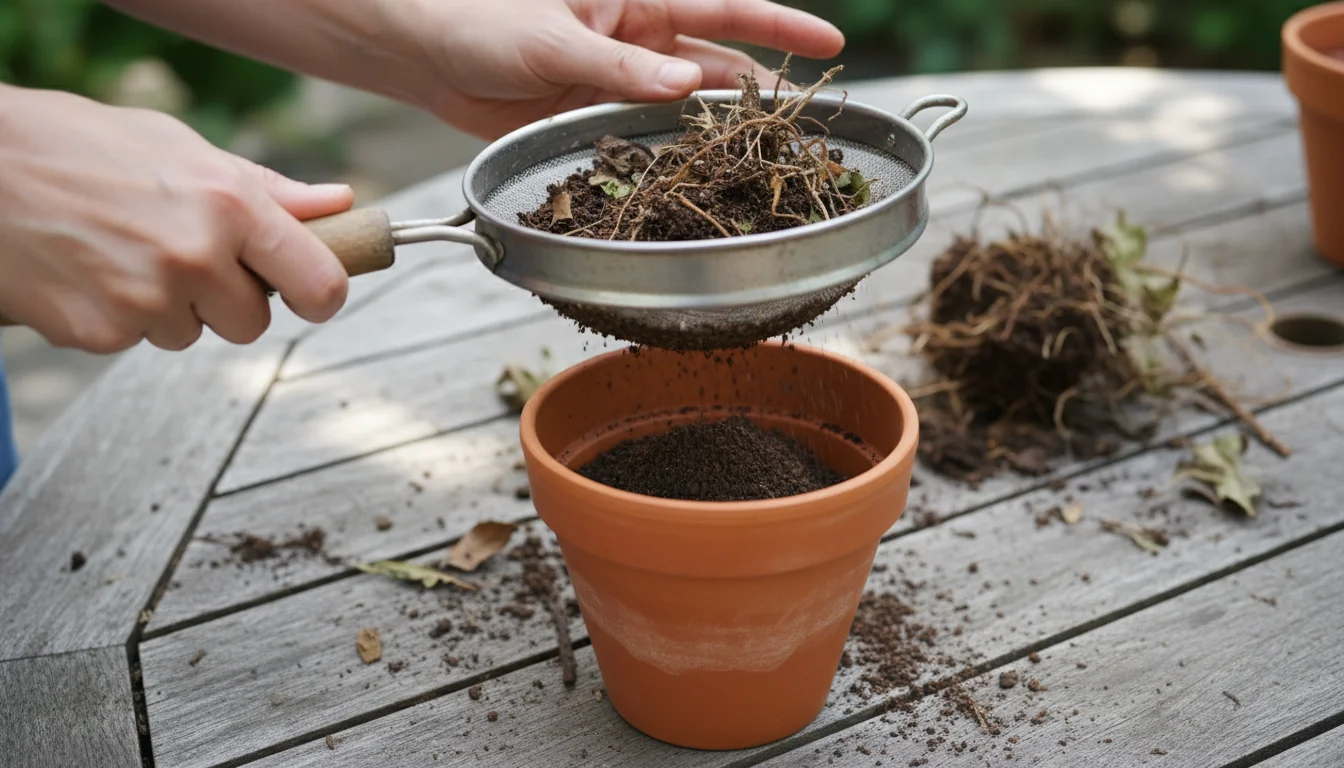
Step 2: Remove Plant Debris and Large Roots
Once the soil is out, sift through it to remove all old plant roots, stems, leaves, and any other debris. These materials decompose slowly and can harbor pests or diseases. While small, hair-like roots are difficult to remove and often harmless, strive to eliminate as many larger root fragments and chunks of organic matter as possible. A simple hand sifting process works well for small batches. For larger quantities, you can use a garden sieve or a piece of hardware cloth to quickly separate the soil from larger debris.
Step 3: Sterilize (Optional, But Recommended for Problematic Soil)
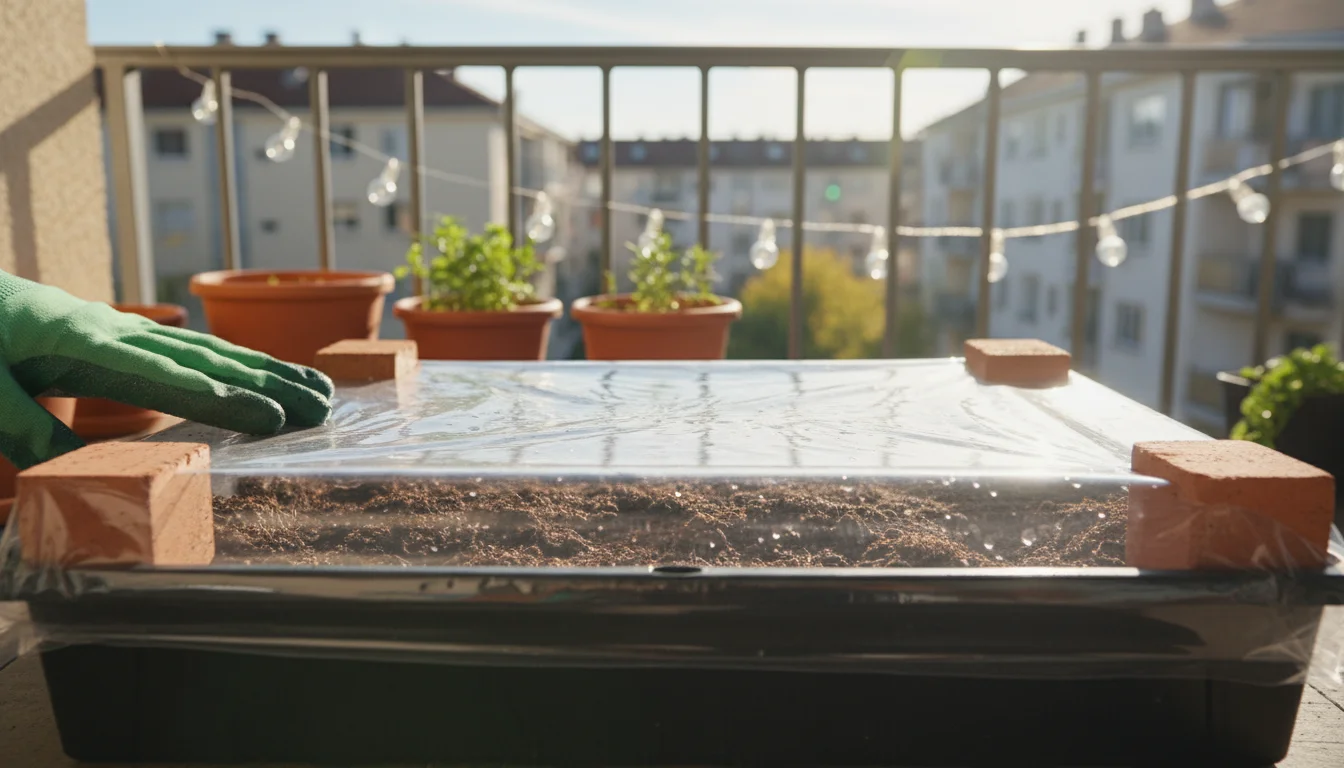
If the previous plants showed signs of disease or pest issues, or if you simply want extra assurance, sterilizing the soil reduces the risk of carrying over problems. For small-scale gardeners, solarization is an excellent, chemical-free method:
- Spread Thinly: Spread the old potting soil about 2-4 inches thick on a dark tarp or shallow tray.
- Moisten: Lightly moisten the soil. It should be damp, not soaking wet.
- Cover: Cover the soil with clear plastic sheeting, securing the edges tightly to trap heat. You can use rocks, bricks, or soil to hold down the plastic.
- Solarize: Leave the soil in direct sunlight for 4-6 weeks during the hottest part of summer. The sun’s heat will raise the soil temperature sufficiently to kill most pathogens, weed seeds, and insect eggs. This method is effective and environmentally friendly, though it requires patience and warm weather.
Another option is baking the soil in an oven, but this can create an unpleasant odor and is less practical for large quantities. If you choose this method, spread damp soil no more than 4 inches deep in a baking pan, cover it with foil, and bake at 180-200°F (82-93°C) for at least 30 minutes, or until the soil reaches 180°F (82°C). Always monitor the soil temperature with a thermometer.
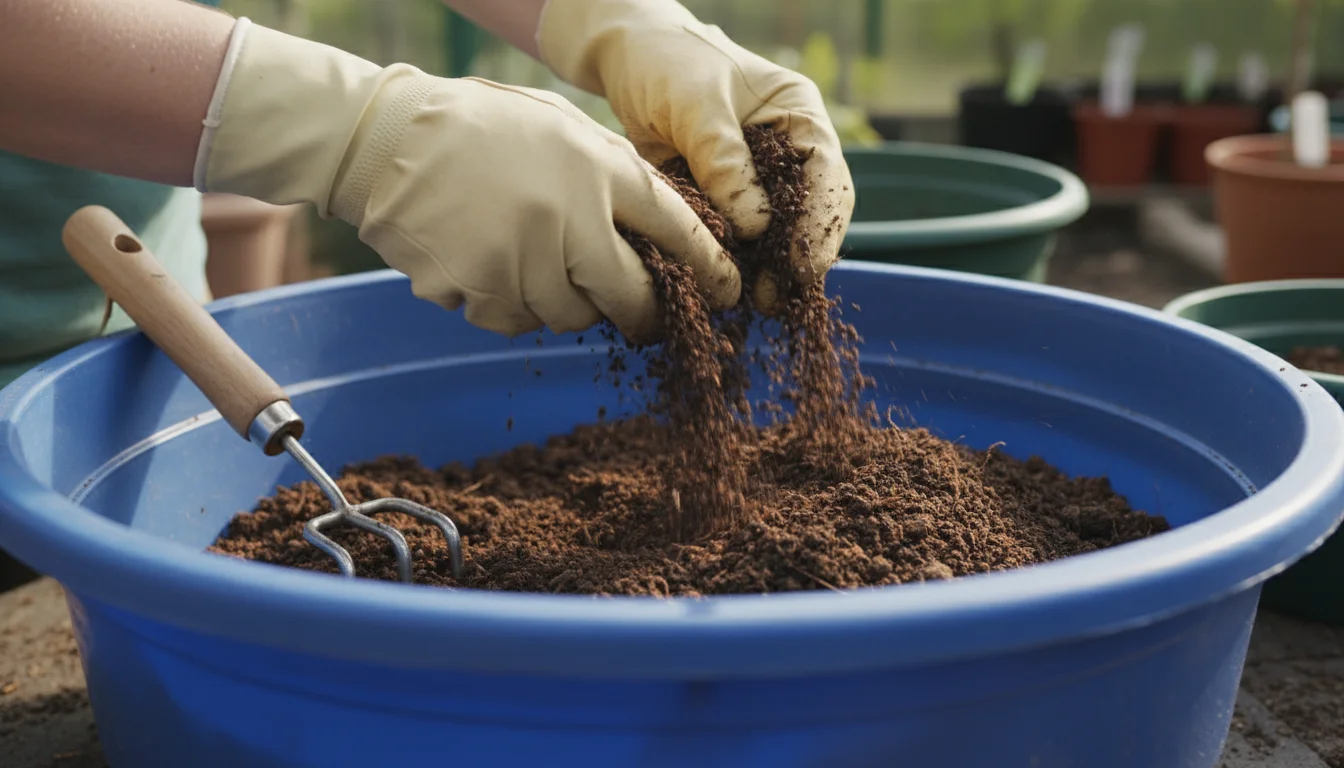
Step 4: Break Up Clumps and Loosen the Soil
After sterilization or debris removal, the soil might still be compacted. Use your hands, a small hand cultivator, or a trowel to break up any remaining clumps. You want a loose, friable texture that promotes good air circulation and drainage. This ensures the amendments you add in the next step distribute evenly.
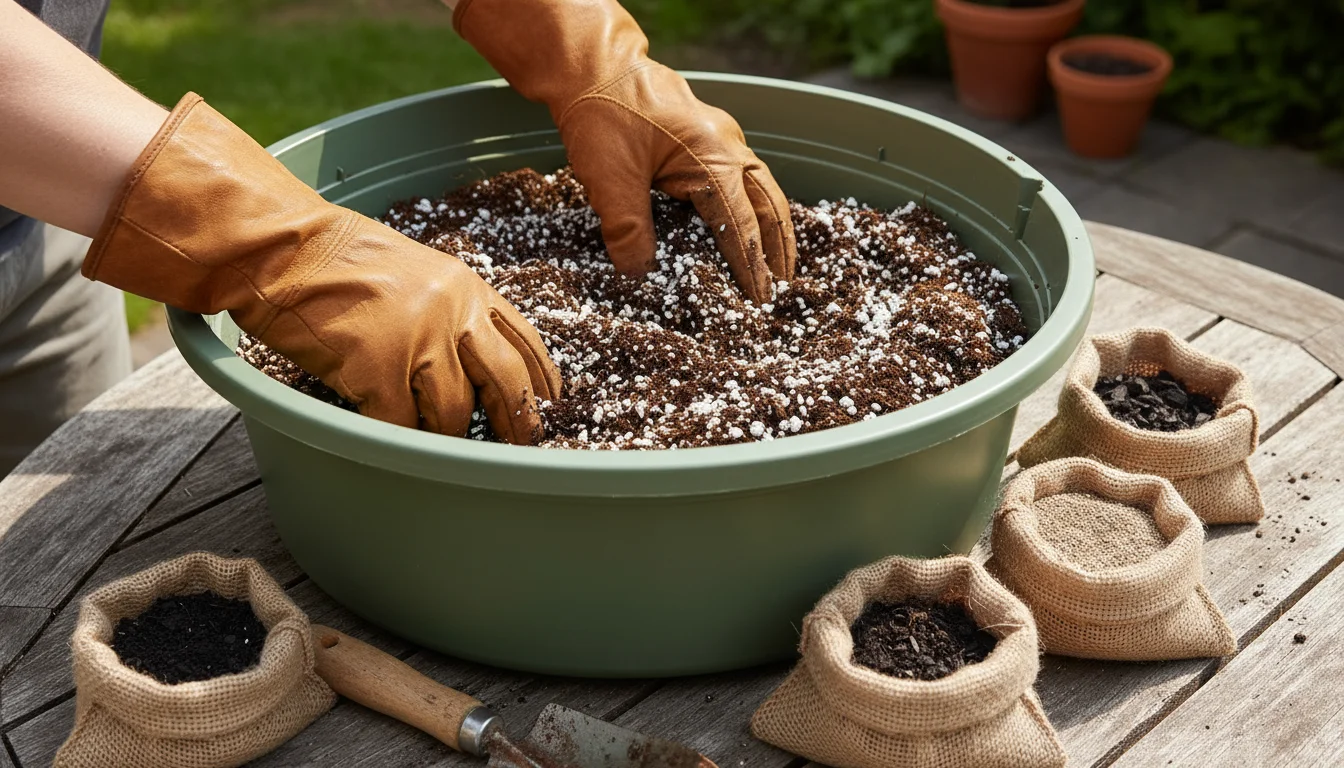
Step 5: Revitalize with Amendments
This is the heart of refreshing your potting mix. You now have a clean, basic soil structure. The next step involves adding materials that restore its vitality. The types and amounts of amendments depend on the original soil condition and the plants you plan to grow. We will delve into specific amendment choices in the next section, detailing what to add to restore nutrients, improve structure, and enhance water retention.
What to Add: Enhancing Your Reused Potting Soil
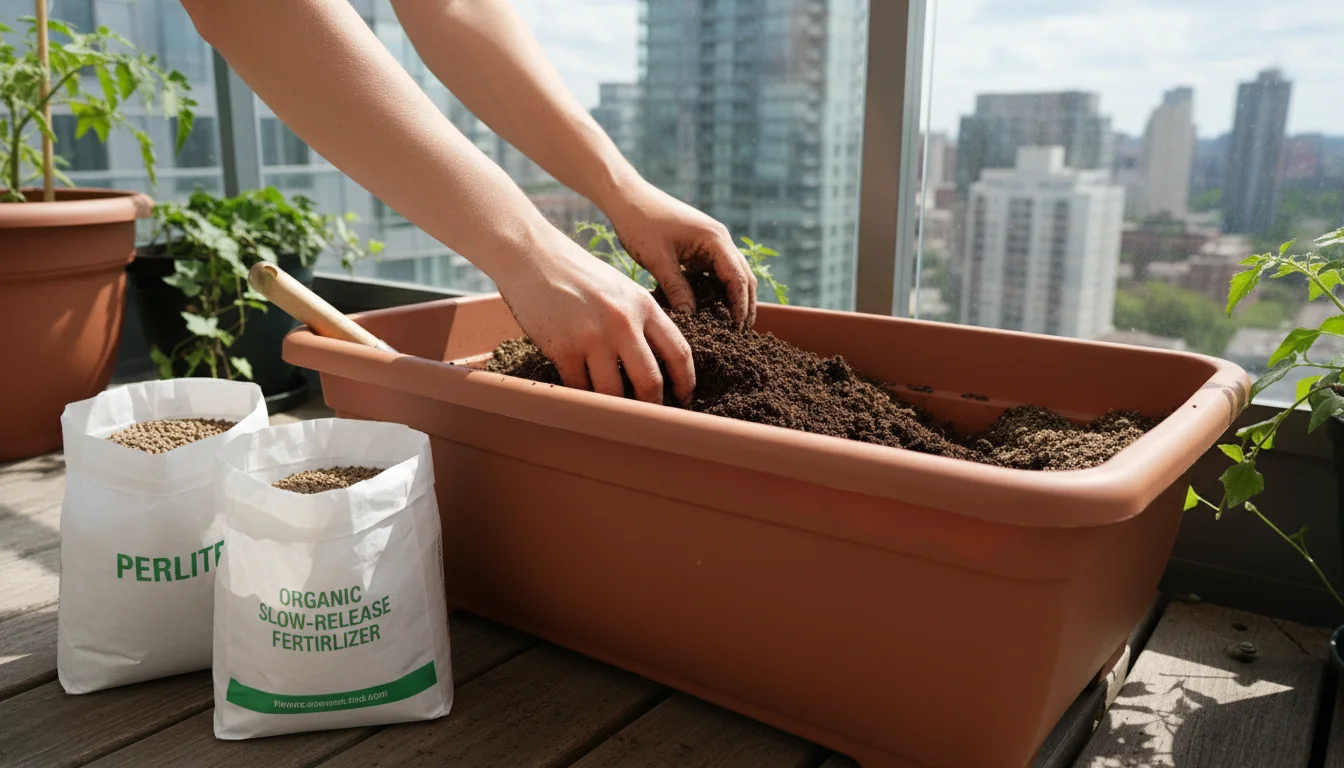
Once you have cleaned and prepared your old potting soil, the crucial step is to replenish its lost components. Think of this as giving your soil a fresh start. You need to restore its structure, add essential nutrients, and encourage beneficial microbial life. Aim for a mix that is about 50-75% old soil and 25-50% new amendments, depending on how degraded the old soil appears.
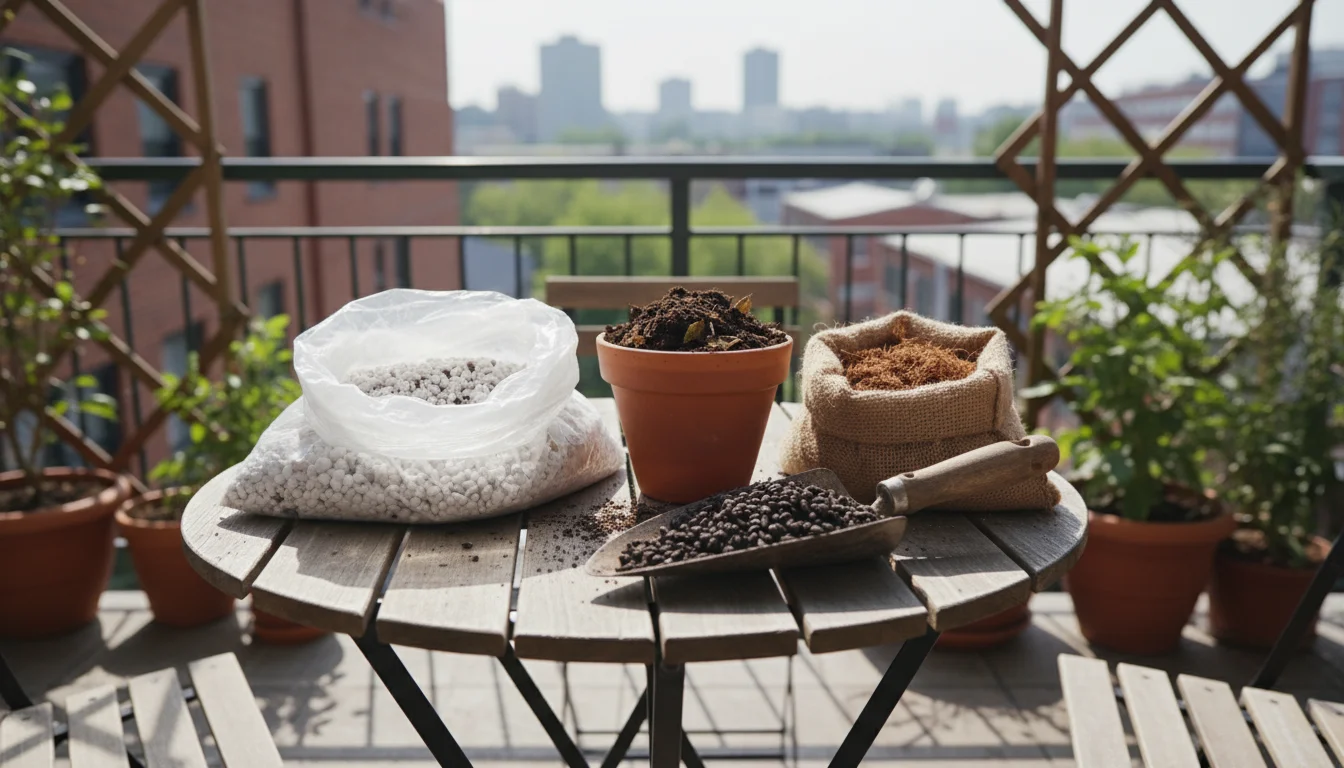
Key Amendments to Restore Structure, Nutrients, and Beneficial Microbes
These amendments work together to create a balanced, healthy environment for your plants:
1. Organic Matter: The Foundation of Fertility
Organic matter is vital for improving soil structure, water retention, nutrient availability, and fostering beneficial microbes. When old potting mix loses its organic components, its ability to hold water and nutrients diminishes significantly. Replenishing organic matter is your top priority.
- Finished Compost: This is arguably the best amendment. Good quality compost adds a slow release of a wide range of nutrients, improves soil structure, enhances water retention, and introduces beneficial microorganisms that suppress diseases. Aim for 20-30% compost by volume. Ensure your compost is fully decomposed, meaning it has an earthy smell, a dark color, and no recognizable food scraps.
- Worm Castings: The byproduct of worm digestion, worm castings are incredibly rich in readily available nutrients, beneficial microbes, and trace elements. They improve aeration and water retention. Use 10-20% by volume, or combine with compost.
- Leaf Mold: Decomposed leaves create a rich, crumbly organic material that mimics forest floor conditions. Leaf mold improves water retention and provides a slow release of nutrients. If you have a leaf compost pile, this is a fantastic addition.
2. Aeration and Drainage Enhancers: Keeping Roots Breathing
Even with added organic matter, older potting mix can still become dense. These amendments ensure roots receive adequate oxygen and prevent waterlogging.
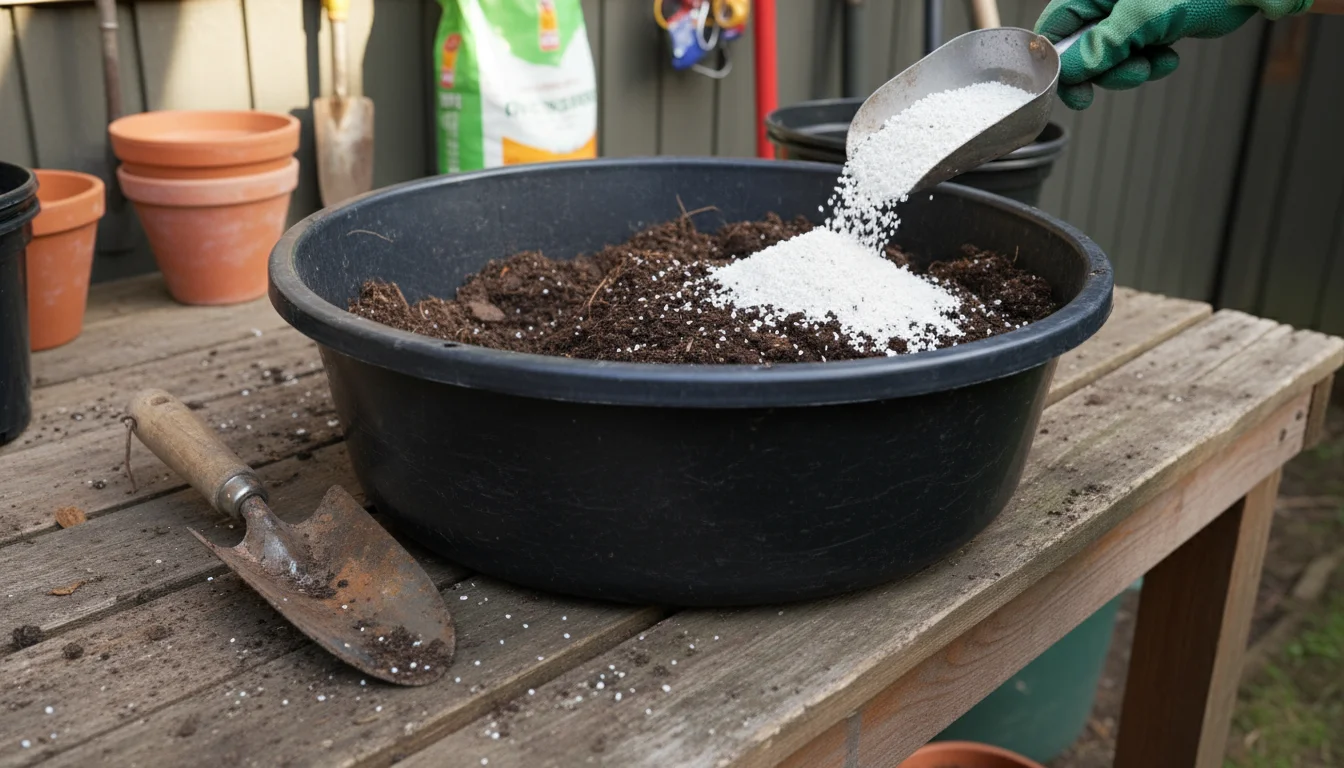
- Perlite: Light, porous white volcanic rock. It creates air pockets, significantly improving drainage and aeration. Add 10-20% perlite, especially if your old soil feels heavy or tends to stay wet. Perlite does not retain water or nutrients itself.
- Vermiculite: A hydrated mineral that expands when heated. Vermiculite improves aeration, but its primary benefit is its excellent water retention capacity. It also holds onto nutrients. Use 10-20% if your plants tend to dry out quickly, or for plants that prefer consistent moisture. A mix of perlite and vermiculite often provides the best balance of drainage and water retention.
3. Nutrient Boosters: Targeted Feeding
While compost provides a good general nutrient base, specific amendments can target particular needs or give plants a stronger start.
- Slow-Release Organic Fertilizers: Look for balanced organic granular fertilizers. These release nutrients gradually as microorganisms break them down, providing a steady food source for your plants over weeks or months.
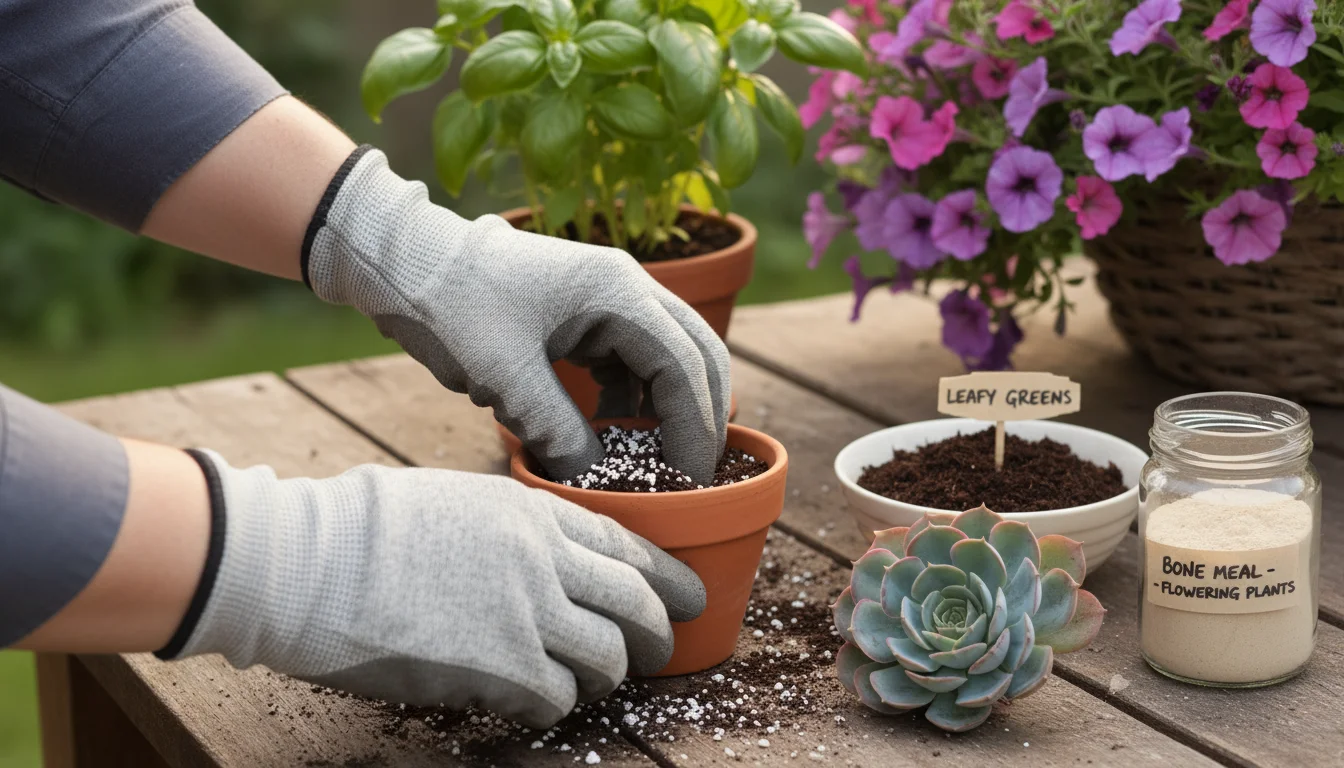
- Bone Meal: A good source of phosphorus, which is essential for root development and flowering. Use it for fruiting vegetables and flowering plants.
- Blood Meal: Provides a quick boost of nitrogen, ideal for leafy greens and plants requiring vigorous vegetative growth. Use sparingly, as too much nitrogen can burn plants.
- Kelp Meal: Rich in trace minerals and growth hormones, kelp meal promotes overall plant health and resilience. It is a gentle, broad-spectrum nutrient enhancer.
- Greensand or Rock Phosphate: Slow-release sources of potassium and phosphorus, respectively. Good for long-term soil health.
4. pH Adjusters: Balancing Acidity and Alkalinity
The pH of your soil affects nutrient availability. Most plants prefer a slightly acidic to neutral pH (6.0-7.0). If you suspect your soil pH is off, a simple soil test kit can confirm this. If you do not have a kit, consider these general adjustments:
- Agricultural Lime: Raises pH (makes soil less acidic). Use if your water is naturally acidic or if you see signs of calcium deficiency.
- Elemental Sulfur: Lowers pH (makes soil more acidic). Rarely needed for potting mix unless you are growing acid-loving plants like blueberries or azaleas and your mix is too alkaline.
- Wood Ash: Can raise pH slightly and adds potassium. Use very sparingly as it is quite alkaline.
When combining these amendments, thoroughly mix them with your cleaned, old potting soil. Aim for an even distribution. The goal is to create a blend that is light, fluffy, drains well, and feels alive. By taking the time to properly amend your reused potting soil, you provide your plants with the best possible start, proving that old soil has plenty of life left to give.
When Not to Reuse: Avoiding Common Pitfalls
While reusing potting soil is an excellent sustainable practice, certain situations warrant discarding the old mix to protect your garden. Knowing when to avoid reuse is just as important as knowing how to do it. Ignoring these warnings can lead to frustrating plant failures and the spread of problems.
1. Diseased Plants
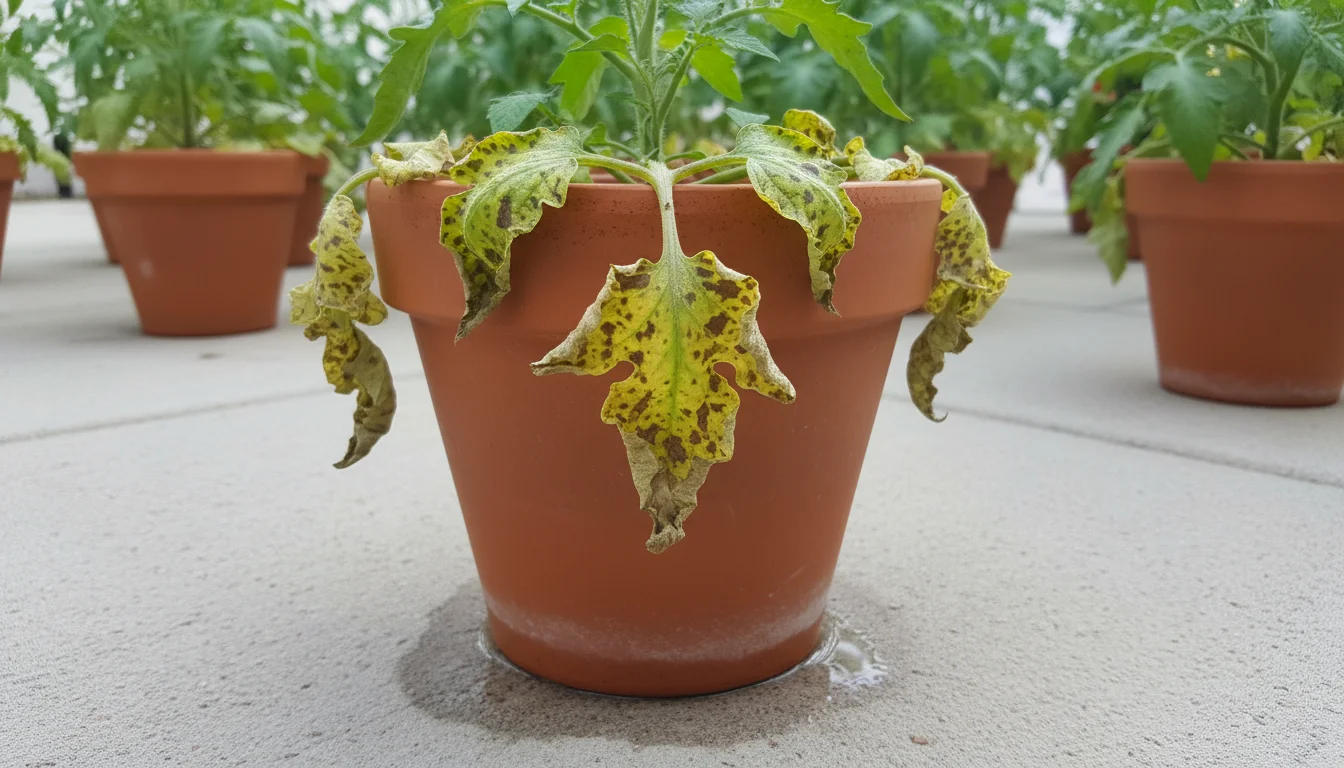
This is the most critical reason to avoid reusing potting soil. If the previous plant showed clear signs of a serious disease, such as:
- Fungal diseases: Root rot, Fusarium wilt, Verticillium wilt, powdery mildew (severe case).
- Bacterial diseases: Bacterial blight, soft rot.
- Viral infections: Stunted growth, distorted leaves, unusual discoloration.
These pathogens can easily persist in the soil, even after attempts at solarization or other sterilization methods, which are not always 100% effective, particularly for virulent strains. Introducing new plants to contaminated soil almost guarantees they will contract the same disease, leading to repeated plant loss. Dispose of this soil in your household trash, not your compost pile, to prevent further spread.
2. Severe Pest Infestations
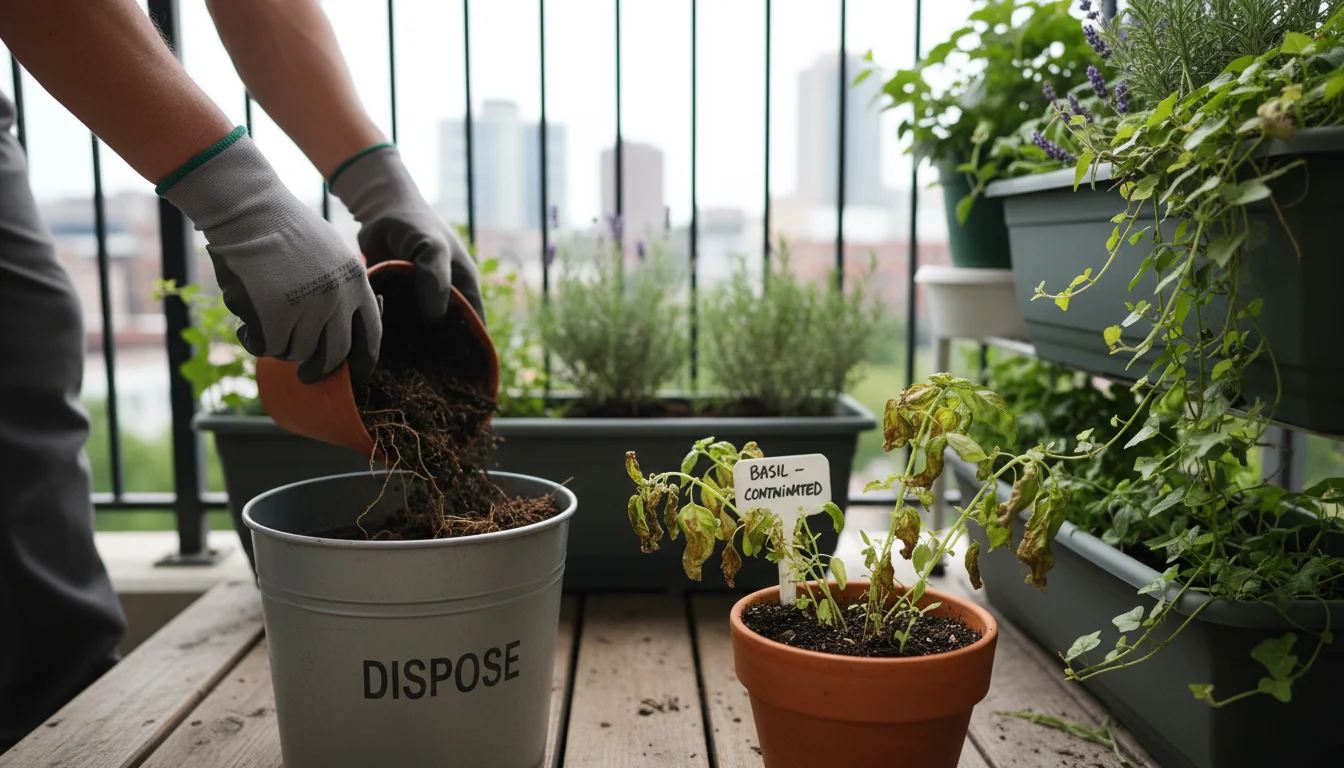
If your previous container plants were overrun with persistent or particularly troublesome pests, it is best to err on the side of caution and discard the soil. Examples include:
- Nematodes: Microscopic roundworms that attack plant roots, causing galls and stunted growth. They are extremely difficult to eradicate from soil.
- Fungus Gnats (severe): While common, a heavy infestation suggests the soil provides an ideal breeding ground. While fungus gnat larvae are less damaging than nematodes, reusing heavily infested soil means you start with a problem.
- Spider Mites, Mealybugs, Scale Insects (especially if found in the soil near roots): These pests lay eggs that can overwinter or survive in the soil, ready to hatch and infest your next crop.
Even if you sterilize the soil, some eggs or dormant stages of pests may survive. Preventing a pest battle from the start saves time and frustration.
3. Herbicide Exposure
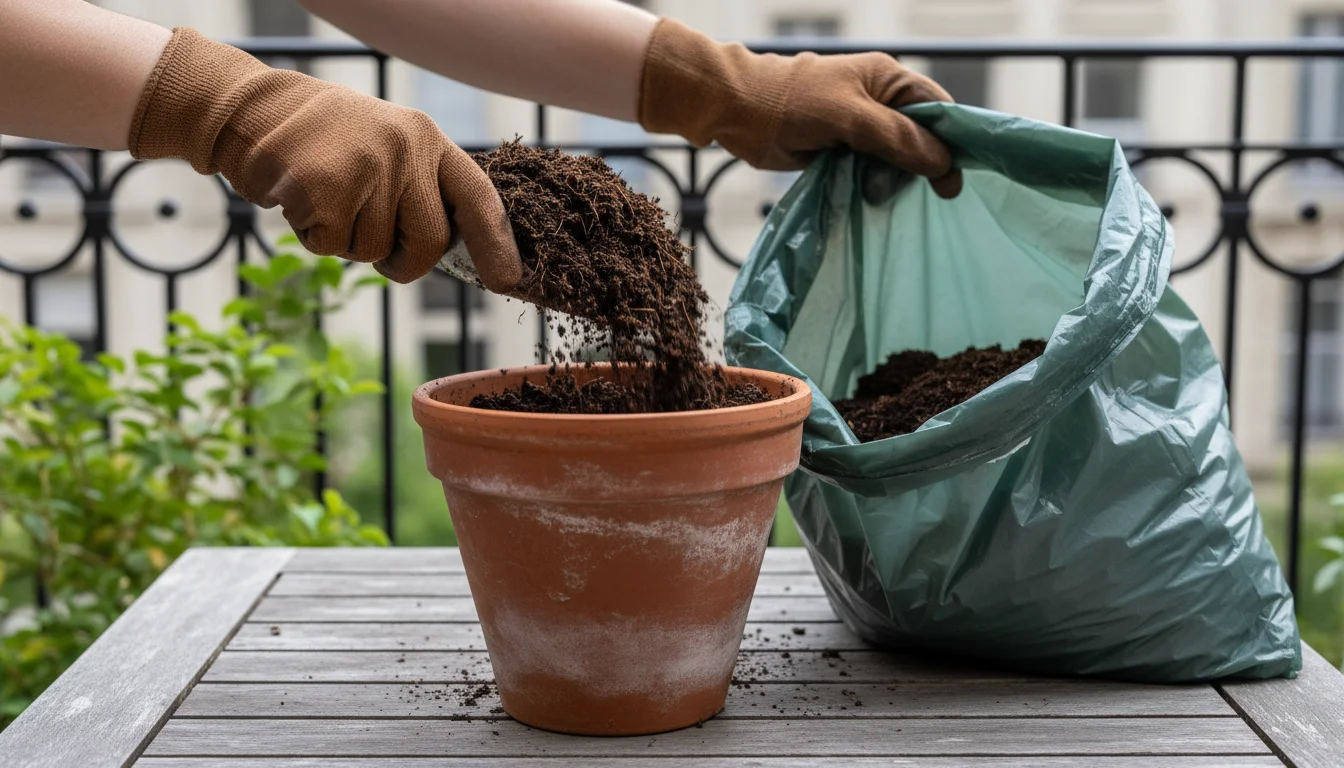
Accidental contamination with herbicides is a hidden danger. If you used an herbicide nearby, or if a previous plant was treated with a persistent herbicide (e.g., in a hanging basket from a garden center), residues can linger in the soil. These residues can severely damage or kill new plants, especially sensitive seedlings or edibles. If you have any suspicion of herbicide exposure, discard the soil immediately.
4. Extreme Compaction or Degradation Beyond Repair
Sometimes, potting soil is simply too far gone. If your soil has become extremely compacted, turned into a dense, clay-like block, or has virtually no organic matter left, it may not be worth the effort to restore. While amendments can help, a fundamentally degraded structure might make it challenging to achieve proper drainage and aeration, even with significant additions. In such cases, consider starting fresh with new potting mix.
5. Soil from Unidentifiable Sources or Unknown History
If you inherited old potting soil without knowing its history—what grew in it, if it was diseased, or how it was treated—it is a safer practice to dispose of it. Taking a risk with unknown soil can introduce unforeseen problems into your garden. Trust your judgment: if the soil looks or smells unhealthy, or if its history is unclear, it is probably not worth the risk.
By carefully evaluating these scenarios, you make informed decisions that protect the health and productivity of your container garden. Reusing soil responsibly means knowing when to say no, ensuring your gardening efforts are always rewarded with vibrant, thriving plants.
Specific Plants for Reused Soil: Maximizing Success
Choosing the right plants for your refreshed potting mix significantly impacts your success. Not all plants respond equally well to reused soil, even when properly amended. Matching plant needs to your rejuvenated mix helps ensure robust growth and abundant yields.
Plants That Thrive in Reused Soil
Less demanding plants, those with shorter growing cycles, and those that are not heavy feeders are ideal candidates for refreshed potting mix. These plants generally tolerate slight variations in nutrient levels or soil structure that might remain after rejuvenation.
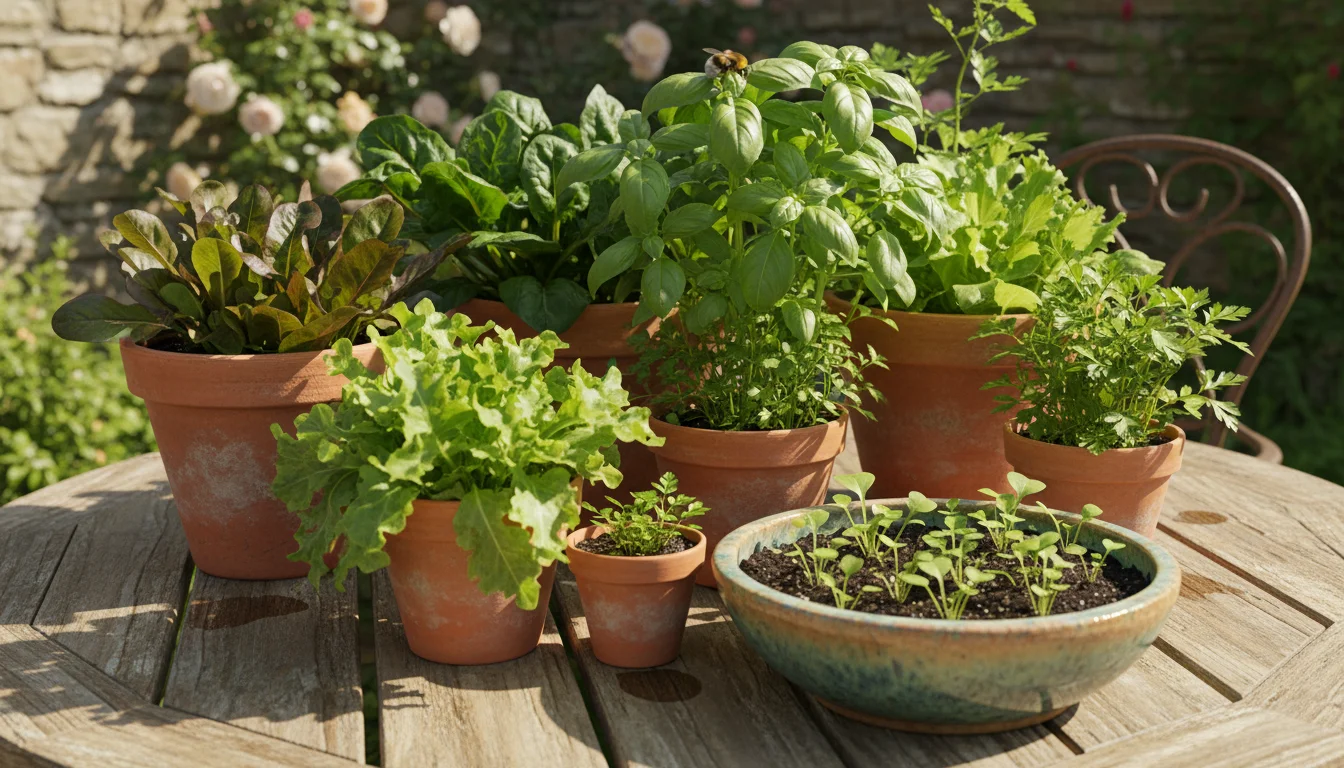
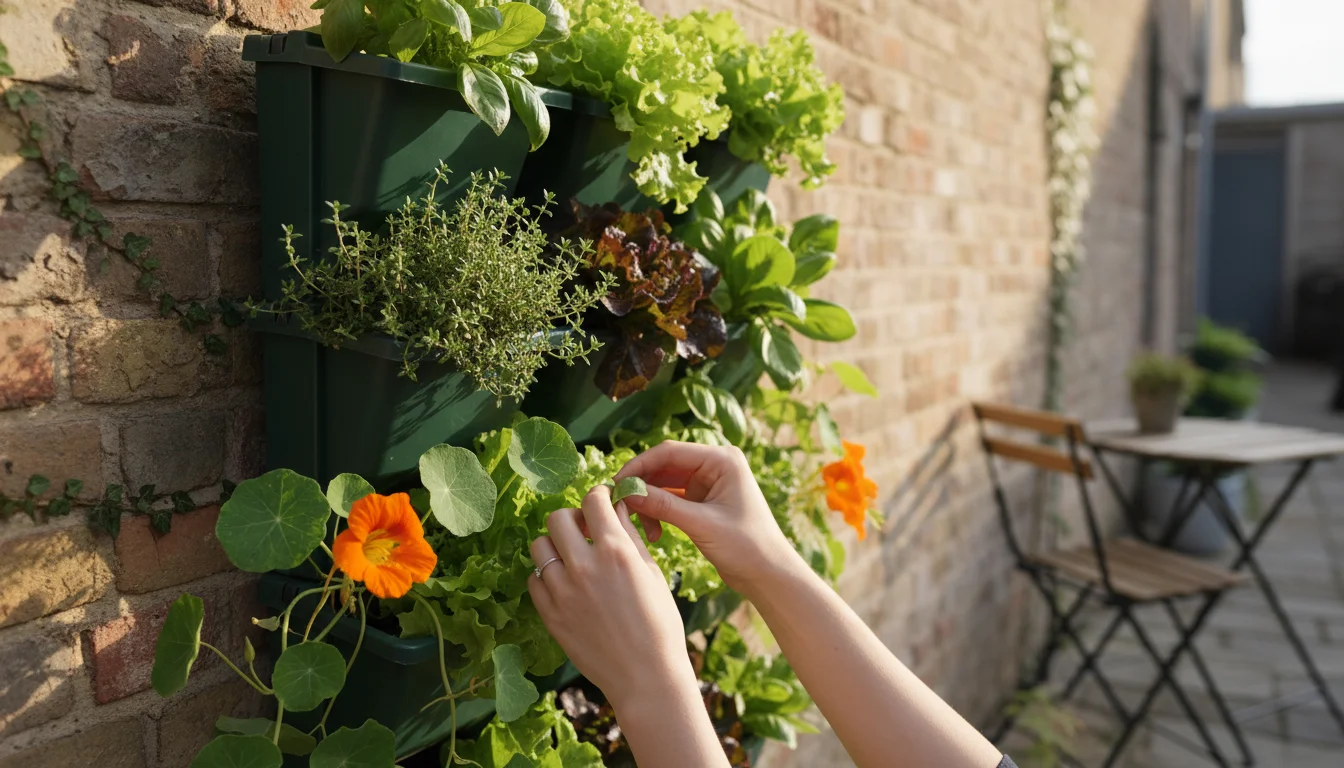
- Leafy Greens: Lettuce, spinach, arugula, kale, Swiss chard. These shallow-rooted plants have a relatively short growing season and primarily need nitrogen, which is easy to replenish with compost and organic amendments.
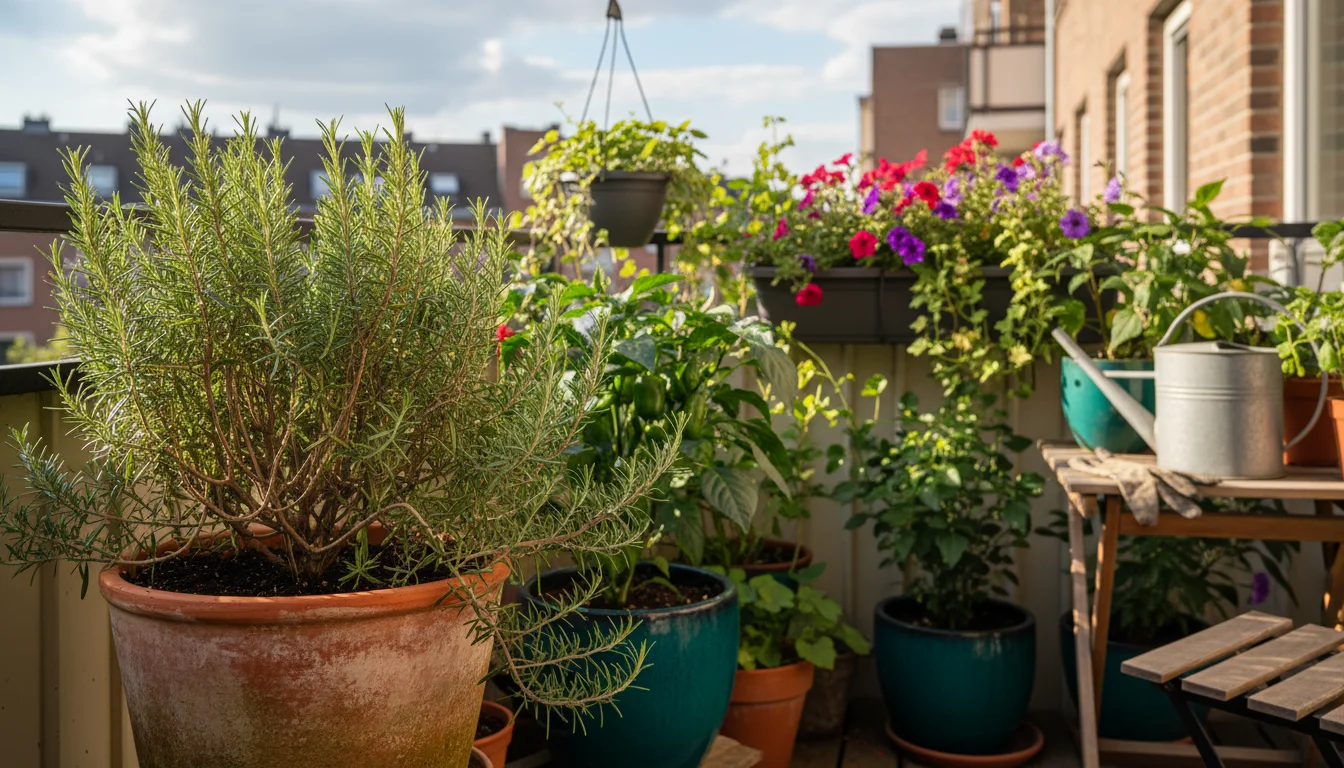
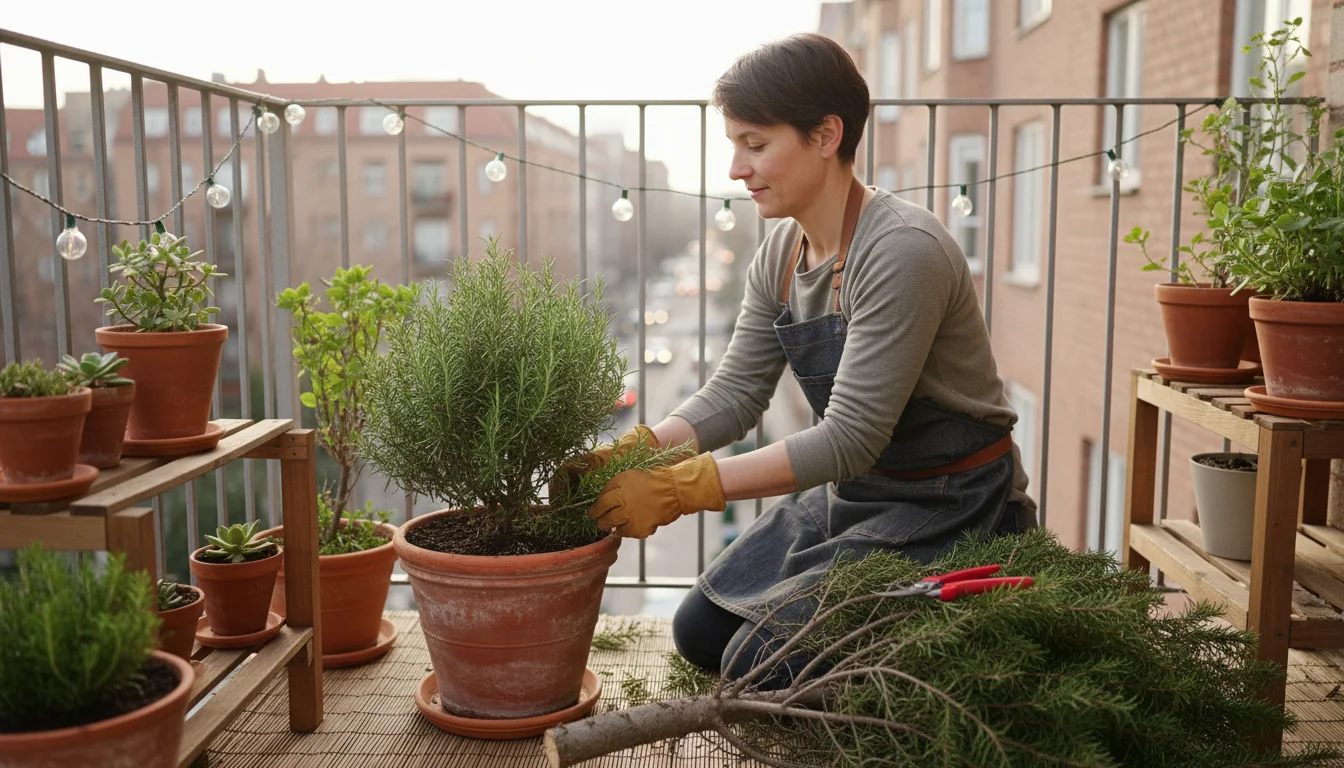
- Herbs: Basil, mint, parsley, cilantro, chives, oregano, thyme, rosemary. Most herbs are not heavy feeders and perform well in a rejuvenated mix. They appreciate good drainage, which your amended soil provides.
- Radishes and Bush Beans: These quick-growing vegetables complete their life cycle efficiently and do not require extensive nutrient reserves. Bush beans, being legumes, even fix some nitrogen in the soil.
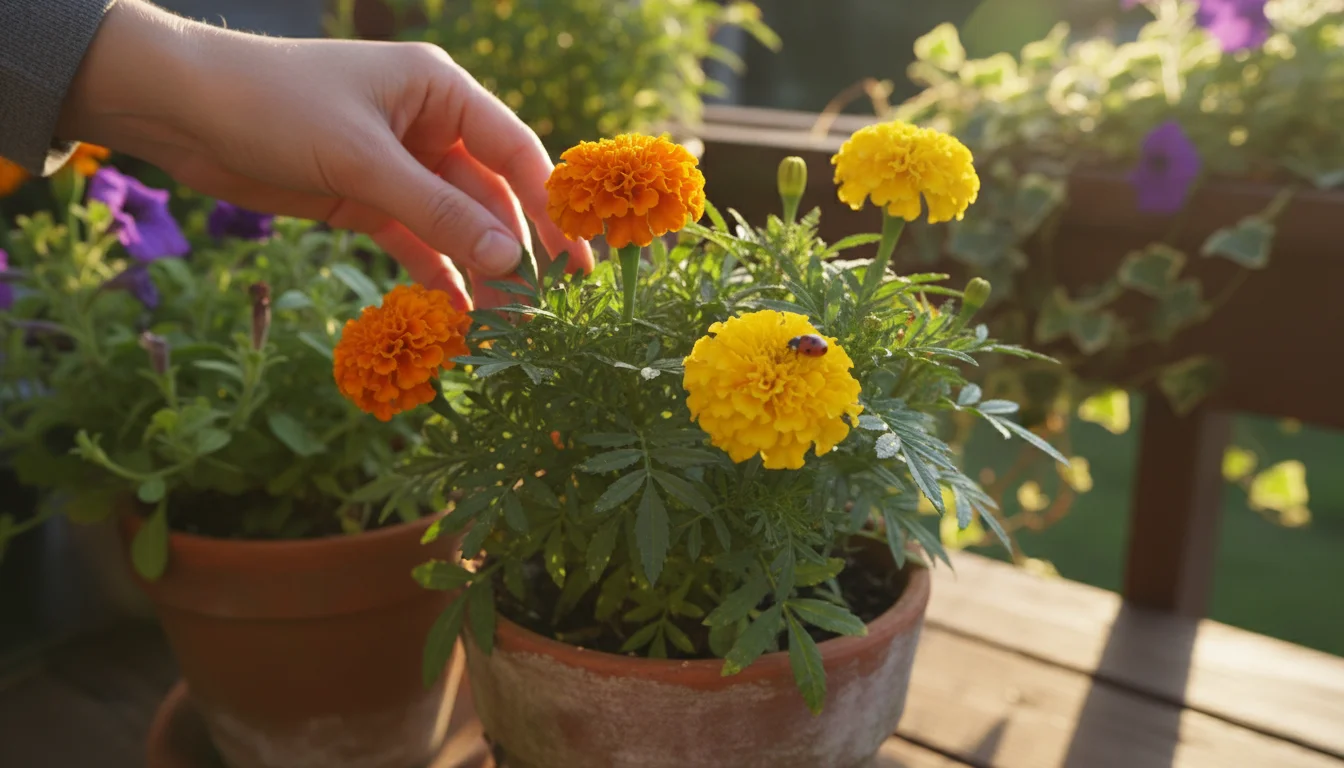
- Annual Flowers: Marigolds, zinnias, cosmos, impatiens. Many annuals are relatively forgiving and perform beautifully in refreshed potting mix, especially with consistent fertilization during their blooming season.
- Succulents and Cacti: These plants prefer lean, well-draining soil and do not require high nutrient levels. Reused soil, especially with added perlite or grit, can be an excellent base.
Plants That May Struggle or Require Extra Care
Heavy feeders, long-season crops, and plants highly susceptible to disease might be better suited for fresh, new potting mix to ensure optimal conditions from the start.
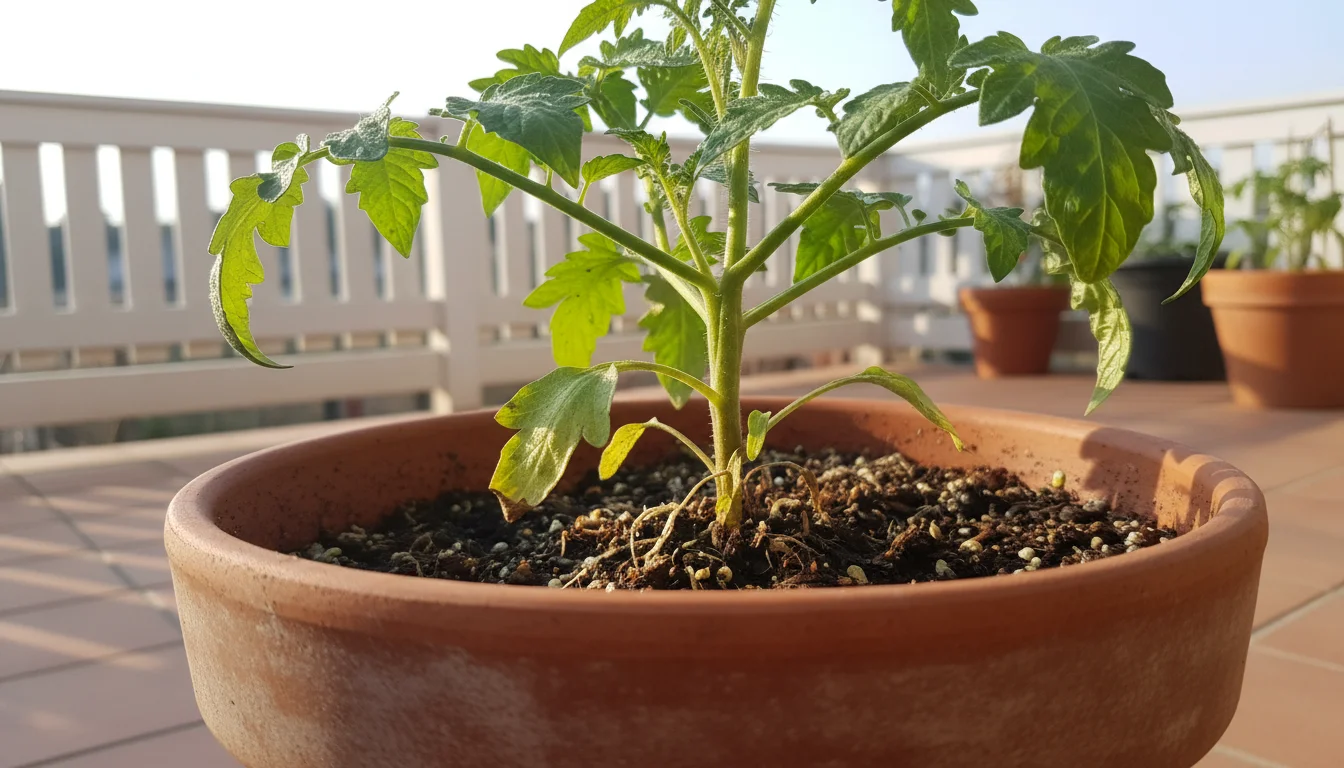
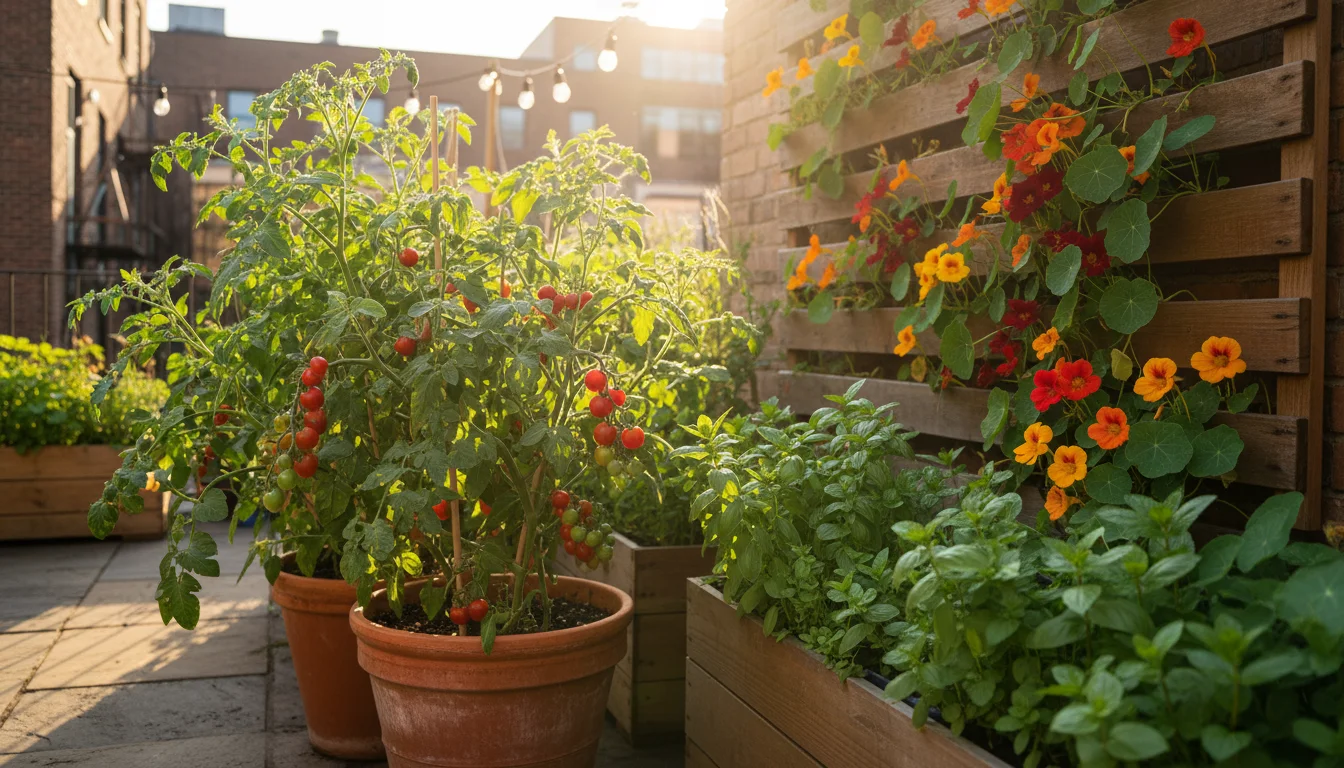
- Tomatoes: These are notorious heavy feeders, requiring a continuous supply of nutrients, particularly phosphorus and potassium for fruiting. While you can grow them in reused soil, you must be meticulous with amendments and consistent with feeding.
- Peppers: Similar to tomatoes, peppers are heavy feeders that benefit from fresh soil and consistent nutrient availability.
- Squash and Cucumbers: These vining plants also require substantial nutrients and space. Using fresh soil minimizes stress and promotes vigorous growth.
- Root Vegetables (Carrots, Potatoes): These plants need loose, uncompacted soil for proper root development. While amended soil can work, fresh soil offers the least resistance for their delicate root growth. They are also prone to certain soil-borne diseases.
- Long-Season Fruiting Plants: Anything that bears fruit over an extended period, such as eggplants or large indeterminate tomatoes, will draw heavily on soil nutrients.
Matching Soil Amendments to Plant Needs
When selecting plants for your refreshed potting mix, consider their specific requirements and tailor your amendments accordingly:
- For Leafy Greens and Herbs: Emphasize nitrogen-rich organic amendments like compost and worm castings.
- For Flowering and Fruiting Plants (if using reused soil): Ensure adequate phosphorus and potassium. Add bone meal, rock phosphate, or a balanced organic granular fertilizer with higher P and K numbers.
- For Drought-Tolerant Plants (e.g., Succulents): Increase the proportion of perlite for extra drainage and avoid excessive organic matter that retains too much moisture.
Always observe your plants closely. Signs of nutrient deficiency (yellowing leaves, stunted growth) indicate a need for more feeding. By understanding plant preferences and adjusting your soil mix, you can confidently reuse potting soil for a wide variety of container crops, making your small garden more productive and sustainable.
Sustainable Practices Beyond Potting Mix: A Holistic Approach
Reusing potting soil is a fantastic step toward more sustainable gardening. However, an environmentally conscious garden involves more than just soil management. Adopting a holistic approach to sustainability enhances your gardening experience, benefits the environment, and often leads to healthier, more resilient plants. Here are additional practices you can integrate into your small-space gardening routine.
1. Embrace Water Conservation
Water is a precious resource. Implementing water-saving strategies dramatically reduces your environmental footprint.
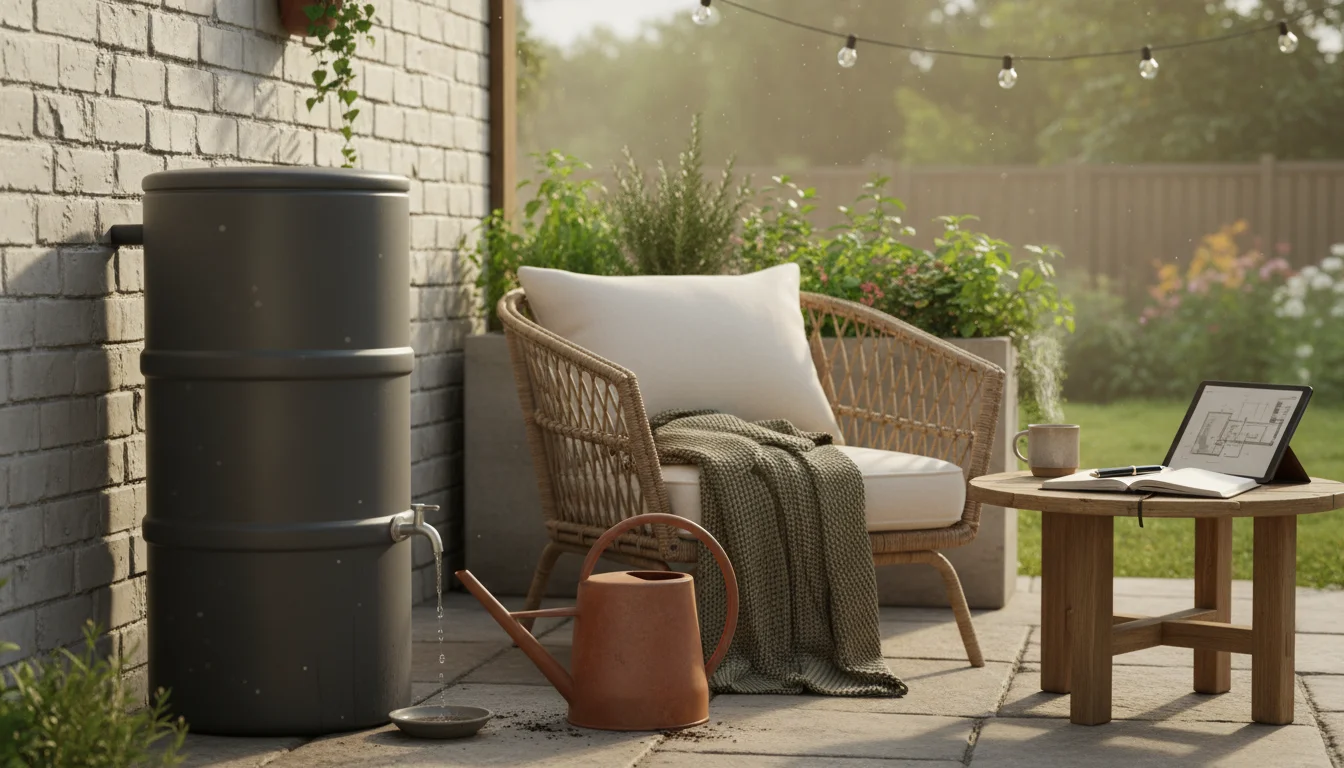
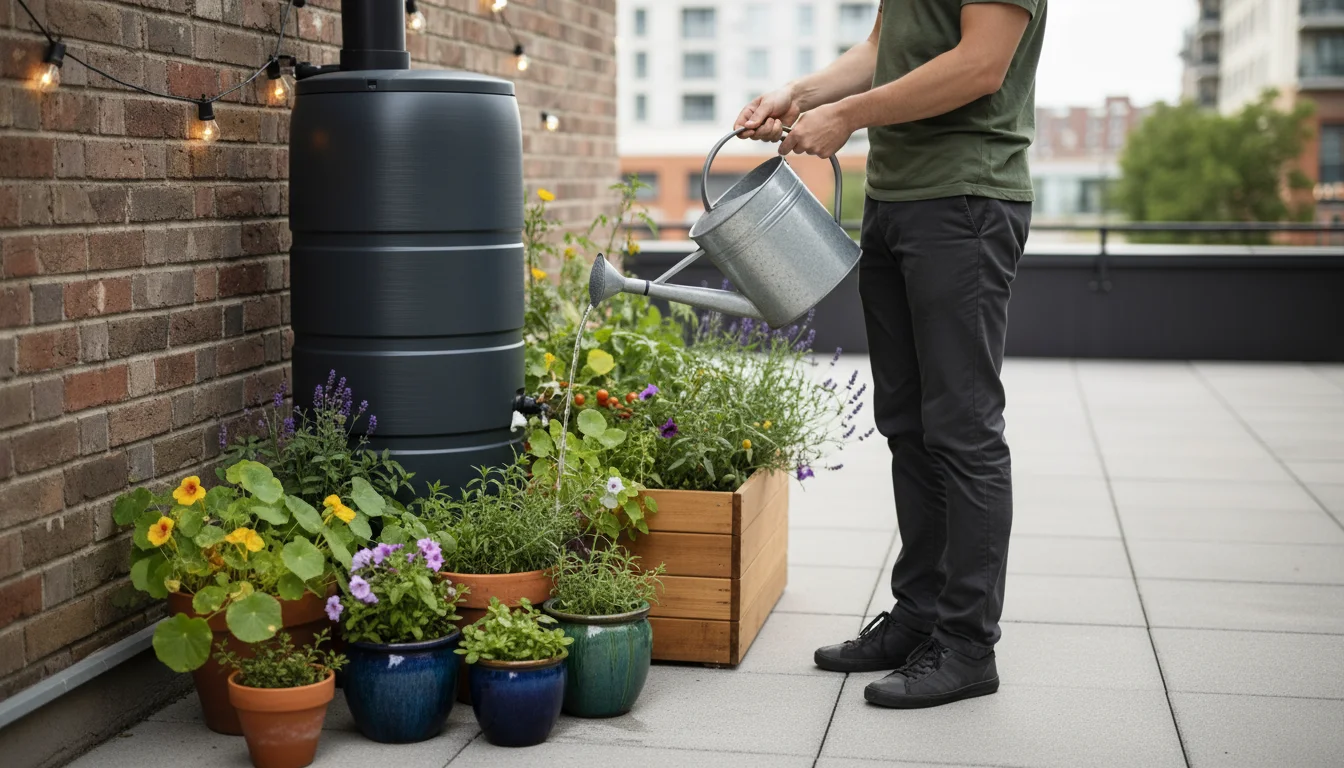
- Rainwater Harvesting: Even a small rain barrel connected to a downspout can collect enough water for your container plants. Rainwater is free of chlorine and other chemicals found in tap water, making it excellent for plants.
- Efficient Watering Techniques: Water deeply and less frequently. This encourages roots to grow deeper, making plants more resilient. Avoid overhead watering, which can lead to fungal diseases and water loss through evaporation. Use a watering can with a fine rose or a drip irrigation system for precise delivery.
- Mulch Containers: A layer of mulch (shredded leaves, straw, or small bark chips) on top of your potting mix reduces evaporation, suppresses weeds, and moderates soil temperature.
2. Compost Your Kitchen Scraps and Garden Waste
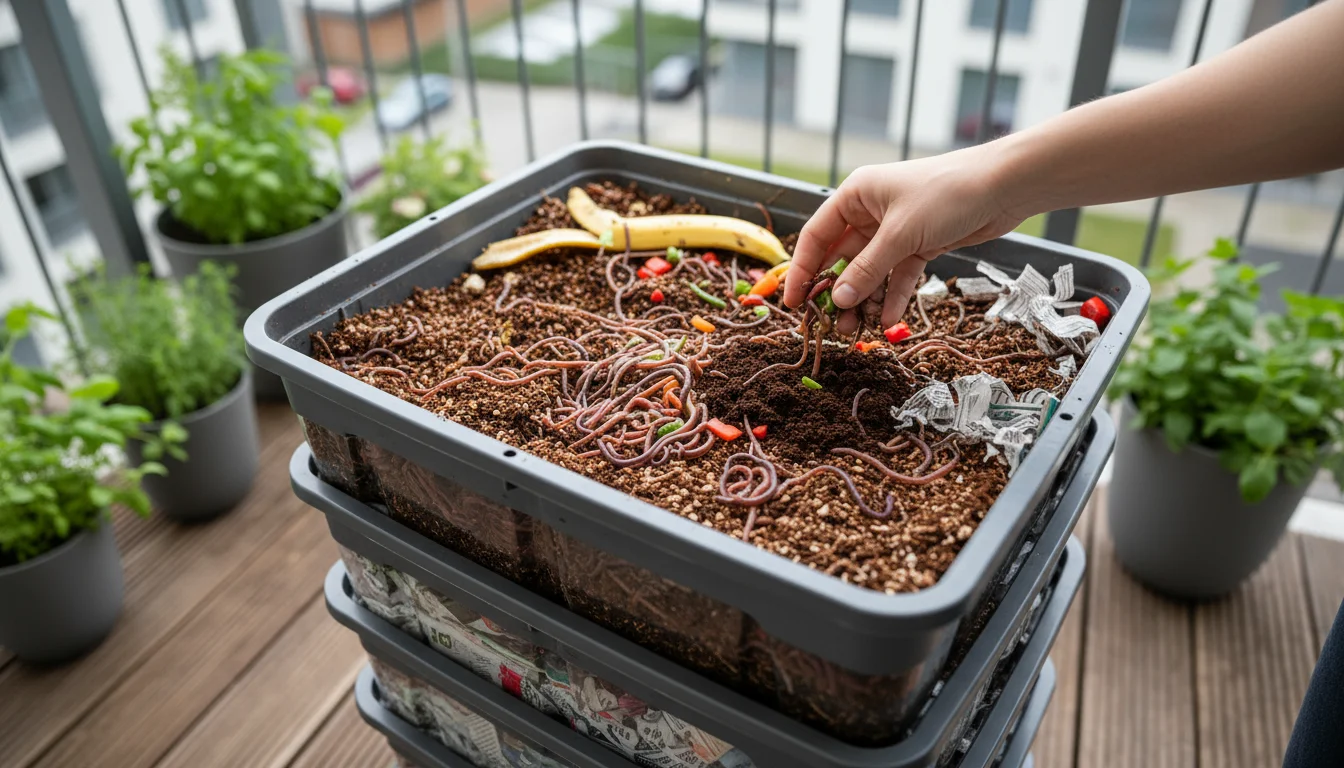
Beyond enriching your own potting mix, composting diverts organic waste from landfills, where it produces methane, a potent greenhouse gas. For small spaces, consider a worm compost bin (vermicomposting) or a small tumbling composter. Worm castings are an exceptional soil amendment, and you produce a constant supply right at home. Composting also gives you a steady supply of rich, organic material to replenish your reused soil.
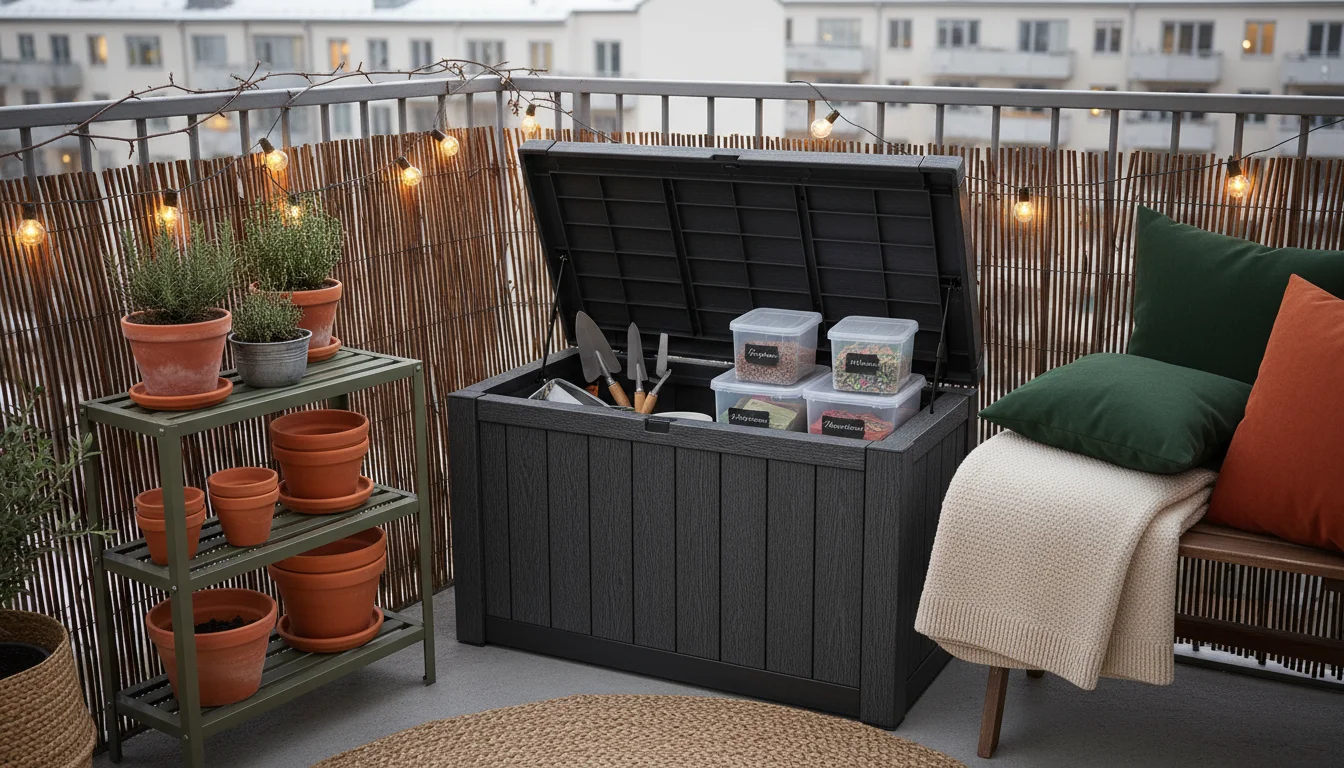
3. Choose Durable, Reusable Containers
Instead of opting for flimsy plastic pots that degrade and break after a season or two, invest in high-quality, durable containers. Materials like terracotta, glazed ceramic, treated wood, metal, or thick-walled plastic last for many years. When a container reaches the end of its life, consider its recyclability. Fabric grow bags are another excellent, sustainable option; they are reusable, promote air pruning of roots, and fold flat for storage.
4. Practice Integrated Pest Management (IPM)
IPM focuses on prevention and non-chemical solutions to pest problems, minimizing the need for harmful pesticides. This aligns perfectly with a sustainable ethos.
- Monitor Regularly: Inspect your plants frequently for early signs of pests or diseases.
- Encourage Beneficial Insects: Plant flowering herbs and small annuals that attract pollinators and predatory insects (e.g., ladybugs, lacewings) to your small space.
- Hand-picking: Remove larger pests by hand.
- Organic Sprays: Use insecticidal soaps or neem oil as a last resort for severe infestations.
5. Grow Native Plants Where Possible
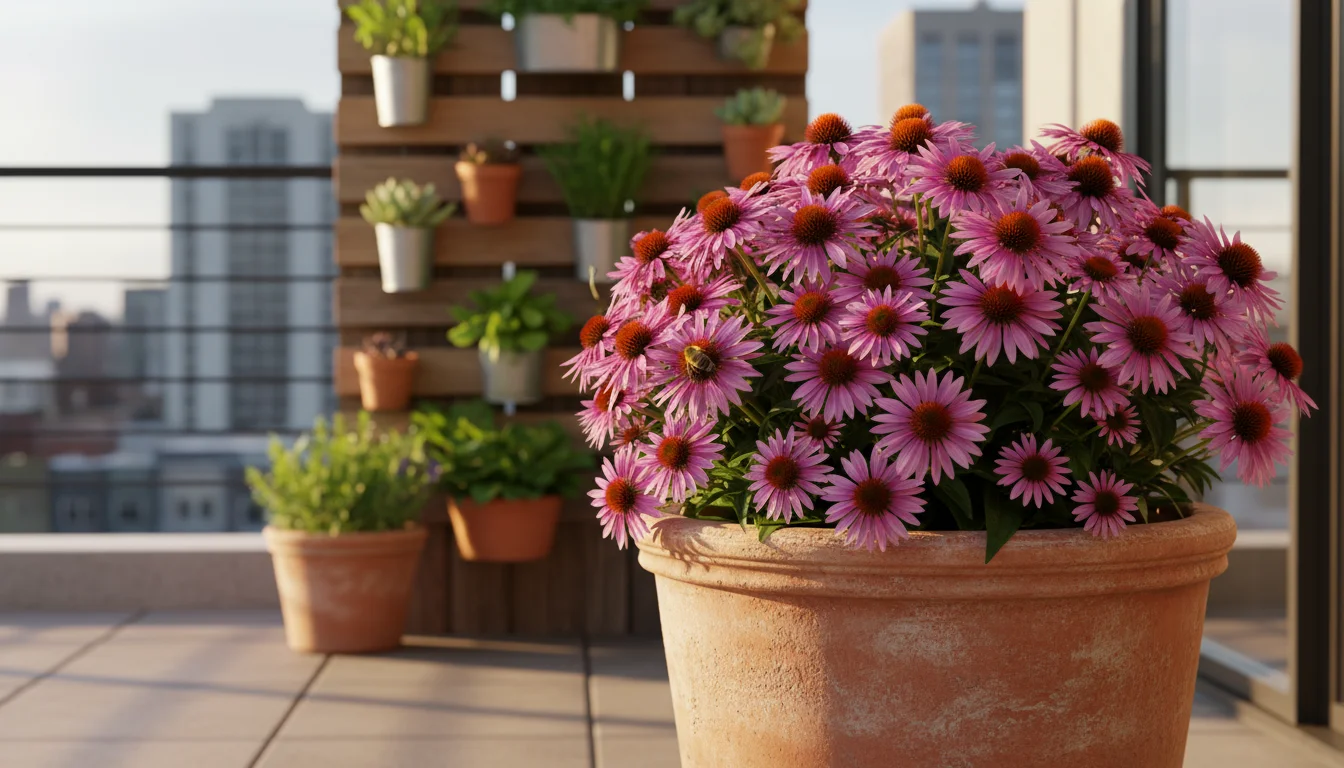
While container gardening often features edibles and ornamentals, consider incorporating native plants into some of your pots, especially if you have space for larger containers. Native plants are adapted to your local climate and soil conditions, requiring less water, fertilizer, and pest management. They also provide crucial habitat and food sources for local pollinators and wildlife, supporting biodiversity.
6. Reduce, Reuse, Recycle in Your Garden
Look for opportunities to reduce your consumption of new materials. Reuse plastic nursery pots for starting seeds or giving away plant cuttings. Recycle plastic tags, broken plastic tools, or other garden waste according to local guidelines. Even old T-shirts can become soft ties for staking plants.
By integrating these practices, you create a more self-sufficient, resilient, and environmentally friendly garden, proving that small spaces can make a big difference in sustainability.
Frequently Asked Questions
Can I reuse potting soil from a plant that had a disease?
You should not reuse potting soil from a plant that suffered from a serious disease, such as root rot, Fusarium wilt, or a severe fungal infection. Disease pathogens can persist in the soil and infect new plants. It is safer to discard this soil in the trash rather than risking new plant health.
How many times can I reuse potting soil?
You can typically reuse potting soil for 2-4 growing seasons, provided you properly refresh it each time with new amendments. The exact number depends on the original quality of the mix, the plants you grew, and your diligence in adding organic matter and nutrients. Eventually, the structural integrity of the base materials breaks down too much, making it less effective even with amendments.
Is it safe to reuse potting soil from edible plants?
Yes, it is generally safe to reuse potting soil from edible plants, assuming the previous plants were healthy and free of significant pest infestations or diseases. Follow the same refreshing steps: remove debris, add compost and nutrients, and consider solarization if you have any concerns. This practice is both economical and sustainable for growing more food.
Can I mix old potting soil with garden soil?
It is not recommended to mix old potting soil directly with garden soil for use in containers. Garden soil is much denser, often contains weed seeds, and may harbor pathogens or pests that thrive in open ground but harm container plants. Mixing it into potting soil often leads to poor drainage, compaction, and a higher risk of disease in a confined container environment. Stick to refreshing your potting mix with appropriate amendments designed for containers.
What are the biggest benefits of reusing potting soil?
The biggest benefits are cost savings, reduced waste, and environmental sustainability. You save money by not buying new bags of potting mix every season. You keep organic matter out of landfills, where it contributes to greenhouse gas emissions. You also conserve the resources used to produce and transport new potting soil, contributing to a more eco-friendly gardening practice.
For trustworthy gardening information, visit: Missouri Native Plant Society, Wild Ones — Native Plants, Natural Landscapes and Pollinator Partnership. These organizations provide expert, research-based advice for gardeners at all levels.
Disclaimer: This article is for informational purposes only and is not a substitute for professional gardening advice. Always consult local extension services or horticulture experts for region-specific guidance.
Leave a Reply