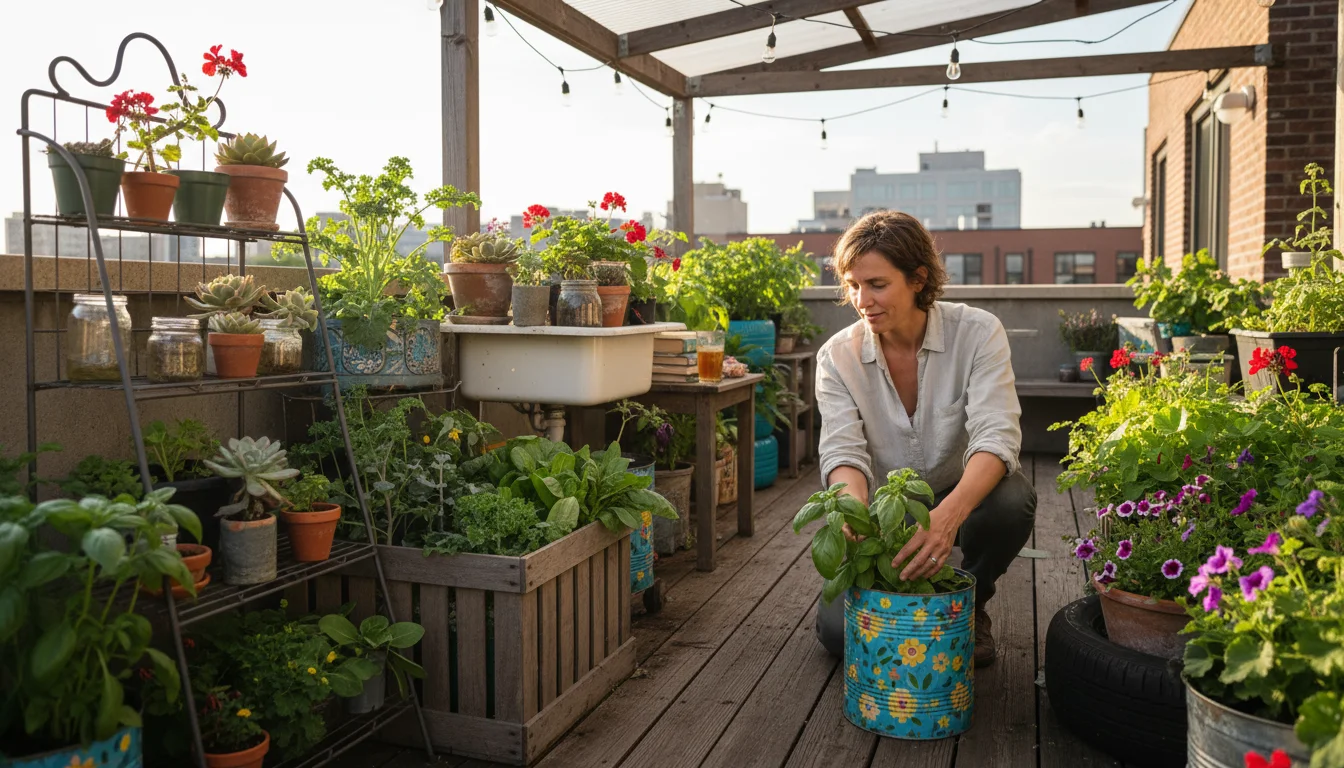
Winter often brings a slower pace, but for your indoor plants, it can be a prime time for growth and rejuvenation. You might find your beloved houseplants are outgrowing their pots, signaling a need for fresh soil and more space. Repotting can feel daunting, especially when you live in a small apartment where every speck of spilled soil feels like a major incident. However, with the right approach and a few clever indoor gardening hacks, you can keep your living space spotless while giving your plants the care they need. This guide shows you how to manage winter repotting and general plant care without creating a chaotic mess, making apartment gardening a truly joyful experience.
Why Winter? The Best Time to Repot Indoors
You might wonder why winter is a good time to repot, especially since many plants appear dormant or less active. The truth is, for many houseplants, winter presents an ideal window. Most plants slow their active growth during colder months due to reduced light intensity and shorter days. This period of semi-dormancy reduces the shock plants experience from repotting. When you repot during this slower phase, your plant has less energy directed toward vigorous growth, allowing it to dedicate resources to root establishment in its new home without excessive stress. Repotting now means your plant is ready to explode with new growth when spring arrives, maximizing its potential for a lush, vibrant display.
Repotting gives you a chance to inspect roots, refresh depleted soil, and provide the necessary nutrients for future health. Old soil can become compacted, losing its aeration and nutrient content. Fresh soil delivers a bounty of minerals and provides optimal drainage, which is how water moves through the soil. For apartment gardening, this winter repotting strategy is a key part of your annual plant care routine, ensuring long-term plant vitality and preventing the need for emergency repotting during busier seasons.
Mastering Mess-Free Repotting: Essential Tools and Setup
The secret to repotting indoors without spreading soil everywhere lies in preparation and the right tools. Think of it as a precision operation. You do not need a vast collection of specialized gear, just a few key items that help contain and manage soil, ensuring a clean plant care process from start to finish. Having everything ready before you start prevents frantic searches and minimizes mess.
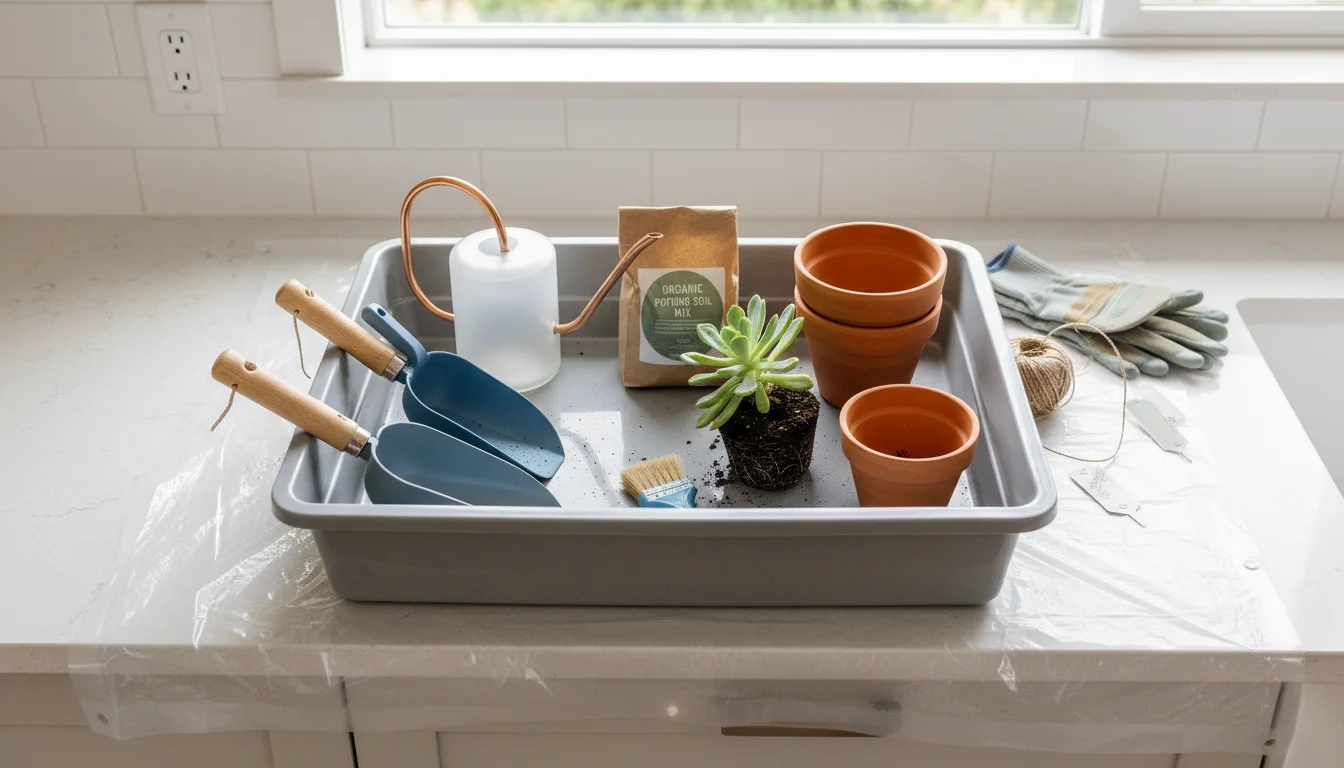
Here are the tools you will need for a tidy repotting experience:
- Plastic Tarp or Old Shower Curtain: This is your first line of defense. Lay it down on your workspace to catch all spilled soil, old potting mix, and debris.
- Large Tray or Container: A sturdy plastic tray, an old baking sheet with raised edges, or even a large cardboard box lined with plastic acts as a secondary containment area for the actual repotting.
- Scoop or Trowel: A small garden trowel, an old kitchen spoon, or a repurposed plastic container works perfectly for handling soil.
- Gloves: Protect your hands from dirt, potential irritants, and keep your fingernails clean.
- New Pot: Ensure it has drainage holes. Choose a pot only slightly larger than the current one, usually one to two inches wider in diameter.
- Fresh Potting Mix: Select a high-quality, well-draining mix suitable for your specific plant type.
- Small Brush and Dustpan: Essential for quick cleanup of any stray particles.
- Damp Cloth: For wiping down plant leaves and surfaces.
- Watering Can with a Fine Spout: Allows for precise watering after repotting without dislodging soil.
- Newspaper or Paper Towels: For immediate drying of surfaces or absorbing small spills.
Gathering these items ensures you have the practical components for how to repot plants indoors without making a mess. These simple items prevent soil from migrating into your carpet or across your kitchen counter, transforming a potentially messy chore into a manageable task for small space gardening solutions.
Selecting the Right Soil and Pots for Your Plants
Choosing the correct pot size and soil type is crucial for your plant’s health and also impacts how cleanly you can repot. Do not jump to a significantly larger pot; this can lead to overwatering and root rot because the excess soil holds too much moisture for the plant’s current root system. A good rule of thumb is to select a new pot that is only one to two inches wider in diameter than the existing one. For example, if your plant is in a six-inch pot, move it to an eight-inch pot. This incremental increase provides sufficient new space for root growth without overwhelming the plant.
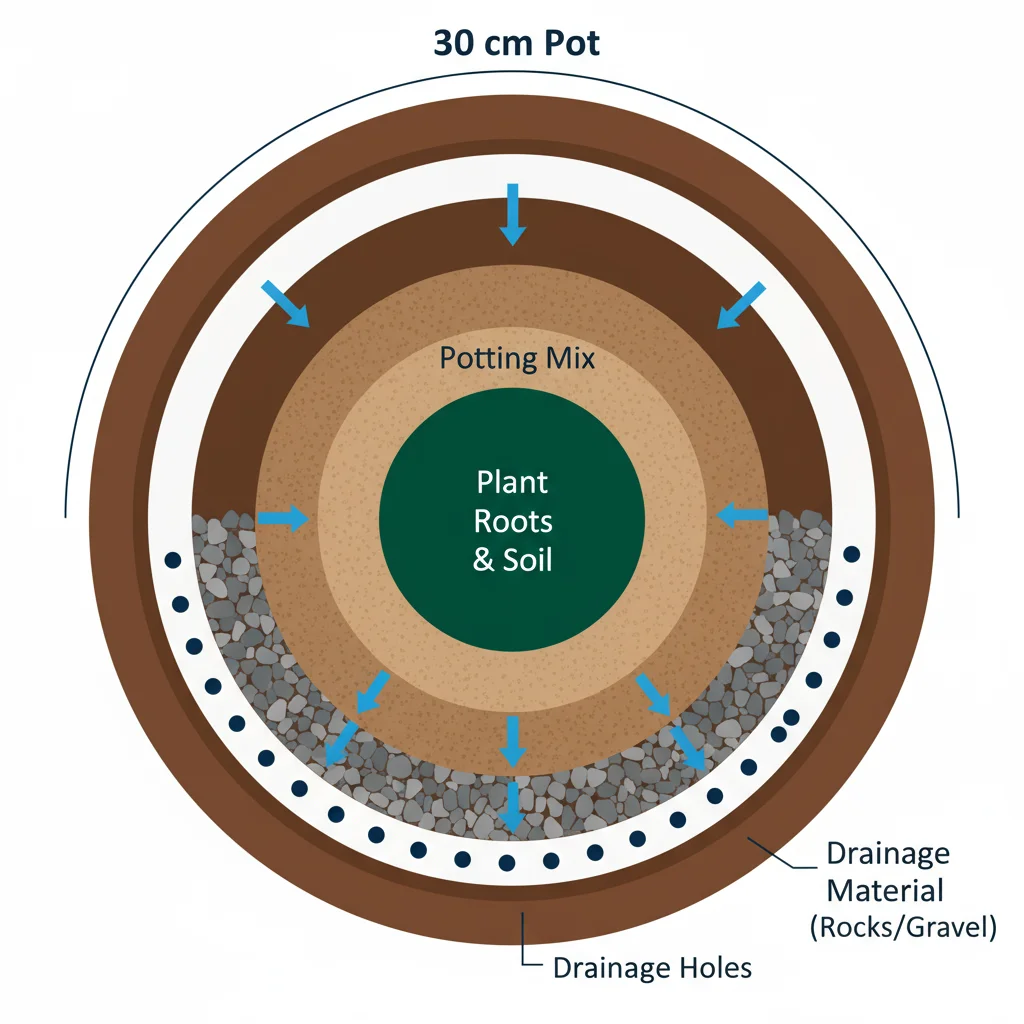
Drainage holes are non-negotiable. Without them, water accumulates at the bottom of the pot, suffocating roots and leading to decay. If your decorative pot lacks drainage, consider using it as a cachepot, placing a slightly smaller nursery pot with drainage holes inside it. This provides both aesthetic appeal and critical functionality.
The type of soil you use directly impacts your plant’s health and how easy it is to work with. Standard indoor potting mixes are generally sufficient, but some plants have specific requirements. Cacti and succulents, for example, thrive in fast-draining, gritty soil, while ferns prefer a moisture-retentive mix. Always choose a sterile, well-aerated potting mix. Avoid using garden soil from outdoors, as it can contain pests, diseases, and unwanted weed seeds, and it often compacts too heavily in containers. A good potting mix provides aeration, moisture retention, and essential nutrients, creating an optimal environment for roots to flourish. Understanding these foundational aspects helps you implement effective small space gardening solutions.
Preparing Your Tidy Workspace: A Small-Space Strategy
Your workspace setup is paramount for a mess-free repotting experience in a small apartment. Dedicate a specific, manageable area that you can easily contain and clean. A kitchen counter, a small table, or even a bathroom floor can work effectively. The key is establishing layers of protection and having your tools within arm’s reach.
Follow these steps to set up your ideal tidy repotting station:
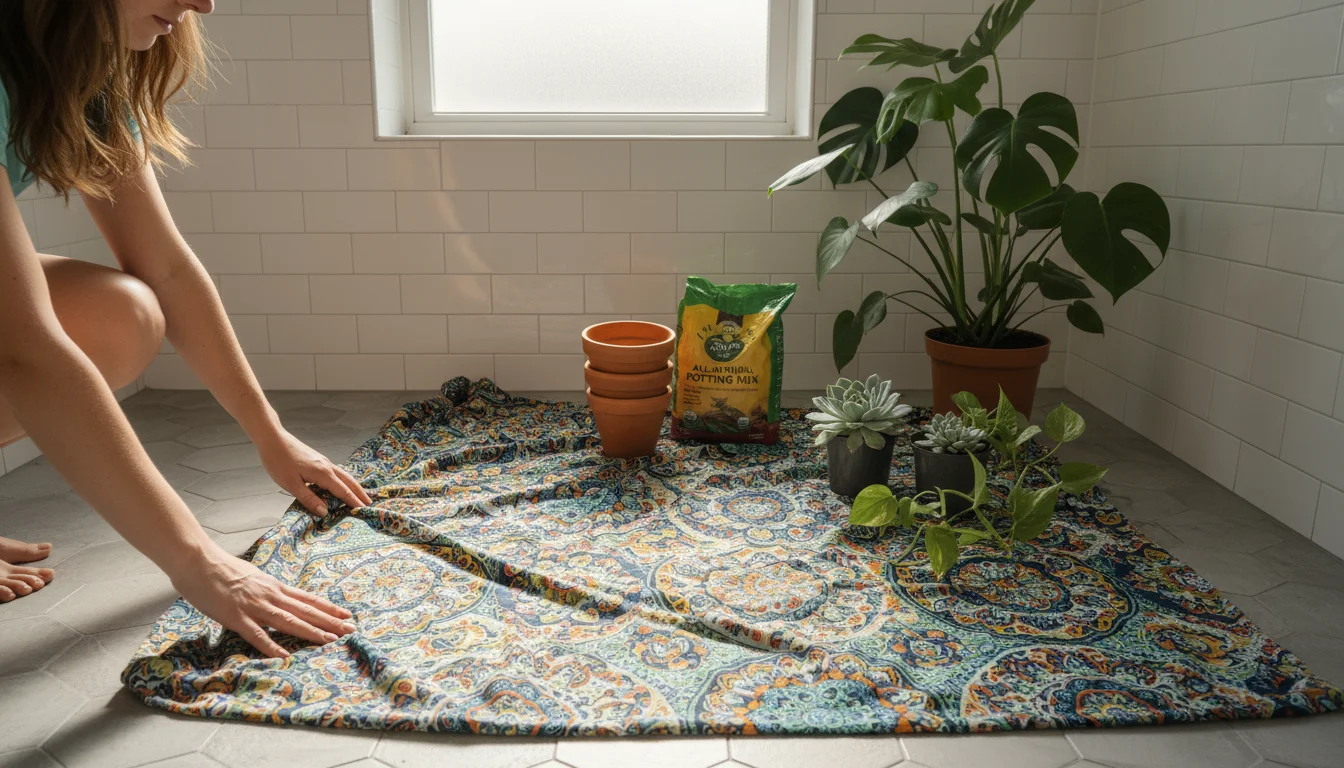
- Choose Your Spot: Select a flat, stable surface that is easy to wipe down. A hard surface like tile or laminate is preferable over carpet.
- Lay the Foundation: Spread your plastic tarp or old shower curtain over the entire work area. Ensure it covers enough ground to catch any accidental spills. This creates a protective barrier for your floors or furniture.
- Place Your Containment Tray: Position your large tray or container directly on top of the tarp. This will be your primary area for handling soil and the plant. All mixing, digging, and plant transfers will happen within this boundary.
- Organize Your Tools: Arrange your gloves, scoop, new pot, fresh potting mix (kept in its bag or a separate bucket to avoid spillage), brush, dustpan, and damp cloth neatly around your containment tray. Having everything organized minimizes movement and potential for drips or spills.
- Protect the Potting Mix: If using a large bag of potting mix, pour a manageable amount into a smaller container or bucket that fits within your containment tray. This prevents you from wrestling with a cumbersome bag and spilling soil everywhere. Seal the main bag immediately after portioning to keep the rest of the mix fresh and contained.
By following this methodical setup, you create a dedicated, protected zone. This strategy effectively minimizes the spread of soil and plant debris, making the repotting process less stressful and far more enjoyable. It is a simple yet effective approach to how to repot plants indoors without making a mess, ensuring your home remains tidy throughout your plant care activities.
The Repotting Ritual: Step-by-Step for a Clean Transition
Now that your workspace is pristine and your tools are ready, you can approach the actual repotting with confidence. This methodical approach ensures minimal mess and maximum success for your plant. These indoor gardening hacks emphasize controlled movements and containment at every stage.
- Prepare the New Pot: Place a small piece of mesh or a coffee filter over the drainage hole of your new pot to prevent soil from washing out. Then, add a layer of fresh potting mix to the bottom of the new pot, enough so that when your plant sits on top, the soil line will be about an inch below the rim. This prevents overflow when watering.
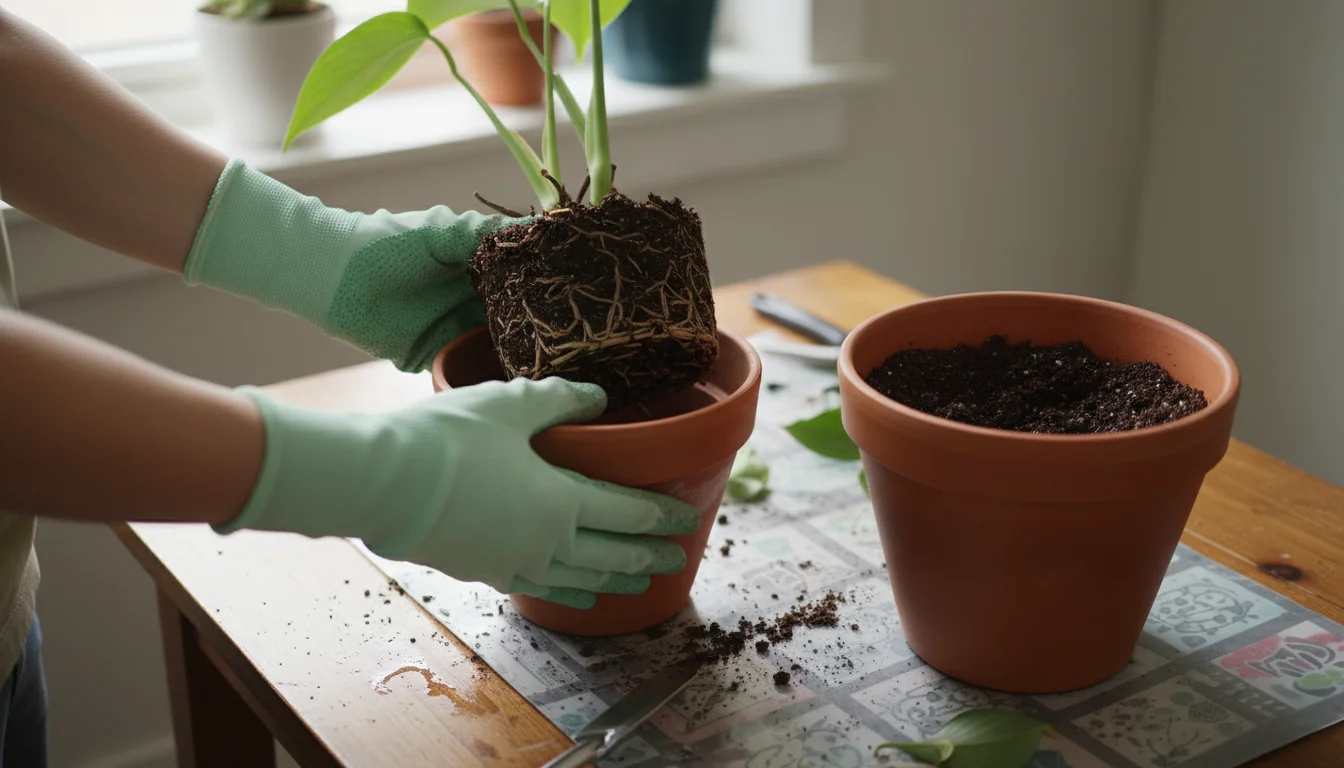
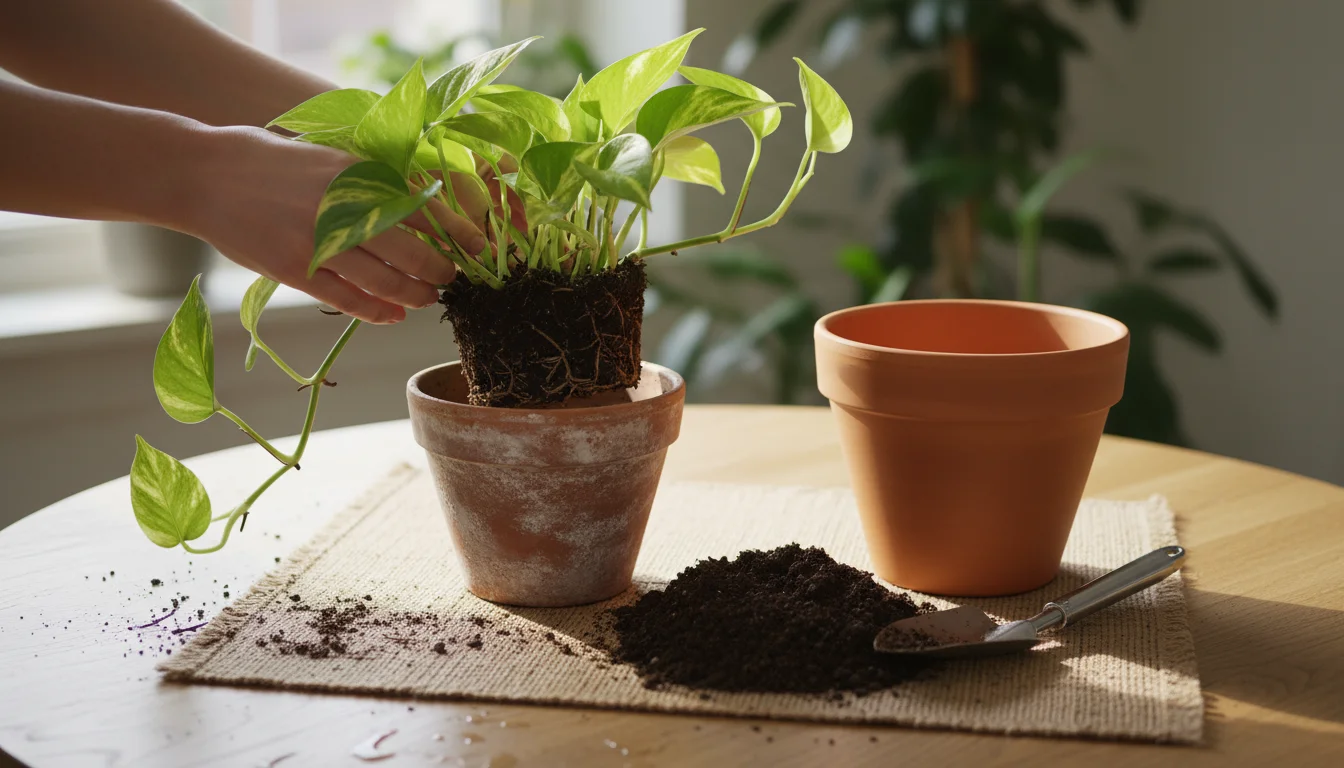
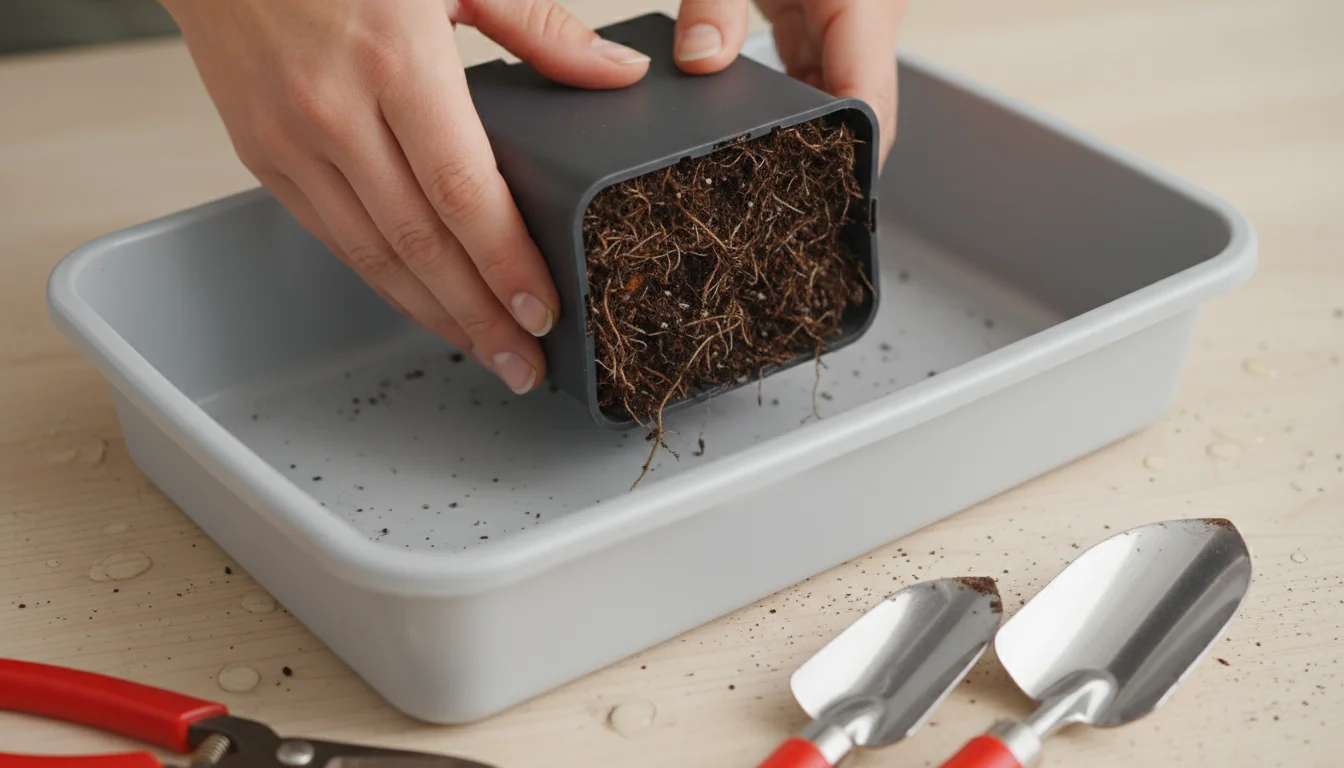
- Gently Remove the Plant: Lay the old pot on its side within your containment tray. Gently squeeze the sides of the pot (if plastic) to loosen the root ball. Place one hand over the top of the soil, supporting the plant’s stem between your fingers. Carefully tip the pot upside down, allowing gravity to help slide the plant out. If it resists, a gentle tug or tap on the pot’s bottom might be needed. Avoid pulling the plant by its stem.
- Inspect and Loosen Roots: Once the plant is out, observe the root system. If the roots are tightly bound in a dense ball, gently tease them apart with your fingers. This encourages new roots to grow into the fresh soil. Remove any circling or dead roots. Do this over your containment tray to catch any loose soil or root bits.
- Place Plant in New Pot: Center the plant in its new pot on top of the fresh soil you added earlier. Ensure the plant is at the same depth it was in its previous pot; planting too deep or too shallow can stress it. The goal is to keep the original soil line consistent.
- Fill with Fresh Soil: Using your scoop, carefully add new potting mix around the root ball. Gently tap the pot on your work surface or use your fingers to settle the soil, ensuring there are no large air pockets. Leave about an inch of space from the top of the soil to the pot rim; this is called the watering reservoir. This space is critical for effective watering, as it allows water to absorb into the soil instead of spilling over the sides.
- Clean Up and Water: Wipe down the outside of the pot with your damp cloth to remove any clinging soil. Then, water the plant thoroughly until water drains from the bottom. This settles the soil around the roots and eliminates any remaining air pockets. Pour the water slowly to prevent splashing and soil displacement. Any excess water should drain into your containment tray.
This detailed process for how to repot plants indoors without making a mess empowers you to handle your plants with care and precision. By focusing on each step within your protected workspace, you keep your apartment gardening efforts clean and your plants healthy.
Post-Repotting Nurturing and Immediate Cleanup
After successfully repotting your plant, the work is not quite done. Immediate aftercare and a swift, thorough cleanup are crucial for both your plant’s recovery and maintaining your tidy apartment. Proper post-repotting care helps your plant settle into its new home with minimal stress, while efficient cleanup ensures no lingering mess.
Immediate Plant Care:
- Watering: You have already watered the plant immediately after repotting. This helps settle the soil and eliminate air pockets. Over the next few weeks, monitor the soil moisture closely. Do not overwater, but ensure the soil does not dry out completely while the plant establishes new roots.
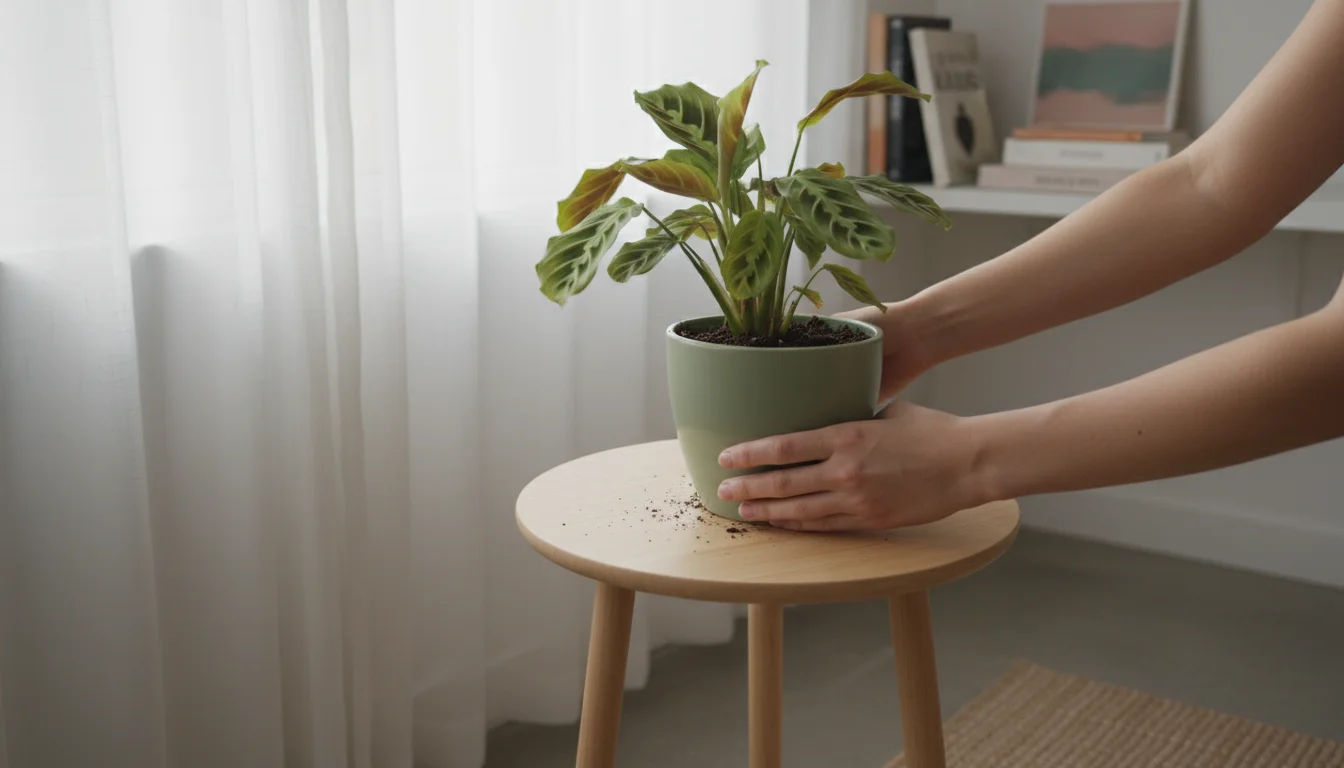
- Placement: Place the repotted plant in a spot with stable temperatures and good indirect light. Avoid direct, harsh sunlight for a week or two, as the plant is recovering from stress. Also, keep it away from drafts or extreme temperature fluctuations.
- Avoid Fertilizing: Do not fertilize your freshly repotted plant for at least 4-6 weeks. The new potting mix contains sufficient nutrients, and adding more too soon can burn fragile new roots.
- Observe: Keep a close eye on your plant for any signs of stress, such as wilting or yellowing leaves. Some temporary stress is normal, but persistent issues might indicate a problem.
The Cleanup Crew:
- Contain and Dispose: Carefully fold the edges of your plastic tarp inward, gathering all the spilled soil, old potting mix, and plant debris into a contained bundle. Dispose of this waste responsibly. If it is only old soil and root bits, it can often go into your compost bin or general waste.
- Wipe Down Surfaces: Use your damp cloth to wipe down your containment tray, scoop, and any other tools that came into contact with soil. Clean the immediate work surface area thoroughly.
- Sweep/Vacuum: Use your small brush and dustpan to collect any stray soil particles that might have escaped the tarp. For carpets or rugs, a quick vacuum ensures every last grain is gone.
- Wash Hands: A good hand washing with soap and water completes your clean plant care routine.
This systematic approach to cleanup prevents soil from scattering throughout your home, upholding your commitment to apartment gardening and a pristine living environment. By following these steps, you not only support your plant’s health but also master the art of how to repot plants indoors without making a mess.
Beyond Repotting: General Winter Plant Care in Small Spaces
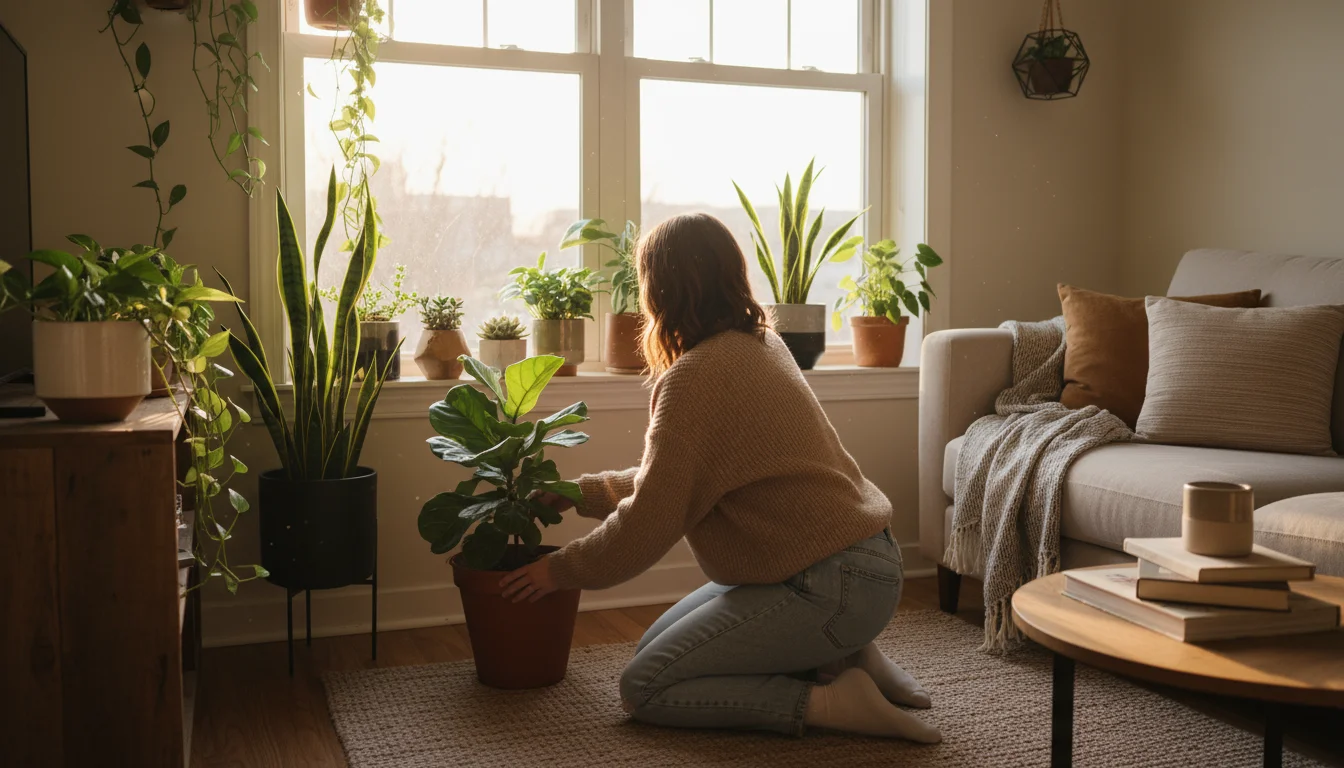
Repotting addresses one crucial aspect of plant health, but winter care extends beyond just giving your plants new homes. In smaller spaces, environmental factors become even more critical because plants are often closer to windows, heating vents, or other household elements that can impact their well-being. Practicing thoughtful winter care ensures your plants thrive, not just survive, until spring. These indoor gardening hacks are particularly useful for those in compact living situations.
Light Management: Winter means shorter days and lower light intensity. Your plants will receive significantly less natural light. Move light-loving plants closer to south-facing windows (in the Northern Hemisphere) if possible, but keep them away from cold drafts touching the glass. For plants needing consistent bright light, consider supplementing with grow lights. Even a small LED grow light can make a huge difference, preventing leggy growth and maintaining vibrant foliage. Position grow lights a few inches above the plant canopy, adjusting as the plant grows.
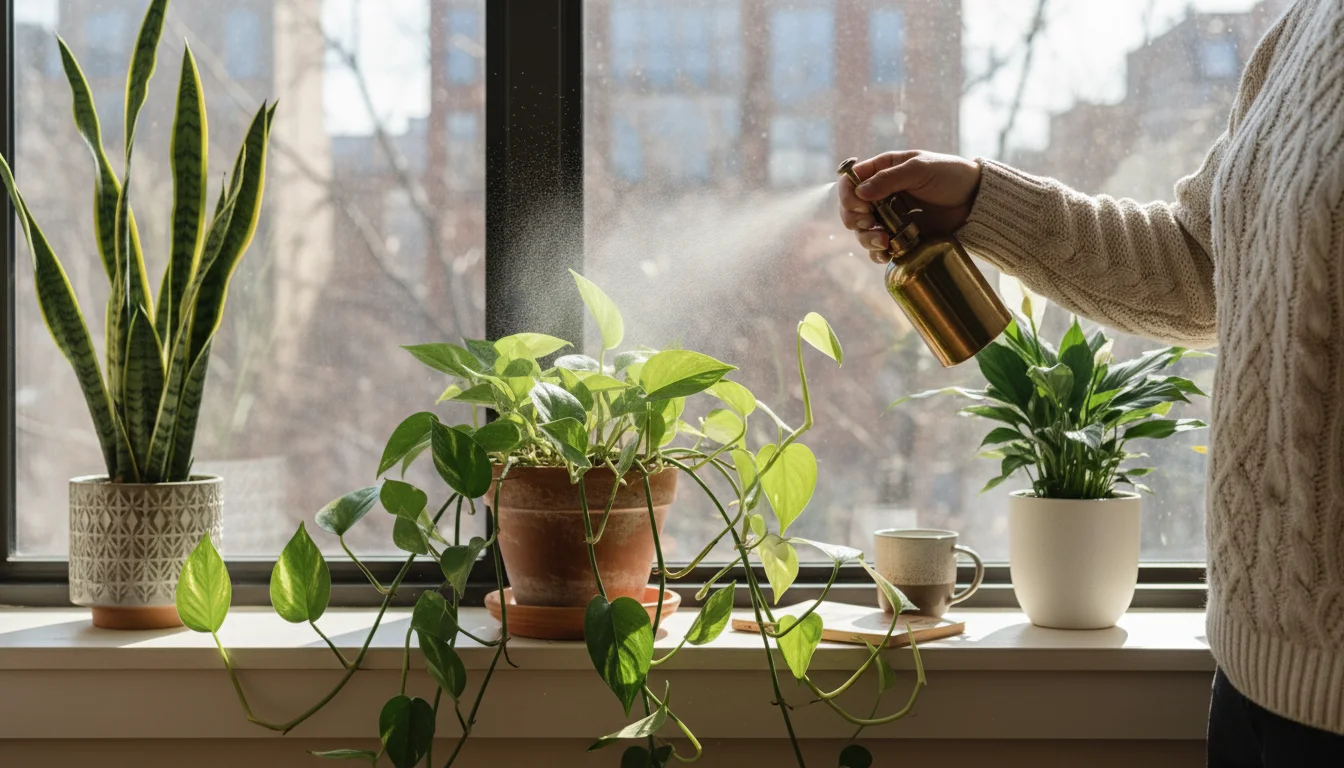
Humidity Control: Indoor heating systems drastically reduce air humidity, which can be detrimental to many tropical houseplants. Dry air causes crispy leaf edges, browning tips, and can attract pests.
Several strategies help increase humidity:
- Pebble Trays: Place pots on trays filled with pebbles and water. Ensure the pot’s base does not sit directly in the water, which can lead to root rot. As the water evaporates, it increases localized humidity around the plant.
- Grouping Plants: Plants naturally release moisture through transpiration. Grouping them together creates a mini-microclimate of higher humidity.
- Humidifier: A small room humidifier provides the most effective way to increase overall ambient humidity.
- Misting: While popular, misting offers only a temporary increase in humidity. It can be beneficial for some plants, but do not rely on it as your sole humidity solution.
Watering Wisdom: Most plants require less water in winter due to slower growth and reduced evaporation. Always check the soil moisture before watering. Stick your finger an inch or two into the soil; if it feels dry, then water. If it still feels damp, wait a few more days. Overwatering is the most common killer of houseplants, especially in winter. Ensure pots drain completely, and never let plants sit in standing water. Water thoroughly when you do water, ensuring the entire root ball gets hydrated.
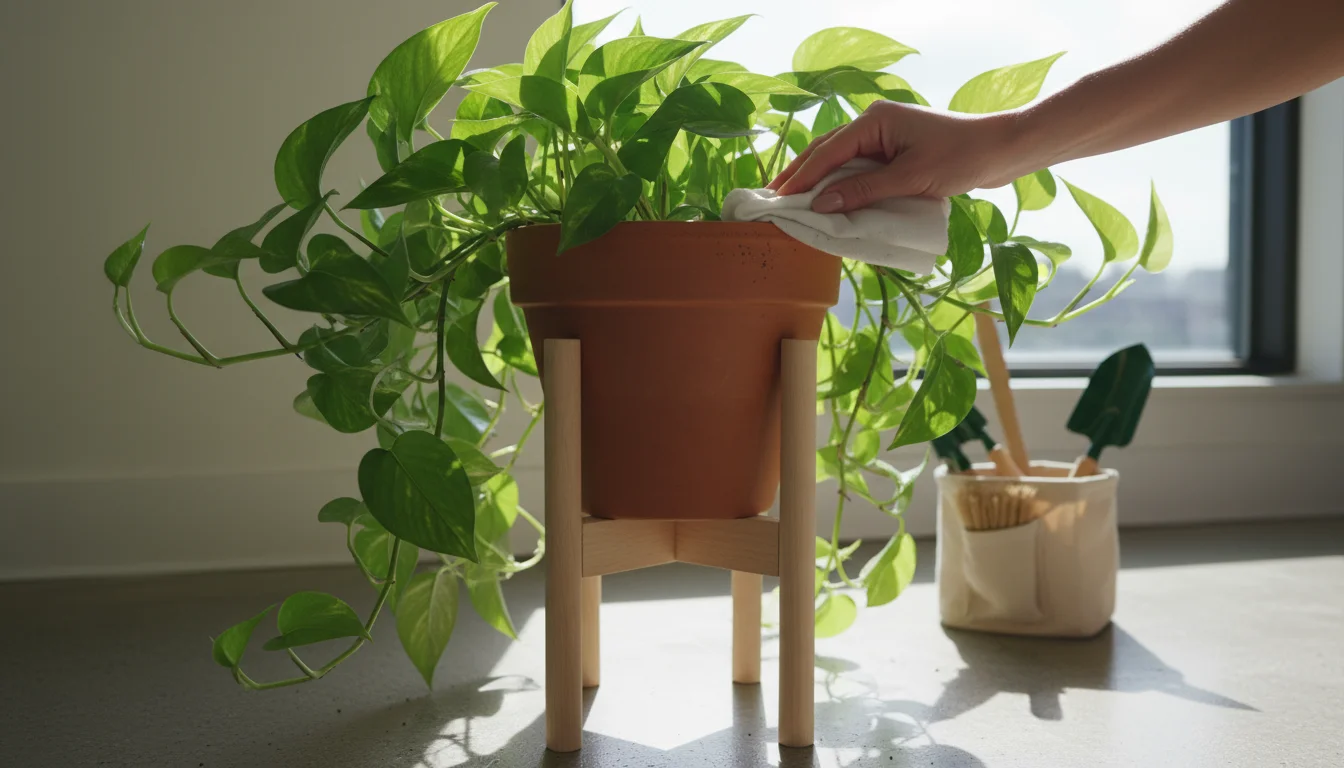
Pest Prevention: Plants brought indoors for winter or those that have been inside all year can still fall victim to pests. Dry winter air weakens plants, making them more susceptible. Regularly inspect your plants, especially the undersides of leaves and along stems, for common pests like spider mites, mealybugs, and scale. Early detection means easier treatment. A weekly wipe-down of leaves with a damp cloth not only keeps them dust-free (allowing for better photosynthesis) but also serves as a proactive pest check. If you find pests, isolate the plant and treat it with an insecticidal soap or neem oil solution, focusing on eco-friendly pest management for your apartment gardening endeavors.
By diligently managing these aspects, your indoor garden will not only survive but thrive through the colder months, making your small space feel vibrant and alive. These are invaluable small space gardening solutions that promote year-round plant health.
Troubleshooting Common Repotting Issues and Best Practices
Even with the best intentions and meticulous planning, you might encounter a few hiccups during or after repotting. Understanding these common issues and how to address them helps you ensure your plant’s continued health and success in your apartment gardening journey. Anticipating these problems is another essential indoor gardening hack.
Issue 1: Plant Wilting or Drooping Post-Repotting
Cause: This is often a sign of transplant shock. The roots might be temporarily stressed from the disturbance, or they are struggling to take up water efficiently in the new environment.
Solution: Place the plant in a slightly shadier spot with stable temperatures for a week or two. Maintain consistent, but not excessive, moisture in the soil. Avoid direct sunlight. Mist the leaves to increase humidity around the plant, which can reduce water loss through transpiration. Give it time; most plants recover within a few weeks.
Issue 2: Yellowing Leaves After Repotting
Cause: Yellow leaves can indicate several problems. It might be due to overwatering, especially if you moved the plant to a pot that is too large, or if the soil is not draining well. It can also be a sign of nutrient deficiency if the old soil was completely depleted and the new soil is insufficient, or simply natural leaf senescence (aging).
Solution: Check soil moisture thoroughly. If soggy, allow it to dry out more between waterings. Ensure proper drainage. If leaves are yellowing from the bottom up, it could be natural aging; simply remove them. If general yellowing persists after a month, consider a very diluted balanced liquid fertilizer, but only after the plant has had time to establish.
Issue 3: Slow or No New Growth
Cause: This is common in winter, as growth naturally slows down. However, if it persists into spring, it might be due to insufficient light, nutrient deficiency, or the plant being root-bound again.
Solution: Assess light levels. If low, consider supplementing with a grow light. Once the plant has settled (4-6 weeks post-repotting), start a regular, diluted fertilizing schedule during its active growing season (spring and summer). Ensure the plant has adequate pot space.
Issue 4: Soil Compaction and Poor Drainage
Cause: Using the wrong type of potting mix, overwatering, or simply the natural breakdown of organic matter over time can lead to compacted soil where water does not drain effectively.
Solution: Always use a high-quality, well-draining potting mix. You can amend basic potting mixes with perlite or orchid bark for extra aeration, especially for plants that prefer very fast drainage. When watering, ensure water flows freely from the drainage holes. If soil becomes compacted between repottings, gently aerate the top inch or two with a chopstick or thin tool, being careful not to damage roots. This promotes better water and air penetration, crucial for clean plant care.
Issue 5: Pests Appearing After Repotting
Cause: Pests might have been present in the old soil or on the plant before repotting, and the stress of transplanting makes the plant more vulnerable. New soil (especially if not sterile) can also introduce pests.
Solution: Always use fresh, sterile potting mix from a reputable source. Isolate any plant showing signs of pests immediately. Treat with appropriate organic solutions like insecticidal soap or neem oil. Regularly inspect all your plants as part of your proactive indoor gardening hacks to catch infestations early. This vigilance is key to successful small space gardening solutions.
Remember, gardening is a learning process. Each plant offers new insights. By understanding these common issues and implementing these practical solutions, you become a more confident and capable indoor gardener, perfectly equipped for how to repot plants indoors without making a mess.

Frequently Asked Questions
Can I reuse old potting soil?
You should generally avoid reusing old potting soil for repotting. Over time, potting soil loses its structure, nutrients, and can harbor pests or diseases. For best results and to ensure healthy plant growth, always use fresh, sterile potting mix. You can add old potting soil to your outdoor compost pile, enriching it for future use in outdoor garden beds, but do not put it back into containers.
How do I know if my plant needs repotting?
Several signs indicate your plant needs repotting. Look for roots growing out of the drainage holes or visible on the soil surface. The plant might look top-heavy, or its growth may have slowed significantly. If you remove the plant from its pot and the root ball is dense and circling the entire container, it is definitely time for a new home. A plant that dries out very quickly between waterings also often signals it is root-bound.
What if my apartment is too cold in winter for repotting?
Most houseplants prefer temperatures between 65-75°F (18-24°C). If your apartment is consistently colder than this, especially below 60°F (15°C), it is best to postpone repotting. Cold temperatures stress plants, making them more susceptible to shock and hindering root establishment. Wait until you can provide a warmer, more stable environment, or use a small space heater to warm your repotting area temporarily.
Should I add drainage material like rocks to the bottom of the pot?
Adding a layer of gravel, rocks, or broken pot shards to the bottom of a pot does not improve drainage. In fact, it can create a “perched water table” where water accumulates just above the drainage layer, actually hindering drainage and potentially leading to root rot. A good quality potting mix and a pot with adequate drainage holes are all you need for proper drainage. The goal is to ensure water moves freely through the soil and out the bottom.
For trustworthy gardening information, visit:
Connecticut Agricultural Experiment Station, Massachusetts Horticultural Society and Denver Botanic Gardens. These organizations provide expert, research-based advice for gardeners at all levels.
Disclaimer: This article is for informational purposes only and is not a substitute for professional gardening advice. Always consult local extension services or horticulture experts for region-specific guidance.


Leave a Reply