
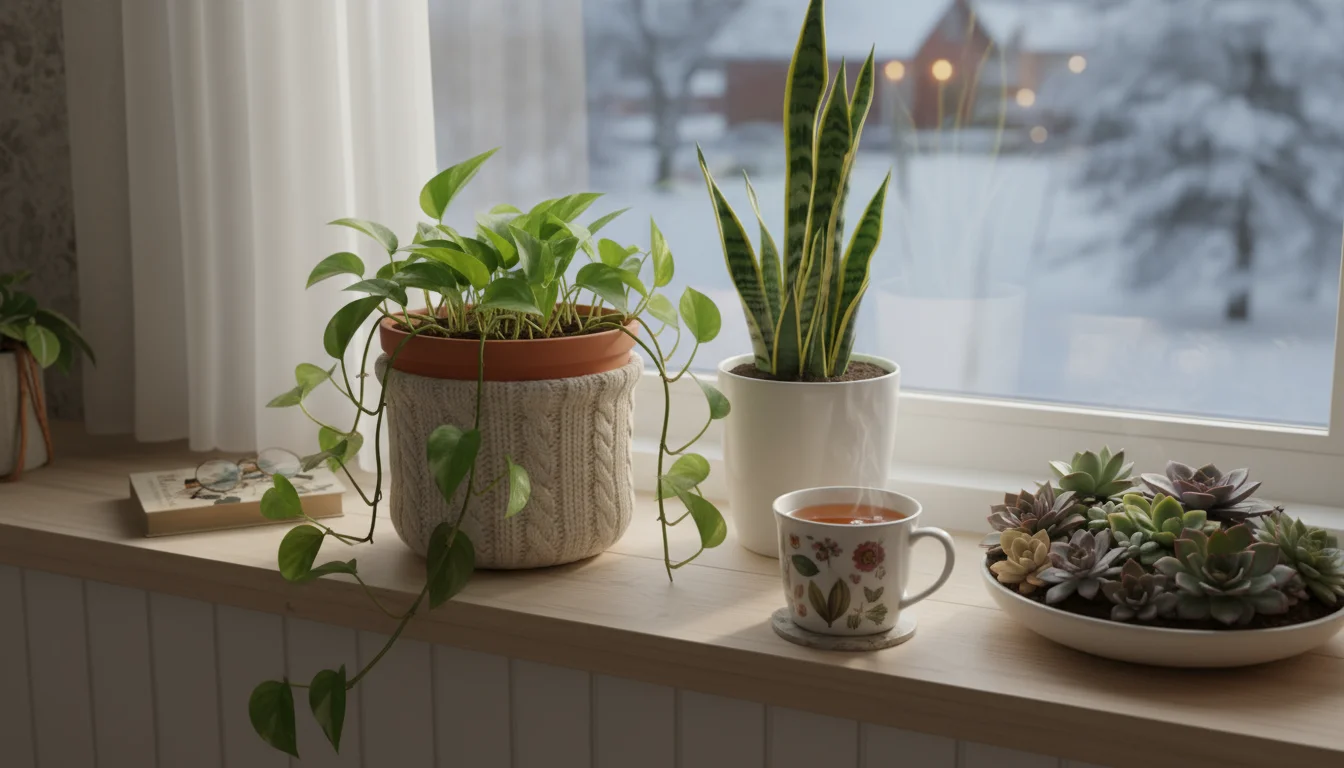
As winter settles in, bringing colder temperatures and shorter days, your indoor plants become even more central to your home’s ambiance. They offer vital greenery and a connection to nature when the outdoor world is dormant.
But let’s be honest, many of our beloved indoor plants reside in basic, often uninspiring plastic nursery pots or simple ceramic containers. These functional vessels do their job, but they rarely contribute to that cozy, stylish atmosphere you crave during the colder months.
Imagine transforming those drab duds into delightful decor pieces that perfectly complement your winter aesthetic, all without picking up a needle and thread.
If you enjoy these creative touches, you might also like building a miniature winter garden inside a glass bowl to complement your new pot covers.
If you’re looking for more ways to spend these cold afternoons, exploring other indoor gardening projects for winter days can keep your spirits high.
This guide empowers you to give your indoor garden a complete winter makeover using simple, no-sew DIY ‘pot sweaters.’
These creative covers enhance your home’s decor, provide a little extra insulation for your plant’s roots, and offer a fantastic opportunity to repurpose materials you already own.
You will discover practical ways to elevate your plant display, turning everyday pots into charming accents that reflect your personal style and contribute to a warm, inviting indoor sanctuary.
Contents10 sections
- Embrace the Chill: Why Your Indoor Garden Needs a Winter Style Refresh
- Gather Your Supplies: The No-Sew Essentials for DIY Pot Covers
- Project 1: The Elegant Fabric Wrap – Simple Style for Any Pot
- Project 2: Upcycled Sweater Sleeves – Cozy Charm from Old Clothes
- Project 3: The Textured Yarn Wrap – Adding Warmth with Weave
- Project 4: Modern Felt or Fleece Cuffs – Clean Lines and Easy Application
- Project 5: Basket Liner Transformation – Elevating Your Planters
- Design Harmony: Styling Your New Pot Sweaters with Your Home
- Longevity and Care: Keeping Your Pot Sweaters and Plants Thriving
- Frequently Asked Questions
Embrace the Chill: Why Your Indoor Garden Needs a Winter Style Refresh
As daylight hours dwindle and the outdoor landscape turns monochrome, our homes become our havens. An indoor garden offers a vital splash of green, reminding us of life and growth even in the coldest months.
However, the standard plastic pots many plants come in, or even plain terra cotta, might clash with your desire for a warm, cozy winter apartment. This is where the magic of DIY plant pots and fabric pot covers DIY projects comes in.
To further boost your mood, consider how a winter sensory garden can add even more fragrance and texture to your living space.
Giving your pots a “sweater” is more than just an aesthetic choice. It delivers multiple benefits for both your plants and your living space.
First, it instantly elevates your indoor garden decor. Imagine transforming a collection of mismatched plastic containers into a cohesive, stylish display that enhances your existing winter decor ideas.
You achieve a personalized, curated look that store-bought planters often cannot replicate.
Second, these fabric coverings offer a layer of insulation. While a thin layer of fabric will not drastically alter soil temperature, it can provide a slight buffer against cold drafts from windows or air conditioning vents, protecting your plant’s sensitive root systems.
This is particularly beneficial for tropical plants that prefer consistent warmth.
Third, and perhaps most importantly for the environmentally conscious gardener, these projects promote sustainability. Many of these pot sweaters utilize repurposed materials, like old clothing, fabric scraps, or even disused blankets.
You reduce waste, save money, and infuse your home with unique pieces that tell a story. This aligns perfectly with the ethos of small-space and low-maintenance gardening, allowing you to maximize existing resources and create beauty with minimal fuss.
Your indoor garden becomes a testament to creativity and responsible living.
Gather Your Supplies: The No-Sew Essentials for DIY Pot Covers
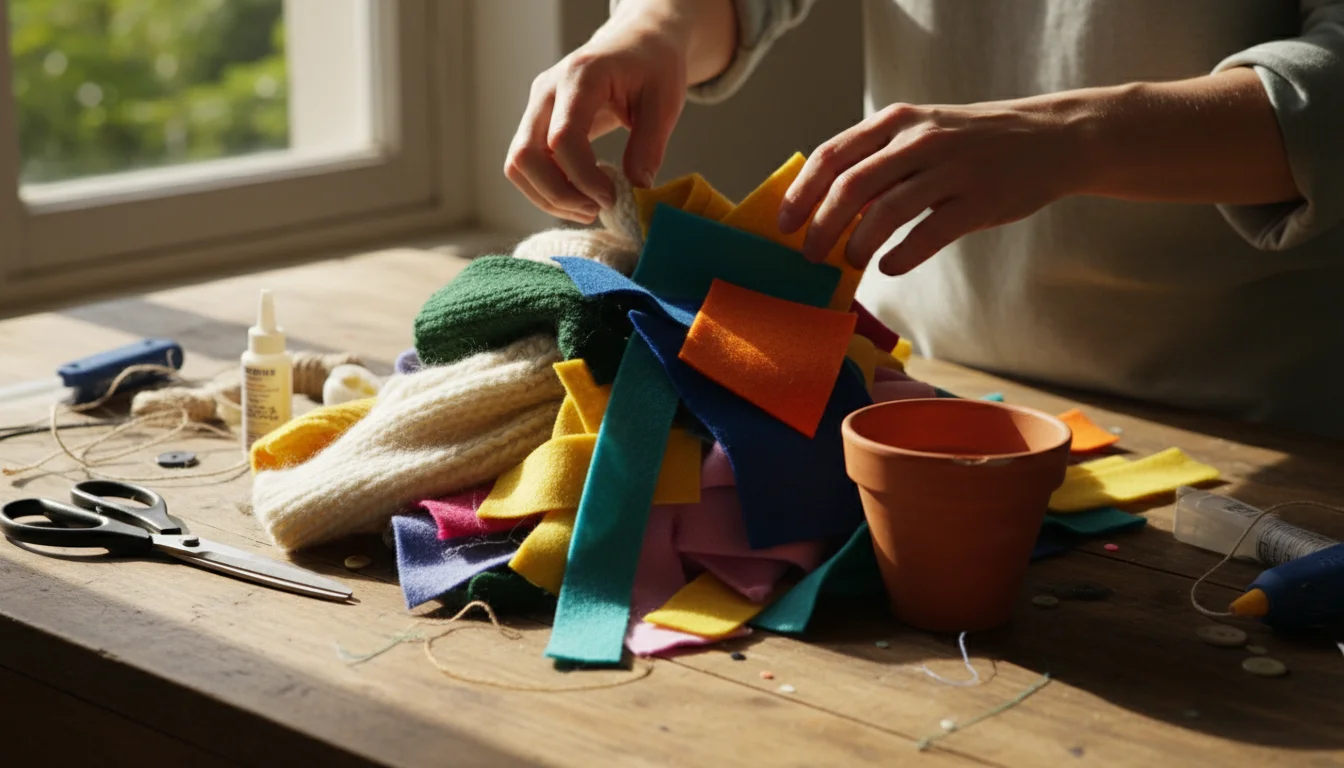
Before diving into specific projects, let’s gather the basic tools and materials you will need. The beauty of these no-sew crafts for gardeners lies in their simplicity and the opportunity to use items you likely already possess, minimizing cost and maximizing eco-friendliness.
Focusing on fabric pot covers DIY projects allows for incredible versatility.
If your indoor lighting is a bit dim, this is also a perfect time to assemble a DIY grow light shelf to keep your greenery thriving throughout the darker months.
Essential Tools:
- Sharp Scissors: A good pair of fabric scissors makes clean cuts.
- Fabric Glue: A strong, quick-drying fabric glue (like Aleene’s Tacky Glue or E6000 Fabric Fuse) is essential for securing seams and hems without stitching.
- Measuring Tape or Ruler: Accuracy is key for fitting your pot sweaters.
- Pencil or Fabric Marker: For marking cut lines.
- Clothespins or Binder Clips: Helpful for holding fabric in place while glue dries.
- Rubber Bands or Twine: Useful for temporary securing or decorative ties.
Materials to Repurpose (Think Outside the Box):
- Old Sweaters: Wool, cashmere, or even cotton sweaters are perfect. Their knit texture instantly creates a cozy, “sweater” look.
- Felt or Fleece Scraps: These fabrics do not fray, making them incredibly easy to work with for no-sew projects.
- Old Jeans or Denim Scraps: Durable and adds a rustic, modern touch.
- Disused Scarves or Shawls: Often made from beautiful, soft fabrics with interesting patterns.
- Fabric Remnants: Check your craft stash for leftover pieces from other projects. Cotton, linen, or even thicker upholstery fabric scraps work well.
- Old T-shirts: While they stretch, they can be surprisingly effective for simple wraps.
- Burlap: For a rustic, natural aesthetic.
- Yarn: Leftover skeins from knitting or crochet projects are ideal for textured wraps.
- Decorative Elements: Twine, ribbon, buttons (glue-on), or small patches to personalize your designs.
Before you begin, ensure your chosen fabrics are clean and dry. A quick wash often freshens up repurposed items.
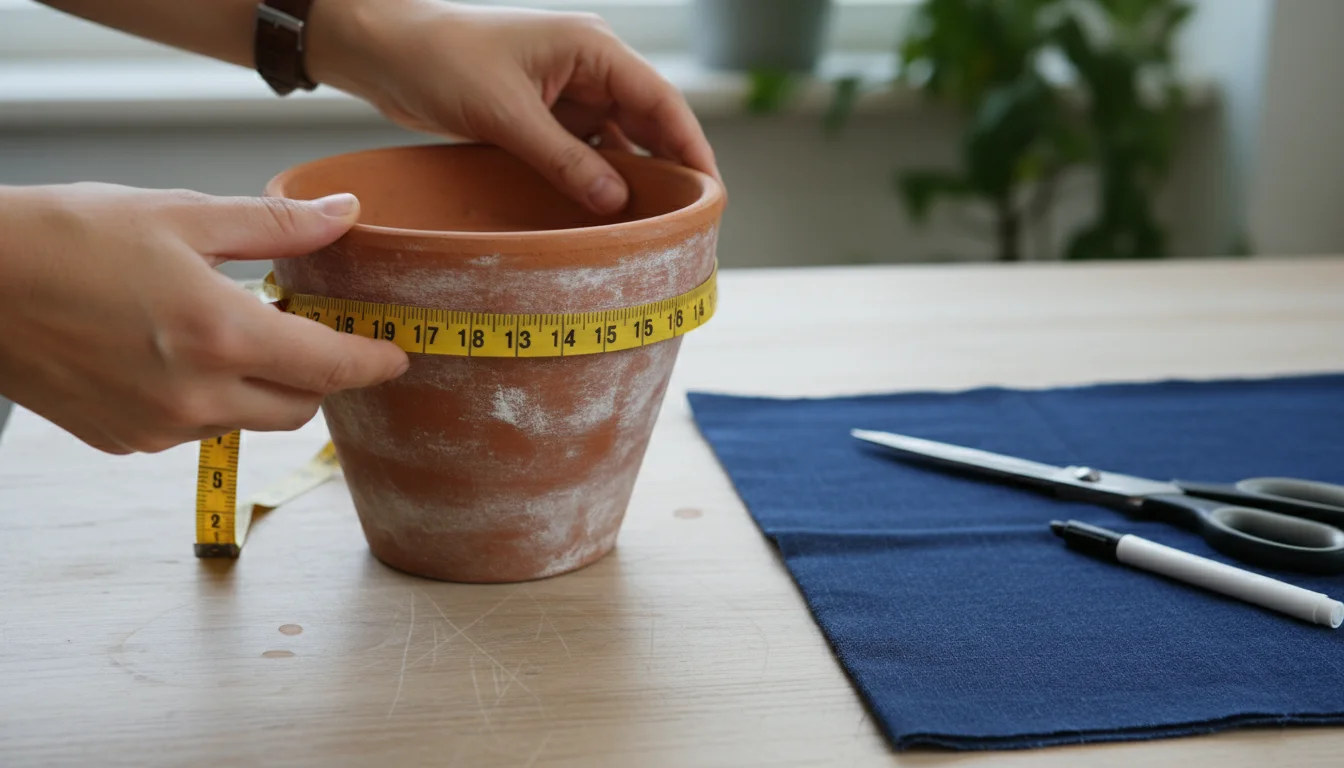
Measure your pots. You will need the height, circumference (distance around the pot), and sometimes the diameter of the base.
This ensures your fabric pieces are cut to the correct dimensions for a snug, appealing fit. Remember, you want to cover a plastic plant pot or any existing container effectively, transforming its appearance completely.
Project 1: The Elegant Fabric Wrap – Simple Style for Any Pot
The fabric wrap is arguably the easiest and most versatile no-sew pot sweater you can create. It is perfect for how to cover a plastic plant pot with minimal effort, instantly elevating its look.
This method works wonderfully with cylindrical or slightly tapered pots, allowing the fabric to drape smoothly. Choose a fabric that complements your indoor garden decor and your home’s color scheme, keeping those winter decor ideas in mind.
Thicker fabrics like denim, canvas, or even a sturdy cotton blend work best as they hold their shape.
For those who also want to beautify their outdoor areas, checking for plants with winter interest can help keep your balcony looking vibrant until spring.
Materials You Will Need:
- A rectangular piece of sturdy fabric (e.g., denim, canvas, heavy cotton, or even a thick flannel shirt)
- Fabric glue
- Sharp scissors
- Measuring tape or ruler
- Pencil or fabric marker
- Clothespins or binder clips
- Optional: Decorative twine, ribbon, or a decorative button for embellishment
Step-by-Step Instructions:
- Measure Your Pot: Measure the height of your pot from its base to just below the rim. Add 1 to 2 inches (2.5 to 5 cm) to this measurement for a slight overlap at the top and bottom. Next, measure the circumference of your pot at its widest point. Add 3 to 4 inches (7.5 to 10 cm) to this measurement to allow for an overlap where you will glue the seam.
- Cut Your Fabric: Using your measurements, cut a rectangular piece of fabric. Ensure your lines are straight for a professional finish. For example, if your pot is 6 inches tall and 18 inches around, you would cut a fabric piece approximately 8 inches tall by 22 inches wide.
- Prepare the Fabric Edges (Optional but Recommended): To prevent fraying, apply a thin line of fabric glue along the top and bottom raw edges of your fabric piece. Fold the edge over about 0.5 inches (1.25 cm) and press firmly. Use clothespins to hold it in place while it dries. This creates a clean, finished hem. Do this on both the top and bottom edges.
- Wrap the Pot: Center your pot on one end of the fabric rectangle, ensuring the fabric’s top edge is even with your desired height on the pot. Begin wrapping the fabric snugly around the pot. Maintain consistent tension as you go.
- Secure the Seam: Once the fabric overlaps, apply a generous line of fabric glue along the vertical raw edge of the fabric piece that is underneath the overlap. Press the top overlapping edge firmly onto the glued section. Use clothespins or binder clips to hold the seam together while the glue completely dries, typically for several hours or overnight.
- Finish the Top Edge: You have a few options for the top. If you created a hem, it should sit nicely just below the pot’s rim. You can also fold the top edge over the rim of the pot itself, creating a slightly rustic cuff. Secure it with a few dots of fabric glue on the inside if desired.
- Add Embellishments (Optional): Once dry, you can wrap decorative twine or ribbon around the pot to hide the seam or add visual interest. Glue on a decorative button or a small fabric patch to create truly unique diy plant pots.
This method transforms mundane pots into stylish accents, perfect for complementing your cozy winter apartment ideas. The simple elegance of a well-chosen fabric can make a significant difference in your indoor garden decor.
Project 2: Upcycled Sweater Sleeves – Cozy Charm from Old Clothes
What better way to create a ‘pot sweater’ than by using an actual sweater? This project is incredibly effective for achieving a truly cozy winter apartment vibe and is an excellent example of crafts for gardeners that prioritize repurposing.
Old wool, cashmere, or even thick cotton sweaters that are no longer wearable become charming fabric pot covers DIY projects. The natural knit texture instantly adds warmth and character.
This method is ideal for smaller to medium-sized cylindrical pots.
For a more organic, pot-free aesthetic that pairs beautifully with textiles, you can also experiment with making Japanese moss balls for your smaller houseplants.
Materials You Will Need:
- An old sweater (one you are willing to cut up!)
- Sharp scissors
- Fabric glue (optional, for securing the bottom hem)
- Measuring tape or ruler
- Optional: Twine or ribbon for a decorative tie
Step-by-Step Instructions:
- Select and Clean Your Sweater: Choose a sweater with an interesting knit pattern or a color that matches your indoor garden decor. Wash and dry it thoroughly before cutting.
- Measure Your Pot and Sleeve: Place your pot next to the sweater’s sleeve. You want the sleeve to cover the pot’s height, from the base to just below the rim, with an extra 1 to 2 inches (2.5 to 5 cm) at the bottom for folding. Consider the width, too, ensuring the sleeve circumference is slightly smaller than your pot’s circumference so it stretches snugly without being too tight to fit.
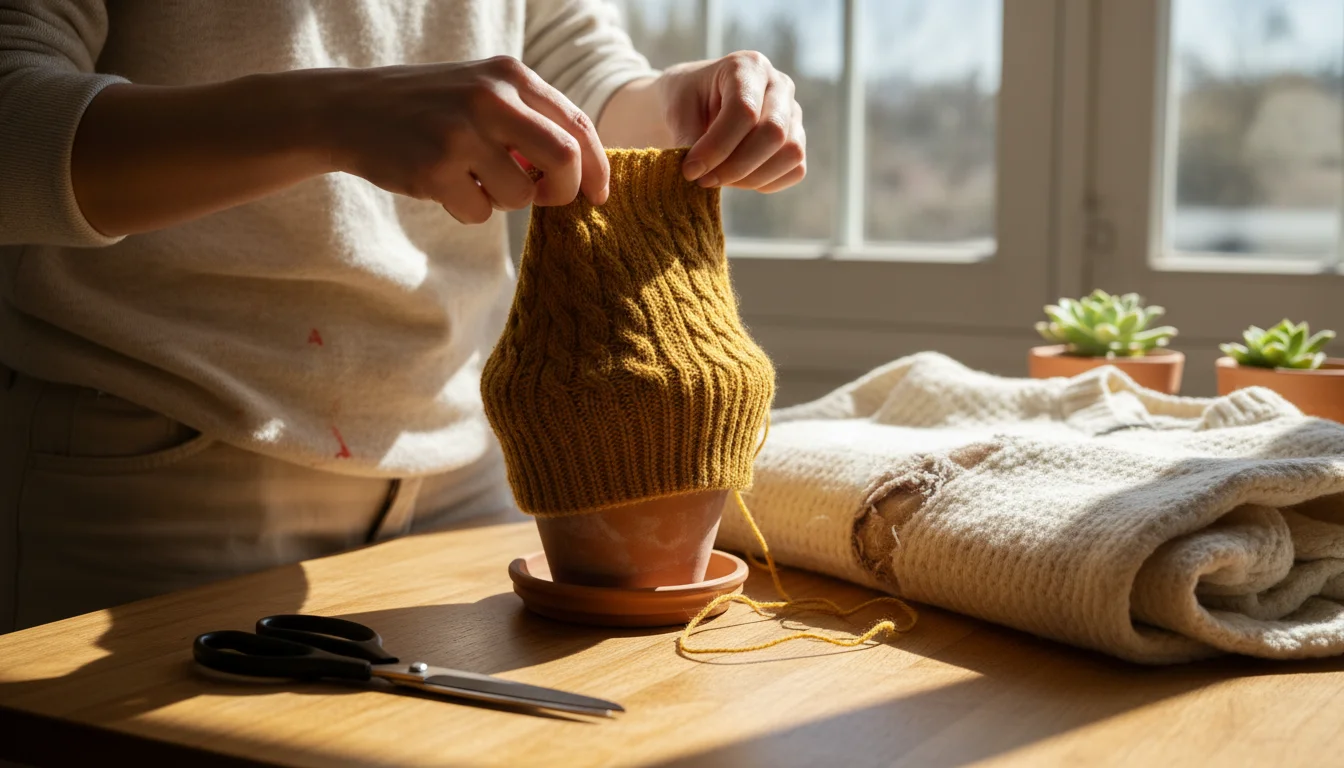
- Cut the Sleeve: Carefully cut the sleeve straight across, detaching it from the sweater body. Then, measure from the finished cuff of the sleeve (this will be the top of your pot sweater) down to your desired length, adding the extra for the bottom hem. Cut the sleeve to this length. You will typically use the section of the sleeve that includes the finished cuff, as this creates a neat top edge for your pot.
- Fit the Sleeve onto the Pot: Gently stretch the cut sweater sleeve over your pot, pulling it down until the finished cuff rests just below the pot’s rim. Adjust it so the fabric is evenly distributed and smooth. The natural elasticity of the knit will help it conform to the pot’s shape, creating charming diy plant pots.
- Create the Bottom Hem: Once the sleeve is in place, you will have excess fabric at the bottom. Carefully fold this excess fabric underneath the pot, pressing it against the base. You can secure this fold with a few dots of fabric glue, or simply allow the weight of the pot and plant to hold it in place. For pots with drainage holes, ensure the fabric does not cover them completely. You can trim away excess fabric from the bottom to reduce bulk if needed.
- Adjust and Style: Tug and smooth the fabric until it looks just right. The ribbed cuff of the sweater makes a perfect, polished top edge. For extra flair, you can wrap a piece of rustic twine or a complementary ribbon around the pot, tying it in a bow or knot.
This method transforms an old garment into a beautiful, functional piece of indoor garden decor. It is an incredibly effective way to cover a plastic plant pot and introduce warmth and texture, making your plants feel right at home in your winter setting.
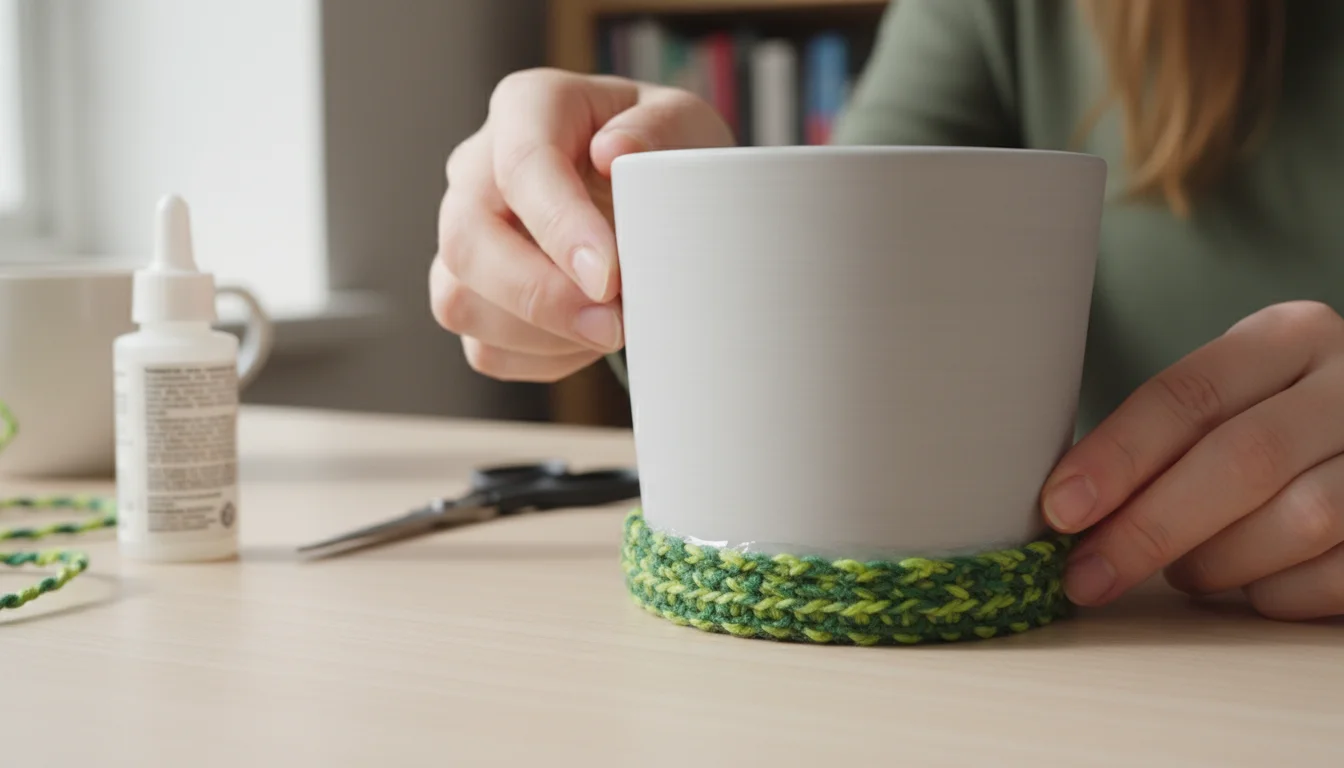
Project 3: The Textured Yarn Wrap – Adding Warmth with Weave
For those who love the look of chunky knits and natural textures, a no-sew yarn wrap creates visually appealing and unique DIY plant pots.
This project offers a different kind of fabric pot covers DIY approach, utilizing leftover yarn to add intricate detail and a truly handcrafted feel. It is a fantastic craft for gardeners looking to add a tactile element to their indoor garden decor.
This method works best on pots with straight sides or a slight taper.
Materials You Will Need:
- Various colors and textures of yarn (wool, acrylic, chunky cotton, jute twine all work well)
- Fabric glue or a hot glue gun with glue sticks (hot glue sets faster)
- Sharp scissors
- Optional: Clothespins or binder clips
- Optional: Thin ribbon or extra yarn for a decorative finish
Step-by-Step Instructions:
- Prepare Your Pot: Ensure your pot is clean and dry. For better adhesion, consider roughing up a smooth plastic pot surface slightly with fine-grit sandpaper, then wiping it clean.
- Start Your Wrap: Apply a line of fabric glue (or hot glue) around the base of the pot. Take the end of your first yarn color and press it firmly into the glue, starting at the very bottom edge. Hold it in place for a few seconds if using fabric glue, or until it sets if using hot glue.
- Begin Wrapping: Continue applying glue in small sections (about 2-3 inches, or 5-7.5 cm, at a time) around the pot. Tightly wrap the yarn around the pot, ensuring each row sits snugly against the previous one. Work your way up the pot, keeping the tension consistent to avoid gaps.
- Change Colors and Textures (Optional): To create a striped or textured effect, simply cut the current yarn color, secure the end with a dab of glue, and then start a new color or type of yarn. Overlap the ends slightly and glue them down for a seamless transition. You can also alternate between thick and thin yarns for added visual interest, perfect for unique indoor garden decor.
- Finish the Top Edge: Continue wrapping until you reach just below the rim of the pot. Apply a final line of glue and secure the end of the yarn. For a very neat finish, you can wrap a thin ribbon or a contrasting piece of yarn around the top edge, securing it with glue.
- Allow to Dry: If using fabric glue, let the pot dry undisturbed for at least 24 hours to ensure all the yarn is securely adhered. Hot glue will set almost immediately.
This yarn-wrapped pot adds significant texture and a bespoke artisan touch, making it a standout element among your winter decor ideas. The personalized nature of these crafts for gardeners ensures your plant display is truly one-of-a-kind.
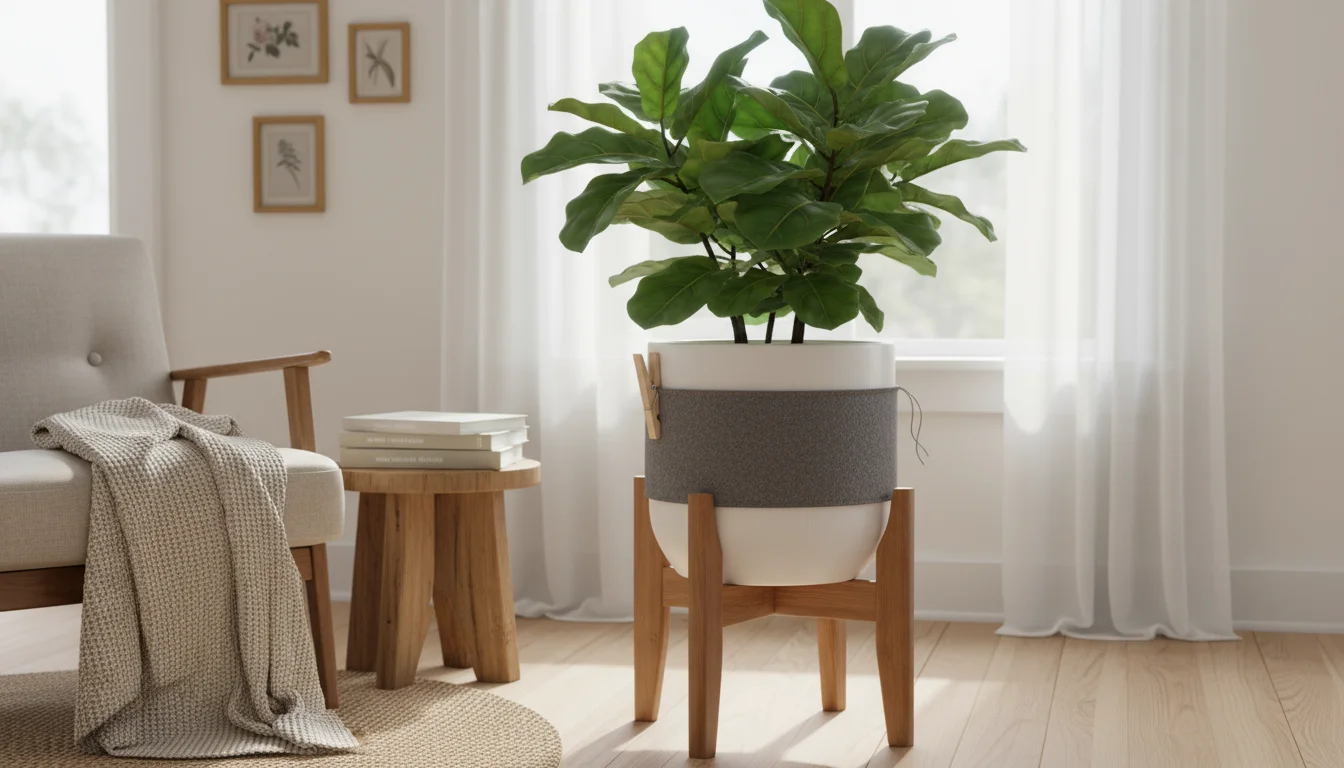
Project 4: Modern Felt or Fleece Cuffs – Clean Lines and Easy Application
For those who prefer a more contemporary, minimalist aesthetic, a no-sew felt or fleece cuff offers a sleek solution for indoor garden decor. These fabrics are ideal for fabric pot covers DIY projects because they do not fray when cut, meaning no hemming is required.
This method creates clean lines and a modern finish, perfect for covering a plastic plant pot without adding bulk. It is also an incredibly quick and easy way to update your diy plant pots.
Materials You Will Need:
- Felt or fleece fabric (choose a color that complements your home)
- Fabric glue
- Sharp scissors
- Measuring tape or ruler
- Pencil or fabric marker
- Clothespins or binder clips
- Optional: Decorative snaps or adhesive Velcro dots for a removable cover
Step-by-Step Instructions:
- Measure Your Pot: Determine the height you want your cuff to be. This could be the full height of the pot or just a band around the middle or top. Measure the circumference of your pot at the point where the cuff will sit. Add 1 inch (2.5 cm) to the circumference for the overlap.
- Cut Your Fabric: Cut a rectangular piece of felt or fleece using your measurements. For example, if you want a cuff that is 4 inches tall and your pot is 16 inches around, cut a piece of fabric 4 inches tall by 17 inches wide. The non-fraying nature of felt and fleece makes this step straightforward.
- Prepare the Cuff: Lay your fabric rectangle flat. If you desire a slightly more structured look, you can fold the top and bottom edges inward by about 0.5 inches (1.25 cm) and secure with a thin line of fabric glue, although this is not strictly necessary due to the fabric’s non-fraying properties.
- Wrap and Glue the Cuff: Wrap the felt or fleece rectangle around the pot, positioning it at your desired height. Ensure it is snug. Apply a line of fabric glue along one of the vertical short edges of the fabric. Press the other short edge firmly over the glued section, creating a secure seam. Use clothespins or binder clips to hold the seam until the glue fully dries.
- Secure in Place (Optional): If the cuff tends to slide, you can apply a few small dots of fabric glue to the inside of the cuff, adhering it directly to the pot. This creates a more permanent fit.
- Consider a Removable Cuff (Alternative): Instead of gluing the seam directly, you can attach adhesive Velcro dots or decorative snaps to the overlapping edges. This allows you to easily remove the cuff for cleaning or to change your winter decor ideas seasonally.
This modern felt or fleece cuff project is excellent for creating a clean, understated look that fits perfectly with minimalist or contemporary cozy winter apartment aesthetics. It is a quick and effective solution for updating your diy plant pots.
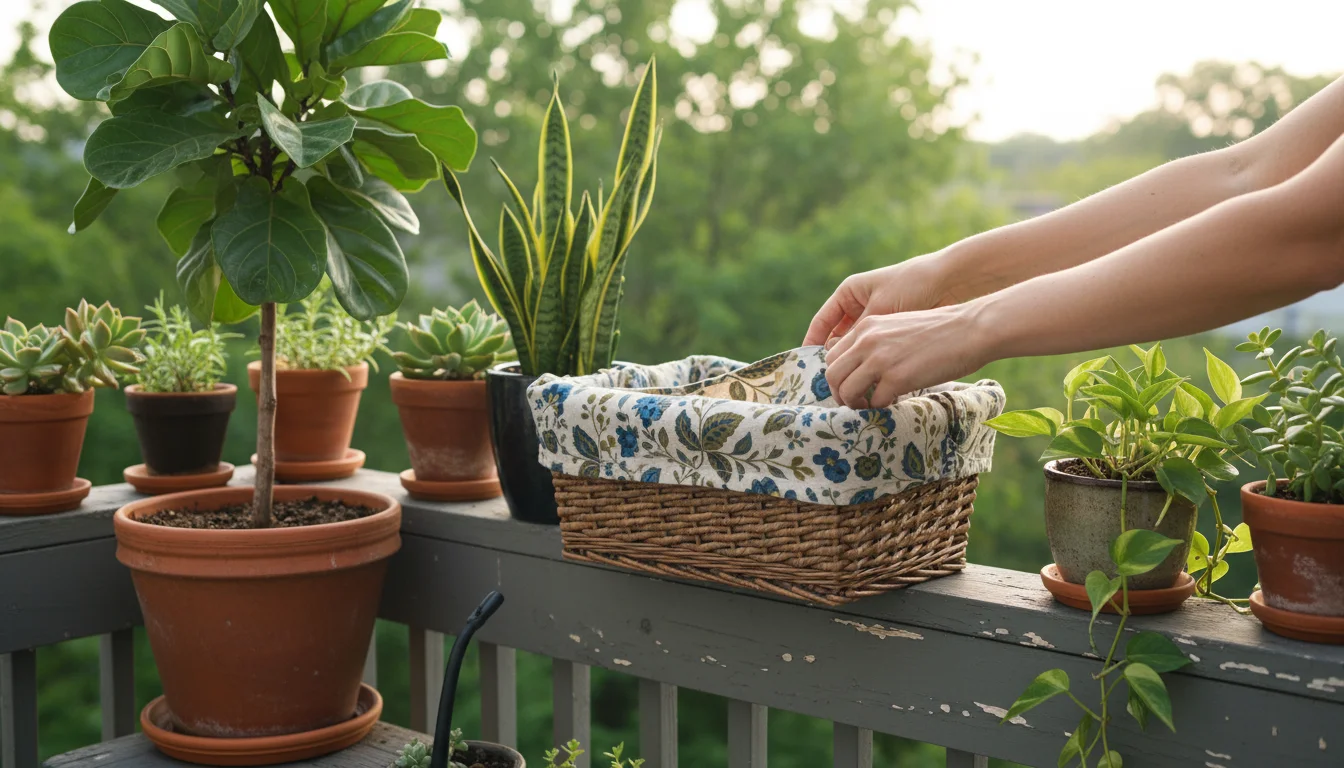
Project 5: Basket Liner Transformation – Elevating Your Planters
Many gardeners use decorative baskets as cachepots (a fancy term for a decorative outer pot without drainage holes) to hold their plants. While baskets add wonderful texture, they often do not perfectly fit the inner pot, or the plant’s plastic liner might show through.
This project focuses on creating a simple, no-sew fabric liner that enhances the aesthetic of your existing basket planters, effectively turning them into sophisticated indoor garden decor.
This is less about covering a plastic plant pot directly and more about elevating the entire planter ensemble, an ideal fabric pot covers DIY solution.
Materials You Will Need:
- A rectangular piece of attractive fabric (e.g., linen, patterned cotton, burlap, or a thin blanket scrap)
- Fabric glue (optional, if you want to secure the fabric to the basket)
- Sharp scissors
- Measuring tape or ruler
- Pencil or fabric marker
- Optional: Decorative ribbon or fringe for the top edge
Step-by-Step Instructions:
- Measure Your Basket: Measure the height of your basket from the bottom to the rim. Add enough extra fabric (4-6 inches, or 10-15 cm) to allow for the fabric to drape slightly over the rim. Measure the circumference of the basket at its top opening. Add 2 inches (5 cm) to this for overlap.
- Cut Your Fabric: Cut a large rectangular piece of fabric based on your measurements. For example, if your basket is 8 inches tall and 24 inches around at the top, you might cut a piece 14 inches tall by 26 inches wide.
- Prepare the Fabric Edges (Optional): If your fabric frays easily, apply a thin line of fabric glue along the top edge of your cut fabric. Fold it over by about 0.5 to 1 inch (1.25 to 2.5 cm) and press firmly to create a neat hem. Let it dry completely.
- Form the Cylinder: With the right side of the fabric facing inward, bring the two short edges together to form a cylinder. Apply fabric glue along one of the short edges, pressing the other edge firmly over it to create a vertical seam. Allow this seam to dry completely.
- Insert into Basket: Once the glue is dry, turn your fabric cylinder right side out. Carefully place it inside your decorative basket. Smooth the fabric against the sides of the basket. The bottom will naturally gather or flatten.
- Drape the Top Edge: Fold the excess fabric at the top over the rim of the basket, creating a soft, decorative cuff. Adjust the drape evenly around the entire circumference. You can secure this fold with a few tiny dots of fabric glue on the inside of the basket if you want a more permanent fixture, or simply let it hang.
- Add a Plant: Place your potted plant (still in its original pot) inside the fabric-lined basket. The fabric liner adds a refined finish, hiding the plastic pot and providing a clean backdrop for your plant.
This basket liner transformation creates an instantly polished look, perfect for a cohesive indoor garden decor scheme. It is an ingenious way to update your existing diy plant pots and integrate them seamlessly into your cozy winter apartment aesthetics.
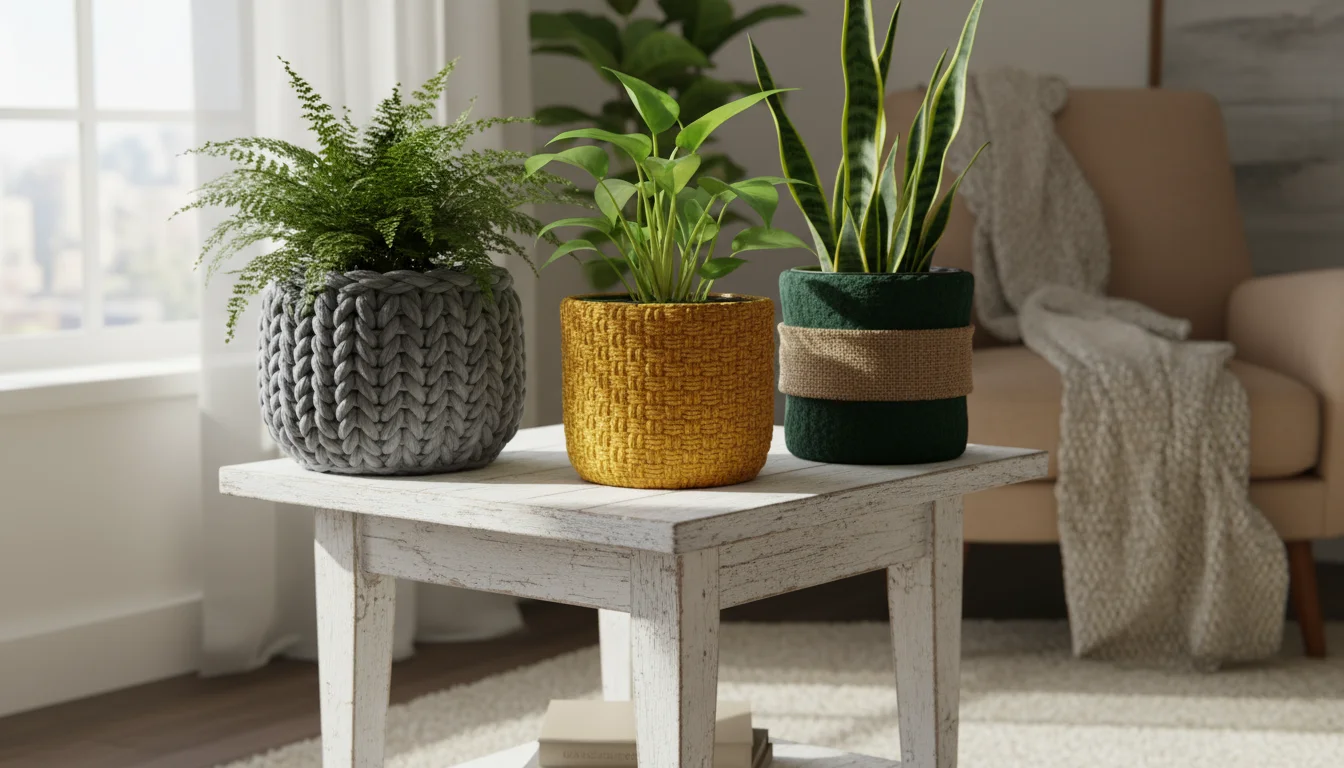
Design Harmony: Styling Your New Pot Sweaters with Your Home
Creating these fabric pot covers DIY projects is only half the fun. The other half involves integrating them seamlessly into your home’s design, turning simple plant containers into impactful indoor garden decor.
Consider these tips for styling your new pot sweaters to enhance your winter decor ideas and overall ambiance.
Complement Your Color Palette:
- Cohesive Look: Choose fabrics that echo colors already present in your room. If your living room features muted grays and blues, select fabrics in similar cool tones or crisp whites.
- Pop of Color: For a more adventurous approach, introduce a vibrant color through your pot sweaters. A bright mustard yellow or a deep cranberry can act as an accent, drawing the eye to your plants.
- Seasonal Tones: Lean into traditional winter decor ideas with fabrics in deep greens, rich reds, warm golds, or icy blues. Natural textures like burlap or chunky wool inherently lend a seasonal feel.
Mix Textures for Depth:
- Layering: Combine different textures to create visual interest. Pair a smooth felt cuff with a rough-textured basket, or place a yarn-wrapped pot next to one covered in a soft cashmere sleeve.
- Visual Weight: Chunky knits and heavy fabrics give a sense of warmth and weight, perfect for grounding larger plants or adding substance to your display. Lighter fabrics like linen or thin cotton offer a breezier, more elegant feel.
Consider Plant Pairings:
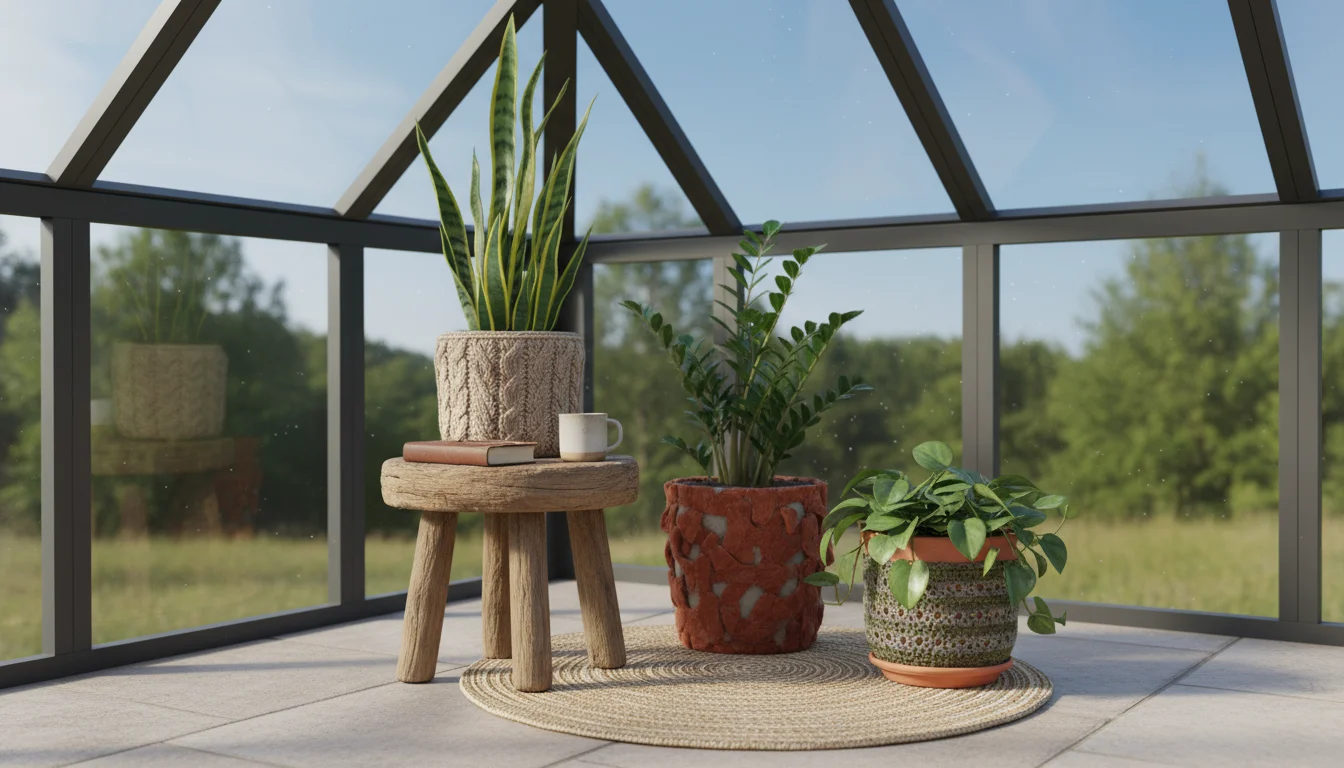
- Contrast is Key: A plant with dark, glossy leaves, like a ZZ plant or a Fiddle Leaf Fig, stands out against a light-colored, textured pot sweater. Conversely, a delicate fern might look stunning in a deep, jewel-toned fabric cover.
- Leaf Shape and Form: Match the form of your plant to the style of your pot. A trailing plant like a Pothos looks fantastic spilling over a soft fabric cuff, while an upright Snake Plant might prefer the clean lines of a felt wrap.
Arrangement and Grouping:
- Odd Numbers: Grouping plants in odd numbers (three, five, seven) often creates a more aesthetically pleasing arrangement. Mix different heights and pot sweater styles within the group.
- Vary Heights: Use plant stands, books, or small decorative boxes to elevate some of your plants. This creates dynamic vertical interest, making your indoor garden decor more engaging.
- Create Vignettes: Place your newly adorned diy plant pots on shelves, windowsills, or side tables as part of a larger decorative vignette with candles, books, or small sculptures. This integrates your plants into your overall cozy winter apartment design.
By thoughtfully considering these design elements, you transform your collection of potted plants into a curated display that elevates your entire living space, making your indoor garden a true highlight of your home decor.
Longevity and Care: Keeping Your Pot Sweaters and Plants Thriving
Creating beautiful fabric pot covers DIY projects is just the beginning. Ensuring they remain lovely and do not interfere with your plants’ health requires a bit of thoughtful maintenance.
Proper care extends the life of your pot sweaters and keeps your indoor garden decor looking its best, supporting your low-maintenance gardening goals.
Since you are handling your containers anyway, consider performing a quick soil refresh to replenish nutrients without the stress of a full repotting.
Watering Wisdom:
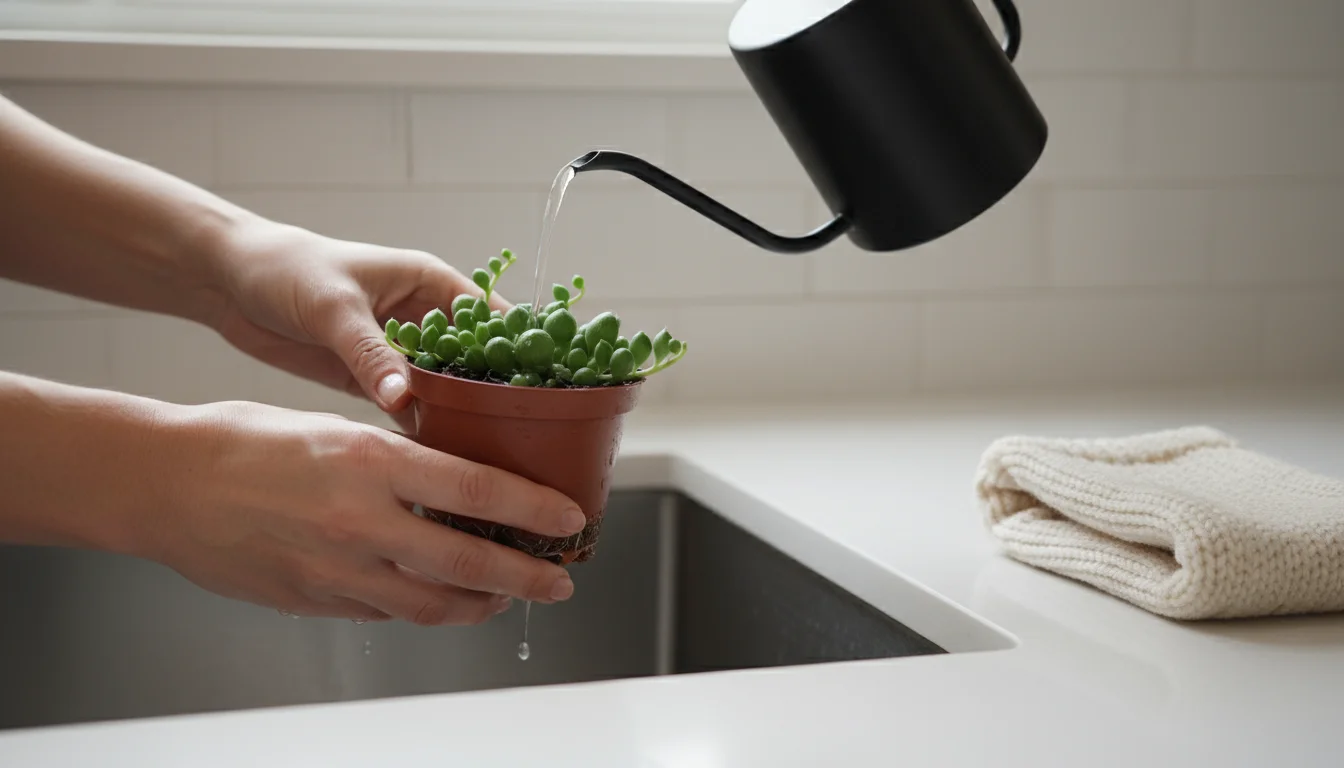
- Protect from Moisture: The biggest threat to your fabric pot sweaters is excessive moisture. Always remove the plant from its decorative pot sweater before watering. Take it to a sink or outdoors, water thoroughly until water drains from the bottom, and allow it to drip completely for 15-30 minutes.
- Use a Saucer: Even if you remove the pot to water, always place a saucer or drip tray inside the pot sweater, underneath the plant’s original pot. This catches any residual drips and prevents moisture from wicking into the fabric, which can lead to mold, mildew, or rot.
- Avoid Overwatering: This is a fundamental principle of plant care. Overwatering suffocates roots, leading to root rot. Your pot sweater does not change your plant’s watering needs; it simply adds a layer of decor. Learn your plant’s specific requirements. Good drainage is key, meaning water can easily exit the bottom of the pot.
Cleaning and Maintenance:
- Spot Clean: For minor spills or dust, spot clean your fabric pot covers DIY creations with a damp cloth and a mild soap solution. Gently blot the affected area, then blot with a clean, damp cloth to remove soap residue.
- Air Dry: If a pot sweater gets significantly wet, remove it from the pot and allow it to air dry completely. Do not put it back on a pot if it is still damp, as this creates a perfect environment for mold growth.
- Occasional Full Wash (if applicable): If your pot sweater is made from a machine-washable fabric (like an old cotton sweater sleeve), you can gently hand wash or machine wash it on a delicate cycle (in a mesh bag) and then air dry. Always check the original fabric type if you know it, or err on the side of caution with gentle hand washing.
- Inspect for Pests: Fabric can sometimes provide hiding spots for pests. Periodically remove your pot sweaters and inspect both the pot and the plant for any signs of unwanted visitors. Clean the pot and the fabric if necessary.
Troubleshooting Common Issues:
- Mold/Mildew: If you notice a musty smell or visible mold on your fabric, it is likely due to moisture. Remove the pot sweater, clean it thoroughly (and the pot), and ensure better drainage and drying practices. You might need to discard severely molded fabric.
- Sagging Fabric: If your fabric pot cover starts to sag, it might be due to loose fit or stretching over time. You can try reapplying fabric glue to tighten the seam, or for more permanent solutions, consider adding a piece of thin cardboard or plastic liner between the pot and the fabric to provide structure.
- Discoloration: Sun exposure can cause some fabrics to fade over time. Rotate your plants or protect them from harsh, direct sunlight if discoloration becomes an issue.
By following these simple care guidelines, your handcrafted diy plant pots will continue to be a source of joy and a stylish part of your indoor garden decor for many winters to come, fitting perfectly into your cozy winter apartment scheme.
Frequently Asked Questions
Can I use these pot sweaters on outdoor plants?
These no-sew pot sweaters are primarily designed for indoor garden decor. While they offer minor insulation, they are not intended for prolonged outdoor exposure.
Rain, humidity, and direct sunlight can cause fabric to degrade quickly, fade, or encourage mold growth. For outdoor use, consider weather-resistant materials or bring your fabric-covered pots indoors during inclement weather or winter months.
Do I need to worry about drainage holes being covered?
Yes, absolutely. Proper drainage is crucial for plant health.
When creating your pot sweater, always ensure the fabric does not block the drainage holes of the original pot.
For most projects, you will create a cover that sits around the pot, allowing the pot to rest in a saucer or drip tray within the fabric cover.
When using methods where fabric folds under the pot, like the sweater sleeve or elegant fabric wrap, make sure to trim the fabric around the drainage holes or ensure the fabric tucks underneath the pot in a way that allows for water to escape into a tray without getting trapped.
What type of fabric glue works best for these no-sew projects?
For most fabric pot covers DIY projects, a strong, permanent fabric adhesive like Aleene’s Fabric Fusion, E6000 Fabric Fuse, or even a good quality hot glue gun with fabric-specific glue sticks works well.
Look for glues that dry clear, are flexible, and designed for fabric. Always allow ample drying time, especially for fabric glues, which can take 24 hours or more to fully cure.
How do I choose the right size fabric for my pot?
Accurate measurements are key for effective diy plant pots. For height, measure from the base to just below the rim of your pot and add an extra 1-2 inches for a clean top edge or to fold under.
For circumference, measure around the widest part of your pot and add 2-4 inches for overlap for gluing. Always err on the side of slightly larger fabric, as you can always trim excess, but you cannot add more.
Can these pot sweaters help protect my plants from cold drafts?
Yes, to a limited extent. A fabric pot cover adds a small layer of insulation, which can provide a slight buffer against minor cold drafts from windows or doors.
While it will not protect against severe cold or freezing temperatures, it can contribute to a more stable root environment for your plants, particularly sensitive tropical varieties.
This is part of how these crafts for gardeners enhance your indoor garden decor and support healthy plant growth in a cozy winter apartment.
For trustworthy gardening information, visit:
National Wildlife Federation — Garden for Wildlife, Lady Bird Johnson Wildflower Center, Botanic Gardens Conservation International and American Public Gardens Association. These organizations provide expert, research-based advice for gardeners at all levels.
Disclaimer: This article is for informational purposes only and is not a substitute for professional gardening advice. Always consult local extension services or horticulture experts for region-specific guidance.