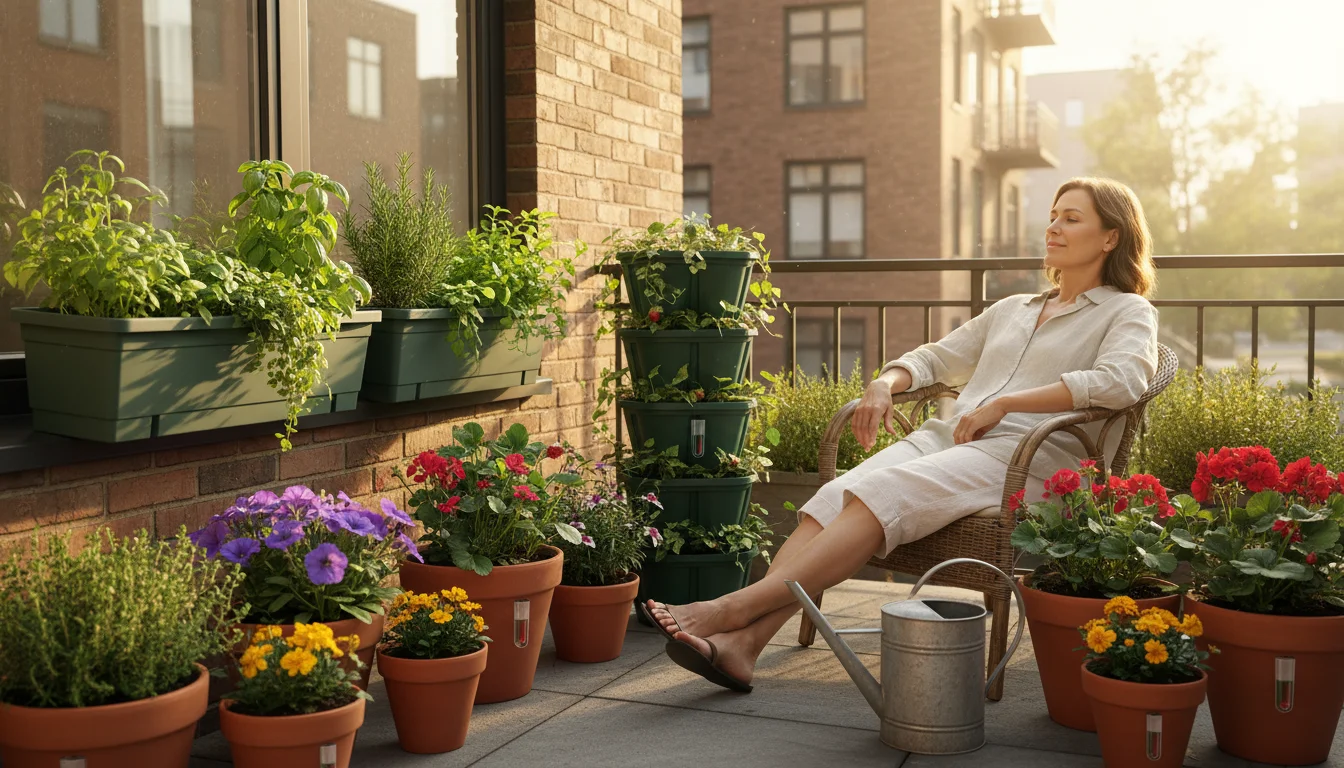
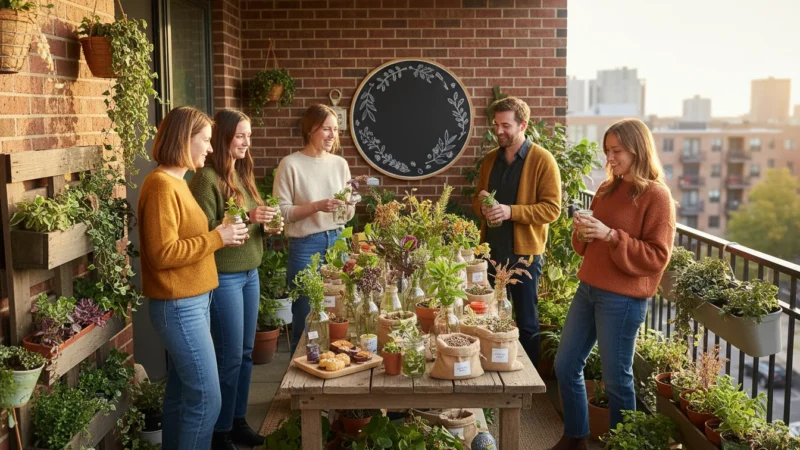
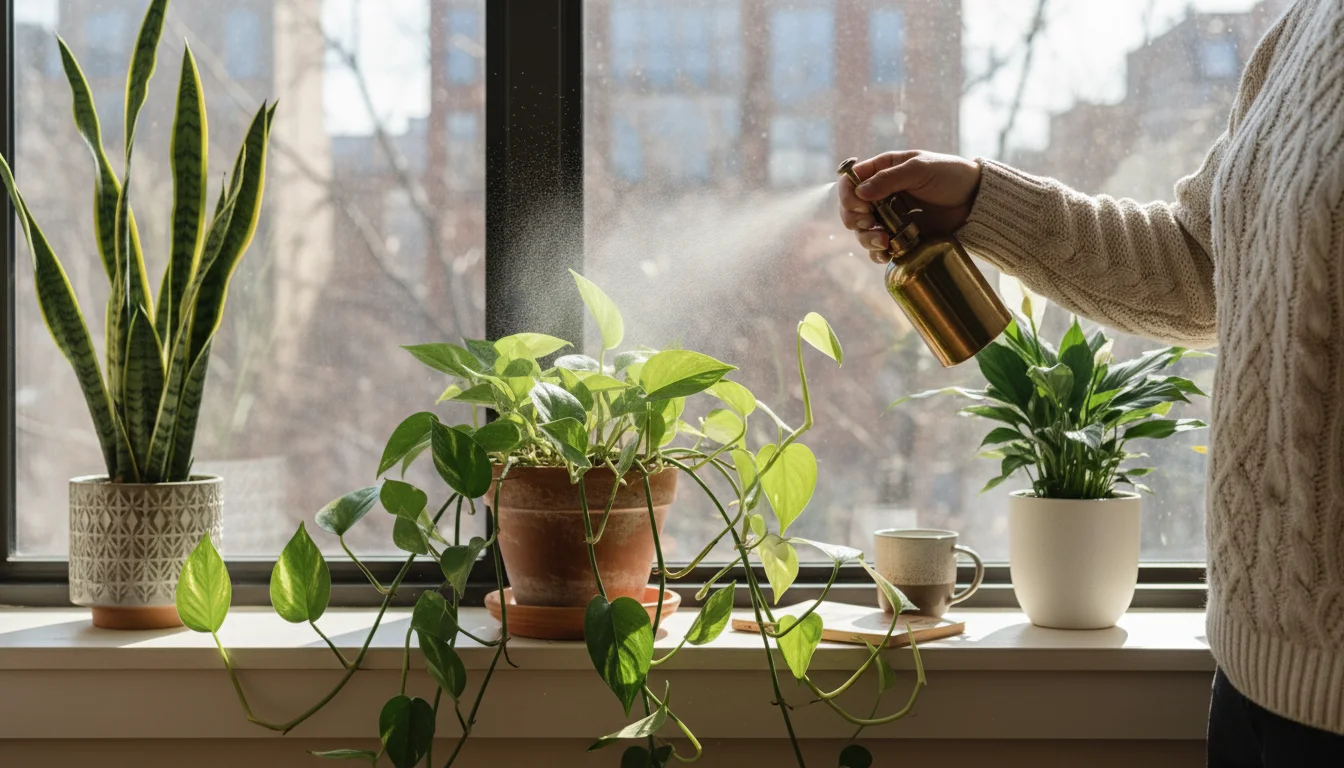
Gardening brings immense joy, but the daily chore of watering, especially during hot summers or busy weeks, often becomes a challenge. For those tending to plants on balconies, patios, or in small yards, keeping containers consistently moist without overwatering can feel like a delicate balancing act. This often leads to plants wilting from thirst or suffering from root rot due to too much water. You might find yourself tied to your watering can, preventing spontaneous outings or vacations. There is a simpler, more efficient way to nurture your plants, providing them with a steady supply of moisture while significantly reducing your watering efforts and conserving water.
Imagine plants that practically water themselves, thriving with less intervention from you. Self-watering containers make this dream a reality, offering a brilliant solution for busy gardeners, travelers, and anyone seeking a more sustainable and less strenuous approach to container gardening. These ingenious systems deliver water directly to your plants’ roots, ensuring consistent hydration and promoting healthier growth. The best part? You can easily build these efficient, water saving containers yourself, often using materials you already have around your home. Learn how to create your own DIY self watering system and transform your gardening experience. This guide empowers you to build effective self watering planter setups, giving you more time to enjoy your garden rather than just maintaining it.
The Watering Challenge and Your Self-Watering Solution
Most gardeners understand the delicate balance required for watering plants. Too little water, and your plants wilt, stress, and may die. Too much water, and roots drown, leading to diseases like root rot. Container gardening amplifies this challenge. The confined soil volume dries out quickly, especially in hot or windy conditions. Daily watering becomes essential for many plants, a commitment that can feel overwhelming, especially if you have numerous containers. This constant demand affects not only your time but also your water bill, raising concerns about sustainability.
To prepare for a successful growing season, you can consult a spring planting guide for container gardeners while you plan your new self-watering setup.
Self-watering containers offer a revolutionary approach by providing a consistent water supply to your plants’ root zone from a reservoir below the planting area. This method ensures your plants receive moisture as needed, reducing watering frequency dramatically. Imagine watering once a week, or even less frequently, instead of every day. This consistency translates to less plant stress, better nutrient uptake, and often, more robust growth and higher yields. Studies suggest self-watering systems can reduce water consumption by 50% or more compared to traditional top-down watering, a significant water saving container benefit that helps both your wallet and the environment. These systems prevent water waste from evaporation and runoff, common issues with overhead watering.
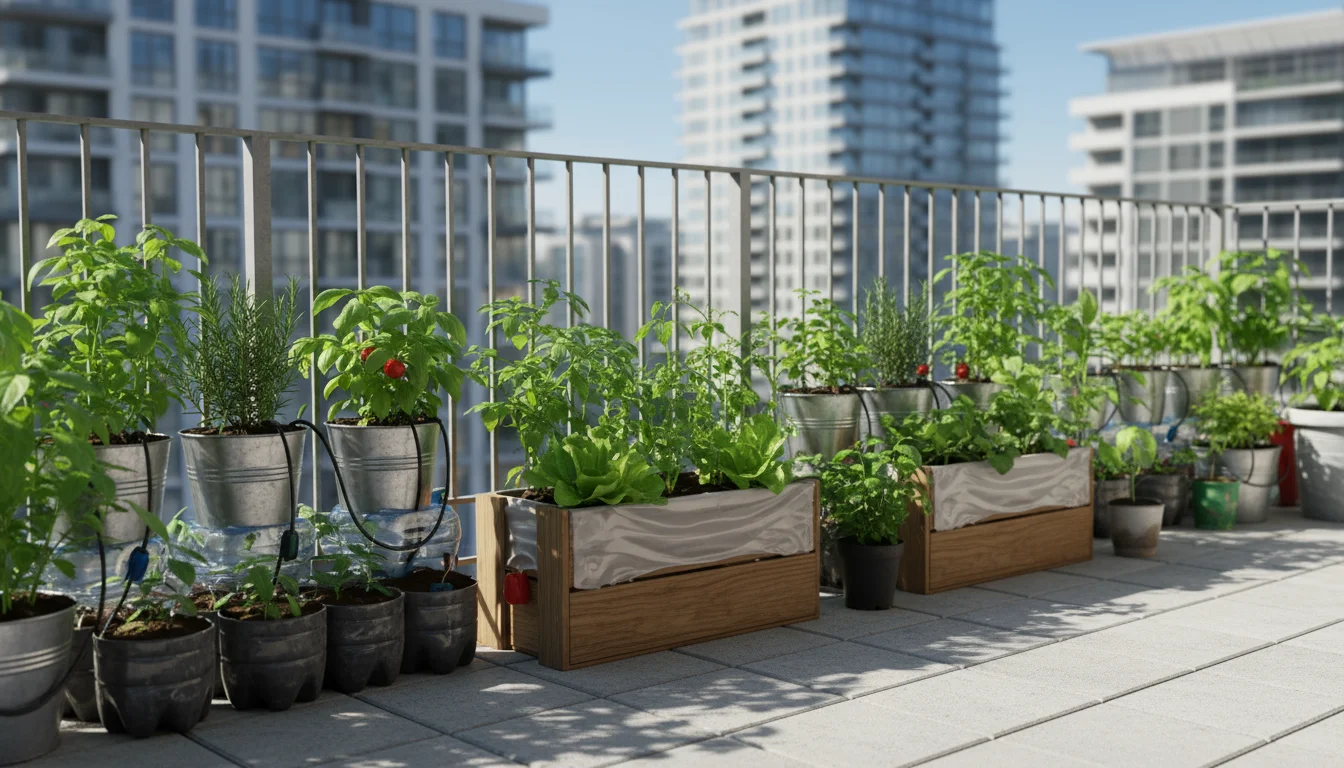
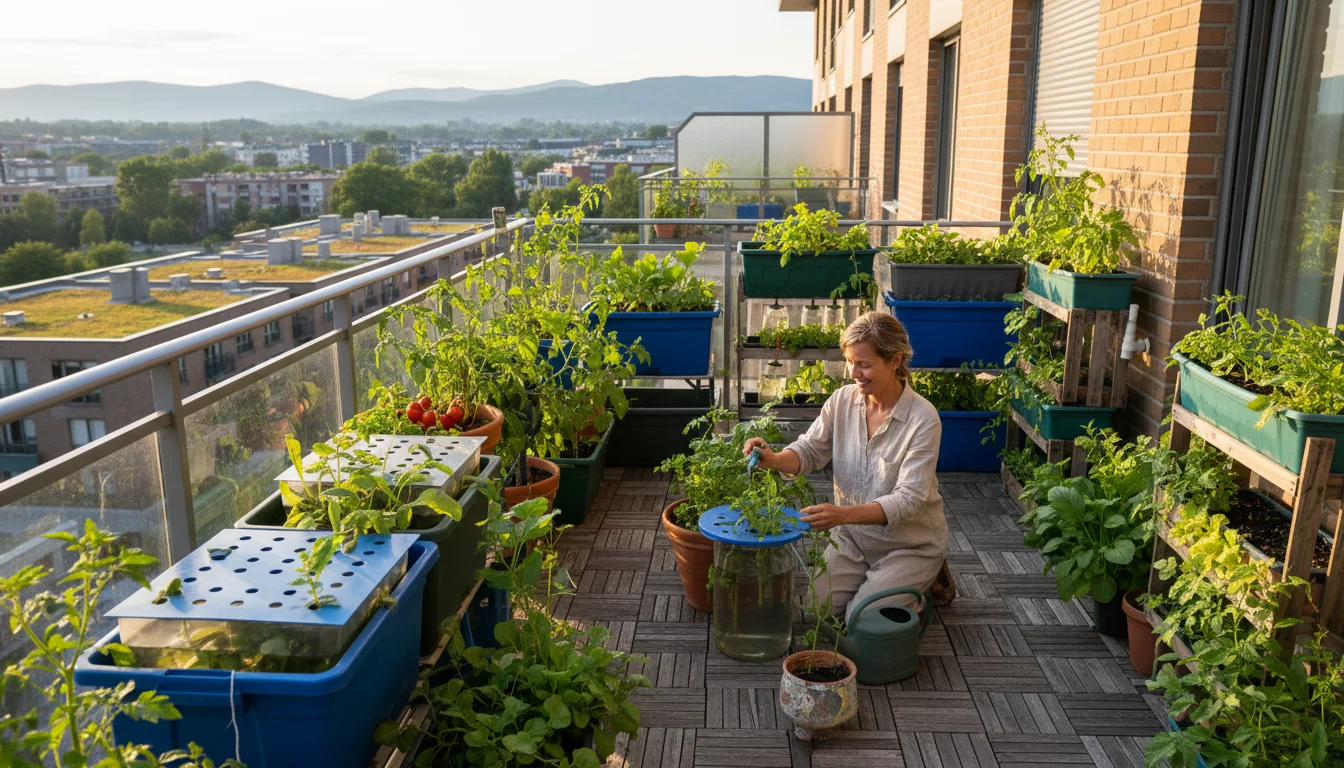
For small-space gardeners, self-watering solutions are particularly transformative. They make gardening accessible and enjoyable, freeing you from the daily grind and allowing you to confidently grow a wider variety of plants without fear of them drying out. Embrace the practicality and efficiency of a DIY self watering system, making gardening a truly low-maintenance pleasure.
How Self-Watering Systems Work Their Magic
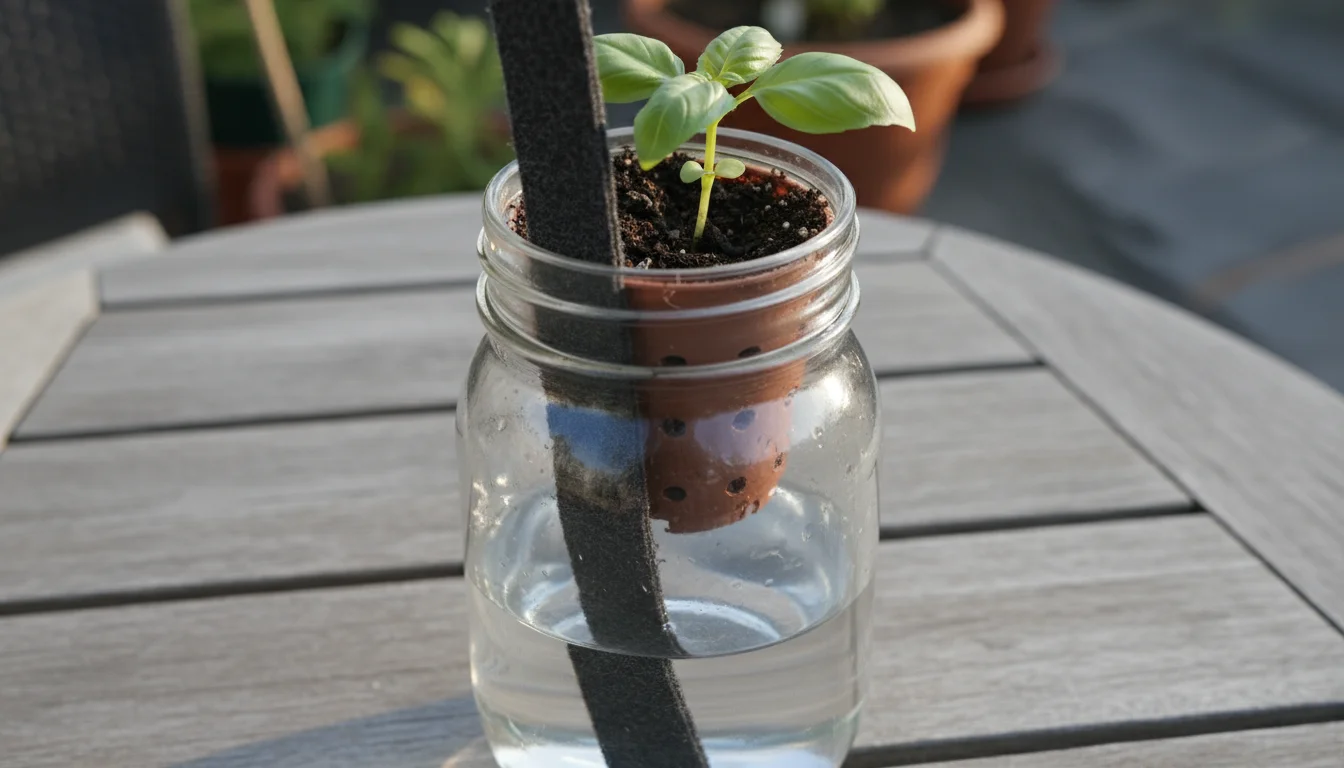
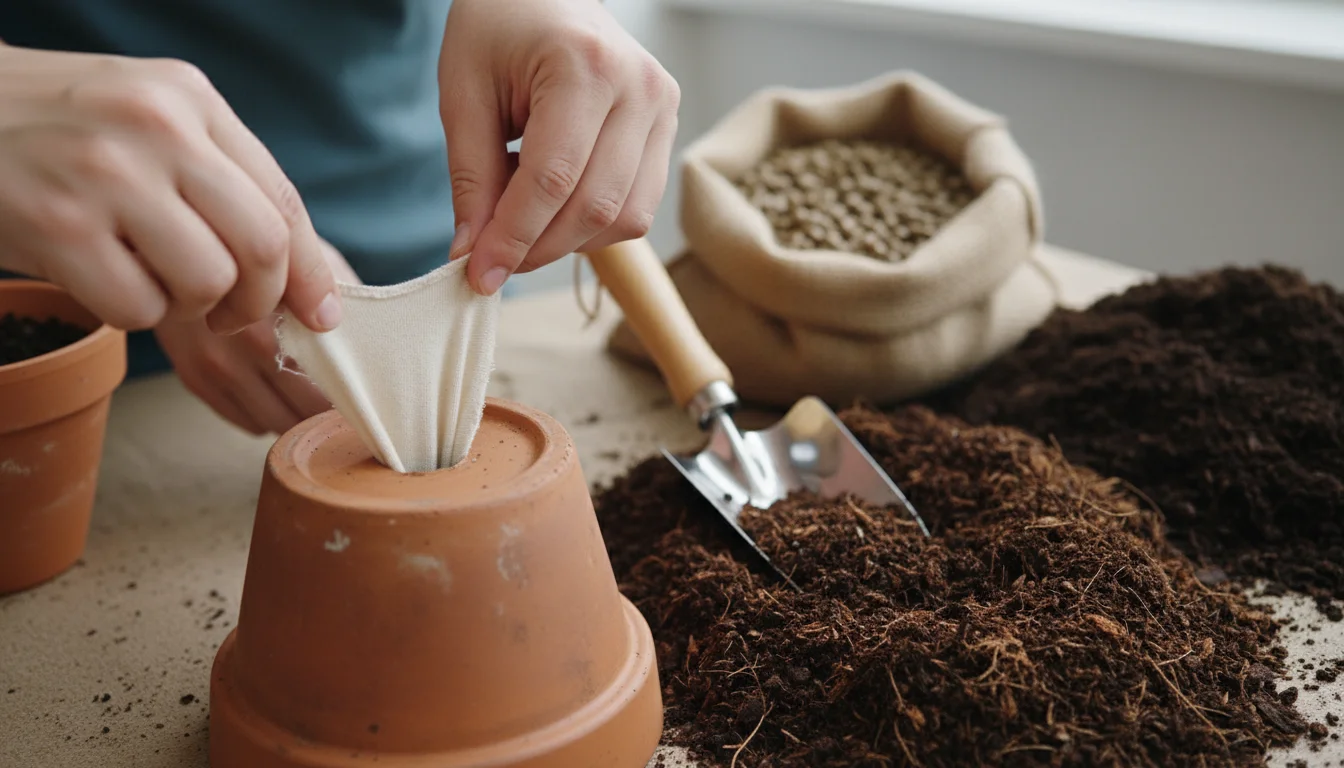
The principle behind self-watering containers is simple yet highly effective: capillary action, often called wicking. This is the same natural phenomenon that allows water to move up a paper towel or a plant’s stem. In a self-watering planter, a water reservoir sits beneath the soil where your plants grow. A wicking mechanism, usually a fabric strip, rope, or even the soil itself, extends from the planting mix down into the water reservoir. As the soil in the planting container dries out, it draws water up from the reservoir through the wicking material, delivering moisture directly to the roots.
While these DIY systems are low-maintenance, you can simplify your routine even further with a few affordable garden gadgets to monitor your garden.
This “bottom-up” watering method mimics natural water absorption better than traditional top-down watering. Plants access water when they need it, preventing the common problems of overwatering or underwatering. The soil surface remains relatively dry, which discourages weed growth and reduces evaporation. Importantly, nutrients remain in the soil rather than washing out with drainage water, making your fertilizers more efficient. A fill tube extends from the top of the container down to the reservoir, allowing you to easily replenish the water supply without disturbing the plant or soil. An overflow hole, positioned just above the maximum water level in the reservoir, prevents overfilling and potential root saturation during heavy rains or enthusiastic watering.
By understanding this basic mechanism, you gain a clear insight into why a self watering planter promotes healthier root systems and more vigorous plant growth. The consistent moisture level minimizes stress, allowing plants to focus their energy on producing fruits, flowers, or foliage. This ingenious system removes much of the guesswork from watering, making successful gardening more accessible to everyone.
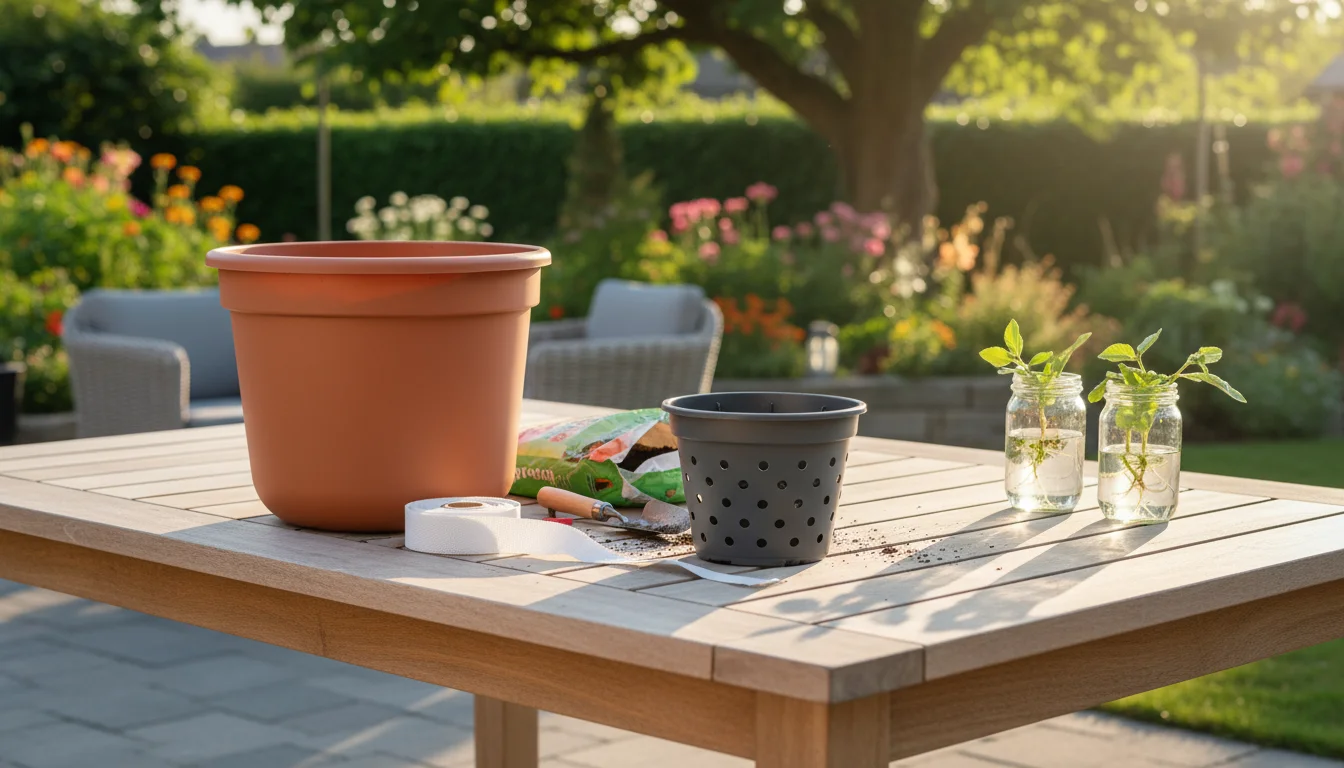
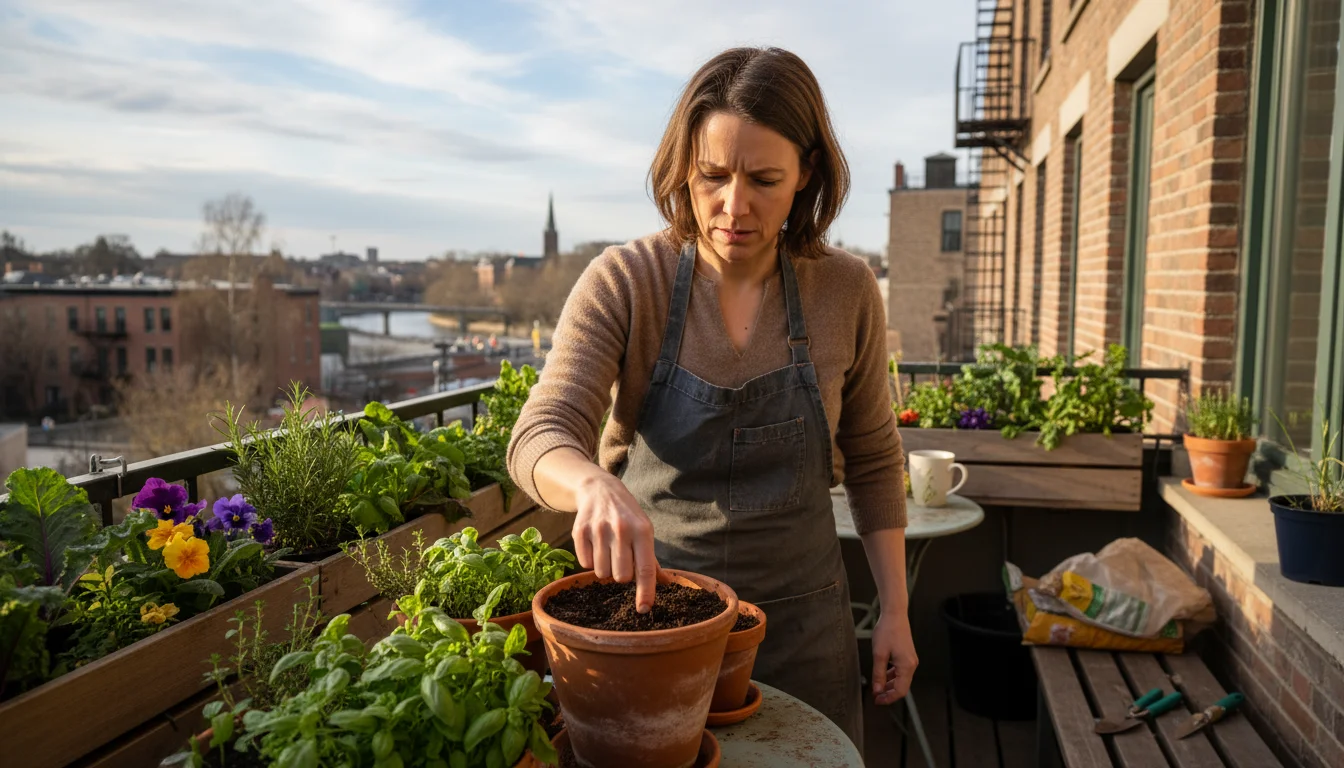
Gathering Your Materials: Upcycling for Your DIY Self-Watering Planter
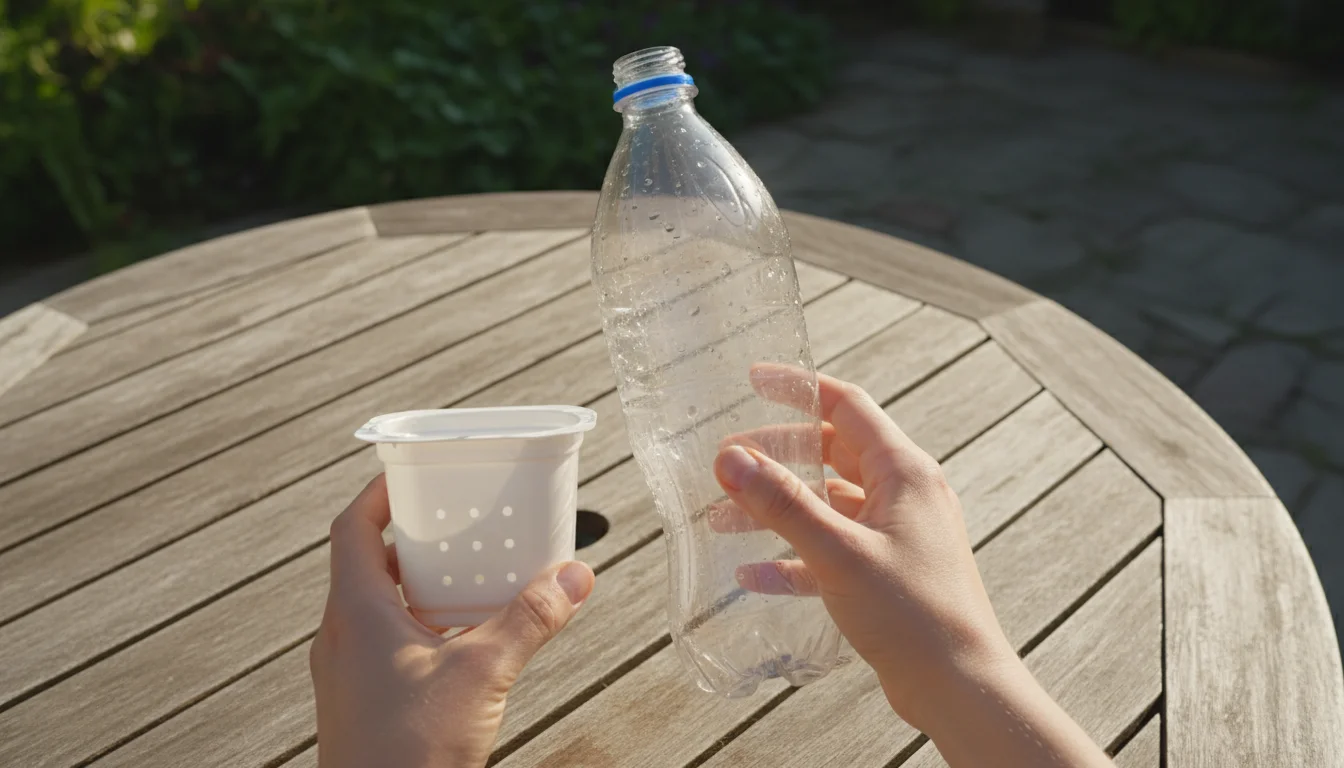
One of the most appealing aspects of creating a DIY self watering container is the opportunity to upcycle common household items. This reduces waste, saves money, and gives new purpose to materials that might otherwise end up in a landfill. You possess many of the components needed to construct an effective self watering planter right now. Your creativity, combined with these readily available resources, will yield a functional and attractive garden solution.
If you have extra materials left over, consider building a DIY vertical pallet garden to maximize your small-space productivity.
Here are the essential materials you will need, along with suggestions for upcycled alternatives:
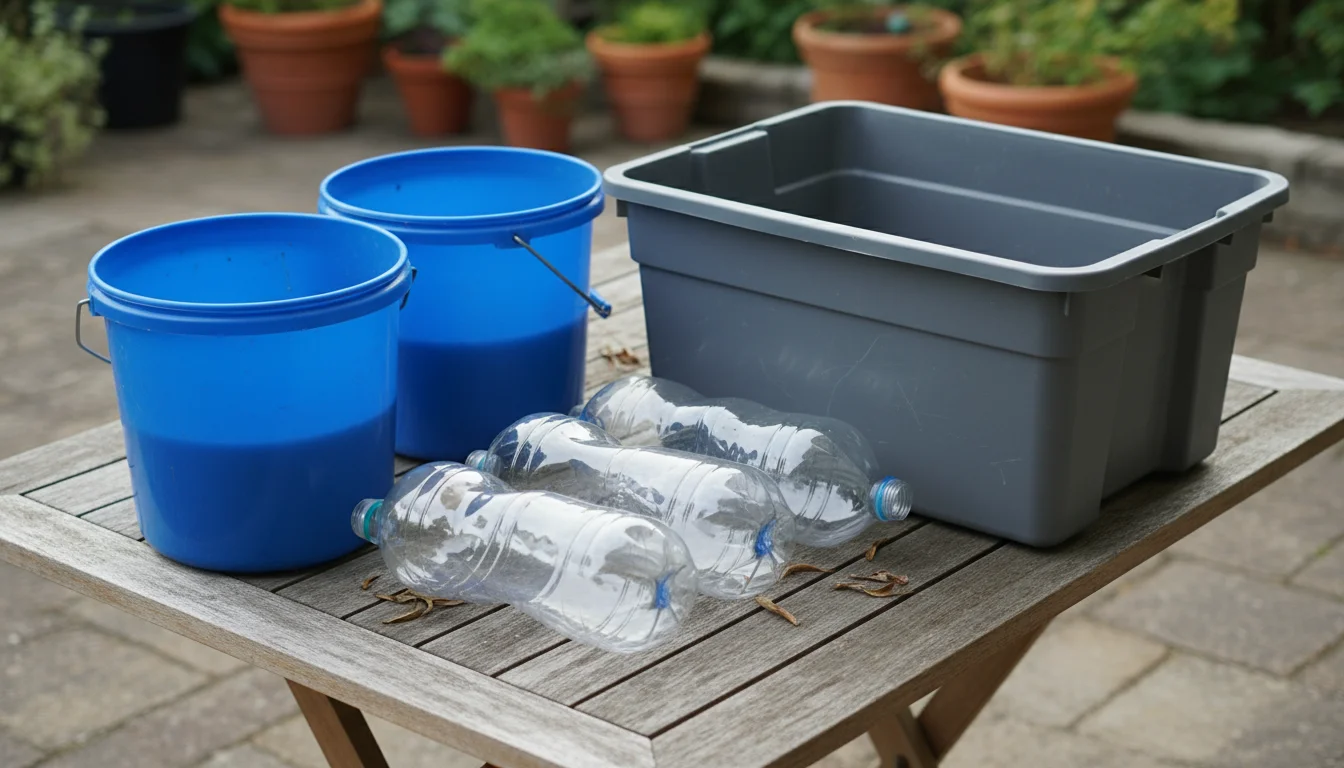
- Two Containers of Different Sizes: You need an outer container to hold the water reservoir and an inner container to hold the soil and plant.
- Outer Container (Water Reservoir): This should be a sturdy, watertight container.
- Upcycled Options: A 5-gallon bucket, a large plastic storage tote, a laundry detergent jug with the top cut off, a plastic olive barrel, a large plastic nursery pot (ensure it has no drainage holes or plug them securely), or even an old cooler.
- Important: Choose food-grade plastic if you plan to grow edibles, especially if the plastic is in direct contact with the growing medium. Look for recycling symbols #2 (HDPE) or #5 (PP), which are generally considered safe.
- Inner Container (Planting Container): This container will nest inside the outer one, holding your potting mix and plant. It must have drainage holes in its base.
- Upcycled Options: Another 5-gallon bucket (cut shorter if needed), a sturdy plastic colander, an old plastic pot, a large yogurt container, or even a smaller plastic tote. The key is that it fits inside the outer container with a gap below it for the water reservoir.
- Wicking Material: This draws water from the reservoir up to the soil.
- Upcycled Options: Strips of old cotton t-shirt, synthetic felt, a mop head string, old shoelaces (cotton or synthetic), or even sections of nylon rope. Synthetic materials like nylon or polyester often wick more consistently than natural fibers that might decompose over time.
- Tip: Ensure your chosen wicking material does not contain harmful dyes or chemicals if growing edibles.
- Water Fill Tube: This allows you to replenish the reservoir easily.
- Upcycled Options: A section of PVC pipe (1-inch to 2-inch diameter works well), a plastic water bottle with the bottom cut off, a sturdy cardboard tube (for temporary use, or if protected from water), or a funneled piece of plastic.
- Drainage/Overflow Hole Mechanism: Essential to prevent waterlogging.
- Upcycled Options: A small piece of tubing, a drilled hole.
- Tools:
- Drill with appropriate bit sizes (for drainage holes, wicking holes, and fill tube hole).
- Utility knife or strong shears (for cutting plastic).
- Measuring tape.
- Permanent marker.
- One larger, solid container (your outer reservoir container).
- One smaller container with drainage holes (your inner planting container).
- Wicking material (e.g., cotton rope, synthetic felt strips, or old t-shirt strips).
- A piece of PVC pipe or a plastic bottle funnel for the fill tube.
- Drill with appropriate bit sizes.
- Utility knife or strong shears.
- Potting mix, suitable for containers.
- Your chosen plant.
- Prepare the Outer (Reservoir) Container:
Ensure your outer container is clean and watertight. If it has any drainage holes, plug them securely to prevent water leakage. Measure the height of your inner container. You need to create a space for the water reservoir below it. Mark a point on the side of your outer container, about 1 to 2 inches below where the bottom of your inner container will rest when nested. This mark indicates the maximum water level for your reservoir. At this mark, drill an overflow hole. This hole is critical; it prevents the reservoir from overfilling and ensures your plant’s roots do not sit in standing water, which causes root rot. For example, if your inner container’s bottom sits 4 inches from the base of the outer container, drill your overflow hole at the 2 or 3-inch mark from the bottom.
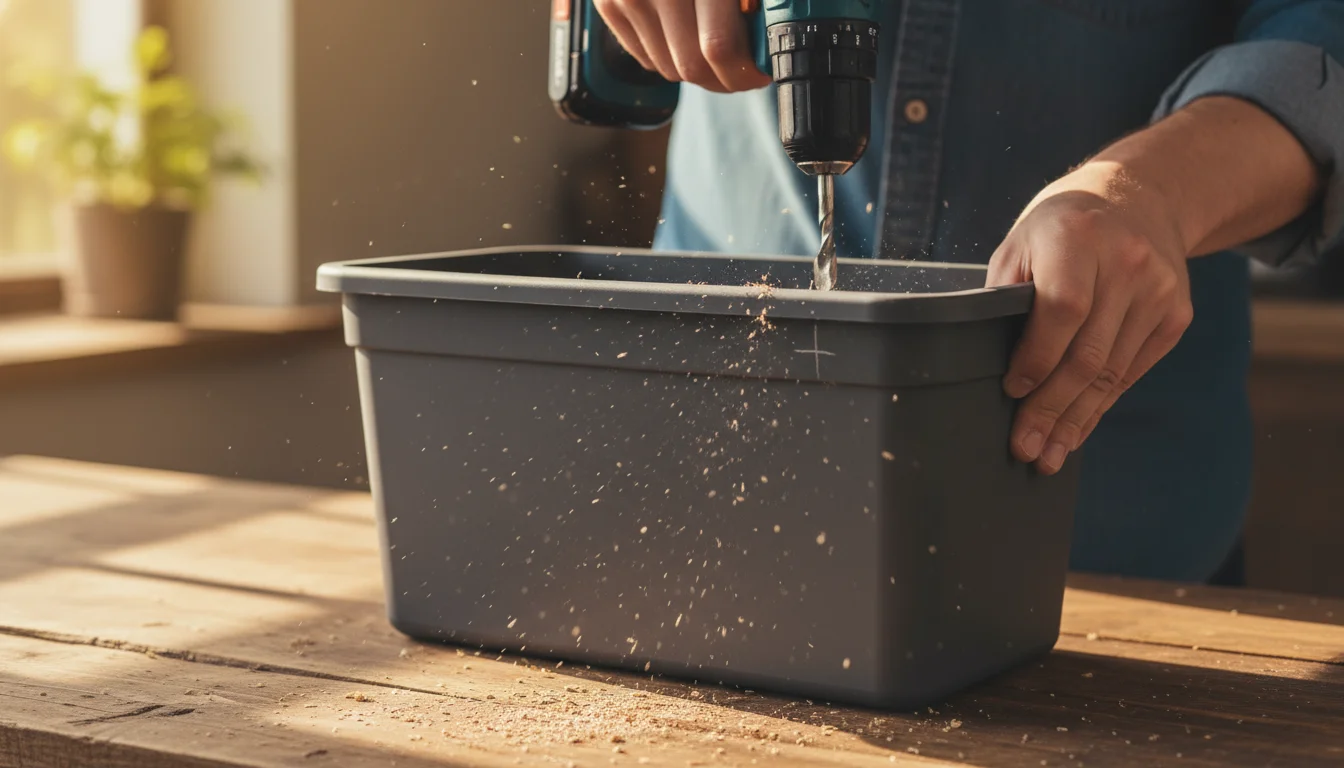
- Modify the Inner (Planting) Container:
This container will hold your soil and plant. It must have drainage holes in its base, as typical planters do. If it does not, drill several holes about 1/4 to 1/2 inch in diameter across the bottom. Next, you need to create openings for your wicking material. Drill one or more holes near the center of the bottom of this container, large enough to thread your wicking material through. The number of wicks depends on the size of your container. For a medium-sized container, one to three wicks usually suffice. The wicking material will extend from these holes down into the water reservoir.
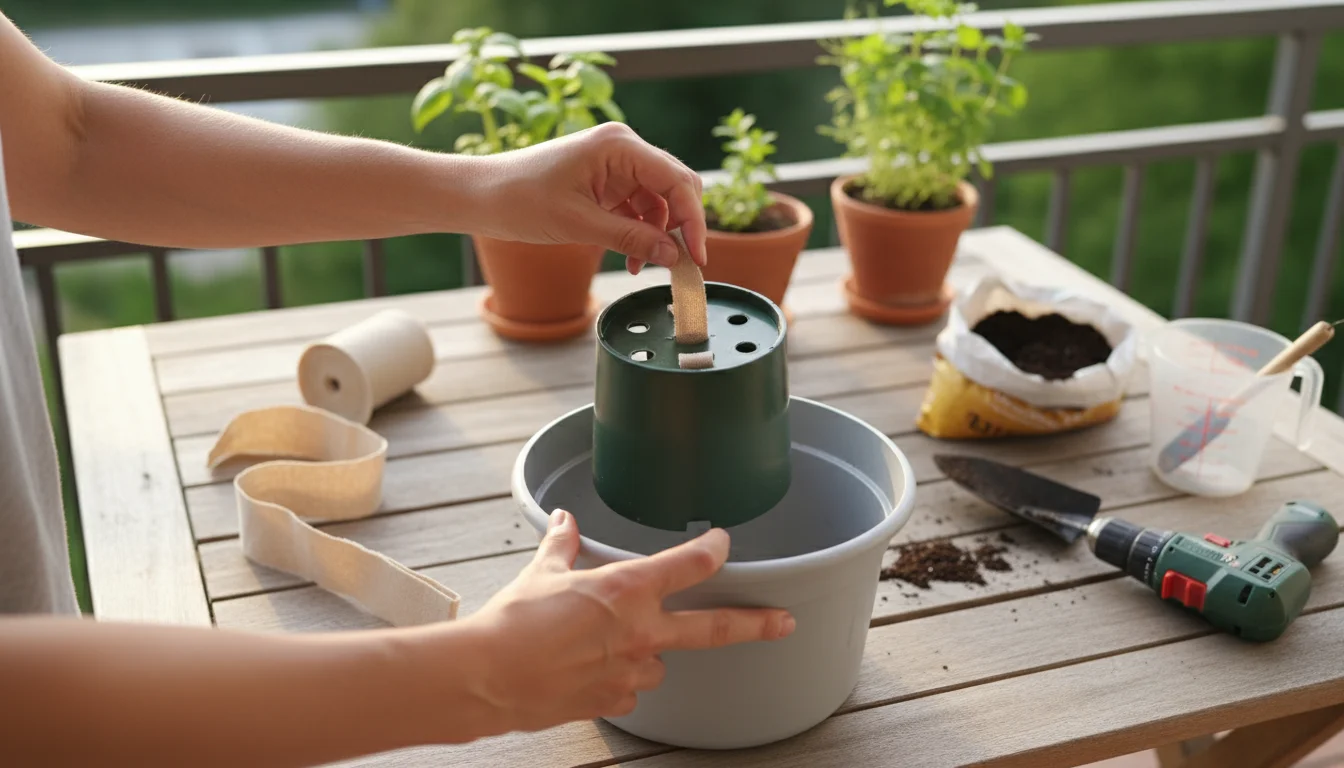
- Install the Wicking Material:
Cut your wicking material to a length that reaches from the bottom of your inner container down to the very bottom of your outer reservoir container, plus an extra few inches to ensure good contact with both the soil and the water. Thread the wicking material through the holes you drilled in the bottom of the inner container. Ensure a good portion of the wick extends into the reservoir space below the inner container. For wider containers, use multiple wicks spaced evenly to ensure consistent moisture distribution across the entire soil volume.
- Create the Fill Tube:
Your fill tube makes adding water to the reservoir easy. Take your PVC pipe, plastic bottle funnel, or other chosen material. This tube needs to reach from the top rim of your outer container down into the water reservoir, ideally touching or nearly touching the bottom. If using a PVC pipe, you might cut it at an angle at the bottom to prevent it from suctioning to the container floor. Position the fill tube in a corner or side of the outer container. You might need to drill a small hole in the lip of the inner container to help secure the fill tube in place, preventing it from shifting.
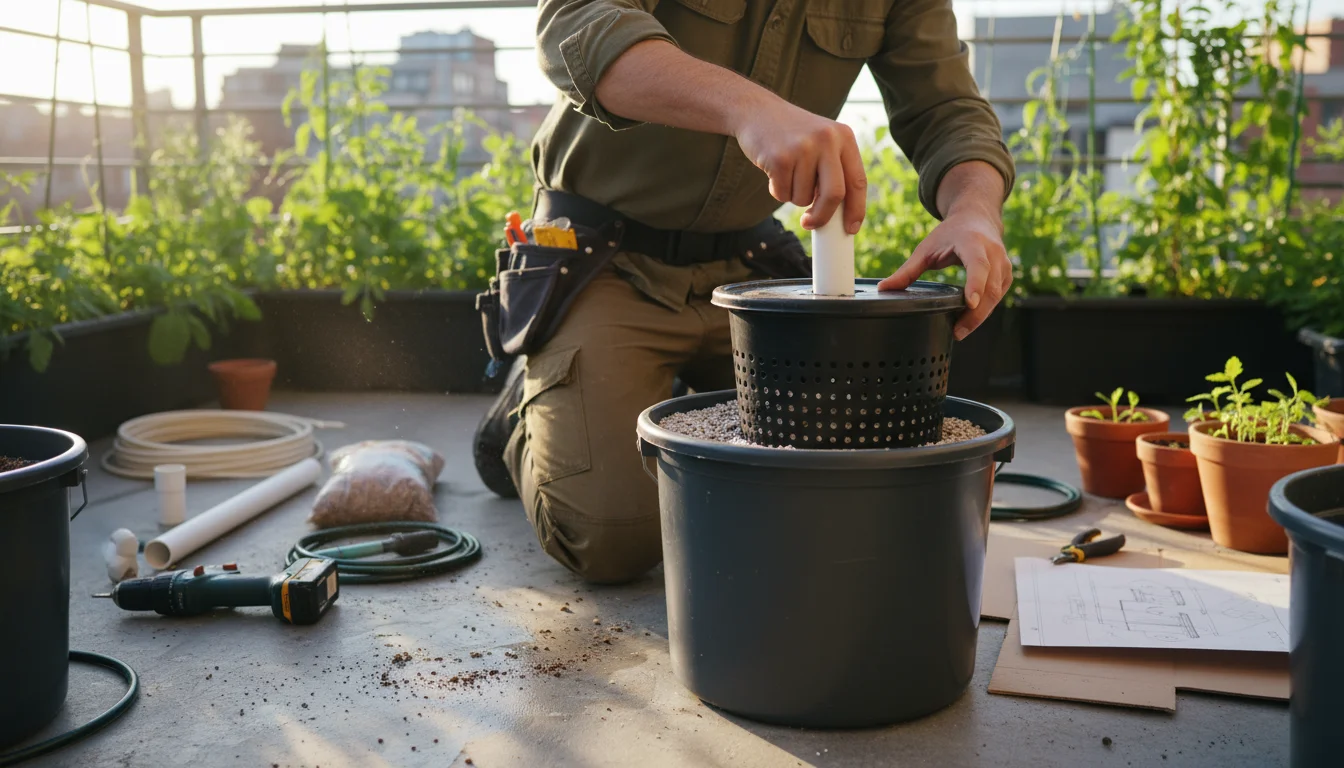
- Assemble the System:
Carefully lower your inner planting container, with its wicks threaded through, into the outer reservoir container. Ensure the wicks extend freely into the reservoir space. Position your fill tube next to the inner container, ensuring it reaches the reservoir. The inner container should rest on a stable support within the outer container, such as bricks, inverted plastic pots, or a custom-made plastic grid, leaving a clear gap below for the water. This elevated position creates the vital water reservoir space.
- Add Potting Mix and Plant Your Garden:
Add a good quality, lightweight potting mix to your inner container. Do not use garden soil, as it is too dense and does not wick effectively. Pack the soil gently around the wicking material at the bottom to ensure good contact. Plant your chosen vegetables, herbs, or flowers as you normally would, ensuring their roots are well-covered by the potting mix. After planting, water your container thoroughly from the top to initially moisten the soil and help establish the plant. This initial top watering is crucial for settling the soil and starting the wicking action.
- Fill the Reservoir:
Once the initial top watering is done, begin filling the water reservoir through the fill tube. You will see water emerge from the overflow hole when the reservoir is full. This indicates the maximum safe water level. At this point, your water saving container is fully operational, ready to provide consistent moisture to your plants, significantly reducing your watering chores.
- The Inner Container: Obtain a second 5-gallon bucket. Cut about 4-6 inches off the bottom of this second bucket. This cut-off bottom section will become your planting platform. Drill numerous 1/4-inch drainage holes across this cut-off piece.
- Wick Holes: Drill several 1/2-inch to 1-inch holes into the cut-off base. These holes accommodate your wicking material and ensure good soil-to-water contact. Alternatively, you can use small plastic pots or soda bottles with holes in their bottoms, inverted and placed in the reservoir, with soil filling them to act as “soil wicks.”
- Support for the Platform: Inside your main 5-gallon bucket (the reservoir), create supports for your cut-off planting base. You can use sections of PVC pipe, bricks, or even small, inverted plastic containers to elevate the planting platform 3-5 inches from the bottom. This space forms your water reservoir.
- Overflow Hole: Drill a 1/2-inch overflow hole on the side of the main reservoir bucket, just above your support level. This prevents overfilling.
- Fill Tube: Insert a 1-inch diameter PVC pipe or a section of a plastic bottle (cut open at both ends) down to the bottom of the reservoir, positioned to easily pour water into.
- Assemble and Plant: Place the supports in the reservoir bucket, then the perforated planting platform on top. Insert wicks through the holes if using them, ensuring they reach the bottom of the reservoir. Fill with potting mix, plant your desired vegetables, and water thoroughly from the top initially. Then, fill the reservoir via the fill tube.
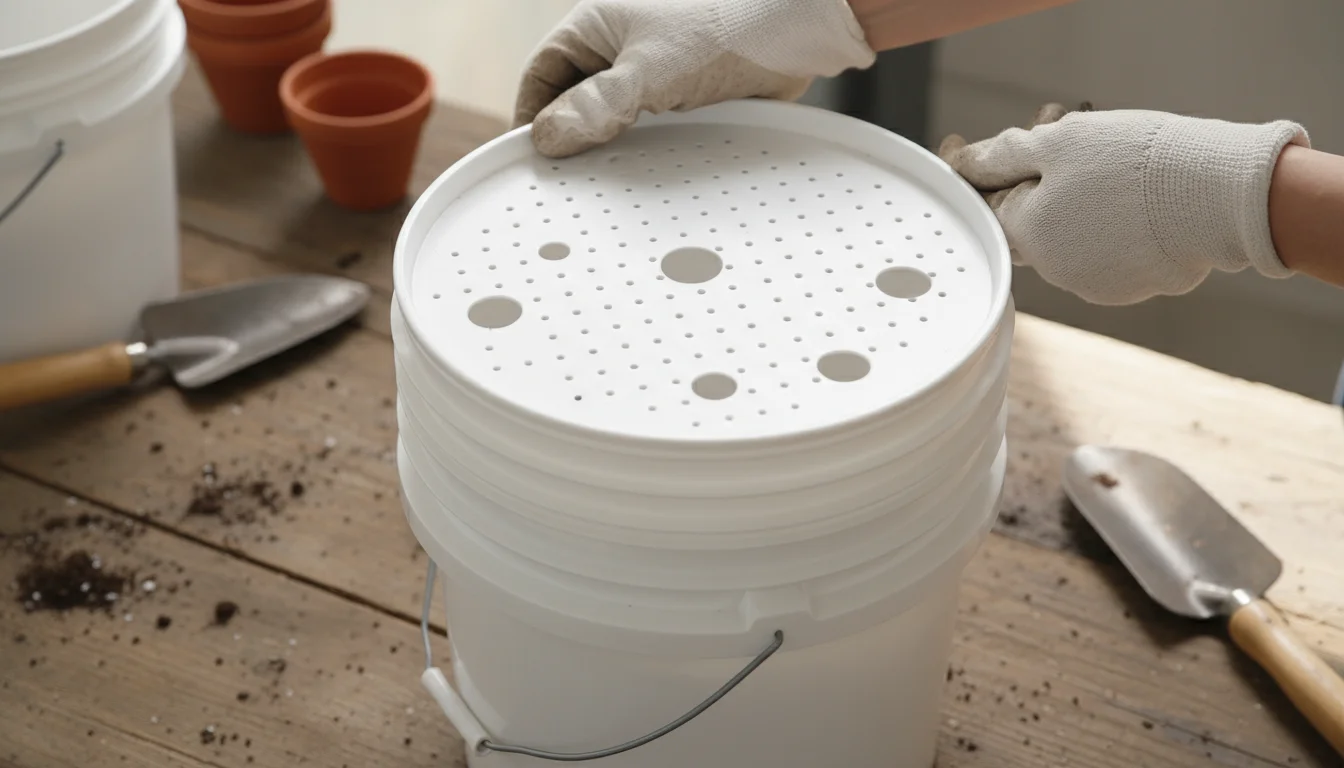
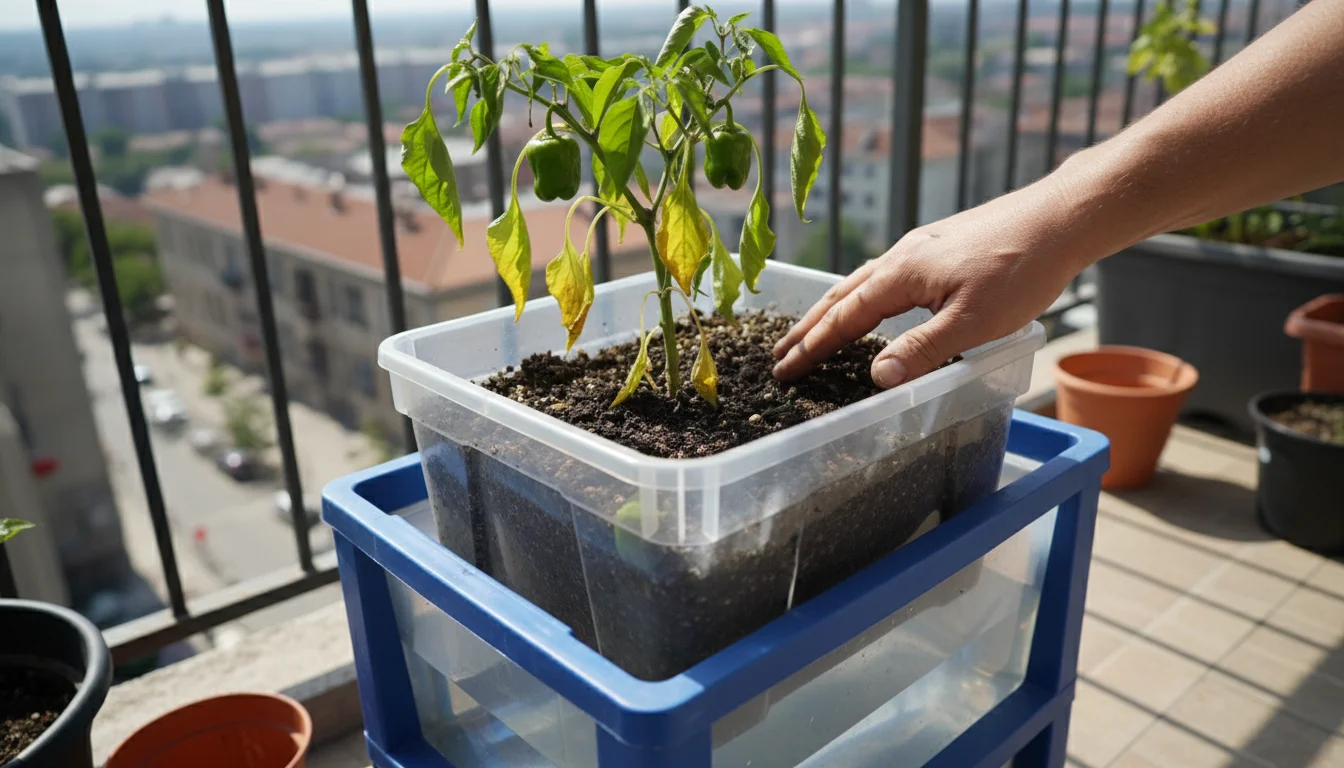
- Choose Your Tote: Select a sturdy, opaque plastic storage tote with a lid. Opaque totes prevent algae growth in the reservoir. Food-grade plastic is best for edibles.
- Reservoir Base and Wicking Mechanism: Inside the tote, you need to create a false bottom to separate the soil from the water reservoir. You can use various methods:
- Plastic Drainage Pipe/Grid: Lay sections of perforated drainage pipe or a sturdy plastic egg crate light diffuser on the bottom of the tote. Cover this with landscape fabric or shade cloth to prevent soil from falling into the reservoir while allowing water to pass.
- Inverted Cups/Bottles: Drill holes in the bottoms of several plastic cups or soda bottles. Invert these cups/bottles, place them on the bottom of the tote, and cut holes in the tote’s lid to fit over them. The soil will be placed on top of this lid, and the inverted cups/bottles will act as “wicking cones,” drawing water up.
- Wicking Towers (for the inverted cups/bottles method): Cut corresponding holes in the tote’s lid directly above your inverted cups/bottles. When you place the lid on the tote, the cups/bottles should protrude through the holes. These will be filled with soil to create wicking towers.
- Fill Tube and Overflow Hole: Drill a hole in the corner of the tote’s lid for a fill tube (PVC pipe). Drill another hole on the side of the tote, just above the false bottom or reservoir water level, for an overflow drain.
- Assembly: Place your chosen reservoir base in the tote. If using wicking towers, place the lid on, ensuring the cups/bottles are correctly positioned. Fill the wicking towers (if applicable) with potting mix, ensuring good contact with the reservoir. Then, fill the rest of the planting area above the false bottom with potting mix.
- Plant and Water: Plant your vegetables or other plants. Initially water from the top to saturate the soil. Then, fill the reservoir through the fill tube until water drains from the overflow hole.
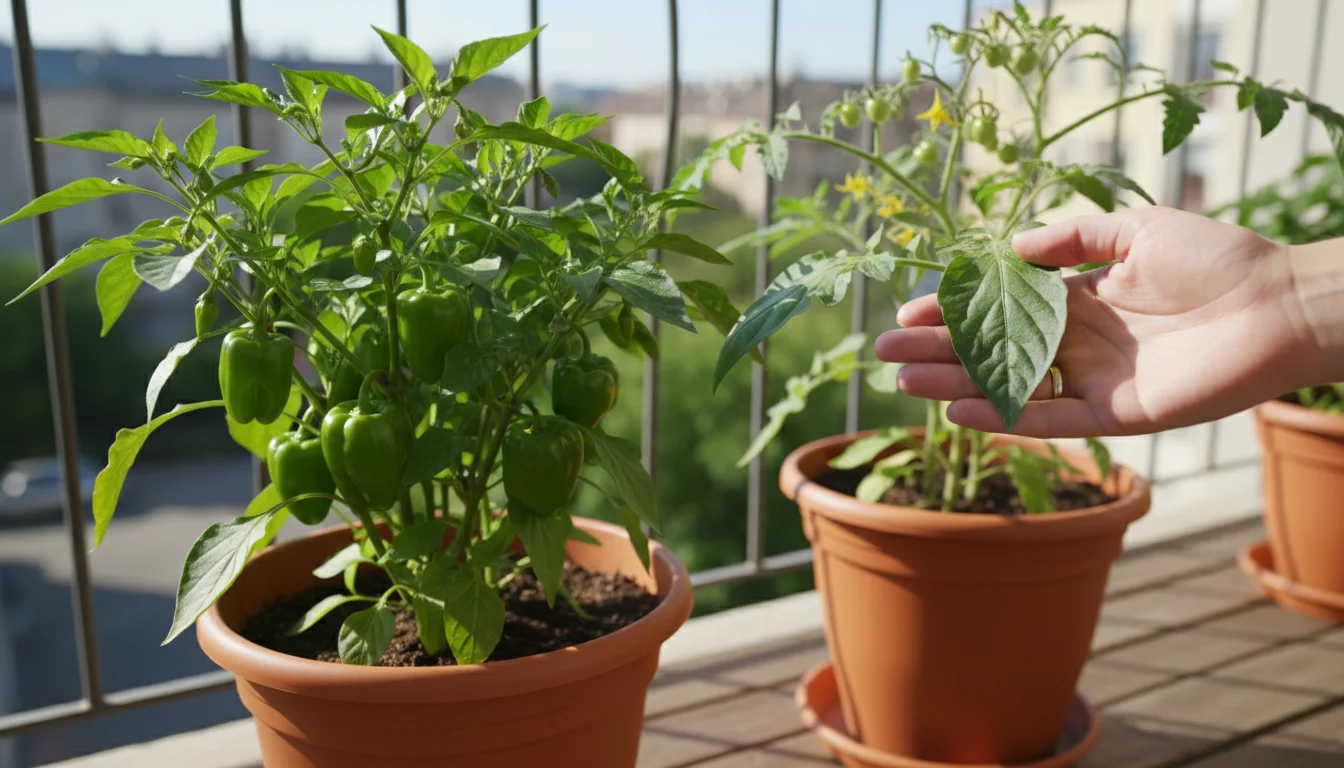
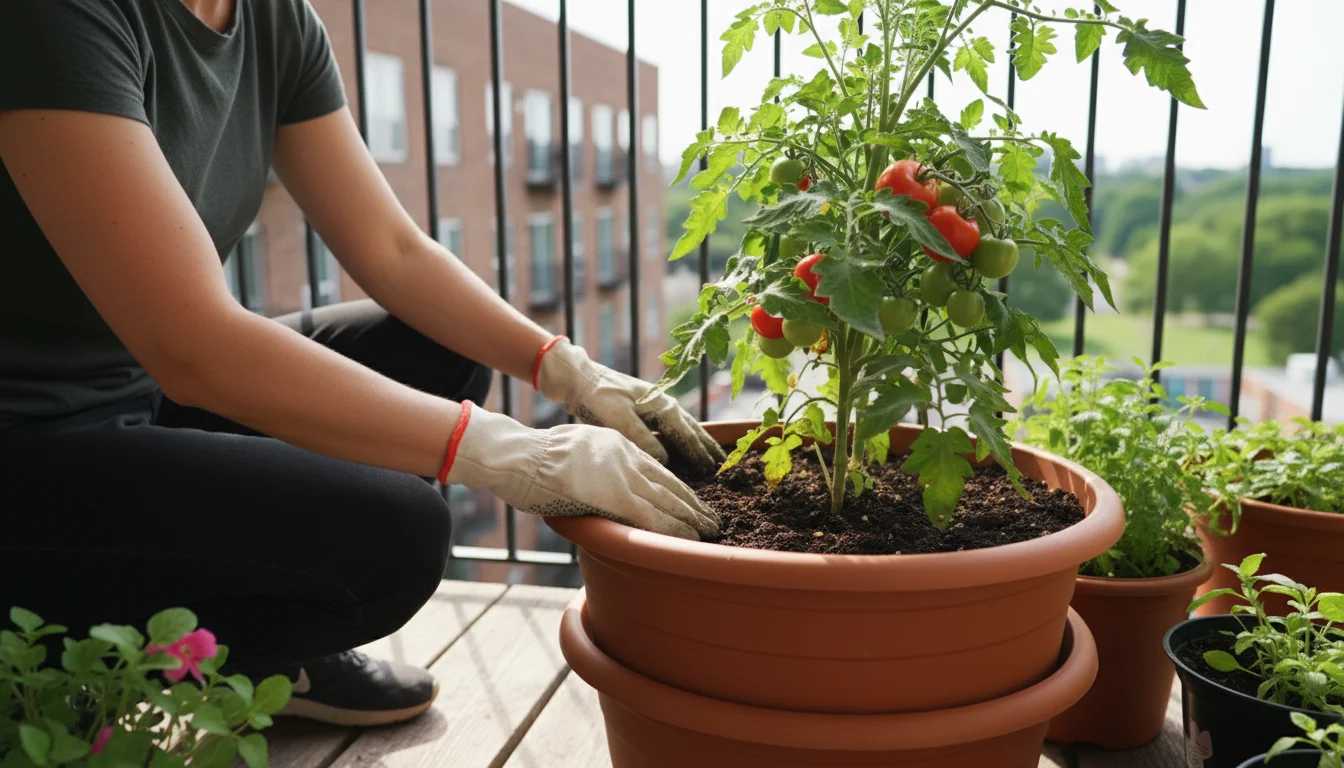
- Fruiting Vegetables:
- Tomatoes: They are heavy feeders and drinkers. Consistent moisture prevents blossom end rot, a common issue caused by inconsistent watering.
- Peppers (Bell, Chili): Similar to tomatoes, peppers love steady moisture for optimal fruit production.
- Eggplants: These heat-lovers appreciate the consistent water supply, especially during their fruiting period.
- Cucumbers and Zucchini: These vining plants have high water needs, particularly when producing fruit. A DIY self watering system keeps them hydrated and productive.
- Bush Beans: While pole beans also do well, bush varieties fit nicely in medium to large self-watering containers.
- Leafy Greens:
- Lettuce, Spinach, Kale, Swiss Chard: These cool-season crops prefer consistent moisture to prevent bolting (going to seed prematurely) and keep their leaves tender and flavorful.
- Mustard Greens and Asian Greens: Similarly benefit from steady hydration.
- Herbs:
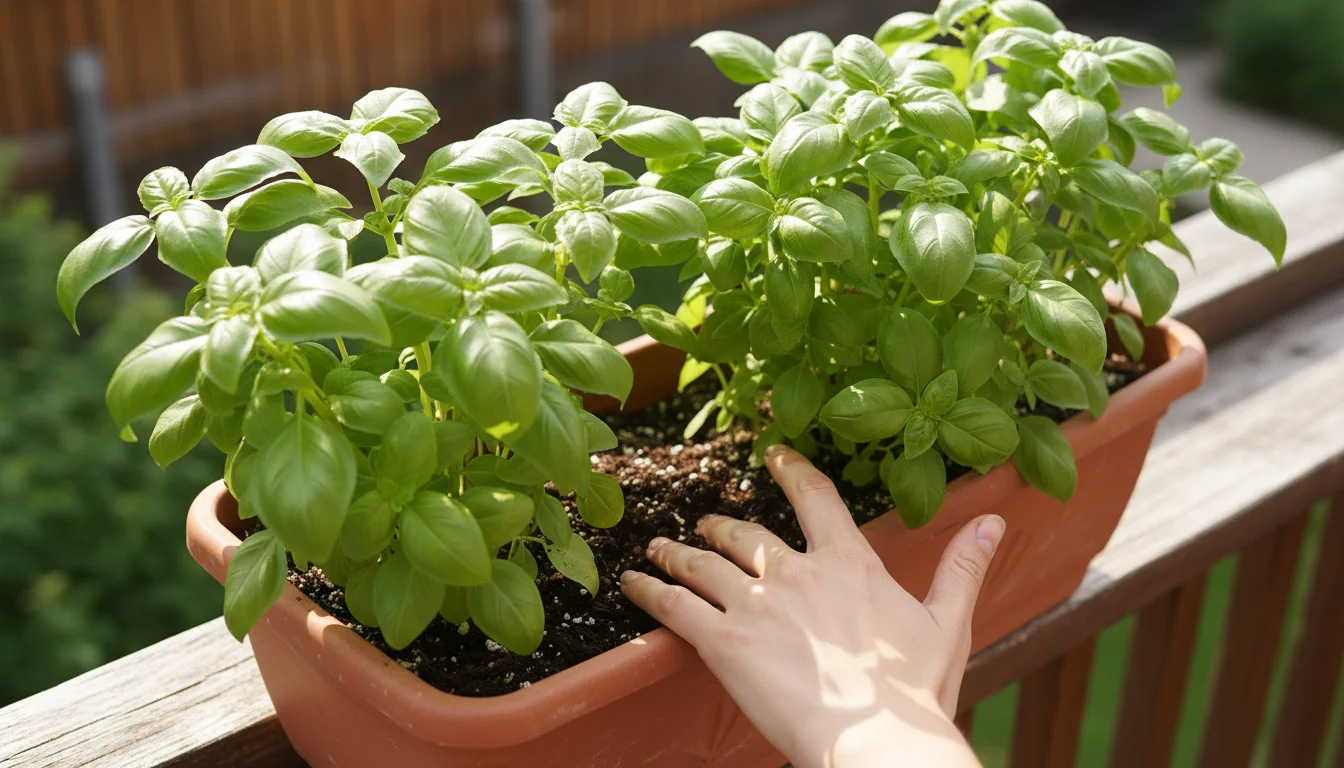
- Basil: A notoriously thirsty herb, basil thrives in self-watering containers, producing lush, fragrant leaves.
- Mint: This aggressive spreader is perfectly contained in a self watering planter and appreciates the moisture.
- Cilantro and Parsley: Both prefer consistent moisture to prevent bolting and maintain vigor.
- Root Vegetables (with care):
- Carrots and Radishes: You can grow these, but ensure the container is deep enough for root development and the soil is loose. Consistent moisture prevents cracking and encourages smooth growth.
- Flowers:
- Impatiens, Petunias, Begonias: Many popular annuals that require frequent watering in traditional containers will flourish in self-watering systems, providing continuous blooms with less effort.
- Calibrachoa (Million Bells): Another thirsty annual that benefits greatly from constant moisture.
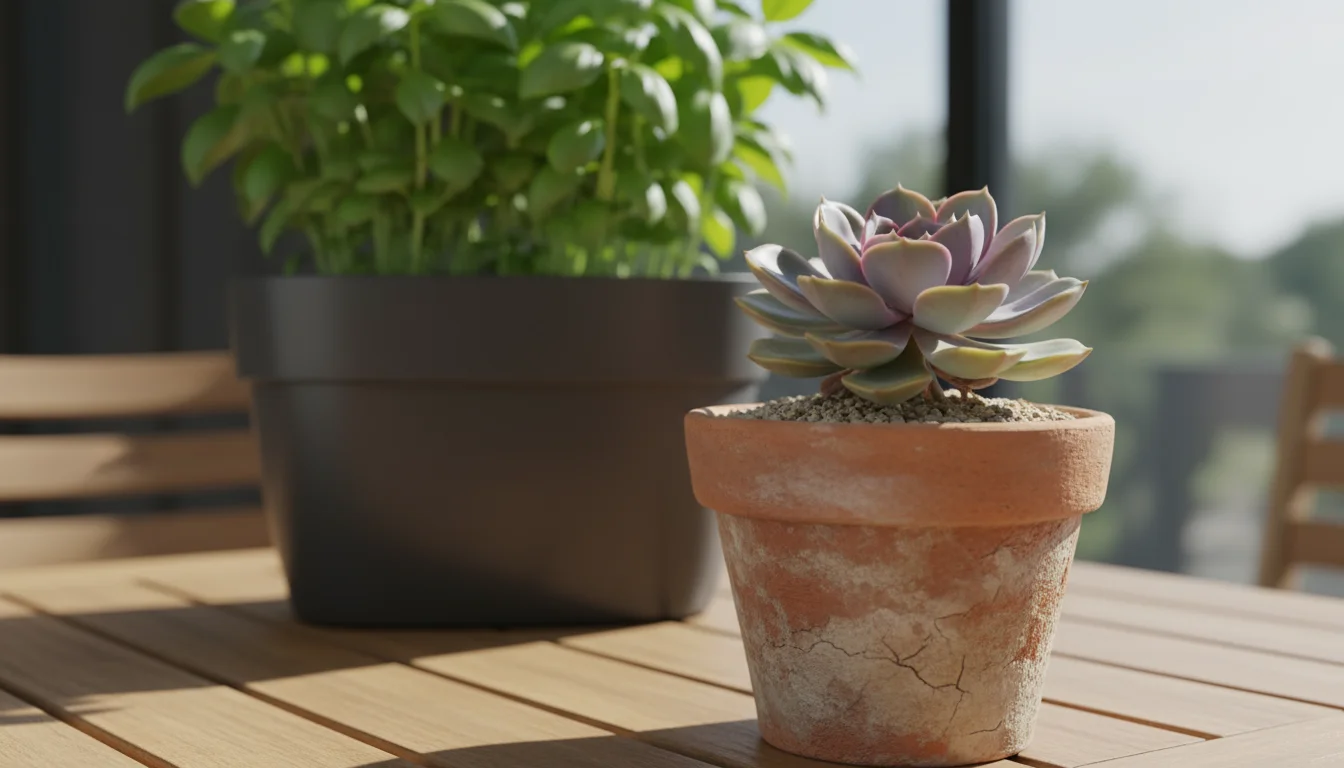
- Cacti and Succulents: These desert dwellers absolutely do not belong in self-watering containers. They need sharp drainage and dry periods.
- Lavender and Rosemary: Mediterranean herbs that prefer drier soil conditions.
- Many Perennials: While some may adapt, many perennials prefer a cycle of moist and slightly dry soil. Research specific perennial needs carefully.
- Onions and Garlic: While possible, these can be more susceptible to rot if consistently too wet.
- Lightweight and Loamy: Allows for good root penetration and prevents compaction.
- Good Water Retention: The mix needs to hold moisture but also release it gradually via wicking.
- Excellent Aeration: Prevents roots from suffocating. Ingredients like perlite, vermiculite, and coco coir contribute to this.
- Peat-Free (Optional, but Eco-Friendly): Consider mixes that use alternatives to peat moss, such as coco coir or composted bark, for environmental reasons. Peat harvesting has environmental concerns.
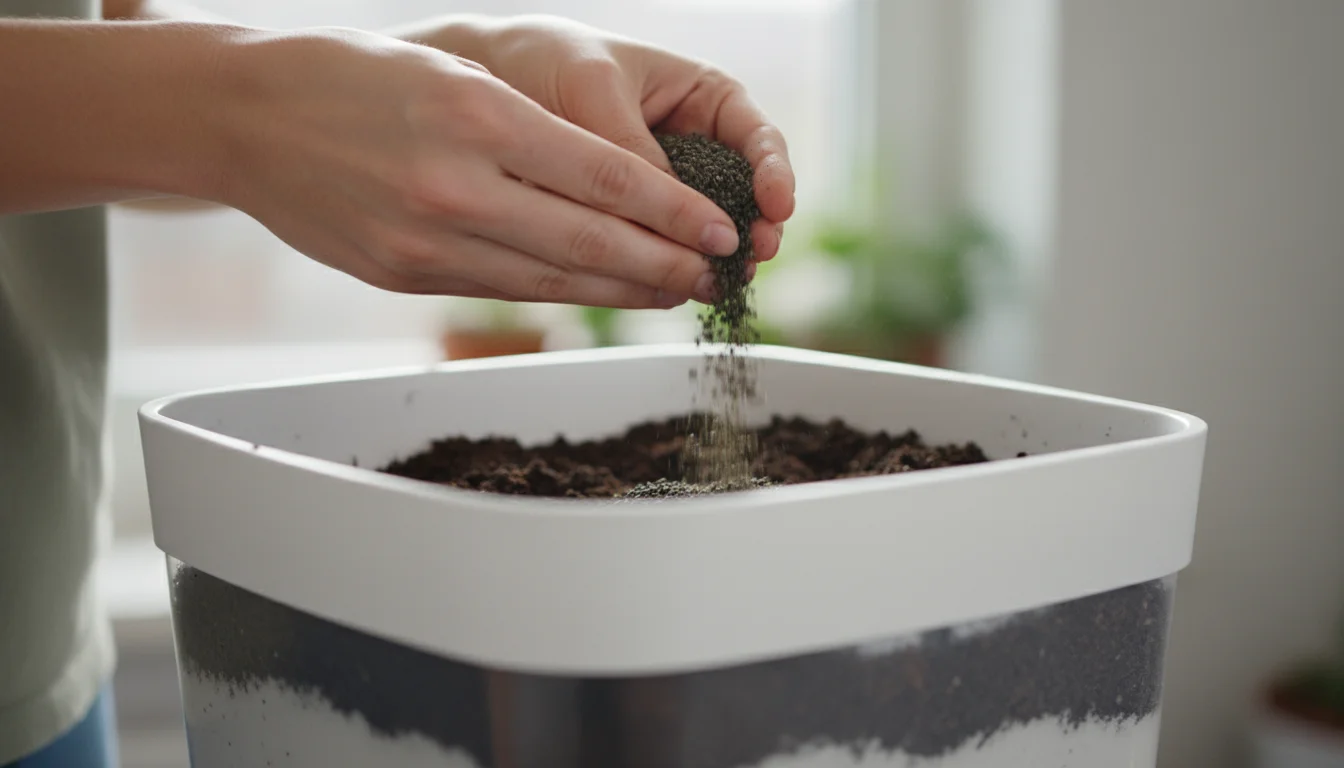
- Initial Nutrient Boost: Incorporate a slow-release granular fertilizer into your potting mix at planting time. This provides a steady supply of nutrients over several weeks or months. Follow package directions carefully to avoid over-fertilization. Organic granular fertilizers, such as those derived from bone meal, blood meal, or kelp meal, offer a gentle, sustained release.
- Liquid Fertilization (Less Frequent): While you can add liquid fertilizer to the reservoir, do so sparingly and with caution. Concentrated liquid fertilizers in the reservoir can lead to salt buildup. Instead, consider periodic top-feeding with a diluted liquid organic fertilizer every 2-4 weeks. When top-feeding, allow a small amount of water to drain from the overflow hole, helping to flush out any accumulated salts.
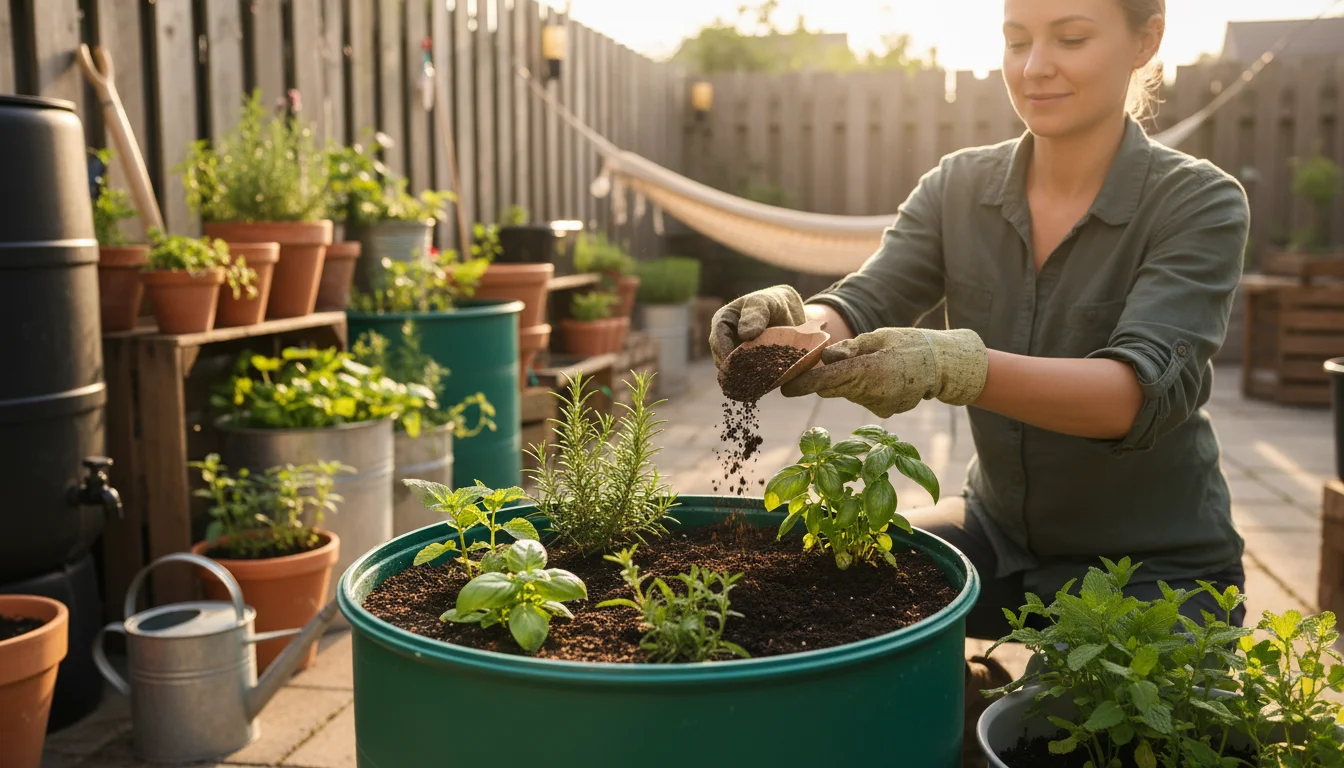
- Top-Dressing with Compost: For a sustainable, long-term approach, top-dress your water saving container with a layer of good quality compost every 4-6 weeks. As you water from the top occasionally or when rain falls, the nutrients from the compost will slowly leach into the soil, providing a gentle and balanced feeding.
- Observe Your Plants: Your plants will tell you what they need. Yellowing leaves might indicate a nutrient deficiency, while burnt leaf tips can signify too much fertilizer. Adjust your feeding schedule based on plant vigor and health.
- Check the Reservoir Level Regularly: While less frequent than daily watering, you still need to check the reservoir every few days, especially during hot weather or when plants are large and actively growing. Top up the reservoir via the fill tube as needed. The frequency will depend on plant size, weather, and container volume.
- Occasional Top Watering: Even with a self-watering system, periodically water your plants from the top, allowing some water to drain from the overflow hole. This helps to leach out any accumulated salts from fertilizers and provides an opportunity to rinse the soil surface. Doing this once every 2-4 weeks, or after heavy fertilization, is a good practice.
- Clean the Fill Tube: Over time, algae or debris can build up in the fill tube. Use a narrow brush or a stick to clear any blockages, ensuring water flows freely into the reservoir.
- Monitor for Pests and Diseases: While self-watering containers reduce some issues, they do not eliminate all pest and disease risks. Regularly inspect your plants for signs of trouble and address them promptly.
- Using Garden Soil: As discussed, garden soil compacts easily and does not wick effectively. Always use a high-quality, lightweight potting mix for your DIY self watering containers.
- No Overflow Hole: This is a critical error. Without an overflow hole, heavy rain or overfilling the reservoir will lead to saturated soil, suffocating roots and causing root rot. The overflow hole ensures oxygen remains in the root zone.
- Improper Wicking Material: If your wicking material is too thin, too short, or made of a non-wicking fabric, it will not draw water efficiently. Ensure good quality, absorbent material reaches from the bottom of the reservoir to well into the planting mix.
- Over-fertilization: Because nutrients do not leach out as readily, it is easy to over-fertilize in self-watering systems. Use slow-release fertilizers sparingly or rely on compost top-dressing. Monitor plant health for signs of nutrient burn.
- Neglecting Initial Top Watering: Your plants need initial top watering to establish themselves and for the wicking action to fully engage. Do not rely solely on the reservoir immediately after planting.
- Choosing the Wrong Plants: Placing plants that prefer dry conditions (like succulents) in a constantly moist self-watering system will lead to their demise. Match plants to the system’s inherent moisture.
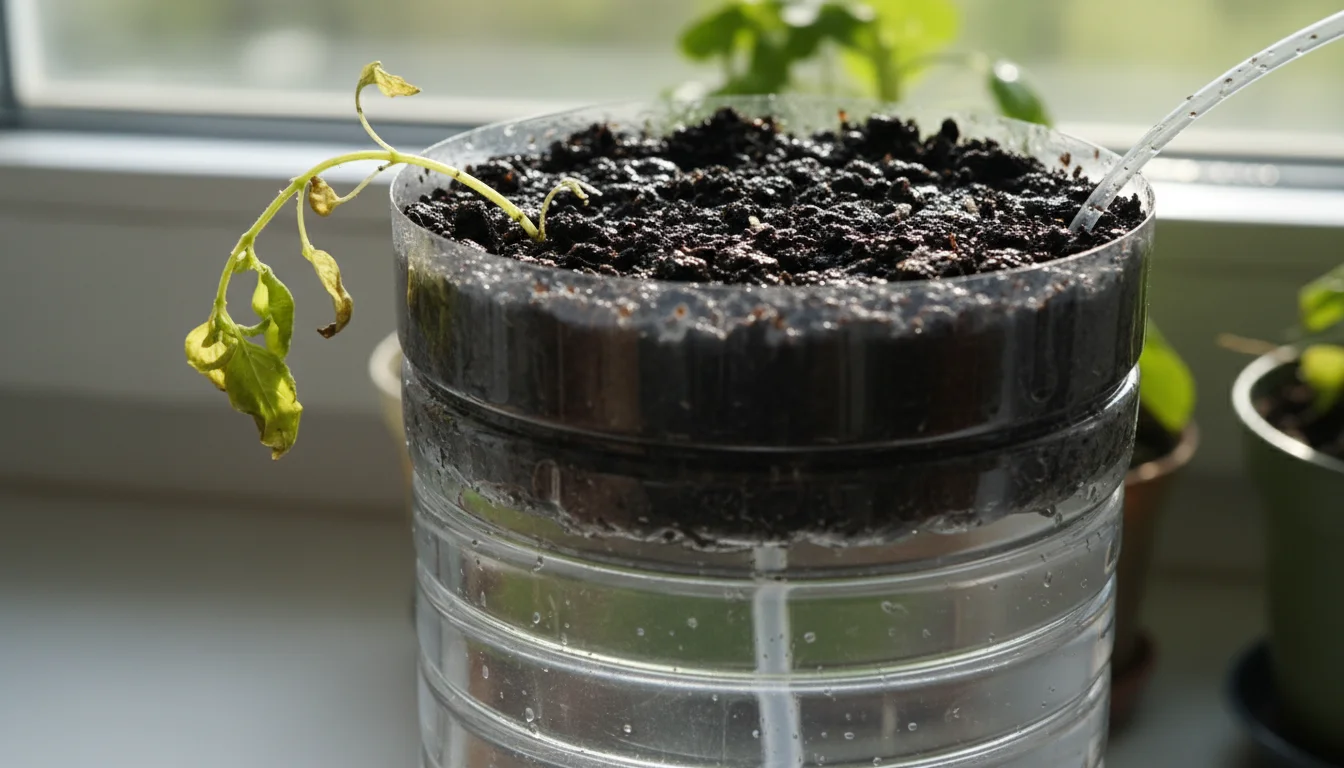
- Plants are Wilting, But Reservoir is Full:
- Check the wick: Is it properly placed and making good contact with both the soil and the water? Is it clogged with soil?
- Soil too compact: The potting mix might be too dense or has compacted, hindering wicking. A light top watering might help re-establish capillary action.
- Extreme heat: Even with a full reservoir, extreme heat can cause plants to transpire faster than the wick can supply water. Provide shade during peak heat.
- Algae Growth in Reservoir:
- Cause: Sunlight reaching the water and encouraging algae.
- Solution: Use opaque containers. If using clear containers, paint the outside of the reservoir section a dark color. Algae usually does not harm plants directly, but it can deplete oxygen in the water and potentially clog wicks.
- Mosquito Larvae in Reservoir:
- Cause: Stagnant water.
- Solution: Add a few drops of vegetable oil to the reservoir, which forms a film on the surface, preventing larvae from breathing. Alternatively, introduce mosquito dunks (Bacillus thuringiensis israelensis), a safe biological control. Ensure your fill tube has a cap to prevent mosquitoes from entering.
- Yellowing Leaves/Poor Growth:
- Cause: Could be nutrient deficiency or over-fertilization (salt buildup).
- Solution: Perform a thorough top watering to flush out salts. If symptoms persist, consider a gentle feeding with a balanced liquid fertilizer. Review your fertilization schedule.
- Potting Mix: Opt for peat-free potting mixes. Peat moss harvesting degrades valuable wetland ecosystems. Look for mixes containing coco coir, composted bark, or other sustainable alternatives.
- Wicking Material: While synthetic wicks offer durability, consider organic options like cotton strips from old clothing. If using synthetic, ensure it is durable for long-term use, reducing the need for frequent replacement.
- Fertilizers: Choose organic, slow-release fertilizers. These break down naturally, nourish the soil, and avoid the chemical runoff associated with synthetic fertilizers. Top-dressing with compost is a highly sustainable feeding method, enriching the soil with beneficial microbes.
Selecting durable, non-toxic materials, especially when upcycling, ensures the longevity and safety of your water saving container. Many of these items are likely already in your garage, shed, or recycling bin, making your DIY self watering project both cost-effective and environmentally friendly.
Step-by-Step Guide: Building Your Basic Wicking Self-Watering Container
Creating your own DIY self watering planter is a straightforward process, achievable in just a few steps. Follow these instructions carefully, and you will have a functional, efficient self watering planter ready for your favorite plants.
These systems are particularly effective for thirsty crops; once finished, you can use your new planter to grow tomatoes in containers with much higher success rates.
Materials You Will Need:
Step-by-Step Instructions:
You have now successfully built your own self watering planter! Enjoy the benefits of reduced watering and healthier plants.
Building from Larger Containers: Buckets and Totes
While the basic two-container method works wonders for smaller plants, you can easily scale up your DIY self watering efforts using larger vessels like 5-gallon buckets or plastic storage totes. These options provide ample space for larger plants, multiple plants, or even small vegetable patches, making them ideal for urban gardeners with limited ground space. The principles remain the same, but the execution adapts to the larger scale, offering an effective self watering planter for bigger yields.
5-Gallon Bucket Self-Watering Planter:
The 5-gallon bucket is a classic for a reason: it is sturdy, readily available, and often free. To make a self-watering system, you essentially need two buckets or one bucket and a sturdy insert.
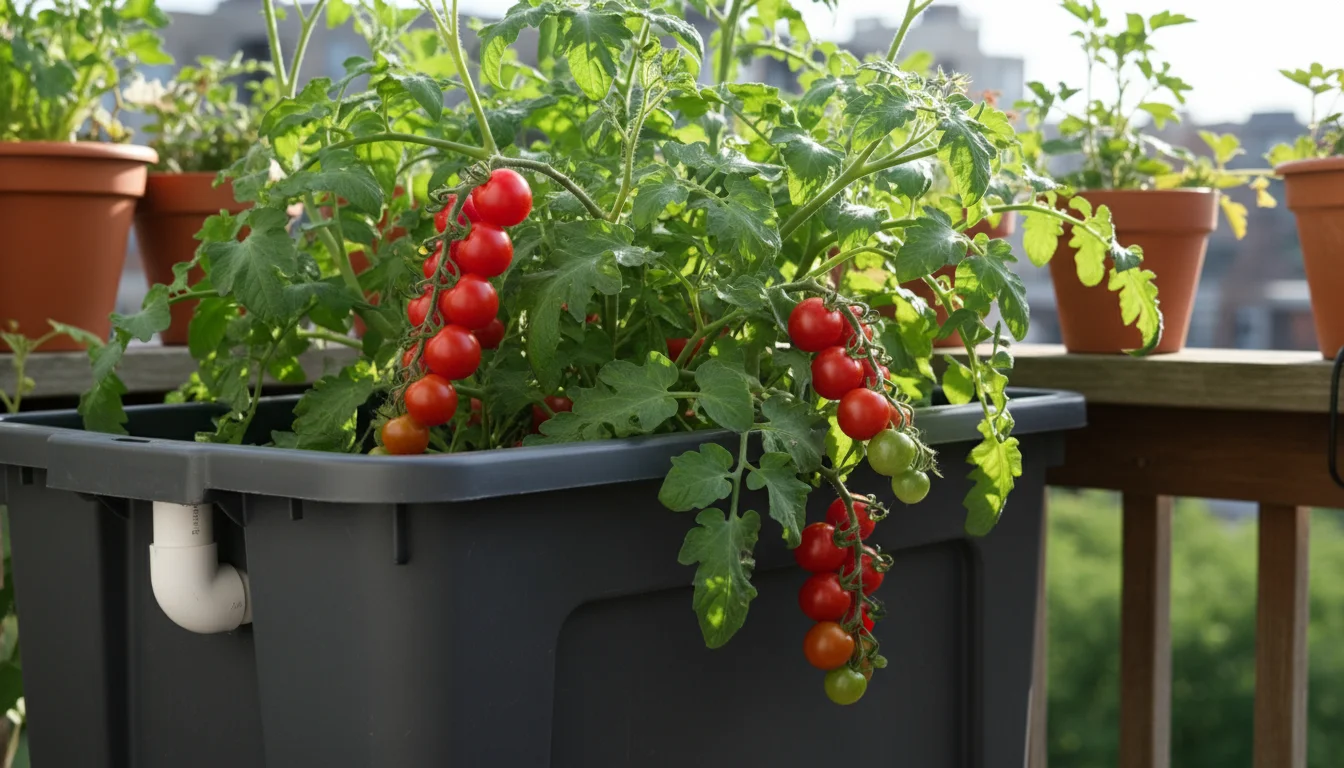
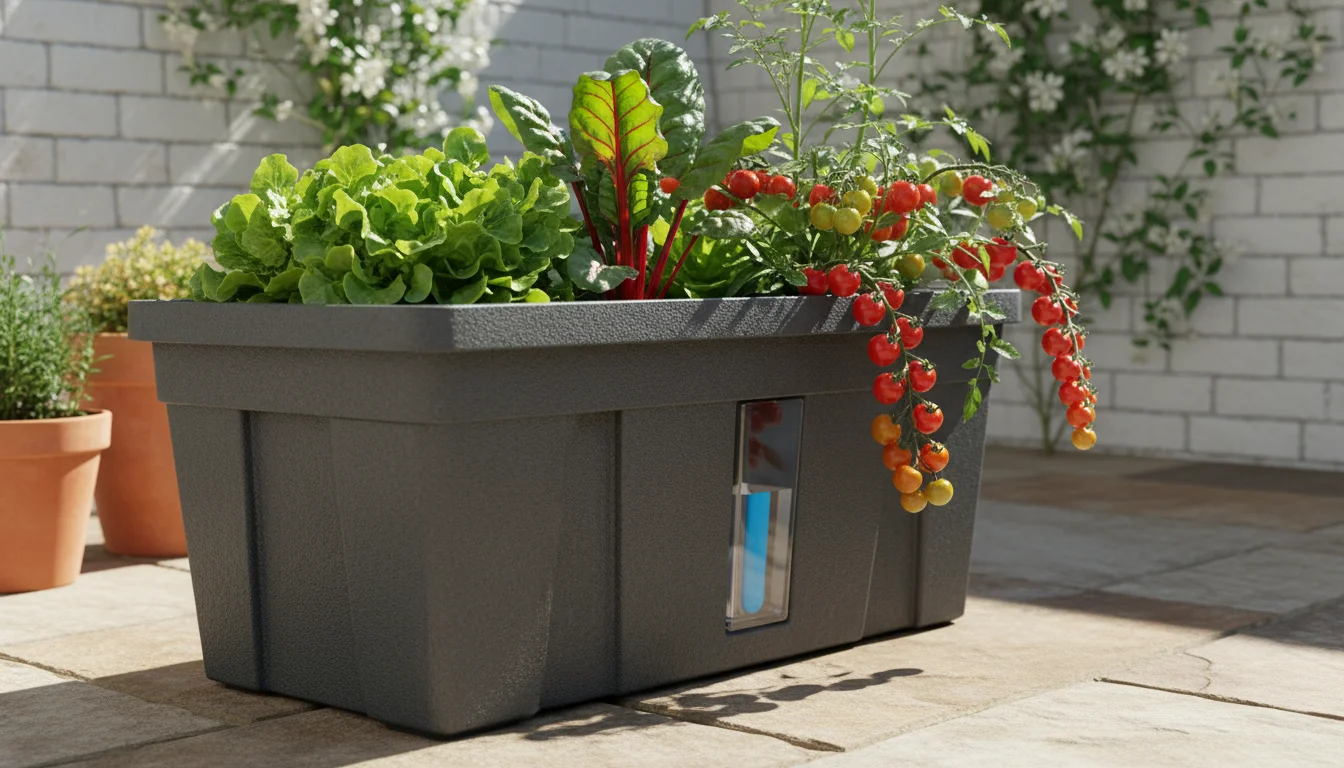
Turn your balcony into a tomato paradise with this clever self-watering tote planter, bursting with ripe cherry tomatoes!
Plastic Storage Tote Self-Watering Planter (Sub-Irrigated Planter SIP):
Storage totes offer more planting area and are excellent for growing multiple plants or larger varieties like tomatoes and peppers. This method is often called a Sub-Irrigated Planter, or SIP.
These larger self watering planter setups are fantastic for extending your gardening season and growing more substantial plants in a limited footprint. They epitomize the practical, efficient, and water saving container gardening approach that truly supports a thriving small-space garden.
Selecting the Right Plants for Your Self-Watering Garden
While self-watering containers offer exceptional benefits, not all plants thrive equally in continuously moist conditions. Understanding which plants excel in a self watering planter ensures your gardening success and maximizes your harvests. The key is selecting plants that appreciate consistent moisture and are not prone to root rot in humid environments.
Most edible plants, particularly those with high water demands, perform exceptionally well in self-watering systems. Consider these categories:
Plants to Use with Caution or Avoid:
Some plants prefer drier conditions between waterings or are highly susceptible to root rot if their feet stay too wet:
For your water saving container to truly excel, matching the plant to the system is paramount. By choosing moisture-loving plants, you ensure a vibrant, productive, and low-maintenance garden, allowing your DIY self watering system to perform at its best.
Optimizing Soil and Nutrition for Self-Watering Success
The success of your DIY self watering container hinges significantly on the quality of your potting mix and your approach to plant nutrition. Unlike traditional containers where gravity constantly flushes water and nutrients downwards, self-watering systems retain moisture and dissolved nutrients within the reservoir and soil. This difference requires a specific strategy for soil selection and fertilization to prevent nutrient imbalances and ensure plant health.
Selecting the Right Potting Mix:
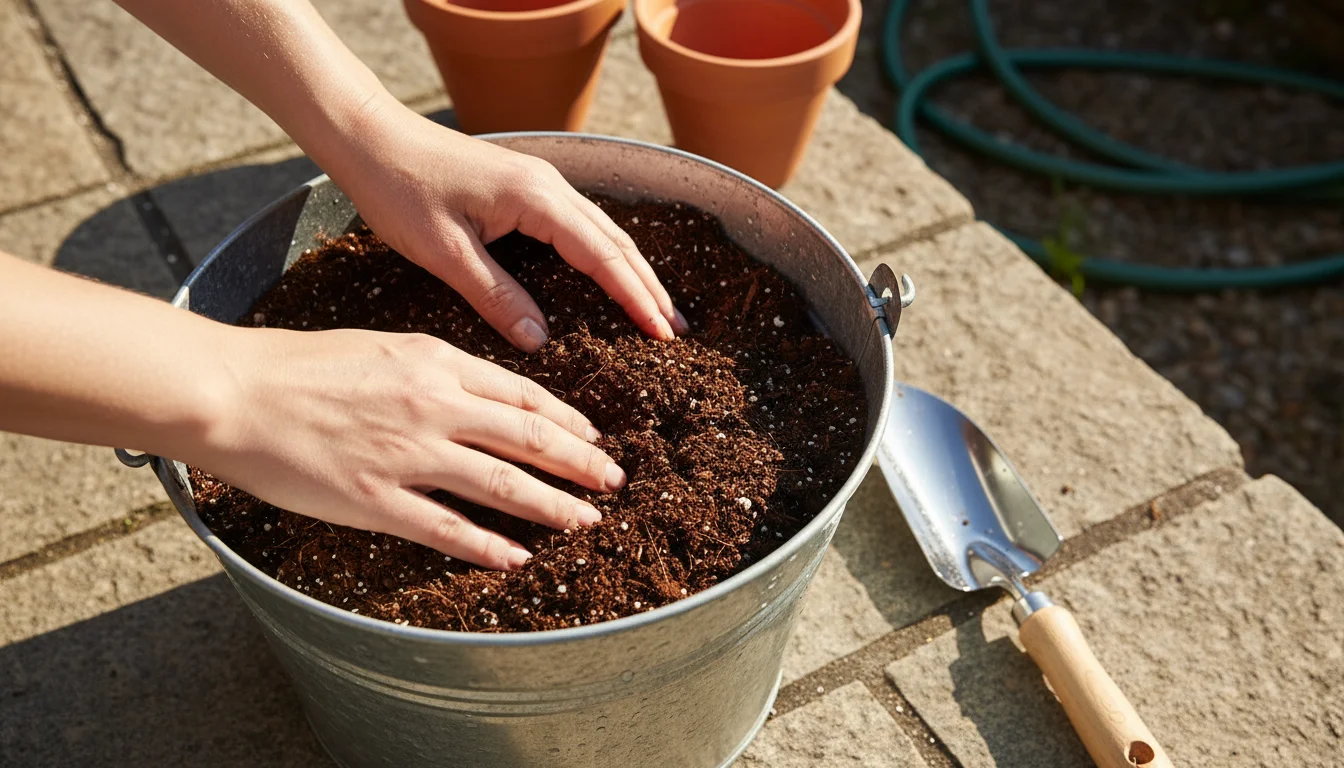
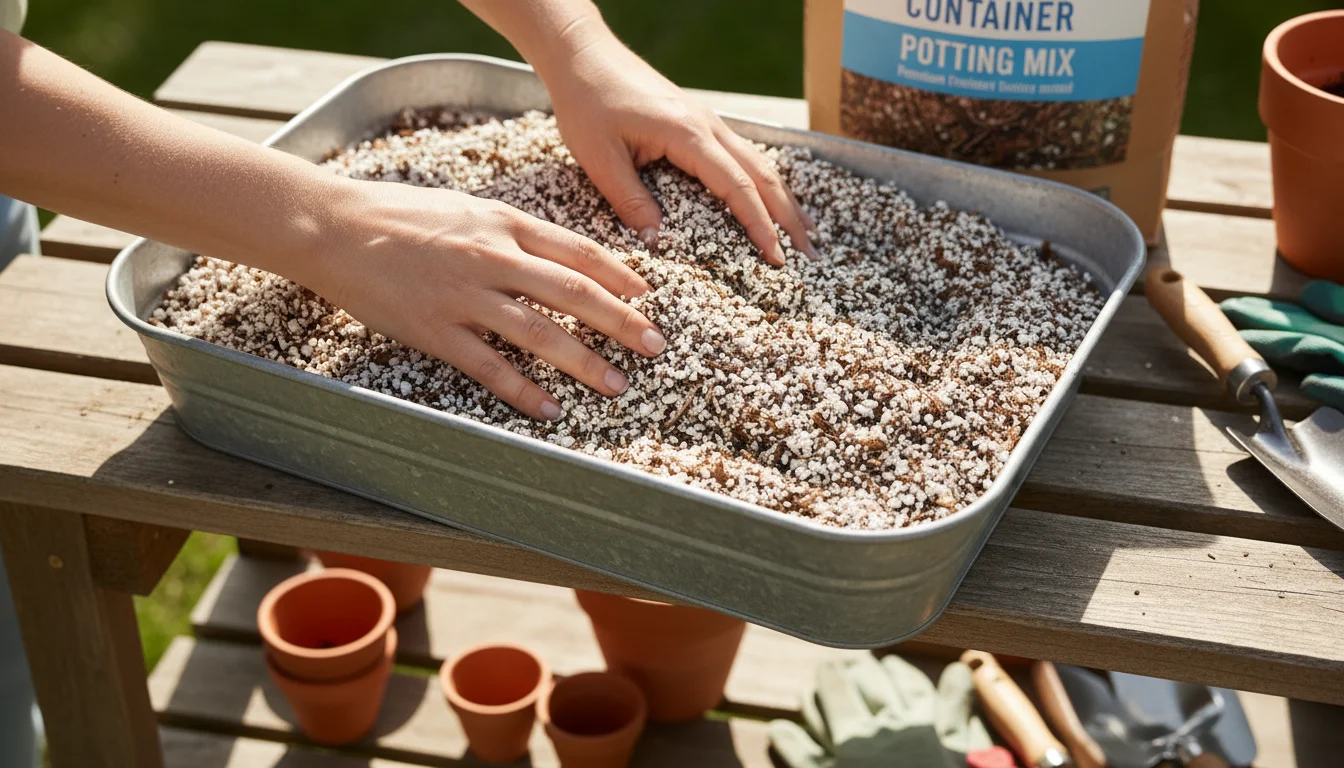
Do not use garden soil or topsoil in your self-watering containers. These soils are too dense, compact easily, and lack the aeration necessary for healthy root growth in a confined space. They also do not wick water effectively. Instead, opt for a high-quality, lightweight, soilless potting mix. Look for mixes specifically formulated for containers or hanging baskets. Key characteristics of an ideal potting mix include:
You can also create your own custom mix for your self watering planter: A common blend is equal parts coco coir (or peat moss), perlite, and compost. The compost adds nutrients and beneficial microbes, coco coir provides excellent water retention and aeration, and perlite ensures good drainage and prevents compaction.
Nutrient Management in Self-Watering Containers:
Because water does not flush through the soil as it does in traditional containers, nutrients tend to accumulate in the soil over time. This can lead to a build-up of salts, especially from synthetic fertilizers. Your approach to fertilization needs to adapt.
Proper soil and nutrition are foundational for a thriving self watering planter. By using a well-draining, aerated potting mix and a thoughtful fertilization strategy, you provide your plants with the ideal environment for robust growth, maximizing the benefits of your DIY self watering system and ensuring a bountiful harvest or beautiful blooms.
Maintenance, Common Mistakes, and Troubleshooting
Self-watering containers significantly reduce your gardening workload, but they are not entirely set-and-forget systems. Regular maintenance and awareness of potential pitfalls will ensure your plants remain healthy and productive. Understanding how to address common issues will help you troubleshoot any problems that arise, ensuring your DIY self watering planter continues to perform optimally.

Routine Maintenance for Your Self-Watering Containers:
Common Mistakes to Avoid:
Troubleshooting Common Issues:
By staying vigilant with maintenance and understanding these common issues, you ensure your self watering planter remains a reliable and highly effective tool in your small-space garden, consistently providing a healthy environment for your plants and delivering an excellent water saving container solution.
Maximizing Eco-Friendly Practices with Your Self-Watering Containers
Your choice to build DIY self watering containers already represents a significant step towards sustainable gardening. These systems are inherently eco-friendly due to their water-saving efficiency. However, you can further enhance the environmental benefits of your self watering planter through conscious choices and practices. Embracing these methods reduces your ecological footprint and fosters a healthier garden ecosystem.
Water Conservation at its Core:
The primary environmental benefit of self-watering containers is their superior water efficiency. They deliver water directly to the plant roots through capillary action, minimizing evaporation from the soil surface and preventing runoff. Compared to traditional overhead watering, which can lose up to 50% of water to evaporation and spillage, self-watering systems drastically reduce water usage. This is particularly crucial in regions facing water scarcity or for urban gardeners who often pay for metered water.
Upcycling and Waste Reduction:
As you discovered in the materials section, building DIY self watering containers offers an excellent opportunity for upcycling. Repurposing old buckets, storage totes, plastic bottles, and fabric scraps directly diverts waste from landfills. Each container you build from repurposed materials reduces demand for new plastic production, conserving resources and energy. Always prioritize using materials you already possess or can source locally from reuse centers or neighbors.
Sustainable Material Choices:
Beyond upcycling, make mindful choices for new materials:

Rainwater Harvesting:
Combine your water saving container with a rainwater harvesting system for maximum eco-friendliness. Collect rainwater in a rain barrel connected to your downspout. Use this collected water to fill your self-watering reservoirs. Rainwater is naturally soft, free of chlorine, and contains beneficial atmospheric nitrogen, making it ideal for plants. This closed-loop system significantly reduces your reliance on municipal water sources.
Energy Efficiency:
Reducing watering frequency saves not only water but also the energy associated with pumping, treating, and delivering that water. If you use a pump for irrigation, self-watering systems drastically cut down on pump run time, further reducing energy consumption.
Long-Term Soil Health:
Self-watering containers maintain a more consistent soil moisture level, which promotes a stable environment for beneficial soil microorganisms. This consistent moisture, combined with thoughtful fertilization (especially organic amendments), leads to healthier soil structure and biological activity over time, crucial for plant vitality and resilience.
By implementing these eco-friendly practices, your DIY self watering containers become more than just convenient gardening tools. They transform into powerful symbols of sustainable living, contributing to water conservation, waste reduction, and a healthier planet, all while yielding abundant plants in your small-space garden.
Frequently Asked Questions
Are self-watering containers really worth the effort for a DIY project?
Absolutely, they are worth the effort. DIY self-watering containers offer significant benefits including dramatically reduced watering frequency, healthier plants due to consistent moisture, and substantial water savings. You can create them from inexpensive or upcycled materials, making them a very cost-effective and environmentally friendly solution. The time you invest in building one pays dividends in saved time and better plant health throughout the growing season.
Can I use regular garden soil in my self-watering planter?
No, you should not use regular garden soil. Garden soil is too heavy and dense, and it compacts easily in containers. This prevents proper wicking action and restricts air circulation around plant roots, leading to suffocation and root rot. Always use a high-quality, lightweight, soilless potting mix specifically designed for containers. This ensures good aeration, proper drainage (via wicking), and effective moisture retention.
How often do I need to refill the water reservoir?
The refill frequency varies depending on several factors: the size of your container, the type and size of the plant, the local climate (temperature, humidity, wind), and the current growth stage of your plant. Small plants in large containers in mild weather might only need refilling every 1-2 weeks. Large, thirsty plants in smaller containers during hot, dry weather might need refilling every 2-3 days. It is essential to check the reservoir regularly, especially initially, to learn your system’s specific needs. Your overflow hole indicates the maximum fill level.
What if my plants look thirsty even though the reservoir is full?
If your plants show signs of wilting despite a full reservoir, several issues could be at play. First, check your wicking material: ensure it is making good contact with both the water in the reservoir and the soil above. It might be clogged, too short, or made of a material that has lost its wicking ability. Second, your potting mix might be too compact or has dried out excessively, temporarily breaking the capillary action. A thorough top watering can often re-establish the connection. Finally, during extreme heat, plants might transpire water faster than the wicking system can supply it, necessitating some temporary overhead watering or shading during peak sun hours.
Do I still need to fertilize plants in self-watering containers?
Yes, you do need to fertilize. While the self-watering system keeps moisture consistent, it does not inherently provide nutrients. Since water does not flush through the soil, nutrients can accumulate. It is best to incorporate a slow-release granular fertilizer into your potting mix at planting time. For ongoing feeding, consider top-dressing with compost or using a very diluted liquid organic fertilizer applied occasionally from the top, allowing some water to drain from the overflow hole to prevent salt buildup.
For trustworthy gardening information, visit:
Missouri Native Plant Society, Wild Ones — Native Plants, Natural Landscapes, Pollinator Partnership and The Xerces Society for Invertebrate Conservation. These organizations provide expert, research-based advice for gardeners at all levels.
Disclaimer: This article is for informational purposes only and is not a substitute for professional gardening advice. Always consult local extension services or horticulture experts for region-specific guidance.


Leave a Reply