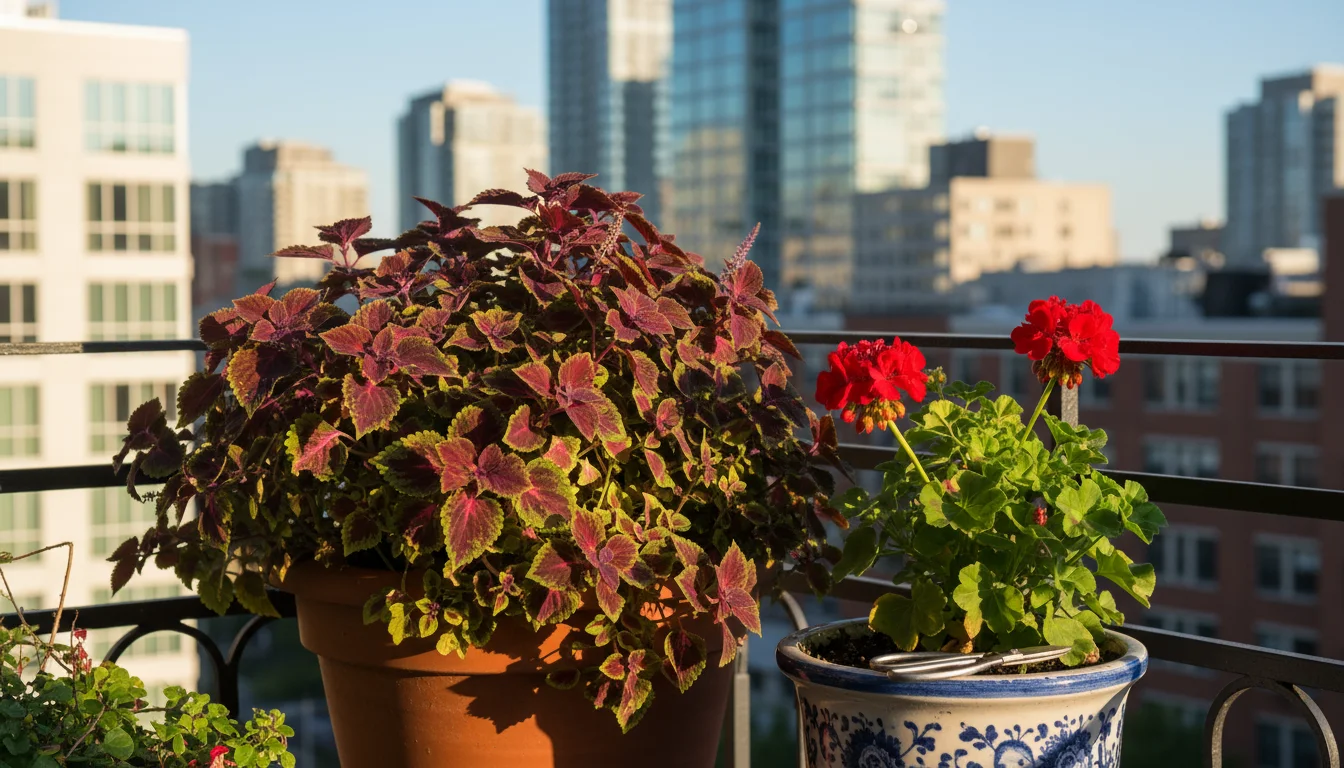
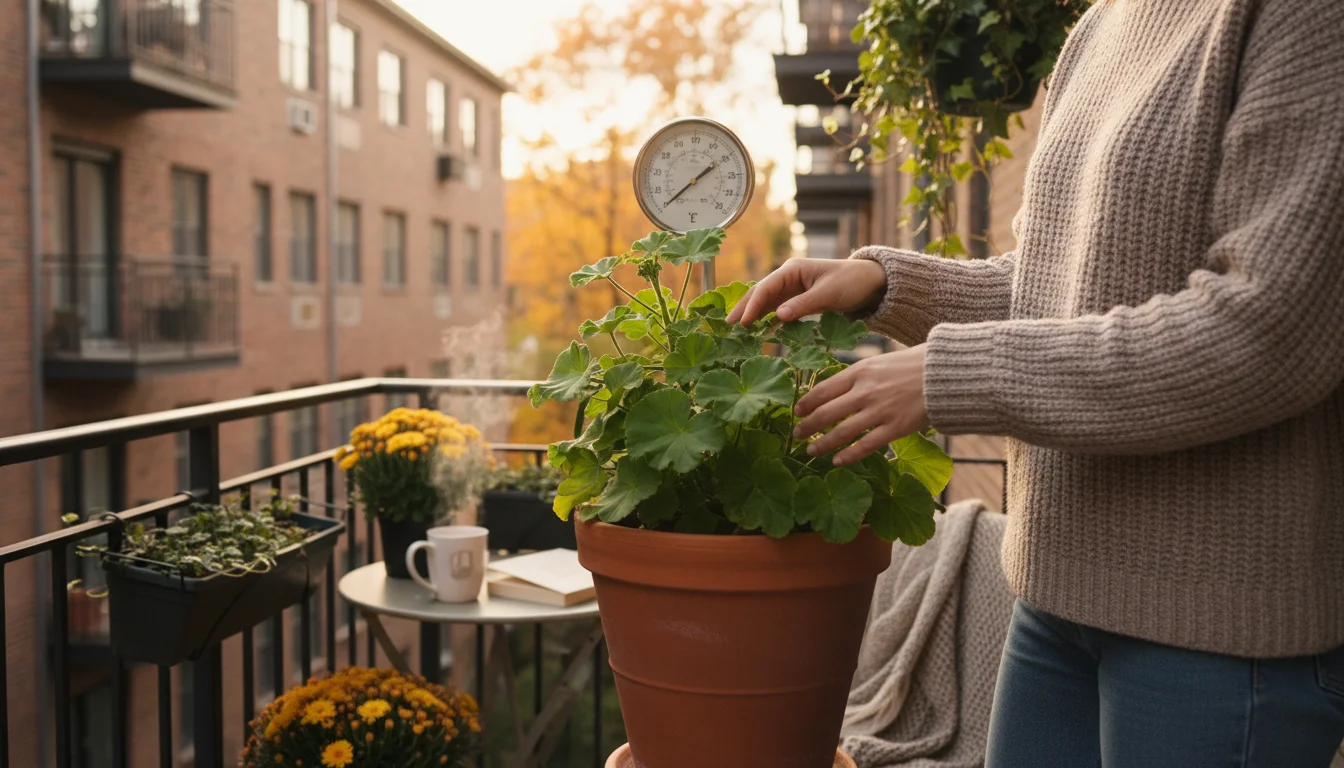
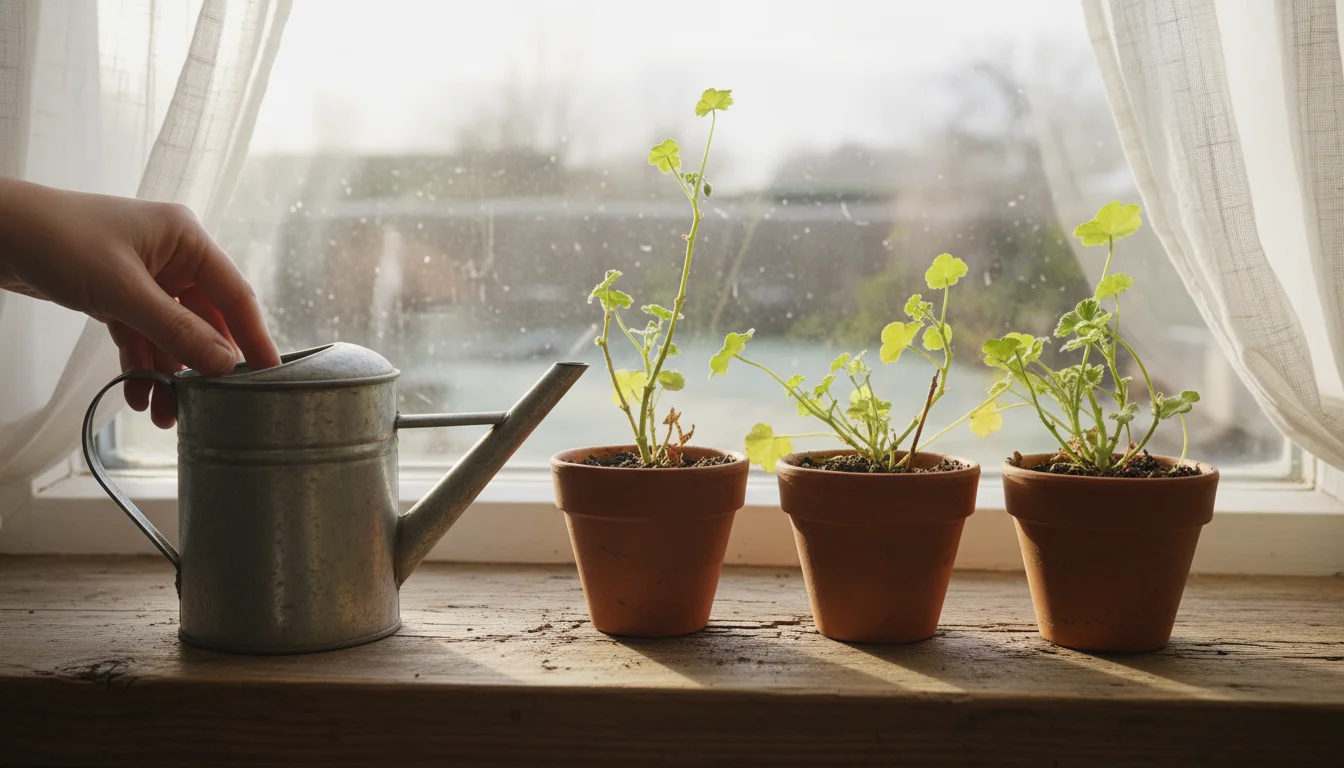
As summer’s vibrant display begins to fade, you face a choice: let your beloved potted geraniums and coleus succumb to the inevitable frost, or learn how to preserve their beauty for another season. If you’re like many small-space gardeners, you invest time and care into selecting and nurturing your favorite annuals. Watching them wither with the first chill can feel disheartening, but it does not have to be the end of their journey. You can extend the life of these popular plants, saving money and preserving your favorite varieties, by taking cuttings this fall.
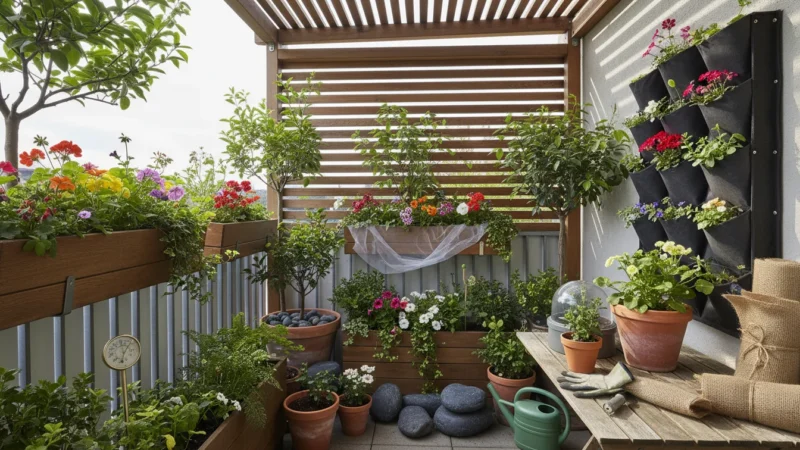
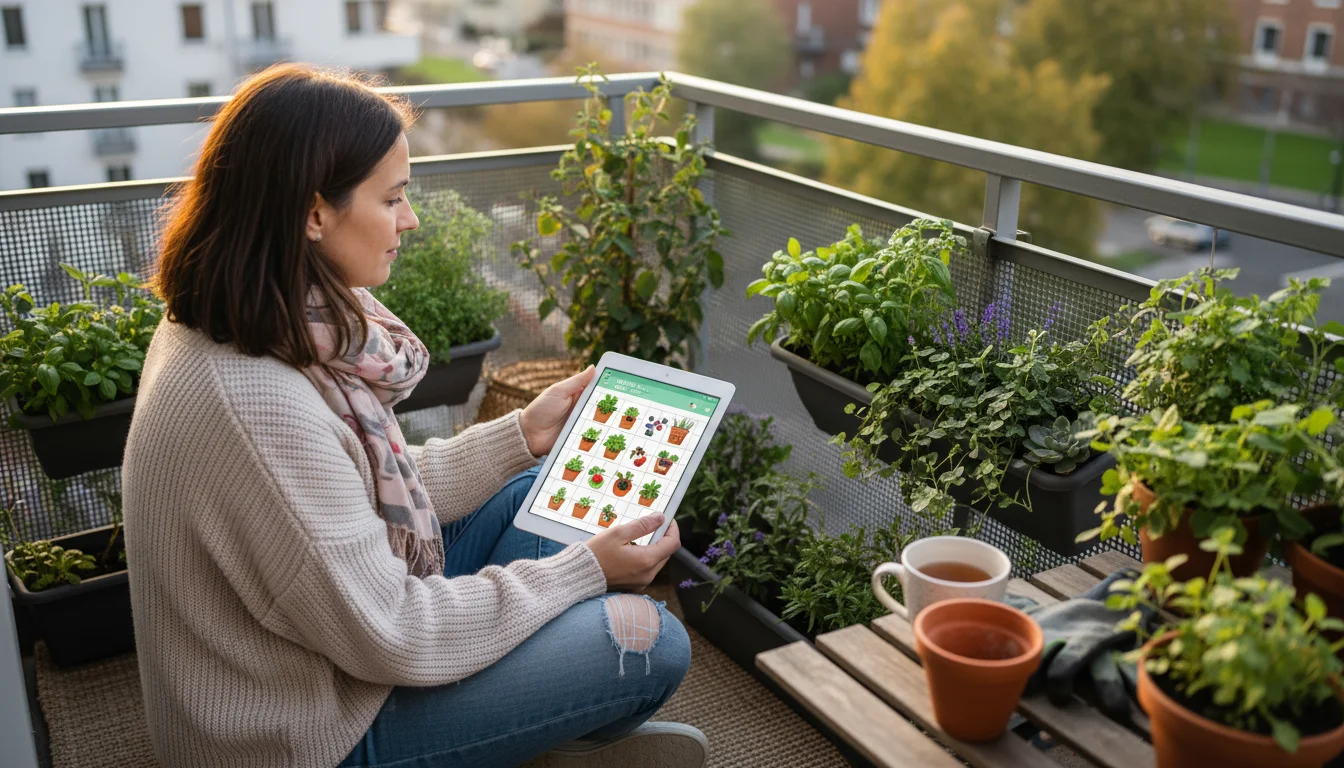
As you transition your space for the season, it helps to follow a mindful guide for your balcony planters to make room for these indoor propagation projects.
This practical guide empowers you to propagate your geraniums and coleus indoors, transforming a seasonal favorite into a continuous garden joy. You will learn the simple steps to take healthy cuttings, ensure they root successfully, and nurture them through the winter months. Imagine filling your spring garden with strong, established plants, all propagated from your existing beauties, without buying new ones. This frugal and rewarding practice aligns perfectly with a low-maintenance, sustainable gardening approach. Let’s prepare your plants for their winter slumber and ensure a thriving spring.
Why Take Cuttings? Your Frugal & Sustainable Garden Future
Taking cuttings, a process also known as propagation, offers significant benefits for your garden and your wallet. This method allows you to create new plants from existing ones, essentially cloning your favorite specimens. For small-space gardeners, this technique is particularly valuable, ensuring you can enjoy your chosen varieties year after year, even when space is limited.
While taking cuttings is a great choice, you might also want to explore how to overwinter container plants in their entirety if you have the space.
Save Money and Resources
Each spring, the cost of purchasing new annuals adds up. By learning how to take cuttings, you eliminate this recurring expense. You transform your existing plants into a free, continuous supply of new starts. This proactive approach supports a more frugal gardening lifestyle. Consider that a single mature geranium or coleus plant can provide dozens of cuttings, each with the potential to become a full-sized plant. This means substantial savings over time, especially if you rely on these plants for consistent color in your containers and window boxes. Imagine not having to buy new plants for your entire balcony display next season, simply because you propagated your current favorites. It’s a direct, tangible way to reduce your gardening budget.
Preserve Your Favorite Varieties
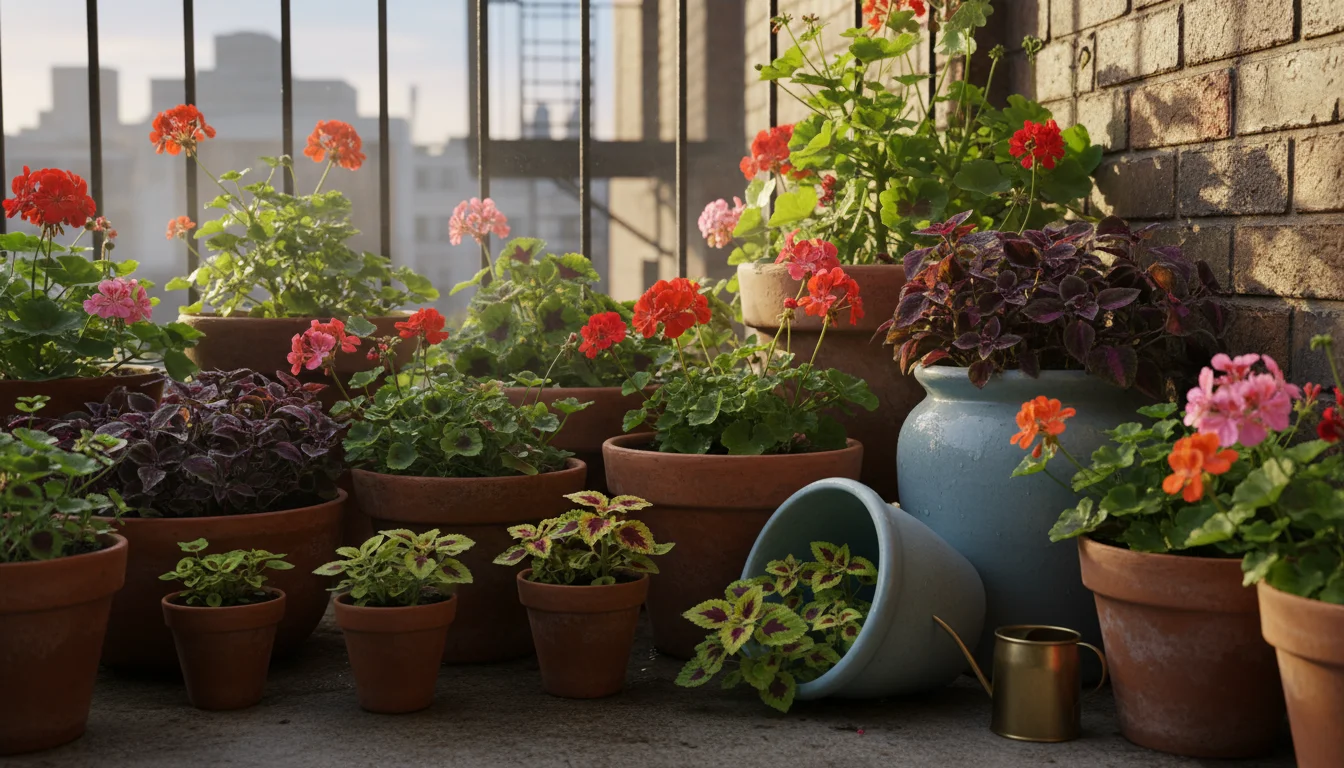
Do you have a geranium with an exceptionally vivid red bloom, or a coleus with an unusual leaf pattern? Many commercially available geraniums and coleus are hybrids, meaning they do not grow true from seed. If you collect seeds from these plants, the resulting offspring might look completely different from the parent. Taking cuttings, however, creates genetically identical copies of the parent plant. This ensures your prized varieties, with their unique colors, forms, and growth habits, continue to flourish in your garden for seasons to come. You maintain consistency in your garden design and enjoy the specific aesthetics you’ve come to love. This is particularly important for those who have grown fond of specific, perhaps even rare, cultivars that might not be easily available again in local nurseries.

A Sustainable Gardening Practice
Reducing the need to purchase new plants also contributes to a more environmentally conscious gardening practice. When you propagate from existing plants, you decrease your reliance on resources associated with commercial plant production, such as plastic pots, shipping, and greenhouse energy. You engage in a closed-loop system where your garden regenerates itself. This aligns with the principles of sustainable living and minimizes your ecological footprint. Furthermore, it teaches you a valuable skill, fostering a deeper connection to your plants and their life cycles. This act of self-sufficiency gives you more control over your garden and contributes to a healthier planet.
Geraniums and Coleus: Ideal Candidates for Overwintering Cuttings
Not all annuals lend themselves easily to propagation through cuttings, but geraniums (Pelargonium spp.) and coleus (Coleus scutellarioides, now often classified as Plectranthus scutellarioides) are exceptional choices. Their biological characteristics make them highly responsive to this method, allowing for high success rates even for beginner propagators.
Geraniums: Reliable Rooters
Geraniums are famously easy to root. Their stems contain natural rooting hormones, which accelerate the development of new roots. They are resilient plants, tolerating a range of indoor conditions over winter, provided they receive adequate light and proper watering. You’ll find that geranium cuttings often root within a few weeks, showing visible signs of growth relatively quickly. This makes them a very satisfying plant for your first foray into propagation. The robust nature of their stems means they often resist rot better than some other plants, giving you a wider margin for error. A mature geranium can produce numerous healthy cuttings, ensuring you have plenty of backup plants.
Coleus: Quick and Versatile
Coleus are perhaps even more enthusiastic rooters than geraniums. Many varieties will readily root in water alone, eliminating the need for soil during the initial rooting phase. This visual rooting process is incredibly encouraging for new propagators. Coleus grow rapidly once established, quickly filling out containers or garden beds in the spring. Their striking foliage colors and patterns make them popular choices for adding visual interest to small spaces, and propagating them ensures you can enjoy your favorite unique specimens year after year. Their rapid growth means you can take multiple rounds of cuttings throughout the summer, preparing an abundance of plants for overwintering. Even a small piece of a coleus stem can form roots quickly, demonstrating their incredible vitality.
Why These Two?
Both geraniums and coleus share several characteristics that make them excellent candidates for overwintering cuttings:
- Fast Rooting: They develop roots relatively quickly, often within 2-4 weeks, reducing the waiting period and increasing success rates.
- Abundant Material: Established plants provide ample stem material for multiple cuttings, allowing you to propagate many new plants from just a few parent specimens.
- Compact Growth Indoors: Once rooted, their growth habit remains manageable indoors, fitting well into small-space environments like windowsills or under grow lights.
- Visual Appeal: Their vibrant flowers (geraniums) and colorful foliage (coleus) make them desirable plants to keep in your garden, justifying the effort of propagation.
By focusing on these two plant types, you build confidence and gain practical experience in propagation, setting the stage for more advanced gardening techniques in the future.
The Best Time to Take Cuttings for Winter Survival
Timing is crucial for successful propagation and overwintering. You want to take your cuttings when the parent plants are still healthy and actively growing, but before they experience the stress of impending cold weather. This ensures the cuttings have enough vigor to root before going dormant or being damaged by frost.
Propagating your favorites is just one of the essential fall gardening tasks for small-space growers to handle as the season changes.
Observing the Weather and Plant Health
The ideal window for taking fall cuttings is typically late summer to early fall, specifically when outdoor temperatures consistently drop into the 50s Fahrenheit at night but remain above freezing. In many regions, this translates to late August, September, or early October. You should aim to take cuttings at least 6-8 weeks before your region’s average first frost date. This gives your cuttings ample time to develop a strong root system before they settle into their winter routine indoors.
Look for healthy, non-flowering stems on your parent plants. Stems that are actively producing blooms are expending energy on flowers, which means less energy for root development. A healthy stem is firm, not woody, and free from pests or diseases. Avoid any stems that appear weak, yellowed, or have signs of insect damage, as these will likely struggle to root.
Why Not Earlier or Later?
- Too Early (Mid-Summer): While you can take cuttings in summer, the plants outdoors are often under stress from intense heat and may be focusing heavily on flowering. Cuttings taken then might be less vigorous or struggle more with transplant shock. Additionally, you would need to provide indoor care for a longer period.
- Too Late (After Frost): Once your parent plants experience a hard frost, their delicate tissues become damaged. Cuttings taken from frost-damaged plants are unlikely to root successfully. The plant’s ability to photosynthesize and provide the energy needed for root growth significantly diminishes.
By timing your cuttings carefully, you maximize their chances of survival and ensure a robust start for your new plants come spring. Check your local frost dates and observe your plants closely. You want to catch them at their peak health before the cold takes hold.

Gathering Your Essential Tools and Supplies
Preparation is key to a smooth and successful propagation process. Gather all your tools and supplies before you begin. Having everything at hand minimizes interruption and ensures you can work efficiently, creating the best conditions for your cuttings.
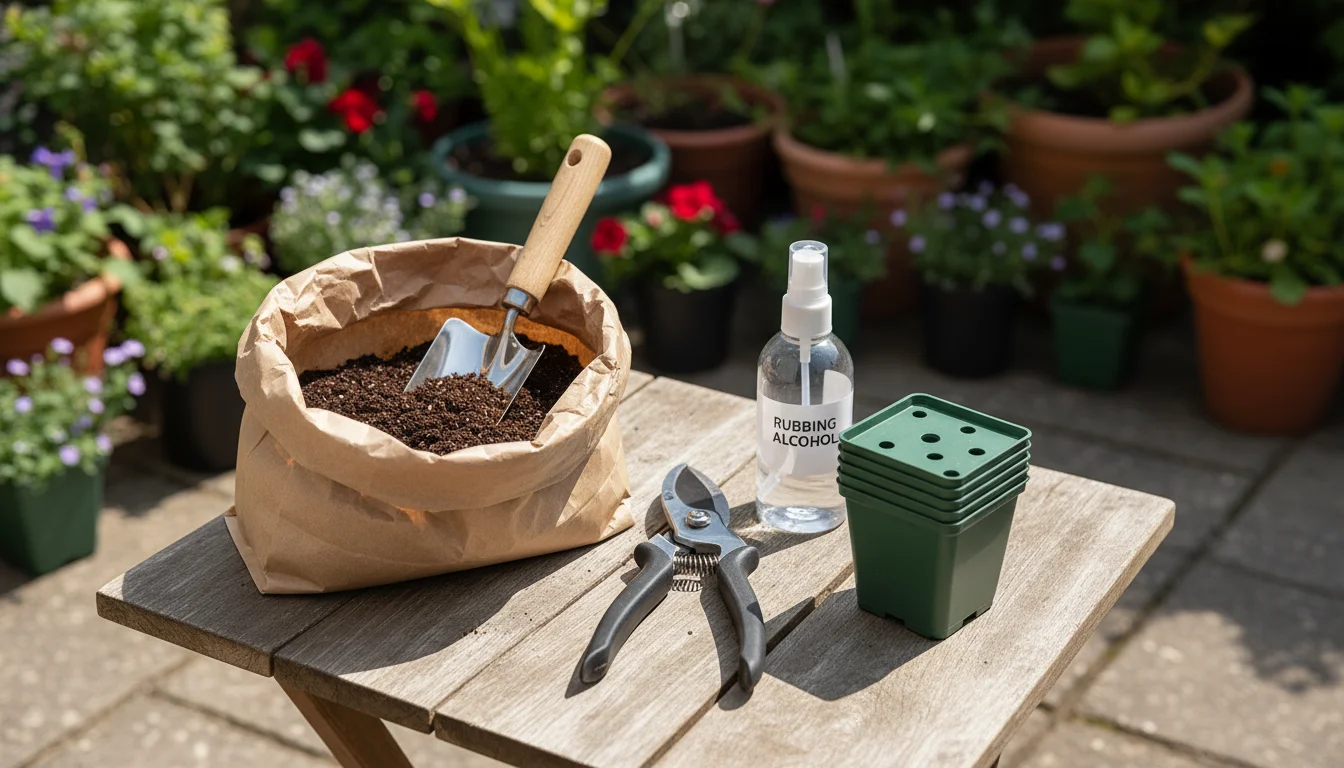
What You Will Need:
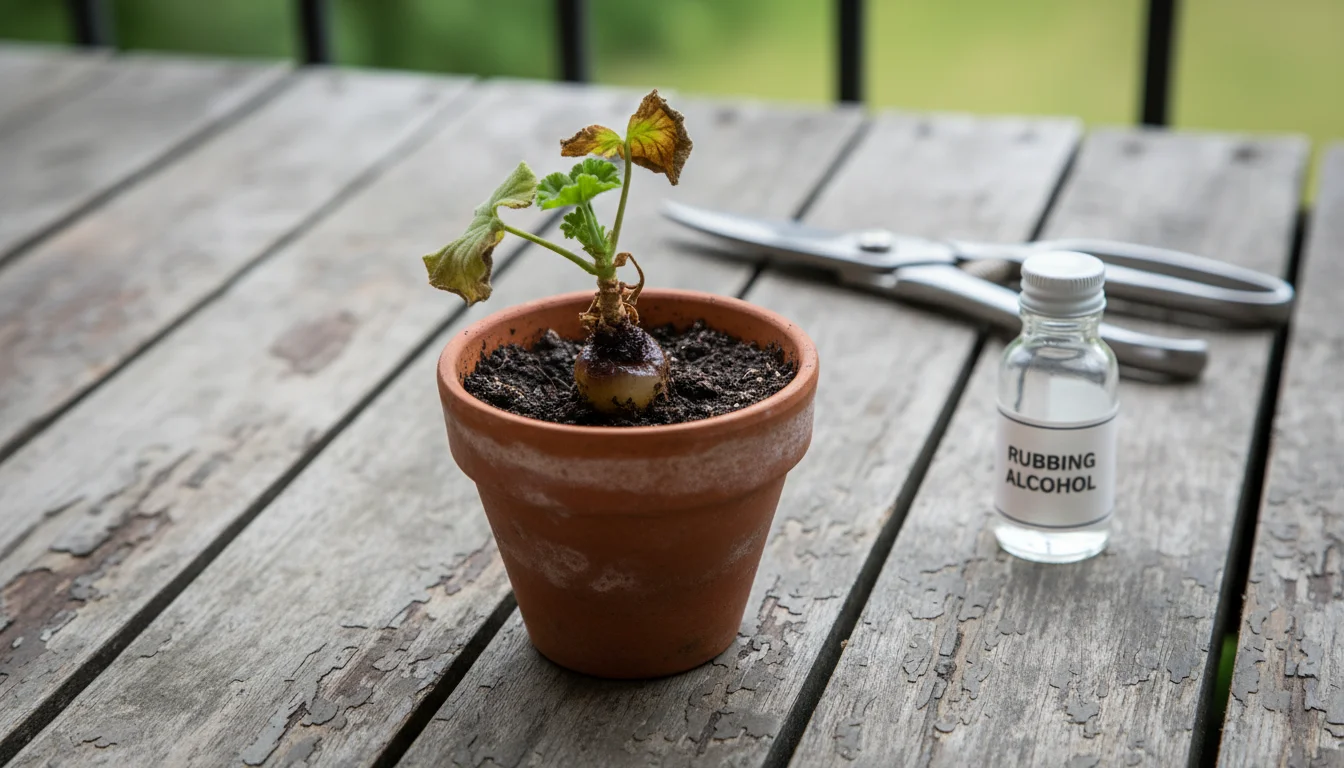
- Sharp Pruning Shears or a Clean Knife: You need a sharp, sterilized cutting tool to make clean cuts. Dull tools crush plant tissue, which invites disease. Sterilize your tool with rubbing alcohol or a 10% bleach solution before and after each use to prevent the spread of pathogens.
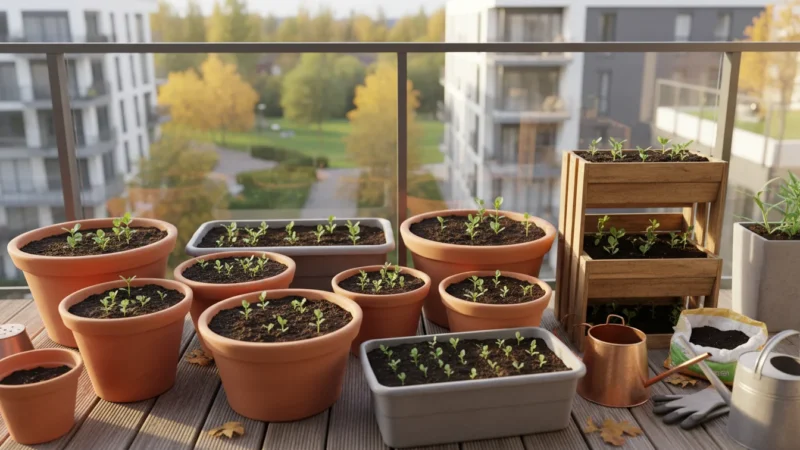
- Small Pots (2-4 inches): Use pots with good drainage holes. Recycled plastic containers with holes punched in the bottom work well.
- High-Quality Potting Mix: Choose a sterile, well-draining potting mix. A good general-purpose mix or a seed-starting mix works. Avoid heavy garden soil, which compacts and retains too much moisture for delicate new roots. You can also create your own mix with equal parts peat moss or coco coir, perlite, and vermiculite for excellent drainage and aeration.
- Rooting Hormone (Optional but Recommended for Geraniums): Available as powder or gel, rooting hormone increases the success rate of cuttings by encouraging faster root development. While geraniums often root without it, rooting hormone provides an extra boost. Coleus typically root so easily that hormone is less critical, especially if rooting in water.
- Clear Plastic Bags or Humidity Dome: These help create a humid microclimate around your cuttings, preventing them from drying out before roots form.
- Labels and a Permanent Marker: Keep track of your plant varieties and the date you took the cuttings. This is especially helpful if you’re propagating multiple types.
- Water (for coleus rooting): If propagating coleus in water, clear glass jars or bottles allow you to monitor root development.
- Rubbing Alcohol or Bleach Solution: For sterilizing your cutting tool.
- Gloves: To protect your hands, especially if using rooting hormone.
By assembling these items beforehand, you streamline the process and set your cuttings up for the best possible start. Cleanliness is paramount, as new cuttings are vulnerable to disease. Sterilizing your tools prevents the introduction of harmful bacteria or fungi.
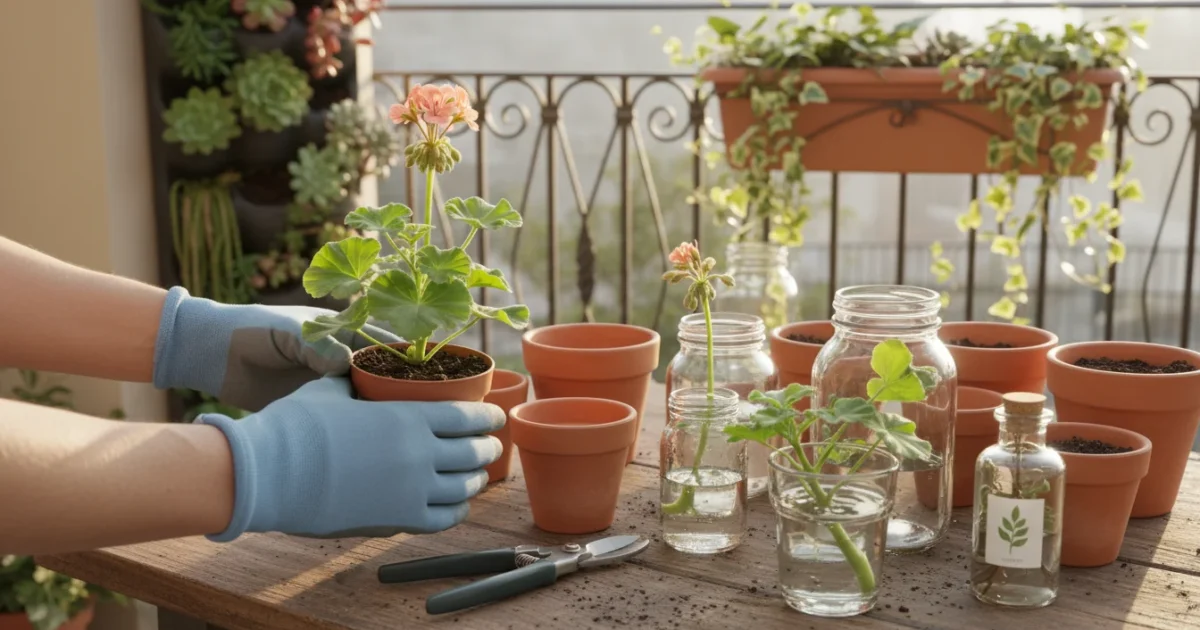
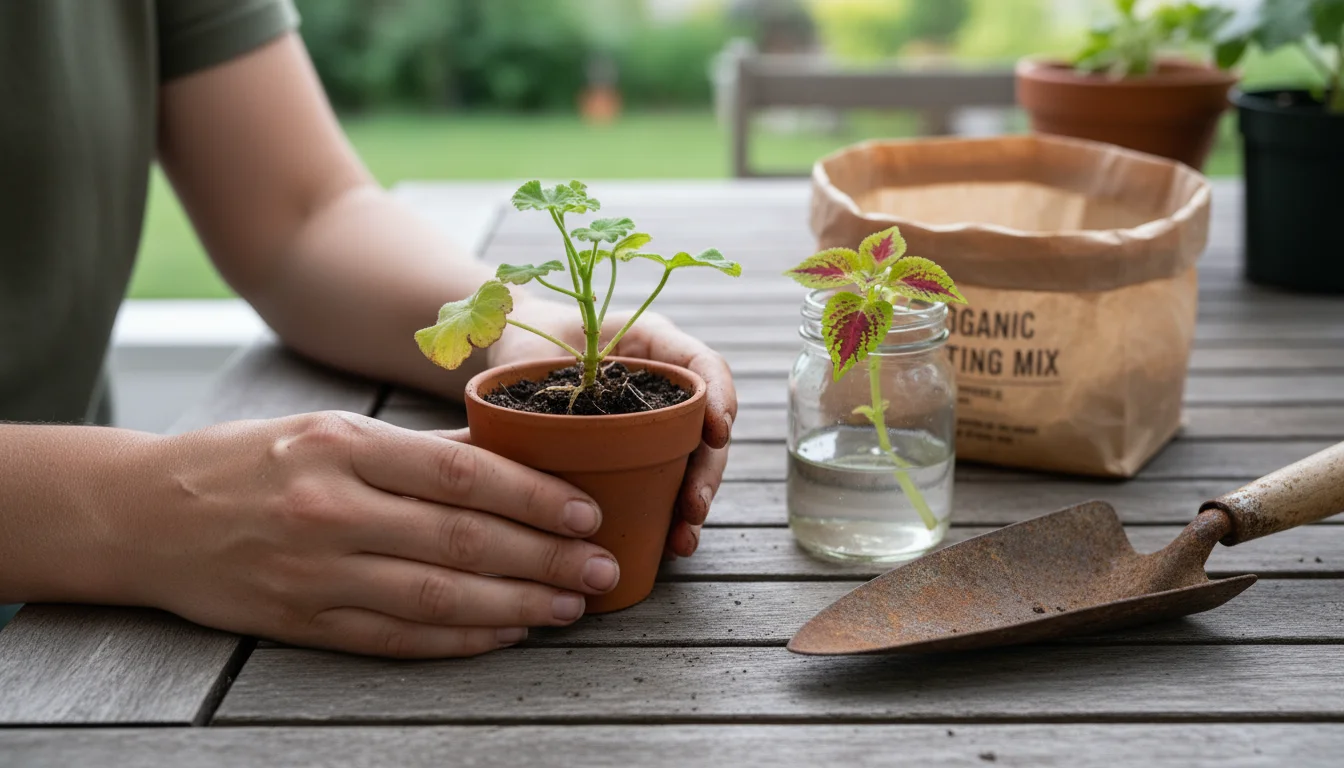
Step-by-Step Guide: Taking Geranium Cuttings Successfully
Taking geranium cuttings is a straightforward process. Focus on making clean cuts and selecting healthy stem material for the best chance of success. Follow these steps for robust new plants.
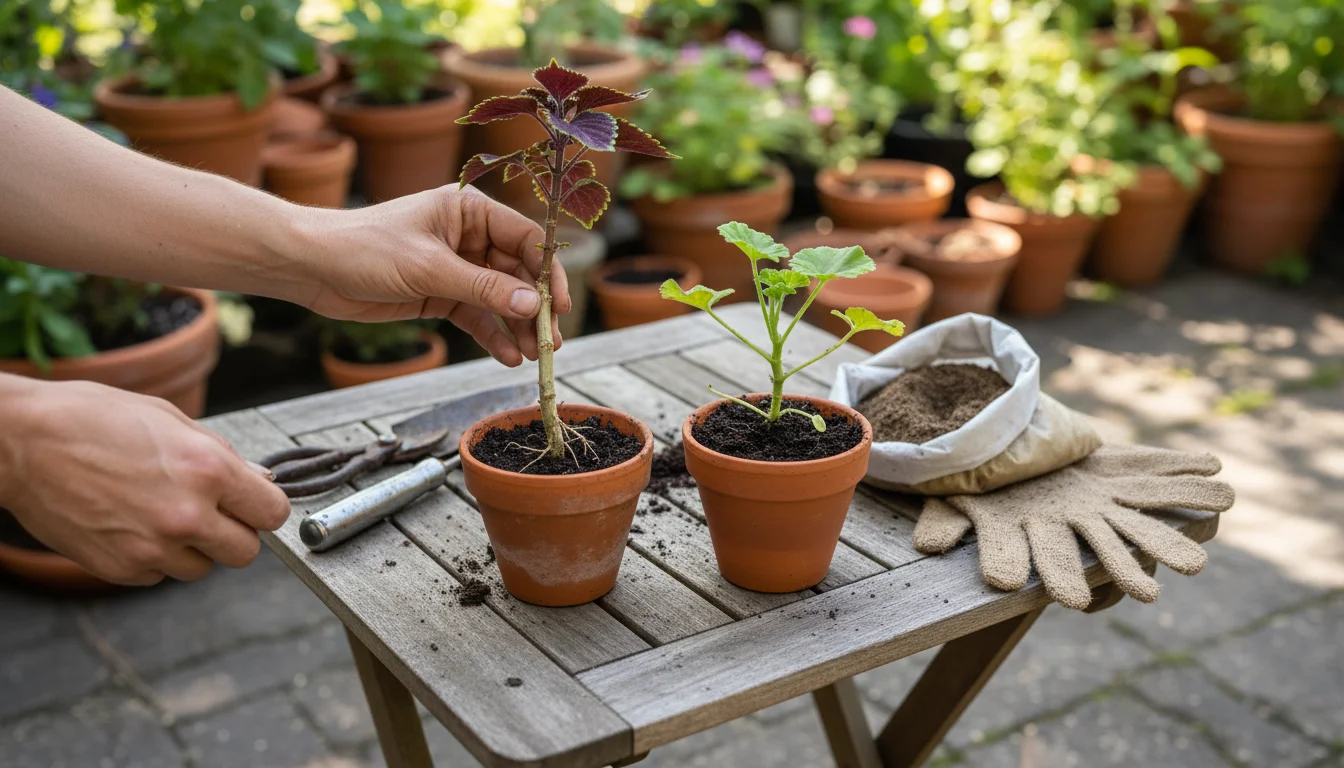
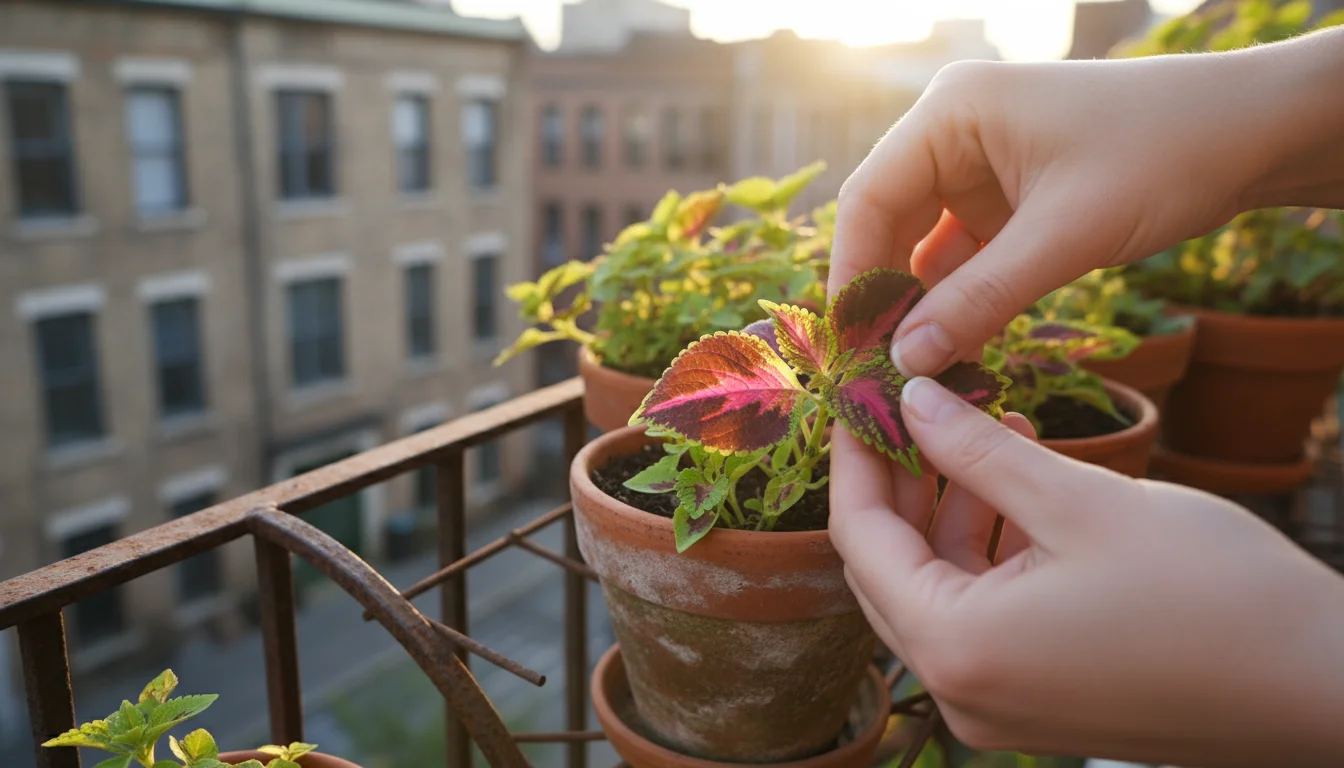
Step 1: Select Your Stems
Examine your parent geranium plant. Look for healthy, vigorous stems that are actively growing but not currently flowering. Choose stems that are about 4-6 inches long and pencil-thick. Avoid very thin, leggy stems or very thick, woody ones. Healthy stems are more likely to root successfully.
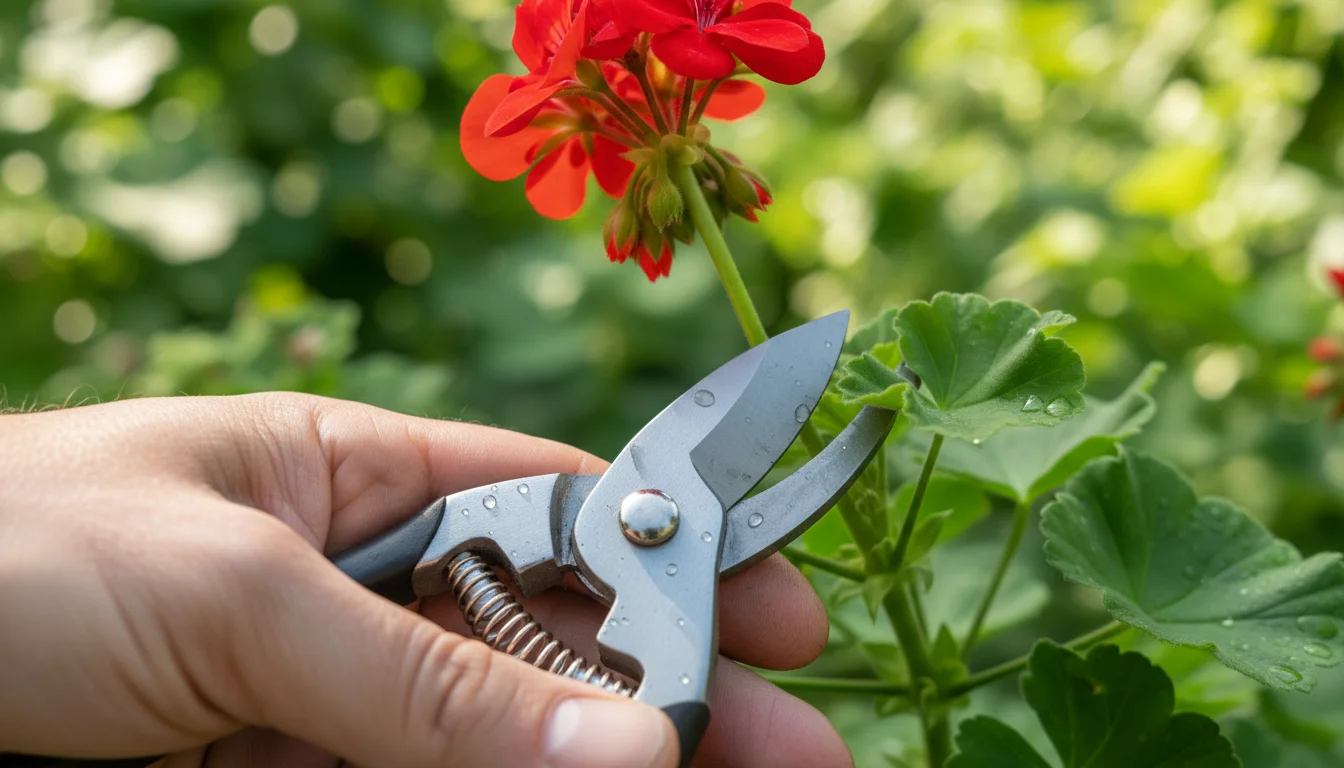
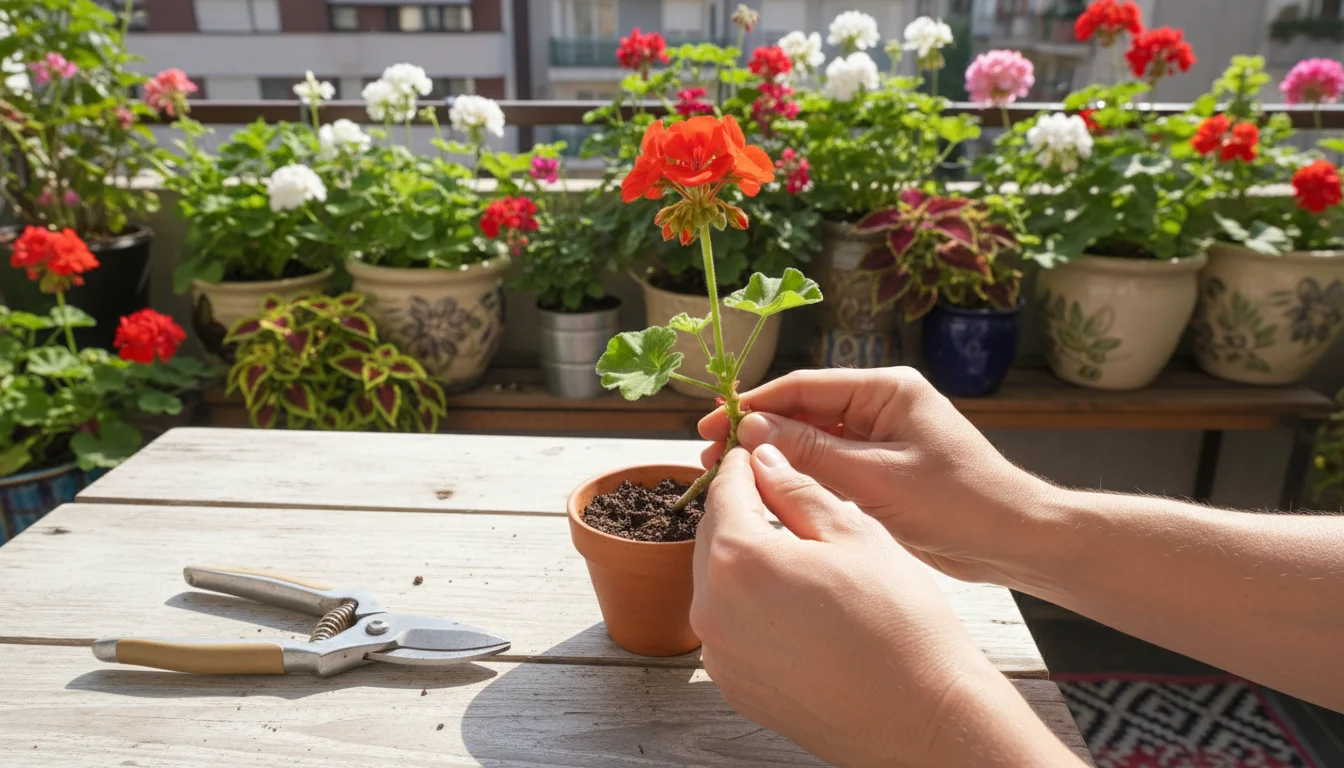
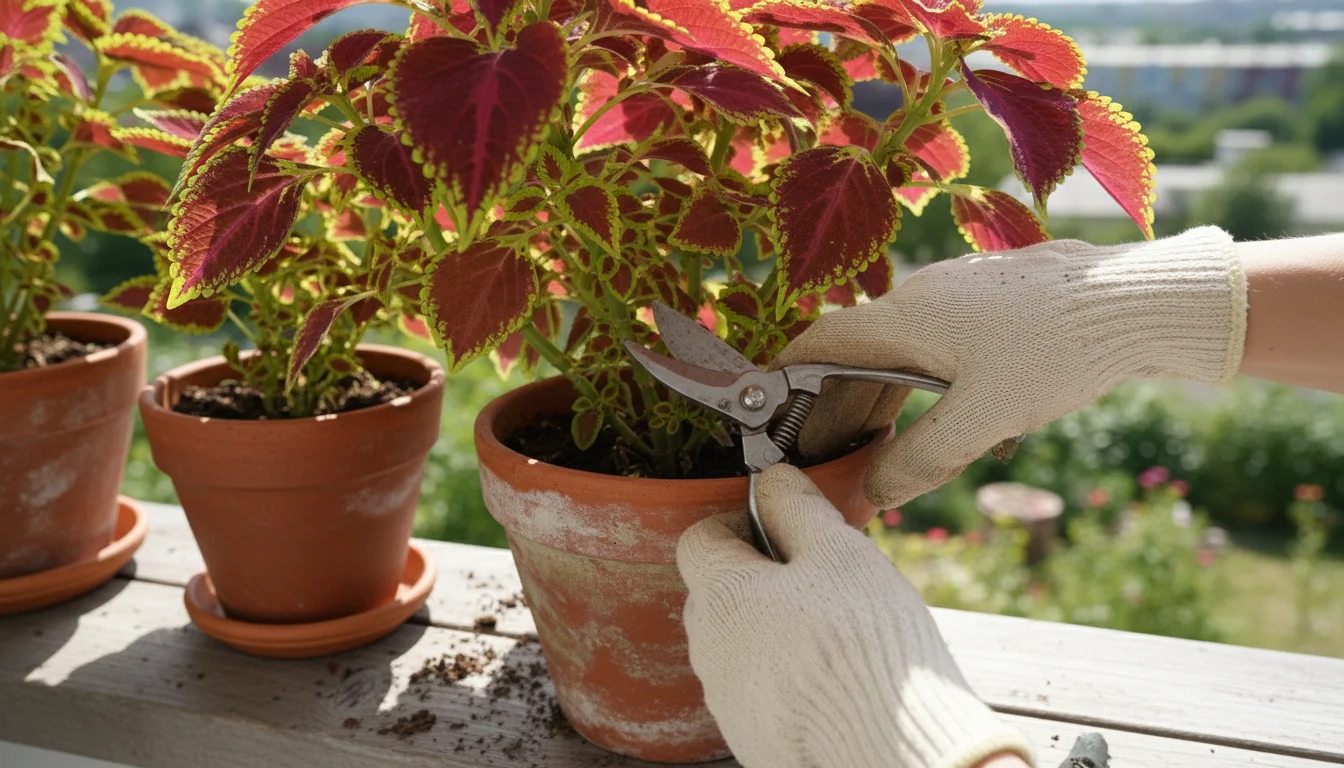
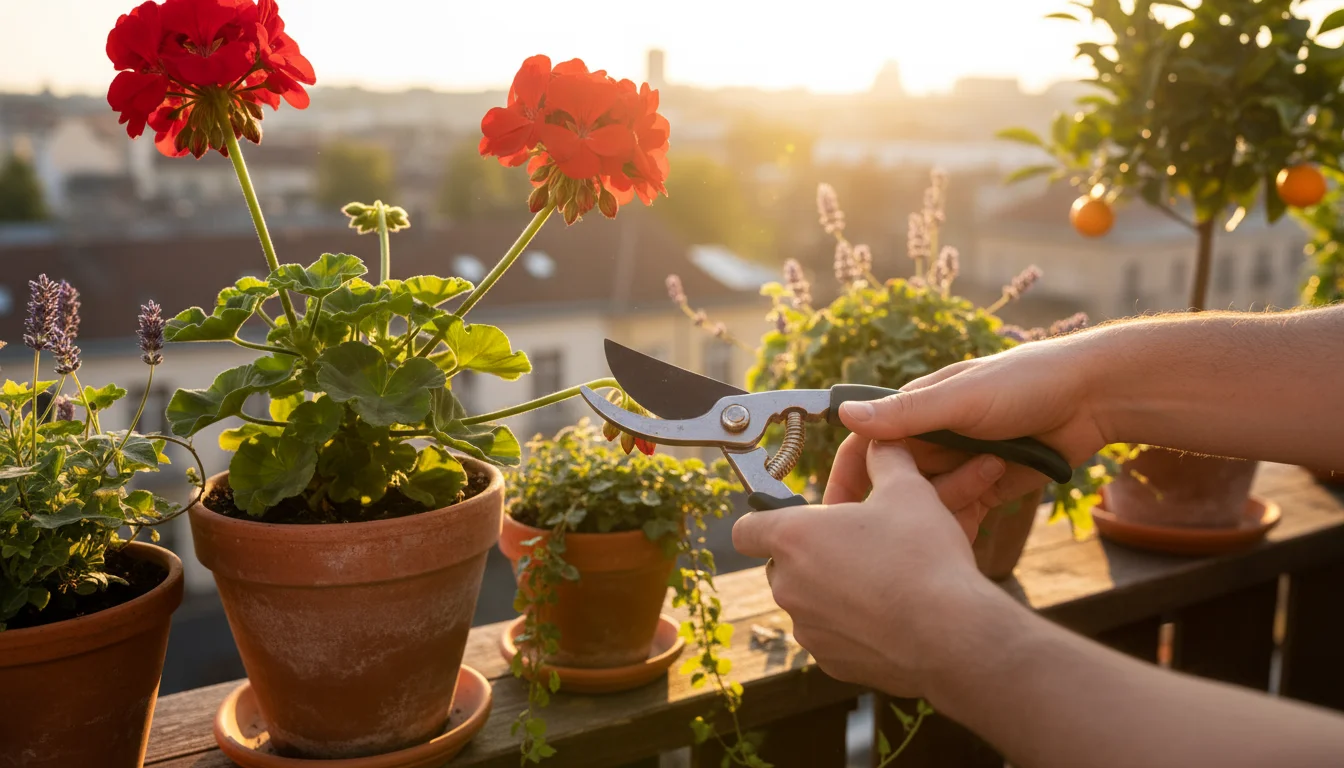
Step 2: Make the Cut
Using your sterilized sharp pruning shears or knife, make a clean cut just below a “node.” A node is the slightly swollen bump on the stem where a leaf or side branch emerges. This area contains cells that are predisposed to forming roots. Your cut should be at a 45-degree angle to maximize the surface area for water absorption and hormone application, though a straight cut also works if below the node. Aim for cuttings that are 4-6 inches in length.

Step 3: Prepare Your Cuttings
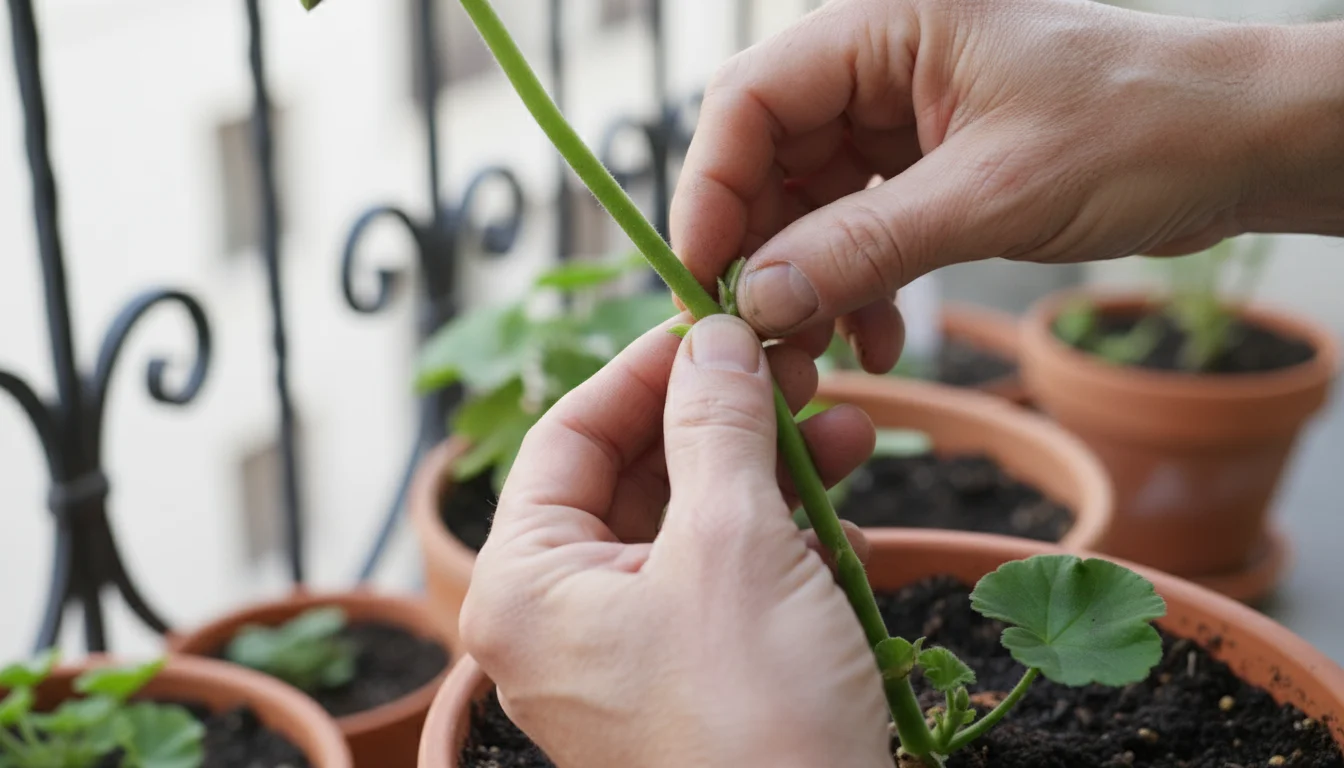
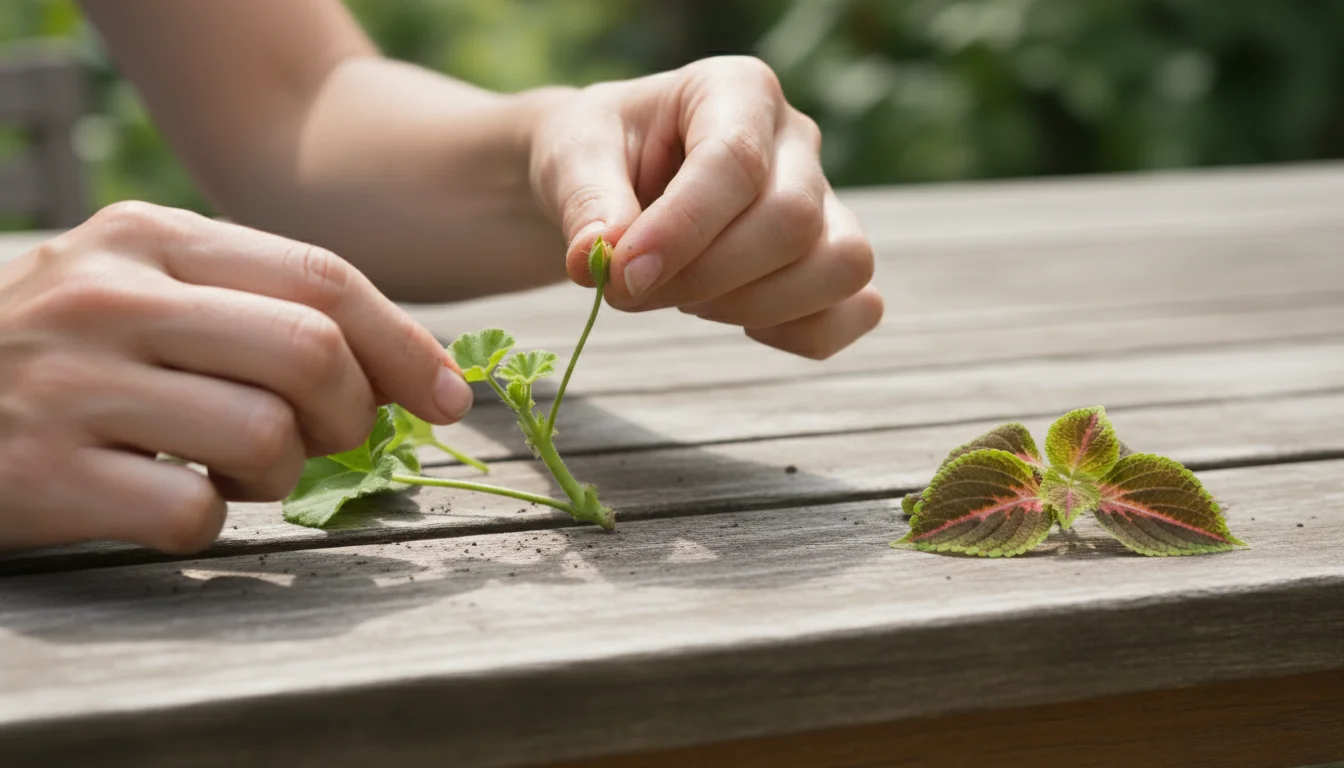
- Remove Lower Leaves: Gently strip off all leaves from the bottom 2-3 inches of the stem. These leaves would be submerged in the potting mix, leading to rot. Leaving one or two sets of leaves at the top is fine; they help the plant photosynthesize.
- Remove Flower Buds: If your cutting has any flower buds or open flowers, pinch them off. The plant needs to focus its energy on root development, not on producing blooms.
- Allow to Callus (Optional but Recommended): For geraniums, you can allow the cut end of the stem to air-dry for a few hours, or even overnight. This process, called “callusing,” helps prevent rot once the cutting is planted. The cut surface forms a protective layer.
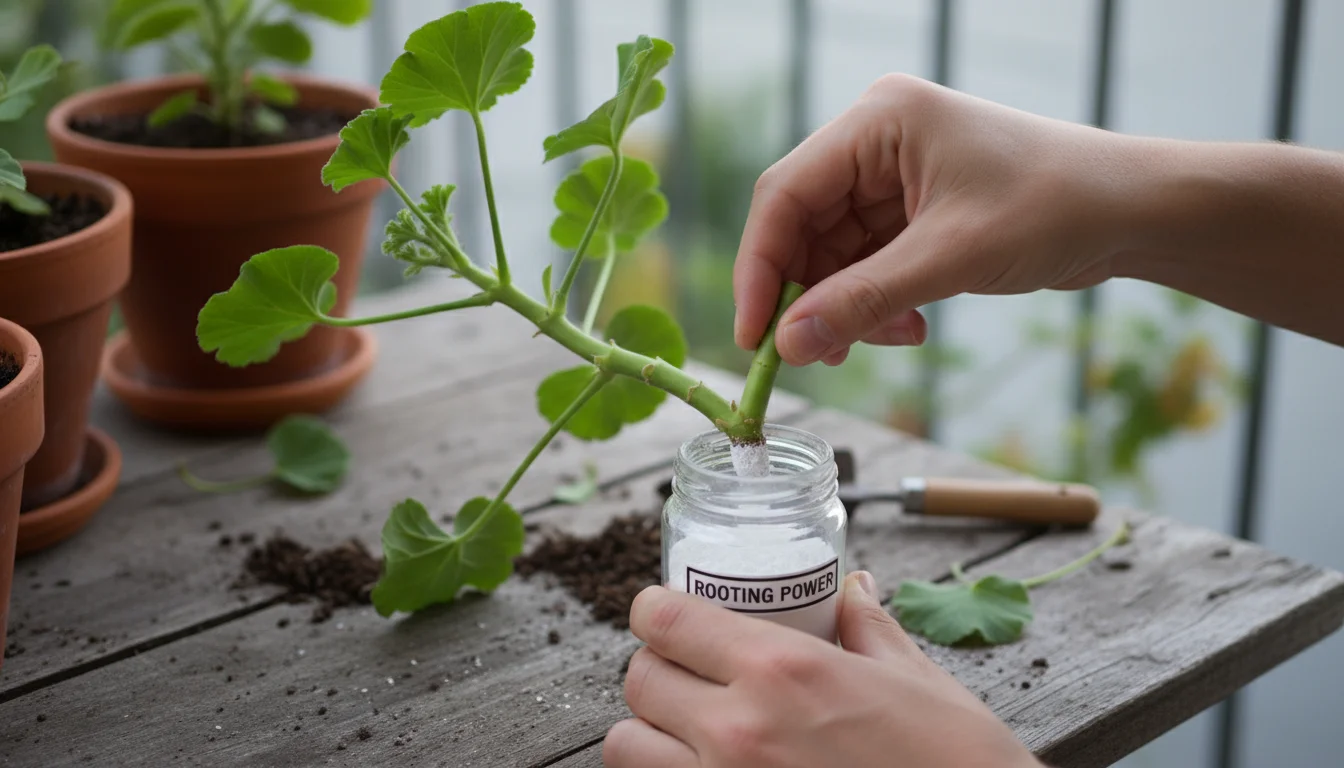
Step 4: Apply Rooting Hormone (Optional)
If you choose to use rooting hormone, dip the bottom 1 inch of the prepared cutting into the powder or gel. Tap off any excess hormone. This step gives your geranium cuttings an extra boost, encouraging quicker and more robust root development. Ensure the cut end is thoroughly coated.
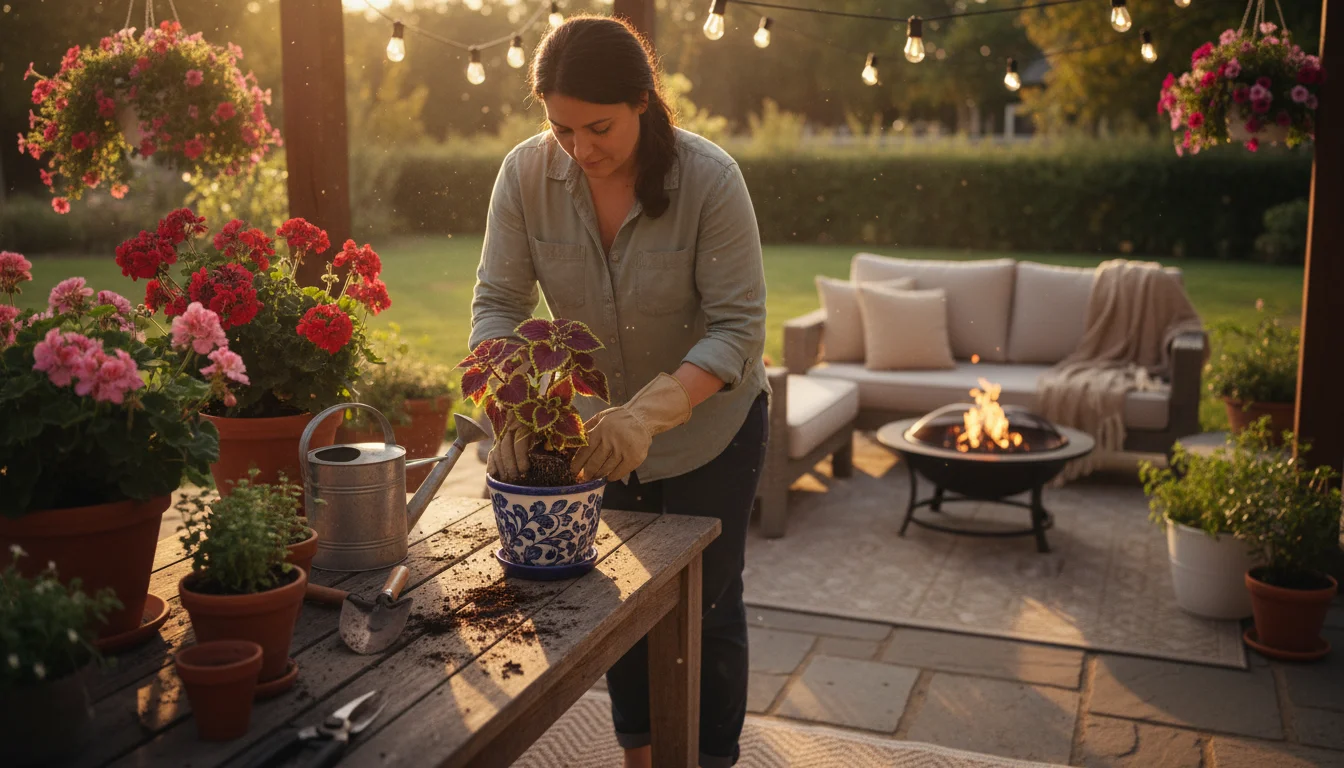
Step 5: Plant Your Cuttings
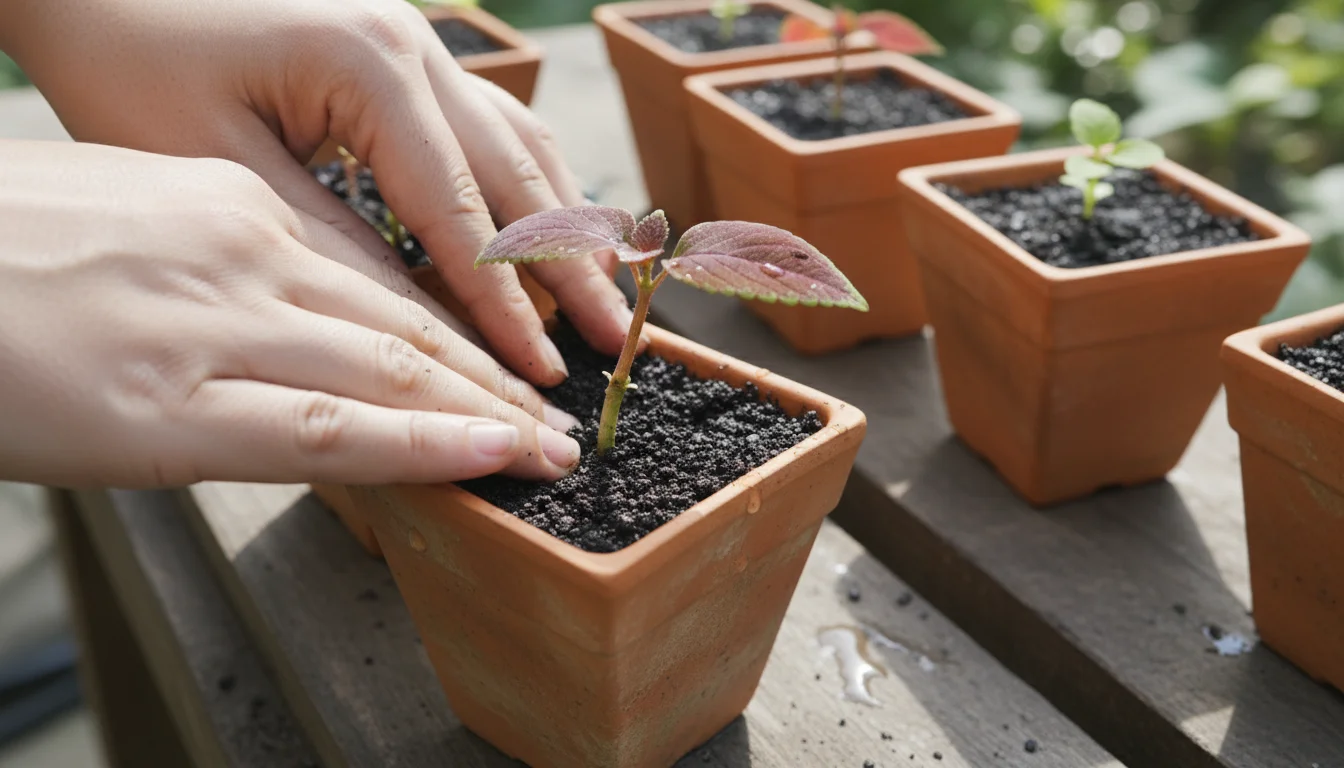
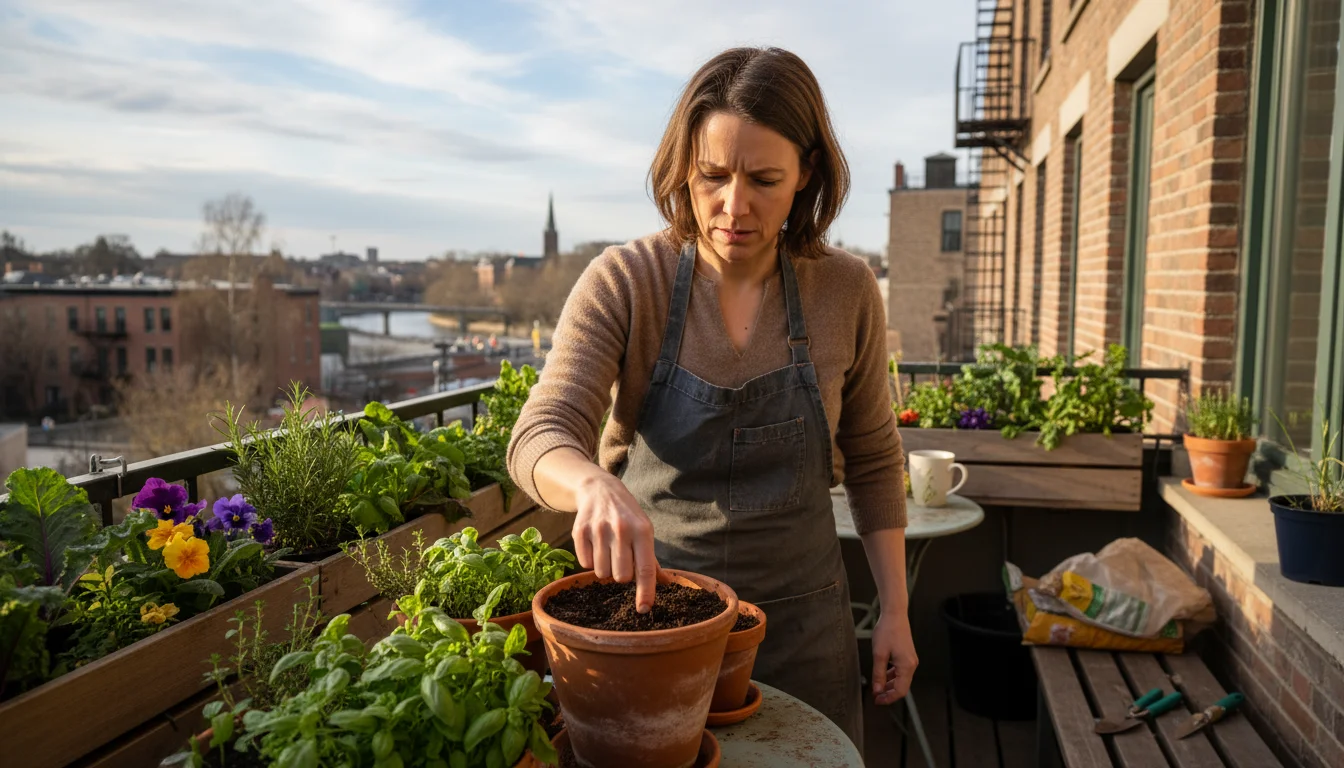
Fill your small pots with the sterile, well-draining potting mix. Use a pencil or a stick to poke a hole in the center of the soil in each pot. Make the hole deep enough to accommodate the bottom 2-3 inches of your cutting. Carefully insert one cutting into each hole, ensuring the stripped portion of the stem is below the soil line and the node where you cut is buried. Gently firm the soil around the base of the cutting to provide support and ensure good contact between the stem and the soil. You do not want air pockets around the stem.
Step 6: Water and Create Humidity
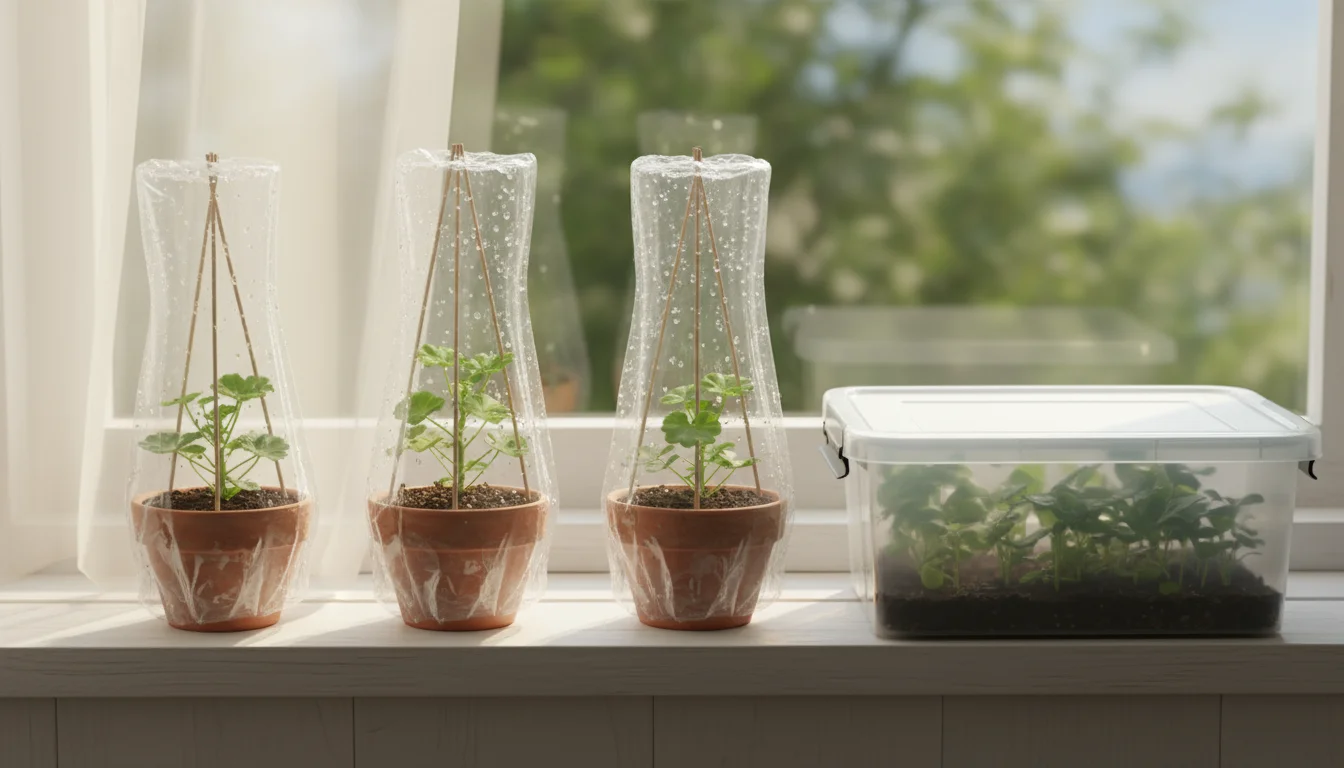
Water your newly planted cuttings thoroughly until water drains from the bottom of the pot. This settles the soil around the stem. To maintain humidity, you can place a clear plastic bag over each pot, supported by stakes so it does not touch the leaves, or place several pots together inside a larger clear plastic tote or under a humidity dome. Ensure there is some airflow by poking a few small holes in the bag or lifting the dome daily for a few minutes. This prevents fungal growth. Place the pots in a warm spot with bright, indirect light.
Within 2-4 weeks, your geranium cuttings should begin to root. You can gently tug on a cutting; if you feel resistance, roots have likely formed.
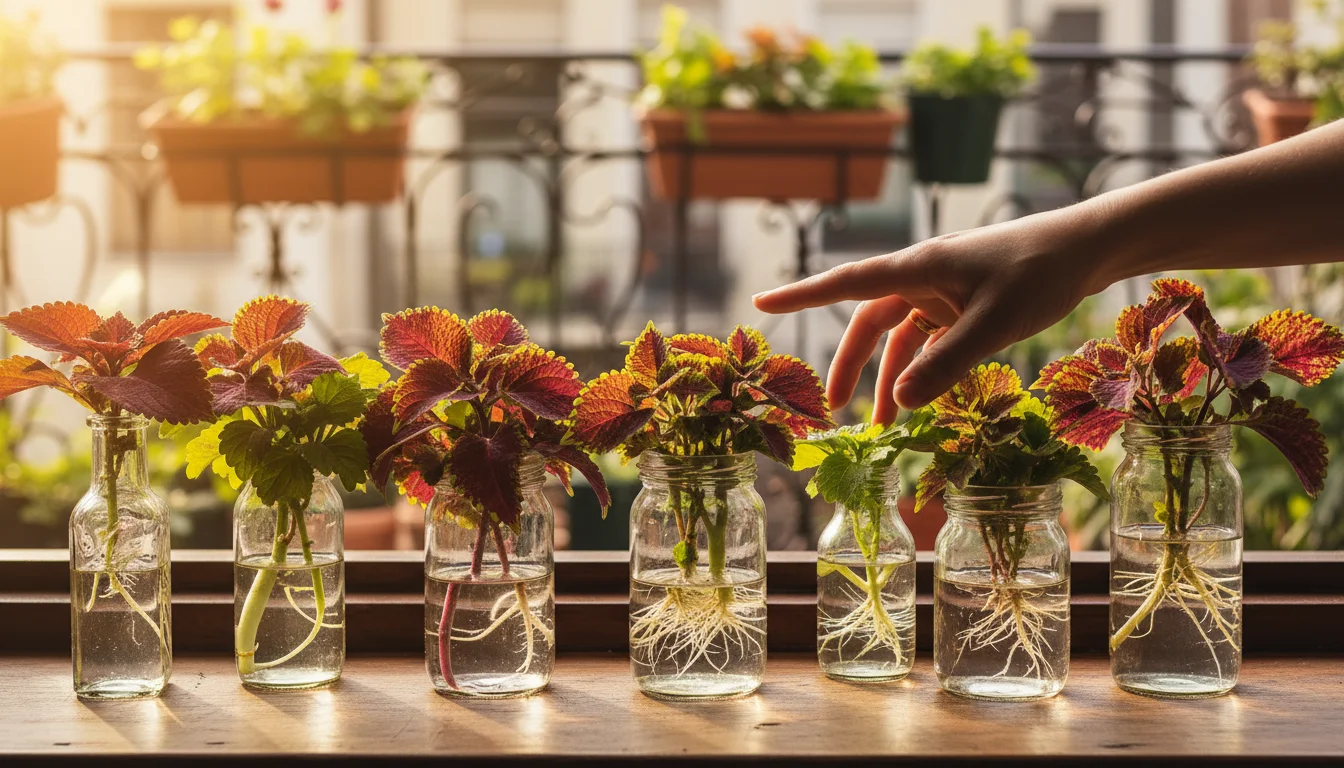
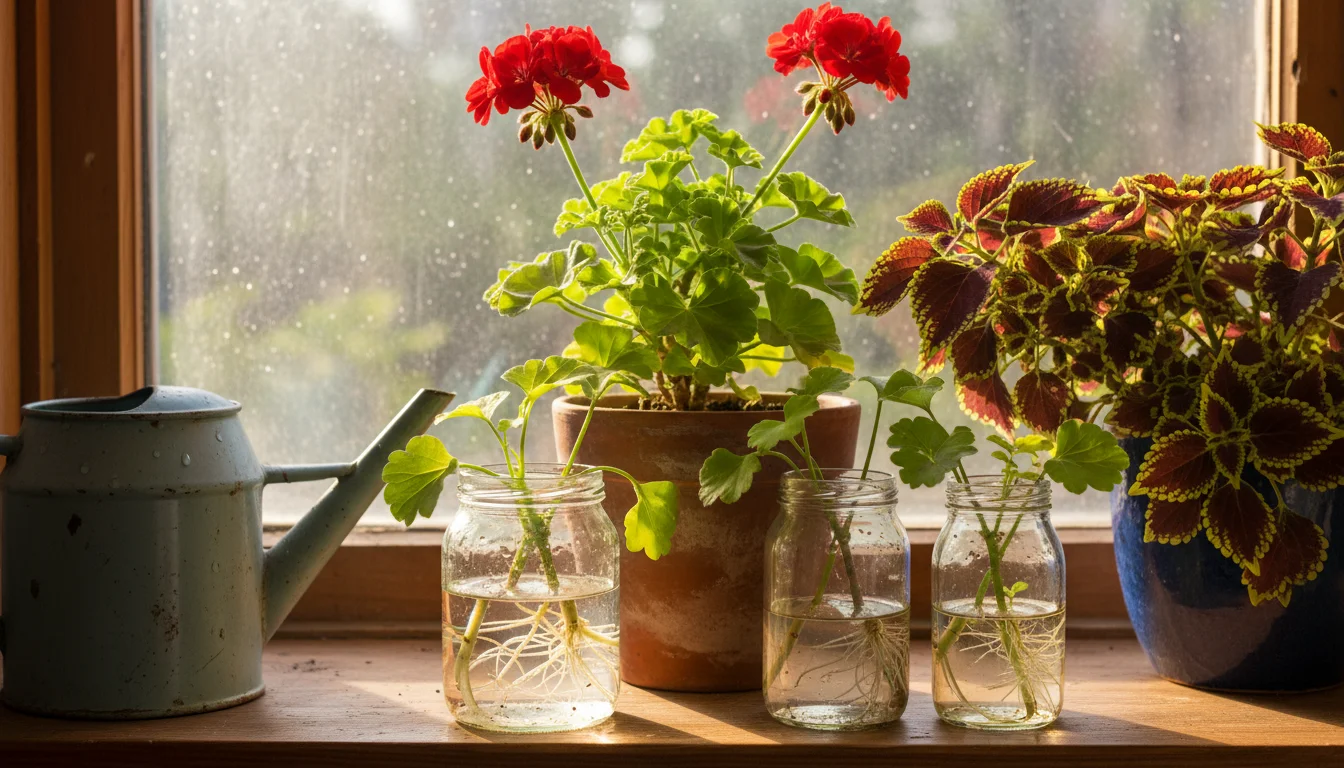
Step-by-Step Guide: Propagating Coleus Cuttings with Ease
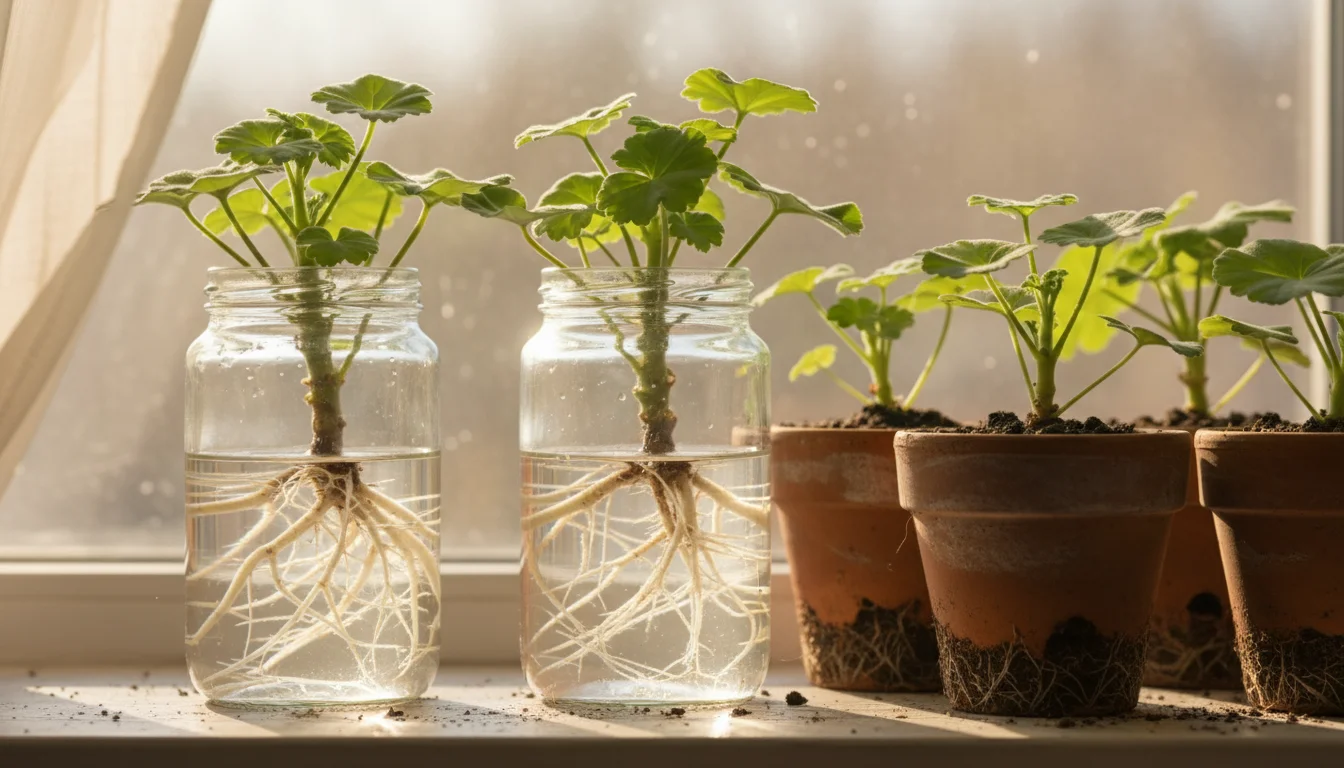
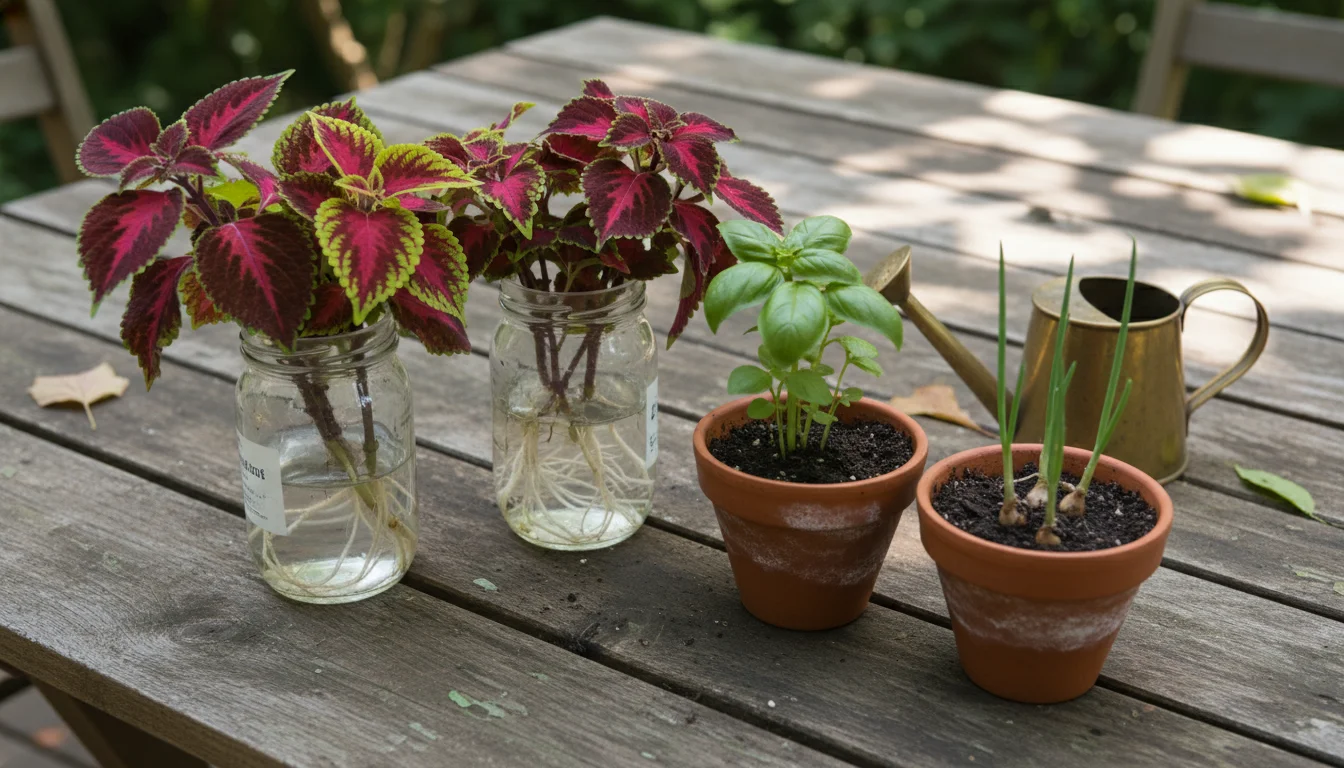
Coleus are exceptionally easy to propagate, often rooting successfully in just water. This makes them a fantastic choice for beginner propagators. You can root them in soil, similar to geraniums, but water rooting offers a clear view of root development, which is very satisfying.
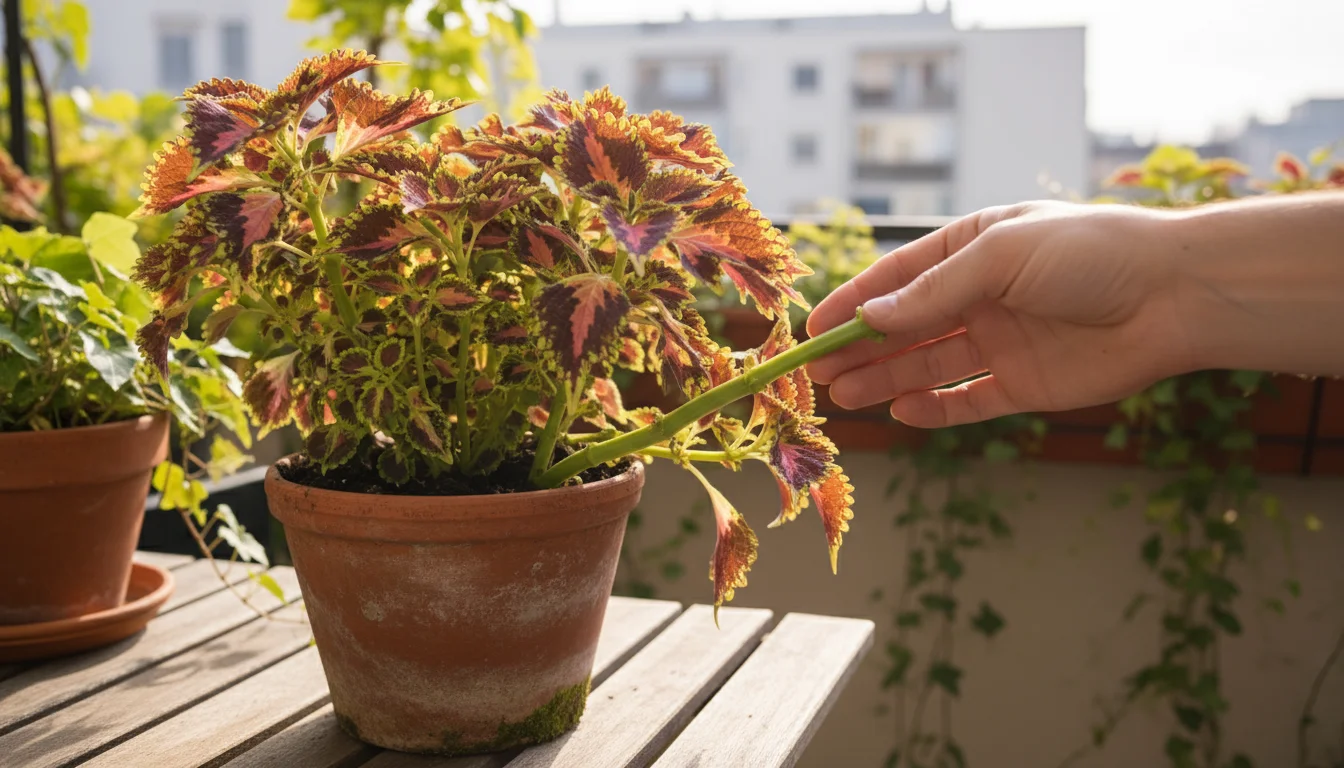
Step 1: Select Your Stems
Choose healthy, non-flowering stems from your parent coleus plant. Look for stems that are 4-6 inches long, green, and flexible, avoiding any woody sections. Just like with geraniums, pick vigorous stems free from pests or disease. If your coleus has started to produce flower spikes, pinch them off to redirect the plant’s energy toward foliage growth and root development.
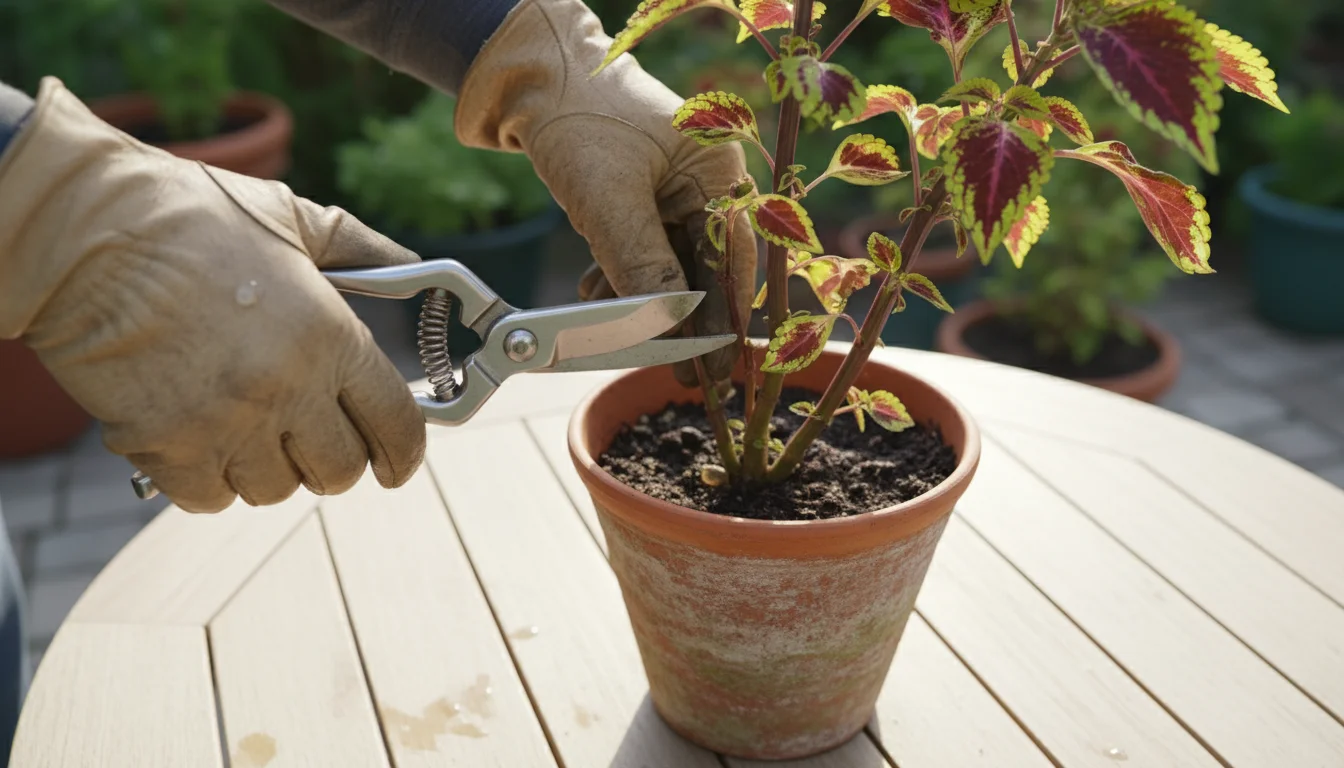
Step 2: Make the Cut
Using your sterilized sharp pruning shears or knife, make a clean cut just below a node. The node is where leaves or branches emerge. This area contains cells that readily form new roots. A 4-6 inch cutting is ideal. Make sure your cutting tool is clean to prevent introducing pathogens to the delicate stem.
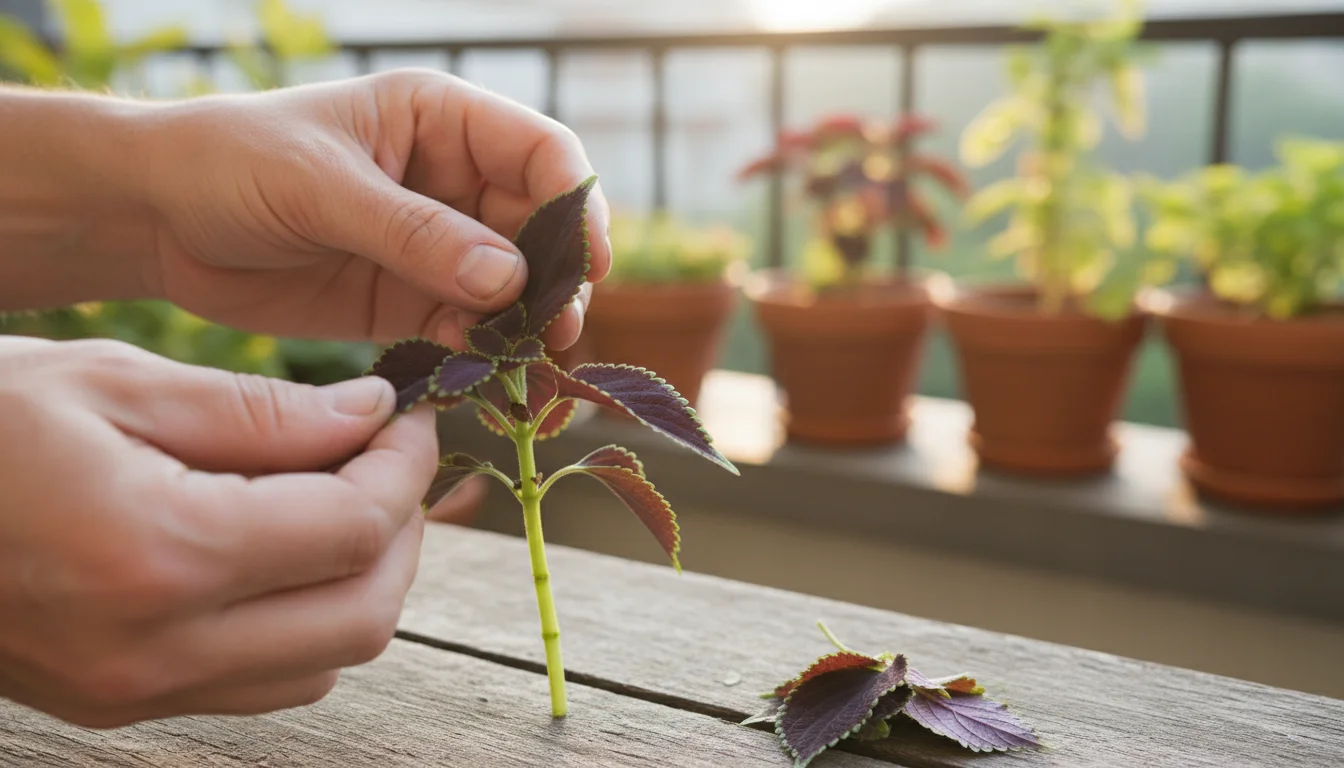
Step 3: Prepare Your Cuttings
Strip off all leaves from the bottom 2-3 inches of the stem. Any leaves left submerged in water or soil will rot, potentially contaminating your rooting environment. Ensure you remove any flower buds or existing flowers on the cutting, as these divert energy from root production. Unlike geraniums, coleus cuttings generally do not need to callus before rooting.
Step 4: Choose Your Rooting Method
You have two primary options for rooting coleus cuttings:
Method A: Water Rooting (Highly Recommended for Beginners)
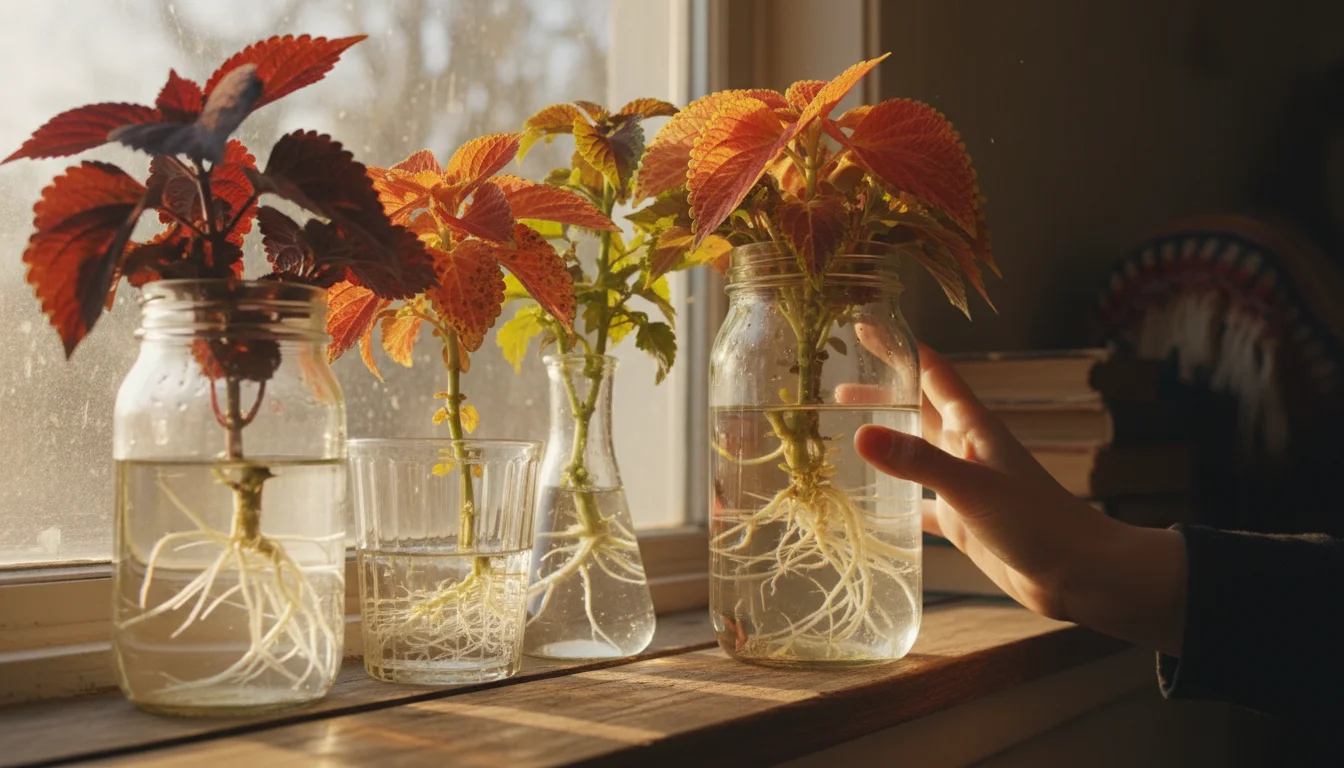
- Place in Water: Fill a clean glass jar or bottle with fresh room-temperature water. Place the prepared coleus cuttings into the jar, ensuring the stripped portion of the stem is submerged in the water, and no leaves are below the waterline. You can place multiple cuttings in one jar, but avoid overcrowding.
- Provide Light: Place the jar in a warm spot with bright, indirect light. Avoid direct, intense sunlight, which can overheat the water and stress the cuttings. A north-facing window or a spot several feet from an east or west window works well.
- Change Water Regularly: Change the water every few days, or at least once a week, to keep it fresh and oxygenated. This prevents bacterial growth that could harm your cuttings. You’ll typically see small white roots begin to form from the nodes within 1-2 weeks.
- Pot Up: Once the roots are about 1-2 inches long, which usually takes 2-4 weeks, your cuttings are ready to be potted into soil. Carefully transfer them into small pots filled with a sterile, well-draining potting mix. Water them thoroughly after potting.
Method B: Soil Rooting
- Prepare Potting Mix: Fill small pots with a sterile, well-draining potting mix. A seed-starting mix is excellent.
- Poke Holes: Use a pencil or stick to create holes in the soil, deep enough for the stripped portion of your cutting (about 2-3 inches).
- Plant Cuttings: Insert one cutting into each hole, gently firming the soil around the base to ensure good stem-to-soil contact.
- Water and Humidify: Water thoroughly. Create a humid environment using a clear plastic bag or humidity dome, as described for geraniums. Place in bright, indirect light.
Coleus cuttings often root faster in water, allowing you to visually track their progress. Once rooted, whether in water or soil, they require similar care to geranium cuttings during the winter months.
Nurturing Your New Cuttings: Winter Care Indoors
Once your geranium and coleus cuttings have developed roots, they transition from fragile newborns to small, independent plants. Your goal during winter is to keep them healthy and growing slowly, ready for spring. Indoor conditions are different from outdoor ones, so adjust your care accordingly.
Light Requirements
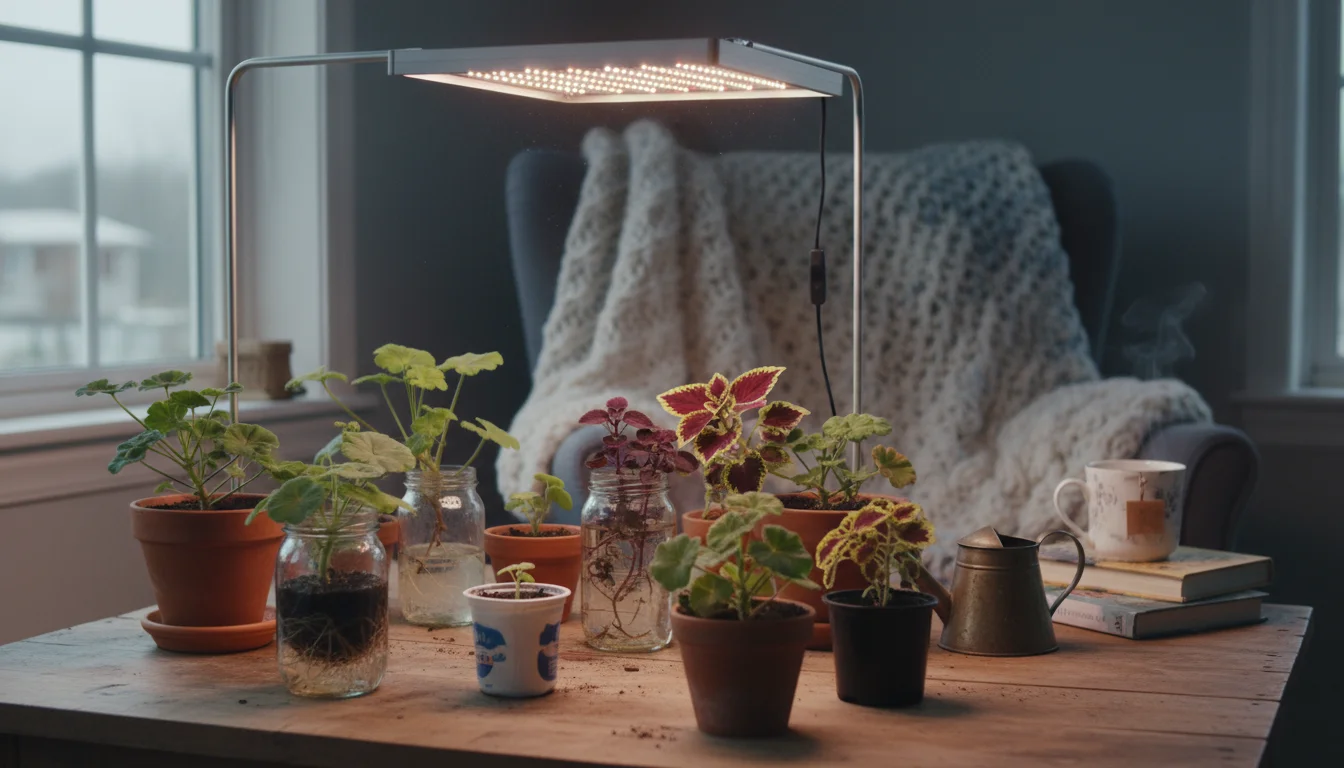
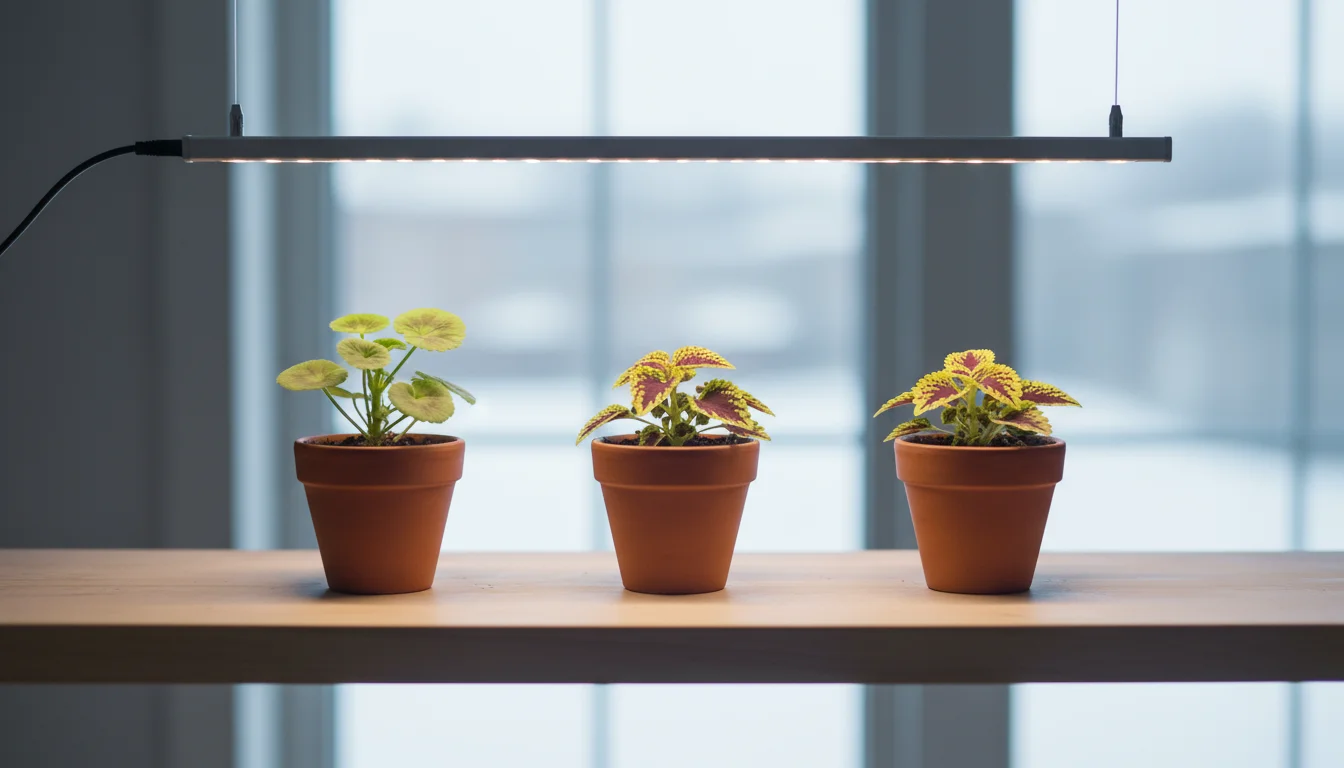
All plants require light for photosynthesis, even in winter. Your rooted cuttings need bright, indirect light for at least 6-8 hours a day. A south-facing window is ideal in many homes, as long as the light is not too harsh and causes leaf burn. East or west-facing windows can also work. If natural light is limited, consider supplementing with a grow light. LED grow lights are energy-efficient and effective for small-space setups. Position the grow light about 6-12 inches above the plants. Consistent light prevents your plants from becoming “leggy,” where they stretch out seeking light, resulting in weak, spindly growth.
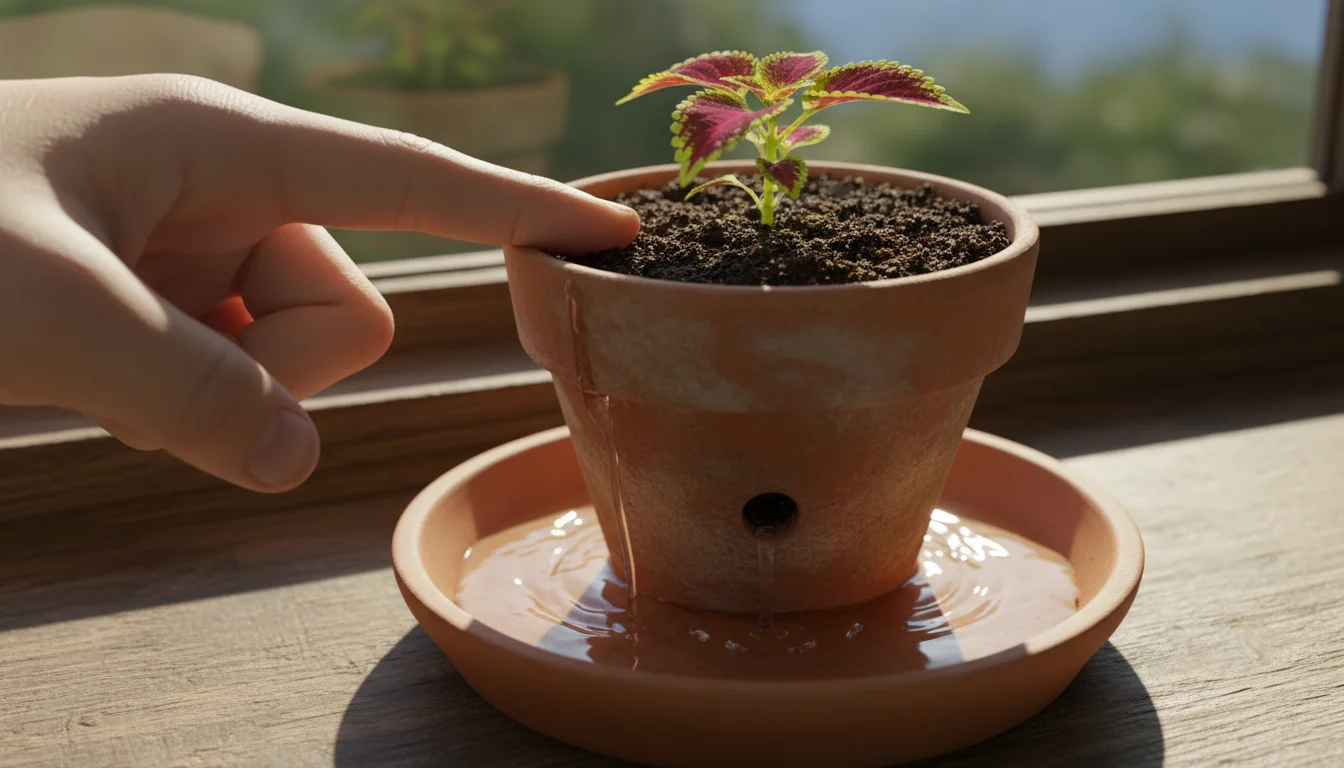
Watering Regimen
Overwatering is a common killer of houseplants, especially during winter when plants are less active. Always check the soil moisture before watering. Stick your finger about an inch or two into the soil. If it feels dry, it’s time to water. If it still feels damp, wait a few more days. When you do water, do so thoroughly until water drains from the bottom of the pot. Ensure proper drainage is always available to prevent root rot, which occurs when roots sit in stagnant water and cannot breathe. Reduce watering frequency compared to summer, as plants use less water in cooler, lower-light conditions.
Temperature and Humidity
Most indoor spaces are suitable for geraniums and coleus. Aim for average room temperatures, between 60-70°F (15-21°C). Avoid placing them near cold drafts from windows or doors, or hot air vents, as sudden temperature fluctuations stress plants. Geraniums prefer slightly cooler temperatures, while coleus are more tolerant of warmth.
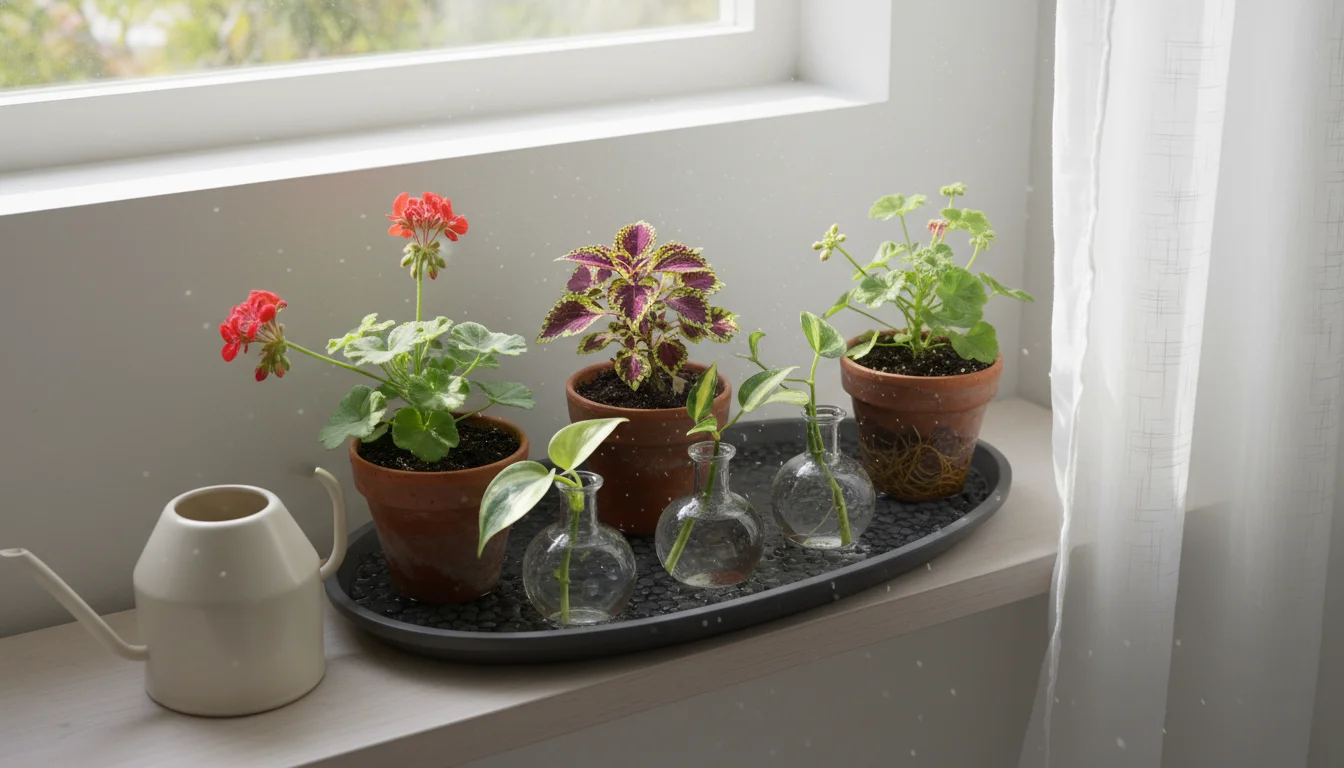
Indoor air can be very dry, especially with heating systems running. While geraniums are fairly tolerant of dry air, coleus appreciate a bit more humidity. You can increase humidity by placing pots on a pebble tray filled with water (ensure the pot does not sit directly in the water), or by grouping plants together to create a localized humid microclimate. A small room humidifier also helps, but is often unnecessary for just a few plants. Regular misting can offer a temporary boost, but it does not significantly increase ambient humidity.
Fertilization
During the dormant winter months, your cuttings do not need much, if any, fertilizer. Their growth is naturally slowed. Too much fertilizer can burn delicate roots. If your cuttings appear to be growing vigorously despite the winter, you can provide a very dilute, balanced liquid fertilizer (at half strength) once every 4-6 weeks. However, for most overwintered cuttings, waiting until early spring to resume regular fertilization is a safer approach.
Troubleshooting Common Cuttings Challenges
Even with careful attention, you might encounter issues with your cuttings. Understanding common problems and how to address them helps you save your plants and learn from the experience. Remember, gardening involves a degree of trial and error, so do not get discouraged.
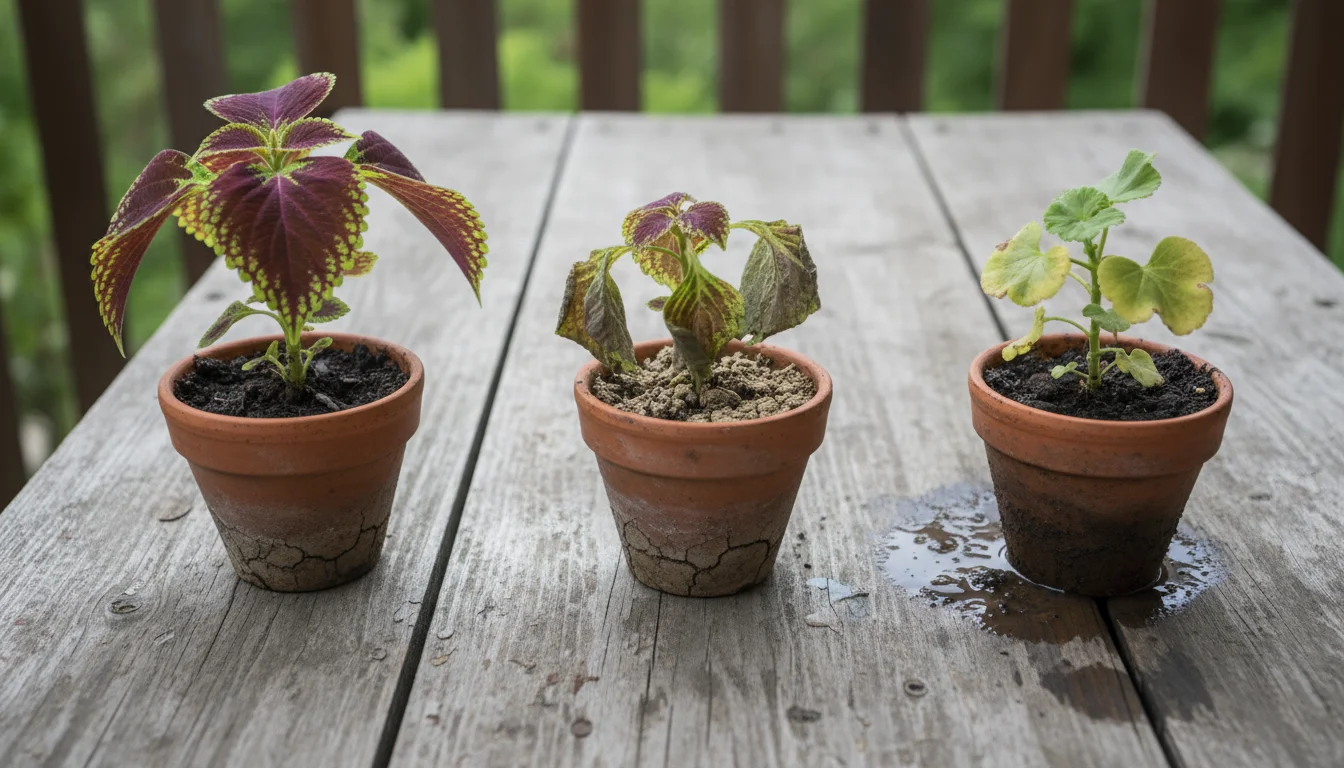
Wilting Leaves
- Cause: Lack of Water (Cuttings in Soil): If the soil is dry, the cutting is not getting enough moisture.
- Solution: Water thoroughly until drainage occurs. Ensure the soil is consistently moist, but not waterlogged, during the rooting phase.
- Cause: Too Much Water (Root Rot): Ironically, overwatering can also cause wilting because soggy soil suffocates roots, preventing them from absorbing water.
- Solution: Check the soil moisture. If it’s soggy, remove the cutting, inspect the stem for mushiness, and replant in fresh, drier soil. Ensure excellent drainage.
- Cause: Lack of Humidity: Especially for coleus, very dry indoor air can cause wilting before roots have formed.
- Solution: Increase humidity using a plastic bag, humidity dome, or pebble tray.
- Cause: No Roots Yet: If your cutting has not developed roots, it cannot absorb sufficient water, leading to wilting. This is common in the first week or two.
- Solution: Maintain consistent moisture and humidity. Be patient; roots will eventually form.
Yellowing Leaves
- Cause: Natural Shedding: It’s normal for some lower leaves to yellow and drop, especially if they were damaged during preparation or are just old.
- Solution: Gently remove yellowed leaves. As long as new growth appears healthy, your plant is fine.
- Cause: Nutrient Deficiency: If many leaves, especially new ones, are yellowing, it could indicate a lack of nutrients, though this is less common during the rooting phase.
- Solution: Once roots are established, a very dilute, balanced liquid fertilizer can help, but do not over-fertilize.
- Cause: Overwatering: Similar to wilting, prolonged overwatering can lead to yellowing leaves due to root damage.
- Solution: Adjust your watering schedule to allow the top inch or two of soil to dry out between waterings.
Stem Rot (Black or Mushy Stems)
- Cause: Overwatering or Poor Drainage: This is the most common and most serious problem. Too much moisture suffocates roots and encourages fungal diseases.
- Solution: Prevent rot by using sterile, well-draining potting mix, ensuring pots have drainage holes, and avoiding overwatering. If a stem turns mushy, it’s often too late to save that cutting. Discard the affected cutting and its soil to prevent spread. Clean your tools thoroughly. Consider allowing geranium cuttings to callus before planting.
- Cause: Unclean Tools: Using non-sterilized tools can introduce bacteria or fungi that cause rot.
- Solution: Always sterilize your pruning shears or knife before taking cuttings.
No Root Development
- Cause: Improper Cutting: If the cut was not made below a node, or if the stem material was too old/woody, roots may not form.
- Solution: Ensure you are making clean cuts below a node on healthy, actively growing stem sections.
- Cause: Insufficient Warmth or Light: Cuttings need warmth and light to stimulate root growth.
- Solution: Provide consistent warm temperatures (65-75°F) and bright, indirect light.
- Cause: Lack of Humidity: Cuttings can dry out before roots form if humidity is too low.
- Solution: Use a humidity dome or plastic bag to create a moist environment.
Patience is essential when troubleshooting. Observe your cuttings daily for any changes and adjust your care as needed. Your consistent attention increases their chances of thriving through the winter.
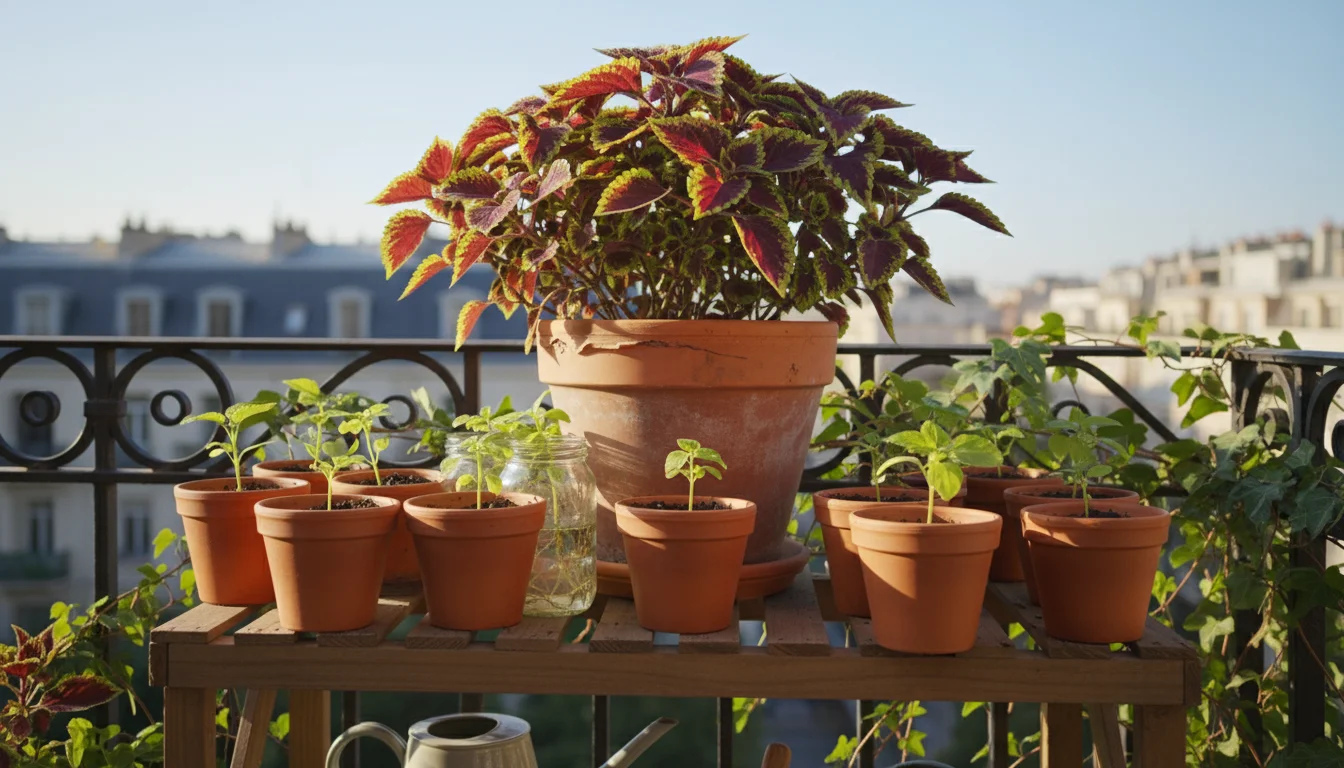
Preparing Your Cuttings for Spring Planting
As winter begins to wane and the days lengthen, your rooted cuttings will start to show more vigorous growth. This is your cue to begin preparing them for their eventual transition back outdoors. This process, called “hardening off,” gradually acclimates your plants to outdoor conditions, reducing transplant shock and ensuring they thrive in your small garden spaces.
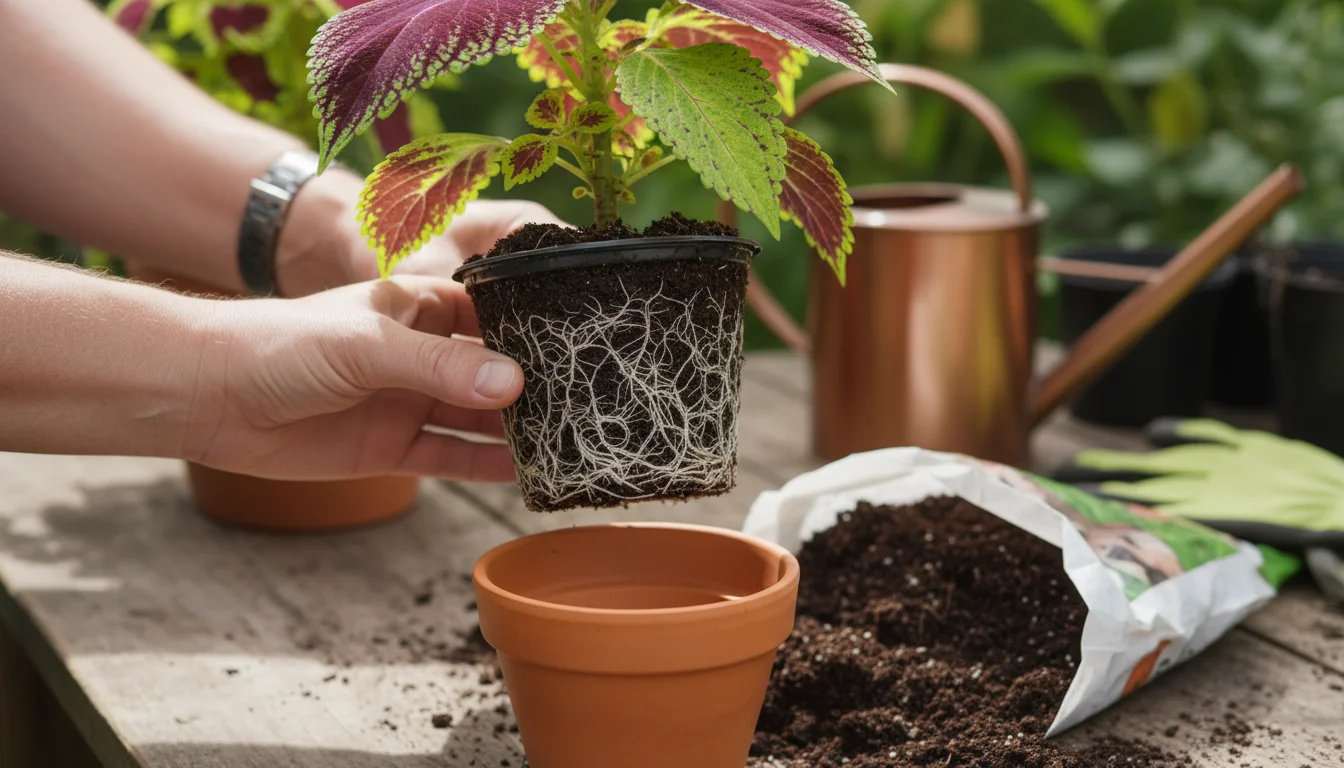
Repotting for Growth
By late winter or early spring, if your cuttings have developed a robust root system and are outgrowing their small starter pots, it is time to repot them into slightly larger containers, perhaps 4-6 inches in diameter. This gives their roots more room to expand and provides fresh nutrients from new potting mix. Use a good quality, well-draining potting mix. After repotting, water thoroughly. This prepares them for stronger growth as spring approaches.
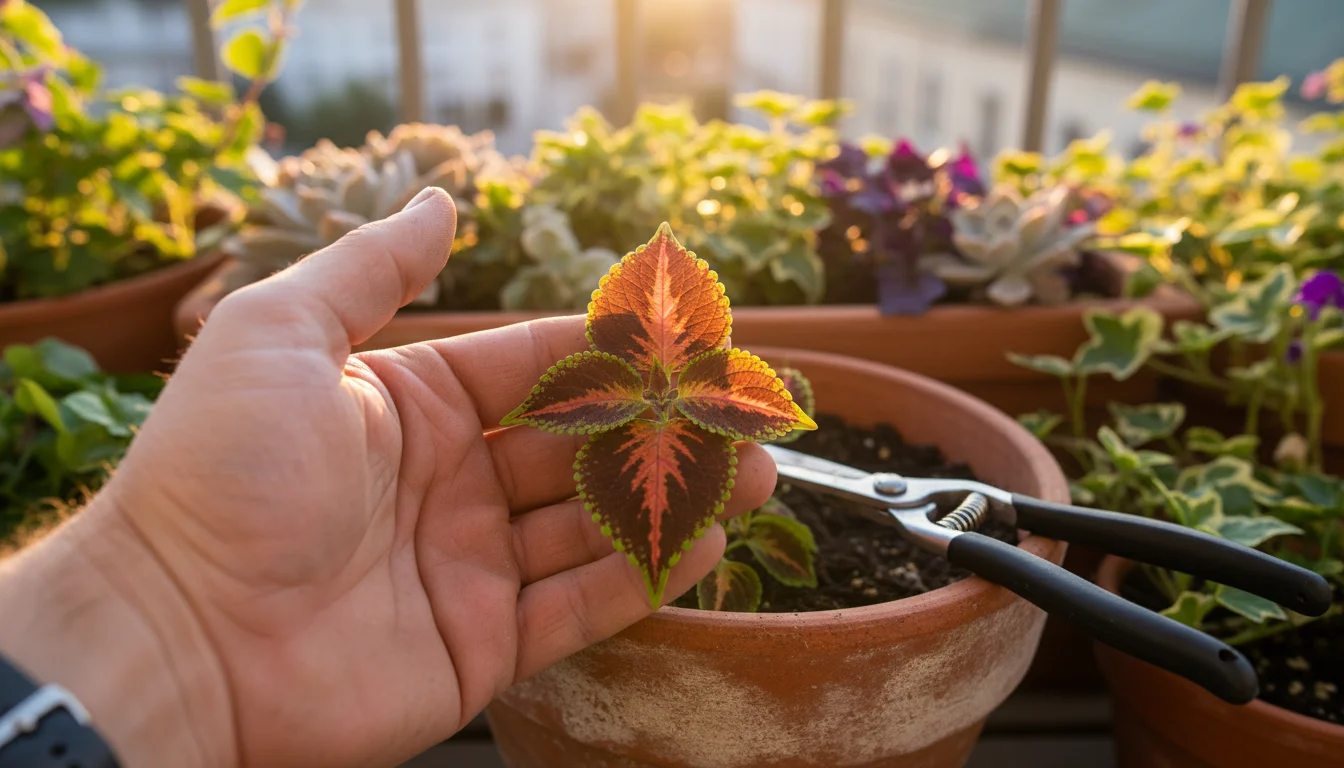
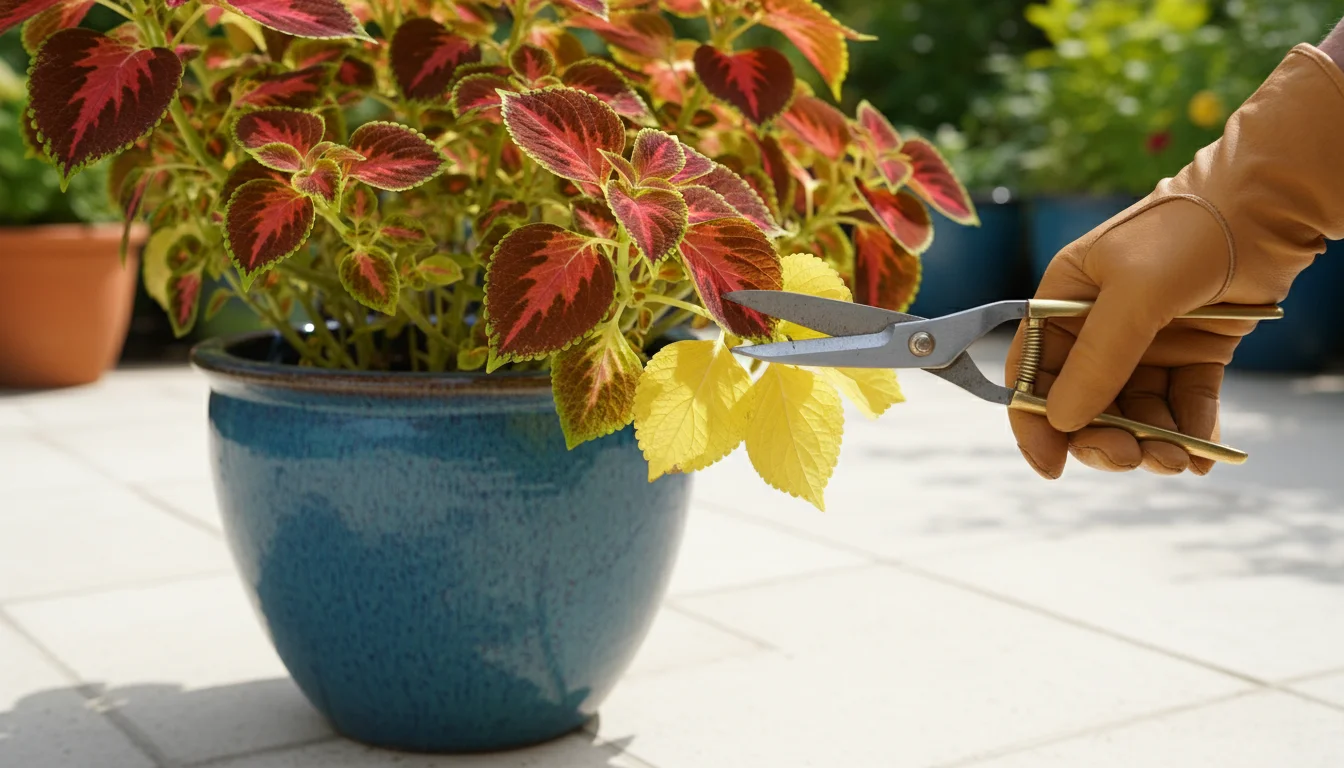
Pinching for Bushier Plants
To encourage your cuttings to grow into full, bushy plants rather than tall, leggy ones, you can “pinch” them. Once your plant has developed several sets of leaves, use your fingers or clean snips to remove the very tip of the main stem, just above a set of leaves or a node. This encourages the plant to branch out from those lower nodes, resulting in a denser, more compact plant. For coleus, pinching also helps maintain their vibrant foliage and prevent them from flowering prematurely, which can diminish their leaf display.
The Hardening-Off Process
Hardening off is a critical step that prevents your tender indoor plants from suffering shock when moved outdoors. Begin this process about 1-2 weeks before you plan to plant them outside, after all danger of frost has passed in your area (usually around your last average frost date). Your local extension office or gardening resources, such as those from Oregon State Extension — Gardening, can provide specific frost date information for your region.
Hardening Off Schedule:
- Day 1-3: Place your plants outdoors in a shaded, sheltered spot for just 2-3 hours. Bring them back inside.
- Day 4-6: Increase their outdoor time to 4-6 hours, still in a shaded spot.
- Day 7-9: Move them to a spot that receives morning sun and afternoon shade for 6-8 hours. Bring them inside at night.
- Day 10-14: Allow them to remain outdoors overnight, ensuring temperatures stay above 50°F (10°C). Gradually expose them to more direct sunlight each day.
This gradual exposure prepares them for the full sun, wind, and temperature fluctuations they will experience outdoors. Skipping this step can lead to sunburn, stunted growth, or even death of your plants. Your plants will develop thicker cuticles on their leaves and stronger cell walls, making them more resilient.
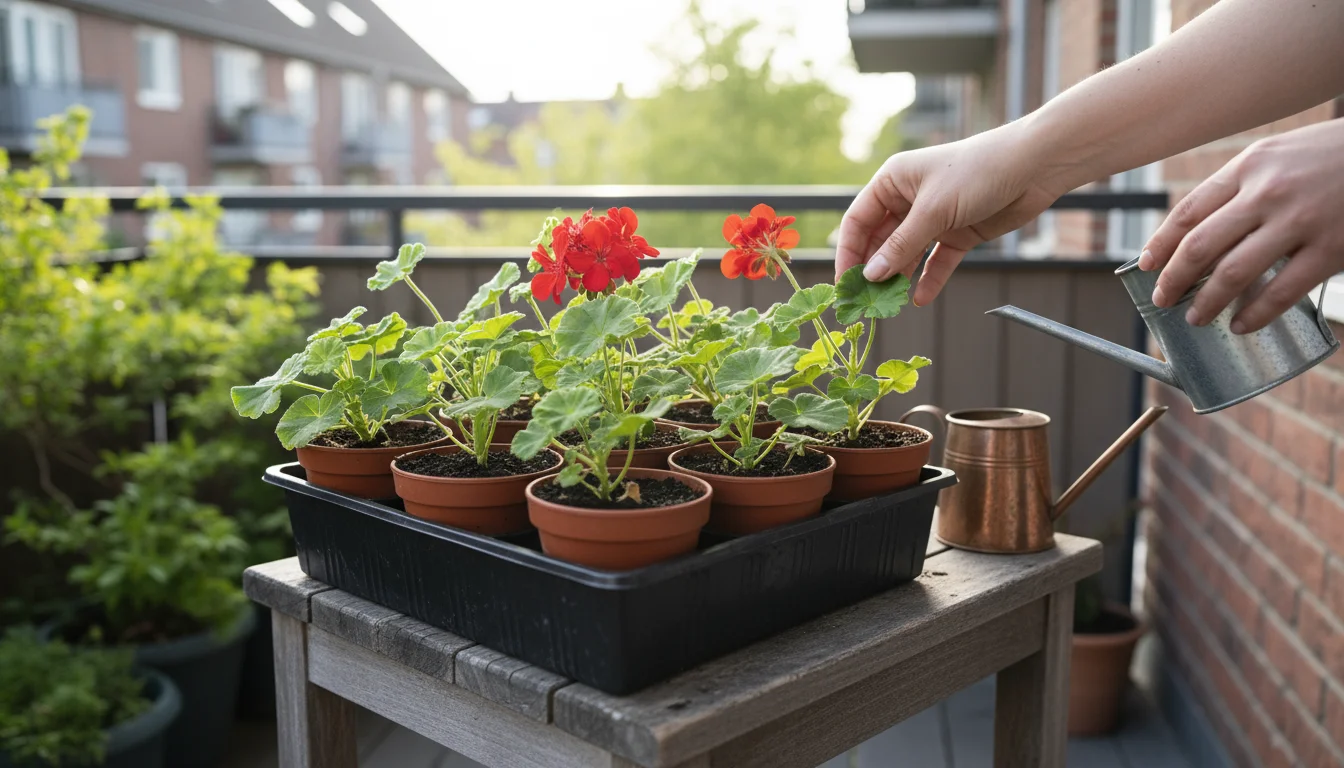
Planting Outdoors
Once hardened off, your rooted geranium and coleus cuttings are ready for their permanent homes in your small garden spaces, whether they are containers, hanging baskets, or small garden beds. Plant them at the same depth they were in their pots, water them well, and provide appropriate care throughout the growing season. You have successfully preserved your favorite plants and are ready to enjoy their beauty once again, all thanks to your efforts in fall propagation!
Frequently Asked Questions
When is the absolute latest I can take cuttings before frost?
You need to take cuttings at least 6-8 weeks before your average first frost date to allow them sufficient time to root and establish themselves indoors. If frost is imminent, you can still try taking cuttings, but the success rate might be lower as the parent plant may already be stressed by cold temperatures.
Do I need rooting hormone for coleus or geraniums?
While geraniums benefit from rooting hormone for faster and more reliable rooting, it is not strictly necessary as they often root well on their own. Coleus are particularly enthusiastic rooters and generally do not require rooting hormone, especially when rooted in water. For beginners, using rooting hormone with geraniums can boost confidence and success rates.
My cuttings are wilting after planting. What should I do?
Wilting can indicate either too little or too much water. First, check the soil moisture. If it’s dry, water thoroughly. If it’s soggy, you might be overwatering, leading to root rot. Ensure your pots have drainage holes. Also, make sure the cuttings are in a humid environment; a clear plastic bag or humidity dome can help prevent moisture loss from leaves until roots form.
How do I know if my cuttings have rooted?
You can tell if a cutting has rooted by gently tugging on it. If you feel resistance, roots have likely formed. For coleus rooted in water, you will visibly see the roots developing. New leaf growth is also a strong indicator of successful rooting. Be patient, as this process can take 2-4 weeks or sometimes longer.
Can I overwinter my entire potted geranium or coleus plant instead of taking cuttings?
Yes, you can overwinter entire plants, but it requires different care. You would typically bring the whole plant indoors before frost, reduce watering significantly, and often prune it back. This method requires more space, and the plants can still struggle with pest issues or go semi-dormant, making cuttings a more compact and often more successful way to preserve specific varieties for small-space gardeners. Cuttings also ensure you start with fresh, pest-free material.
For trustworthy gardening information, visit:
Botanical Society of America, Oregon State Extension — Gardening and Royal Horticultural Society (RHS). These organizations provide expert, research-based advice for gardeners at all levels.
Disclaimer: This article is for informational purposes only and is not a substitute for professional gardening advice. Always consult local extension services or horticulture experts for region-specific guidance.

Leave a Reply