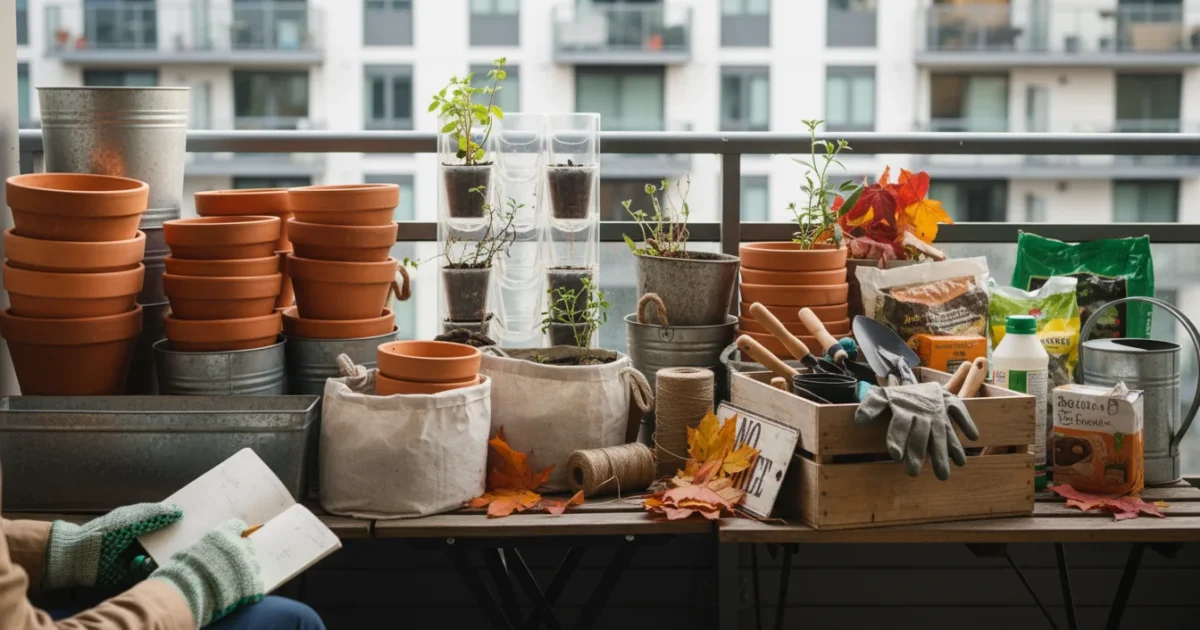
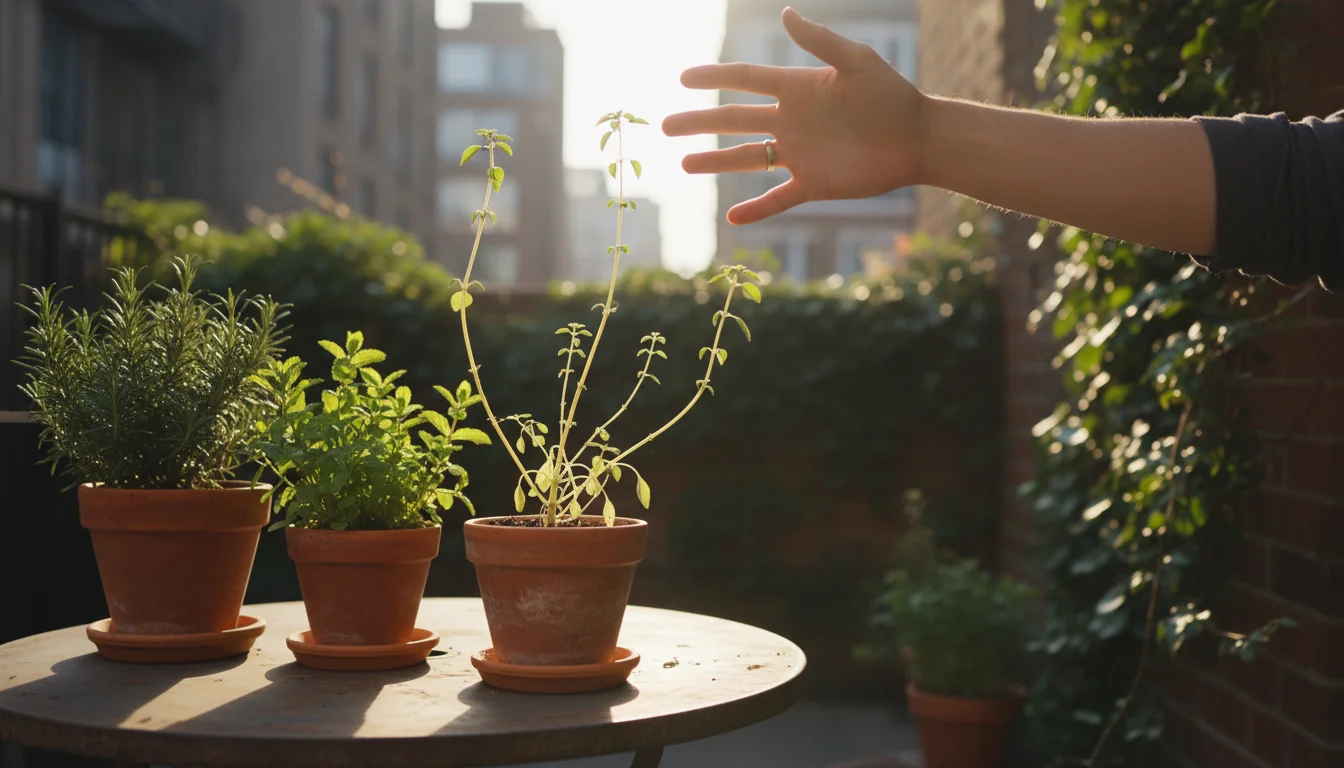
As the vibrant colors of summer gardens begin to fade and the crisp air of autumn settles in, many gardeners see the season’s end as a time to simply pack things away. For you, the dedicated small-space gardener, fall presents a unique and incredibly valuable opportunity: an audit of your gardening supplies. Think of this as your strategic advantage for next spring. Unlike sprawling garden plots, your balcony, patio, or window sill garden demands efficiency and thoughtful organization. A thorough fall garden cleanup and decluttering session for your gardening supplies prevents wasted space, saves money, and sets you up for effortless success when planting season returns. This isn’t just about tidying up, it’s about optimizing your entire gardening operation for apartment living.
This audit is a critical step when transitioning your balcony planters from summer to fall to ensure your storage space remains manageable.
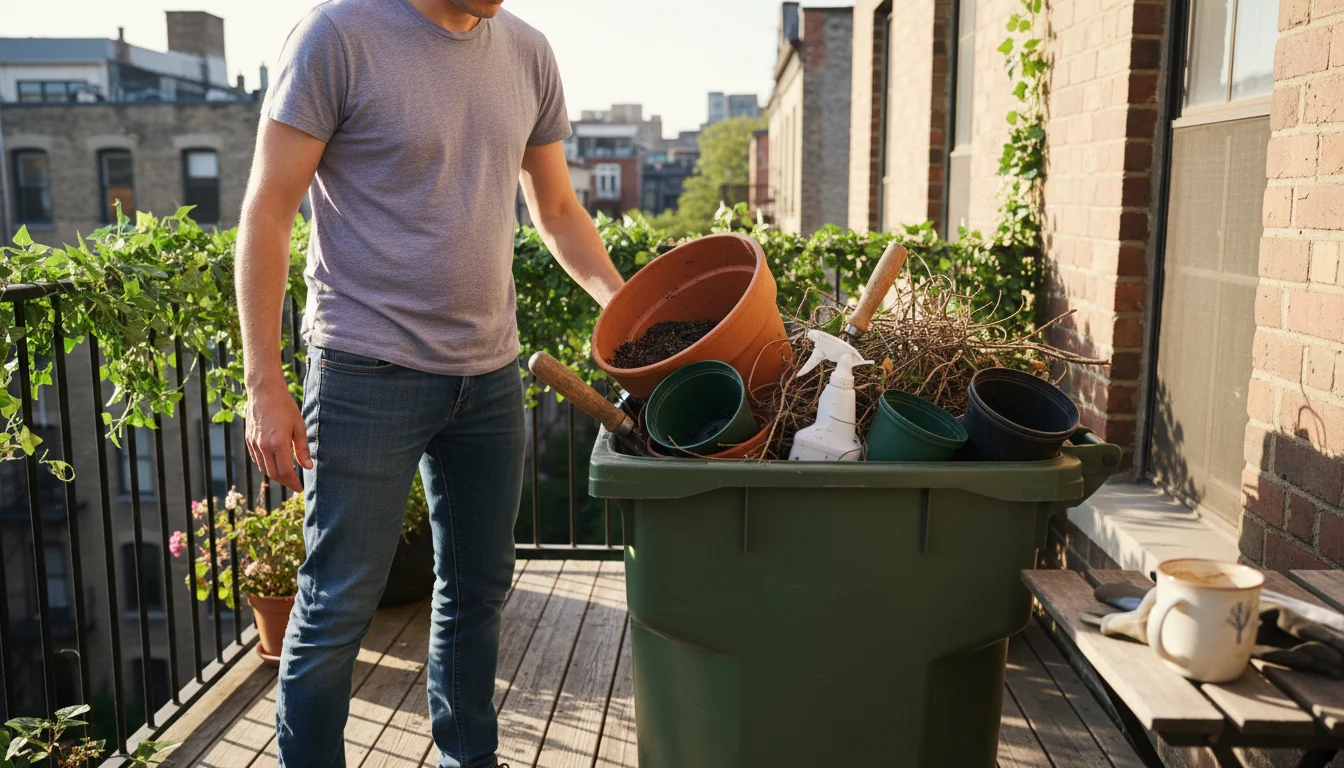
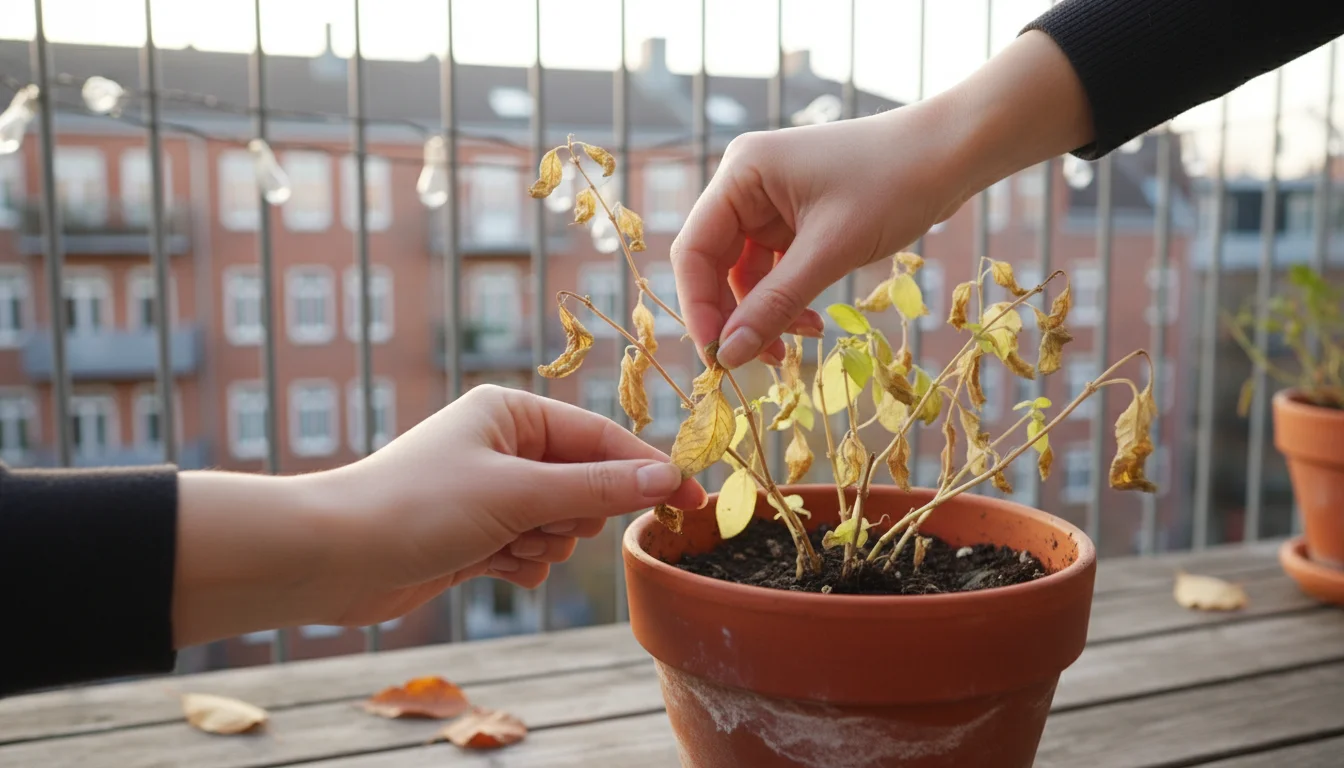
This is also the perfect time to clear out spent vegetation from your containers to prevent pests from over-wintering.
This comprehensive guide will walk you through the process, helping you identify what to toss, what to keep, and what might need an upgrade. By the time you finish, your small gardening tools and other essentials will be neatly organized, ready to bring more joy and less clutter to your next growing adventure.
Why a Fall Audit is Essential for Small-Space Gardeners
For those cultivating green havens in compact areas, every square inch counts. Your balcony, patio, or even a sunny windowsill becomes a precious commodity. A fall garden cleanup and audit isn’t merely an annual chore, it’s a strategic move to maximize your limited space and enhance your future gardening experiences. Consider the average small-space gardener. They often juggle multiple plant types, various container sizes, and a collection of tools that might outgrow their storage capacity if left unchecked. Without a systematic approach, clutter quickly accumulates, leading to frustration, inefficiency, and potentially wasted resources.
Emptying your shelves during this audit provides a ‘clean slate’ to fix last season’s layout mistakes before you start anew next spring.
This annual review helps you identify redundancies, address wear and tear on your crucial gardening supplies, and streamline your process for the next growing season. Picture this: spring arrives, you are eager to plant, but you spend precious hours sifting through broken pots, rusty tools, and half-empty bags of degraded soil. This scenario is easily avoidable with a proactive fall audit. Data suggests that organized workspaces can increase productivity by up to 20 percent. While your gardening space isn’t an office, the principle holds true. An organized supply station means more time for actual gardening and less time searching for that elusive pair of clean pruners.
Furthermore, evaluating your supplies in the fall allows you to take advantage of off-season sales for any necessary upgrades or replacements. You avoid the rush and higher prices often seen at the start of spring. It is a proactive step that saves you money and reduces stress. This end of season garden declutter is your secret weapon for maintaining a thriving, manageable small-space garden year after year. You gain valuable clarity on what gardening supplies do I really need, ensuring every item has a purpose and a place.
The Strategic Approach to Decluttering Your Gardening Supplies
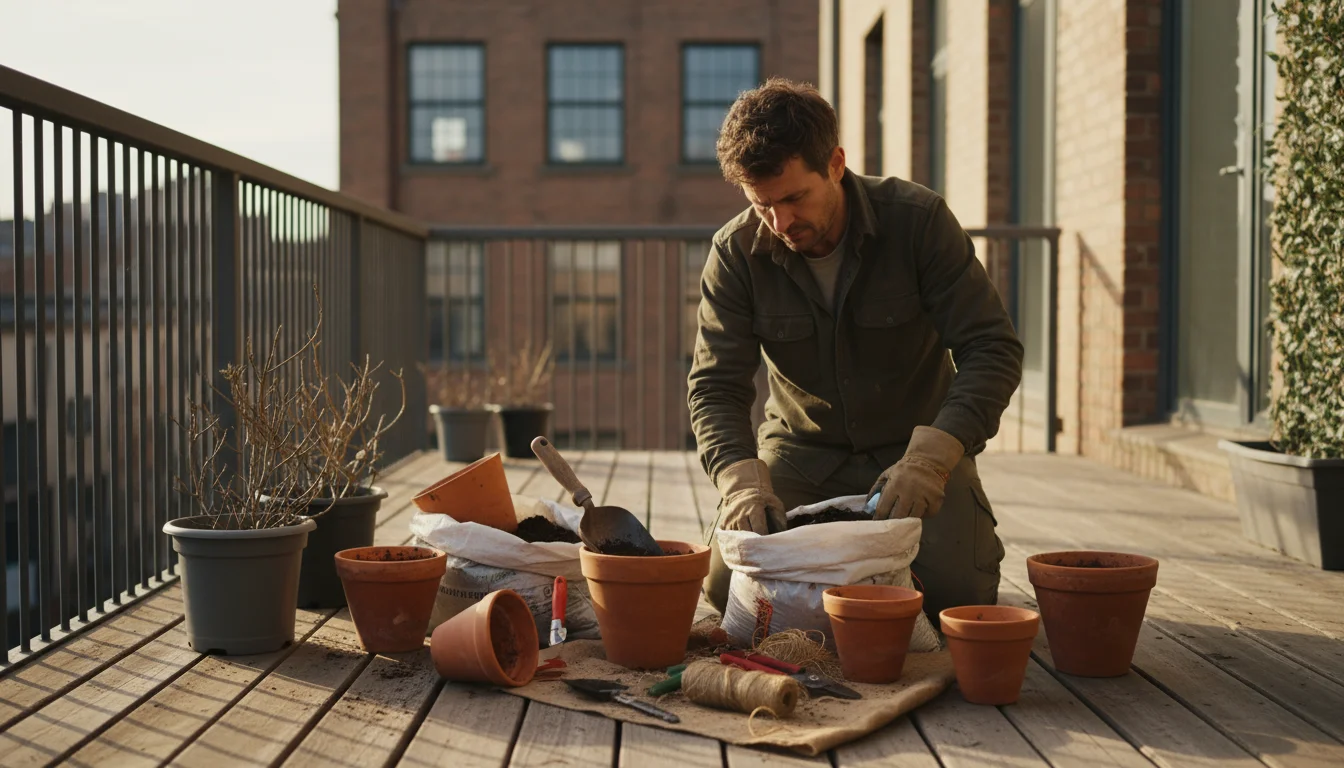
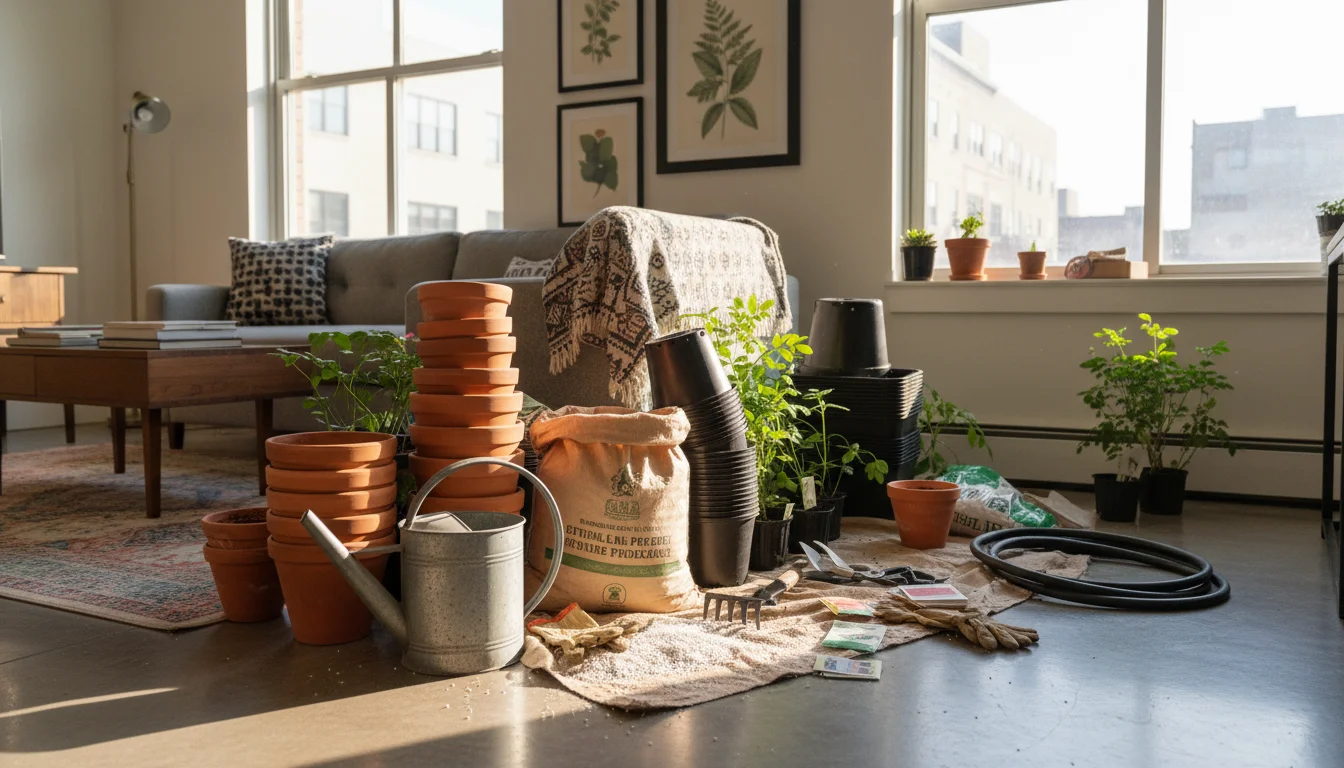
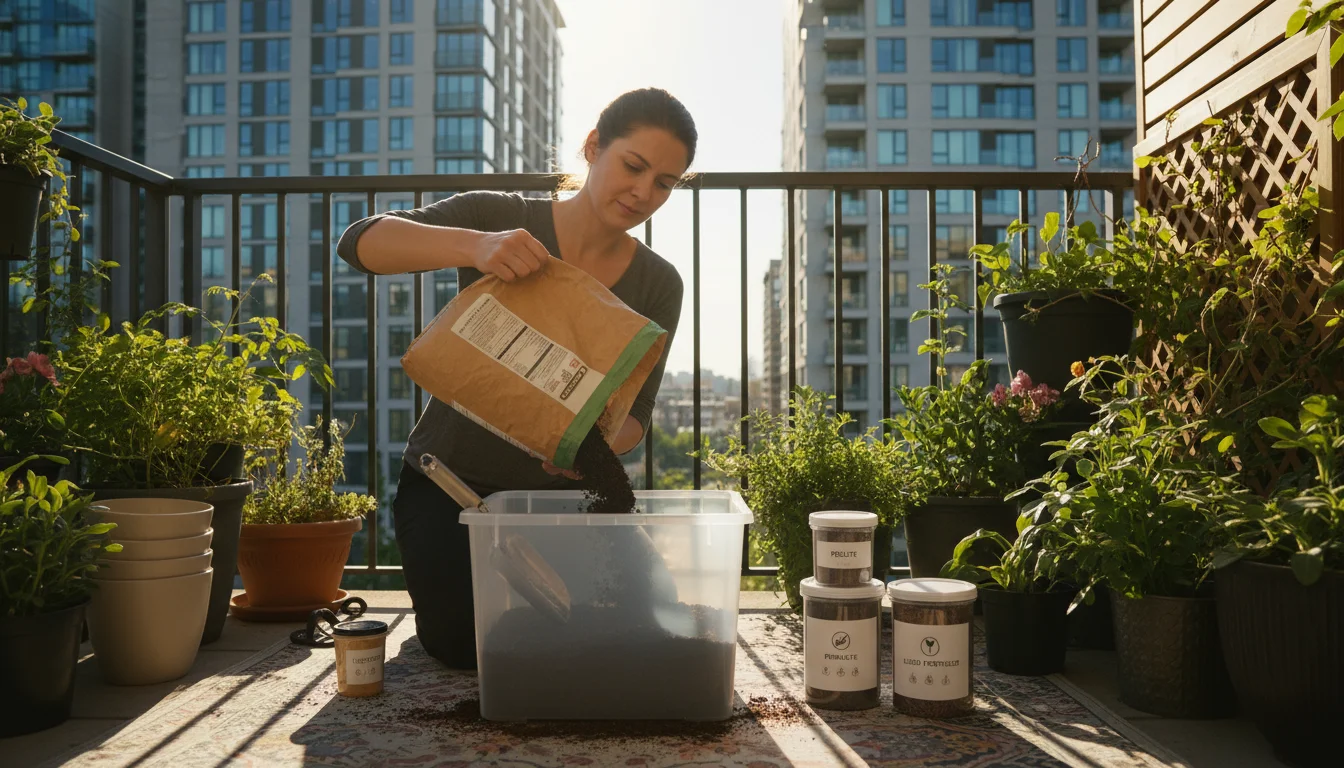
Decluttering your gardening supplies should be a focused, intentional process, not a haphazard tidying session. For the apartment gardener, this strategic approach is even more critical given spatial constraints. Start by dedicating a specific block of time for this task. Rushing through it often results in overlooked items or incomplete organization. Gather all your gardening-related items in one central location. This means bringing in pots from the balcony, collecting tools from various nooks, and retrieving any stored soil bags. This initial step, while perhaps messy, is essential because it gives you a complete overview of your entire collection.
Once you have a complete overview of your gear, consider using a reverse garden journal to note which supplies served you best and which ones are simply creating clutter.
Once everything is visible, you gain a true understanding of the volume of your gardening arsenal. This initial step can be eye-opening. Many gardeners find they possess duplicates of items, or items they no longer use, simply because they were out of sight. A study by the National Association of Professional Organizers indicates that people spend an average of one hour per day looking for things. Imagine reclaiming that time for actual gardening instead. By consolidating your items, you prevent such wasted time and confusion. This holistic view helps you make informed decisions about each item’s value and necessity for your apartment gardening organization efforts.
Next, consider setting up three distinct zones: “Toss,” “Keep,” and “Upgrade/Replace.” These zones can be literal boxes, bins, or even designated spots on the floor. As you pick up each item, make an immediate decision about its fate. This rapid decision-making prevents analysis paralysis and keeps the momentum going. This structured method streamlines the entire process, making your fall garden cleanup efficient and effective. It helps you categorize every item, from the smallest seed packet to the largest grow bag, into a clear action plan. This thoughtful organization sets the stage for a well-prepared spring season, ensuring you only keep what is truly useful and necessary for your small-space needs.
Step-by-Step: The “Toss, Keep, Upgrade” Method for Your Tools and Equipment
Applying the “Toss, Keep, Upgrade” method systematically ensures a thorough and productive fall audit for your gardening supplies. This section guides you through each category, providing actionable steps and considerations for every item you encounter during your end of season garden declutter.
Before you put your containers into storage, following a deep-clean checklist for empty garden pots will help prevent the spread of diseases to next year’s plants.
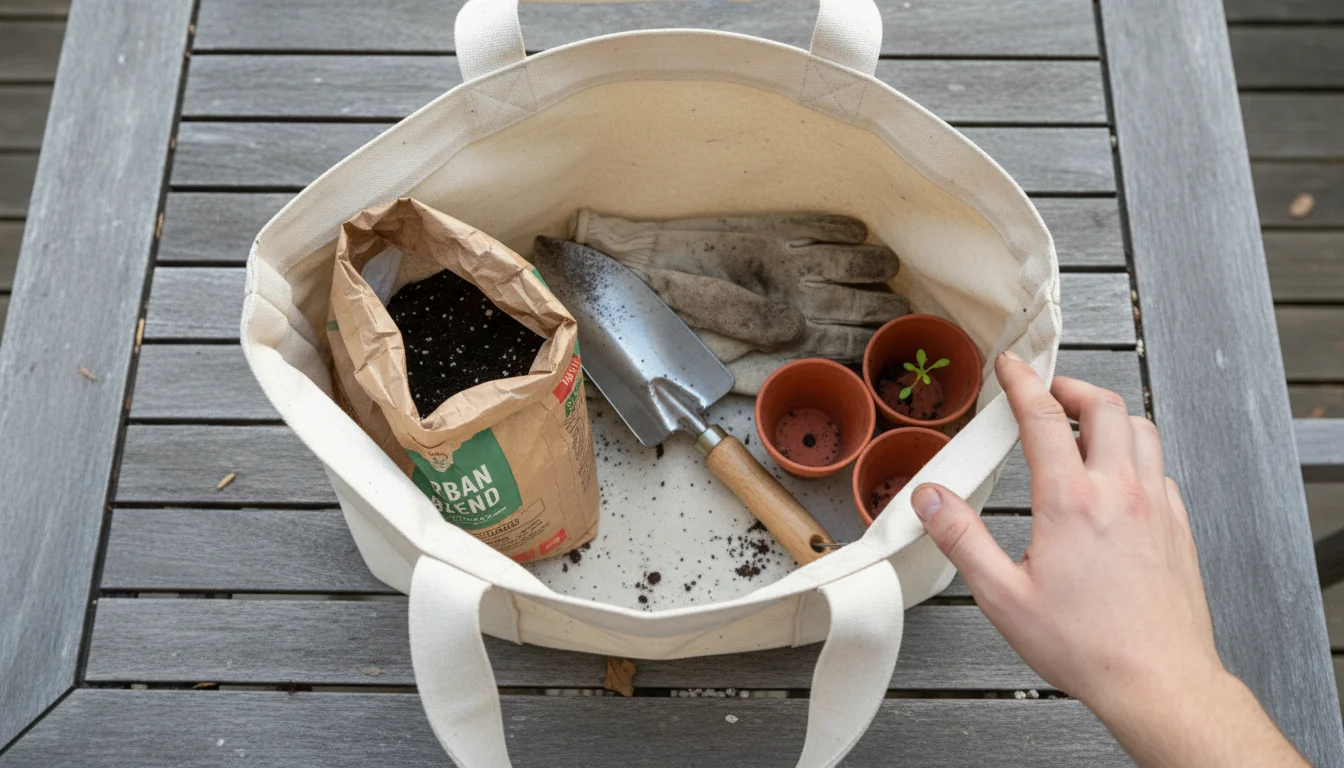
To keep your tools protected while saving space, consider using the garden-in-a-box storage strategy for all your gear.
1. The “Toss” Pile: Items to Discard or Recycle
This category is for items that are broken beyond repair, severely degraded, or no longer serve a useful purpose. Be ruthless here. Holding onto non-functional items only clutters your limited space, making apartment gardening organization much harder.
- Broken Tools: Pruners with snapped blades, trowels with bent handles, or spray bottles that refuse to mist. If a tool cannot be safely or effectively repaired, it belongs here. Using broken tools is inefficient and can also be dangerous or detrimental to your plants, as they might cause jagged cuts or incomplete tasks.
- Cracked or Brittle Pots: Plastic containers that have become brittle from sun exposure, making them prone to crumbling, or terracotta pots with large cracks that hinder their structural integrity. These often provide poor drainage, meaning water either escapes too quickly or pools, stressing your plants and potentially leading to root rot.
- Degraded Soil and Potting Mix: Old potting soil that has been exposed to the elements often compacts, loses its aeration, and might harbor pests or diseases. If it looks like a solid block rather than loose, aerated material, it is time to go. Dispose of it properly, perhaps by adding small amounts to a compost pile if you have one, or bagging it for curbside waste, following local guidelines.
- Expired or Contaminated Fertilizers/Pesticides: Check expiration dates meticulously. Many organic fertilizers lose potency over time, and synthetic chemicals can become unstable, potentially harming your plants. Always follow local hazardous waste disposal guidelines for chemicals, as improper disposal can harm the environment.
- Worn-Out Gloves and Protective Gear: Gloves with holes, leaky watering cans, or torn kneeling pads offer little protection or utility. They are not worth the space they occupy and compromise your comfort and safety.
2. The “Keep” Pile: Valuables to Clean and Store
These are your essential, functional items that simply need a bit of TLC before being put away for the off-season. Proper cleaning and storage extend their lifespan and ensure they are ready for action next spring, saving you money and time. This step is key for how to organize small gardening tools effectively.
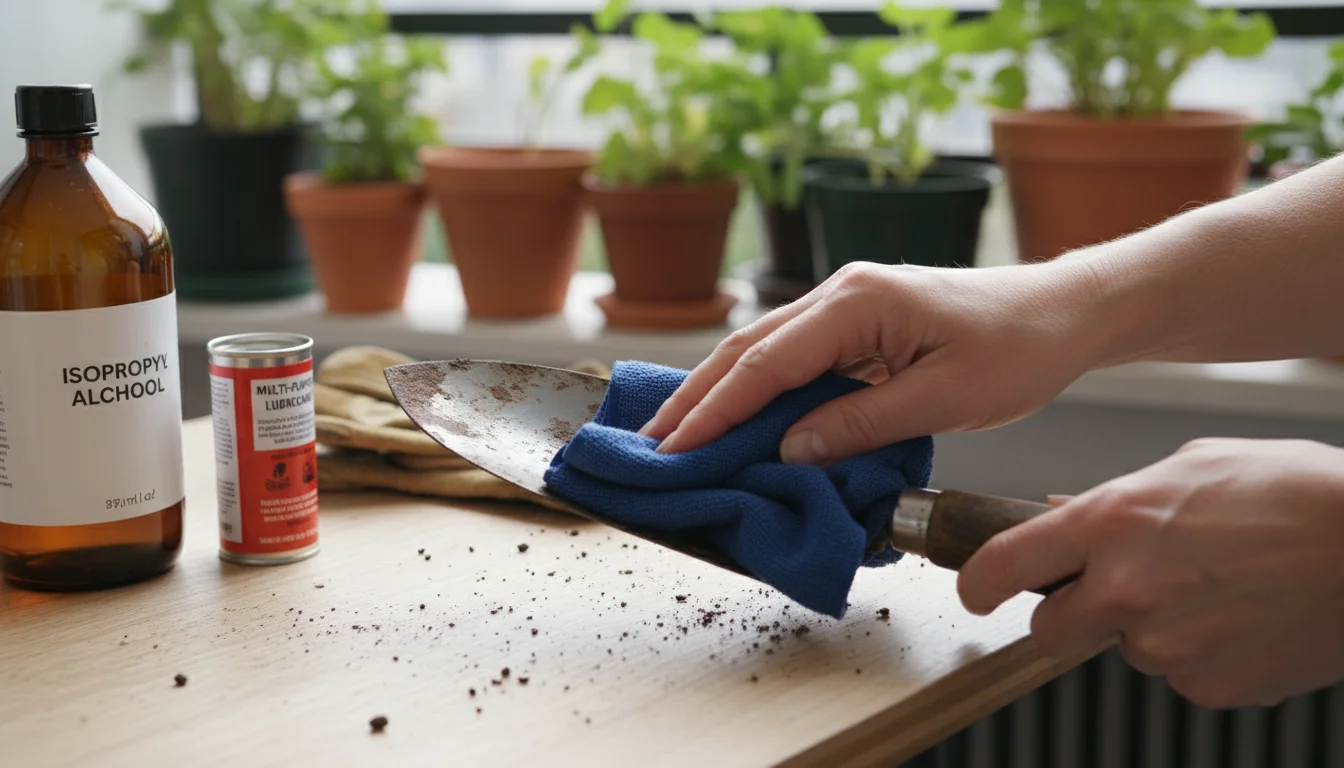
- Clean Hand Tools: Pruners, trowels, cultivators, and other small gardening tools that are in good working order. Clean off any soil or plant debris immediately after use or during this audit. Disinfect blades with rubbing alcohol or a 10 percent bleach solution to prevent disease transfer between plants. Lightly oil metal parts with a multi-purpose oil or linseed oil to prevent rust during storage, especially in humid environments.
- Reusable Containers: Plastic pots, grow bags, ceramic planters, and seed trays that are intact. Wash them thoroughly with warm, soapy water. Consider a diluted bleach solution (one part bleach to nine parts water) for pots that housed diseased plants to sanitize them effectively. Ensure they are completely dry before stacking for storage to prevent mold and mildew, which can harm future seedlings.
- Viable Seeds: Store seeds in cool, dry, dark conditions. An airtight container in the refrigerator is often ideal for extending their shelf life. Label them clearly with the plant type, variety, and year collected or purchased, preventing confusion next season.
- Partially Used Amendments: Store remaining bags of perlite, vermiculite, compost, or fresh potting mix in airtight containers to keep them dry and free from pests like fungus gnats or rodents. Label them clearly so you know exactly what you have on hand.
- Watering Cans and Spray Bottles: Empty them completely and clean out any mineral deposits or algae. Store them upside down or with lids ajar to allow air circulation and prevent stagnant water odor or mold growth.
3. The “Upgrade/Replace” Pile: Investing for Future Success
This category addresses items that are functional but could be significantly improved upon, or items that are nearing the end of their useful life and will need replacement soon. This is where you consider what gardening supplies do I really need that are better quality or more space-efficient, ultimately improving your gardening experience.
- Dull or Cheap Tools: A cheap pair of pruners that constantly snags branches, leaving ragged cuts detrimental to plant health, or a flimsy trowel that bends easily under slight pressure. Investing in higher quality small gardening tools, even if it is just one or two core items, pays dividends in efficiency, comfort, and the health of your plants. Look for ergonomic designs and durable materials like stainless steel or forged steel.
- Inefficient Storage: If your current storage method for your gardening supplies is chaotic, leading to lost items or wasted space, consider upgrading to stackable bins, wall-mounted organizers, or a compact shelving unit specifically designed for small spaces. Good storage is foundational for effective apartment gardening organization.
- Lack of Key Items: Did you find yourself constantly wishing for a specific tool or item this past season, such as a sturdy dibber for planting seeds, a good soil scoop, or a better watering wand for precise watering in your small space? Now is the time to plan for its acquisition, filling genuine gaps in your toolkit.
- Specialized Containers: Perhaps you want to try a new growing method, such as hydroponics, a self-watering planter for reduced maintenance, or a vertical garden system to expand your growing area. Fall is the perfect time to research and plan these strategic upgrades, ensuring they fit your space and gardening goals.
By moving through these three categories systematically, you ensure every item in your gardening inventory is accounted for, evaluated, and given a clear purpose or exit strategy. This meticulous end of season garden declutter is fundamental for maintaining an organized and efficient apartment garden, and it truly helps you answer the question: what gardening supplies do I really need?
Assessing Your Hand Tools: Pruners, Trowels, and More
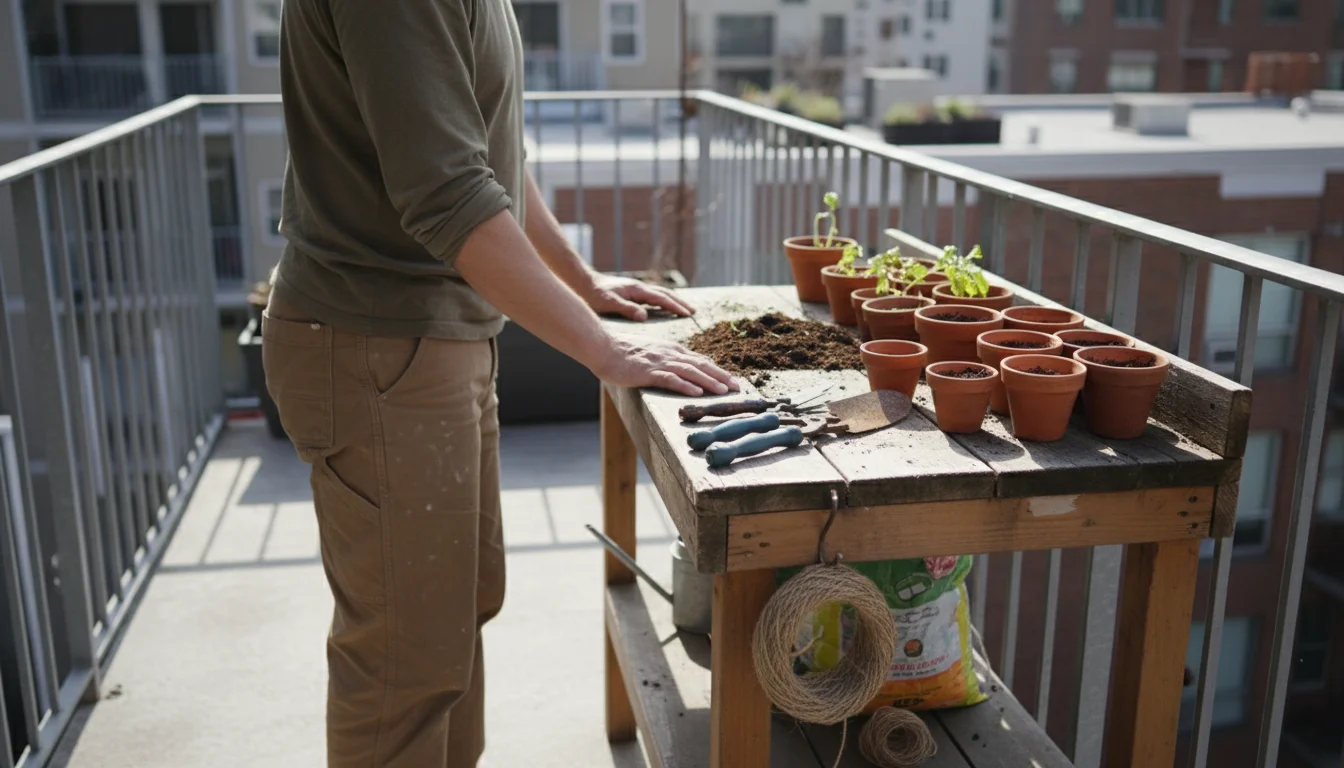
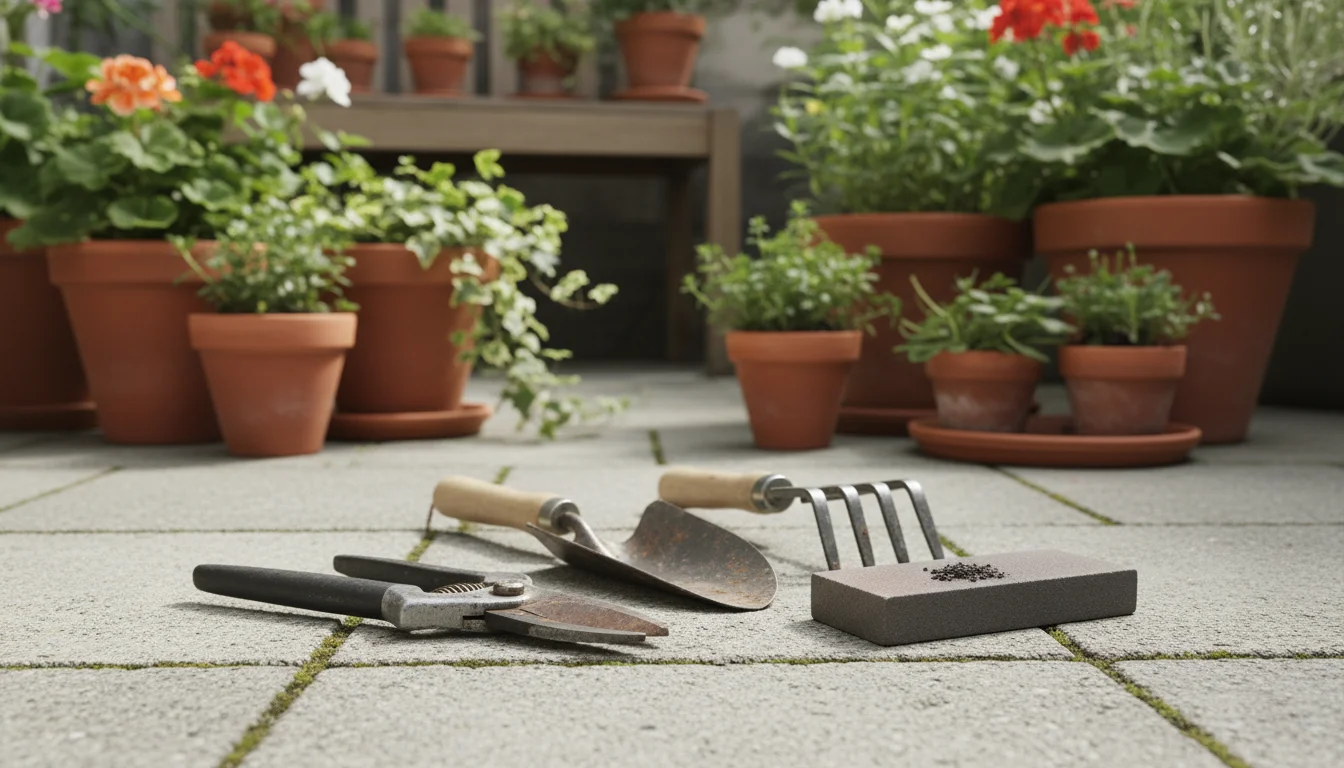
Your hand tools are the workhorses of your small-space garden. Proper assessment and maintenance of these items, like pruners, trowels, and hand cultivators, directly impact your gardening efficiency and plant health. Start by gathering all your small gardening tools in one spot. Inspect each one individually and critically.
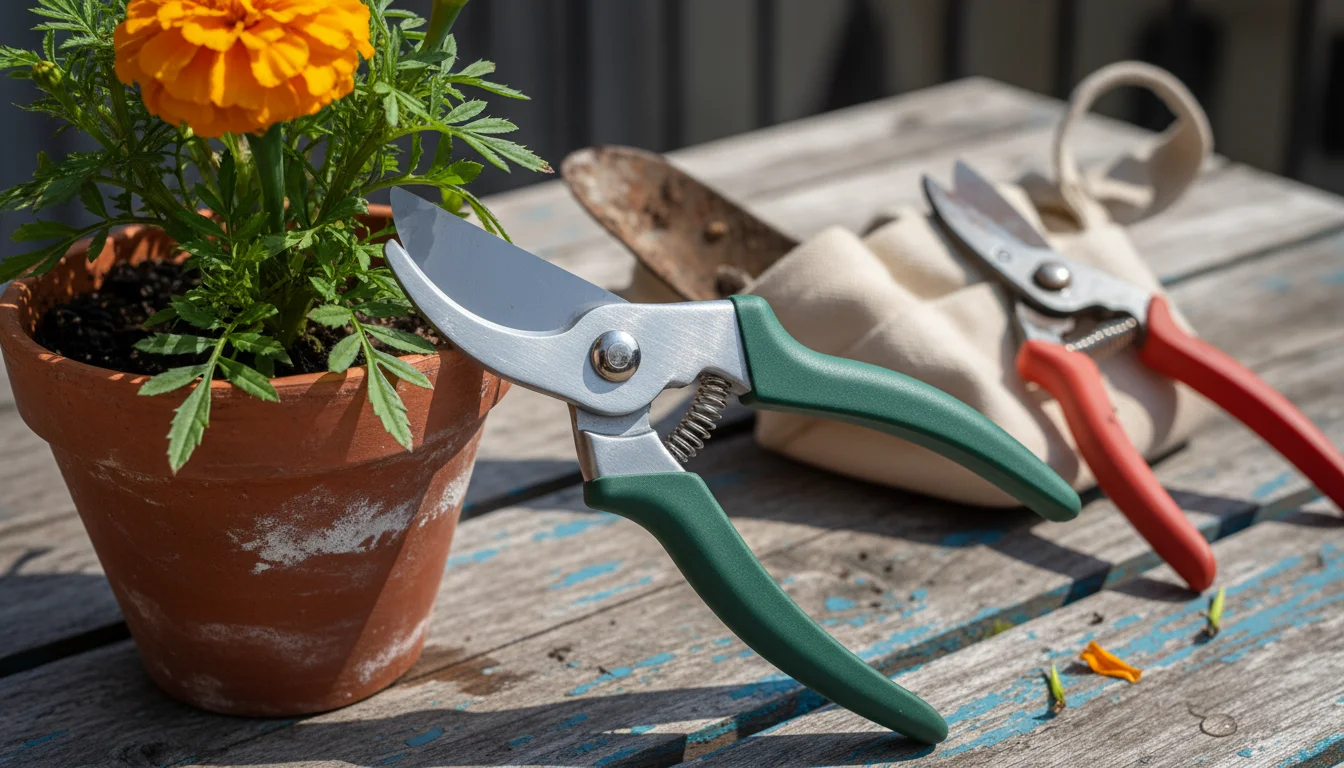
For your pruners or snips: Look closely at the blades. Are they dull, nicked, or rusty? Dull blades crush plant stems rather than making clean cuts, which can lead to disease entry points for pathogens. Rusty blades are unsanitary and can transfer pathogens from previous plants. If they are just dull, consider sharpening them with a whetstone or a specialized sharpener. Many gardening centers or hardware stores offer sharpening services, or you can find tutorials to do it yourself. If the spring mechanism is weak or the handles are wobbly, it might be time for an upgrade. A good quality bypass pruner, where blades slide past each other like scissors, creates cleaner cuts essential for plant health. Ensure they are clean and dry, then apply a light coat of oil, such as mineral oil or linseed oil, to the blades and pivot points. This lubrication prevents rust during storage by creating a barrier against moisture and keeps the mechanism moving smoothly. This proactive maintenance significantly extends their lifespan.
For trowels, cultivators, and transplanters: Examine the shovel head and handle. Is the metal bent, cracked, or severely corroded? Does the handle feel secure or is it loose, potentially twisting when you apply pressure? A bent trowel makes digging difficult and inefficient, while a loose handle poses a safety risk, as the head could detach. Clean off all soil debris from the metal parts. A stiff brush or even a wire brush can help remove caked-on dirt. Again, a light oiling of metal parts prevents rust formation. For wooden handles, a rub with linseed oil can keep the wood from drying out, splintering, and cracking. If your tools show significant signs of fatigue or damage that affects performance or safety, consider replacing them. Quality tools often feature stainless steel or forged steel heads for superior durability, and comfortable, ergonomic handles to reduce strain during use. When thinking about how to organize small gardening tools, consider investing in a tool belt or caddy to keep frequently used items together.
Consider other specialized tools: Think about dibbers for making planting holes, weeding forks for precise weed removal, or soil scoops for handling potting mix. Apply the same “Toss, Keep, Upgrade” logic. Is the dibber splintered and unusable? Is the weeding fork bent and ineffective? For apartment gardening organization, having a few high-quality, multi-purpose tools is far better than a drawer full of flimsy, single-use items that take up valuable space. Investing in robust tools reduces the need for frequent replacements and improves your gardening experience overall, making your tasks easier and more enjoyable. This careful assessment of your hand tools is a vital part of your fall garden cleanup, ensuring you are well-equipped for future growing success and truly understanding what gardening supplies do I really need to thrive.

Evaluating Your Containers and Planters: Potentials and Pitfalls
Containers are the foundation of your apartment garden. A thorough inspection of your pots and planters during your fall audit is crucial for plant health and efficient space management. Accumulating too many damaged or unsuitable containers only exacerbates the challenge of apartment gardening organization and can negatively impact your plants next season.
Start by emptying all pots of soil and debris. For any pots that housed plants that suffered from disease, such as powdery mildew, blight, or root rot, sanitation is paramount. Wash these containers thoroughly with warm, soapy water and a stiff brush to remove all organic matter. Follow this with a soak in a diluted bleach solution, approximately one part household bleach to nine parts water, for at least 30 minutes. This powerful disinfectant eliminates lingering pathogens. Rinse them completely and allow them to air dry in the sun, which also acts as a natural disinfectant, before storage. This rigorous cleaning prevents disease transmission to your new plants next season.
Inspect for damage:
- Cracks and Breaks: Terracotta pots, while beautiful and breathable, are porous and prone to cracking from freeze-thaw cycles or accidental drops. Small hairline cracks might be acceptable for some plants, but large breaks compromise the pot’s structural integrity, water retention, and can become a hazard. Plastic pots can become brittle and crack from prolonged UV exposure, weakening their structure and appearance.
- Salt and Mineral Buildup: White crusty deposits often form on the rims and outsides of pots, especially terracotta. This is mineral buildup from hard water or fertilizers. While not always detrimental, excessive buildup can indicate poor drainage in some cases or simply look unsightly. Scrub these off with a stiff brush and a vinegar solution, which effectively dissolves mineral deposits.
- Drainage Holes: Ensure drainage holes are clear and unobstructed. Good drainage, meaning how efficiently water moves through the soil and out of the pot, prevents waterlogging and root rot, which are common issues and leading causes of plant death in container gardening. If a pot lacks adequate drainage holes, you may consider drilling new ones with an appropriate bit, or dedicating it to plants that tolerate consistently moist soil, though this is rare for most edibles and ornamentals.
Deciding what to keep or toss:
- Toss: Severely cracked terracotta, brittle plastic pots that crumble, or pots with non-repairable drainage issues. These items are inefficient and take up valuable space. You might consider repurposing clean, broken ceramic pieces as drainage crocking at the bottom of new pots, but only if they are free of disease.
- Keep: All structurally sound, clean pots. Stack them by size to save space, nesting smaller pots inside larger ones. Grow bags, if well-maintained, can often last several seasons. Wash them thoroughly and allow them to dry completely before folding and storing to prevent mildew and odor.
- Upgrade: Perhaps you found your previous containers too small, leading to frequent watering, or they were not aesthetically pleasing for your balcony design. This is a chance to invest in self-watering planters for reduced maintenance, larger containers for specific plants that need more root room, or more decorative pots that truly enhance your outdoor living space. Consider lightweight options like fabric grow bags or resin planters if you have many containers or need to move them frequently, especially for apartment gardening organization on balconies with weight limits.
This careful evaluation helps you identify what gardening supplies do I really need in terms of containers, ensuring you have the right vessels for healthy plant growth and an organized, beautiful small-space garden.
Managing Soil, Amendments, and Fertilizers: Storage and Shelf Life
Effective management of your soil, amendments, and fertilizers is crucial for any gardener, but especially for apartment dwellers where storage space is at a premium. These aren’t items you can simply leave exposed to the elements. Proper storage maintains their quality, prevents pest infestations, and ensures they are effective when you need them next season, ultimately impacting your plant’s health and your gardening success.
Potting Soil and Mixes:
- Keep: Any unused, fresh potting soil or mixes. The key is keeping them dry and protected from pests and moisture.
- Storage: Transfer open bags of potting mix into airtight containers. Large plastic storage bins with secure lids work perfectly. This prevents moisture absorption, which can lead to compaction and mold, and keeps out rodents and insects that might nest in the bags. Store these containers in a cool, dry, dark place, such as a closet or a sheltered spot on your balcony. While potting soil does not truly “expire,” its structure and nutrient content can degrade over time if exposed to air and moisture. Using it within a year of opening is generally best for optimal performance and healthy plant growth.
- Toss: Do not store old potting soil that was used in pots, especially if plants in those pots showed signs of disease or pest infestation. This used soil can harbor pathogens, insect eggs, or weed seeds, which you do not want to introduce to new plants. It is better to dispose of it responsibly and start with fresh soil. If you have any soil that has been left open and exposed to rain or freezing temperatures, it has likely lost its ideal structure, aeration, and nutrient balance, making it ineffective for sensitive container plants.
Amendments (Perlite, Vermiculite, Compost):
- Keep: These often last indefinitely if stored correctly, as their chemical composition is stable.
- Storage: Like potting soil, keep these dry and in sealed containers. Small bags can go into zippered freezer bags or small plastic containers. Larger quantities benefit from dedicated storage bins. Compost should ideally be kept in a dedicated composting system to continuously break down organic matter, but if you buy bagged compost, follow the same airtight storage principles to prevent odors and pests. Ensure all containers are clearly labeled for easy identification.
- Toss: Any amendment that shows signs of mold, mildew, or insect infestation. These contaminants can transfer to your potting mix and harm your plants.
Fertilizers:
- Check Expiration Dates: Liquid fertilizers and some organic granular fertilizers often have specific shelf lives. Their chemical composition can change over time, making them less effective or potentially harmful if expired. Using expired fertilizer might provide incorrect nutrient balances or simply waste your effort.
- Storage: Store fertilizers in their original, tightly sealed containers to preserve their integrity and prevent spills. Keep them in a cool, dark, dry place, away from direct sunlight and extreme temperatures, which can degrade their active ingredients. Humidity causes granular fertilizers to clump and liquid ones to degrade. Always keep them out of reach of children and pets for safety.
- Toss: Expired or caked/clumped fertilizers. For chemical fertilizers, consult your local waste disposal services or hazardous waste collection sites for proper disposal, as they can be considered hazardous waste and should not be simply thrown in the regular trash or poured down a drain.
Proper management of these gardening supplies minimizes waste, ensures the health of your plants by providing them with high-quality growing mediums and nutrients, and helps with efficient apartment gardening organization. It prevents you from needing to purchase new supplies prematurely and keeps your garden space cleaner and more functional for next season’s activities.
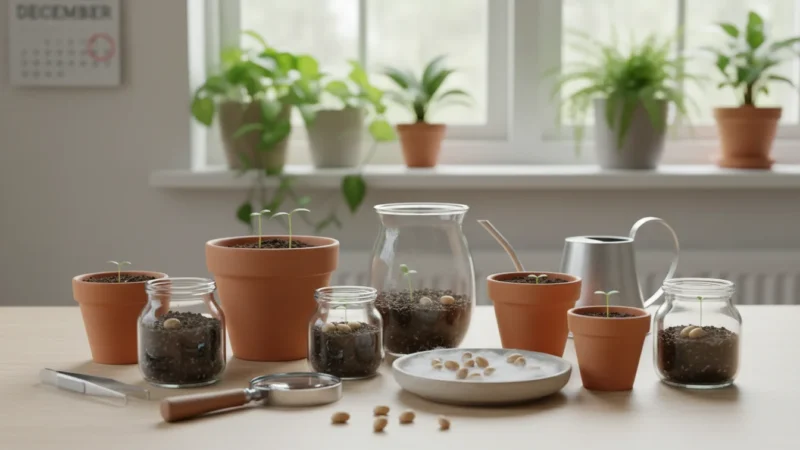
Seed Stash and Plant Labels: Preparing for Spring
Your seed collection represents the future of your small-space garden. A fall audit of your seed stash and plant labels is a small but mighty step in preparing for next season’s growth, ensuring you avoid purchasing duplicates and maximize the viability of your existing seeds. This proactive approach is a cornerstone of smart apartment gardening organization and helps you answer the crucial question: what gardening supplies do I really need for a vibrant spring?
Auditing Your Seed Stash:
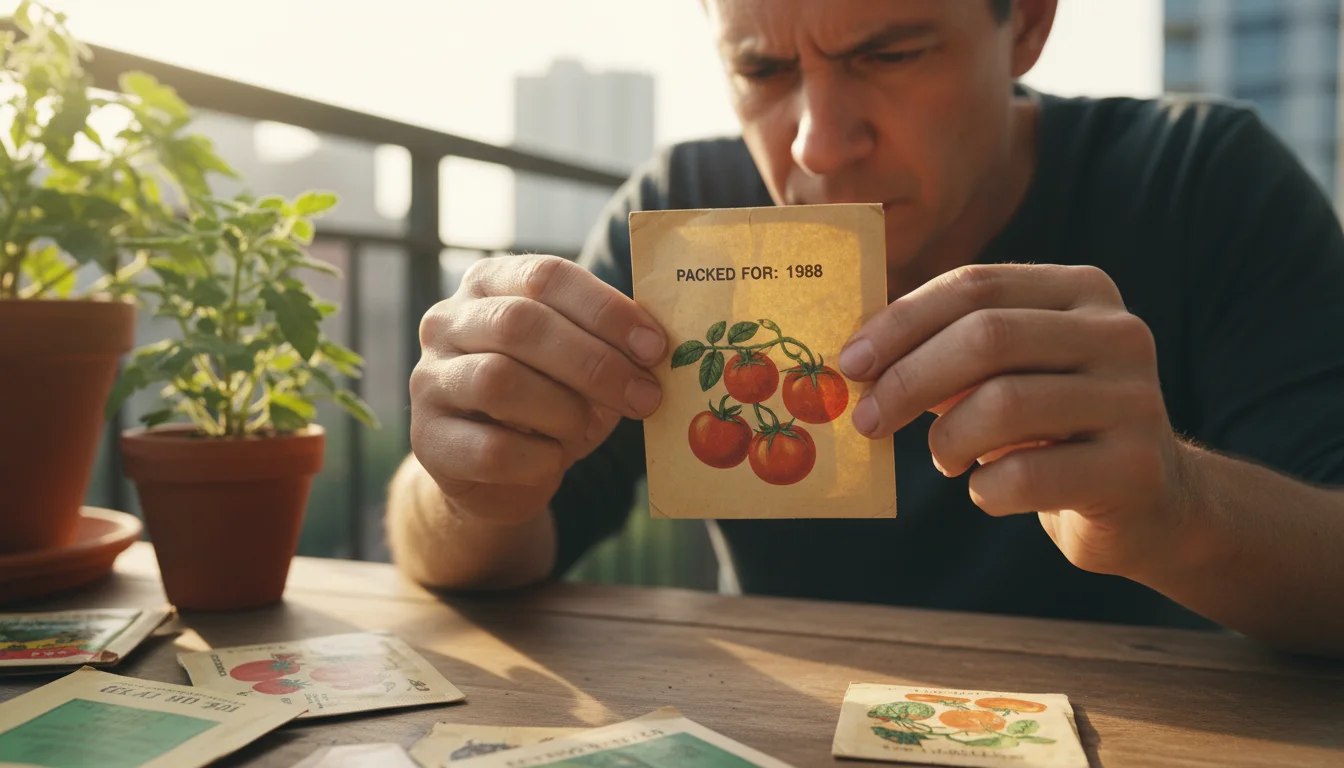
- Gather All Seed Packets: Collect every seed packet from wherever you store them. This includes those tucked into drawers, bins, or even old wallets.
- Check Dates and Viability: Most seed packets have a “packed for” year or an expiration date. While seeds can remain viable beyond this date, their germination rate often declines significantly, meaning fewer seeds will sprout. As a general rule, vegetable seeds like beans, corn, and peas last 2-3 years, while tomatoes and peppers can last 3-5 years. Root vegetables like carrots and radishes usually only last 1-2 years. Annual flower seeds typically last 1-3 years.
- Perform a Germination Test (Optional but Recommended): For older or questionable seeds, this simple test provides peace of mind. Place 10 seeds on a damp paper towel, fold it, and place it in a plastic bag. Keep it in a warm spot, like on top of a refrigerator. After a week or two, depending on the seed type, count how many have sprouted. If 7 out of 10 sprout, you have a 70 percent germination rate. Decide if this is sufficient for your needs, or if you prefer to purchase fresh seeds for better success.
- Consolidate and Discard: Combine multiple partial packets of the same seed type into one, ensuring proper labeling with the consolidated date. Discard any packets that are very old, have shown poor germination rates, or those you simply no longer intend to plant. Holding onto non-viable or unwanted seeds only clutters your space.
- Proper Storage: Store viable seeds in airtight containers, such as glass jars with rubber seals or small plastic bins. Place these in a cool, dark, dry place. The refrigerator is an excellent option for long-term storage, as consistent low temperatures and low humidity significantly extend seed viability. Include a desiccant packet, like those found in new shoes or vitamin bottles, to absorb any residual moisture, as humidity is the enemy of seed longevity.
Managing Plant Labels:
- Clean and Organize Reusable Labels: If you use plastic plant labels, clean off any old markings with rubbing alcohol or a pencil eraser to make them ready for next season. Group them by size or type.
- Replenish Disposable Labels: Note how many labels you typically use in a season. If you are running low, add new labels to your “Upgrade/Replace” list. Consider eco-friendly options like bamboo labels, slate markers, or even popsicle sticks for a more sustainable choice, reducing plastic waste.
- Label Your Stored Items: Ensure all stored pots, soil bags, and seed containers are clearly labeled for easy identification next spring. This prevents guesswork, saves time when you are eager to plant, and reinforces good apartment gardening organization practices.
By conducting this thorough audit, you are not only organizing your gardening supplies but also making informed decisions about what gardening supplies do I really need for a successful and enjoyable next season. This attention to detail is a hallmark of efficient small-space gardening, ensuring your efforts lead to bountiful harvests and beautiful blooms.
Smart Storage Solutions for Small Spaces: Maximizing Every Inch
After you have meticulously gone through your gardening supplies and determined what to toss, keep, or upgrade, the next critical step for any apartment gardener is implementing smart storage solutions. Maximizing every available inch isn’t just a suggestion, it is a necessity for maintaining an organized and enjoyable small garden. Effective apartment gardening organization transforms clutter into accessibility, turning a potential headache into an efficient system.
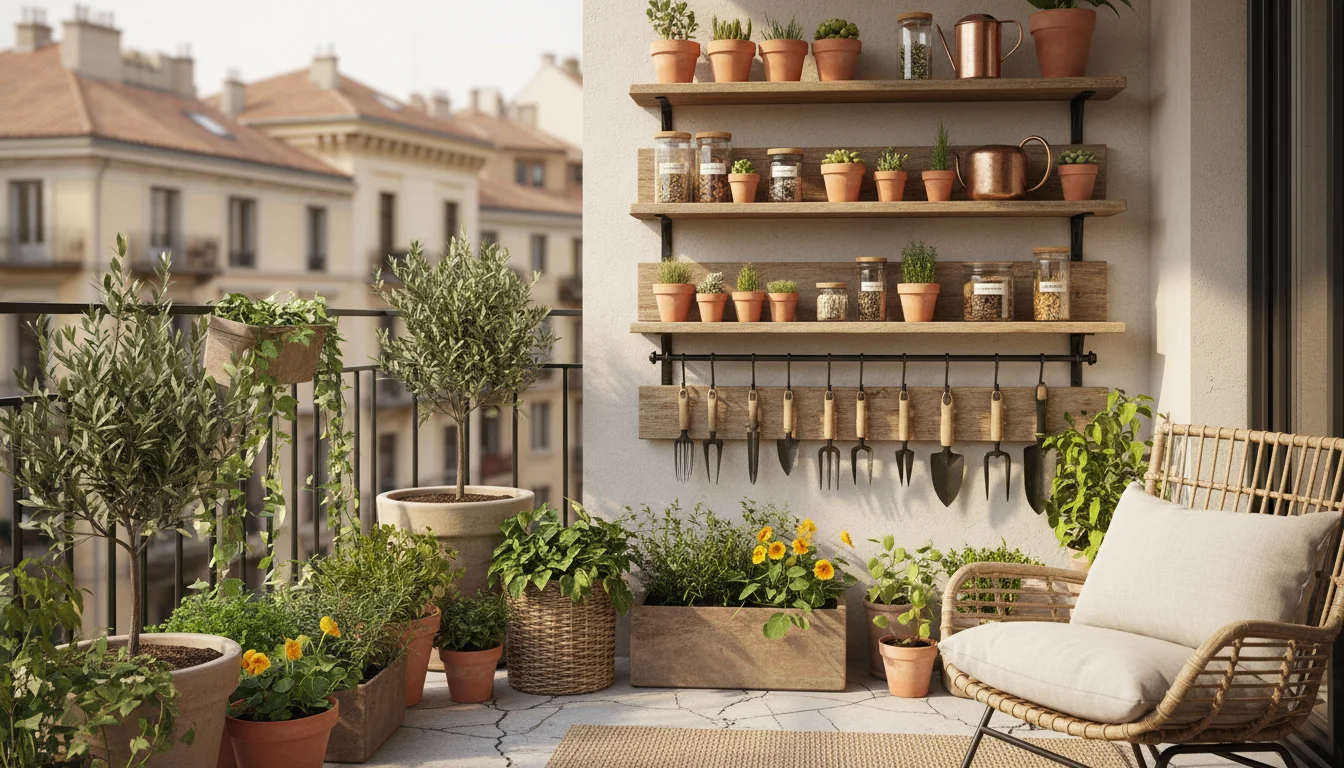
Vertical Storage is Your Best Friend: When horizontal space is scarce, look up. Walls offer untapped potential for storing your gardening essentials without encroaching on your valuable floor space.
- Wall-Mounted Shelving: Install sturdy, narrow shelving units on a balcony wall, in a utility closet, or even above a window. These can hold cleaned pots stacked neatly, small bags of amendments, and even stacked seed trays or small tool caddies. Floating shelves can be particularly useful for a minimalist look.
- Pegboards: A pegboard on a wall provides incredibly flexible storage for small gardening tools. You can customize the layout with various hooks, bins, and shelves to hang trowels, pruners, gloves, and even small watering cans, keeping them visible, easily accessible, and off flat surfaces.
- Over-the-Door Organizers: These fabric or clear plastic organizers, typically designed for shoes, can be repurposed for seed packets, plant labels, gloves, small hand tools, or other lightweight gardening supplies. They are ideal for the back of a closet door or pantry.
- Tiered Plant Stands: While primarily for displaying plants, many tiered stands include bottom shelves that can double as discreet storage for a watering can, a small bin of soil, or a collection of smaller, less frequently used items. Look for models with sturdy, flat shelves for stability.
Utilize Under-Utilized Spaces: Don’t overlook those forgotten spots that can become clever storage zones.
- Under Benches or Planters: If you have a gardening bench, an outdoor console table, or large elevated planters, the space underneath is prime real estate for storing bins of soil, empty pots, or even a small compost tumbler. Ensure these areas are sheltered from direct rain to protect your stored items.
- Stackable Bins and Containers: Invest in clear, stackable plastic bins with secure lids. These are perfect for keeping soil dry, storing cleaned pots by size, or organizing smaller tools and amendments. Clear bins allow you to see contents at a glance, reducing search time and keeping your space tidy.
- Rolling Carts: A small utility cart with wheels, perhaps a three-tiered kitchen cart, can be invaluable. You can store your most frequently used items, like active soil mixes, small hand tools, and watering implements, on it. Roll it out when working, then tuck it away into a corner or closet when not in use.
- Hanging Baskets or Mesh Bags: For items like lightweight plastic pots, twine, or netting, hanging mesh bags or robust baskets can be suspended from hooks, keeping items off the floor but still accessible.
Compact and Multi-Purpose Items: When upgrading your gardening supplies, think about items that offer more than one function or store away easily, further optimizing your small space.
- Collapsible Watering Cans or Buckets: These save significant space when not in use, easily flattening or folding for storage in tight spots.
- Adjustable Shelf Units: Look for shelving that can be reconfigured to fit different sized items as your gardening needs change throughout the seasons.
- Tool Belts/Caddies: For immediate access during gardening, a small tool belt or caddy keeps frequently used small gardening tools organized and at hand. When you finish, it stores neatly away in a drawer or on a hook.
Remember, the goal is to make your gardening supplies easily accessible yet neatly hidden when not in use. A well-organized storage system not only reduces visual clutter but also protects your investments, extending the life of your gardening supplies and making your entire gardening experience more enjoyable. This focused approach to apartment gardening organization turns a challenge into an opportunity for efficiency and calm.
Investing Wisely: What Gardening Supplies Do I Really Need (and When to Upgrade)?
After a thorough fall garden cleanup, you will have a clear picture of items that need replacing or upgrading. This is not about accumulating more, it is about making strategic investments that enhance your gardening efficiency and enjoyment, especially crucial for apartment gardeners with limited space. The question, “What gardening supplies do I really need?” shifts from a general query to a specific, informed decision based on your audit and personal experience.
Prioritize Quality Over Quantity: For small spaces, a few high-quality, durable tools are far more valuable than a collection of flimsy ones that break easily or perform poorly. Investing a bit more upfront often saves money and frustration in the long run.
- Pruners: A good pair of bypass pruners, where blades slide past each other for clean cuts, is essential for promoting plant health and preventing disease. Look for brands known for sharp, replaceable blades, durable construction, and comfortable, ergonomic handles that reduce hand fatigue. Expect to spend a bit more, but these will last years with proper care and can be sharpened repeatedly.
- Trowel: Choose a trowel made of strong, rust-resistant material like stainless steel or forged steel. A sturdy, one-piece construction prevents the head from bending or breaking off the handle during vigorous digging or transplanting. A comfortable grip also makes a significant difference.
- Watering Can: Consider the size and spout design. For apartment gardening, a smaller, lighter can with a narrow spout for precise watering, especially for seedlings or hanging baskets, is often more practical than a large, heavy one. A long, slender spout allows you to deliver water exactly where it is needed without disturbing delicate plants or spilling.
Consider Multi-Purpose Tools: Maximize utility to minimize items. This is a golden rule for apartment gardening organization. A hand cultivator that also has a weeding fork on the other side, or a soil scoop with measurement markings, can reduce the number of individual tools you need to store. When thinking about what gardening supplies do I really need, prioritize items that offer versatility and reduce redundancies in your collection.
Smart Upgrades for Small Spaces: These upgrades specifically address the challenges and opportunities of compact gardening.
- Self-Watering Planters: If you struggle with consistent watering, which is a common issue for busy gardeners, or travel frequently, self-watering containers can be a game-changer. They feature a reservoir that holds water, allowing the plant to draw moisture as needed, significantly reducing watering frequency and stress on your plants.
- Lightweight Containers: For balcony or patio gardens, heavy ceramic or terracotta pots can limit flexibility and add significant weight to structures. Upgrading to lighter plastic, resin, or fabric grow bags allows for easier rearrangement, reduces the load on your balcony, and can make seasonal changes much simpler.
- Compact Vertical Gardening Systems: If you are looking to expand your planting capacity without taking up more precious floor space, investing in a high-quality vertical planter or a stackable container system can be a wise choice. These systems allow you to grow more in a smaller footprint, leveraging vertical dimensions.
- Quality Potting Mix: While not a tool, upgrading to a premium potting mix with excellent drainage, meaning how water moves through soil, and aeration can significantly improve plant health and reduce issues like root rot or nutrient deficiencies. Some mixes even include slow-release fertilizers, simplifying your feeding regimen and giving your plants a strong start.
When to Upgrade vs. Replace: This distinction is crucial for budget-conscious and space-aware gardeners.
- Replace: If a tool is broken beyond repair, consistently performs poorly despite your best maintenance efforts, or poses a safety risk, replace it without hesitation. Holding onto such items is counterproductive.
- Upgrade: If a tool is functional but causes discomfort, is inefficient, or you find yourself constantly wishing for a better version, consider upgrading. An ergonomic handle on your pruners, for example, can prevent hand fatigue during extended gardening sessions, making the task more enjoyable. A slightly larger trowel might make digging more efficient.
By approaching replacements and upgrades with a thoughtful, strategic mindset, you ensure your gardening supplies truly serve your small-space needs, leading to a more efficient, productive, and enjoyable gardening experience. This is a critical aspect of thoughtful apartment gardening organization and long-term gardening success.
Frequently Asked Questions
How often should I conduct a fall garden cleanup and supply audit?
Conducting a thorough fall garden cleanup and supply audit annually is highly recommended. This ensures you consistently maintain an organized, efficient, and healthy gardening space. Doing it at the end of each growing season allows you to assess the performance of your tools and supplies while the memories of their use are still fresh, making informed decisions easier.
Can I reuse old potting soil?
It is generally not recommended to reuse old potting soil, especially if plants in those pots showed signs of disease or pest infestation. Old soil often becomes compacted, losing its aeration and drainage properties. It also depletes its nutrient content over time. While some gardeners might “rejuvenate” small amounts by mixing it with fresh compost and perlite for very resilient plants, starting with fresh potting mix is always the safest and most effective practice for promoting robust plant health, especially in small containers where soil volume is limited.
What’s the best way to store seeds for long-term viability?
For long-term seed viability, store them in a cool, dark, dry, and airtight environment. An excellent method involves placing seeds in small paper envelopes or plastic baggies, clearly labeled with type and date, then sealing these within a larger airtight container, such as a glass jar or plastic bin. Adding a desiccant packet to the container helps absorb any residual moisture, as humidity quickly degrades seeds. Storing this container in the refrigerator or a cool, dry pantry extends the life of most seeds significantly.
Are expensive gardening tools always better for small spaces?
Not necessarily “always better,” but investing in quality tools for your core gardening tasks often proves more cost-effective and enjoyable in the long run. Expensive tools typically feature better materials, construction, and ergonomic design, leading to greater durability, comfort, and efficiency. For small spaces, where you might only need a few key small gardening tools, prioritizing quality over a large collection of cheap, flimsy items ensures reliability and longevity, reducing the need for frequent replacements. Focus on durability and comfort for items you use frequently, like pruners and trowels, as these will improve your overall gardening experience.
How can I make my apartment gardening organization more eco-friendly during the fall declutter?
To make your fall declutter more eco-friendly, first prioritize repairing tools when possible instead of replacing them. Reuse plastic pots for as many seasons as they remain viable, extending their life cycle. Properly clean and store any gardening supplies that can be repurposed or reused. For items that must be discarded, recycle plastics according to local guidelines, and dispose of hazardous materials, like certain chemicals, at designated facilities. Consider composting spent plant material if you have a system available. When upgrading, choose durable tools, eco-friendly plant labels like bamboo, and consider making your own potting mixes from sustainable components to reduce your environmental footprint.
For trustworthy gardening information, visit: Denver Botanic Gardens, San Diego Botanic Garden, U.S. National Arboretum, American Horticultural Society and National Garden Bureau. These organizations provide expert, research-based advice for gardeners at all levels.
Disclaimer: This article is for informational purposes only and is not a substitute for professional gardening advice. Always consult local extension services or horticulture experts for region-specific guidance.


Leave a Reply