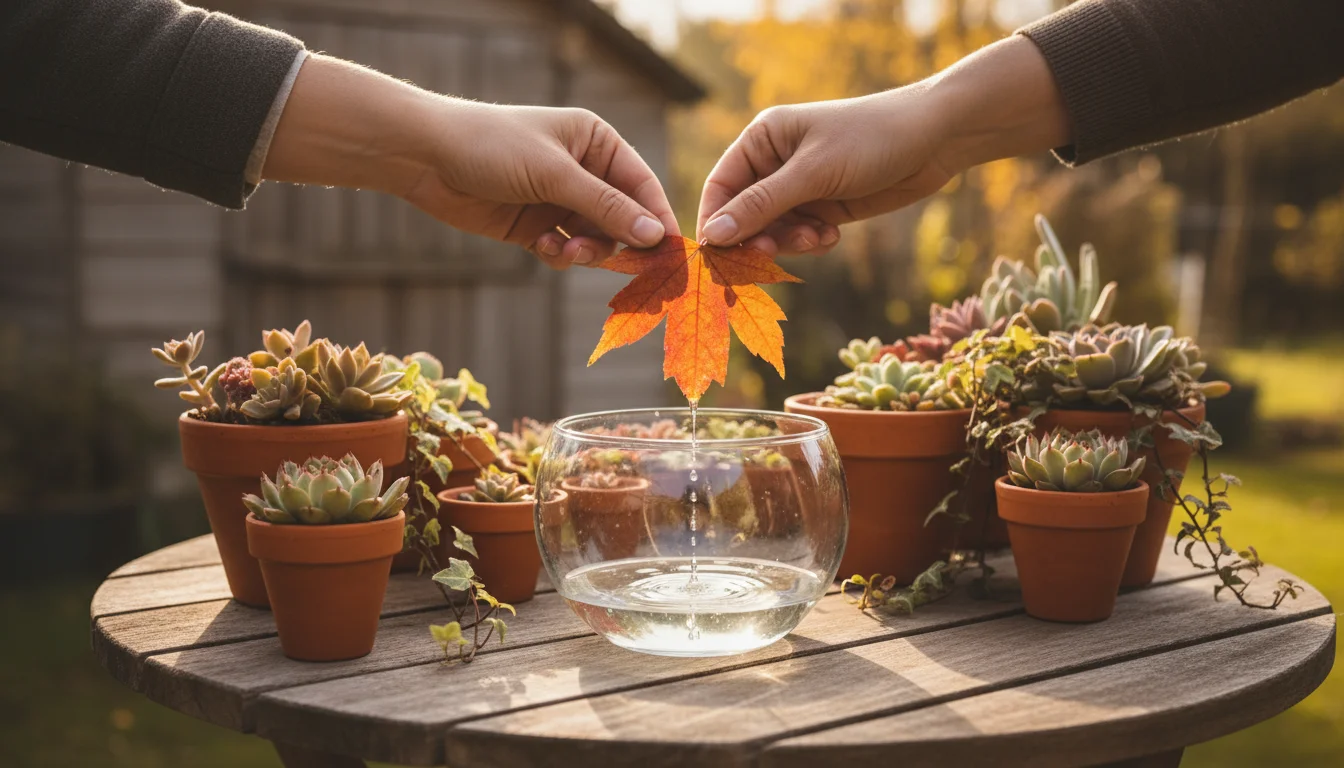
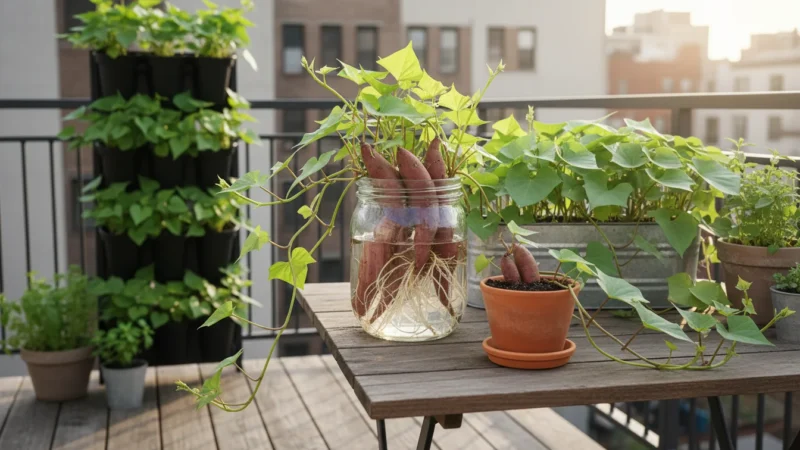
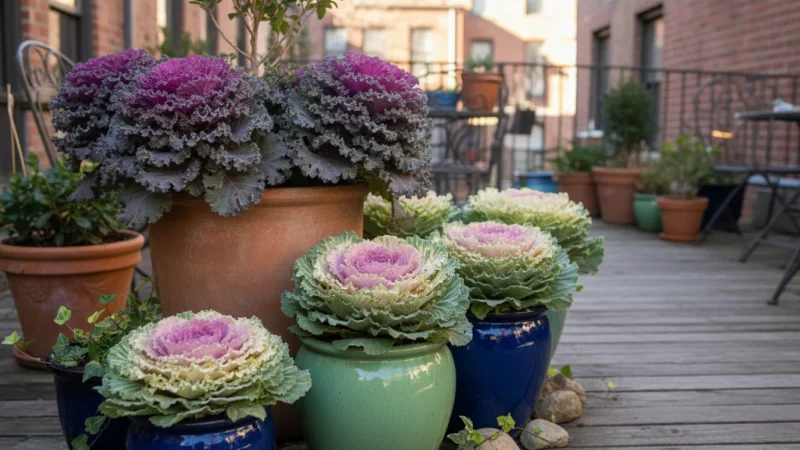
As autumn arrives, your vibrant container garden might begin its natural decline, a bittersweet sign of the changing seasons. Yet, the end of the active growing season does not mean the end of your gardening journey. Instead, embrace a new phase: preserving the beauty you cultivated. This guide transforms those fading fall flowers from your balcony or patio into lasting treasures. You will learn simple, accessible techniques to press and preserve your blooms, turning them into unique keepsakes like bookmarks, cards, and framed art. This sustainable craft extends your connection to your garden, allowing you to enjoy its beauty all year long, even with limited space.
Before you begin your craft, ensure you are protecting your balcony garden from the first fall frost so your late-season blooms remain in peak condition for pressing.
Why Press Your Fall Flowers? Turning Ephemeral Beauty into Lasting Art
You invest time and care into cultivating your small-space garden, watching your container flowers flourish through spring and summer. As fall approaches, their vibrant display may wane, signaling the end of their growing cycle. Pressing these cherished blooms offers a wonderful way to extend their life and your gardening enjoyment beyond the growing season. This simple activity transforms a fleeting moment of beauty into a permanent piece of art.
Consider the environmental benefits of repurposing your garden’s bounty. Instead of composting all your spent plants, you give them a second life as decorative items or thoughtful gifts. This practice aligns perfectly with a sustainable, eco-conscious gardening philosophy. You reduce waste and celebrate the natural resources you nurtured.
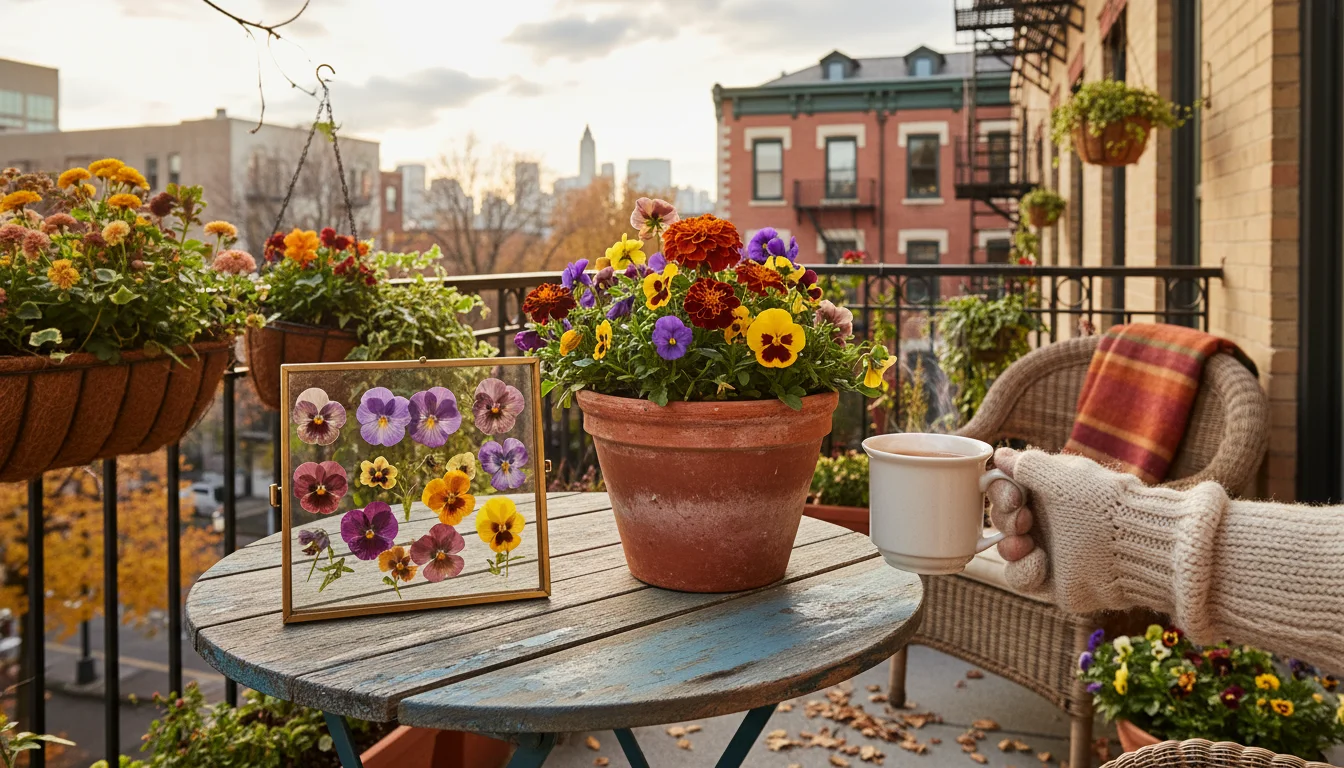
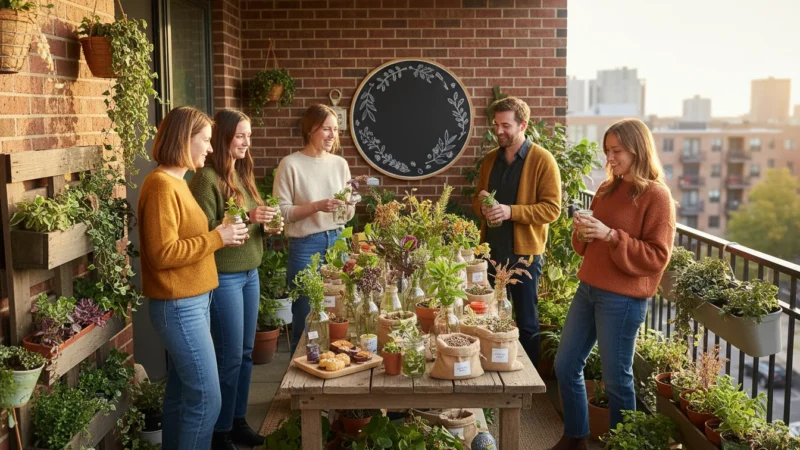
Beyond sustainability, pressing flowers fosters a deep emotional connection to your garden. Each pressed petal holds memories of your planting efforts, the sunlight on your balcony, and the joy of seeing your flowers bloom. You create personalized mementos, turning your gardening hobby into a source of creative expression throughout the colder months. Imagine crafting a bookmark from the very pansies that adorned your window box, or framing a collection of marigolds that brightened your patio. These handmade items become tangible reminders of your green thumb and the beauty you brought into the world. This DIY garden craft activity also provides a rewarding project during the off-season, keeping your hands busy and your creative spirit alive when outdoor gardening takes a pause.
Selecting the Best Blooms for Pressing from Your Balcony Garden
Choosing the right flowers makes all the difference in achieving beautifully pressed results. While many flowers can be pressed, some varieties from your fall container garden perform better than others. The key lies in selecting blooms with relatively flat petals and lower moisture content. These characteristics allow them to dry evenly and retain their color more effectively.
While selecting your best blooms, you might also want to save seeds from your balcony garden to ensure a repeat performance next year.
Harvesting your flowers for crafts is just one of many essential fall gardening tasks for small-space growers to tackle as the season shifts.
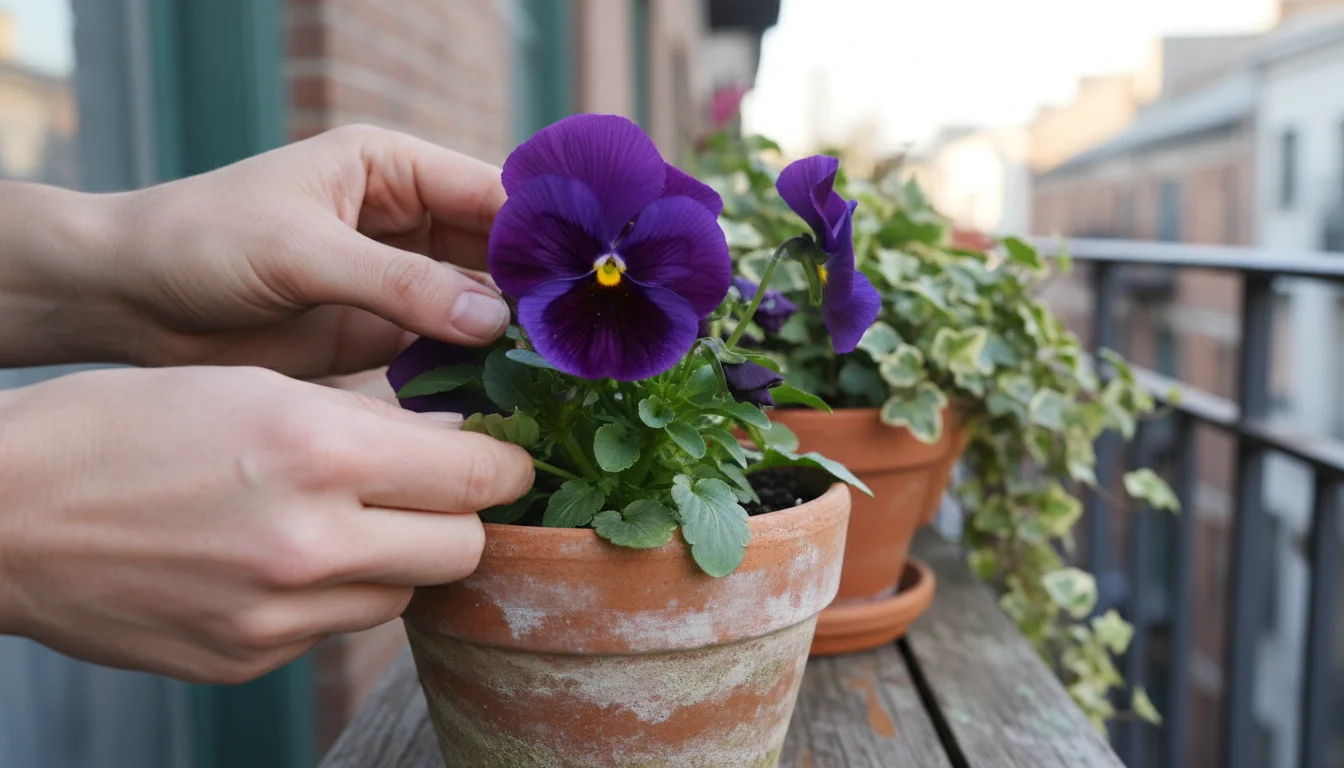
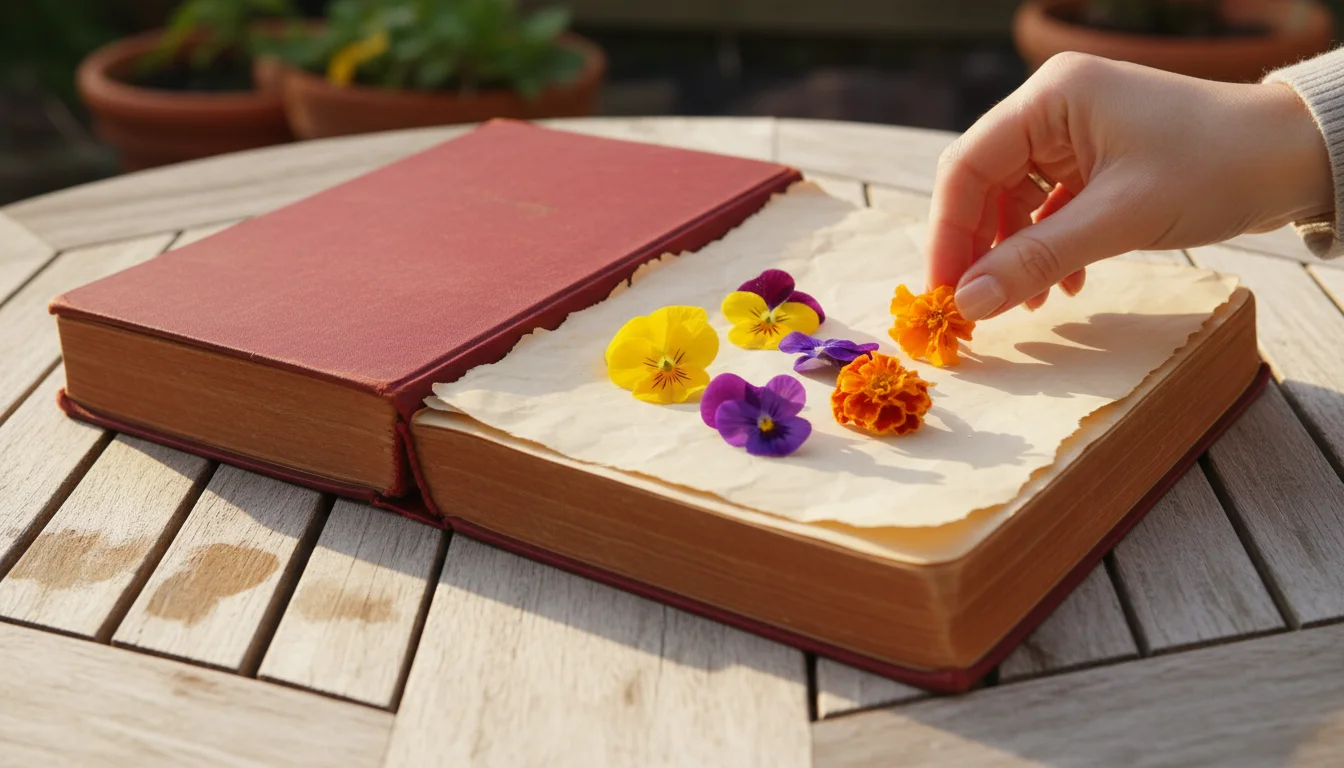
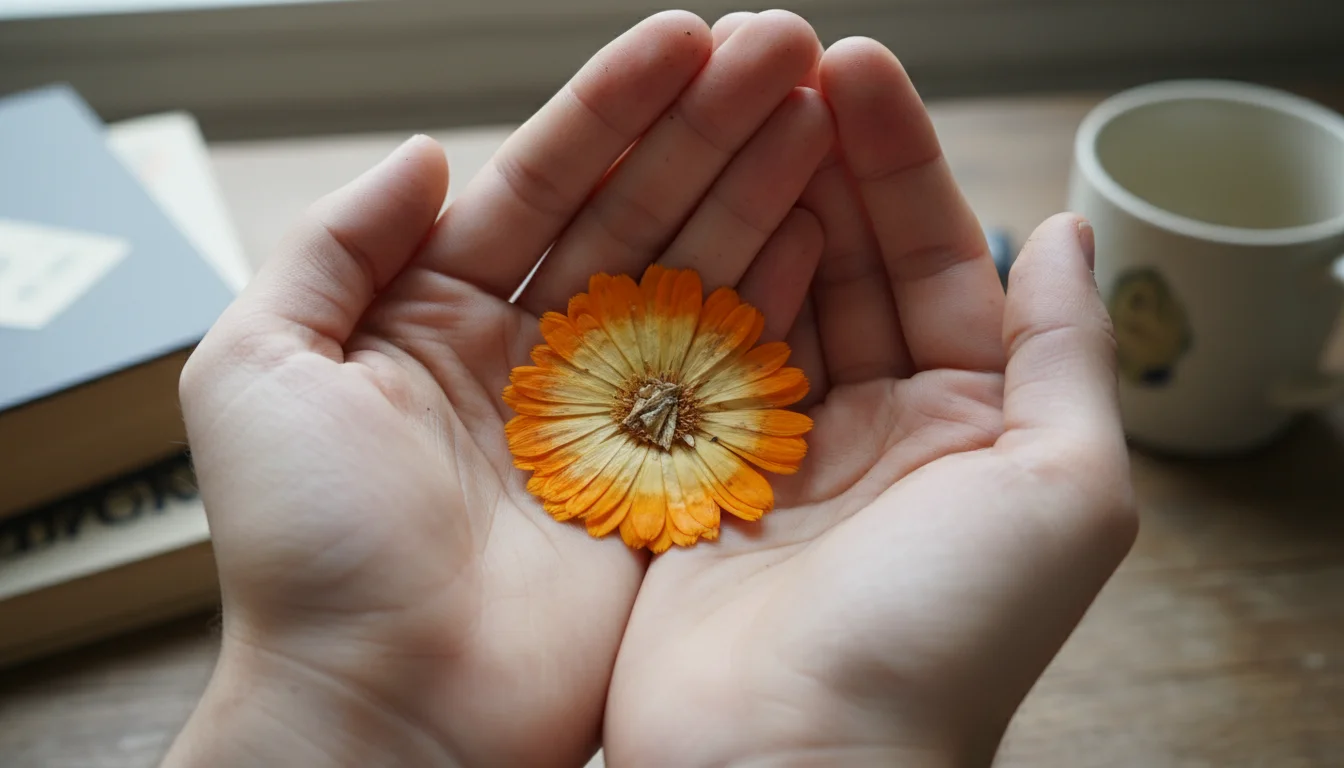
Your fall container garden often features excellent candidates for pressing. Pansies and violas, with their delicate, flat faces, press wonderfully, preserving their intricate patterns and rich colors. Marigolds, especially the smaller, single-petal varieties, also yield excellent results. Their vibrant oranges and yellows translate beautifully onto paper. Cosmos, another popular container choice, press well due to their slender petals and central disks. Look for smaller zinnias or single-petal dahlia varieties if you grow them; their flatter forms are more cooperative than large, multi-layered blooms.
Harvesting your flowers at the right time also impacts their success. Select fresh, fully open blooms that show no signs of wilting, disease, or insect damage. The best time to pick them is on a dry, sunny morning after the dew has evaporated but before the midday sun causes them to droop. Avoid picking flowers immediately after rain or heavy watering, as excess moisture leads to mold during the pressing process. Gently snip the flowers close to their heads, removing any thick stems or excess foliage that might hinder even pressing. Remember, you want the flower head itself, not long stems, for most pressing projects.
Essential Tools for the Beginner Flower Presser
You do not need specialized equipment to start pressing flowers. Many effective tools already exist in your home, making this an accessible and budget-friendly DIY garden craft. Understanding the purpose of each item helps you achieve the best results.
If you have extra petals that are too thick for pressing, consider drying your flower heads for a home scent as another way to enjoy your garden’s bounty.
The most fundamental requirement for pressing flowers is pressure and absorbency. Pressure flattens the flower, and absorbency draws out moisture, preventing mold and encouraging drying.
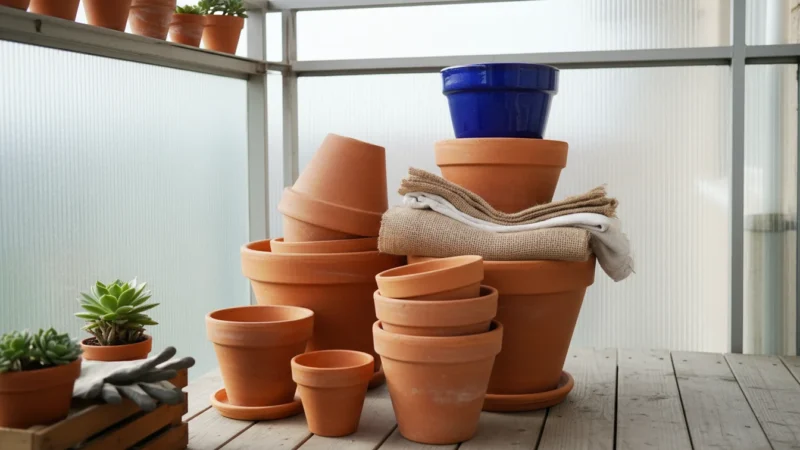
Here are the essential tools you will need:
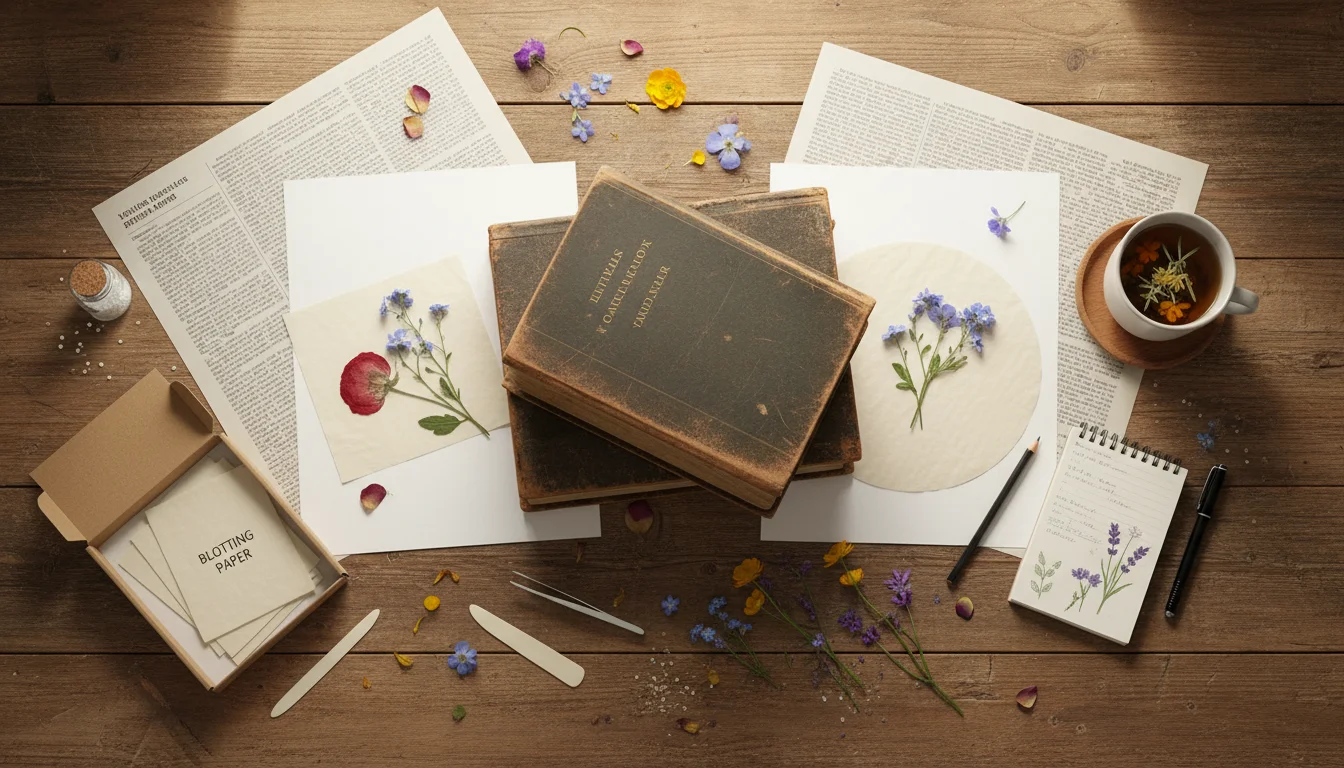
- Heavy Books: These provide both the necessary pressure and some absorbency. Large, thick textbooks or encyclopedias work exceptionally well. The weight helps flatten the flowers evenly.
- Absorbent Paper: This is crucial for drawing moisture away from your flowers. Blotting paper, thick printer paper, unprinted newspaper, or even coffee filters serve this purpose. Avoid glossy papers, as they do not absorb moisture effectively. Parchment paper (baking paper) or wax paper also proves useful for placing directly over the flowers before adding absorbent layers, preventing them from sticking.
- Cardboard: Pieces of corrugated cardboard, cut to the size of your absorbent paper, create air circulation and absorb additional moisture. You layer flowers between cardboard sheets, which helps distribute pressure and maintain structure.
- Tweezers: Delicate flowers require careful handling. Tweezers allow you to position petals precisely without damaging them.
- Scissors or Snips: Use these for cleanly harvesting your flowers and trimming any excess parts before pressing.
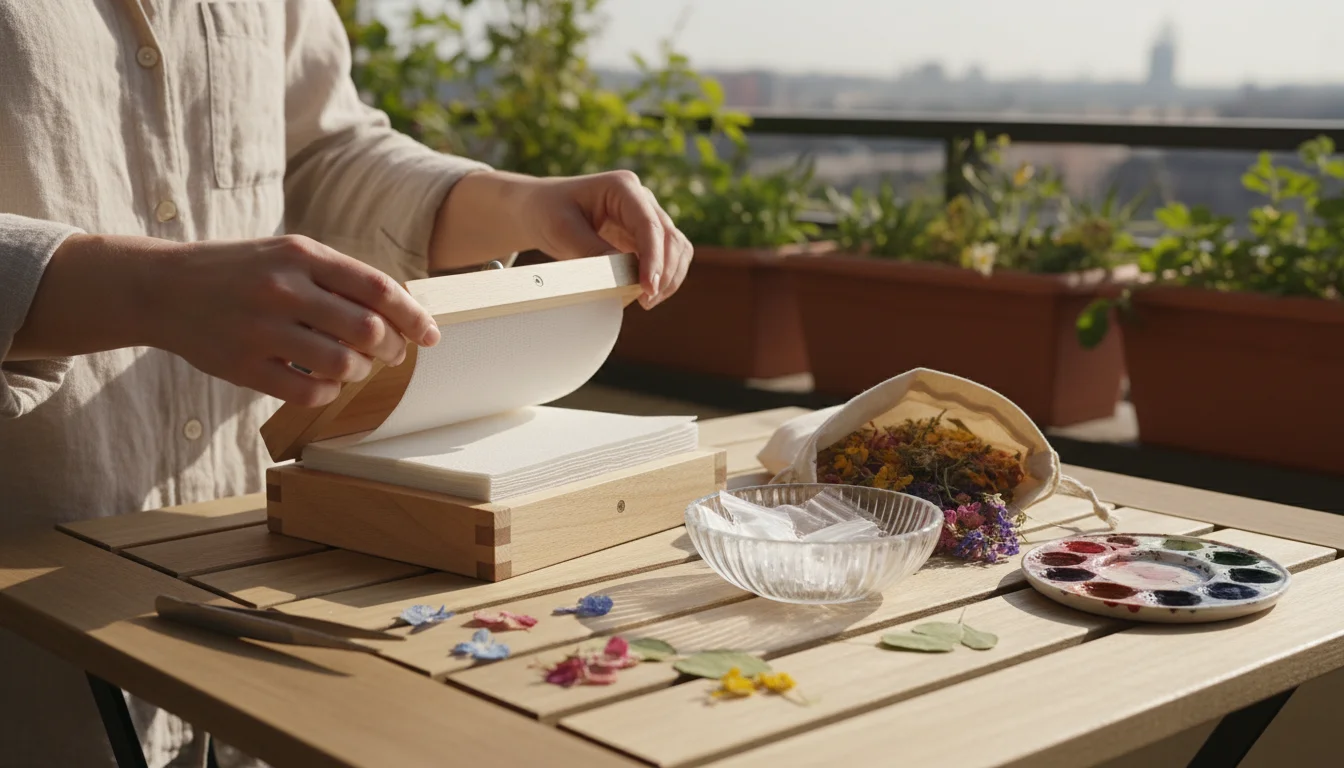
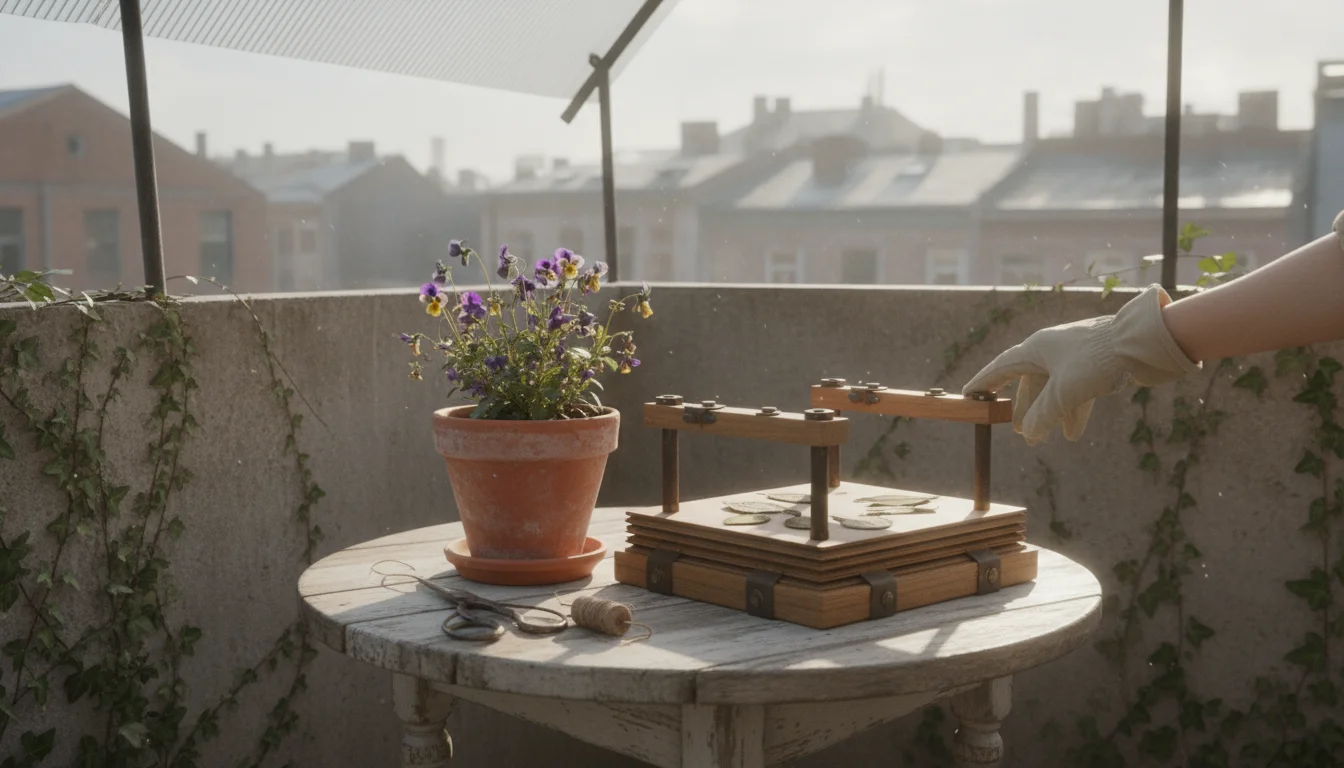
- A Designated Flower Press (Optional but Recommended): While not strictly necessary for beginners, a wooden flower press offers consistent pressure and multiple layers for pressing many flowers at once. You can purchase these or even build a simple one yourself using two pieces of plywood, bolts, and wing nuts. This tool proves especially helpful for larger batches or for achieving professional-looking results consistently.
You can begin with just books and paper. As you gain experience, you might explore a dedicated flower press. The goal is to provide consistent, even pressure and a dry environment for your blooms to flatten and dry.
Step-by-Step Guide: How to Press Flowers with Household Items
Pressing flowers using items you already have at home is straightforward and rewarding. Follow these steps to transform your fall container flowers into beautiful, flat specimens ready for crafting.
Method 1: Pressing with Heavy Books
This method is the easiest starting point for anyone interested in pressing flowers.
- Prepare Your Flowers: Select fresh, dry flowers as described earlier. Gently remove any excess leaves or thick stems that would make the flower uneven. If your flower has a prominent back, you can carefully snip away some of the bulk to help it lie flatter.
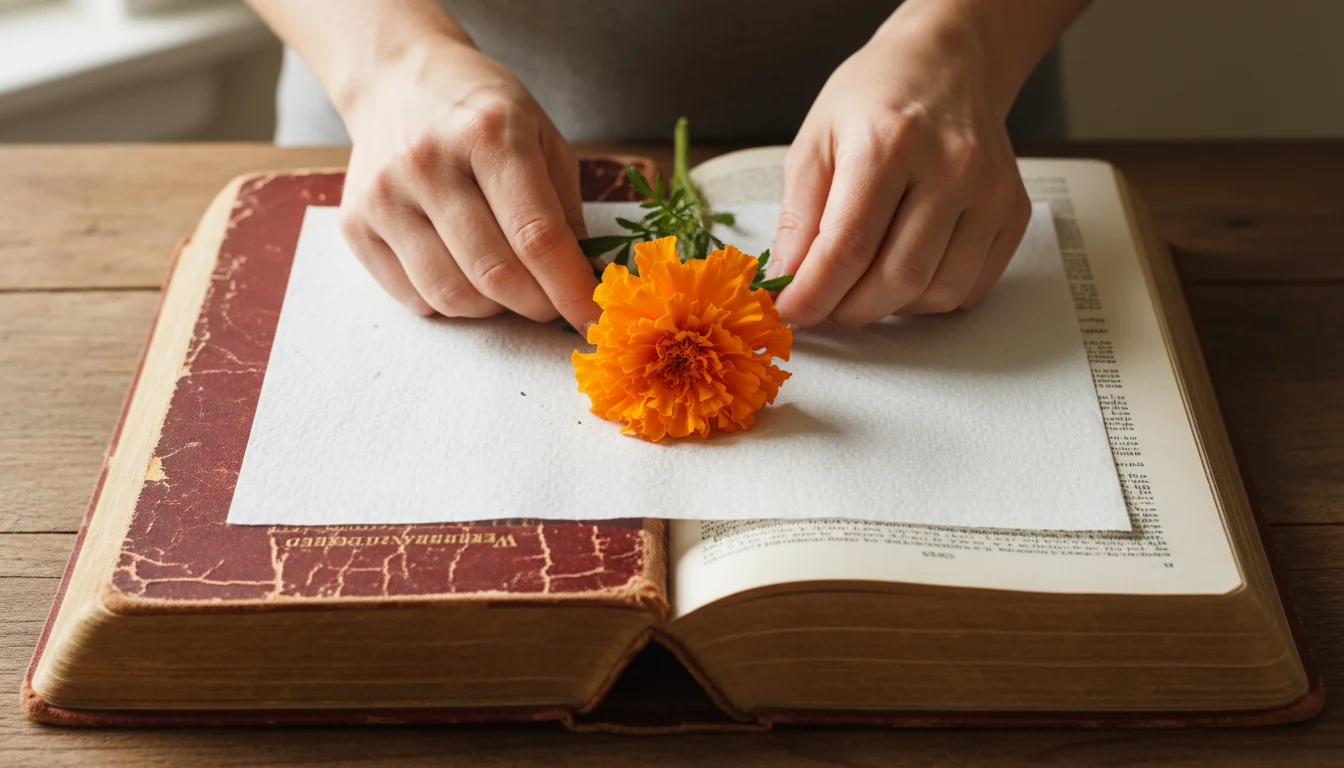
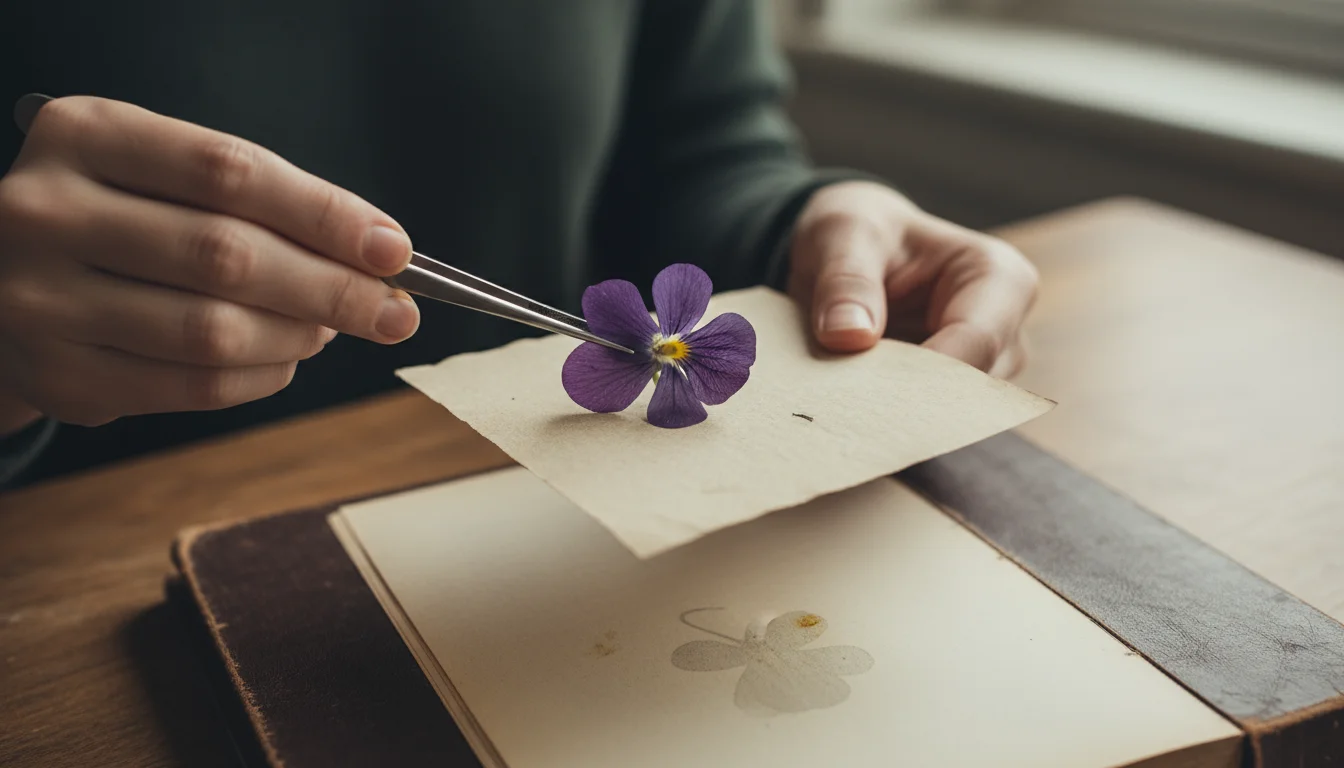
- Prepare Your Pressing Layers: Open a heavy book. Lay down a sheet of parchment paper or wax paper onto one of the book’s pages. This layer prevents moisture from seeping into the book pages and also prevents your flowers from sticking.
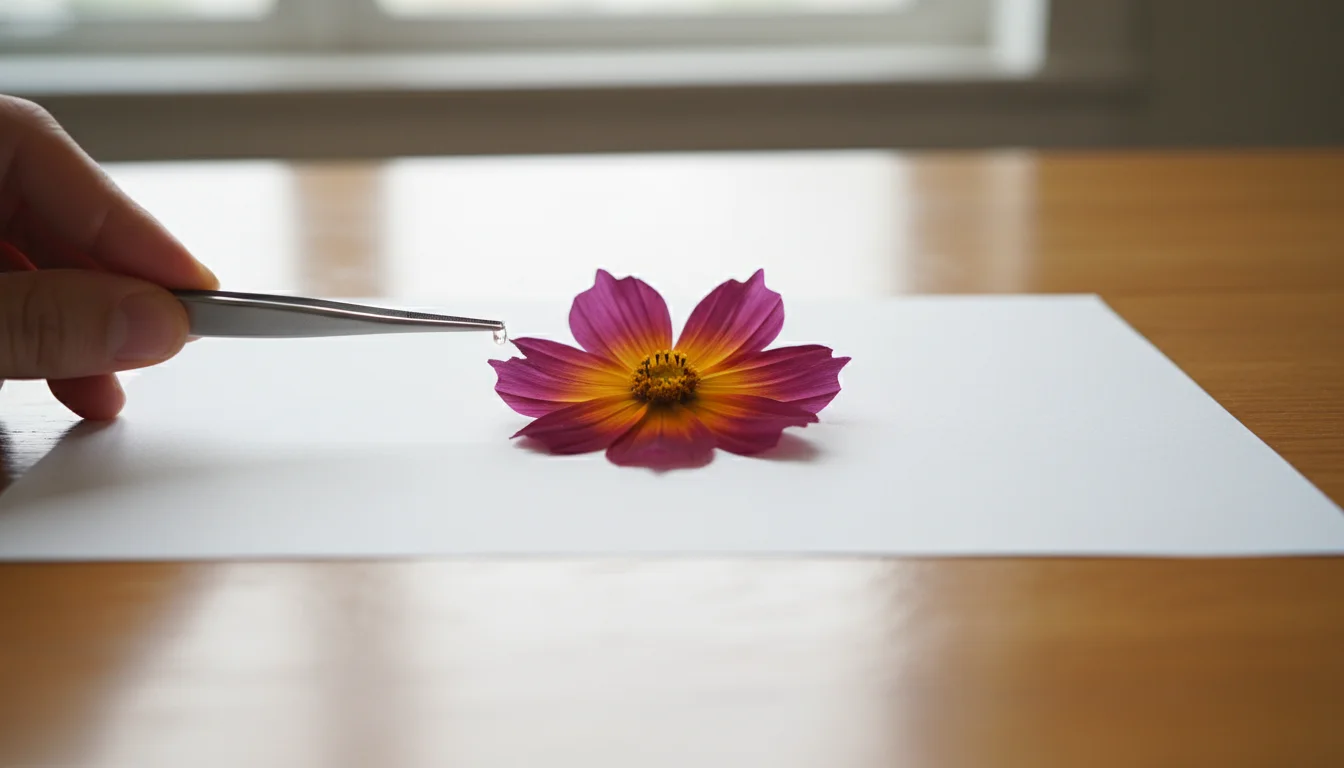
- Arrange Your Flowers: Carefully place your prepared flowers onto the parchment paper. Arrange them face down or sideways, ensuring no petals overlap. Give each flower ample space; do not overcrowd the page. If pressing pansies or violas, gently spread their petals to ensure they press flat. For marigolds, you might gently flatten the individual petals if they are very layered.
- Add More Absorbent Layers: Place another sheet of parchment paper directly over your flowers. Then, add several layers of absorbent paper (like blotting paper, unprinted newspaper, or thick paper towels) on top. Finally, place a piece of cardboard on top of the absorbent paper. This cardboard helps distribute the pressure evenly and wicks away additional moisture.
- Close and Stack: Gently close the heavy book. Place additional heavy books on top of the first book, or stack other heavy objects to apply consistent pressure. The more weight, the better the flattening.
- Wait and Replace: Place the stacked books in a cool, dry place away from direct sunlight. After about three to five days, carefully open the books and replace the moist absorbent paper with fresh, dry sheets. This step is crucial for preventing mold and speeding up the drying process. Use tweezers for delicate handling.
- Continue Drying: Re-stack the books and continue pressing. Check your flowers every week or so. Most flowers take two to four weeks to fully dry and flatten. Thicker flowers might require longer.
Method 2: Creating a DIY Flower Press
This method provides slightly more control and allows you to press more flowers simultaneously.
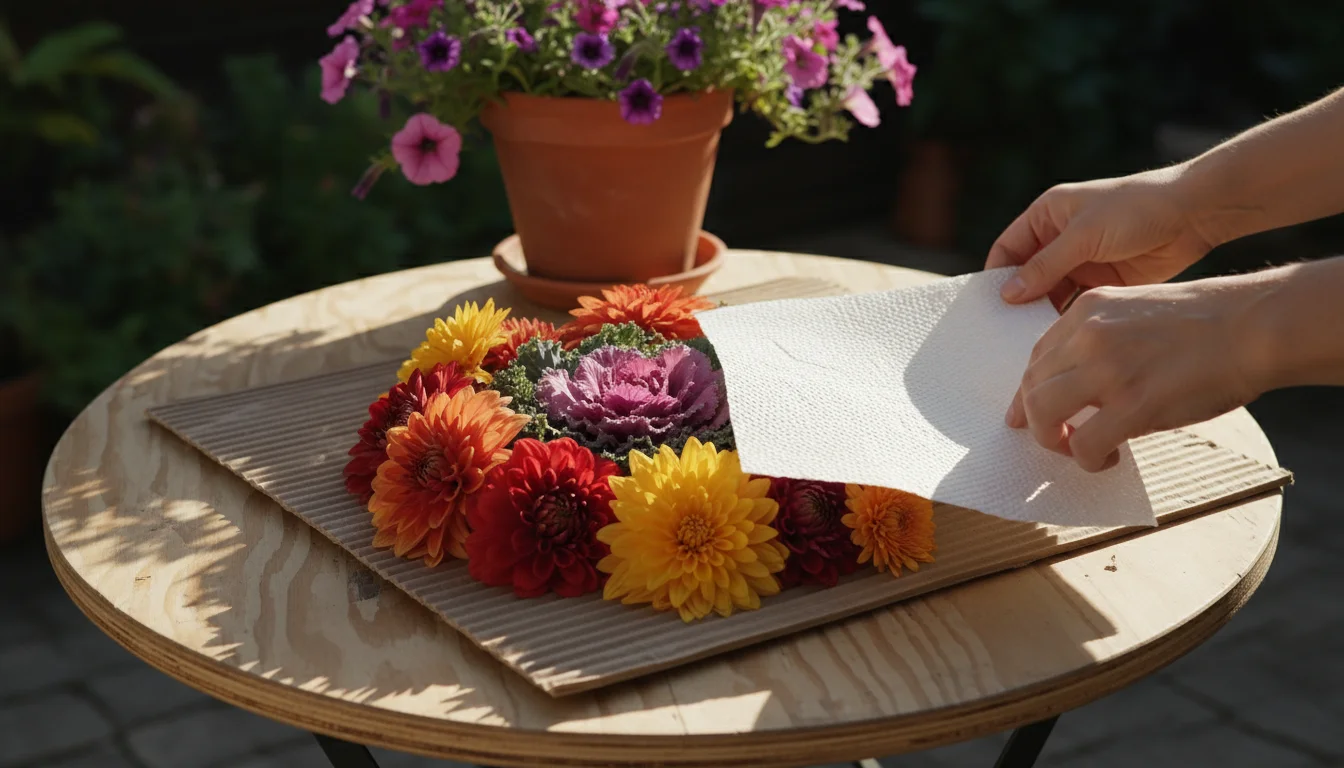
- Gather Materials: You will need two sturdy pieces of plywood (or thick cardboard) of the same size, several sheets of corrugated cardboard, and numerous sheets of absorbent paper (blotting paper, unprinted newspaper). You can also use bolts and wing nuts at each corner to secure the press, or simply rely on heavy objects.
- Assemble the Base: Place one piece of plywood or thick cardboard down as your base.
- Layer for Pressing: On the base, place a piece of corrugated cardboard. On top of this, add a few layers of absorbent paper.
- Arrange Flowers: Carefully arrange your prepared flowers on the absorbent paper, similar to the book method. Ensure even spacing.
- Build Up Layers: Place another few layers of absorbent paper directly over your flowers. Then, add another piece of corrugated cardboard. You can repeat this sequence (cardboard, absorbent paper, flowers, absorbent paper, cardboard) to create multiple pressing layers, maximizing the number of flowers you press at once.
- Apply Top and Pressure: Once all your flower layers are in place, position the second piece of plywood or thick cardboard on top. If using bolts and wing nuts, tighten them gradually and evenly at each corner. If not, stack several heavy objects on top of your DIY press to apply firm, consistent pressure.
- Dry and Maintain: Store your DIY press in a cool, dry location. Change the absorbent paper every three to five days for the first week, then weekly until the flowers are fully dry. The drying time remains similar to the book pressing method, typically two to four weeks.
Patience is key to successful flower pressing. Resist the urge to check your flowers too frequently, especially in the first few days, as disturbing them can lead to creases or tearing.
Drying and Curing: The Patience of Preservation
The process of drying and curing your pressed flowers determines their longevity and aesthetic quality. This stage requires patience and attention to detail. Proper drying removes all moisture, preventing decay, while curing allows the flower’s structure to set, making it more robust for future use.
You know your flowers are fully dry when they feel papery to the touch, are completely flat, and show no signs of moisture or pliability. They will feel stiff and brittle. Their colors will appear set, perhaps slightly muted compared to their fresh state, but vibrant in their preserved form. If a flower feels even slightly damp or flexible, it needs more pressing time. Rushing this stage often leads to mold or a less durable pressed flower.
Common mistakes during drying usually involve insufficient moisture removal or an improper environment. If you notice fuzzy patches forming on your flowers, mold has begun to grow. This typically indicates that you did not change the absorbent paper frequently enough, or the pressing environment was too humid. Unfortunately, moldy flowers are not salvageable for crafts, as the mold spores can spread. You should discard them. Another issue is excessive discoloration, where flowers turn brown or become very faded. This can happen if the flowers were exposed to too much light during pressing or if the absorbent paper was not changed, allowing moisture to linger and degrade color.
For optimal results, maintain your pressing environment. Keep your presses or stacked books in a location with stable, low humidity and consistent temperatures. Avoid areas prone to dampness, like basements, or places with fluctuating temperatures, such as near a heating vent or sunny window. Regularly changing the absorbent paper, especially in the first week, actively draws moisture away and accelerates the drying process, significantly reducing the risk of mold. This proactive approach ensures your pressed pansies, marigolds, and other fall flowers emerge perfectly preserved, ready for your creative projects.
Creative Crafts with Your Pressed Fall Flowers
Once your fall container flowers are perfectly pressed and dried, a world of creative possibilities opens up. This stage transforms your garden’s preserved beauty into tangible art, connecting your gardening hobby with DIY garden crafts. You can create personalized items for your home or thoughtful, handmade gifts.
Bookmarks
Your pressed flowers, especially delicate pansies and violas, make exquisite bookmarks.
- Gather Materials: You need cardstock or sturdy paper cut to bookmark size, clear contact paper or laminating pouches, craft glue, and, of course, your pressed flowers.
- Arrange: Lightly arrange your pressed flowers on the cardstock, playing with different compositions until you find a design you love.
- Secure: Once satisfied, use a tiny dot of craft glue to secure each flower in place. Be careful not to use too much glue, as it can show through or damage the delicate petals.
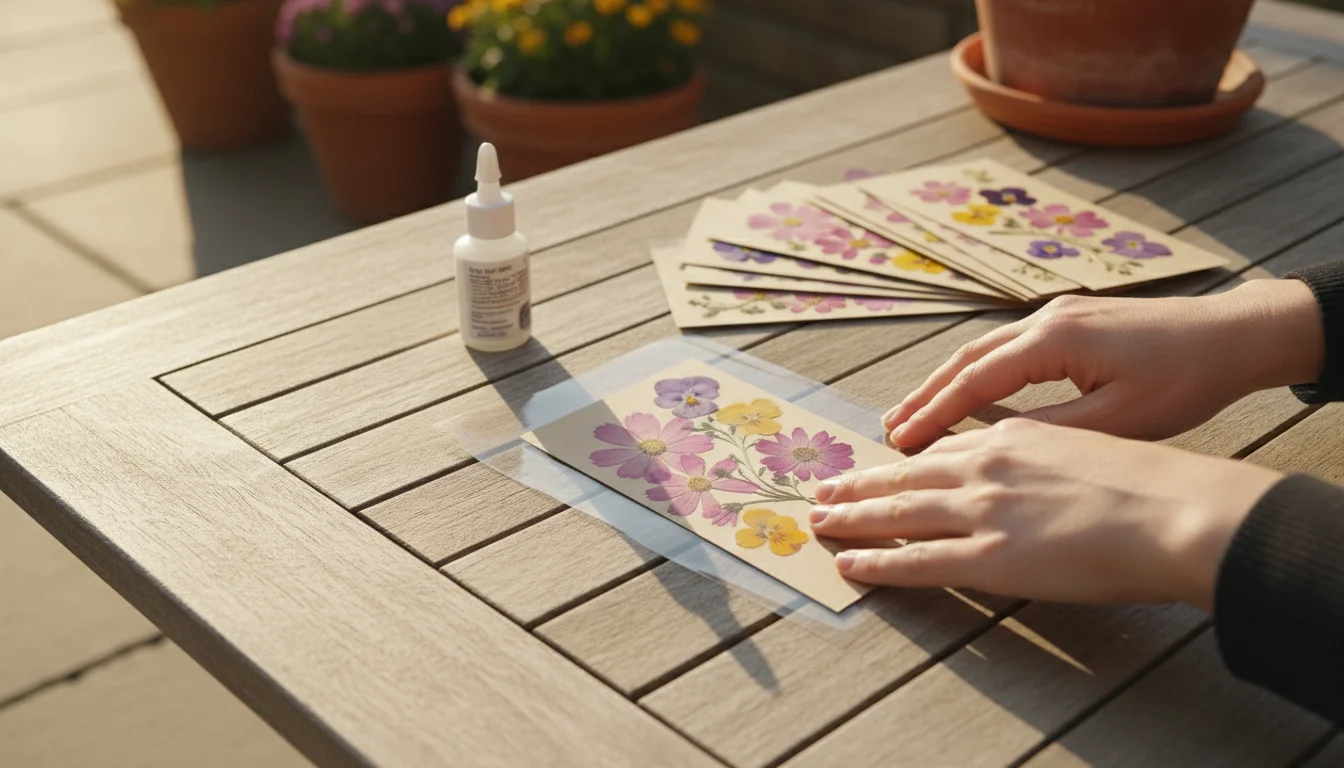
- Seal: Carefully cover the entire bookmark with clear contact paper, pressing out any air bubbles, or run it through a laminator. This protects the flowers from moisture and handling, ensuring your bookmark lasts.
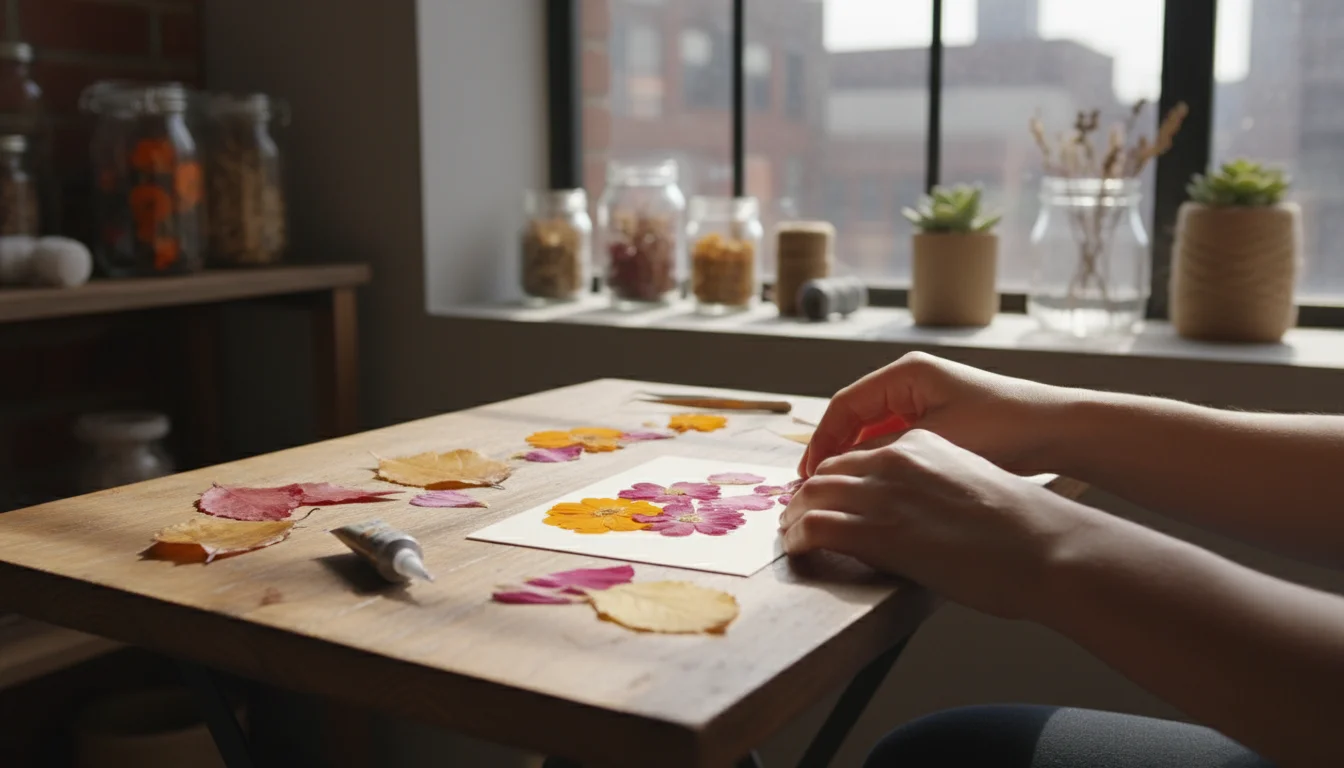
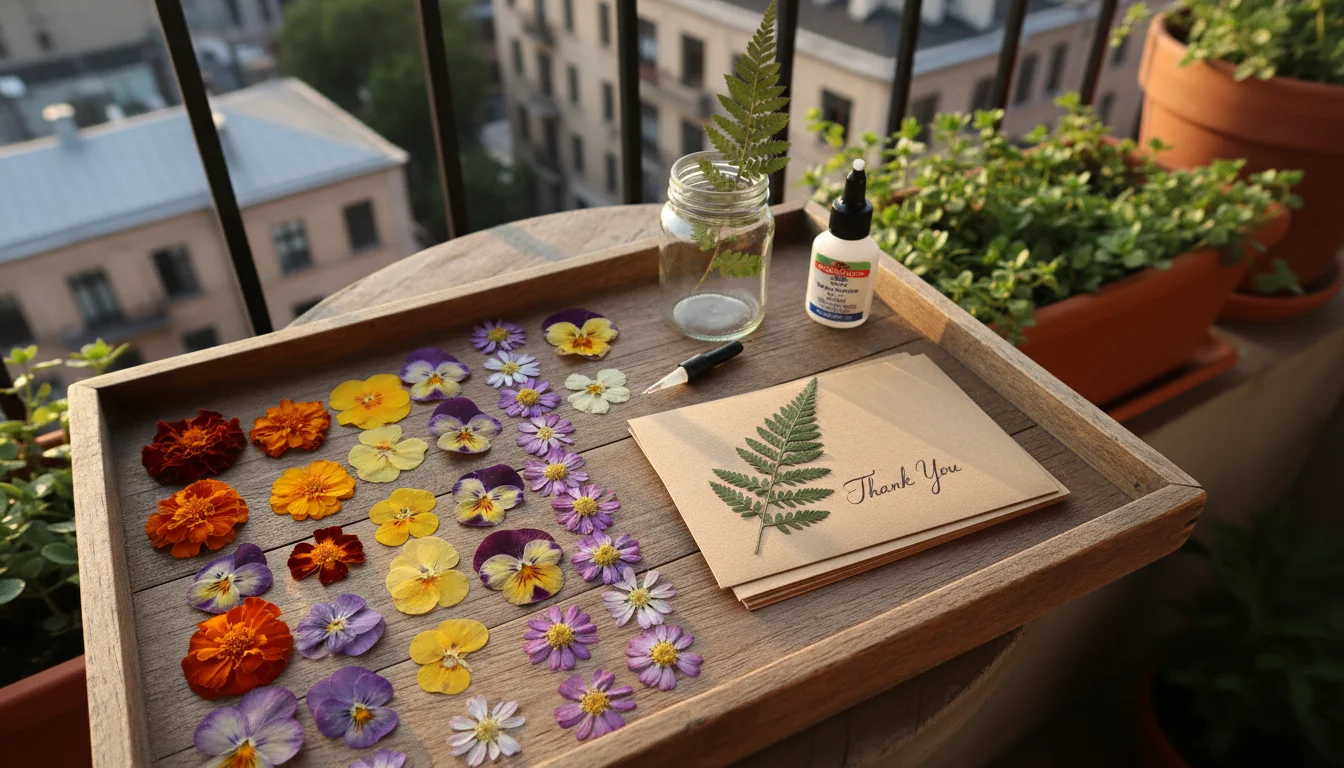
Greeting Cards
Personalized greeting cards carry a special touch.
- Start with Blanks: Use plain cardstock or pre-folded blank cards.
- Design: Arrange your pressed marigolds, cosmos, or even small pressed leaves onto the front of the card. Consider simple designs, perhaps one focal flower or a small cluster.
- Adhere: Secure the flowers with a minimal amount of craft glue.
- Protect: For extra durability, you can spray the card with a clear, matte sealant spray (from a craft store) once the glue dries.
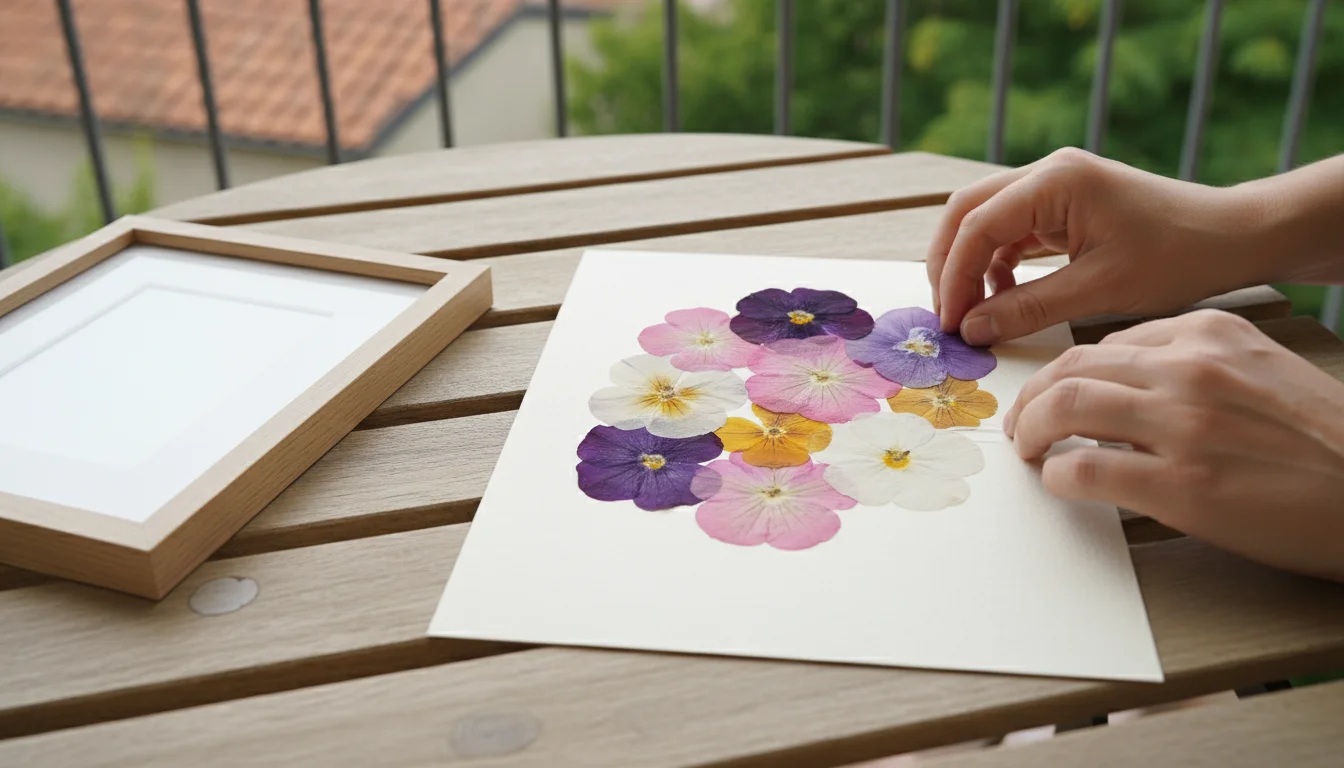
Botanical Art and Framing
Transform your pressed flowers into framed art for your walls.
- Choose a Background: Select a piece of acid-free watercolor paper or linen fabric for your background. Neutral colors often make the flowers stand out.
- Compose: Experiment with different arrangements of your pressed flowers on the background. Create a symmetrical pattern, a free-flowing design, or a single striking botanical specimen.
- Attach: Gently glue the flowers into place.
- Frame: Once dry, place your botanical composition into a picture frame. For best preservation, use a frame with UV-protective glass to prevent fading over time. A mat board can also add a professional touch and keep the flowers from pressing directly against the glass.
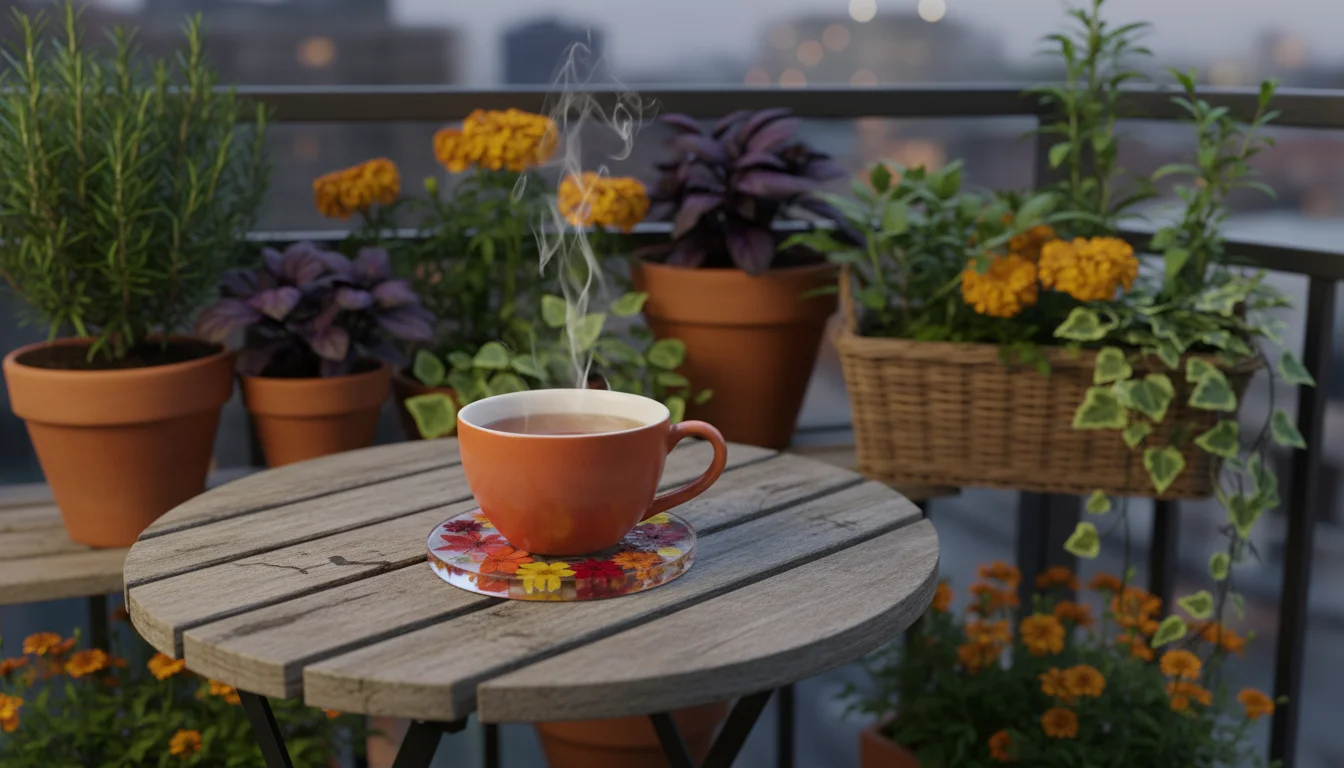
Decorative Coasters
Protect your surfaces with beautiful botanical coasters.
- Materials: You will need plain ceramic or cork coasters, craft glue, pressed flowers, and a clear epoxy resin kit (available at craft stores).
- Adhere Flowers: Glue your pressed flowers onto the coaster surface, arranging them as desired.
- Resin Application: Once the glue is completely dry, follow the resin kit instructions to mix and pour a thin layer of clear epoxy resin over the coaster, fully encapsulating the flowers. This creates a durable, waterproof, and heat-resistant surface. Allow it to cure completely.
These projects not only give new life to your fall flowers but also extend your balcony garden’s beauty into your home, serving as unique conversation starters and cherished memories. This is an excellent way to continue enjoying your gardening efforts long after the growing season ends.

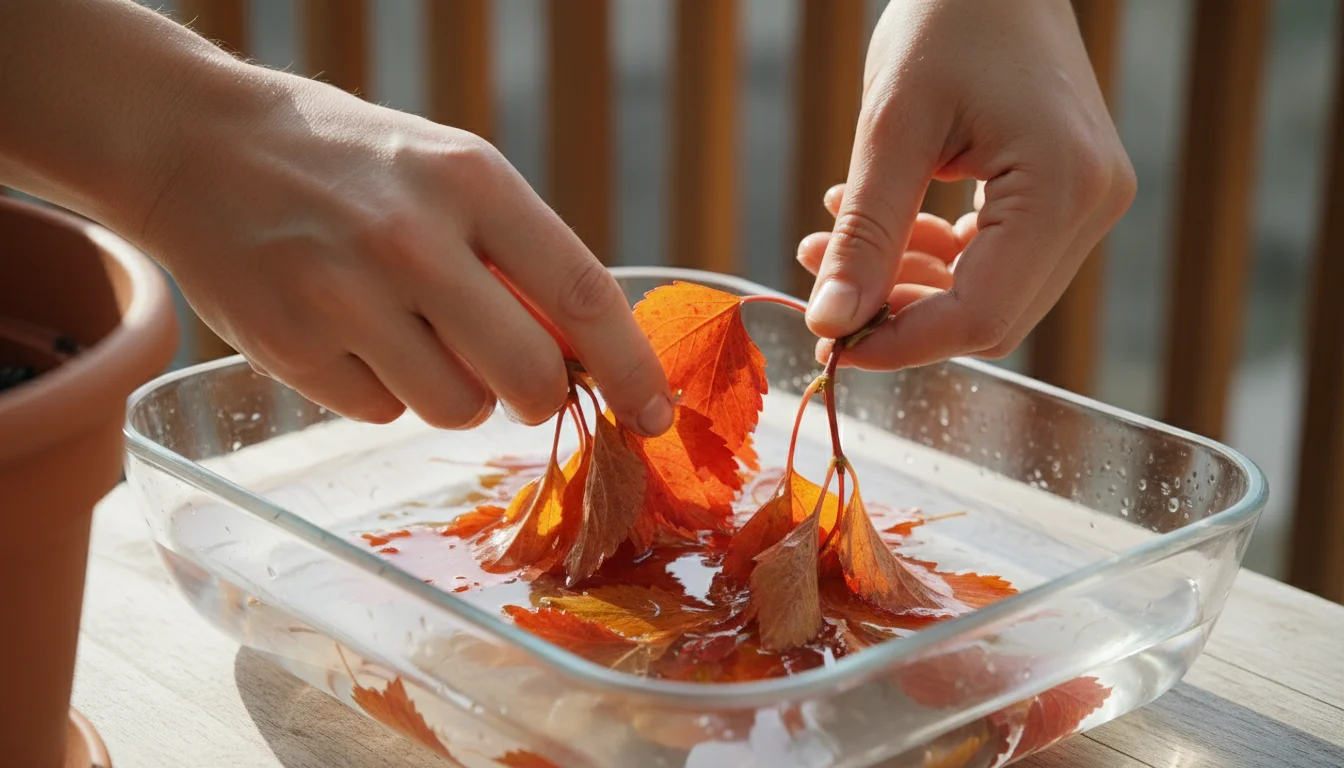
Preserving Fall Leaves: An Autumn Bonus for Your Crafts
As your container flowers transition into fall, you might also find interesting leaves in your garden or from nearby trees suitable for preservation. These vibrant autumn leaves offer a fantastic complement to your pressed flowers, adding texture and a seasonal touch to your DIY garden crafts. You can incorporate them into almost any project you create with pressed flowers, such as bookmarks, greeting cards, or framed art.
Pressing fall leaves follows the same principles as pressing flowers. Select leaves that are relatively flat and still have vibrant color. Avoid leaves that are curled, damaged, or already brittle. Lay them between absorbent paper and heavy books or in your DIY flower press for two to three weeks until they are completely dry and flat.
Beyond traditional pressing, you can preserve fall leaves using a few other simple methods:
Waxing Leaves
This method gives leaves a glossy finish and helps them retain their color and flexibility for a longer period.
- Melt Wax: Melt paraffin wax (available at craft stores) in a double boiler or a heat-safe bowl set over a pot of simmering water. Never melt wax directly over high heat.
- Dip Leaves: Carefully dip each dry, flat leaf into the melted wax, ensuring both sides are fully coated.
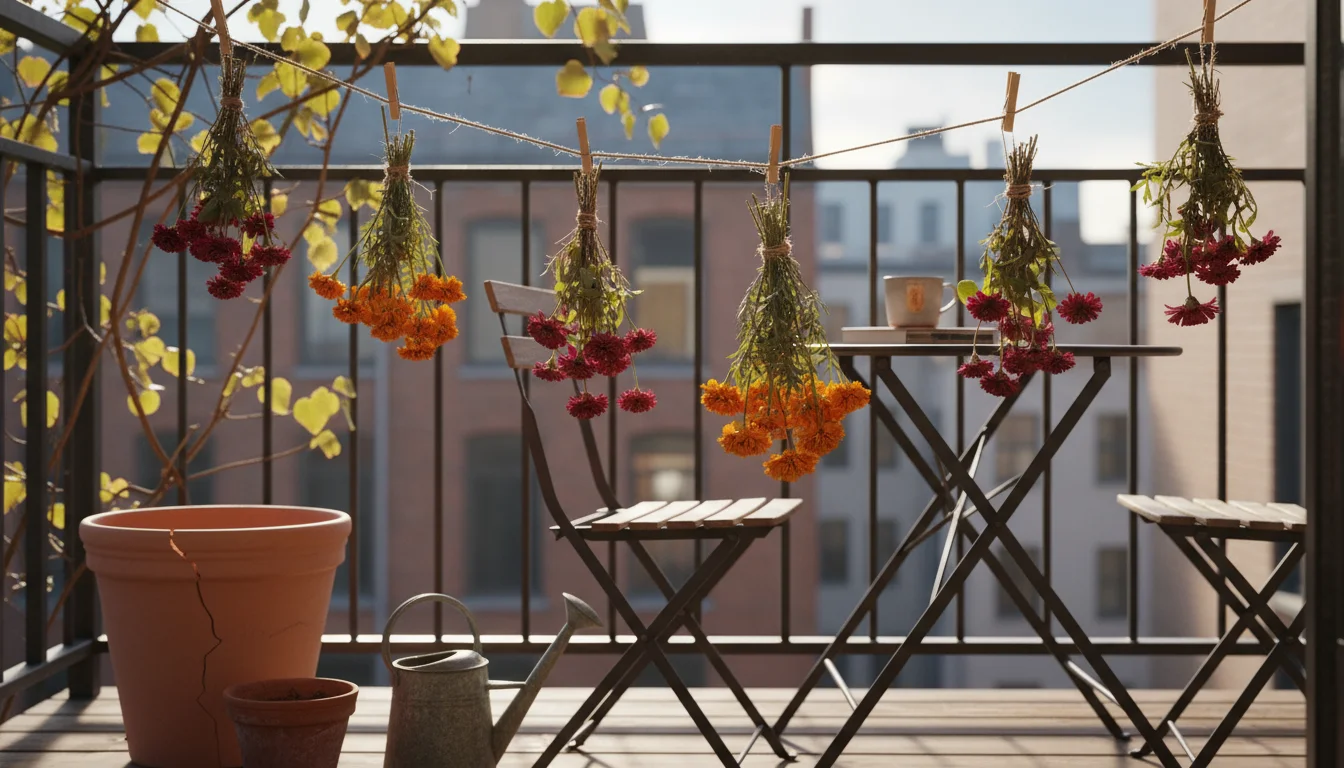
- Dry: Gently pull the leaf out, allowing excess wax to drip off. Hang the waxed leaves on a clothesline or lay them on parchment paper to dry and harden.
Waxed leaves are great for garlands or tabletop displays, offering a more dimensional element than pressed leaves.
Glycerin Treatment
Glycerin preservation maintains the leaf’s natural texture and pliability, making them feel soft and realistic.
- Prepare Solution: Mix one part liquid glycerin (found in pharmacies or craft stores) with two parts warm water.
- Submerge Leaves: Submerge your freshly picked, healthy leaves in the glycerin solution. Ensure they are fully covered.
- Soak: Let the leaves soak for three to six days, or until they feel soft and supple. The glycerin replaces the water in the leaf cells, preserving them.
- Dry: Remove the leaves, gently pat them dry, and allow them to air dry completely.
Glycerin-treated leaves are excellent for centerpieces, wreaths, or any craft where you desire a natural, non-brittle leaf texture. Incorporating these preserved leaves alongside your pressed flowers adds another layer of seasonal beauty to your balcony garden craft ideas.
Troubleshooting Common Flower Pressing Challenges
Even with the best intentions, you might encounter a few challenges when pressing flowers. Knowing how to troubleshoot these common issues helps you achieve beautiful results consistently.
Moldy Flowers
Problem: Your pressed flowers develop fuzzy gray or white patches.
Cause: Too much moisture trapped during pressing, or the pressing environment is too humid.
Solution:
- Act Quickly: At the first sign of mold, immediately remove the affected flowers to prevent spread. Unfortunately, moldy flowers are not salvageable and you should discard them.
- Increase Absorbency: For future presses, ensure you use plenty of fresh absorbent paper, and change it frequently, especially during the first week (every 2-3 days).
- Dry Environment: Move your press or books to a drier, cooler room. Avoid humid areas like bathrooms or damp basements. You can even place a desiccant pack (like silica gel) near your press to absorb ambient moisture.
Discolored Flowers (Browning or Excessive Fading)
Problem: Flowers turn brown, lose their vibrant color, or become very faded.
Cause: Sunlight exposure, slow drying, or the flower type naturally discolors.
Solution:
- Press in the Dark: Keep your press or books in a dark location during the entire drying process. Sunlight causes pigments to degrade rapidly.
- Speed Up Drying: Ensure adequate pressure and frequent paper changes to speed up moisture removal. The faster a flower dries, the more color it retains.
- Embrace Naturals: Some flowers naturally fade or brown more than others. Sometimes, the muted, antique look adds charm. Experiment with different varieties to learn which retain color best. Pansies and violas typically hold color well, while some reds might darken significantly.
Flowers Sticking to Paper
Problem: Your pressed flowers are difficult to remove from the absorbent paper without tearing.
Cause: The flowers were too wet when pressed, or you used paper that was too thin or sticky.
Solution:
- Use Parchment Paper: Always place a layer of non-stick parchment paper (baking paper) or wax paper directly above and below your flowers. This acts as a barrier.
- Ensure Dryness: Make sure your flowers are free of surface moisture before pressing.
- Gentle Removal: Use fine-tipped tweezers to carefully lift the edges of the pressed flower. Work slowly.
Breakage During Handling
Problem: Dried flowers are brittle and easily break when you try to move them.
Cause: Over-drying, or the inherent delicacy of certain flower types.
Solution:
- Careful Handling: Always use tweezers. Avoid touching the petals directly with your fingers as much as possible.
- Handle in a Stable Environment: Work on a flat, clean surface to minimize accidental drops or bumps.
- Seal Promptly: Once you have placed your pressed flowers in their final craft project, seal them as soon as possible with glue, laminate, or resin to protect them from further damage.
Addressing these issues helps you refine your pressing technique and ensures a more successful and enjoyable experience as you create your DIY garden crafts.

Sustainable Practices in Flower Pressing
Flower pressing naturally aligns with an environmentally conscious approach to gardening and crafting. By transforming ephemeral blooms into lasting art, you extend the life cycle of your garden’s output. You can further enhance the sustainability of your pressing hobby by integrating eco-friendly practices throughout the process.
First, consider your harvesting methods. You should only collect flowers that are past their prime or those you intend to prune anyway. This practice avoids wasting healthy, actively blooming plant material. If you have spent flowers in your containers, giving them a new purpose through pressing prevents them from simply going into the compost bin immediately. You give these what to do with fall flowers from garden. When collecting leaves, choose fallen leaves or those you are pruning for plant health, reducing your impact on living plants.
Second, embrace recycled and repurposed materials for your pressing setup. You can use old textbooks or phone books as presses, giving them a second life. Instead of purchasing new absorbent paper, consider using unprinted sections of old newspapers, thick advertising flyers, or even discarded packing paper. Cardboard from delivery boxes or cereal boxes works perfectly for creating air circulation layers in your press. This reduces your consumption of new resources and minimizes waste.
Third, manage any leftover plant material responsibly. After harvesting the flower heads, compost the remaining stems and foliage. This returns nutrients to the soil, completing a natural cycle. If any pressed flowers do not turn out well or become moldy, compost them rather than throwing them in the trash, provided they are not excessively moldy to introduce harmful spores into your compost.
Finally, consider the materials you use for your finished crafts. Opt for acid-free paper and glues that are environmentally friendly. Choose frames made from sustainably sourced wood or salvaged materials. By thinking consciously about each step, from harvesting to crafting, you ensure your flower pressing hobby remains both enjoyable and truly green, celebrating your small-space garden in the most sustainable way.

Frequently Asked Questions
Can I press any flower from my garden?
You can attempt to press almost any flower, but success varies greatly. Flowers with flatter, less fleshy petals, like pansies, violas, cosmos, and smaller marigolds, generally press best and retain their color well. Thick, dense flowers like roses or carnations often mold or turn brown due to their high moisture content and bulk. They require much longer pressing times and more diligent paper changes. Always prioritize flowers that are naturally less bulky for the easiest and most successful pressing experience.
How long do pressed flowers last?
Properly pressed and preserved flowers can last for many years, even decades. The key factors influencing their longevity include thorough drying, protection from moisture, and minimal exposure to direct sunlight. When encased in laminating film, resin, or framed under UV-protective glass, their colors remain vibrant for a significantly longer period. Flowers exposed to humidity or direct light will fade or degrade more quickly.
How do I prevent mold on my pressed flowers?
Preventing mold primarily involves two actions: ensuring your flowers are dry before pressing and changing the absorbent paper frequently. Always pick flowers on a dry day, avoiding any surface moisture. During the pressing process, replace the damp absorbent paper with fresh, dry sheets every 2-3 days for the first week, and then weekly thereafter. This active removal of moisture prevents mold spores from taking hold. Storing your press in a cool, dry room also helps.
What type of paper works best for pressing flowers?
The best paper for pressing flowers is highly absorbent and non-glossy. Blotting paper is ideal due to its superior absorbency. Unprinted newspaper (such as the interior pages of an old newspaper, not the glossy inserts), thick printer paper, or even coffee filters also work well. You should always use parchment paper or wax paper directly in contact with the flowers; this non-stick layer prevents the delicate petals from adhering to the absorbent paper as they dry.
How can I display pressed flowers without them fading?
Protecting pressed flowers from light and humidity is crucial for preventing fading. Display your finished crafts, such as framed art or cards, in areas of your home that do not receive direct sunlight. If framing, choose frames with UV-protective glass. When creating coasters or other items, sealing the flowers under a layer of clear epoxy resin offers robust protection from both light and moisture. For bookmarks, laminating them provides an excellent barrier. By minimizing exposure to environmental elements, you ensure your pressed garden treasures maintain their beauty for years.
For trustworthy gardening information, visit:
UC IPM (University of California Integrated Pest Management), Missouri Botanical Garden, Kew Science — Plants of the World and Brooklyn Botanic Garden. These organizations provide expert, research-based advice for gardeners at all levels.
Disclaimer: This article is for informational purposes only and is not a substitute for professional gardening advice. Always consult local extension services or horticulture experts for region-specific guidance.

Leave a Reply