From Pot to Potpourri: How to Dry Your Final Herb Cuttings and Flower Heads for a Natural Fall Home Scent
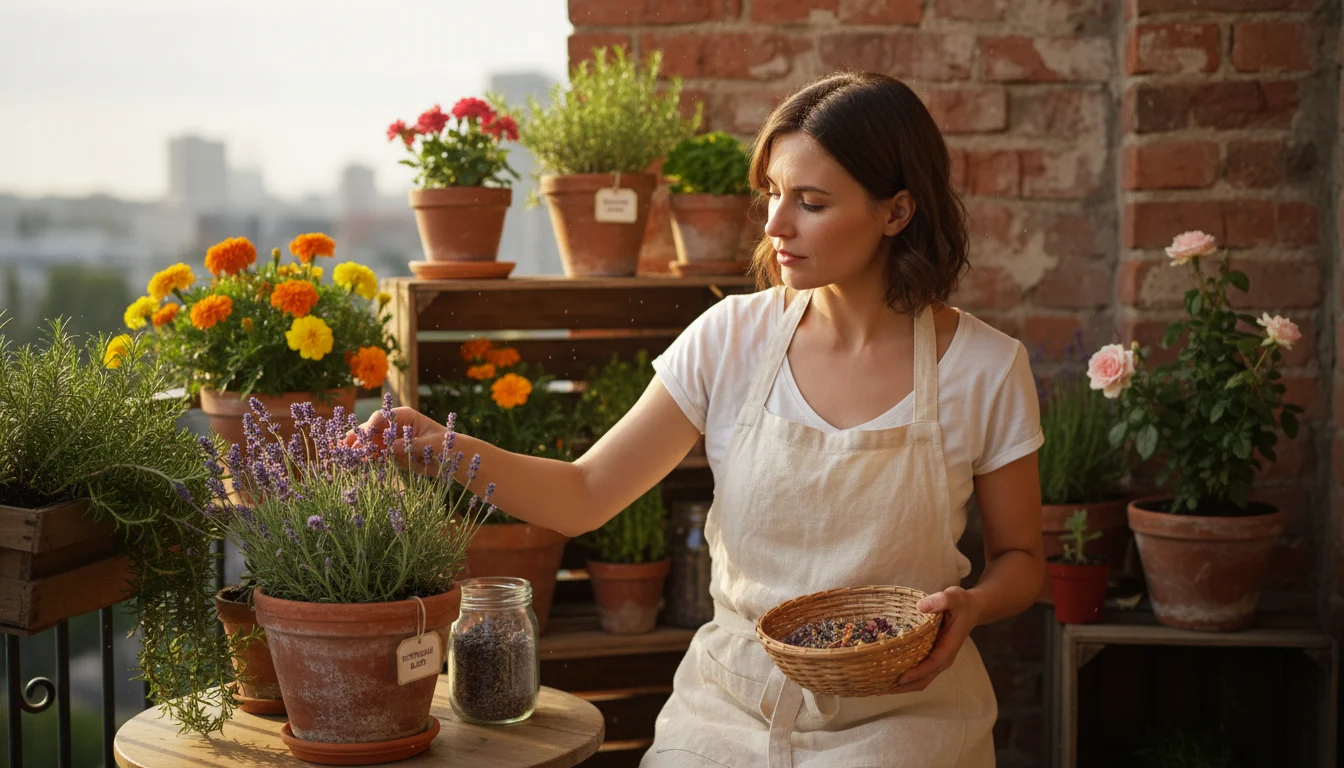
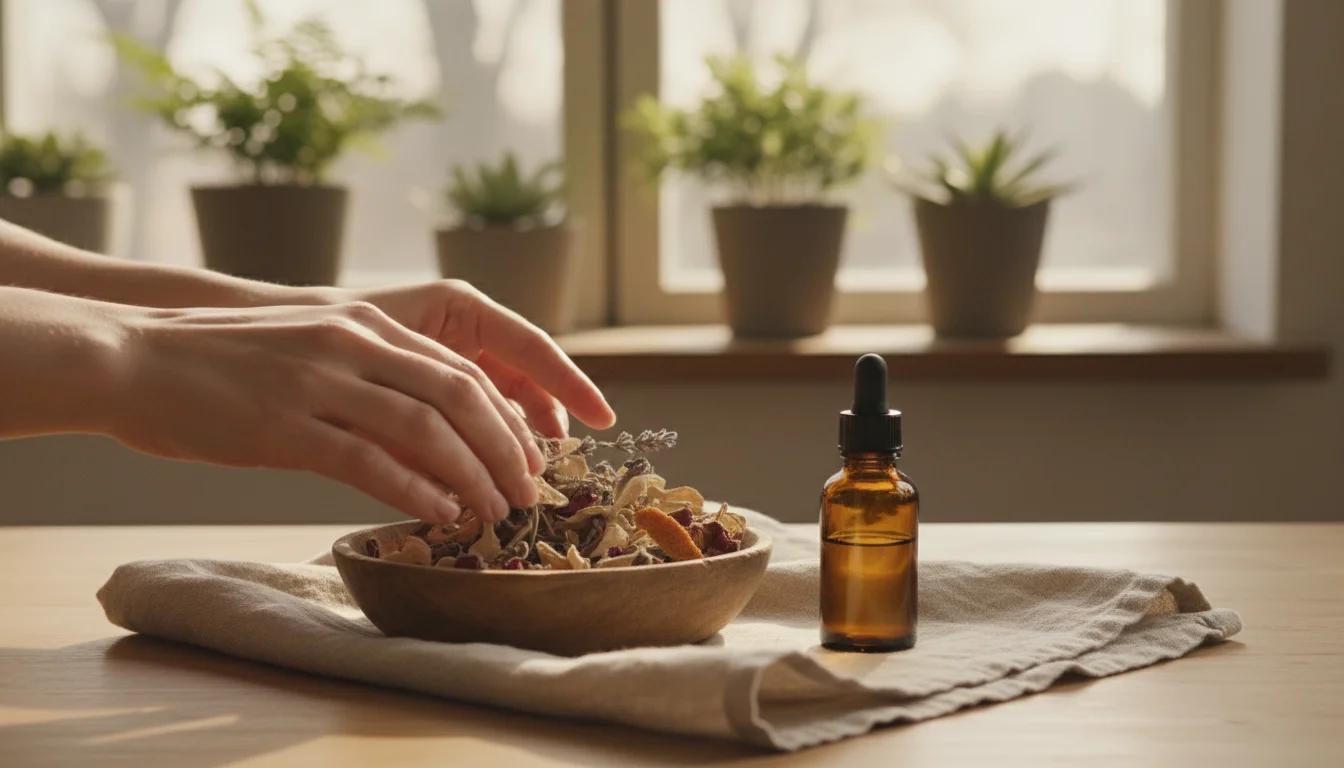
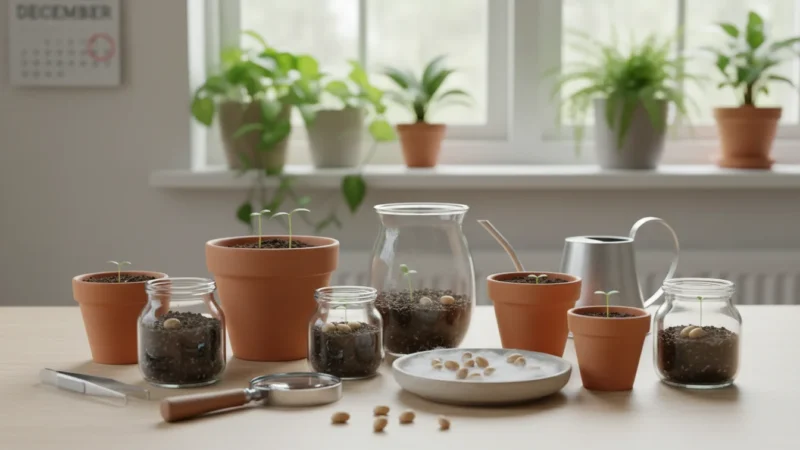
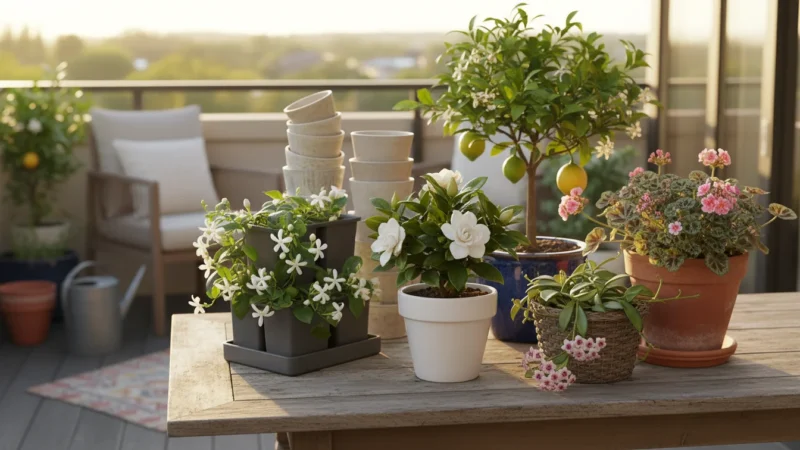
As the days shorten and a crispness enters the air, your small garden, balcony containers, or patio pots offer their final, vibrant gifts. Instead of letting these last beautiful herbs and blossoms fade unnoticed, transform them into something truly special for your home. This guide helps you capture the essence of your garden, bringing its natural fragrance indoors to create a warm, inviting atmosphere for fall. You turn those final cuttings into aromatic potpourri, a beautiful, zero-waste project that extends the joy of gardening right into your living space. Prepare to fill your home with the wholesome, comforting scents of your own harvest.
Making potpourri is just one of several creative ways to preserve your final balcony herb harvest before the season ends.
Embracing the Harvest: Why Dry Your Garden’s Last Gifts?
The transition from summer to fall signifies a shift in your garden. For many small-space gardeners, this means the end of a growing season, but it also presents a wonderful opportunity. You can preserve the bounty of your efforts, transforming fading plant material into beautiful, fragrant treasures for your home. This practice isn’t just about decoration; it embodies several core principles valuable to any gardener, especially those with limited space.
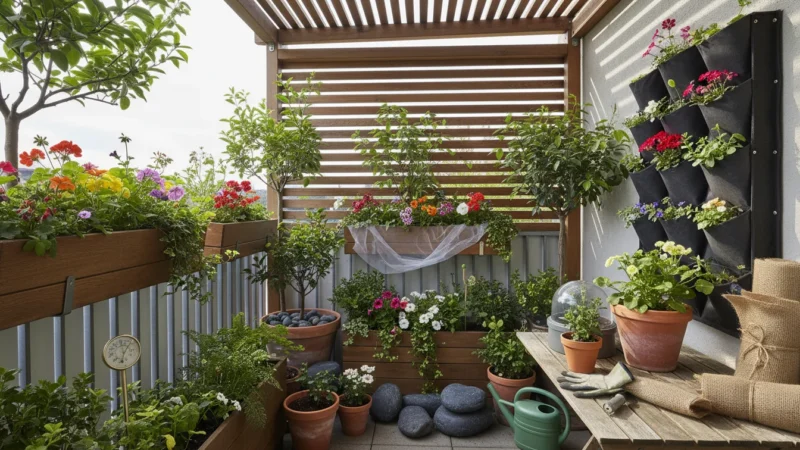
In addition to scents, you can use these materials to create DIY fall decor for your porch or balcony.

The Joy of Zero-Waste Gardening
You work hard cultivating your herbs and flowers, even in a small balcony pot or a compact raised bed. Letting the final flush of growth go to waste feels counterintuitive. Drying these last cuttings offers a satisfying, zero-waste solution. You take materials that would otherwise compost or be discarded and give them new life, extending their purpose and your enjoyment. This approach aligns perfectly with sustainable gardening, making the most of every resource your garden provides.
Natural Home Fragrance: A Healthier Alternative
Many commercial air fresheners and candles contain synthetic chemicals that release volatile organic compounds (VOCs) into your home. While these products deliver scent, their long-term health effects remain a concern for some. Creating your own DIY potpourri provides a natural, healthier alternative. You control every ingredient, ensuring only wholesome, garden-fresh aromas fill your living space. Imagine the subtle, earthy scent of dried lavender and mint, knowing it comes directly from plants you nurtured. This brings a unique, personal touch that no store-bought product can replicate.
Extending Your Garden’s Life Indoors
Your garden offers beauty, peace, and connection to nature. When the outdoor growing season ends, you often miss that immediate connection. Drying herbs and flowers allows you to bring a piece of your garden indoors, keeping its spirit alive through the colder months. Each time you catch a whiff of your homemade potpourri, you remember the sun on your face, the buzzing bees, and the satisfaction of watching your plants thrive. This helps maintain your gardening connection year-round, even if your physical garden sits dormant.
Therapeutic and Creative Benefits
The process of harvesting, drying, and arranging your botanicals offers a calming, mindful activity. It’s a creative outlet that engages your senses and provides a sense of accomplishment. You thoughtfully select colors, textures, and fragrances, designing a blend that reflects your personal style. This simple act of creation enhances your well-being, providing a therapeutic escape from daily stresses. Plus, sharing your homemade potpourri with friends or family makes for a thoughtful, personalized gift, embodying true garden-to-home generosity.
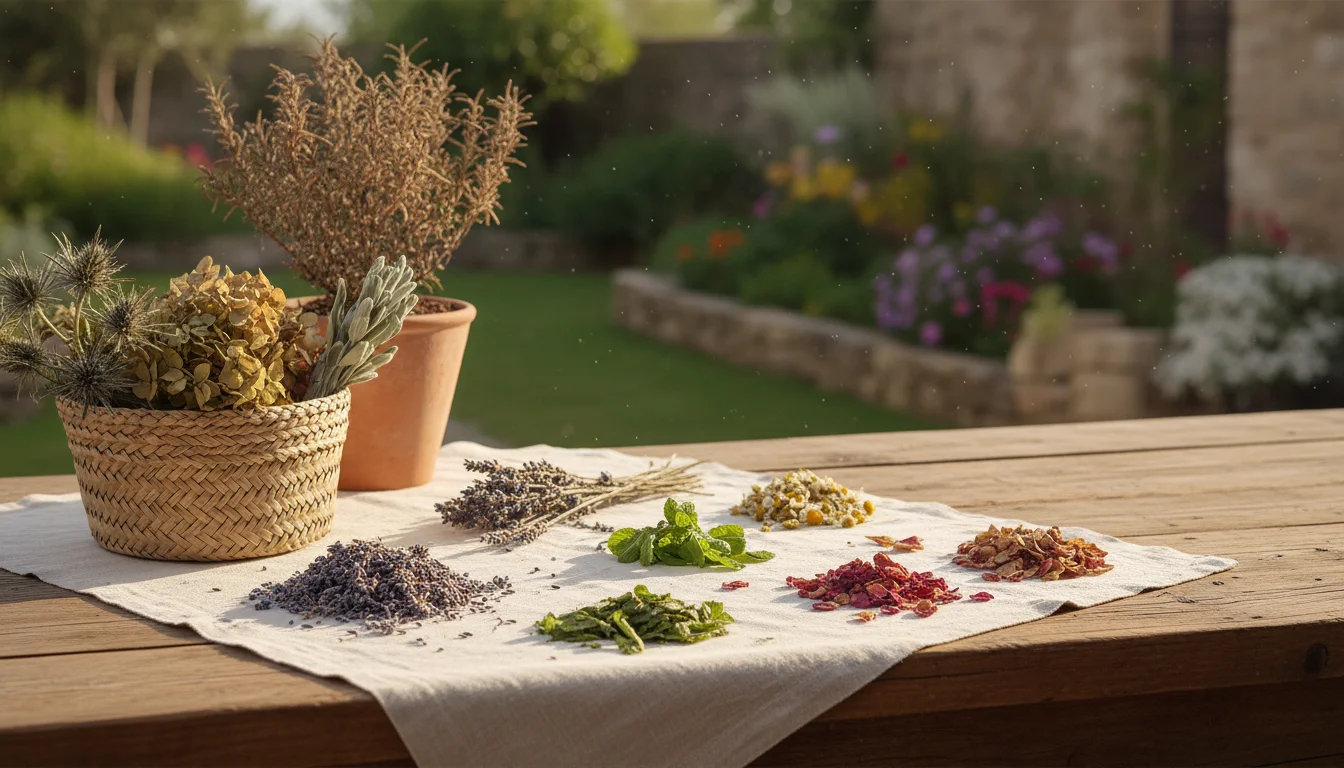
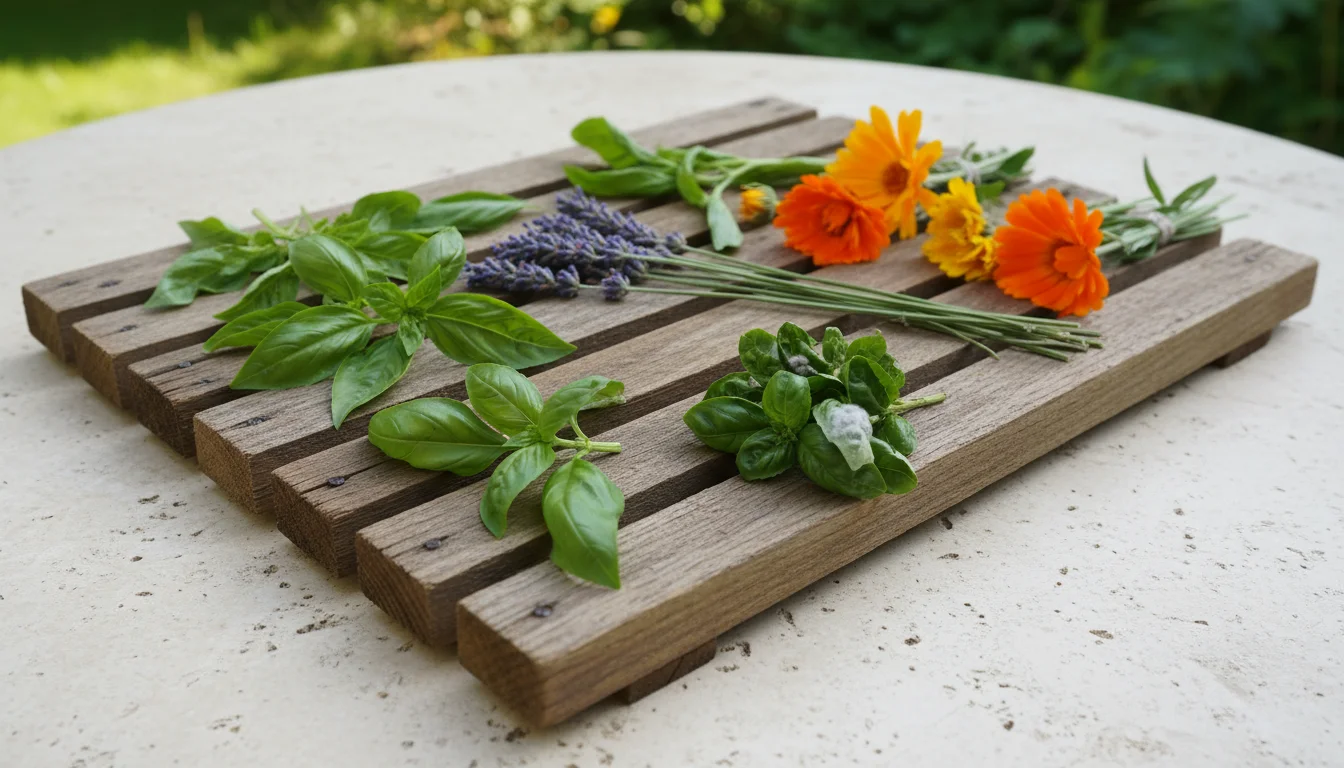
Selecting Your Scent Stars: Best Herbs and Flowers for Potpourri
Choosing the right plants makes all the difference in your potpourri’s fragrance and visual appeal. Focus on plants known for their strong, pleasant aromas and those that retain their color well upon drying. Many popular herbs and flowers thrive in small spaces, making them ideal candidates for your final harvest.
When choosing your plants, you can also design a container garden that smells like autumn to enjoy the fragrance long before you start the drying process.
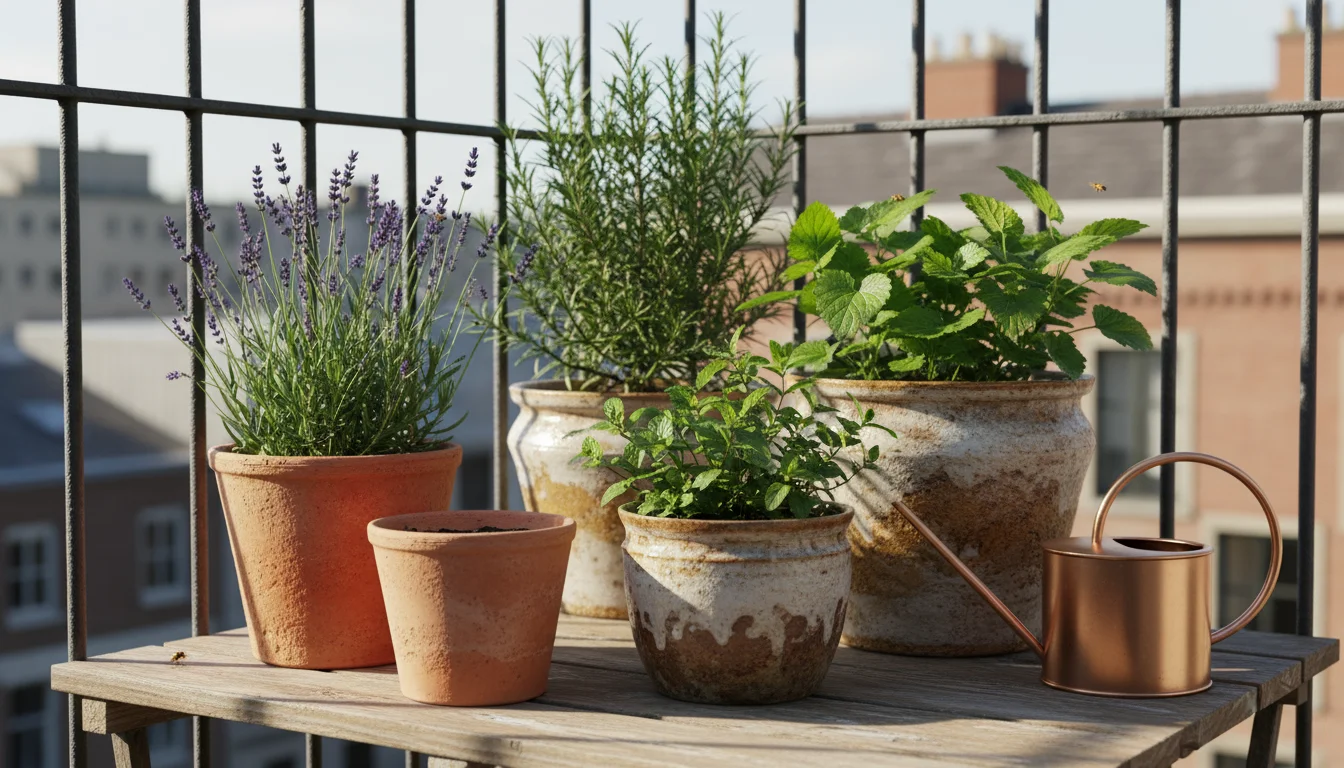
Fragrant Herbs: Your Aromatic Foundation
- Lavender (Lavandula spp.): A classic choice, lavender offers a calming, floral scent that dries beautifully. Its purple flowers retain their color well. Both English and French lavender varieties work wonderfully.
- Mint (Mentha spp.): Peppermint, spearmint, or even chocolate mint provide a refreshing, invigorating aroma. Mint leaves dry quickly and add a bright, herbaceous note to blends. Drying mint for sachets is a popular practice.
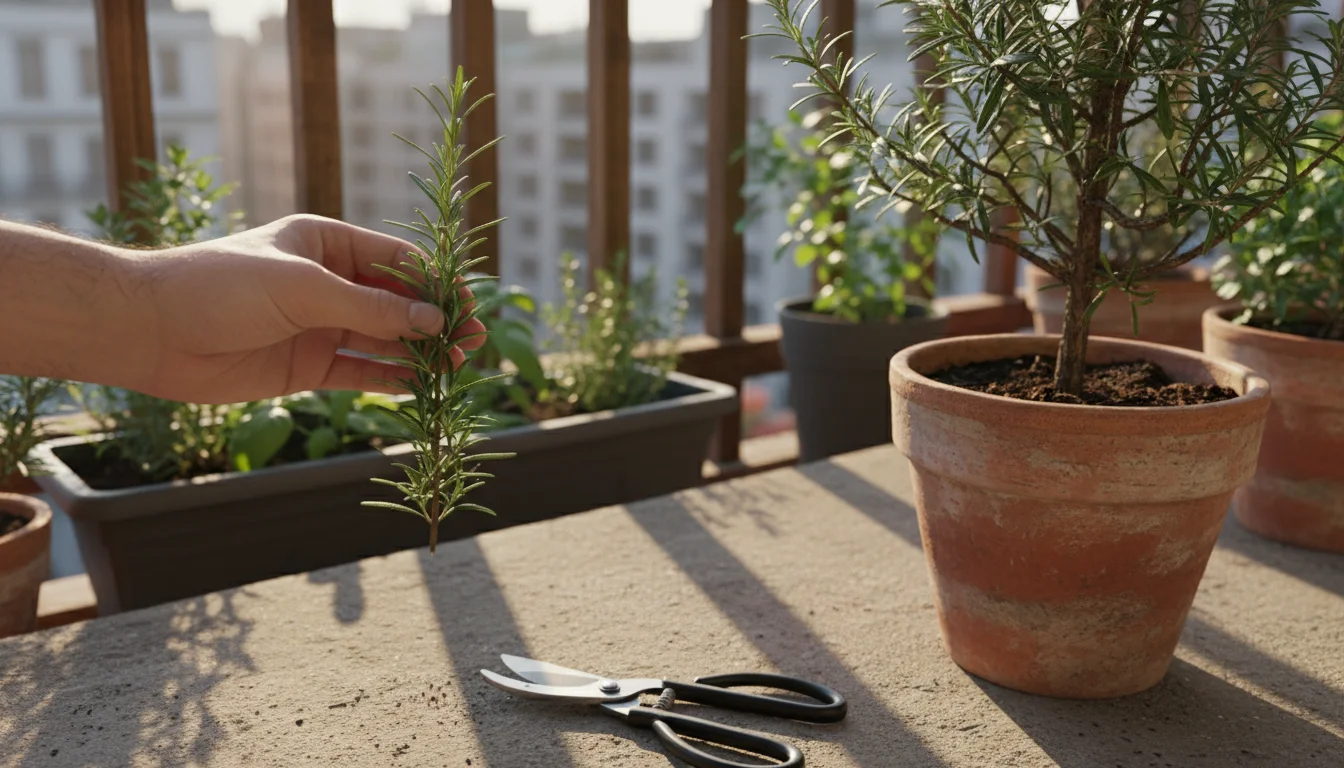
- Rosemary (Rosmarinus officinalis): This woody herb carries a pungent, pine-like fragrance. Its needles dry well and offer a grounding, invigorating scent, especially good for fall and winter blends.
- Lemon Balm (Melissa officinalis): A member of the mint family, lemon balm provides a distinct lemony scent that brightens any potpourri. Its leaves dry easily and add a fresh, citrusy undertone.
- Thyme (Thymus vulgaris): Thyme’s earthy, slightly floral aroma works well as a background note. Its tiny leaves and flowers dry quickly on their stems.
- Scented Geraniums (Pelargonium spp.): These come in a delightful array of scents, including rose, lemon, apple, and peppermint. Their leaves are wonderfully fragrant and retain their aroma when dried.
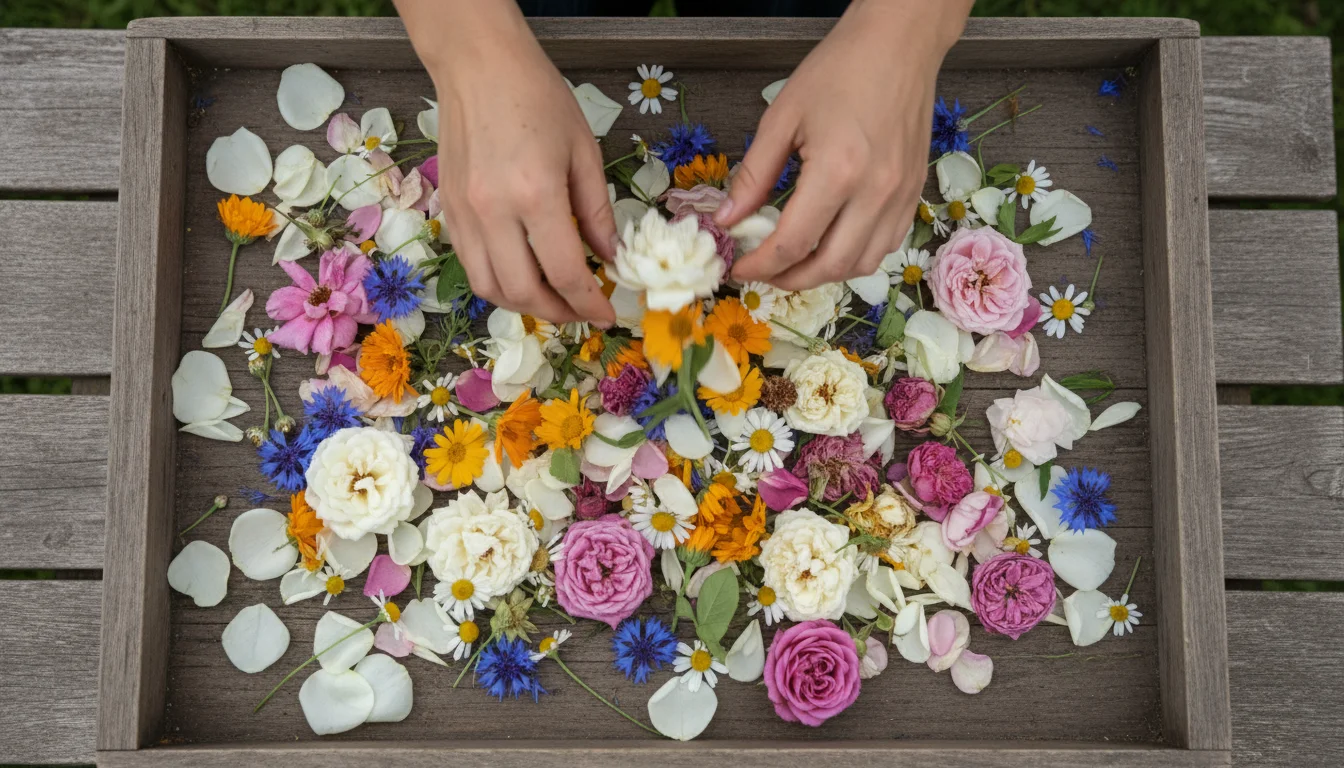
Beautiful Blooms: Adding Color and Depth
- Roses (Rosa spp.): Rose petals, especially from fragrant varieties, add a timeless, romantic scent and beautiful color. Gather individual petals or small, unopened buds.
- Calendula (Calendula officinalis): Also known as pot marigolds, calendula petals offer warm, sunny orange and yellow hues, adding a cheerful visual element. Their scent is mild, making them excellent for visual contribution.
- Chamomile (Matricaria chamomilla): The small, daisy-like flowers of chamomile have a sweet, apple-like scent, known for its calming properties. They dry well and add a delicate touch.
- Cornflowers (Centaurea cyanus): These vibrant blue flowers retain their striking color when dried, offering a beautiful visual contrast without a strong fragrance, making them ideal for visual pop.
- Yarrow (Achillea millefolium): Yarrow’s flat-topped clusters of small flowers dry very well and retain their shape and often their color, providing a rustic, earthy look and a subtle, herbaceous scent.
A Note on Plant Safety
While most common garden herbs and flowers are safe for potpourri, always ensure you identify your plants correctly. If you have pets or small children in the home, be mindful of plants that might be toxic if ingested, such as oleander or foxglove, even in dried form. Stick to known safe, edible, or widely used ornamental plants for your indoor scent projects.
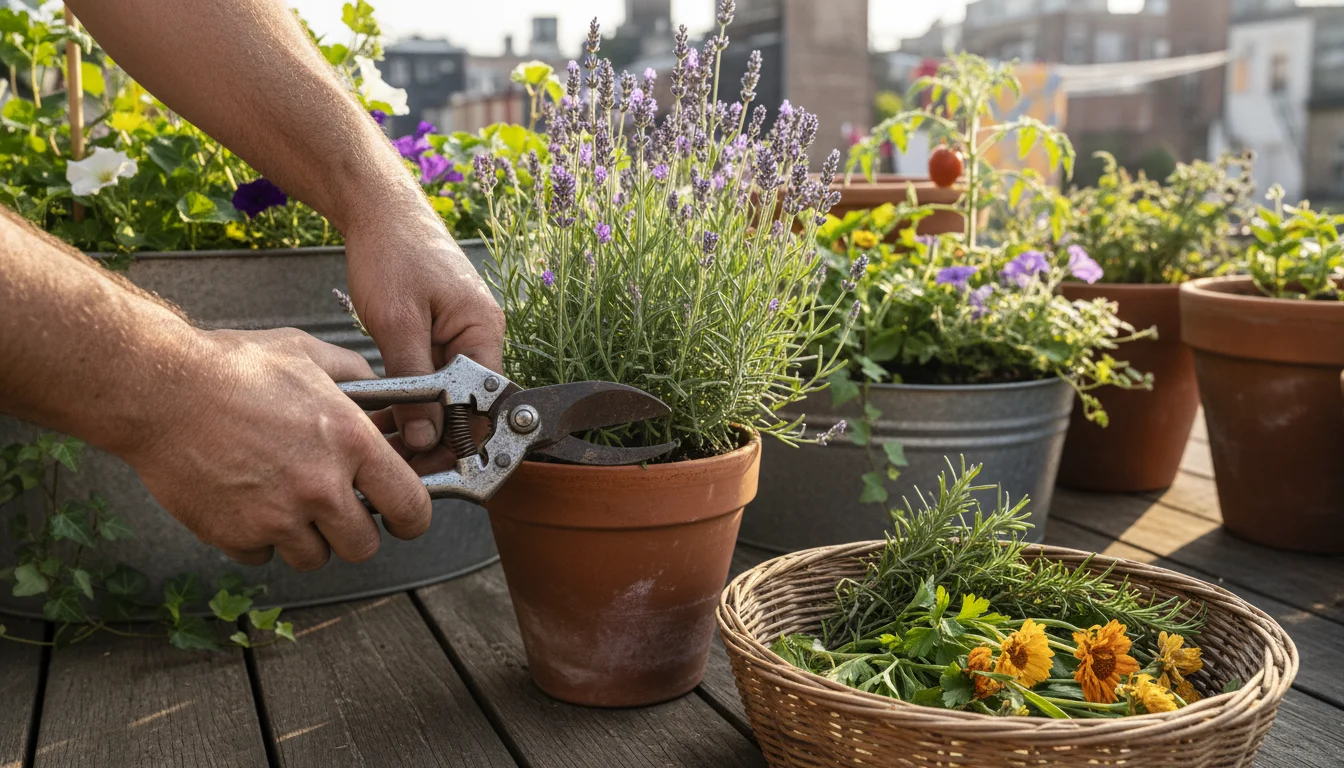
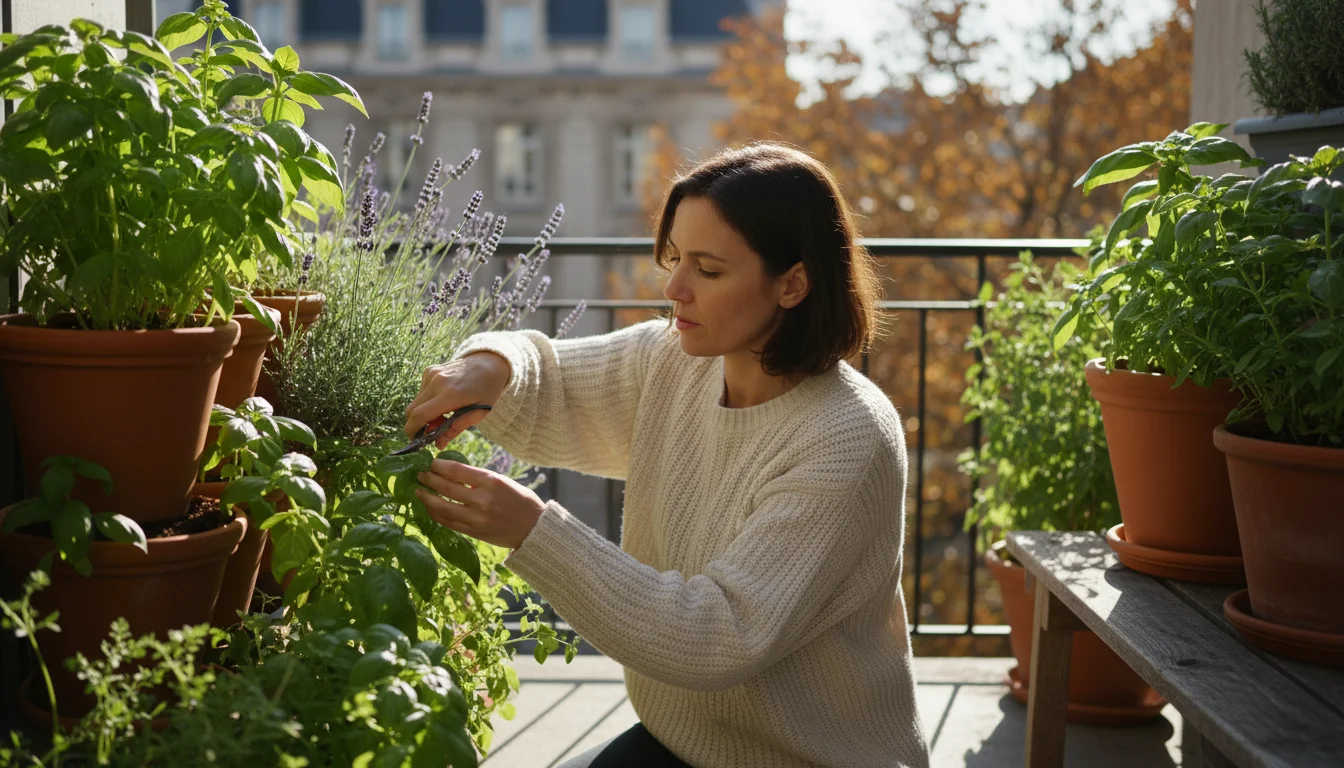
The Art of Preparation: When and How to Harvest for Drying Success
The success of your dried herbs and flowers for potpourri begins with proper harvesting. Timing and technique play crucial roles in preserving fragrance, color, and texture. Think of this as the first step in locking in your garden’s essence.
Optimal Harvesting Time
Timing is everything when gathering plants for drying. Aim to harvest your herbs and flowers:
- Before the first hard frost: A hard frost damages plant cells, causing wilting and reducing quality. Harvest your final cuttings while the plants are still vibrant and healthy.
- On a dry day: Moisture promotes mold. Ensure your plants are free of dew or recent rain. The afternoon, after morning dew has evaporated, is often ideal.
- In the morning, after dew has dried: This is when essential oil content in many herbs is at its peak. Avoid harvesting in the scorching midday sun, which can cause plants to wilt quickly and lose fragrance.
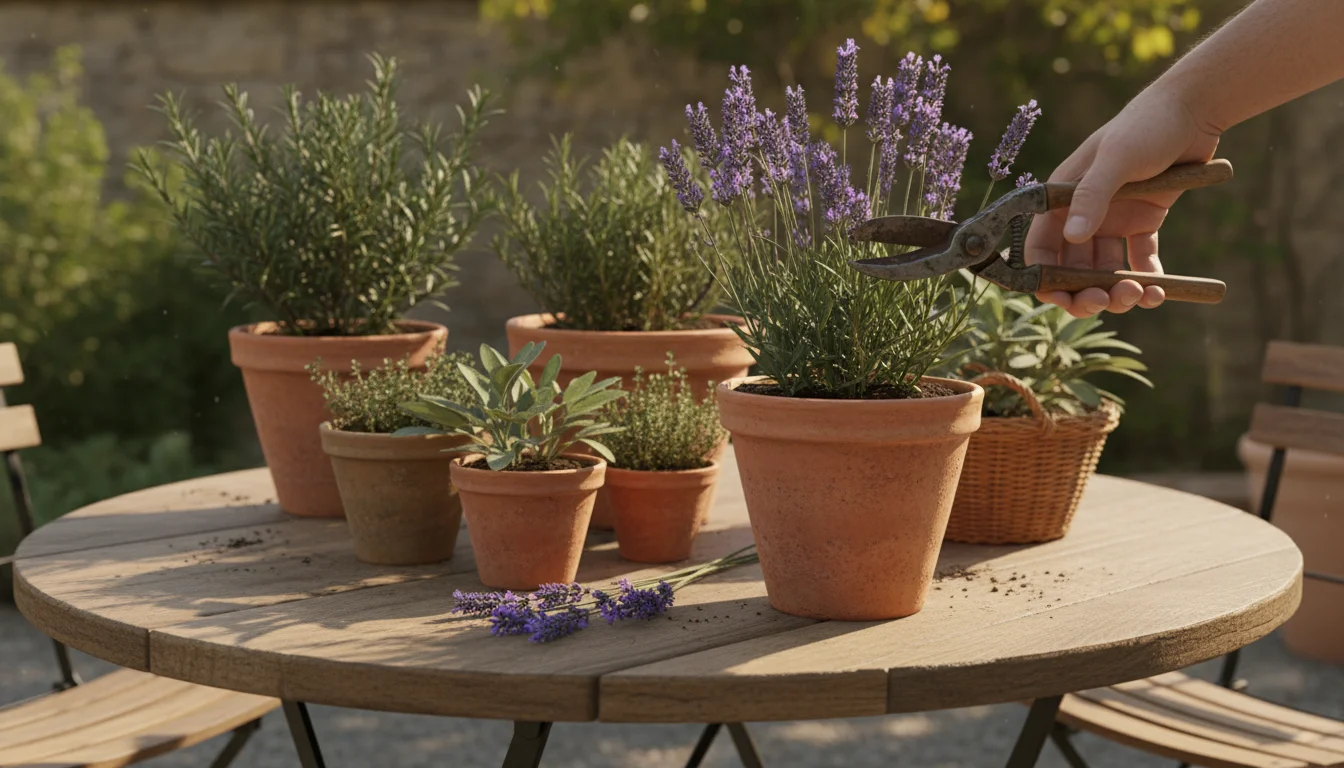
- At their peak bloom or just before: For flowers, harvest them just as they open or slightly before they reach full bloom. Fully open flowers often drop petals during drying. For herbs, harvest before they flower for the best leaf flavor and aroma, though some, like lavender, are harvested for their flower heads.
Proper Harvesting Techniques
Use the right tools and methods to minimize damage to both the plant and your harvest:
- Use sharp tools: Clean, sharp pruning shears or scissors create clean cuts, preventing jagged tears that invite disease to the parent plant.
- Take generous cuttings: Harvest stems that are 6 to 10 inches long for easier bundling and hanging. For individual flower heads, snip them with a short stem of about an inch, making them easier to handle.
- Clean your harvest: Gently shake plants to dislodge any insects or garden debris. Avoid washing most herbs and flowers directly, as added moisture can lead to mold during drying. If you must remove dirt, use a soft brush or a damp cloth only if absolutely necessary, then allow the plant material to air dry thoroughly before beginning the drying process.
- Remove lower leaves and damaged parts: Strip leaves from the bottom few inches of herb stems. Remove any yellowed, diseased, or insect-damaged leaves or petals. You want only the freshest, healthiest material for drying.
- Group similar plants: Keep different herbs and flowers separate during initial harvesting and drying to prevent scent mingling and to ensure uniform drying times.
By following these simple steps, you prepare your garden’s final harvest perfectly for the drying process, ensuring your potpourri retains its beauty and fragrance for months to come.
Simple Drying Methods: Air, Oven, and Dehydrator Techniques
Once you harvest your herbs and flowers, the next critical step involves drying them effectively. Proper drying removes moisture, preventing mold and preserving their aromatic compounds. You have several methods at your disposal, each with its own advantages, especially for small-space gardeners.
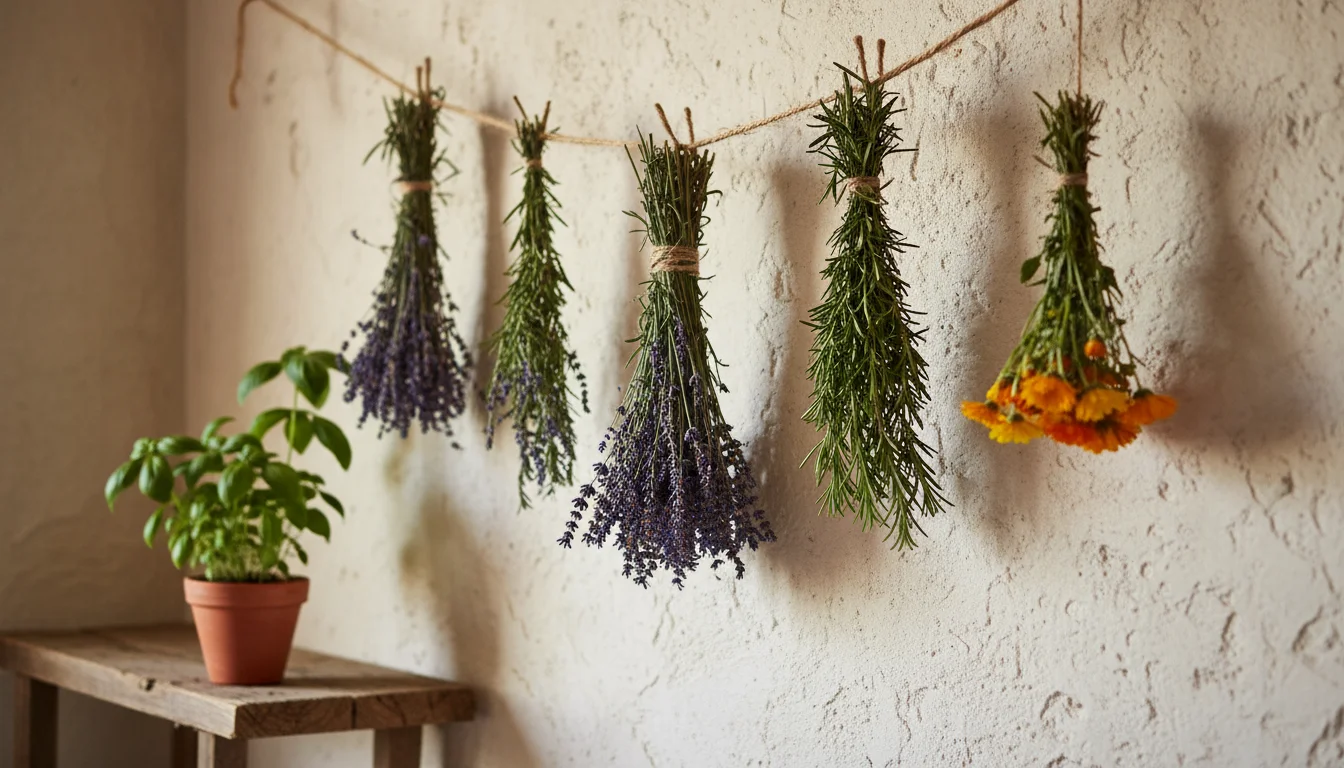
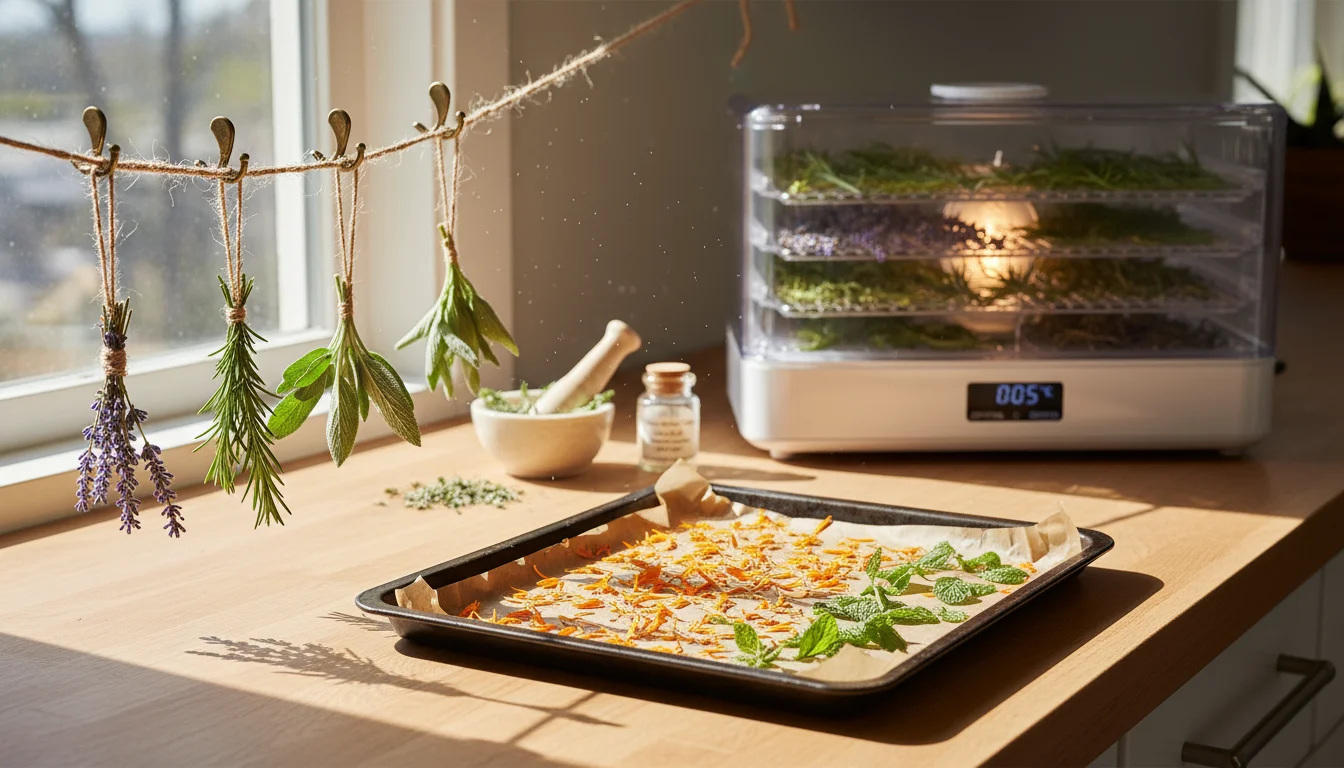
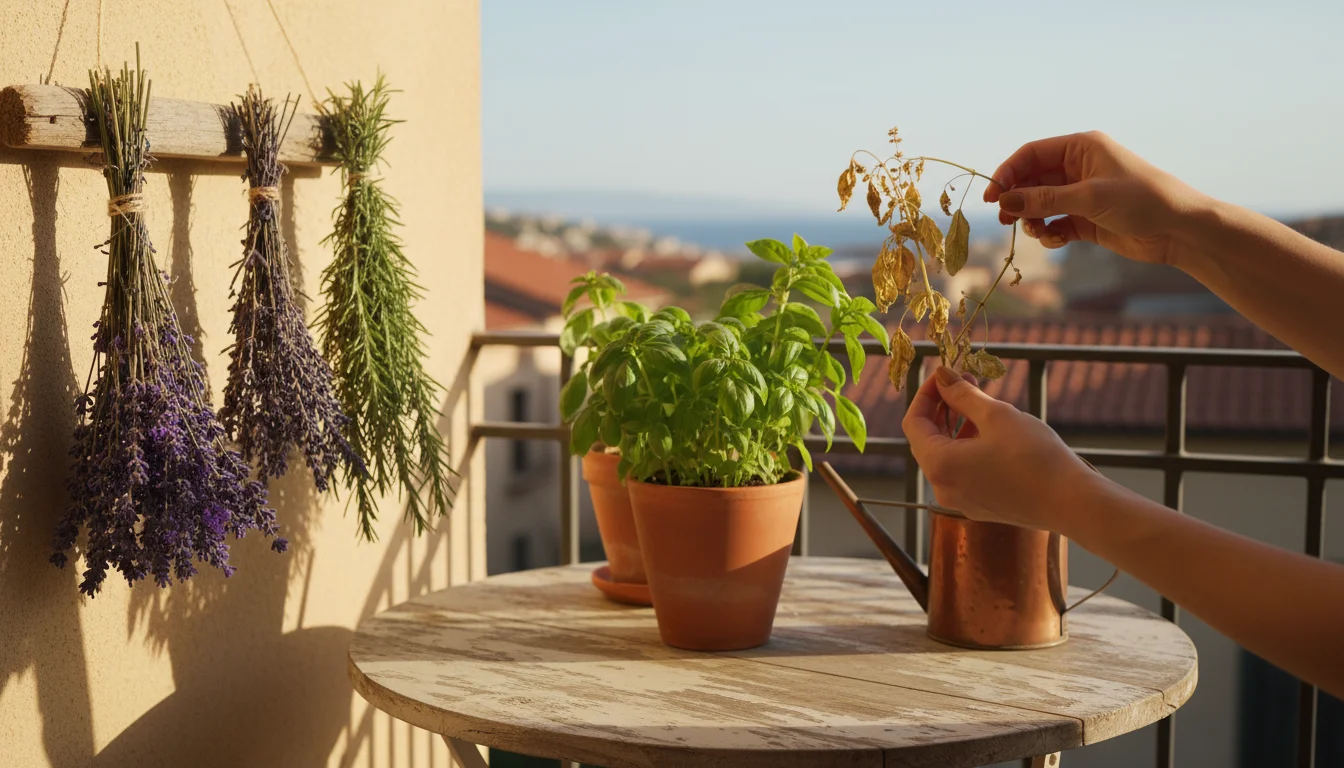
Method 1: Air Drying (The Traditional and Eco-Friendly Way)
Air drying remains the most popular and energy-efficient method. It works beautifully for most herbs and flowers, allowing their natural scents to develop gradually. This method requires patience but yields excellent results.
How to Air Dry:
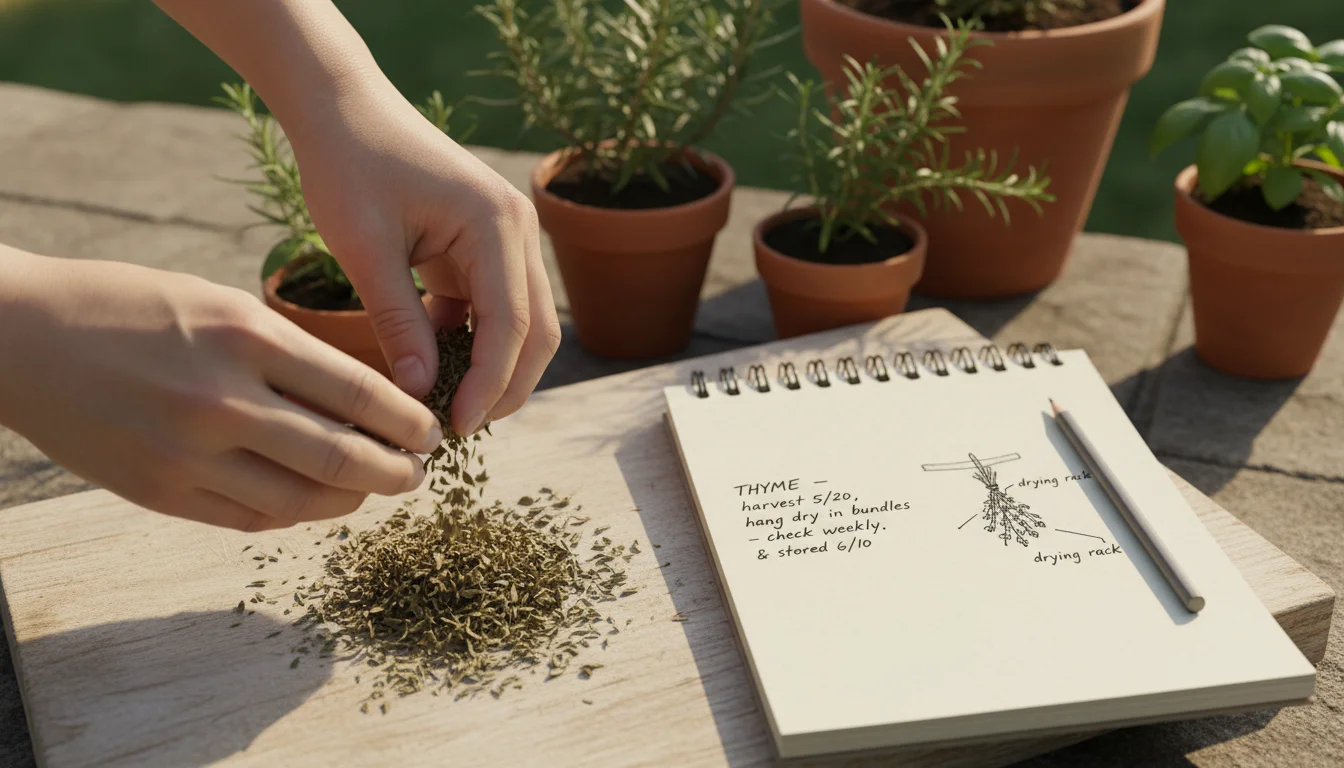
- Bundle your herbs: Gather 5-10 stems of the same herb or flower together. Tie them securely with twine or a rubber band around the cut ends. Do not make the bundles too large, as this inhibits air circulation.
- Find the right location: Choose a warm, dry, well-ventilated area away from direct sunlight. A pantry, attic, unused closet, or even a corner of your kitchen works well. Good air circulation is key to preventing mold. Humidity causes mold growth, so avoid damp basements or bathrooms.
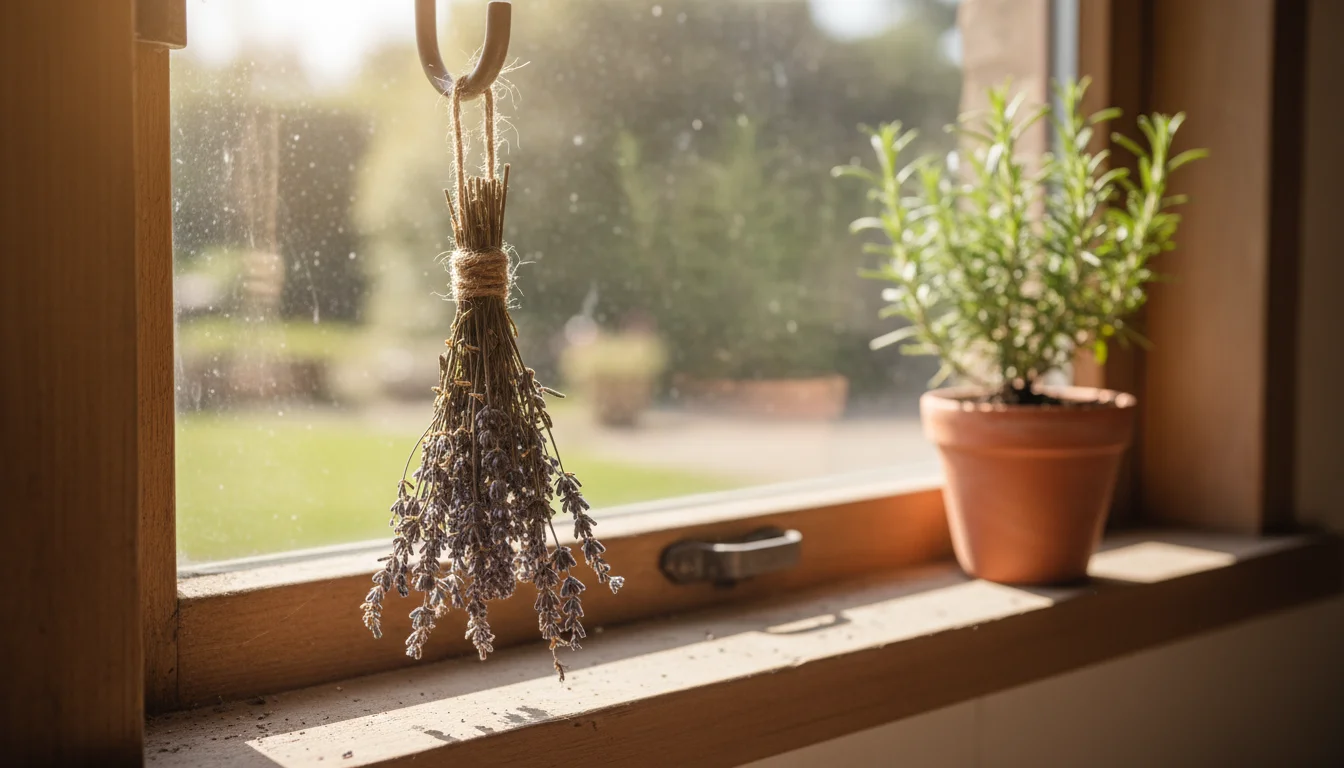
- Hang them upside down: Hang the bundles upside down from a clothesline, drying rack, or even coat hangers. Hanging upside down helps draw the essential oils down into the leaves and flowers, preserving more fragrance.
- Monitor and wait: Drying time varies from one to four weeks, depending on the plant material and humidity levels. Herbs like mint and lavender dry relatively quickly. Flowers with thicker petals or more moisture content take longer. The plants are fully dry when they feel brittle and rustle or crumble easily.
Pros for Small Spaces:
- Requires no special equipment, just twine and a hanging spot.
- Energy-free and environmentally friendly.
- Preserves excellent color and fragrance for many plants.
Cons:
- Takes longer than other methods.
- Requires a dedicated space with good air circulation.

Method 2: Oven Drying (Quick but Requires Vigilance)
Oven drying offers a faster alternative, especially useful if you have limited space for air drying or need results quickly. However, you must monitor the process carefully to prevent scorching or cooking your botanicals, which destroys their fragrance and color.
How to Oven Dry:
- Preheat your oven to its lowest setting: This is typically between 150-200°F (65-95°C). You ideally want a temperature low enough to evaporate moisture without cooking the plants.
- Prepare your plants: Spread a single layer of herb leaves or flower petals on a baking sheet lined with parchment paper. Avoid overcrowding, as this impedes drying.
- Dry with the door ajar: Place the baking sheet in the oven. Prop the oven door open slightly with a wooden spoon to allow moisture to escape.
- Watch carefully: Check your plants every 15-30 minutes, turning them occasionally to ensure even drying. Drying time can range from 1 to 4 hours, depending on the plant material. The plants are dry when brittle and crumbly.
- Cool completely: Once dry, remove the plants from the oven and let them cool completely on the baking sheet before storing.
Pros for Small Spaces:
- Significantly faster than air drying.
- Uses existing kitchen equipment.
Cons:
- Risk of scorching or losing fragrance if temperatures are too high or drying time is too long.
- Consumes energy.
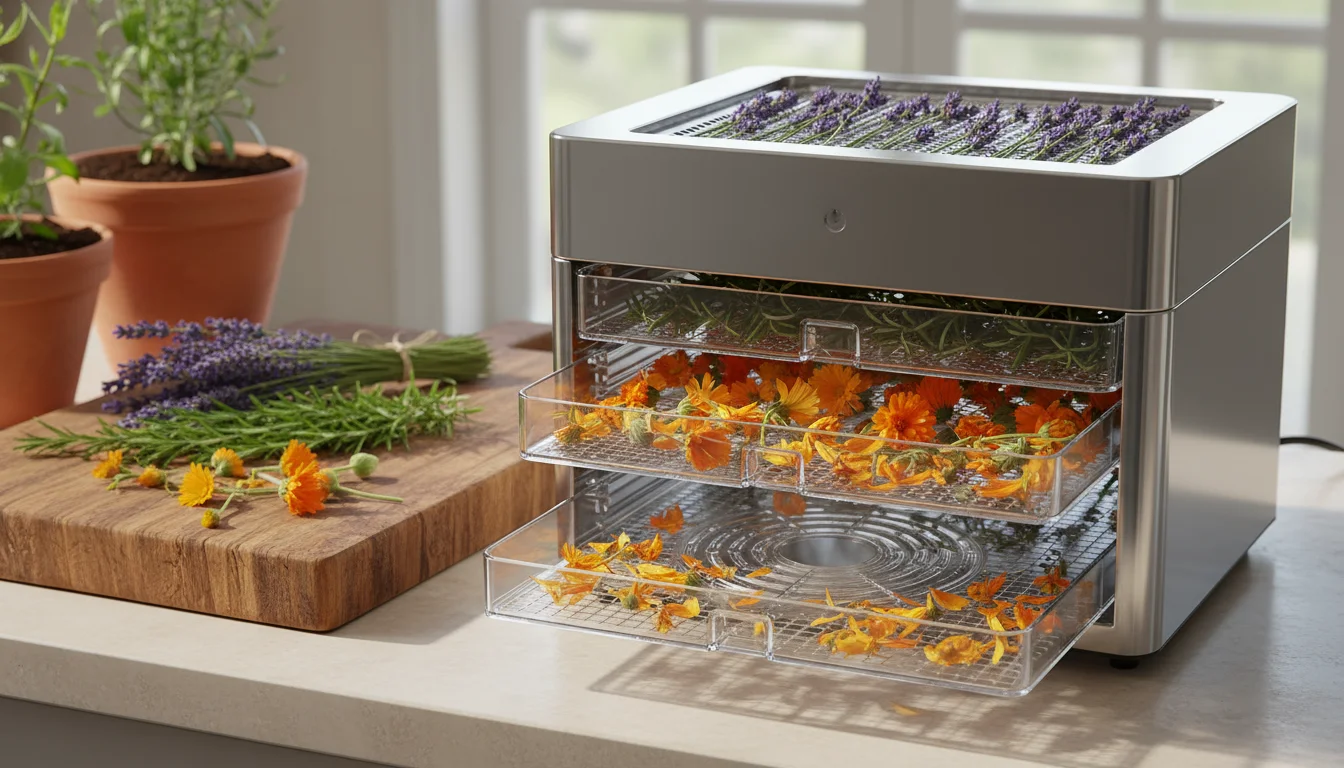
Method 3: Dehydrator Drying (Consistent and Controlled)
A food dehydrator provides the most consistent and controlled drying environment. If you already own one for fruits or vegetables, it’s an excellent option for your herbs and flowers. This method usually yields well-preserved color and fragrance.
How to Dehydrator Dry:
- Arrange plants on trays: Spread herb leaves or flower petals in a single layer on the dehydrator trays. Ensure good spacing between pieces for optimal air flow.
- Set the temperature: Follow your dehydrator’s instructions, but generally, a low setting around 95-105°F (35-40°C) works best for herbs and flowers.
- Dehydrate until crisp: Dehydration time varies from a few hours to a full day, depending on the plant and dehydrator model. The plants are dry when they are brittle and crumbly.
- Cool before storing: Let the dried botanicals cool completely before transferring them to storage containers.
Pros for Small Spaces:
- Highly effective and consistent results.
- Retains color and fragrance well.
- Requires minimal monitoring once set up.
Cons:
- Requires an upfront investment in a dehydrator.
- Uses electricity.
No matter which method you choose, remember that patience and attention to detail ensure your final herb cuttings and flower heads transform into beautiful, fragrant additions to your homemade potpourri.
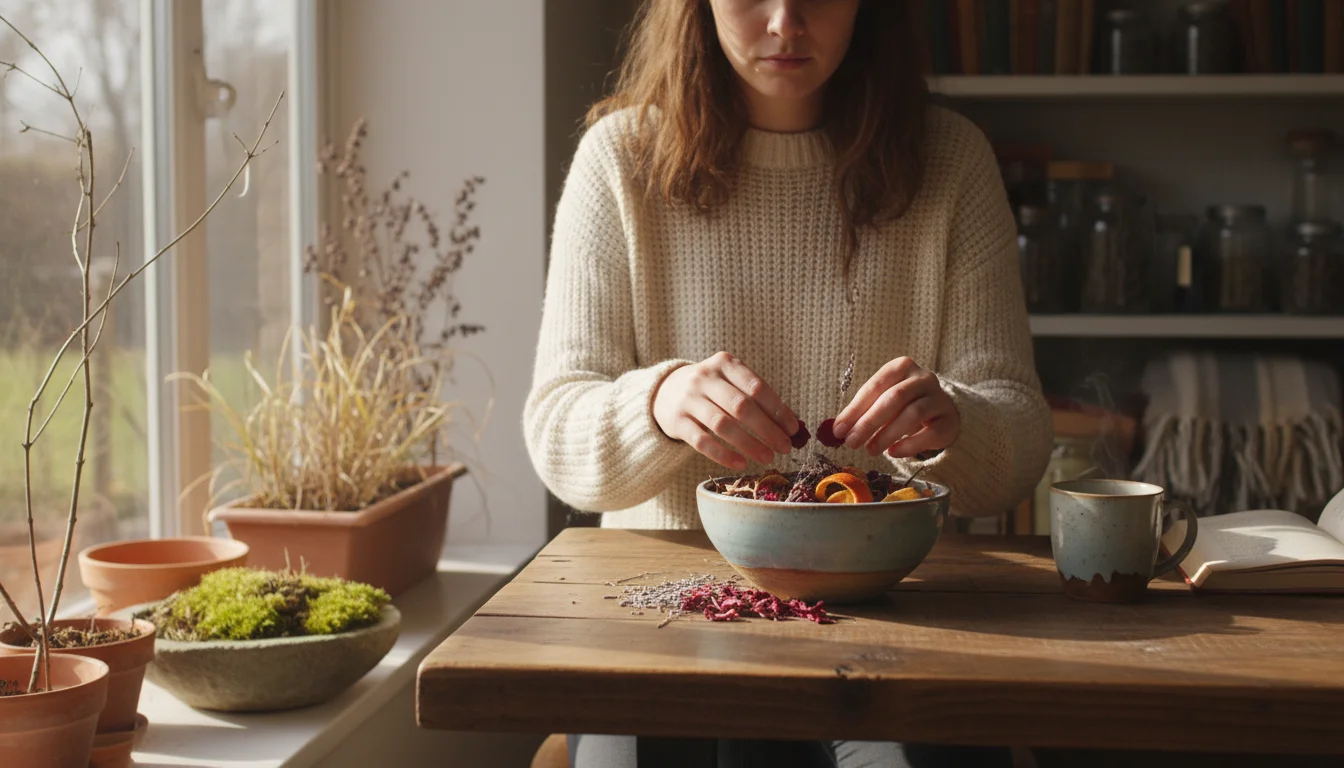
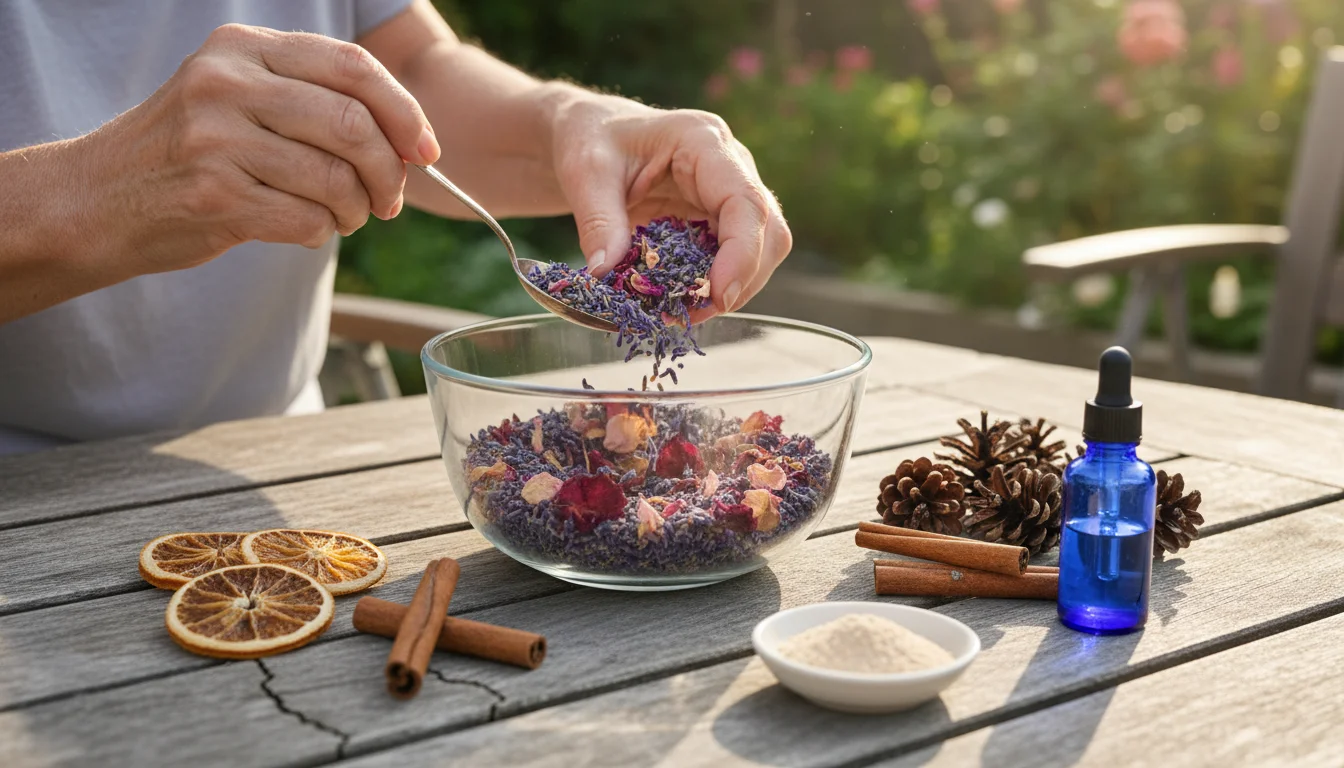
Crafting Your Signature Potpourri: Assembling Your Fall Fragrance
With your garden’s bounty dried and ready, you embark on the most creative step: blending your botanicals into a unique fall home fragrance. This is where your personal style shines, allowing you to mix scents and textures for a truly custom creation. Think of it as composing a natural perfume for your home.
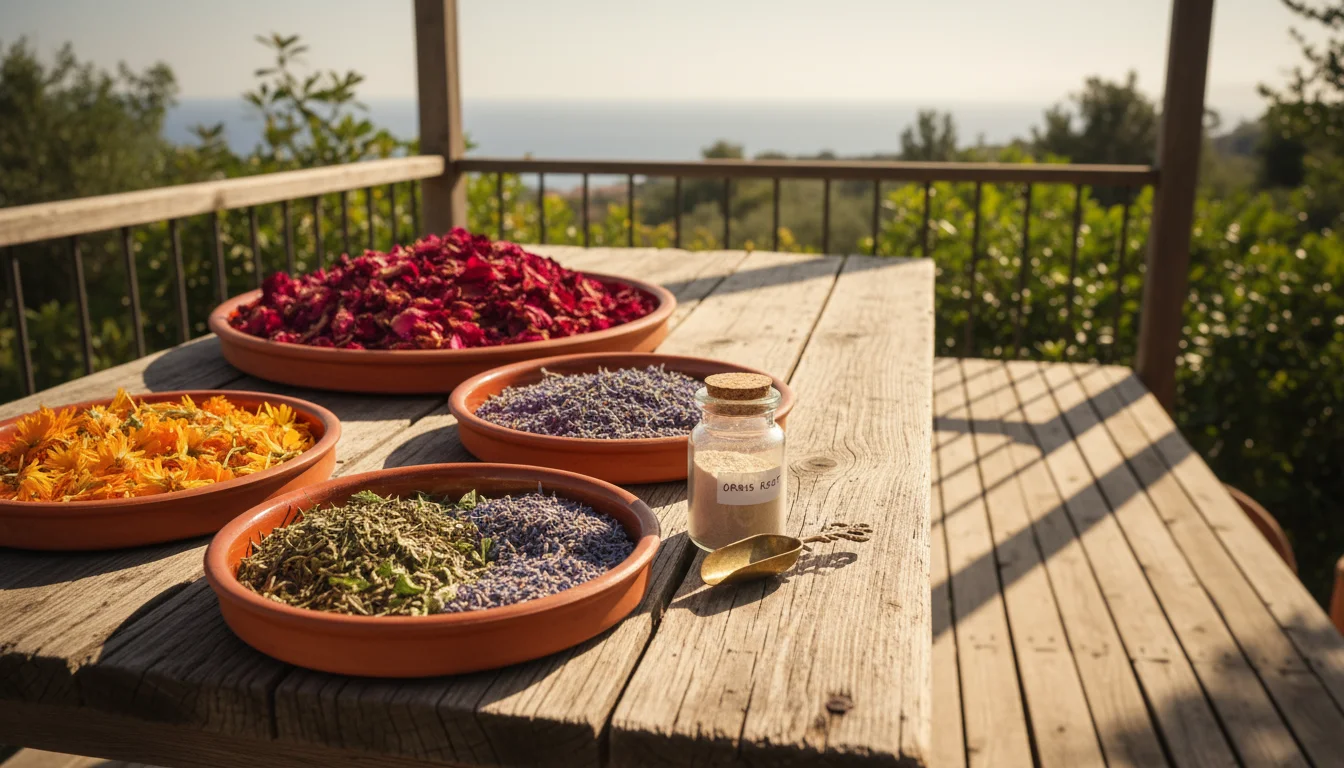
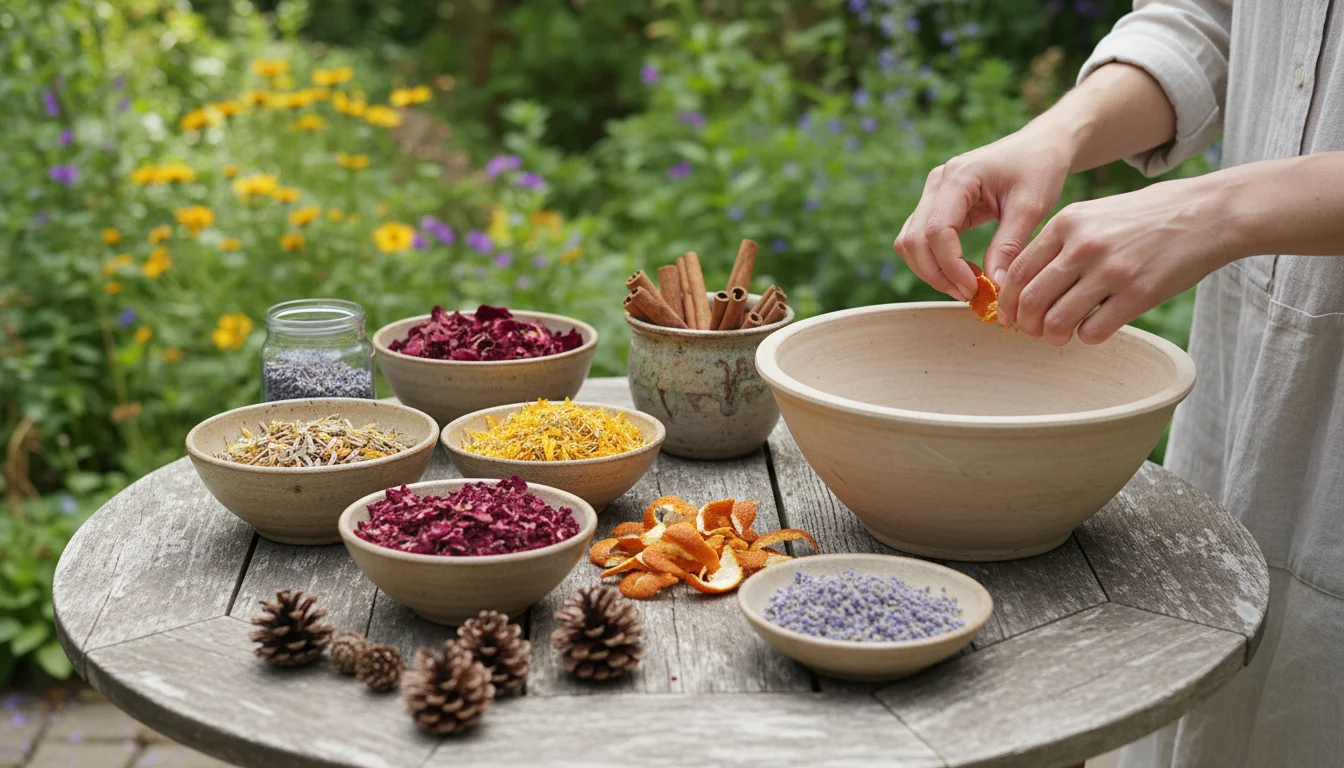
The Essential Ingredients: Building Your Base
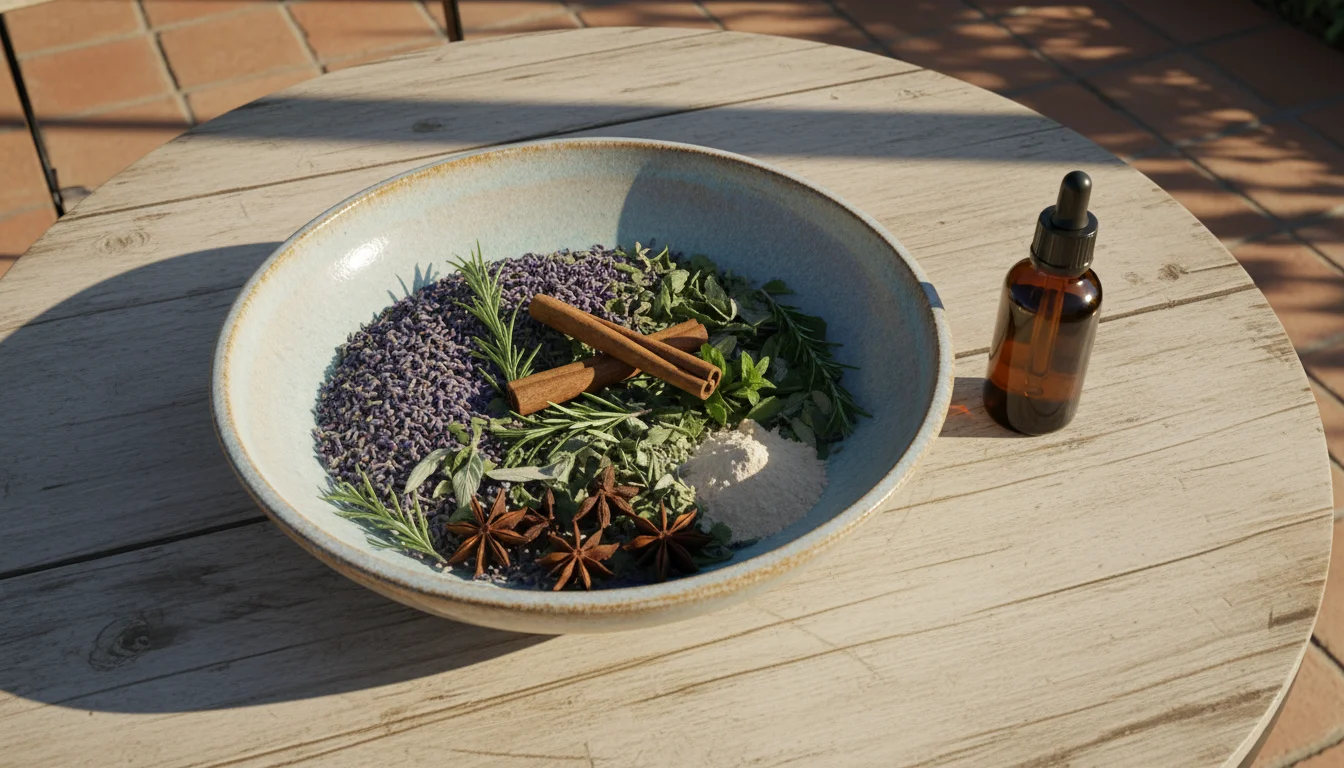
A successful potpourri typically combines three types of ingredients:
- Dried Botanicals (Your Garden’s Stars): These form the bulk and primary scent of your potpourri. Include a mix of your dried herbs (lavender, mint, rosemary, lemon balm, scented geranium leaves) and flowers (rose petals, calendula, chamomile, cornflowers). Varying textures and colors adds visual interest.
- Fixatives (Scent Anchors): Fixatives are ingredients that absorb and slowly release essential oils, helping the potpourri’s fragrance last longer.
- Orris Root Powder: This remains the most classic fixative. It has a subtle, sweet, violet-like scent itself and helps “fix” other fragrances. You can find it at specialty herb shops or online. Use about 1 tablespoon per cup of dried botanicals.
- Cellulose Powder: A more neutral alternative to orris root, it also helps absorb and prolong scent.
- Whole Spices: Cinnamon sticks, star anise pods, whole cloves, and dried orange peels not only add their own warm, fall-appropriate scents but also act as natural fixatives and beautiful visual elements.
- Essential Oils (Optional Scent Boosters): While your dried botanicals carry natural fragrance, a few drops of essential oil can enhance or deepen the overall aroma, especially if your garden harvest has a milder scent. Choose oils that complement your dried plants.
- Complementary Scents: For lavender, consider adding a drop of additional lavender oil or a touch of cedarwood. For mint, peppermint or spearmint oils work well. For fall, warm notes like cinnamon, clove, orange, nutmeg, or frankincense are excellent.
- Application: Add essential oils to the fixatives first, allowing them to absorb fully, before mixing with your dried plants. This helps distribute the scent evenly and prevents oversaturation of your botanicals.
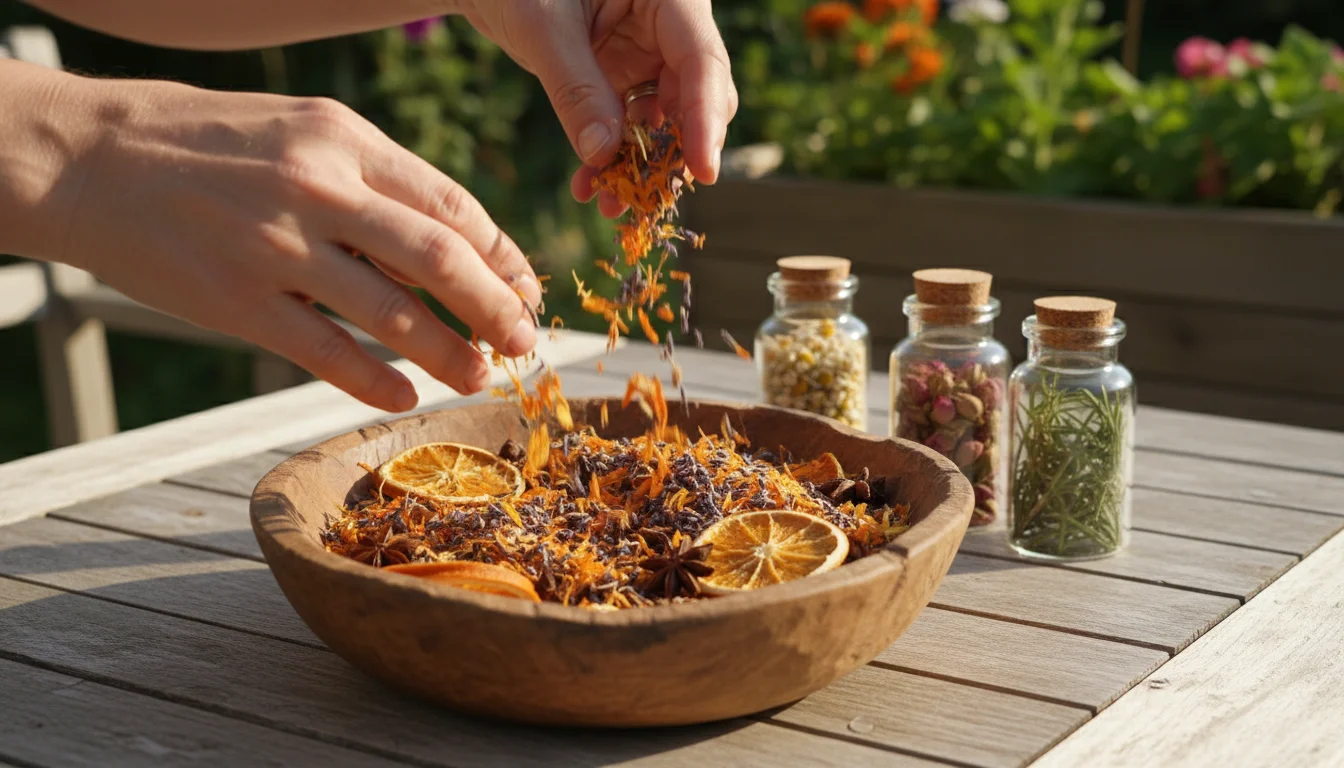
Crafting Your Blend: A Step-by-Step Guide
- Gather your dried botanicals: Measure out your dried herbs and flowers. A good starting ratio is 2 parts dried leaves/petals to 1 part larger pieces like dried orange peels, small pinecones, or whole spices. For small-space gardeners, focus on a smaller, concentrated batch.
- Prepare your fixatives: In a large, non-reactive bowl (glass or ceramic works best), combine your chosen fixatives. If using orris root powder, sprinkle it over the botanicals. If using whole spices, add them in now.
- Add essential oils (if desired): If you choose to use essential oils, add 10-20 drops directly to the fixatives or a small amount of your larger dried botanicals (like pinecones or wood chips) in a separate bag or container. Shake or stir well to coat. Let this mixture sit for a few hours, or even a day, to allow the oils to absorb.
- Combine and mix: Gently combine your essential-oil-infused fixatives (if used) with the rest of your dried herbs and flowers in the large bowl. Toss everything gently with your hands or a wooden spoon to mix evenly, being careful not to crush delicate petals.
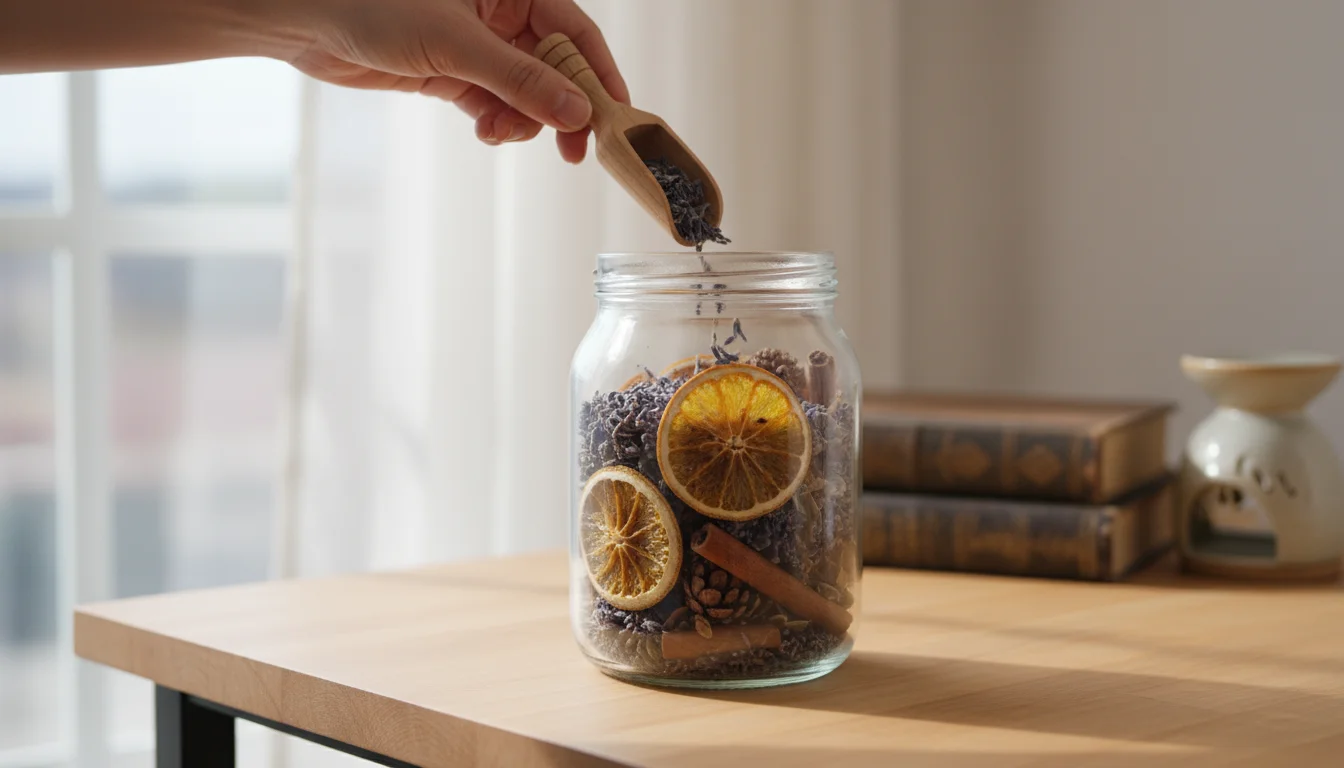
- Cure your potpourri: Transfer the mixture to an airtight glass jar or a sealed paper bag. Store it in a cool, dark place for at least 2-4 weeks. This “curing” period allows the scents to meld and deepen, resulting in a richer, more harmonious fragrance. Shake the container gently every few days to redistribute the oils and ingredients.
- Display and enjoy: Once cured, transfer your finished potpourri to decorative bowls, sachets, or clear jars. Place them strategically around your home to enjoy your unique fall home fragrance.
Ideas for Fall-Inspired Blends
- Autumn Spice: Dried rose petals, calendula, cinnamon sticks, whole cloves, dried orange peel, rosemary, a few drops of orange and clove essential oils.
- Lavender Meadow: Dried lavender buds and leaves, chamomile flowers, lemon balm, a small amount of orris root powder, optional lavender essential oil.
- Woodland Mint: Dried mint leaves, rosemary, pine needles (if you have them), small pinecones, a few drops of cedarwood or peppermint essential oil.
The beauty of homemade potpourri lies in its customization. Experiment with different combinations from your garden to discover your perfect fall scent.
Extending the Life of Your Scent: Storage and Refreshing Techniques
Your beautiful, homemade potpourri offers a delightful natural fragrance, but like all good things, its scent will gradually diminish over time. With a few simple strategies, you can significantly extend its aromatic life and keep your home smelling wonderful throughout the fall and winter seasons.
Optimal Storage Practices
Proper storage is crucial for maintaining the potency of your dried botanicals and assembled potpourri before and after display:
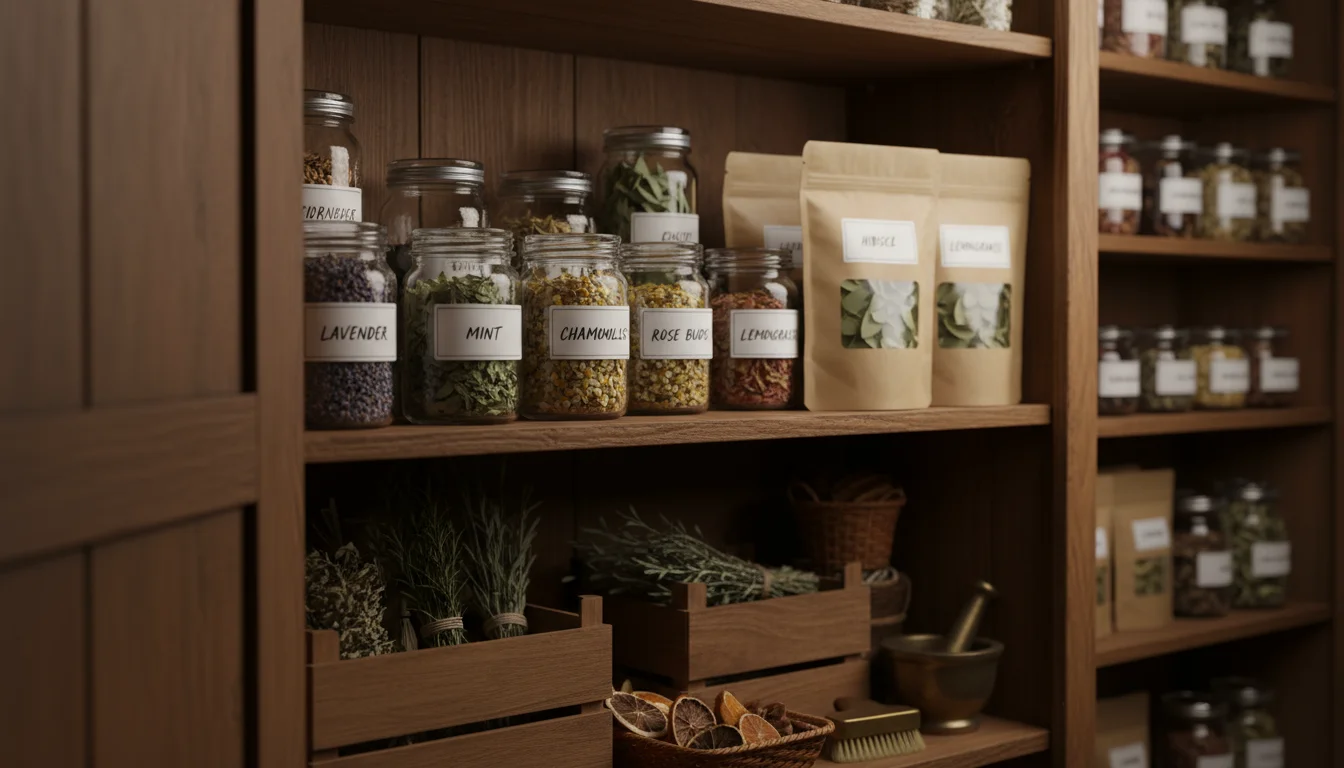
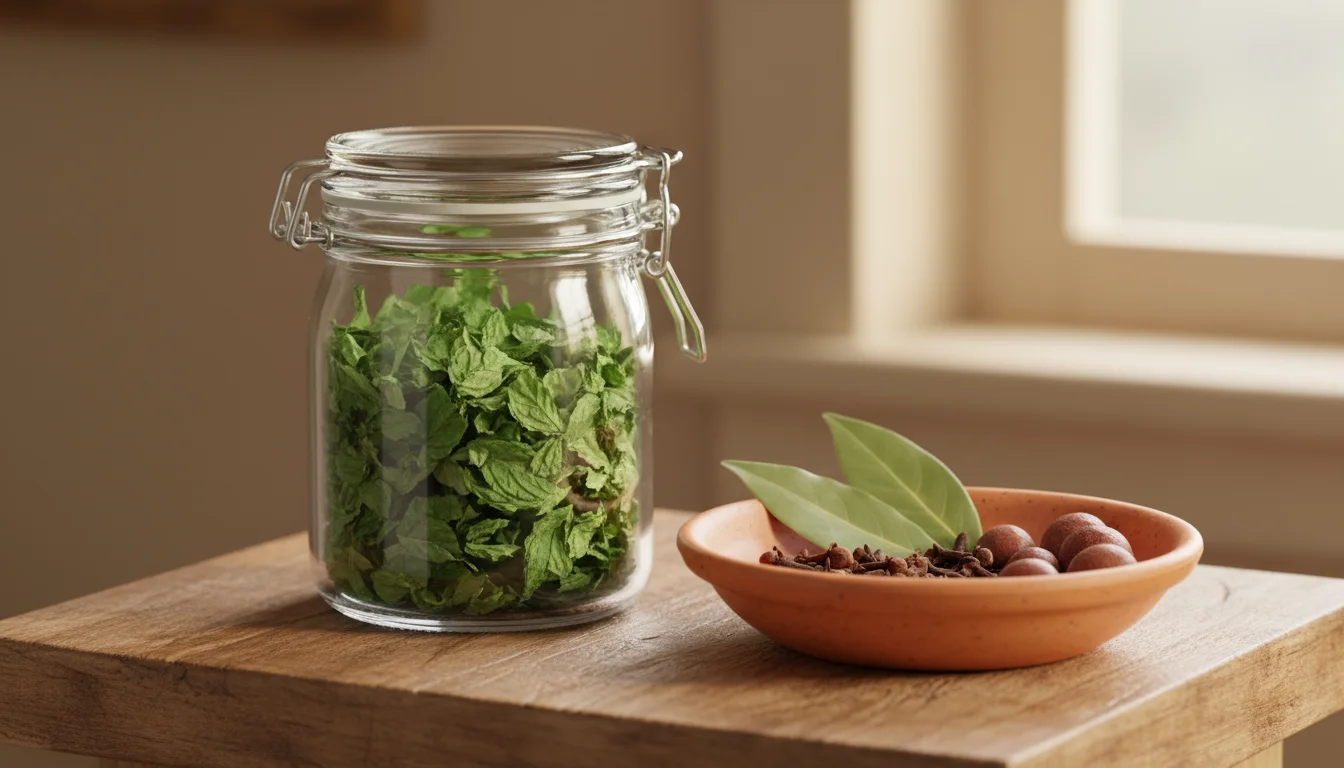
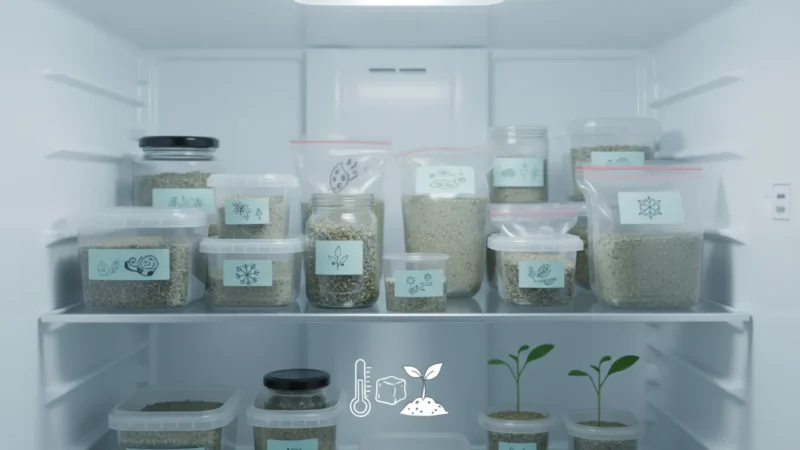
- Store in airtight containers: Once your herbs and flowers are thoroughly dry and cool, transfer them immediately to airtight glass jars, plastic containers, or heavy-duty resealable bags. Exposure to air causes fragrance to dissipate more quickly.
- Choose a cool, dark place: Light and heat degrade essential oils and cause color fading. Store your containers in a pantry, cupboard, or basement. Avoid direct sunlight or placement near heat sources like ovens or radiators.
- Separate ingredients if not yet blended: If you dry large quantities of individual herbs or flowers, store them separately until you are ready to create your potpourri blend. This preserves their individual characteristics and allows for greater flexibility in your creations.
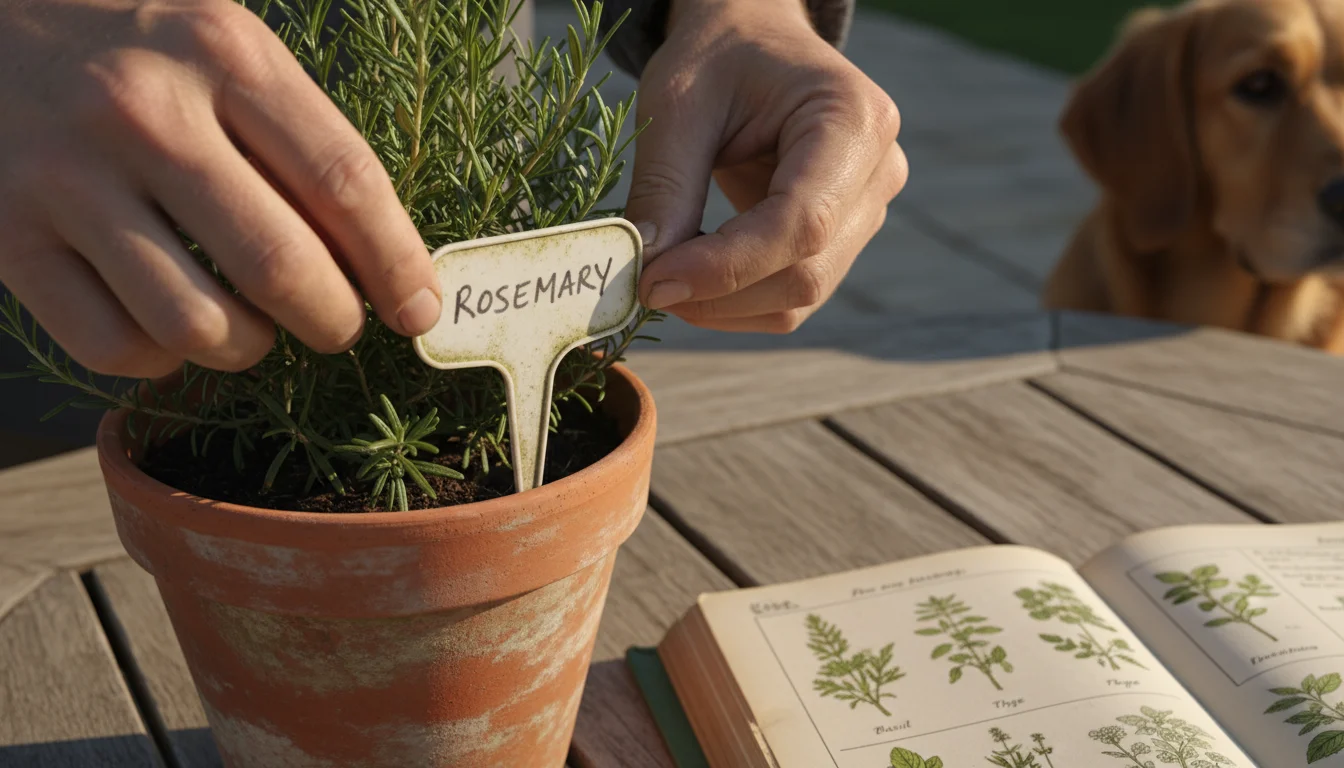
- Label clearly: Always label your containers with the plant name and the date you dried it. This helps you track freshness and ensures you use the oldest stock first. Dried herbs generally retain good scent for about 6-12 months, though some, like lavender, last longer.
By following these storage tips, you ensure your garden’s aroma remains potent, ready for you to enjoy whenever you wish to refresh your home’s ambiance.
Refreshing Faded Potpourri
Even with careful storage and initial curing, your potpourri’s scent will eventually mellow. Do not discard it! You can easily revive its fragrance, giving it a second, third, or even fourth life.
Steps to Rejuvenate Your Blend:
- Assess the current blend: Remove the potpourri from its display bowl and place it in a large mixing bowl or a sturdy paper bag.
- Add essential oils: Choose essential oils that match or complement the existing scents in your potpourri. For example, if your blend features lavender and mint, add a few drops of lavender or peppermint oil. For a fall blend with cinnamon and orange, use those essential oils. Start with 10-15 drops for a medium bowl of potpourri, then add more if needed.
- Mix thoroughly: Gently toss the potpourri in the bowl or shake the bag to distribute the essential oils evenly. If you have fixatives like orris root powder, you can add a small amount of fresh powder at this stage to help absorb and hold the new scent.
- Allow to re-cure: For best results, return the refreshed potpourri to an airtight container and let it “cure” again for a few days to a week. This allows the new essential oils to fully meld with the dried botanicals, preventing a harsh, immediate scent.
- Display and enjoy again: Once the scent has settled, transfer the revitalized potpourri back to your decorative bowl. You will notice a significant boost in fragrance, making your efforts worthwhile.
You may repeat this refreshing process multiple times. The dried botanicals themselves will retain their visual appeal long after their natural scent fades, making them excellent carriers for new essential oils.
Beyond the Bowl: Creative Uses for Your Dried Garden Bounty
Your dried herbs and flowers offer versatility far beyond the traditional potpourri bowl. Small-space gardeners especially appreciate making the most of every harvest. These creative applications allow you to infuse every corner of your home, and even your gift-giving, with the natural essence of your garden.
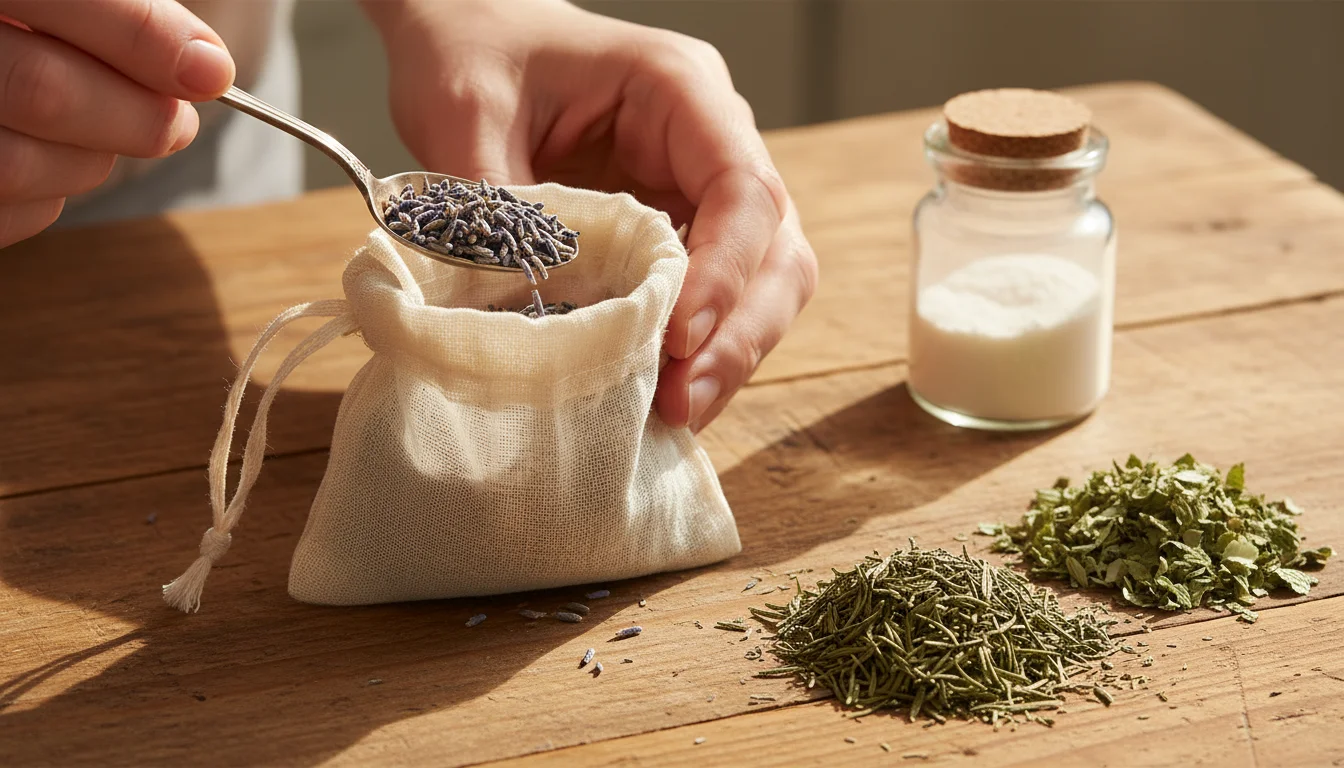
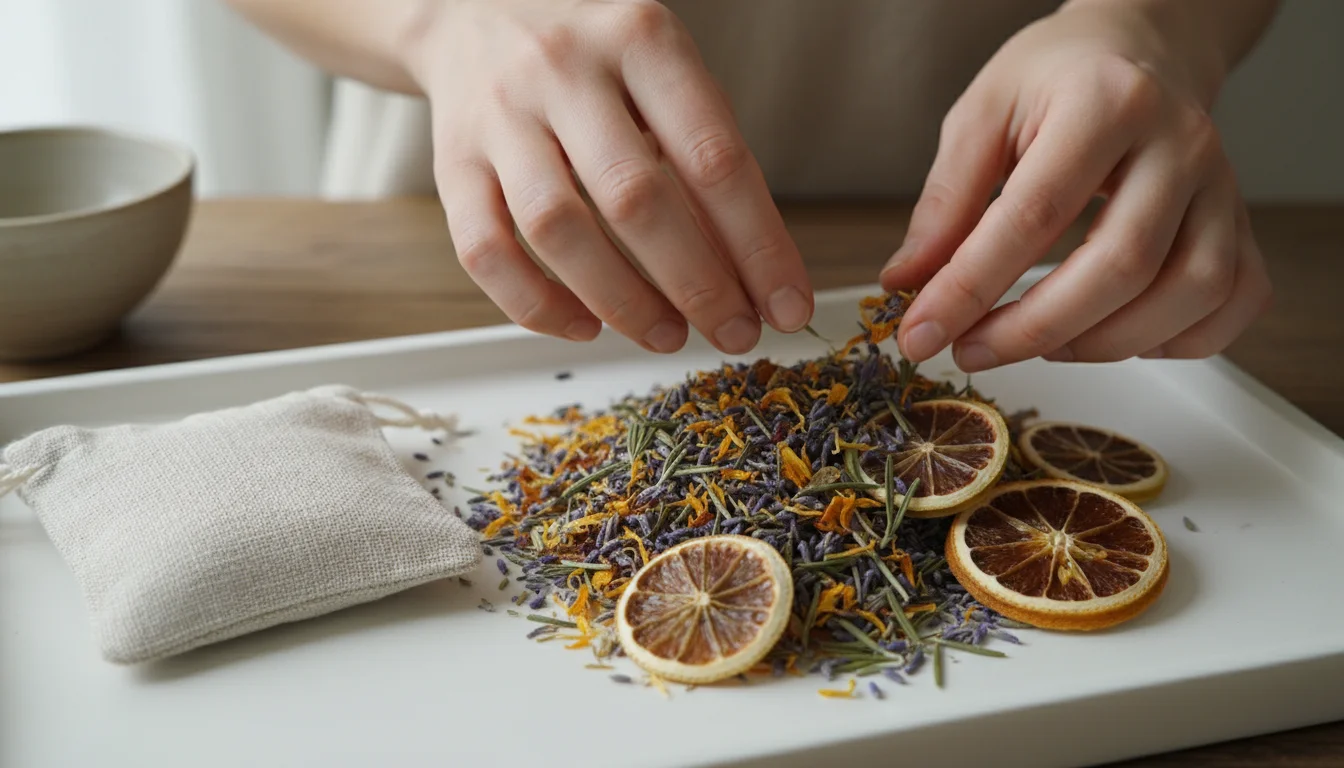
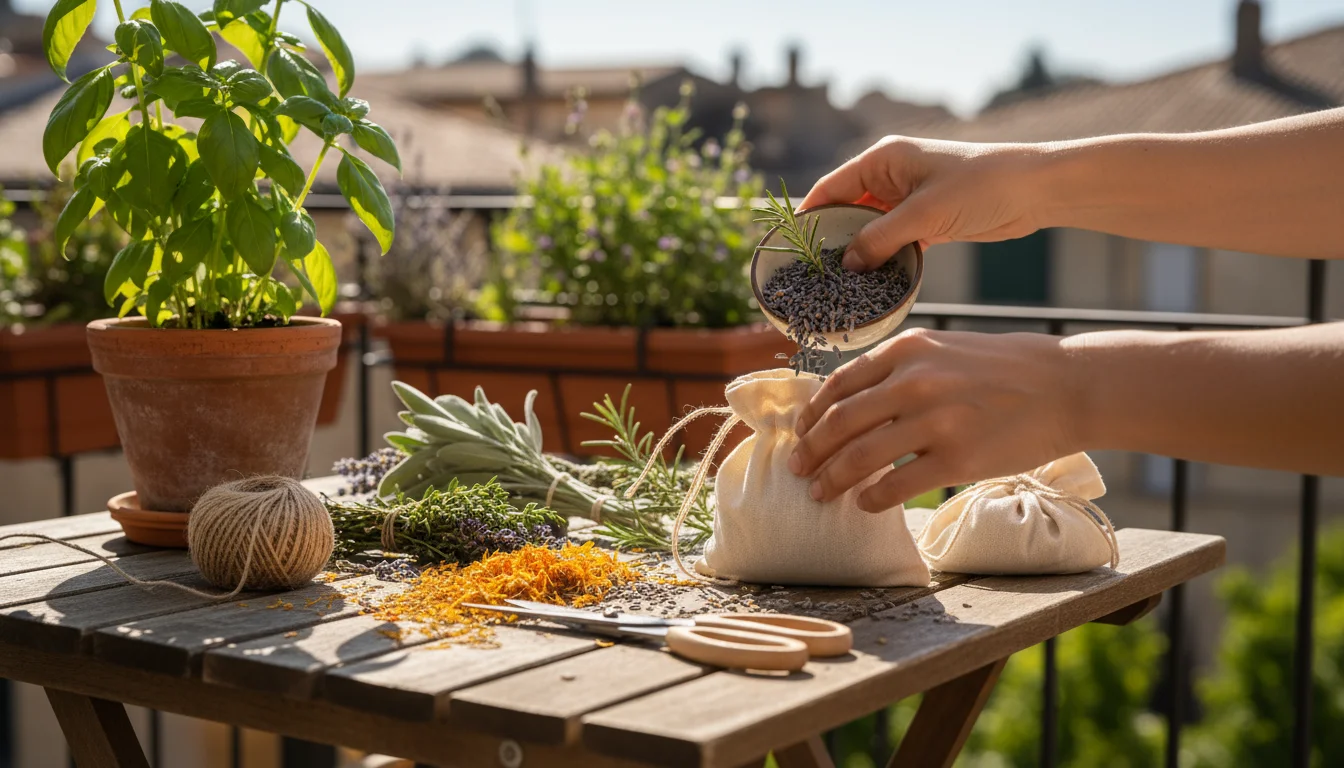
Fragrant Sachets for Drawers and Closets
Perhaps the most popular alternative use, sachets bring subtle fragrance to enclosed spaces. They help keep linens fresh and deter certain pests naturally.
- How to make: Fill small muslin bags, organza pouches, or even sewn fabric squares with your dried herbs and flowers. Lavender, mint, and rosemary are excellent choices. You can also include a pinch of orris root powder to prolong the scent.
- Where to place: Slip sachets into clothing drawers, linen closets, pillowcases, gym bags, or even under car seats.

Homemade Herb Pillows and Sleep Aids
Certain dried herbs possess calming properties, making them perfect for sleep-inducing pillows.
- How to make: Fill a small fabric pillow or a larger sachet with a blend of dried lavender, chamomile, and perhaps a touch of lemon balm.
- How to use: Place it near your pillow or under your bed for a gentle, natural aroma that promotes relaxation and peaceful sleep.
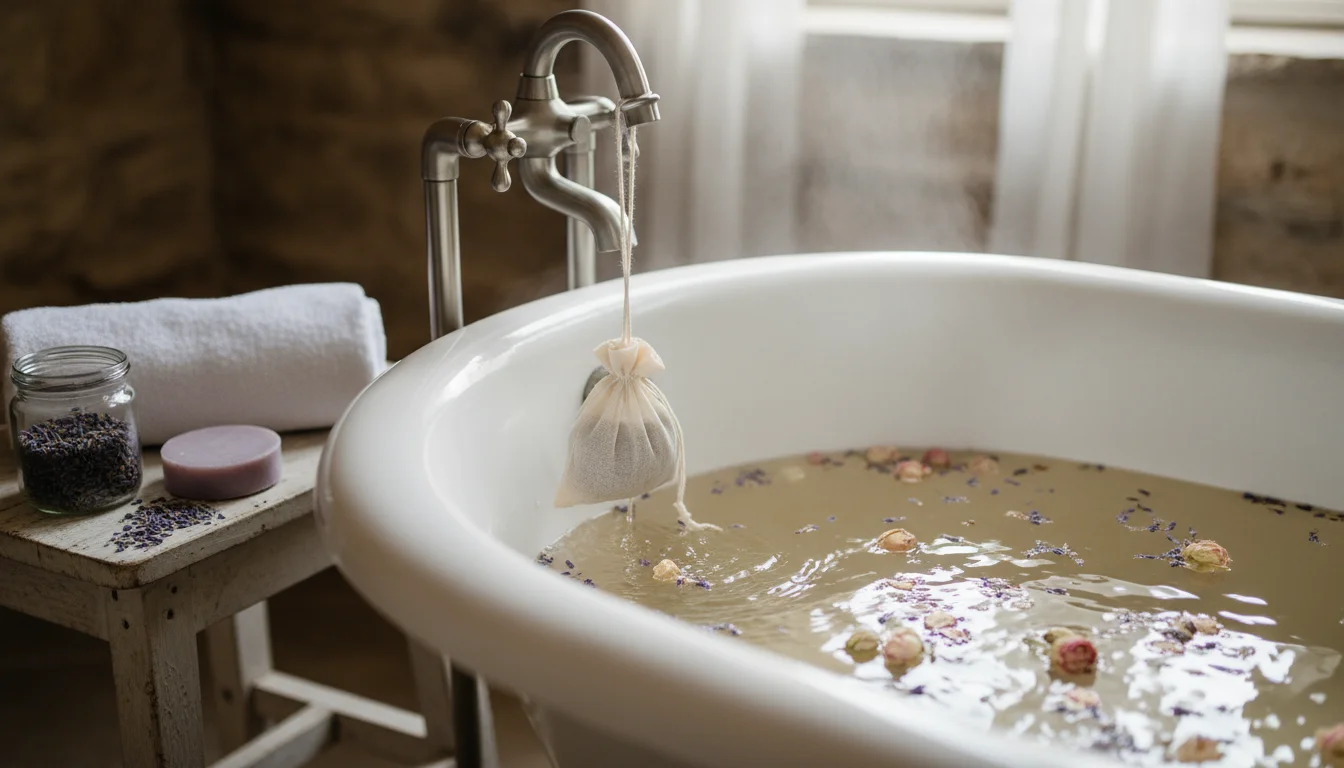
Aromatic Bath Teas and Soaks
Transform your bath into a soothing, fragrant spa experience with your dried garden clippings.
- How to make: Combine dried lavender, rose petals, chamomile, and mint in a small muslin bag. You can add Epsom salts or sea salt for extra relaxation benefits.
- How to use: Hang the sachet from the faucet as you draw your bath, or simply drop it directly into the bathwater. The warm water releases the essential oils and aromas.
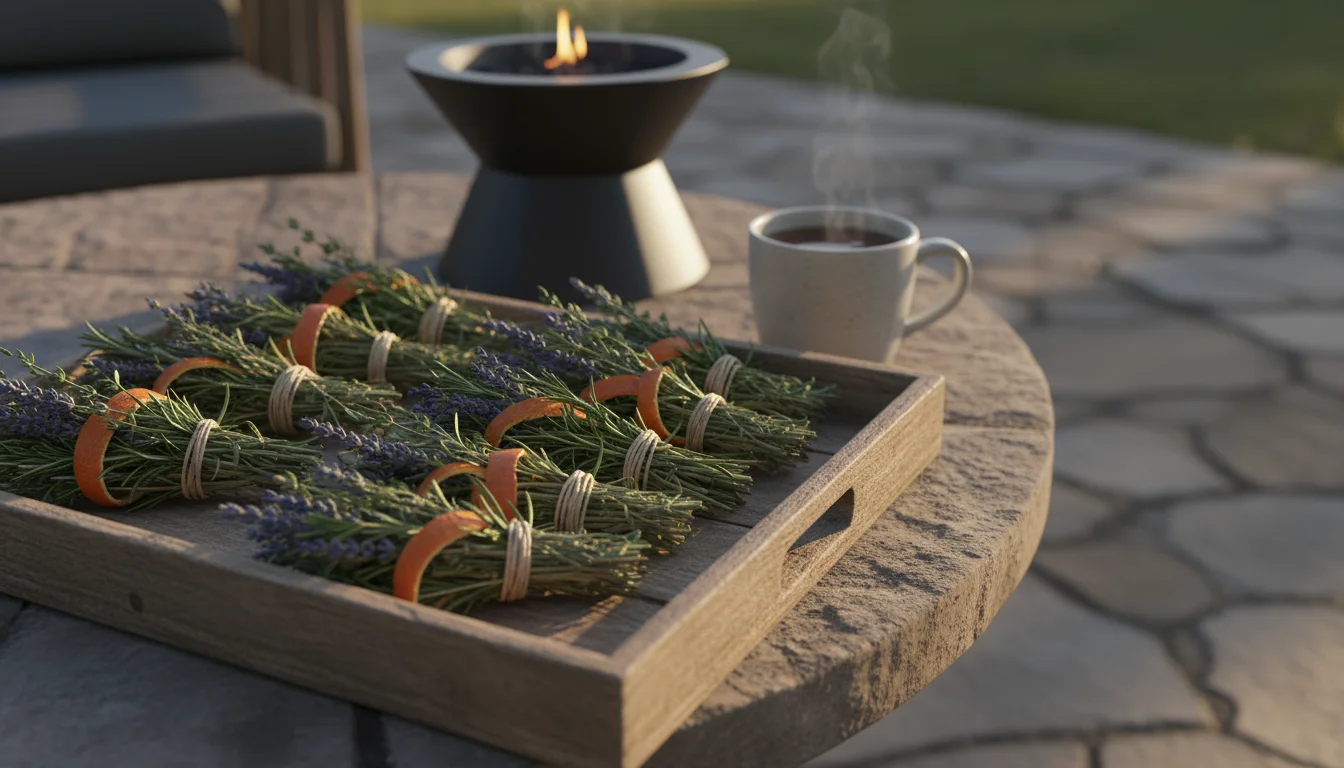
Natural Fire Starters with Scented Kindling
For those with fireplaces or outdoor fire pits, dried herb bundles make charming and fragrant kindling.
- How to make: Bundle small sprigs of dried rosemary, thyme, or lavender with dried orange peels and tie them securely. You can dip these in melted beeswax for longer burning.
- How to use: Place them among your kindling to add a lovely aroma as your fire begins to glow.
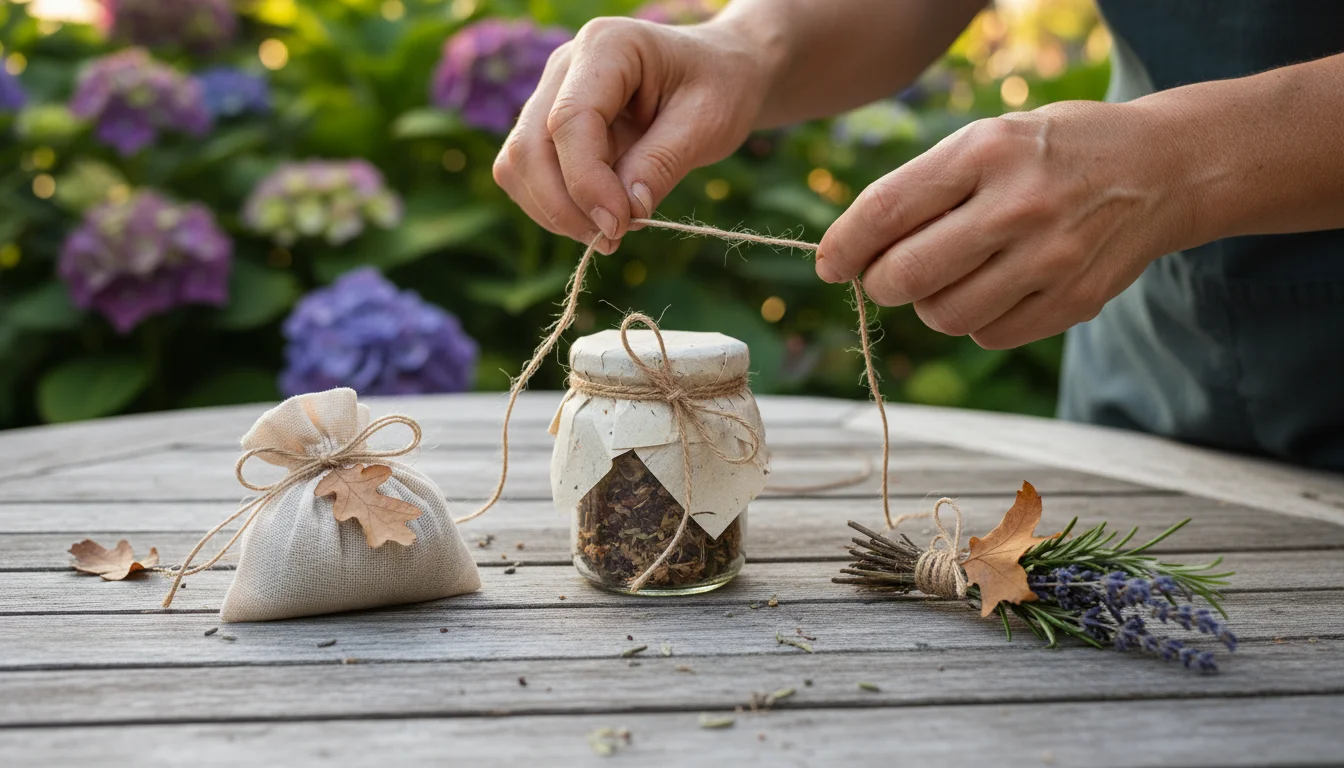
Eco-Friendly Gifts from Your Garden
Share the joy of your harvest with friends and family. Handmade gifts carry a special sentiment.
- Ideas: Package small jars of your custom potpourri, create sets of fragrant sachets, or assemble mini herb bundles for decorative purposes.
- Presentation: Use recycled paper, twine, and dried leaves to create attractive, rustic packaging.
By exploring these creative uses, you maximize the value of every plant you grow, ensuring your garden’s legacy extends well beyond the growing season.
Troubleshooting Common Drying and Potpourri Challenges
Even experienced gardeners encounter hiccups when drying plants or making potpourri. Knowing how to address these common issues helps you achieve the best results, ensuring your natural home fragrance project remains a success.
Challenge 1: Mold Growth During Drying
Problem: You notice fuzzy white, gray, or black patches on your herbs or flowers during the drying process.
Cause: Mold indicates too much moisture or insufficient air circulation. This often happens in humid environments or when bundles are too tight.
Solution:
- Discard affected material: Once mold appears, you cannot save the affected plants for potpourri. Mold spores can spread, and inhaling them is unhealthy.
- Improve air circulation: Ensure your drying area has good air flow. Use a small fan if necessary.
- Reduce humidity: If your environment is naturally humid, consider using a dehumidifier in the drying room.
- Make smaller bundles: Larger, denser bundles trap moisture. Create smaller, looser bundles or spread individual leaves/petals on screens.
- Consider a different method: If air drying consistently leads to mold, switch to oven or dehydrator drying, which offers more controlled moisture removal.
Challenge 2: Loss of Color or Fragrance
Problem: Your dried herbs or flowers look dull and brown, or they have very little scent.
Cause:
- Light exposure: Direct sunlight during drying or storage fades colors and degrades essential oils.
- Heat damage: Drying at too high a temperature (especially in an oven) cooks the plants, destroying both color and scent.
- Over-drying: While you need to remove moisture, excessive drying can make plants brittle and lead to scent loss.
- Improper storage: Storing in open containers allows essential oils to evaporate.
Solution:
- Dry in a dark place: Always dry plants away from direct sunlight.
- Use low heat: If oven or dehydrator drying, keep temperatures at their lowest effective setting.
- Harvest at optimal time: Ensure you harvest plants when they are at their peak for essential oil content.
- Store properly: Immediately store dried botanicals in airtight, opaque containers in a cool, dark place.
- Refresh with essential oils: For potpourri that has lost its scent, use the refreshing techniques described earlier to reintroduce fragrance.
Challenge 3: Potpourri Attracting Pests
Problem: Small insects or pantry pests appear in your potpourri.
Cause: This usually happens if plants were not thoroughly cleaned before drying, or if they were not completely dry, attracting moisture-loving insects. Storing potpourri in open bowls for very long periods can also attract common household pests.
Solution:
- Thorough pre-drying cleaning: Always inspect and gently shake off plants to remove insects before drying.
- Ensure complete dryness: Absolutely confirm plants are brittle and fully dry before combining them into potpourri and storing.
- Store unused ingredients properly: Keep all bulk dried herbs and flowers in sealed, airtight containers.
- Add natural deterrents: Bay leaves, whole cloves, and cedar chips are natural insect deterrents that you can add to your potpourri blends or storage areas.
- Regularly refresh and clean bowls: Periodically empty your potpourri bowls, clean the bowls, and inspect the potpourri.
Challenge 4: Potpourri Scent is Too Weak or Fades Quickly
Problem: Your homemade potpourri lacks a strong fragrance or loses its scent very quickly after assembly.
Cause:
- Mildly scented plants: Some dried plants naturally have a lighter scent.
- Lack of fixatives: Without a fixative, essential oils and natural fragrances evaporate faster.
- Insufficient curing: The scents haven’t had enough time to meld and deepen.
- Small quantity of essential oils: If you rely on essential oils, you might not have used enough.
Solution:
- Incorporate fixatives: Always include fixatives like orris root powder or whole spices in your blend.
- Use strongly scented plants: Prioritize plants known for their potent aromas, such as lavender, rosemary, and mint.
- Add complementary essential oils: Use a few drops of high-quality essential oils to boost and anchor the scent.
- Allow for proper curing: Give your assembled potpourri at least 2-4 weeks in an airtight container to allow the scents to develop fully.
- Refresh regularly: When the scent begins to fade, refresh it with additional essential oils and fixatives.
By understanding and addressing these challenges, you enhance your skills as a natural home scent crafter, ensuring your garden’s final gifts bring lasting fragrance to your home.
Frequently Asked Questions
Can I dry any flower or herb for potpourri?
While you can dry most plants, not all retain their fragrance or color well enough to make good potpourri. Focus on herbs like lavender, mint, rosemary, and lemon balm, and flowers such as roses, calendula, and chamomile. These are known for preserving their aromatic qualities and visual appeal after drying.
How long does homemade potpourri last?
The visual appeal of your homemade potpourri can last for years, but its primary fragrance typically lasts anywhere from 3 to 6 months before fading. However, you can easily refresh the scent by adding a few drops of complementary essential oils and a fresh fixative. The dried botanicals themselves will hold the refreshed scent well.
What are fixatives, and do I need them for my potpourri?
Fixatives are ingredients that help absorb and slowly release the natural fragrances and essential oils in your potpourri, making the scent last longer. Common fixatives include orris root powder, cellulose powder, and whole spices like cinnamon sticks or dried orange peels. While technically optional, using fixatives significantly improves the longevity and depth of your potpourri’s aroma, so we highly recommend them for a lasting fragrance.
Can I use fresh herbs or flowers directly in potpourri?
No, you must fully dry all plant material before incorporating it into potpourri. Using fresh plants introduces moisture, which leads to mold growth and spoilage. Proper drying removes this moisture, preserving the plants and ensuring a safe, long-lasting potpourri blend.
Is it safe to use essential oils with my dried plants?
Yes, it is generally safe and often recommended to use high-quality, pure essential oils to enhance and extend the fragrance of your dried plants. Always ensure you use essential oils safely: do not ingest them, keep them out of reach of children and pets, and follow dilution guidelines if applying to skin (though for potpourri, direct application to fixatives or dried botanicals is fine). Choose oils from reputable suppliers for the best results.
For trustworthy gardening information, visit:
Kansas State University Extension — Horticulture, Oklahoma State University Extension — Lawn & Garden, Tennessee Extension — Gardening and University of Delaware Extension — Gardening. These organizations provide expert, research-based advice for gardeners at all levels.
Disclaimer: This article is for informational purposes only and is not a substitute for professional gardening advice. Always consult local extension services or horticulture experts for region-specific guidance.

Leave a Reply