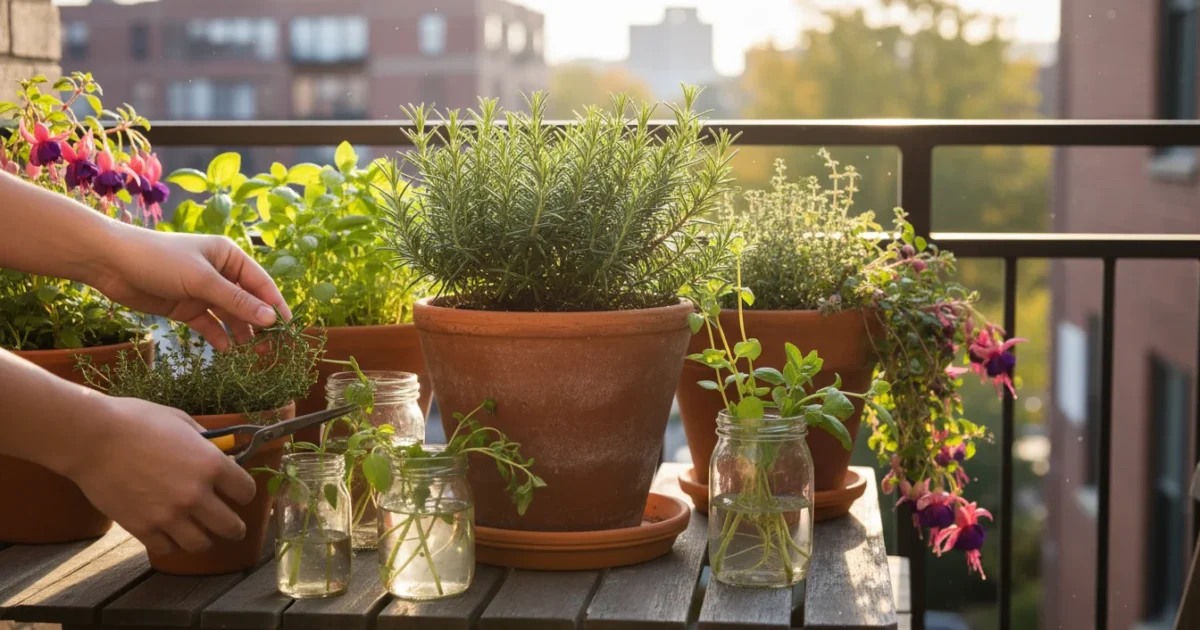
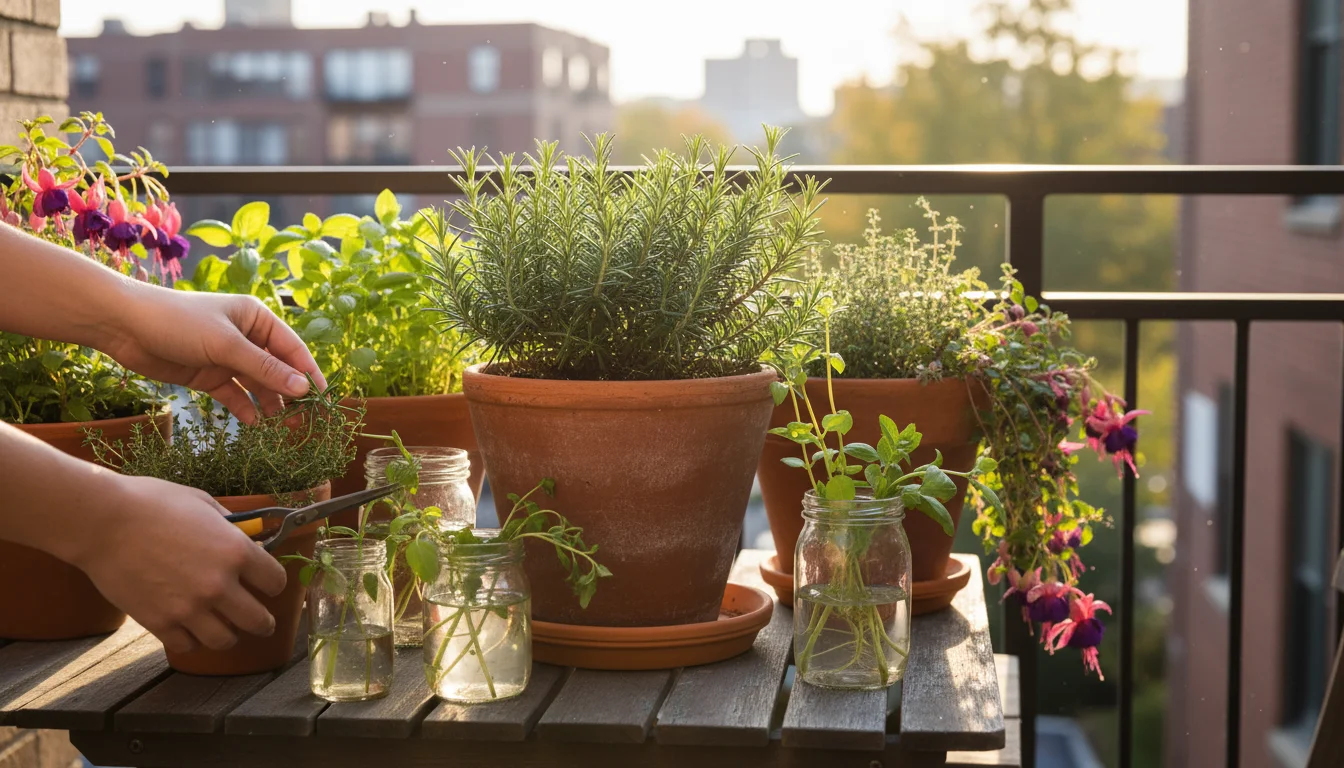
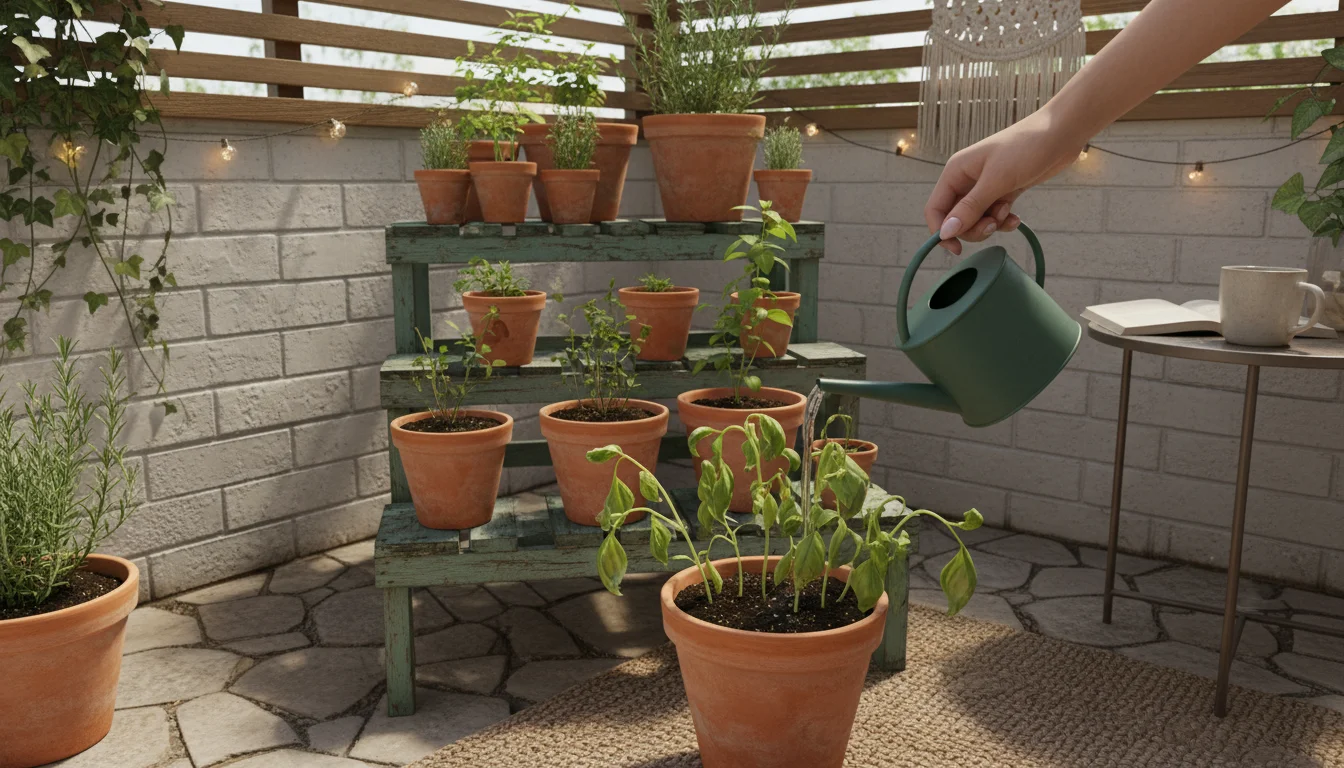
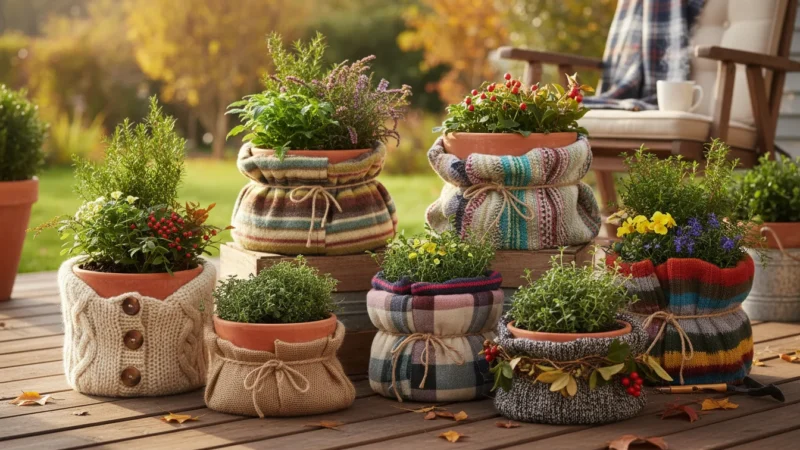
Gardening brings immense joy, and watching your plants thrive feels incredibly rewarding. What if you could expand your plant collection without spending a single dollar? Imagine creating brand new plants from your existing favorites, all from the comfort of your small garden space. Taking fall cuttings from potted herbs and perennials offers a fantastic, free way to multiply your garden, ensure your cherished plants survive the winter, and explore the satisfying world of plant propagation. You transform a simple garden chore into an exciting opportunity to grow more for less. This guide empowers you to master this accessible technique, turning your existing plants into a vibrant, ever-expanding collection.
In addition to cuttings, you can also learn how to save seeds from your balcony garden as another free way to expand your collection.
Why Take Fall Cuttings? Benefits for Small Gardens
Fall presents an ideal time for taking cuttings, especially from your container-grown herbs and perennials. As temperatures drop, many plants redirect their energy from top growth to root development, making them more receptive to forming new roots from cuttings. This method offers several compelling advantages, particularly for small-space gardeners and those who value sustainability.
Beyond propagation, these trimmings can even be used for DIY fall decor project to add a seasonal touch to your small space.
This practice is one of several essential fall gardening tasks for small-space growers to complete before winter arrives.
Firstly, you get free plants. Instead of buying new specimens each spring, you simply replicate your existing favorites. This saves money, allowing you to allocate your gardening budget elsewhere or simply enjoy the abundance without extra cost.
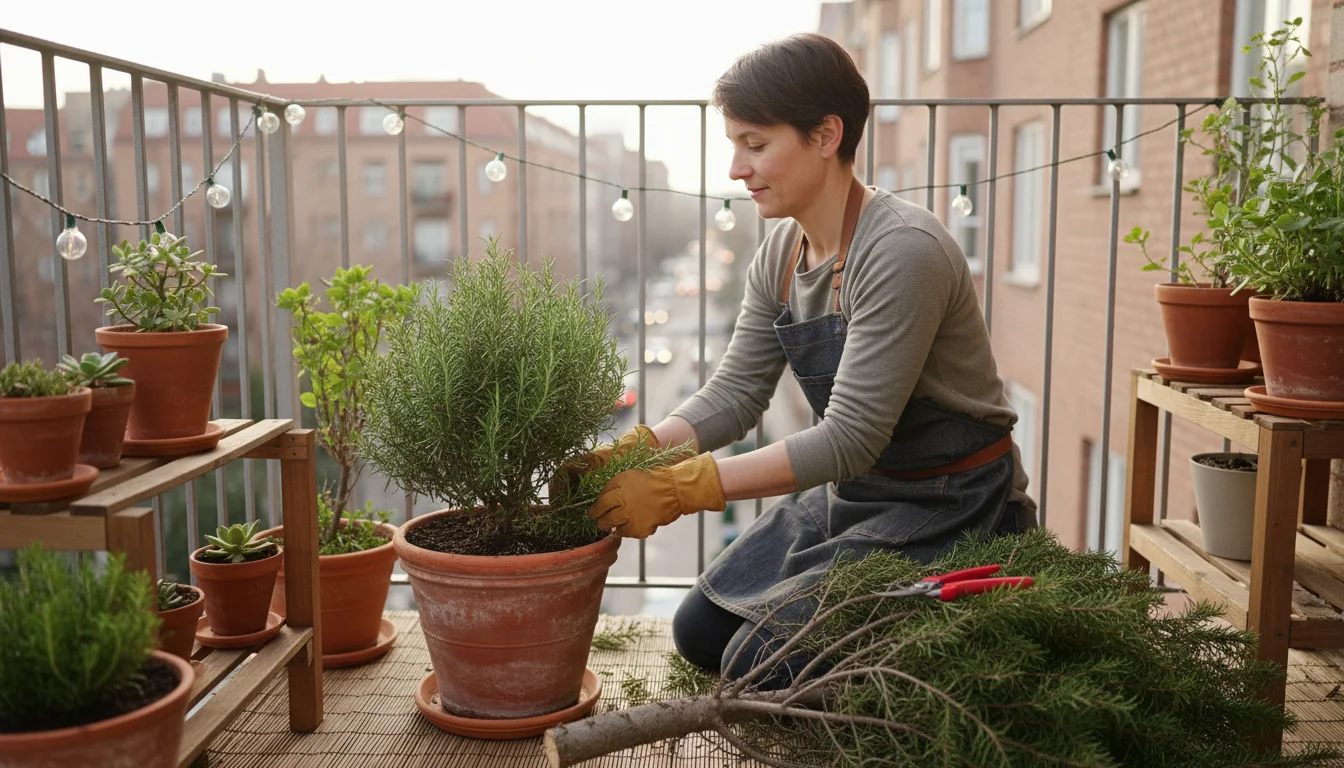
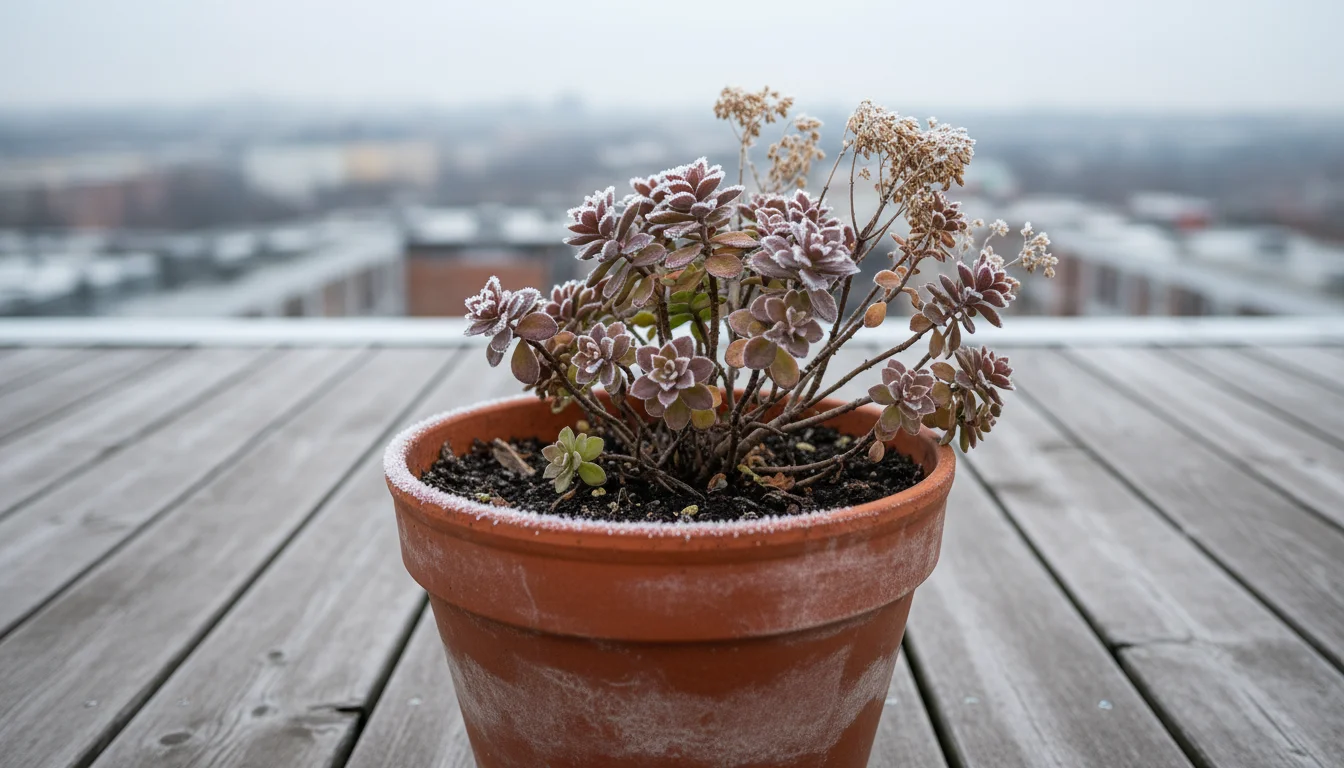
Secondly, fall cuttings provide an excellent strategy for overwintering tender plants that might not survive harsh winter temperatures outdoors. Many gardeners grow rosemary, lavender, and other cherished perennials in containers because they offer less cold hardiness than local varieties. Bringing an entire large container indoors often proves impractical due to space or pest concerns. Taking small cuttings allows you to preserve the genetic material of your prized plants easily. You keep a small, manageable piece indoors, ensuring its survival.
Thirdly, this practice promotes garden sustainability and self-sufficiency. You reduce reliance on commercial nurseries and contribute to a more eco-friendly gardening approach. You also minimize waste by reusing material from your own garden. This aligns perfectly with the ethos of SimpleGardenJoy.com, emphasizing smart, resource-efficient gardening practices.
Finally, taking cuttings offers a deeply satisfying and educational experience. You gain a deeper understanding of plant biology and observe the remarkable process of new life forming. It feels like magic, but it is pure botanical science in action. This skill empowers you to expand your gardening horizons, even within a limited footprint. You learn to manipulate your environment for maximum growth and enjoyment, turning your small space into a productive botanical laboratory.
Understanding Plant Propagation: The Basics of Cuttings
Plant propagation refers to the process of creating new plants from existing ones. Taking cuttings, specifically stem cuttings, is a form of asexual propagation. This means the new plant will be a genetic clone of the parent plant. It will possess the exact same characteristics, ensuring your favorite herb or perennial reproduces faithfully. This differs from growing plants from seed, which introduces genetic variation.
When you take a stem cutting, you effectively remove a small section of stem, often with a few leaves, from the parent plant. This section contains specialized cells that, under the right conditions, can dedifferentiate and then redifferentiate into root cells. Think of it as the plant’s incredible ability to regenerate.
Several key components facilitate this process:
- Nodes: These are the points on a stem where leaves or branches emerge. Nodes contain meristematic tissue, which are areas of active cell division. This tissue holds the potential to develop new roots. When you make a cutting, you always want to include at least one node below the soil line because this is where root formation predominantly occurs.
- Rooting Medium: This is the material you place your cuttings into for rooting. It must provide physical support, retain moisture, and offer excellent aeration. Good drainage, which means water moves through the medium efficiently, prevents rot. Standard potting soil can be too dense, often holding too much water and leading to fungal issues. Specialized rooting mediums or a mix of peat moss and perlite work best.
- Hormones: Plants naturally produce auxins, hormones that regulate growth and root development. Commercial rooting hormones, available in powder or liquid form, supplement these natural auxins. They stimulate quicker and more robust root formation. While not always strictly necessary, especially for easy-to-root plants, rooting hormone significantly increases success rates, particularly for beginners or more challenging species.
- Humidity: A high-humidity environment minimizes water loss through the leaves of your cutting. Since the cutting lacks roots, it cannot absorb water from the soil. Maintaining high humidity reduces transpiration, the process by which plants release water vapor. This helps the cutting conserve moisture until roots form. You can achieve this with a humidity dome, a clear plastic bag, or a mini greenhouse.
- Light: Cuttings need bright, indirect light. Direct sunlight can scorch the leaves and cause excessive water loss, stressing the cutting. Indirect light allows for photosynthesis, providing the energy needed for root development, without the harshness.
Understanding these fundamentals sets you up for success. You provide the plant with the optimal conditions to perform its natural rooting process, increasing your chances of multiplying your garden effectively.
Choosing Your Plants: Best Herbs and Perennials for Fall Cuttings
Not every plant roots easily from cuttings, but many popular container herbs and perennials respond beautifully to this method in the fall. Focus on semi-hardwood cuttings for most of these, meaning the stems are neither too soft and green nor too woody and stiff.
This is also a great opportunity to harvest and dry herbs from the sections you prune away while taking your cuttings.
If your parent plants are looking a bit tired or overgrown, consider following a rejuvenation pruning guide to clean them up before the winter freeze.
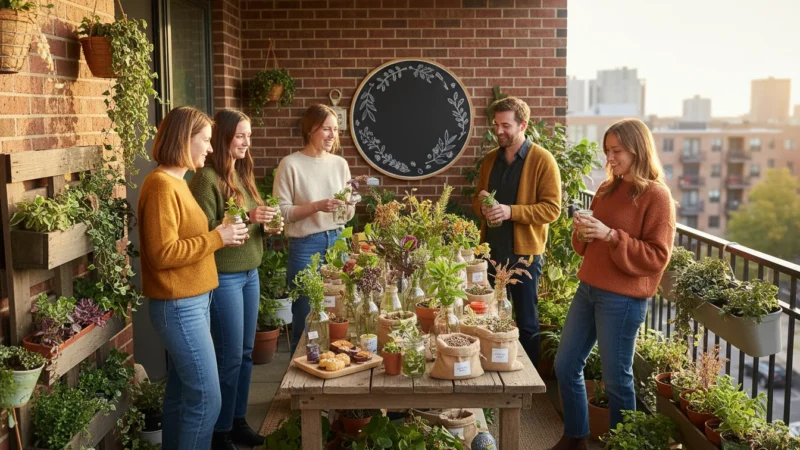
If you end up with more starts than you can keep, consider hosting a fall cuttings and seed swap to share the bounty with neighbors.
Here is a list of excellent candidates for fall cuttings from your potted plants:
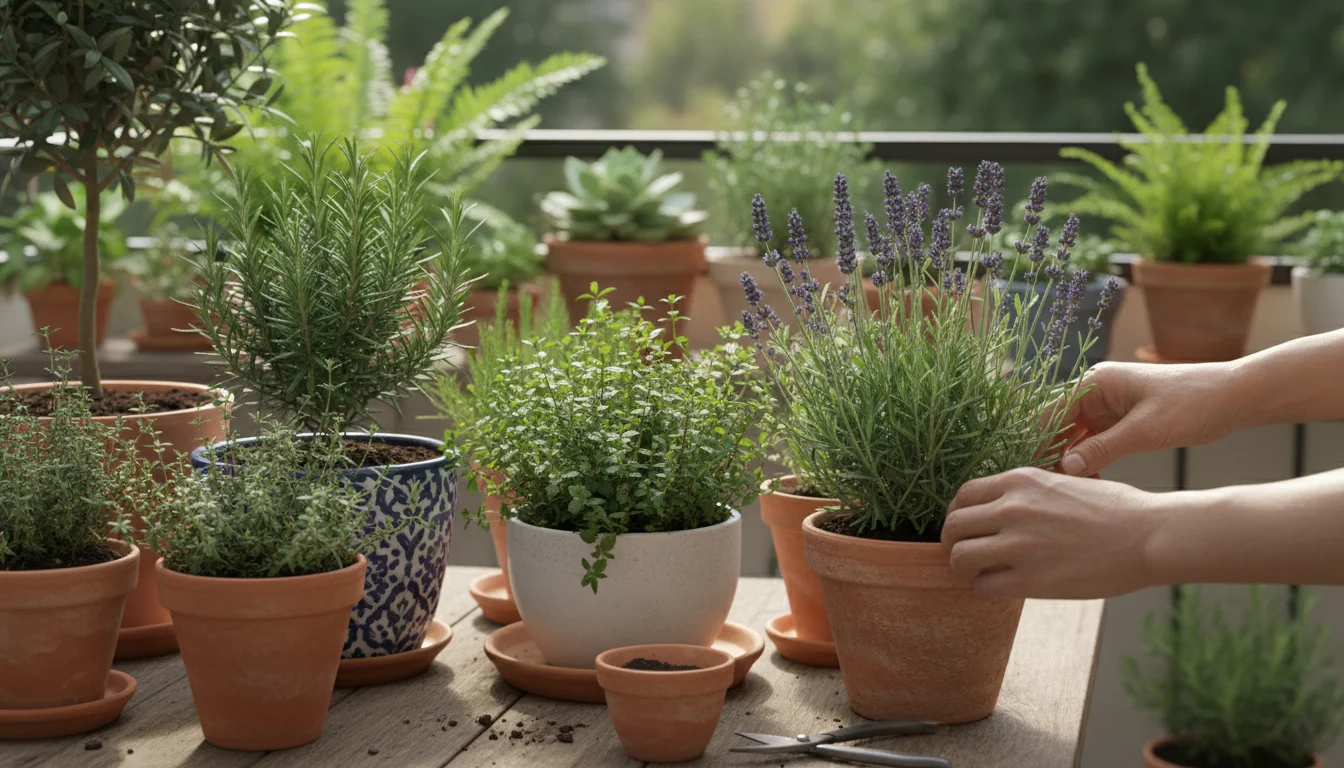
- Rosemary (Salvia rosmarinus): This beloved herb propagates very well from semi-hardwood cuttings. Learning how to propagate rosemary in fall provides a continuous supply for your kitchen and ensures you always have this fragrant plant.
- Lavender (Lavandula spp.): Overwintering lavender cuttings indoors is a fantastic way to preserve your favorite varieties. Look for healthy, non-flowering stems.
- Mint (Mentha spp.): While mint roots incredibly easily in water, stem cuttings in soil produce stronger root systems. You can take mint cuttings almost any time, but fall is perfect for bringing some indoors.
- Thyme (Thymus vulgaris): Similar to rosemary, thyme responds well to semi-hardwood cuttings. It is an excellent choice for a productive fall propagation session.
- Oregano (Origanum vulgare): Another robust herb that easily takes root. Oregano cuttings give you plenty of plants for culinary use.
- Geraniums (Pelargonium spp.): These popular flowering annuals (often grown as perennials in warmer climates) root readily from cuttings. You can save your favorite colors over winter.
- Coleus (Plectranthus scutellarioides): Known for its vibrant foliage, coleus cuttings root very quickly, often in just a few weeks. It is one of the easiest plants to propagate.
- Salvia (Salvia spp., ornamental varieties): Many ornamental salvias, particularly perennial types, root well from cuttings. Choose stems that have finished flowering for the season.
- Fuchsias (Fuchsia spp.): If you enjoy these beautiful trailing plants, taking cuttings ensures you have new plants for next season.
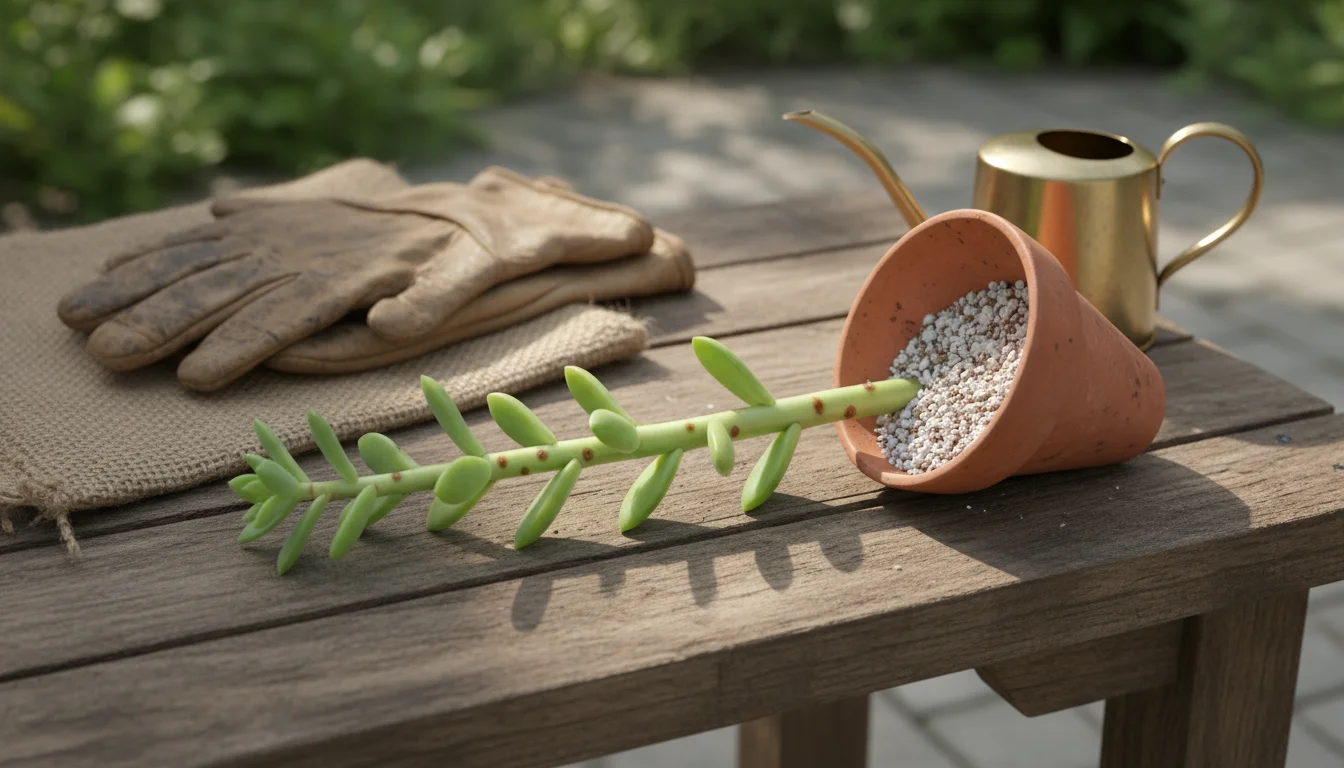
- Sedum (Sedum spp.): Many sedum varieties, especially the upright “Autumn Joy” types, root easily from stem cuttings. These are great choices for taking cuttings from container perennials.
Avoid plants that produce a milky sap, as this can inhibit rooting. Also, very woody stems from mature plants may take longer to root or fail entirely. Focus on the newer, healthier growth from the current season. You aim for vigorous sections of stem, not old, struggling parts.
Gathering Your Tools and Supplies
Successful propagation begins with the right tools and materials. Gathering everything beforehand streamlines the process and ensures you have a sterile, efficient setup. You do not need fancy equipment; simple, readily available items work perfectly.
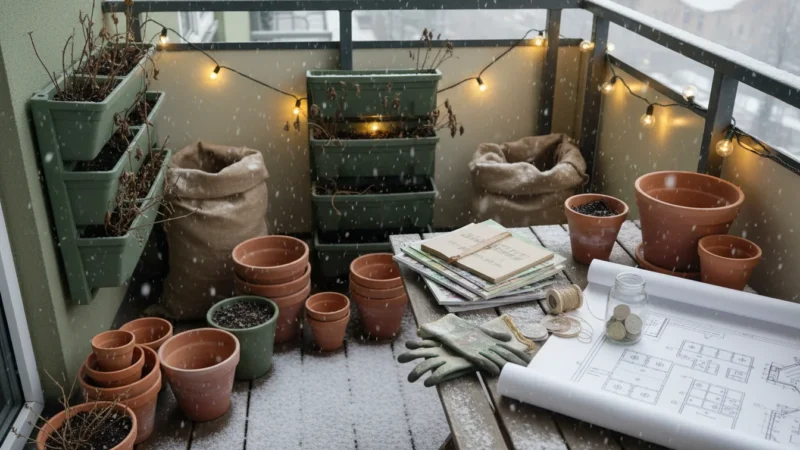
To protect your young plants as the weather turns, you might also look into building a simple cold frame for your balcony or patio.
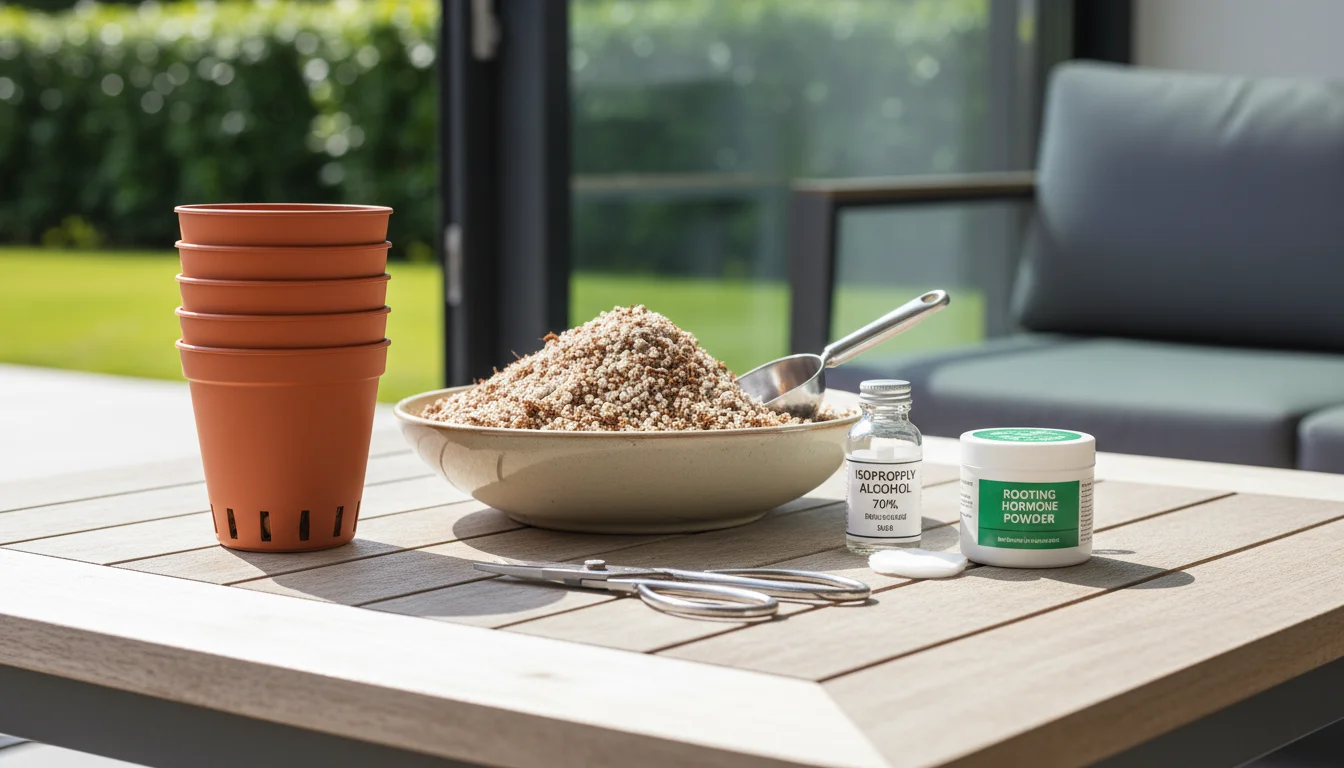
Here is what you will need:
- Sharp Pruners or Scissors: Sterilize your tools before use to prevent the spread of diseases. You can wipe them down with rubbing alcohol or a 10% bleach solution. Sharp tools make clean cuts, which heal faster and reduce stress on the parent plant and the cutting.
- Rooting Hormone (Optional but Recommended): Available in powder or liquid form. Choose one specifically for herbaceous or semi-hardwood cuttings.
- Rooting Medium: A sterile, well-draining, and moisture-retentive mix is crucial.
- Good options include a 50/50 mix of peat moss and perlite, coco coir and perlite, or a commercial seed-starting mix.
- Avoid heavy potting soils, which can lead to rot.
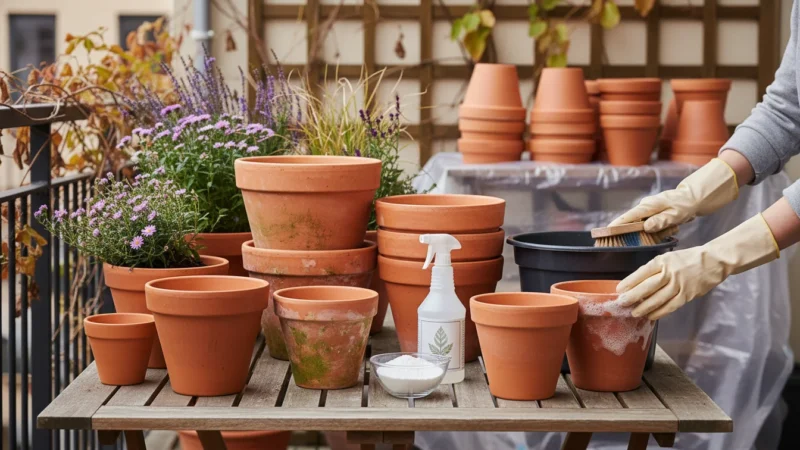
- Small Pots or Trays: Use pots with drainage holes, typically 2-4 inches in diameter. You can also use cell trays. Clean any previously used containers thoroughly with soap and water, then sanitize with a bleach solution to eliminate pathogens.
- Clear Plastic Dome or Plastic Bags: To create a high-humidity environment. This can be a dedicated propagation dome, a clear plastic tote, or simply clear plastic grocery bags.
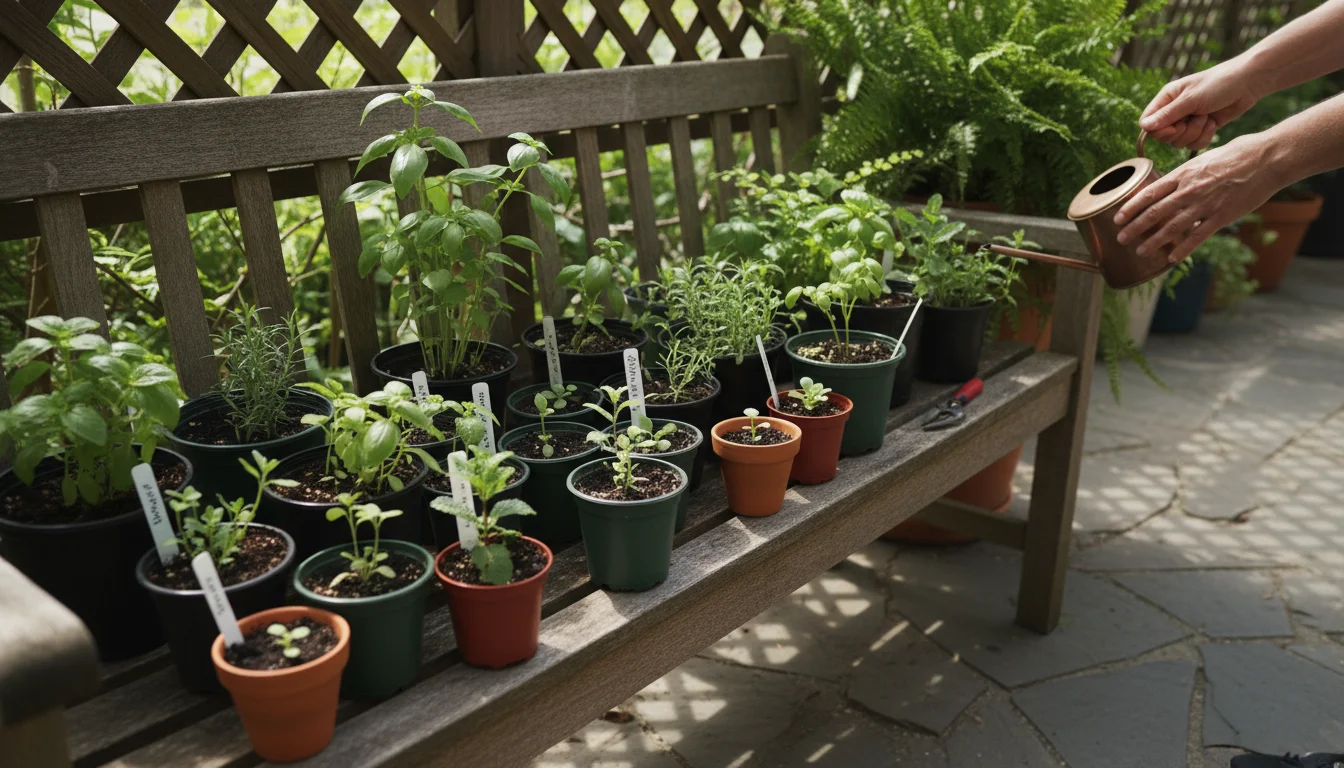
- Labels and a Permanent Marker: Essential for identifying your cuttings, especially if you are propagating multiple types of plants. You will want to remember what you planted!
- Watering Can or Spray Bottle: For moistening the rooting medium and misting cuttings.
- Pencil or Dibbler: To create holes in the rooting medium for inserting cuttings, preventing damage to the stems.
Having these items ready minimizes interruptions and allows you to focus on the precision required for successful cuttings. You prepare for success by ensuring everything is at hand.
Step-by-Step: Taking Healthy Cuttings
The success of your plant propagation hinges on taking clean, healthy cuttings. Follow these steps carefully to give your new plants the best possible start.
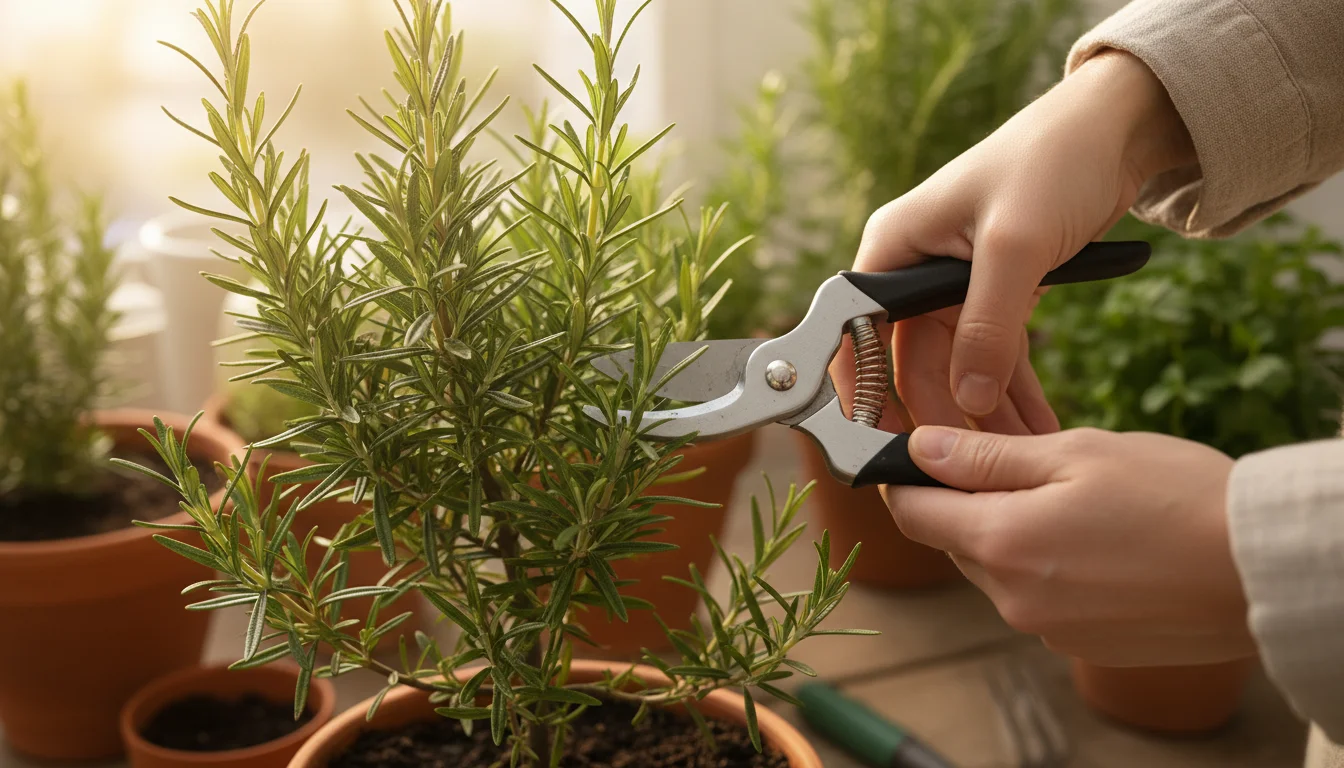
- Choose Your Parent Plant: Select a healthy, vigorous parent plant. Avoid any plants showing signs of disease, pests, or stress. Look for stems that are actively growing but not too soft and herbaceous, nor too woody. These are often referred to as semi-hardwood cuttings.
- Timing Your Cut: The best time to take cuttings is in the morning when the plant is turgid, meaning its cells are full of water. This reduces shock to the cutting.
- Prepare Your Tools: Sterilize your sharp pruners or scissors. You can use rubbing alcohol or a bleach solution. Clean tools prevent the transfer of diseases.
- Make the Cut:
- Locate a stem with several nodes. You want a cutting that is typically 4-6 inches long.
- Make a clean cut just below a node. This area contains meristematic tissue, which encourages root development. Angle the cut slightly to increase the surface area for rooting.
- Take several cuttings from different parts of the parent plant to increase your chances of success.
- Prepare the Cutting:
- Remove the leaves from the bottom 2-3 inches of the stem. This ensures those leaves will not rot when buried in the rooting medium. Leaves submerged in soil can quickly become a breeding ground for fungi.
- If any large leaves remain at the top, you can cut them in half horizontally to reduce transpiration (water loss) while still allowing photosynthesis.
- For plants with woody stems, you might gently scrape a small section of bark from the bottom inch of the cutting. This exposes more cambium tissue, which helps root formation.
- Apply Rooting Hormone (Optional but Recommended):
- If using powder hormone, dip the bottom 1-2 inches of the cutting into the powder, then tap off any excess. Too much hormone can actually inhibit rooting.
- If using liquid hormone, follow the manufacturer’s instructions carefully.
- Plant the Cutting:
- Pre-moisten your rooting medium so it is consistently damp, like a wrung-out sponge.
- Use a pencil or dibbler to create a hole in the rooting medium for each cutting. This prevents you from scraping off the rooting hormone or damaging the delicate stem when inserting it.
- Insert the prepared cutting into the hole, ensuring at least one or two nodes are below the surface of the medium.
- Gently firm the medium around the base of the cutting to ensure good contact.
- Label Your Cuttings: Immediately label each pot or tray with the plant name and the date you took the cuttings. This prevents confusion later, especially if you propagate multiple species.
You complete a crucial step in giving new life to your plants. Accuracy and cleanliness here significantly influence your propagation success.
Creating the Ideal Rooting Environment for Success
Once you have your cuttings planted, creating the right environment is paramount for encouraging root development. Your goal is to keep the cuttings hydrated, warm, and in bright, indirect light until they establish a root system.
1.
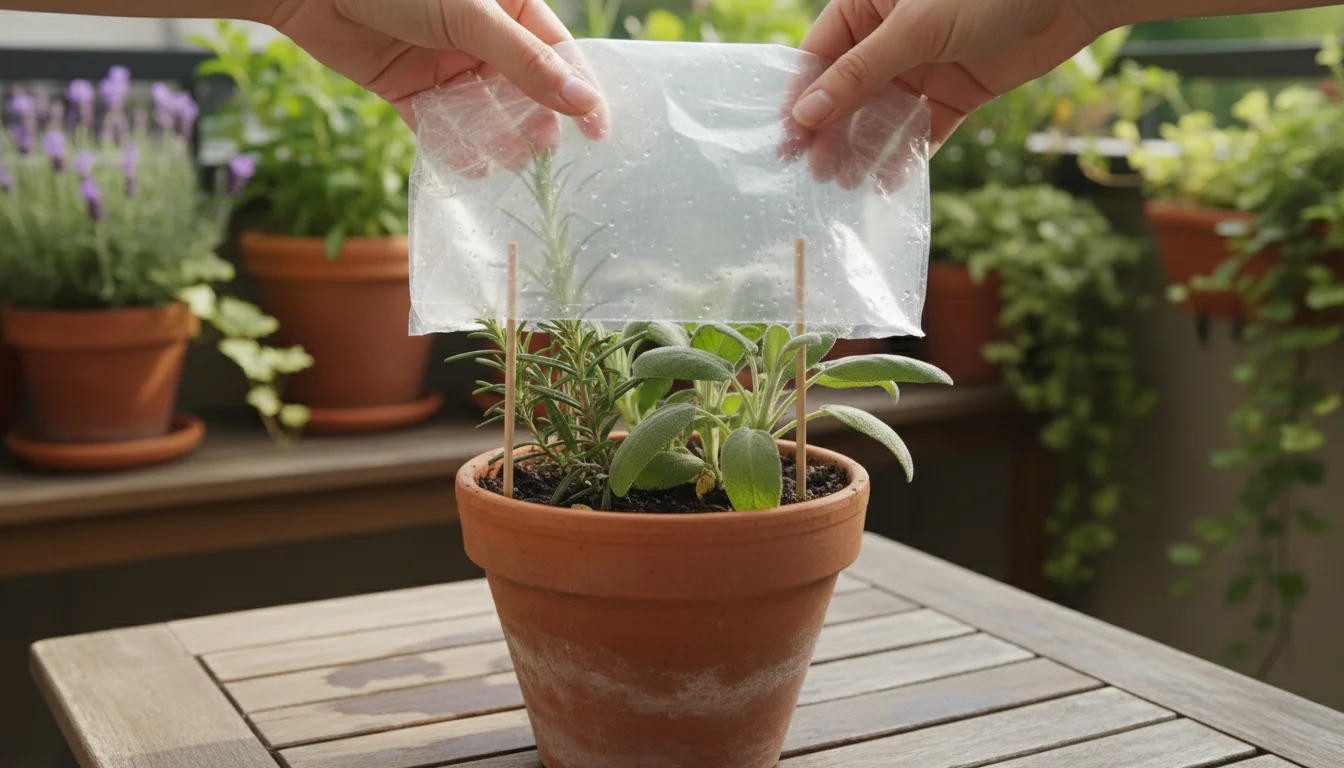
Maintain High Humidity: This is arguably the most critical factor. Cuttings lack roots, so they cannot absorb water efficiently. High humidity prevents excessive water loss through their leaves (transpiration). You achieve this by:
- Using a Humidity Dome: Place a clear plastic dome over your pots or trays.
- Plastic Bag Method: If you do not have a dome, place the entire pot inside a clear plastic bag. Inflate the bag slightly by blowing into it, then seal it shut. Prop it up so the plastic does not touch the leaves directly.
- Terrarium Setup: For a few cuttings, a clear plastic food container with a lid can serve as a miniature greenhouse.
Check the humidity daily. If you see condensation on the inside of the dome or bag, humidity levels are good. If it looks dry, lightly mist the inside of the dome or bag, or mist the surface of the rooting medium.
2.
Provide Bottom Heat (Optional but Beneficial): A gentle heat mat under your propagation tray can significantly speed up rooting, especially for plants that prefer warmth. The ideal temperature for root formation is typically between 70-75°F (21-24°C). The slightly warmer medium stimulates cellular activity in the nodes. You do not need this for every plant, but it improves success rates for many. If you do not have a heat mat, find a naturally warm spot in your home.
3.
Offer Bright, Indirect Light: Cuttings need light for photosynthesis to produce the energy required for root growth. However, direct sunlight is too intense; it can scorch the leaves and cause the cuttings to dry out quickly, even in a high-humidity environment. Place your propagation setup near a bright window that does not receive direct, harsh sun, or under grow lights for 12-16 hours a day. Fluorescent shop lights or LED grow lights work perfectly, positioned a few inches above the cuttings.
4.
Monitor Moisture Levels: Your rooting medium should remain consistently moist, but never soggy. Overwatering leads to root rot, the bane of propagation. Check the medium every few days. If the surface feels dry, add a small amount of water from the bottom (allowing the medium to wick it up) or mist lightly from the top. The high humidity helps prevent the medium from drying out too quickly.
5.
Ensure Good Air Circulation: Even with high humidity, some air exchange is beneficial. Briefly lift the dome or open the plastic bag for 5-10 minutes each day or every other day. This “airing out” helps prevent fungal diseases like damping-off, which thrive in stagnant, humid conditions. This also helps toughen up the cuttings slightly.
This carefully controlled environment tricks the cutting into thinking it is still connected to the parent plant while simultaneously encouraging it to develop its own independent root system. Patience becomes your greatest asset during this waiting period.
Overwintering Your New Cuttings Indoors
Once your cuttings develop roots, your focus shifts to nurturing them through the winter indoors. This phase involves providing consistent care to ensure they become strong, independent plants ready for spring planting. You transition your cuttings from merely surviving to thriving.
1.
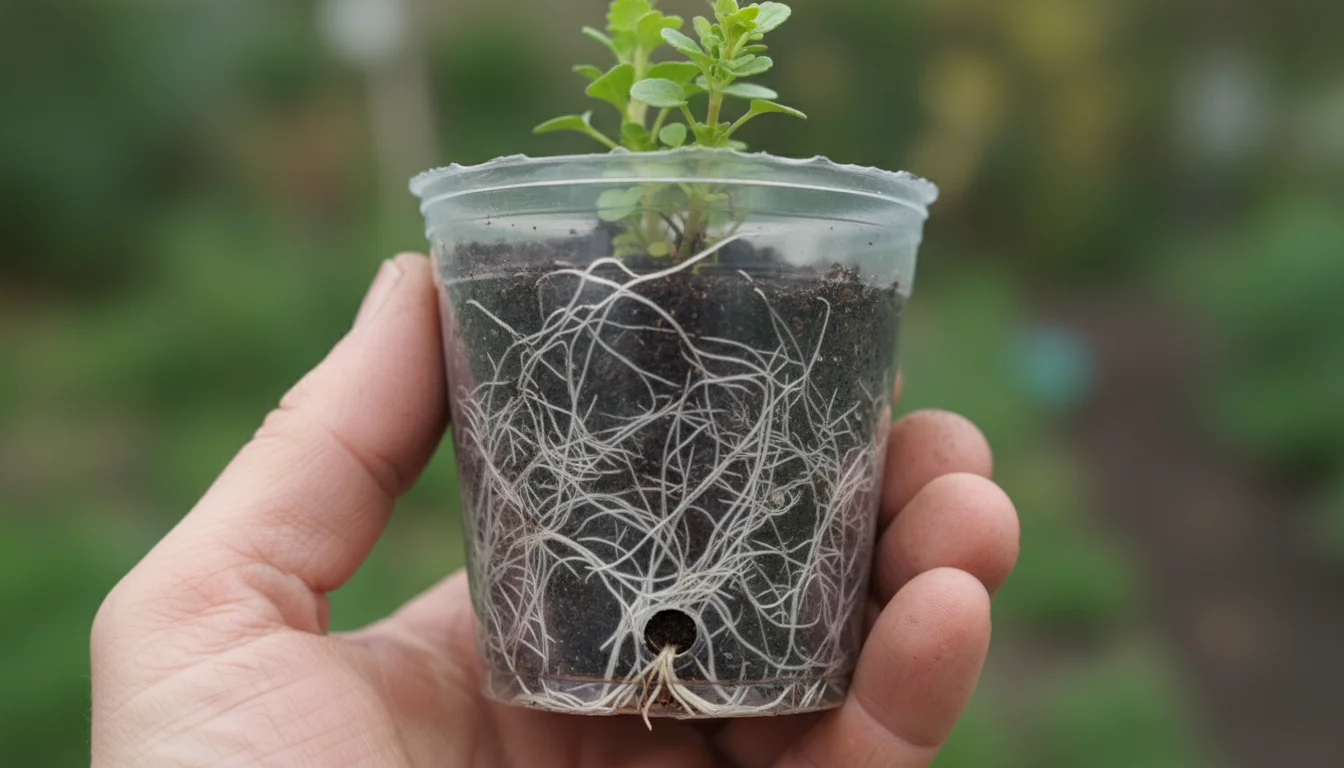
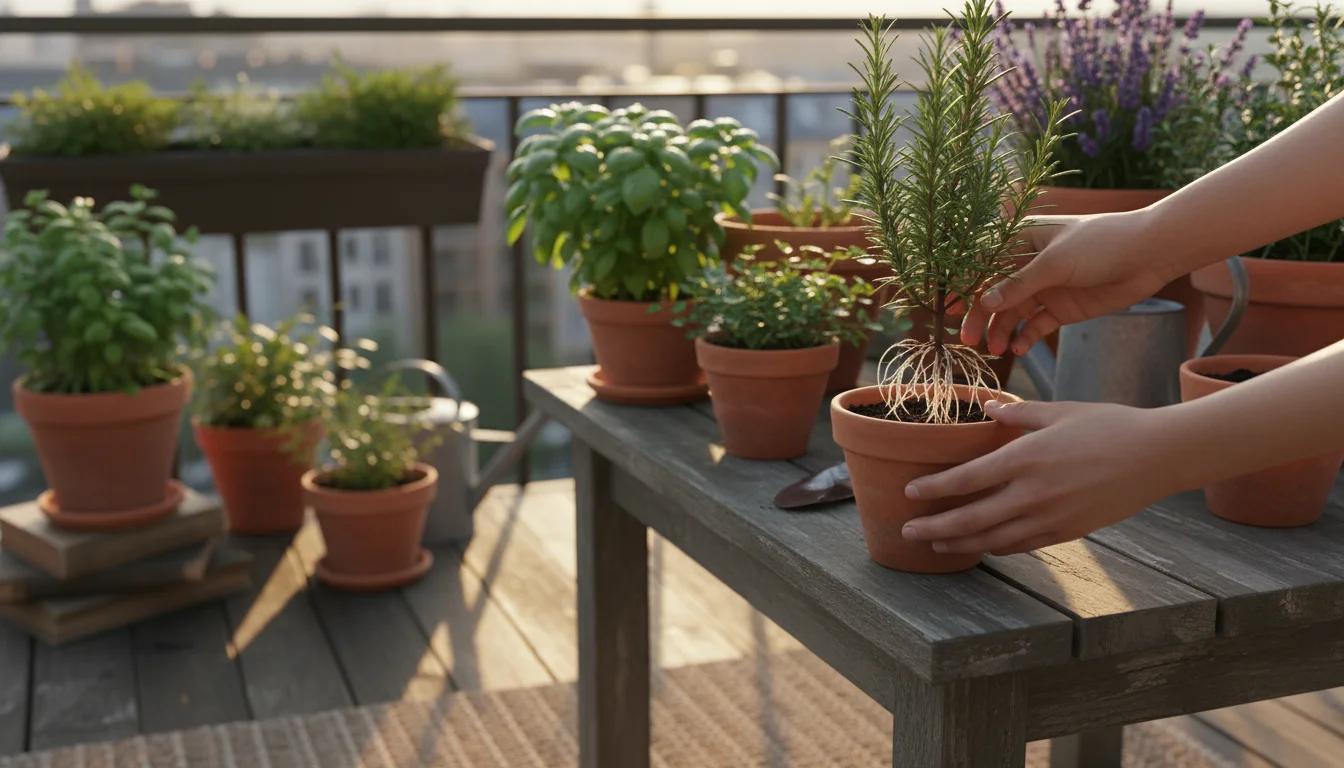
Confirm Root Development: How do you know your cuttings have rooted?
- Gentle Tug Test: After a few weeks (the exact time varies by plant, typically 3-8 weeks), give a cutting a very gentle tug. If you feel resistance, roots have likely formed.
- Visual Inspection: If using clear pots, you might see white roots emerging from the drainage holes or pressing against the sides of the pot.
- New Growth: The most reliable sign of rooting is new leaf growth at the top of the cutting. This indicates the plant is taking up water and actively photosynthesizing.
Do not be impatient and pull them out too early; that can damage fragile new roots.
2.
Gradual Acclimation to Lower Humidity: Once rooted, your cuttings no longer need extremely high humidity. Gradually acclimate them by slowly increasing their exposure to ambient room air over a week or two.
- Start by propping open the dome or bag for an hour or two on the first day.
- Increase the duration each day.
- Eventually, remove the dome or bag entirely.
This process prevents shock and helps the young plants adjust to less humid conditions, strengthening their leaves and stems. They become more self-reliant.
3.
Lighting Requirements: Provide your rooted cuttings with bright, indirect light throughout the winter. A south-facing window (if not too hot) or an east/west-facing window works well. Supplemental grow lights are highly beneficial during the shorter, darker winter days, ensuring steady growth and preventing leggy, weak plants. Position the grow lights a few inches above the plant canopy and use them for 12-14 hours daily. This ensures they receive adequate photosynthetic energy.
4.
Watering: Water your rooted cuttings when the top inch of the rooting medium feels dry to the touch. These young plants do not yet have extensive root systems, so they dry out slower than mature plants. Overwatering remains a significant risk, leading to root rot. Ensure proper drainage from the pots. You are aiming for consistently moist soil, not soggy conditions.
5.
Fertilizing: Young cuttings do not require much fertilizer initially. The rooting medium typically contains enough nutrients for the first few weeks. Once they show robust new growth and establish a healthy root ball (usually after a month or two), you can begin feeding them with a very diluted, balanced liquid fertilizer (e.g., ¼ strength). Over-fertilizing can burn delicate new roots, so err on the side of caution. Focus on gentle encouragement, not force-feeding.
6.
Temperature: Most rooted cuttings prefer cool to moderate indoor temperatures during winter, typically between 60-70°F (15-21°C). Avoid drafts from windows or heating vents, which can stress the plants. You want a stable environment, not fluctuating extremes.
7.
Pest Monitoring: Inspect your cuttings regularly for signs of common indoor pests like aphids, spider mites, or whiteflies. Small, tender plants are particularly vulnerable. Address any infestations immediately with appropriate, gentle treatments such as insecticidal soap. Catching problems early prevents widespread issues. You ensure your new plants remain healthy and strong, ready for their eventual outdoor debut.
By following these guidelines, you provide your young plants with the care they need to grow robustly indoors, preparing them for a successful transition to your garden in the spring.
Common Challenges and Practical Solutions
Even experienced propagators encounter issues. Knowing how to identify and address common problems helps you maintain a high success rate and learn from every experience. You avoid discouragement by understanding what went wrong and how to fix it.
| Challenge | Symptoms | Practical Solution |
|---|---|---|
| Cuttings Wilt and Die Quickly | Stems and leaves droop, turn brown, and collapse within a few days. | This usually indicates insufficient humidity or too much direct light. Ensure your humidity dome or plastic bag is sealed well and providing ample moisture. Move cuttings to a location with bright, indirect light. Check the rooting medium for consistent moisture; it should be damp, not dry. |
| Cuttings Rot at the Base | Stems turn black or mushy at the soil line, often with a foul odor. | Overwatering is the primary cause. Reduce watering frequency. Ensure your rooting medium drains exceptionally well and your pots have drainage holes. Improve air circulation by lifting the humidity dome daily. Consider using a sterile, soilless rooting medium to prevent fungal issues. |
| Cuttings Fail to Root (No new growth) | Cuttings remain green and turgid but show no signs of new roots or leaves after several weeks. | Several factors could contribute. Review your process: Did you take the cutting correctly (below a node)? Is the rooting medium warm enough (consider a heat mat)? Is light adequate but indirect? Did you use rooting hormone? Some plants simply root slower than others; patience is key. Try new cuttings if older ones are showing no progress. |
| Pest Infestation | Small insects (aphids, spider mites) visible on leaves, yellowing, distorted growth, or sticky residue. | Inspect cuttings regularly. Isolate affected plants immediately. Treat with insecticidal soap or neem oil spray, ensuring full coverage. Repeat treatments as directed. High humidity can sometimes deter spider mites, but good airflow prevents other pests. Always sterilize tools and containers. |
| Leggy Growth (Stretched stems, sparse leaves) | Cuttings grow tall and thin with widely spaced leaves. | This indicates insufficient light. Move cuttings closer to a grow light or to a brighter window. Ensure they receive 12-16 hours of bright, indirect light per day. Leggy plants are weak and less likely to thrive. |
You address these issues proactively. Regular observation and timely intervention significantly increase your success rate. Do not let minor setbacks deter you; every challenge offers a learning opportunity that makes you a more skilled gardener.
Transitioning Your Rooted Cuttings Outdoors in Spring
As spring approaches and the threat of frost diminishes, your overwintered cuttings will be ready for their grand debut outdoors. This transition, known as hardening off, requires a gradual approach to prevent shock and ensure your young plants thrive in their new environment. You prepare them for the real world, gradually building their resilience.
1.
Check Local Frost Dates: First, confirm the average last frost date for your specific region. Do not rush this step. Planting too early exposes your delicate plants to potentially fatal cold snaps. Consult your local extension service for precise, reliable information on planting times.
2.
The Hardening Off Process: Hardening off gradually exposes your indoor-grown plants to outdoor conditions: fluctuating temperatures, wind, and stronger sunlight. This process typically takes 1-2 weeks.
- Day 1-3: Place your cuttings in a sheltered, shady outdoor location for a few hours. A porch, under a dense tree, or a covered patio works well. Bring them back indoors every evening.
- Day 4-7: Increase the time spent outdoors, gradually moving them to a spot that receives more indirect morning sunlight. Continue bringing them inside at night, especially if nighttime temperatures dip below 50°F (10°C).
- Day 8-14: Your cuttings can now tolerate partial sun for longer periods. You might leave them out overnight if temperatures remain consistently above 50°F (10°C). Monitor weather forecasts closely.
- After Hardening Off: Your plants are now ready for permanent planting.
This gradual exposure builds resilience, allowing the plants to acclimate to outdoor stresses without experiencing severe shock. You toughen them up without damaging them.
3.
Choosing a Planting Location: Consider the specific needs of each plant.
- For Potted Herbs: Choose containers with good drainage. Terra cotta pots often work well as they allow for good aeration. Ensure your potting mix is fresh and suitable for container gardening, providing essential nutrients and proper drainage. You are giving them a fresh start in a new home.
- For Perennials: Decide whether you will plant them directly into the garden bed or keep them in larger containers. Ensure the soil in the garden bed is prepared, enriched with compost, and has appropriate drainage. Remember their mature size and sun requirements when selecting a permanent spot.
4.
Planting Your Cuttings:
- Dig a hole slightly larger than the root ball of your cutting.
- Gently remove the cutting from its nursery pot, being careful not to disturb the roots.
- Place the plant in the hole so the top of the root ball is level with the surrounding soil.
- Backfill with soil, gently firming it around the base of the plant.
- Water thoroughly after planting to settle the soil around the roots.
5.
Post-Planting Care:
- Watering: Newly planted cuttings need consistent moisture as they establish their new root systems. Water regularly, especially during dry spells, but avoid overwatering.
- Mulching: Apply a layer of organic mulch (shredded leaves, wood chips, straw) around your newly planted herbs and perennials. Mulch helps retain soil moisture, suppress weeds, and regulate soil temperature. This provides a stable environment for new roots.
- Protection: For the first few days after planting, consider providing some temporary shade for your newly transplanted cuttings, especially if they are in full sun. This extra protection helps them settle in.
You have successfully guided your cuttings from a tiny stem fragment to a thriving independent plant. This journey provides immense satisfaction and a cost-free expansion of your beautiful garden. Enjoy the fruits of your propagation efforts!
Frequently Asked Questions
When is the absolute best time to take fall cuttings?
The optimal time for taking fall cuttings is late summer to early fall, typically August through October, before consistent night temperatures dip below 40-50°F (4-10°C). You want to take cuttings while the parent plants are still actively growing and healthy, but as the plant begins to shift its energy towards preparing for winter. This timing allows the cuttings sufficient time to root indoors before winter truly sets in.
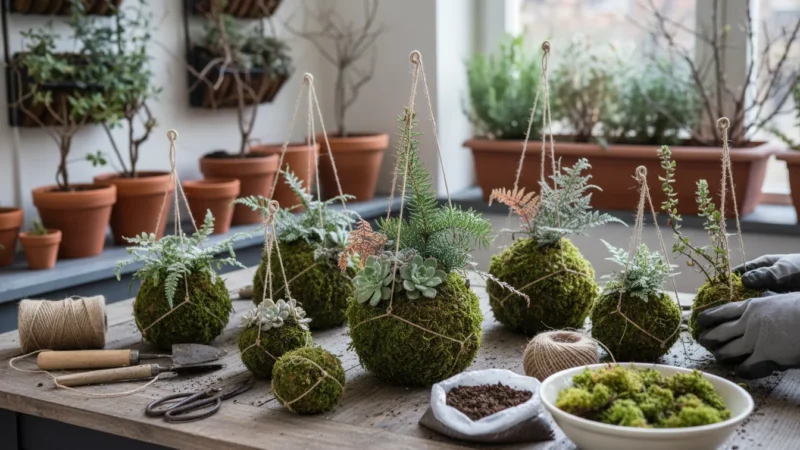
If you find yourself with extra succulent or herb sprigs, you can easily create a living fall centerpiece to bring your garden’s beauty indoors.
Can I root cuttings in water instead of soil?
Yes, some plants, like mint, basil, and coleus, root very easily in water. Simply place the prepared cutting in a clear glass of water, ensuring no leaves are submerged, and change the water every few days. While this method works for many, rooting in a proper soil medium often produces stronger, more robust root systems that transition better to soil. Plants rooted in water can sometimes struggle to adapt when transplanted to soil due to differences in root structure and available nutrients.
How long does it typically take for cuttings to root?
The rooting time varies significantly depending on the plant species, environmental conditions, and the use of rooting hormone. Easy-to-root plants like coleus or mint might show roots in 2-3 weeks. More challenging plants, such as rosemary or lavender, could take 6-8 weeks, or even longer. You should practice patience and monitor for new growth or gentle resistance when tugging to confirm rooting.
What type of containers are best for rooting cuttings?
Small pots, typically 2-4 inches in diameter, or cell trays with good drainage holes are ideal. Use clean, sterile containers to prevent disease. You can reuse plastic nursery pots after washing and sanitizing them. The size prevents waterlogging and provides adequate space for initial root development without wasting rooting medium.
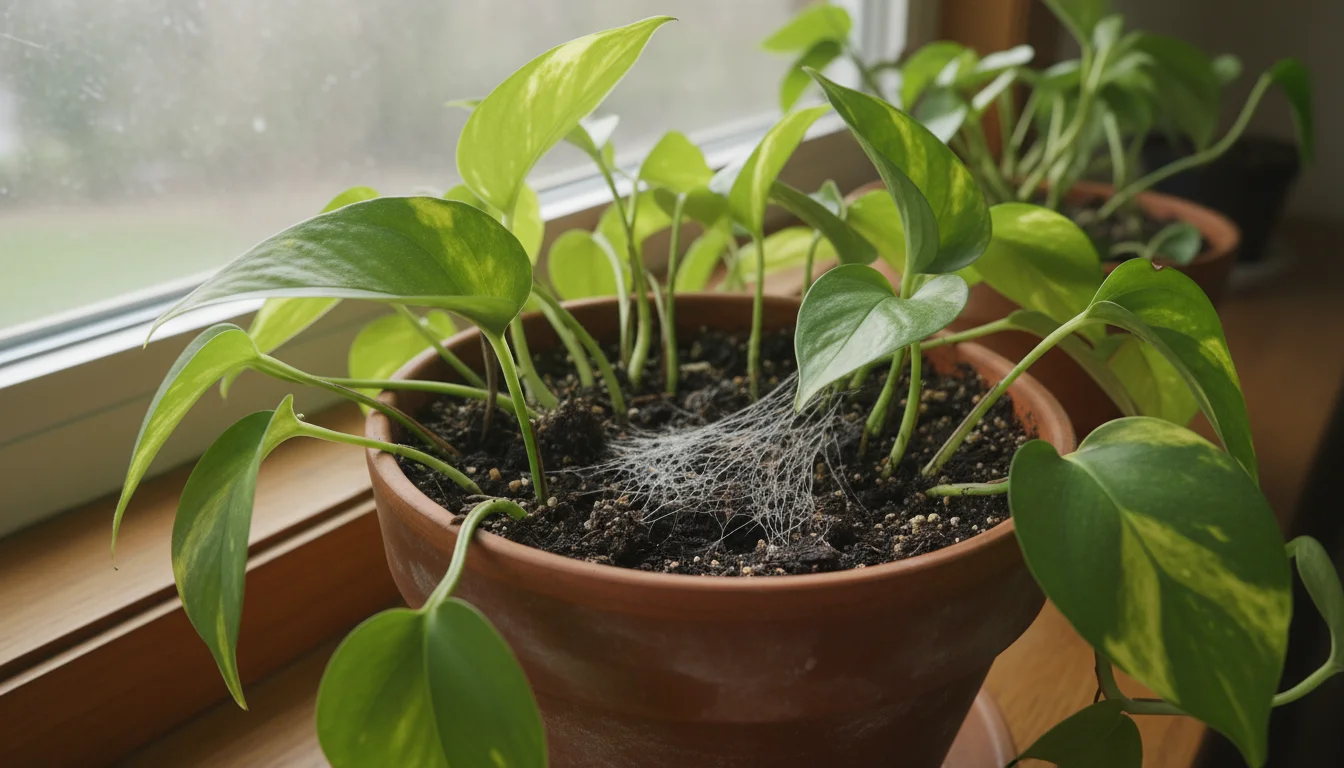
My cuttings are developing mold. What should I do?
Mold development, often white or gray fuzzy growth, typically indicates excessively high humidity with insufficient air circulation, or overly wet rooting medium. Immediately remove any affected cuttings to prevent the mold from spreading. Increase air circulation by venting your humidity dome more frequently and for longer periods. Reduce watering frequency and ensure your rooting medium is well-draining. You can also sprinkle a thin layer of cinnamon powder on the surface of the medium, as it has natural anti-fungal properties.
For trustworthy gardening information, visit:
Clemson University Extension — Home & Garden, Colorado State University Extension — Gardening, North Carolina State Extension — Gardening, Virginia Cooperative Extension — Lawn & Garden and University of Maryland Extension — Home & Garden. These organizations provide expert, research-based advice for gardeners at all levels.
Disclaimer: This article is for informational purposes only and is not a substitute for professional gardening advice. Always consult local extension services or horticulture experts for region-specific guidance.
Leave a Reply