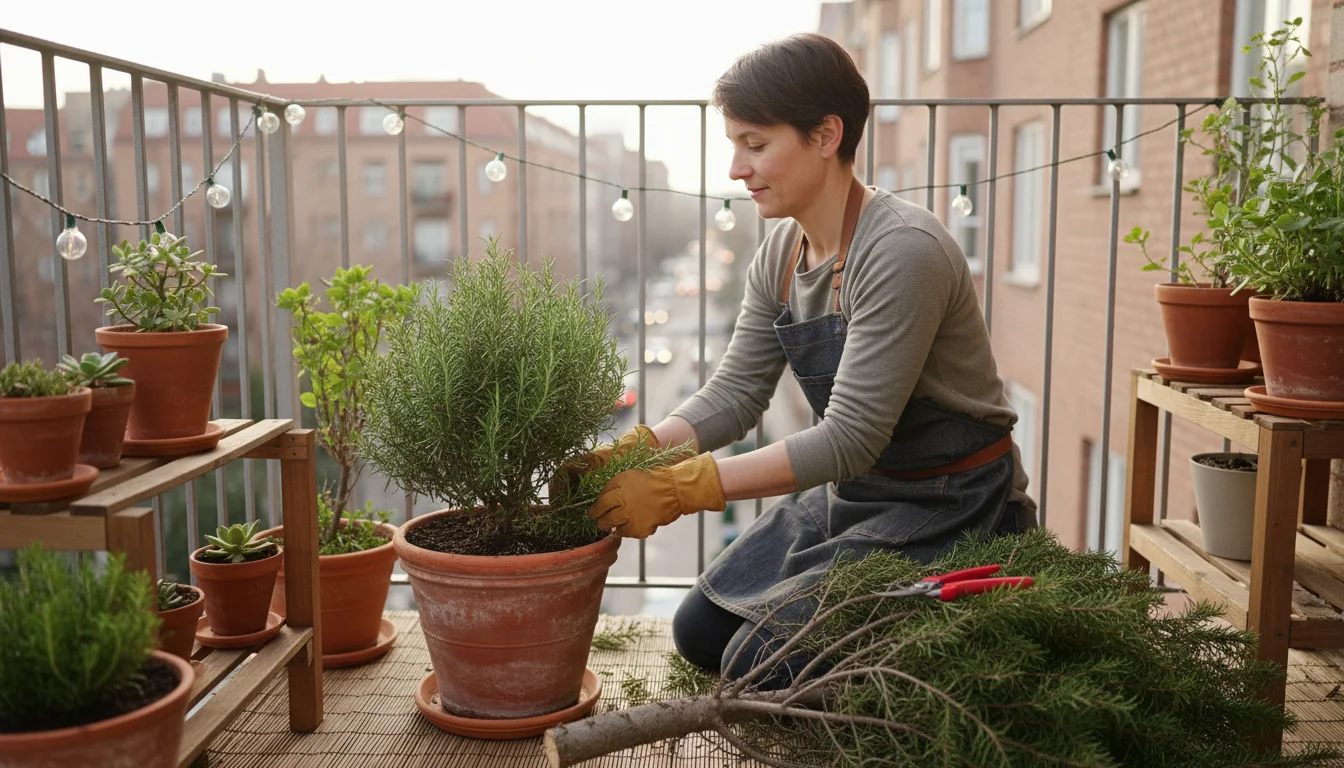
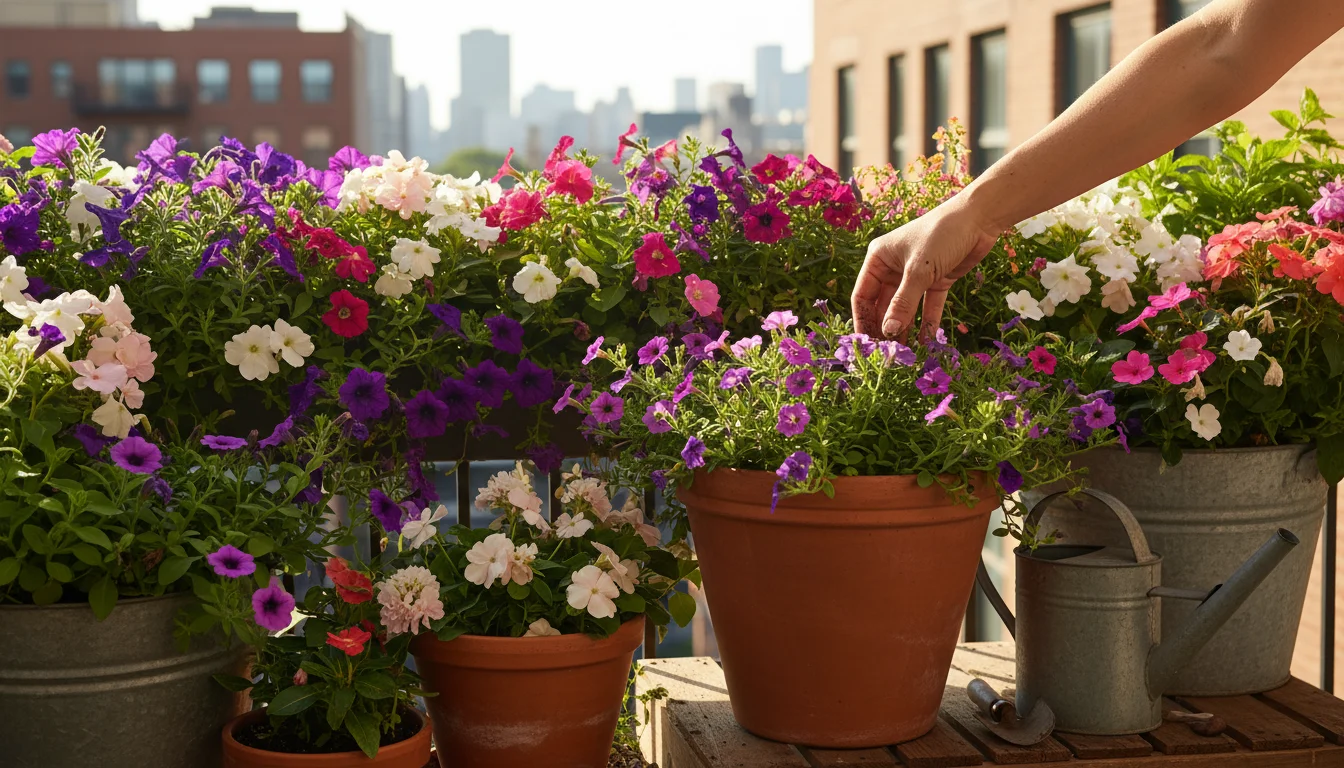
Winter often brings a yearning for green, vibrant life, especially when your outdoor garden slumbers under a blanket of snow. Instead of waiting for spring, you can transform your home into a thriving nursery by starting houseplants from seed indoors. This “Patience Project” offers a deeply rewarding experience, connecting you to the plant world during the colder months and yielding a diverse collection of indoor greenery. You gain complete control over your plants from their earliest stage, fostering robust growth and adapting them to your home environment from day one. This guide provides actionable steps and practical insights, empowering you to embark on this satisfying journey, regardless of your gardening experience.
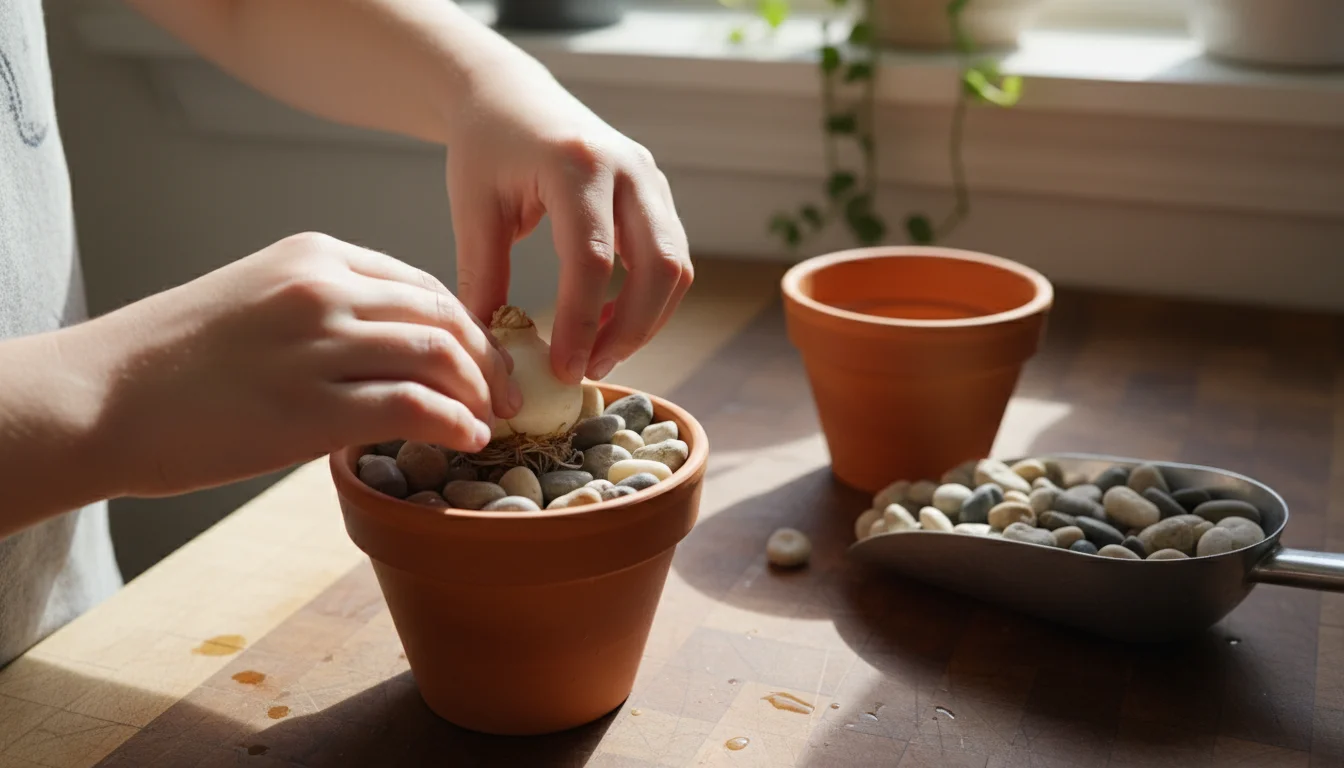
If you want a mix of foliage and early blooms, you can also try forcing bulbs indoors alongside your seed-starting project.
Why Embrace This Patience Project?
Starting indoor plants from seed offers multiple compelling benefits, making it an excellent winter seed starting activity. First, it provides incredible cost savings. A single packet of seeds, often costing just a few dollars, can yield dozens of plants, far surpassing the expense of purchasing individual mature houseplants. For instance, a packet of Coleus seeds might produce 50 or more plants, while buying 50 individual Coleus plants would be significantly more expensive. This allows you to expand your houseplant collection dramatically without breaking your budget.
To keep your efforts on track, follow an apartment seed-starting calendar to ensure you are sowing at the right time for your region.
Second, you unlock a much wider variety of plants. Local nurseries typically stock only the most popular and readily available houseplant varieties. Seed catalogs, however, offer an astonishing array of unique species, unusual cultivars, and rare finds that you would seldom see in retail stores. This lets you cultivate truly distinctive plants, showcasing your personal style and gardening prowess. Imagine growing an obscure ornamental pepper or a rare variegated Pilea from scratch.
Third, the satisfaction derived from growing houseplants from seed is immense. You observe the miracle of life unfolding from a tiny speck, nurturing it through every stage of its development. This deep connection to your plants fosters a greater appreciation for their resilience and beauty. This project is a wonderful way to combat winter blues, providing a tangible, green pursuit during months when outdoor gardening feels distant. Engaging in indoor propagation through the winter months allows you to keep your gardening skills sharp and your spirit uplifted.
Finally, starting your own plants promotes environmental consciousness. You reduce the carbon footprint associated with transporting plants from large-scale commercial nurseries. You also minimize plastic waste by reusing your own seed starting trays and pots. Choosing organic or sustainably harvested seeds further enhances your eco-friendly impact. This method ensures you avoid plants treated with pesticides or growth regulators, giving you healthier, more natural specimens for your home.
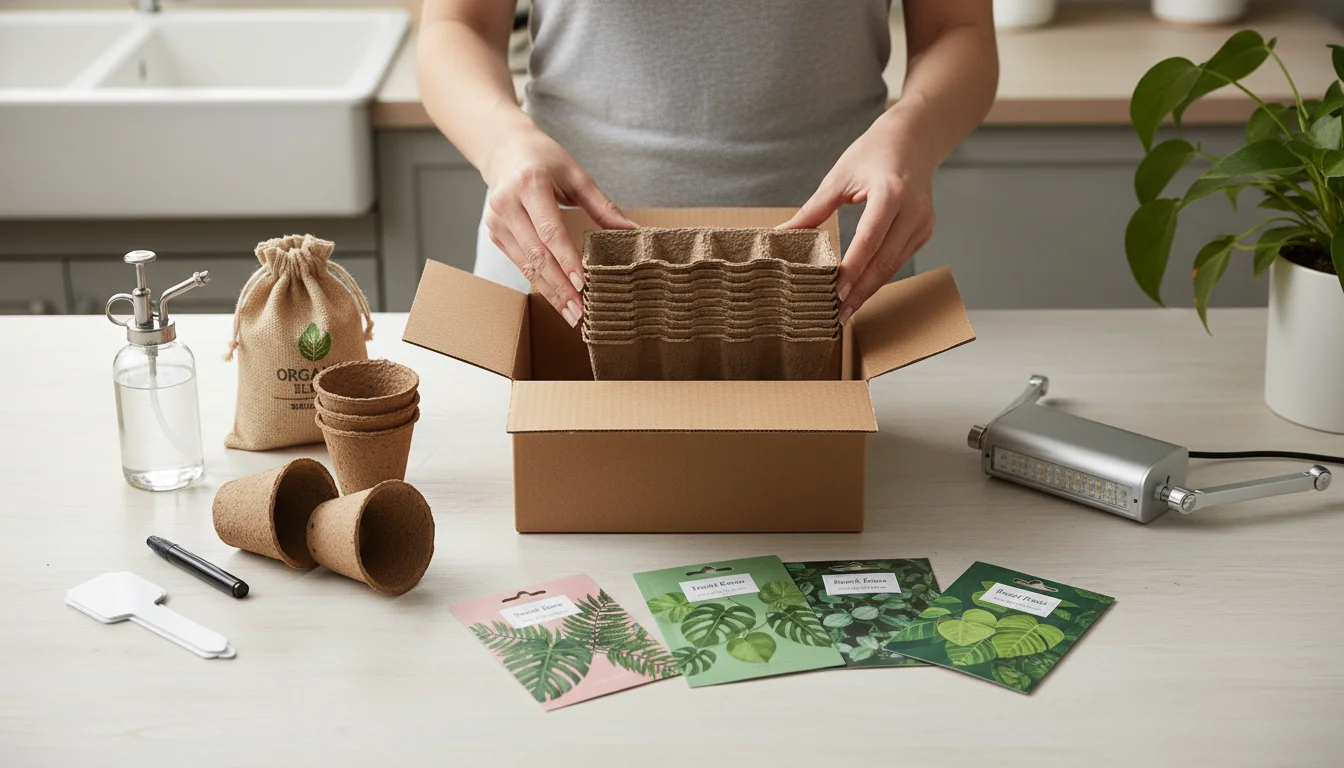
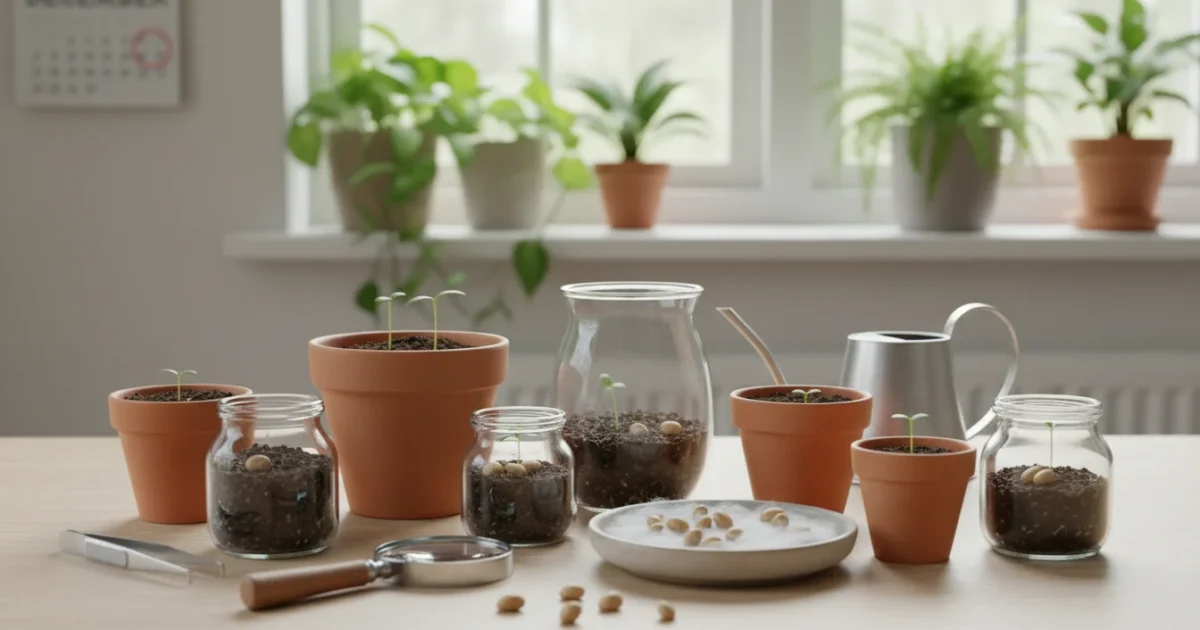
Gathering Your Seed Starting Arsenal
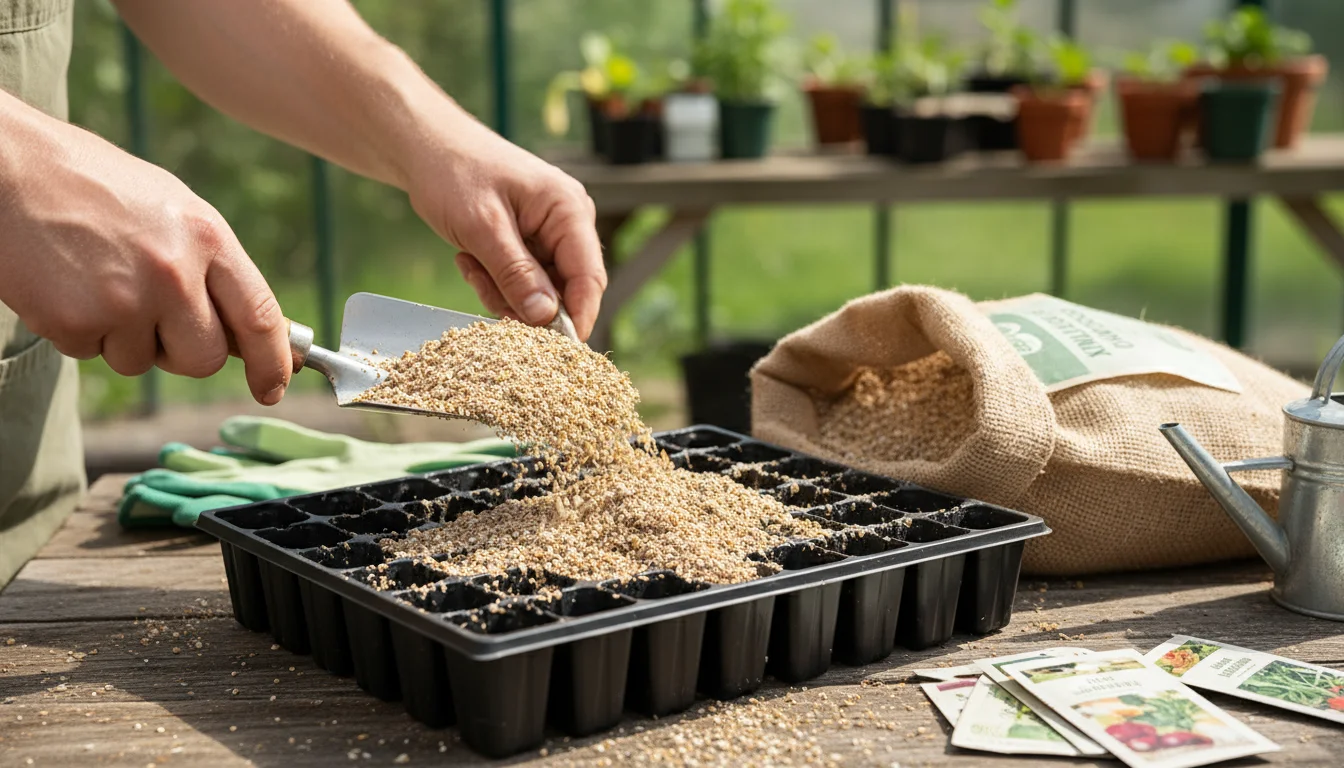
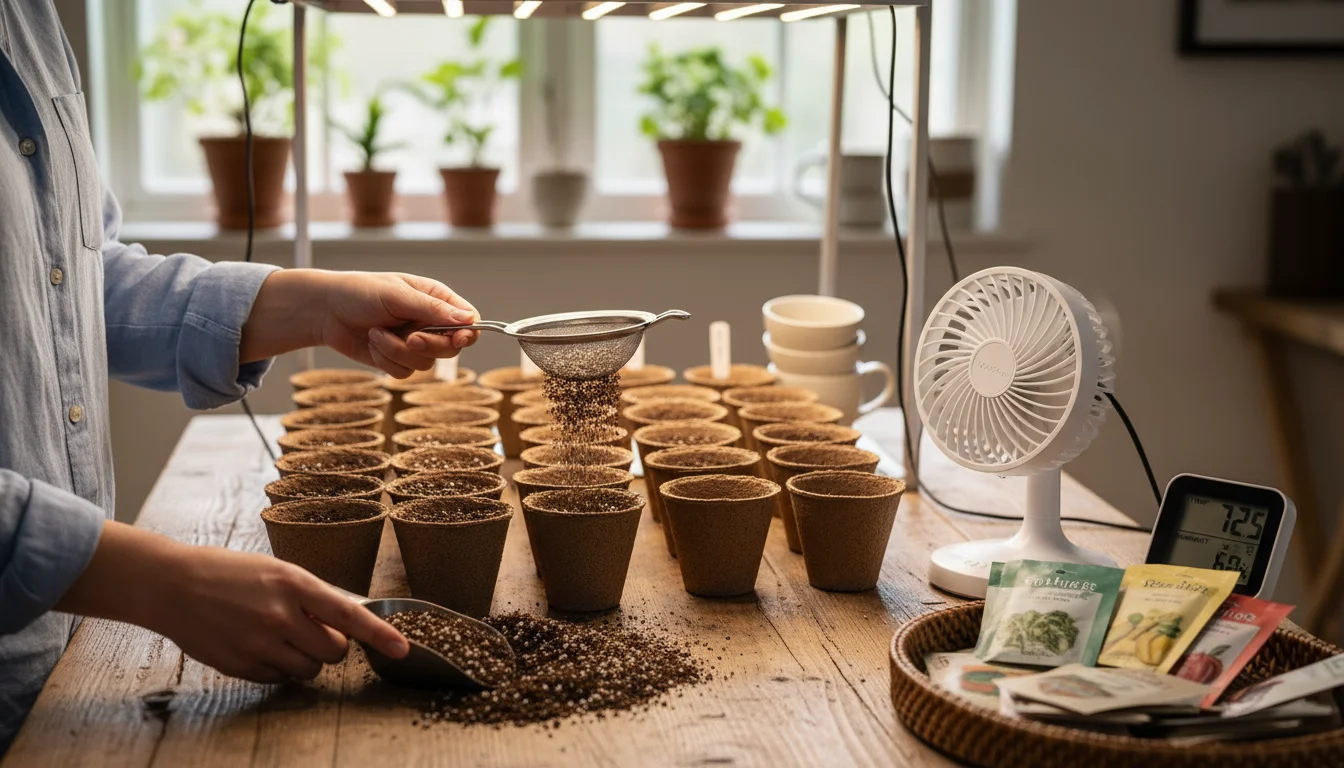
Successful winter seed starting hinges on having the right tools and materials. Most items are readily available at garden centers, hardware stores, or online. Planning ahead helps ensure a smooth process.
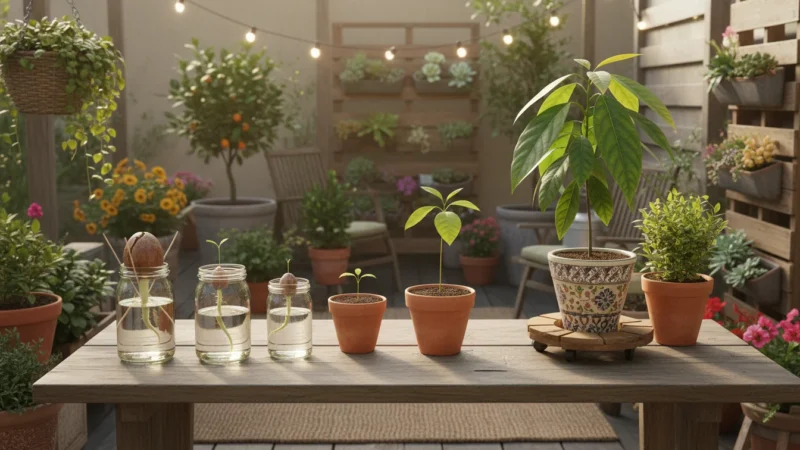
While you wait for your tiny seeds to germinate, you might also enjoy sprouting an avocado seed in a glass for a larger-scale indoor project.
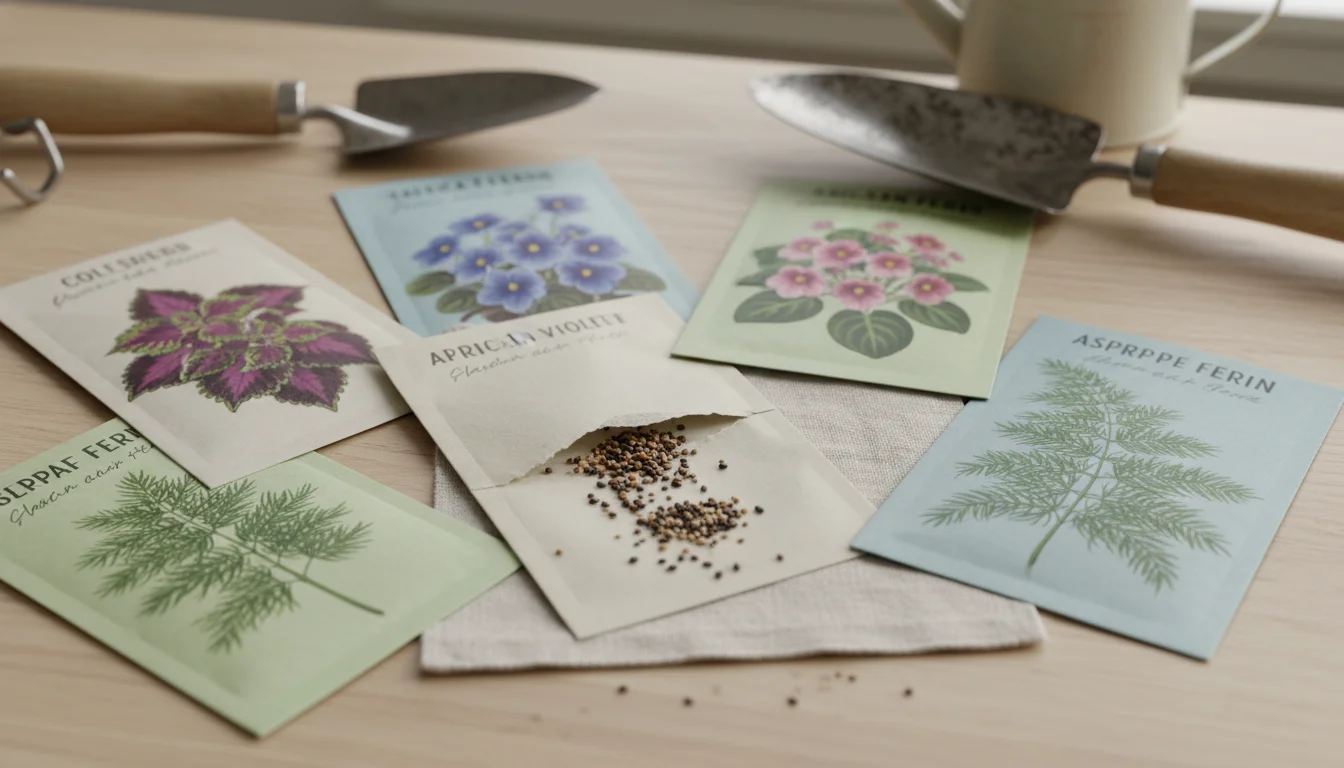
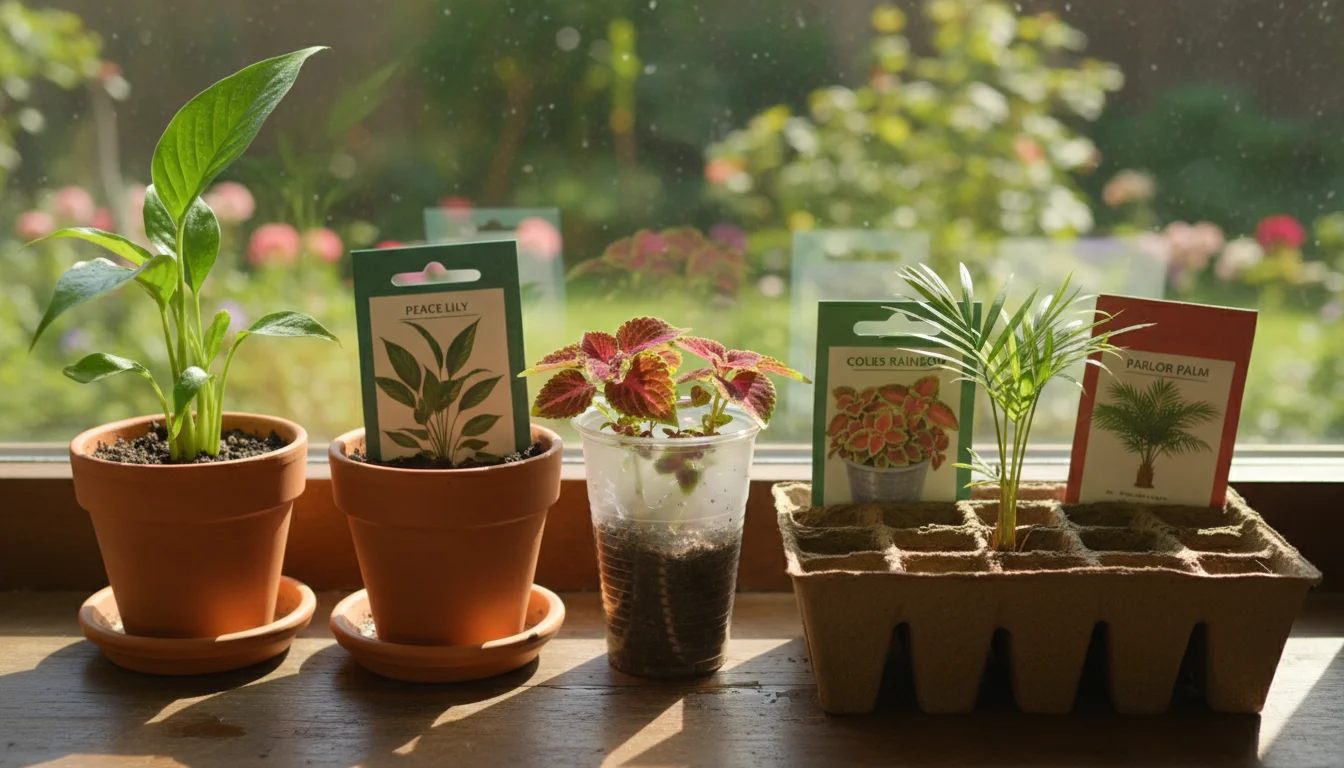
Houseplant Seeds
Select seeds from reputable suppliers to ensure good germination rates. Look for varieties suitable for indoor growing. Popular options include Coleus, Basil (for culinary and ornamental use), African Violets, Asparagus Fern, Dracaena, and even some palm varieties. Read seed packets carefully for specific germination instructions and expected growth habits.
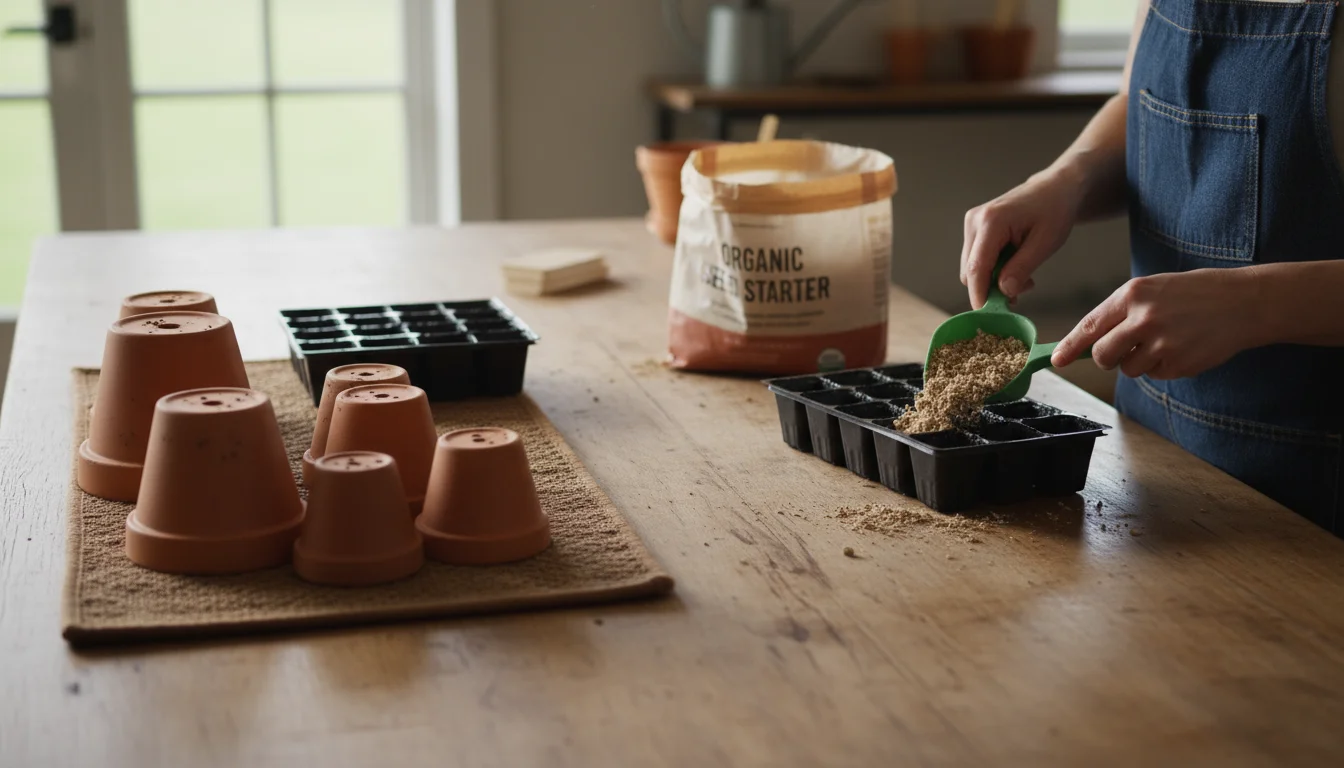
Seed Starting Mix
A specialized seed starting mix is crucial. This is not regular potting soil. Seed starting mixes are finer in texture, sterile, and designed for optimal drainage and moisture retention. They typically contain peat moss, vermiculite, and perlite, providing a lightweight, well-aerated environment that prevents “damping off” disease (a fungal issue that can kill young seedlings). Avoid garden soil, which can introduce pathogens and pests.
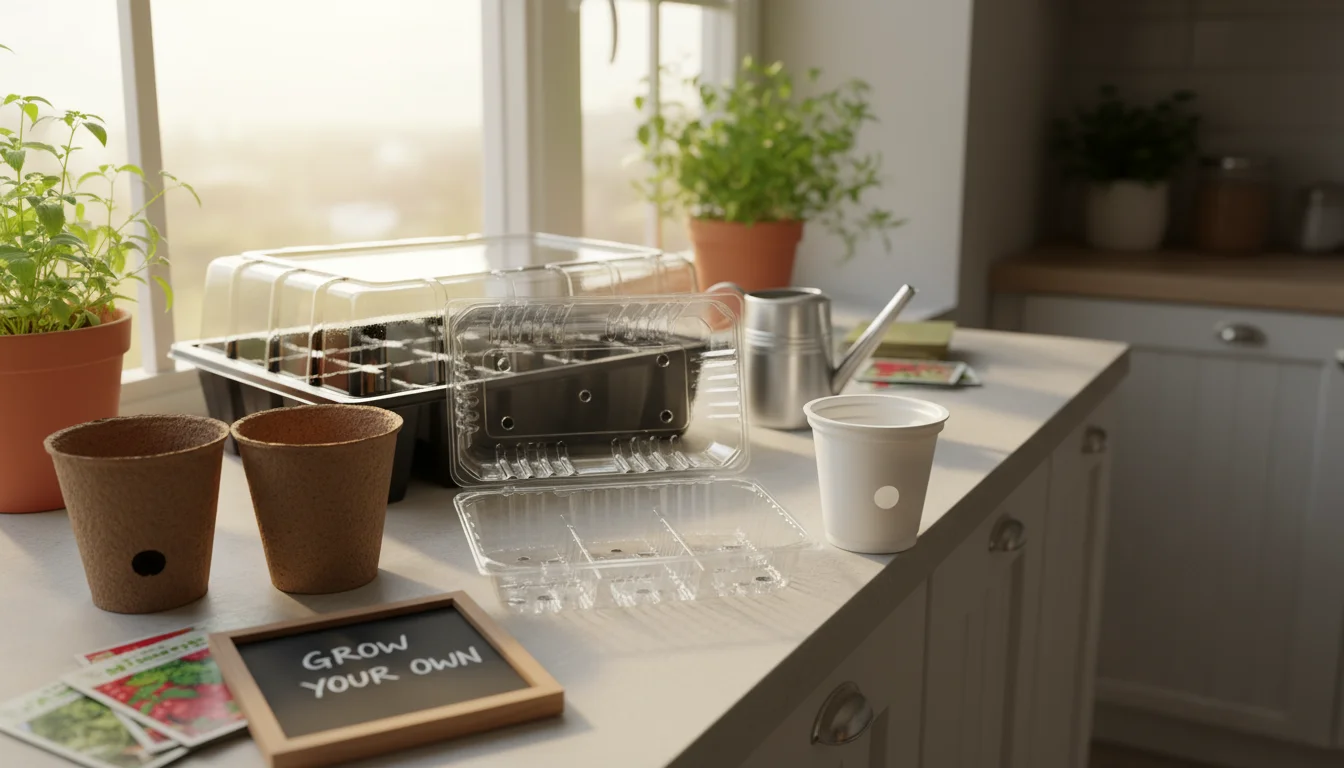
Seed Starting Trays or Containers
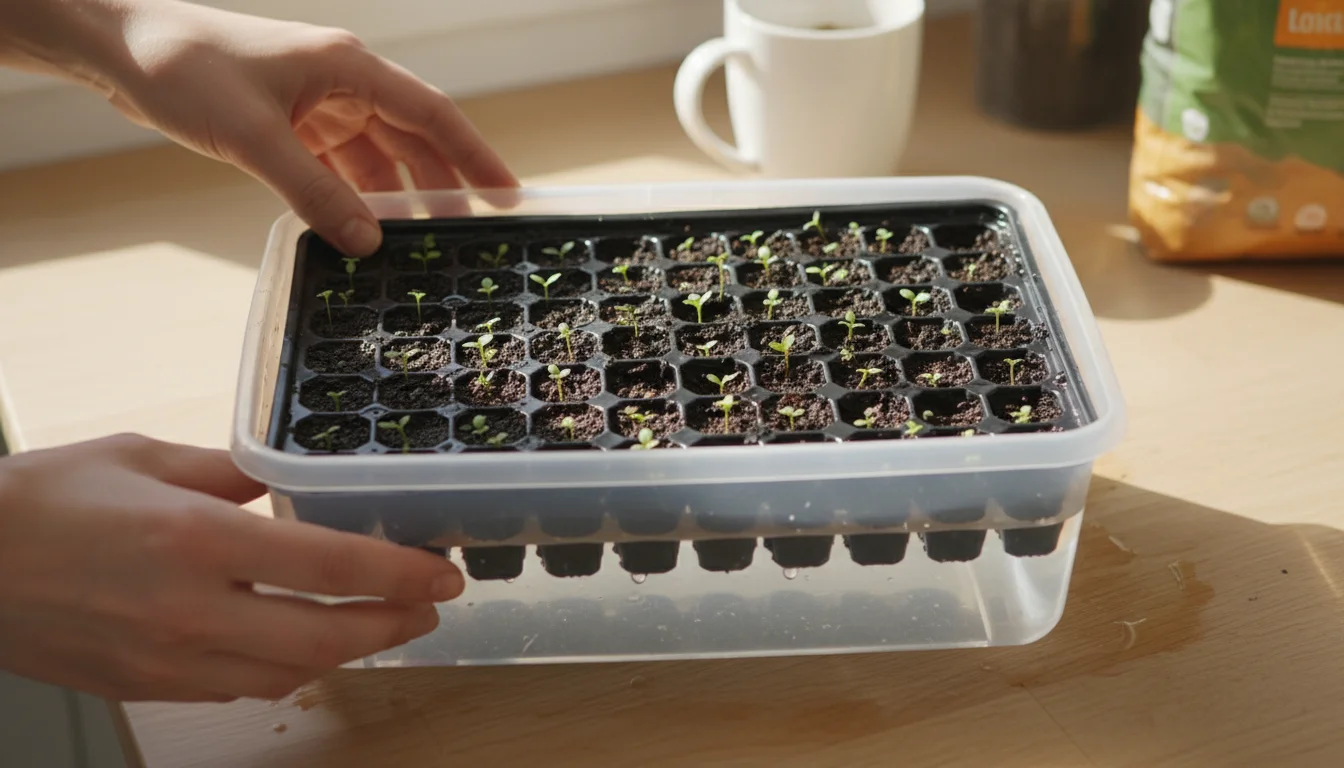
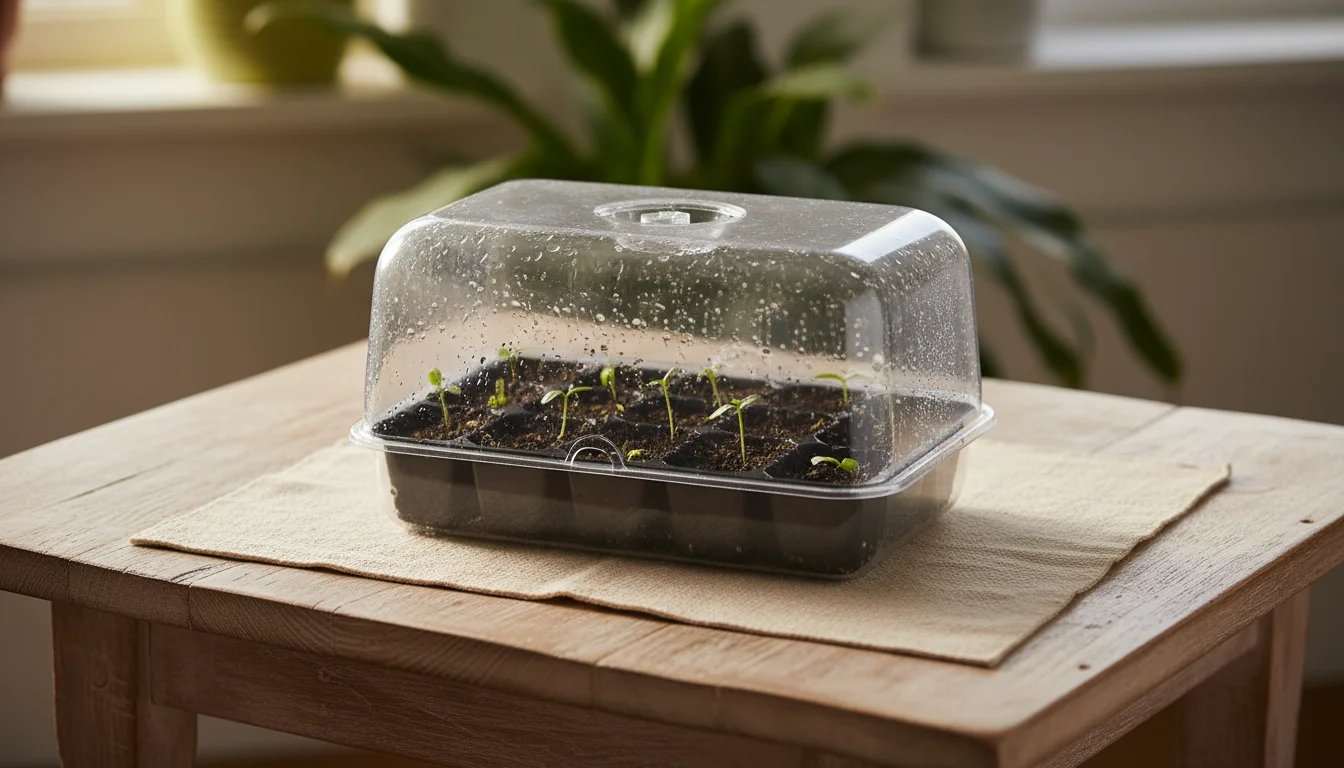
You need shallow containers with good drainage holes. Options include plastic seed trays, peat pots, biodegradable pots, or even repurposed containers like yogurt cups or plastic clamshells from berries. If reusing containers, ensure they are clean and have drainage holes poked in the bottom. Consider using a clear plastic dome or lid to create a mini-greenhouse effect, maintaining humidity.

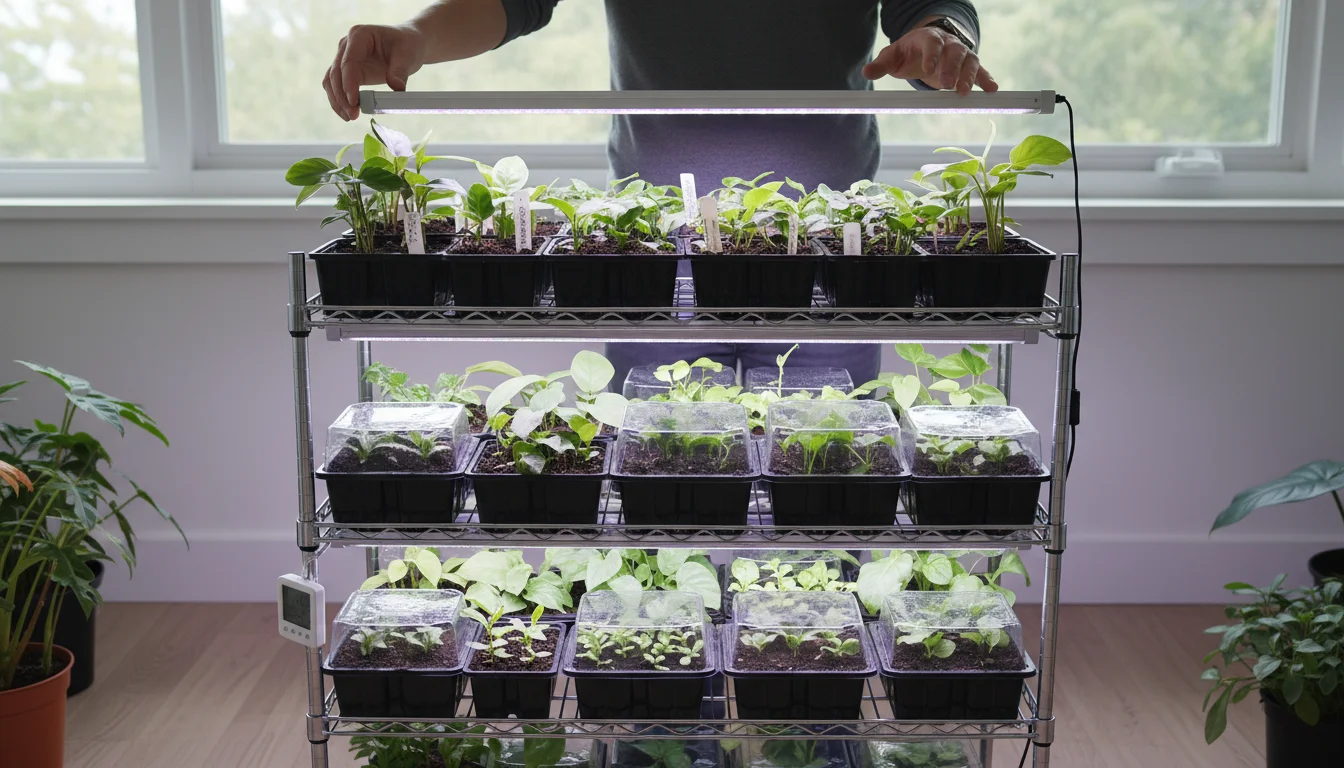
Light Source
Natural light from a windowsill often proves insufficient during winter months, especially for growing houseplants from seed. Seedlings become “leggy,” stretching unsuccessfully for light. Invest in a dedicated grow light system. Full-spectrum LED grow lights are energy-efficient and effective. Position lights to maintain consistent distance from seedlings, typically 2-4 inches, to provide adequate intensity.
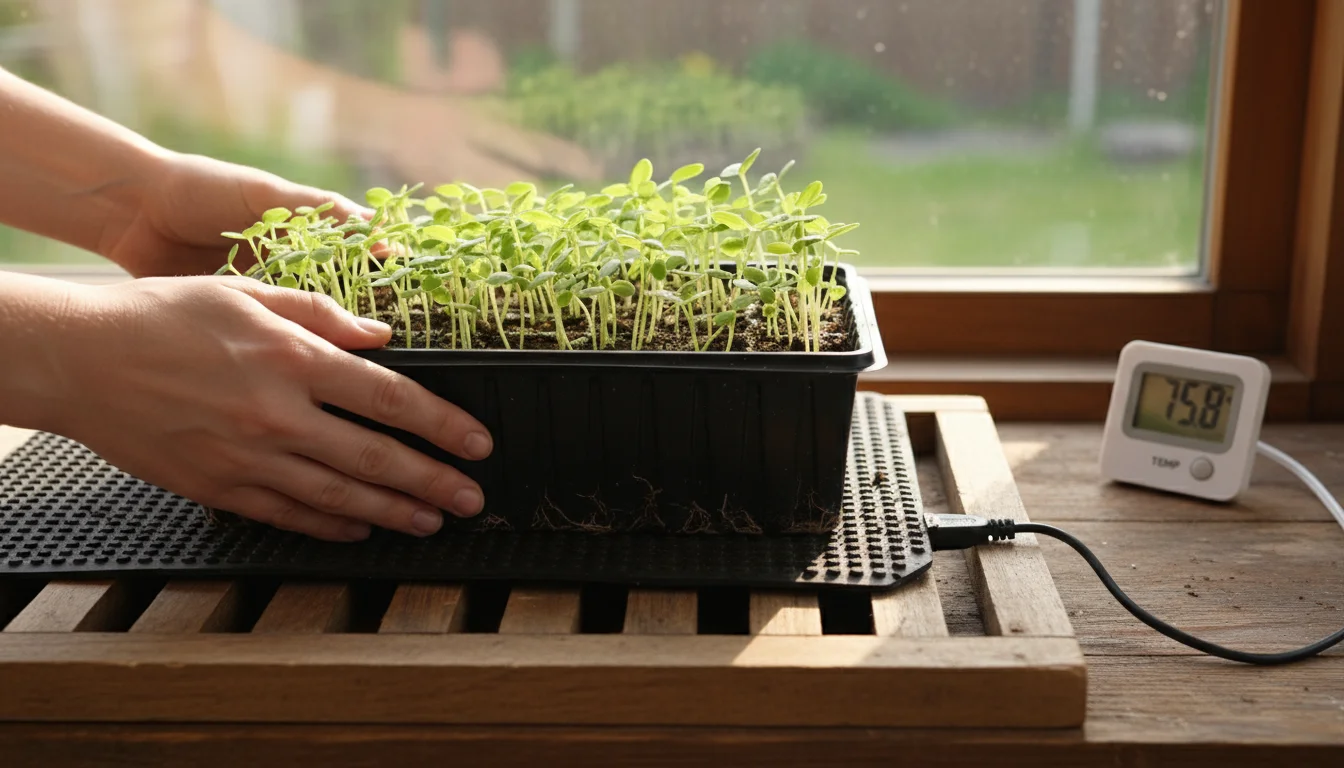
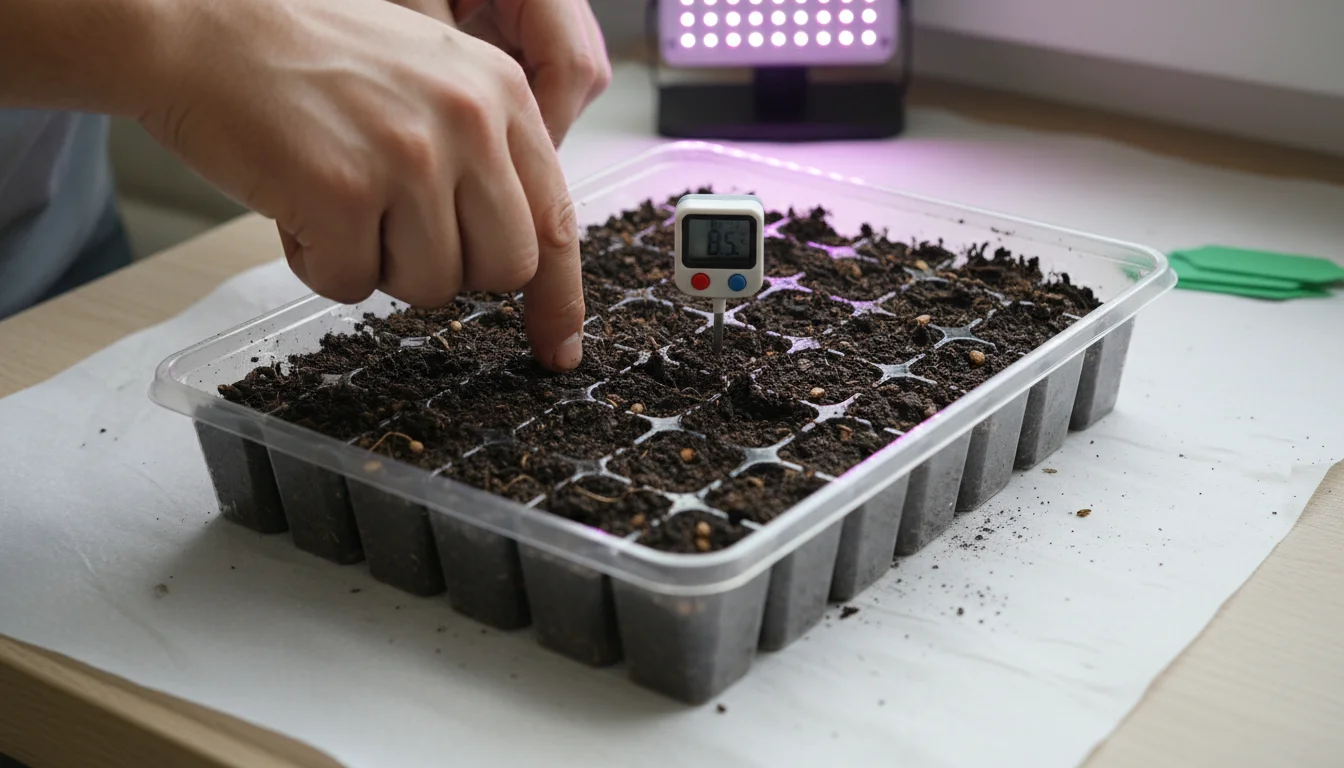
Heat Mat (Optional but Recommended)
Many houseplant seeds germinate best with bottom heat, often requiring soil temperatures between 70-85°F (21-29°C). A seedling heat mat placed under your seed trays provides this consistent warmth, significantly improving germination rates and speed. Studies show that even a few degrees can drastically impact success for certain plant species.
Watering Tools
A gentle watering method prevents disturbing tiny seeds and delicate seedlings. A spray bottle set to a fine mist or a small watering can with a narrow spout works well. The goal is to keep the soil consistently moist but not waterlogged.

Labels and Markers
You might sow several different types of seeds, making labels essential. Use waterproof markers to prevent smudging. Label each tray or pot with the plant name and sowing date. This helps you track progress and provides valuable information for future seed starting endeavors.
Other Useful Tools
- Small trowel or dibber: For making small holes for seeds.
- Sieve: To fine-tune your seed starting mix for very small seeds.
- Fan: A small fan circulating air helps prevent fungal diseases and strengthens seedling stems.
- Thermometer/Hygrometer: To monitor temperature and humidity levels in your seed starting area.
Decoding Houseplant Seeds: What to Know
Understanding houseplant seeds is key to successful indoor propagation. Not all seeds are created equal, and some require specific treatments to break dormancy and sprout.
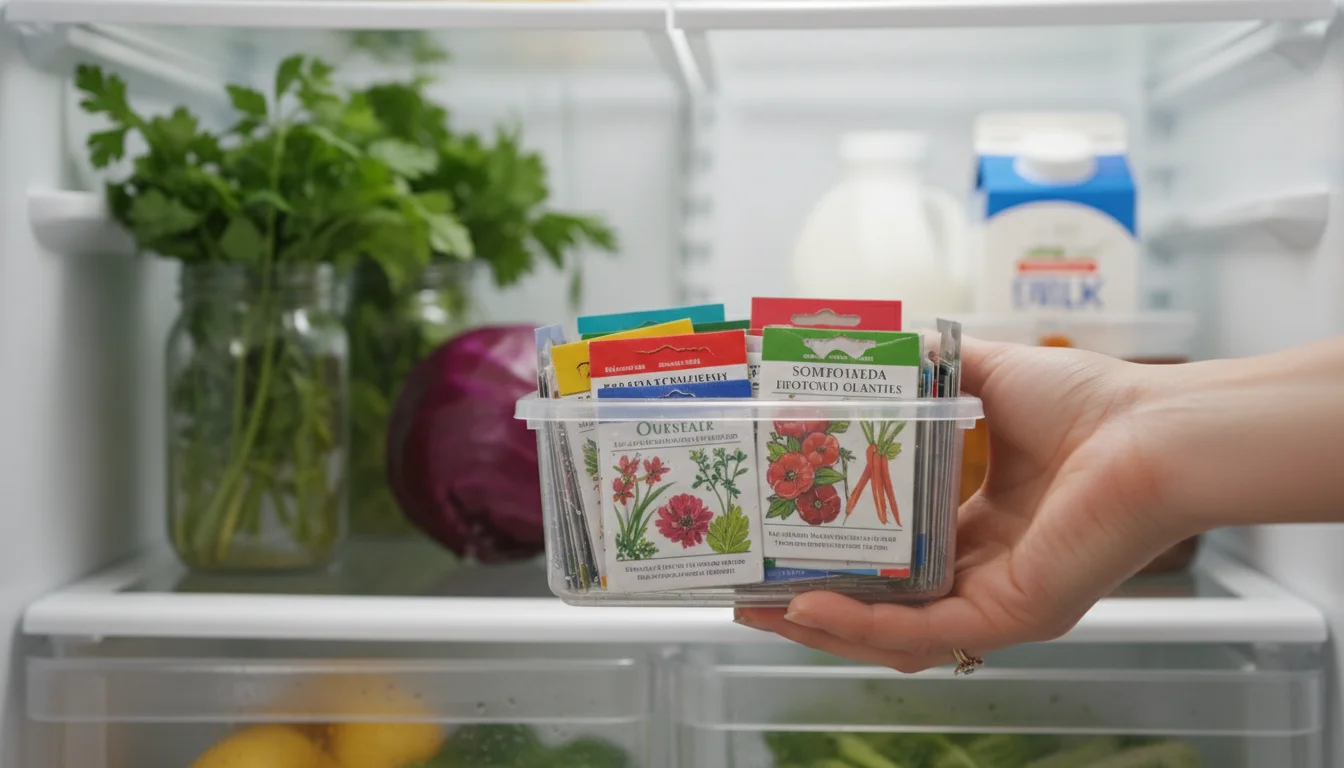
Seed Viability and Storage
Seed viability refers to a seed’s ability to germinate. Fresh seeds generally have the highest viability. Seed packets typically list a “pack date” or “sell by” date. Store seeds in a cool, dark, dry place to prolong their viability. An airtight container in your refrigerator or freezer works wonders. For example, Basil seeds can remain viable for several years if stored correctly, while others, like certain palm seeds, are best sown fresh.
Understanding Dormancy
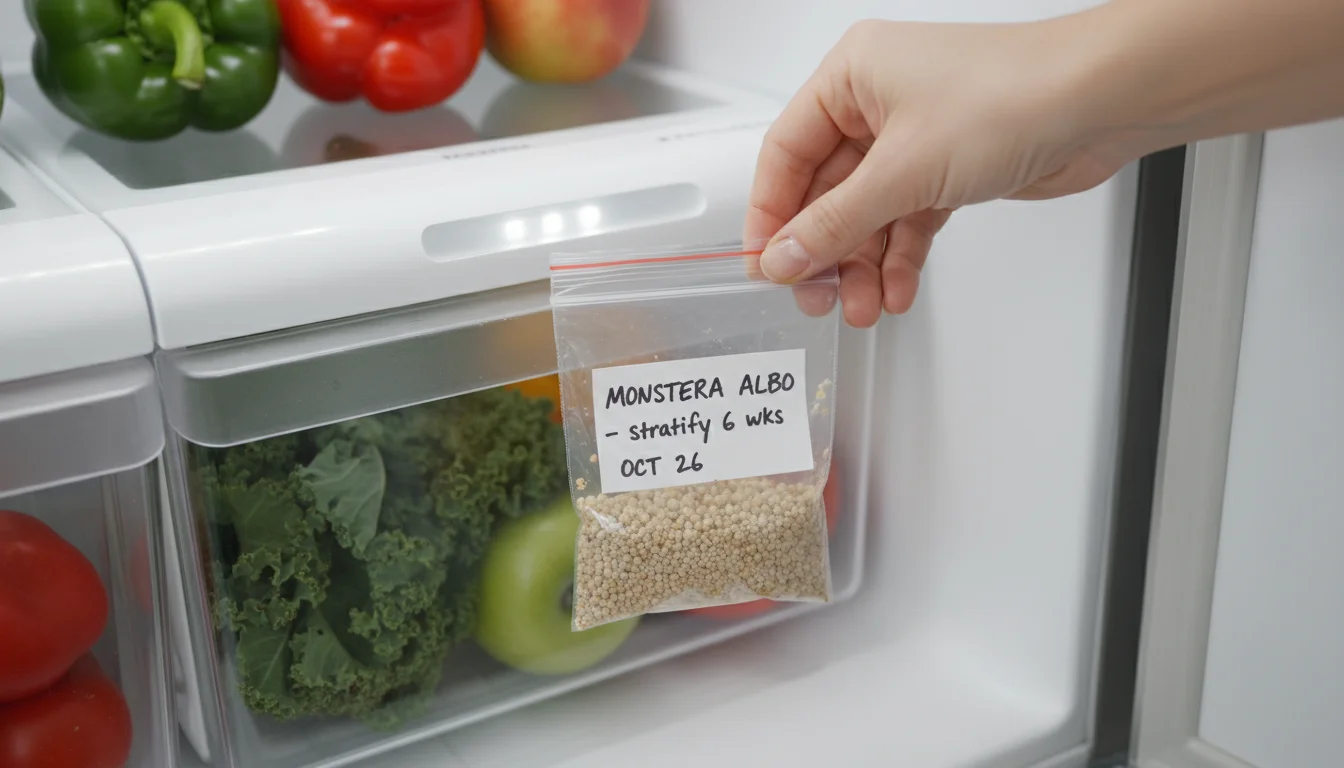
Many seeds have built-in dormancy mechanisms preventing them from germinating at an unsuitable time. For houseplants, two common types of dormancy often require intervention:
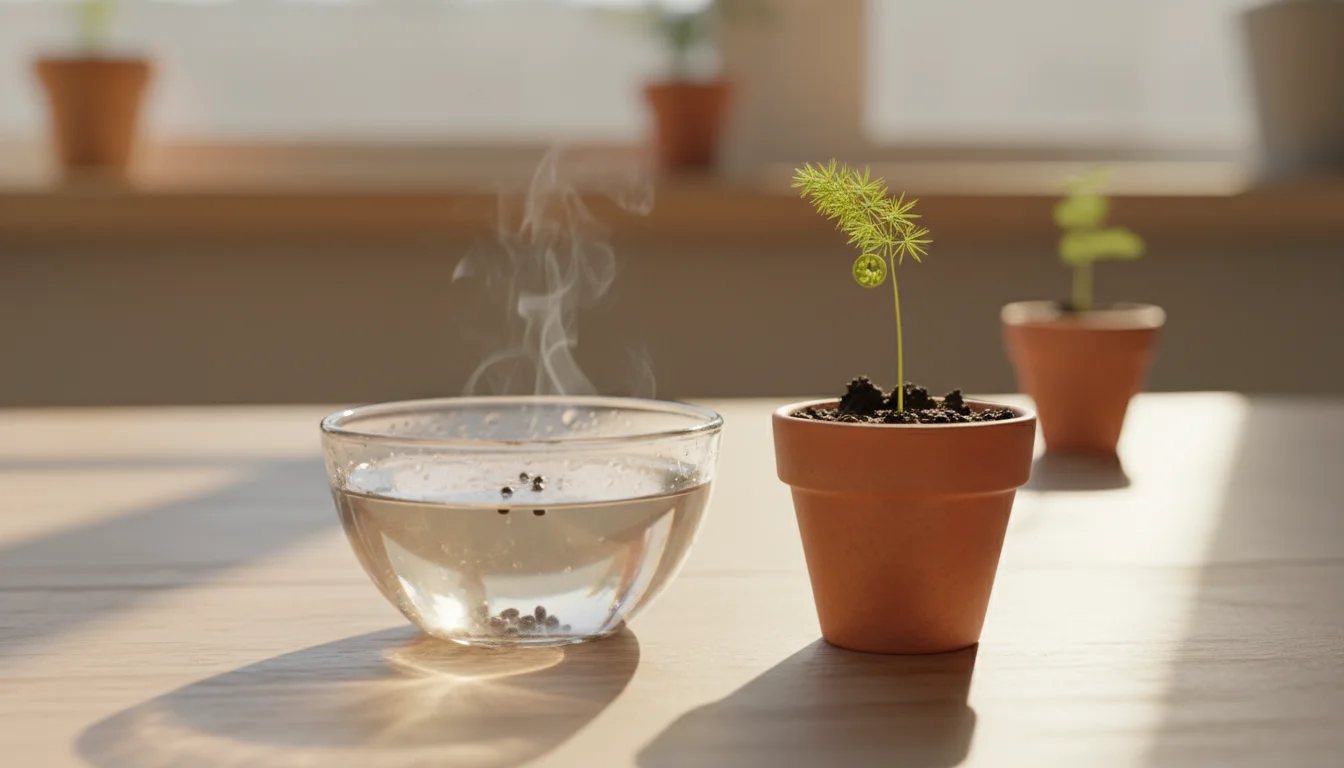
- Stratification: This mimics a period of cold, moist conditions, similar to winter. Seeds requiring stratification, such as some succulent seeds or even a few tropical species from higher elevations, need a chilling period. You achieve this by placing seeds in a moist medium (like peat moss or vermiculite) in a sealed bag in your refrigerator for several weeks or months. This cold period breaks down germination-inhibiting chemicals in the seed.
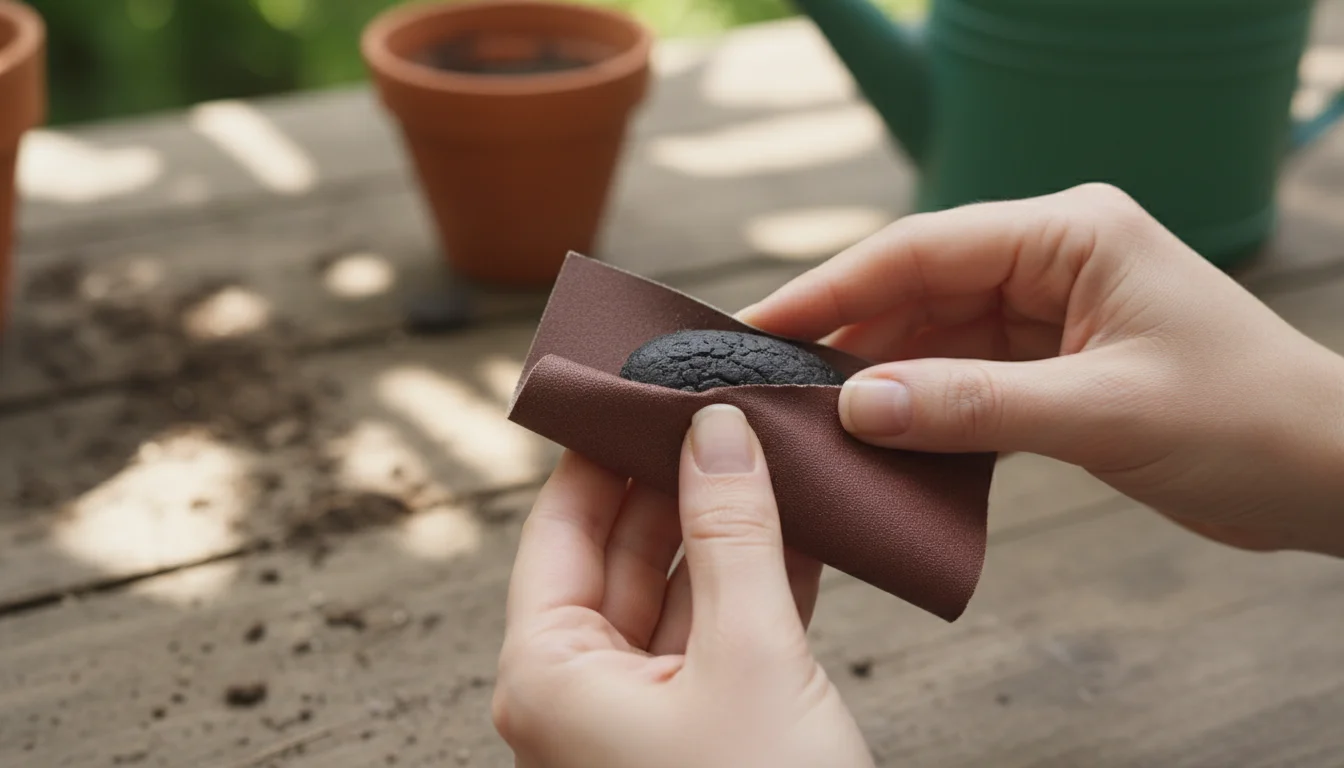
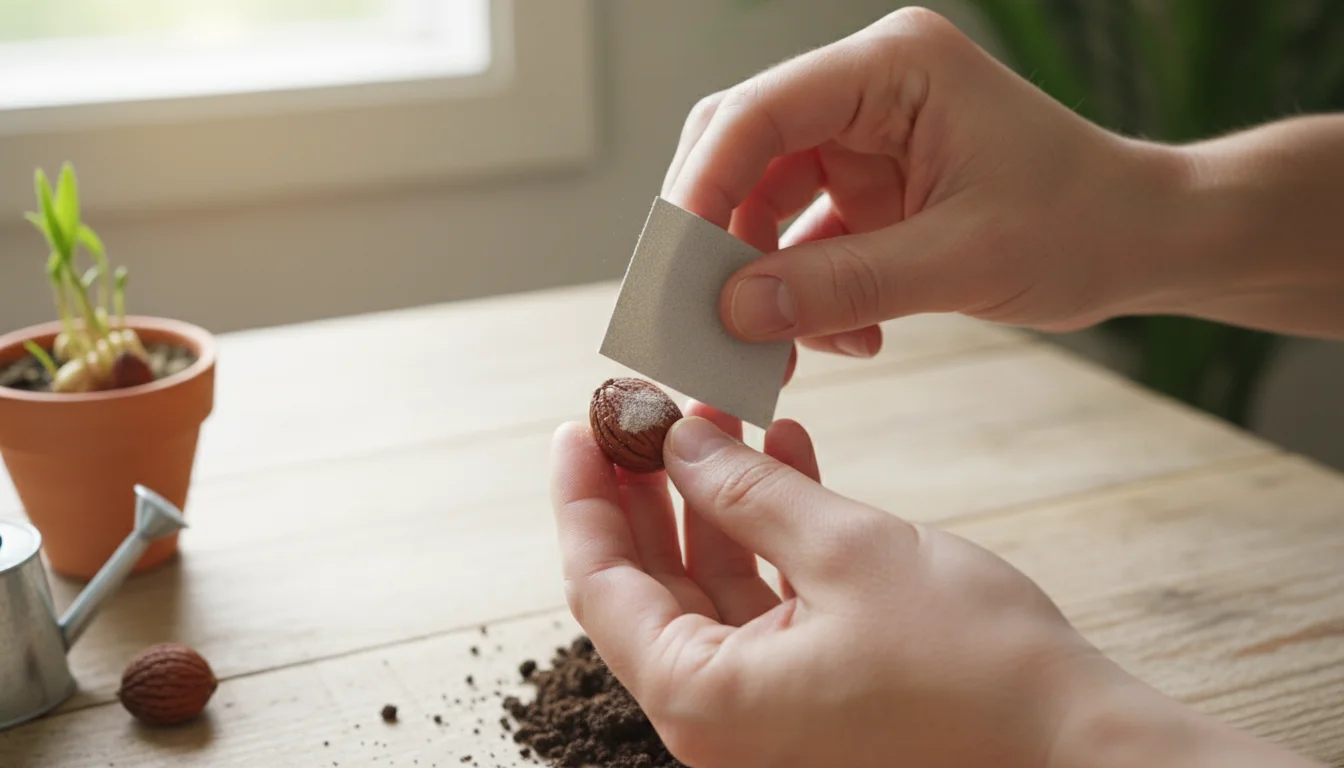
- Scarification: This involves weakening or breaking the seed coat. Some houseplant seeds, especially those with very hard outer shells, have impermeable coats preventing water from reaching the embryo. You can scarify them by gently nicking the seed coat with a knife, rubbing it with sandpaper, or soaking it in warm water for 24-48 hours. Examples include some palm seeds (like Areca Palm) or certain ornamental legumes.
Always check your specific seed packet for any recommended pre-treatment. Skipping these steps for seeds that require them will result in little to no germination.
Seed Size and Sowing Depth
The size of a seed directly impacts its sowing depth. A general rule is to plant a seed at a depth roughly two to three times its diameter. Tiny seeds, like those of African Violets or Begonias, require light to germinate and should be barely covered or simply pressed onto the surface of the soil. Larger seeds, such as those from Dracaena or various palms, require deeper planting. Misjudging sowing depth can significantly reduce germination success.
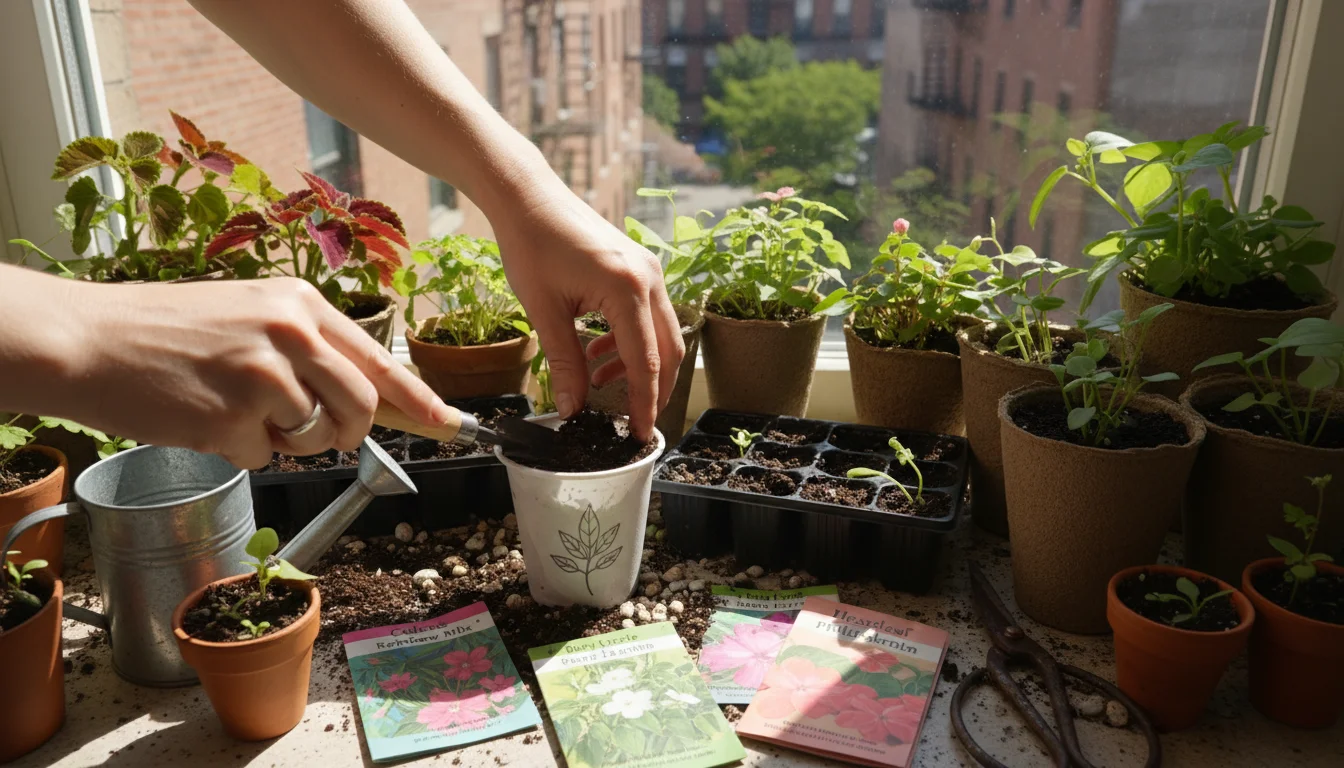
The Step-by-Step Sowing Process for Indoor Plants
Following these steps carefully will set your houseplant seeds up for success. This systematic approach addresses crucial factors for optimal germination and initial growth.
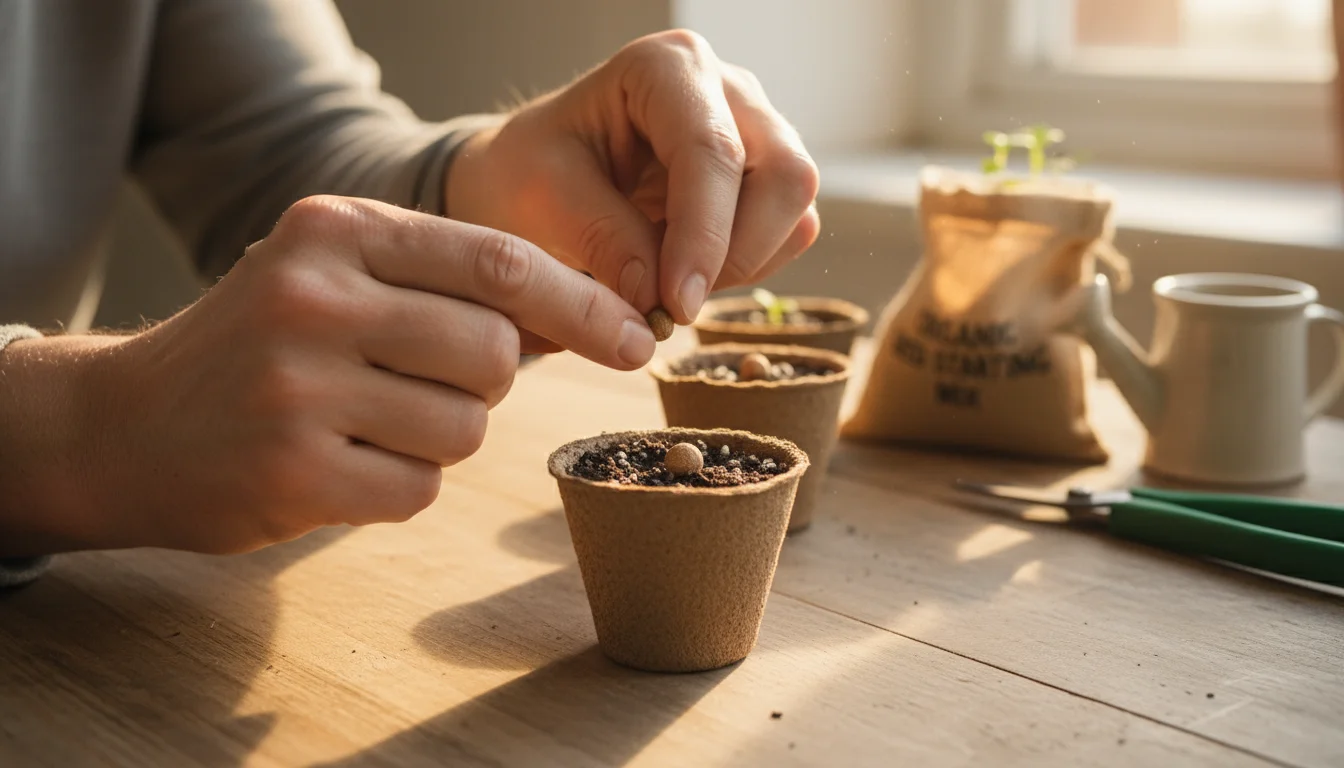
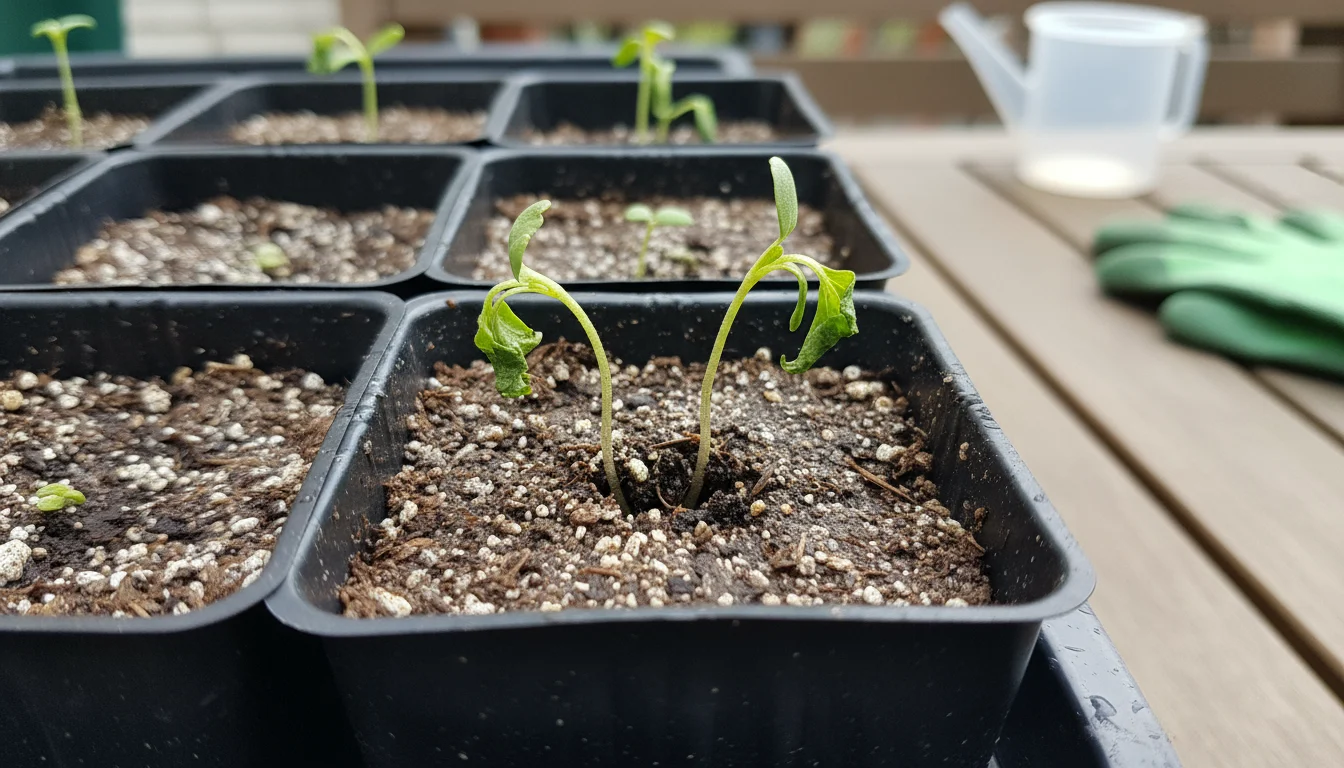
Step 1: Prepare Your Containers
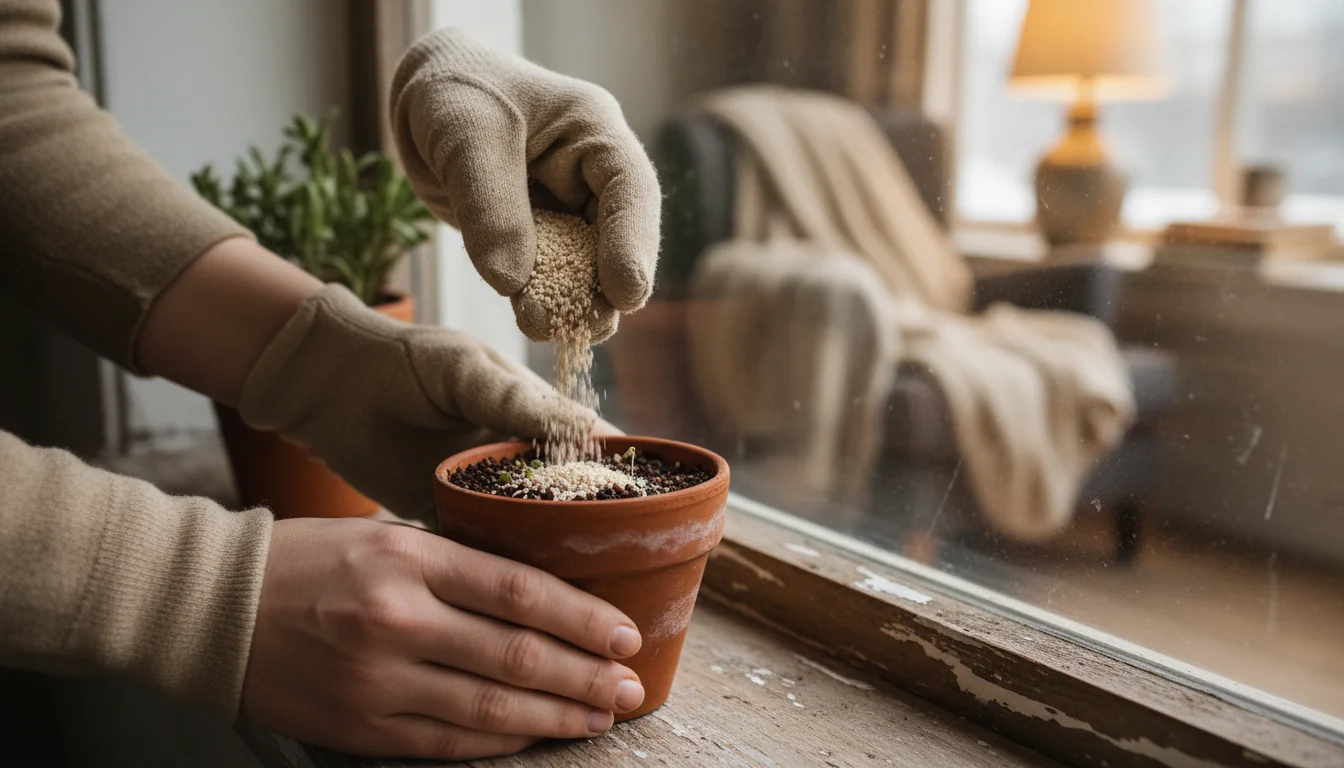
Cleanliness is paramount to prevent disease. Wash all trays, pots, and tools with soap and water, then rinse thoroughly. A quick soak in a diluted bleach solution (1 part bleach to 9 parts water) followed by another rinse offers additional sanitation. Fill your chosen containers with a sterile seed starting mix, leaving about half an inch of space from the rim. Gently pat down the mix to remove large air pockets, but avoid compacting it too much. You want a light, airy medium.
Step 2: Moisten the Seed Starting Mix
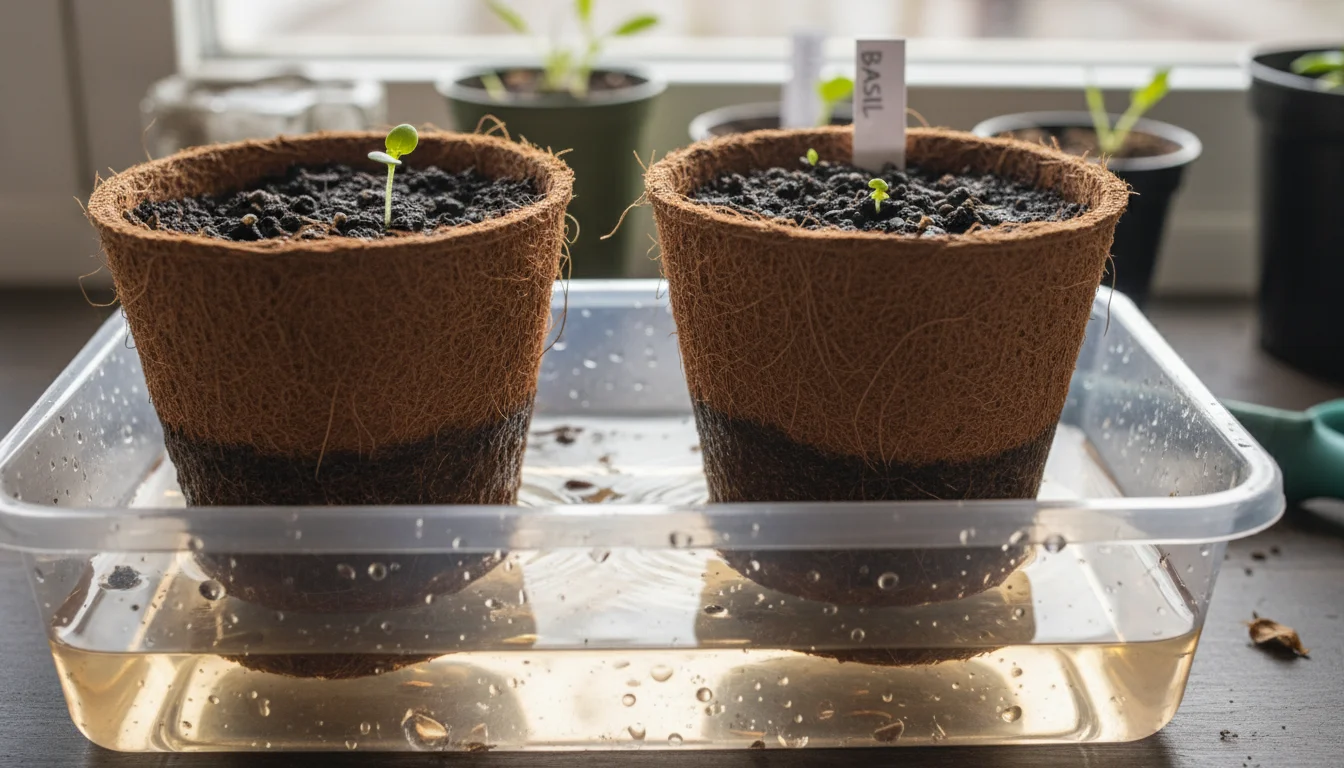
Before sowing, thoroughly moisten the seed starting mix. Use warm water to avoid shocking the seeds. You can either water from the top using a gentle spray or by “bottom watering” the trays. For bottom watering, place your containers in a larger tray filled with an inch or two of water. The mix will absorb water through the drainage holes. Remove the trays once the top of the soil appears moist. This ensures even moisture distribution without displacing small seeds.
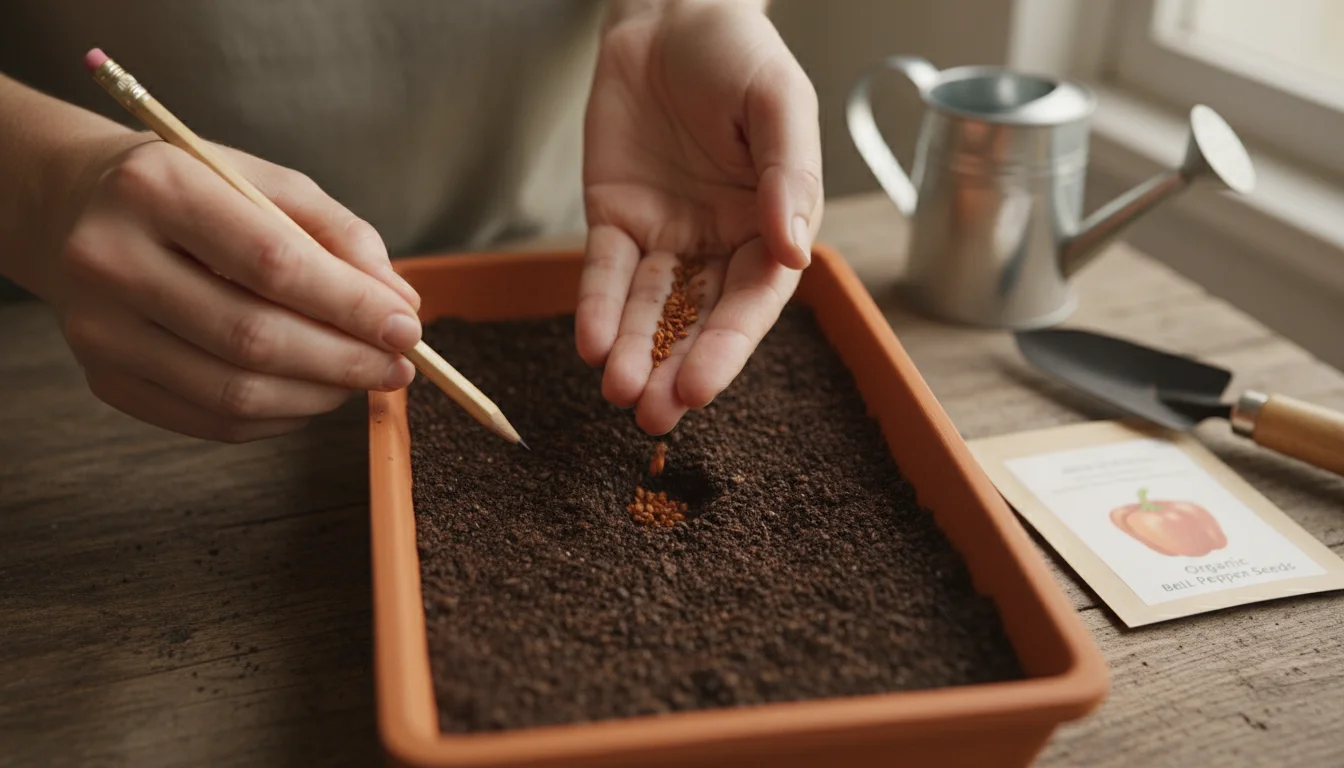
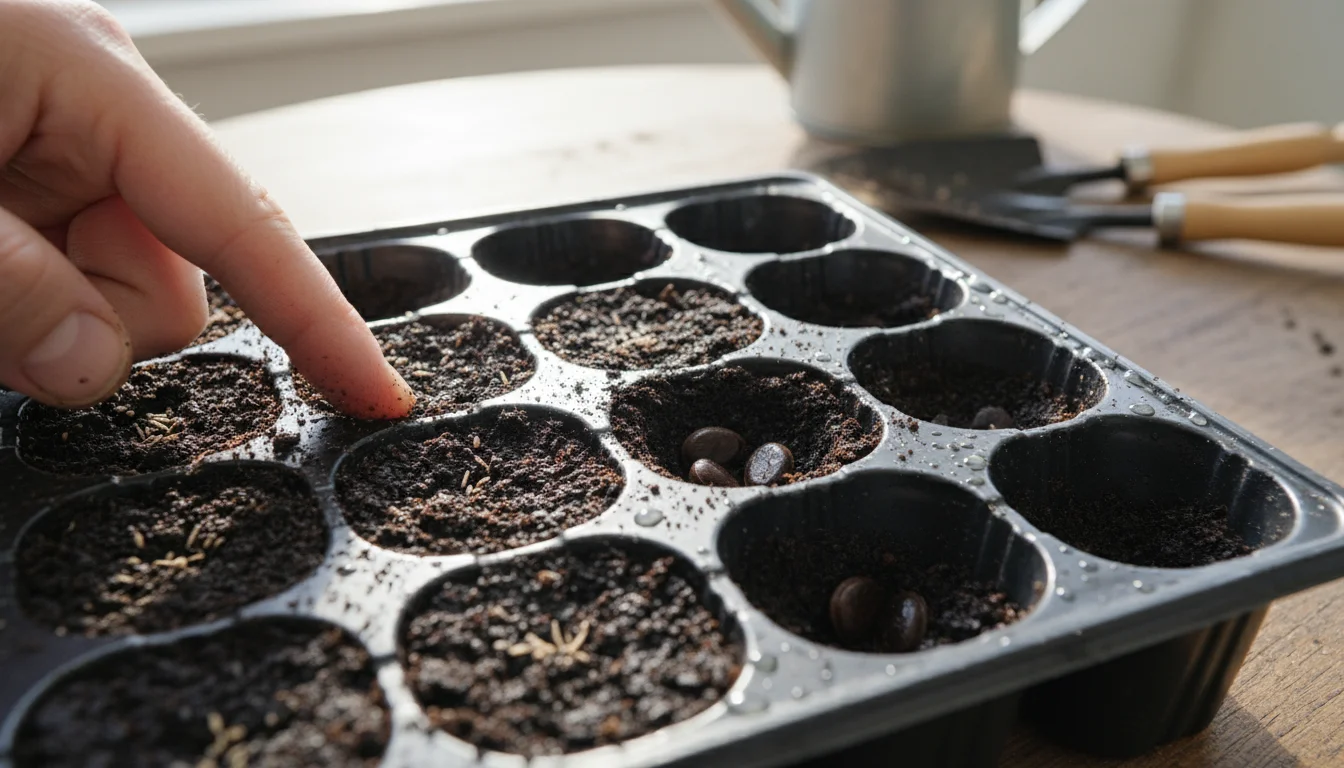
Step 3: Sow Your Seeds
Refer to your seed packet for specific instructions regarding depth and spacing.
- Small Seeds: For tiny seeds like Begonias or African Violets, sprinkle them thinly on the surface of the moistened soil. Do not cover them, as they require light to germinate. You can gently press them into the surface to ensure good contact.
- Medium Seeds: Create small depressions using a pencil or dibber. Place one or two seeds in each depression, then lightly cover them with seed starting mix. A covering of 1/8 to 1/4 inch often works for seeds the size of a pepper flake.
- Large Seeds: Plant larger seeds (e.g., Areca Palm, Dracaena) deeper, typically 1/2 to 1 inch. Ensure good soil contact around the seed.
Space seeds according to packet instructions. Overcrowding can lead to leggy seedlings and increased disease risk.
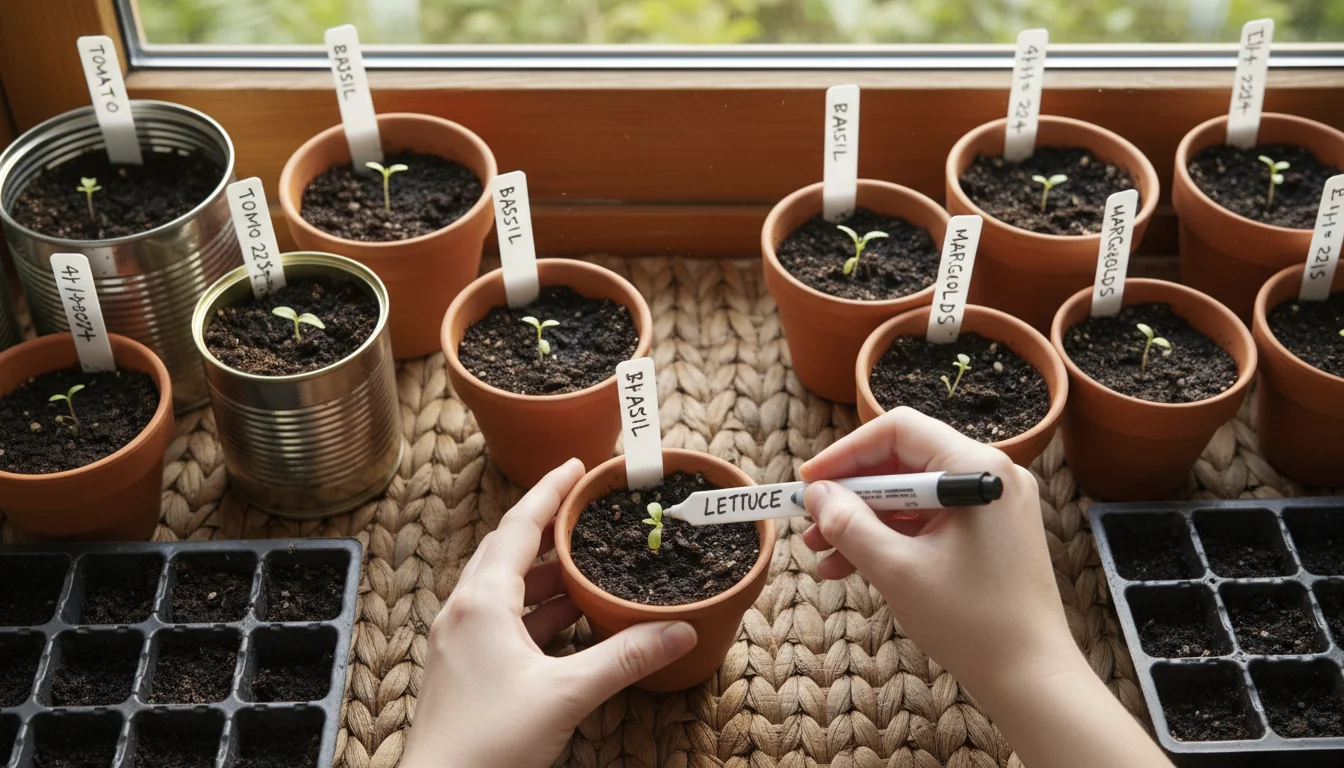
Step 4: Label Everything
Immediately after sowing, label each container or section of a tray. Include the plant name and the date of sowing. This simple step prevents confusion and helps you track germination times and growth rates, which is invaluable for future planning.
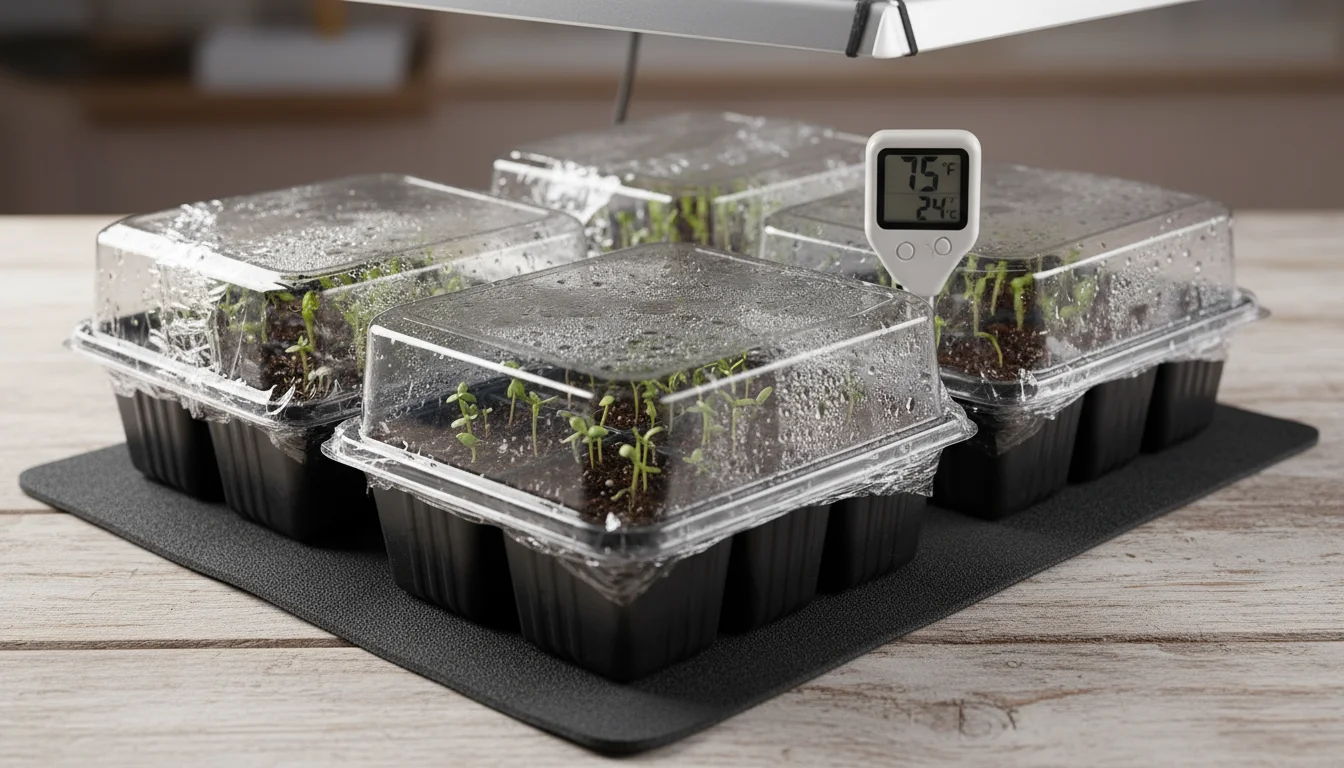
Step 5: Provide Humidity and Warmth
Cover your seed trays with a clear plastic dome, a sheet of plastic wrap, or place them inside a clear plastic storage bin. This creates a mini-greenhouse effect, maintaining the high humidity essential for germination. Place your covered trays on a heat mat if your seeds require warm soil temperatures (many houseplants do, often needing 70-85°F / 21-29°C). Monitor temperatures with a soil thermometer. This warmth significantly boosts germination rates and speed.
Creating the Ideal Growing Environment for Seedlings
Once your seeds germinate, providing the right environmental conditions is critical for developing strong, healthy houseplant seedlings. This stage demands attention to detail.
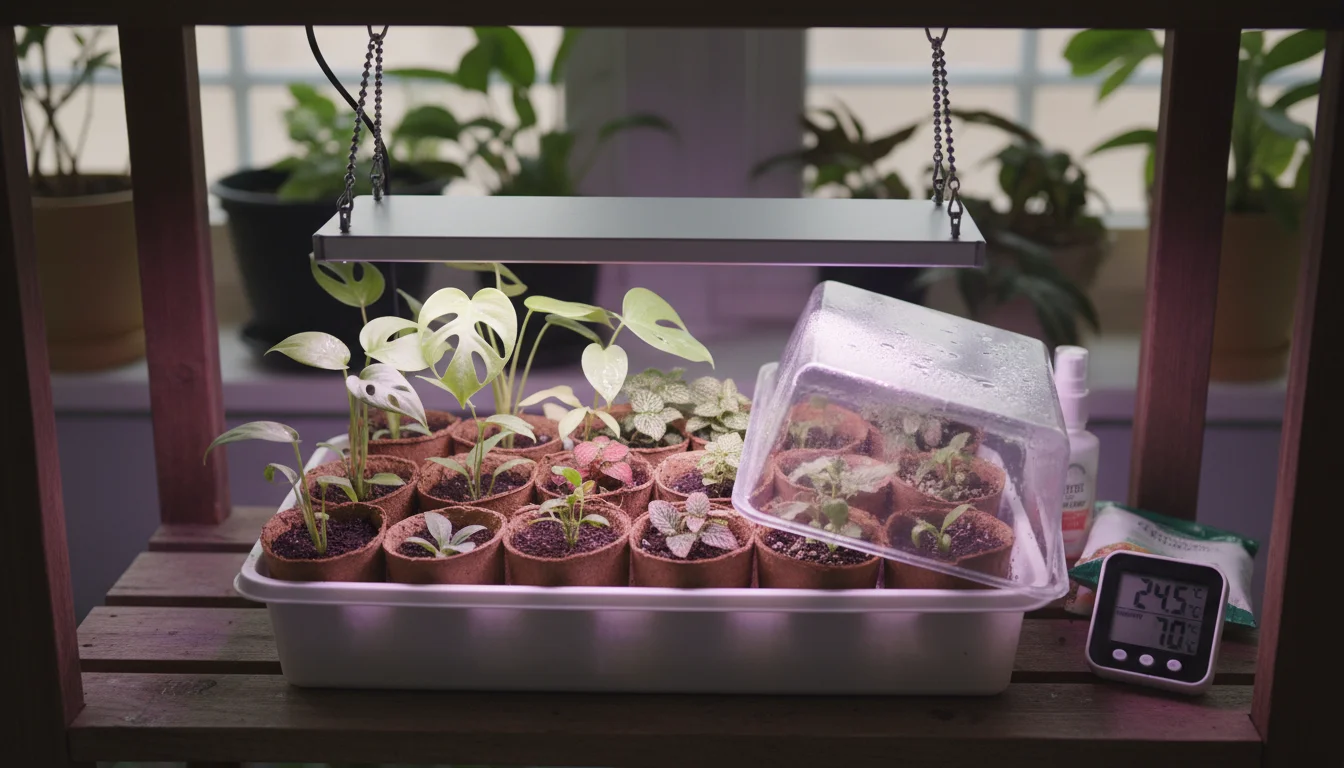
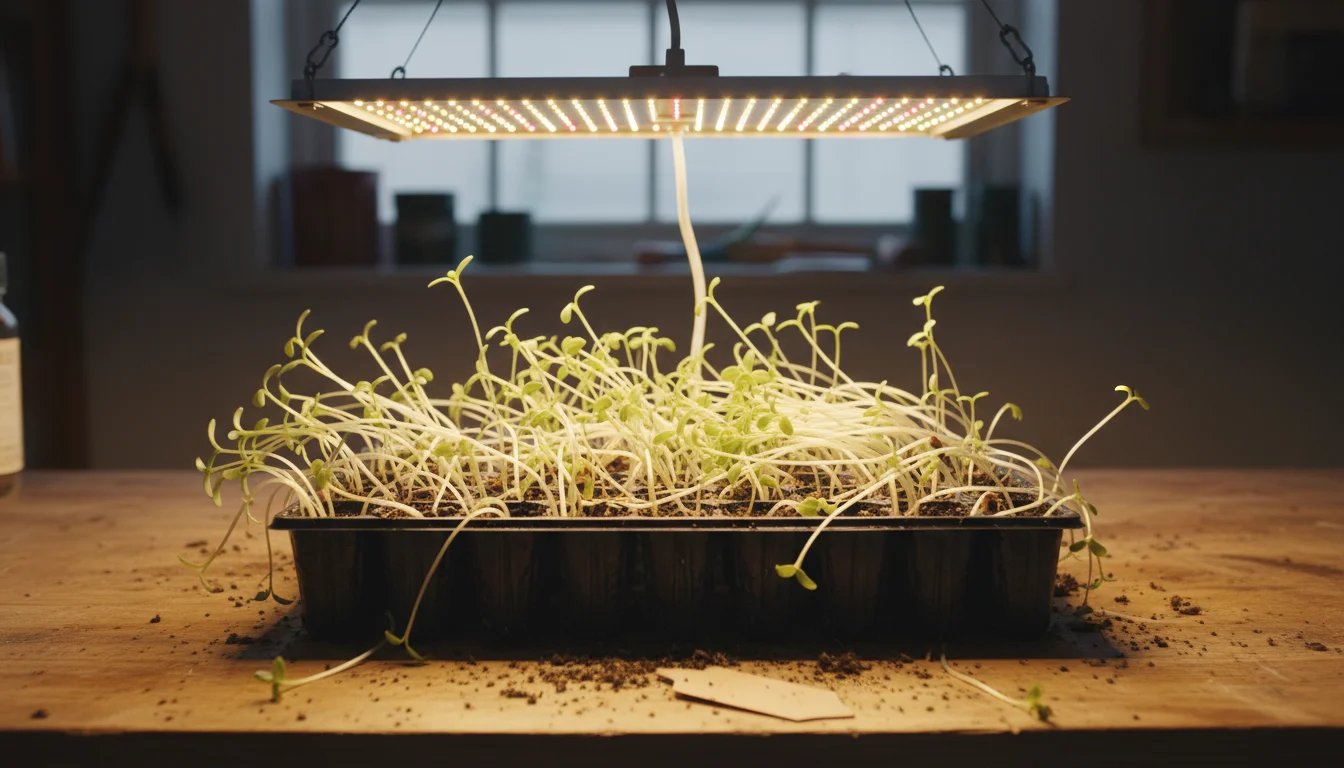
Consistent Light is Non-Negotiable
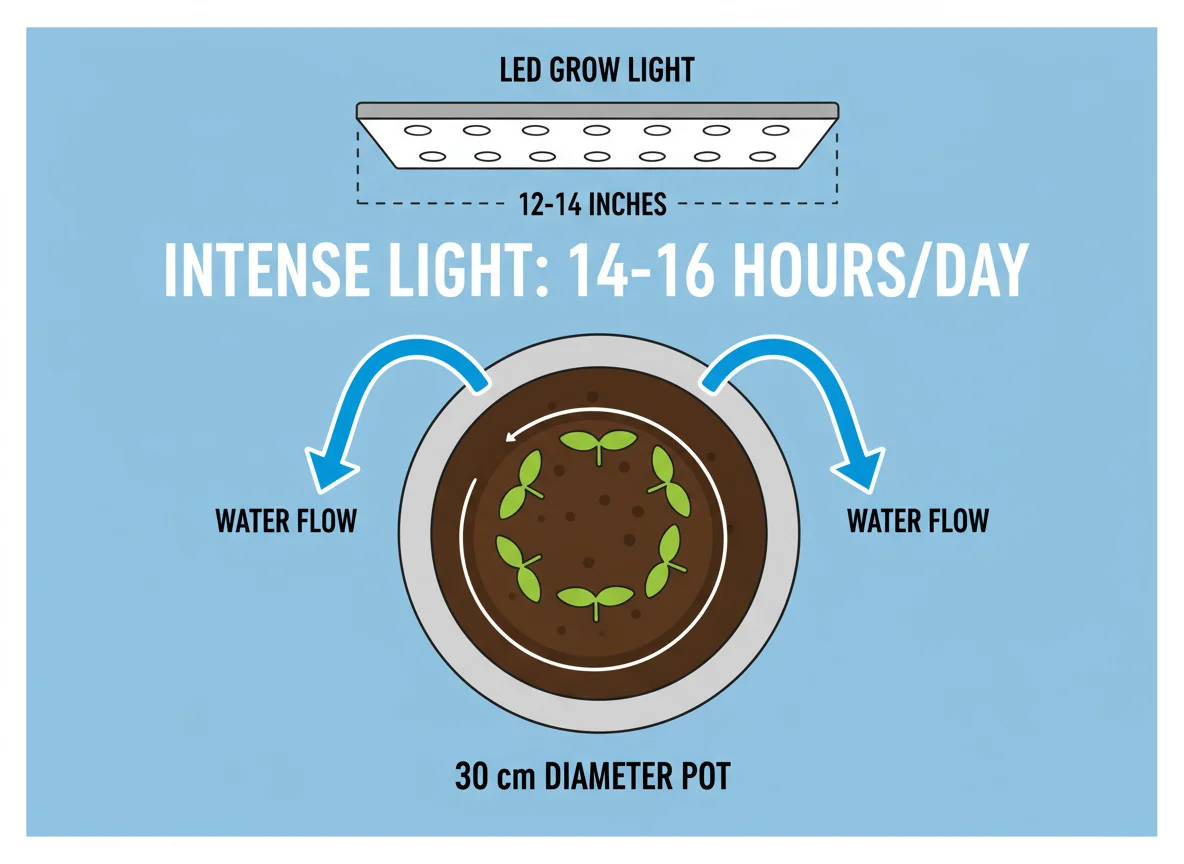
Light stands as arguably the most important factor after germination. Seedlings need ample light, typically 14-16 hours per day, to perform photosynthesis and grow vigorously. A south-facing window might offer some natural light, but it is rarely enough, especially during short winter days. Seedlings will quickly become “leggy,” meaning they stretch thin and weak towards the light, with elongated stems and sparse foliage.
Investing in artificial grow lights is highly recommended for starting indoor plants from seed. Full-spectrum LED grow lights work efficiently and emit light across the spectrum plants need. Position your grow lights just 2-4 inches above the tops of your seedlings. As the seedlings grow, adjust the light height to maintain this distance. Use a timer to ensure consistent light cycles, preventing stress and promoting steady growth.
Maintaining Optimal Temperature
While bottom heat is beneficial for germination, once seedlings emerge, they thrive in moderate ambient temperatures. Most houseplant seedlings prefer temperatures between 65-75°F (18-24°C). Avoid extreme fluctuations, which can stress young plants. If you used a heat mat for germination, you can often remove it once a majority of your seeds have sprouted, allowing the plants to acclimate to ambient room temperature. If your home is consistently cool, keep the heat mat on a lower setting or elevate the seedlings to reduce direct heat contact.
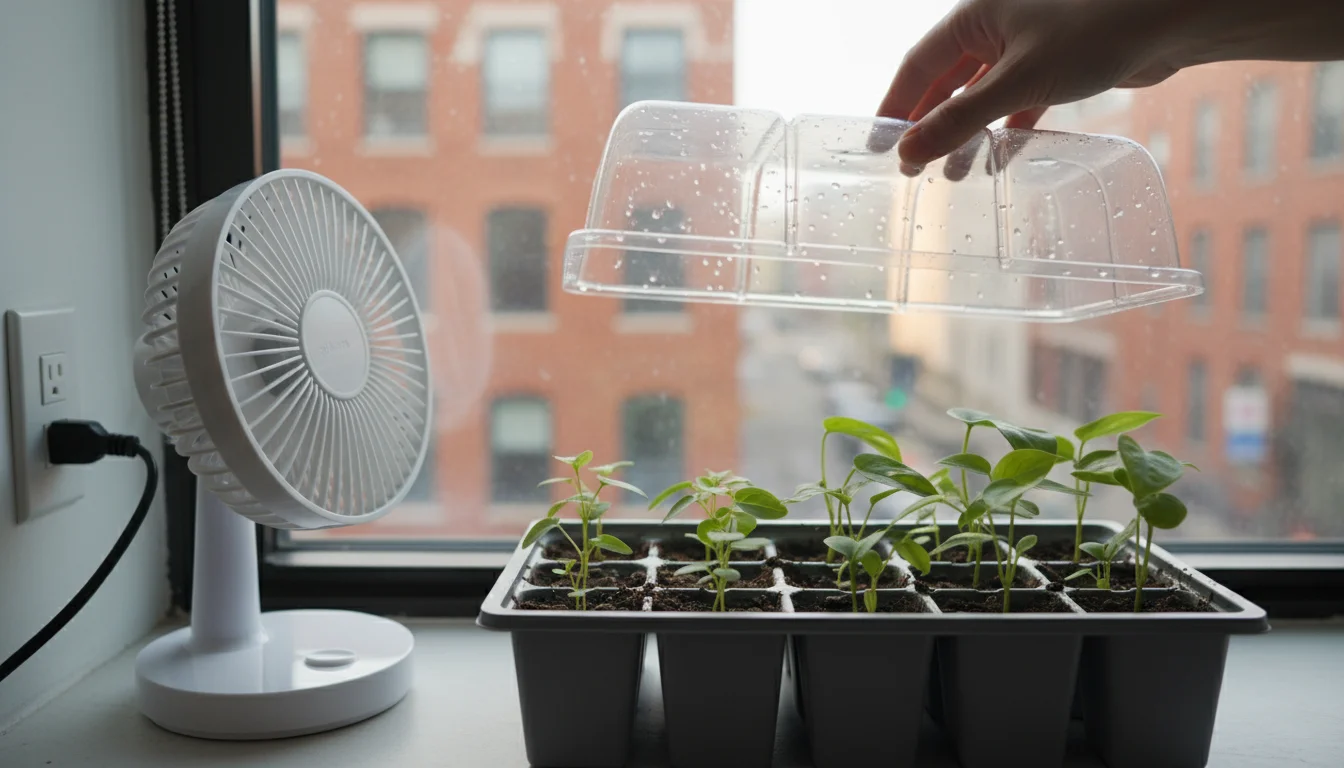
Humidity Control and Air Circulation
High humidity is crucial for seed germination, but once seedlings develop their first true leaves, reduce humidity slightly to prevent fungal diseases like damping off. You can achieve this by gradually lifting the plastic dome or cover for a few hours each day. Eventually, remove the dome entirely.
Good air circulation is equally important. A small oscillating fan running on a low setting for a few hours a day strengthens seedling stems and helps dry leaf surfaces, further deterring fungal issues. The gentle movement of air mimics natural outdoor breezes, prompting the plants to build stronger cell walls and making them more resilient.
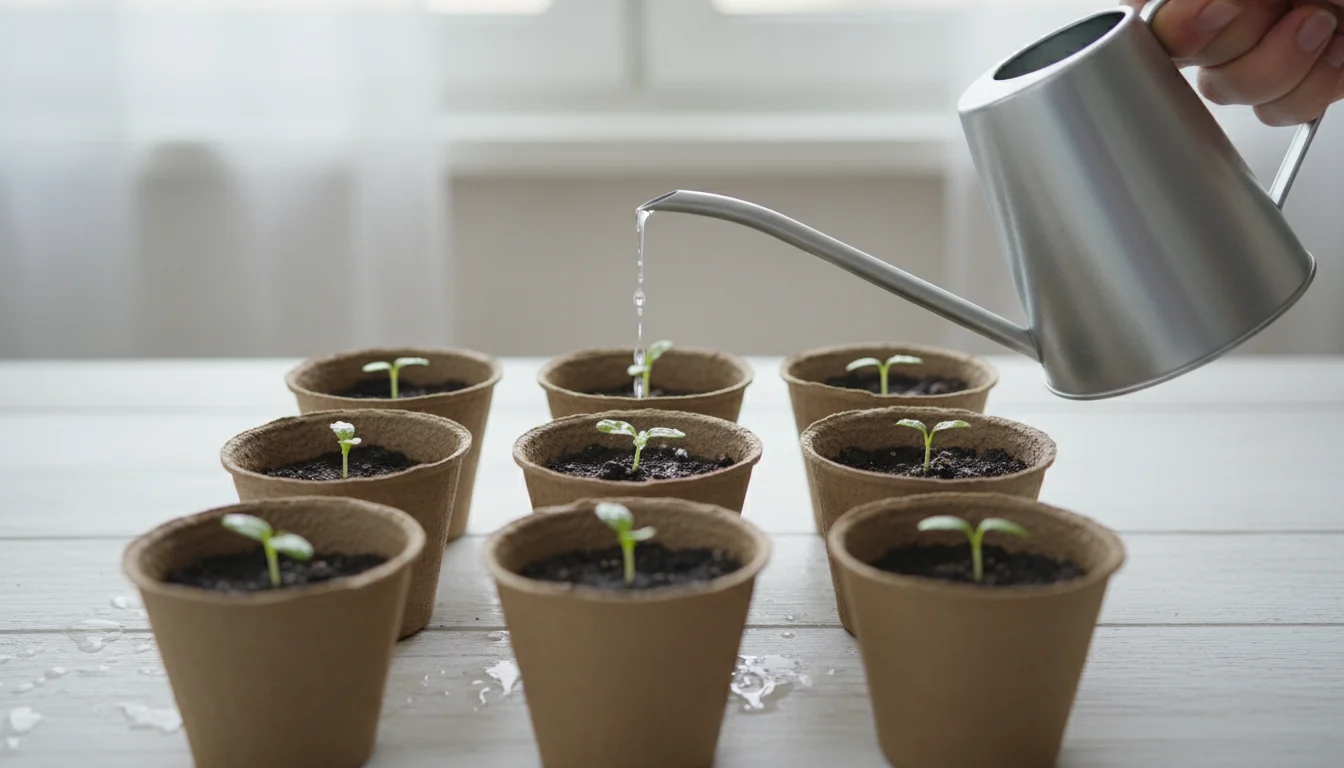
Watering with Care
Seedlings are very sensitive to overwatering and underwatering. The goal is consistently moist, but not soggy, soil. Overwatering starves roots of oxygen and promotes fungal growth. Underwatering leads to wilting and stunted growth.
Always water from the bottom when possible. Place your seedling trays in a shallow basin of water for 15-30 minutes, allowing the soil to soak up moisture through the drainage holes. Remove them once the top of the soil feels damp. If watering from the top, use a gentle stream or mist to avoid displacing young seedlings or compacting the soil. Check soil moisture daily by gently touching the surface. If it feels dry, it is time to water.
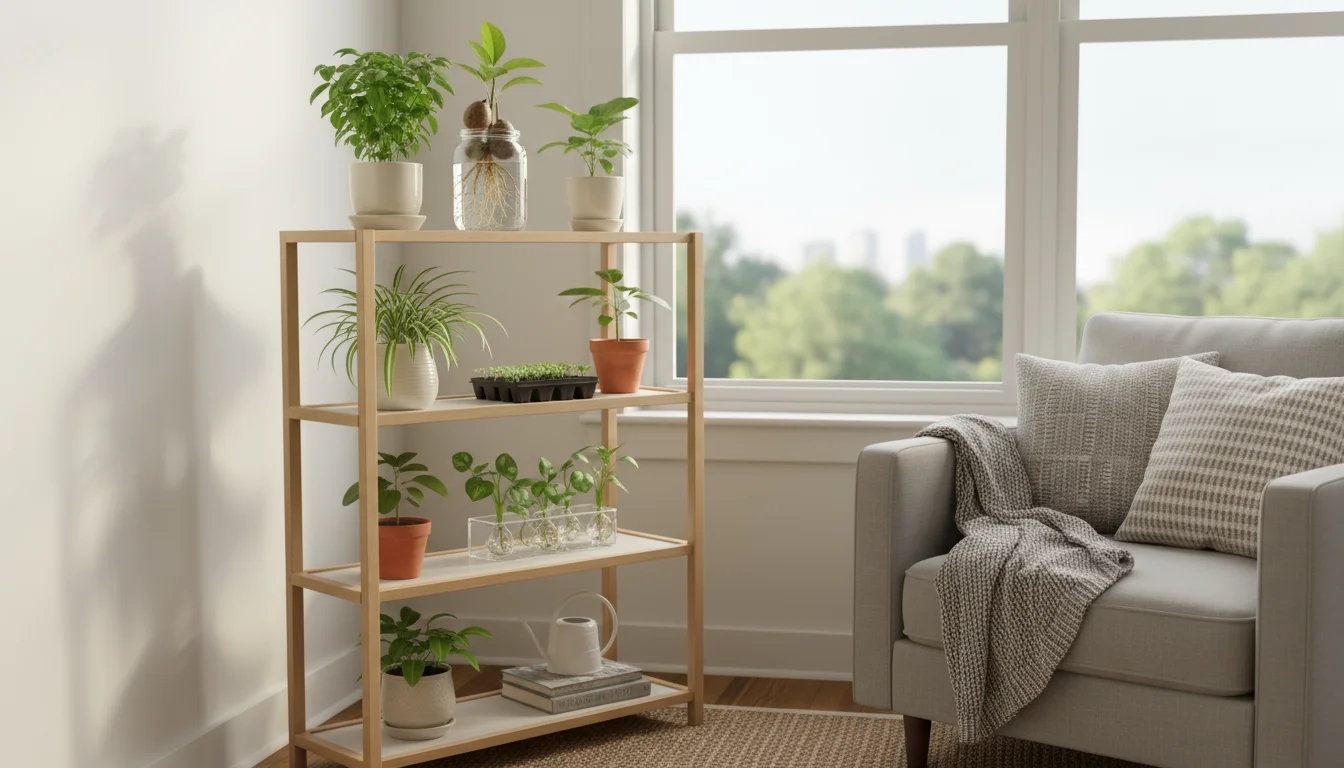
Common Houseplants to Start from Seed This Winter
Many popular houseplants are surprisingly easy to grow from seed, offering a rewarding winter project. Focusing on these common types helps beginners gain confidence in growing houseplants from seed.
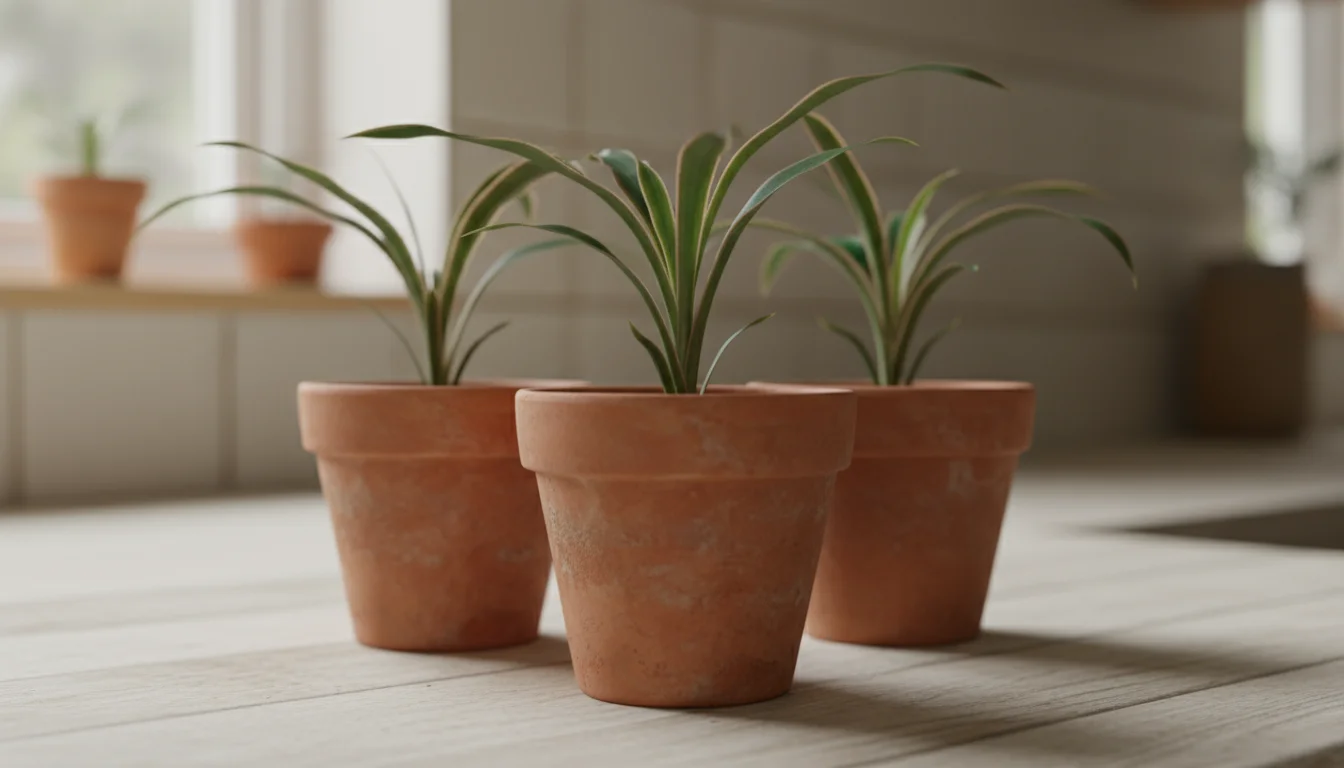
Snake Plant (Sansevieria trifasciata)
While often propagated by division or leaf cuttings, growing snake plants from seed is possible, though it requires patience. Their seeds are small and typically need warm temperatures (around 75-85°F / 24-29°C) and consistent moisture to germinate. Sowing them on the surface of a sterile seed mix and lightly covering with a thin layer of vermiculite or fine sand works well. Germination can take several weeks to a few months. The appeal here is experiencing the full life cycle and potentially discovering rare varieties from seed.
Areca Palm (Dypsis lutescens)
Areca Palms are magnificent indoor plants, and starting them from seed offers a cost-effective way to get multiple plants. These seeds often benefit from scarification; gently abrade the hard outer shell with sandpaper or soak them in warm water for 24-48 hours before planting. Plant them about 1/2 inch deep in a well-draining seed mix, maintaining high humidity and temperatures around 75-85°F (24-29°C). Germination can be erratic, sometimes taking 2-6 months, but the resulting plants are sturdy and rewarding.
Coleus (Plectranthus scutellarioides)
Coleus is a fantastic choice for starting indoor plants from seed for beginners due to its relatively quick germination and vibrant foliage. Seeds are tiny and require light to germinate, so press them onto the surface of the soil without covering. Keep the soil consistently moist and provide temperatures around 70-75°F (21-24°C). Germination usually occurs within 7-14 days. Coleus grows quickly, making it a satisfying plant to propagate. You can find seeds for a vast array of leaf colors and patterns.
Dracaena (Dracaena species)
Some Dracaena species, like Dracaena marginata, can be grown from seed. Their seeds are larger than Coleus, so plant them about 1/4 inch deep. Maintain warmth (around 70-80°F / 21-27°C) and humidity. Germination may take 3-6 weeks. Growing Dracaena from seed lets you observe the development of their distinctive strap-like leaves from their earliest stages.

African Violet (Saintpaulia)
African Violets are classic houseplants beloved for their beautiful flowers. Their seeds are incredibly tiny, like dust, and absolutely require light for germination. Sprinkle them on the surface of a very fine, moist seed mix, then cover the tray with a clear dome or plastic wrap. Maintain high humidity and temperatures of 70-75°F (21-24°C). Germination can take 2-4 weeks, and the resulting seedlings are miniature, requiring delicate handling. Patience is certainly a virtue with these delicate beauties.
Asparagus Fern (Asparagus densiflorus)
Despite its name, Asparagus Fern is not a true fern but a member of the lily family. Its seeds are small, dark berries. Soak them in warm water for 24 hours before planting 1/4 inch deep. Provide consistent moisture and temperatures around 70-75°F (21-24°C). Germination can take 3-6 weeks. The delicate, feathery foliage makes it a lovely addition to any indoor collection.
Polka Dot Plant (Hypoestes phyllostachya)
Known for its striking spotted leaves, the Polka Dot Plant is an easy and fast-growing option for indoor propagation. Plant seeds thinly on the surface of the soil and lightly cover them with a thin layer of vermiculite. They germinate readily in 7-14 days at temperatures around 70-75°F (21-24°C) with consistent moisture. It’s a quick win for beginners.
This selection provides a good starting point for your “Patience Project,” offering a mix of fast-growing and slower, more challenging varieties to enhance your indoor gardening skills.
Nurturing Your Seedlings: Ongoing Care
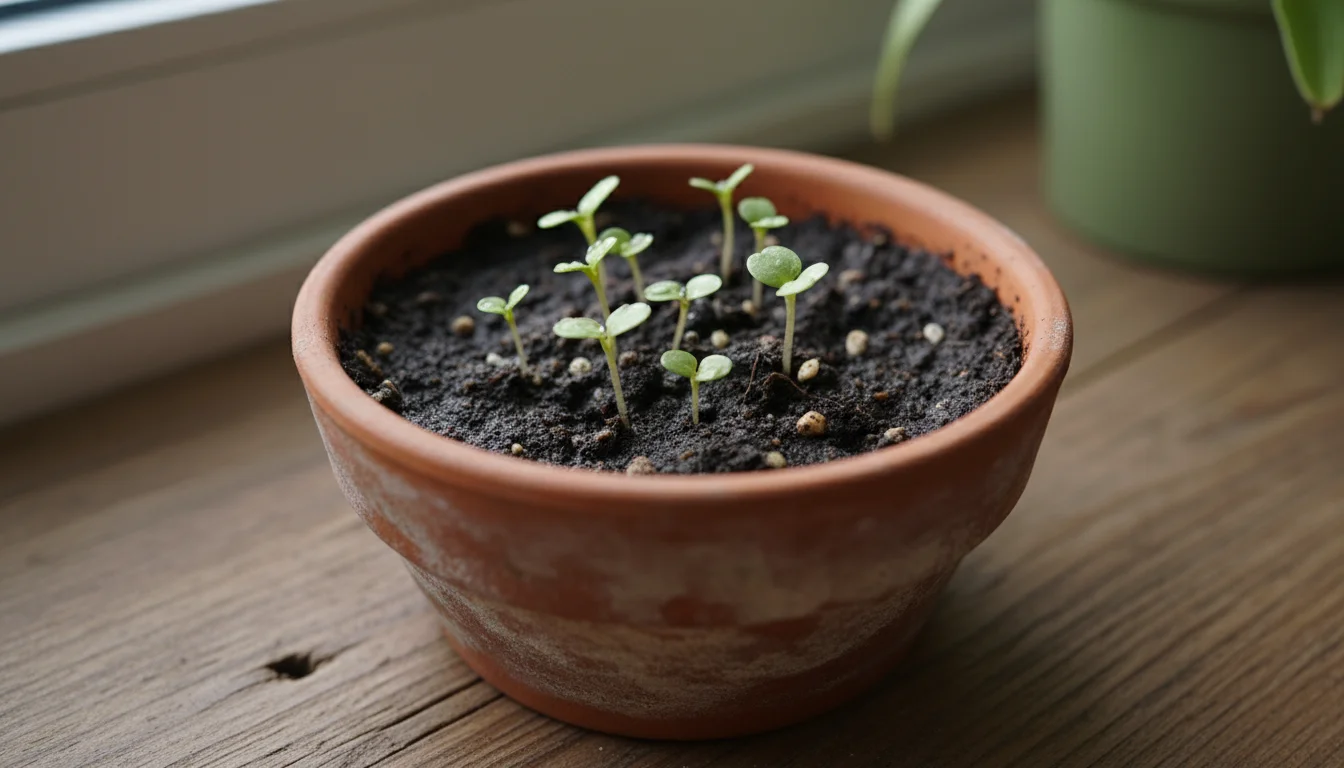
Once your seeds have germinated and developed their first set of “true leaves” (the leaves that appear after the initial embryonic “cotyledons”), they enter a critical growth phase. This requires careful attention to watering, feeding, thinning, and eventual transplanting.
Understanding the basics of a houseplant survival guide ensures your new plant babies transition successfully into long-term indoor companions.
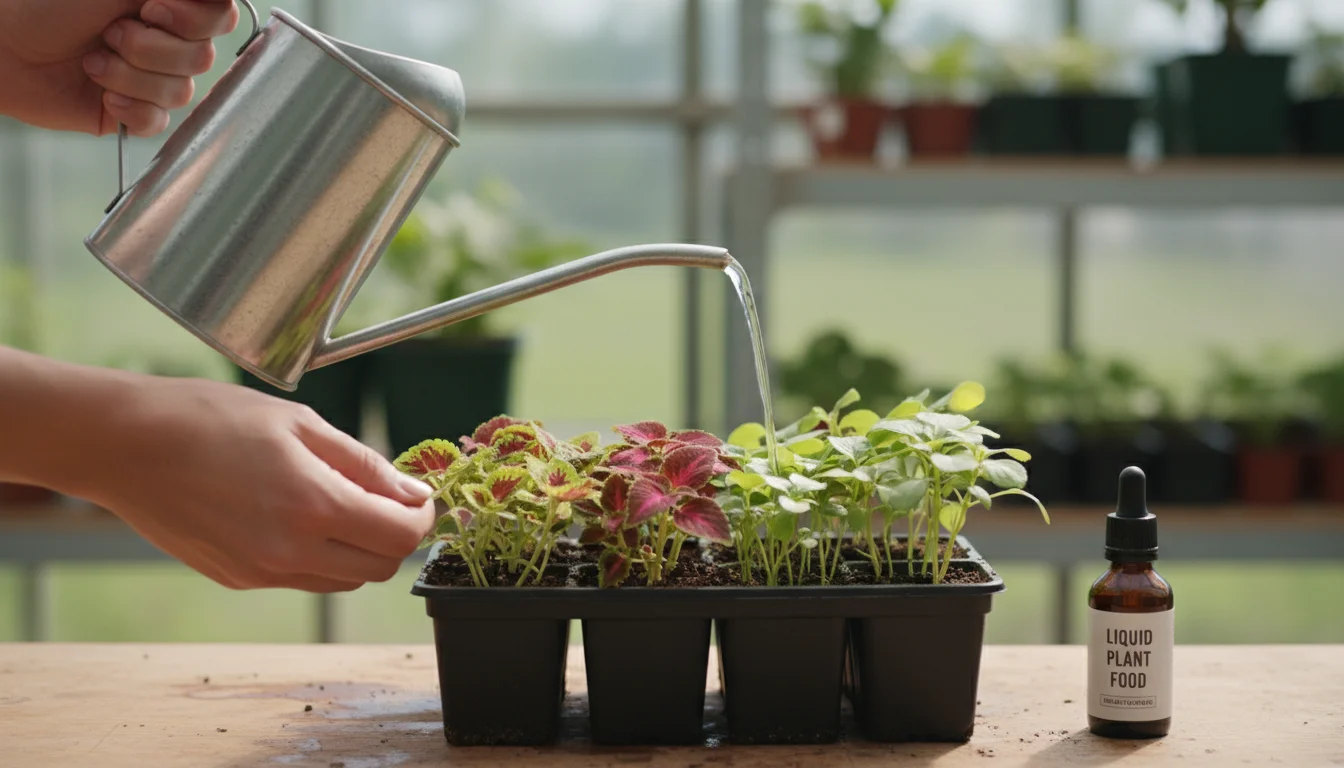
Watering and Fertilizing
Continue to maintain consistent moisture in the soil, allowing the top layer to dry slightly between waterings. Avoid letting the soil become completely dry, which can damage tender root systems. As seedlings grow, their water needs increase.
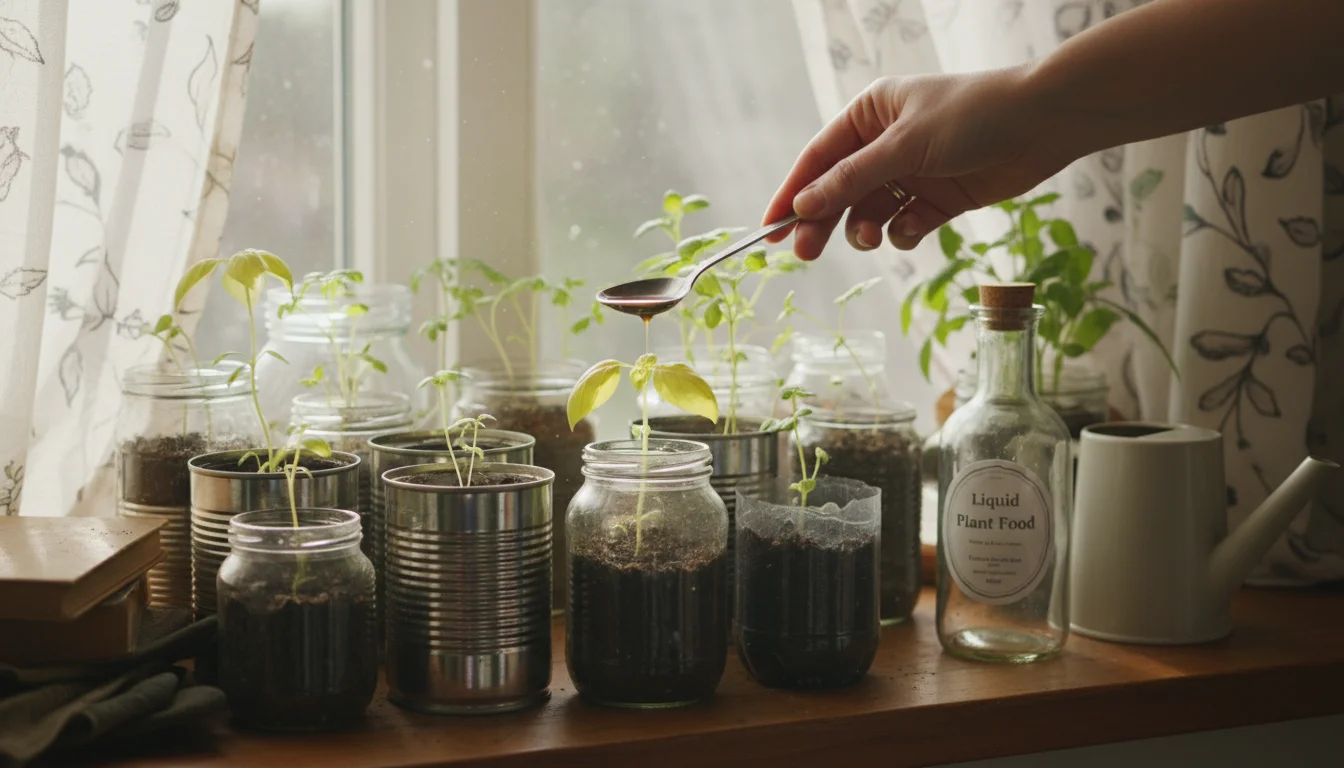
Young seedlings do not initially require much fertilizer, as the seed starting mix often provides a few nutrients. However, once they develop a few sets of true leaves, they will benefit from a diluted, balanced liquid fertilizer. Mix a water-soluble fertilizer at half or quarter strength, applying it every 1-2 weeks. Over-fertilizing can burn delicate roots, so always err on the side of caution.
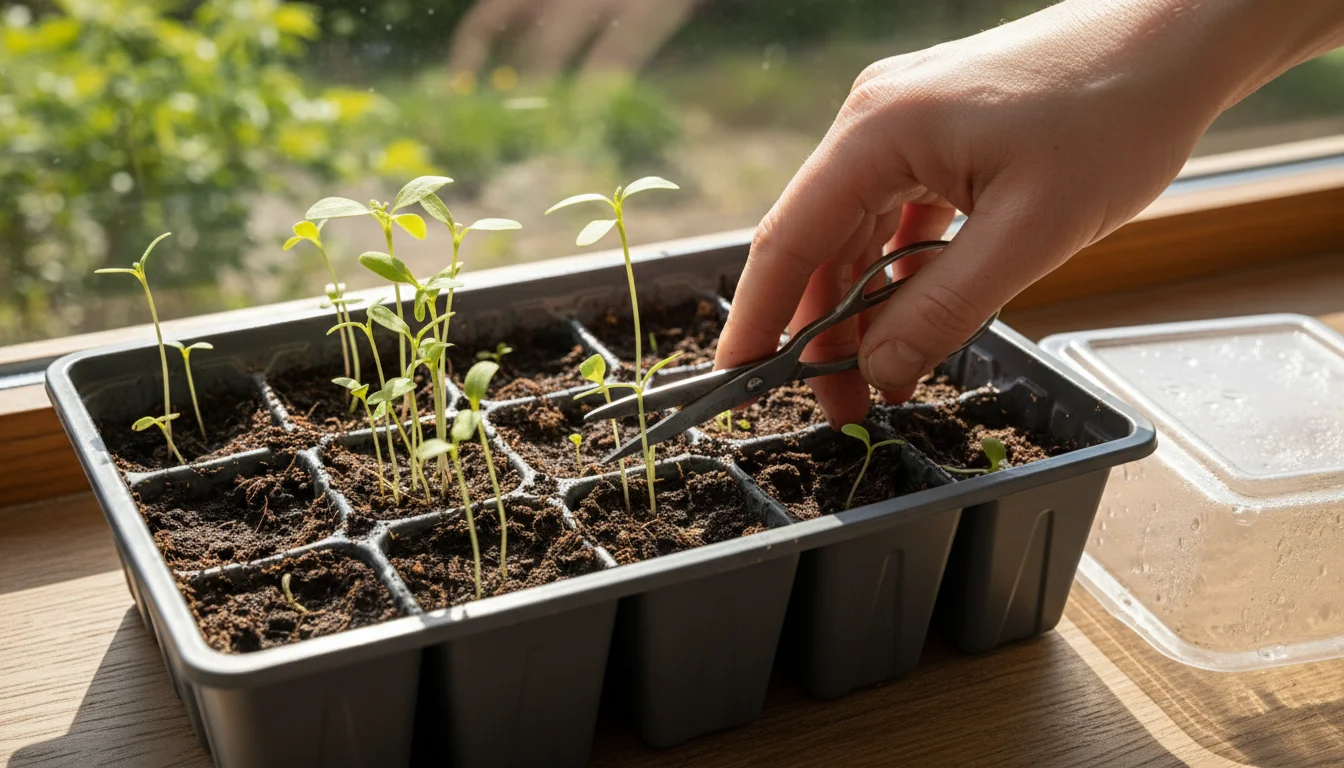
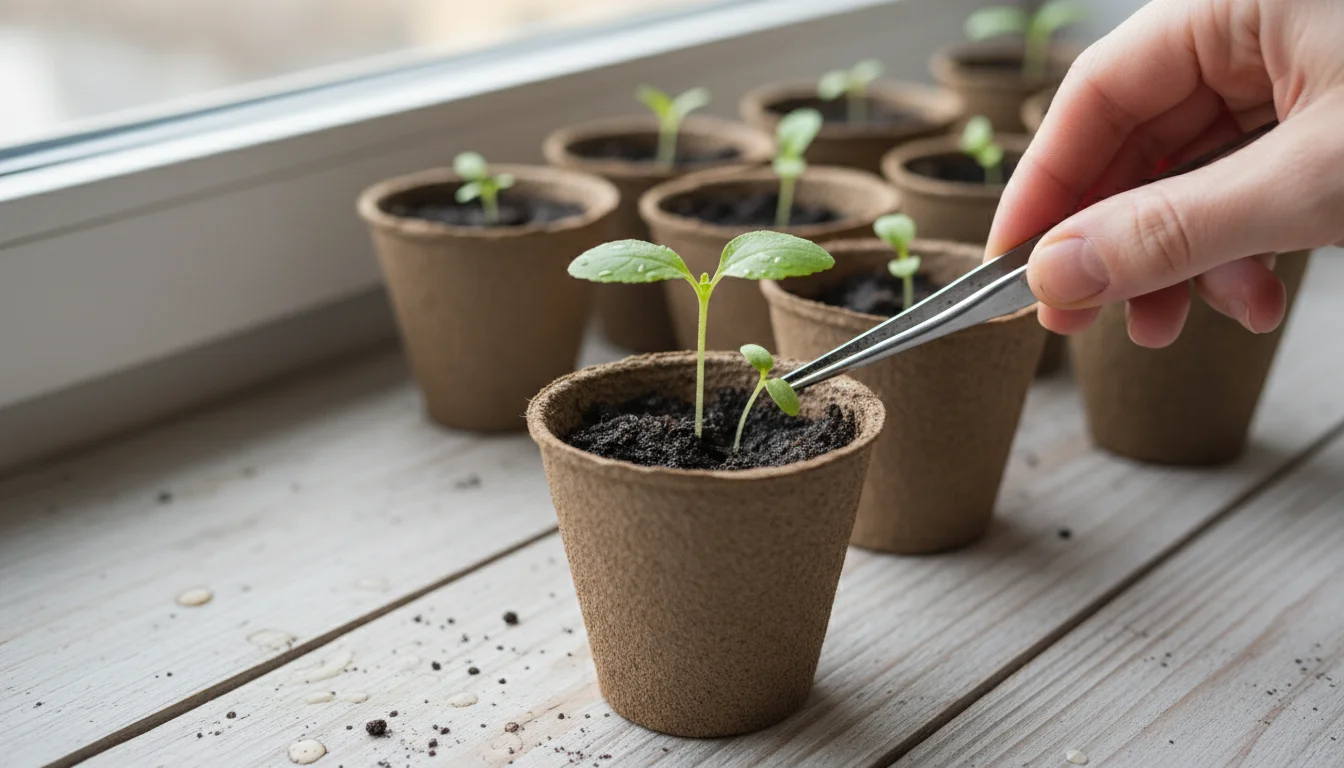
Thinning for Stronger Growth
If you sowed multiple seeds per cell or sprinkled seeds thickly, you will likely need to thin your seedlings. Thinning removes weaker seedlings, giving the stronger ones adequate space, light, and nutrients to thrive. Use a small pair of scissors to snip off the weaker seedlings at the soil line. Do not pull them out, as this can disturb the roots of adjacent plants. Aim for one strong seedling per cell or at least 1-2 inches of spacing between plants, depending on the mature size of the houseplant.
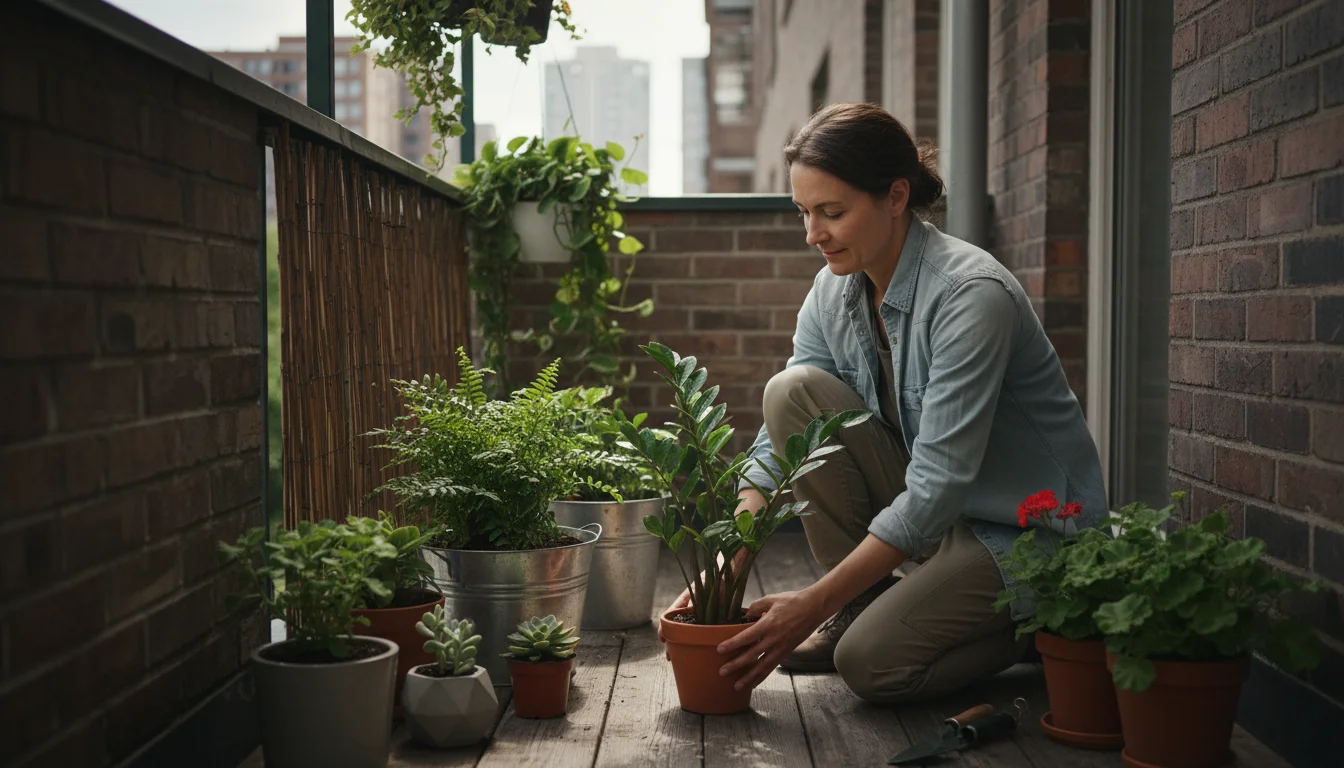
Hardening Off (for eventual outdoor placement)
If you plan to move your houseplants outdoors once temperatures warm up, you must “harden them off” first. This process gradually acclimates them to outdoor conditions (sun, wind, temperature fluctuations) over 7-14 days. Start by placing them in a sheltered, shady spot outdoors for a few hours a day, gradually increasing their exposure to sunlight and longer periods outdoors. Bring them inside if temperatures drop significantly. This step prevents transplant shock and ensures your plants thrive in their new environment.

Transplanting (Potting Up)
When your seedlings have developed several sets of true leaves and their roots begin to fill their current container (you might see roots emerging from the drainage holes), they are ready for transplanting into larger pots.
- Prepare your new pots with a good quality potting mix designed for houseplants.
- Gently loosen the seedling from its current container, handling it by its leaves or root ball, never by the stem.
- Create a hole in the new pot, place the seedling, and backfill with potting mix, ensuring the plant sits at the same depth as it did before.
- Water thoroughly after transplanting to settle the soil and reduce transplant shock.
Choose pots that are only slightly larger than the current ones, typically 1-2 inches wider, to avoid overwatering issues.
Troubleshooting Common Seed Starting Challenges
Even experienced gardeners encounter issues when starting seeds. Understanding common problems and their solutions ensures your “Patience Project” remains on track.
Damping Off Disease
- Cause: Overwatering, poor air circulation, non-sterile soil or containers, and cool, humid conditions.
- Solution: Preventative measures are key. Use sterile seed starting mix and containers. Ensure good air circulation with a small fan. Avoid overwatering. If it occurs, remove infected seedlings immediately to prevent spread. Some gardeners use a light dusting of cinnamon on the soil surface as a natural fungicide.
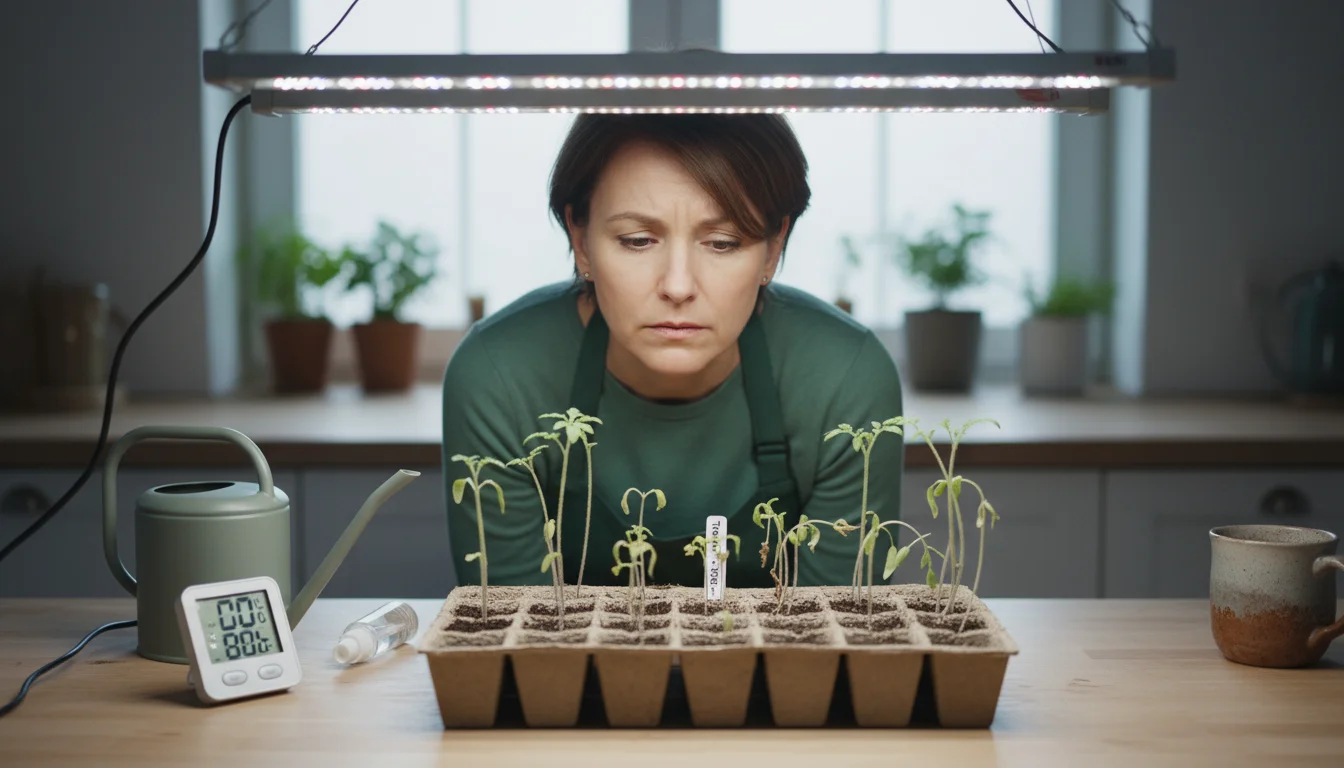
Leggy Seedlings
- Cause: Insufficient light. Seedlings are desperately reaching for a light source that is too far away or too weak.
- Solution: Increase light intensity or duration. Move grow lights closer to the seedlings (2-4 inches above). Ensure they receive 14-16 hours of light per day. You can also carefully bury leggy seedlings deeper when transplanting, allowing new roots to form along the buried stem.
Slow or No Germination
- Cause: Non-viable seeds (old, poorly stored), incorrect temperature, improper moisture (too dry or too wet), or seeds requiring specific pre-treatment (stratification, scarification) that you missed.
- Solution: Check seed viability dates. Ensure consistent warmth (using a heat mat if necessary) and proper moisture. Review seed packet instructions for any pre-treatment requirements. Re-sow with fresh seeds if needed, after troubleshooting other factors.
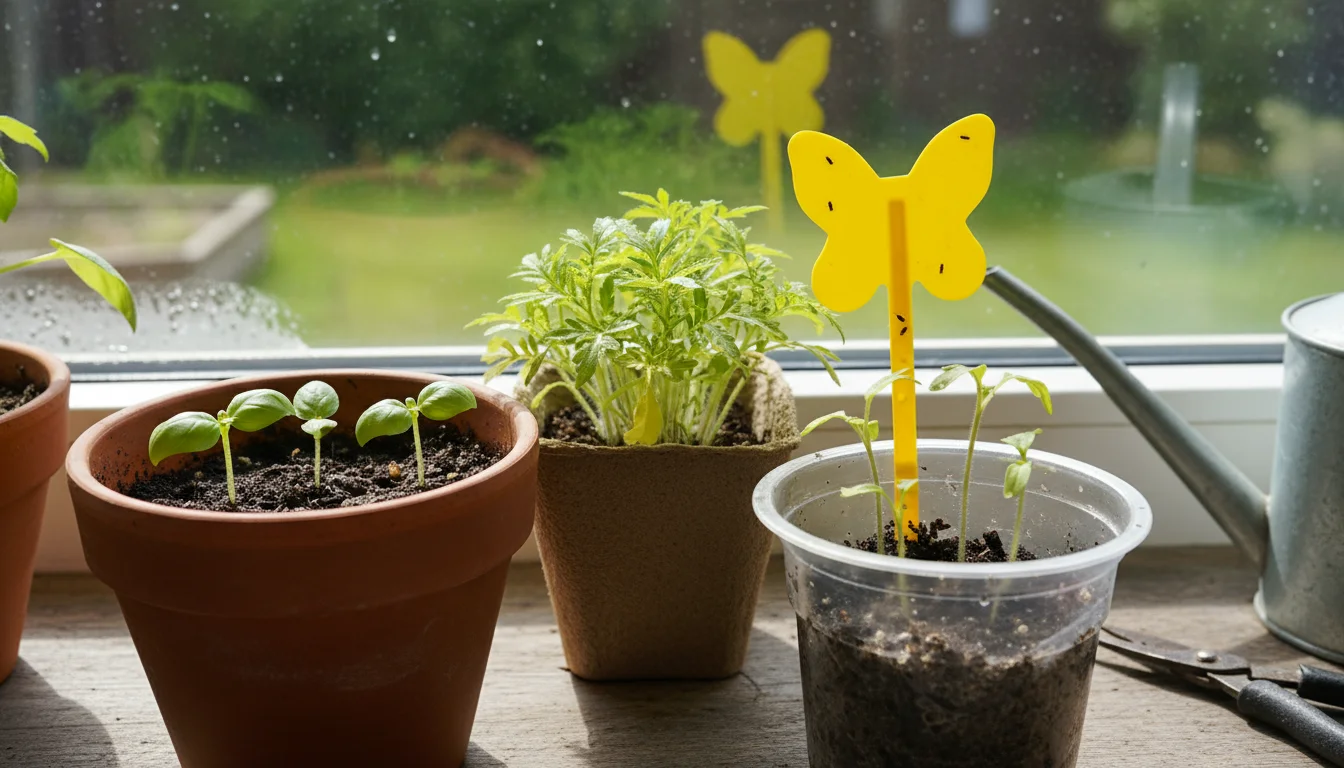
Pests on Seedlings
- Cause: Overwatering creates conditions fungus gnats love. Other pests like aphids can sometimes find their way indoors.
- Solution: Allow the top inch of soil to dry out between waterings to deter fungus gnats. Yellow sticky traps can catch adult gnats. For other pests, gently wipe them off with a cotton swab dipped in rubbing alcohol, or use an insecticidal soap specifically formulated for houseplants, ensuring it is safe for young plants. Proper air circulation helps prevent pest infestations.
Nutrient Deficiencies
- Cause: Lack of nutrients, especially after the initial food reserves in the seed are depleted and the seed starting mix runs low on nutrients.
- Solution: Begin feeding with a highly diluted liquid fertilizer once true leaves appear, typically at 1/4 or 1/2 strength. Choose a balanced fertilizer, ensuring it includes essential micronutrients. Monitor plant color and growth; healthy seedlings exhibit strong green foliage.
By addressing these common challenges proactively, you can ensure a higher success rate for your houseplant seed starting project, cultivating a thriving indoor garden.
Frequently Asked Questions
How long does it take for houseplant seeds to germinate?
Germination times vary significantly depending on the houseplant species. Some, like Coleus, sprout in as little as 7-14 days. Others, such as Areca Palms or Snake Plants, can take several weeks to many months. Always consult your specific seed packet for expected germination times. Factors like consistent temperature and moisture greatly influence how quickly seeds sprout.
Can I use regular potting soil to start seeds?
You should avoid using regular potting soil for starting seeds. Potting soil is often too coarse, not sterile, and can contain pathogens or pests that harm delicate seedlings. It also might not drain as effectively or retain moisture appropriately for tiny seeds. Always use a sterile, fine-textured seed starting mix, specifically formulated for this purpose, to give your young plants the best possible start.
What kind of light do seedlings need?
Seedlings require intense light for 14-16 hours per day to grow strong and prevent legginess. Natural light from a windowsill is often insufficient, especially during winter. Invest in full-spectrum LED grow lights and position them 2-4 inches above your seedlings. As the plants grow taller, adjust the light upward to maintain this distance and provide consistent illumination.
When should I start fertilizing my houseplant seedlings?
Begin fertilizing your houseplant seedlings only after they develop their first set of “true leaves,” which appear after the initial embryonic leaves (cotyledons). Use a balanced liquid fertilizer diluted to half or quarter strength. Apply it every 1-2 weeks. Over-fertilizing can burn delicate roots, so start sparingly and observe your plants’ response.
Is it really worth the effort to grow houseplants from seed?
Absolutely. Growing houseplants from seed is a rewarding project that offers immense satisfaction and numerous benefits. You gain access to a wider variety of plants, save money, and foster a deeper connection with your garden. The process, while requiring patience, empowers you to create a personalized, thriving indoor plant collection from scratch, proving especially gratifying during the winter months.
For trustworthy gardening information, visit:
University of Wisconsin Extension — Horticulture, Iowa State University Extension — Yard & Garden and Washington State University Hortsense. These organizations provide expert, research-based advice for gardeners at all levels.
Disclaimer: This article is for informational purposes only and is not a substitute for professional gardening advice. Always consult local extension services or horticulture experts for region-specific guidance.


Leave a Reply