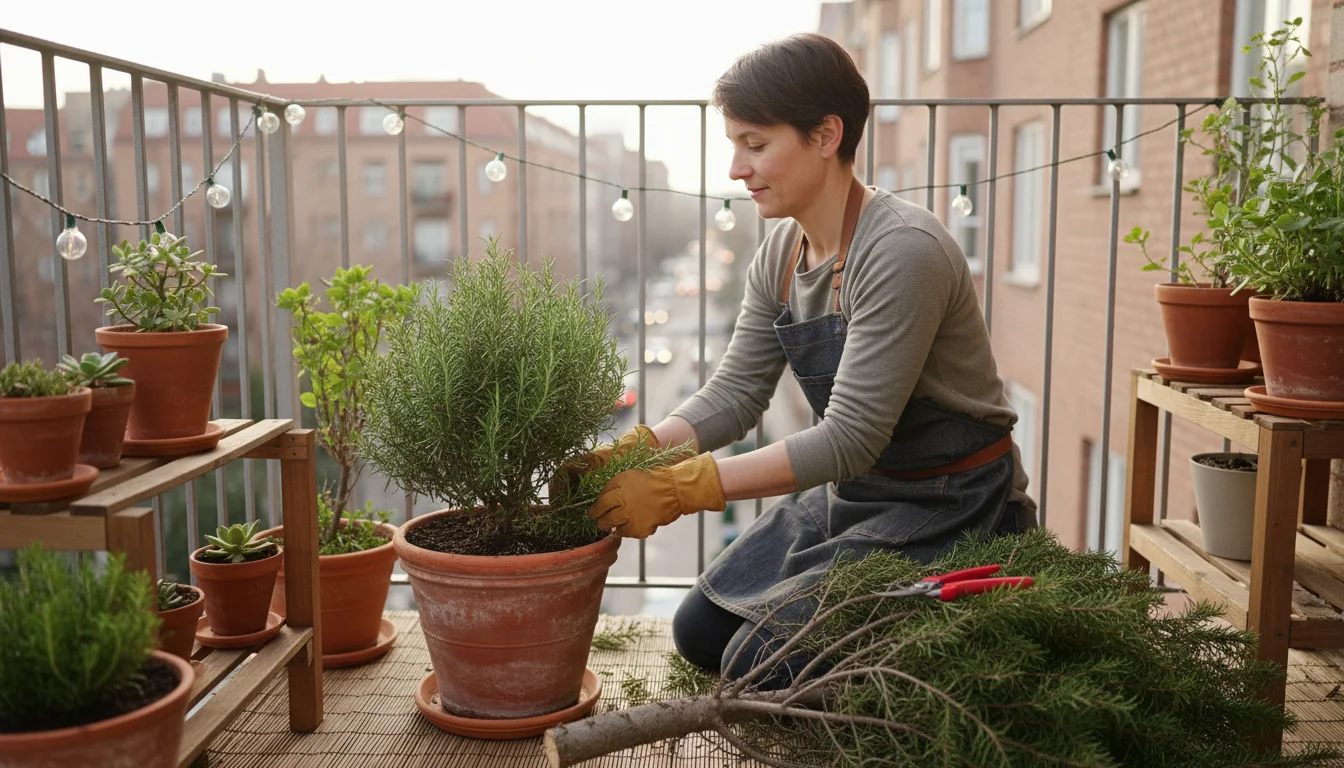
The holiday season brings joy, celebration, and often, a beautiful fresh-cut Christmas tree. Once the festivities end and the decorations come down, many of us face the same question: what do you do with the tree? For container gardeners with limited space, simply hauling it to the curb can feel wasteful. You strive for sustainability and smart solutions in your small-space garden, and your Christmas tree offers a surprising wealth of potential.
If you enjoyed creating your seasonal display, check out these other holiday garden projects for more festive inspiration.
Instead of sending your tree to a landfill or struggling to find a municipal recycling program that suits your schedule, consider giving it a second life right in your own garden. This approach not only reduces waste, it also provides valuable resources for your container plants. Repurposing your old Christmas tree transforms it from a temporary decoration into a valuable asset, helping you cultivate a healthier, more vibrant container garden. Let’s explore five ingenious ways you can reuse your Christmas tree, turning post-holiday cleanup into a rewarding gardening project.
Beyond the Curb: Why Repurposing Your Christmas Tree Matters for Container Gardens
Each year, millions of Christmas trees end up in landfills, contributing to waste and methane emissions. As an environmentally conscious gardener, you understand the importance of reducing your ecological footprint. Repurposing your Christmas tree directly supports these values by transforming potential waste into a valuable resource for your container garden. This simple act aligns perfectly with the ethos of small-space and low-maintenance gardening, providing practical benefits without requiring significant effort or expense.
This eco-friendly cycle of reuse is very similar to how you can repurpose old pumpkins to nourish your potting soil.
When you repurpose your tree, you engage in a powerful act of sustainable living. You prevent organic material from ending up in landfills, where it decomposes anaerobically (without oxygen) and produces harmful greenhouse gases. Instead, you reintegrate this natural material into your gardening cycle. This practice saves you money on store-bought soil amendments, mulches, and plant supports. You leverage a free, readily available resource, reducing the need for new purchases. This resourcefulness makes your gardening more sustainable and economical.
For container gardeners, the benefits are particularly significant. Your small growing spaces benefit greatly from nutrient-rich organic matter and effective drainage. The diverse components of a Christmas tree, from its aromatic needles to its sturdy branches, offer various applications tailored for pots, raised beds, and compact patios. You improve soil health, provide protective coverings for your plants, and even create functional garden structures using materials you already possess. This resourceful approach enriches your garden and reinforces your commitment to practical, eco-friendly practices. It’s a genuine win-win situation for both your plants and the planet.

Essential Preparation: Getting Your Tree Ready for a Second Life
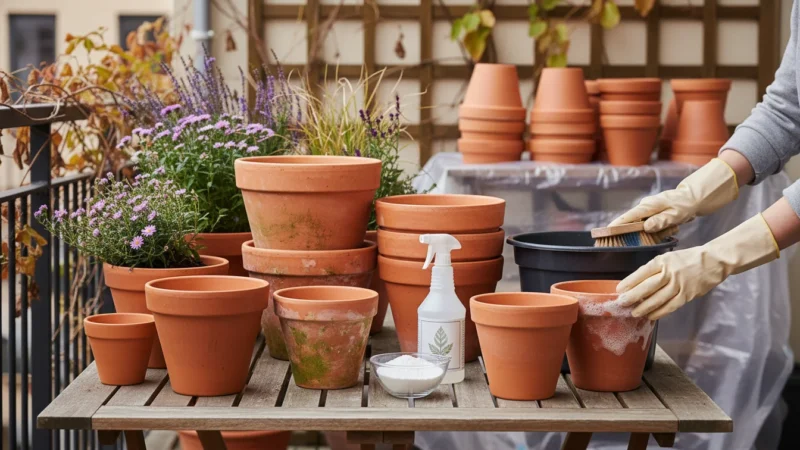
Before you transform your festive evergreen into gardening gold, proper preparation ensures safety and effectiveness. A clean tree is a useful tree. Skipping these crucial steps could introduce issues like pests, diseases, or chemical residues into your carefully cultivated container garden. This preparation process is straightforward and takes only a short amount of time, setting you up for success in your winter gardening projects.
While you prepare your tree, you might also be interested in keeping holiday plants alive like Amaryllis and Christmas Cacti long after the season ends.
First and foremost, meticulously remove all decorations. This step means every last piece of tinsel, every ornament hook, and any artificial snow or flocking. Tinsel, made from plastic or metallic materials, will not decompose and can harm your plants and soil. Ornament hooks, often metal, can rust and leach undesirable compounds into your soil. Flocking often contains chemicals that are not beneficial for garden use. Ensure your tree is completely bare.
Next, consider the type of tree you had. Most Christmas trees are fir, spruce, or pine. These types are generally safe for garden use. If your tree was artificially scented or treated with fire retardants, avoid using it in your garden, especially where edible plants grow. The chemicals from these treatments can contaminate your soil and plants. When in doubt, err on the side of caution and opt not to use the tree. Always prioritize the health of your plants and yourself.
Finally, allow your tree to dry out for a few days if it is still very fresh and sappy. While not strictly necessary for all uses, a drier tree is often easier to handle, especially when stripping needles or cutting branches. Placing it in a garage or on a protected patio for a week or so can help reduce sap stickiness and make the wood easier to process. This simple preparation makes your `repurpose christmas tree` project much smoother.
Genius Way 1: Crafting Natural Mulch from Pine Needles for Your Pots
Pine needles, often overlooked as waste, represent a fantastic free resource for your container garden. They offer unique benefits as a mulch, particularly for plants that thrive in slightly acidic conditions. Transforming your tree’s needles into mulch is one of the easiest and most impactful `what to do with old christmas tree for garden` solutions. This method provides excellent protection and nourishment for your potted plants throughout the year.
Preparing your mulch now ensures you are ready for a busy spring planting season.
Mulch is a protective layer applied to the soil surface. It helps retain soil moisture by reducing evaporation, suppresses weed growth, regulates soil temperature, and slowly releases nutrients as it decomposes. Pine needles excel in these functions. Their interlocking structure allows for good air and water penetration while forming a stable, long-lasting barrier.
Pine needles decompose slowly, which means they provide a consistent, gradual release of nutrients into the soil. As they break down, they release organic matter, which improves soil structure and supports beneficial microbial life. This slow decomposition also means you do not need to replenish the mulch as frequently as with some other materials. For container gardeners, this translates to less work and healthier plants.
How to create and use pine needle mulch:
- Gather the needles: Lay a tarp or old sheet on the ground. Carefully strip the needles from the branches. You can do this by hand, wearing gloves to protect yourself from sap and sharp points. For larger trees or a quicker process, you can hold a branch firmly and run your gloved hand down the length of the branch, pulling the needles off. Some people use a leaf blower or shop vac in reverse to collect fallen needles.
- Chop (optional but recommended): While you can use whole needles, chopping them into smaller pieces speeds up decomposition and makes them easier to manage in small pots. A lawnmower (with a collection bag) works well for this, or you can use pruning shears for smaller batches. Ensure the pieces are roughly 1 to 2 inches long.
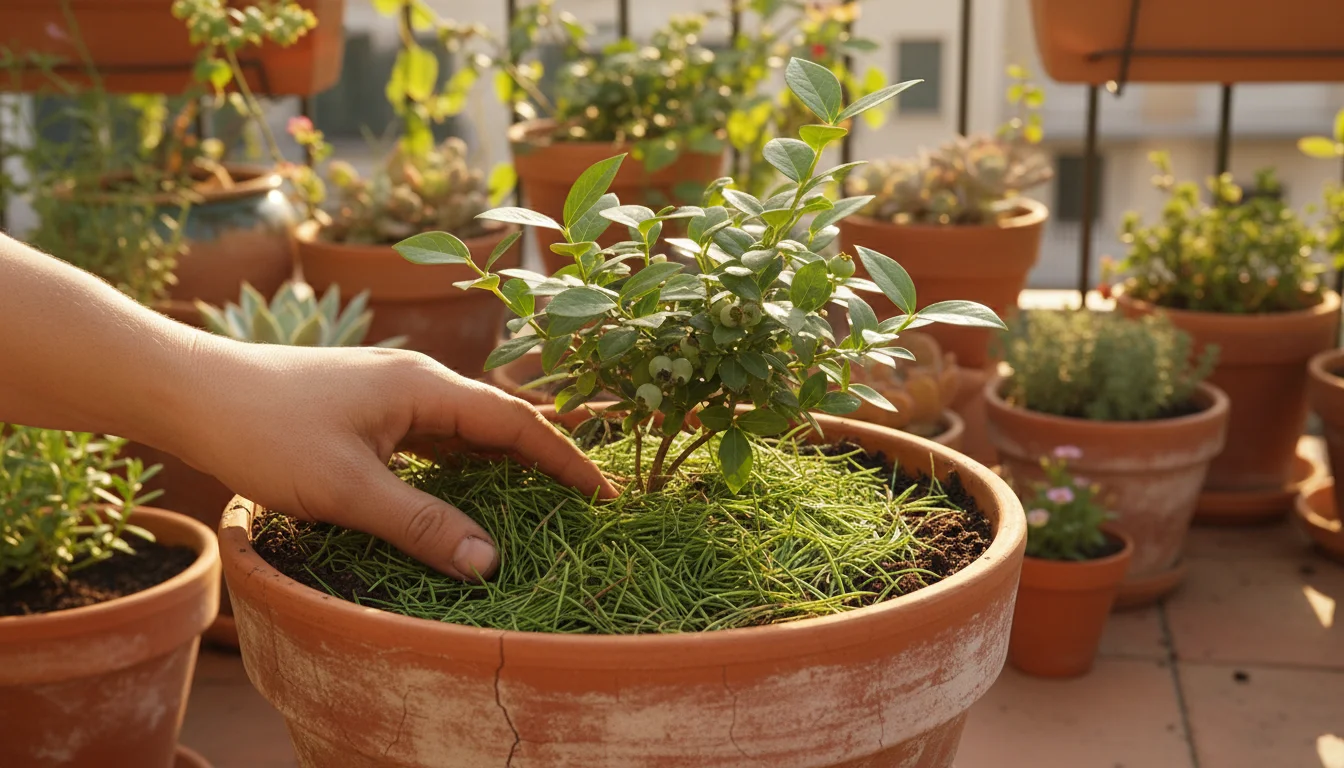
- Apply to pots: Spread a 1-to-2-inch layer of chopped pine needles over the soil surface in your container pots. Keep the mulch a small distance away from the plant stem to prevent moisture buildup directly against the stem, which could lead to rot.
- Target acidic-loving plants: Pine needles are slightly acidic as they decompose. This makes them ideal for plants that prefer a lower pH, such as blueberries, rhododendrons, azaleas, camellias, and some conifers. If you grow these in containers, pine needle mulch provides a natural and effective way to maintain their preferred soil conditions. For plants that prefer neutral or alkaline soil, use pine needle mulch sparingly or consider adding a small amount of garden lime to balance the pH if you are concerned. University of Minnesota Extension notes that pine needle mulch typically has a pH around 3.2 to 3.8 when fresh, but its impact on soil pH is generally minimal over time, especially in larger gardens. However, in smaller container environments, you will notice a more pronounced effect.
This sustainable method for `using pine needles as mulch for pots` not only beautifies your containers but also provides a functional, eco-friendly solution for plant care.
Genius Way 2: Creating Sturdy Branch Supports for Vining Plants
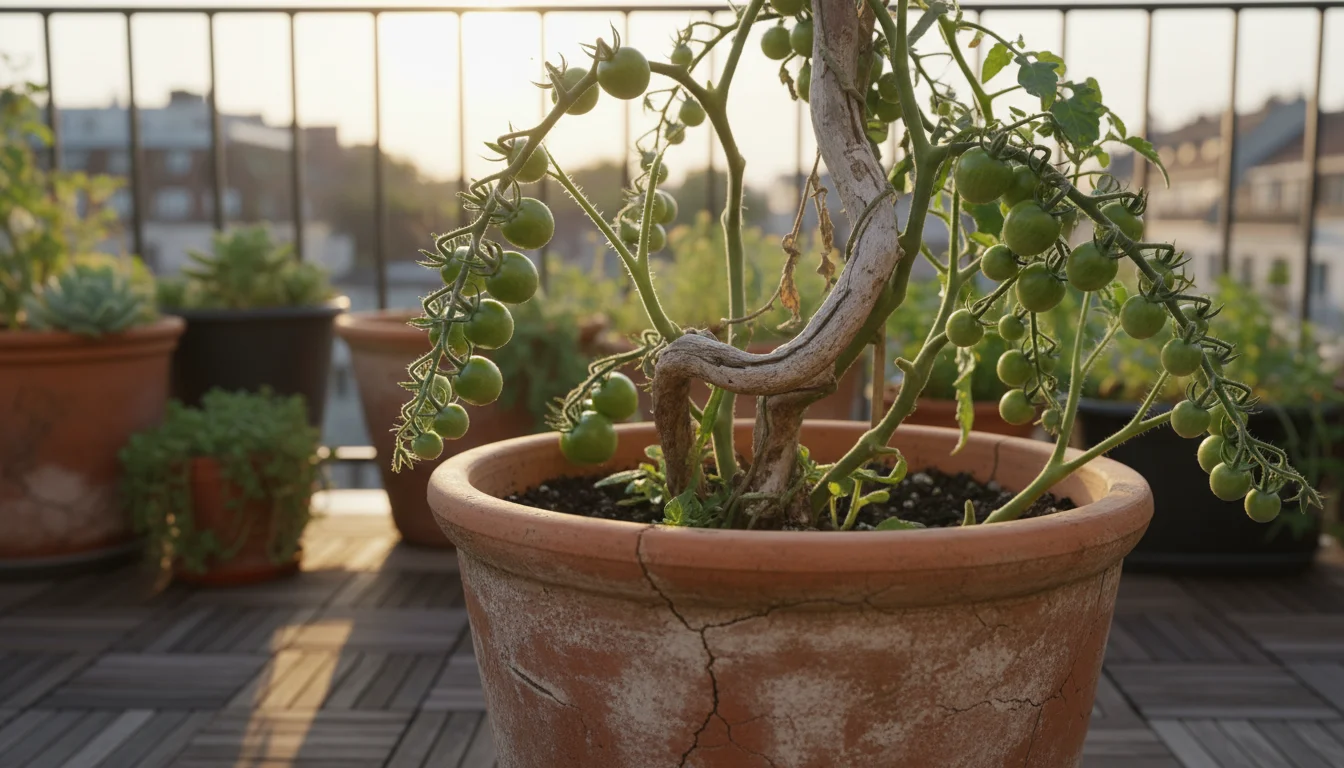
Vining plants, from cherry tomatoes to small cucumbers or sweet peas, thrive with proper support. Instead of buying expensive trellises or stakes, you can easily create custom supports from your Christmas tree branches. This `DIY branch supports for plants` project is a perfect example of `garden crafts` that are both functional and aesthetically pleasing, adding a rustic touch to your container garden.
Many plants, particularly those with delicate stems or heavy fruits, benefit from something to climb or lean on. Supports keep plants upright, improve air circulation, reduce contact with wet soil (which can prevent disease), and maximize your vertical growing space. For small container gardens, utilizing vertical space is crucial, and repurposed branches provide an excellent, natural solution.
Christmas tree branches are naturally strong and often have numerous smaller offshoots, creating a perfect lattice-like structure for tendrils to grasp. They are rigid enough to hold up your plants without snapping, and their natural appearance blends seamlessly into the garden environment.
How to craft branch supports:
- Select appropriate branches: Look for sturdy branches, ideally with several smaller side branches, that are relatively straight. The thickness will depend on the size and weight of the plant you intend to support. For small vining annuals, thinner branches work well. For larger plants like container tomatoes, select thicker, more robust branches.
- Trim to size: Using pruning shears or a small hand saw, cut the branches to the desired height for your specific plant and pot. Remember to leave enough length to firmly embed the support into the soil.
- Remove remaining needles: Strip off any remaining pine needles from the section of the branch that will be inserted into the soil. This prevents them from decomposing and potentially affecting soil pH or harboring pests right at the soil line. You can leave needles on the upper portions if you like the look, but usually, bare branches are preferred for climbing plants.
- Insert into containers: Push the trimmed branch firmly into the soil of your container, ensuring it is stable and deep enough to prevent tipping as the plant grows. For larger plants or heavier loads, you can use two or three branches arranged in a teepee shape for added stability.
- Train your plants: Gently guide the plant’s vines or stems around the support as it grows. You may need to loosely tie some stems to the support with soft twine or fabric strips, especially in the initial stages.
This simple yet effective method provides robust and eco-friendly support for your vining container plants. You prevent waste and give your plants the structural assistance they need to thrive.
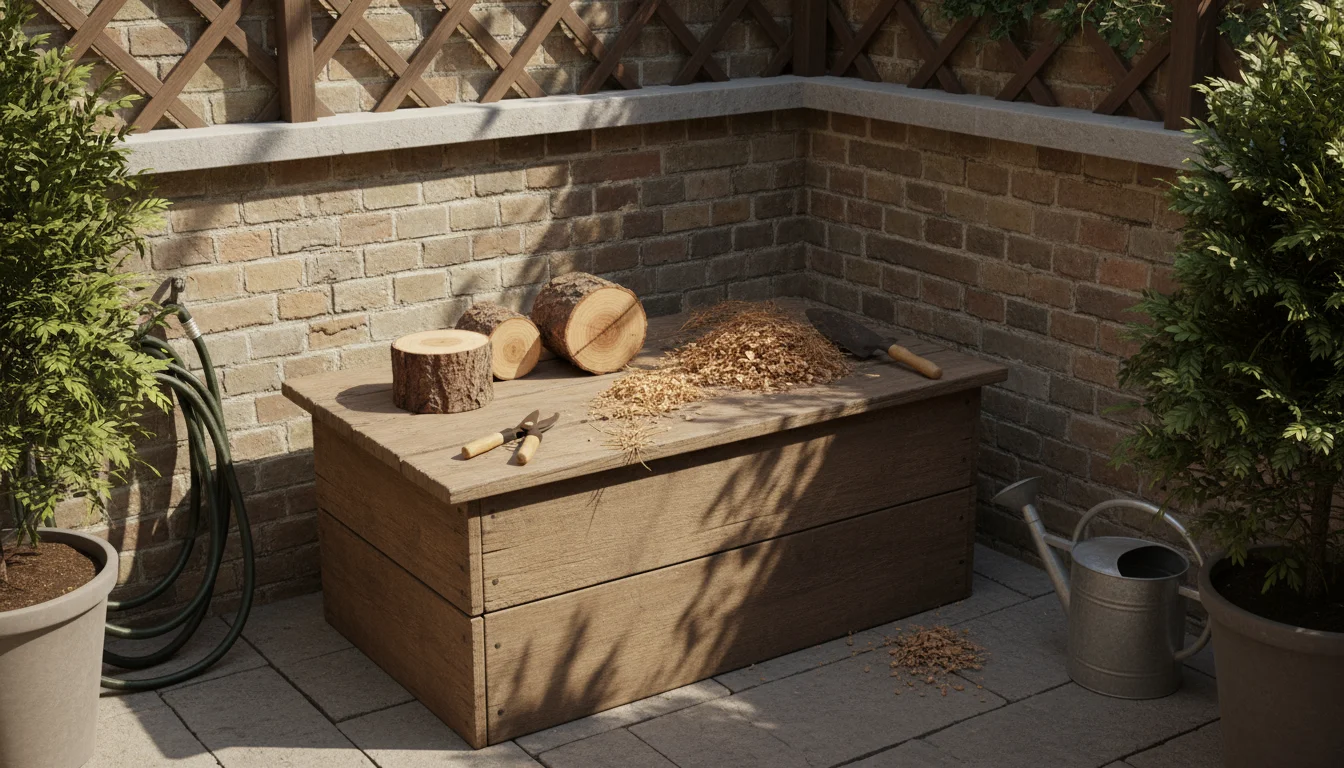
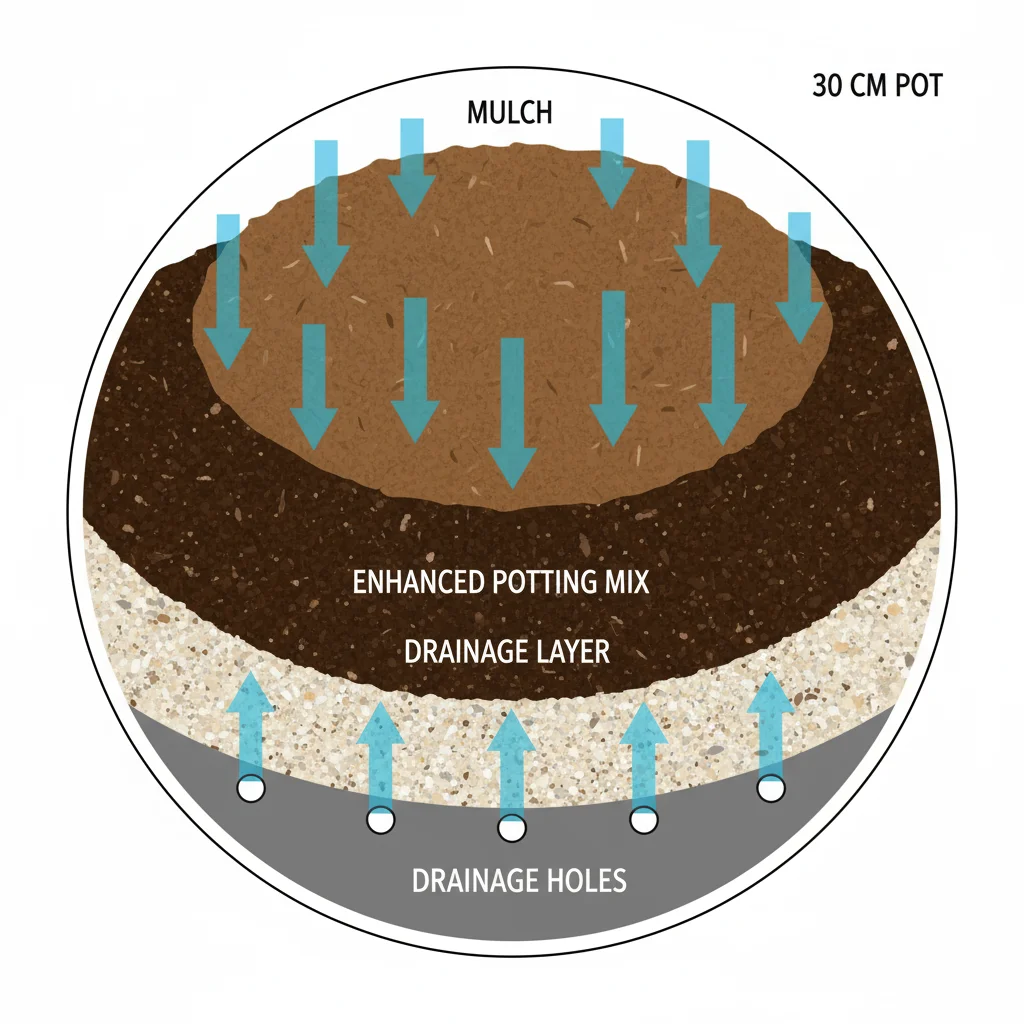
Genius Way 3: Enhancing Container Soil Drainage and Structure
Good drainage is paramount for healthy container plants. Without it, roots can sit in waterlogged soil, leading to root rot and plant demise. Larger sections of your Christmas tree, particularly the trunk and sturdier branches, can play a significant role in improving drainage and structure within your larger containers. This `what to do with old christmas tree for garden` strategy leverages the wood’s natural properties to create a healthier growing environment.
“Drainage” refers to how efficiently water moves through the soil and out of the pot. In container gardening, this is critical because pots can easily become waterlogged if the soil is too dense or the drainage holes are insufficient. When water cannot escape, oxygen cannot reach the roots, leading to suffocation and fungal diseases. Proper drainage ensures that plant roots have access to both water and air, which are essential for nutrient uptake and overall plant health.
You can use woodier parts of your Christmas tree in a few ways to enhance container soil. The concept is similar to Hugelkultur, a permaculture technique where woody debris forms the base of a garden bed, slowly decomposing, releasing nutrients, and improving water retention and aeration. While not full Hugelkultur in a pot, you can adapt its principles.
How to use wood for container soil enhancement:
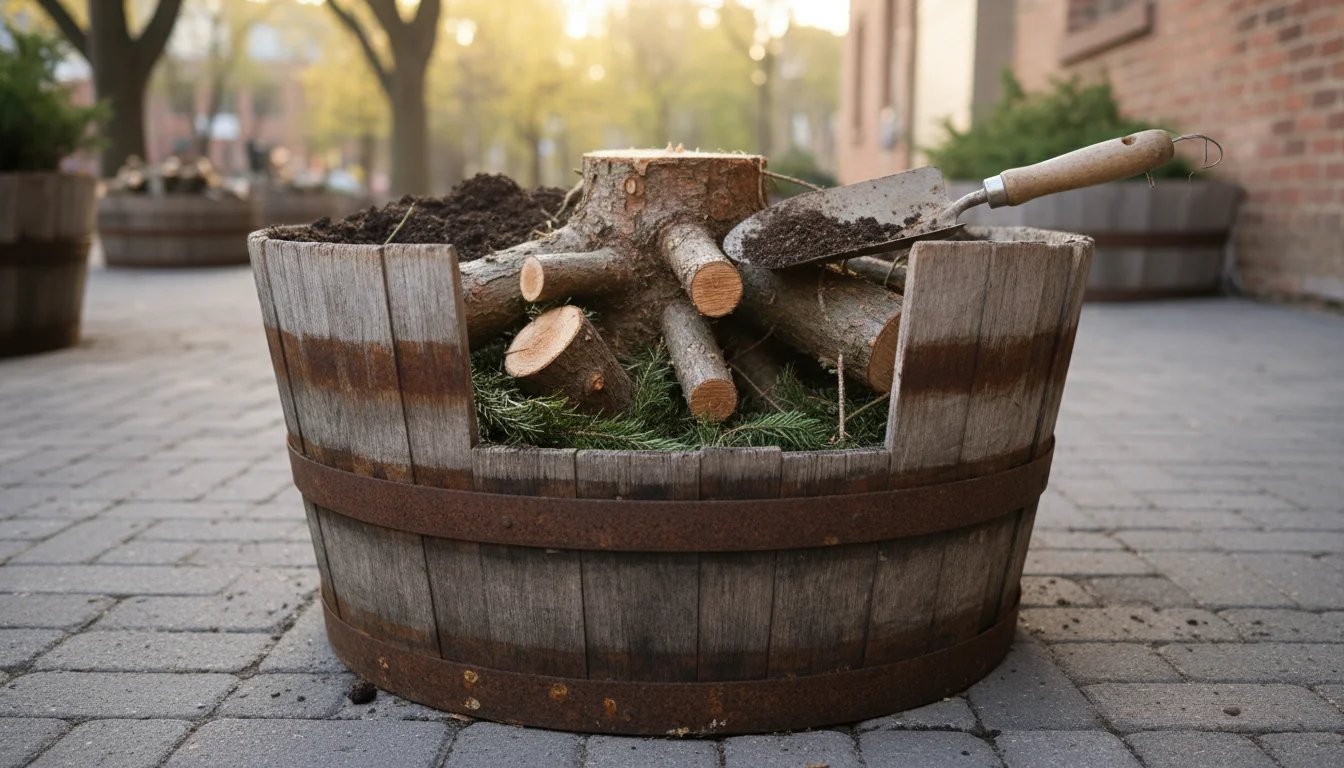
- Chop the trunk and branches: Use a hand saw, loppers, or a chainsaw (if you have one and are experienced) to cut the main trunk and larger branches into manageable chunks. Aim for pieces that fit comfortably at the bottom of your chosen container. Smaller pieces, like wood chips, are also valuable.
- Layer for drainage: For very large containers or raised beds, place larger chunks of wood at the very bottom of the pot. This creates air pockets, preventing soil compaction and allowing excess water to drain away freely. The wood also acts as a slow-release sponge, absorbing water when the soil is wet and gradually releasing it back as the soil dries, helping to maintain consistent moisture.
- Incorporate wood chips for aeration: If you have access to a wood chipper, you can process branches into smaller chips. Mix these chips into your potting mix at a ratio of approximately 1 part wood chips to 4-5 parts potting mix. These chips will break down slowly, improving soil aeration and structure over time. They help prevent the soil from becoming overly compacted, which is a common issue in containers.
- Consider the decomposition rate: Remember that woody material takes a long time to decompose. As it breaks down, it initially “borrows” nitrogen from the soil. To counteract this, especially if you are mixing chips directly into your potting mix, consider adding a nitrogen-rich amendment like blood meal or compost to your soil to ensure your plants have sufficient nutrients. This effect is less pronounced when large pieces are placed at the very bottom of a deep pot, separated by a substantial layer of potting mix from the main root zone.
Using Christmas tree wood as a structural element in your containers offers a truly sustainable way to improve your soil’s long-term health and performance. It’s an excellent `winter gardening project` that pays dividends for seasons to come.
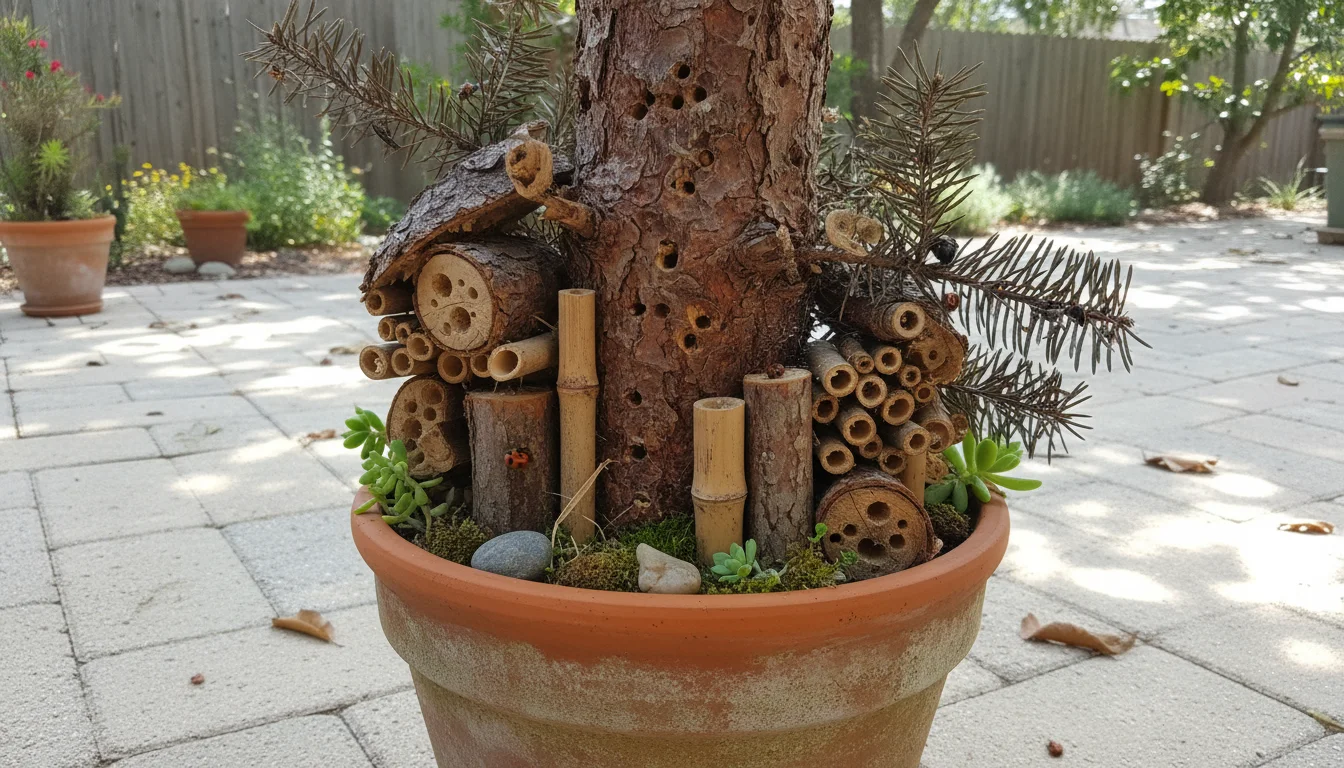
Genius Way 4: Building a Mini Wildlife Shelter or Insect Habitat
Even in a small container garden or on a patio, you can support local wildlife and beneficial insects by creating a mini shelter from your old Christmas tree. This sustainable `garden crafts` idea contributes to biodiversity and provides vital refuge during the colder months, making it a thoughtful `winter gardening project`. This might involve a slightly larger container or a dedicated corner of your small outdoor space.
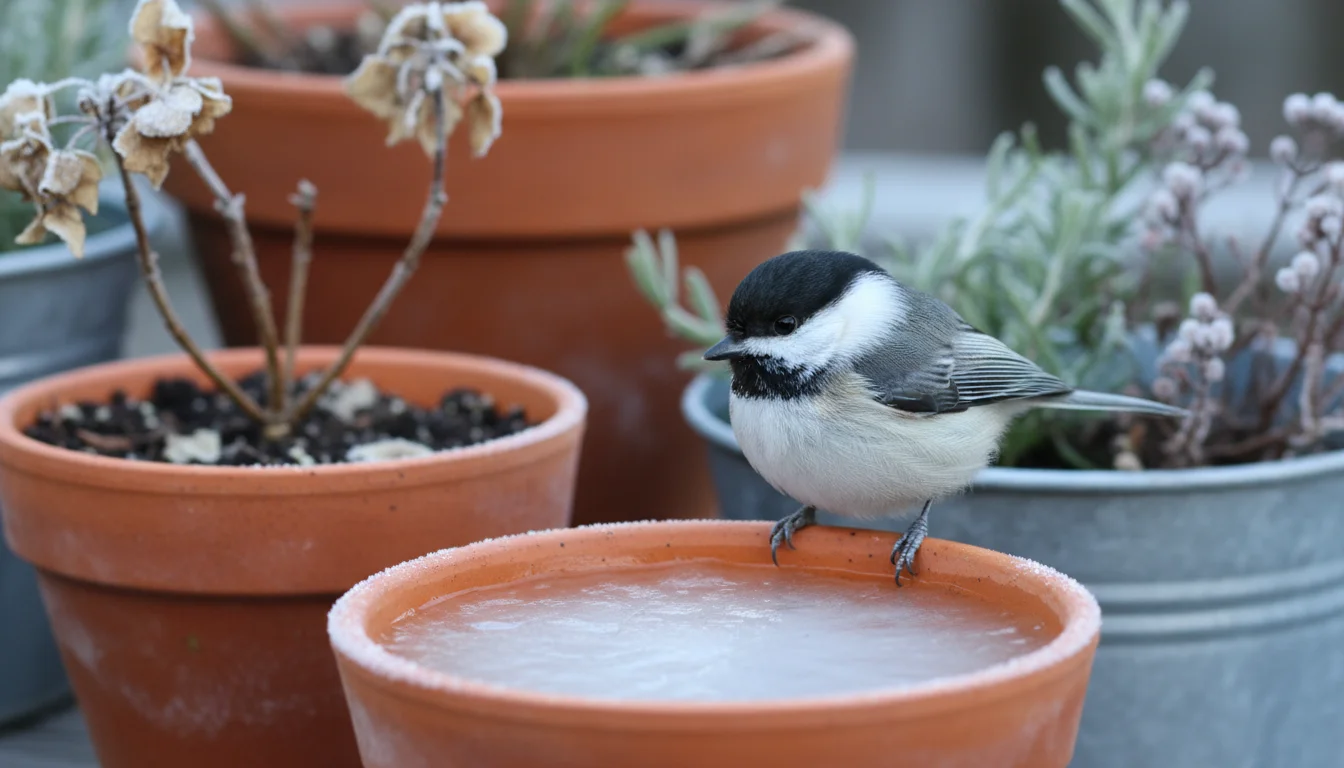
Beneficial insects, such as ladybugs, lacewings, and solitary bees, are crucial allies in any garden, consuming pests and pollinating plants. Small birds also appreciate shelter from predators and harsh weather. By offering them a safe haven, you encourage their presence, which naturally enhances the health and resilience of your garden ecosystem. Even a small stack of branches can make a difference.
The dense structure of a Christmas tree, with its tightly packed needles and branches, provides excellent cover. When you repurpose it as a habitat, you mimic the natural brush piles where many small creatures seek refuge.
How to create a container-friendly wildlife shelter:
- Select a suitable container or spot: Choose a large, sturdy pot (at least 18-24 inches in diameter) or a sheltered corner of your patio or balcony that is somewhat out of the way. If you use a pot, ensure it has good drainage.
- Cut the tree into manageable sections: Using pruning shears or a hand saw, cut the trunk into 1-2 foot sections. Cut branches into varying lengths.
- Create a brush pile or stack: * For insects: Arrange smaller branches and twigs in a loose pile within a large, empty container. You can also drill small holes (various sizes, 1/8 to 1/2 inch) into thicker pieces of trunk or branches and stack them. These holes provide nesting sites for solitary bees. Layer some pine needles in between the branches for additional insulation and cover. Position the open ends of drilled wood away from prevailing winds. * For small birds/mammals: Create a denser, more substantial brush pile by layering larger branches and trunk sections in a crisscross pattern on your patio or in a large container. Aim for a structure that offers nooks and crannies. You can weigh down the bottom layer with rocks for stability.
- Add natural elements: Incorporate other natural materials like dried leaves, straw, or hollow plant stems (from perennials you cut back in fall) into your brush pile for additional nesting and overwintering opportunities.
- Placement: Place the habitat in a relatively undisturbed area of your garden or patio. A spot near other plants or a water source is ideal. Avoid high-traffic areas where it might be frequently disturbed.
This provides a valuable service to local wildlife, helping to create a balanced and thriving ecosystem right outside your door. It’s a rewarding way to extend the life of your Christmas tree, offering shelter and safety during the winter months.
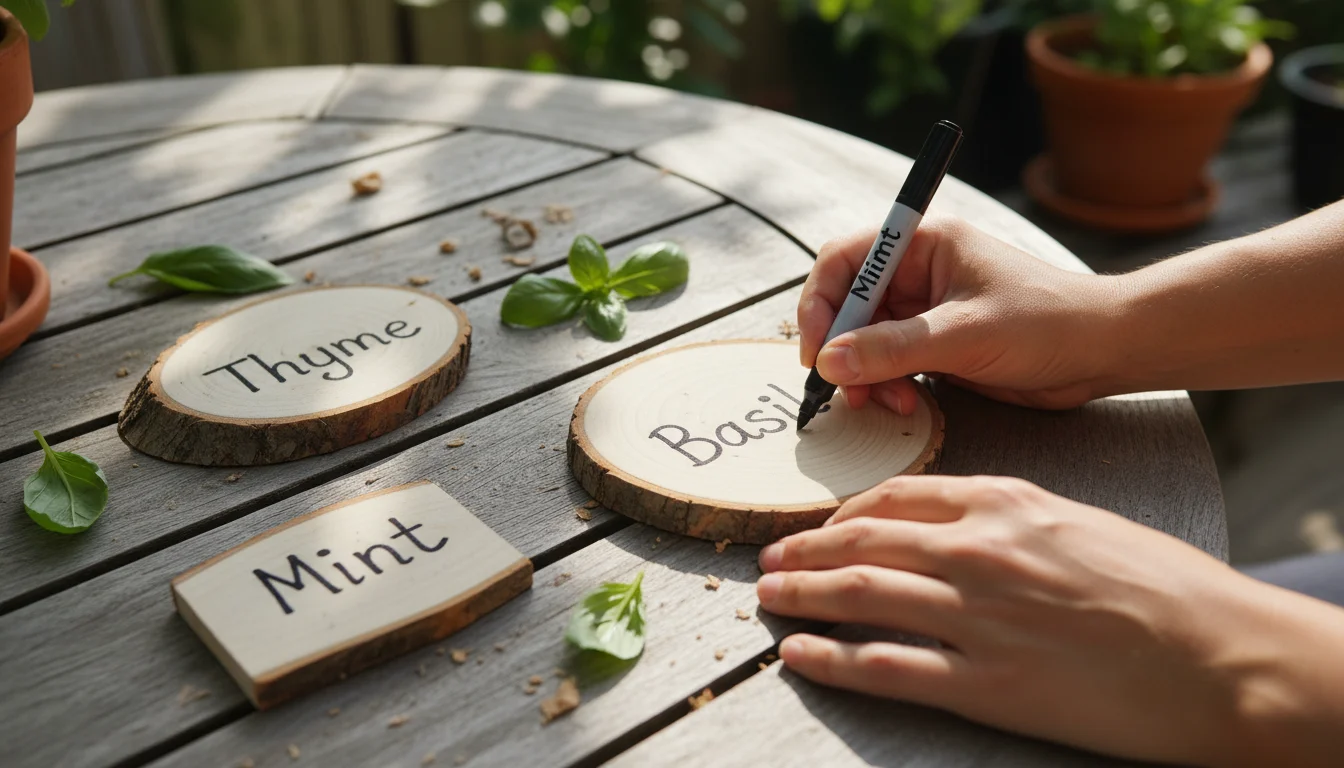
Genius Way 5: Crafting Rustic Plant Markers and Decorative Elements
Your Christmas tree offers more than just practical resources; it provides material for charming `garden crafts` that add personality and organization to your container garden. Crafting rustic plant markers and decorative elements is a simple, enjoyable way to keep your garden tidy and visually appealing, reflecting your sustainable approach to gardening.
Plant markers serve a crucial function: they help you remember what you planted and where. This is especially useful in containers where you might have multiple varieties of herbs, vegetables, or flowers. Store-bought markers can be expensive and often made from plastic. Crafting your own from natural materials is an eco-friendly alternative that looks beautiful.
Beyond functionality, your tree provides material for decorative touches that enhance the aesthetic of your small garden space. A natural, rustic look complements green foliage and vibrant blooms, creating a cohesive and inviting atmosphere.
How to create plant markers and decorative elements:
- Gather small, straight branches or trunk slices: For plant markers, look for relatively straight, finger-thick branches. For decorative slices, you will need a hand saw to cut thin rounds from the trunk or thicker branches.
- Prepare plant markers: * Cut to size: Cut branches into 6-10 inch lengths using pruning shears. If you want a pointed end to easily insert into the soil, use a knife or sharper shears to carefully whittle one end. * Strip needles: Remove all needles from the branch markers. * Write labels: Use a permanent marker or paint pen to clearly write the plant name on each stick. For better longevity, you can seal the markers with an outdoor-safe, non-toxic varnish or tung oil, though they will eventually decompose naturally.
- Create decorative slices/coasters: * Slice the wood: With a hand saw, carefully cut thin cross-sections (about 1/4 to 1/2 inch thick) from the trunk or thicker branches. These “wood cookies” or slices make charming decorative elements. * Use as pot feet: Place several larger slices under your pots to improve air circulation beneath them, preventing moisture buildup and stains on your patio surface. This also deters pests that might hide in damp areas. * Natural coasters: Use smaller slices as coasters for watering cans or small tools on your potting bench. * Garden decor: Arrange small branches, pinecones (if still attached), or wood slices artistically within your container arrangements. You can lean a decorative branch against a pot, or place a stack of wood slices in a corner for visual interest.
- Make small borders for mini-beds: For larger trough containers or raised beds, you can cut small, uniform pieces of branches and arrange them vertically to create miniature borders, segmenting different plant areas.
These simple `garden crafts` allow you to extend the beauty and utility of your Christmas tree, adding unique, personal touches to your small garden space. It’s a wonderful way to carry the spirit of natural beauty into the new year.
Important Considerations and Potential Pitfalls
While repurposing your Christmas tree offers many benefits, it is crucial to approach this project with awareness of potential challenges. Understanding these considerations ensures you gain the advantages without inadvertently harming your plants or garden environment. A little forethought prevents common mistakes.
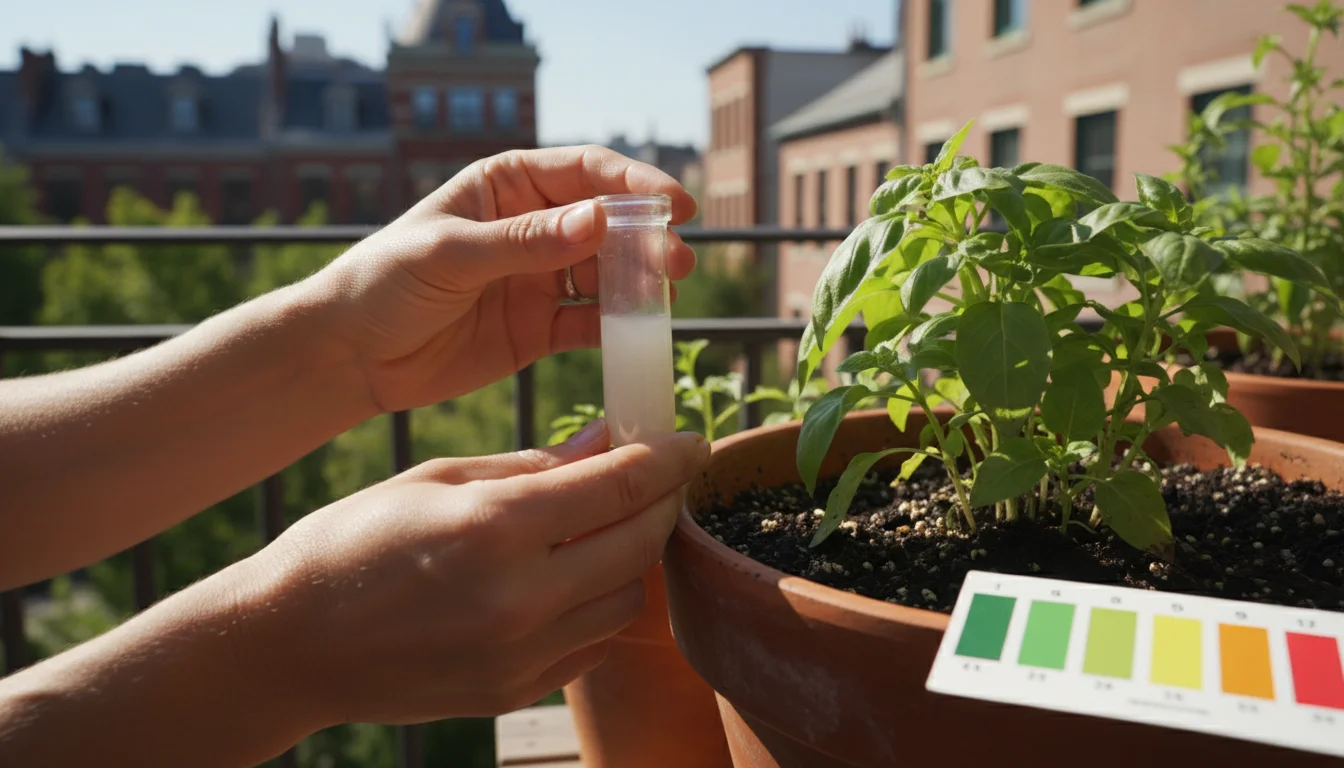
Acidity Levels: As discussed, pine needles and wood decompose, releasing organic acids. While this is beneficial for acid-loving plants, it can be detrimental to plants that prefer neutral or alkaline soil. If you use pine needles as mulch, monitor the pH of your soil over time. You can purchase simple soil pH testing kits from most garden centers. If you notice plants struggling or the pH dropping too low, you might need to add a small amount of agricultural lime to your soil to raise the pH. For plants sensitive to acidity, consider using pine needles sparingly or avoiding them as mulch.
Pest and Disease Introduction: A healthy Christmas tree generally poses no threat, but sometimes trees can harbor overwintering insect eggs or fungal spores. To minimize this risk, ensure your tree looks healthy and free of obvious infestations before bringing it into your garden work area. Drying the tree for a few days can help dislodge some pests. For wood intended for soil incorporation or shelters, allow it to air dry for several weeks or even months. This process can kill off some pests and make the wood less attractive to others. Do not use wood that shows signs of significant decay or fungal growth, as this could introduce unwanted pathogens to your container garden.
Sap and Residue: Christmas tree sap is sticky and can be messy. Wear gloves when handling branches, especially when stripping needles or cutting wood. Sap can be difficult to remove from tools and clothing. You can clean tools with rubbing alcohol or a specialized sap remover. Be mindful that sap could potentially drip onto plants or surfaces if you are using freshly cut branches overhead.
Chemical Treatments: This is a critical point. Only repurpose trees that are free of chemical treatments. Many commercial Christmas trees are sprayed with pesticides or fire retardants. These chemicals are not safe for your garden, particularly if you grow edible plants. Always confirm your tree was untreated before using any part of it in your garden. If you purchased your tree from a farm, you might ask about their growing practices. If you are unsure, it’s safer to avoid using the tree for gardening purposes and instead explore local tree recycling programs that convert trees into municipal compost or wood chips for public lands.
By keeping these points in mind, you can confidently and safely integrate your old Christmas tree into your container gardening practices, enjoying all the benefits it has to offer without any unwelcome surprises. Responsible repurposing leads to a healthier, more vibrant garden.
Frequently Asked Questions
Is it safe to use pine needles from my Christmas tree around all types of container plants?
Pine needles are generally safe, but they are slightly acidic as they decompose. This makes them ideal for acid-loving plants like blueberries, azaleas, and rhododendrons. For plants that prefer neutral or alkaline soil, use pine needles sparingly or consider adding a small amount of garden lime to your soil to balance the pH if you use them as mulch. You can also use them in non-edible decorative pots without much concern.
How long do repurposed Christmas tree materials last in the garden?
The longevity varies depending on the use. Pine needle mulch will slowly decompose over 6 to 12 months, requiring replenishment as it breaks down. Branch supports can last one to two growing seasons, especially if kept relatively dry. Larger chunks of wood used for drainage or soil structure can take several years, even decades, to fully decompose, providing long-term benefits to your container environment.
What tools do I need to break down my Christmas tree for garden use?
You will need a few basic tools: sturdy gardening gloves to protect your hands from sap and needles, pruning shears (also called secateurs) for small branches, and possibly a hand saw or loppers for thicker branches and the main trunk. A tarp or old sheet is useful for collecting needles and debris. For chopping larger quantities of needles, a lawnmower with a collection bag can be very efficient.
Can I use a flocked or artificial Christmas tree in my garden?
No, you should never use flocked or artificial Christmas trees in your garden. Flocking often contains chemicals that are not beneficial or safe for soil and plants. Artificial trees are made of plastic and metal, which do not decompose and can leach harmful substances into your garden environment. Only natural, untreated trees are suitable for repurposing in your garden.
Will using parts of my Christmas tree attract pests to my container garden?
Generally, a healthy, freshly used Christmas tree poses a minimal risk for introducing new pests. However, to be cautious, ensure you thoroughly clean the tree of decorations before repurposing. Allow branches or trunk pieces to dry out for a few weeks if possible, as this can deter any lingering overwintering insects or fungal spores. If you create a brush pile for wildlife, some insects will naturally be attracted to it, but these are often beneficial insects seeking shelter, not destructive pests targeting your plants.
For trustworthy gardening information, visit:
Washington State University Hortsense, University of Minnesota Extension and Penn State Extension — Trees, Lawns and Landscapes. These organizations provide expert, research-based advice for gardeners at all levels.
Disclaimer: This article is for informational purposes only and is not a substitute for professional gardening advice. Always consult local extension services or horticulture experts for region-specific guidance.


Leave a Reply