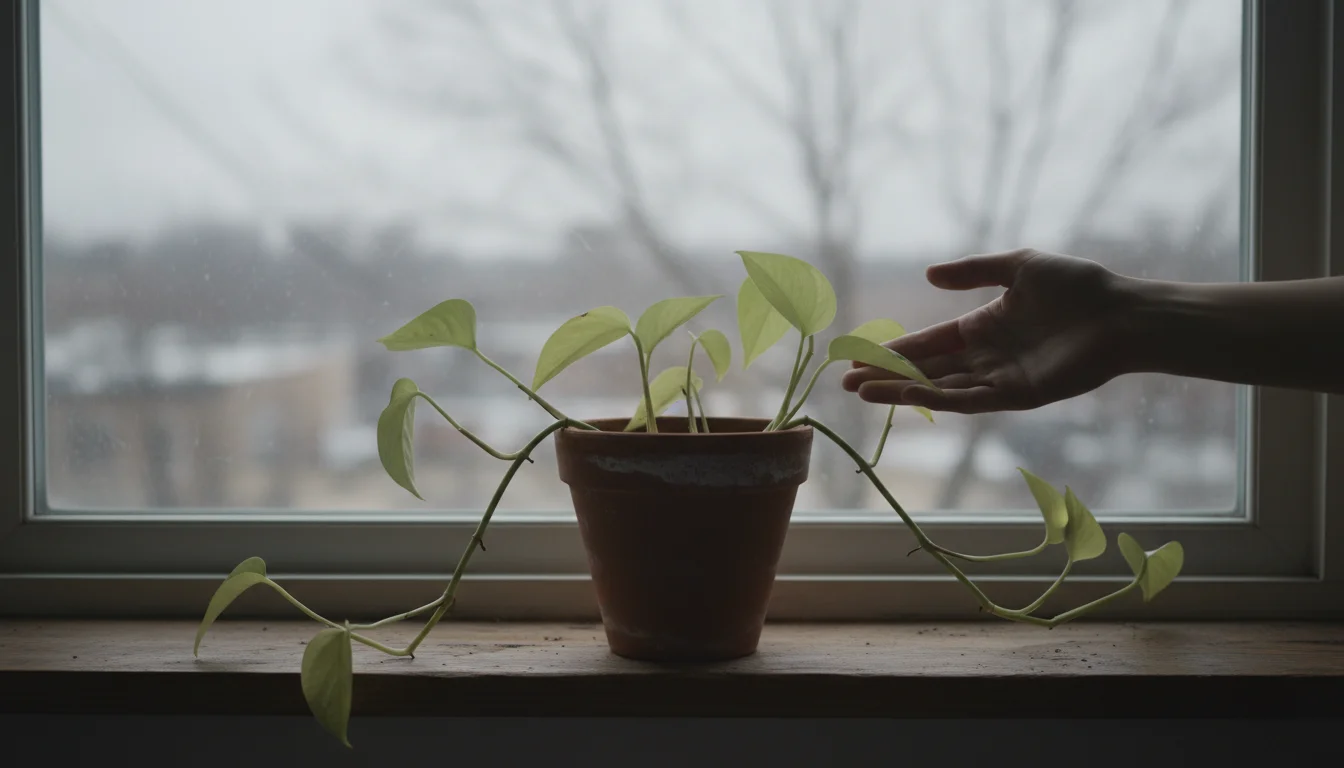
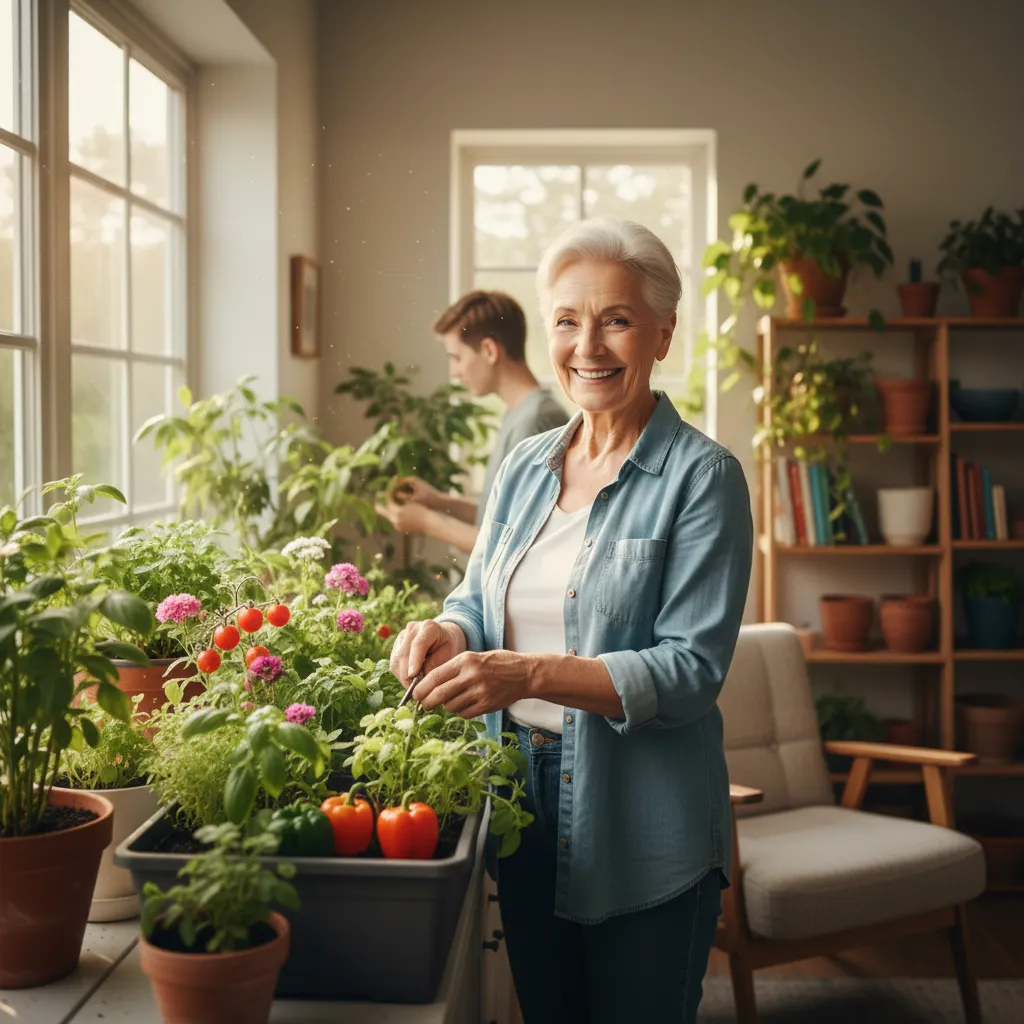
Winter often brings a unique challenge for indoor gardeners. As the days shorten and sunlight becomes a precious commodity, your beloved houseplants can start to look a little sad. You might notice them stretching towards windows, their leaves turning pale, or even dropping off. This struggle, known as “winter plant sadness,” comes from a lack of adequate light, which is crucial for photosynthesis, the process plants use to make their food.
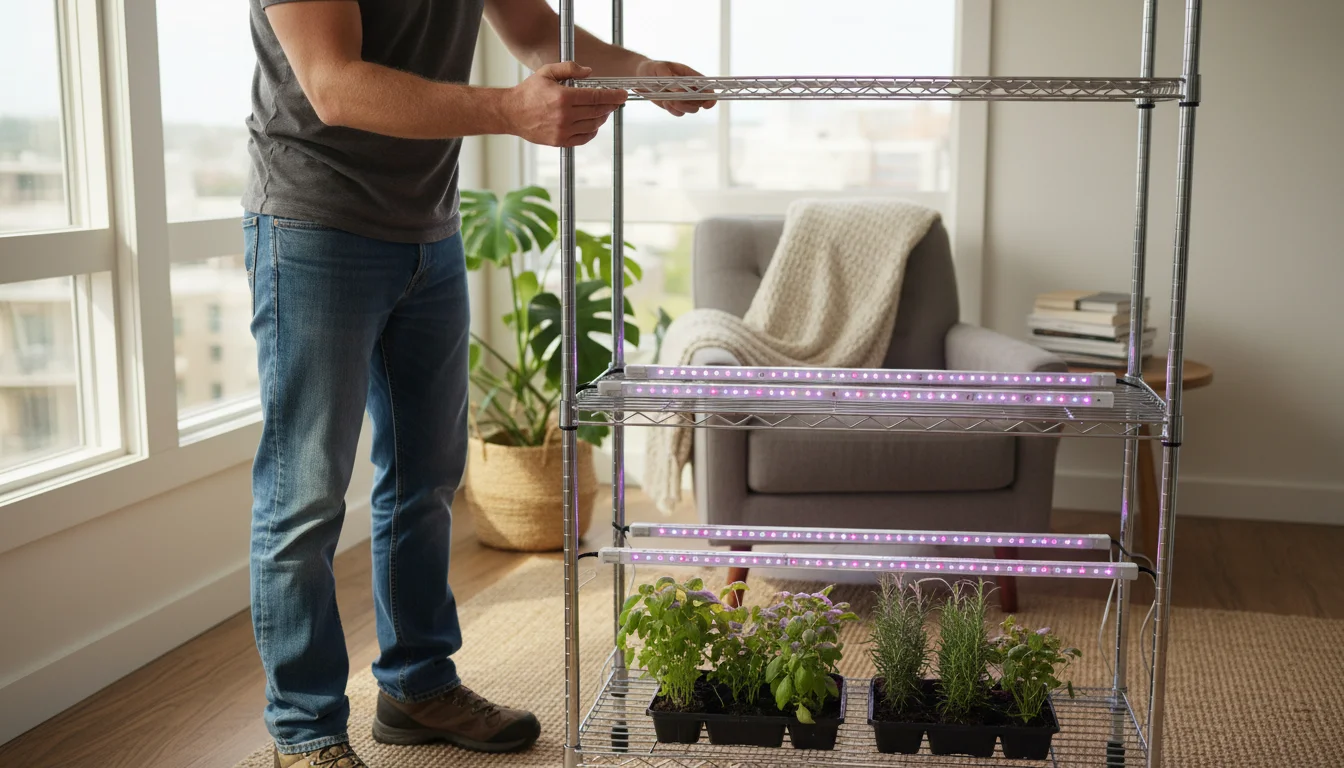
Setting up a shelf is a cornerstone of a successful winter indoor gardening strategy that allows you to garden regardless of the weather.
But what if you could give your plants the sunny skies they crave, even when snow blankets the ground outside? Imagine a simple, affordable solution that transforms a gloomy corner into a vibrant indoor garden. You can achieve this with a DIY grow light shelf. This project is a fantastic winter activity for gardeners, offering a practical way to keep your green friends thriving. It is a cost-effective indoor gardening setup that empowers you to grow herbs, propagate cuttings, or simply maintain your houseplant collection without breaking the bank. This guide shows you exactly how to build a cheap grow light shelf for houseplants for around $50, making it an accessible and rewarding venture for anyone with limited space, like those in apartments with small balconies or patios.
Why Your Plants Crave Light: Understanding Winter Plant Sadness
Every plant relies on light for survival. Light provides the energy for photosynthesis, converting carbon dioxide and water into sugars that fuel growth. Without enough light, plants cannot produce sufficient energy, leading to a decline in health. Think of light as your plants’ primary food source; when it is scarce, they essentially starve. In winter, this issue intensifies. Days are shorter, sunlight angles are lower, and the light that does enter your home often gets filtered by windows, curtains, or even tree branches, drastically reducing its intensity. For many houseplants, which originate from tropical or subtropical regions with abundant, consistent light, this seasonal deprivation is a significant stressor.
Before diving into the build, you might also want to check out this survival kit for sun-starved plants to see other essential indoor tools.
You can recognize winter plant sadness by several clear symptoms. One common sign is etiolation, where stems become long, thin, and stretched out as the plant desperately reaches for any available light source. Leaves might appear smaller than usual, spaced widely apart, or turn pale green or yellow, indicating a lack of chlorophyll production. You might also observe leaf drop, particularly on older leaves, as the plant attempts to conserve energy by sacrificing non-essential parts. Flowering plants may fail to bloom or produce stunted, weak flowers. These symptoms are not just cosmetic; they signify a weakened plant that is more susceptible to pests and diseases. By understanding these signals, you can proactively address your plants’ light needs before their health severely declines. A DIY grow light becomes your powerful tool in combating these winter challenges, ensuring your indoor garden remains a source of joy and vibrancy year-round.
The $50 Dollar Challenge: Budgeting Your Build
Building an effective grow light shelf does not require a large investment. You can create a highly functional indoor gardening setup for around $50 if you shop smart and prioritize essential components. The key to staying within this budget involves making intentional choices about your materials. For example, opting for basic wire shelving or repurposing an old bookcase significantly reduces costs compared to buying specialized grow light stands. Similarly, selecting efficient LED light strips provides excellent illumination without the high energy consumption or heat output of older grow light technologies, keeping your operating costs low.
If you find even a small shelf is too much for your current space, consider the one-bulb challenge for a more minimalist approach.
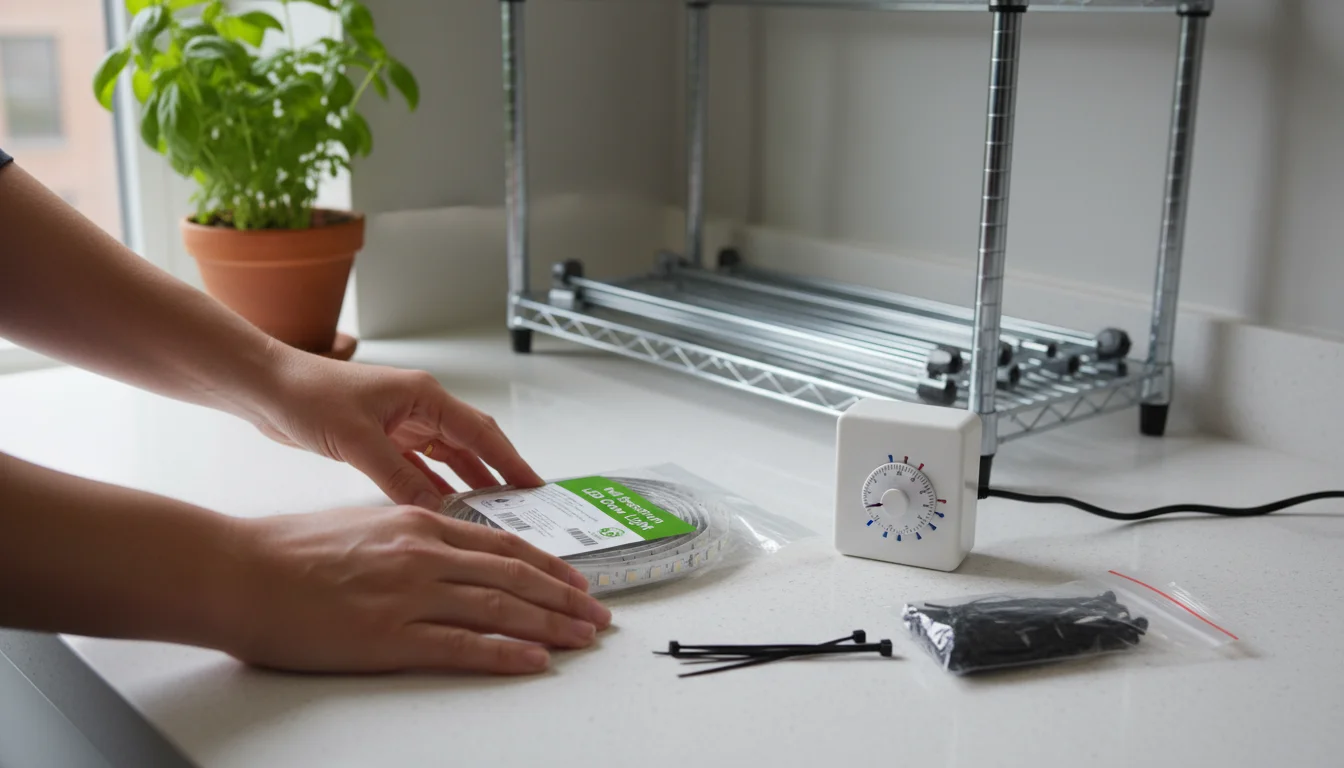
Your budget breakdown typically includes a shelving unit, the grow lights themselves, a timer, and some basic hardware for assembly. Here is how you can approach it:
- Shelving Unit ($15-25): Look for simple wire shelving units at discount stores, hardware stores, or online marketplaces. You might find a used one for even less. A two- or three-tier unit works perfectly for most small spaces.
- LED Grow Light Strips ($20-30): These are the most critical component. Many online retailers offer sets of two to four full-spectrum LED light strips for this price range. Focus on strips that are energy-efficient and easy to install.
- Timer ($5-10): An essential item for automation. A simple mechanical timer works well and is inexpensive. This device automatically turns your lights on and off, mimicking natural daylight cycles and ensuring your plants receive consistent light.
- Hardware (Under $5): This includes items like S-hooks, zip ties, or small carabiners to attach the lights to your shelf, and possibly a power strip if you need more outlets.
By carefully selecting each component and looking for deals, you can easily stay within your $50 budget. Remember, the goal is functional efficacy, not elaborate aesthetics. Your plants will appreciate the light much more than a fancy stand. This budget-friendly approach makes the project accessible to almost any gardener, proving that you do not need to spend a fortune to create a successful indoor growing environment.
Choosing the Right Lights for Thriving Plants
The success of your DIY grow light shelf hinges on selecting the right type of lighting. While many options exist, LED grow lights are the undisputed champion for home gardeners, especially when budget and efficiency are primary concerns. LEDs consume significantly less energy than older fluorescent or incandescent bulbs, produce very little heat, and offer a long lifespan. More importantly, they allow for tailored light spectrums, which are crucial for plant growth. You are not just providing light; you are providing the specific colors of light your plants need most.
With the right spectrum, you can move beyond simple maintenance and even try growing a tomato plant as a fun indoor experiment.
Once you select your bulbs, it is vital to learn how to acclimate your plants to grow lights to prevent damage from the sudden increase in intensity.
When selecting your LED lights, look for “full spectrum” options. Full spectrum grow lights emit a balance of red, blue, and green light, mimicking natural sunlight. This comprehensive spectrum supports all stages of plant growth, from vegetative development to flowering. Blue light primarily promotes strong, compact vegetative growth, while red light encourages flowering and fruiting. Green light, often overlooked, helps penetrate the plant canopy, reaching lower leaves and ensuring overall plant health. For most houseplants, herbs, and small vegetables, full spectrum is ideal. You do not need highly specialized, high-wattage lights for general houseplant maintenance or starting seeds.
Consider the form factor: LED strip lights are highly practical for a DIY shelf. They are slim, lightweight, and easy to mount underneath shelves. Their linear shape ensures even light distribution across your plants. When considering wattage or lumens, focus on lights designed for “plant growth” rather than general room illumination. A good rule of thumb for supplemental lighting for houseplants is around 20-40 watts per square foot of growing area, but simpler strip lights often list their efficacy for plants directly. The most important factor is often the light intensity at the plant canopy. You want enough brightness to prevent etiolation without being so intense that it causes leaf burn. Most budget-friendly LED grow light strips are well-suited for the typical light needs of common houseplants and will provide ample light to banish winter plant sadness.
Gathering Your Materials: The Shopping List
Preparation is key to any successful DIY project. Before you start building, gather all your materials. This ensures a smooth, uninterrupted assembly process. Your goal is to create a functional and stable indoor gardening setup, so prioritize sturdy yet affordable components. The beauty of this `diy grow light` project is its flexibility; you can adapt it based on what is available and what fits your space.
To keep your new shelf organized, consider assembling a mini tool kit specifically for your indoor plant tasks.
Here is a detailed shopping list to guide your purchases:
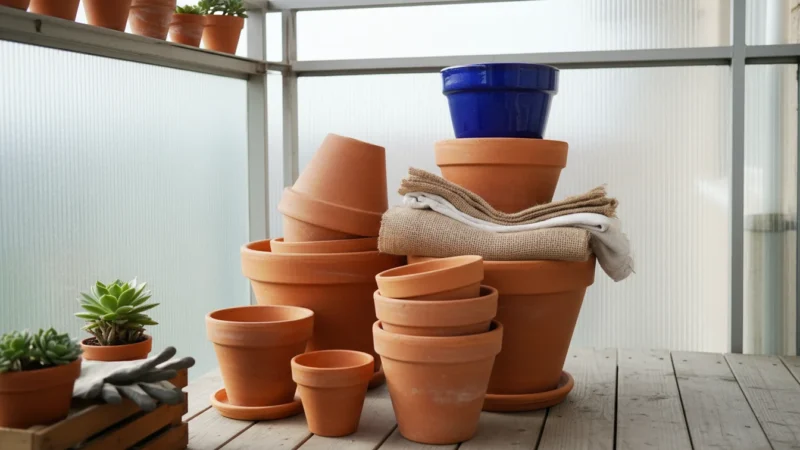
- Shelving Unit:
- Option A (Most Budget-Friendly): A simple, multi-tiered wire shelving unit. These are widely available, lightweight, and easy to assemble. They also offer excellent airflow. Look for units 2-3 feet wide and 1-1.5 feet deep.
- Option B (Repurpose): An old bookshelf, cabinet, or even sturdy plastic storage shelves. Ensure they are clean and stable. You might need to add reflective material (like Mylar or white paint) to the inside surfaces if using a non-wire shelf.
- LED Grow Light Strips:
- Quantity: Typically 2-4 strips per shelf, depending on length and plant density. Many budget-friendly sets come in packs of four.
- Type: Full-spectrum LED grow light strips are highly recommended. Look for ones with easy mounting options (adhesive backing, clips, or pre-drilled holes).
- Connectivity: Some sets link together, reducing the number of outlets needed.
- Power & Automation:
- Timer: A basic mechanical outlet timer is perfectly sufficient. This allows you to set consistent light cycles for your plants, mimicking natural day and night.
- Power Strip (Optional but Recommended): If your shelf has multiple light strips or you plan to add a small fan, a power strip with surge protection is a good idea.
- Mounting Hardware:
- S-Hooks or Small Carabiners: These are excellent for hanging light strips from wire shelves, allowing for easy height adjustment.
- Zip Ties: Versatile for securing cables, or even the lights themselves if S-hooks are not suitable.
- Adhesive Clips (Optional): If your lights do not come with adhesive, or for cable management on solid shelves.
- Basic Tools (You likely already own these):
- Measuring tape
- Wire cutters (for zip ties, if needed)
- Pencil or marker
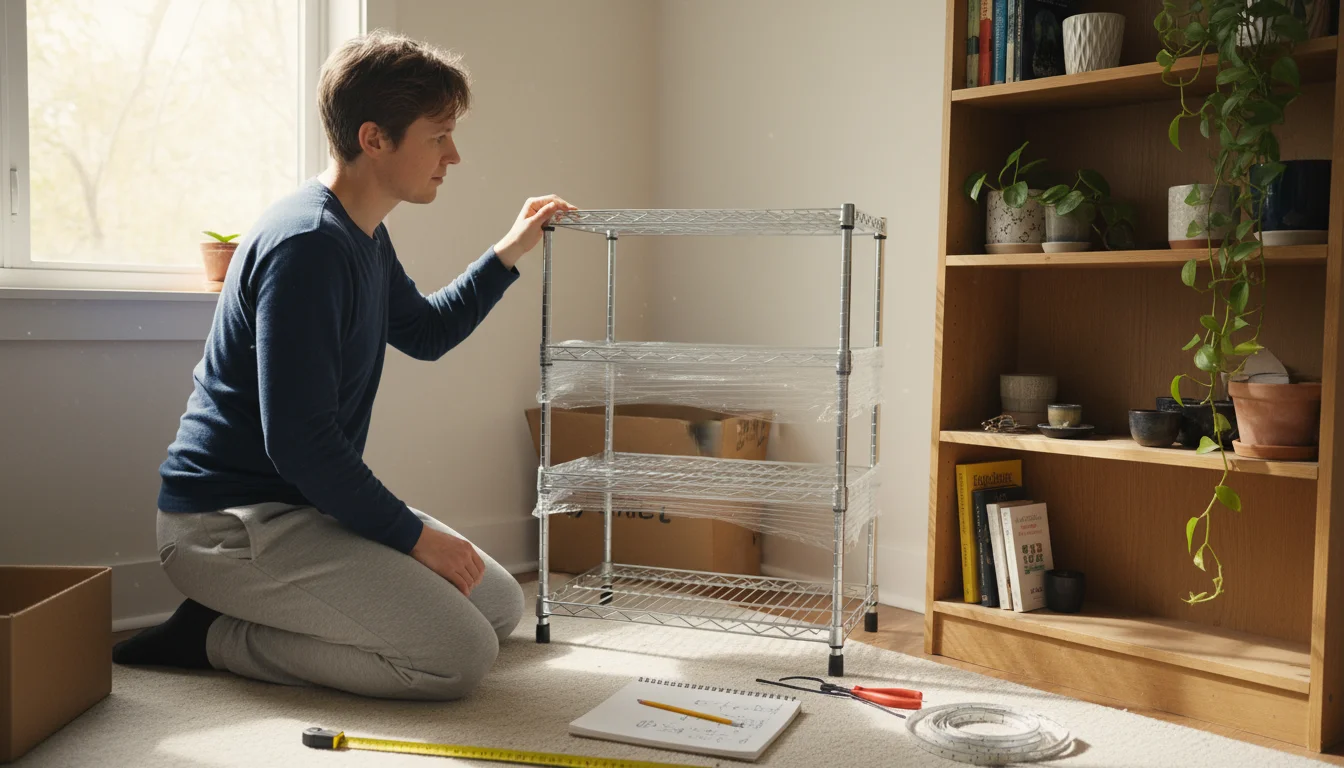
Before heading to the store, measure your available space to ensure your chosen shelf fits perfectly. Also, double-check the length of your LED light strips to ensure they cover most of your shelf’s width for even light distribution. This careful preparation streamlines the construction of your `how to build a cheap grow light shelf for houseplants` project.
Step-by-Step: Building Your Grow Light Shelf
Now that you have gathered all your materials, it is time to assemble your `diy grow light` shelf. This process is straightforward and does not require advanced carpentry skills. Follow these steps for a sturdy and effective indoor gardening setup.
If your primary goal is preparing for spring, you might prefer this specific guide on how to build a space-saving seed starting shelf instead.
- Assemble Your Shelving Unit:
- Follow the manufacturer’s instructions for your specific shelving unit. Wire shelves typically click or slide together with poles and plastic clips. Ensure all shelves are level and securely fastened. You want a stable base for your plants and lights.
- Plan Light Placement:
- Lay out your LED light strips on each shelf to visualize their positioning. The goal is to cover as much of the growing area as possible. For most shelves, running two strips parallel to the front and back of the shelf provides excellent coverage.
- Attach the Grow Lights:
- This is the core of your `indoor gardening setup`. If your LED strips have adhesive backing, peel and stick them to the underside of the shelf above. Press firmly for a secure bond.
- If using S-hooks or zip ties, measure and mark where you want to hang the lights. Secure the S-hooks or zip ties to the wire grid of the shelf above, then clip or tie your light strips to them. This method offers the flexibility to adjust light height later if needed. For wire shelves, simply hook the S-hooks through the wire grid and then through the mounting holes or clips on your light strips. Ensure the lights hang straight and are secure.
- Manage Cables:
- Route the power cords from your grow lights neatly. Use zip ties or adhesive clips to secure them along the shelving frame. This prevents tangles and reduces tripping hazards. Gather all cords to one side where your power strip and timer will be located.
- Set Up the Timer and Power Strip:
- Plug your power strip into a wall outlet. For safety, ensure this outlet is not overloaded with other appliances.
- Plug your mechanical timer into the power strip. Then, plug all your grow light cords into the timer.
- Set the timer according to your plants’ needs. Most houseplants benefit from 12-16 hours of light per day. For example, you might set it to turn on at 7 AM and off at 9 PM. Refer to the timer’s instructions for specific setting procedures.
- Test the System:
- Once everything is plugged in and set up, manually activate the timer or wait for the scheduled ON time to ensure all lights function correctly. Confirm the timer cycles on and off as expected.
Congratulations, you have built your own `how to build a cheap grow light shelf for houseplants` setup! Now your plants have a dedicated space to thrive, even during the darkest winter months. This winter project for gardeners is not just practical; it is deeply satisfying.
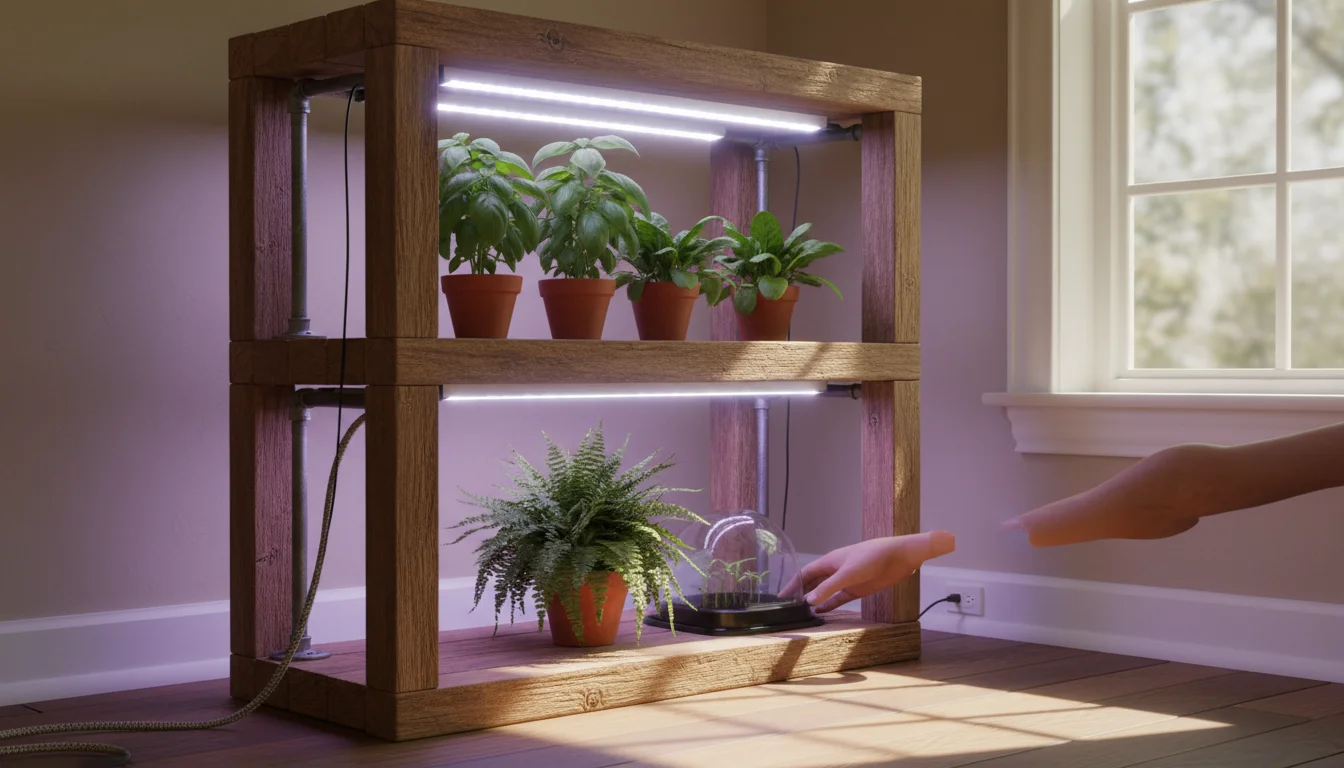
Optimal Placement and Plant Selection for Your Setup
Building your grow light shelf is only the first step. To truly banish winter plant sadness, you need to think about where your new `indoor gardening setup` lives and which plants will benefit most from it. Strategic placement and thoughtful plant selection maximize your shelf’s effectiveness and ensure your plants thrive.
Optimal Shelf Placement:
- Away from Drafts: Place your shelf in a stable environment. Avoid positioning it directly in front of drafty windows or near exterior doors, as sudden temperature fluctuations can stress plants.
- Access to Power: Ensure easy access to an electrical outlet without needing extension cords stretched across walkways, which can be a tripping hazard.
- Consider Humidity: If your home is very dry in winter, consider placing the shelf in a slightly more humid room, such as a bathroom with a window or a kitchen. You can also group plants together on the shelf to create a microclimate, which naturally increases localized humidity.
- Vertical Space: This setup is ideal for `best DIY grow lights for apartments` because it uses vertical space efficiently. Consider a spot that receives some ambient light during the day, even if minimal, as this can still contribute to overall plant health.
Plant Selection for Your Grow Light Shelf:
Your grow light shelf creates a controlled environment perfect for a variety of plants. Here are some categories that particularly benefit:
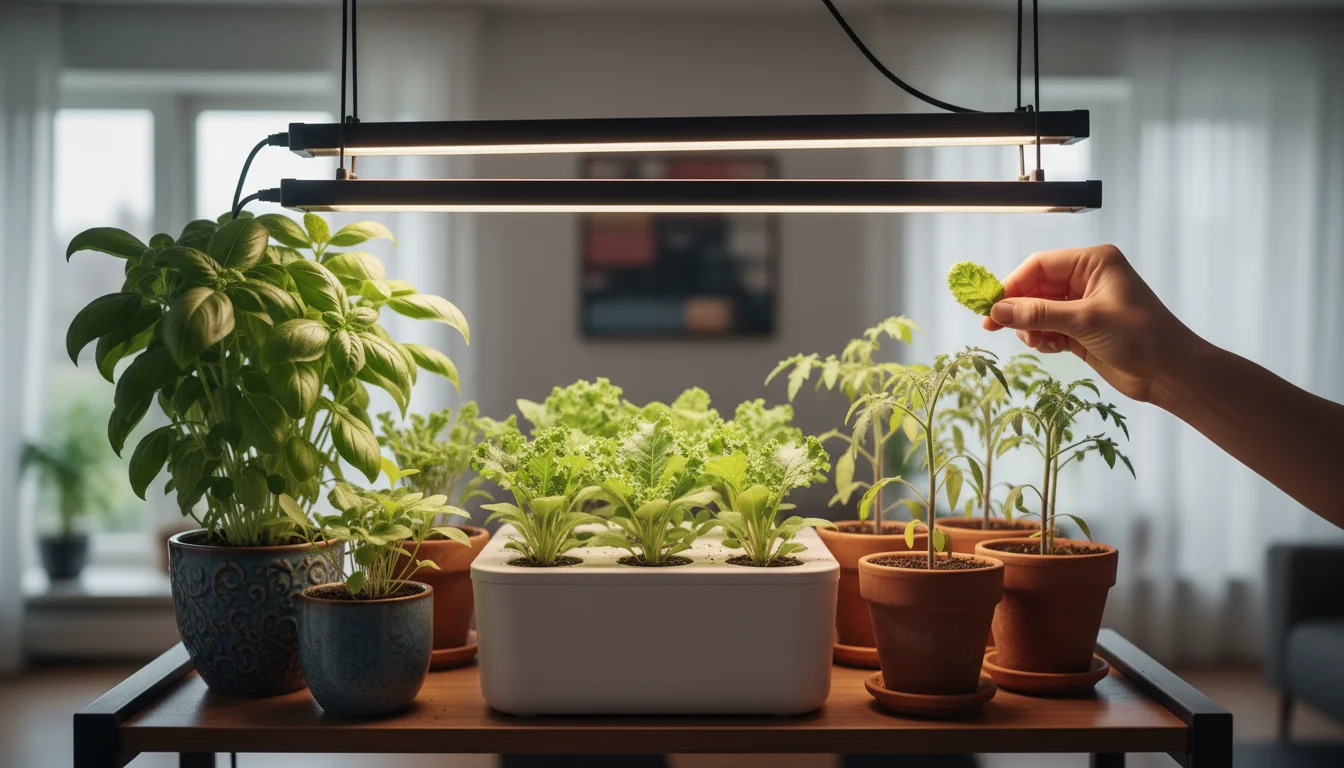
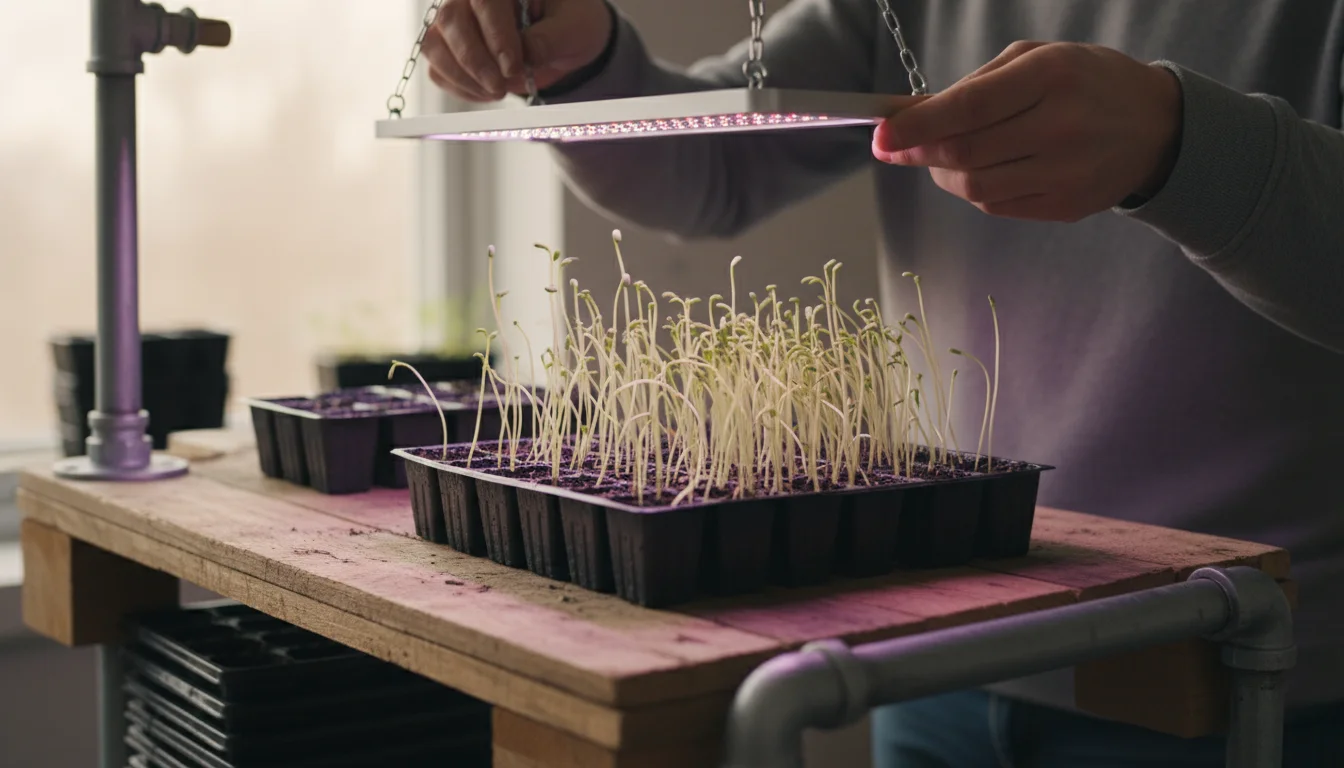
- Seed Starting: This is an excellent `winter project for gardeners`. Use your shelf to start vegetable, herb, and flower seeds several weeks before the last frost. The consistent light promotes strong, stocky seedlings, preventing the leggy growth common in windowsills.
- Herbs: Grow culinary herbs like basil, cilantro, mint, and thyme year-round. These often struggle with low light indoors but flourish under supplemental grow lights, providing you with fresh ingredients even in winter.
- Small Edibles: Leafy greens like lettuce, spinach, and microgreens thrive on a grow light shelf. You can even grow small chili peppers or cherry tomatoes with adequate light and proper plant care.
- Houseplant Propagation: The stable light and temperature conditions make your shelf ideal for rooting cuttings of your favorite houseplants, such as Pothos, Philodendron, or African Violets.
- Light-Loving Houseplants: Many common houseplants will show renewed vigor under grow lights. Consider:
- Succulents and Cacti: These plants absolutely need bright light to maintain their compact form and vibrant colors.
- African Violets: Famous for their beautiful blooms, they benefit immensely from consistent, medium-intensity light.
- Orchids: Many orchid varieties, especially Phalaenopsis, appreciate the stable light conditions.
- Foliage Plants: Pothos, ZZ plants, Snake Plants, and Peace Lilies, while tolerant of low light, will grow faster and more robustly under grow lights.
When arranging plants on your shelf, group them by similar light requirements. Place high-light plants directly under the lights, and lower-light plants on the edges or slightly further away. Adjust the height of your lights or use risers under pots to bring plants closer to the light source as needed. This tailored approach to `winter plant care` ensures every plant on your shelf receives its ideal illumination, leading to a thriving indoor garden.
Troubleshooting and Maintenance: Keeping Your Plants Happy
Building your DIY grow light shelf is an achievement, but ensuring its continued success requires a little ongoing attention. Like any gardening endeavor, troubleshooting and regular maintenance are crucial for keeping your plants happy and healthy, especially during extended periods of `winter plant care`. By addressing common issues proactively, you will enjoy a thriving indoor garden with your `best DIY grow lights for apartments` setup.
Common Troubleshooting Scenarios:
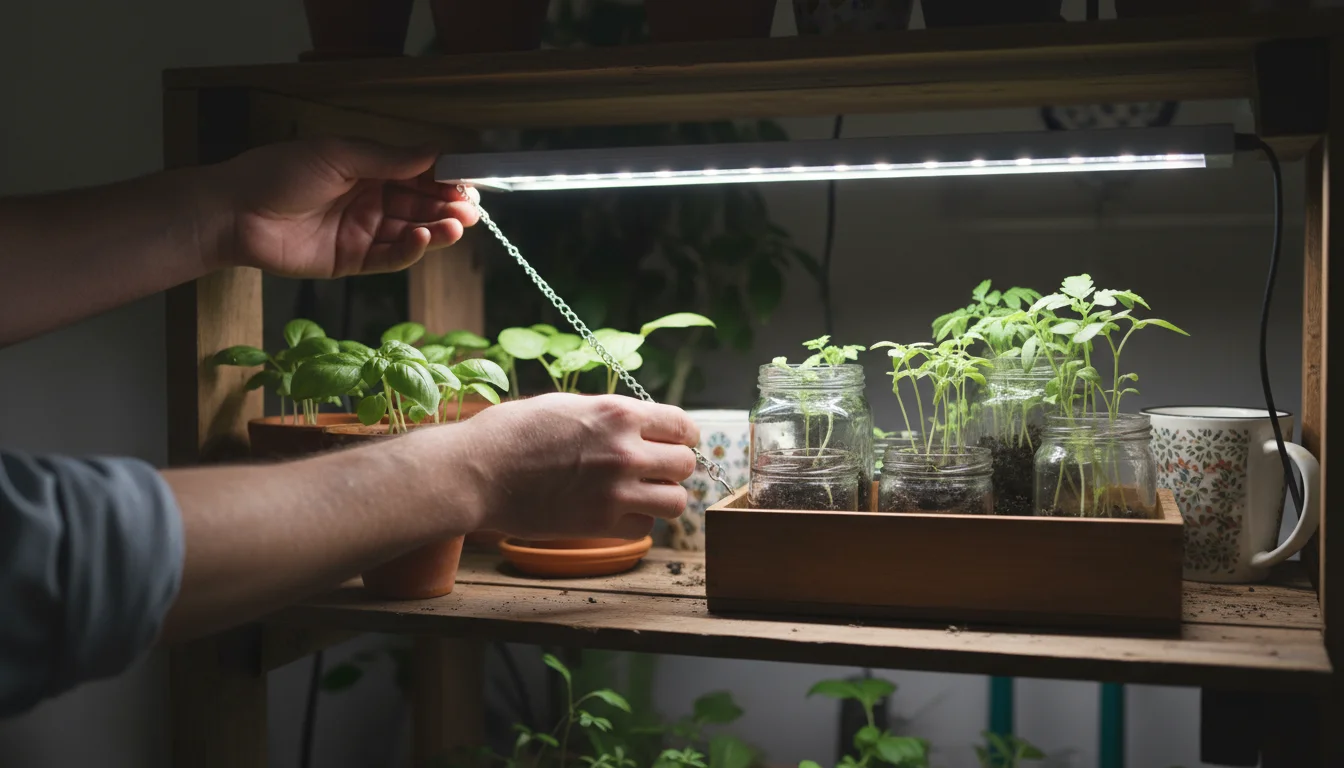
- Plants are Still Leggy (Etiolation): If your plants are still stretching and looking pale despite the grow lights, the lights might be too far away. Remember, light intensity decreases significantly with distance.
- Solution: Move your lights closer to the plant canopy. For most LED strips, 6-12 inches above the plant tops is a good starting point. Adjust based on plant response. Use S-hooks or adjustable chains if your setup allows for easy height changes.
- Scorched or Bleached Leaves: If leaves look yellowed or crispy in areas directly under the lights, the light might be too intense or too close.
- Solution: Raise the lights or move the affected plants to a lower-light spot on the shelf. Some plants are more sensitive than others.
- Algae Growth on Soil Surface: Constant moisture and light can sometimes lead to a green film on the soil.
- Solution: Allow the top layer of soil to dry out slightly between waterings. Algae is usually harmless but indicates consistent surface moisture. Gently scrape it off if it bothers you.
- Pest Infestations: Indoor environments can still attract pests.
- Solution: Regularly inspect your plants for signs of pests. Maintain good airflow, and quarantine new plants before introducing them to your shelf. Treat any infestations promptly with insecticidal soap or neem oil.
Essential Maintenance Tips:
- Adjust Light Height: As your plants grow, you need to adjust the height of your grow lights to maintain the optimal distance from the plant canopy. This is a continuous process that ensures all parts of the plant receive adequate light.
- Clean Lights and Reflectors: Dust can accumulate on your LED strips and any reflective surfaces, diminishing light output. Gently wipe them down with a damp cloth every few weeks to maintain efficiency. Ensure the lights are off and cool before cleaning.
- Watering Adjustments: Plants under grow lights often transpire more due to consistent light and warmth. This means they may need more frequent watering than plants in natural window light. Check soil moisture daily or every other day until you understand your plants’ new watering rhythm. Ensure proper drainage to avoid root rot; good drainage allows excess water to escape the pot.
- Air Circulation: Stagnant air can encourage fungal issues. If your space lacks natural air movement, consider a small clip-on fan pointed at your plants to provide gentle circulation. This mimics outdoor conditions and strengthens plant stems.
- Monitor Plant Health: Regularly observe your plants. Look for new growth, vibrant color, and overall vigor. Early detection of problems makes them much easier to resolve.
- Fertilization: While plants under grow lights grow actively, their fertilization needs do not drastically change. Continue with your regular fertilization schedule, perhaps reducing the strength slightly in winter if your plants are usually dormant. The consistent light makes them more active, but they still only need nutrients during active growth phases.
By integrating these troubleshooting and maintenance practices into your routine, your `diy grow light` shelf will provide a stable and nourishing environment for your plants throughout the entire winter and beyond. This dedication makes a significant difference in the success of your `winter projects for gardeners` and the health of your indoor garden.
Frequently Asked Questions
What kind of timer should I use?
A simple mechanical outlet timer works perfectly for this project. They are inexpensive, reliable, and easy to set. You can find them at most hardware stores or online for around $5-$10. Digital timers also work but are usually a bit more expensive and may offer more features than you need for this basic setup. The most important thing is consistent light duration, which any timer provides.
Can I use regular LED shop lights instead of dedicated grow lights?
Yes, you absolutely can use regular LED shop lights. Many common “shop lights” or “utility lights” that emit a bright white light (often 5000K-6500K color temperature) work very effectively as grow lights for most houseplants, herbs, and seed starting. They are usually full-spectrum enough for general plant growth and are often more affordable than lights specifically marketed as “grow lights.” Look for high lumen output and a daylight color temperature.
How far should the lights be from my plants?
The optimal distance depends on the light intensity and the plant’s needs. For most LED grow light strips and common houseplants, a distance of 6-12 inches (15-30 cm) from the top of the plant canopy is a good starting point. Succulents and high-light plants might tolerate closer distances, while some foliage plants might prefer 12-18 inches. Observe your plants; if they are stretching, move the lights closer. If leaves show signs of scorching or bleaching, move them further away.
Do I need to fertilize my plants more under grow lights?
Not necessarily “more,” but consistent light encourages active growth, which in turn means plants are actively using nutrients. Continue your regular fertilization schedule as you would during a typical growing season. For most houseplants, this means fertilizing every 2-4 weeks during active growth, and potentially less frequently if growth slows. Always follow the fertilizer’s instructions and consider using a diluted solution to avoid over-fertilization.
Is this setup safe?
Yes, when assembled correctly, a DIY grow light shelf is safe. The key is to ensure all electrical connections are secure, wires are neatly managed to prevent tripping or damage, and you do not overload your electrical outlets. Using a power strip with surge protection adds an extra layer of safety. Always unplug the system when performing maintenance or making adjustments to the wiring. LED lights produce very little heat, which minimizes fire risk compared to older incandescent or high-intensity discharge (HID) grow lights.
Your new DIY grow light shelf transforms winter from a period of plant struggle into a season of growth and gardening joy. This accessible and affordable `winter project for gardeners` empowers you to cultivate a vibrant indoor oasis, keeping your green companions happy and healthy until spring returns. Enjoy the satisfaction of nurturing life, regardless of the weather outside.
For trustworthy gardening information, visit:
Lady Bird Johnson Wildflower Center, Botanic Gardens Conservation International and American Public Gardens Association. These organizations provide expert, research-based advice for gardeners at all levels.
Disclaimer: This article is for informational purposes only and is not a substitute for professional gardening advice. Always consult local extension services or horticulture experts for region-specific guidance.


Leave a Reply