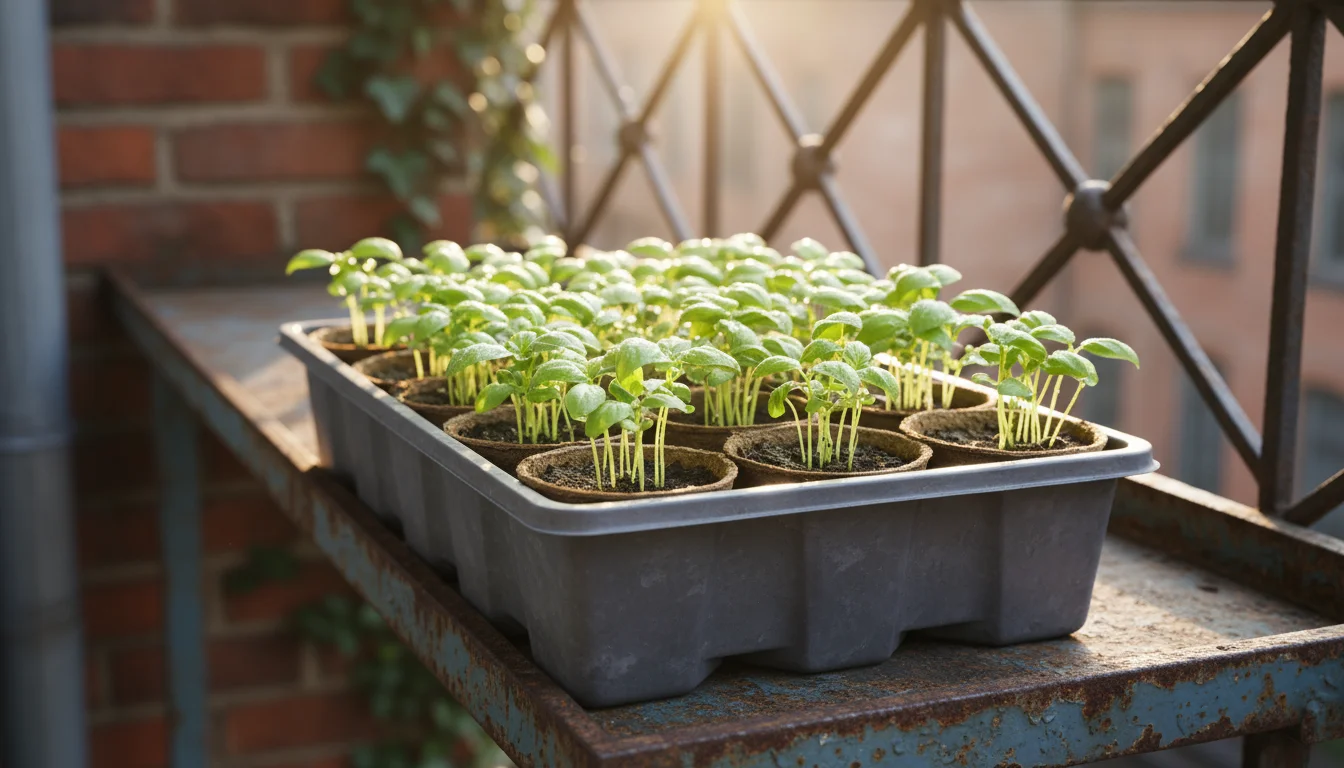
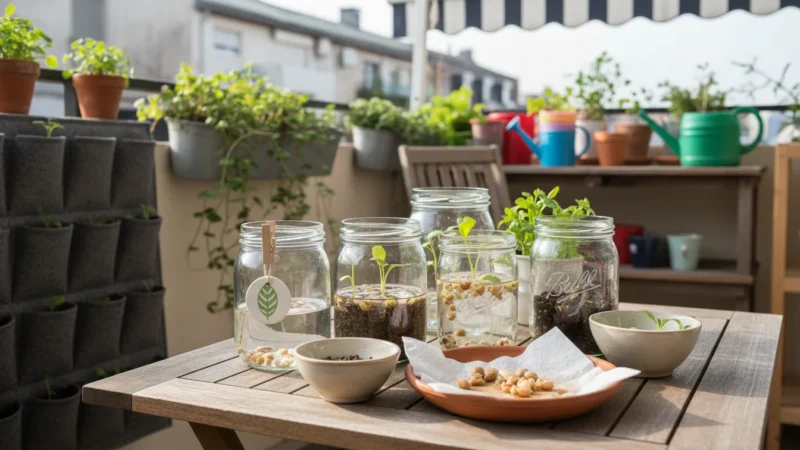
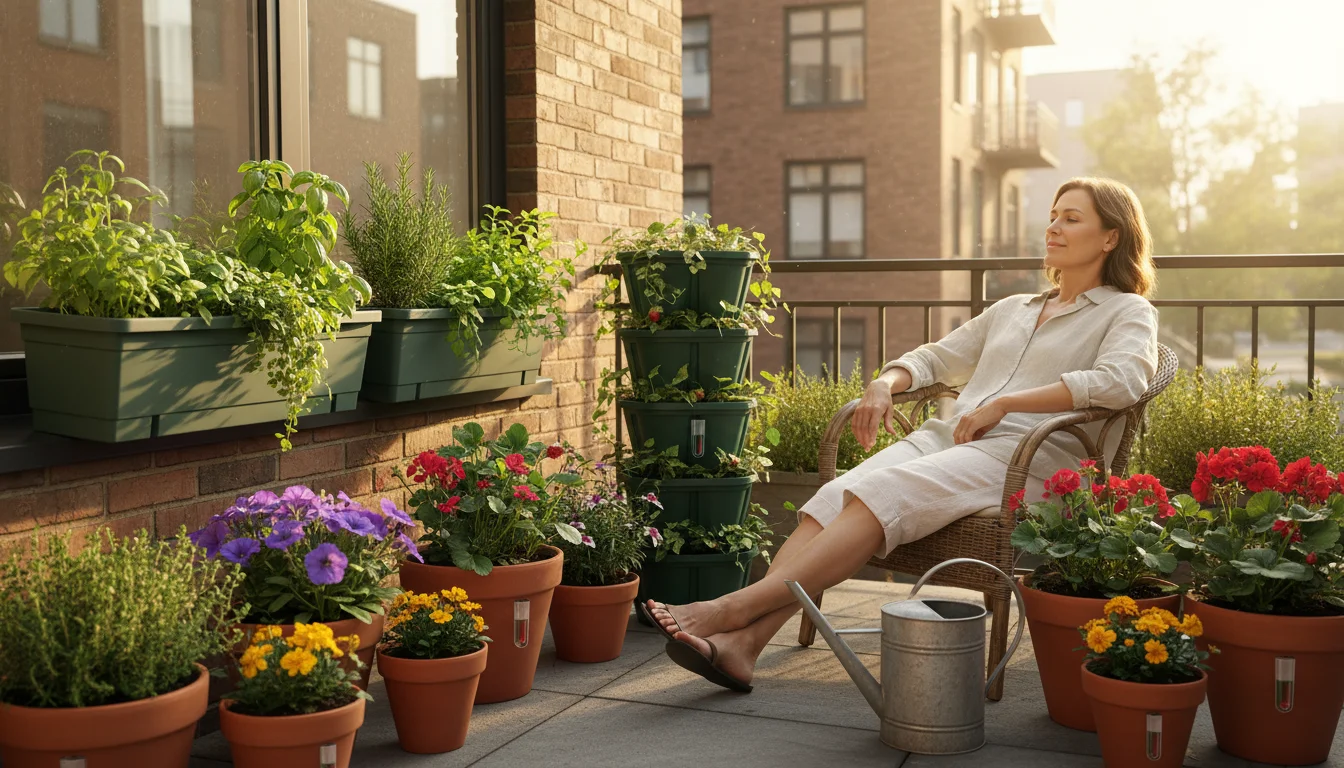
Spring arrives, bringing with it the excitement of a new gardening season. You have nurtured your tender seedlings indoors, watching them grow from tiny sprouts into vibrant young plants. Now, the time approaches to introduce them to the great outdoors, especially if you engage in balcony gardening for beginners. This crucial transition is known as hardening off seedlings. It prepares your plants for the harsh realities of direct sunlight, fluctuating temperatures, and, most importantly for urban gardeners, persistent winds. Without proper hardening off, your carefully grown seedlings risk shock, stunted growth, or even death, particularly on an exposed apartment balcony.
A windy balcony presents unique challenges for young plants. The constant buffeting can tear delicate leaves, snap fragile stems, and dry out soil at an alarming rate. This guide provides a foolproof, step-by-step approach to successfully harden off your seedlings, ensuring they thrive when you finally move them outside to your apartment balcony permanently. We will equip you with practical strategies to protect your plants from the elements and strengthen them for a flourishing outdoor life. Your seedlings will emerge from this balcony bootcamp stronger, more resilient, and ready to produce abundant harvests or beautiful blooms.
Understanding Hardening Off: Why Your Seedlings Need It
Hardening off is the process of gradually acclimating indoor-grown seedlings to outdoor conditions before transplanting them into your garden beds or containers. Think of it as a plant’s gradual exercise program. Indoor environments are generally stable, offering consistent temperatures, diffused light, and protection from wind and intense rainfall. Your seedlings grow accustomed to these comfortable conditions. Moving them directly from this sheltered environment to the variable outdoors causes immense shock. They face unfiltered UV radiation, cold nights, temperature fluctuations, drying winds, and even physical abrasion from elements like dust or rain. These stressors can severely damage or kill unprepared plants.
During the hardening off period, your seedlings develop stronger cell walls and thicker cuticles, the waxy layer on their leaves. This toughened exterior provides crucial protection against sun scald, wind damage, and excessive moisture loss. Their root systems also become more efficient at absorbing water and nutrients under outdoor conditions. This physiological change is vital for their survival and subsequent growth. Studies show that properly hardened off plants establish faster, grow more vigorously, and yield better than those not subjected to this transition period. For successful spring planting, especially on an exposed balcony, prioritize hardening off.
The entire process typically takes 7 to 14 days, depending on the plant species and current weather conditions. You gradually expose your plants to increasing amounts of sunlight, wind, and cooler temperatures, withdrawing the sheltered conditions they have grown used to. This controlled stress allows them to adapt physiologically, preparing them for a robust outdoor life. Without this preparation, your tender indoor-grown plants will struggle to survive the transition, wasting your time and effort. Give your seedlings this essential preparation, and they will reward you with a flourishing garden.
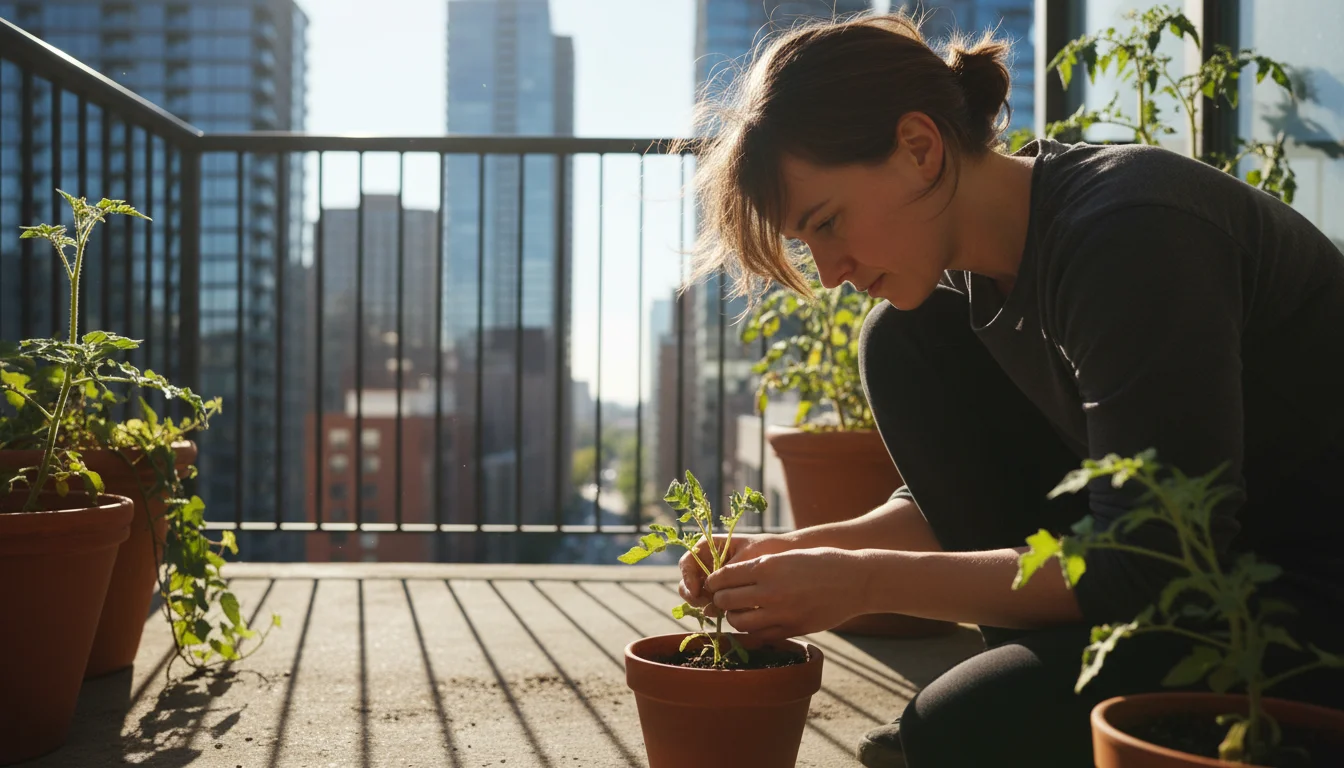
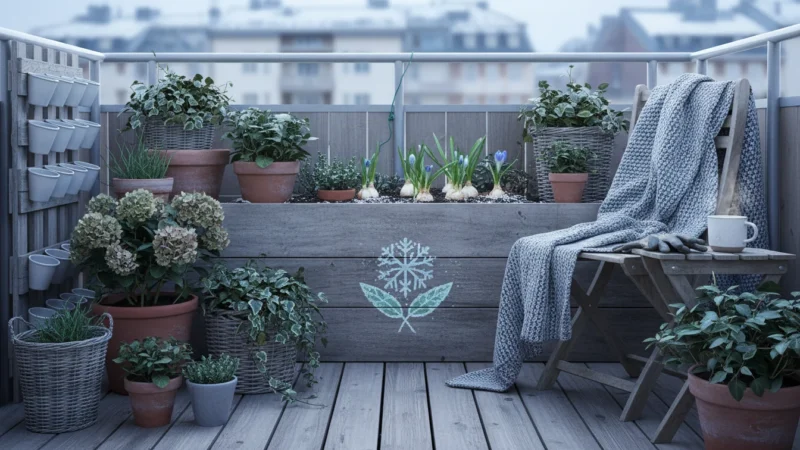
The Balcony Challenge: Wind, Sun, and Temperature Swings
Balcony gardening brings unique opportunities and challenges. While you gain valuable growing space, you often contend with amplified environmental stressors. Wind is arguably the most significant adversary for seedlings on an urban balcony. Buildings funnel and accelerate wind, creating gusts that can reach surprisingly high speeds. This constant wind physically damages plants, snapping delicate stems and tearing tender leaves. It also dramatically increases transpiration, the process where plants release water vapor from their leaves, leading to rapid dehydration. A seedling’s underdeveloped root system struggles to absorb water quickly enough to compensate for this loss, resulting in wilting, stress, and potentially death.
Direct sunlight on a balcony also poses a threat. Indoor seedlings typically grow under artificial lights or through window glass, which filters a significant portion of UV radiation. When exposed to full, unfiltered sun, their tender leaves can suffer from sun scald, appearing bleached or scorched. This damage reduces the plant’s ability to photosynthesize, hindering growth. Furthermore, temperatures on a balcony can fluctuate wildly throughout the day and night. Concrete and brick structures absorb and radiate heat, creating microclimates that might be hotter during the day but also cool rapidly at night. These extreme temperature swings stress plants, making them susceptible to disease and slowing their development. Understanding these specific challenges is your first step in learning how to harden off plants on a windy balcony effectively.
Assessing Your Balcony Environment: Key Factors to Consider
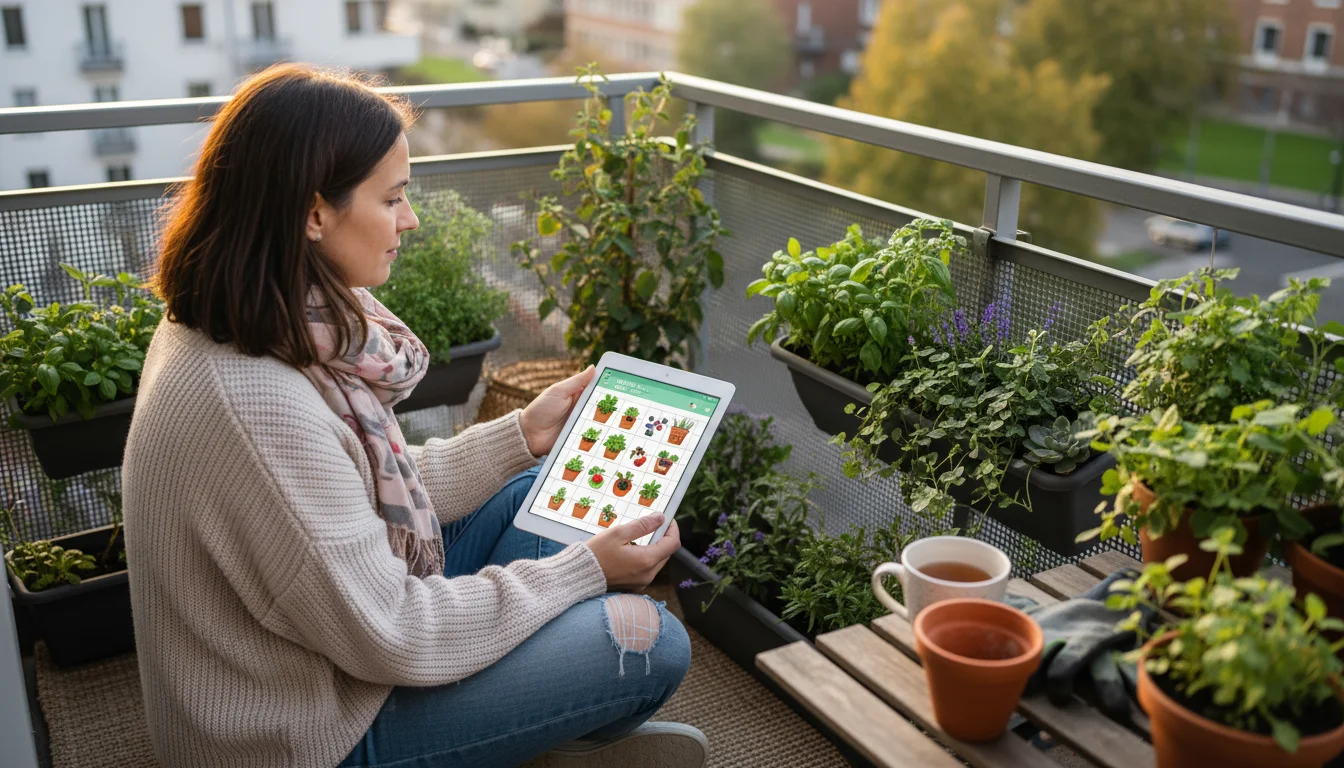
Before you begin the hardening off process, take a moment to understand your specific balcony’s microclimate. This assessment forms the foundation of a successful strategy. Begin by observing the sunlight patterns. Track how many hours of direct sun your balcony receives, noting the intensity at different times of the day. A south-facing balcony will experience more intense, prolonged sun exposure compared to a north-facing one. Also, consider any overhead structures or neighboring buildings that cast shade. This information helps you determine where to place your seedlings initially and how quickly to increase their sun exposure.
Next, evaluate the wind conditions. Pay attention to the prevailing wind direction and strength. Are there specific corners or areas on your balcony that are more sheltered? Conversely, are there spots that act as wind tunnels? You can easily gauge wind impact by hanging a lightweight fabric strip or flag and observing its movement over several days. You may discover that a seemingly open balcony has surprisingly calm pockets, or that seemingly protected areas still experience strong gusts due to airflow patterns around buildings. A simple anemometer, a device that measures wind speed, offers precise data, but your own observation works well. Knowing these patterns helps you select the best locations for protecting seedlings from wind during their acclimatization.
Finally, monitor temperature fluctuations. Use a thermometer to record the high and low temperatures on your balcony over a few days, especially comparing daytime highs with nighttime lows. Note how quickly temperatures drop after sunset. Concrete and metal railings can retain heat, influencing temperatures near them. Understanding these environmental nuances allows you to tailor your hardening off schedule, ensuring a gentle transition for your plants. This detailed assessment is a critical step for successful balcony gardening for beginners, transforming an unpredictable environment into a manageable one for your plants.
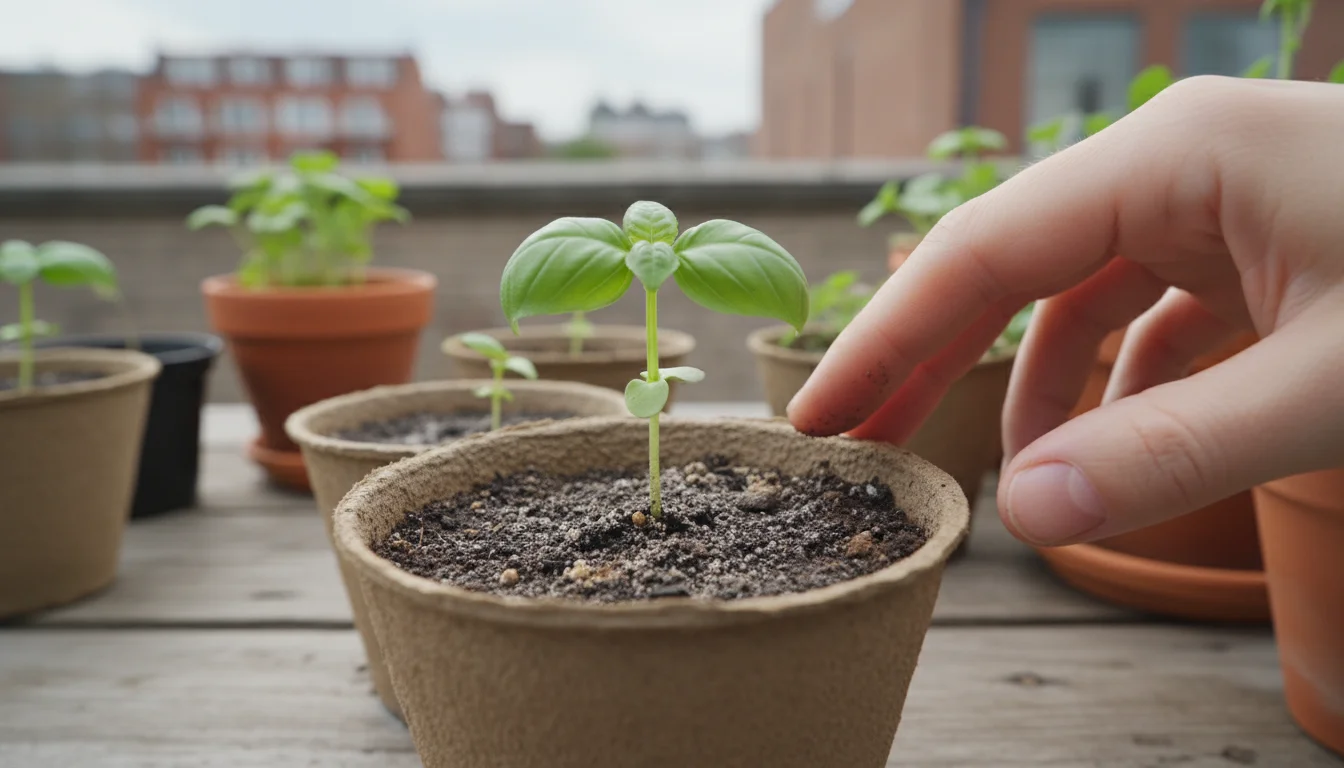
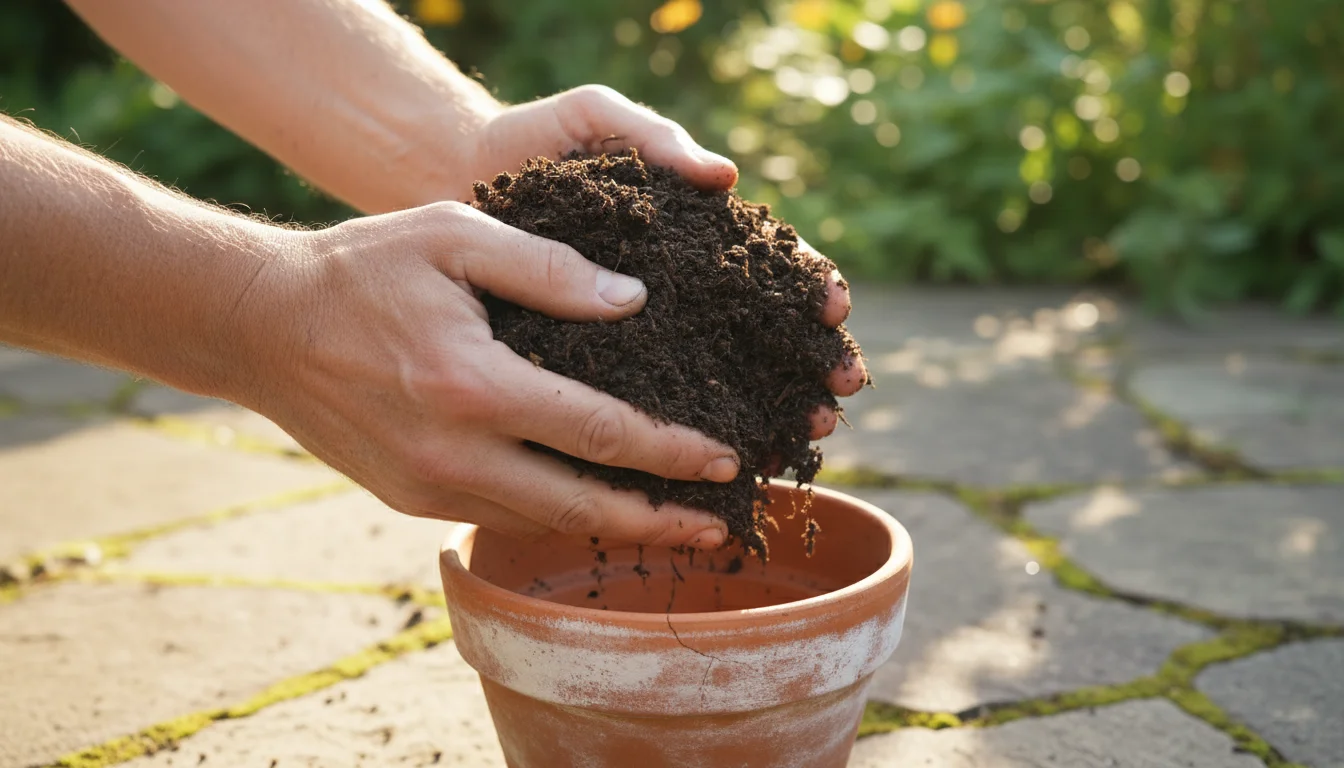
Preparing for Bootcamp: Essential Pre-Hardening Steps
A successful hardening off period begins even before your seedlings see their first outdoor breeze. Proper preparation ensures your plants are in optimal health, ready to face the challenges ahead. Approximately one week before you plan to start the process, make a few adjustments to their indoor care routine. Reduce the frequency of watering slightly, allowing the top inch of soil to dry out between waterings. This subtle stress encourages stronger root development and helps the plants conserve moisture, crucial for dealing with outdoor wind. However, do not let them completely dry out and wilt; the goal is gentle encouragement, not severe dehydration.
Simultaneously, gradually decrease the amount of nitrogen fertilizer you provide. Nitrogen promotes lush, tender leafy growth, which is susceptible to outdoor damage. Instead, consider giving them a diluted dose of a phosphorus and potassium-rich fertilizer, or a balanced organic feed at half strength. These nutrients support overall plant structure and root health, making them more robust. Stronger plants handle stress better. Ensure your seedlings are healthy and free from pests or diseases before moving them outdoors. Stressed or infested plants will struggle significantly during hardening off.
Before starting, check the weather forecast for the next 7 to 14 days. Look for a period of relatively mild, stable weather. Avoid beginning the process if harsh winds, heavy rain, or a sudden cold snap are predicted. Nighttime temperatures must consistently remain above 45-50°F (7-10°C) for most warm-season crops like tomatoes, peppers, and squash. Colder temperatures can shock and damage seedlings. For cool-season crops like lettuce, spinach, and broccoli, they tolerate slightly lower temperatures, but still avoid frost. Choosing the right time for spring planting, guided by a stable forecast, dramatically increases your success rate when you move seedlings outside to apartment balcony.
Your Step-by-Step Hardening Off Schedule for Windy Balconies
Implementing a gradual, consistent schedule is crucial for successful hardening off, especially on a windy balcony. This systematic approach minimizes shock and builds your seedlings’ resilience. Remember that flexibility is key; adjust the schedule based on your observations of your plants and the weather conditions.
Here is a detailed, two-week schedule for how to harden off plants on a windy balcony:
-
Day 1: First Outdoor Exposure (1-2 Hours)
On a mild, overcast day with minimal wind, bring your seedlings to a very sheltered spot on your balcony. This could be against a building wall, behind a large piece of furniture, or inside a protective temporary structure. Ensure they are completely out of direct sun and strong wind. Limit this first exposure to 1 to 2 hours. Keep the soil consistently moist, as wind rapidly dries it out.
-
Day 2: Increased Duration, Same Shelter (2-4 Hours)
If temperatures are favorable, increase the outdoor time to 2 to 4 hours. Keep them in the same sheltered, shaded location. Continue to monitor for wilting, scorching, or leaf damage. If you notice any signs of distress, bring them inside immediately.
-
Day 3: Partial Sun Introduction (3-5 Hours)
Introduce your seedlings to a brief period of indirect morning sun, perhaps 30 minutes to an hour, while maintaining shelter from direct wind. The morning sun is less intense. After this, move them back to their shaded, sheltered spot for the remainder of their 3 to 5 hours outdoors.
-
Day 4: More Sun, Still Sheltered (4-6 Hours)
Increase sun exposure slightly to 1-2 hours of morning sun. Gradually extend their overall outdoor time to 4 to 6 hours, still prioritizing wind protection. Ensure you check soil moisture frequently.
-
Day 5-6: Longer Exposure, Gentle Wind (6-8 Hours)
Allow your seedlings to stay outdoors for 6 to 8 hours. Begin to introduce them to very light, gentle breezes, perhaps by slightly moving their protective barrier. Increase their sun exposure to 2-3 hours of morning sun. If strong winds pick up, move them to a more sheltered position immediately.
-
Day 7: First Full Day Outdoors (All Day, Brought in at Night)
Your seedlings should now tolerate a full day outdoors (8+ hours). Continue to provide wind protection. Introduce them to 3-4 hours of direct morning sun. Bring them indoors at night to protect them from cooler temperatures and unexpected strong winds. This is a significant milestone in spring planting preparation.
-
Week 2: Increasing Resilience (Gradual Progression)
For the second week, continue the full-day outdoor exposure. Gradually increase their direct sun exposure by an hour each day until they are receiving 6+ hours of direct sun, if applicable to your balcony’s light conditions and the plant’s needs. Systematically reduce the level of wind protection, allowing them to experience more natural air movement, but always be prepared to move them if gusts become too strong. Towards the end of the second week, if nighttime temperatures are consistently above 50°F (10°C) and no severe weather is expected, you can consider leaving them out overnight in a very protected spot, ensuring you have observed them for a full day first.
This phased introduction ensures your seedlings slowly adapt to the elements. During this period, keep the soil consistently moist, as the drying effects of wind and sun are pronounced. Pay close attention to leaf color and texture. Darker, firmer leaves indicate adaptation; pale, wilting, or scorched leaves signal distress. Adjust your schedule as needed based on these observations.
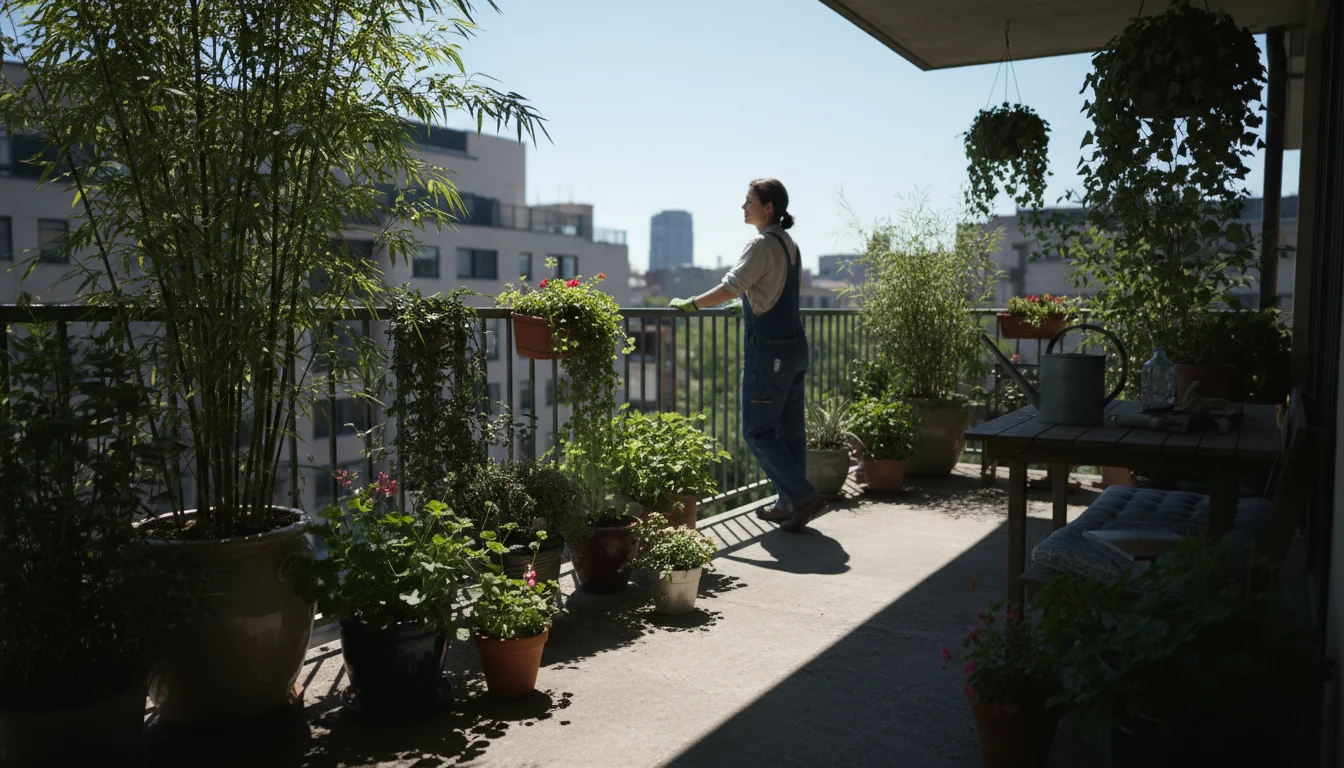
Protecting Seedlings from Wind: Innovative Balcony Solutions
Wind is often the nemesis of balcony gardeners, especially during the delicate hardening off phase. However, with thoughtful planning and a few simple solutions, you can create a safe haven for your developing plants. The key is to create barriers that diffuse, rather than block, the wind entirely. A solid wall can create turbulent eddies on the leeward side, which can be just as damaging as direct wind. Instead, aim for permeable barriers that slow wind speed without creating chaotic airflow.
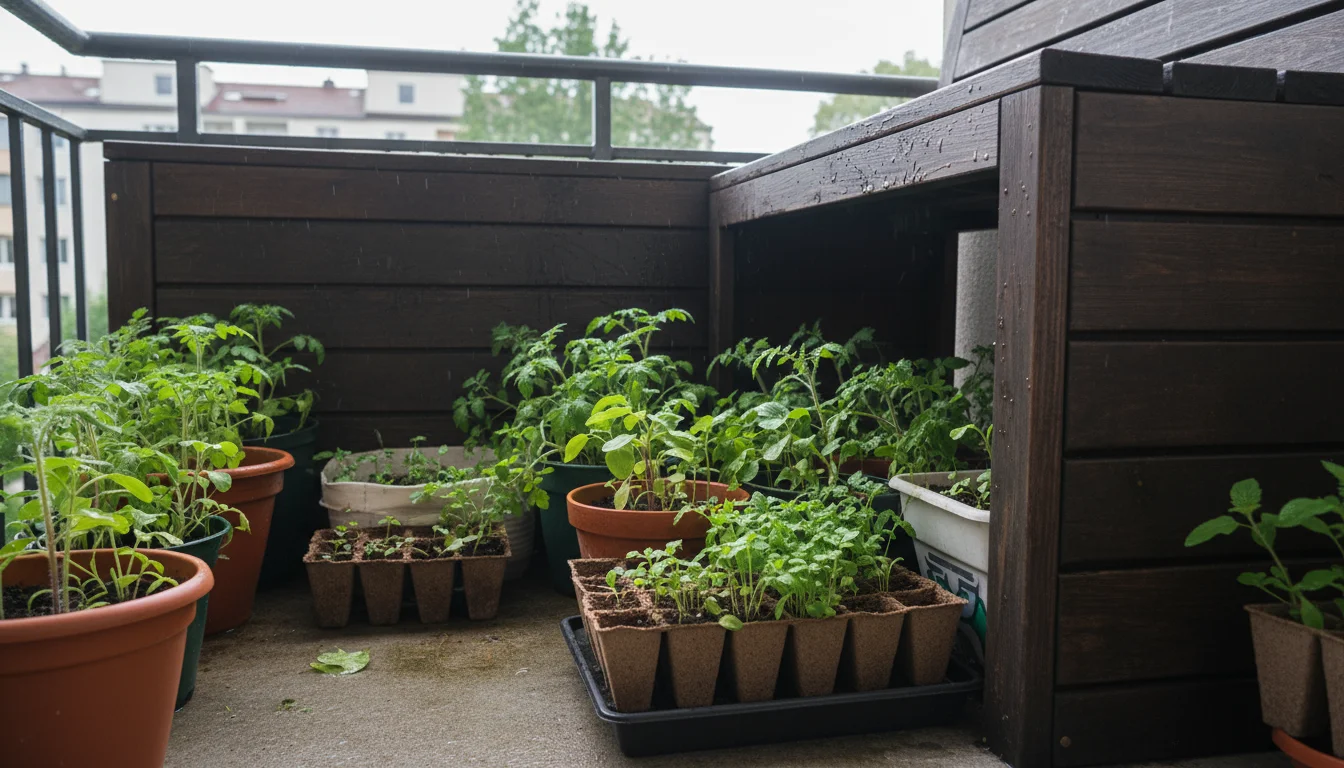
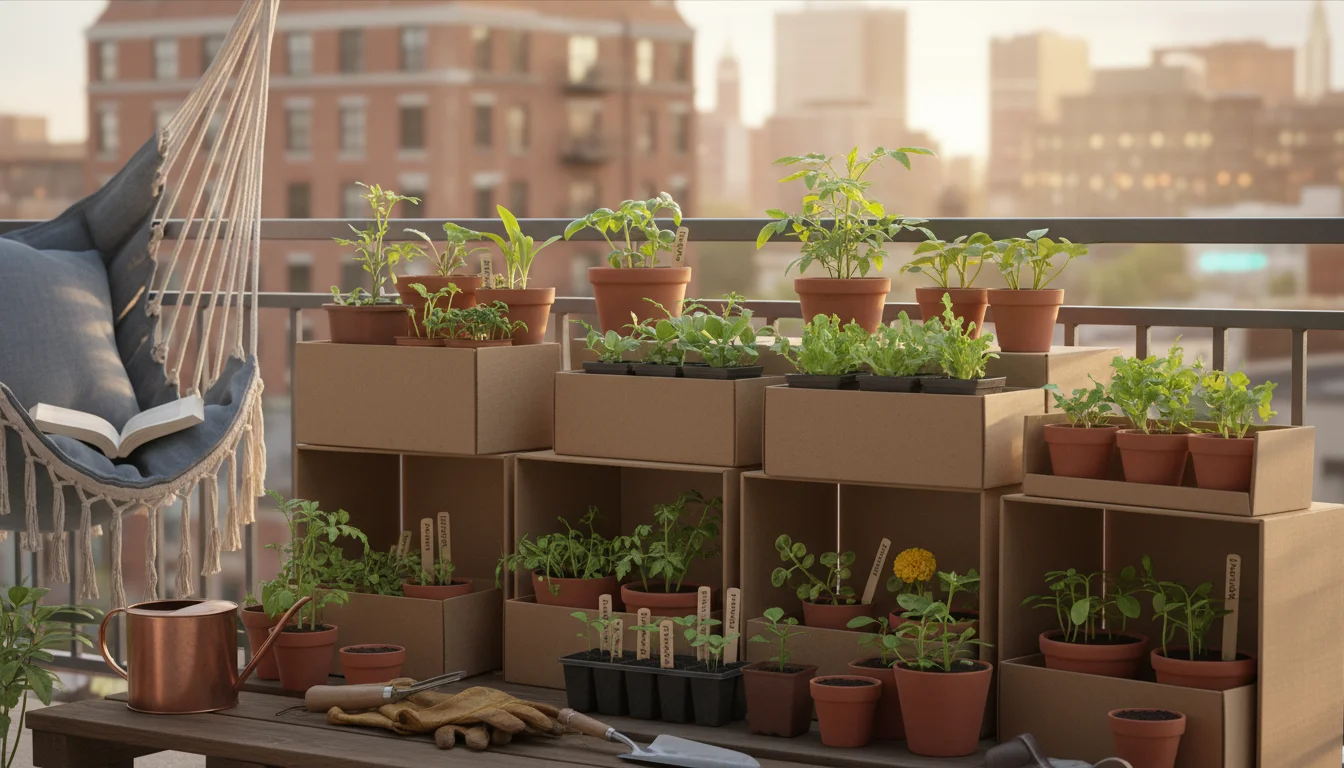
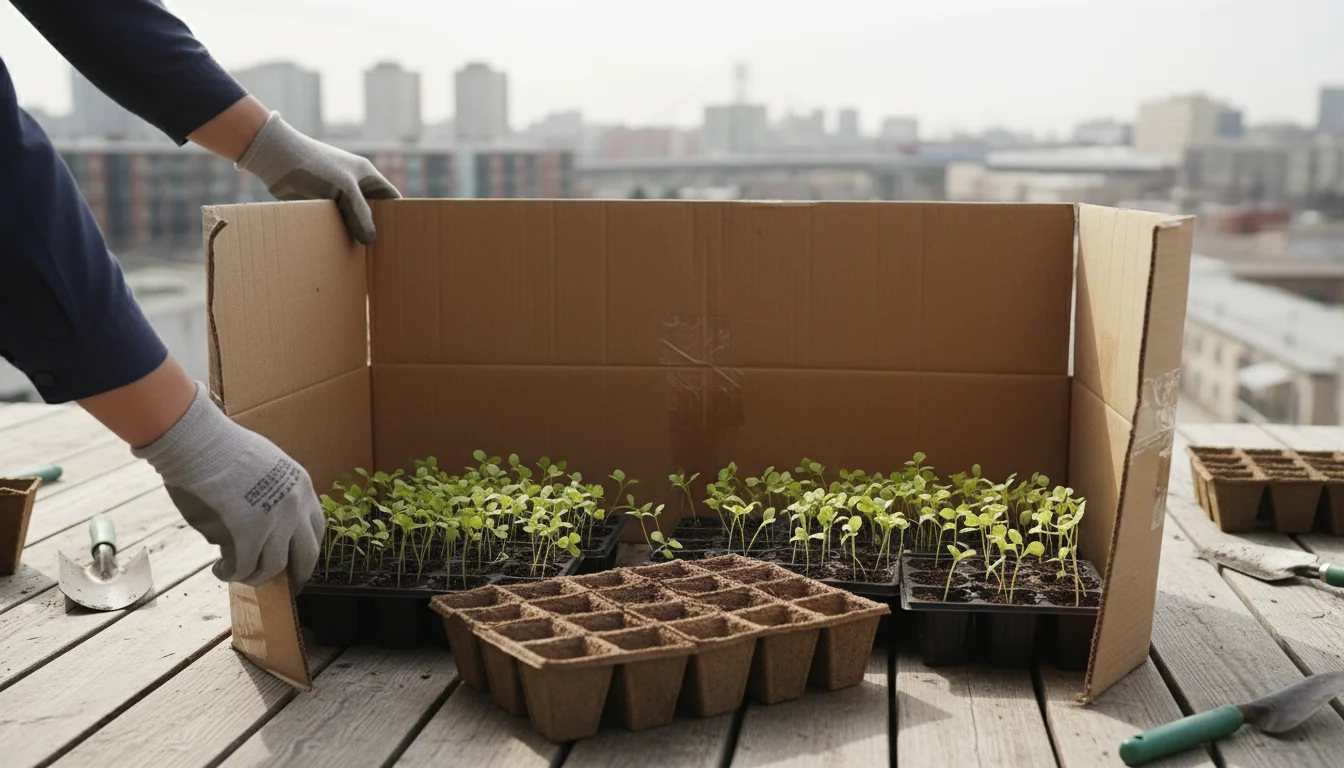
Consider implementing temporary or semi-permanent windbreaks. A simple solution involves using cardboard boxes. Place seedlings inside open-topped boxes, positioning the boxes to shield them from the prevailing wind. You can also use old plastic storage bins with holes drilled for drainage, turning them on their side to create a protective alcove. For a more aesthetically pleasing option, consider tension rods with burlap or shade cloth draped over them, creating a permeable screen. Ensure any temporary structures are secured to prevent them from blowing over themselves, potentially damaging your plants.
Strategic placement on your balcony also plays a critical role in protecting seedlings from wind. Position your seedlings in the most sheltered areas. This often means placing them close to the building wall, behind existing sturdy furniture, or nestled among larger, established plants that can act as natural windbreaks. For severe wind exposure, a mini greenhouse or cold frame designed for balconies offers excellent protection. These structures create a stable microclimate, shielding plants from direct wind, excessive rain, and drastic temperature swings while still exposing them to ambient light and air. Remember to open them on warm days to prevent overheating. When choosing where to move seedlings outside to apartment balcony for their hardening off period, always prioritize wind protection.
Common Mistakes and Troubleshooting During Hardening Off
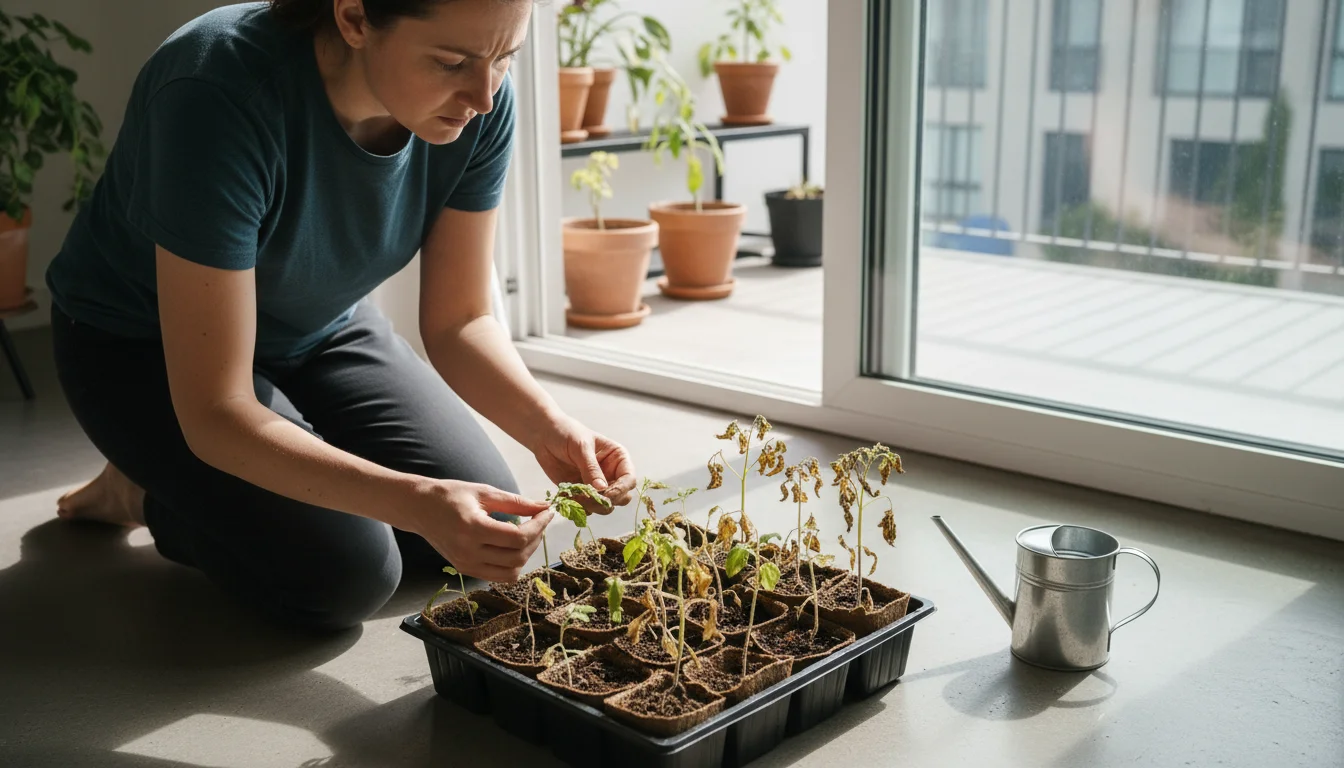
Even with the best intentions, mistakes can happen during hardening off. Recognizing these common pitfalls helps you troubleshoot quickly and save your seedlings. One frequent error is moving seedlings out too quickly. Exposing plants to full sun or strong winds on day one leads to immediate stress, evidenced by wilting, scorched leaves, or stunted growth. If you observe these symptoms, bring your seedlings indoors to a shaded, sheltered spot immediately. Allow them a day or two to recover before attempting a slower, more gradual reintroduction to outdoor conditions, starting with even shorter periods.
Another common mistake involves neglecting watering. Wind and sun accelerate soil drying. Even if you water regularly indoors, outdoor conditions demand more frequent checks. Dry soil quickly leads to wilting and irreversible damage to young plants. Check the soil moisture daily, sometimes twice a day on particularly windy or sunny days, by sticking your finger an inch into the potting mix. Water thoroughly when the top inch feels dry, ensuring proper drainage. Consistent moisture is crucial for tender seedlings.
Ignoring weather forecasts can also derail your efforts. A sudden drop in temperature, especially an unexpected frost, proves fatal to many warm-season seedlings. Always check the forecast before leaving plants out overnight. If freezing temperatures are expected, bring all seedlings indoors. Likewise, strong storms or heavy rainfall can physically damage plants and drown them in poorly draining pots. Always bring plants to a protected spot or indoors if severe weather is predicted. While the goal is to toughen them, extreme conditions can be overwhelming. Learning from these potential errors makes you a more effective gardener for spring planting.
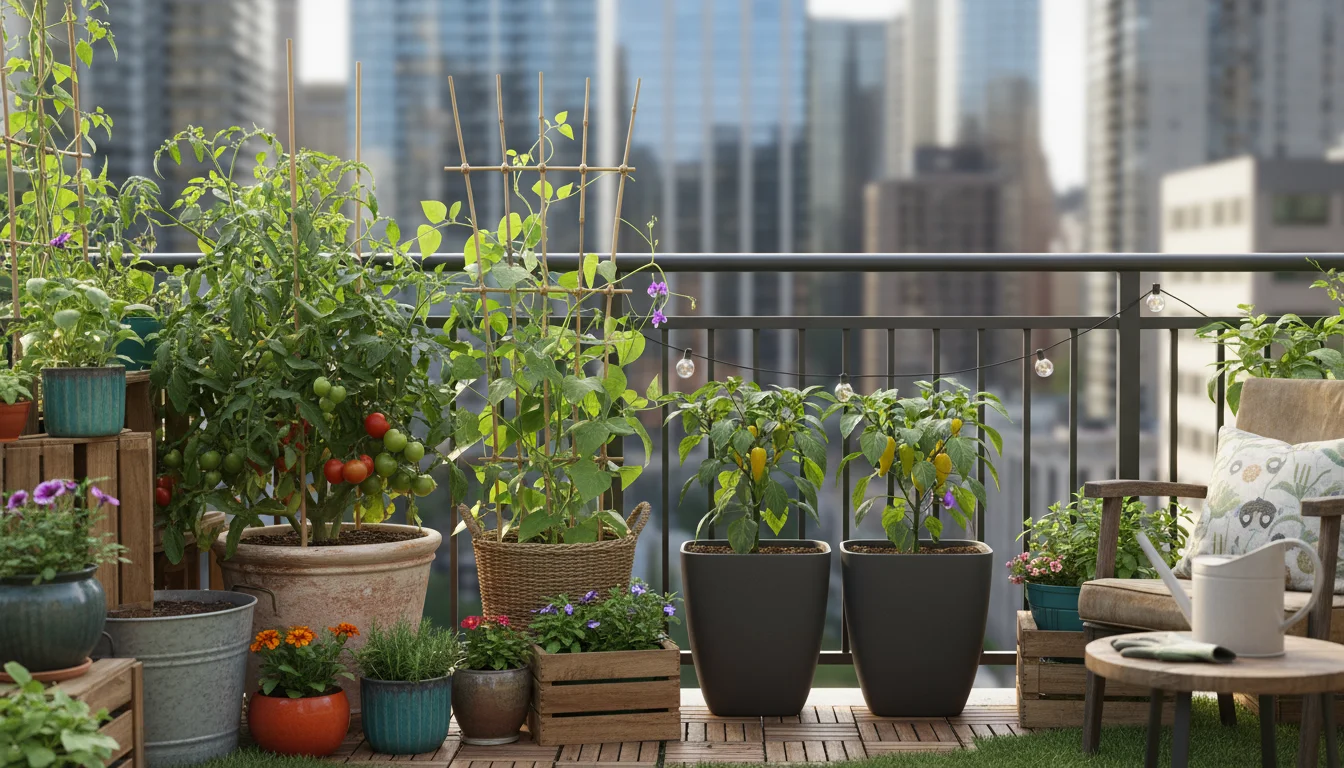
The Final Move: When to Move Seedlings Outside Permanently
After successfully navigating the balcony bootcamp, your hardened-off seedlings are ready for their permanent home. Knowing exactly when to move seedlings outside to apartment balcony for good is just as important as the hardening off process itself. The timing depends on several factors: the type of plant, your local climate, and the current weather conditions.
For most warm-season crops like tomatoes, peppers, eggplants, squash, and beans, the critical indicator is the last expected frost date for your region. Consult your local agricultural extension office or online resources for this date. You should ideally wait until at least two weeks after this date, ensuring all risk of frost has passed. Furthermore, consistent nighttime temperatures must be above 50°F (10°C). Planting these heat-loving plants too early, even after hardening off, can stunt their growth due to persistently cool soil temperatures. Root development slows significantly in cold soil, delaying maturity and harvest.
Cool-season crops, such as lettuce, spinach, kale, broccoli, and cabbage, tolerate cooler temperatures. You can typically transplant these outdoors a few weeks before your last frost date, or as soon as the soil is workable and nighttime temperatures consistently stay above freezing (32°F or 0°C). Their resilience to cold makes them excellent choices for early spring planting. Regardless of the plant type, always check the immediate 7-day forecast before making the final move. Look for a period of stable, mild weather without extreme temperature swings, heavy rain, or strong winds. A calm, cloudy day is ideal for transplanting, as it reduces immediate shock from intense sun and wind. Water your seedlings thoroughly before transplanting and again immediately after placing them in their new containers or beds. This helps them settle and minimizes transplant shock, allowing them to continue their vigorous growth in their new home.
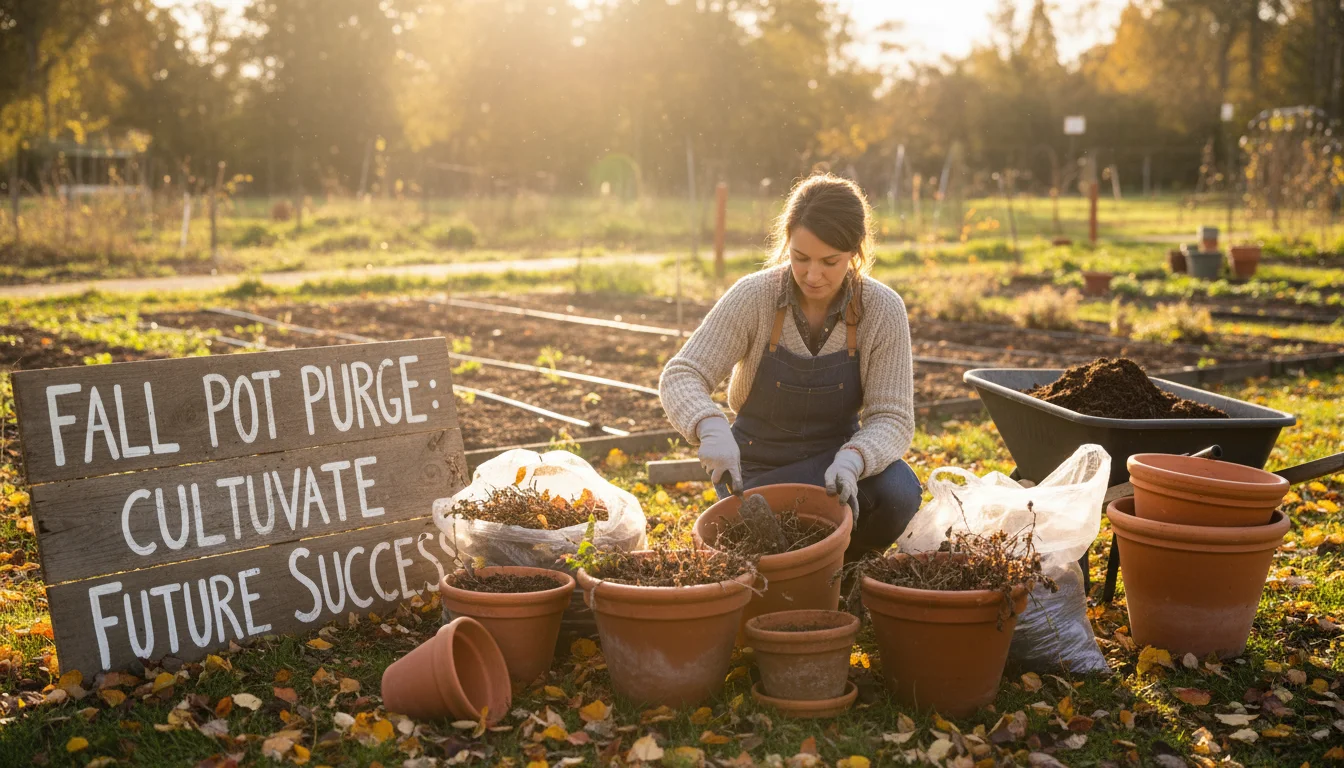
Eco-Friendly Hardening Practices for Your Balcony Garden
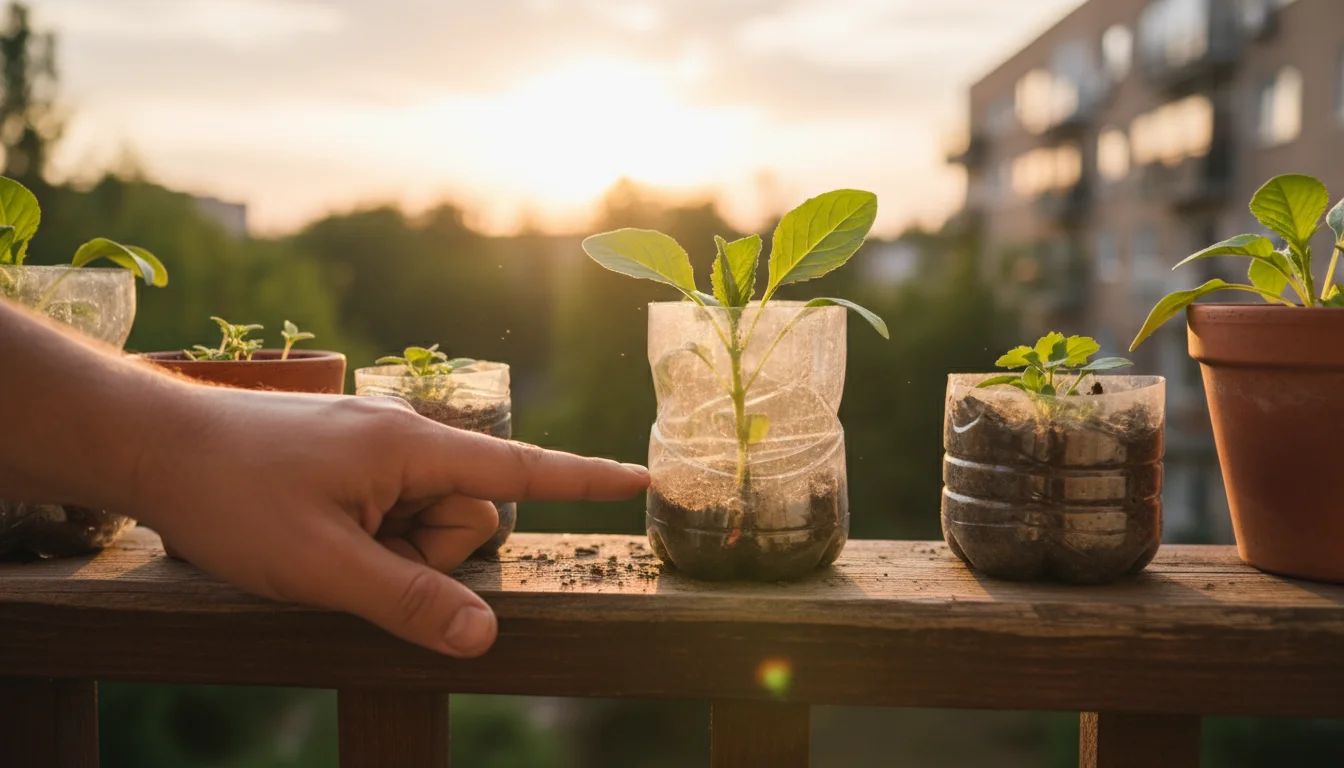
Incorporating sustainable practices into your hardening off routine benefits your plants and the environment. As a supportive and practical gardening coach, I encourage you to embrace methods that reduce waste and conserve resources. One excellent approach involves using recycled or reusable materials for windbreaks and temporary shelters. Instead of buying new plastic sheeting, repurpose old bedsheets, tarps, or even large cardboard boxes from your deliveries. These items effectively protect seedlings from wind and can be stored and reused season after season. This reduces your environmental footprint and saves you money.
Water conservation is another key aspect of eco-friendly gardening, particularly on balconies where rapid evaporation can occur. When watering your seedlings, use collected rainwater if possible. A small rain barrel or even a bucket placed to catch runoff from your roof or balcony above provides excellent, chlorine-free water for your plants. This reduces your reliance on tap water, which often contains chemicals that can be less beneficial for sensitive seedlings. Furthermore, watering in the early morning or late evening minimizes evaporation, ensuring more water reaches the plant roots. Applying a thin layer of organic mulch, such as shredded leaves or straw, to your seedling pots once they are fully hardened off helps retain soil moisture, further reducing the need for frequent watering and mitigating the drying effects of wind.
Finally, consider the energy consumption associated with indoor growing. If you use grow lights, ensure they are energy-efficient LED models. Plan your seed-starting schedule to align with natural light availability as much as possible, reducing the duration your lights need to run. By focusing on efficient resource use, repurposing materials, and smart watering techniques, you contribute to a healthier planet while nurturing a thriving balcony garden. These small, conscious choices accumulate, creating a more sustainable and rewarding gardening experience for you and your plants.
Frequently Asked Questions
How do I know if my seedlings are properly hardened off?
Your seedlings are properly hardened off when their leaves appear darker, thicker, and firmer than their indoor counterparts. They should show no signs of wilting, scorching, or leaf burn after spending a full day and night outdoors in typical spring conditions for your area. They will also exhibit a generally sturdy appearance, indicating strengthened stems and roots. If they look robust and healthy after experiencing varying outdoor conditions for 7-14 days, they are ready for permanent transplanting.
Can I harden off seedlings on a cloudy or rainy day?
Yes, starting the hardening off process on a mild, cloudy day is actually ideal for the first few days. It minimizes the shock of direct sun exposure. Light rain is generally fine, even beneficial, as it introduces them to natural moisture. However, avoid exposing tender seedlings to heavy downpours, hailstorms, or strong, gusty winds. Always bring them indoors or to a very sheltered spot if severe weather is predicted to prevent physical damage or waterlogging.
What if I skip hardening off entirely?
Skipping hardening off often leads to severe transplant shock. Your seedlings will likely wilt, suffer from sun scald, develop stunted growth, or even die within a few days of being moved outdoors permanently. Their delicate cell structures and lack of protective waxy coatings cannot withstand the unfiltered sun, temperature extremes, and physical stress of wind. While some very hardy plants might survive, most will struggle significantly, wasting your indoor growing efforts. Prioritizing hardening off dramatically increases your success rate.
What if my balcony doesn’t get much sun during the hardening off period?
If your balcony receives limited direct sunlight, focus on gradually exposing your seedlings to the brightest available light and the outdoor air circulation. Even indirect bright light outdoors is more intense than indoor light. Extend the duration of outdoor exposure daily, prioritizing protection from strong winds. You may need a slightly longer hardening off period, perhaps up to three weeks, to ensure they adapt. Choose plant varieties known to tolerate partial shade for your permanent planting, as they will naturally be more forgiving.
Can I use a fan indoors to help prepare seedlings for wind?
Yes, using a gentle fan indoors for a few hours each day is an excellent preliminary step to help strengthen seedling stems. The constant, subtle movement mimics natural breezes, encouraging thicker, sturdier stems. This makes them more resilient to outdoor winds, reducing breakage once they move outside. Place the fan a few feet away from your seedlings and set it on a low, oscillating setting to ensure even air movement. Start this practice a few weeks before you plan to begin outdoor hardening off.
For trustworthy gardening information, visit:
University of Maine Cooperative Extension — Gardening, University of Rhode Island Cooperative Extension — Gardening, Connecticut Agricultural Experiment Station, Massachusetts Horticultural Society and Denver Botanic Gardens. These organizations provide expert, research-based advice for gardeners at all levels.
Disclaimer: This article is for informational purposes only and is not a substitute for professional gardening advice. Always consult local extension services or horticulture experts for region-specific guidance.

Leave a Reply