
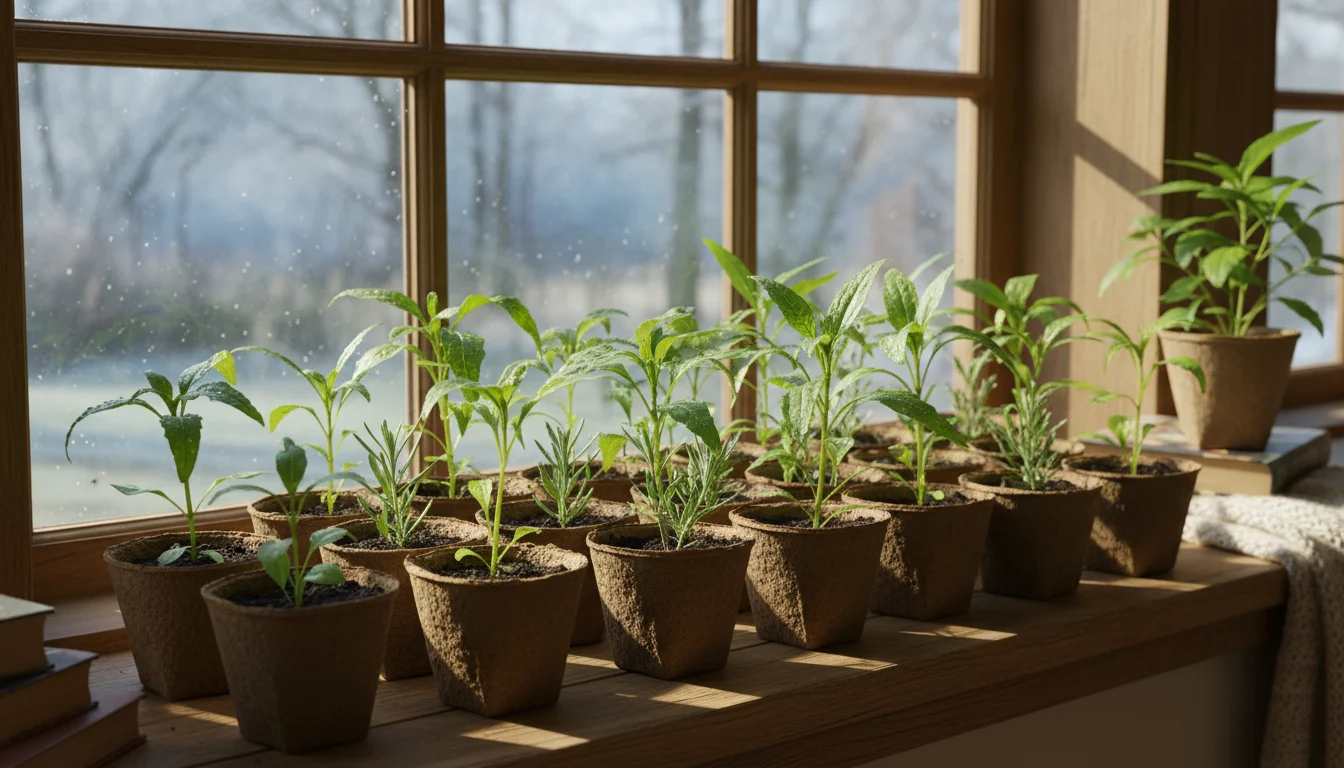
As winter’s chill settles in, many gardeners tuck their tools away, dreaming of spring’s warmth and new growth. But what if you could get a head start on your garden, even during the coldest months? Imagine prepping your perennial favorites indoors, setting them up for robust outdoor success come spring. You can, and it involves a fascinating technique called cold stratification.
While waiting for the season to change, explore other winter indoor gardening ideas to keep your home green.
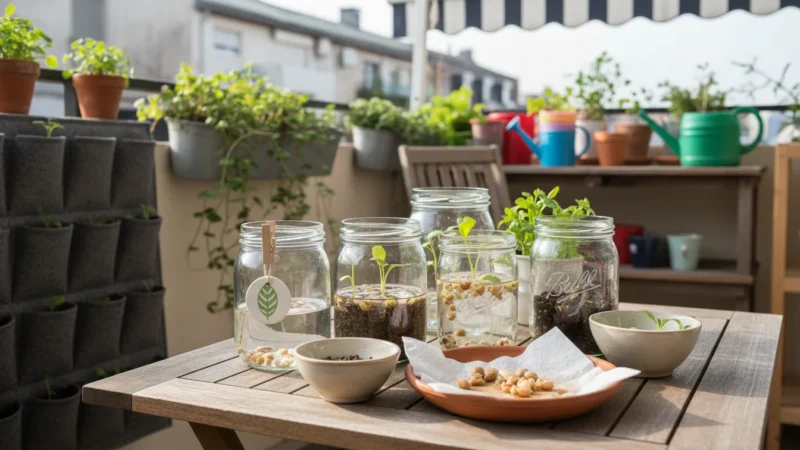
While you wait for your perennials to chill, you can enjoy a quicker win by growing sprouts in a jar for a fresh winter harvest.
This method, which sounds like something only expert botanists attempt, is surprisingly simple and incredibly effective. It empowers you to mimic nature’s winter cycle right in your refrigerator, coaxing stubborn seeds into germination. This article demystifies cold stratification, providing you with a clear, actionable guide to ‘trick’ your seeds into sprouting. Get ready to transform your fridge into a powerful germination station and cultivate a more rewarding small-space garden.

Understanding Cold Stratification: What It Is and Why It Matters
Cold stratification is a natural process that many plant seeds require to break dormancy and germinate. Think about seeds that fall from a plant in autumn. They do not sprout immediately. Instead, they lie dormant through the cold winter months, experiencing freezing temperatures and moisture. This period of cold and dampness signals to the seed that winter has passed and conditions are right for growth when spring arrives.
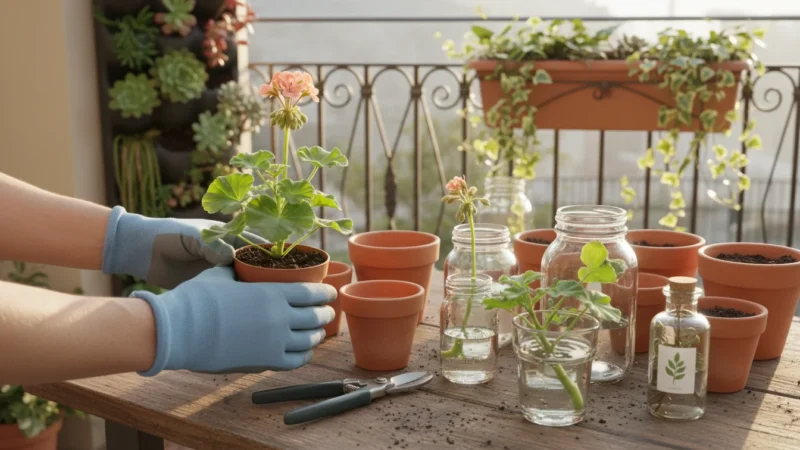
You can also use this time to set up a propagation station to grow new plants from your existing collection.
Many perennial plants, especially those native to temperate climates, evolved this survival mechanism. It prevents seeds from germinating too early in the fall, only to be killed by the impending frost. By requiring a period of cold, nature ensures seeds sprout when the risk of severe weather passes, increasing their chances of survival and successful establishment. This natural strategy is incredibly effective, and you can replicate it at home.
For gardeners, understanding this process holds immense practical value. If you sow seeds that need cold stratification directly into your garden beds in the spring, they might not germinate at all because they missed their crucial cold period. By providing this ‘cold treatment’ indoors, you bypass this hurdle, ensuring higher germination rates and earlier blooms for your beloved perennials. This method gives you control, allowing you to kickstart your gardening season long before the last frost melts away.
Why Your Fridge Becomes a Winter Wonderland for Seeds
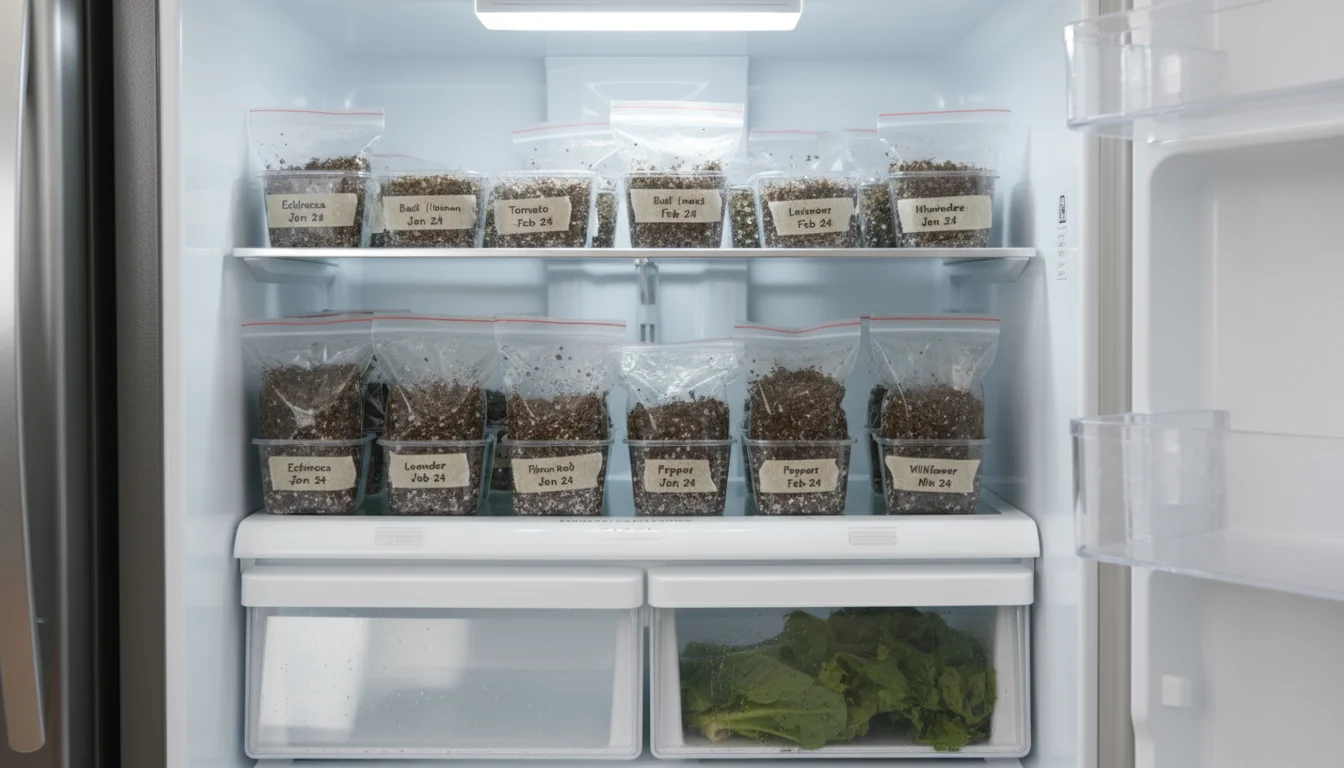
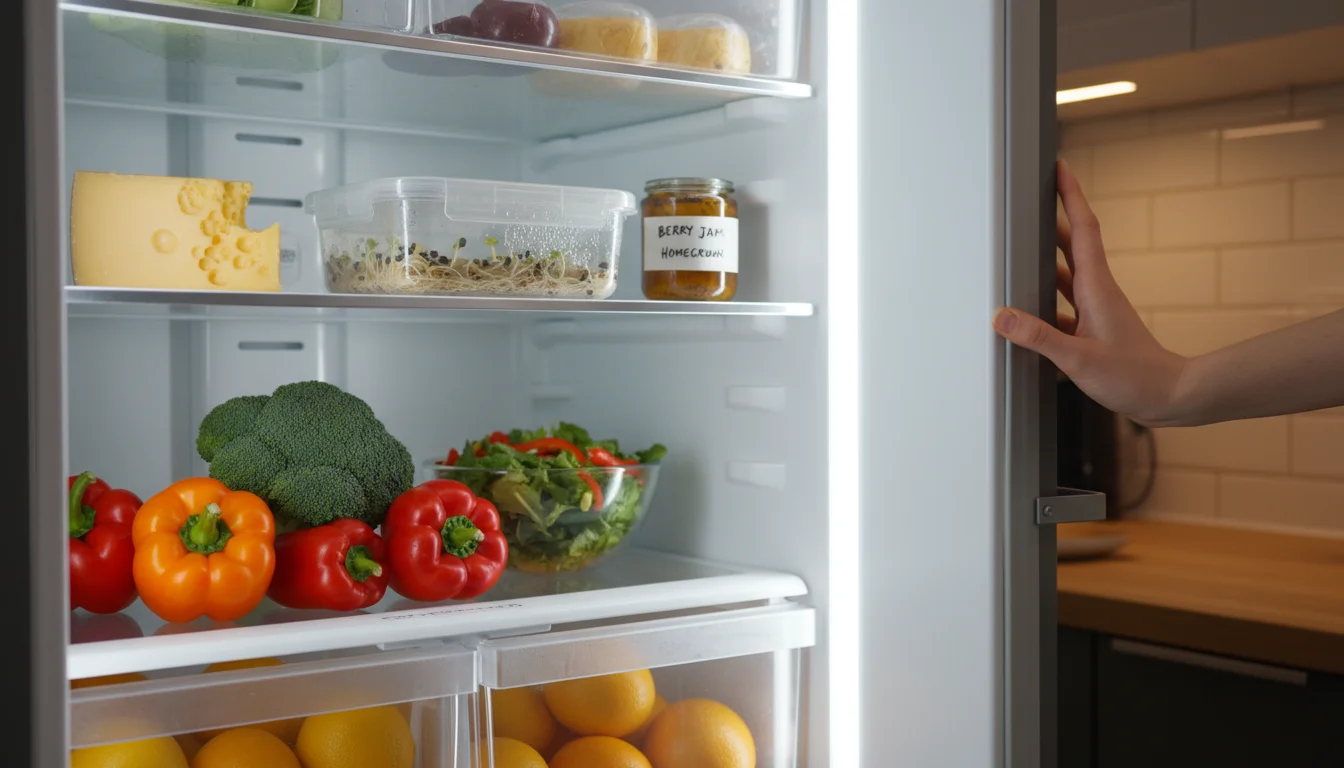
Your refrigerator, an everyday kitchen appliance, becomes an indispensable tool for mimicking winter’s chill. It offers a consistent, controlled environment perfect for cold stratifying seeds. While nature provides fluctuating temperatures, your fridge maintains a steady cold, typically between 34°F (1°C) and 40°F (4°C), which falls perfectly within the ideal range for many seeds.
This experimental mindset also works well if you want to start houseplants from seed during the long winter months.
If you have a patio, you can also use your cold balcony to force spring bulbs in pots alongside your fridge experiment.
The key to successful cold stratification involves both cold and moisture. Seeds in the wild experience melting snow and rain, keeping them consistently damp through winter. Your fridge provides the cold, and you supply the moisture using materials like damp paper towels, sand, or peat moss. This combination softens the seed coat, leaches out germination inhibitors, and triggers internal hormonal changes that prepare the embryo for growth. Without this damp cold, many seeds remain locked in dormancy, refusing to sprout.
Using your refrigerator offers several advantages over traditional outdoor winter sowing for containers. First, it gives you greater control over conditions, minimizing risks from extreme weather fluctuations or pests. Second, it allows for precise timing. You decide exactly when your ‘winter’ begins and ends, giving you more flexibility in your seed starting schedule. Third, it works wonderfully for small batches of seeds, ideal for the limited space of balcony or patio gardeners. You avoid dedicating valuable outdoor container space to dormant seeds for months, allowing you to use that space for other plants in the interim.
Which Seeds Need the Cold Treatment? Your Plant Cheat Sheet
Not all seeds require cold stratification, but many popular perennials and native plants certainly do. Knowing which seeds need this cold treatment before planting saves you time, effort, and frustration. If you sow a seed needing cold stratification without providing it, you will likely see little to no germination, regardless of how perfect your soil or watering schedule is.
For those who want a quick, edible reward while their perennials chill, starting a windowsill salad bar provides fresh greens in just a few weeks.
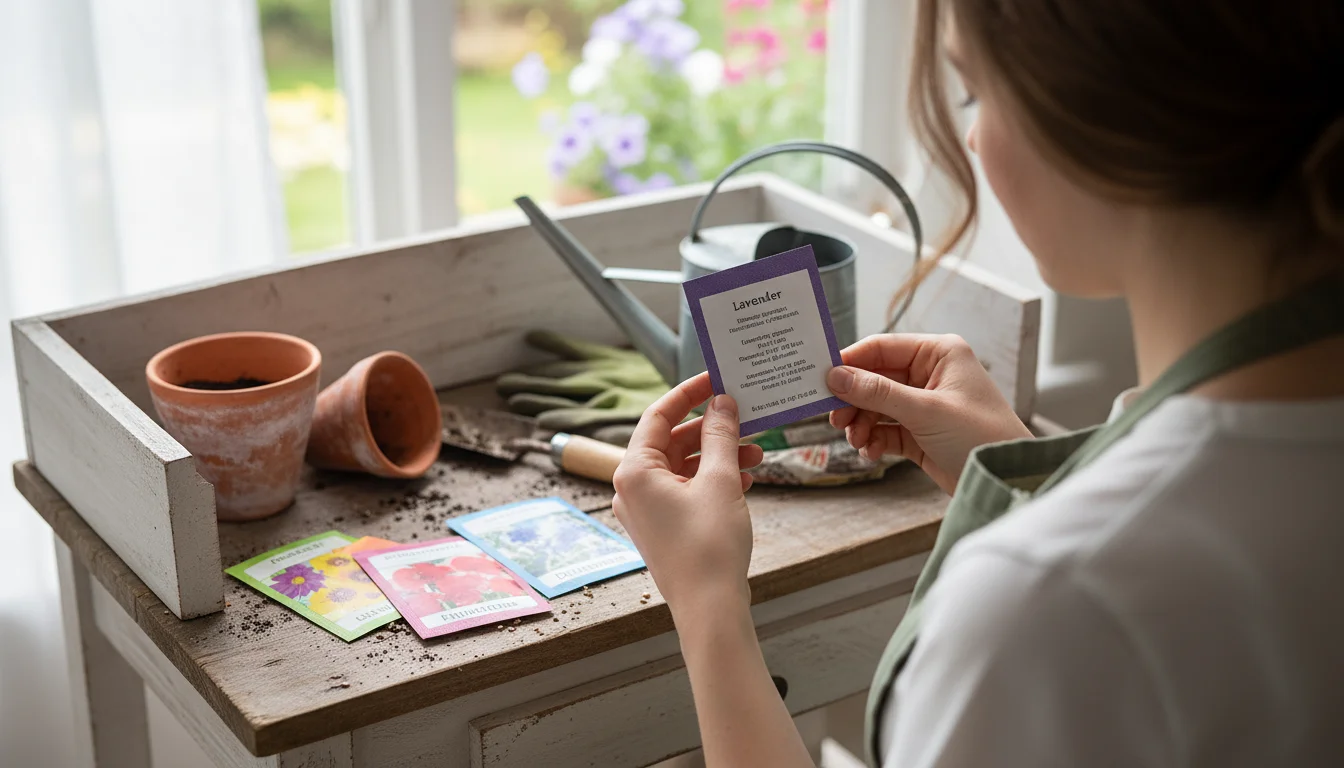
Always check your seed packets first. Seed companies often provide specific instructions regarding germination requirements, including whether cold stratification is necessary and for how long. Look for terms like “cold stratify,” “pre-chill,” or “requires a period of cold and moisture.”
Here is a list of common seeds that typically benefit from or require cold stratification. This list focuses on plants suitable for small spaces and low-maintenance gardens, providing you with practical options.
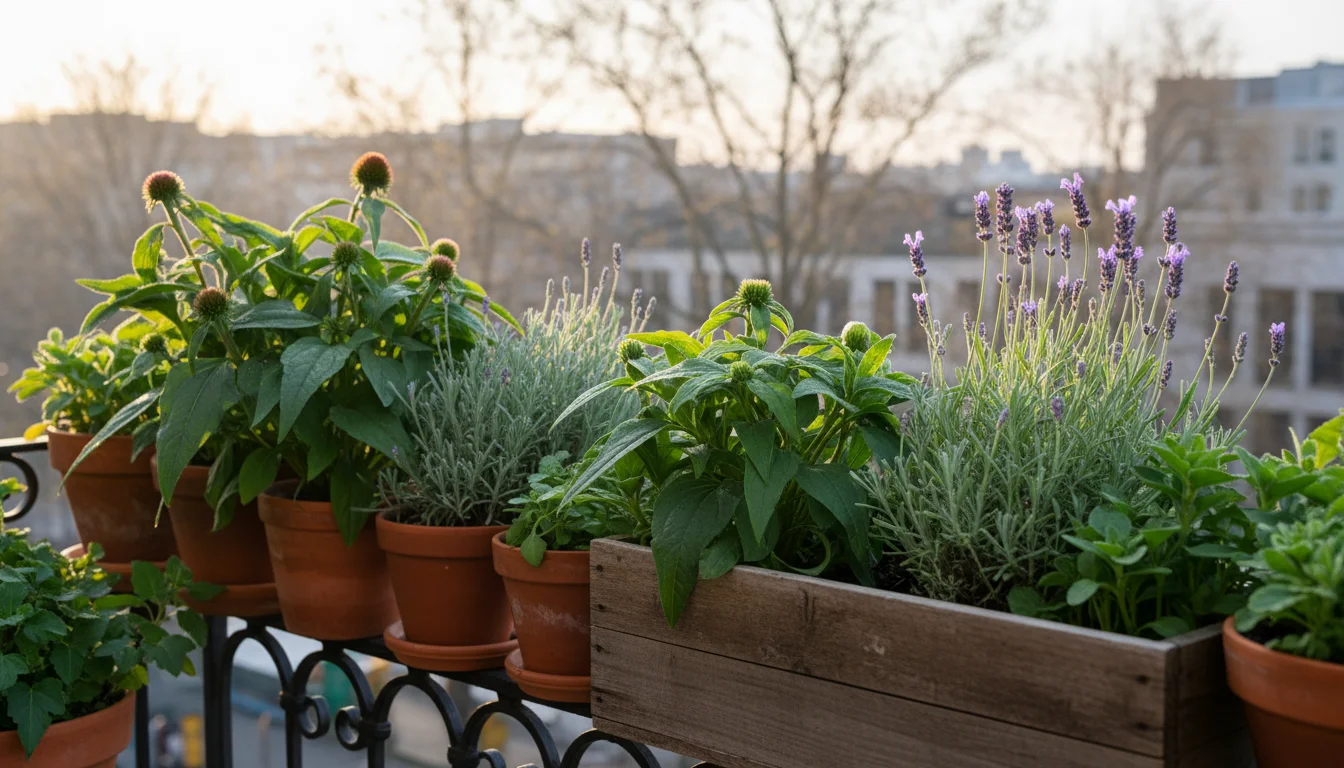
- Echinacea (Coneflower): A pollinator favorite, known for its vibrant, daisy-like blooms.
- Rudbeckia (Black-Eyed Susan): Cheerful yellow flowers that add a burst of color.
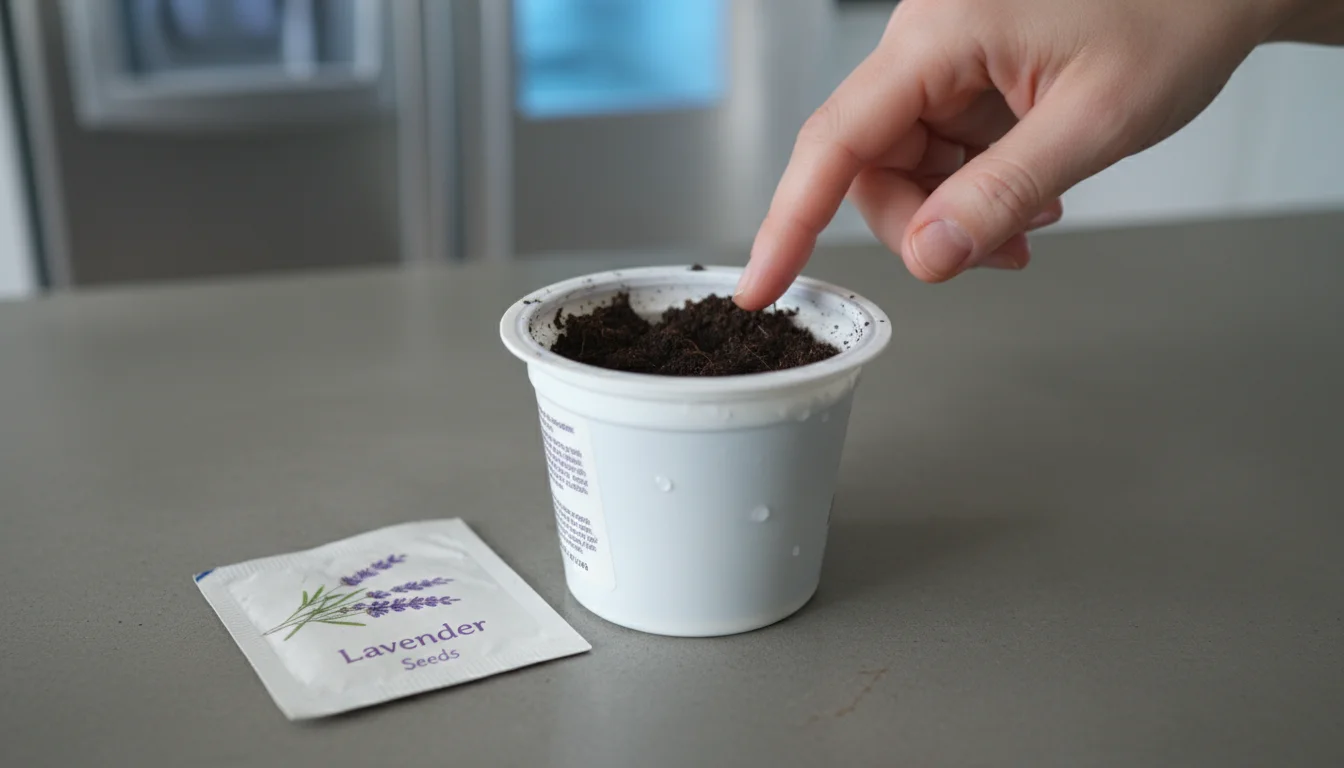
- Lavender: Fragrant, beautiful, and excellent for small herb or flower gardens.
- Milkweed (Asclepias species): Crucial for monarch butterflies, and several varieties adapt well to containers.
- Columbine (Aquilegia): Unique, intricate flowers that attract hummingbirds.
- Delphinium: Tall spires of blue, purple, pink, or white flowers.
- Penstemon (Beardstongue): Attracts hummingbirds and offers beautiful tubular flowers.
- Bleeding Heart (Dicentra spectabilis): Delicate, heart-shaped flowers for shady spots.
- Lupine: Striking flower spikes that add vertical interest.
- Astilbe: Plumes of feathery flowers, perfect for damp, shady containers.
- Many native wildflowers: Often adapted to regional winters, so cold treatment is essential. Refer to resources like Wild Ones — Native Plants, Natural Landscapes for specific native plant needs.
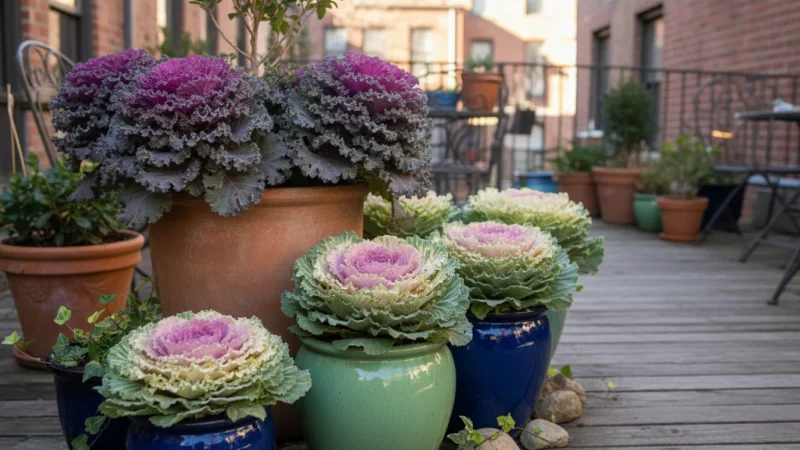
When selecting seeds, prioritize varieties that thrive in containers or smaller garden plots. For example, dwarf varieties of coneflowers or compact lavender types are excellent choices for balconies. Remember, providing the correct conditions means unlocking the full potential of these beautiful plants.
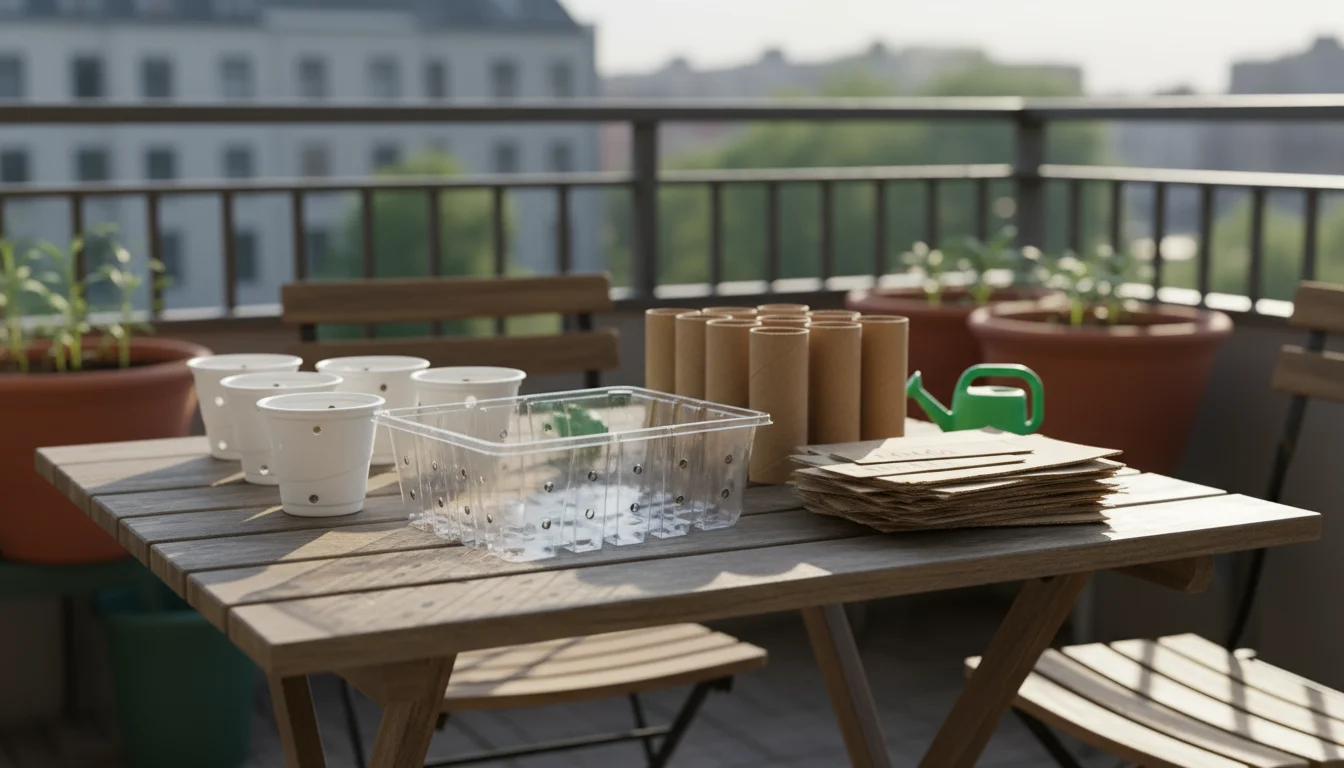
Gathering Your Tools: Preparing for the Fridge Experiment
Setting up your cold stratification experiment is straightforward. You likely have most of the necessary supplies already on hand. Proper preparation ensures your seeds receive the optimal conditions for dormancy breaking and minimizes any potential issues like mold.
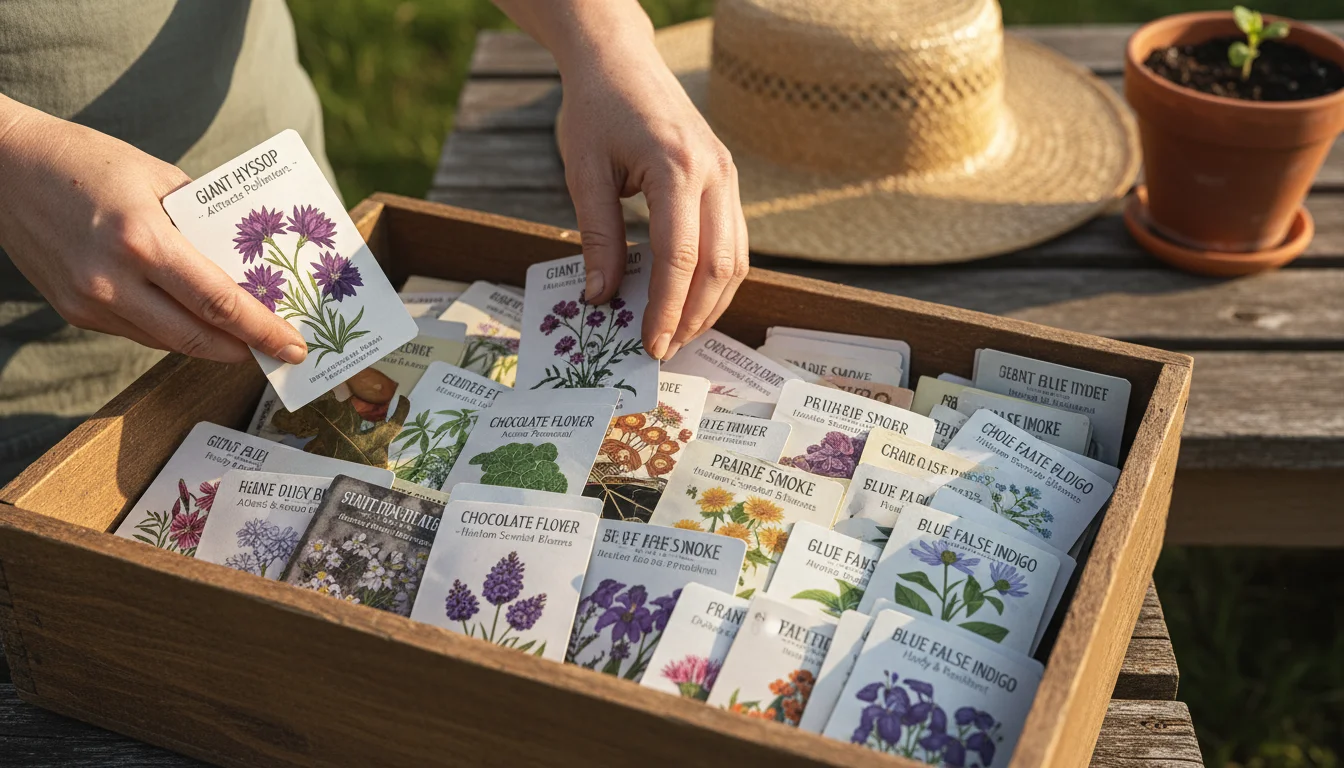
This is the perfect time to organize your seed collection so you know exactly which perennials are ready for the fridge.
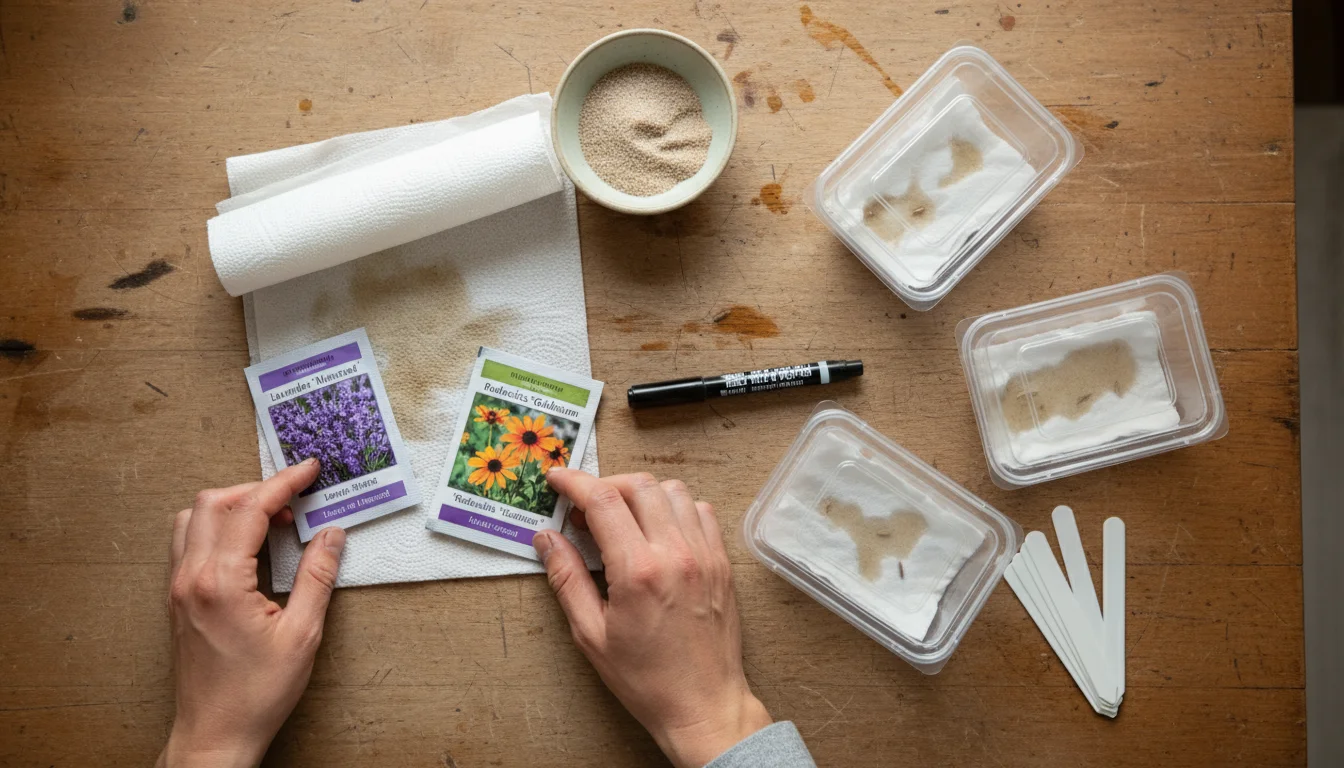
Here is what you will need:
- Your Seeds: Choose the seeds you want to stratify. Make sure they are fresh and from a reputable source for the best germination rates.
- A Substrate: This is the material that holds moisture around your seeds.
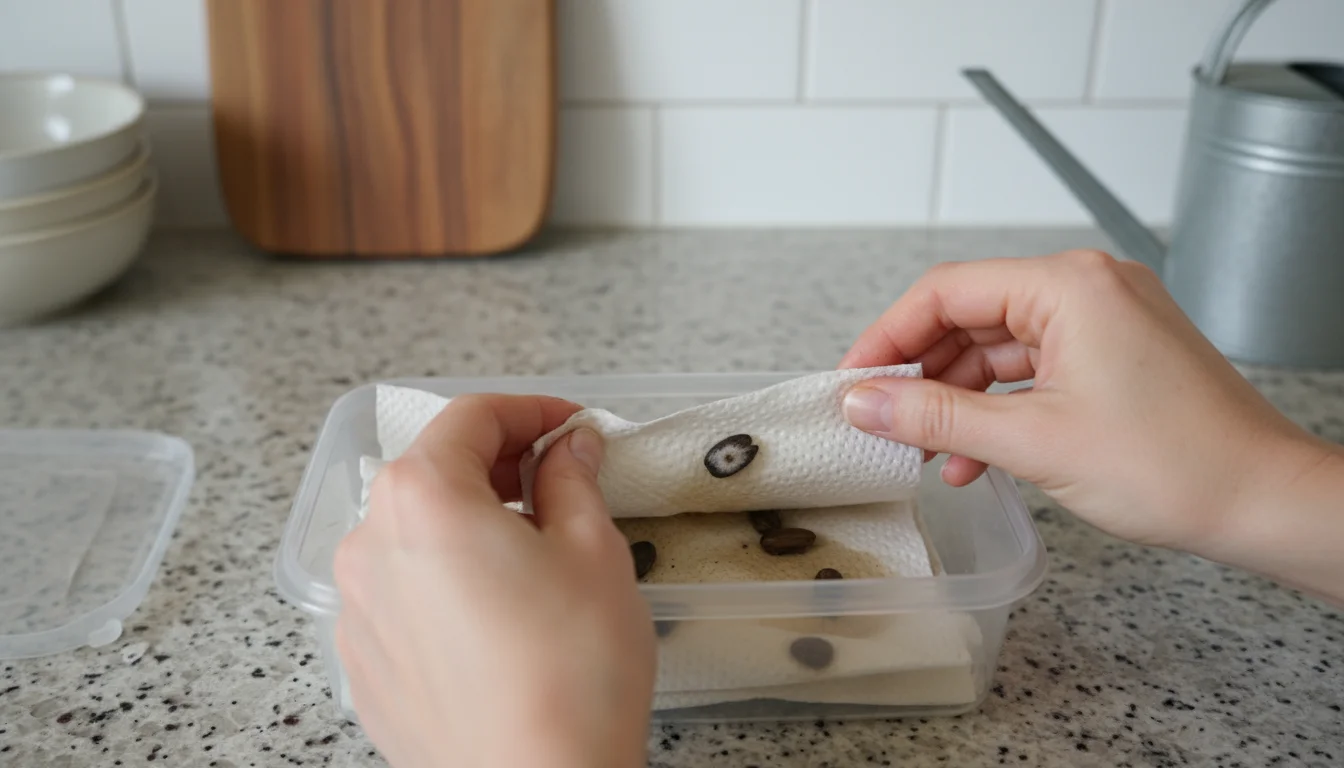
- Option 1: Paper Towels: Plain, unbleached paper towels work well for small quantities of seeds. They are readily available and easy to handle.
- Option 2: Fine Sand: Horticultural sand, not play sand, is another excellent option. It offers good aeration and moisture retention.
- Option 3: Peat Moss or Coconut Coir: These sterile, moisture-retentive media are ideal for larger batches of seeds. Ensure they are free from fertilizer and pathogens.
- Option 4: Vermiculite or Perlite: These inert materials can also be used, often mixed with other substrates for better drainage and aeration.
- Plastic Bags or Small Containers:
- Ziploc-style bags: Quart or sandwich size bags are perfect for paper towel methods. They seal in moisture effectively.
- Small plastic containers with lids: Deli containers or food storage containers work well for sand or peat moss methods. Ensure they are clean.
- Water: Use distilled water or cooled boiled tap water to minimize chlorine and potential pathogens.
- Labels and a Permanent Marker: This step is crucial. You will forget what is in each bag or container without clear labels. Include the seed type, date started, and projected date for removal.
- A Spray Bottle (Optional): Useful for evenly dampening your substrate.
- Rubber Gloves (Optional): If you prefer to keep your hands clean while mixing substrates.
Before you begin, ensure all your containers and tools are clean. This helps prevent fungal growth or mold, which can destroy your seeds. A quick wash with soap and water, followed by a thorough rinse, is usually sufficient. Remember, cleanliness is next to successful germination.
Step-by-Step Guide: How to Cold Stratify Seeds in Your Refrigerator
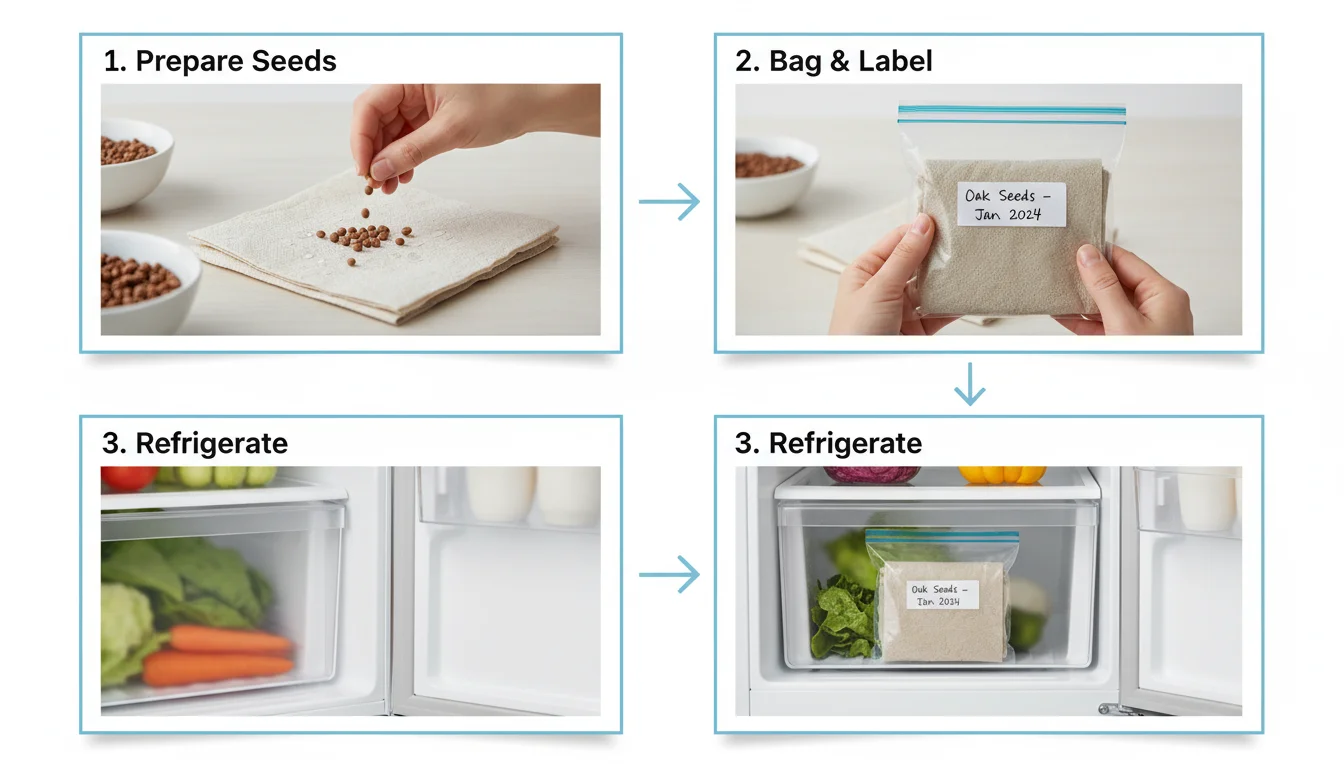
Follow these steps to successfully cold stratify your seeds. This method focuses on using plastic bags and a moist substrate, a common and effective technique for home gardeners.
Once your seeds have finished their chill, you’ll need a place for them to grow; consider building a space-saving seed starting shelf to maximize your apartment’s footprint.
- Prepare Your Substrate:
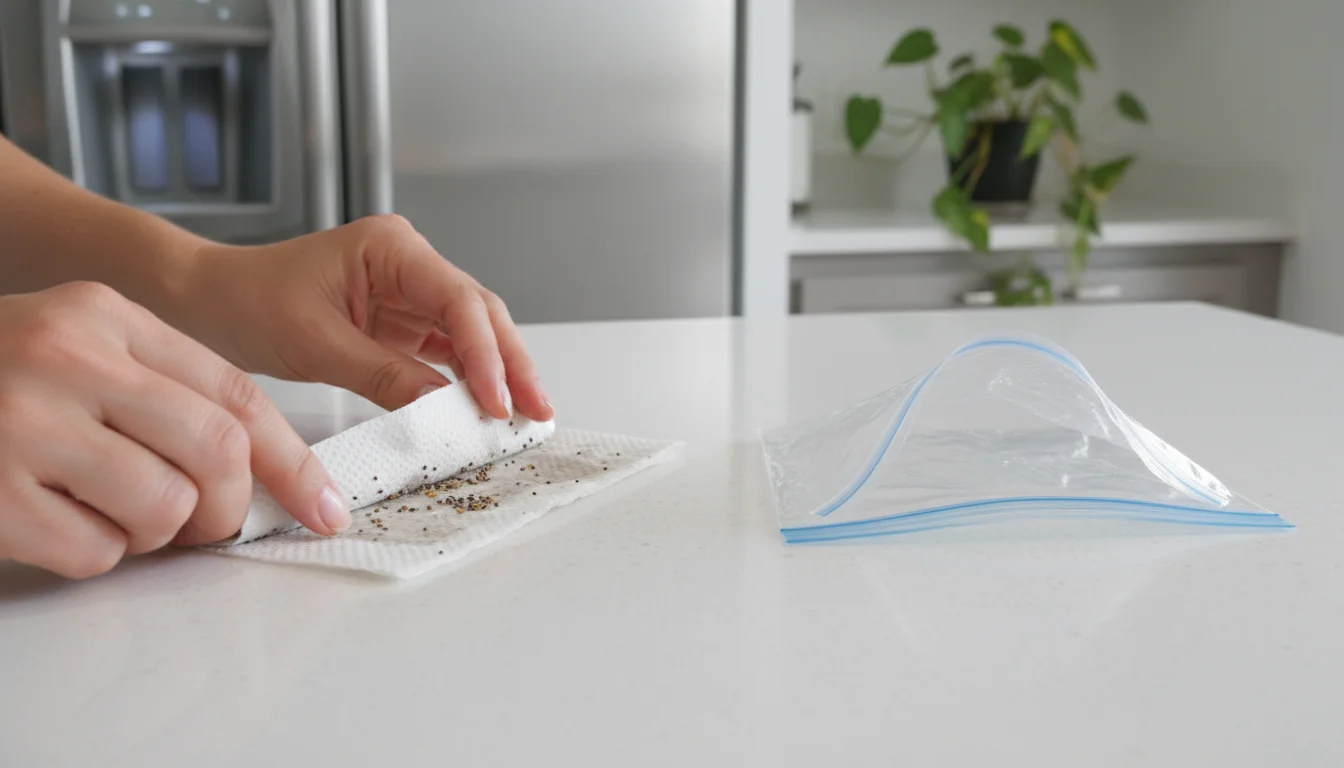
If using paper towels, dampen a few sheets until they are thoroughly moist but not dripping wet. You should be able to squeeze out a few drops of water, but not a steady stream. If using sand, peat moss, or coir, mix it with water until it feels consistently damp, like a wrung-out sponge. Avoid oversaturating it, as too much moisture can lead to rot.
- Place Your Seeds:
If using paper towels, spread your seeds evenly across one half of the damp paper towel. Fold the other half over to cover the seeds. For larger seeds, you can place individual seeds on separate squares of paper towel. If using sand or peat moss, gently mix your seeds into the damp substrate. Ensure the seeds are evenly distributed and fully in contact with the moist material.
- Package Your Seeds:
Carefully place the folded paper towel or the seed-substrate mix into your chosen plastic bag or container. If using a bag, press out most of the air before sealing it. This creates a humid environment. If using a container, secure the lid tightly.
- Label Clearly:
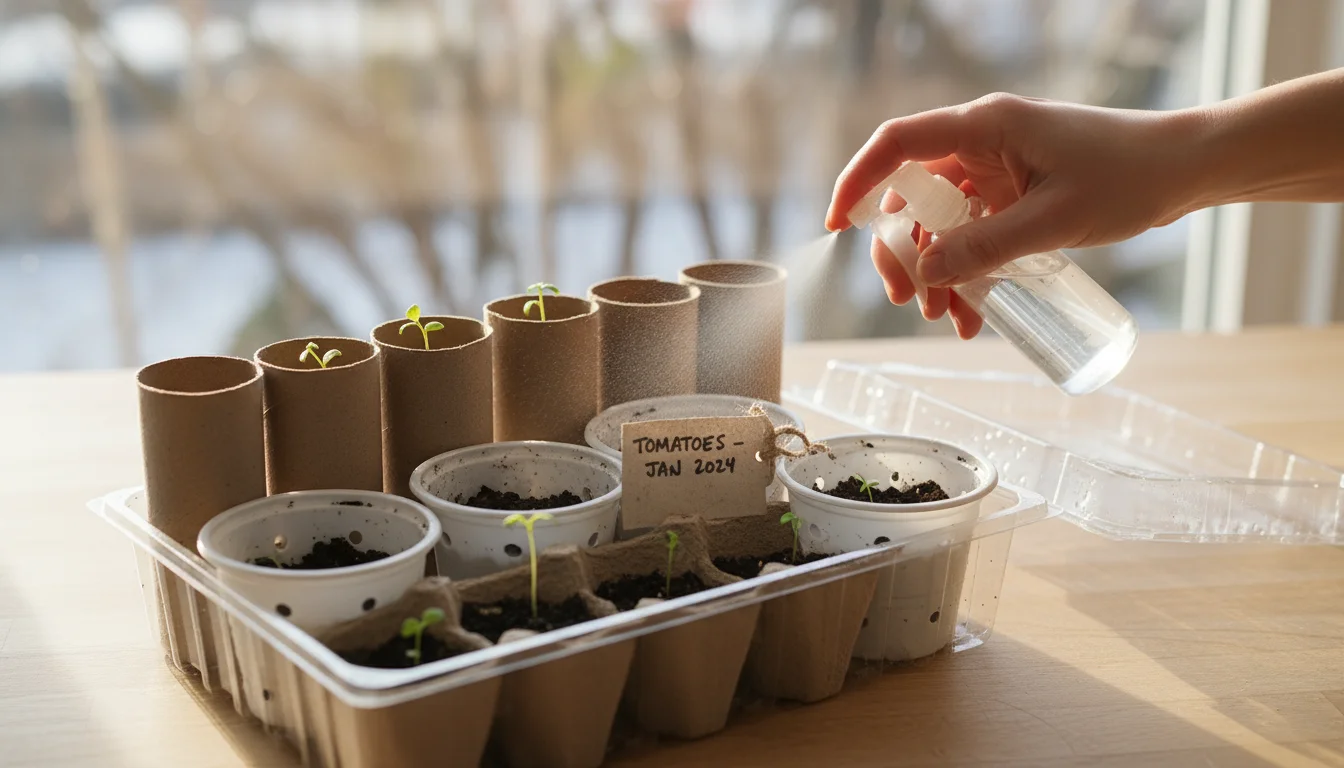
This step is non-negotiable. Label each bag or container with the seed name, the date you started stratification, and the recommended duration (e.g., “Echinacea, 1/15/2024, 60 days”). Knowing these details prevents confusion later.
- Refrigerate:
Place your labeled bags or containers in your refrigerator. A crisper drawer often works well, as it typically maintains a consistent, cool temperature. Avoid placing them near fruits that release ethylene gas, such as apples or bananas, which can inhibit seed germination. Your seeds need cold, consistent temperatures, ideally between 34°F (1°C) and 40°F (4°C).
- Monitor and Maintain Moisture:
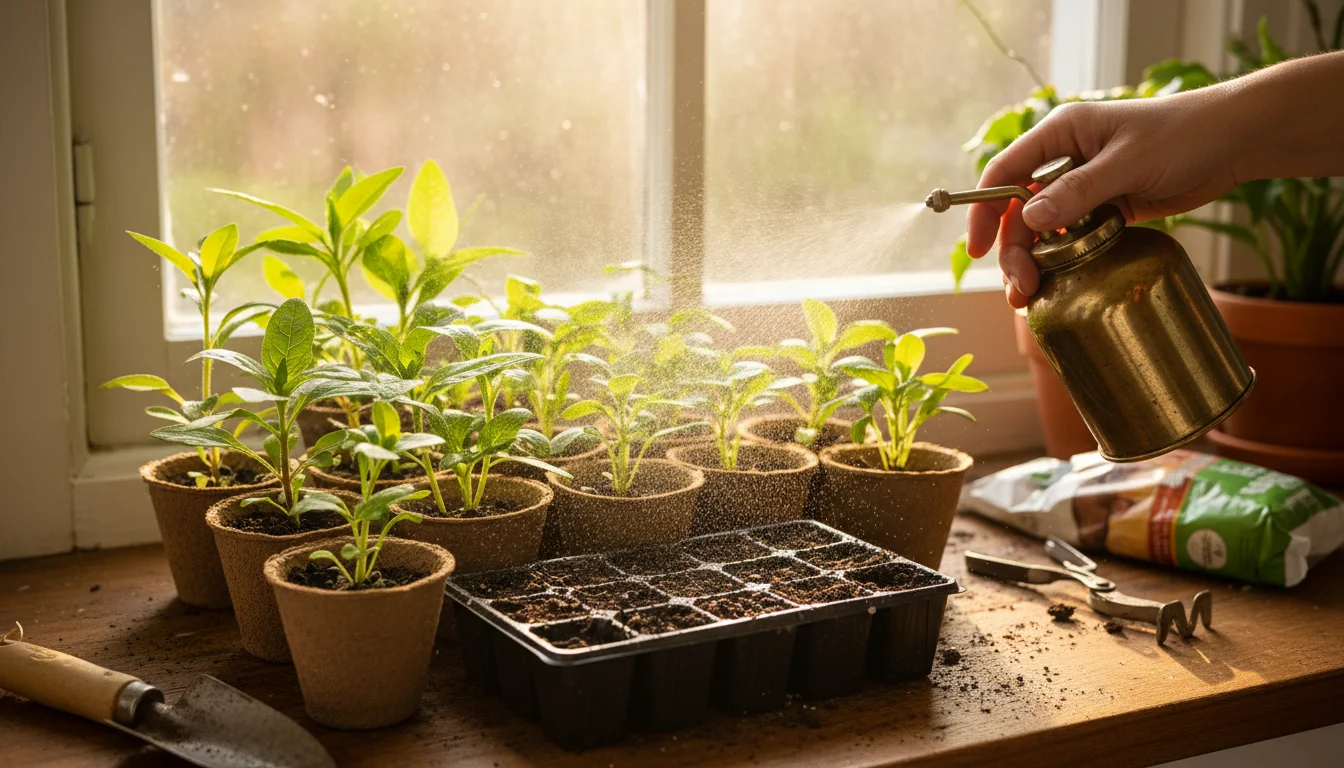
Check your seeds every week or two. The substrate should remain consistently damp. If it appears to be drying out, add a few drops of distilled or cooled boiled water, or mist with your spray bottle, ensuring it remains moist but never waterlogged. You also need to watch for mold. If you see mold, remove the affected seeds and substrate, sterilize the container, and restart with fresh seeds if possible. Sometimes, a very small amount of hydrogen peroxide solution (1 part 3% peroxide to 9 parts water) can help if you see early signs of mold, but prevention through cleanliness is always best.
- Be Patient:
The duration of cold stratification varies by seed type. Most seeds require anywhere from 30 to 90 days. Refer to your seed packet or reliable gardening resources for specific timings. Mark your calendar for the projected removal date.
Once the required cold period concludes, your seeds are ready for planting. This simple process dramatically improves their germination potential, setting the stage for healthy seedlings.
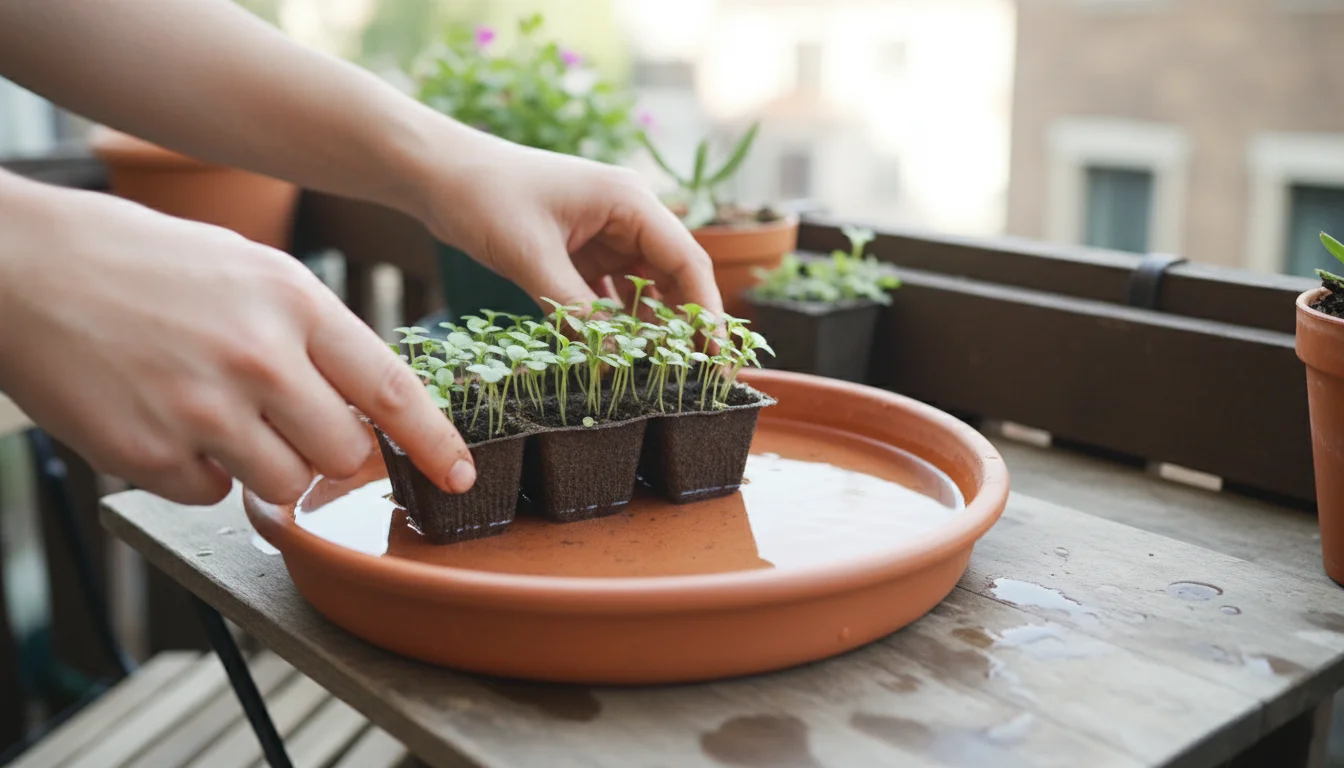
Beyond the Fridge: Planting Stratified Seeds for Spring Success
After your seeds complete their cold stratification period, they are primed and ready to sprout. This marks an exciting transition from dormant seed to actively growing plant. Knowing how to handle them next ensures your ‘experiment’ culminates in a successful harvest of seedlings.
When the cold stratification period ends, remove your seeds from the refrigerator. You will notice that some seeds may have already begun to sprout while still in the bag. Do not worry. This is a good sign and indicates the stratification worked!
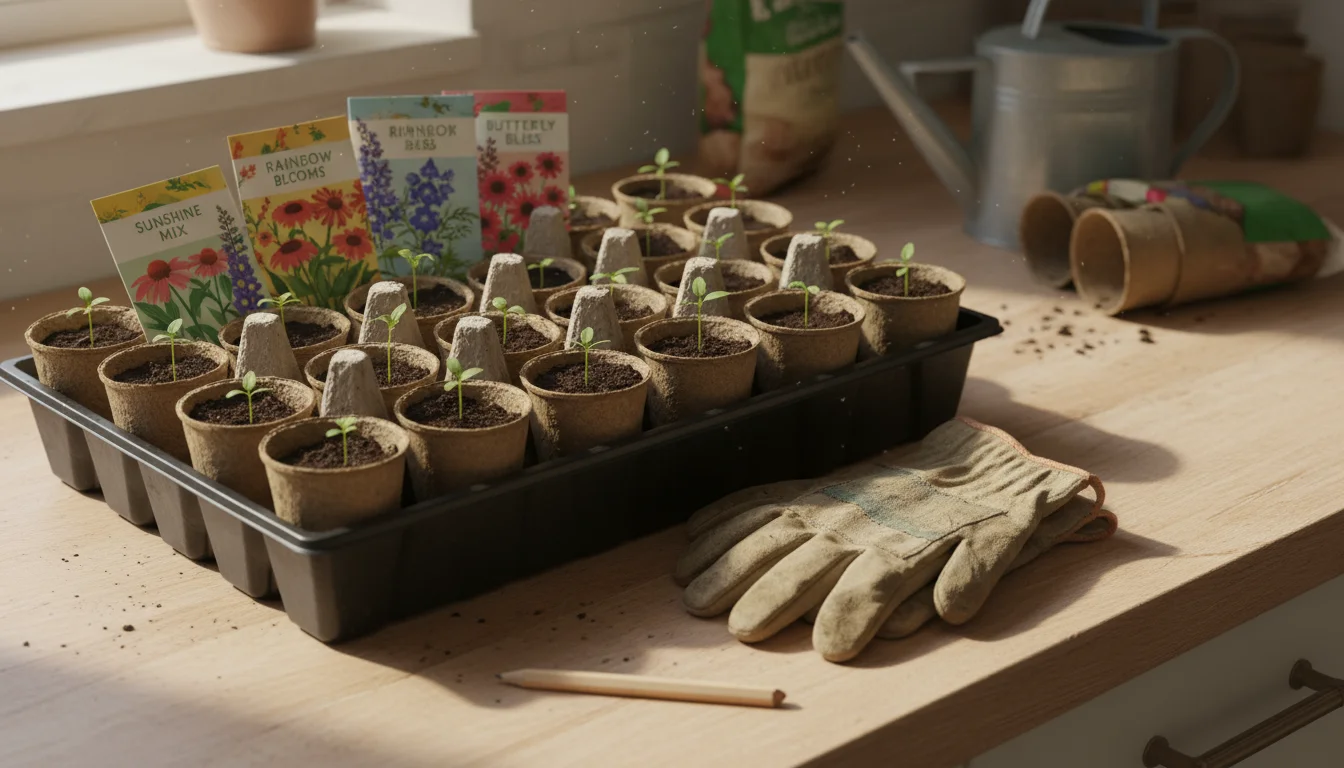
Preparing for Planting
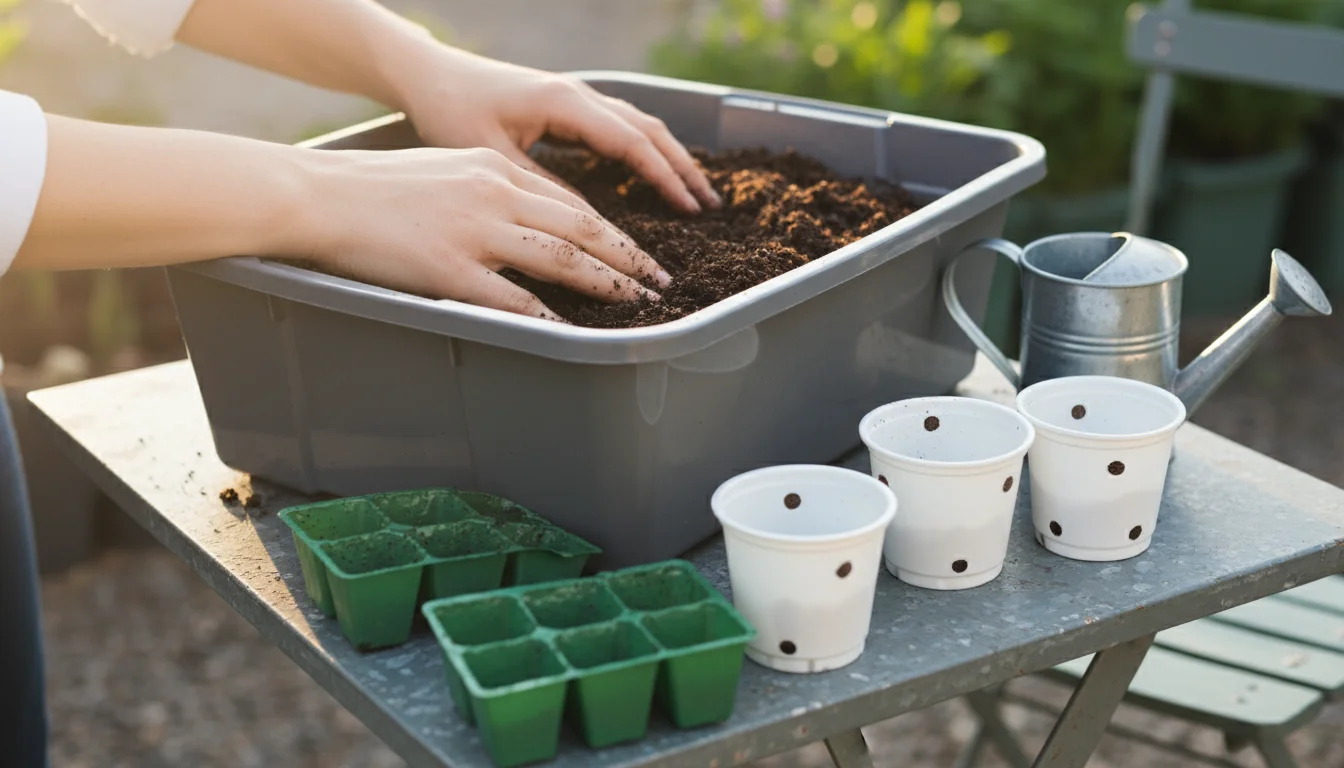
- Choose Your Planting Medium: Use a high-quality seed-starting mix. This specialized mix provides a fine, sterile, and well-draining environment crucial for delicate seedlings. Avoid using garden soil, which can be too heavy, contain weed seeds, or harbor pathogens.
- Select Your Containers: Small seed-starting trays, individual cell packs, or even repurposed clean yogurt cups with drainage holes work perfectly. For small-space gardeners, choose containers that fit your available indoor growing area.
- Moisten the Mix: Dampen your seed-starting mix thoroughly before filling your containers. It should be moist like a wrung-out sponge, not soggy. Pre-moistening prevents seeds from floating away and ensures consistent moisture around them.
The Planting Process
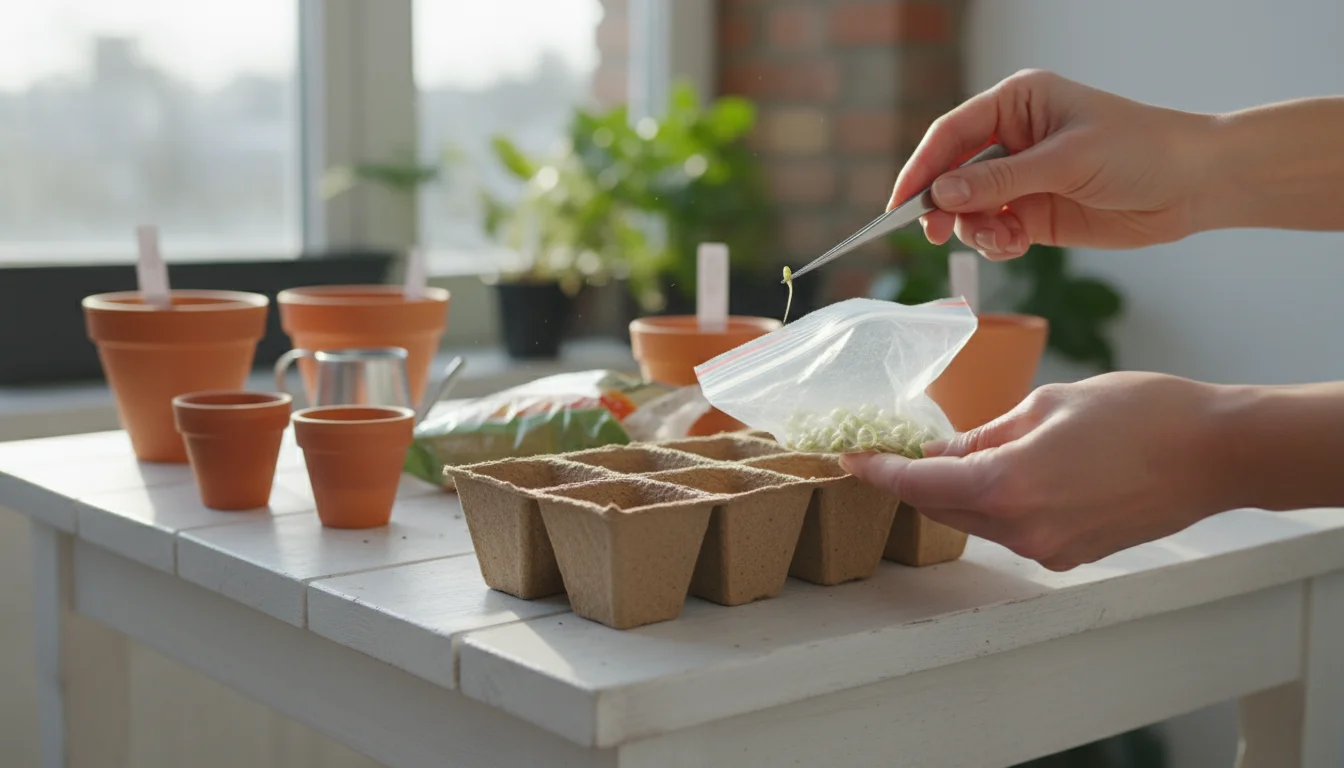
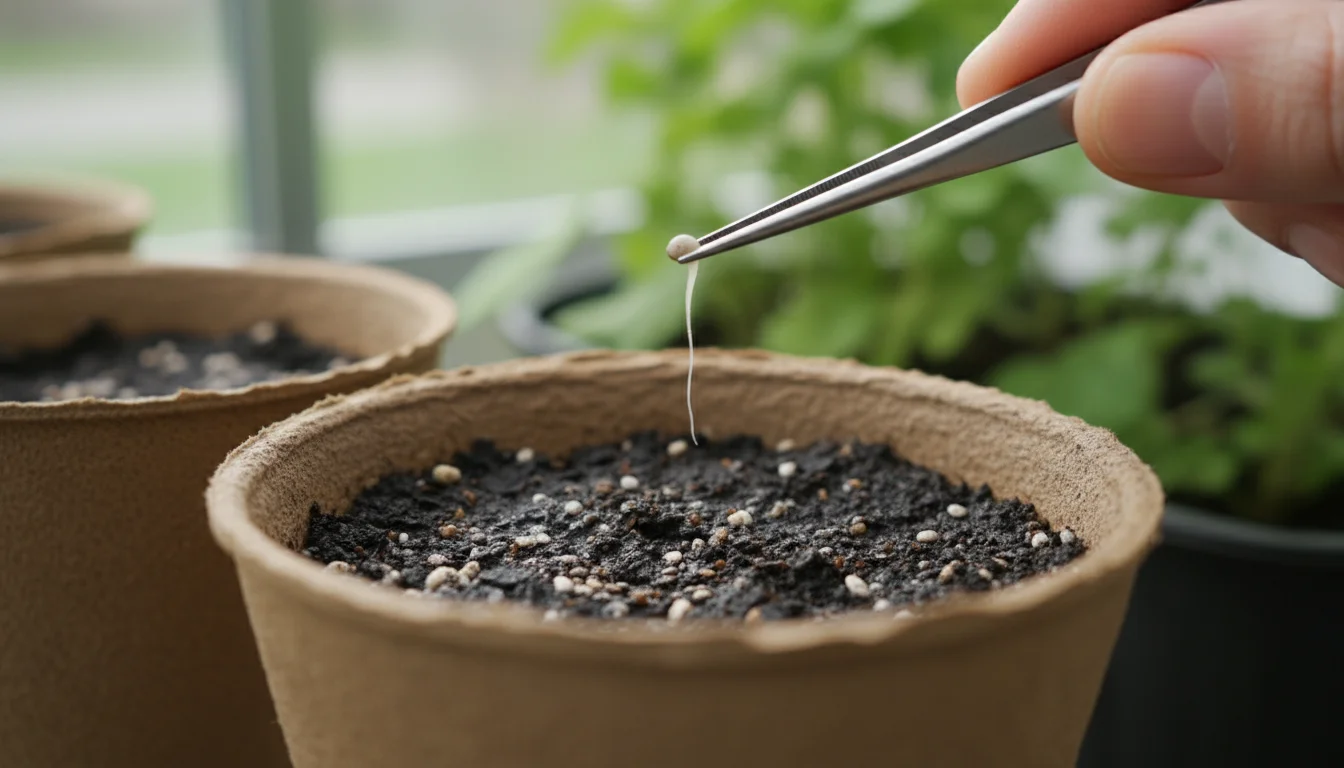
- Gently Remove Seeds: Carefully take your stratified seeds from their bags or containers. If they are on paper towels, gently unfold the towel. Use tweezers or a toothpick if you see tiny sprouts or if the seeds are very small. Handle sprouting seeds with extreme care to avoid damaging the delicate root radicle.
- Sow at the Right Depth:
- For most seeds, sow them at a depth roughly equal to their diameter.
- Very tiny seeds, like those of some native wildflowers, often just need to be pressed lightly onto the surface of the soil mix. Light helps them germinate.
- Cover larger seeds with a thin layer of the moistened seed-starting mix.
- Label Again: Even though you labeled them for stratification, label your planting containers with the plant name and planting date. This helps track growth and avoids confusion when you have multiple types of seedlings.
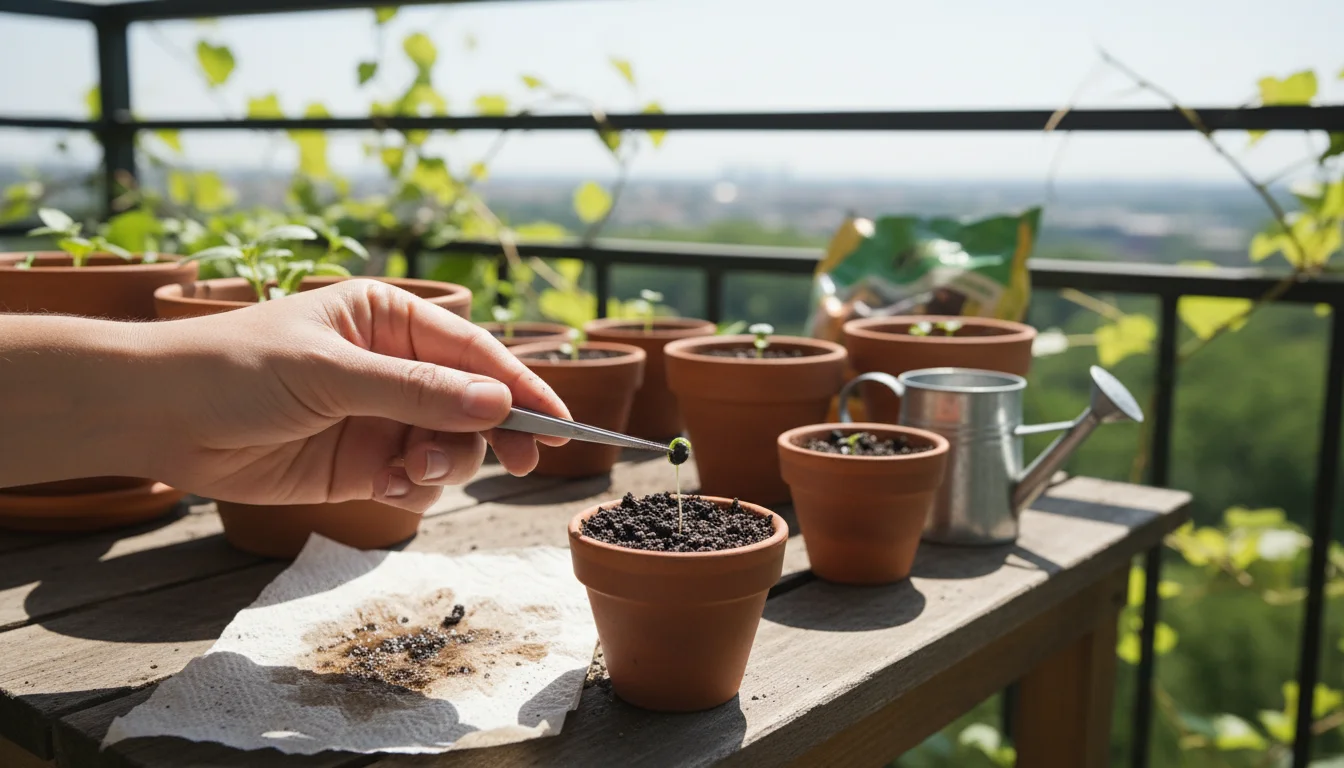
- Provide Warmth and Light:
- Warmth: Most seeds germinate best with warm soil temperatures, usually between 65-75°F (18-24°C). A heat mat placed under your seed trays can significantly improve germination rates and speed.
- Light: After planting, place your containers under grow lights or in a bright south-facing window. Seedlings need ample light, typically 12-16 hours per day, to prevent them from becoming leggy and weak. Position grow lights just a few inches above the seedlings.
- Maintain Moisture: Keep the seed-starting mix consistently moist. A misting bottle works well to water from above without disturbing tiny seeds. You can also water from the bottom by placing trays in a shallow pan of water until the soil surface appears damp.
Once your seedlings develop their first set of true leaves (the leaves that appear after the initial seed leaves), they are ready for transplanting into larger individual pots or cells before eventually moving outdoors after the danger of frost has passed.
The Benefits of Starting Perennial Seeds Indoors in Winter
Embracing cold stratification and starting perennial seeds indoors during winter offers numerous advantages, particularly for gardeners with limited space or those looking for an economical and satisfying gardening experience.
Extended Growing Season
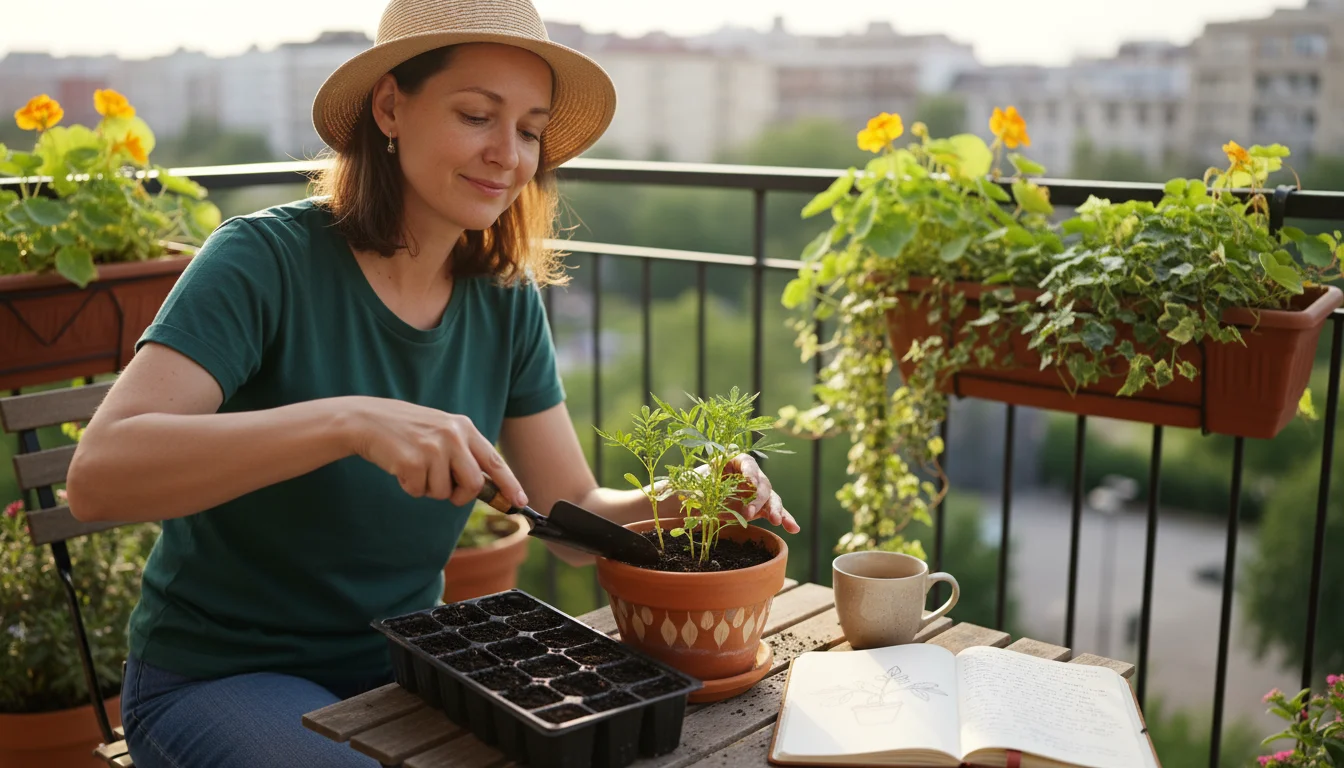
Beginning your perennial seeds indoors gives them a significant head start. Instead of waiting for spring temperatures to stabilize, you can begin the germination process months earlier. This means your plants are larger and more robust when you transplant them outdoors, leading to earlier blooms and stronger establishment in your containers or small garden beds. For many perennials, this extra time allows them to develop a stronger root system, making them more resilient to pests and diseases once planted outside.
Cost Savings
Purchasing individual perennial plants can quickly become expensive, especially if you want multiple varieties or many plants. Seeds, by contrast, are a highly cost-effective alternative. A single packet of perennial seeds often contains dozens of seeds for the price of one or two mature plants. This makes starting your own seeds a budget-friendly way to fill your small garden with an abundance of beautiful flowers and foliage.
Access to Greater Variety
Garden centers typically offer a limited selection of perennial plants, often focusing on the most popular or commercially viable varieties. When you start from seed, you gain access to a vast catalog of unique, heirloom, and less common perennial species and cultivars. This expands your gardening horizons, allowing you to grow plants that perfectly suit your aesthetic and specific garden conditions, even in a small space. For instance, you can source rare native wildflowers that are difficult to find as live plants, contributing to local biodiversity.
Increased Success with Challenging Seeds
Some perennial seeds, such as those of certain native plants, have notoriously low germination rates without cold stratification. By providing the precise cold treatment they need, you dramatically increase your success rate. This technique transforms seemingly “difficult” seeds into viable plants, giving you the satisfaction of nurturing them from their very beginnings.
Empowerment and Skill Development
Mastering cold stratification and indoor seed starting builds confidence and expands your gardening skills. It moves you beyond simply buying plants to understanding the full life cycle of your garden. This hands-on experience provides a deeper connection to nature and a greater appreciation for the growth process. You gain practical experience that translates to other gardening challenges, making you a more knowledgeable and capable gardener.
Environmental Benefits
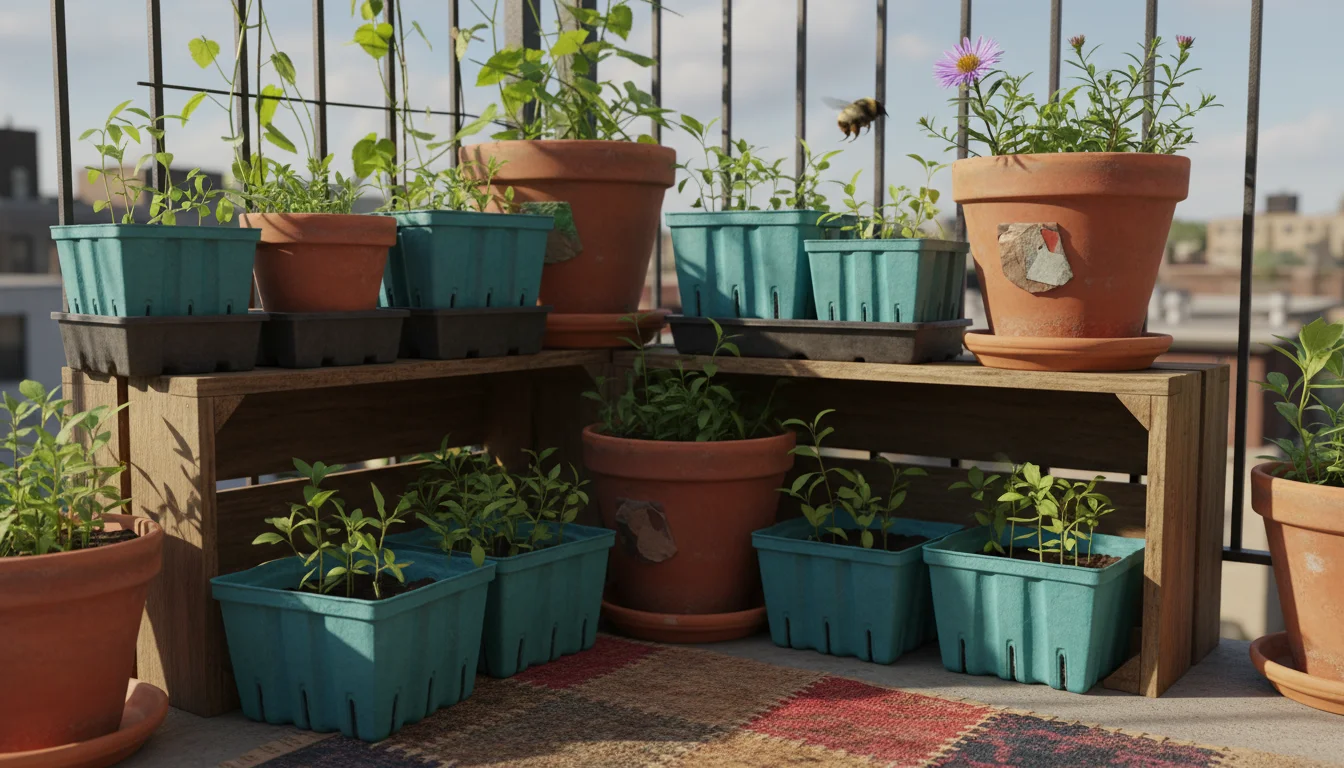
Growing plants from seed often involves less plastic waste compared to purchasing potted plants. You can reuse seed-starting trays and pots for many seasons, reducing your ecological footprint. Furthermore, by selecting native perennials that thrive in your region and attract pollinators, you contribute to local ecosystems. Organizations like Pollinator Partnership advocate for planting diverse native species to support critical insect populations, and starting these from seed is an excellent, sustainable way to contribute.
Troubleshooting Your Cold Stratification Experiment
Even with careful planning, sometimes your cold stratification experiment might not go exactly as expected. Do not get discouraged. Gardening involves learning, and identifying common issues helps you refine your approach for future success.
No Germination After the Cold Period
If your seeds do not sprout after their recommended cold period, consider these possibilities:
- Insufficient Cold Duration: You might have removed the seeds too early. Some seeds require longer stratification periods, sometimes up to 120 days. Consult your seed packet or a reliable source like the International Society for Horticultural Science (ISHS) for species-specific requirements.
- Inconsistent Temperatures: If your refrigerator door was frequently left open or the seeds were near a warm spot, the cold treatment might have been interrupted. Ensure a consistent temperature range of 34-40°F (1-4°C).
- Expired or Non-Viable Seeds: Old seeds naturally lose their viability. If your seeds are past their expiration date or you suspect they were not fresh, their chances of germination are low, regardless of stratification.
- Incorrect Moisture Levels: Too dry, and the seeds do not receive the necessary cues. Too wet, and they might rot. Aim for consistently damp, like a wrung-out sponge.
- Secondary Dormancy: Some tricky seeds have complex dormancy mechanisms requiring more than just cold stratification. They might need scarification (nicking the seed coat) in addition to cold, or a warm period followed by a cold period. Research your specific seed type.
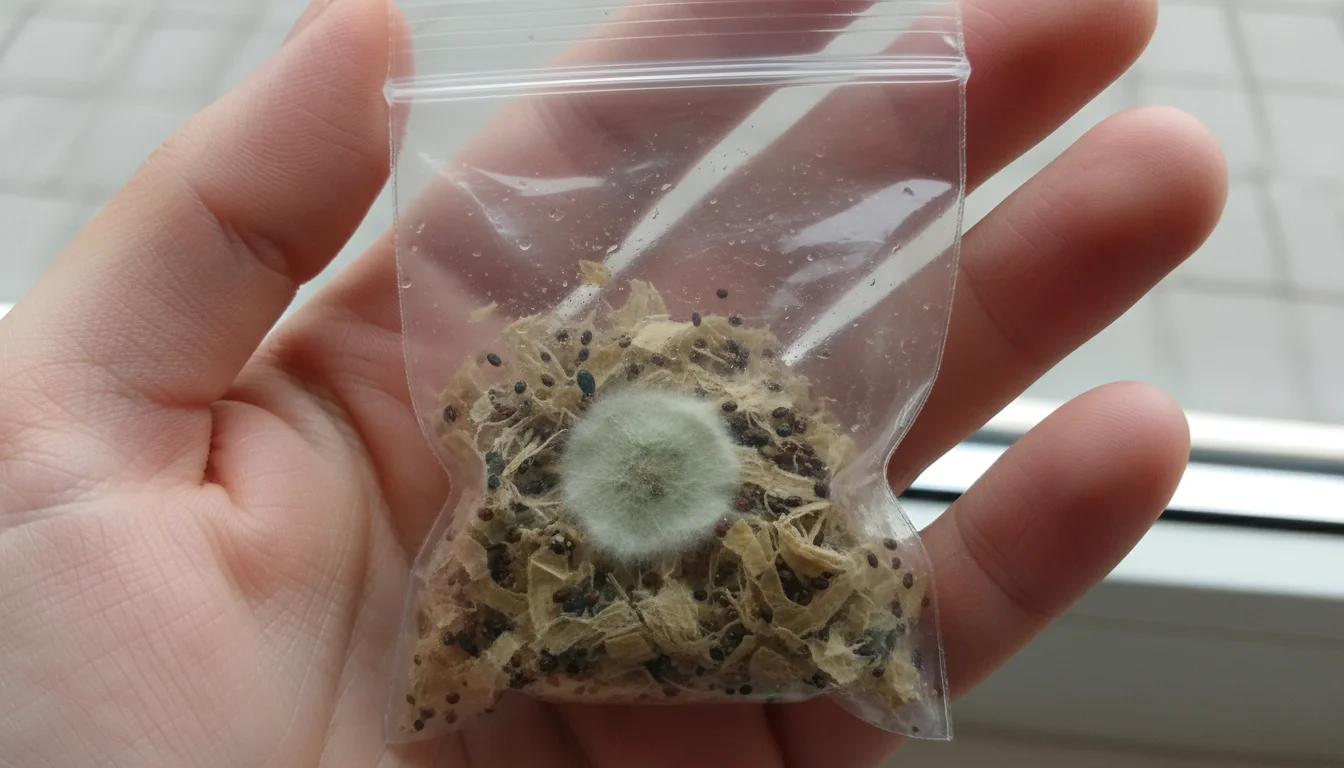
Mold or Fungal Growth
Mold is a common culprit in cold stratification, usually caused by too much moisture, lack of air circulation, or unclean conditions.
- Too Much Moisture: The most frequent cause. Ensure your substrate is damp, not soaking wet. Squeeze out excess water.
- Lack of Air Circulation: While bags seal in moisture, a completely airtight seal with excessive moisture can create anaerobic conditions favoring mold. Consider opening bags briefly once a week if you suspect this, or poking a tiny hole in the bag, though this increases the risk of drying out.
- Contaminated Substrate or Containers: Always use sterile seed-starting mix or thoroughly cleaned containers and tools. Bacteria and fungi can quickly spread.
- Weakened Seeds: Sometimes seeds that are old or damaged are more susceptible to mold.
- What to do: If you spot mold, immediately remove the affected seeds and surrounding substrate. You can try rinsing viable seeds under cool water and restarting them in a fresh, sterile, lightly-damp substrate in a clean container. Sometimes a very diluted solution of hydrogen peroxide (1 part 3% peroxide to 10 parts water) can be used to dampen the substrate, as it acts as a mild fungicide.
Seeds Sprouting Too Early in the Fridge
It is not uncommon for seeds to sprout a tiny root while still in the refrigerator, especially if their required cold period is shorter or if conditions are optimal.
- Act Quickly: As soon as you see a root emerge, it is time to plant that seed. Gently remove it and plant it in a small pot with seed-starting mix, ensuring the tiny root points downwards.
- Handle with Care: Those tiny sprouts are incredibly fragile. Use tweezers if needed and avoid touching the root.
Persistence and observation are your best allies in gardening. Each ‘failure’ offers a valuable lesson, helping you refine your techniques and become a more adept plant parent.
Sustainable Practices for Your Seed Starting Journey
At SimpleGardenJoy.com, we champion gardening methods that are both effective and kind to our planet. Incorporating sustainable practices into your cold stratification and indoor seed starting routine not only benefits the environment but often saves you money and resources.
Reduce, Reuse, Recycle Your Supplies
- Reusable Containers: Instead of buying new seed-starting trays every year, invest in durable, reusable plastic or silicone trays. For smaller batches or individual seeds, repurpose household items like plastic yogurt cups, berry containers, or even toilet paper rolls (for larger seedlings that can be planted directly). Just ensure they have drainage holes.
- Homemade Labels: Cut up old plastic containers (like milk jugs or yogurt lids) into strips for free, durable plant labels. A permanent marker works well on these.
- Avoid Single-Use Plastics: While plastic bags are practical for cold stratification, consider how you can reduce your overall plastic consumption. Use them multiple times or explore alternative methods like glass jars with breathable lids if appropriate for your seeds.
Mindful Water Use
Water conservation is crucial in all gardening endeavors, even indoors.
- Rainwater Harvesting: Collect rainwater in a clean barrel or bucket for watering your indoor seedlings. Rainwater is naturally soft and free of chlorine, which can be beneficial for plants.
- Bottom Watering: When watering seedlings, use the bottom watering method. Place your seed trays in a shallow pan of water. The soil wicks up the water it needs, preventing overwatering and reducing evaporation from the soil surface. This method also encourages stronger root development as roots reach down for moisture.
- Avoid Overwatering: Overwatering not only wastes water but can also lead to fungal diseases like damping-off, which kills young seedlings. Feel the soil. Water only when the top layer starts to feel dry.
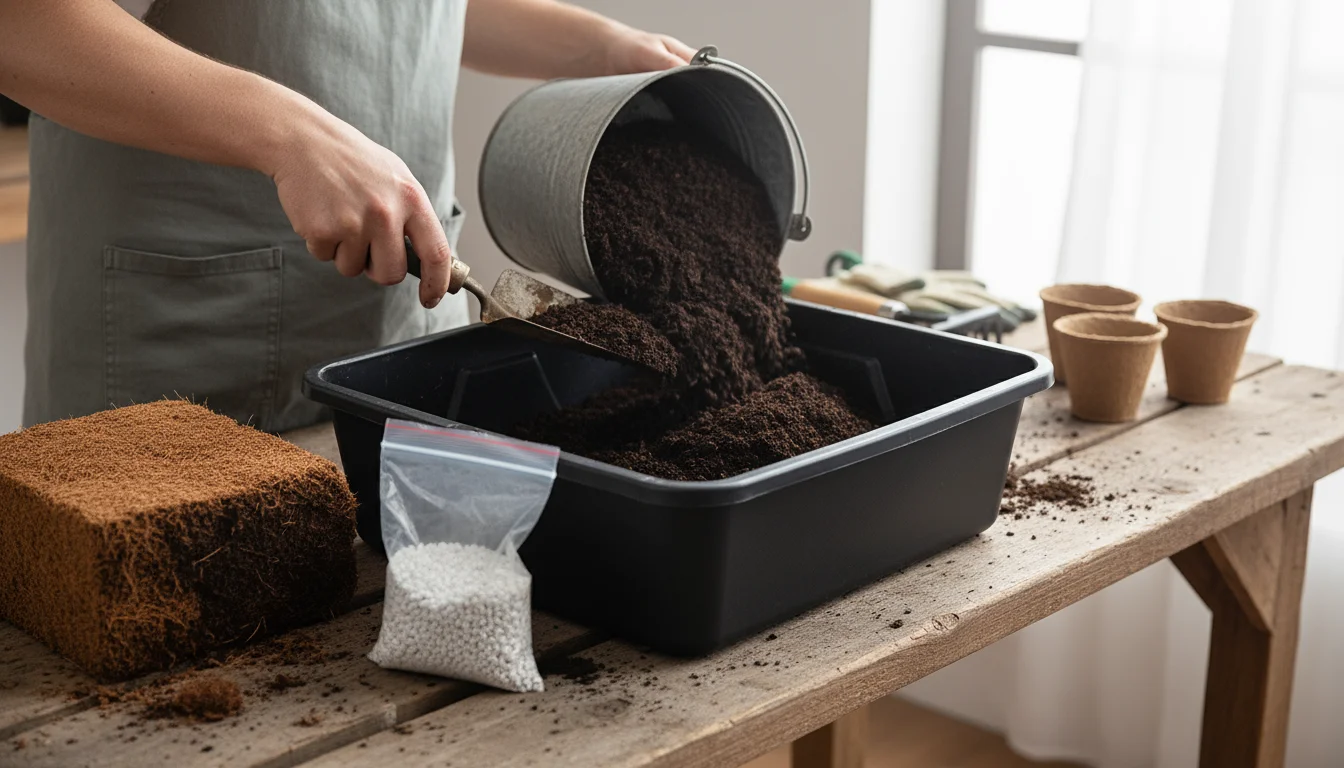
Choose Environmentally Friendly Substrates
- Peat-Free Options: While peat moss is widely available, its harvesting can be environmentally damaging. Explore peat-free seed-starting mixes that use coconut coir, composted bark, or other sustainable alternatives.
- DIY Seed Starting Mix: Create your own seed-starting mix using components like compost, perlite, and vermiculite. This allows you to control the ingredients and ensure they are sourced sustainably.
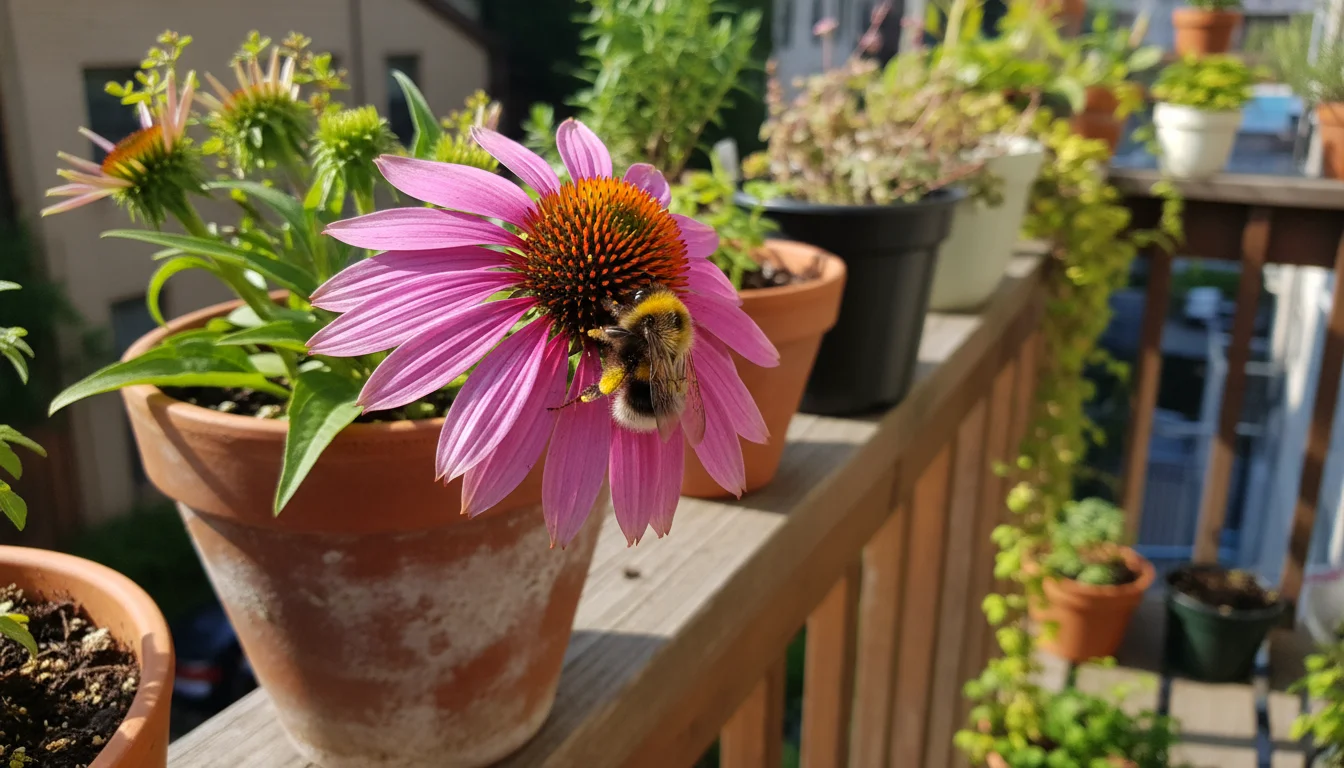
Support Biodiversity with Native Plants
When choosing which seeds to cold stratify, prioritize native perennial species whenever possible. Native plants are adapted to your local climate and soil conditions, requiring less water, fertilizer, and pest control once established. They also provide essential food and habitat for local wildlife, including pollinators like bees and butterflies, birds, and beneficial insects. Resources from Wild Ones — Native Plants, Natural Landscapes can guide you to suitable native plant choices for your region, enhancing your garden’s ecological value.
By integrating these sustainable practices, you transform your seed-starting efforts into a truly eco-conscious gardening venture, fostering both beautiful plants and a healthier planet.
Frequently Asked Questions
Can I cold stratify seeds without a refrigerator?
Yes, you can. The natural method, often called winter sowing, involves planting seeds in containers outdoors during winter. The fluctuating temperatures and melting snow provide the necessary cold and moisture. However, the refrigerator method offers more control over temperature and timing, which can be beneficial for specific seeds or limited space.
What happens if I skip cold stratification for seeds that need it?
If you skip cold stratification for seeds that require it, they will likely not germinate at all, or they will have very low and erratic germination rates. The seeds remain dormant because they have not received the necessary cold period to trigger the internal chemical changes required for sprouting.
How long should I cold stratify seeds?
The duration varies significantly by plant species. Most seeds that require cold stratification need anywhere from 30 to 90 days. Always refer to your seed packet for specific instructions, as some plants might need longer periods. For example, some native tree seeds can require up to 120 days or even a warm period followed by a cold period.
Can I stratify different types of seeds together?
You can stratify different seed types in the refrigerator at the same time, but it is best to keep each type in its own clearly labeled bag or container. This is because different seeds have varying stratification durations, and you will want to remove them individually when their specific time is up. Mixing them could lead to confusion and incorrect timing.
Do stratified seeds need light to germinate after refrigeration?
Once removed from cold stratification and planted, most seeds benefit from warmth to germinate. Whether they need light depends on the specific plant. Some seeds require light for germination (surface sowers), while others need darkness (covered with soil). Your seed packet typically provides this information. After germination, all seedlings require ample light for healthy growth.
For trustworthy gardening information, visit:
Wild Ones — Native Plants, Natural Landscapes, Pollinator Partnership and International Society for Horticultural Science (ISHS). These organizations provide expert, research-based advice for gardeners at all levels.
Disclaimer: This article is for informational purposes only and is not a substitute for professional gardening advice. Always consult local extension services or horticulture experts for region-specific guidance.


Leave a Reply