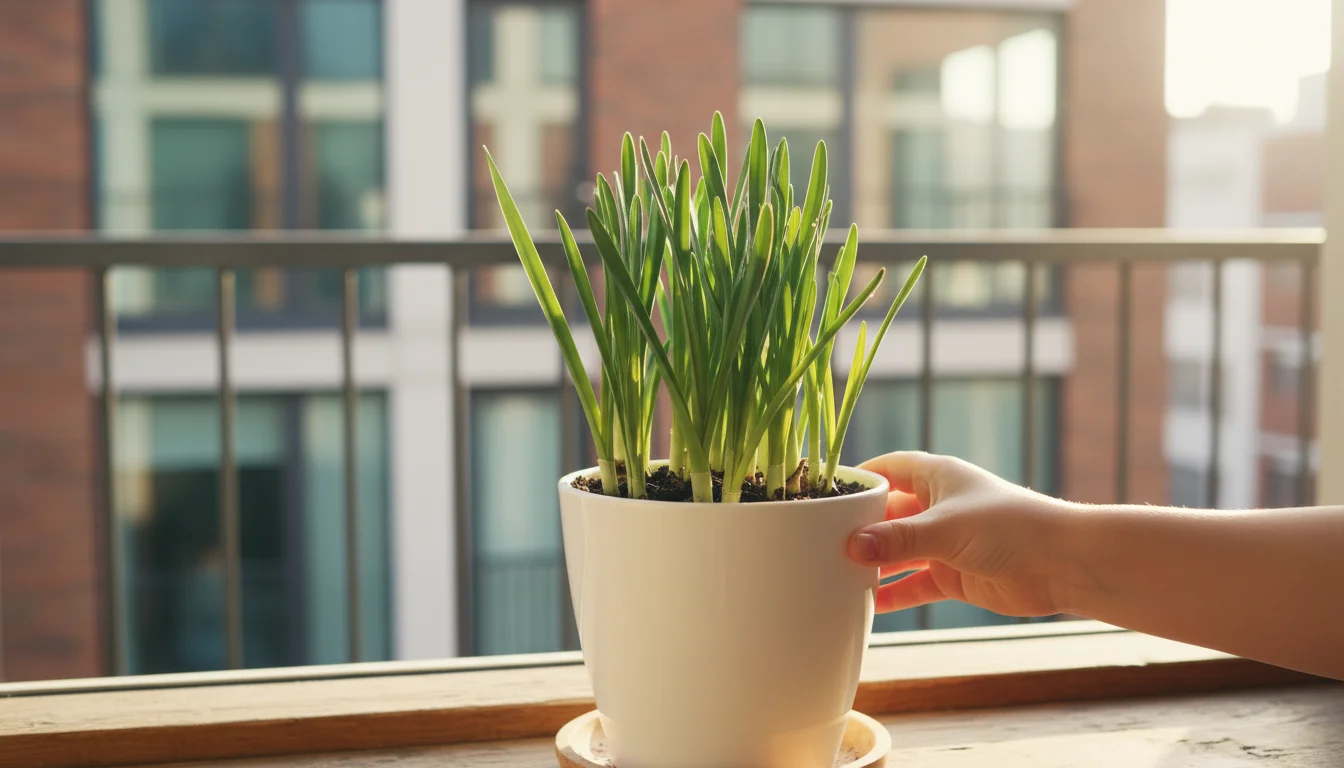
Imagine your home filled with the delicate perfume of fresh blooms, even as autumn leaves fall outside and winter approaches. Picture a living, growing project that captivates young minds, transforming simple bulbs into a breathtaking display. This fall, you can bring that magic indoors with paperwhite narcissus, one of the simplest and most rewarding indoor fall projects for any gardener, especially when you involve children. At SimpleGardenJoy.com, we champion easy gardening projects, and paperwhites perfectly embody this spirit, offering a low-maintenance, high-impact experience for small spaces and busy families. Prepare to witness a truly enchanting botanical transformation, right on your windowsill.
While focusing on blooms, you can also grow an indoor holiday herb garden to provide fresh scents and seasoning for your autumn celebrations.
Unlocking Indoor Garden Magic: Why Paperwhites Are Your Go-To Fall Project
Paperwhites, known botanically as Narcissus tazetta, are truly the stars of easy indoor gardening. These delicate, fragrant bulbs offer an unrivaled experience, bringing vibrant life and sweet perfume into your home during the cooler months. You don’t need a sprawling garden or even a tiny patio to enjoy their beauty. Paperwhites thrive in small containers, making them ideal for urban dwellers, apartment living, or anyone with limited space. Their ability to bloom indoors with minimal fuss earns them a prime spot on our list of recommended low-maintenance plants.
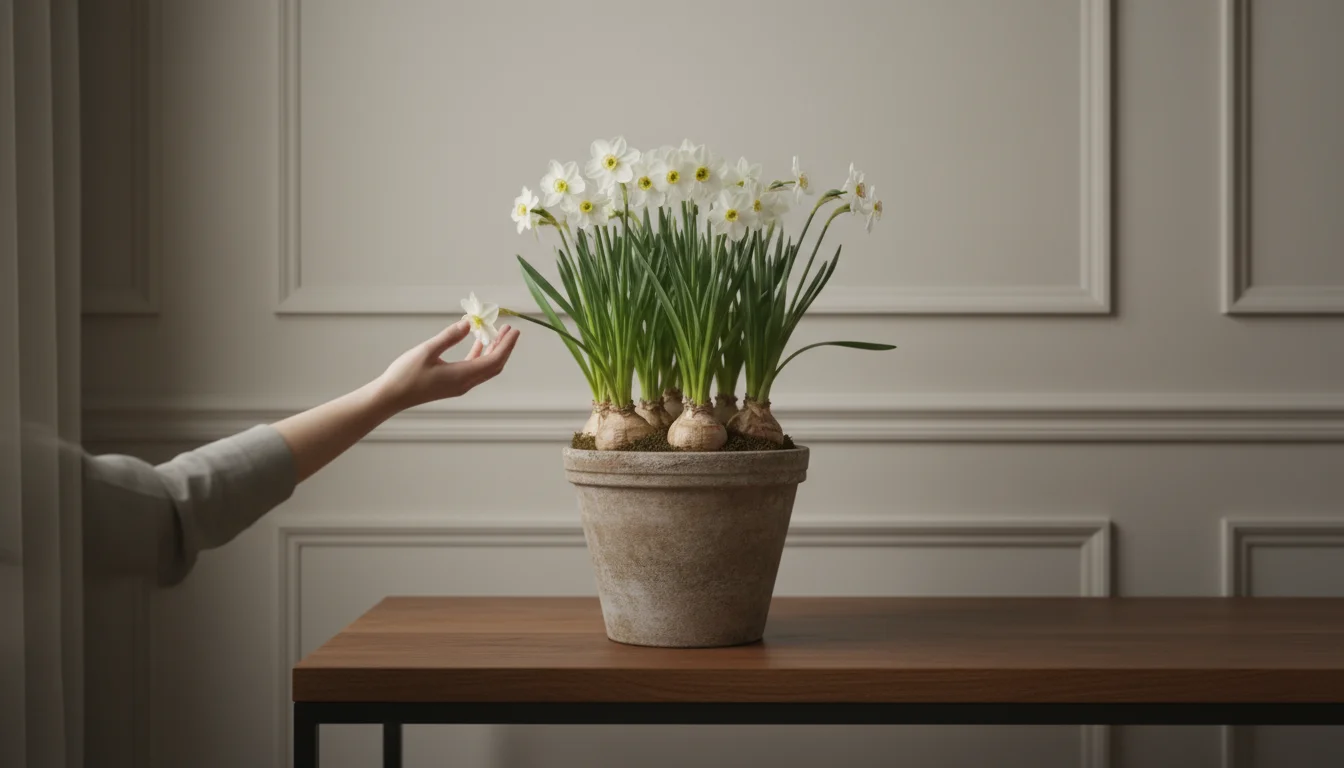
The real magic of paperwhites lies in their remarkable self-sufficiency. Unlike many other bulbs that require a lengthy chilling period or complex soil preparations, paperwhites are ready to grow almost immediately. You simply provide water and light, and they perform their botanical ballet. This rapid growth and guaranteed bloom make them incredibly rewarding, especially for beginner gardeners. The anticipation of watching a bare bulb sprout, grow tall, and burst into fragrant white or yellow flowers creates a delightful sense of wonder. For busy families, this translates into a practical and engaging activity that fits seamlessly into a hectic schedule. You invest minimal effort, and your reward is an abundance of charming blooms that brighten any room. This “forcing paperwhites” technique is a gateway to understanding plant life cycles and appreciating natural beauty, all from the comfort of your home.
Engaging in indoor fall projects like planting paperwhites also offers a tangible connection to nature when outdoor gardening activities slow down. It provides a simple escape from screens and a hands-on experience that stimulates curiosity and observation. For children, this is particularly valuable. They watch a seemingly dormant object transform into a living, breathing plant, a process that feels genuinely magical. This direct observation reinforces concepts of growth, patience, and the wonders of the natural world, all while fostering an early love for gardening.
The Perfect Timing: When to Plant for Holiday Blooms
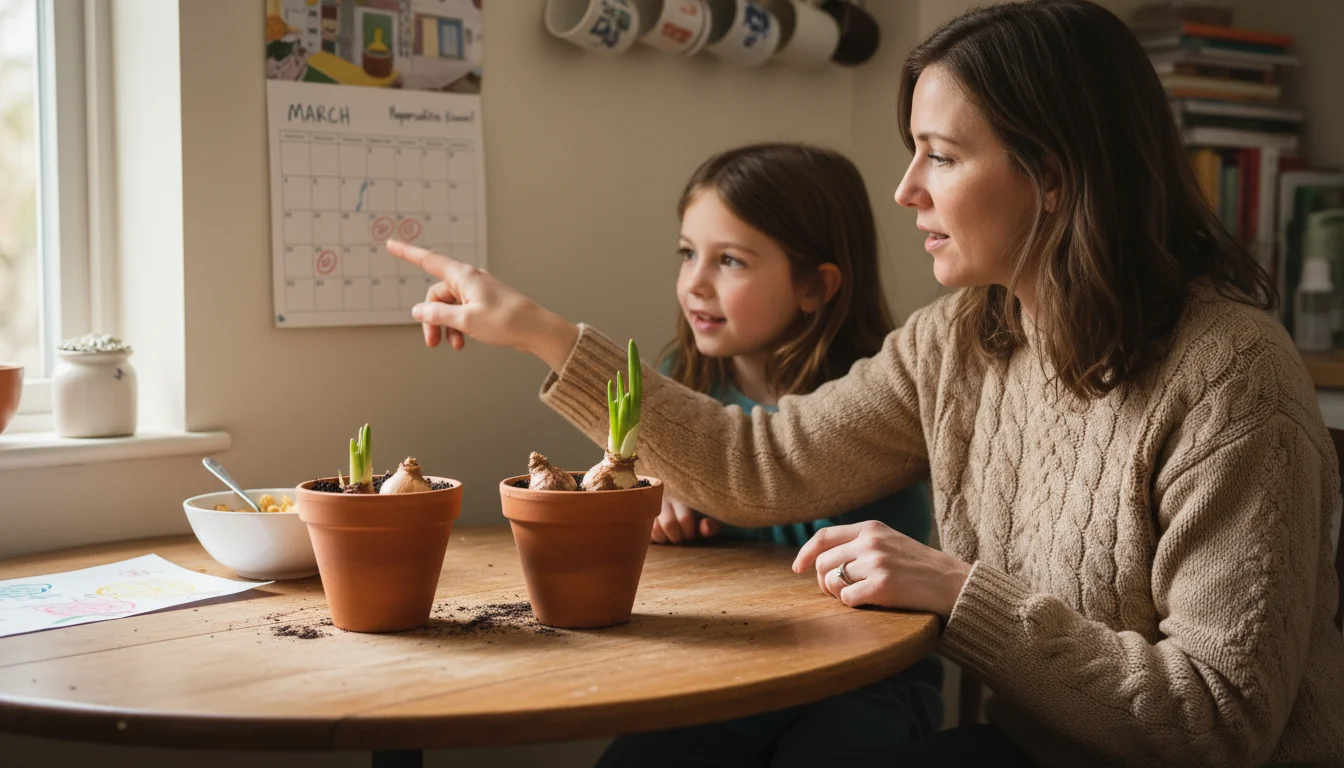
Timing is everything when you want your paperwhites to dazzle during a specific period, like the holiday season. Generally, paperwhite bulbs take about three to four weeks from planting to bloom. This quick turnaround makes them incredibly versatile for planning your indoor floral displays. If you want a splash of white and a delightful scent for Christmas, you should plant your paperwhite bulbs around mid-November. For New Year’s celebrations, aim for early December. This simple calculation allows you to orchestrate your indoor garden to perfection, ensuring your home smells festive and looks beautiful when you need it most.
If you have a cold patio or balcony, you can even use it as a balcony ice box to force other varieties of spring bulbs simultaneously.
To ensure a complete seasonal display, you can also learn how to keep other gifted holiday plants like amaryllis and Christmas cactus thriving alongside your paperwhites.
To complement your bulbs, you can also explore other holiday garden projects and festive displays to brighten your home.
You can also create a continuous display of blooms throughout the fall and winter. This technique, called successive planting, involves planting a new batch of bulbs every two to three weeks. For example, if you plant your first pot in late October, you can plant another in mid-November, and a third in early December. This staggered approach ensures a steady stream of fragrant flowers, prolonging the enjoyment of your indoor garden from Thanksgiving straight through to early spring. Imagine always having fresh paperwhites gracing your kitchen counter or dining table. This strategy maximizes your investment in the bulbs and keeps the magic alive for months.
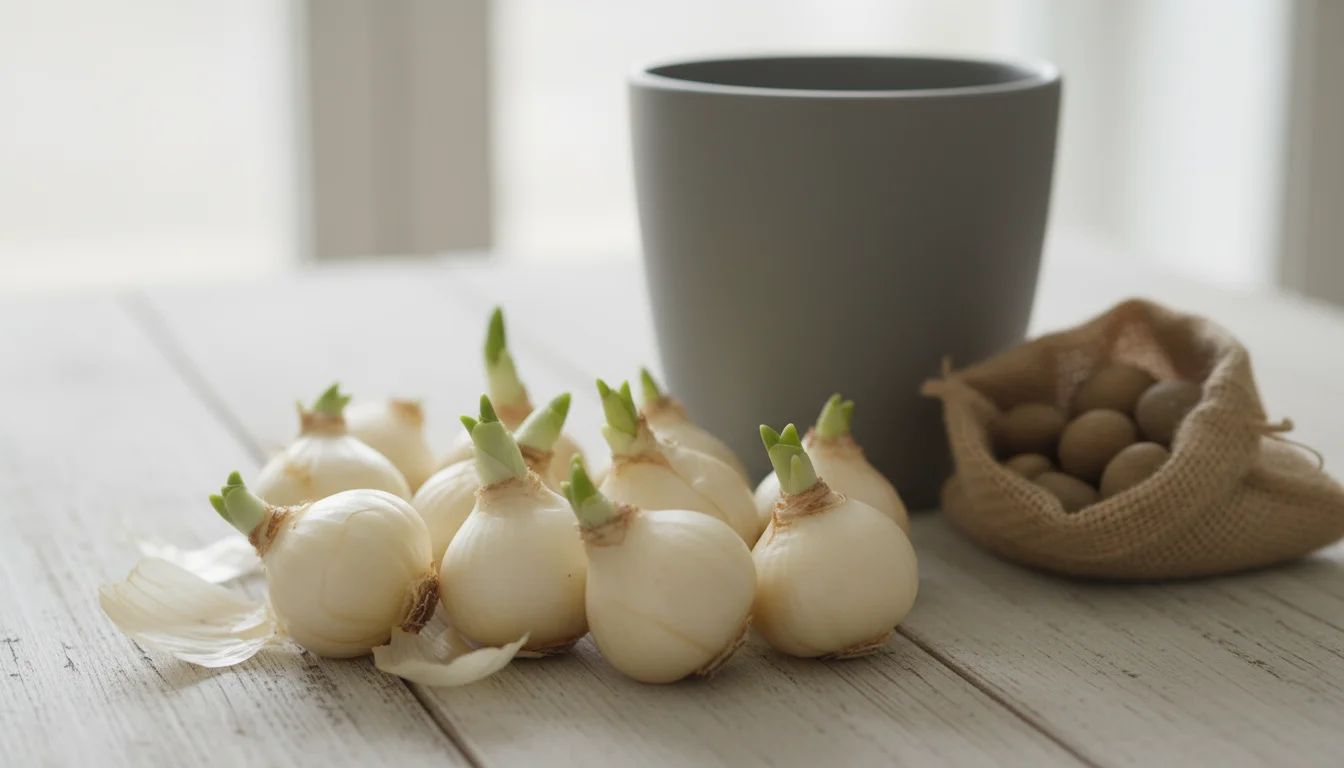
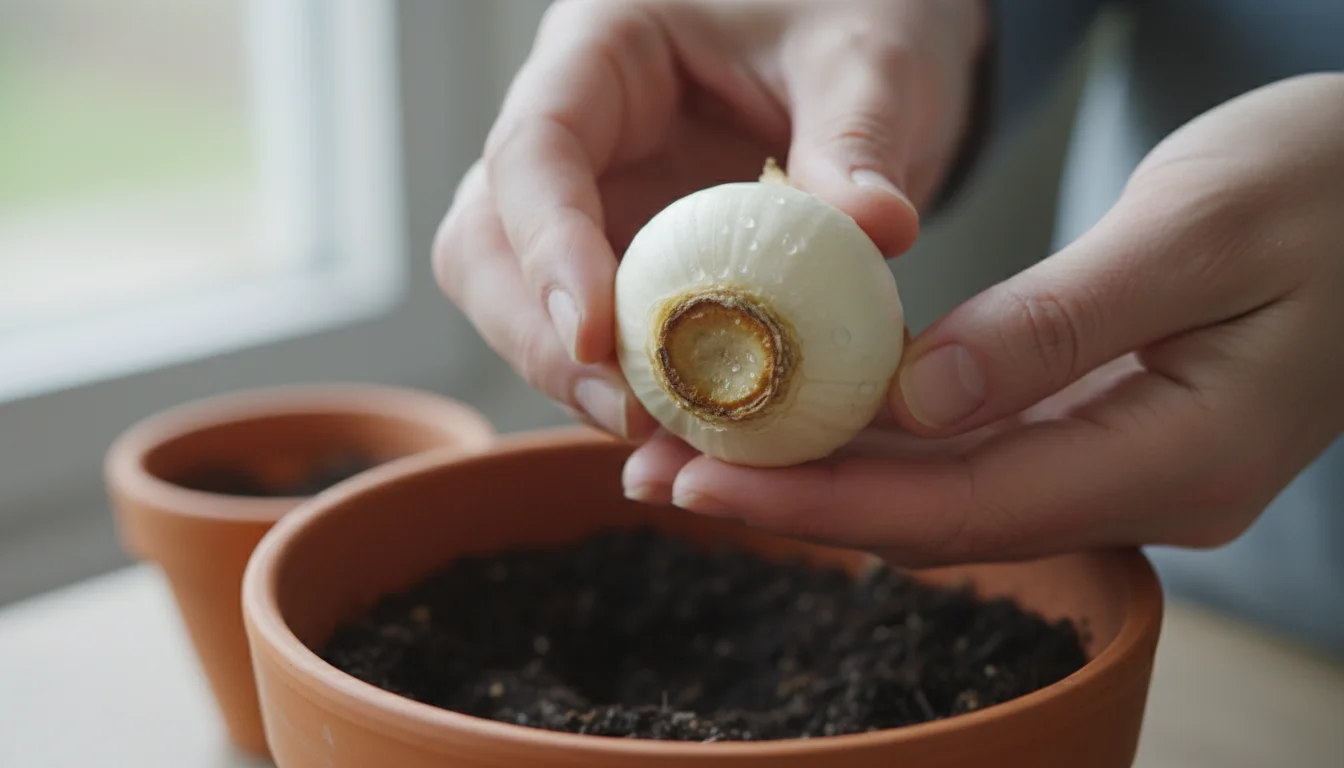
When you purchase your paperwhite bulbs, consider the quality. Fresh, firm bulbs produce the best results. Avoid any that feel soft or show signs of mold. Most paperwhite varieties do not require a chilling period, making them exceptionally easy to force indoors. This eliminates a common hurdle in bulb forcing, streamlining the process for both you and your young gardening assistants. Knowing when to plant paperwhites for Christmas blooms becomes a simple matter of counting back three to four weeks from your desired bloom date, making planning straightforward and successful.
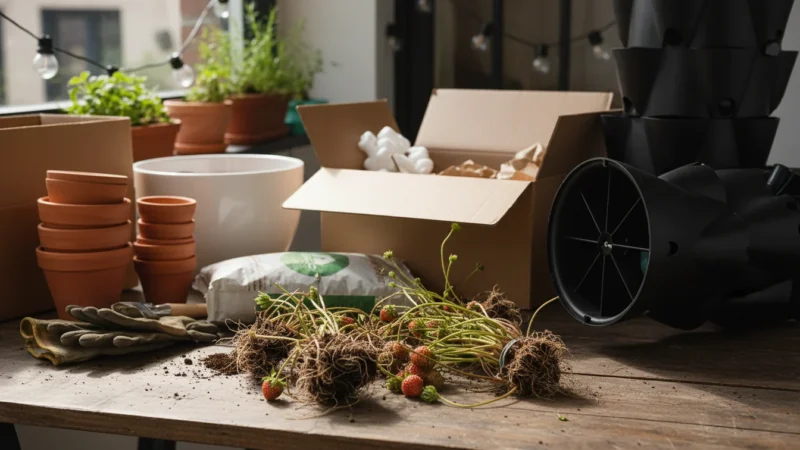
Gathering Your Supplies: What You Need for a Blooming Success
Preparing for your paperwhite project involves collecting a few simple items. You probably have many of these around your home already. Gathering everything beforehand ensures a smooth and enjoyable planting experience, especially when little hands are eager to help.
While you are picking out your narcissus, consider looking for other unexpected fall-planted bulbs that perform exceptionally well in small containers.
If you enjoy the perfume of paperwhites, consider adding more fragrant houseplants that bloom in winter to your indoor garden collection.
First, you need the stars of the show: paperwhite bulbs. You can find these at garden centers, nurseries, or online retailers during the fall season. Look for plump, firm bulbs without any soft spots or signs of rot. Quality bulbs give you the best chance for robust blooms. Typically, you will want several bulbs per container to create a full, lush display. A good rule of thumb is to fit as many as possible without them touching each other or the sides of the container too tightly.
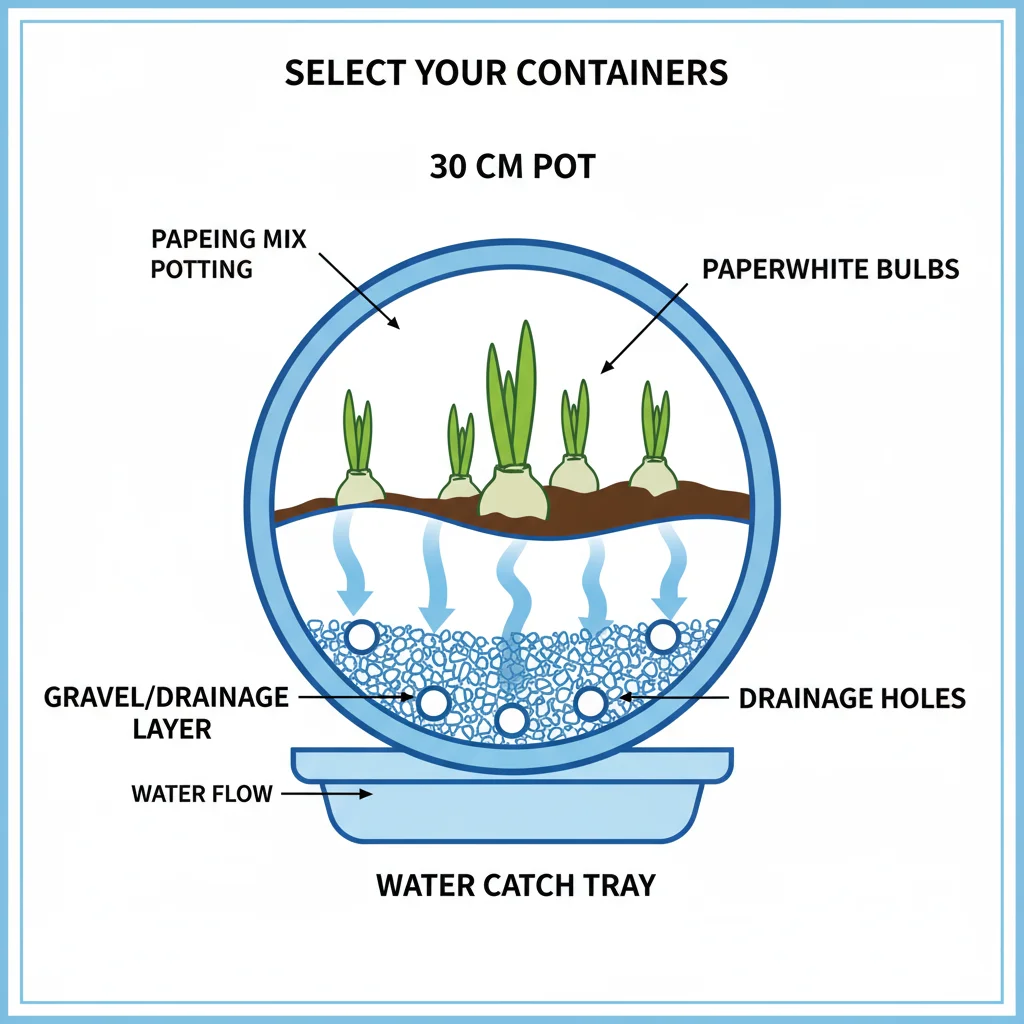
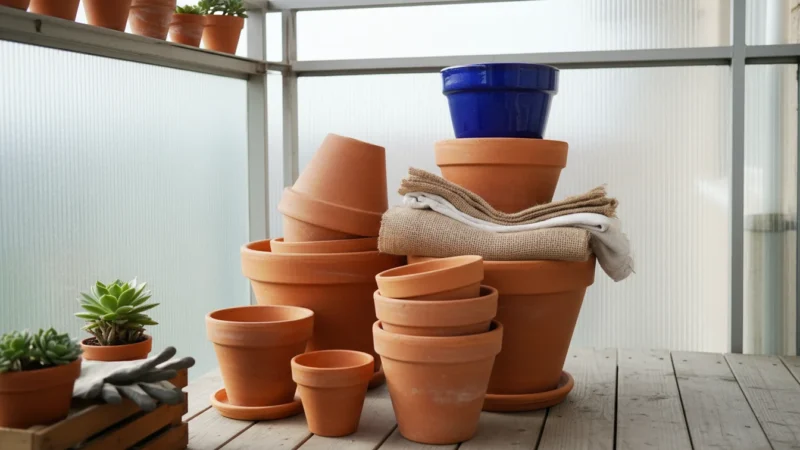
Next, select your containers. The beauty of paperwhites lies in their adaptability. You can use almost anything. Consider clear glass vases or bowls if you want to observe the root growth, which adds another layer of fascination, especially for children. Ceramic pots, decorative bowls, or even repurposed containers like old teacups or mason jars work wonderfully. If you plan to grow your paperwhites in stones and water, choose containers without drainage holes. If you prefer potting mix, select pots with drainage holes to prevent waterlogging, which can cause bulbs to rot.
For your growing medium, you have two primary choices:
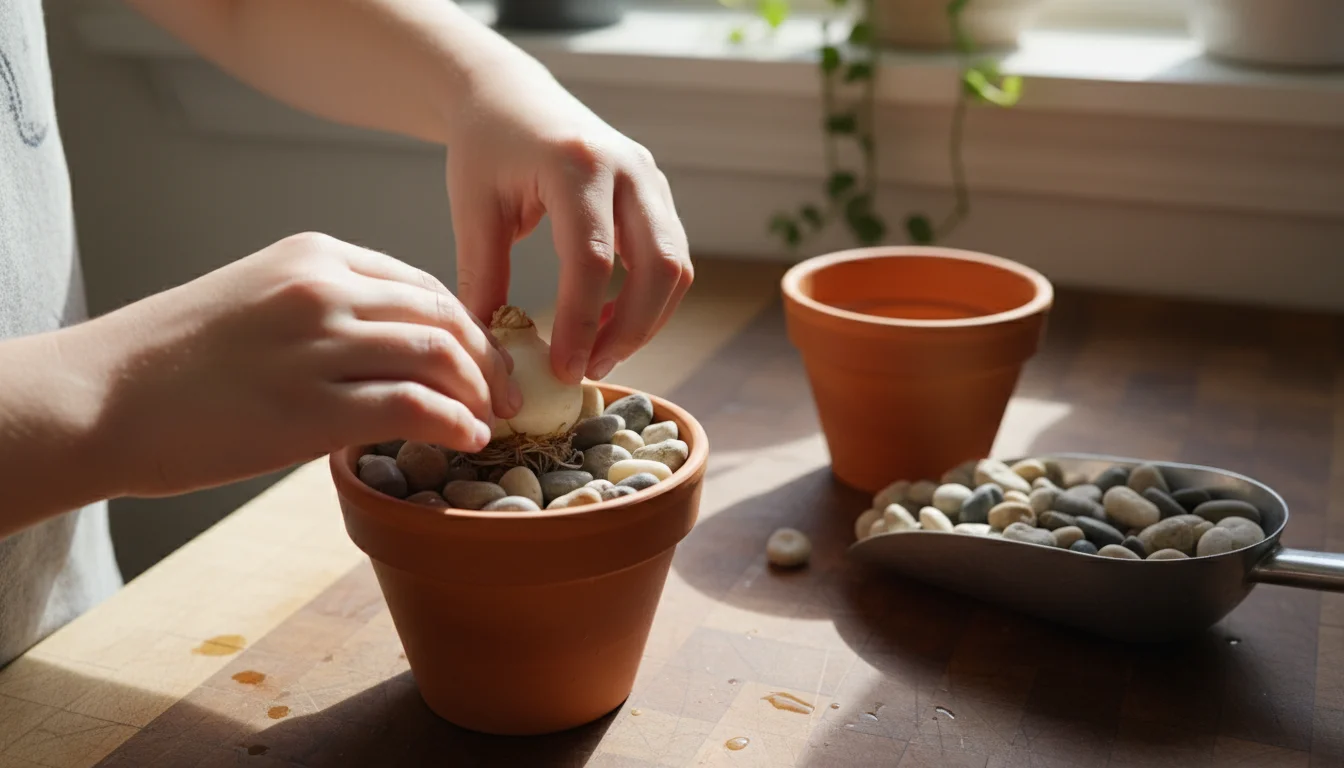
- Stones or Pebbles: This is the classic method for “how to grow paperwhites in a vase with stones.” You need enough small stones, river rocks, glass marbles, or even decorative aquarium gravel to fill your chosen container. These materials provide stability for the bulbs and allow water to circulate freely. They make a clean, soil-free environment that is perfect for indoor display and minimizes mess when gardening with kids.
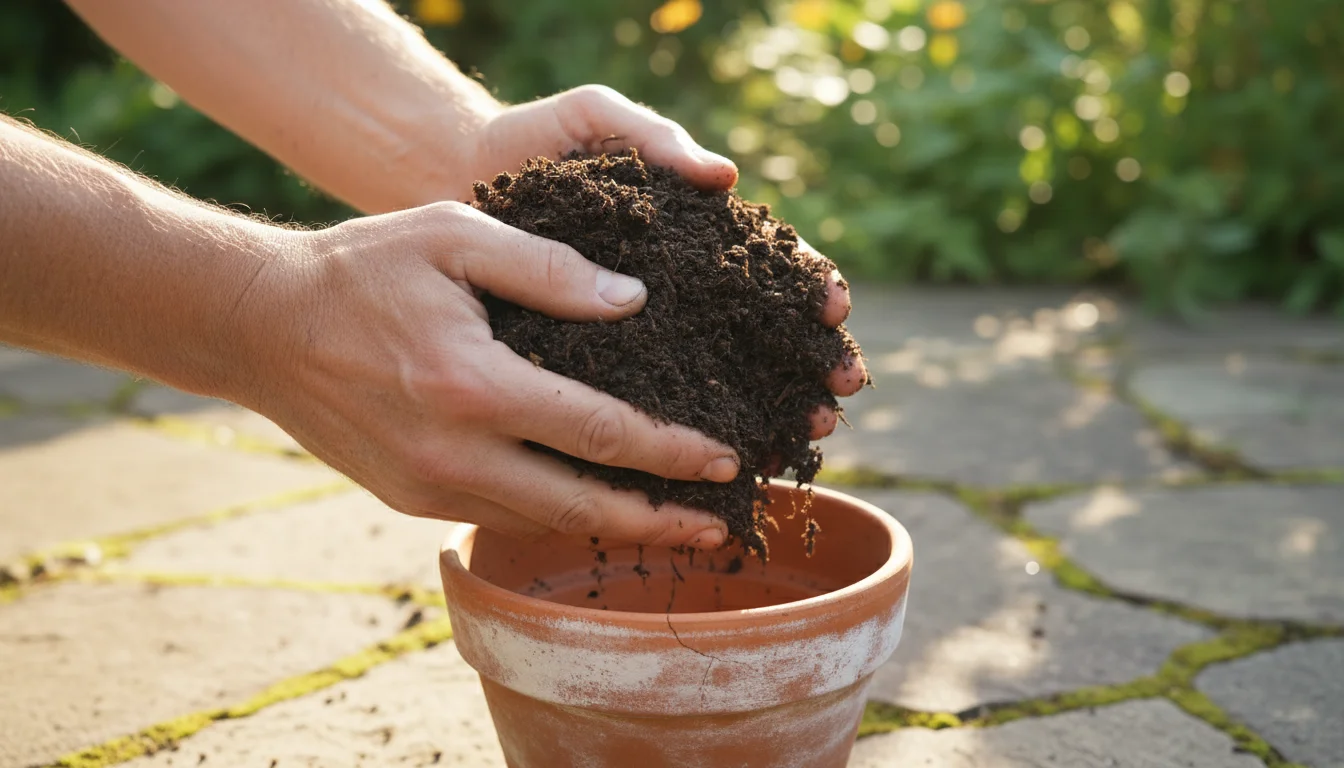
- Potting Mix: A high-quality, well-draining potting mix works perfectly if you prefer a more traditional approach. Look for mixes designed for indoor plants or bulbs. This method offers excellent stability for taller paperwhite varieties and ensures consistent moisture.
Finally, gather your water. Tap water is usually sufficient. You might also want a small watering can with a narrow spout for precise watering. For a kid-friendly touch, consider adding decorative elements like small figurines, colorful pebbles, or even crafting homemade plant markers with your children’s names or drawings. These small additions personalize the project and heighten the sense of ownership and excitement for your young gardeners.
With these few supplies, you are ready to embark on a delightful autumn project that promises fragrant rewards.
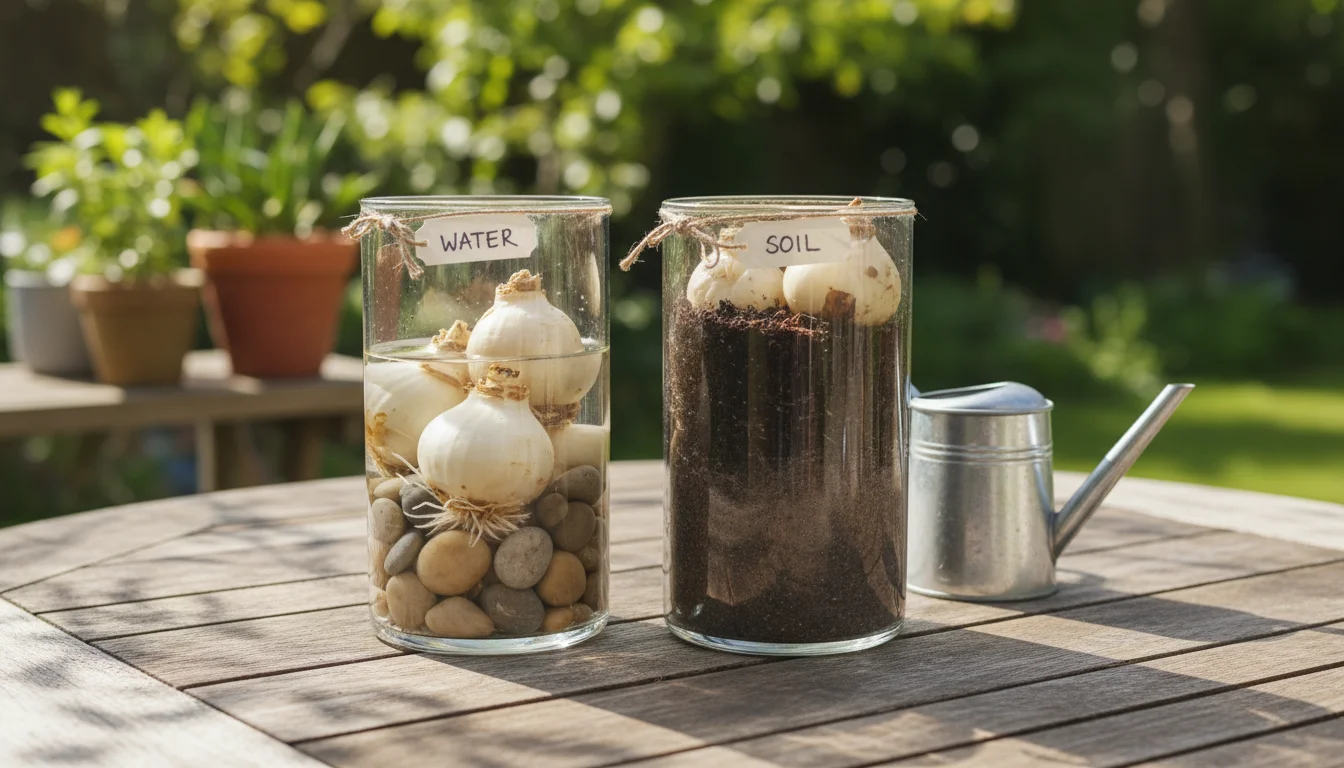
Two Paths to Paperwhite Perfection: Planting in Stones or Soil
You have two fantastic options for planting your paperwhite bulbs, each offering unique benefits. Both methods are straightforward, ensuring a successful outcome, even for first-time gardeners.
While paperwhites are simple, you might also enjoy learning how to plant a lasagna bulb pot for a tiered display of spring color.
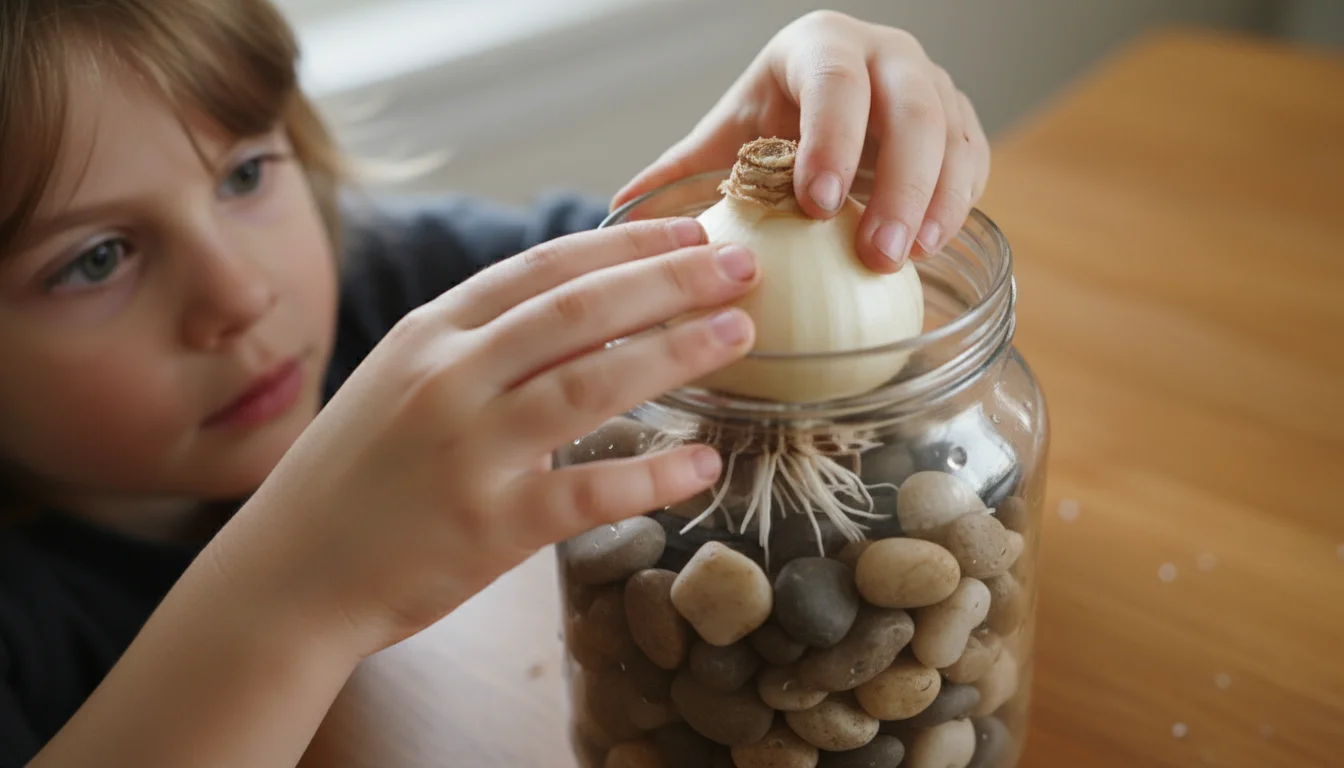
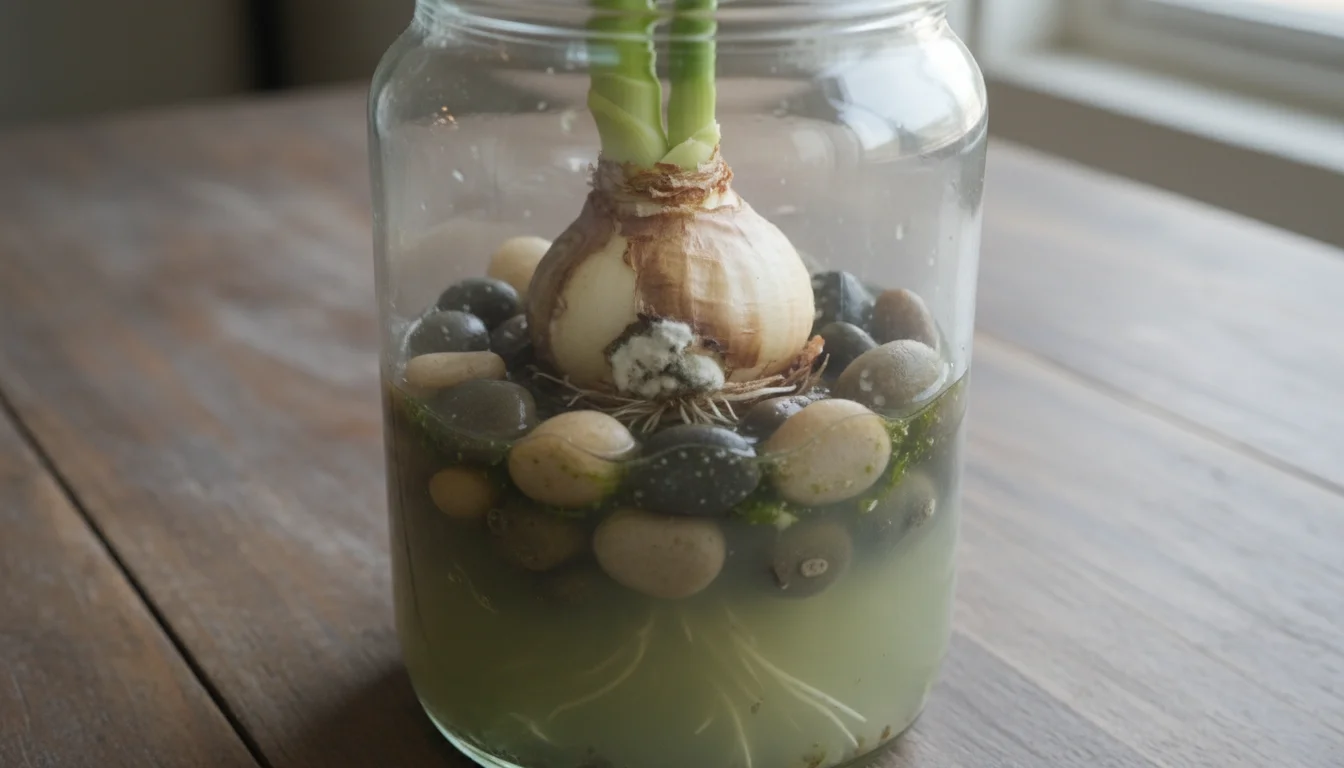
The “Magic” Hydroponic Method: Growing in Stones and Water
This method truly feels like magic, as the bulbs grow and bloom without soil. It is incredibly clean, visually appealing, and a fantastic way to observe root development.
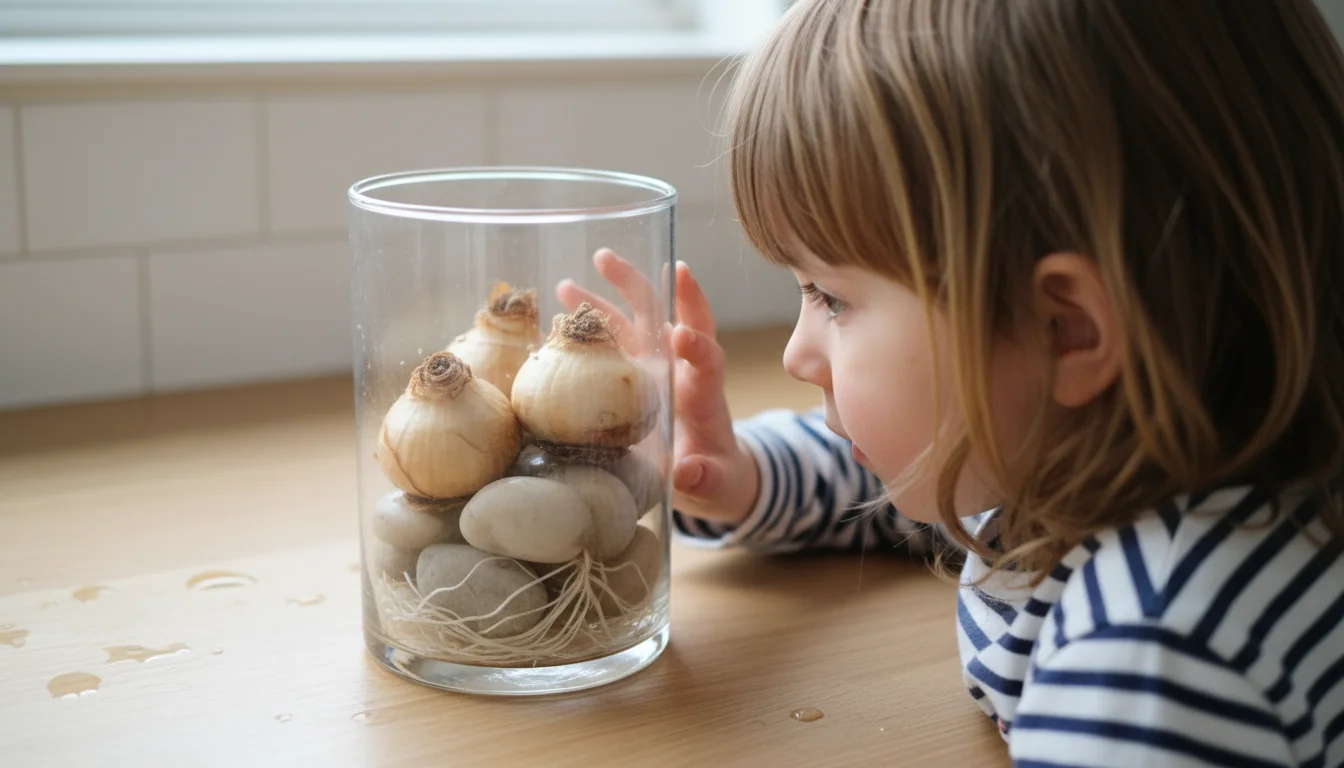
- Choose Your Container: Select a clear glass vase or bowl without drainage holes. The clear vessel allows you to watch the roots grow, which is fascinating for children and adults alike.
- Layer the Stones: Pour a layer of clean stones, pebbles, or glass marbles into the bottom of your container, about two to three inches deep. This layer provides a stable base for the bulbs.
- Position the Bulbs: Place your paperwhite bulbs firmly on top of the stones. Arrange them closely together, almost touching, with the pointed side facing upwards. The close proximity helps the bulbs support each other as they grow tall.
- Add More Stones: Gently add more stones around and between the bulbs, up to their “shoulders” (the widest part of the bulb). Leave the top third of each bulb exposed. This ensures good airflow and prevents rot.
- Add Water: Carefully pour water into the container until it just touches the very bottom of the bulbs. Avoid submerging the bulbs completely, as this can lead to rot. The roots will grow down into the water, while the top of the bulb remains dry.
- Find a Spot: Move your planted container to a cool, dark location for the first week or two. This encourages root growth before shoot development. Once green shoots emerge, move it to a brighter spot.
This “how to grow paperwhites in a vase with stones” method is particularly engaging for children. They witness the entire life cycle, from roots forming in the water to shoots reaching for the light, culminating in beautiful flowers.
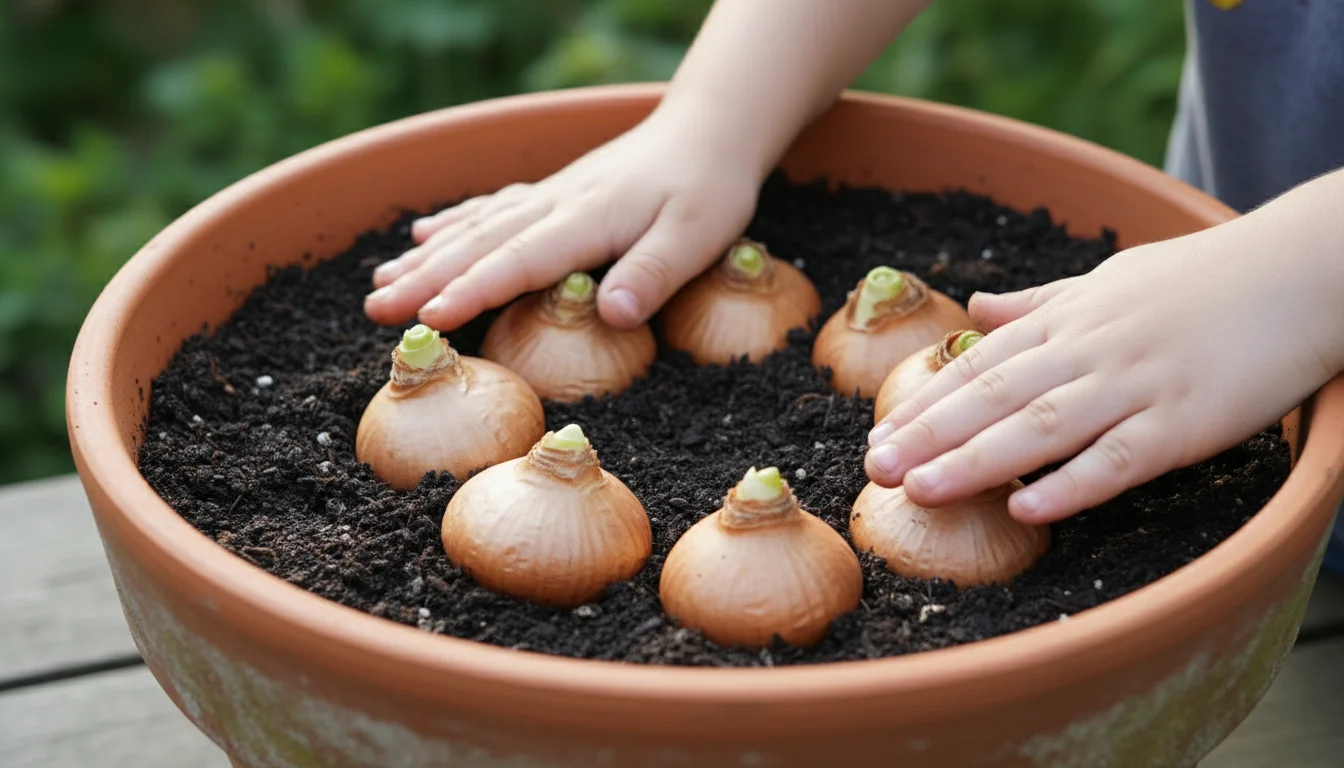
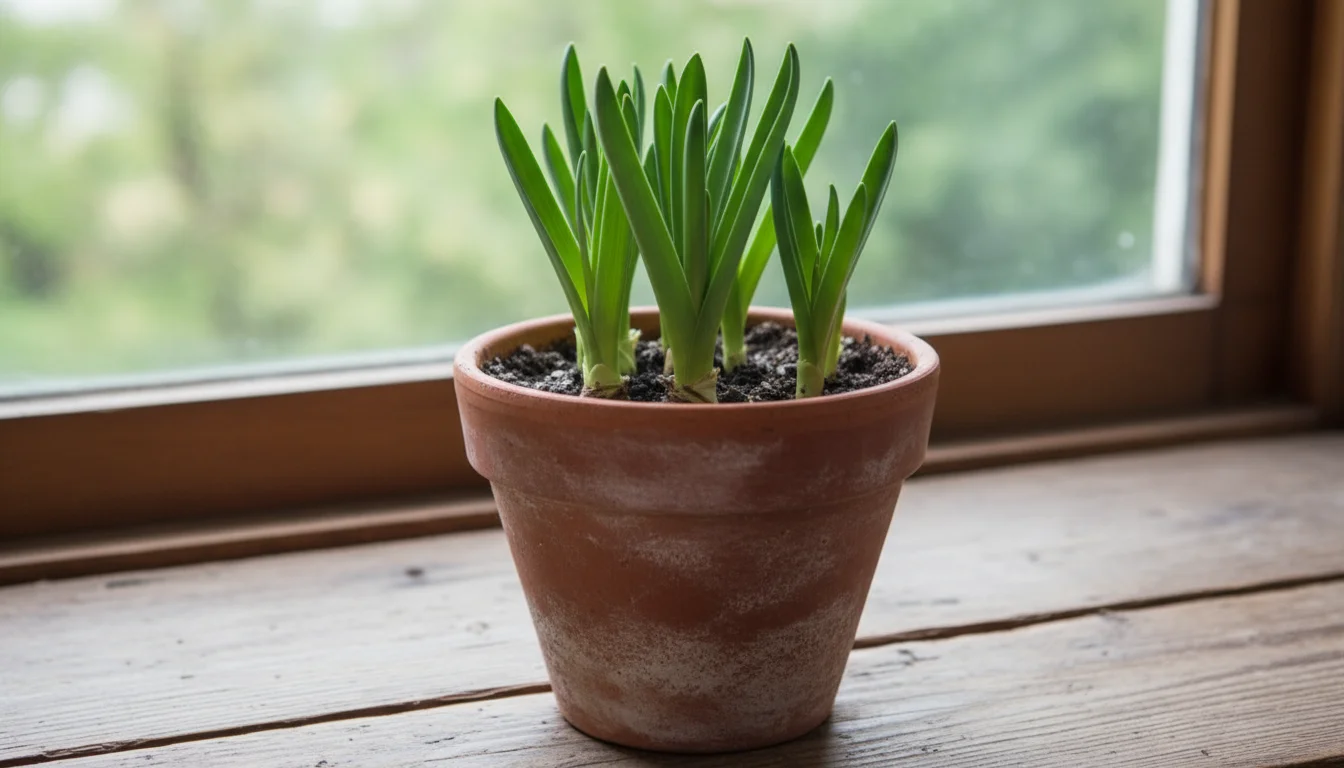
The Traditional Soil Method: Planting in Potting Mix
For a more classic gardening approach, or if you prefer the stability that soil provides for taller varieties, planting in potting mix works wonderfully.
- Select Your Container: Choose a pot with drainage holes. Terra cotta or ceramic pots are excellent choices.
- Add Potting Mix: Fill the bottom third of your pot with a good quality, well-draining potting mix.
- Position the Bulbs: Place your paperwhite bulbs on top of the soil, pointed side up, spacing them about half an inch apart. As with the stone method, planting them closely creates a fuller display.
- Cover with Soil: Gently cover the bulbs with potting mix, leaving the top third of each bulb exposed. Press the soil lightly around the bulbs to ensure good contact.
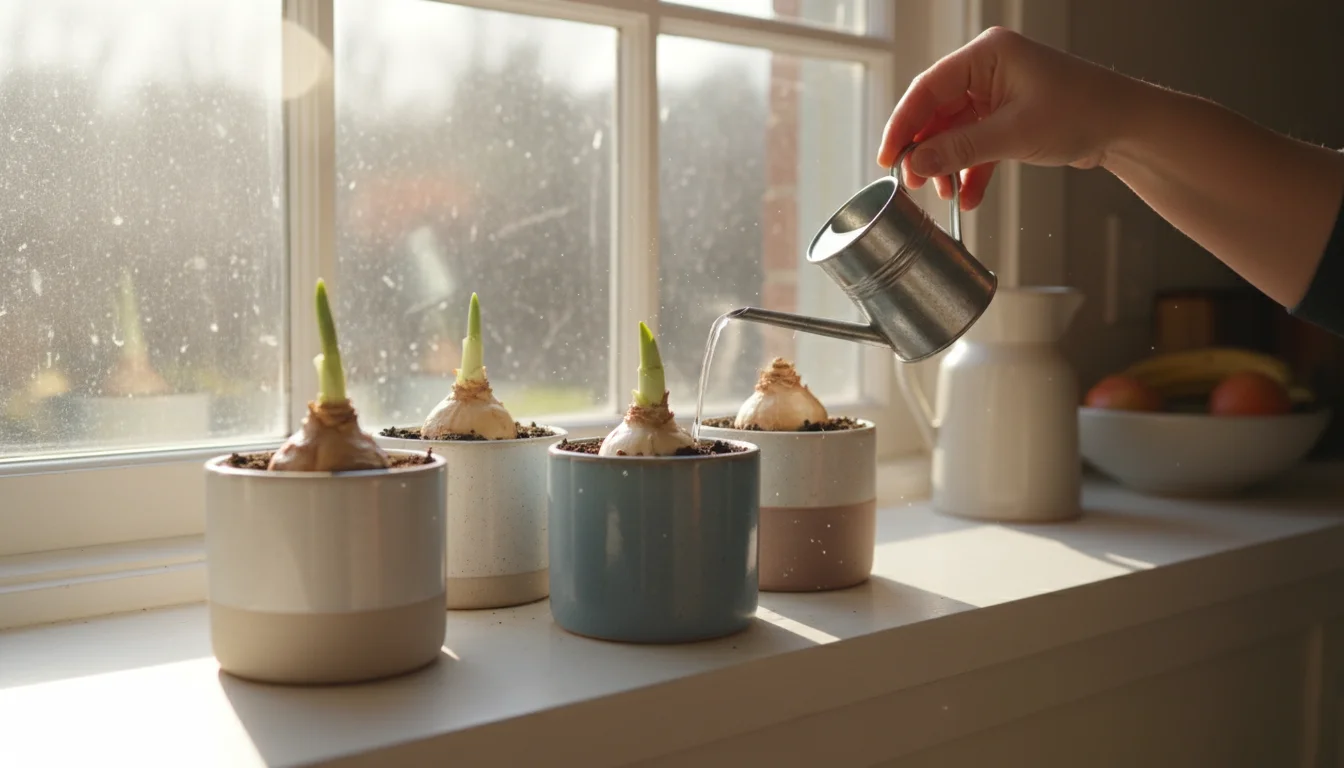
- Water Thoroughly: Water the pot well after planting until water drains from the bottom. This settles the soil around the bulbs.
- Provide Initial Conditions: Place the potted bulbs in a cool, bright location. Unlike the stone method, a dark period is less critical when planting in soil. Consistent light from the start helps them grow strong.
Both methods offer a fulfilling experience of forcing paperwhites, leading to beautiful indoor blooms. Choose the one that best suits your aesthetic preferences and the learning goals for your young gardeners.
Nurturing Your Future Blooms: Light, Water, and Temperature
Once you plant your paperwhites, consistent care ensures they develop into strong, fragrant blooms. Their needs are simple: appropriate light, regular watering, and a comfortable temperature. Managing these factors correctly helps you avoid common issues and guarantees a stunning display.
Light Requirements
Initially, a cool, somewhat dim environment for the first week or two encourages robust root development. This crucial period builds the foundation for strong stems. Once you see green shoots emerging, move your paperwhite pot to a bright location. A south-facing windowsill or a spot with ample indirect light works perfectly. Ample light prevents your paperwhites from becoming “leggy,” meaning they grow tall and spindly with weak stems. If your plants start to lean excessively towards a window, rotate the pot every few days to encourage even growth.
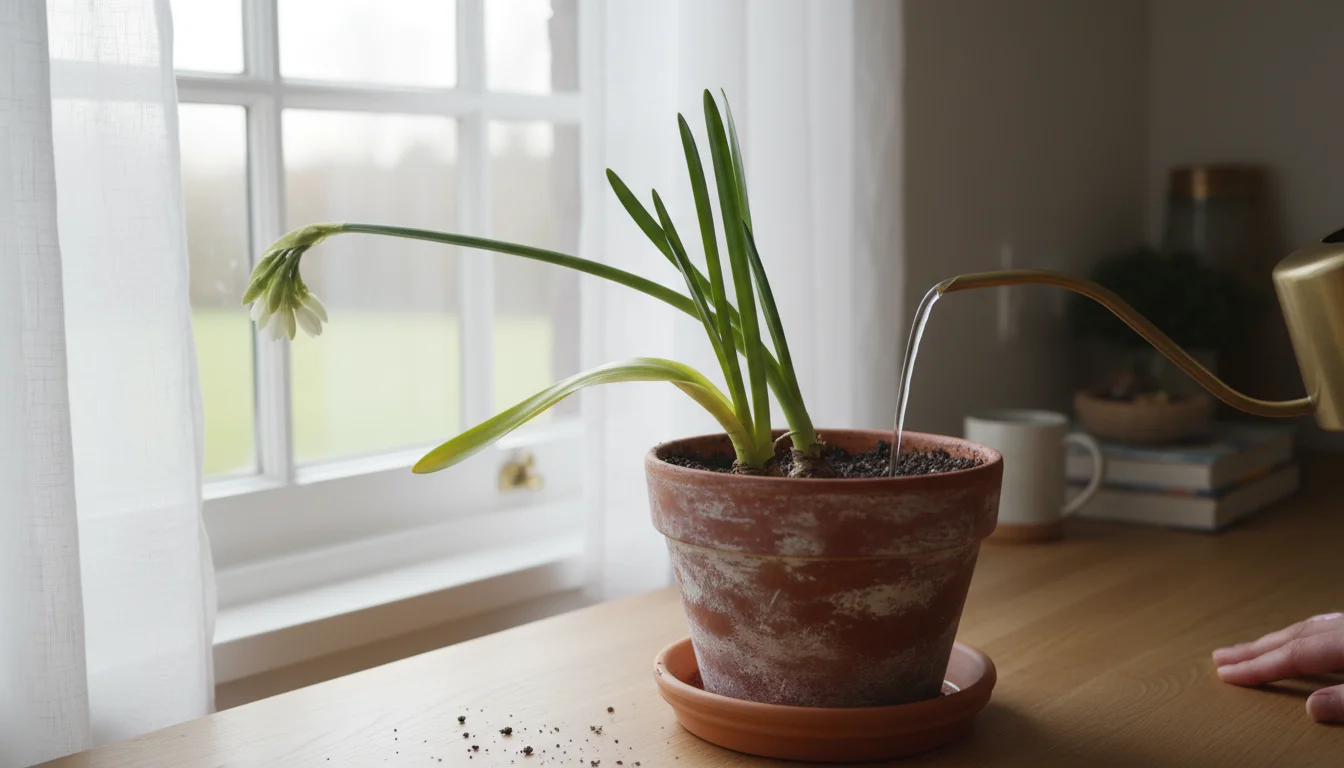
Watering Wisdom
Watering is perhaps the most critical aspect of paperwhite care, especially when you grow them in stones.
- For Bulbs in Stones and Water: Maintain the water level so it just touches the base of the bulbs. Check the water level daily. As the roots grow, they absorb a significant amount of water, so you will need to replenish it regularly. If the water becomes cloudy or develops an odor, carefully pour it out and replace it with fresh water. Stagnant water can lead to mold or rot.
- For Bulbs in Potting Mix: Keep the soil consistently moist, but never waterlogged. Stick your finger about an inch into the soil. If it feels dry, it is time to water. Ensure your pot has drainage holes, allowing excess water to escape. Overwatering in soil can quickly lead to bulb rot, ruining your project.
Temperature Control
Paperwhites prefer cooler temperatures to produce sturdier growth and prolong their blooms. An ideal range is between 60-65°F (15-18°C). If your home is too warm, especially above 70°F (21°C), your paperwhites tend to grow quickly and become tall and lanky. Placing them in a slightly cooler room or away from direct heat sources helps manage their growth. Once the blooms open, moving the pot to an even cooler spot, perhaps around 50-55°F (10-13°C) at night, extends the flowering period significantly, giving you more time to enjoy their beauty.
By giving your paperwhites the right balance of light, water, and temperature, you actively guide them towards a spectacular, fragrant bloom. This hands-on involvement makes the experience of forcing paperwhites even more rewarding.
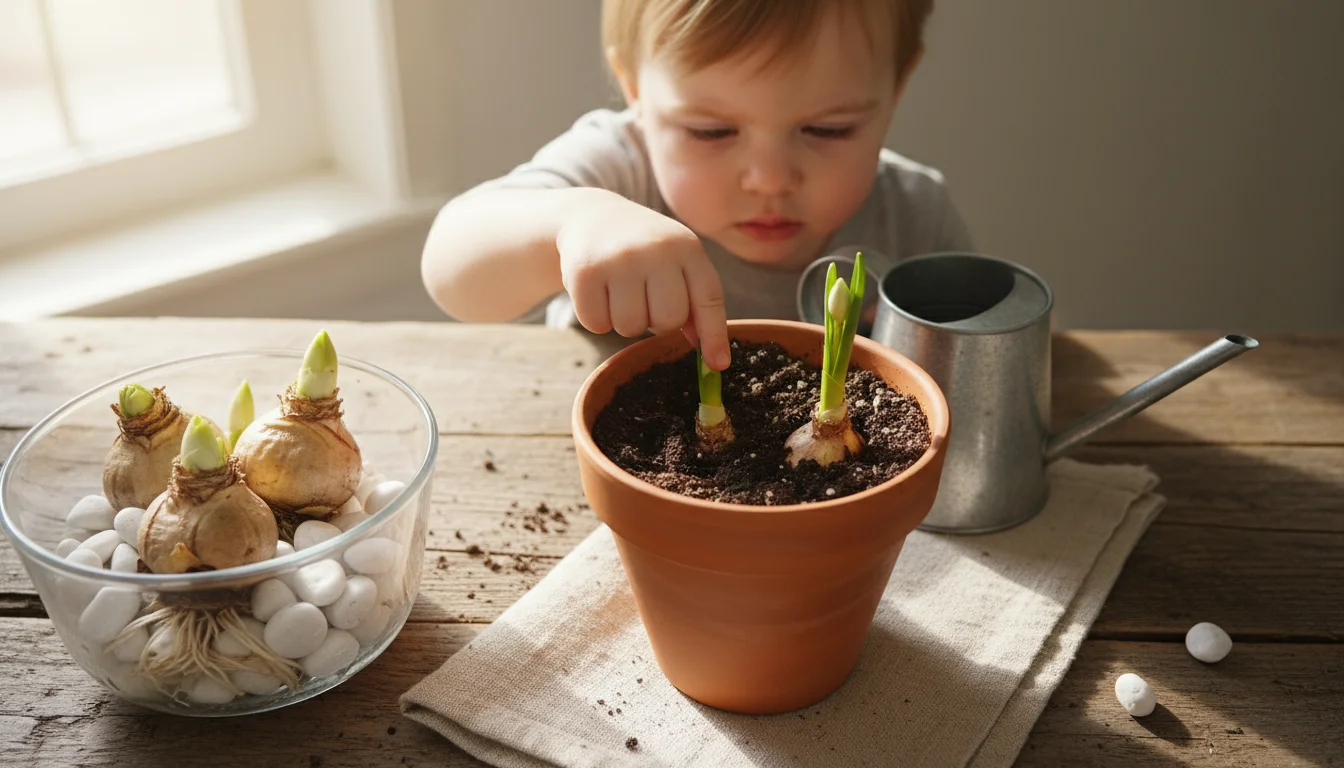
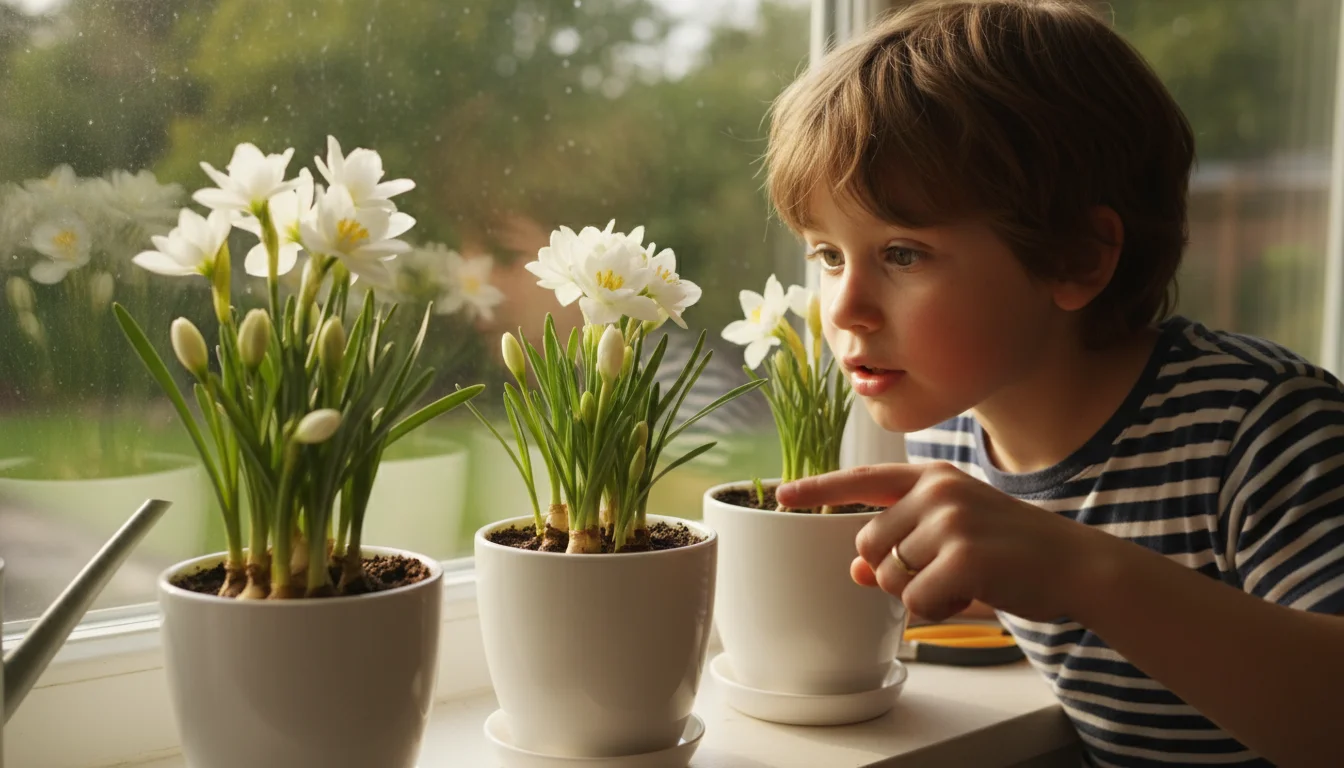
A Green Thumb in Training: Why Paperwhites Spark Joy for Kids
Engaging children in gardening offers a wealth of benefits, from fostering a connection to nature to developing patience and responsibility. Paperwhites are an exceptional choice for gardening with kids, providing an “easy gardening project for children in autumn” that guarantees excitement and a strong sense of accomplishment. Their fast growth rate and dramatic transformation from a dormant bulb to a vibrant flower deeply captivate young imaginations.
If they enjoy the rapid growth of bulbs, they might also like growing sprouts in a jar for a fast and edible winter harvest.
For another immersive project, kids also love to DIY a tabletop terrarium to create a tiny, self-contained garden world.
Children naturally possess an innate curiosity, and paperwhites provide a perfect outlet for this wonder. They can actively participate in every step, from selecting the bulbs and arranging the stones to carefully adding water. This hands-on experience transforms abstract concepts into tangible lessons. Kids observe how roots anchor the plant, how shoots emerge and grow taller each day, and eventually, how delicate buds unfurl into fragrant blossoms. This direct observation reinforces basic biological principles without them even realizing they are learning science.
Beyond the educational aspects, planting paperwhites fosters several important life skills:
- Patience: While paperwhites grow quickly, waiting for the first green shoot or the opening of a bud teaches children the value of delayed gratification. They learn that good things take time.
- Responsibility: Children can take ownership of checking the water level daily or rotating the pot. This small task instills a sense of responsibility and teaches them that living things need care.
- Observation: Encourage your child to keep a simple growth journal, drawing pictures or noting changes each day. This sharpens their observational skills and allows them to document the “magic.”
- Environmental Awareness: A successful gardening project often sparks an appreciation for plants and the natural world, laying the groundwork for environmentally conscious attitudes in the future.
- Confidence: Witnessing the successful growth and blooming of their paperwhites builds immense confidence. They see a direct result of their efforts, a powerful lesson in capability.
Make the experience even more engaging by letting kids decorate the container or name their paperwhite plants. You can tell them stories about how the bulbs store energy like a tiny battery, ready to burst with life. These small touches enhance the “magic” and make the project deeply personal. As the fragrant blooms fill your home, your children will proudly declare, “I grew that!” This experience creates lasting memories and cultivates a budding green thumb, one easy indoor bloom at a time.
Troubleshooting Common Paperwhite Problems
Even with the easiest plants, occasional issues can arise. Knowing how to identify and address common paperwhite problems ensures your project remains a joy, not a frustration. Most problems relate to environmental factors, which you can easily adjust.
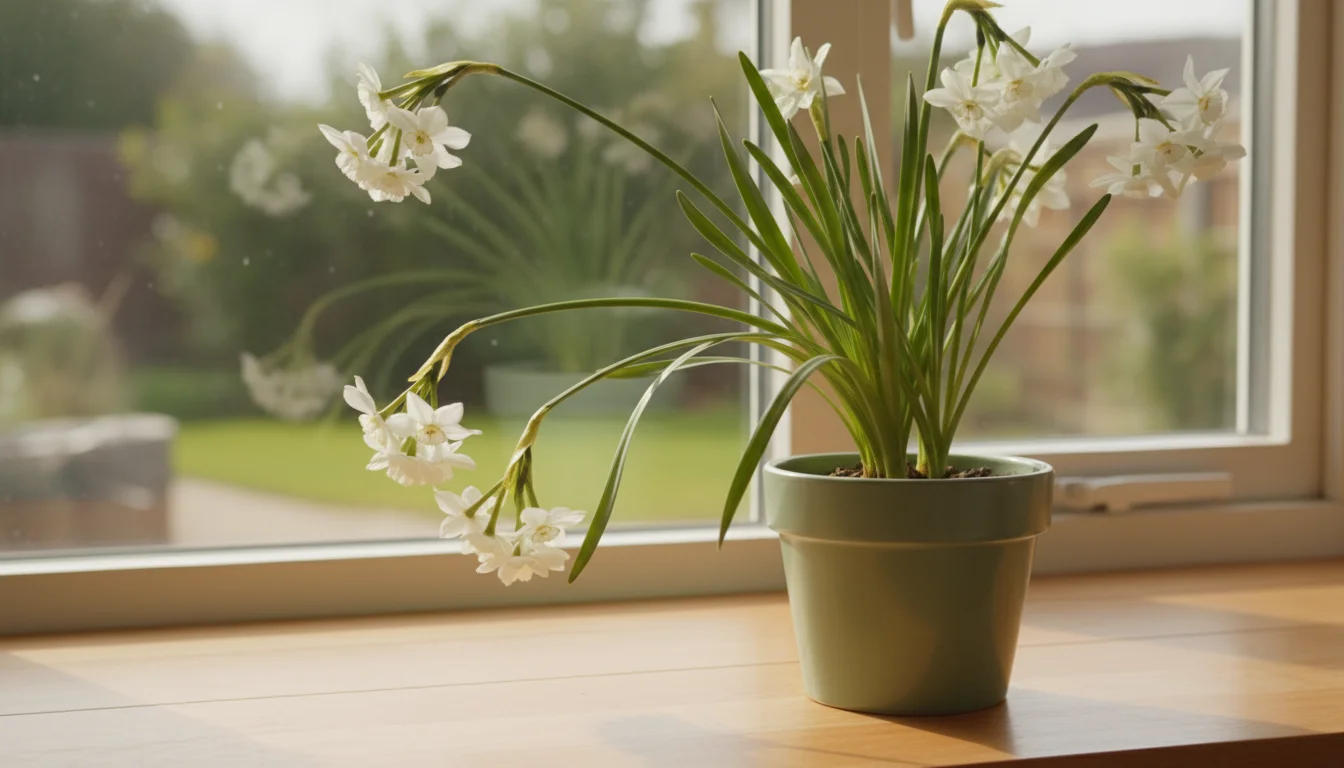
Leggy or Floppy Stems
This is arguably the most common complaint about paperwhites. Your plants grow too tall and spindly, eventually flopping over because their stems cannot support the weight of the flowers.
- Cause: Insufficient light or temperatures that are too warm. Rapid growth in dim or hot conditions leads to weak stems.
- Solution: Ensure your paperwhites receive plenty of bright, indirect light once they sprout. If they start to stretch, try moving them to a cooler location, ideally around 60-65°F (15-18°C). You can also use a clever trick: once stems reach about two inches, replace the water with a solution of 5% alcohol (like rubbing alcohol or vodka) diluted with water. Use one part alcohol to seven to ten parts water. The alcohol stunts cell elongation, resulting in shorter, sturdier stems without harming the plant. Do not use beer, wine, or sugary alcohol.
No Blooms
You have healthy green shoots, but no flowers appear.
- Cause: This typically happens with old or poor-quality bulbs, insufficient water, or consistently high temperatures. Sometimes, bulbs simply do not have enough stored energy to flower.
- Solution: Purchase fresh, firm bulbs from a reputable source each season. Ensure consistent watering. If your home is very warm, try moving the pot to a cooler room to encourage bud formation. Unfortunately, if the bulbs truly lack the vigor to bloom, there is little you can do once planted.
Foul Odor or Mold
A musty or rotten smell, or visible mold on bulbs or water, signals a problem.
- Cause: Stagnant water, especially in the stone method, or bulbs rotting due to being completely submerged or in waterlogged soil. Poor air circulation can also contribute to mold growth.
- Solution: If growing in stones, frequently check the water. If it looks cloudy or smells, carefully pour it out and replace it with fresh water. Ensure only the very base of the bulb touches the water, not the entire bulb. If in soil, ensure excellent drainage and avoid overwatering. Gently remove any visible mold with a clean cloth or cotton swab. Good air circulation helps prevent mold.
Bulbs Turning Soft or Mushy
This is a clear sign of rot.
- Cause: Almost always due to excessive moisture, either from bulbs sitting too deep in water or from waterlogged soil.
- Solution: If caught early, you might save the bulb. Remove it from the container, gently rinse off any mushy parts, and allow it to air dry for a day or two. Replant it ensuring only the very bottom touches water, or in fresh, well-draining soil. Often, once rot sets in significantly, the bulb is not salvageable.
Addressing these issues promptly helps you maintain healthy paperwhites and achieve a beautiful, fragrant display. You build confidence in your gardening skills with each challenge you overcome.
Extending the Joy: What Happens After the Blooms Fade
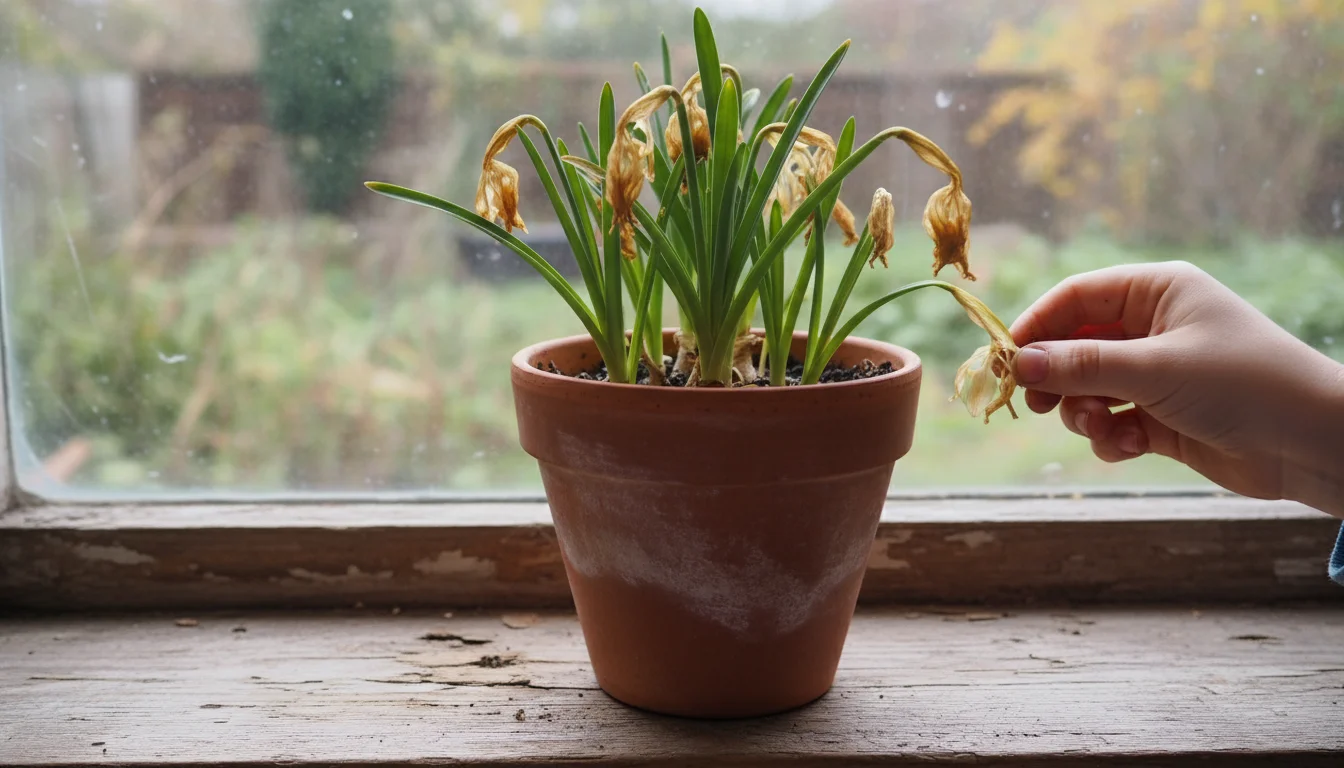
All good things eventually come to an end, and paperwhite blooms are no exception. After weeks of fragrant beauty, your paperwhite flowers will begin to fade. Understanding what happens next helps you manage expectations and make environmentally conscious choices for your spent plants.
Unlike many outdoor bulbs that you can replant year after year, forced paperwhite bulbs generally do not perform well if you attempt to re-force them indoors. The process of rapid growth and flowering indoors uses up most of the bulb’s stored energy. While they might produce some foliage if you try to save them, they rarely re-bloom with the same vigor or at all. Think of them as giving their all for one spectacular indoor show.
Therefore, after your paperwhites finish blooming, you typically dispose of the bulbs. You have a few eco-friendly options:
- Composting: If you maintain a compost pile, the spent bulbs, stems, leaves, and any used potting mix make excellent additions. They break down, returning valuable nutrients to the soil and contributing to your garden’s health. This is a wonderfully sustainable way to conclude your project.
- General Waste: If composting is not an option, discard the bulbs in your regular household waste. Ensure you separate them from any non-biodegradable materials.
- Enjoy the Foliage: Some gardeners choose to keep the foliage growing for a while after the flowers fade, simply for the green color it provides. You can continue to water and care for it until it naturally yellows and dies back. While it won’t re-bloom, the green leaves add a bit more life to your indoor space for a short period.
The ephemeral nature of paperwhite blooms teaches us to cherish the present moment and the beauty it offers. Embrace the cycle: plant, grow, bloom, and then gracefully let go. This allows you to look forward to starting a fresh batch of “magic” bulbs next fall, bringing new life and fragrance into your home each season. This annual ritual offers a refreshing restart and another opportunity to enjoy the simple pleasures of gardening.
Frequently Asked Questions
Can I plant paperwhites outdoors?
Paperwhites (Narcissus tazetta) are generally hardy only in USDA Zones 8-11. If you live in these warmer climates, you can plant them outdoors in the fall for spring blooms. However, in most of North America, where winters are colder, paperwhites do not reliably naturalize or survive freezing temperatures. For indoor forcing, you treat them as an annual, enjoying their blooms once indoors and then discarding them.
Do paperwhites need a chilling period?
No, one of the best features of paperwhite narcissus is that they do not require a chilling period to bloom. This makes them significantly easier to force indoors compared to many other spring-flowering bulbs like tulips or daffodils, which need weeks of cold temperatures to initiate flowering. You can plant paperwhites directly into your chosen container and expect blooms in three to four weeks.
How long do paperwhite blooms last?
Paperwhite blooms typically last for about one to two weeks, depending on the variety and environmental conditions in your home. Cooler temperatures prolong the blooming period, while warmer rooms can shorten it. To extend the life of your flowers, move the pot to a cooler location once the buds open.
What if my paperwhites lean or fall over?
Tall, floppy paperwhite stems are a common issue, often due to insufficient light or overly warm temperatures. To prevent this, ensure they receive bright, indirect light once sprouts appear, and keep them in a cooler room (around 60-65°F or 15-18°C). If they still lean, you can stake them gently with thin sticks or twine, or try the alcohol solution trick mentioned previously: water them with a mixture of one part 5% alcohol (like rubbing alcohol or clear liquor) to seven to ten parts water once the stems are about two inches tall. This effectively shortens and strengthens the stems.
Are paperwhites toxic to pets?
Yes, paperwhite bulbs, like other narcissus varieties, contain alkaloids that are toxic if ingested by pets, particularly dogs and cats. The highest concentration of toxins is in the bulb, but all parts of the plant can cause digestive upset, vomiting, diarrhea, and other symptoms. Keep your paperwhite pots out of reach of curious pets, especially the bulbs which look appealing to chew on.
This fall, embrace the simplicity and joy of growing paperwhites. This easy gardening project for children in autumn offers more than just beautiful blooms; it provides a tangible connection to nature, teaches valuable lessons, and fills your home with a delightful fragrance. Whether you are actively forcing paperwhites for Christmas blooms or simply enjoying an indoor fall project, you create lasting memories and cultivate a passion for plants. Start your paperwhite adventure today, and watch the magic unfold!
For trustworthy gardening information, visit: National Garden Bureau, National Wildlife Federation — Garden for Wildlife and Lady Bird Johnson Wildflower Center. These organizations provide expert, research-based advice for gardeners at all levels.
Disclaimer: This article is for informational purposes only and is not a substitute for professional gardening advice. Always consult local extension services or horticulture experts for region-specific guidance.


Leave a Reply