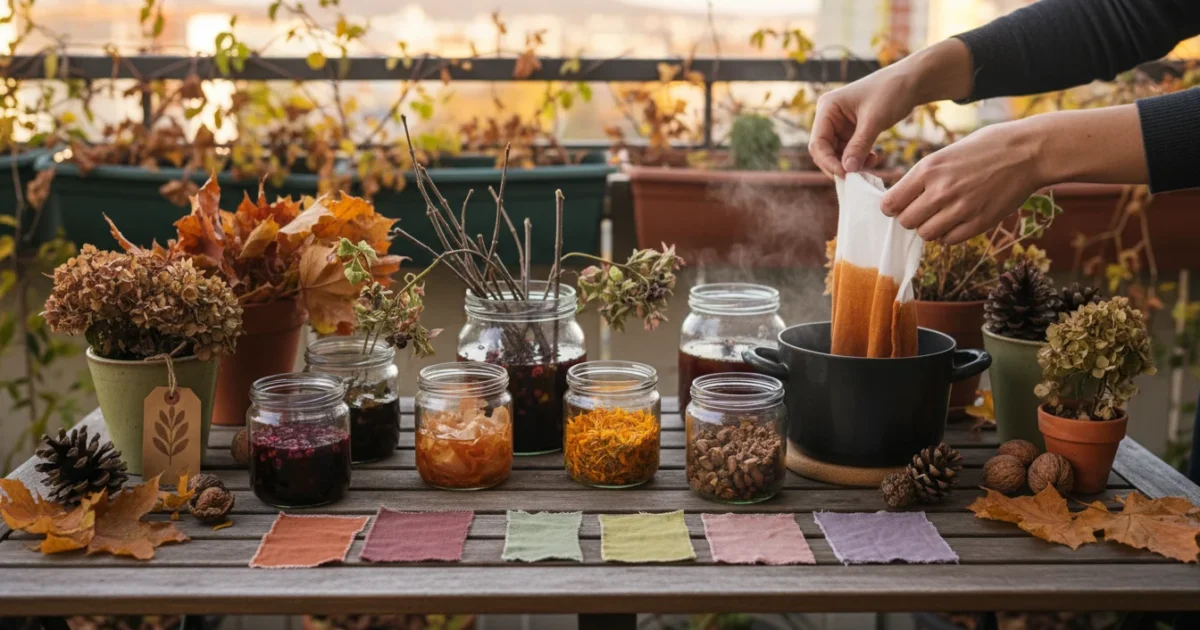
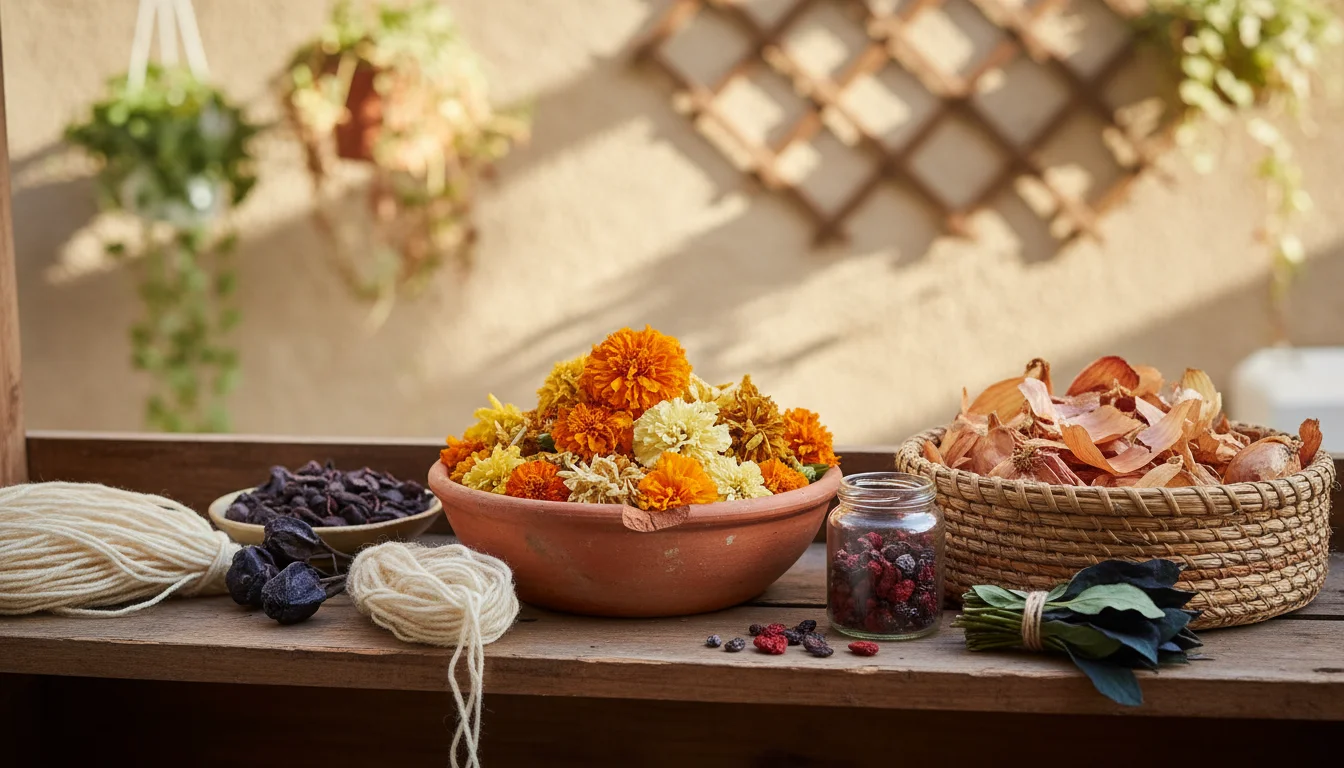
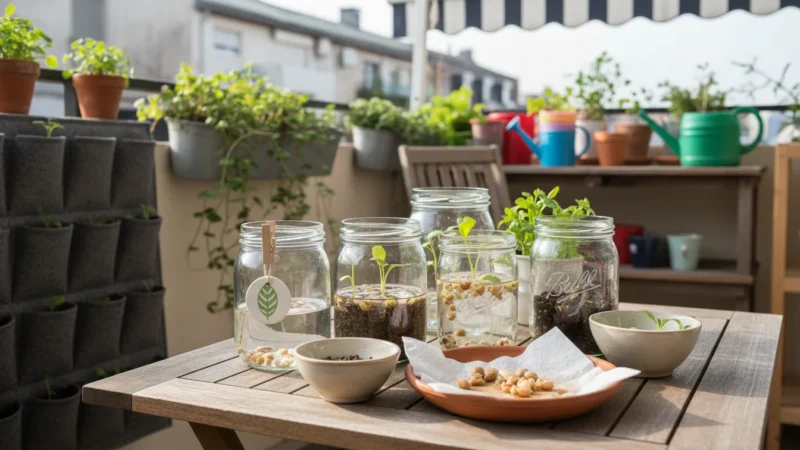
As the vibrant energy of summer gardens begins to wane, many gardeners start thinking about clearing out spent plants and preparing for the colder months. But what if your fall garden offered a second harvest, not for the plate, but for creativity? Imagine transforming those fading marigold blooms and kitchen onion skins into beautiful, rich colors to dye fabrics. This project extends your gardening season, offers a deeply satisfying craft experience, and provides a sustainable way to use materials you might otherwise discard. Even with a small balcony or patio garden, you possess the raw materials for stunning natural dyes.
Dyeing is a fantastic way to preserve your final balcony flowers before the first hard frost arrives.
Creating natural dyes from your garden’s leftovers is a rewarding fall garden project that connects you deeper to nature’s cycle. This guide offers practical, actionable steps to turn common garden and kitchen “waste” into colorful pigments. You will discover how easy it is to create your own natural dyes, adding a new dimension to your garden crafts and sustainable living practices.
Embrace Sustainable Dyeing: Your Fall Garden’s Hidden Treasures
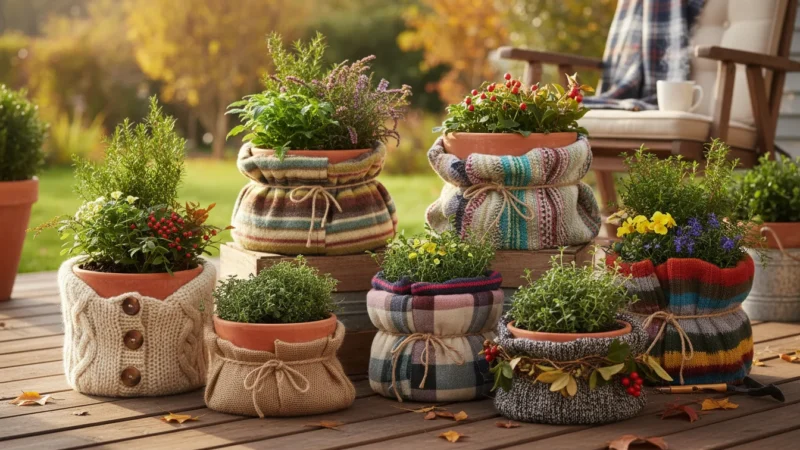
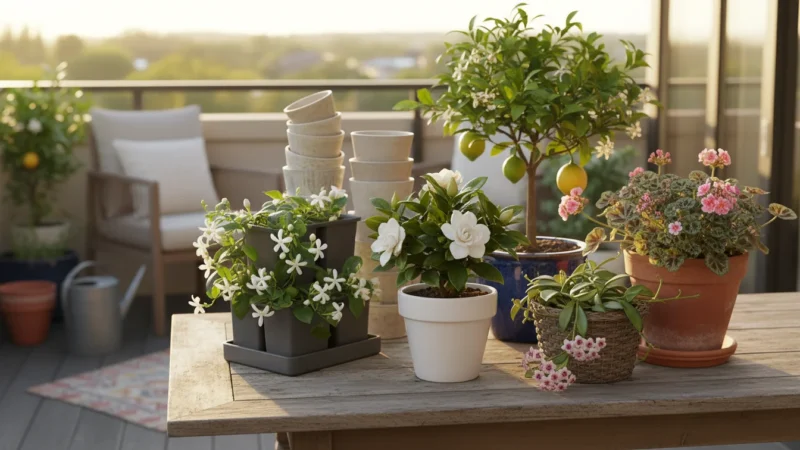
The concept of using garden waste for crafts offers a powerful connection to sustainable living. Instead of sending spent plants to the compost bin immediately, you can unlock a hidden potential: their ability to create vibrant colors. This process is not only environmentally friendly, reducing waste, but also incredibly creative. It allows you to transform forgotten elements of your garden into tangible beauty. For gardeners with limited space, this practice becomes even more significant. You maximize the yield from every plant, giving it a second life and purpose. A small balcony garden provides ample material for small-batch dye projects, perfect for dyeing a scarf, a set of napkins, or even yarn for knitting. This journey into natural dyeing encourages you to see the world, and your garden, with new eyes, discovering the potential for beauty in every fallen leaf and faded petal.
You can also create a living fall centerpiece using some of your still-vibrant potted herbs alongside your dye materials.
If you have more trimmings than you can dye, you can also use them to create DIY fall decor using cuttings and seed heads for your patio.
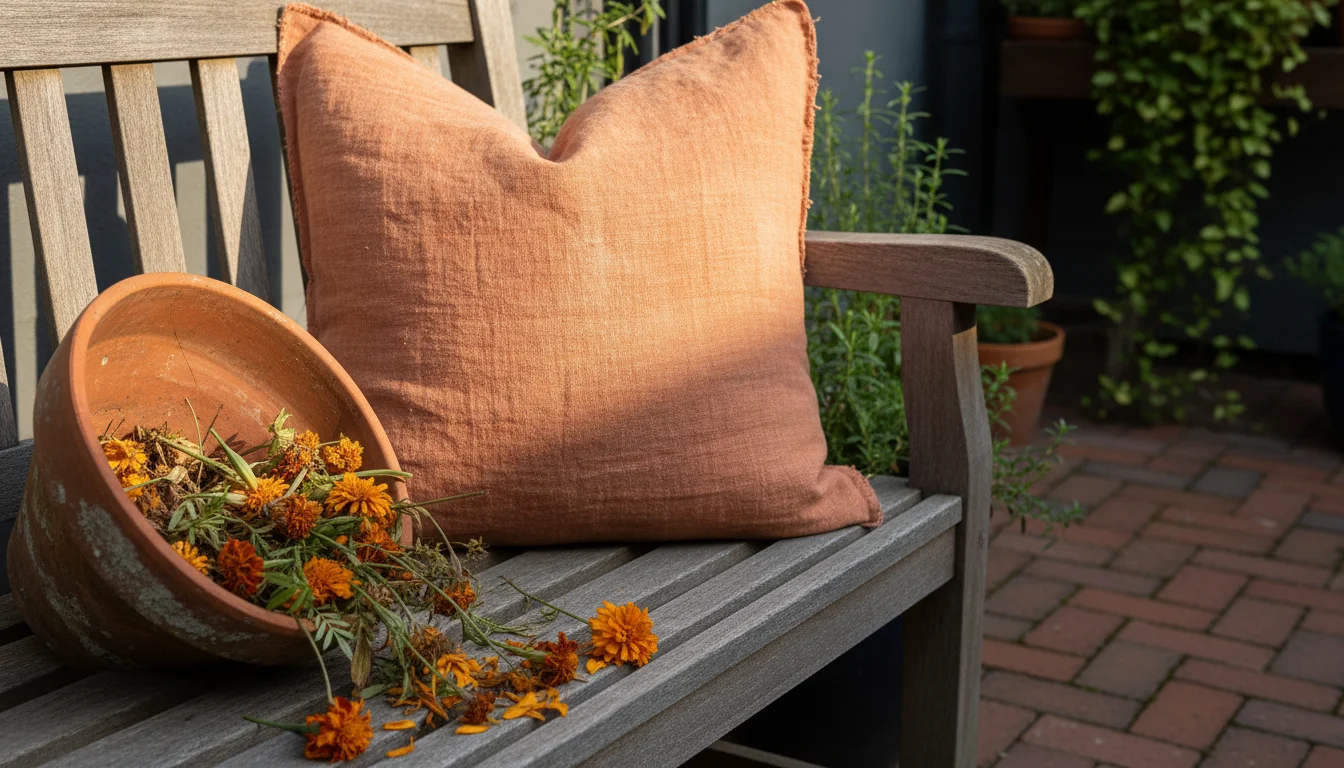
Consider the lifecycle of your marigolds. They brightened your patio all summer, deterring pests and adding cheer. Now, as they fade, their petals still hold a wealth of golden pigment. Similarly, the papery skins of onions, often discarded without a second thought, contain powerful color compounds. By diverting these materials from the waste stream, you engage in a truly circular economy within your own home. This approach supports a mindful, resource-conscious lifestyle, making this a fulfilling and purposeful DIY project with leftover plants.
Demystifying Natural Dyes: The Basics of Color Extraction
Natural dyeing fundamentally involves extracting colored compounds from plants and binding them to fabric fibers. It is a process refined over centuries, relying on simple principles. The core idea involves simmering plant material in water to release its color, then introducing fabric that has been prepared to absorb that color. Unlike synthetic dyes, which offer uniform, predictable results, natural dyes yield unique, subtle variations, reflecting the living source of their color.
The Role of Mordants
For most natural dyes, you cannot simply dip fabric into plant water and expect a lasting color. The color molecules need help bonding permanently to the fabric fibers. This is where a mordant comes in. A mordant is a substance, often a metallic salt, that helps “fix” the dye to the fiber. It essentially acts as a bridge, creating a strong connection between the dye pigment and the fabric. Without a mordant, many natural dyes would simply wash out over time. Common mordants include alum (potassium aluminum sulfate) and iron (ferrous sulfate). For beginners and home use, alum is generally the safest and most accessible, yielding clear, bright colors. Iron can “sadden” or darken colors, creating beautiful muted tones, but use it sparingly as too much can weaken fabric fibers.
Understanding the role of a mordant is crucial for success. You apply the mordant to your fabric before dyeing, creating receptive sites for the dye to attach. This preparation step ensures your hard work results in lasting, vibrant hues.
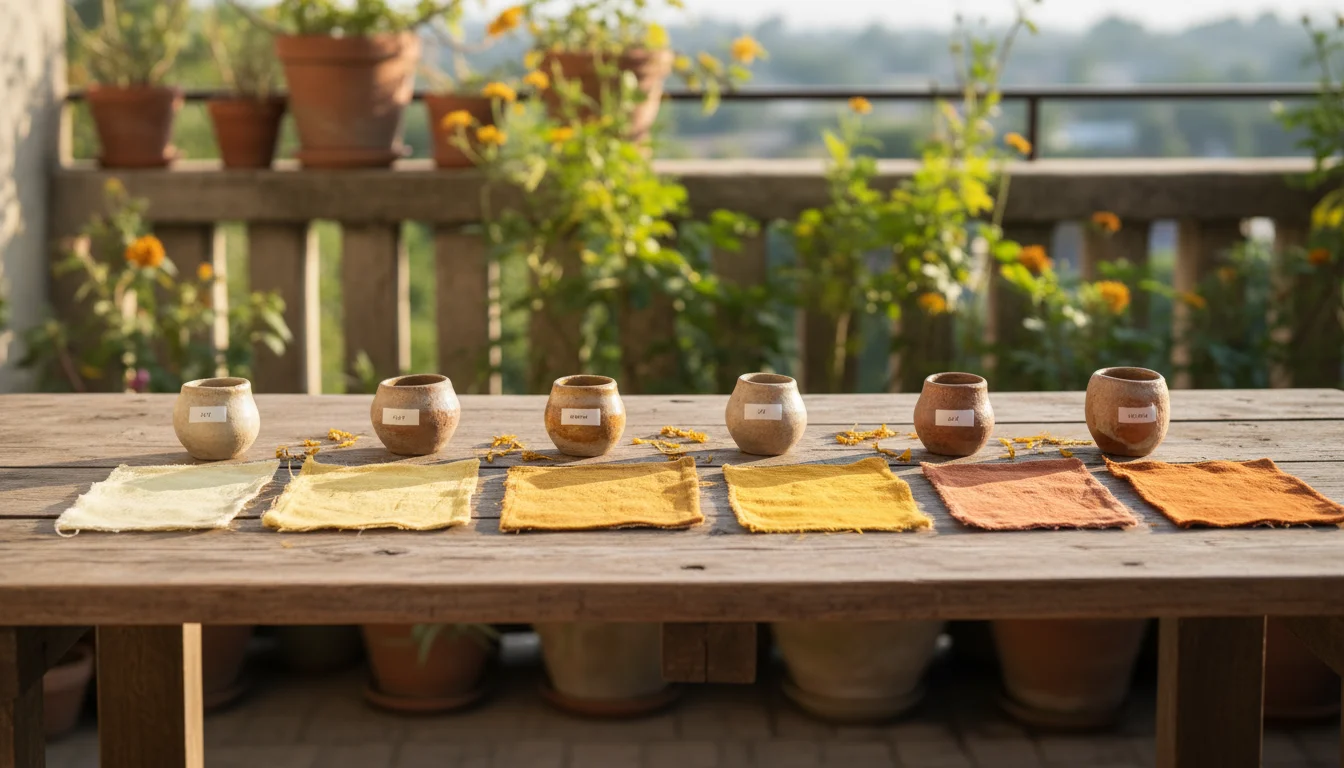
Harvesting Your Hues: Marigolds, Onion Skins, and Other Balcony Bounty
Your fall garden and kitchen offer a surprising palette of colors. Let’s focus on two beginner-friendly, high-yield sources: marigolds and onion skins. Both provide robust, beautiful colors with minimal effort.
Before you begin your extraction, you might want to save seeds from your balcony garden to ensure a steady supply of dye plants for next year.
Since herbs like rosemary can produce lovely pale pigments, it’s a great time to explore other ways to preserve your final balcony herb harvest for winter use.
While you are gathering skins for dye, don’t forget that you can also grow green onions on your windowsill from the leftover root scraps.
For those blooms with a flatter shape, you might also enjoy pressing and preserving your fall container flowers to create botanical art.
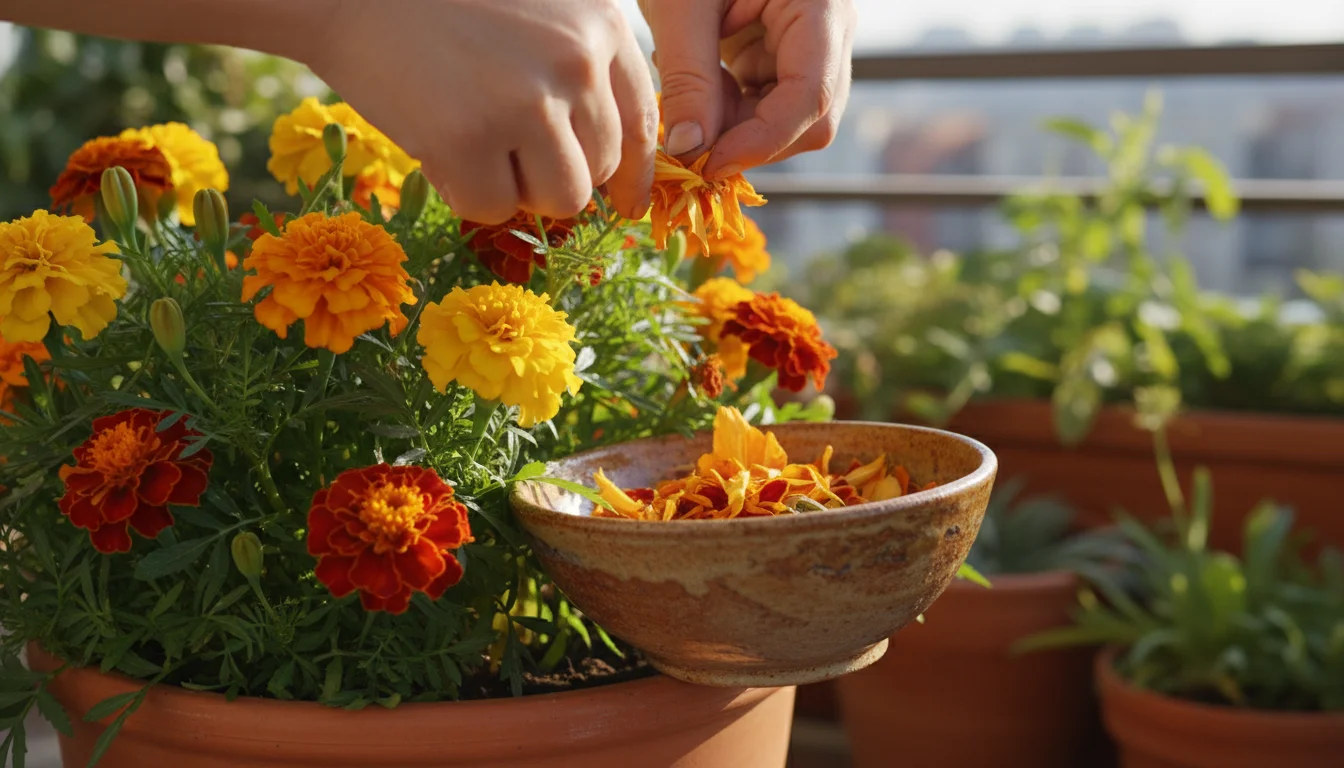
Marigolds (Tagetes spp.)
Marigolds, especially French marigolds (Tagetes patula) and African marigolds (Tagetes erecta), are fantastic dye sources. Their petals contain strong yellow and orange pigments. To collect them, simply pinch off faded or spent flowers from your plants. You do not need to wait for them to be completely dry; fresh petals work wonderfully. The more marigolds you collect, the stronger and deeper your yellow or orange dye will be. A good rule of thumb for strong color is to aim for a 1:1 ratio of plant material to dry fabric weight, but even smaller amounts will produce lighter shades. This makes how to make dye from marigold flowers a very accessible garden craft, perfect for anyone looking to use up their end-of-season blooms.
Store your collected marigold petals in a paper bag or a breathable container if you are not using them immediately. They can also be dried for later use by spreading them in a single layer on a screen or newspaper in a well-ventilated area, away from direct sunlight. Once dry, store them in an airtight container.
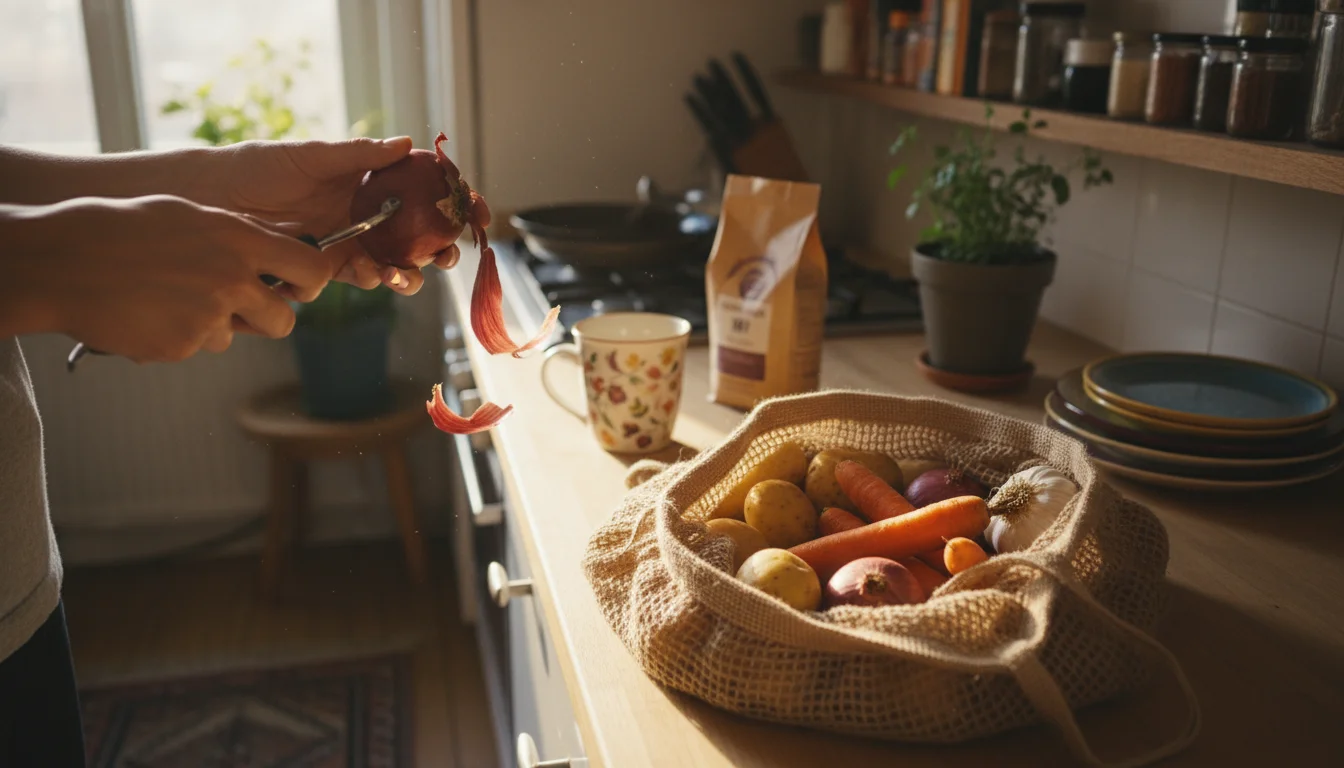
Onion Skins (Allium cepa)
Red and yellow onion skins are powerhouse dye materials, producing a range of colors from gold to rust to deep reddish-brown. The beauty of using onion skins is their availability; you likely accumulate them from your cooking throughout the year. Instead of discarding them, start a collection. Keep a dedicated container in your kitchen, like a bowl or a mesh bag, where you can toss onion skins after peeling. When you have a substantial amount, you are ready to dye.
There is no need to clean the skins meticulously, just ensure they are dry and free of any large pieces of onion flesh. Like marigolds, the more skins you use, the richer the color. Aim for at least one large grocery bag full of skins for a medium-sized dye project. This makes DIY projects with leftover plants incredibly simple, as the materials are literally a byproduct of daily life.
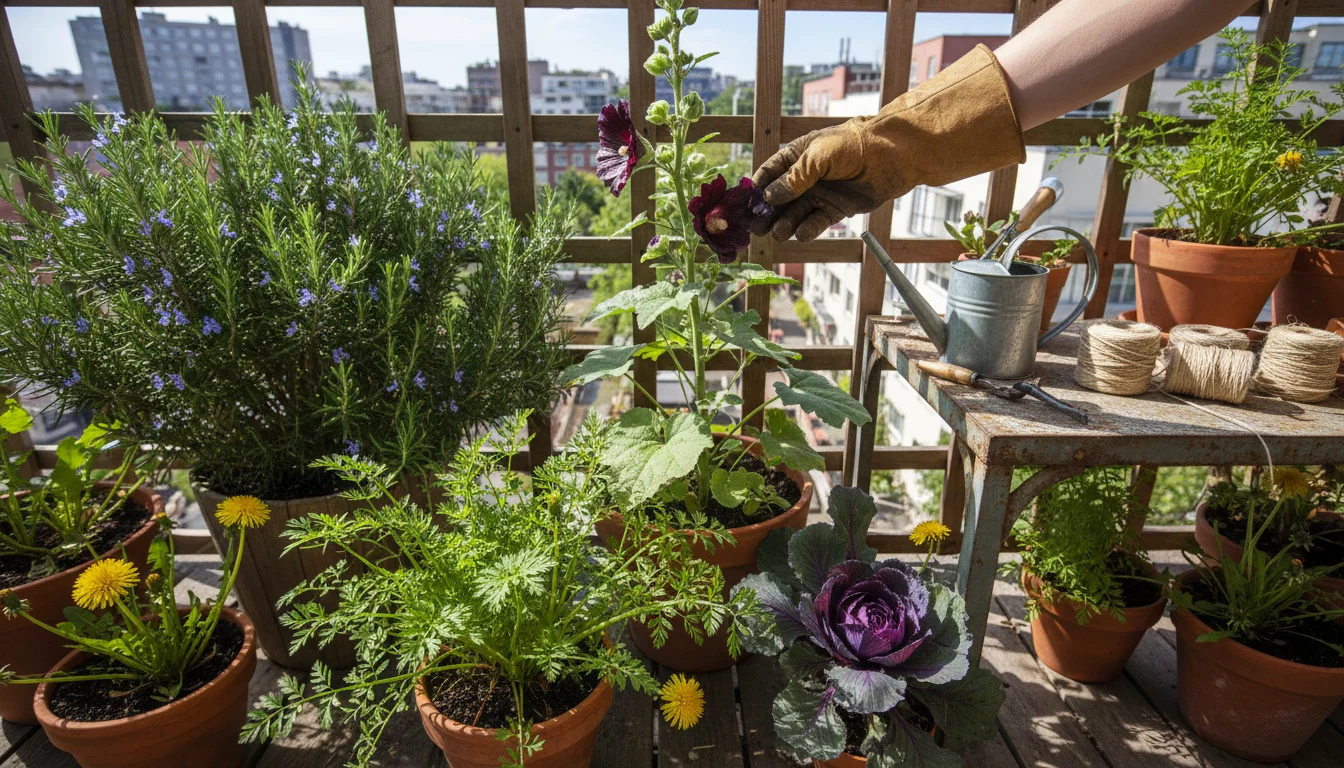
Other Potential Dye Sources from Your Small Space
While marigolds and onion skins are excellent starting points, your balcony garden might offer other exciting possibilities:
- Rosemary: Fresh or dried leaves can yield a pale yellow-green.
- Black Hollyhock: The dark petals create purplish-gray or blue hues.
- Dandelions: The yellow flower heads can produce a yellow dye.
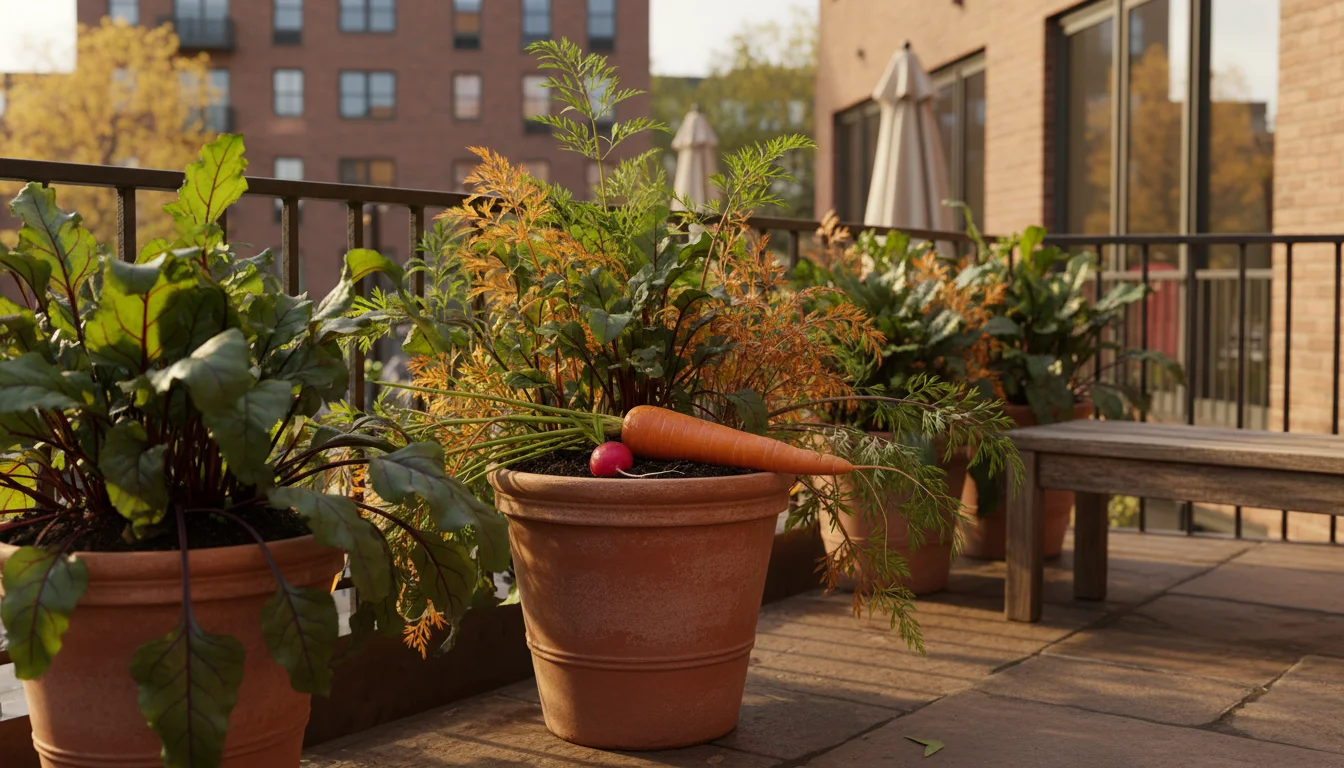
- Carrot Tops: If you grow carrots in containers, their leafy greens can give a pale yellow.
- Red Cabbage: Surprisingly, red cabbage leaves can produce blue or purple dyes, depending on the pH of your dye bath.
Always research the specific plant and method for best results, as some require different mordants or pH adjustments.
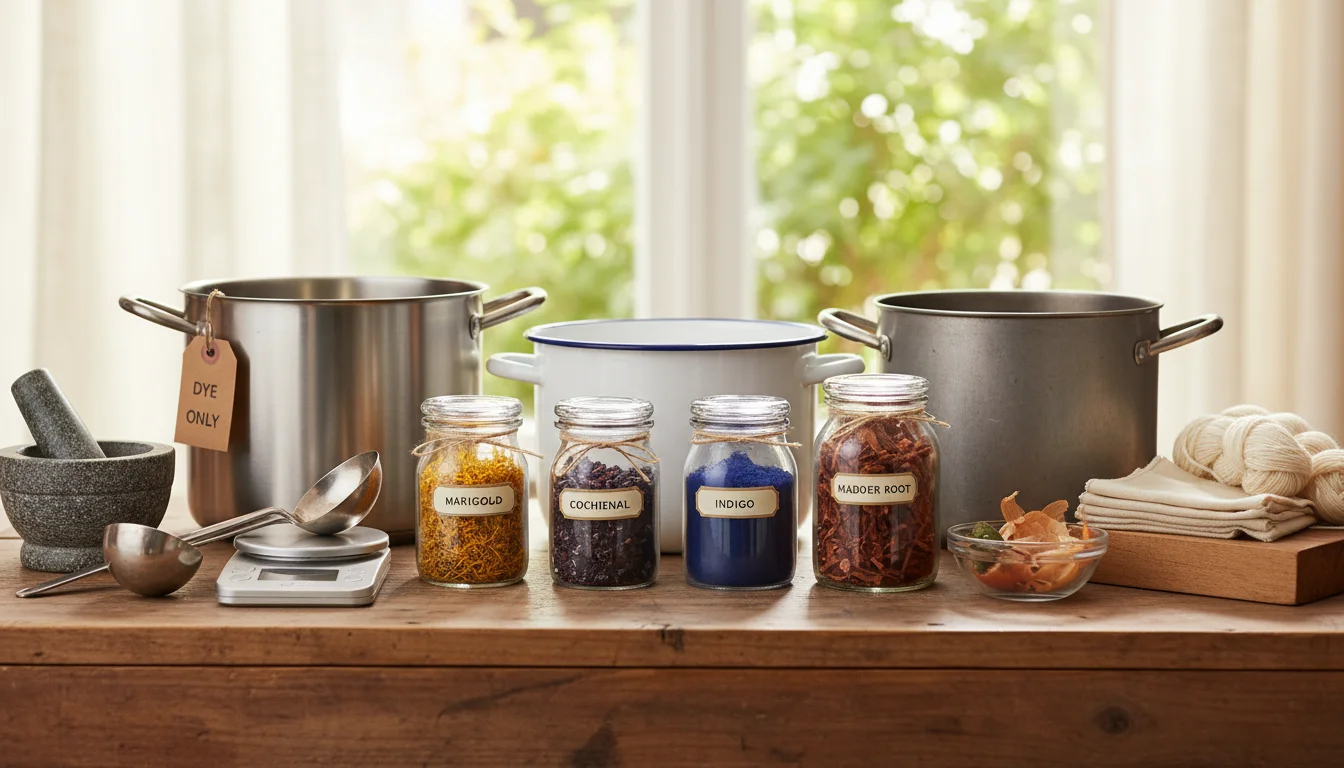
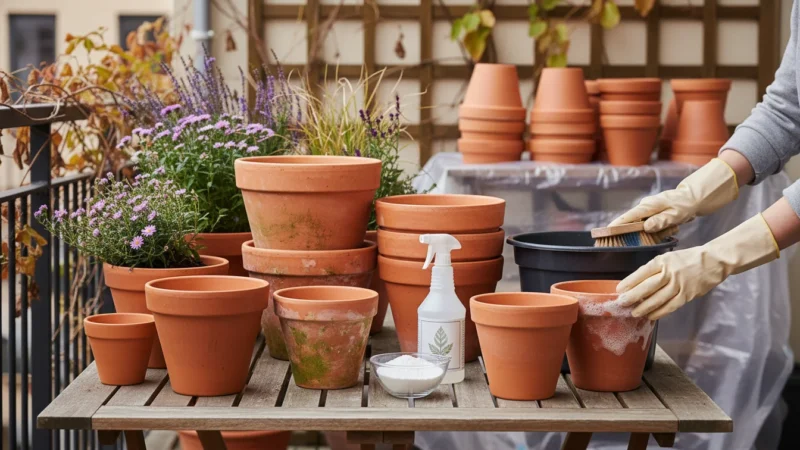
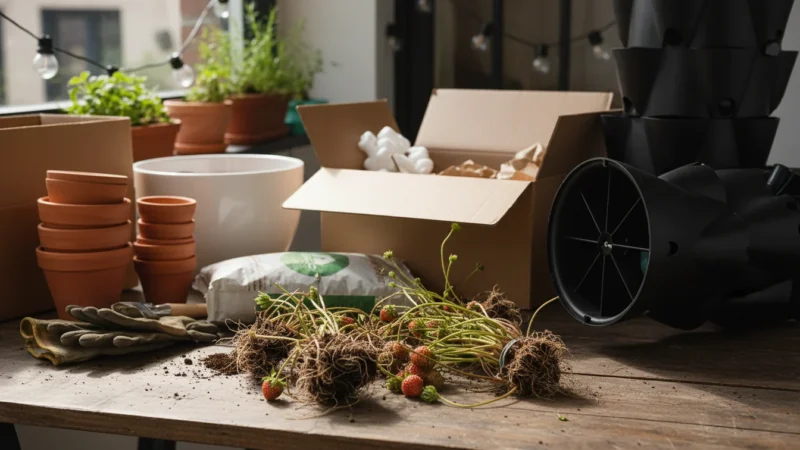
Gather Your Dyeing Arsenal: Essential Tools for Your Home Studio
You do not need an elaborate setup to start natural dyeing. Many items are already in your kitchen, though it is crucial to designate specific pots and utensils for dyeing, separate from those used for food. This avoids any potential contamination from mordants or plant materials.
Your Dyeing Toolkit:
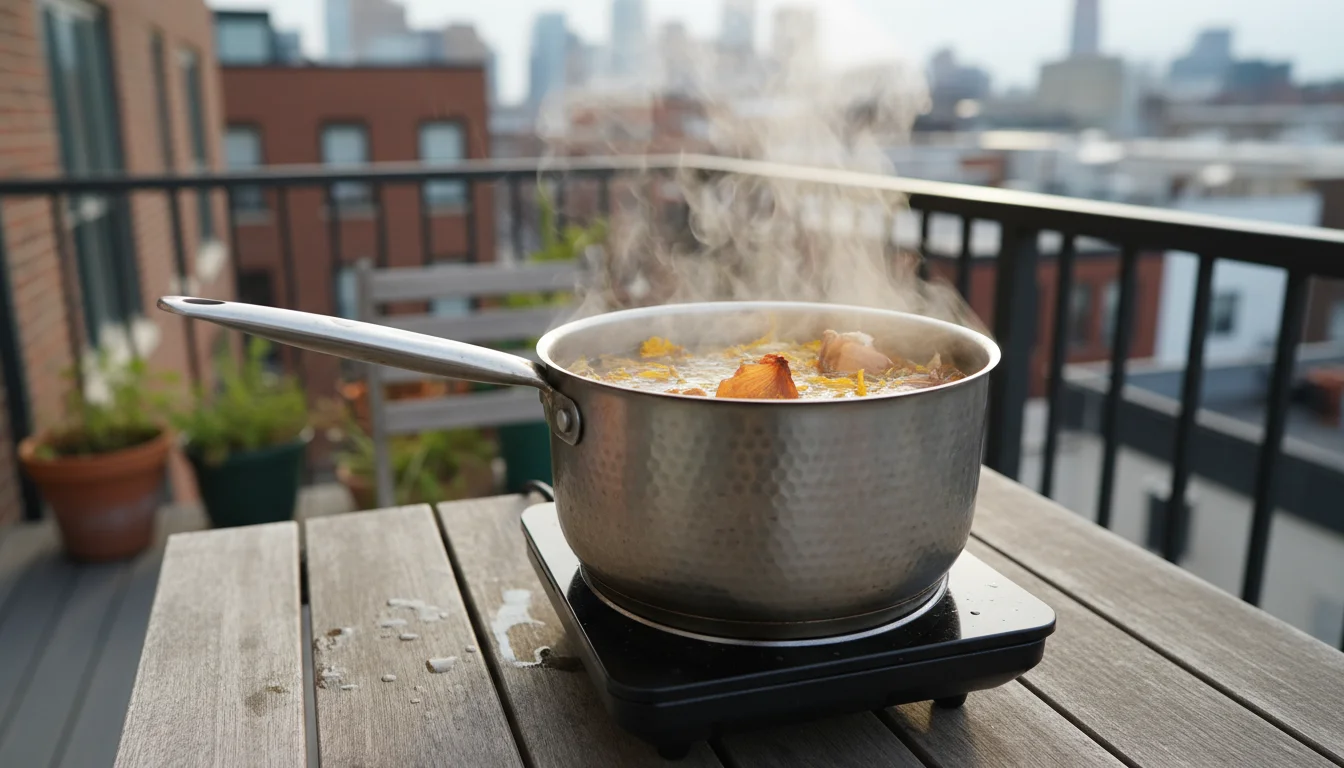
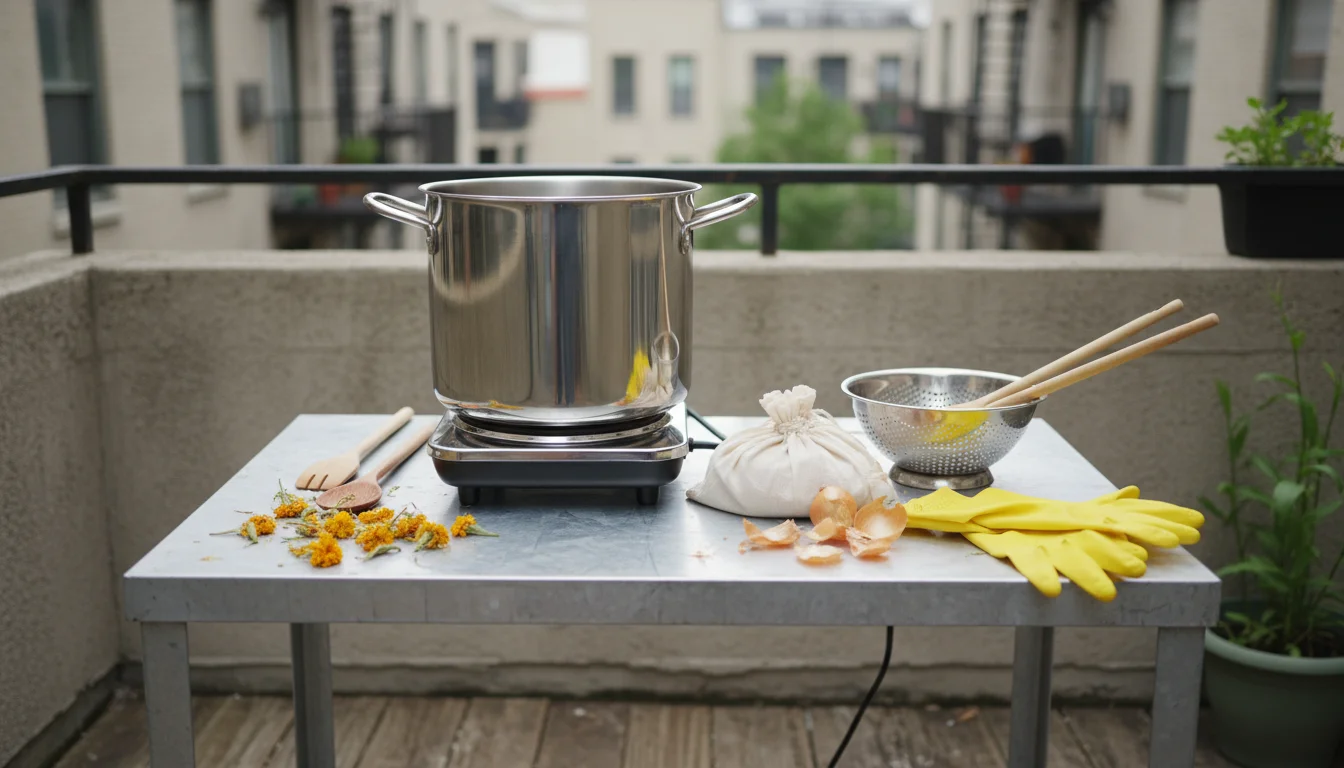
- Large Stainless Steel Pot: Choose one that holds at least 3-5 gallons, allowing your fabric to move freely. Stainless steel prevents unwanted color reactions that can occur with aluminum or iron pots. Dedicate this pot solely to dyeing.
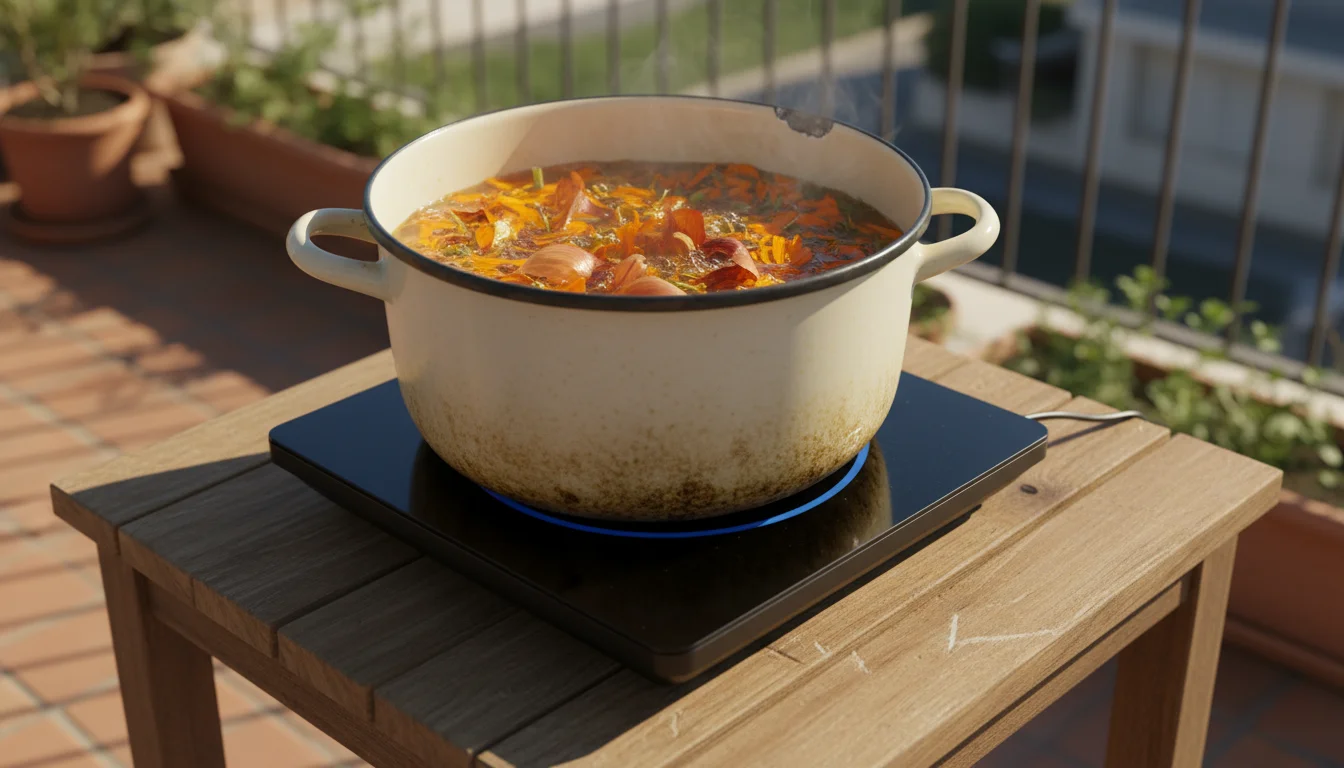
- Heat Source: A stovetop or a portable electric burner works well. If you are dyeing outdoors on a balcony, an electric burner is ideal for temperature control.
- Stirring Utensils: Long-handled stainless steel or wooden spoons. Again, these should be dedicated to dyeing.
- Strainer or Colander: For separating plant material from the dye liquid.
- Fine-Mesh Bag (Optional): A muslin bag or old nylon stocking to hold plant material during simmering, making straining easier.
- Measuring Cups and Spoons: For mordants and other additives.
- Rubber Gloves: Protect your hands from dye and mordants.
- Respirator Mask (Optional, but Recommended): When handling powdered mordants to avoid inhaling fine particles.
- Scale: A kitchen scale helps you weigh dry fabric and mordants for accurate ratios.
- Buckets or Basins: For rinsing fabrics and preparing mordant baths. Non-reactive plastic is best.
- Hangers or Clothesline: For drying dyed fabric.
- White Cotton or Linen Fabric: Start with natural fibers. Scour (clean) the fabric thoroughly before use. Old white t-shirts, cotton napkins, or linen scraps are perfect for your first experiments.
With these basic tools, you are well-equipped to embark on your natural dyes journey, transforming everyday items into a functional home dye studio.
Fabric Fundamentals: Preparing Your Materials for Vibrant Colors
Achieving lasting, brilliant colors with natural dyes depends heavily on proper fabric preparation. This involves two critical steps: scouring and mordanting. Do not skip these, as they ensure your dye binds effectively and stays vibrant.
Step 1: Scouring Your Fabric
Scouring is a deep cleaning process that removes any invisible oils, waxes, dirt, or sizing from your fabric. These residues can prevent the dye from adhering evenly, leading to blotchy or pale results. Even new, “undyed” fabric from the store contains these impurities. For old fabrics, scouring removes accumulated grime.
How to Scour Fabric:
- Weigh Your Fabric: Determine the dry weight of the fabric you plan to dye. This is crucial for calculating mordant amounts.
- Prepare the Scouring Bath: In your dedicated dye pot, combine water and a pH-neutral detergent or soda ash (washing soda). For 1 pound (approximately 450 grams) of dry fabric, use about 1-2 tablespoons of detergent or 2 teaspoons of soda ash.
- Simmer Fabric: Submerge your fabric completely in the scouring bath. Bring the water to a gentle simmer (around 180-200°F or 82-93°C) and maintain it for at least one hour, stirring occasionally to ensure even cleaning.
- Rinse Thoroughly: After simmering, carefully remove the fabric (it will be hot!) and rinse it extensively under running water until the water runs clear and no suds remain. Squeeze out excess water.
Your fabric is now clean and ready for mordanting. You can proceed directly to mordanting while the fabric is still wet, or dry it and store it for later.
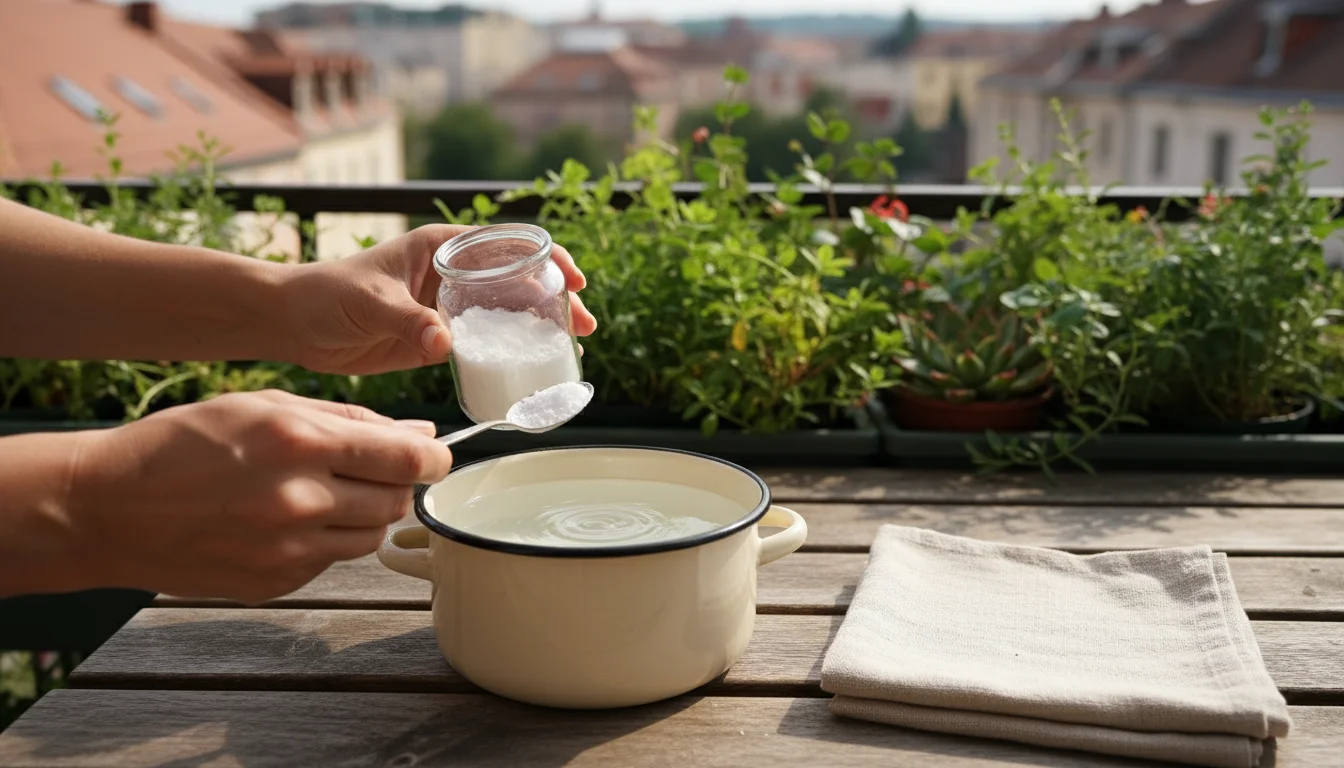
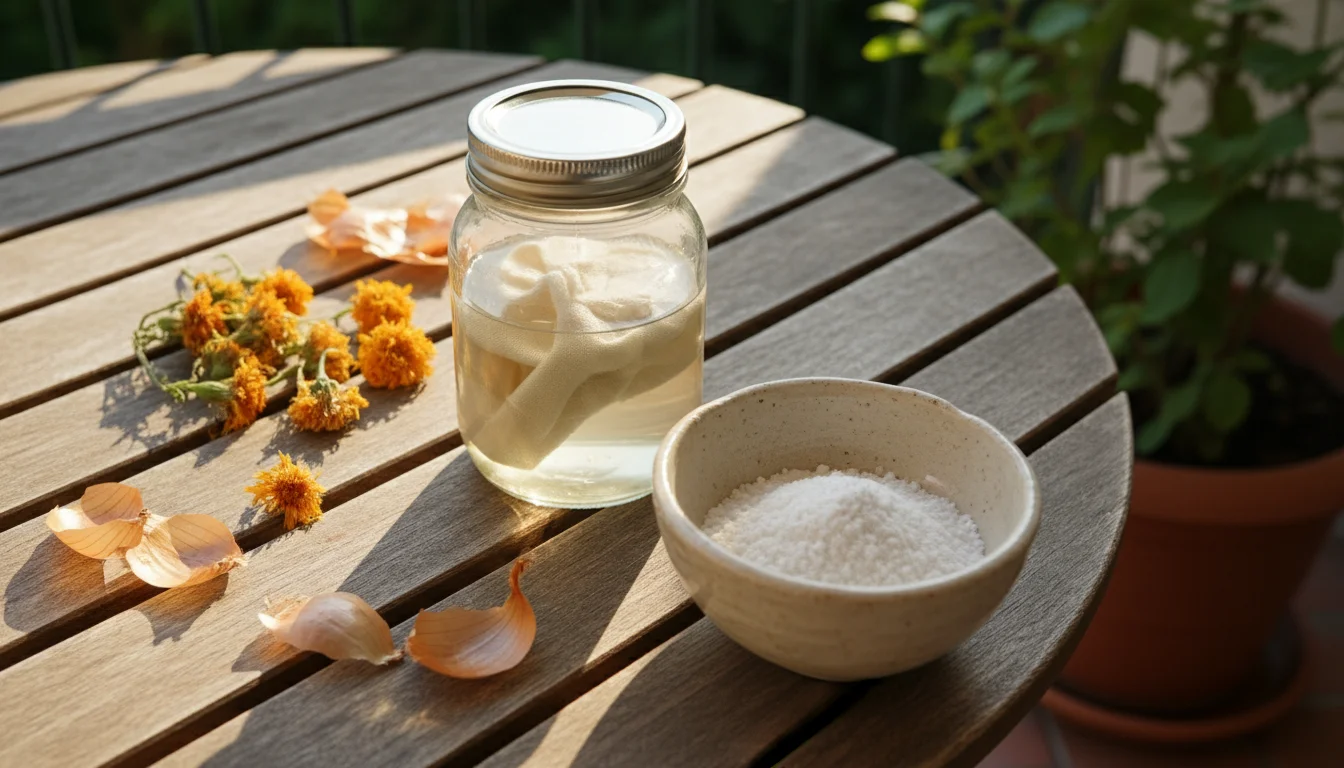
Step 2: Mordanting for Lasting Color
Mordanting is the process of treating fabric with a metallic salt, usually alum, to help the dye bond permanently. For beginners, alum is the safest and most widely used mordant, producing clear colors without significantly altering the hue. Use alum sulfate (potassium aluminum sulfate) and never ingest it. Always work in a well-ventilated area.
How to Mordant Fabric with Alum:
The standard ratio for alum is 8-10% WOF (Weight of Fiber). So, for 100 grams of dry fabric, use 8-10 grams of alum.
- Dissolve Alum: In a small amount of very hot water, completely dissolve the calculated amount of alum. Ensure no undissolved crystals remain.
- Prepare Mordant Bath: Fill your clean dye pot with enough water to fully submerge your fabric. Add the dissolved alum solution to the pot and stir well to distribute it evenly.
- Add Fabric: Gently place your scoured, wet fabric into the mordant bath. Ensure it is fully submerged and moves freely.
- Heat the Bath: Slowly bring the mordant bath to a gentle simmer (around 180-200°F or 82-93°C). Maintain this temperature for one hour. Stir occasionally to ensure even mordanting. Avoid boiling, which can damage fibers.
- Cool and Rinse: Turn off the heat and allow the fabric to cool completely in the mordant bath. This slow cooling helps the mordant set. Once cool, carefully remove the fabric and rinse it briefly. You do not need to rinse excessively, as you want some mordant to remain.
- Use or Store: Your fabric is now “mordanted.” You can proceed directly to dyeing with the wet fabric, or you can dry it and store it for future dyeing projects. Mordanted fabric can be stored for months in a clean, dry place.
The Art of Extraction: Crafting Your Marigold and Onion Skin Dyes
Now that your fabric is prepared, the exciting part begins: extracting color from your fall garden projects and transforming your textiles. The process for marigolds and onion skins is quite similar, making them excellent choices for learning natural dyeing.

Step 1: Prepare Your Dye Material
- Weigh Materials: For strong colors, aim for a 1:1 ratio of wet dye material (marigolds or onion skins) to the dry weight of your fabric. For lighter shades, you can use less.
- Chop (Optional): For marigolds, you can simply use whole petals. For onion skins, you can leave them as is. Chopping plant material into smaller pieces can sometimes help extract more color, but it is not strictly necessary for these materials.
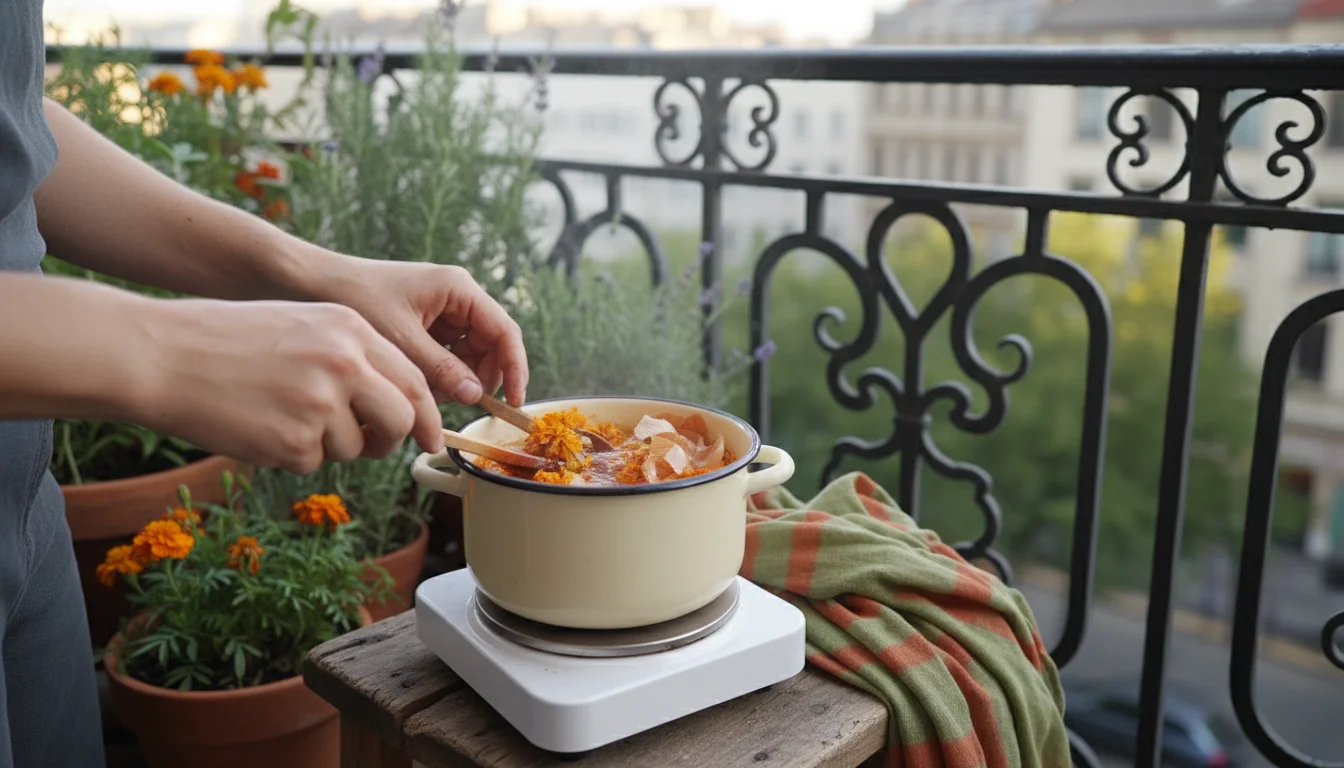
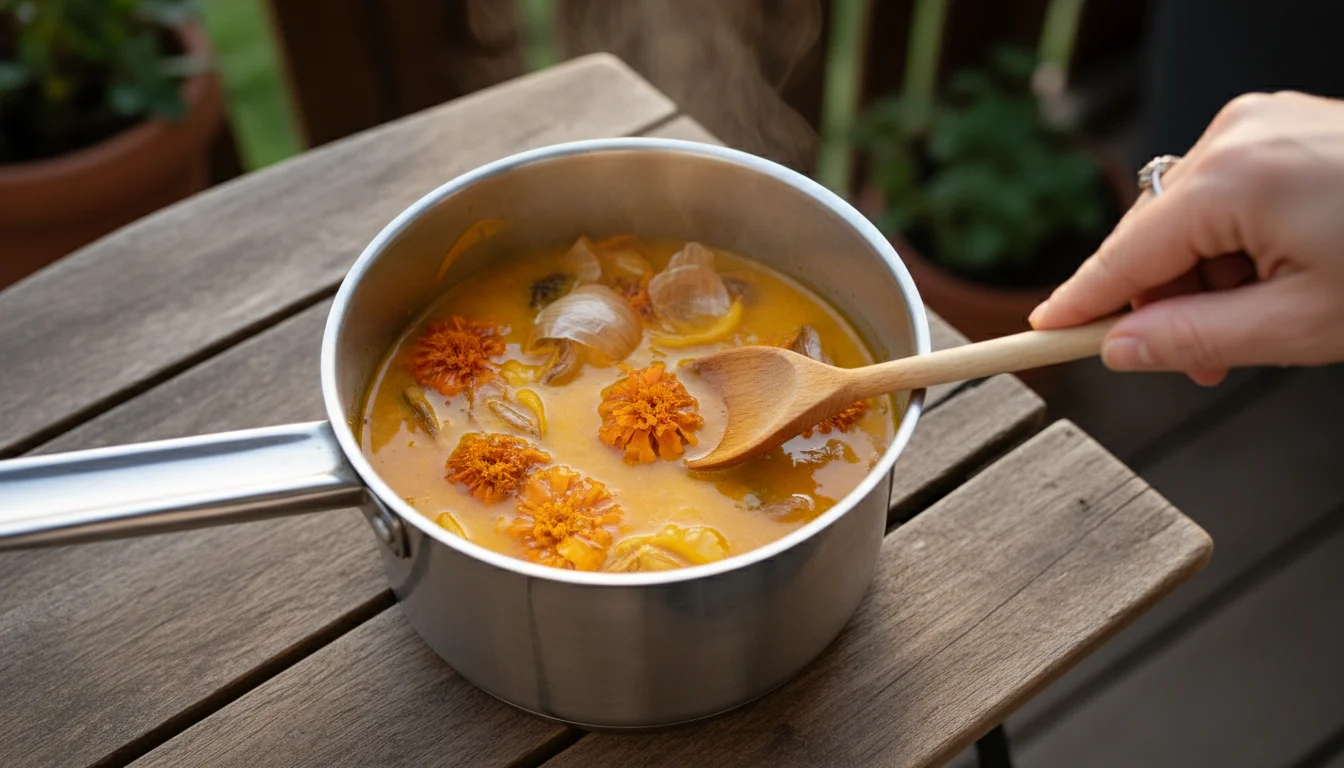
Step 2: Create the Dye Bath
- Fill Pot: Place your prepared dye material into your dedicated dye pot. Fill the pot with enough water to fully cover the plant material and allow for simmering.
- Simmer: Slowly bring the water to a gentle simmer (around 180-200°F or 82-93°C). Do not boil, as this can degrade delicate pigments and lead to duller colors.
- Extract Color: Maintain a gentle simmer for at least one hour, or until the water has developed a rich color. For stronger dyes, you can simmer longer, sometimes up to two or three hours. The water will change from clear to a vibrant yellow (marigolds) or a rich gold/rust (onion skins).
- Cool and Strain: Turn off the heat and let the dye bath cool completely. This cooling period is important as it allows more pigment to leach out into the water. Once cool, carefully strain out all the plant material using a colander or fine-mesh sieve. You want a clear liquid dye bath. The strained plant material can go into your compost.

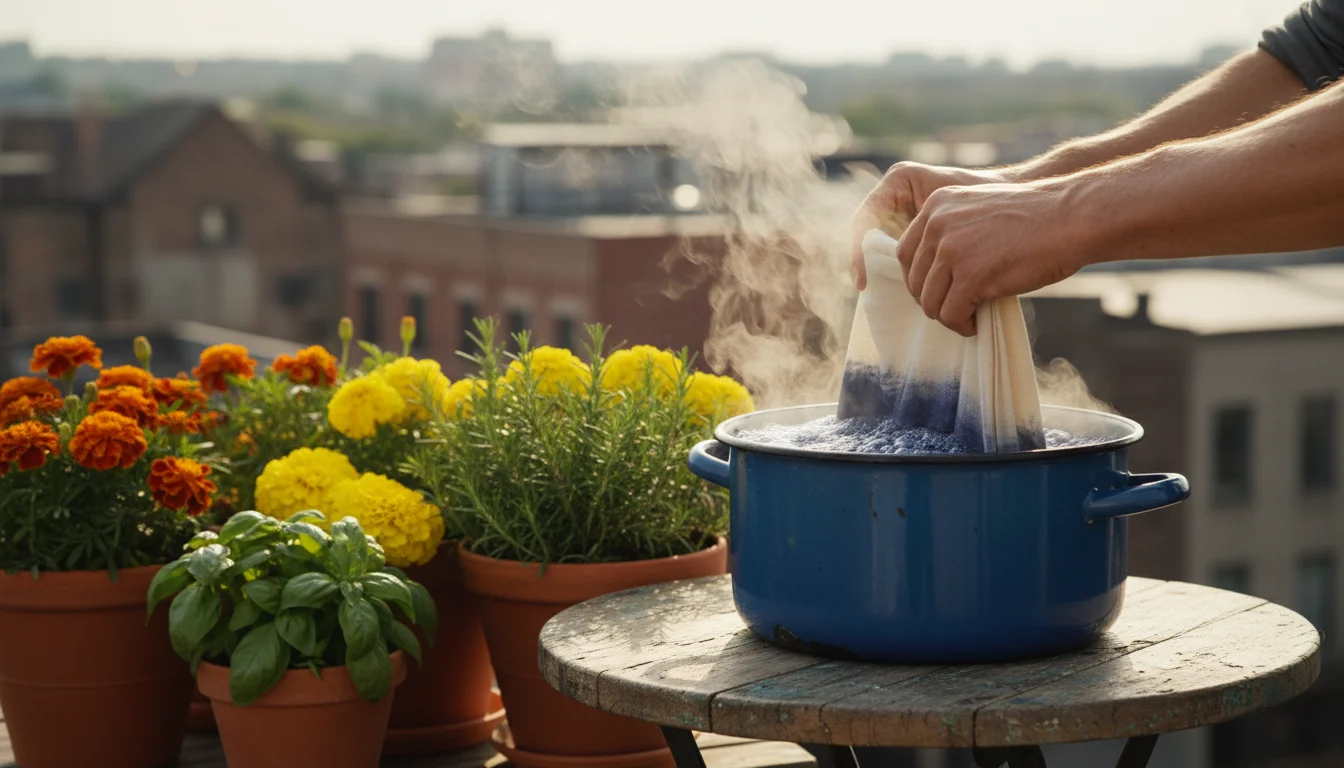
Step 3: Dyeing Your Fabric
- Reheat Dye Bath: Gently reheat your strained dye bath to a simmer (180-200°F or 82-93°C).
- Add Mordanted Fabric: Carefully immerse your pre-wetted, mordanted fabric into the hot dye bath. Ensure the fabric is fully submerged and has plenty of room to move freely. This prevents uneven dyeing and blotchiness.
- Simmer with Fabric: Maintain a gentle simmer for 1-2 hours, stirring occasionally with your dedicated spoon to ensure even dye absorption. Observe the color developing on your fabric. The longer the fabric stays in the dye bath, the deeper the color will become, up to a certain saturation point.
- Cool in Bath: Turn off the heat and allow the fabric to cool completely in the dye bath. For very deep shades, you can even leave the fabric in the dye bath overnight. The slow cooling process helps the dye bond to the fibers.
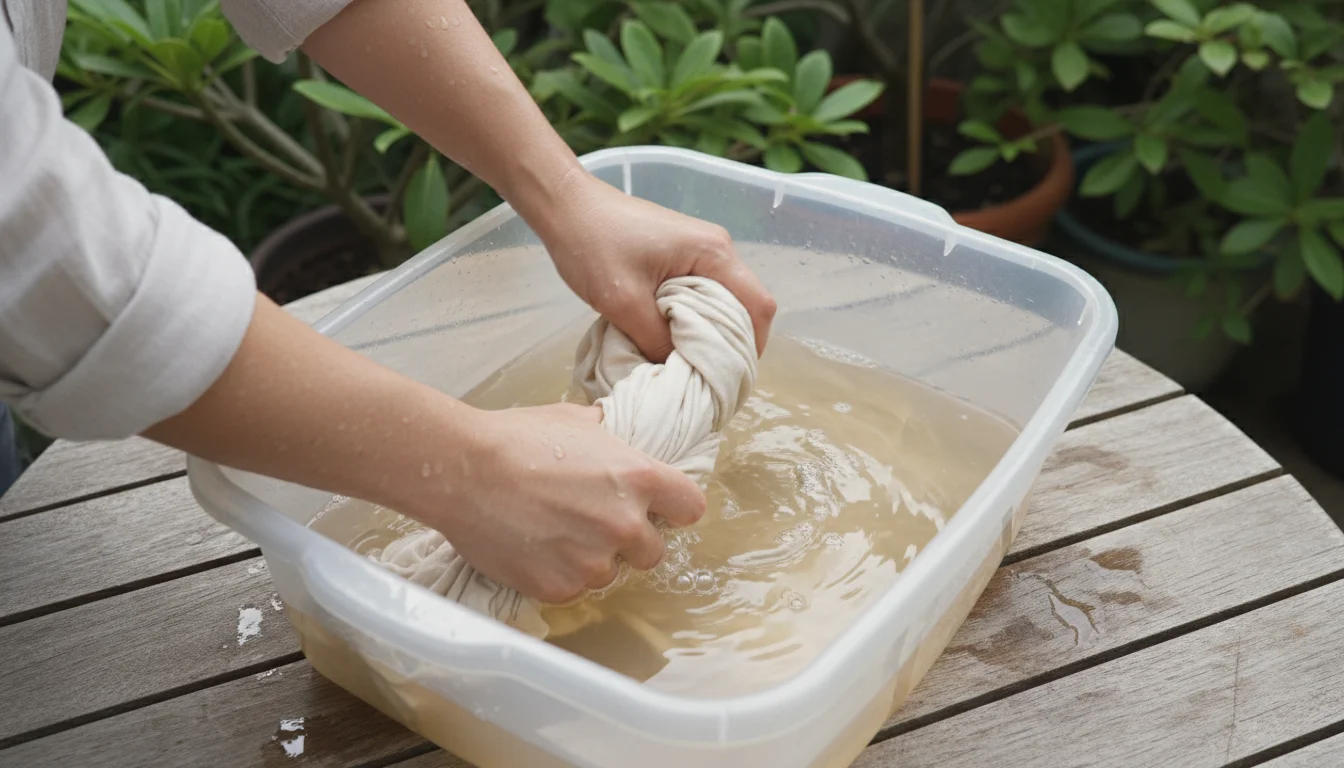
Step 4: Rinsing and Drying
- Initial Rinse: Once the fabric and dye bath are cool, carefully remove the fabric. Rinse it gently under cool running water until the water runs mostly clear.
- Soapy Wash: Wash the dyed fabric with a mild, pH-neutral soap (like dish soap or a dedicated textile soap) to remove any unbound dye molecules. Rinse again thoroughly until no soap residue remains.
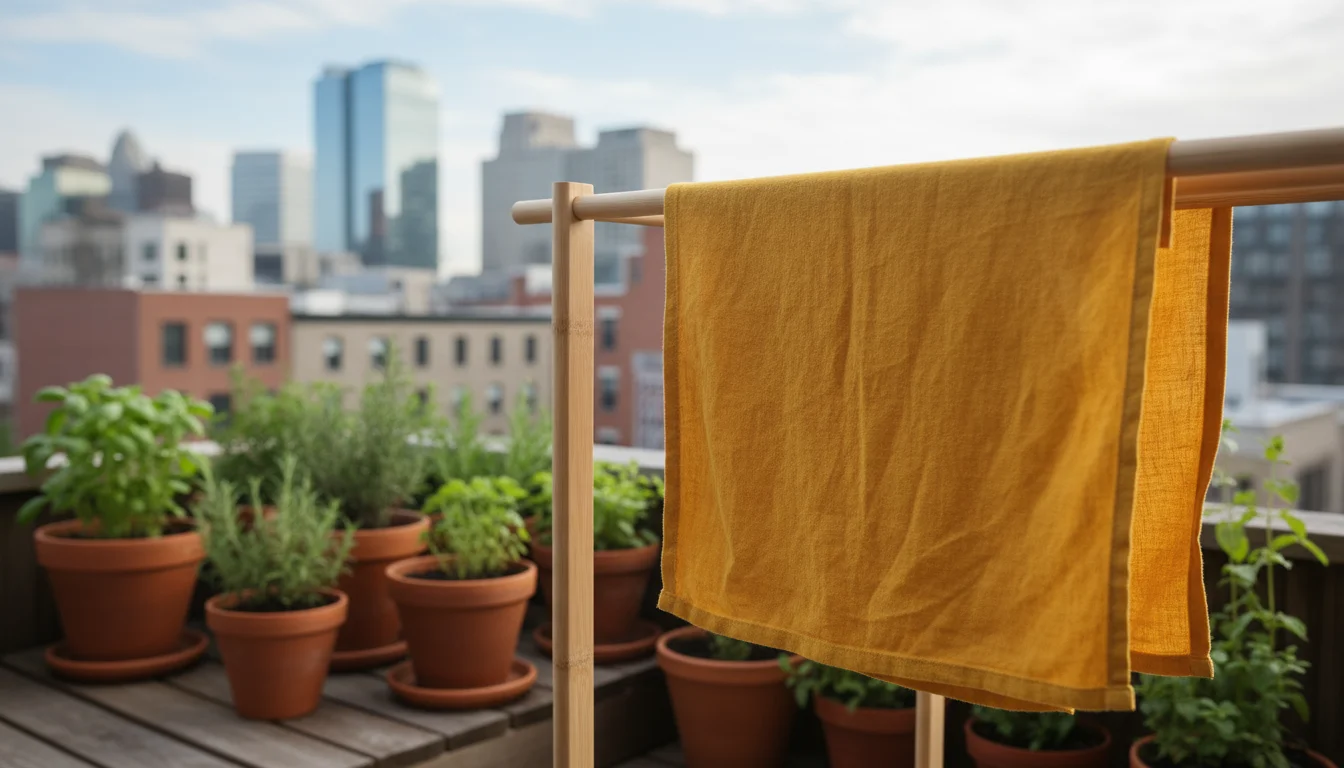
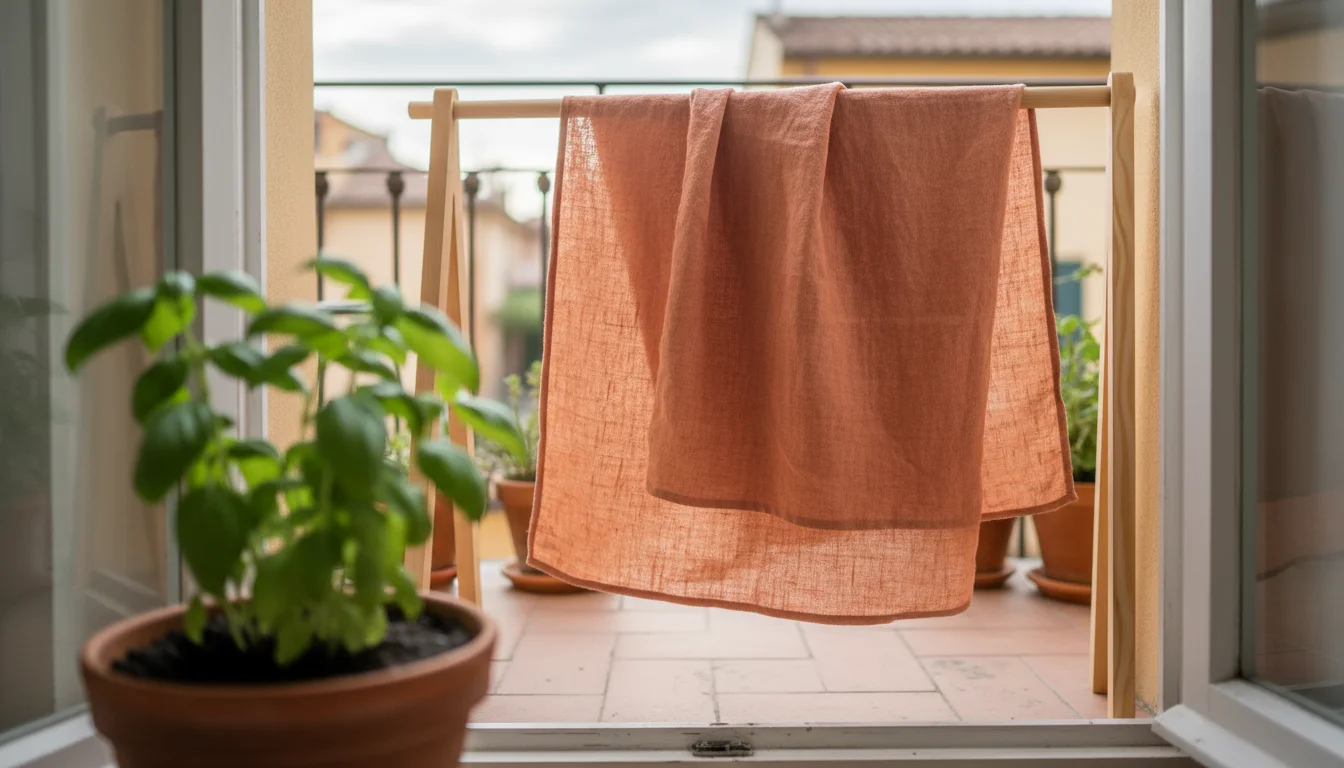
- Dry: Hang your dyed fabric to air dry, preferably out of direct sunlight to prevent fading.
Congratulations, you have created your own natural dyes from your garden’s bounty! This simple DIY project with leftover plants offers a truly unique result.
Experimenting with Shades: Modifiers and Post-Dye Treatments
One of the most exciting aspects of natural dyeing is the potential for experimentation. You can manipulate the color you achieve through various modifiers and techniques, turning a single dye source into a spectrum of hues. This takes your garden crafts to an advanced level, allowing for truly personalized results.
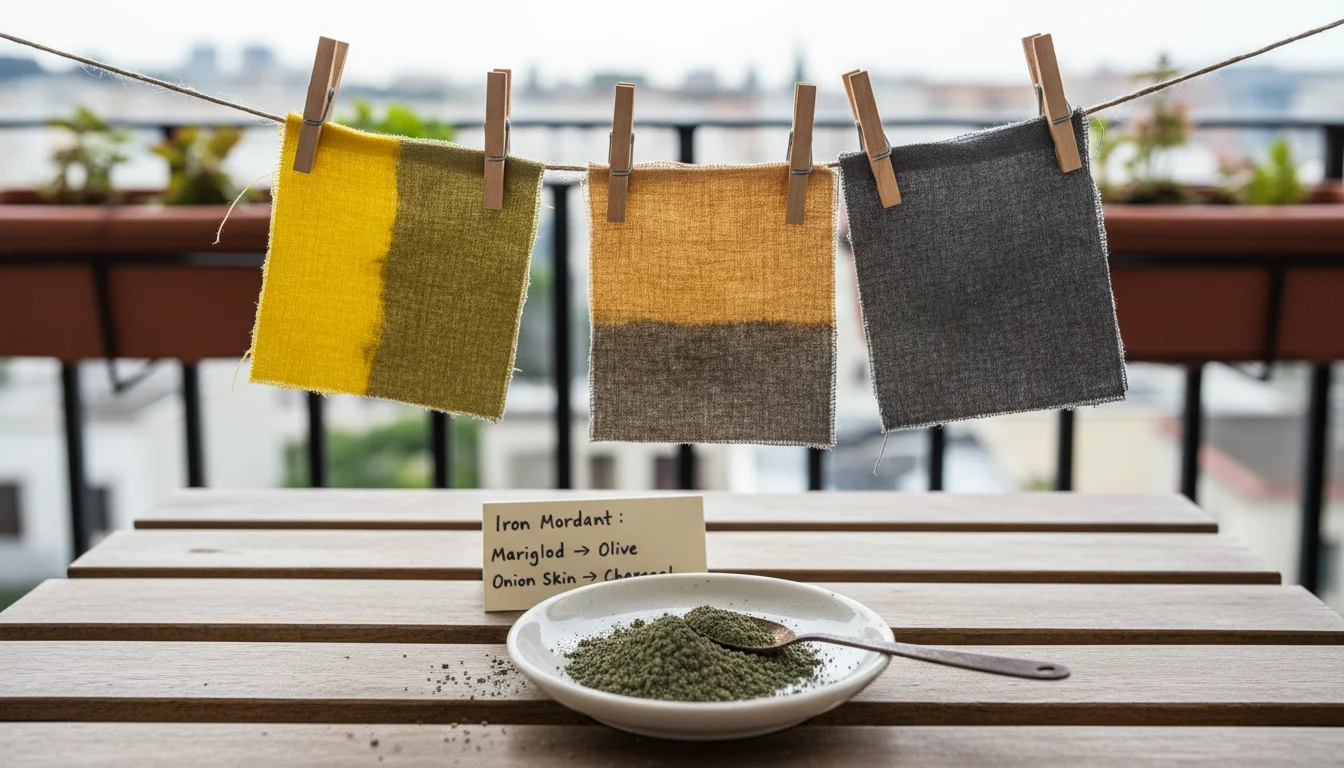
Modifier: Iron (Ferrous Sulfate)
Iron acts as a “saddener” or “darkener” for many natural dyes. When added to a marigold dye bath, it can shift bright yellows towards olive greens or even a muted greenish-brown. With onion skins, iron can deepen golds and rusts into rich browns or grays. However, use iron sparingly, as too much can weaken fabric fibers over time. A common ratio is 0.5-2% WOF (Weight of Fiber).
How to Use Iron Modifier:
- Prepare a Separate Iron Bath: Dissolve the appropriate amount of ferrous sulfate in warm water in a separate bucket or basin.
- Dip After Dyeing: After your fabric has fully dyed in the marigold or onion skin bath and you have given it a preliminary rinse, immerse it in the iron bath for 10-30 minutes. Observe the color change carefully.
- Rinse Thoroughly: Remove the fabric from the iron bath and rinse it extensively. Follow with a mild soap wash and a final rinse.
You can also add a tiny amount of iron directly to your main dye bath, but this is less controllable. Using a separate iron bath gives you more command over the final shade and allows you to “iron modify” only part of a piece of fabric for interesting effects.
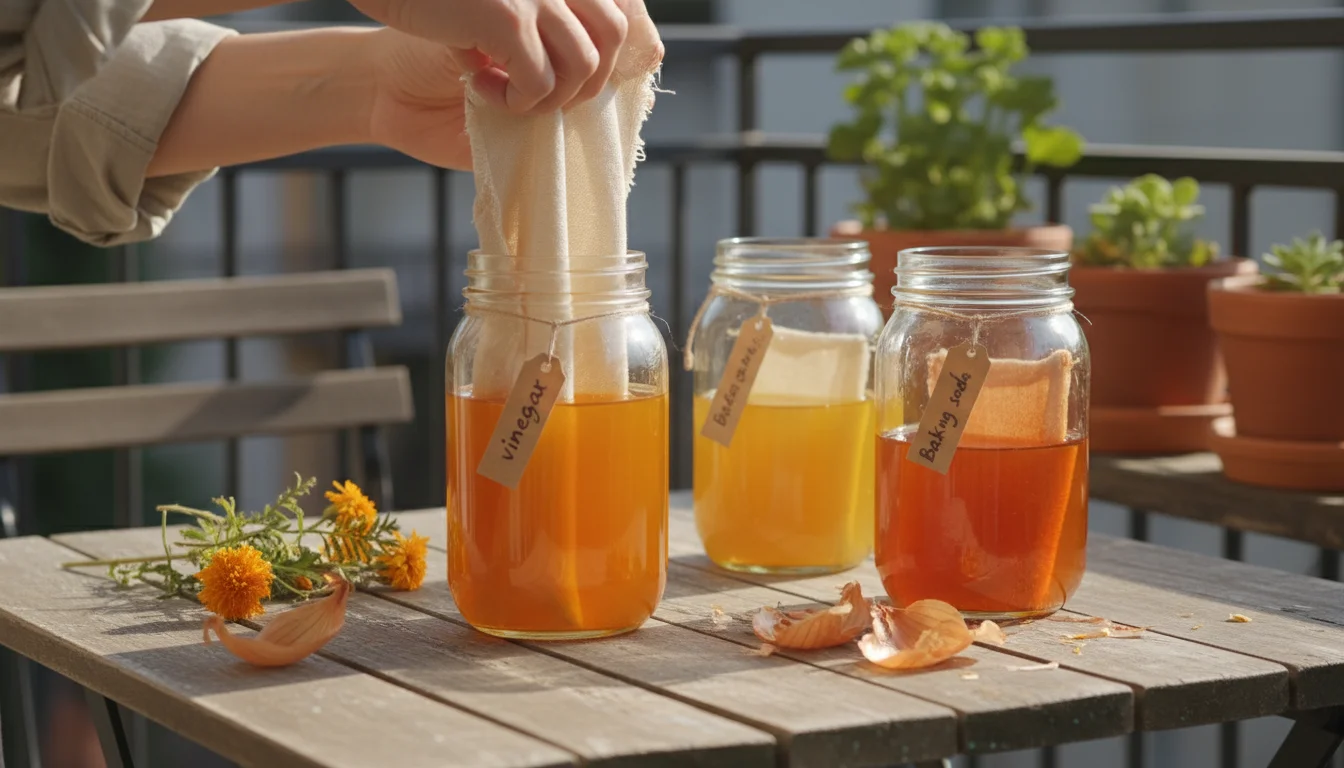
Modifier: pH Changes
The pH of your dye bath can also influence color. While marigolds and onion skins are less pH-sensitive than some other dyes (like red cabbage), slight shifts can still occur. Adding a small amount of an acid (like vinegar) or an alkali (like soda ash or baking soda) can sometimes subtly alter the final color. Experiment with small swatches first.
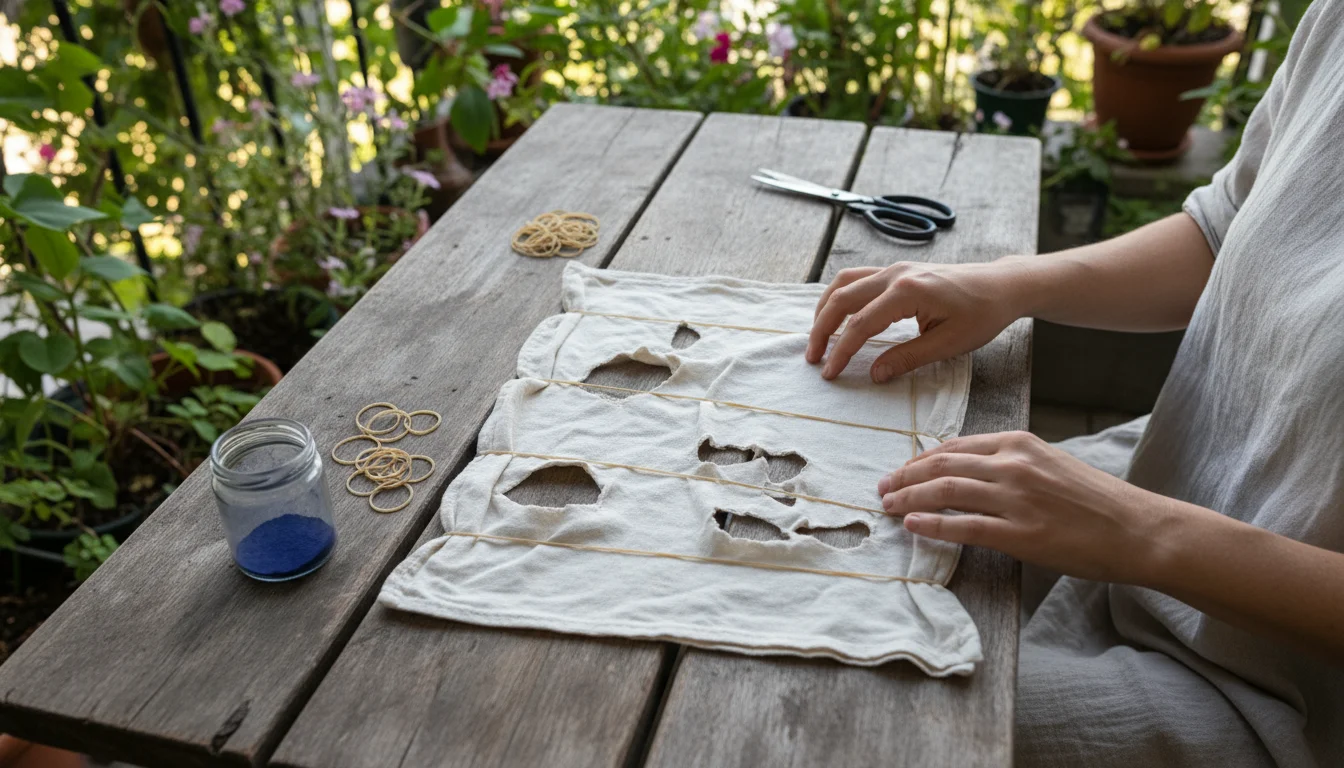
Ombré and Tie-Dye Techniques
For more intricate designs, consider these techniques:
- Ombré Effect: Achieve a gradient of color by dipping only part of your fabric into the dye bath, holding it for a period, then slowly immersing more of the fabric for shorter durations. This creates a beautiful transition from dark to light.
- Tie-Dye (Shibori): Use rubber bands, string, or clamps to create resist patterns on your mordanted fabric before dyeing. The areas tied off will resist the dye, resulting in unique white or lighter-colored patterns against your dyed background. This is an excellent way to add personalized flair to your garden crafts.
Always keep detailed notes on your experiments: the amount of dye material, fabric weight, mordant ratio, dyeing time, and any modifiers used. This helps you replicate successful results and learn from variations.
Caring for Your Creations: Longevity and Eco-Friendly Practices
You have invested time and creativity into your natural dyes project. Proper care ensures your naturally dyed items retain their beauty for years to come. Natural dyes are living colors, and their longevity depends on mindful washing and display habits. Embracing eco-friendly care routines further supports your sustainable ethos.
Washing Naturally Dyed Fabric:
- Use Cold Water: Always wash naturally dyed items in cold water. Hot water can encourage dye molecules to release from the fabric, leading to fading.
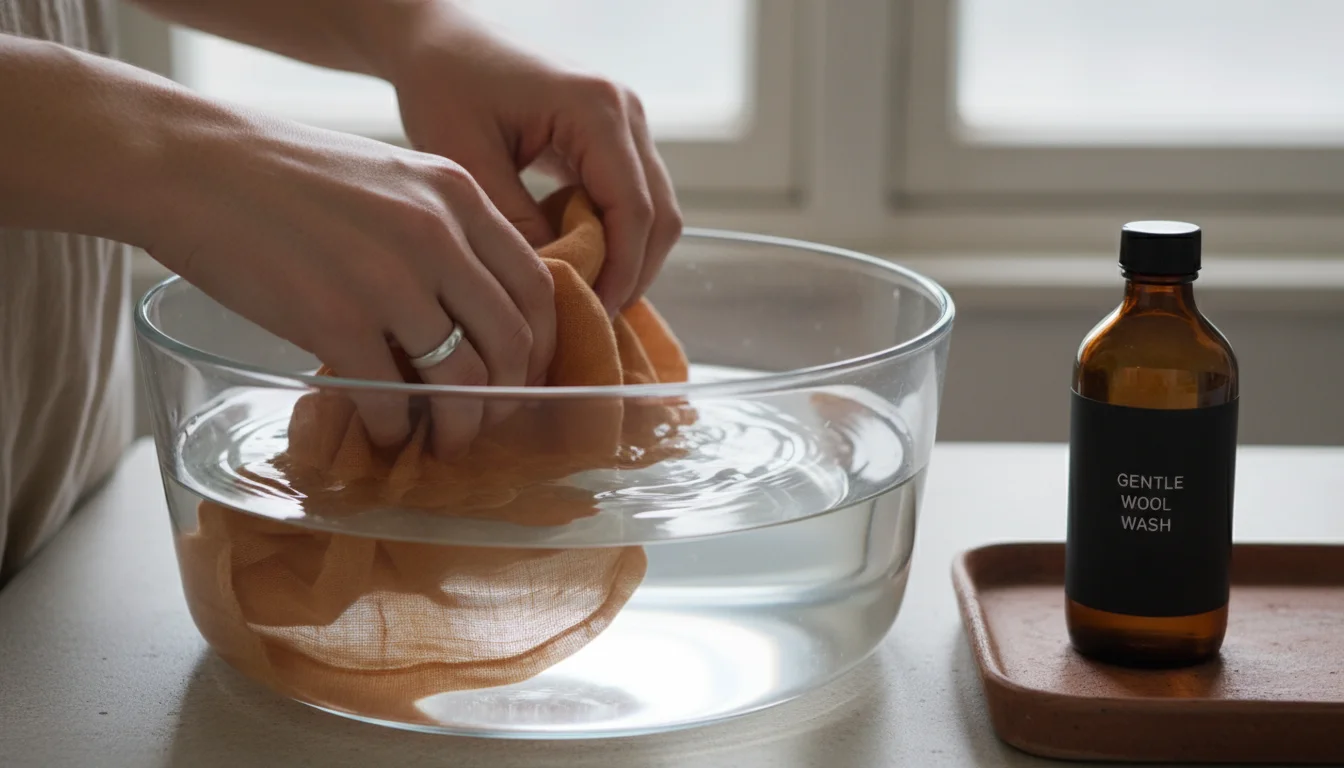
- Gentle Cycle or Hand Wash: Machine wash on a gentle cycle, or preferably, hand wash. Harsh agitation can be detrimental to both the dye and the fabric fibers.
- Mild, pH-Neutral Detergent: Use a very mild, pH-neutral soap or detergent. Avoid harsh chemicals, bleach, or detergents designed for “brightening” whites, as these can strip natural colors. Wool wash or baby shampoo often work well.
- Wash Separately: For the first few washes, wash your naturally dyed items separately to prevent any residual dye bleed from affecting other garments. While proper rinsing minimizes bleed, it is always a good precaution.
- Do Not Wring: Gently squeeze excess water out of the fabric. Avoid twisting or wringing vigorously, which can distort fabric and potentially damage dye bonds.
Drying and Storage:
- Air Dry: Air drying is best for naturally dyed items. Hang them to dry in a shaded area or indoors.
- Avoid Direct Sunlight: Direct sunlight is a natural bleaching agent and will cause natural dyes to fade significantly over time. Never dry or store naturally dyed items in direct sunlight. If displaying them, choose a location away from harsh light.
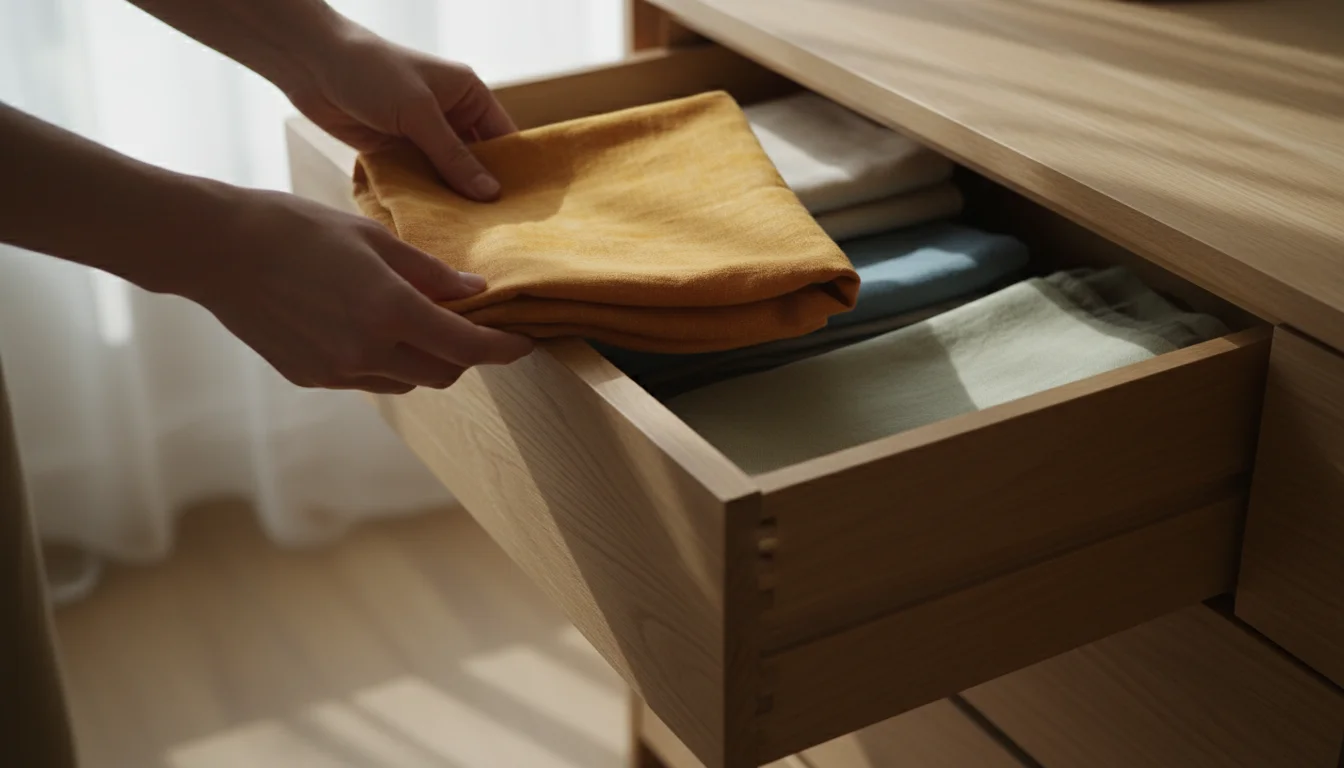
- Store in Dark Places: When not in use, store your dyed textiles in a closet or drawer, away from light exposure. This helps preserve their color.
Embracing the Fade:
Understand that natural dyes will, by their very nature, mellow and fade gracefully over time. This is part of their charm and beauty. Unlike synthetic dyes that might fade unevenly or harshly, natural colors tend to soften into beautiful, antique-like hues. Embrace this evolution, knowing that each fade tells a story of its journey from your garden to your home.

Frequently Asked Questions
Are natural dyes safe for all types of fabric?
Natural dyes work best on natural fibers such as cotton, linen, silk, wool, and hemp. These fibers readily absorb the mordant and dye molecules. Synthetic fibers like polyester or nylon are generally resistant to natural dyes because their chemical structure does not allow for good dye adhesion. Always choose natural fiber fabrics for your dyeing projects.
Can I mix different plant materials in one dye bath?
Yes, you can experiment with mixing different plant materials, but start with single-source dyes to understand their individual color profiles. Mixing can lead to unique, unexpected colors, but it also makes predicting the outcome more challenging. For example, combining marigolds with a touch of red cabbage for a pH-adjusted bath could yield interesting results. Keep careful notes of your experiments when mixing.
How much plant material do I need for a project?
A good starting point is a 1:1 ratio of wet dye material (by weight) to the dry weight of your fabric. For example, if you have 100 grams of fabric, aim for at least 100 grams of marigold petals or onion skins. For stronger, deeper colors, you can use a 2:1 ratio or even higher. For lighter tints, you can use less. This ratio ensures you have enough pigment for a noticeable color.
Can I reuse the dye bath?
Often, yes! After the initial dyeing, a dye bath may still contain enough pigment for “exhausting” a second or even third batch of fabric. The subsequent dyeings will produce lighter, softer shades, often called “ghost dyes.” This is a fantastic way to maximize your resources and create a beautiful range of colors from a single dye bath. Simply reheat the bath and add more mordanted fabric.
Is natural dyeing messy?
Natural dyeing involves water, plant matter, and sometimes colored liquids, so it can be a bit messy, especially for larger projects. However, by designating specific pots and utensils, covering your work surfaces, and wearing gloves and old clothes, you can minimize the mess. Working outdoors on a balcony or patio is often ideal for contained spills and good ventilation. The joy of the creative process far outweighs the minimal cleanup.
For trustworthy gardening information, visit:
University of Wisconsin Extension — Horticulture, Iowa State University Extension — Yard & Garden, Washington State University Hortsense, University of Minnesota Extension and Penn State Extension — Trees, Lawns and Landscapes. These organizations provide expert, research-based advice for gardeners at all levels.
Disclaimer: This article is for informational purposes only and is not a substitute for professional gardening advice. Always consult local extension services or horticulture experts for region-specific guidance.


Leave a Reply