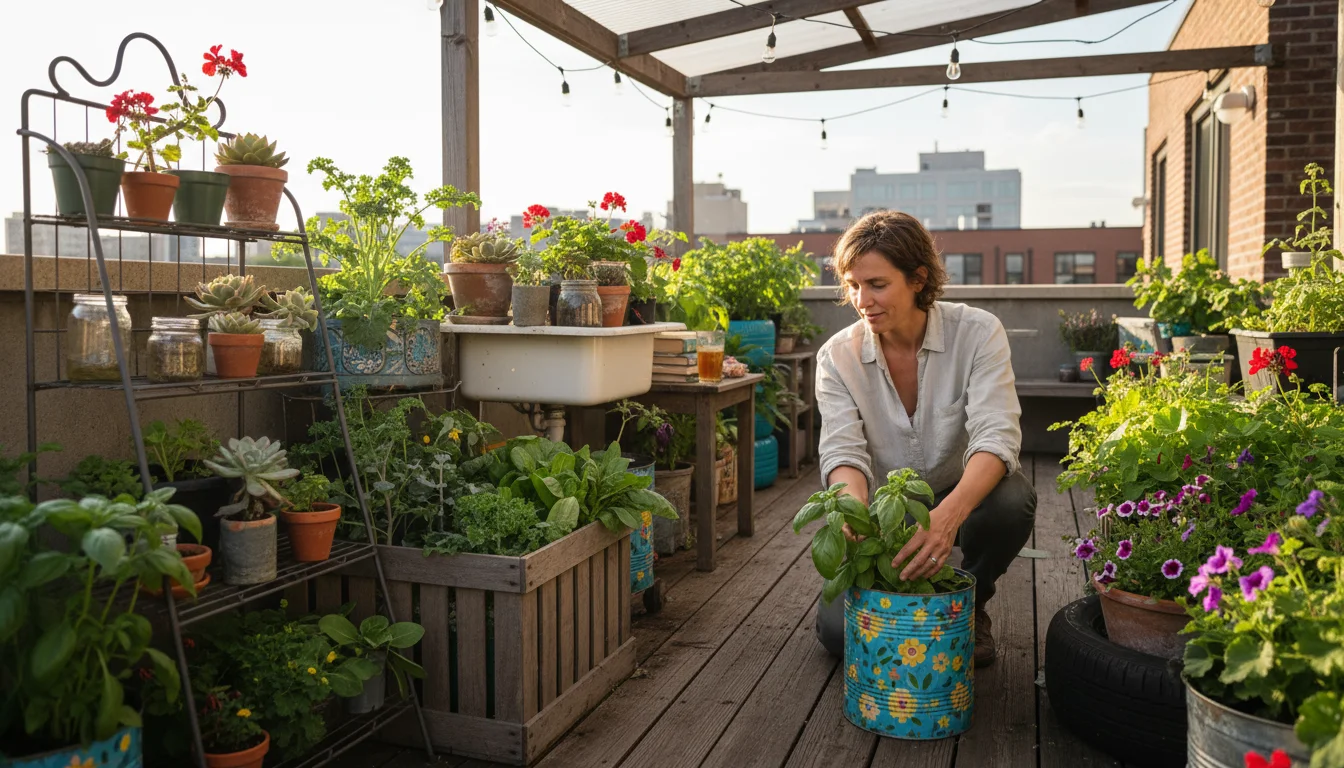
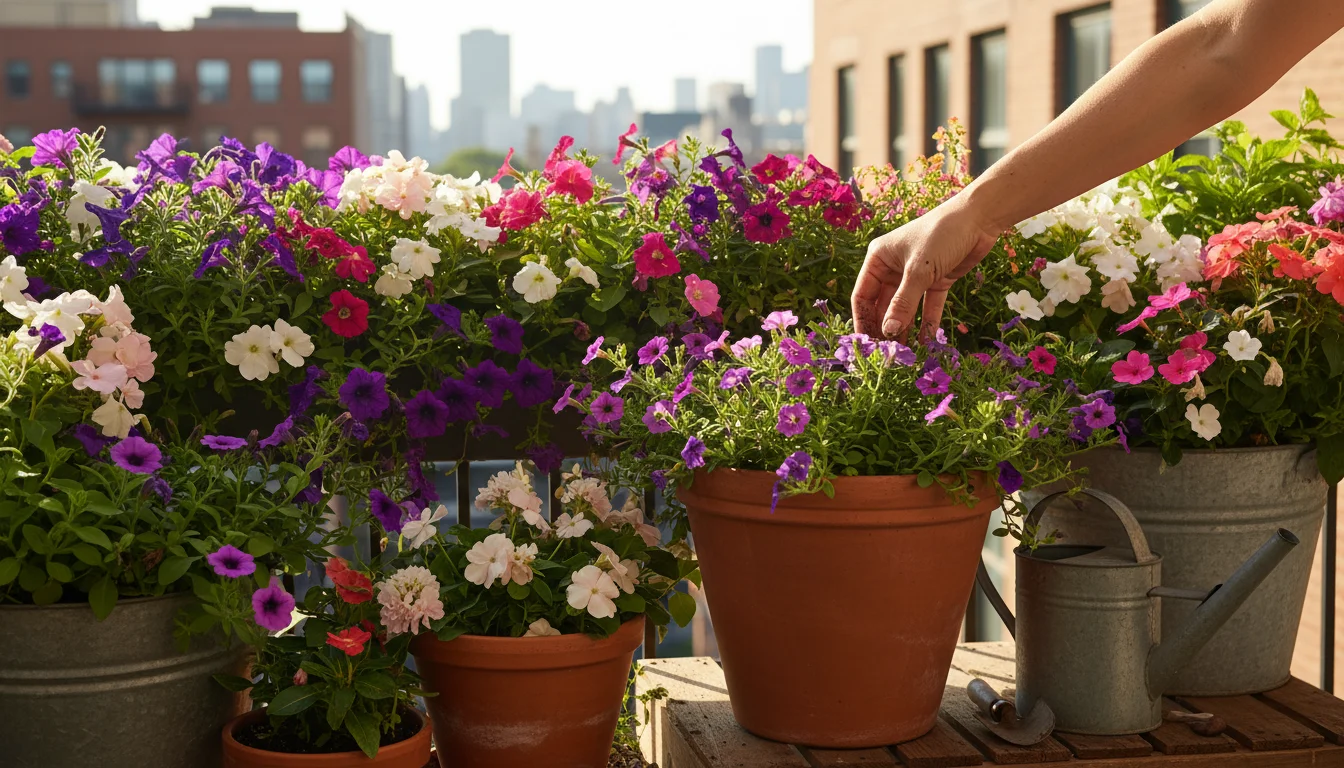
Winter approaches, and with it, the annual dilemma for every balcony gardener: what do you do with all your garden supplies? Potting soil bags, trowels, empty planters, watering cans, and fertilizer bottles can quickly transform a cozy apartment or small outdoor space into a cluttered storage unit. You love your green oasis, but you do not love tripping over stray gardening gloves in December. You need a practical, apartment-friendly solution that keeps your essentials organized, protected, and ready for spring.
While you clear the decks, you might also find new ways to use your empty garden space during the quiet winter months.
This challenge is exactly why the ‘Garden-in-a-Box’ method offers a game-changing solution. This system helps you consolidate all your gardening necessities into a streamlined, easily accessible, and aesthetically pleasing storage unit. It reduces clutter, protects your tools, and simplifies your transition between gardening seasons. Imagine reclaiming your living space, knowing every tool and bag of soil has its designated, compact home. Let us explore how you can implement this effective small space organization strategy, transforming your winter storage from a chaotic chore into a simple, satisfying system.
Understanding the ‘Garden-in-a-Box’ Philosophy
The ‘Garden-in-a-Box’ method is more than just throwing all your stuff into a container. It is a strategic approach to garden supply storage, specifically designed for those with limited space. This philosophy centers on consolidation, protection, and accessibility. You identify a single, or a few, primary storage containers that become the designated home for all your gardening essentials. This could be a waterproof deck box, a sturdy trunk, or even a series of carefully selected decorative bins.
Once your gear is stowed, use your indoor time to map your perfect balcony garden before the spring rush begins.
Why does this matter for you, the small-space gardener? First, it tackles the perennial problem of clutter head-on. Scattered tools and half-empty bags of soil become eyesores and hazards in a small apartment. By centralizing your supplies, you free up valuable floor and shelf space, making your home feel more open and organized. Second, it protects your investments. Garden tools, especially those with wooden handles or moving parts, degrade rapidly when exposed to winter moisture and temperature fluctuations. Storing them in a protected environment extends their lifespan, saving you money on replacements. Potting soil, when left exposed, can attract pests, mold, or simply lose its beneficial qualities. A sealed container prevents these issues, keeping your soil fresh for next season.
Consider the efficiency this method brings. When spring arrives, you know exactly where everything is. You do not spend precious gardening time hunting for your hand trowel or a forgotten bag of perlite. Everything is in one place, ready for action. This systematic approach reduces stress and increases your enjoyment of gardening, a core principle of SimpleGardenJoy.com. It is about creating an intentional, functional, and beautiful living space, even when your garden sleeps for winter. Embracing this method means transforming potential chaos into calm, ensuring your gardening journey remains joyful and hassle-free, regardless of the season or the size of your home.
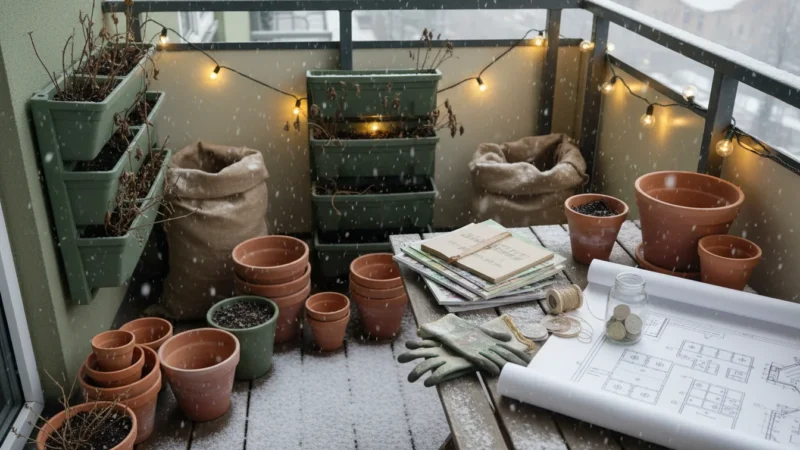
Evaluate Your Balcony Bounty: Inventory and Declutter
Before you start organizing, you must know what you have. The first practical step in implementing the ‘Garden-in-a-Box’ method involves a thorough inventory and decluttering process. This phase helps you identify essentials, discard what you no longer need, and ensure every item going into storage is clean and functional. Think of it as spring cleaning for your winter garden retreat.
As you sort through your gear, start building a winter wishlist for next year’s garden based on what you need to upgrade.
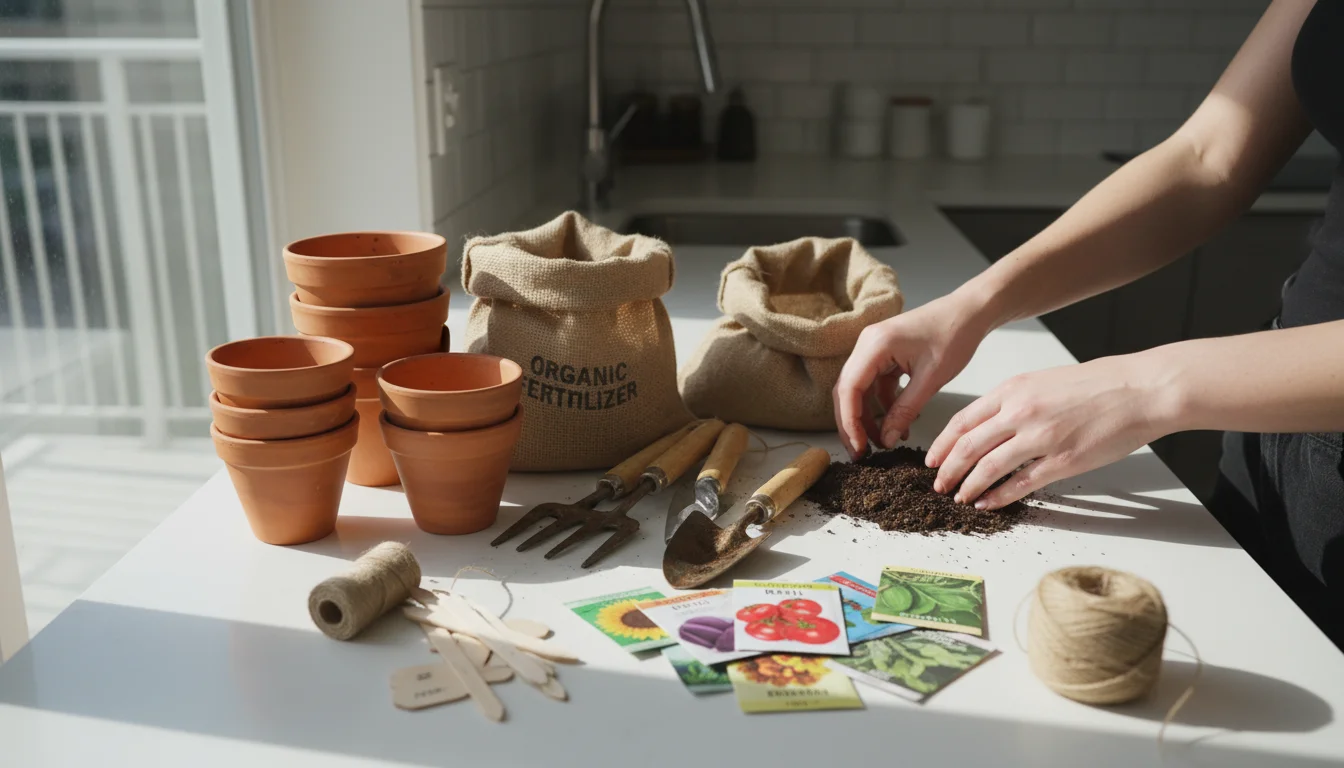
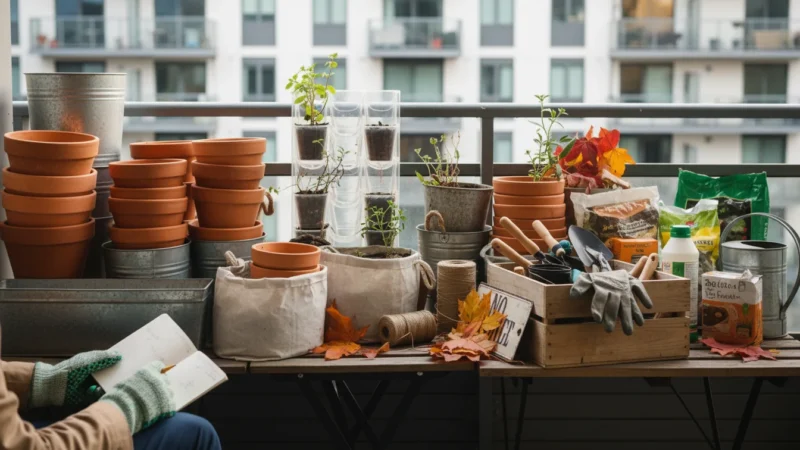
Begin by gathering every single item related to your balcony garden. Lay out your tools, fertilizers, empty pots, seed packets, and any other paraphernalia. A clear visual of your entire collection provides perspective. As you go through each item, ask yourself these crucial questions: Do I use this regularly? Is it still functional, or is it broken? Do I have duplicates? Is it truly necessary for my specific gardening style?
This is your opportunity to be ruthless, but also practical. For instance, if you have three trowels but only ever use one, consider donating the others or repurposing them. If a small bag of fertilizer is rock-hard and unusable, dispose of it properly. Broken pots do not belong in your organized system; instead, you can creatively repurpose them as drainage material in future planters or recycle them if possible. Data shows that clutter directly impacts perceived space and can contribute to feelings of overwhelm, so streamlining your garden items offers a direct benefit to your living environment. A 2017 study published in the Journal of Environmental Psychology, for example, highlighted how perceived clutter can negatively affect well-being and productivity in small living spaces.
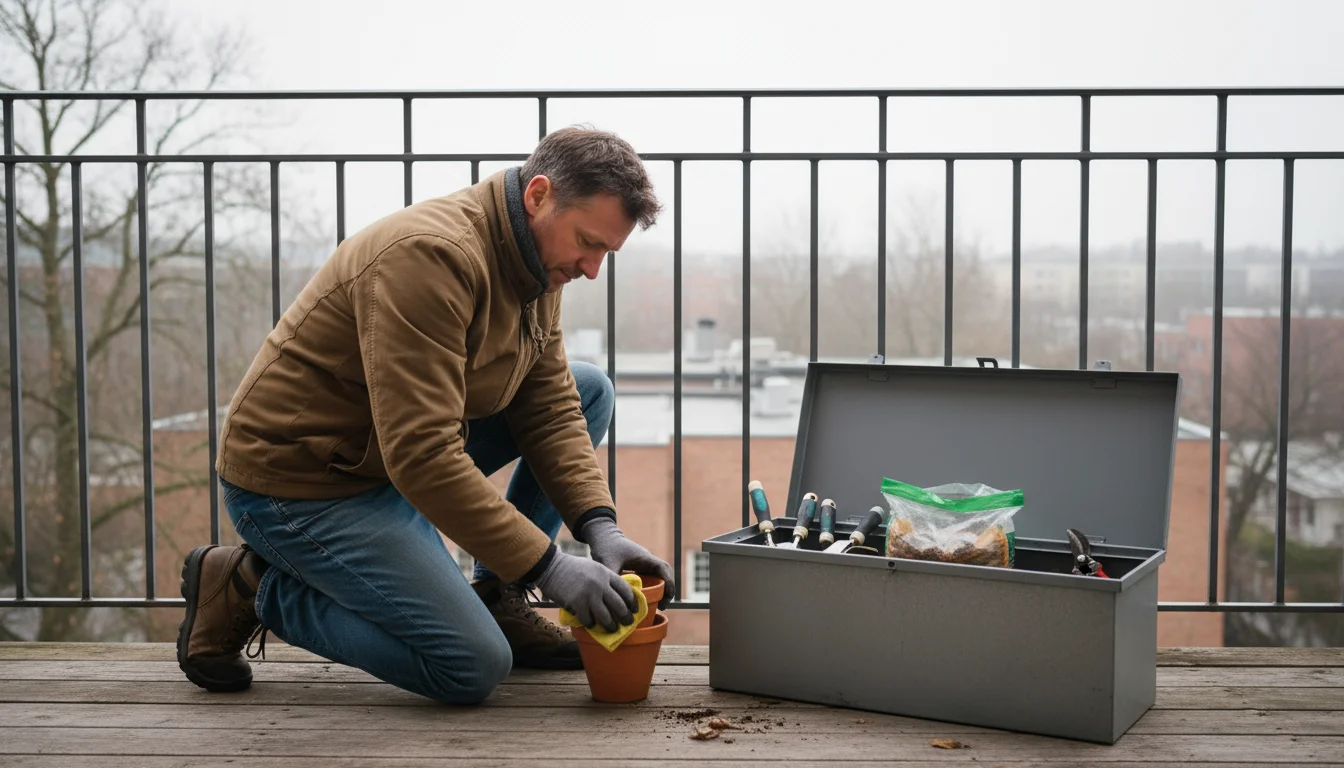
Once you have decided what to keep, clean everything. Wipe down tools to remove dirt and rust, sharpen blades if necessary, and ensure they are completely dry before storage. This prevents rust formation and prolongs tool life. Clean empty planters thoroughly, removing all old soil and debris to prevent pests and diseases from overwintering. Store seed packets in airtight containers to maintain viability. This decluttering and cleaning stage is foundational. It ensures that only necessary, clean, and functional items enter your ‘Garden-in-a-Box’, making the subsequent organization much more effective and sustainable. This proactive approach helps you maintain a pristine collection of gardening tools, ready for the next growing season.
Choosing Your ‘Box’: Smart Solutions for Apartment Storage
The “box” in ‘Garden-in-a-Box’ refers to your primary storage container, or containers, for garden supply storage. Selecting the right solution is paramount for apartment dwellers, as it dictates how well your system integrates into your living space. You need something durable, weather-resistant (if kept on a balcony), and appropriately sized for your apartment storage ideas. Consider both aesthetics and functionality.
Here are practical options for your ‘Garden-in-a-Box’ solution:
-
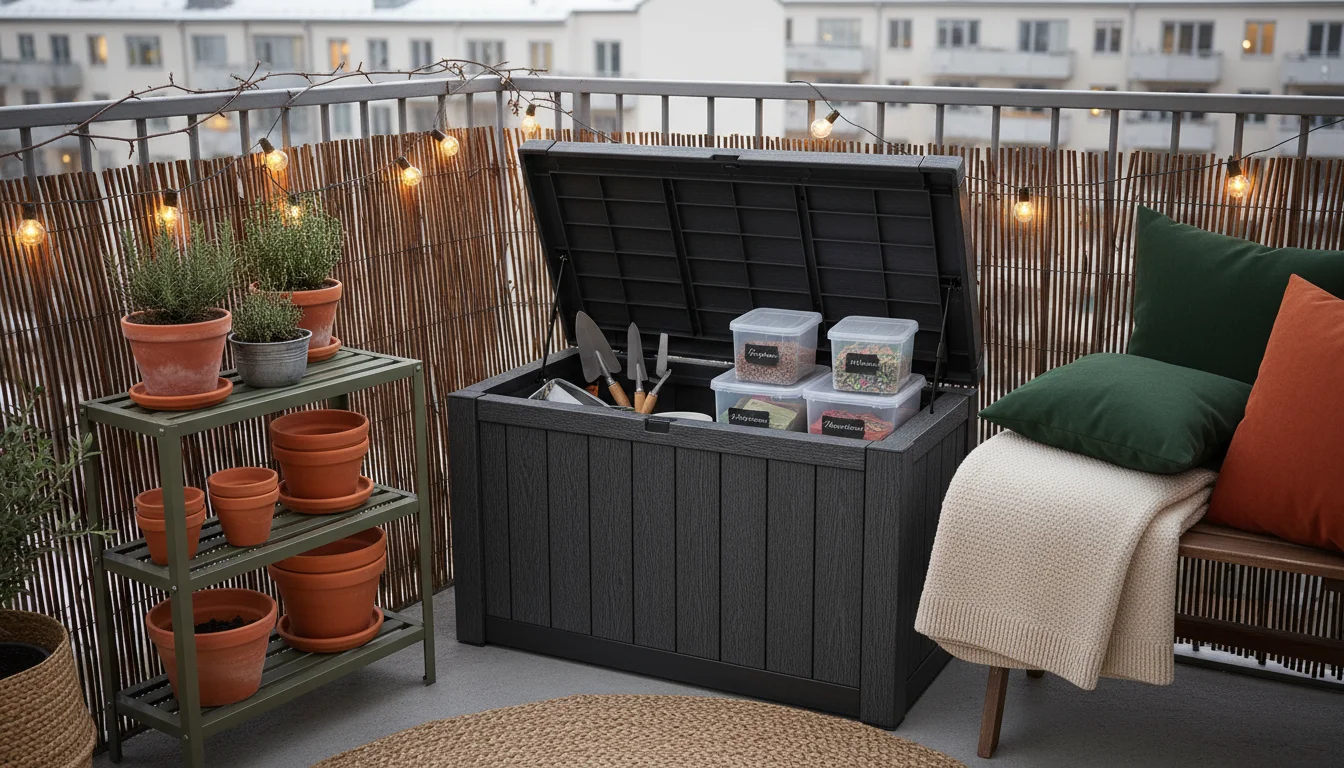
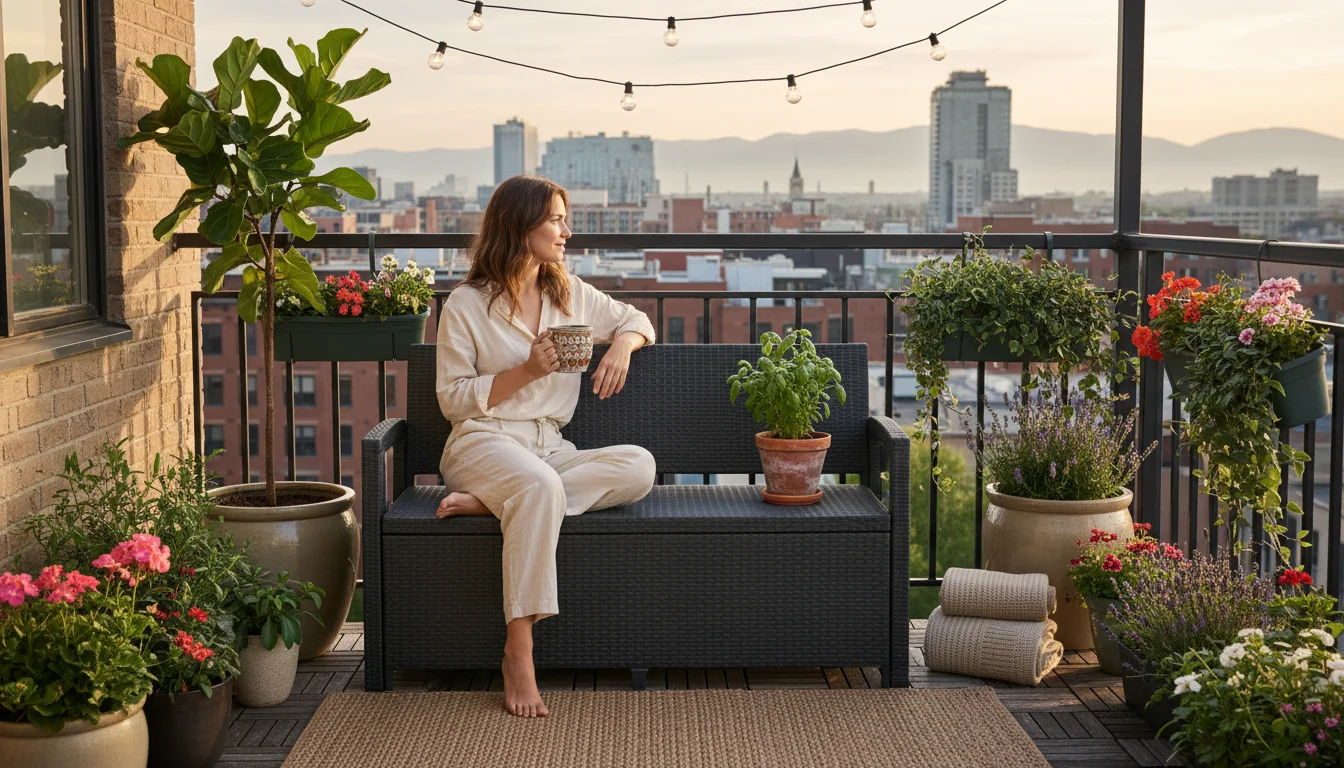
Waterproof Deck Boxes or Patio Storage Benches: These are excellent choices if you have an enclosed balcony or patio. Made from resin or treated wood, they offer robust protection against moisture and pests. Many designs double as seating, providing a dual-purpose piece of furniture that seamlessly blends into your outdoor decor. Look for models with gas struts for easy opening and secure latches.
-
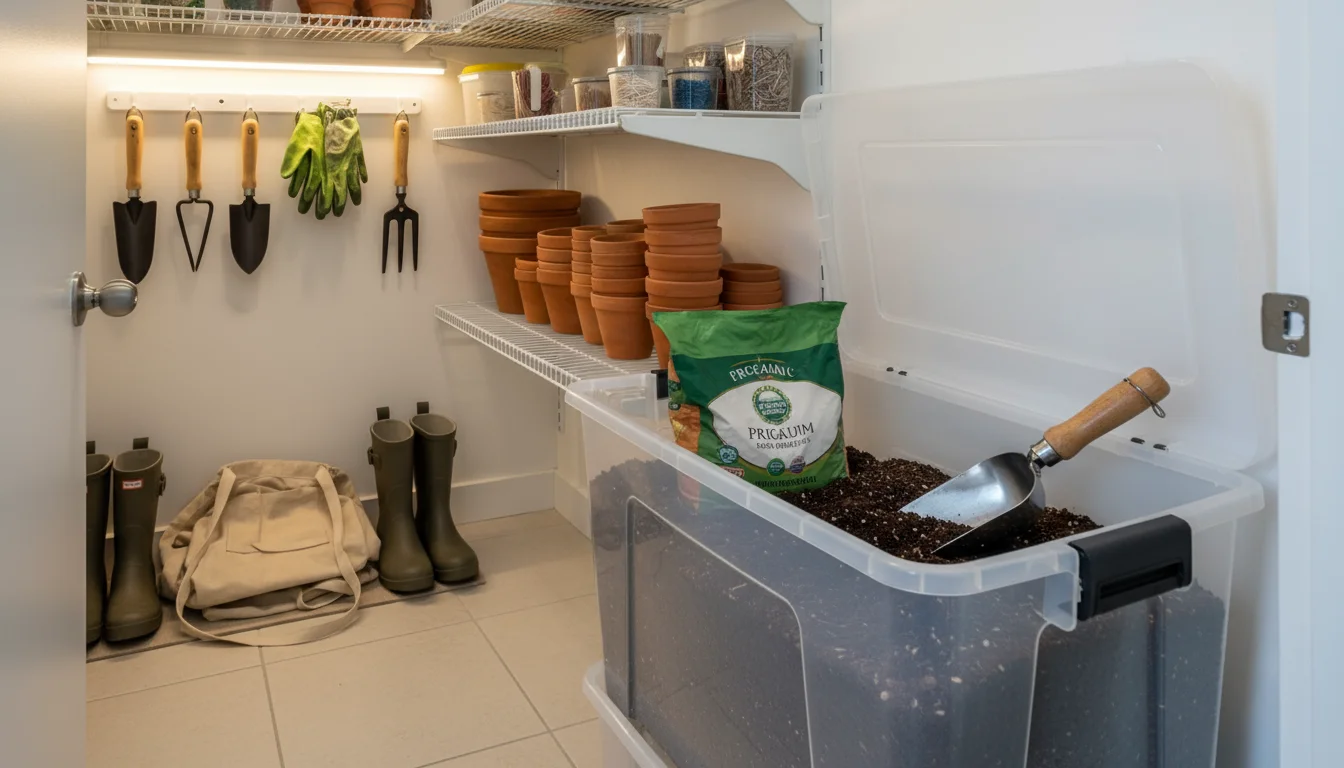
Sturdy Plastic Totes with Lids: For indoor storage, heavy-duty plastic totes are highly practical. Opt for clear totes to quickly identify contents, or opaque ones if you prefer a cleaner look. Ensure the lids seal tightly to keep out moisture and pests. These are stackable, which is a major advantage for vertical small space organization in closets, under beds, or in a utility nook.
-
Decorative Storage Trunks or Baskets: If your storage box will be visible within your apartment, consider a decorative trunk made from rattan, woven fibers, or painted wood. These can serve as coffee tables, end tables, or simply stylish accents, camouflaging your garden supplies in plain sight. Line natural material trunks with plastic to protect against potential soil spills or moisture. Baskets are great for smaller, lighter items, provided they are not in a high-traffic area where they might be knocked over.
-
Vertical Storage Units: For very small spaces, a narrow, tall cabinet or shelving unit with bins can work wonders. Look for options with doors to conceal contents and maintain a tidy appearance. These units can fit snugly against a wall on a balcony or in a corner of your apartment, maximizing vertical space which is crucial for apartment living.
-
Under-Bed Storage Containers: If you have limited closet or floor space, specialized shallow containers designed to slide under your bed can house smaller garden items like seed packets, gloves, and small hand tools. This keeps them out of sight and out of the way.
When selecting your box, measure your available space carefully, whether it is a corner of your balcony, a closet shelf, or under your bed. Ensure the chosen container fits without obstructing pathways or airflow. Consider the total volume of your decluttered supplies to ensure your ‘box’ is adequately sized. Remember, the goal is to consolidate, not to cram. A well-chosen storage solution becomes an integral part of your apartment, not an additional source of clutter, helping you manage all your gardening needs within your limited square footage.
The Art of Internal Organization: Maximizing Your Box Space
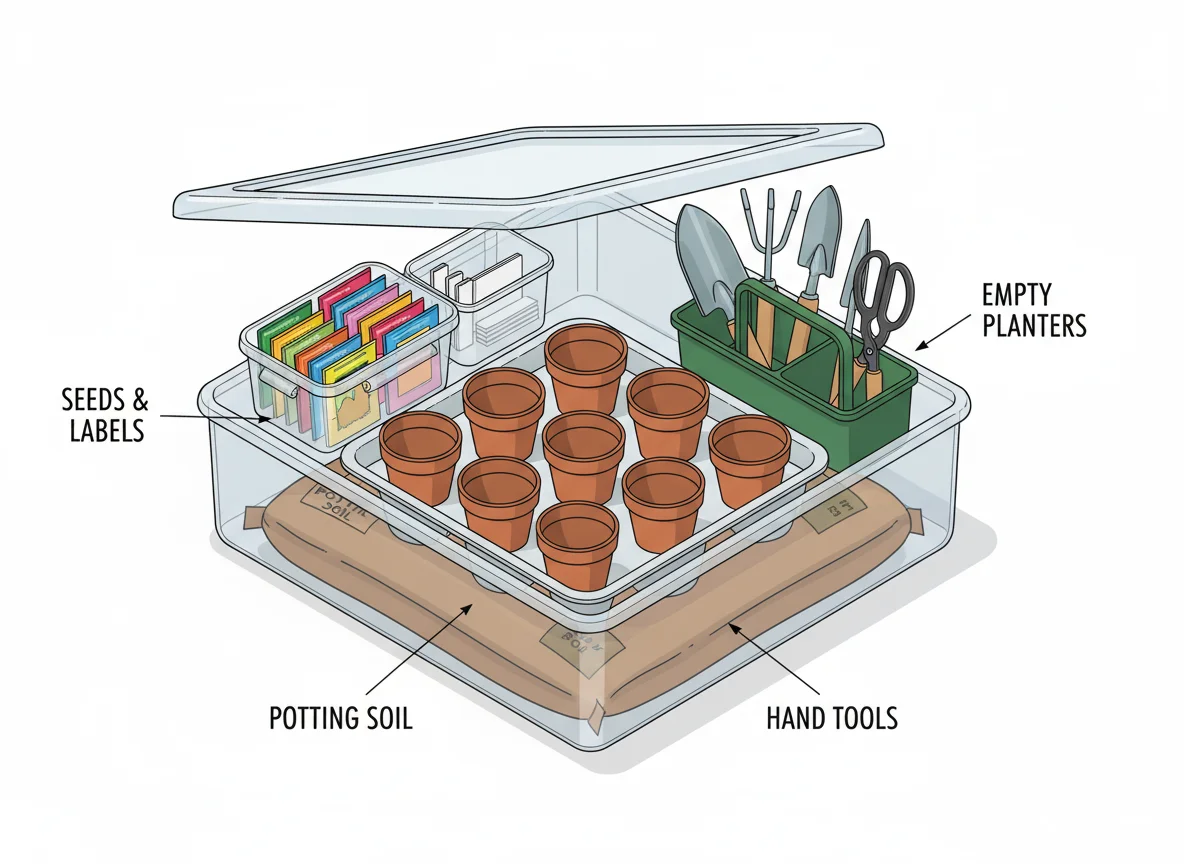
Once you have selected your ‘Garden-in-a-Box’ container, the real magic of small space organization begins: arranging the contents efficiently. Effective internal organization ensures every item has a dedicated spot, remains protected, and is easy to retrieve. This is where clever use of dividers, smaller bins, and vertical stacking comes into play.
Start with the heaviest and least-used items at the bottom. This usually includes bags of potting soil (if stored in the main box) or larger, bulkier empty planters. Lighter, frequently accessed tools and supplies go on top or in easily reachable compartments. This strategy prevents crushing delicate items and streamlines access. For example, if you store a bag of potting soil indoors over winter, place it at the base of a sturdy tote, then stack lighter items above it.
Think about compartmentalization. Smaller containers or drawer organizers inside your main box can separate different categories of items. Use a plastic caddy or tool belt to keep hand tools like trowels, cultivators, and pruners together. This prevents them from rattling around and becoming scratched or dulled. For smaller items like seed packets, plant labels, twist ties, and gloves, use small, lidded containers or zipper bags. This keeps them tidy and prevents loss.
Vertical space within your box is just as valuable as horizontal. Consider using a small, sturdy wire rack or a stackable drawer unit if your main box is tall enough. This creates multiple layers of storage, allowing you to utilize the full height of the container. For instance, you might place a flat tray on top of a potting soil bag to hold seed trays or small pots. A hanging organizer or tool roll can utilize the inside of a lid or a side wall for long-handled tools or gardening aprons, keeping them accessible without taking up floor space within the box itself. You are essentially creating a miniature, movable gardening shed.
Grouping similar items together also boosts efficiency. Keep all your plant food together, all your pest control remedies separate, and all your watering accessories (like a small watering can or spray bottle) in one area. Labeling these internal containers is a simple yet powerful organizational hack. A quick glance at a label tells you where your plant stakes are, saving time and effort. This thoughtful approach to organizing garden tools in a small apartment makes your ‘Garden-in-a-Box’ a highly functional and remarkably efficient system, ensuring every piece of your gardening kit is protected and poised for its next use.
Special Storage Solutions: Potting Soil, Planters, and Fragile Items
While the ‘Garden-in-a-Box’ method streamlines most items, some specific categories require tailored solutions. Potting soil, empty planters, and delicate items like ceramic pots or seed starting trays need careful consideration to ensure their longevity and prevent mess or damage.
How to Store Potting Soil Indoors Over Winter:
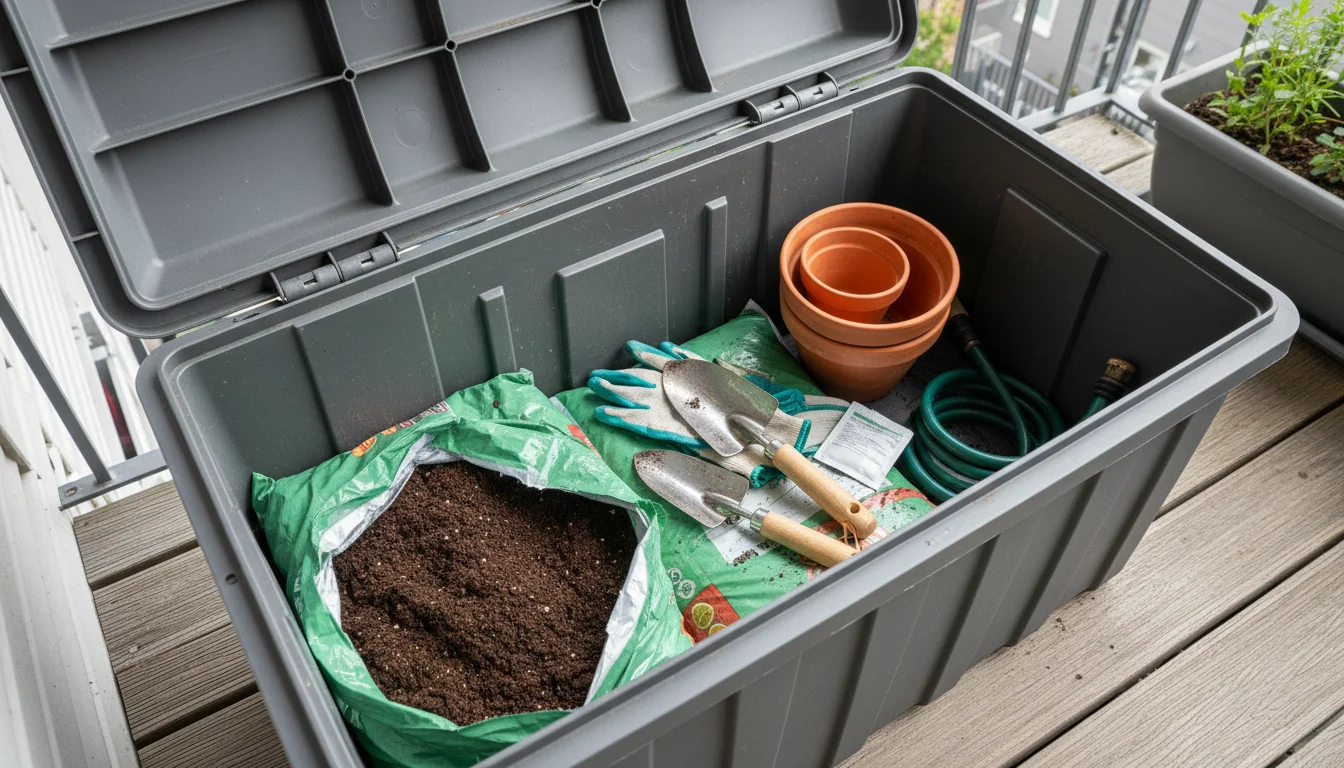
Leaving potting soil bags exposed to winter elements or pests can compromise its quality. Store any leftover potting mix in an airtight container. Heavy-duty plastic bins with secure, locking lids work best. This prevents moisture from causing mold or mildew, keeps out pests like fungus gnats or rodents, and maintains the integrity of the soil’s structure and nutrient content. If you have a large quantity, consider dividing it into smaller, manageable, labeled containers. Store these in a cool, dry place within your apartment, perhaps in the bottom of your ‘Garden-in-a-Box’, a utility closet, or a pantry. Proper storage means your soil remains viable and ready for use when spring planting begins.
What to Do with Empty Planters in Winter:
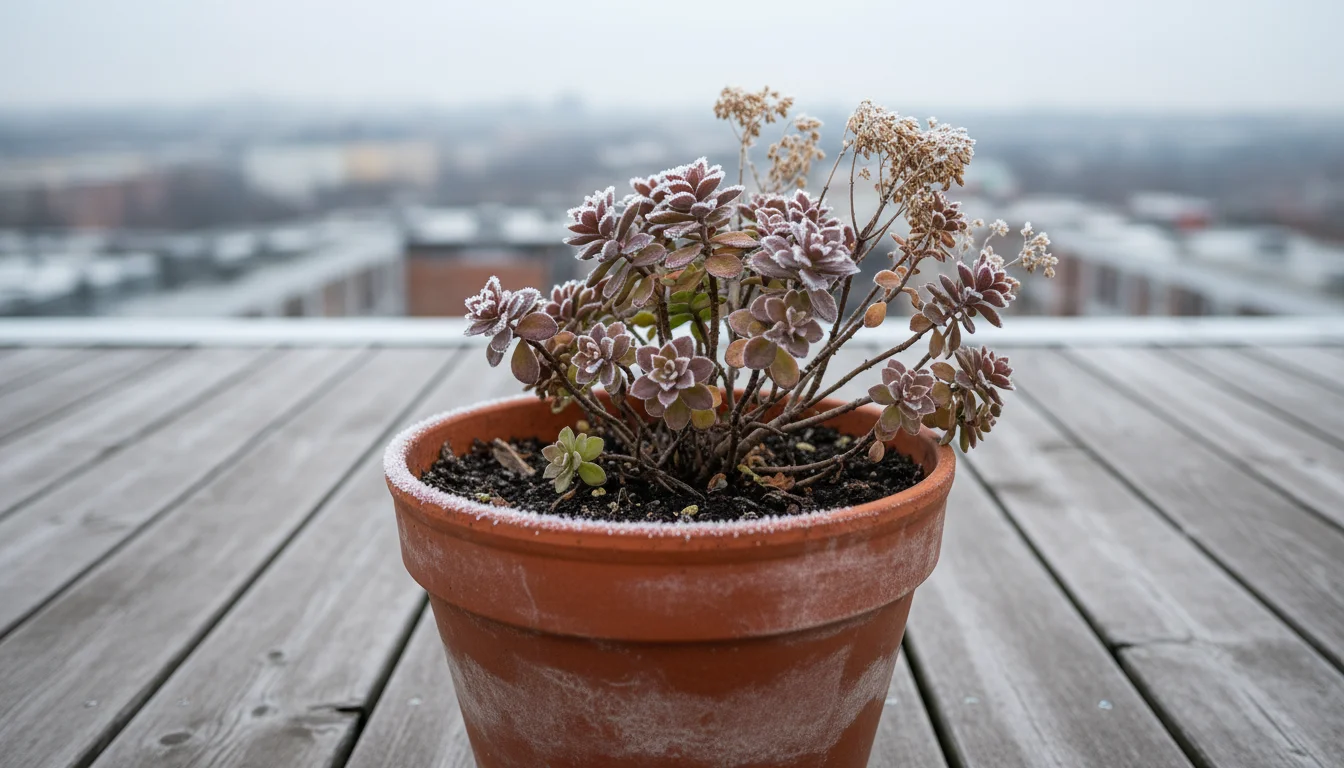
Empty planters, especially terracotta or ceramic ones, are susceptible to cracking in freezing temperatures if they retain moisture. Thoroughly clean all empty planters, scrubbing away old soil and debris, then allow them to dry completely. For terracotta, this is especially important, as residual moisture can freeze and expand, causing breakage. Stack similarly sized plastic pots to save space. For ceramic or delicate pots, wrap them individually in newspaper or bubble wrap to prevent chipping or cracking. Store these protected pots inside your main ‘Garden-in-a-Box’ container or in designated padded bins. If you have a large number of empty planters, you can also nest them carefully, placing a layer of newspaper between each to prevent sticking or scratching. This approach keeps your valuable containers safe and preserves their aesthetic appeal for next season.
Fragile Tools and Seed Starting Supplies:
Some gardening items, like delicate seed starting trays, propagation domes, or sensitive moisture meters, require extra care. Store these in their original packaging if available, or in dedicated, small, rigid boxes. Pad any fragile components with tissue paper or soft cloth. Keep them separate from heavy tools that might cause damage if they shift. Seed packets themselves benefit from airtight containers to protect them from humidity and pests, preserving their germination viability. Label these containers clearly with the contents and the date to easily track your inventory. This meticulous attention to special items ensures they remain in pristine condition, ready to support your gardening endeavors year after year.
Integrating Your ‘Garden-in-a-Box’ with Balcony Design
For the small-space gardener, integrating functionality with aesthetics is key. Your ‘Garden-in-a-Box’ does not need to be an unsightly utility item; it can become a harmonious element of your balcony or indoor decor. This section helps you blend your garden supply storage seamlessly into your apartment or balcony design, enhancing both practicality and visual appeal.
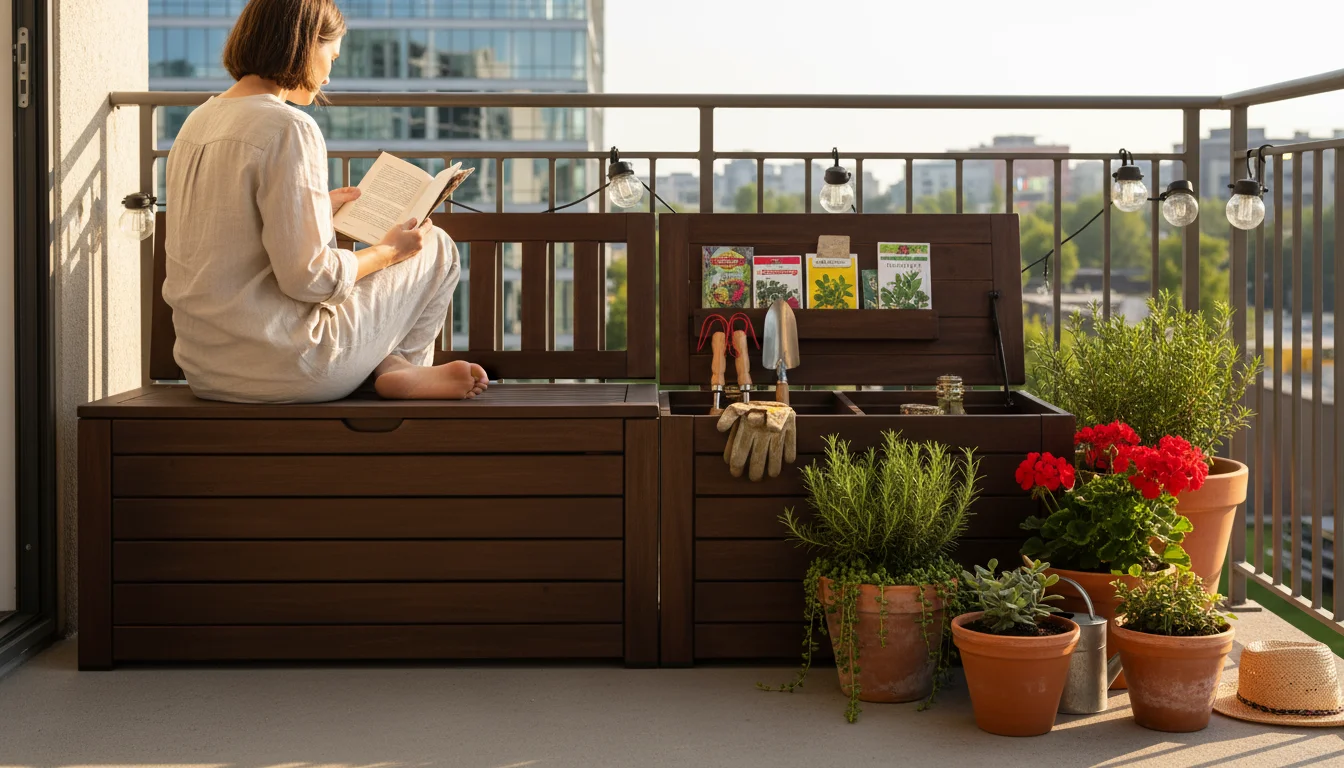
When selecting your primary storage container, consider its visual impact. If it will reside on your balcony, choose a weather-resistant deck box that complements your existing outdoor furniture. Many modern deck boxes come in stylish finishes, mimicking wicker, wood, or contemporary plastics. These can double as extra seating or a small side table, adding functional value while discreetly housing your gardening essentials. Imagine a sleek, dark-toned storage bench that blends with your patio chairs, rather than a brightly colored plastic bin that clashes.
For indoor placement, your ‘Garden-in-a-Box’ can act as a piece of furniture itself. A handsome wooden chest or a woven rattan trunk instantly elevates a corner of your living room or a sunny spot near a window. These pieces provide valuable storage while serving as a statement piece, a coffee table, or even a comfortable perch with a cushion added. The goal is to make the storage container look intentional, like part of your interior design, rather than an afterthought. Select colors and materials that align with your apartment’s existing palette and style, whether it is minimalist, bohemian, or traditional.
Consider multi-functional pieces from the outset. A shelving unit with built-in drawers can hold gardening supplies on lower shelves, with decorative plants, books, or art occupying the upper, more visible sections. This approach maximizes vertical space and ensures that your storage contributes positively to the overall aesthetic. Even simple plastic totes can become more appealing when placed within a decorative shelving unit or concealed behind a stylish room divider.
Remember that good design often means less visual clutter. By consolidating all your garden supplies into one or two attractive containers, you instantly reduce the visual noise in your small space. This creates a sense of calm and order, which directly contributes to your enjoyment of your home. The ‘Garden-in-a-Box’ method helps you cultivate a serene and organized environment, proving that practical garden supply storage can also be an integral part of beautiful home design.
Maintaining Your Organized Oasis: Seasonal Checks and Eco-Tips
Establishing the ‘Garden-in-a-Box’ system is a significant step, but maintaining its efficiency requires ongoing attention. Regular checks and mindful habits ensure your small space organization remains effective year after year. This approach also naturally incorporates eco-friendly and sustainable practices, aligning with a responsible gardening ethos.
Seasonal Checks:
Perform a quick inventory check at least twice a year: once before winter storage and again at the start of the spring planting season. Before winter, this is your chance to clean tools, assess soil remaining, and prepare everything for dormancy. In spring, it helps you identify what supplies you need to restock before your garden bursts into life. During these checks, inspect your storage box itself for any wear and tear, ensuring its integrity against moisture or pests. This proactive maintenance prevents small issues from becoming larger problems, preserving your organized system for years to come.
Eco-Friendly Practices:
-
Reduce and Reuse: The decluttering phase is your first opportunity to reduce waste. Instead of buying new items, assess if you can repair broken tools. Consider if you can reuse old plastic nursery pots or seed trays rather than discarding them. Many garden centers now offer recycling programs for plastic pots, so check local options.
-
Compostable Materials: Opt for biodegradable or compostable seed starting trays and plant labels when possible. This reduces plastic waste and contributes organic matter to your compost pile if you have one, or breaks down harmlessly if discarded.
-
Mindful Soil Management: When storing potting soil indoors over winter, ensure it is kept dry and sealed. This prevents fungal growth and allows you to reuse viable soil next season. Over-wintered soil can often be refreshed with a small amount of new compost or fertilizer, reducing the need to buy large quantities of fresh soil annually.
-
Water Conservation: Check your watering can for leaks and repair them promptly. Consider a small, stylish rain barrel if your balcony allows, or repurpose a large, lidded container to collect rainwater for your plants. This reduces reliance on tap water and provides plants with naturally soft water.
-
Sustainable Tool Choices: When you do need to replace tools, choose those made from durable, sustainable materials like FSC-certified wood handles and high-carbon steel. These items last longer, reducing consumption, and represent a better long-term investment. They also contribute to organizing garden tools in a small apartment as quality tools are often easier to maintain.
By integrating these maintenance and eco-conscious practices, your ‘Garden-in-a-Box’ becomes more than just a storage solution; it evolves into a symbol of a thoughtful, sustainable, and joyful gardening lifestyle. You not only keep your balcony garden supplies organized but also contribute to a healthier planet, one well-maintained tool and reused pot at a time.
Common Storage Mistakes and How to Avoid Them
Even with the best intentions, gardeners sometimes make storage errors that can lead to damaged tools, spoiled supplies, or a chaotic space. Recognizing these common pitfalls helps you avoid them, ensuring your ‘Garden-in-a-Box’ method remains effective and stress-free.
Mistake 1: Storing Dirty Tools.
The Problem: Putting away tools covered in soil, plant residue, or sap. This invites rust, dulls blades, and can harbor pests or plant diseases that overwinter. This reduces the lifespan of your essential garden tools.
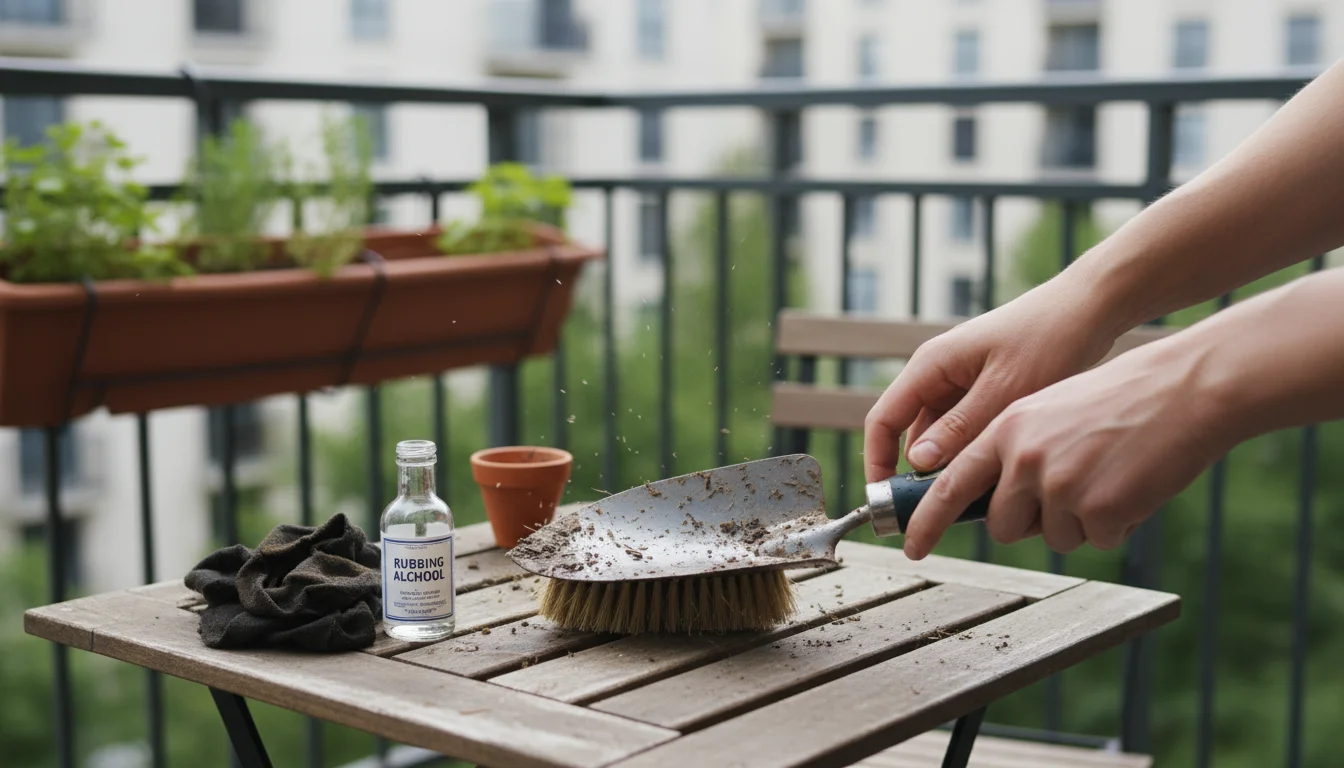
The Fix: Always clean your tools thoroughly after their last use of the season. Use a stiff brush or old rag to remove soil, then wipe down metal parts with an oiled cloth to prevent rust. For pruners, disinfect blades with rubbing alcohol to prevent disease spread. Ensure all tools are completely dry before placing them in your storage box.
Mistake 2: Leaving Potting Mix Bags Open.
The Problem: A half-used bag of potting soil left open can attract pests, absorb moisture leading to mold, or dry out excessively, altering its structure and reducing its quality. It also makes for messy garden supply storage.
The Fix: Transfer any leftover potting soil into an airtight, rodent-proof container. A sturdy plastic bin with a tightly sealing lid is ideal. Store it in a cool, dry place. This preserves the soil’s integrity and prevents pest infestations, ensuring you have fresh soil for spring.
Mistake 3: Neglecting Empty Planters.
The Problem: Storing empty planters, especially terracotta or ceramic, without cleaning or protection. Residual soil can harbor disease pathogens, and moisture left in porous materials can freeze and crack pots in winter.
The Fix: Clean all empty planters thoroughly, removing all soil and debris. Allow them to dry completely. For frost-sensitive materials, wrap them in newspaper or bubble wrap, or store them indoors in a sheltered area. Stack plastic pots to save space, but ensure they are clean and dry. This attention to detail prevents breakage and keeps your planters disease-free.
Mistake 4: Overcrowding the Storage Box.
The Problem: Trying to fit too many items into one ‘Garden-in-a-Box’ container. This leads to crushed items, difficulty finding what you need, and can damage the container itself. It undermines the whole point of small space organization.
The Fix: Be realistic about your storage capacity. If one box is not enough, consider a second, smaller complementary container or reassess your inventory. Utilize vertical space with dividers and small bins. Group similar items efficiently, ensuring easy access and protection for everything. Prioritize what truly needs to be stored, following the decluttering advice from earlier.
Mistake 5: Storing Chemicals Improperly.
The Problem: Keeping fertilizers, pesticides, or other garden chemicals in easily accessible areas, or in containers that are not airtight or child-proof. This poses safety risks, especially in an apartment with pets or children.
The Fix: Store all garden chemicals in their original, clearly labeled containers. Ensure lids are tightly sealed. Place them in a secure, elevated, or locked cabinet, separate from tools and other general supplies. Check expiration dates and dispose of old or unused chemicals according to local regulations. Safety is paramount, particularly when organizing garden tools in a small apartment where space is shared.
By actively avoiding these common storage mistakes, you enhance the longevity of your gardening supplies, maintain a safer environment, and ensure your ‘Garden-in-a-Box’ system remains an efficient and joyful part of your gardening journey.

Frequently Asked Questions
Q: Can I store potting soil outdoors over winter in my ‘Garden-in-a-Box’?
A: It depends on your climate and the container. If you live in a mild climate where temperatures do not consistently drop below freezing, and your ‘Garden-in-a-Box’ is genuinely waterproof and rodent-proof, you might be able to store sealed bags of soil outdoors. However, for most regions with freezing winters, storing potting soil indoors over winter is the safest bet. Fluctuating temperatures and moisture can degrade soil quality, promote mold, or attract pests. Storing it indoors in an airtight bin maintains its structure and nutrient balance.
Q: How do I prevent rust on my metal garden tools during winter storage?
A: Prevention is key. First, thoroughly clean all soil and debris from your metal tools. Then, ensure they are completely dry. Apply a thin layer of mineral oil, WD-40, or linseed oil to all metal surfaces before storing. This creates a protective barrier against moisture. Store tools in a dry environment, ideally within your sealed ‘Garden-in-a-Box’ container, which offers additional protection from humidity. Hanging tools on a pegboard inside the box, if space allows, also keeps them from resting in any potential condensation.
Q: What should I do with leftover fertilizer or plant food?
A: Store leftover fertilizers and plant food in their original, tightly sealed containers in a cool, dry place, away from direct sunlight and extreme temperatures. Ensure they are out of reach of children and pets. Do not store liquid fertilizers where they could freeze, as this can change their composition and effectiveness. Check expiration dates; many organic fertilizers have a shorter shelf life than synthetic ones. If a product has expired or hardened, dispose of it responsibly according to local hazardous waste guidelines, rather than pouring it down a drain or throwing it in the trash.
Q: Can I store seeds for multiple years?
A: Yes, many seeds remain viable for several years, though germination rates often decline over time. To maximize seed longevity, store them in a cool, dry, and dark place. An airtight container, like a glass jar or plastic bin, placed in a refrigerator or a cool closet, is ideal. Label packets with the date of purchase and variety. Some seeds, like onions or corn, have shorter viability (1-2 years), while others, such as beans or tomatoes, can last 3-5 years or more under proper storage conditions. Regularly check your seed inventory and conduct germination tests before planting older seeds.
Q: How do I keep my ‘Garden-in-a-Box’ from smelling musty, especially if it is indoors?
A: Preventing musty smells starts with ensuring everything you store is clean and completely dry. Any lingering moisture on tools, in pots, or in soil will lead to mold and a musty odor. You can also add moisture absorbers, like silica gel packets or small sachets of baking soda, inside your ‘Garden-in-a-Box’ to control humidity. Periodically open the box during drier days to allow for air circulation, especially if it is stored in a less ventilated area. A cedar block can also naturally absorb odors and deter pests.
For trustworthy gardening information, visit:
Royal Horticultural Society (RHS), UF/IFAS Gardening Solutions and University of Illinois Extension — Gardening. These organizations provide expert, research-based advice for gardeners at all levels.
Disclaimer: This article is for informational purposes only and is not a substitute for professional gardening advice. Always consult local extension services or horticulture experts for region-specific guidance.
Leave a Reply