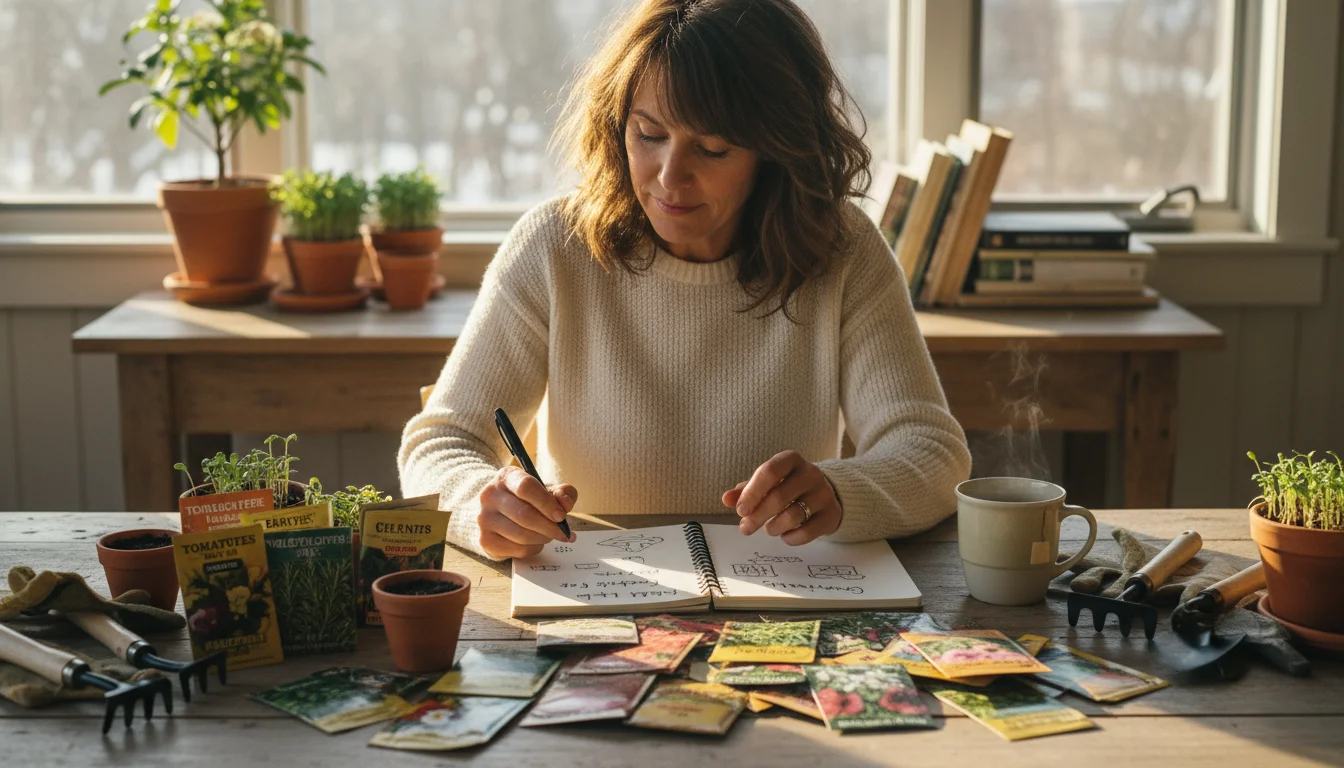
Winter arrives, bringing colder temperatures and shorter days. While your outdoor garden may rest under a blanket of snow or a chill wind, your gardening journey does not need to pause. This quiet season offers a wonderful opportunity for introspection, planning, and preparation. Think of it as your secret superpower time, a period to lay the groundwork for a thriving spring and summer. A truly satisfying winter project involves organizing seeds, a simple yet powerful activity that transforms future chaos into calm. You will not only prepare for the planting season but also cultivate a sense of mindful productivity that nourishes your gardener’s spirit.
Getting your seeds in order is a critical task to include on your early spring garden prep checklist to ensure a smooth transition into the growing season.
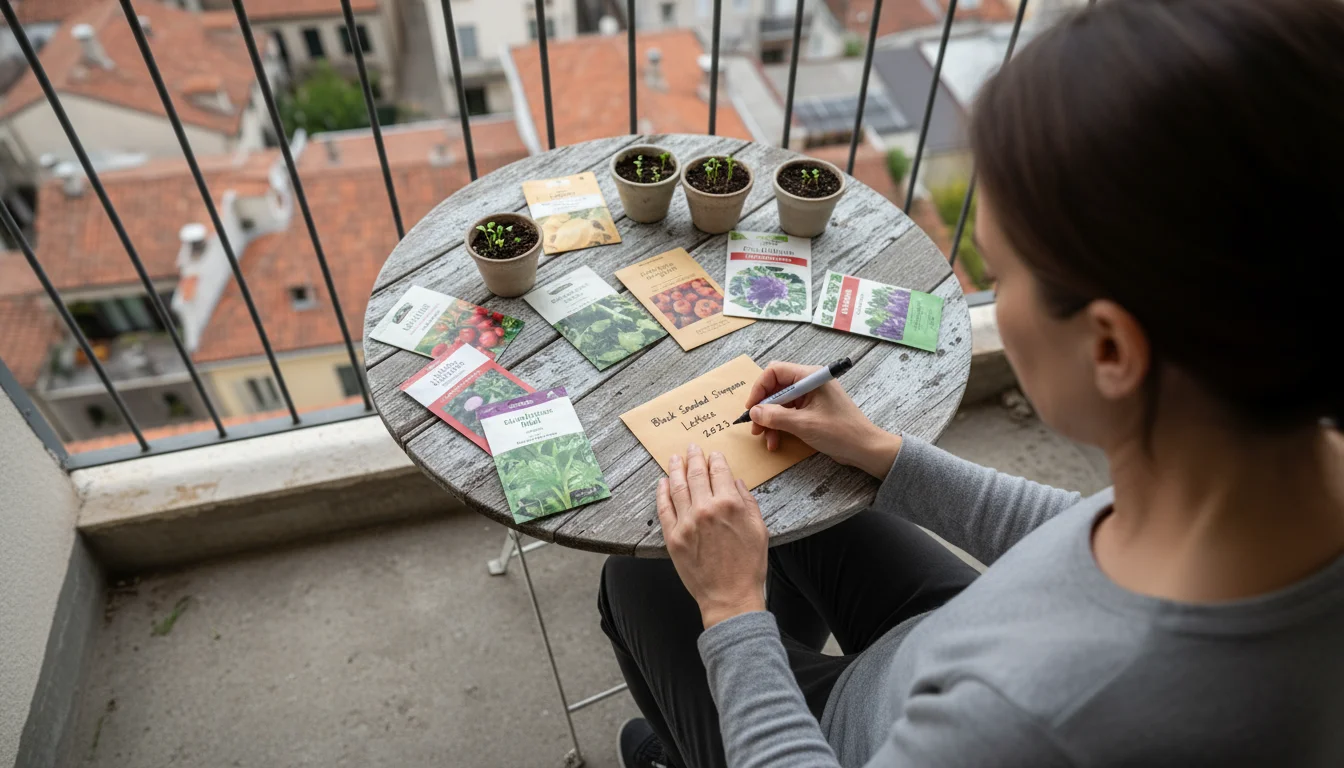
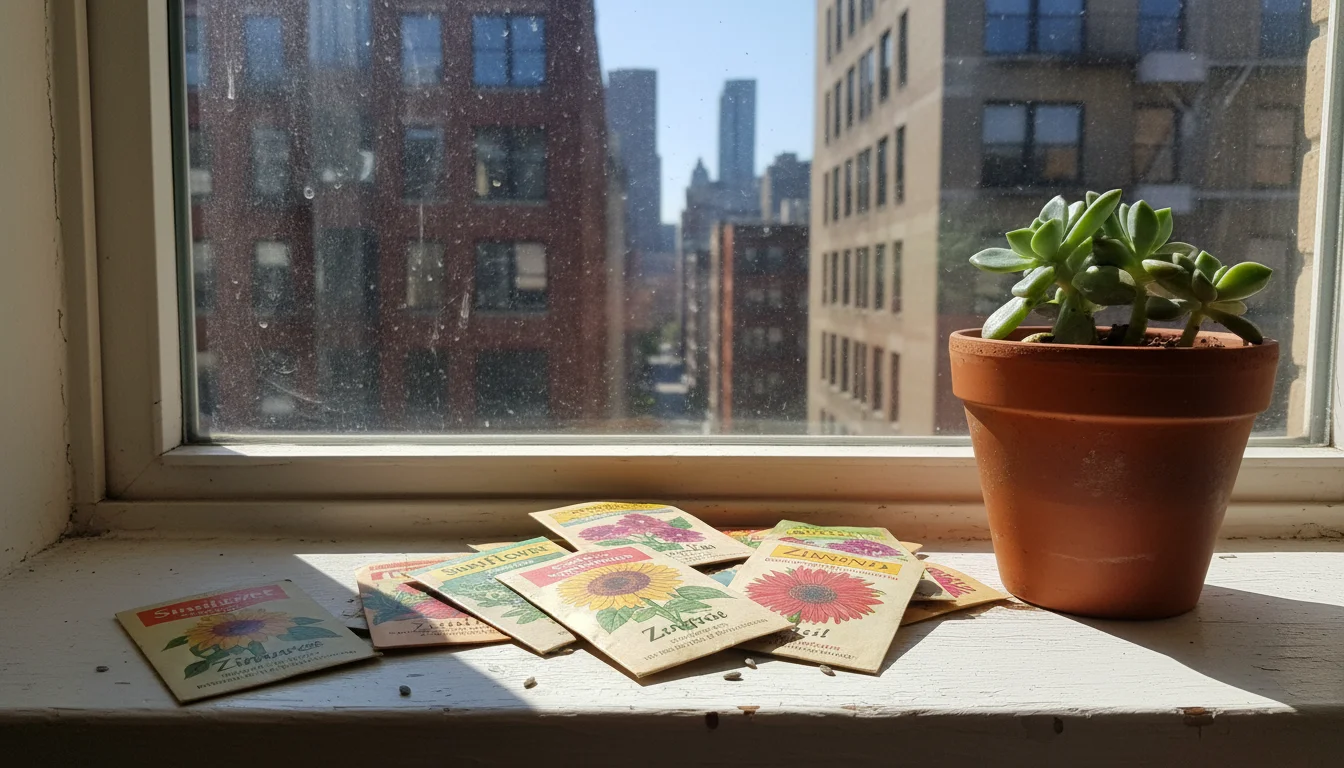
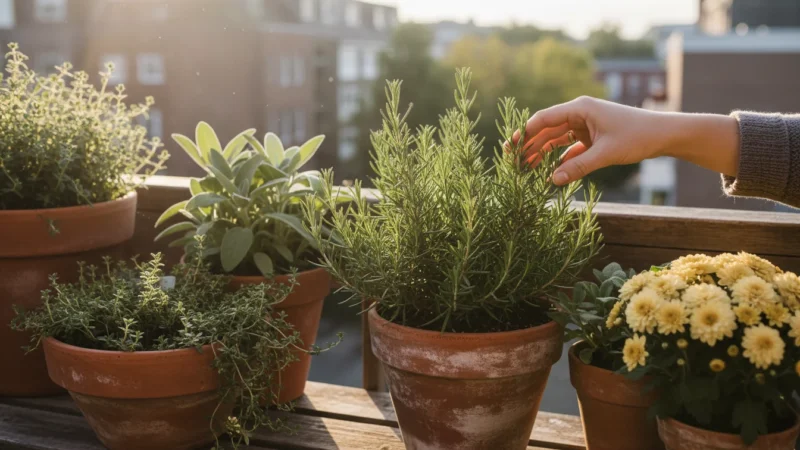
For those with limited space, such as a balcony, patio, or small yard, efficient seed storage and precise garden planning become even more critical. Knowing exactly what seeds you have, their viability, and their ideal planting times allows you to maximize every square inch of your growing area. This article guides you through a practical, calming process of sorting and storing your seed collection, turning a potentially overwhelming task into an empowering ritual.
Why Organize Your Seeds? The Benefits for Small-Space Gardeners
You might wonder, “Why dedicate precious winter hours to organizing seeds?” The answer lies in the tangible benefits you gain, especially when working with limited growing areas. An organized seed collection translates directly into a more efficient, less stressful, and ultimately more successful gardening season.
Developing this clear inventory of your stock also helps you build a winter budget blueprint to manage your garden expenses for the upcoming year.
First, an organized seed collection helps you avoid unnecessary purchases. We have all been there: buying a new packet of basil seeds, only to discover later that you had two unopened packets tucked away. This oversight leads to wasted money and a surplus of seeds you may not use before they expire. By knowing exactly what you possess, you make informed decisions, purchasing only what you truly need. This is particularly valuable for container gardeners or those with small beds, where every plant must earn its spot.
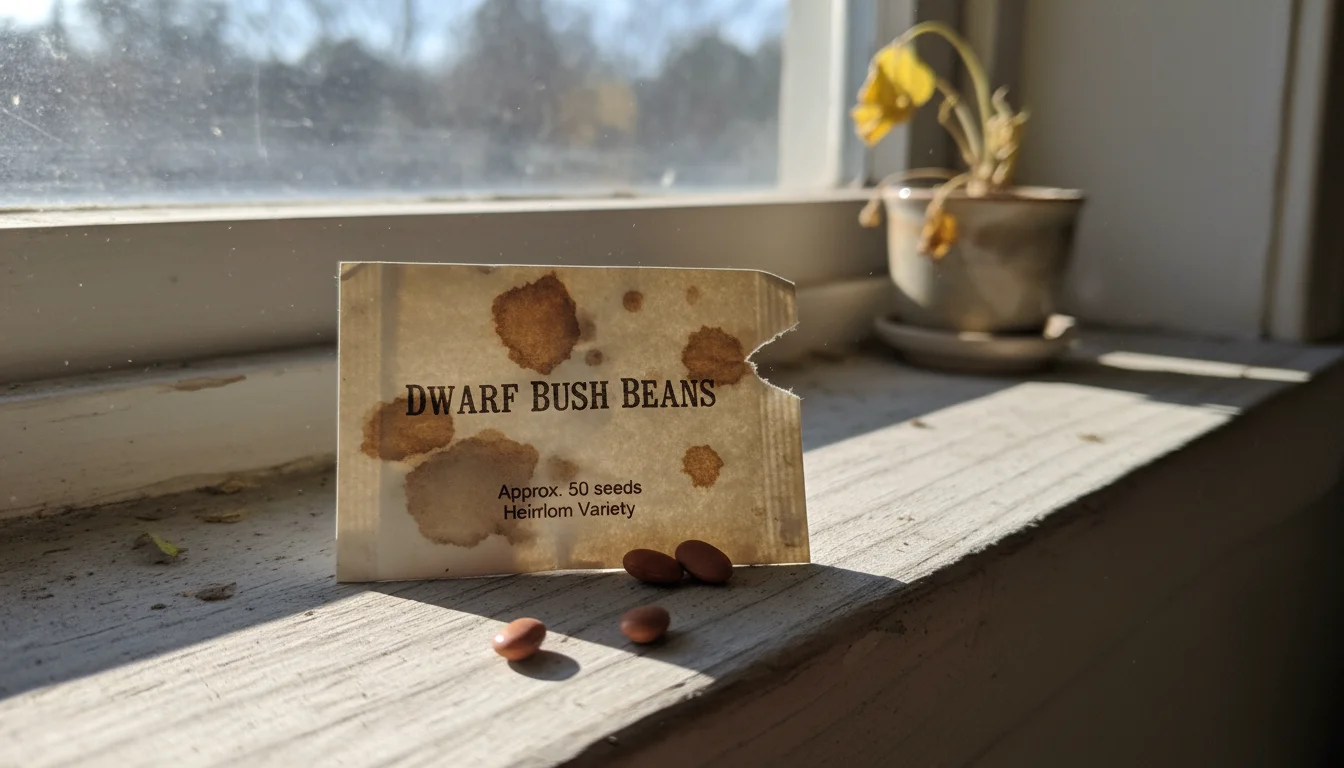
Second, effective seed storage preserves viability. Seeds are living things. They contain tiny embryos waiting for the right conditions to sprout. Improper storage exposes them to moisture, extreme temperatures, or light, which can prematurely activate their metabolic processes or cause them to rot. Organizing seeds often involves creating optimal storage conditions, ensuring your leftover seeds for next year remain strong and ready to grow. Data from agricultural extension services consistently shows that seeds stored correctly maintain higher germination rates, leading to more successful planting.
Third, an organized system streamlines your garden planning winter activities. Imagine having all your vegetable, herb, and flower seeds grouped by planting date or growing season. This immediate visibility allows you to quickly assess what you have, identify gaps in your planting schedule, and create a comprehensive winter garden planning checklist for containers. You can easily visualize your garden layout, plan succession plantings (sowing new seeds every few weeks for continuous harvest), and determine which varieties perform best in your specific climate and container sizes. This proactive approach eliminates last-minute scrambling and allows you to enjoy the planning process.
Finally, the act of organizing seeds cultivates mindfulness. It is a quiet, contemplative task that connects you to the earth’s cycle, even in winter. You review past successes, reflect on future aspirations, and engage in a calming activity that reduces stress. This meditative aspect of gardening extends beyond the active growing season, providing a comforting routine that prepares you mentally and practically for the vibrancy of spring.
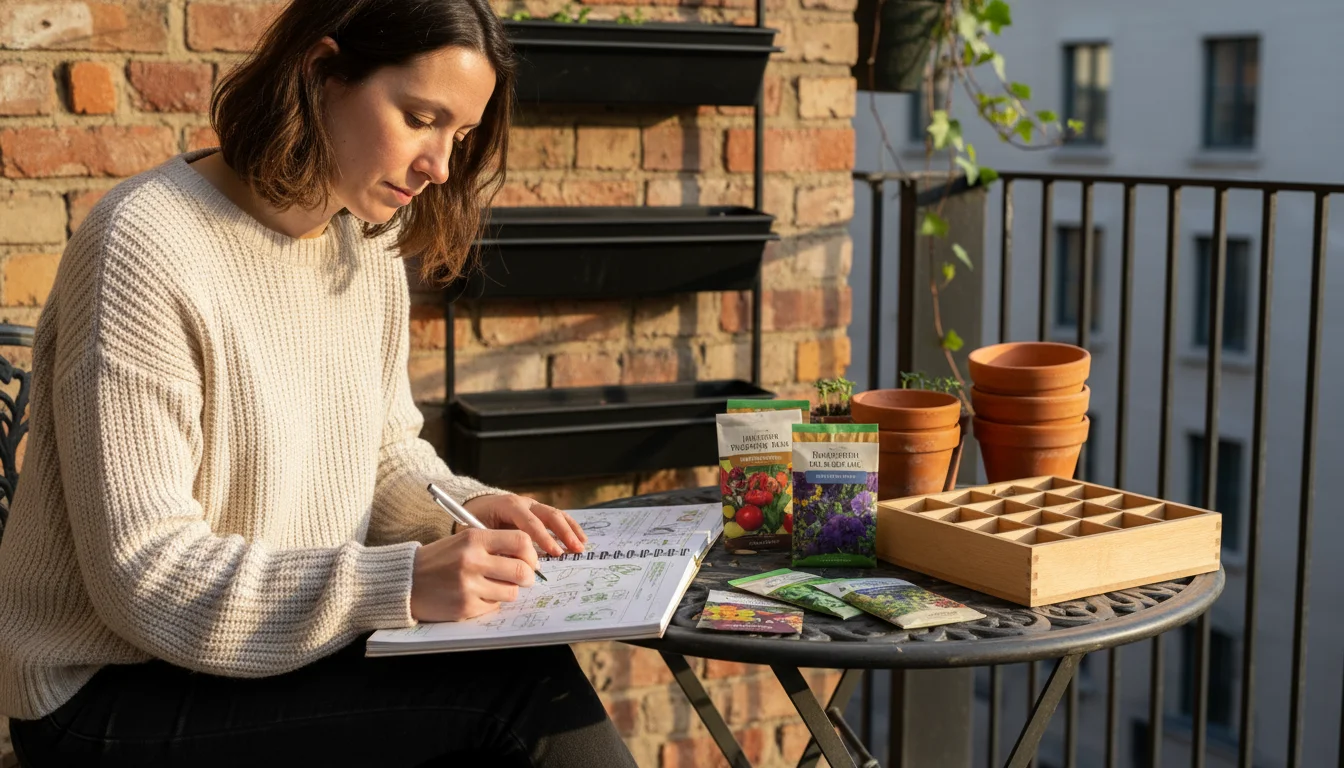
Gathering Your Tools for The Great Seed Sort
Before you dive into your seed collection, take a few minutes to gather the necessary supplies. Having everything at hand makes the process smoother and more enjoyable. You will find that most of these items are already in your home or easily acquired.
If your gardening gear is currently scattered, you might find the garden-in-a-box method helpful for keeping all your small-space sorting tools in one place.
Once you have sorted your collection, you may want to build a space-saving seed starting shelf to keep your upcoming seedlings organized in a small apartment.
Here is what you will need:
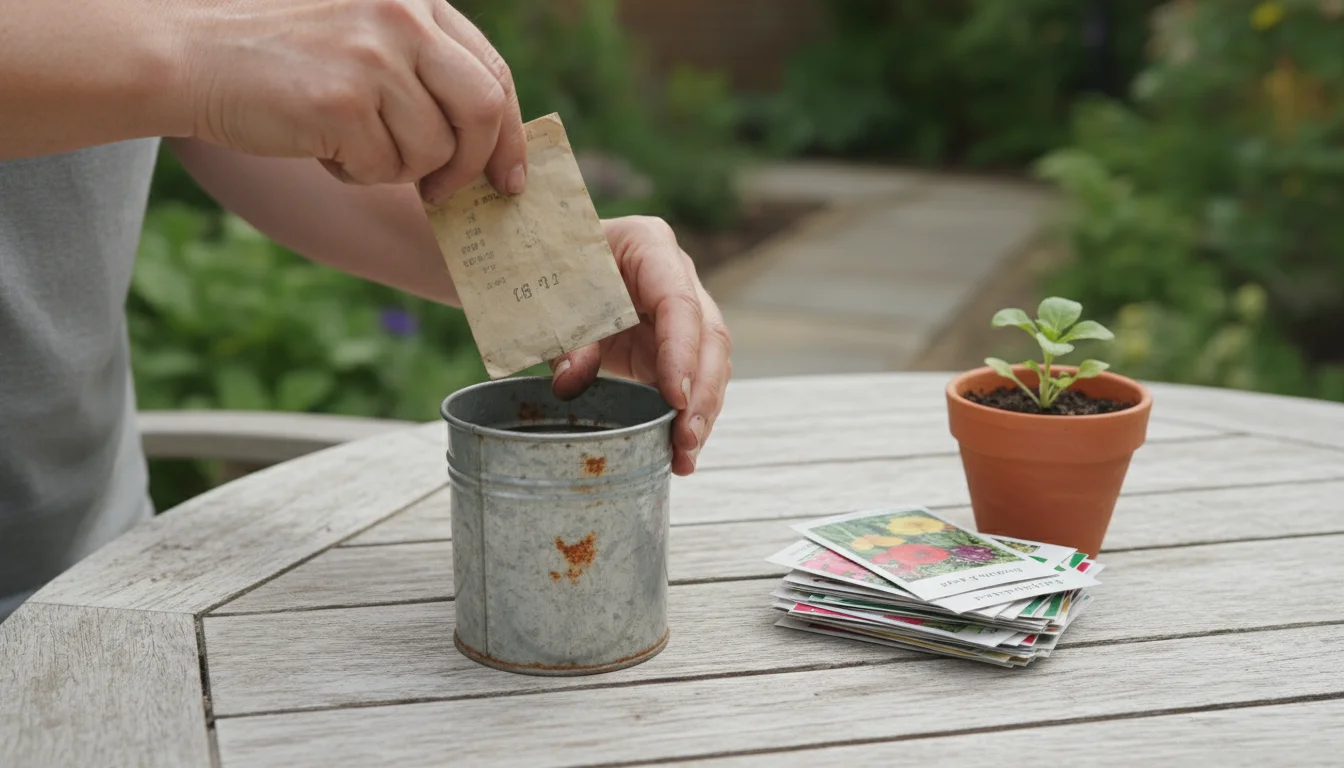
- Your entire seed collection: Gather every packet, jar, envelope, or container holding seeds. Do not forget those forgotten stashes in old gardening totes or kitchen drawers.
- A large, clean, flat surface: A dining room table, a kitchen island, or even a clear section of your floor works well. You need ample space to spread out and sort.
- Labels or a marker: Essential for clear identification. Permanent markers work best.
- Small envelopes, plastic baggies, or paper clips: For consolidating seeds, securing open packets, or holding small groups together.
- Storage containers: Think shoeboxes, plastic bins with lids, photo storage boxes, binders with clear sleeves, or even airtight jars. Choose something that fits your space and aesthetic.
- A notebook or gardening journal: For making notes about planting dates, germination rates, successes, and failures. This is invaluable for garden planning winter.
- A magnifying glass (optional, but helpful): To read tiny print on older packets or examine seeds closely.
- A comfortable chair and good lighting: Since this is a mindful project, create a comfortable environment.
Once you have everything assembled, you are ready to begin the true work of sorting. Approach this task with a relaxed mindset, treating it as an opportunity to reconnect with your gardening passion.

The Mindful Seed Sorting Process: Step by Step
This is where the magic happens. Follow these steps to systematically organize your seeds, creating a clear picture of your garden’s potential.
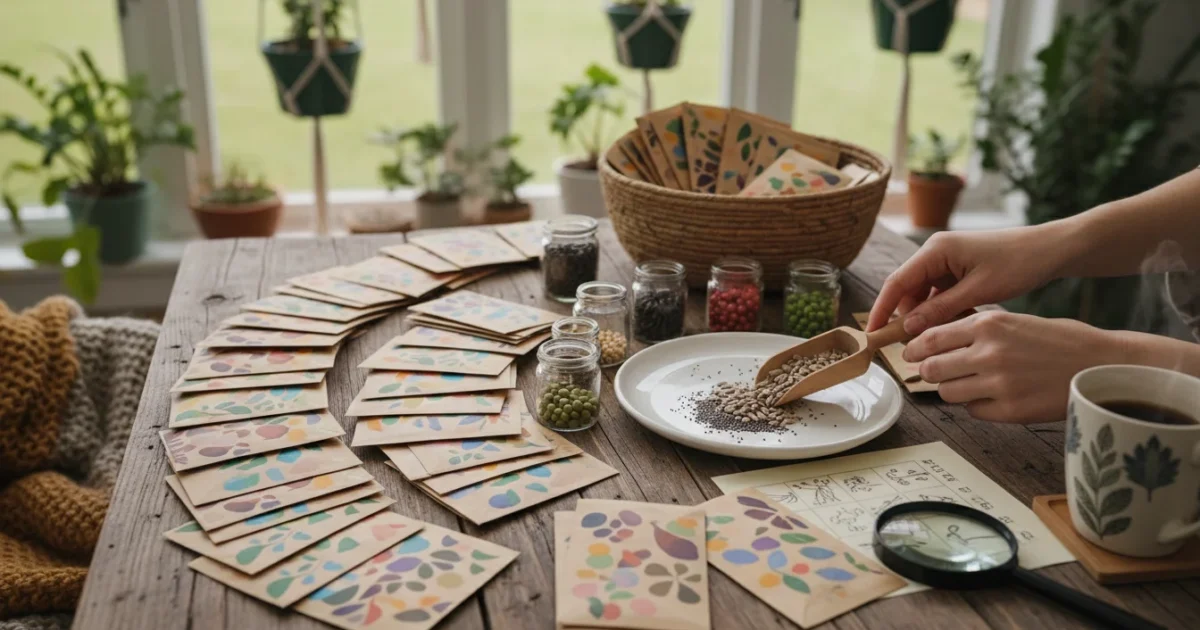
Step 1: Empty and Assess
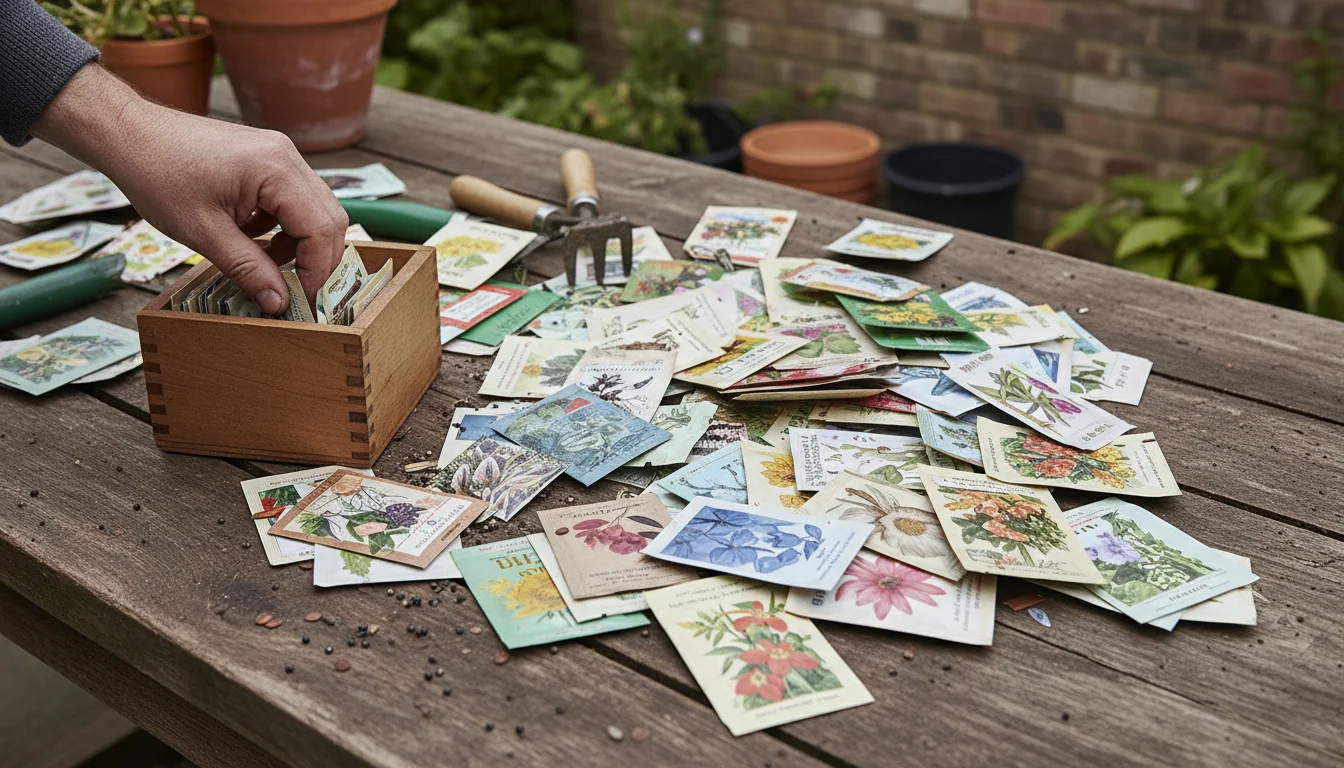
Start by emptying your entire seed collection onto your large, clean surface. Do not try to sort as you go; simply get everything out in the open. This initial “inventory dump” might look chaotic, but it is a crucial first step. As you empty each container, take a moment to briefly assess the condition of the seed packets. Are they damp? Are they brittle? Note any obvious issues.
Step 2: Discard and Declutter
Now, begin the decluttering process. Look for any packets that are clearly past their prime or have been improperly stored. Discard seeds that:
- Show signs of mold, mildew, or insect damage.
- Have excessively old dates (though some seeds last longer than others, generally aim for seeds within 2-5 years of their pack date for best results).
- Are from plants you did not enjoy growing or do not wish to cultivate again.
- Come from a source you no longer trust (e.g., a packet that consistently failed to germinate).
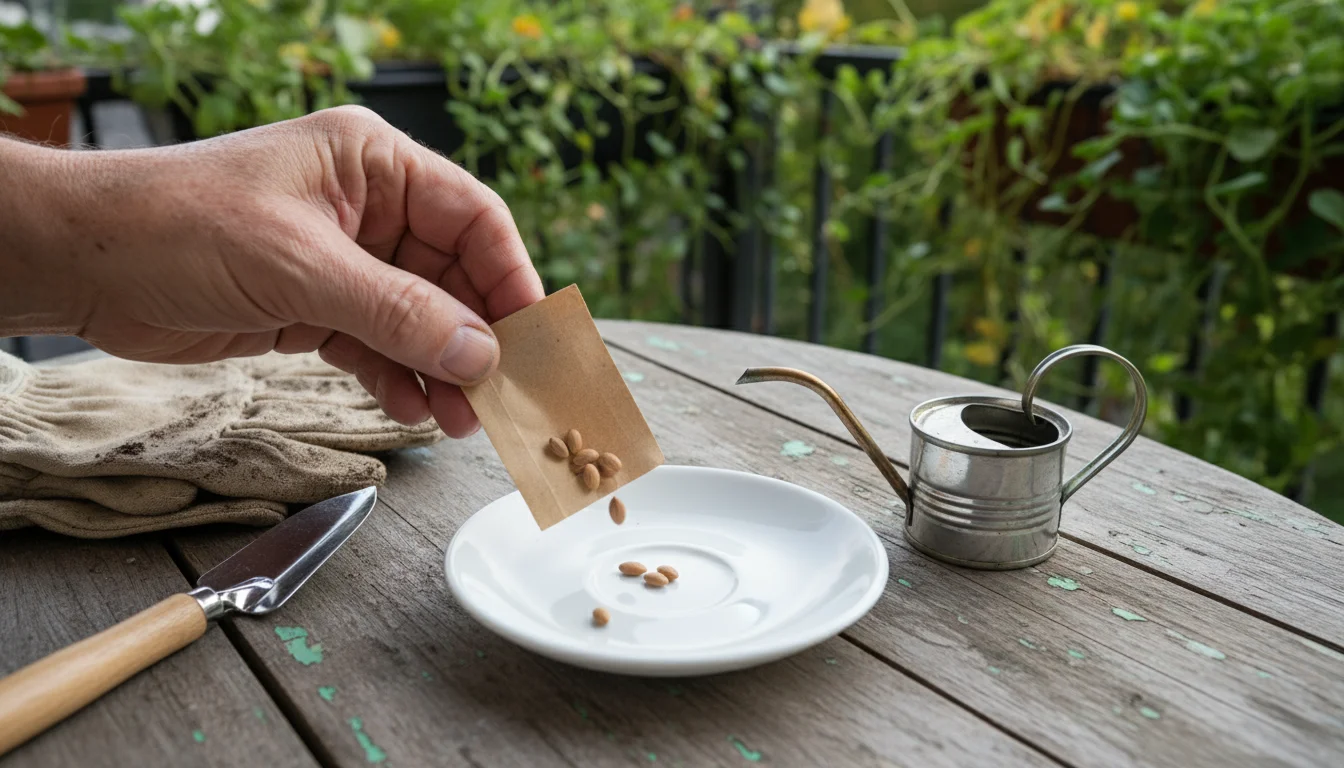
While you can perform a germination test for very old or questionable seeds, for a general sort, a good rule of thumb is “when in doubt, throw it out.” This clears space and ensures you dedicate your efforts to viable seeds. For seeds you are unsure about, make a note to conduct a germination test closer to planting time. To do this, place ten seeds on a damp paper towel, roll it up, put it in a plastic bag, and keep it in a warm spot. Check after a week or two to see how many sprout. This tells you your germination rate.
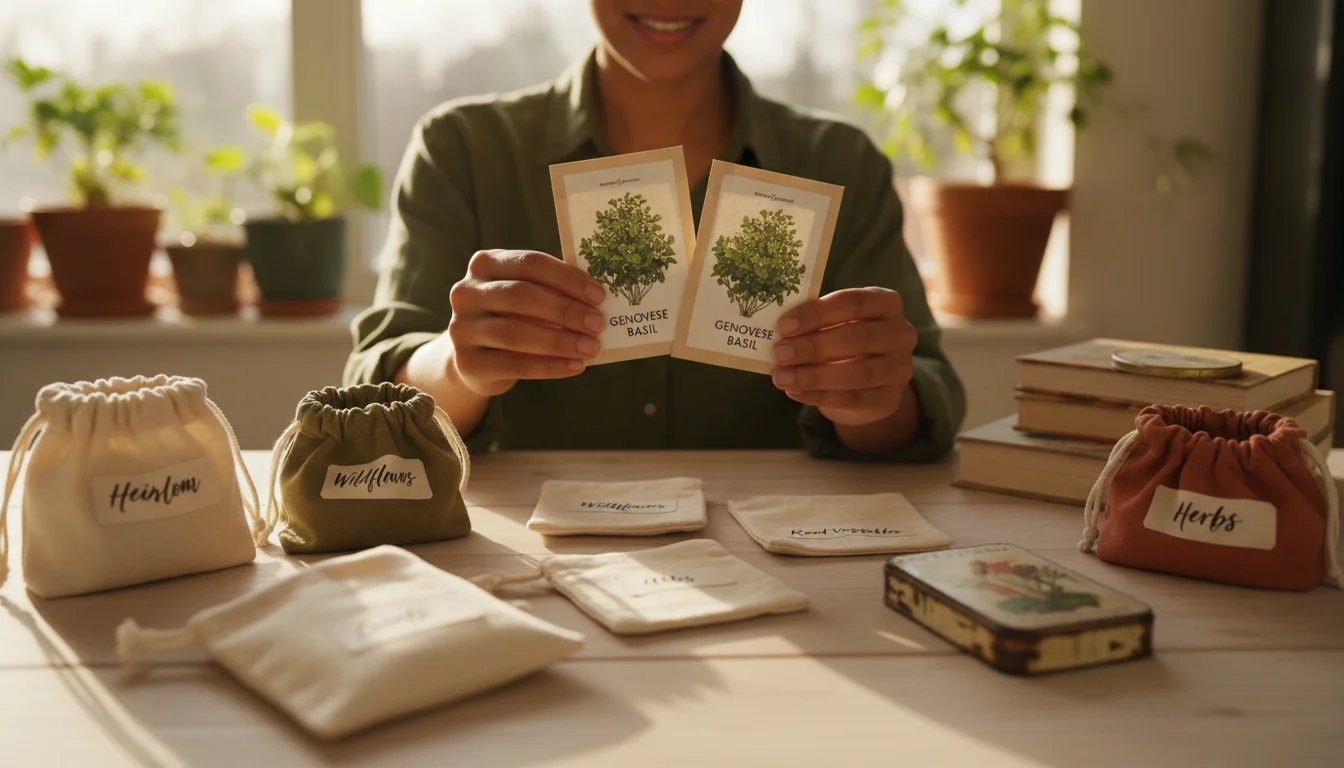
Step 3: Group by Type
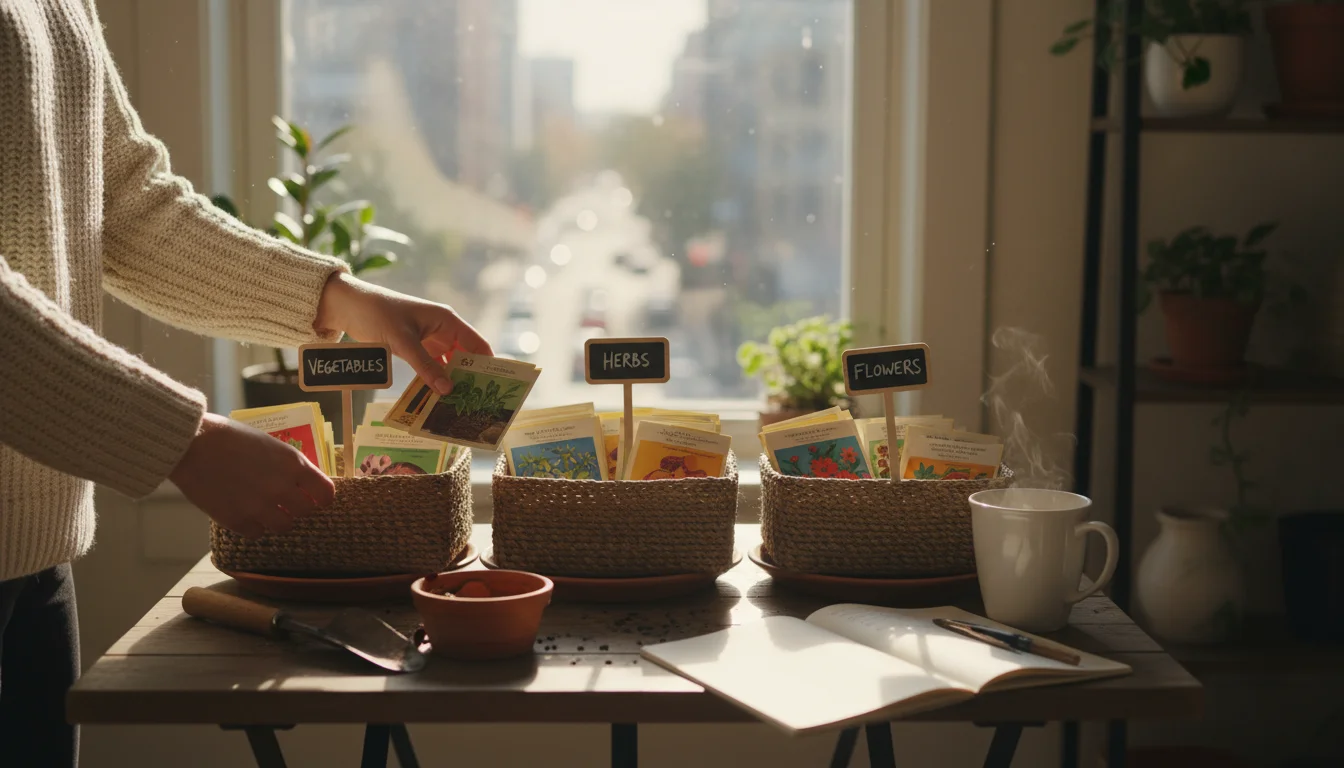
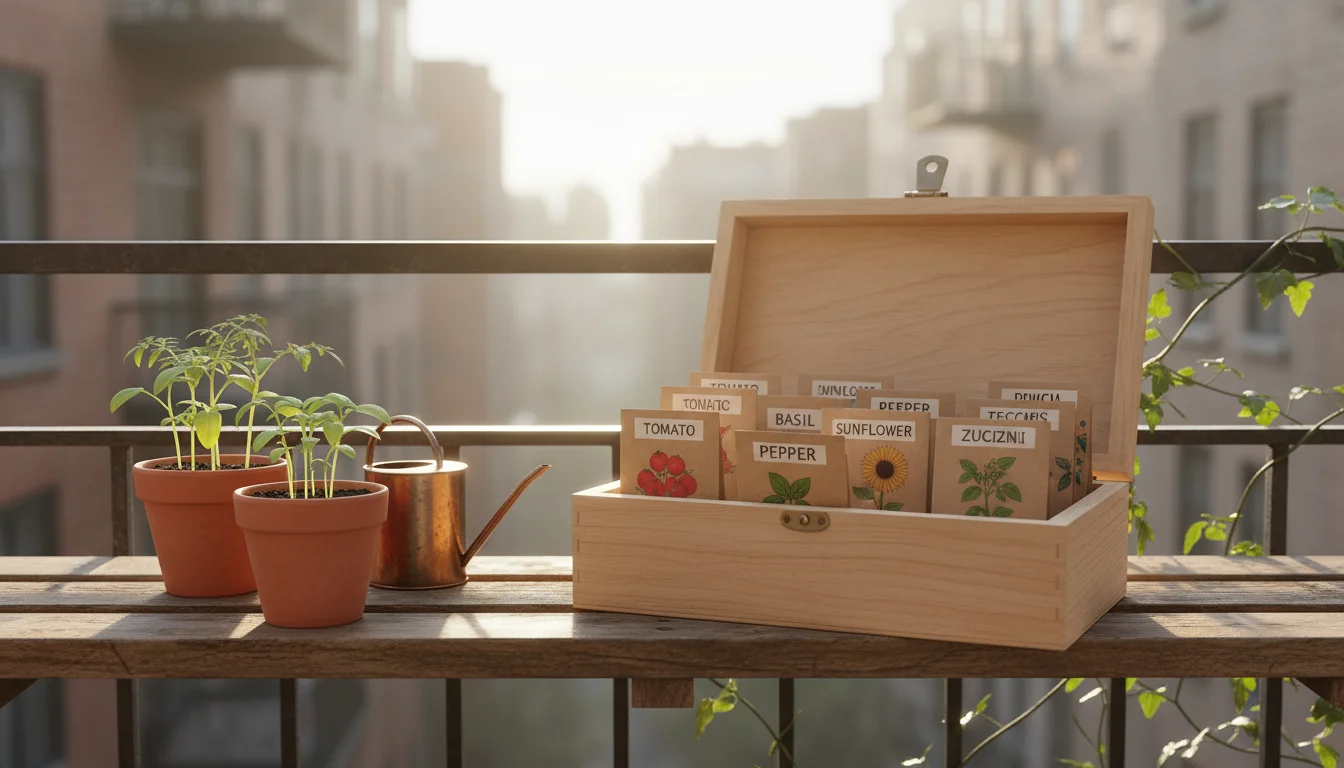
With the decluttering done, start grouping your remaining seeds. The most intuitive way to begin is by plant type. Create separate piles for:
- Vegetables: Tomatoes, peppers, lettuce, beans, carrots, etc.
- Herbs: Basil, cilantro, dill, parsley, thyme, etc.
- Flowers: Marigolds, zinnias, cosmos, sunflowers, etc.
- Cover Crops/Specialty (if applicable): For larger gardens, but even small-space gardeners might have microgreens or specific companion plants.
This initial grouping helps you quickly identify your primary categories and see the scope of your collection.
Step 4: Refine Grouping by Planting Season and Method
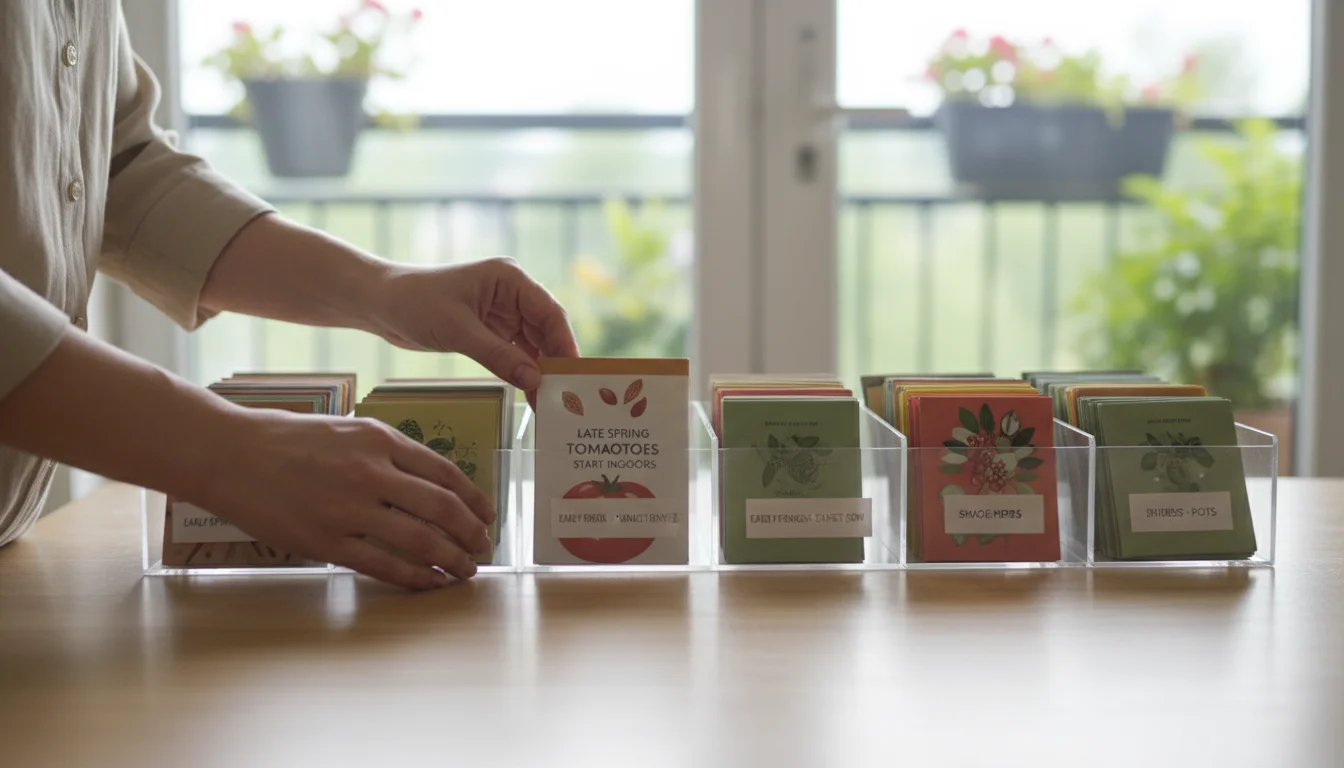
Within each main group (vegetables, herbs, flowers), refine your organization further. This is where the garden planning winter benefits truly shine. Consider these sub-groupings:
- By Planting Season:
- Early Spring (cold-hardy greens, root vegetables)
- Mid-Spring (peas, brassicas)
- Late Spring/Early Summer (warm-season crops like tomatoes, peppers, squash)
- Fall Planting (certain greens, overwintering crops)
- By Planting Method:
- Direct Sow (seeds planted directly into the garden bed or container)
- Start Indoors (seeds needing a head start before transplanting)
For container gardeners, it is also useful to group by typical plant size or light requirements. For instance, “Sun-Loving Container Veggies” or “Shade-Tolerant Herbs for Pots.” This method makes your winter garden planning checklist for containers incredibly easy to build.
Step 5: Consolidate and Label
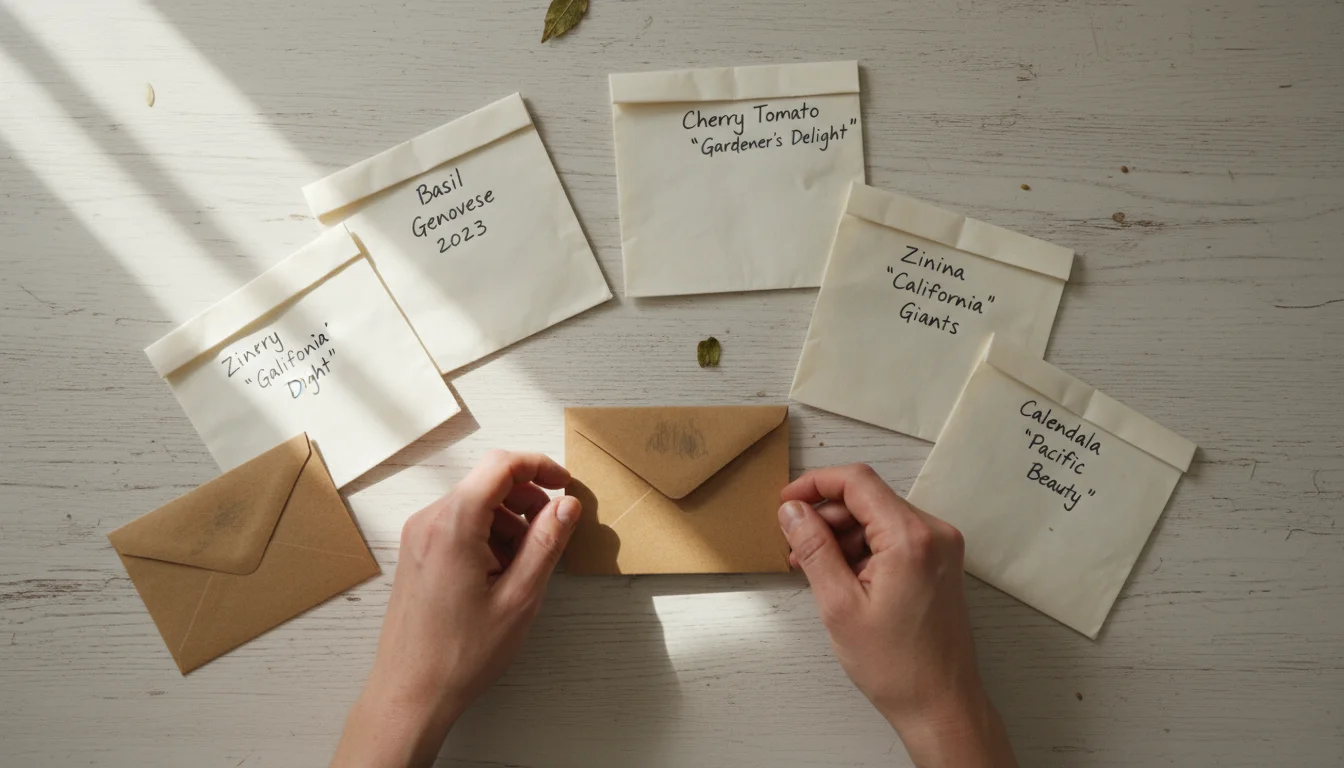
Once your seeds are grouped, address any open packets. Use paper clips to seal them securely or transfer a small amount of leftover seeds for next year into smaller, labeled envelopes or plastic baggies. Ensure every packet, whether original or new, has clear labeling including:
- Plant variety (e.g., ‘Roma’ Tomato, ‘Black Seeded Simpson’ Lettuce)
- Year purchased or packed (critical for viability)
- Source (if it matters to you)
For seeds you have saved yourself, add the harvest date and parent plant notes. Accurate labeling is key to efficient seed storage and future planting success. Remember, you might think you will remember what is in that unmarked baggie, but come spring, you will likely forget.

Step 6: Inventory and Plan
With your seeds organized, take out your gardening journal. Create an inventory list. For each seed type, note:
- Variety
- Year
- Quantity (roughly, e.g., “half a packet,” “many”)
- Notes (e.g., “favorite tomato,” “slow germinator,” “needs full sun,” “good for small containers”)
This inventory becomes the foundation of your winter garden planning checklist for containers. It allows you to see what you have, what you need to purchase, and where you can fill in your planting schedule. This holistic view of your seed collection brings immense clarity to your upcoming growing season.
Smart Seed Storage Solutions for Small Spaces
Now that your seeds are sorted, the next step is to house them in a way that protects their viability and keeps them accessible. The best way to organize seed packets involves considering space constraints and environmental factors. For small-space gardeners, compact and efficient solutions are paramount.
Key Principles of Seed Storage:
- Cool: A consistent cool temperature (ideally 35-50°F / 2-10°C) slows down the metabolic processes within the seed, prolonging its life.
- Dry: Moisture is the enemy of stored seeds. High humidity can cause seeds to mold or sprout prematurely. Aim for low humidity, ideally below 20%.
- Dark: Light can also degrade seeds over time. Store them in opaque containers or in a dark location.
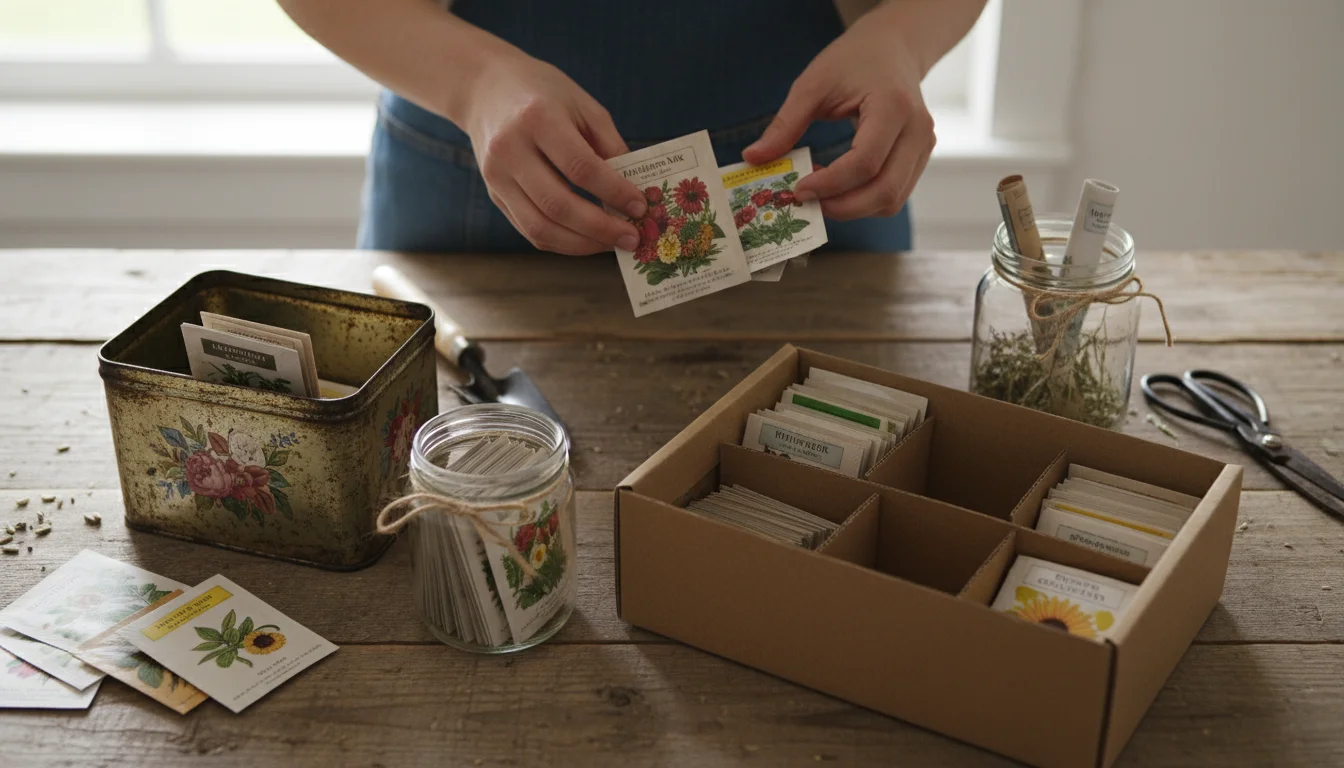
Popular Seed Storage Options:
Consider these practical solutions for organizing seeds:
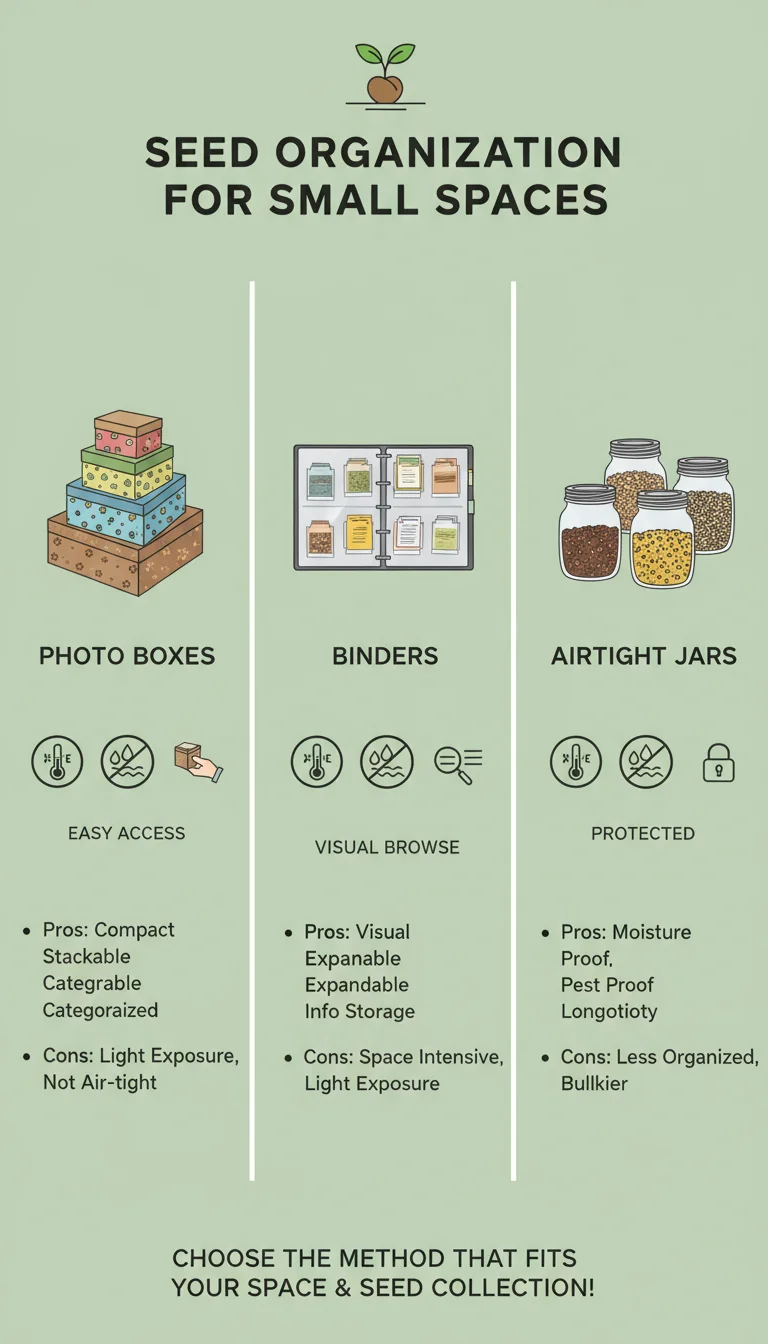
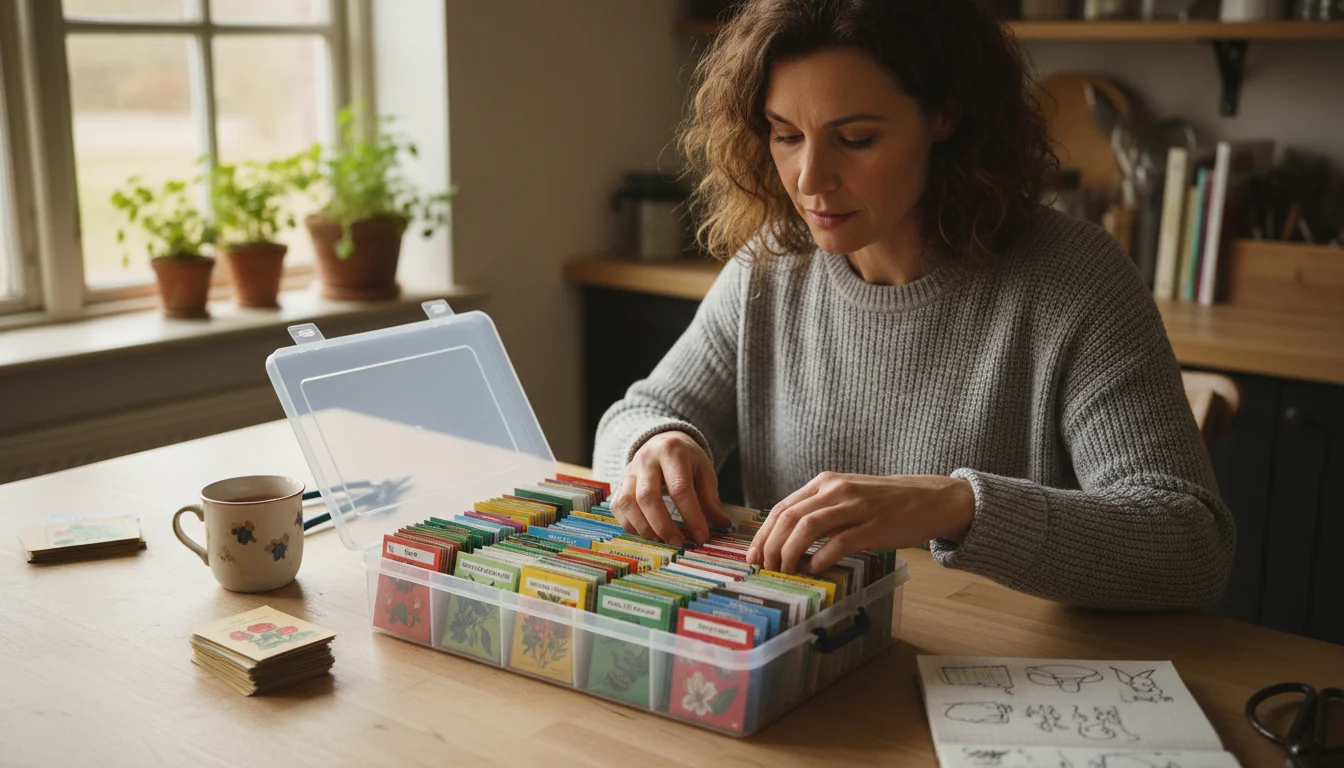
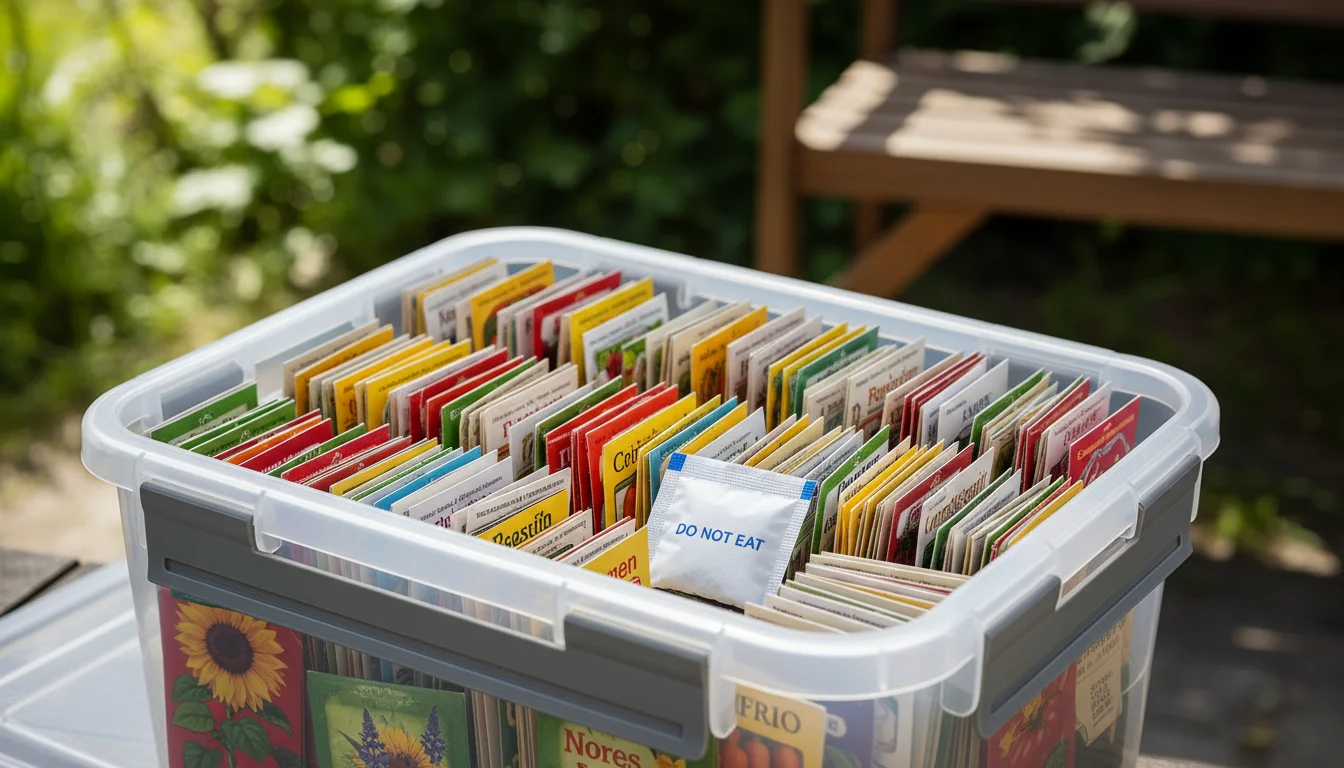
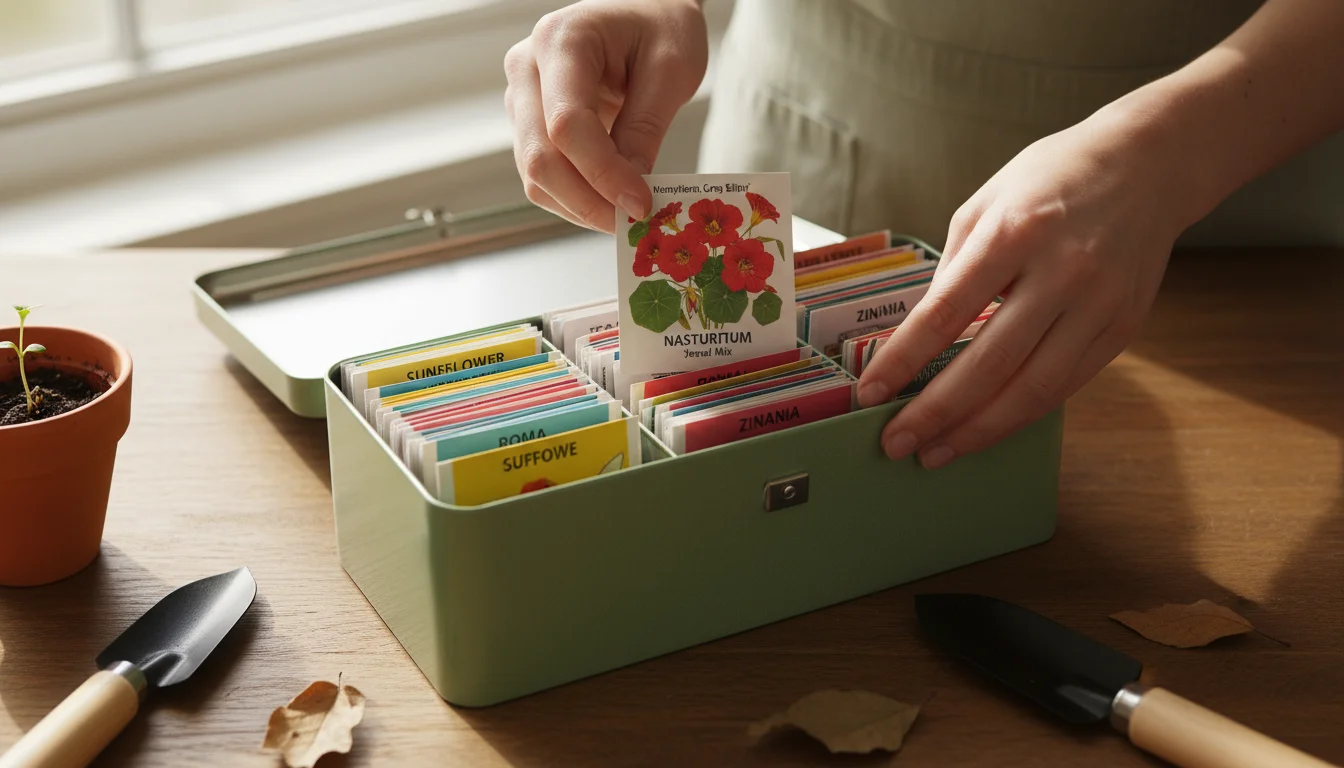
- Photo Storage Boxes: These plastic boxes, often found in craft stores, come with individual compartments. They are perfect for grouping seed packets by plant type or planting month. Their compact size makes them ideal for tucking onto a shelf or into a drawer. They offer good protection from light and a decent seal against humidity if they have tight-fitting lids.
- Binders with Clear Plastic Sleeves: A three-ring binder fitted with clear, baseball card or photo album sleeves provides an excellent visual overview of your collection. You can slide individual seed packets into the sleeves, keeping them visible and organized. Use tab dividers for categories like “Spring Vegetables,” “Summer Flowers,” or “Herbs.” While not airtight, this method offers easy access and a flat storage profile, making it a great option for those with limited shelf space. Store the binder in a cool, dark cupboard.
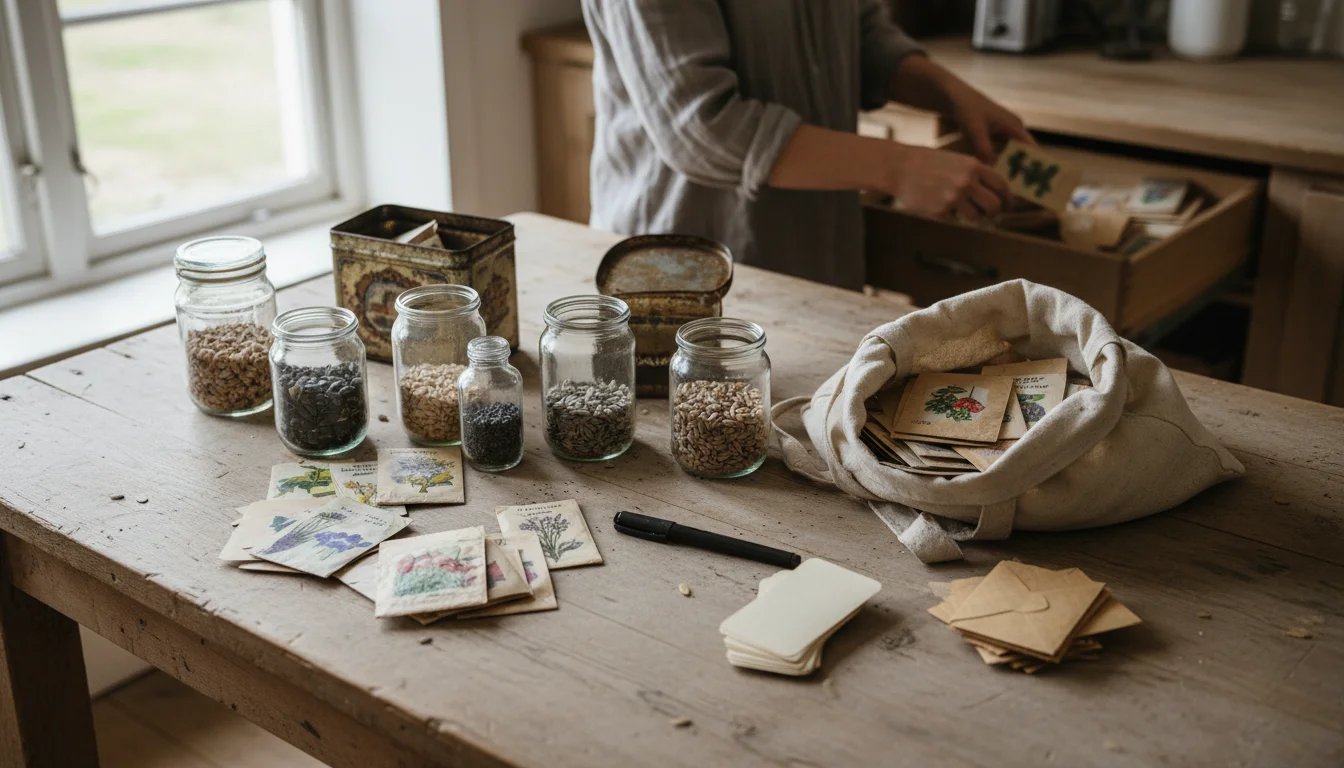
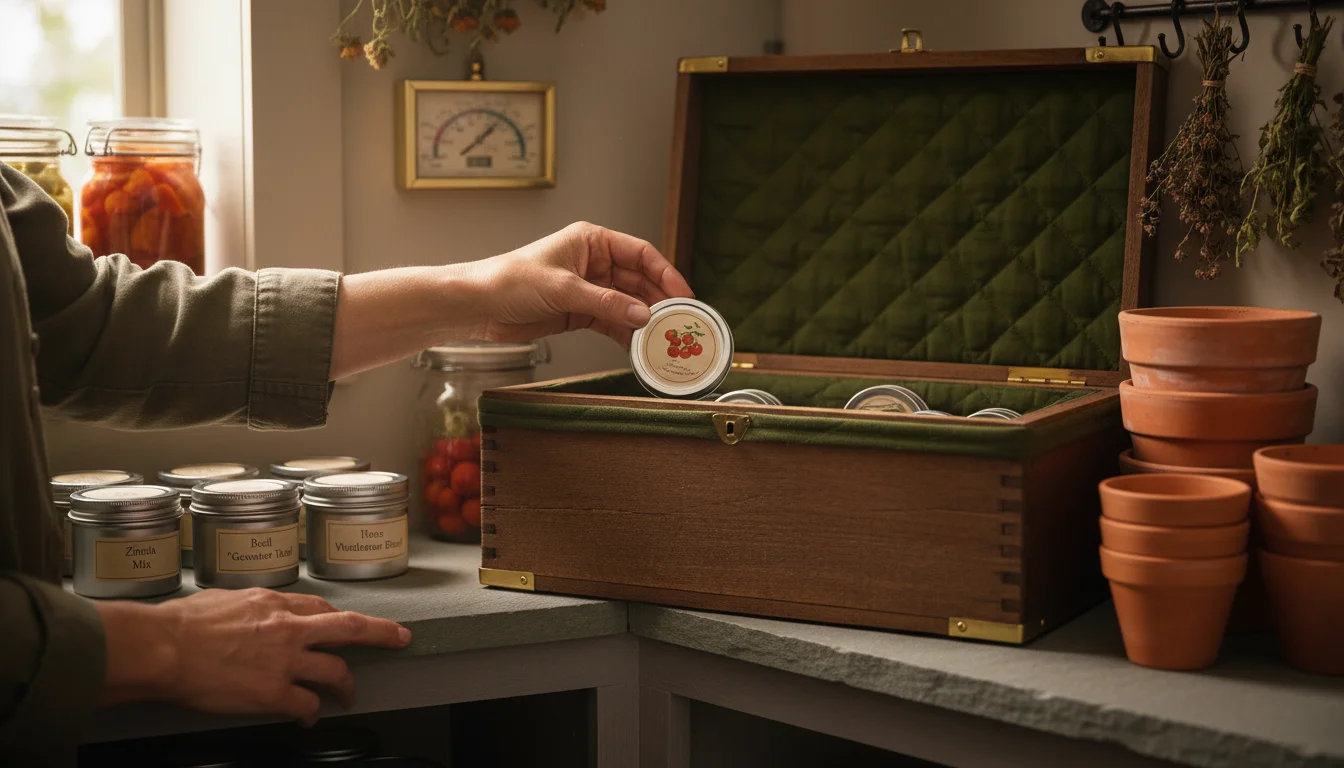
- Airtight Jars with Desiccant: For heirloom or very precious seeds, or for maximizing the storage life of leftover seeds for next year, glass jars with airtight lids (like canning jars) are excellent. Add a small desiccant packet (like silica gel, often found in new shoe boxes or electronics) to absorb any residual moisture. Place your sorted and labeled seed packets inside the jars. Store these jars in a cool, dark place, such as a refrigerator (not freezer, as temperature fluctuations upon removal can cause condensation). Ensure seeds are completely dry before jarring to prevent mold.
- Metal Tins or Bread Boxes: An old biscuit tin or a clean bread box can serve as an attractive and practical seed storage solution. Line it with a paper towel for a bit of extra moisture absorption. While not perfectly airtight, they keep light out and offer a convenient way to consolidate packets. These are best suited for seeds you plan to use within the next season or two.
Regardless of your chosen method, label your storage container clearly. “Vegetable Seeds – 2024” or “Herb Collection” on the outside helps you quickly grab what you need. Remember, the best way to organize seed packets is the method you will actually use and maintain. Experiment to find what works best for your space and gardening habits.
Beyond the Sort: Winter Garden Planning with Your Organized Seeds
Your beautifully organized seed collection is more than just an inventory; it is a powerful tool for strategic winter garden planning. This is the stage where your mindful sorting translates into actionable plans for a bountiful spring, particularly for container gardeners. You can now develop a precise winter garden planning checklist for containers that ensures every plant thrives in its designated spot.
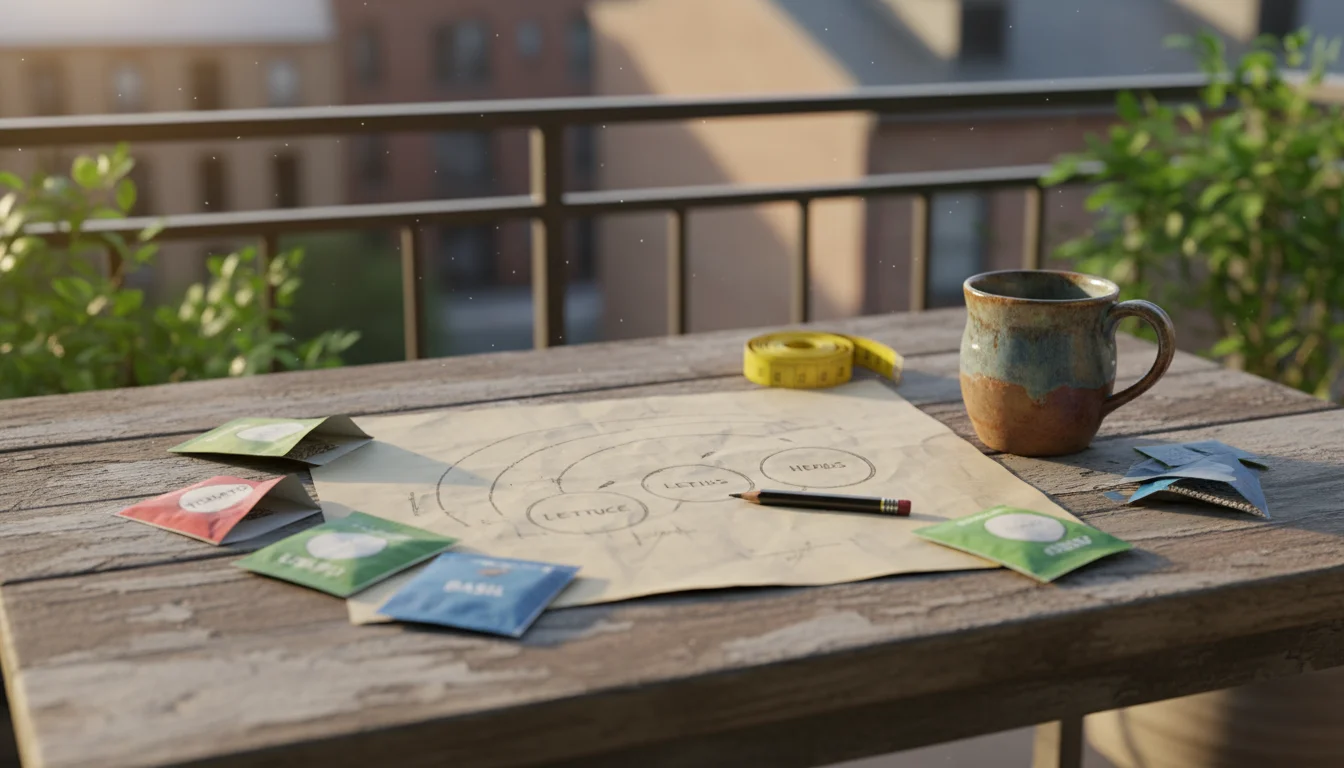
1. Develop Your Garden Blueprint:
With your seeds categorized by planting season and method, you can start sketching out your garden. For small spaces, consider drawing a simple map of your balcony, patio, or small yard. Mark where the sun hits at different times of the day. This helps you determine optimal placement for sun-loving plants (like tomatoes and peppers) versus shade-tolerant ones (like lettuce and many herbs). Assign specific containers to specific plant types based on their needs and the container size. This is a critical step in garden planning winter.
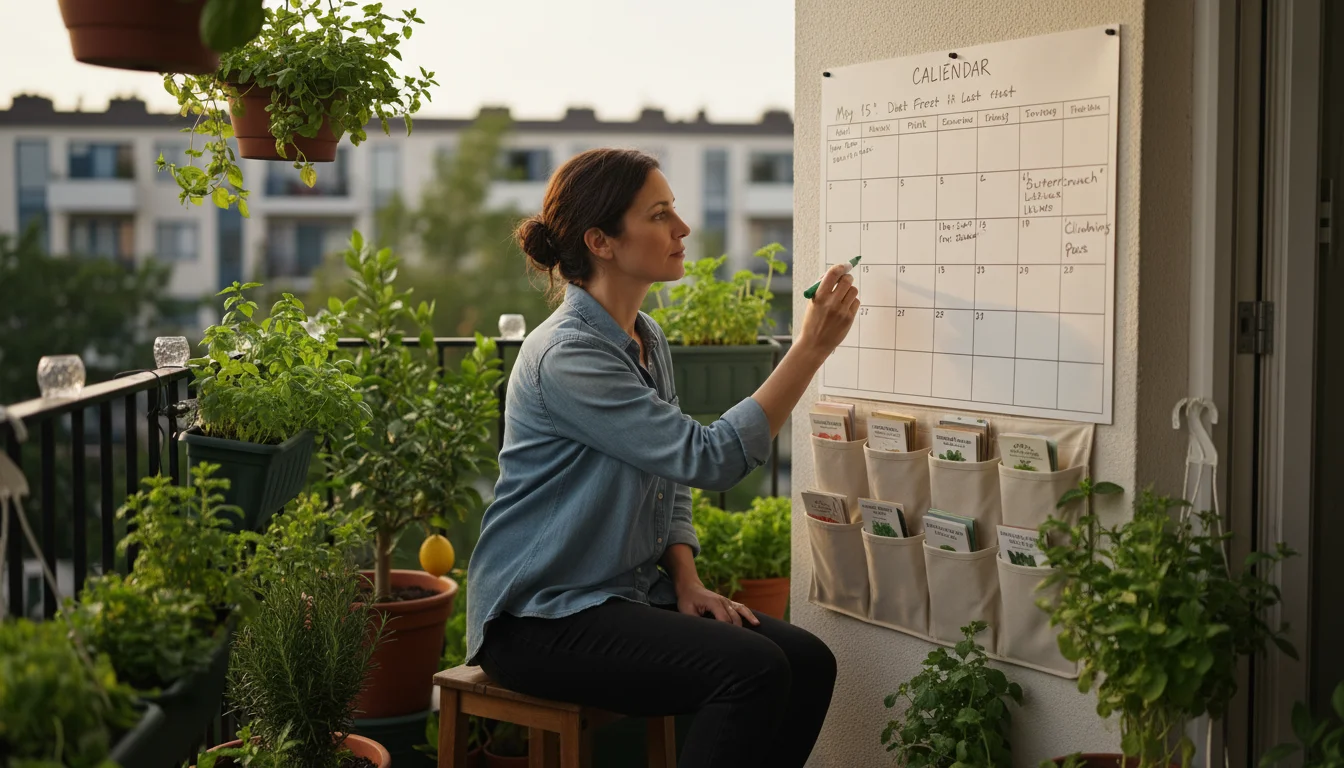
2. Create a Planting Schedule:
Using your sorted seeds and local frost dates, create a detailed planting calendar. This helps you know when to start seeds indoors, when to direct sow outdoors, and when to plan for succession plantings. For example, if you know your last frost date is May 15th, you can calculate backward for starting tomatoes indoors 6-8 weeks prior, meaning mid-March. Your organized seed packets, labeled with recommended planting times, make this task straightforward. Include specific varieties on your schedule, for instance, “April 1st: Direct sow ‘Buttercrunch’ lettuce in a 12-inch wide container.”
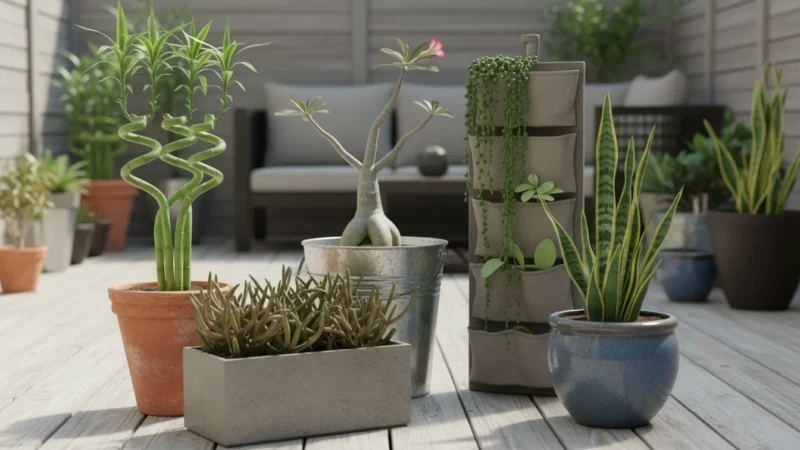
3. Plan for Container-Specific Needs:
Since your focus is on small-space gardening, consider the specific requirements of containers. Your planning should include:
- Container Size: Match plant needs to container size. A determinate tomato needs a larger pot (at least 5-gallon equivalent) than a single basil plant (1-gallon equivalent).
- Soil Volume: Calculate roughly how much potting mix you will need based on your container plan.
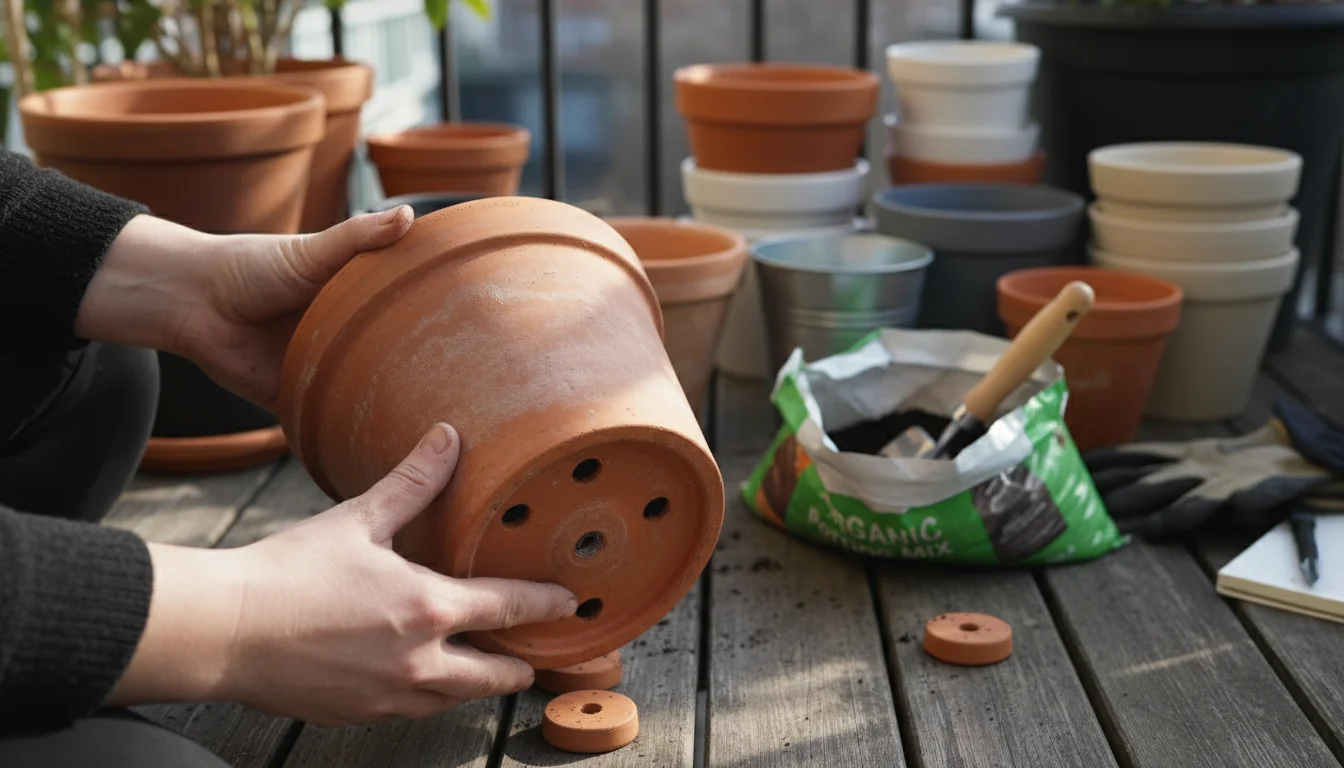
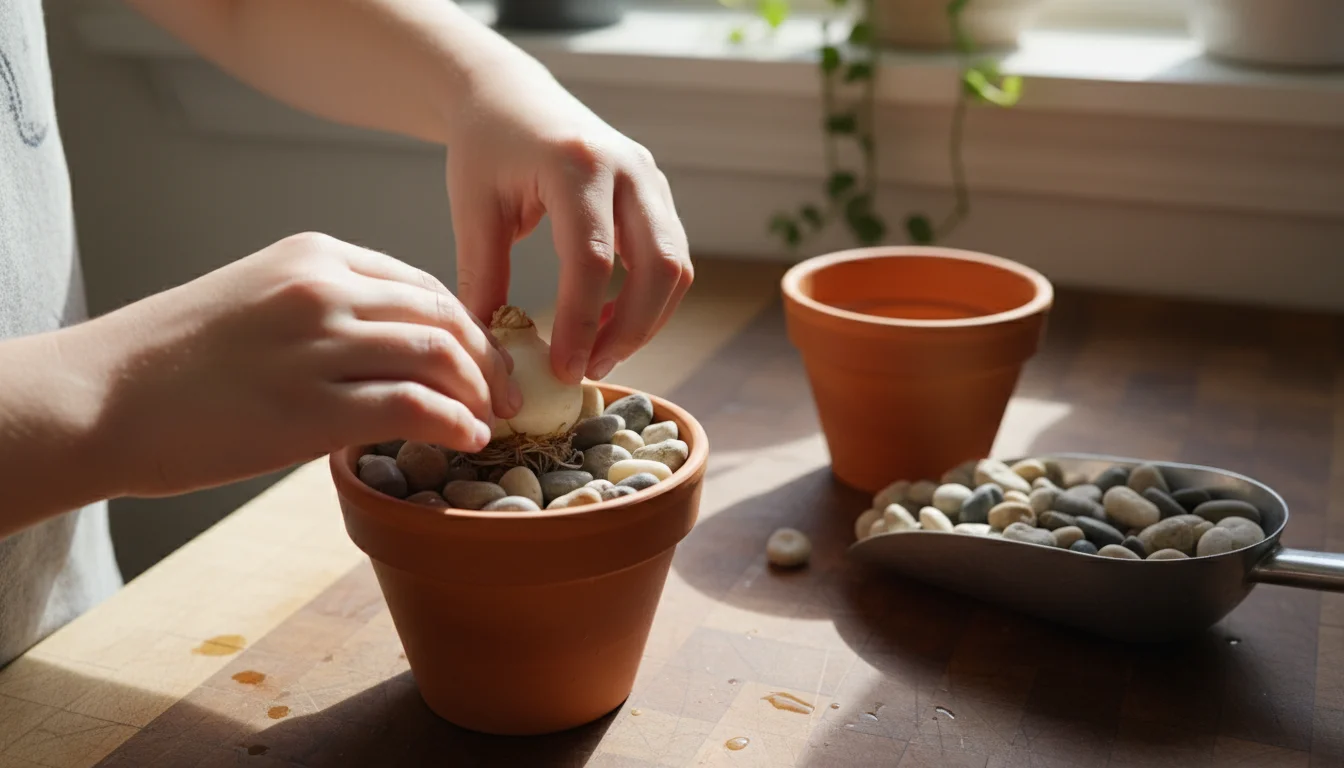
- Drainage: Every container needs excellent drainage. Plan to ensure all pots have adequate drainage holes and consider elevating them slightly to prevent waterlogging. Good drainage means water moves efficiently through the soil, preventing roots from sitting in stagnant water and rotting.
- Watering Strategy: In containers, plants dry out faster. Plan for efficient watering, whether that means daily hand watering or setting up a simple drip system for larger collections.
- Fertilization: Container plants exhaust nutrients quicker. Plan a feeding schedule using a balanced liquid fertilizer.

4. Succession Planting and Crop Rotation:
To maximize your harvest in a small space, incorporate succession planting. This means planting small batches of fast-growing crops (like lettuce, radishes, or bush beans) every 2-3 weeks. As one crop finishes, you can replant the container with another. Your organized seeds make it easy to pick the next round of seeds. Also, practice a simple form of crop rotation in your containers. Avoid planting the same type of vegetable (e.g., tomatoes) in the same container year after year, as this can deplete specific nutrients and encourage pest build-up. Referencing your inventory helps you plan these rotations.
5. Identify Gaps and Wish List Items:
After outlining your garden plan using your existing seeds, you will clearly see what you are missing. Perhaps you want a different variety of pepper, or you realize you need more determinate tomato seeds for your small balcony. This is your cue to create a targeted seed shopping list, avoiding impulsive purchases and ensuring you acquire only the seeds that fit your carefully crafted plan.
This comprehensive approach to garden planning winter, powered by your organized seeds, ensures you enter spring feeling prepared, confident, and ready to cultivate a flourishing small garden.
Avoiding Common Seed Storage Mistakes
You have dedicated time to organizing seeds. Now, ensure your efforts are not undermined by common storage pitfalls. Preventing these mistakes extends the life of your leftover seeds for next year, leading to higher germination rates and less waste.
1. Storing Seeds in Warm, Bright Locations:
Heat and light are two of the biggest enemies of seed viability. Storing seed packets on a sunny windowsill, near a heat vent, or on top of a refrigerator can drastically shorten their lifespan. Even a kitchen cabinet, if it is frequently warm from cooking, may not be ideal. High temperatures accelerate the metabolic rate within the seed, causing it to burn through its stored energy reserves faster. Always aim for a cool, dark, and consistent environment.
2. Exposing Seeds to Fluctuating Humidity:
Humidity is another critical factor. Seeds absorb moisture from the air, which can trigger premature germination, mold growth, or simply degrade the seed’s quality. Storing seeds in a damp basement or garage, or in an area with wide swings in humidity, will compromise them. Ensure your best way to organize seed packets includes protection from moisture. Using airtight containers, especially with a desiccant, helps maintain a stable, dry environment. Avoid opening and closing containers frequently in humid conditions.
3. Forgetting to Label Clearly:
This seems obvious, but it is a mistake many gardeners make, especially with saved seeds or when transferring seeds to smaller envelopes. An unlabeled packet is a mystery packet, and by the time planting season rolls around, you will likely forget what it contains, rendering it useless. Always include the plant type, variety, and date of purchase or harvest. This information is crucial for garden planning winter and for assessing viability.
4. Storing Damaged or Infested Seeds:
Before storing, always inspect your seeds. Look for signs of insect activity, mold, or physical damage. Storing infested seeds can contaminate your entire collection, ruining viable packets. If you find any compromised seeds, discard them responsibly. Do not risk spreading pests or diseases.
5. Overpacking or Underpacking Storage Containers:
While maximizing space is important for small-space gardeners, overpacking containers can lead to crushed packets and difficulty accessing specific seeds. Conversely, underpacking can lead to air pockets and more exposure to moisture fluctuations. Aim for a sensible fit that allows easy browsing without leaving too much empty space that air can circulate within.
By consciously avoiding these common errors, you will ensure your carefully organized seeds remain viable and ready to sprout when spring arrives, making your gardening efforts more rewarding and sustainable.
Eco-Friendly Seed Practices: Reducing Waste and Sharing Bounty
As a mindful gardener, your seed sorting project offers a prime opportunity to embrace more eco-friendly and sustainable practices. Reducing waste, conserving resources, and fostering community spirit are all part of a holistic approach to gardening.
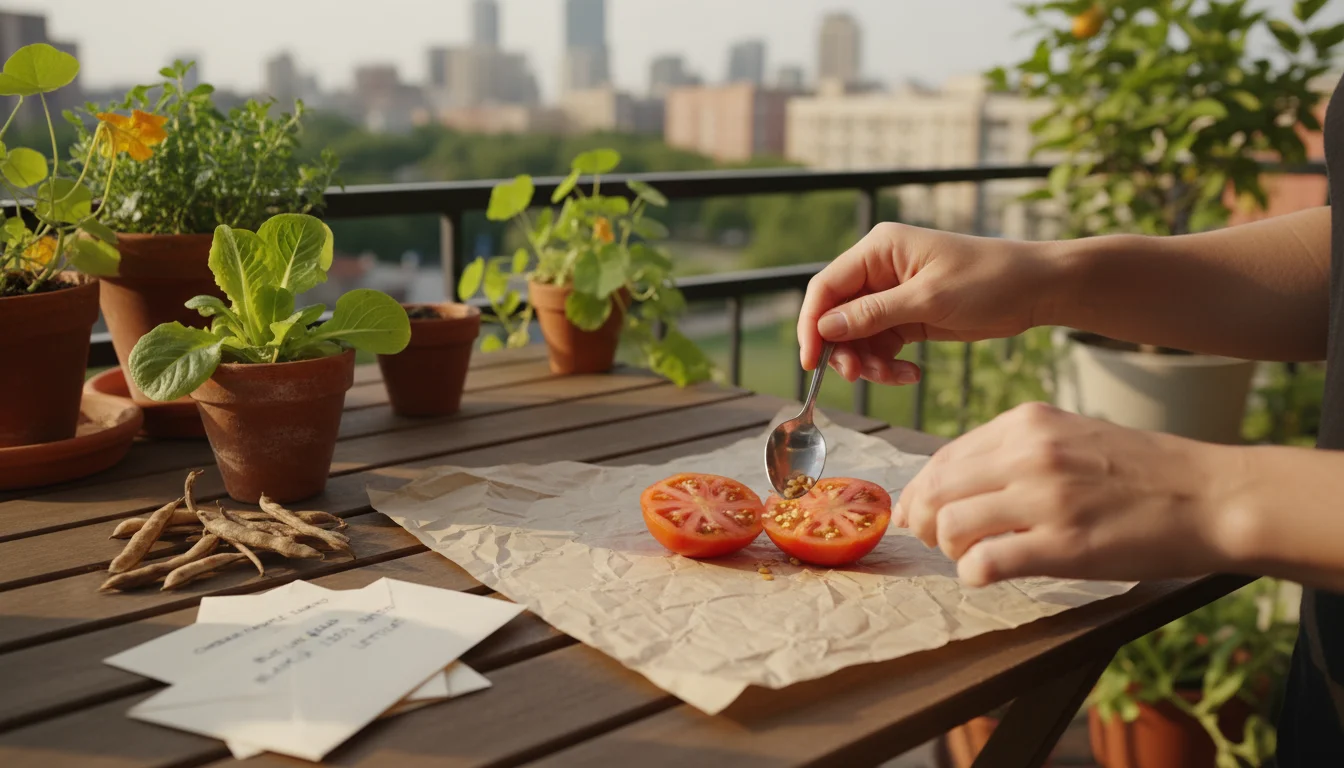
1. Saving Your Own Seeds:
One of the most sustainable practices is saving seeds from your own successful plants. Choose open-pollinated (not hybrid) varieties that performed well in your garden. Saving seeds reduces your reliance on external suppliers, cuts down on packaging waste, and allows you to adapt plants specifically to your microclimate. It also connects you deeply to the lifecycle of your garden. Learn which plants are easy to save seeds from (like beans, peas, tomatoes, peppers, or lettuce) and integrate this into your winter garden planning. When saving, ensure proper drying and storage, as your own saved seeds are as valuable as purchased ones.
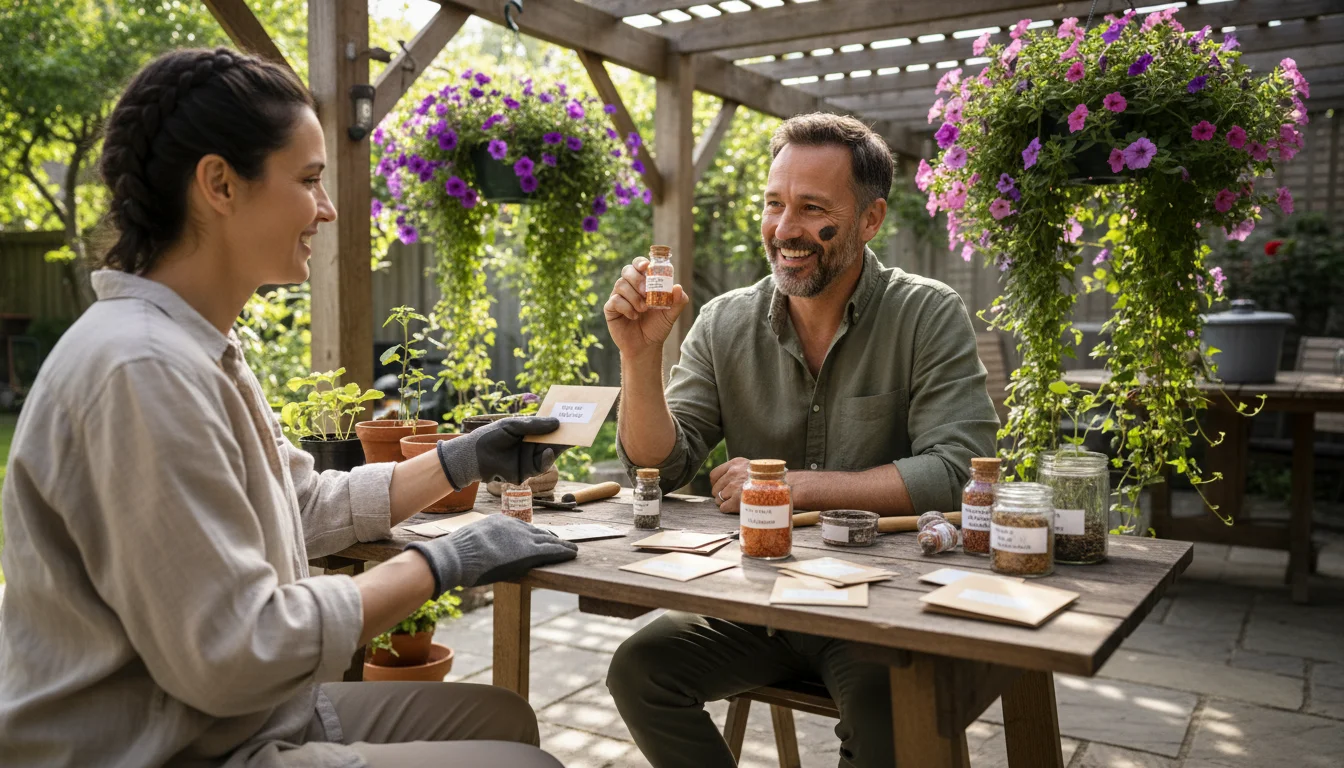
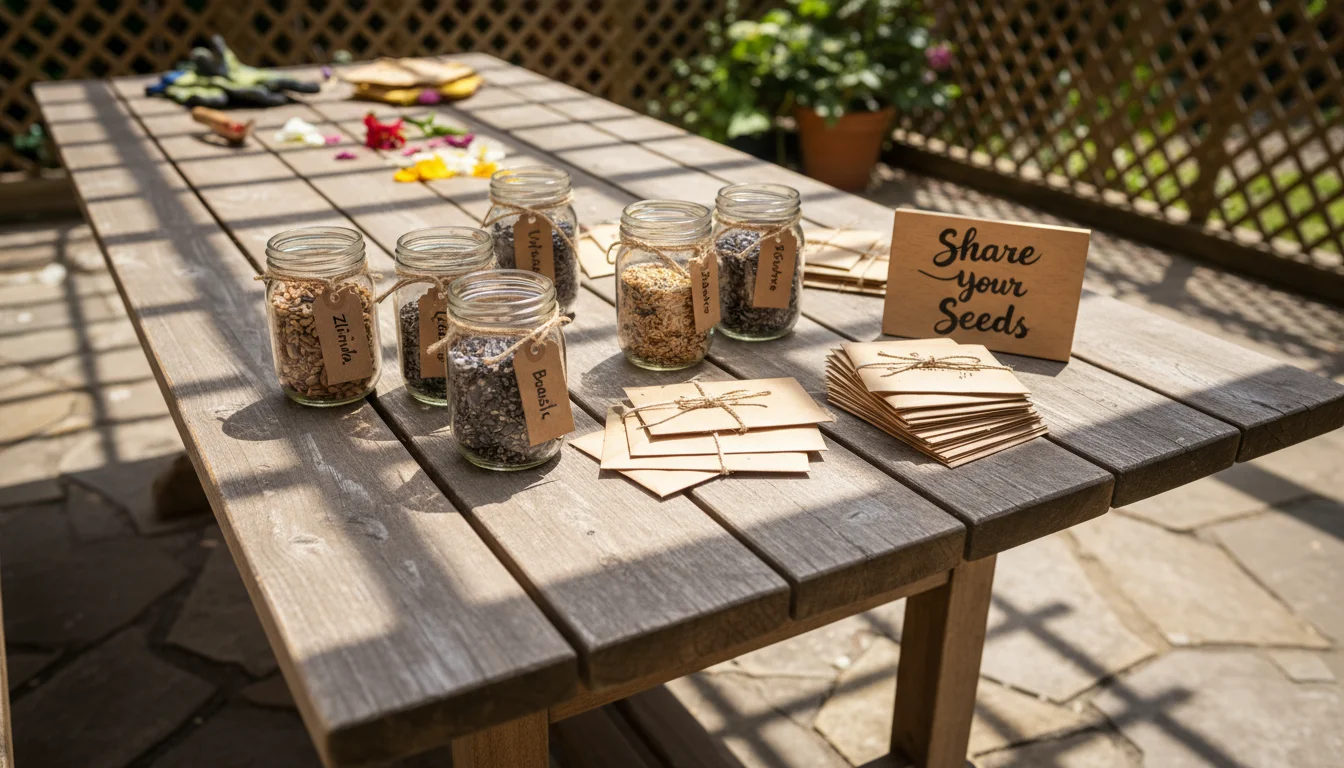
2. Participating in Seed Swaps:
Do you have an abundance of one type of seed, or perhaps a variety that did not quite fit your garden plan this year? Consider participating in a local seed swap. Many community gardens, libraries, or gardening clubs host these events, especially in late winter or early spring. This is an excellent way to share your bounty, discover new varieties you might not have tried, and connect with fellow gardeners. It is a fantastic method for reducing waste and fostering a sense of community, embodying the spirit of sustainable gardening.
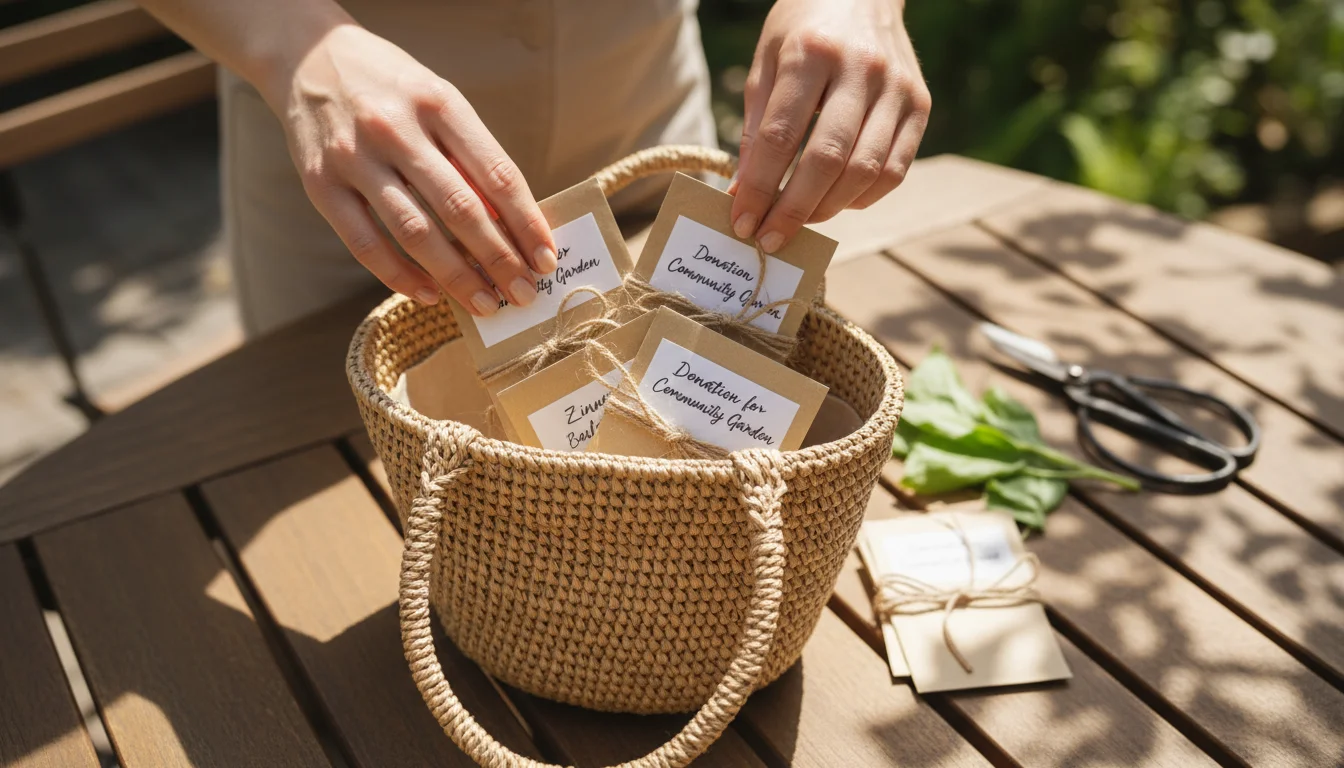
3. Donating Excess Seeds:
If seed swaps are not an option, or you simply have too many leftover seeds for next year, consider donating them. Local community gardens, school gardens, or even food banks (which sometimes have garden programs) may welcome your surplus. This ensures that viable seeds find a home and contribute to local food production or educational initiatives rather than going to waste.
4. Repurposing Storage Materials:
When choosing your best way to organize seed packets, think about repurposing. Use old shoeboxes, tins, or glass jars you already own instead of buying new plastic containers. Get creative with what you have. This reduces consumption and gives new life to items that might otherwise end up in a landfill.

5. Mindful Seed Purchasing:
Once you complete your winter garden planning checklist for containers and identify any missing seeds, make your purchases mindfully. Support seed companies that focus on organic, open-pollinated, or heirloom varieties. Look for companies with sustainable packaging practices. Buy only the quantities you realistically need, especially for small-space gardening where excess seeds can quickly accumulate.
By integrating these eco-friendly practices into your seed management, you not only prepare for a successful growing season but also contribute to a healthier planet and a stronger gardening community.

Frequently Asked Questions
How long do seeds typically last?
Seed viability varies greatly by plant type and storage conditions. Generally, most vegetable and flower seeds remain viable for 2 to 5 years if stored properly in cool, dry, dark conditions. Some seeds, like onions or parsnips, have a shorter lifespan (1-2 years), while others, such as beans or squash, can last 5 years or more. Always check the pack date on your seed packets.
Can I store seeds in the refrigerator or freezer?
Yes, storing seeds in the refrigerator can significantly extend their life, provided they are completely dry and in an airtight container to prevent moisture absorption. Freezing can also be effective for very long-term storage, but it is riskier for home gardeners. For best results, ensure seeds are thoroughly dried and sealed in airtight containers with a desiccant before placing them in the freezer. Avoid frequent temperature fluctuations, which can cause condensation and damage the seeds.
What does “germination rate” mean?
“Germination rate” refers to the percentage of seeds that successfully sprout and grow into seedlings under ideal conditions. A high germination rate means more of your planted seeds will grow. Proper seed storage helps maintain a high germination rate. If you have older seeds, you can perform a simple germination test (as described earlier in the article) to determine their viability before committing them to your garden.
Do I need special containers for seed storage?
While specialized seed storage containers exist, you do not need them. Many common household items work perfectly for organizing seeds, such as photo storage boxes, binders with clear plastic sleeves, glass jars with airtight lids, or even clean metal tins. The key is to choose a container that protects seeds from light, moisture, and extreme temperatures, fitting your available space and personal preference.
Is it okay to store different types of seeds together?
Yes, you can store different types of seeds together in the same container, as long as each packet is clearly labeled and sealed. The critical factor is that the overall storage environment (cool, dry, dark) is consistent for all seeds. Grouping them by type, planting season, or other logical categories within the main container (like using individual compartments or binder sleeves) helps maintain organization and makes them easier to find.
Your winter seed sort is more than just a chore; it is an investment in your future garden. By taking the time now to organize, assess, and plan, you set yourself up for a less stressful, more productive, and ultimately more joyful gardening season. You will approach spring with clarity, purpose, and a deep sense of connection to your green endeavors. Enjoy the quiet satisfaction of knowing your garden is already taking shape, long before the first sprout emerges from the soil.
For trustworthy gardening information, visit:
Washington State University Hortsense, University of Minnesota Extension, Penn State Extension — Trees, Lawns and Landscapes and Clemson University Extension — Home & Garden. These organizations provide expert, research-based advice for gardeners at all levels.
Disclaimer: This article is for informational purposes only and is not a substitute for professional gardening advice. Always consult local extension services or horticulture experts for region-specific guidance.


Leave a Reply