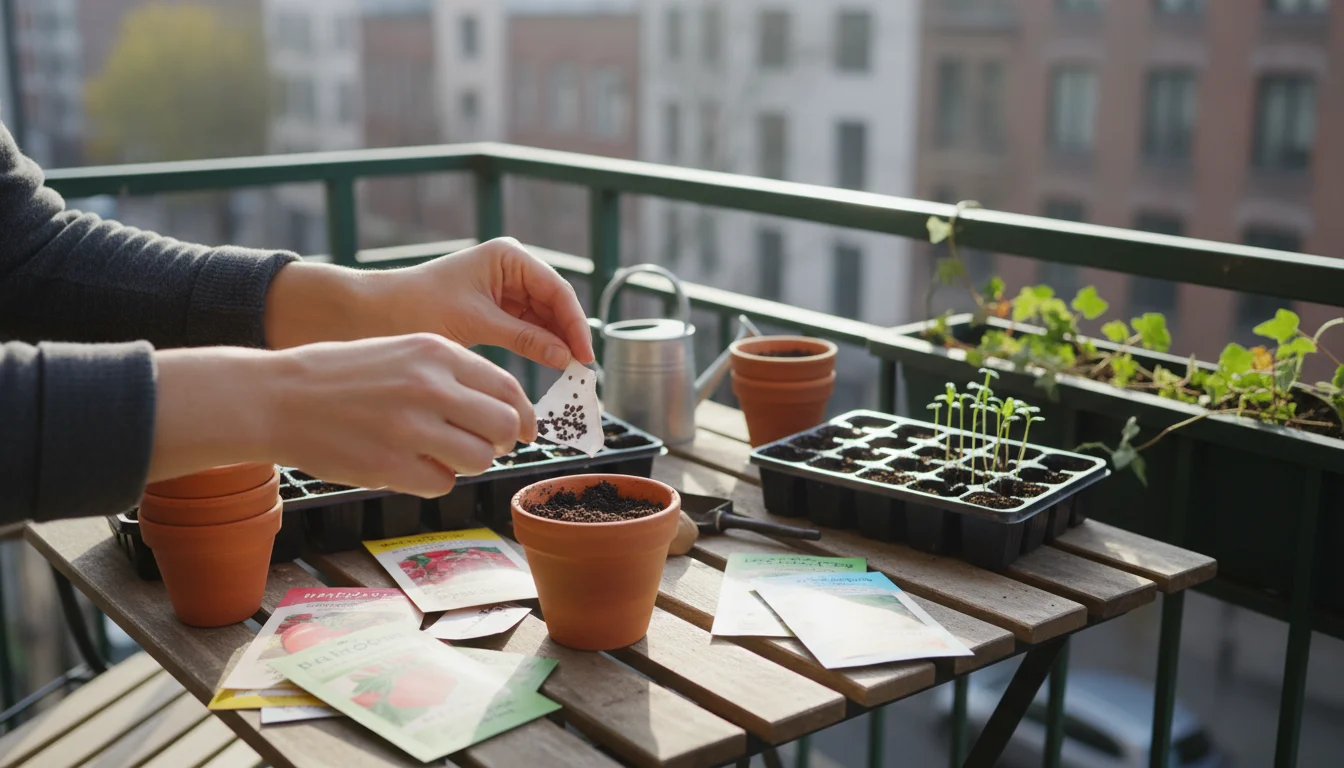
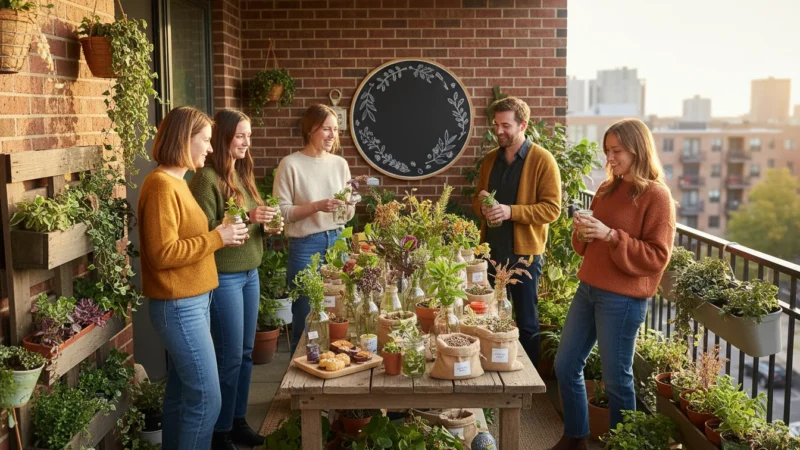
Winter arrives, bringing with it a lull in outdoor gardening activity. Yet, this season offers the perfect opportunity for meaningful garden planning. Perhaps you find yourself gazing at last year’s seed packets, wondering if those small, dormant promises of future harvests still hold their magic. You ask yourself: are these seeds still viable? Will they germinate? Buying new seeds for every season seems unnecessary if your old ones still perform well, especially when cultivating a small-space garden where every inch of soil and every growing season counts.
Testing seeds is one of many rewarding indoor gardening projects for winter days that can keep your green thumb active while you wait for spring.
This article guides you through a simple, effective method to test your old seeds. The seed viability test, often called the paper towel seed germination test, transforms a chilly winter afternoon into a productive activity. You gain practical, actionable insights into your seed stash. This process not only saves you money on garden seeds for spring, but also reduces waste, aligning perfectly with an environmentally conscious gardening approach. By understanding your seeds’ potential now, you make informed decisions, ensuring your limited garden space yields its maximum bounty.
Unearthing the Treasure: Why Seed Viability Matters for Your Small Garden
As a small-space gardener, you understand the value of every plant and every square inch. A non-viable seed, one that fails to sprout, represents wasted potential. You invest time, effort, and precious growing medium into sowing seeds, nurturing them, and waiting for them to emerge. If those seeds never germinate, you face delays in your planting schedule, empty spots in your containers or raised beds, and the frustration of unfulfilled expectations. This becomes particularly impactful when your garden area is compact, such as a balcony, patio, or a small urban yard.
This data allows you to move from your fall seed catalog dream board to a concrete planting list with realistic expectations.
Knowing which seeds are still good is a key part of your winter budget blueprint, helping you avoid buying duplicates of what you already have.
Performing a seed viability test provides certainty. You move from hopeful guessing to informed decision-making. Imagine dedicating a prime container spot to a specific herb, only for the seeds to fail. This forces you to restart, delaying your harvest and potentially missing the optimal planting window. By conducting a simple test, you avoid this scenario. You learn which seeds are still strong performers, allowing you to confidently allocate your limited space and resources. This proactive approach ensures your garden planning for spring is efficient and effective.
Furthermore, testing old seeds aligns with a sustainable gardening ethos. You reduce waste by utilizing existing resources instead of automatically discarding old packets and purchasing new ones. This not only benefits your wallet, a key aspect of saving money on garden seeds for spring, but also contributes to a more environmentally conscious practice. You empower yourself to make smarter choices for your small garden, maximizing your harvest and minimizing disappointment. The knowledge gained from a seed viability test transforms winter downtime into productive garden preparation, setting the stage for a thriving spring.
What Exactly Is Seed Viability?
Seed viability refers to a seed’s ability to germinate and grow into a healthy, productive plant under favorable conditions. Think of it as the life force contained within each tiny package. A viable seed possesses a living embryo, stored food reserves (the endosperm or cotyledons), and a protective seed coat. When conditions are right, the embryo awakens, draws upon its food supply, and pushes through the seed coat to begin its journey as a seedling.
While you wait for your garden seeds to test, you might also consider starting houseplants from seed to brighten your living space.
Do not confuse seed viability with germination rate, although the two concepts are closely related. Viability is a quality: a seed either is viable or it is not. Germination rate, on the other hand, quantifies this quality. It represents the percentage of seeds from a given batch that successfully germinate within a specific timeframe. For example, if you test 10 seeds and 8 sprout, your germination rate is 80%. This rate gives you a practical number to work with when planning your planting density.
Over time, even under ideal storage, seeds naturally lose viability. Their internal energy stores deplete, and the genetic material can degrade. This degradation is a slow, natural process. However, improper storage accelerates it significantly. Understanding viability means you appreciate that not all seeds are created equal, and their potential diminishes with age. Testing provides a window into this potential, allowing you to gauge the remaining life in your seed collection. This insight is crucial for effective seed starting, preventing wasted efforts on dormant seeds that will never awaken.
Factors Affecting Seed Longevity: The Critical Role of Storage
The lifespan of your seeds depends heavily on how you store them. Several environmental factors accelerate the decline of seed viability. Understanding these factors empowers you to store your seeds effectively, extending their usefulness and ensuring more successful garden planning.
Keep in mind that some varieties won’t germinate at all without a period of chilling, which you can simulate using a cold stratification experiment in your refrigerator.
First, moisture is the primary enemy of long-term seed storage. Seeds stored in humid conditions absorb moisture from the air, triggering metabolic processes within the seed. This premature activation depletes their stored energy reserves, even if they do not fully germinate. It also increases the risk of fungal growth and rot. Ideally, seeds require a very low moisture content for dormancy. Aim for airtight containers to protect them from ambient humidity.
Second, temperature plays a crucial role. High temperatures dramatically shorten seed life. Heat speeds up the metabolic processes within the seed, causing it to “burn through” its energy stores much faster. For every 10-degree Fahrenheit increase in storage temperature, the lifespan of seeds can decrease by half. Cooler temperatures, such as those found in a refrigerator or freezer, slow down these processes, preserving viability for much longer periods. For example, many vegetable seeds stored at 40 degrees Fahrenheit (4 degrees Celsius) maintain viability for years longer than those stored at room temperature.
Third, light exposure can also negatively impact seed longevity, especially for seeds that require darkness to germinate. While less critical than moisture and temperature, prolonged exposure to direct sunlight or strong artificial light can degrade seed quality over time. Storing seeds in opaque containers or dark locations, such as a closet or drawer, helps protect them.
Finally, oxygen availability contributes to seed degradation. Seeds “breathe,” undergoing slow respiration. Excessive oxygen accelerates this respiration, consuming the precious food reserves within the seed. Vacuum sealing or storing seeds in tightly sealed containers with minimal air space helps reduce oxygen exposure, further prolonging their viability. Remember, while seed packets often display “packed for” or “sell by” dates, these serve as general guidelines. Your storage conditions ultimately determine the actual lifespan of your seeds, making careful management a vital part of your garden strategy.
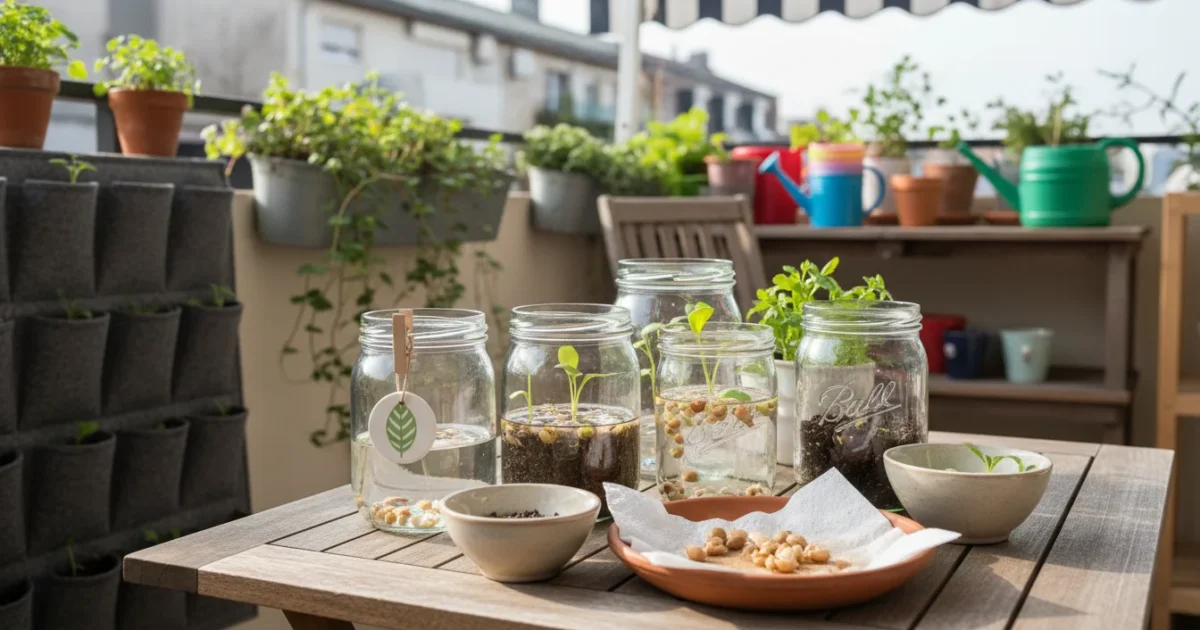
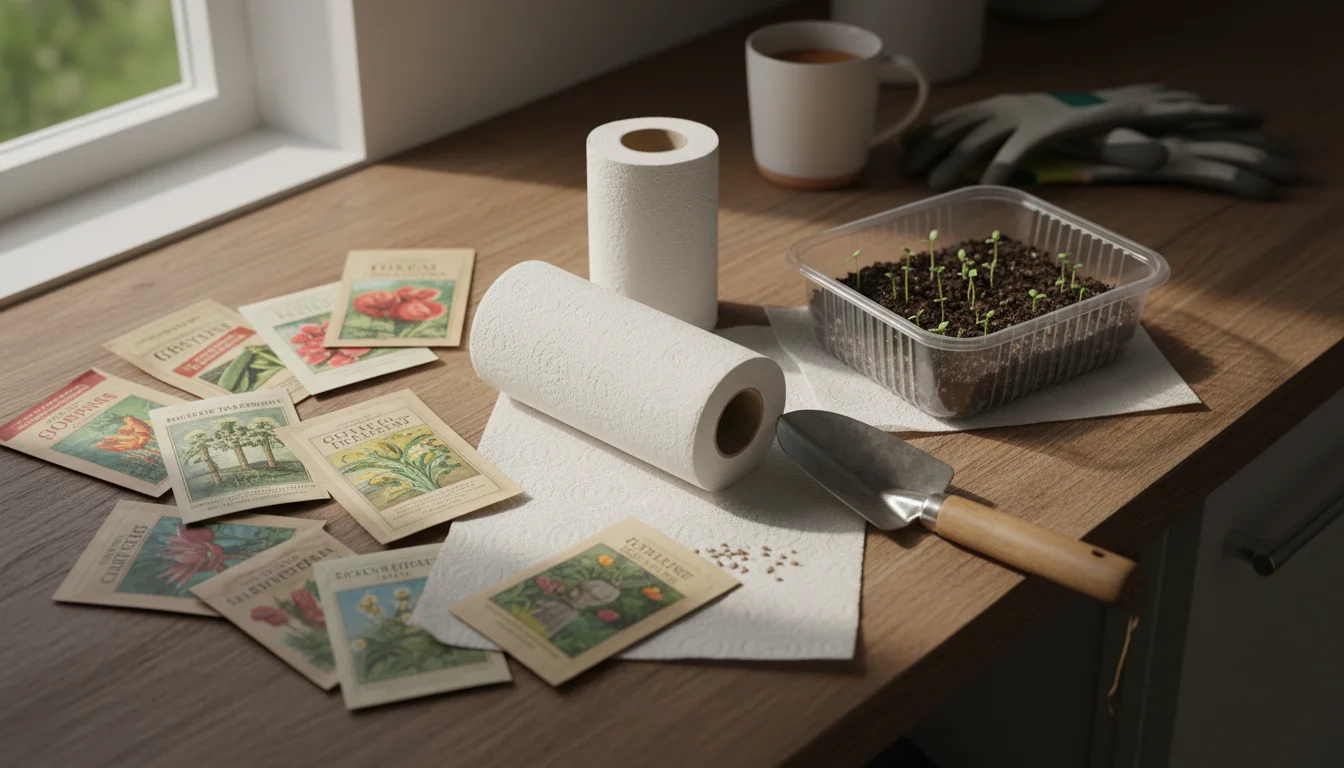
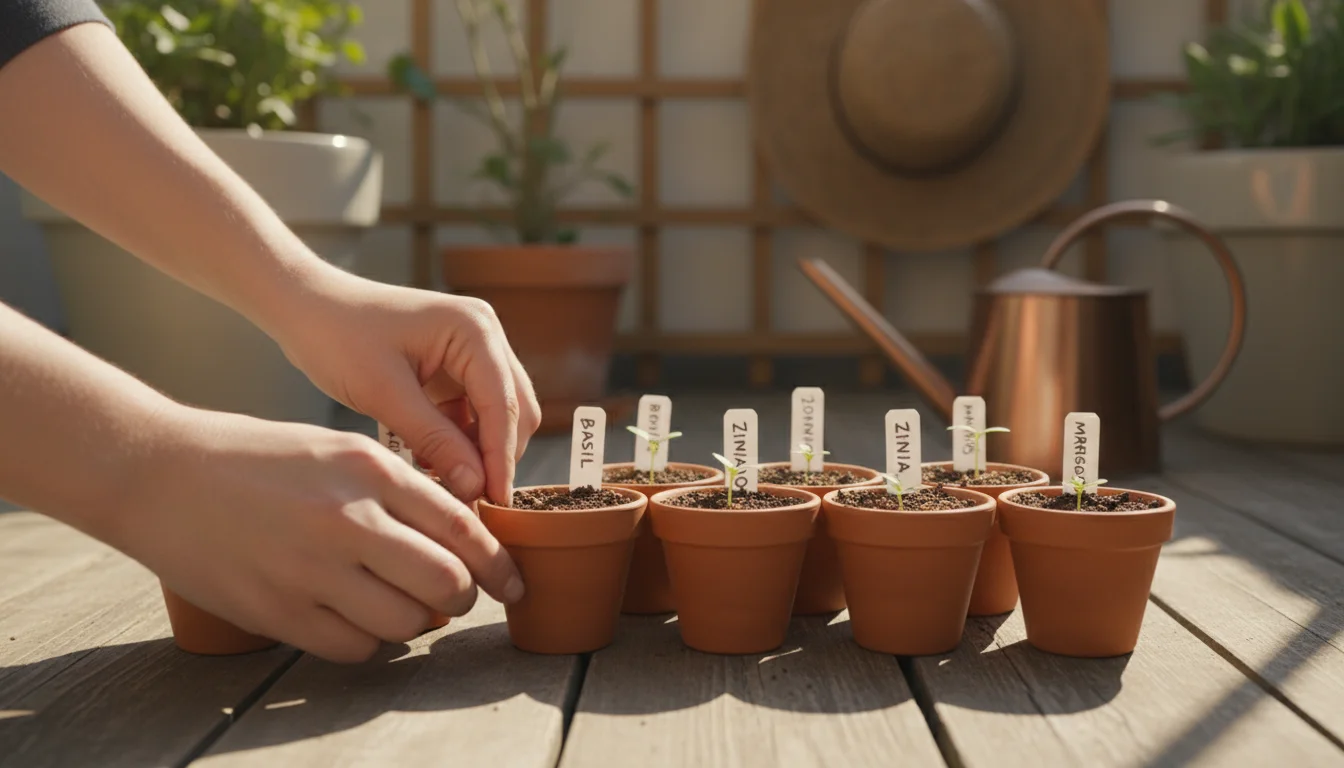
The Great Paper Towel Test: A Simple Guide to Seed Germination Testing
This method offers an incredibly straightforward way to assess your old seeds’ potential. It requires minimal supplies and provides clear results, helping you make informed decisions for your seed starting efforts. Here is how you conduct your own paper towel seed germination test:
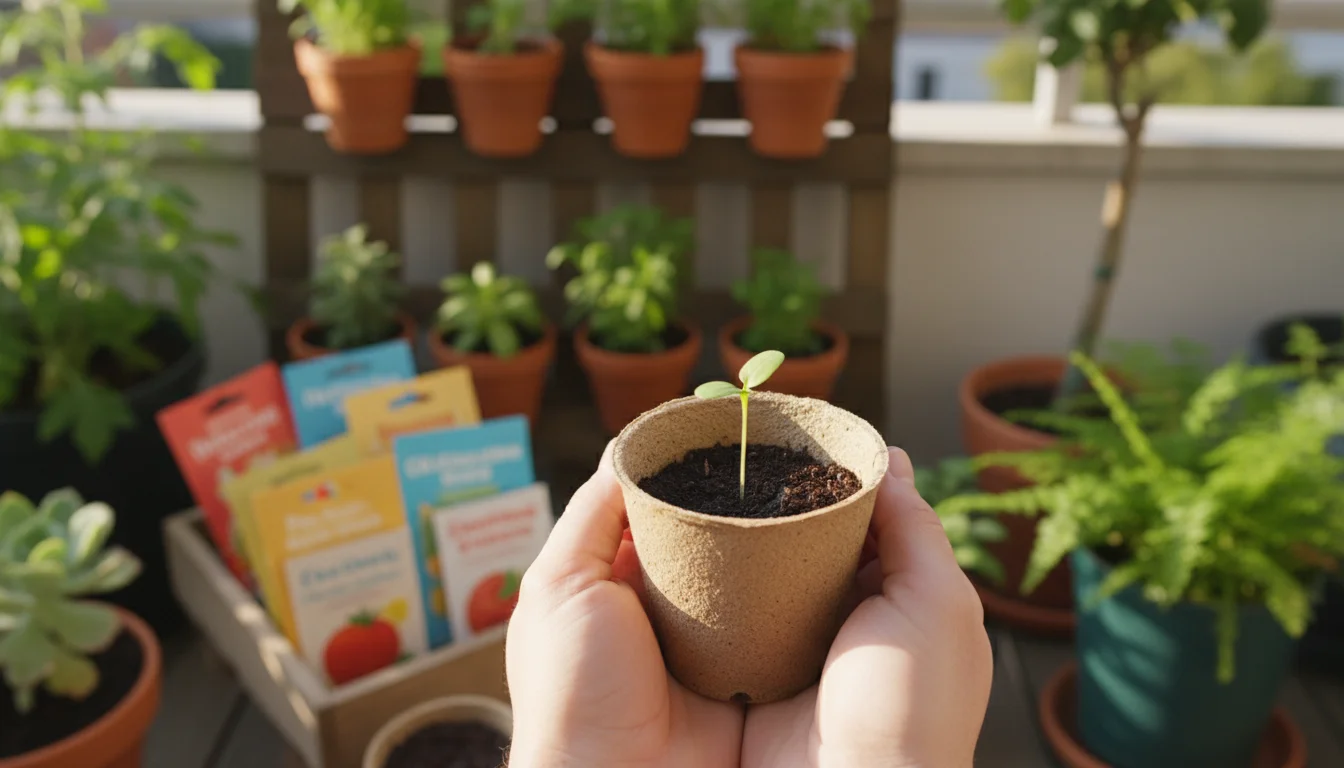
Once you confirm which seeds are viable, you can prepare a space-saving seed starting shelf to house your upcoming seedlings.
Materials You Will Need:
- Your old seed packets (select seeds you are most curious about).
- Paper towels (plain, unbleached, and fairly absorbent work best).
- A spray bottle filled with water (tap water is fine).
- Resealable plastic bags (sandwich or freezer bags are perfect).
- A permanent marker.
- A warm location (a spot near a water heater, on top of a refrigerator, or a seedling heat mat works well).
Step-by-Step Instructions:
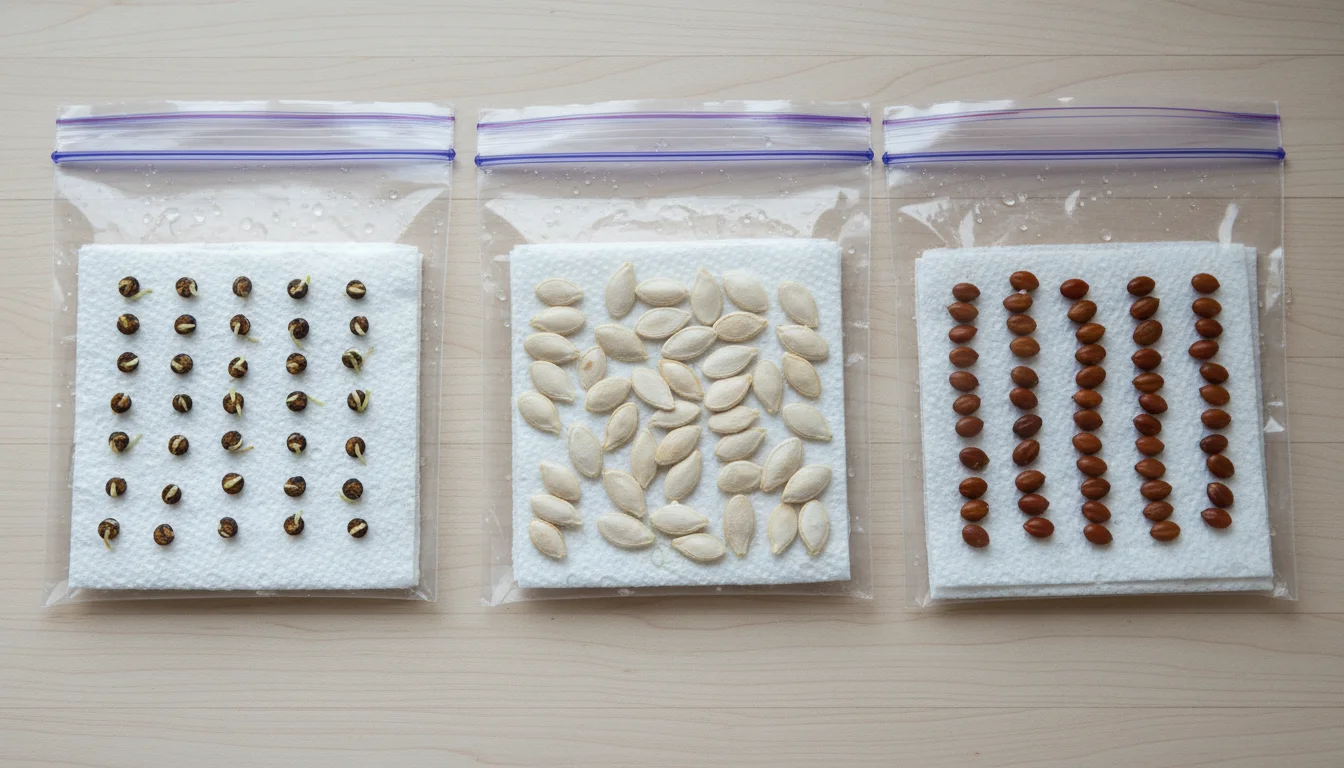
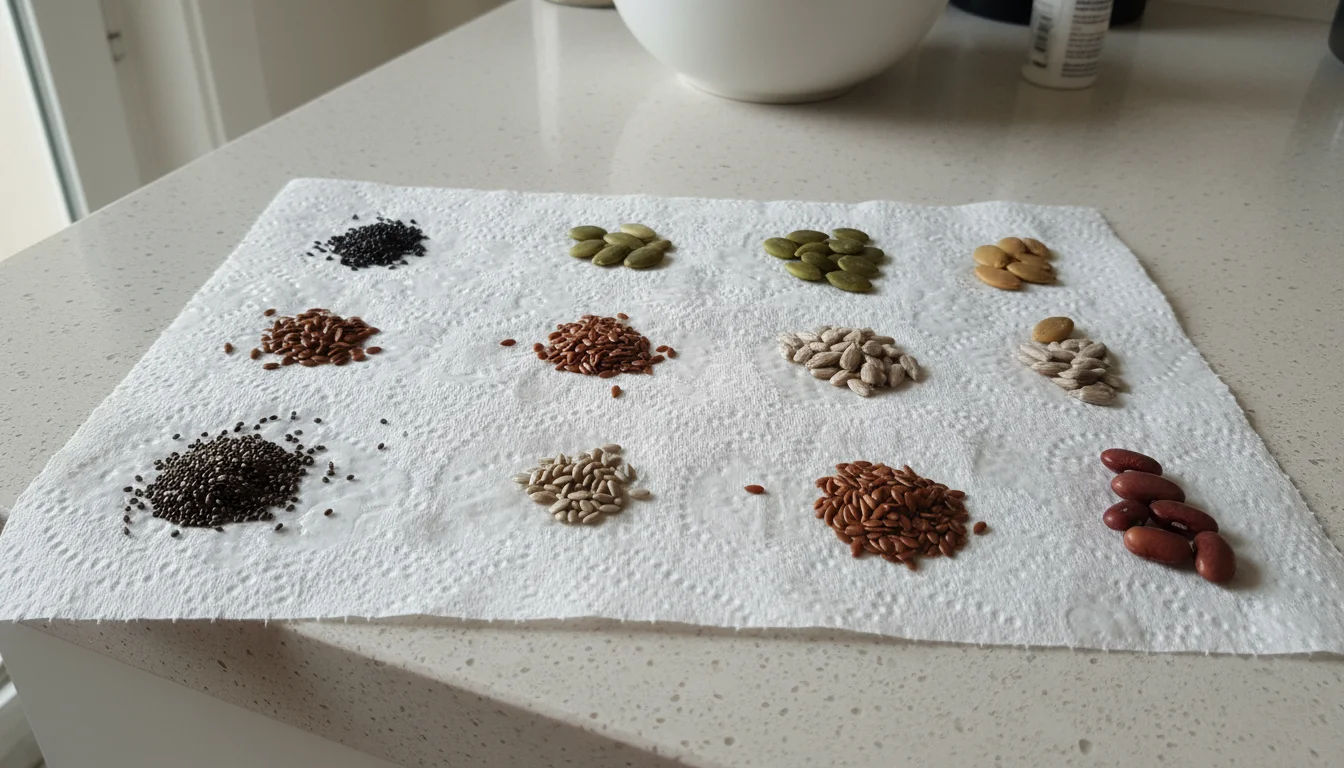
- Select Your Seeds: Choose at least 10 seeds from each packet you want to test. For very large seeds like beans, 5-7 might suffice. For very small seeds, you might use 15-20 for better statistical accuracy. Remember, the more seeds you test, the more reliable your germination rate calculation becomes.
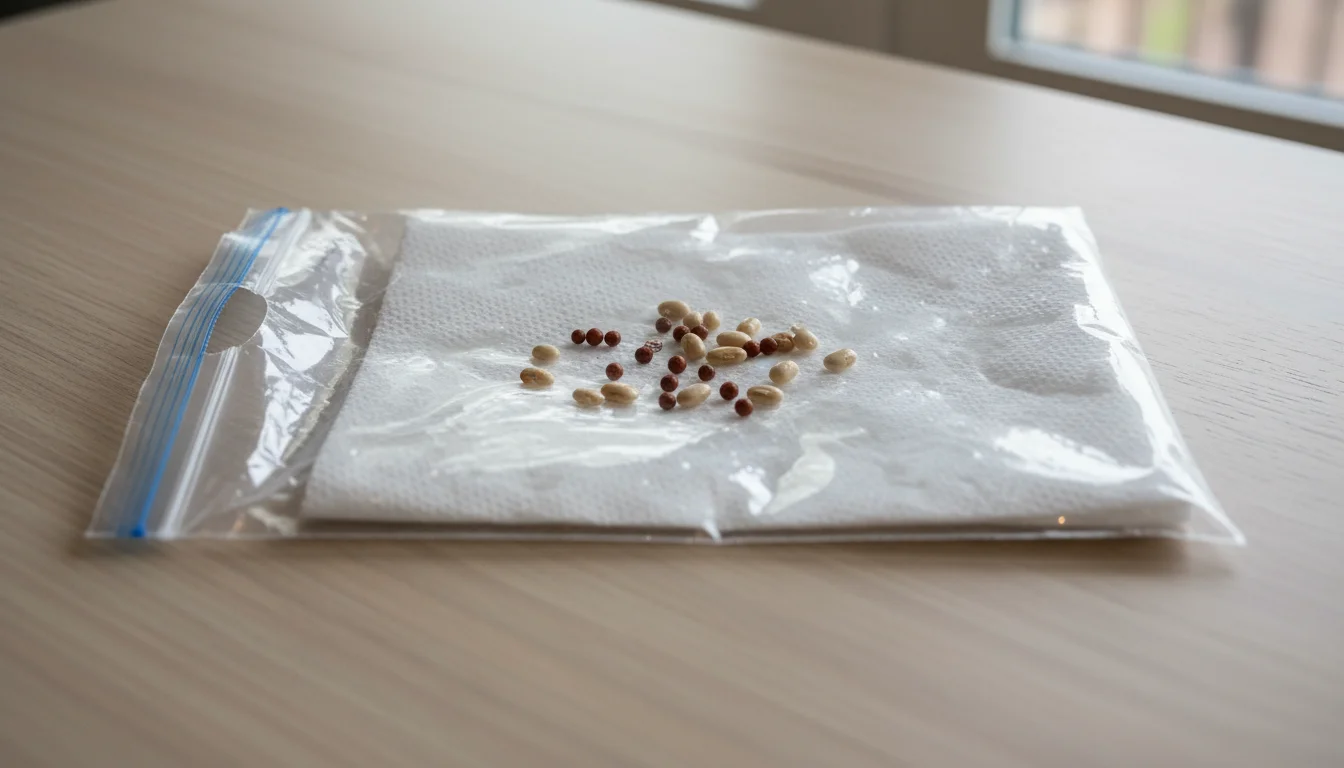
- Prepare the Paper Towel: Lay out a single sheet of paper towel flat. Spray it lightly with water until it is thoroughly damp but not dripping wet. You want it moist enough to cling to the seeds, but not waterlogged to prevent mold growth.
- Arrange the Seeds: Carefully place your chosen seeds onto one half of the damp paper towel. Space them out evenly, leaving a little room between each seed. This prevents crowding and allows you to observe individual germination.
- Fold and Roll: Gently fold the other half of the paper towel over the seeds. You now have the seeds sandwiched between two layers of damp paper towel. For smaller seeds, you can stop here. For larger seeds, or to save space, gently roll the folded paper towel into a loose coil.
- Place in Plastic Bag: Carefully slide the damp paper towel packet or roll into a resealable plastic bag. Do not seal the bag completely shut. Leave a small opening for air circulation, which helps prevent mold while maintaining humidity.
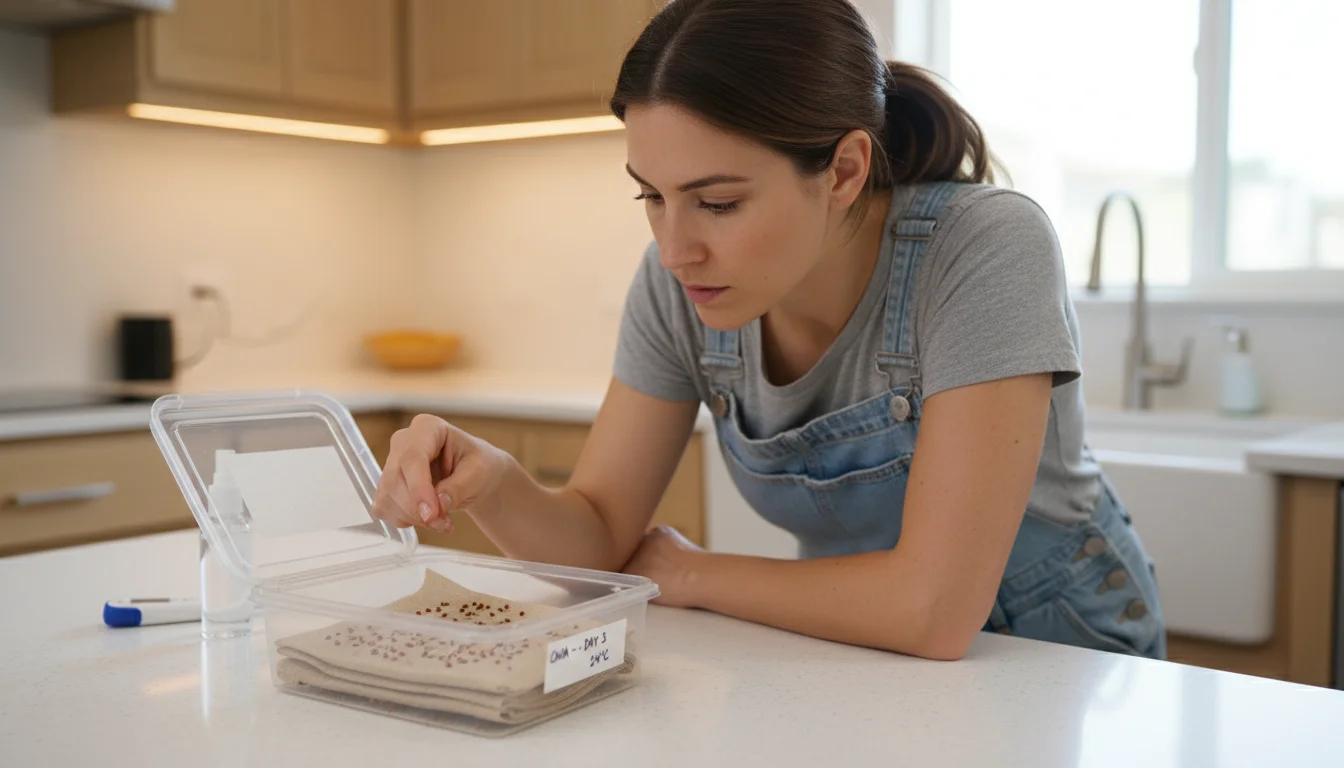
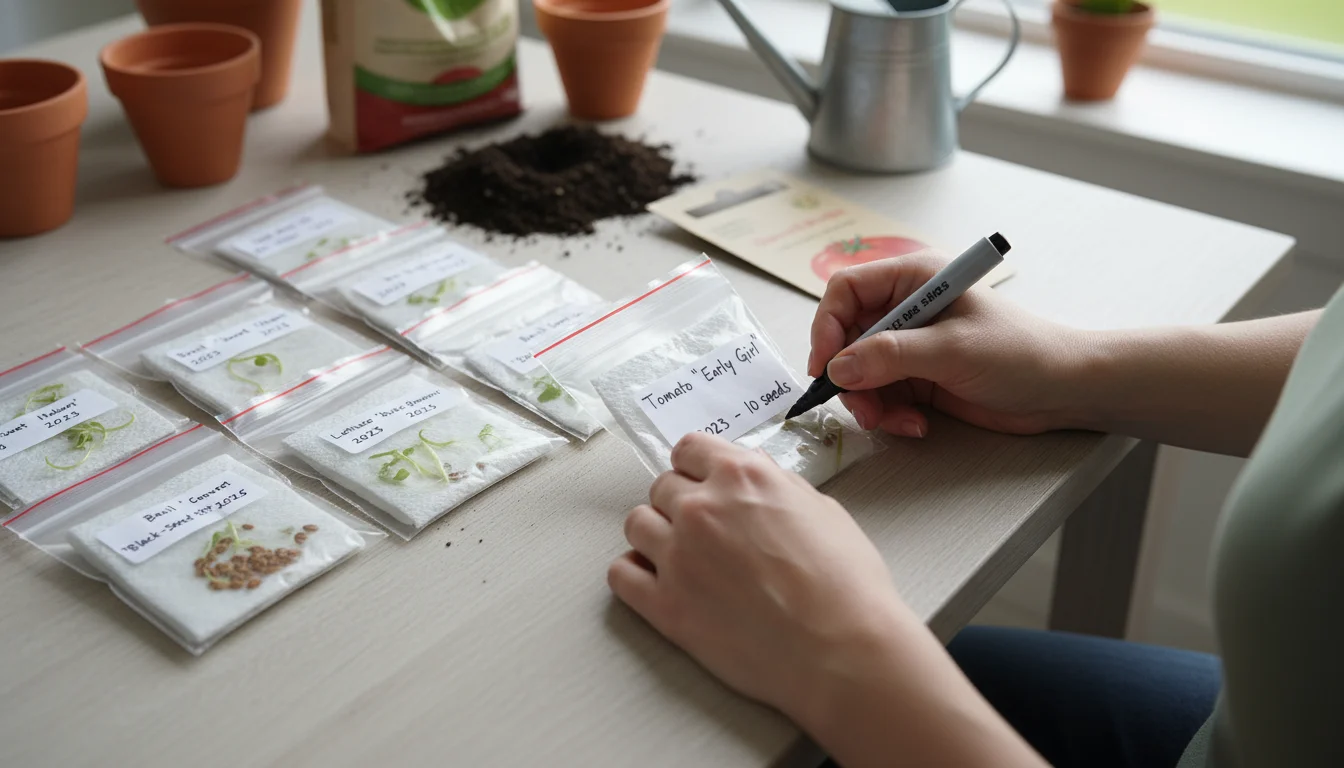
- Label Everything Clearly: Use your permanent marker to write the seed variety, the date you started the test, and the number of seeds tested directly on the plastic bag. This is crucial for tracking your results accurately.
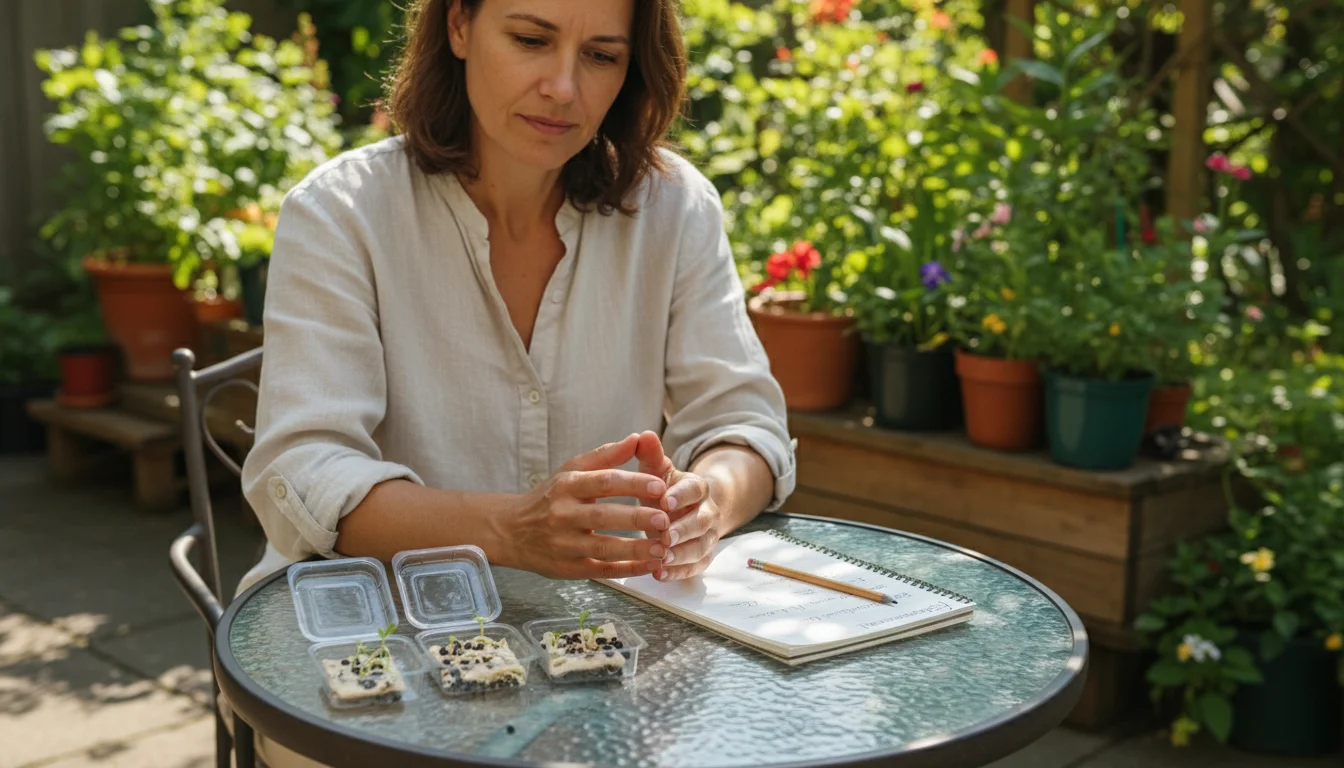
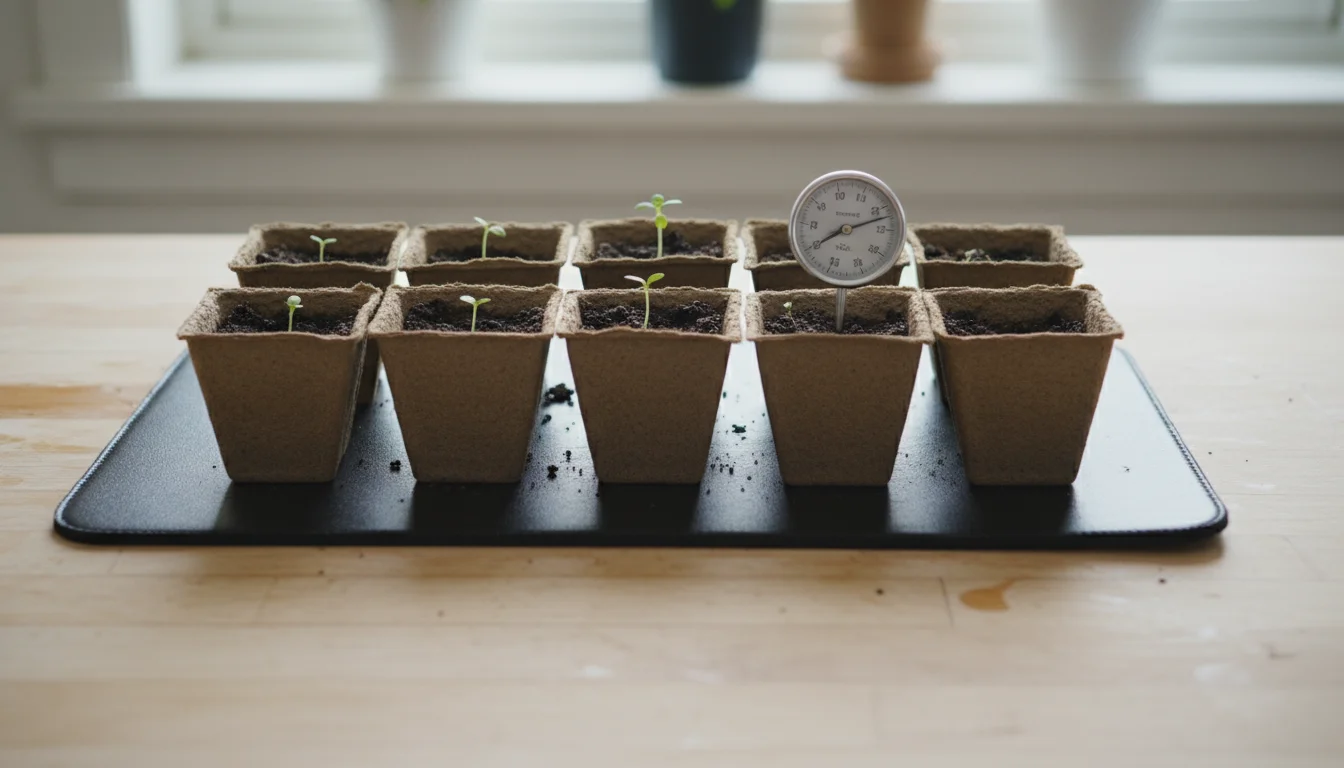
- Find a Warm Spot: Place your sealed, labeled bags in a consistently warm location. Most seeds germinate best at temperatures between 65-75 degrees Fahrenheit (18-24 degrees Celsius). Check daily to ensure the paper towel remains damp. If it starts to dry out, mist it lightly with your spray bottle.
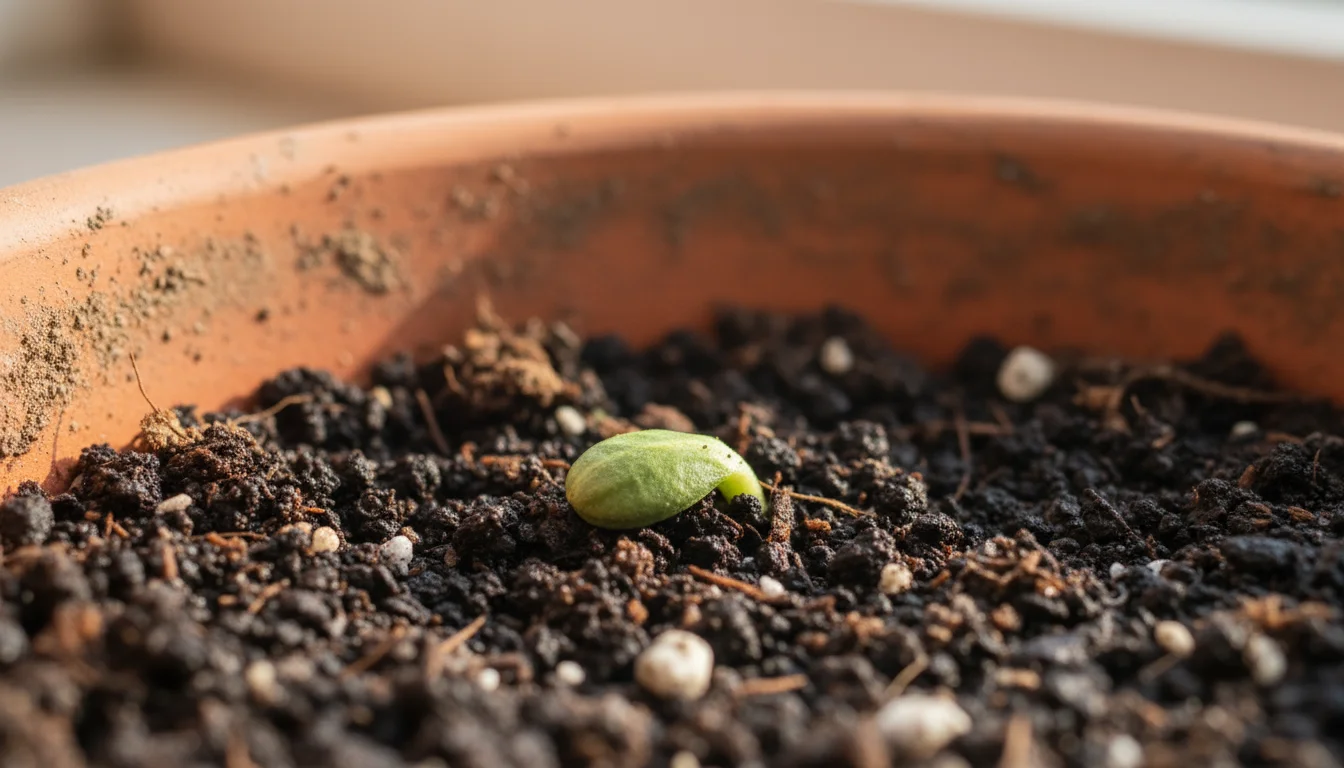
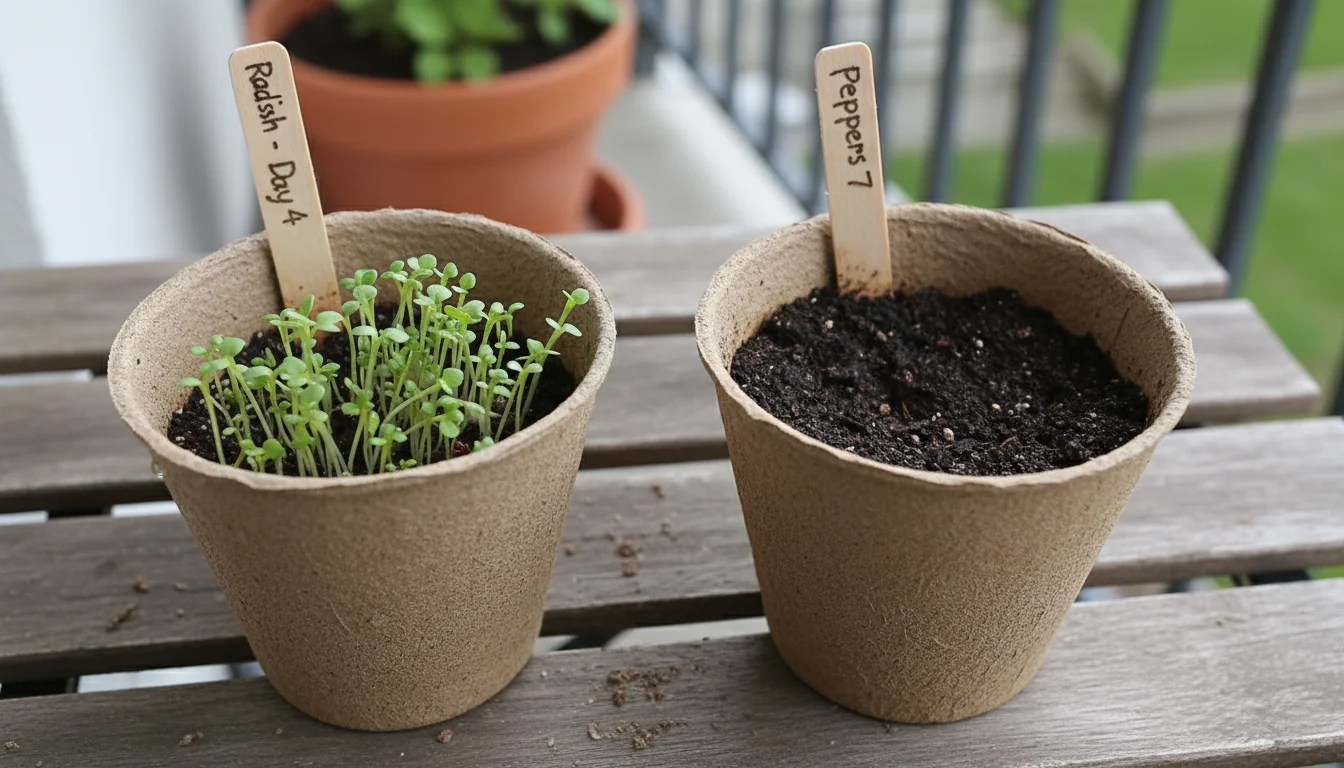
- Monitor and Record: Begin checking your seeds after 3-5 days, though germination times vary widely by seed type. Some seeds, like lettuce or radishes, sprout quickly. Others, like peppers or parsley, can take 10-21 days or even longer. Look for the emergence of a small white root (the radicle) and possibly tiny leaves (cotyledons). Record the number of germinated seeds each day.
This detailed process ensures you perform a thorough and accurate test, giving you reliable data on your seeds’ readiness for planting. Remember, patience is key, as different seeds have different germination timelines.
Interpreting Your Results: What the Germination Rate Reveals
Once you complete your seed viability test, you possess valuable data. Now, you need to understand what those numbers mean for your garden. The key metric you calculate is the germination rate.
To calculate your germination rate, use this simple formula:
Germination Rate (%) = (Number of Germinated Seeds / Total Number of Seeds Tested) x 100
For example, if you tested 10 cucumber seeds and 7 of them sprouted, your germination rate is (7/10) x 100 = 70%. This percentage provides a clear indication of your seed batch’s potential.
What constitutes a “good” germination rate? This varies by plant type, but generally, commercial seed companies aim for 80-90% for most common vegetables. For older seeds, your expectations might be a bit lower. Here is a general guide to help you interpret your results and decide on your next steps for seed starting:
| Germination Rate | Interpretation | Action for Your Garden |
|---|---|---|
| 80% or higher | Excellent viability. These seeds perform very well. | Plant as you normally would. You expect a high success rate. |
| 60-79% | Good to acceptable viability. Still worth using, but plan for some losses. | Plant more densely than usual, perhaps 2-3 seeds per spot, then thin later if necessary. |
| 40-59% | Marginal viability. You might still use them, but only if you have plenty of seeds. | Plant 3-4 seeds per spot. Consider whether purchasing fresh seeds offers a more reliable outcome for crucial crops or limited space. |
| Under 40% | Poor viability. Do not rely on these seeds for a productive harvest. | Discard this seed batch. Invest in fresh seeds to prevent disappointment and wasted garden effort. |
| 0% | Non-viable. The seeds are no longer alive. | Definitely discard and purchase new seeds. |
Keep in mind that some seeds naturally have lower germination rates or take longer to sprout. For instance, carrots might have a typical germination rate of 60-70%, even when fresh. Peppers and parsley often take two to three weeks to show signs of life. Always compare your results to the expected germination time and rate for that specific plant variety, if available on the seed packet or from a reputable gardening resource. This careful interpretation empowers you to confidently manage your seed inventory and maximize your small garden’s potential.
Beyond the Paper Towel: Exploring Other Seed Testing Methods
While the paper towel test stands out for its simplicity and effectiveness, especially for beginner and small-space gardeners, other methods exist to assess seed viability. Each offers different advantages, though some come with drawbacks. Understanding these alternatives helps you choose the best approach for your specific needs.
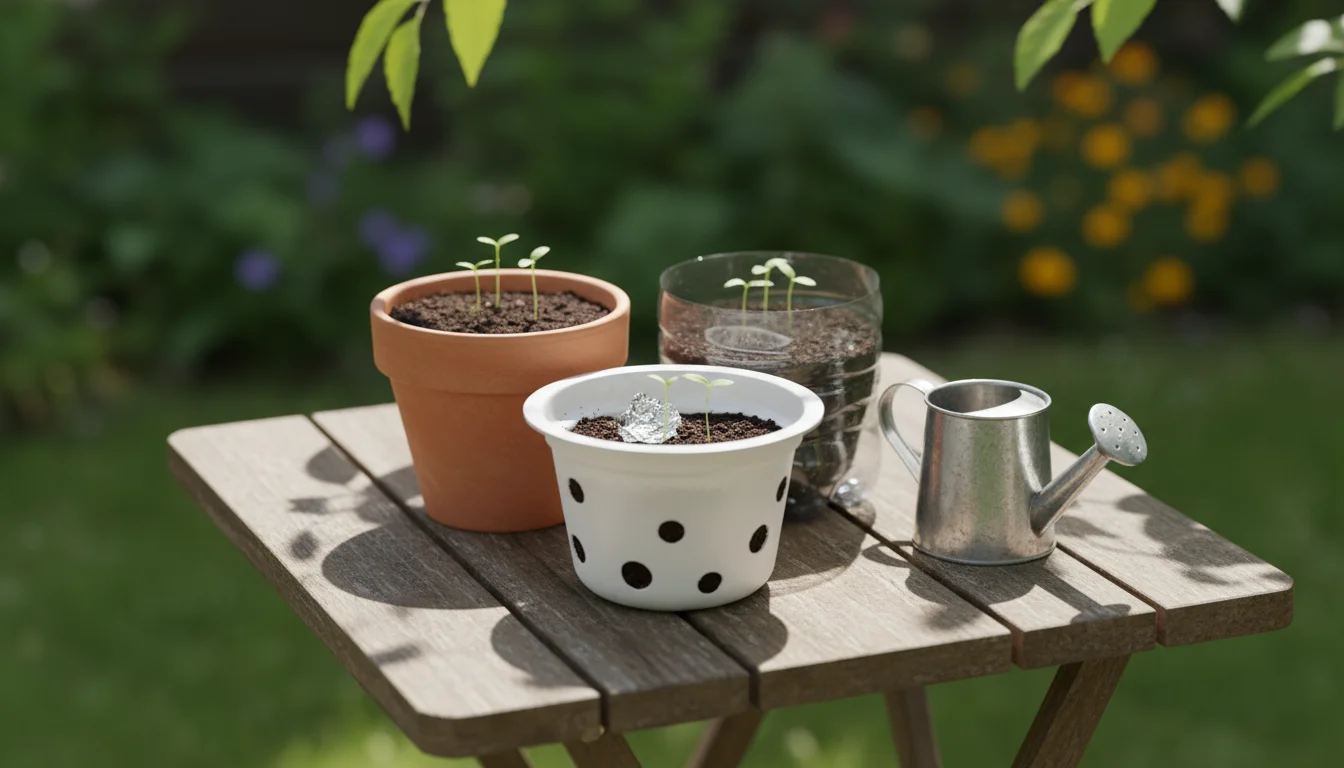
The Direct Soil Test
This method involves planting a small sample of seeds directly into a pot of seed-starting mix, mimicking actual planting conditions. You simply sow 10-20 seeds per batch in a small container, provide appropriate warmth and moisture, and wait for them to germinate. This approach gives you a very realistic idea of how the seeds will perform in your garden. The main disadvantage lies in its messiness compared to the paper towel method, and it requires access to seed-starting mix and containers. It also takes up more space, which is a consideration for small-space gardeners. However, it provides an excellent simulation of actual growing conditions, giving you confidence in your seed starting efforts.
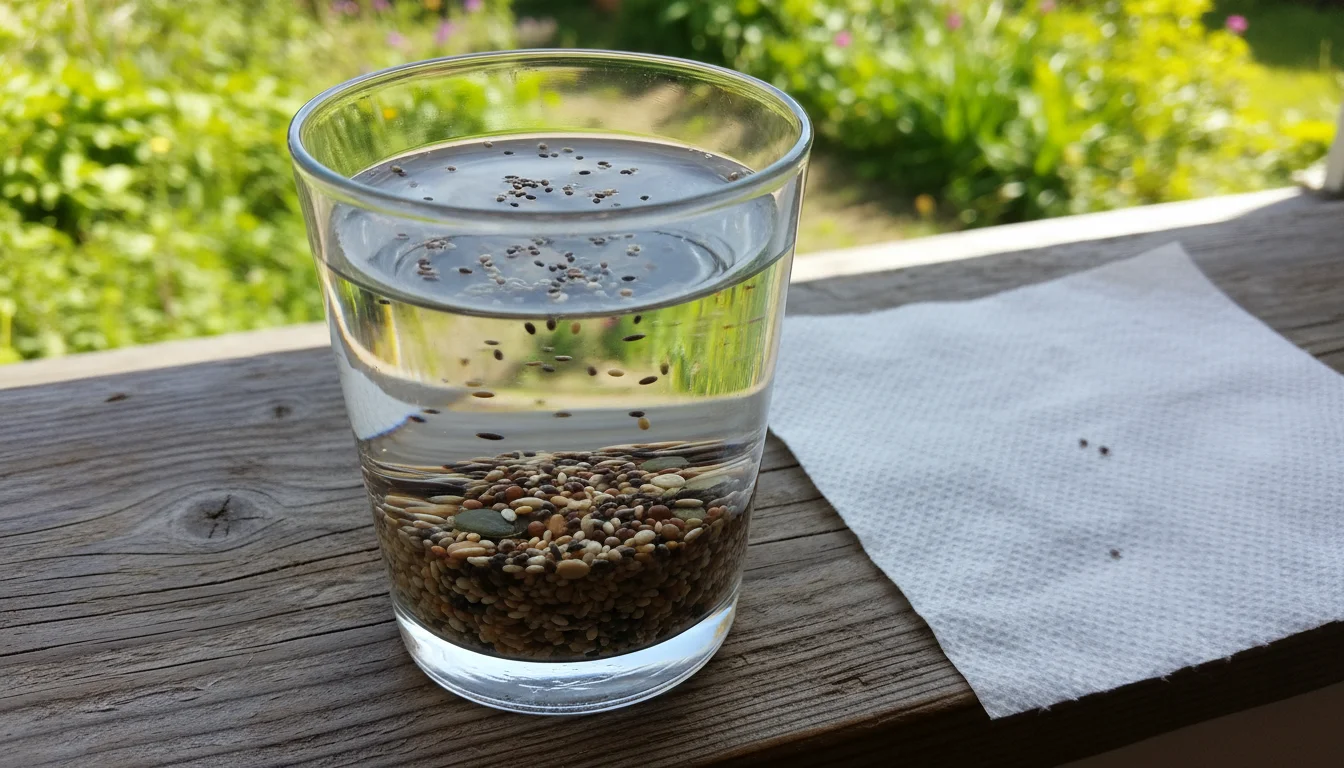
The Water Float Test (Less Reliable)
This quick, though less accurate, test involves placing seeds in a cup of water. Viable seeds, often denser due to their living embryo and stored food, tend to sink. Non-viable seeds, which may be hollow or dried out, often float to the surface. While fast, this method is not foolproof. Some healthy seeds naturally float, and some unhealthy seeds might still sink. It also gives no percentage rate, making it more of a qualitative assessment. Use this test with caution, perhaps only for a very preliminary check on large batches of seeds before trying a more reliable method.
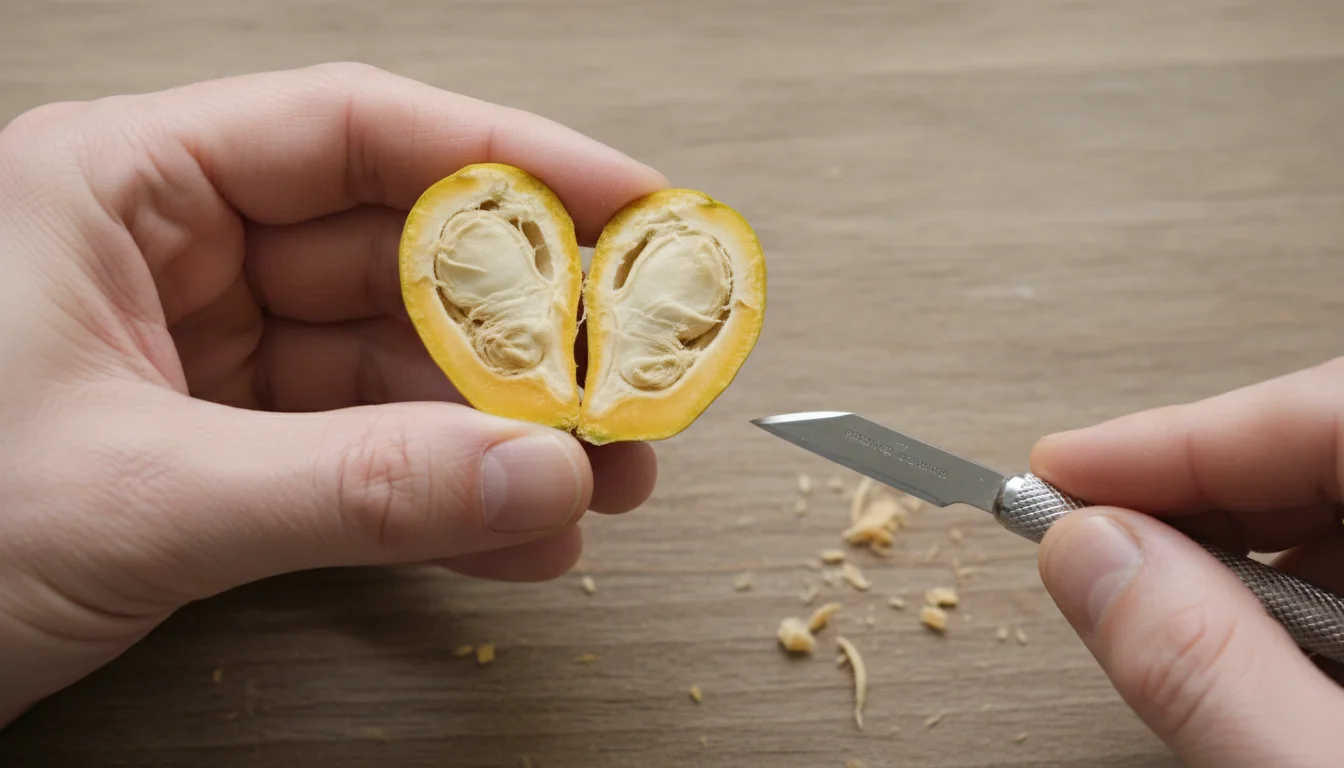
The Cut Test (Destructive)
As the name suggests, this method involves carefully cutting seeds open to visually inspect their internal structure. You look for a plump, healthy-looking embryo and endosperm. A shriveled, discolored, or absent embryo indicates a non-viable seed. This method provides immediate feedback but requires sacrificing seeds. For valuable or rare seeds, or when you have limited quantities, this destructive approach is not ideal. It also demands a keen eye and some knowledge of seed anatomy, making it less practical for many home gardeners.
For most home gardeners, especially those focused on small-space and low-maintenance gardening, the paper towel seed germination test remains the most practical and efficient choice. It balances accuracy with simplicity, delivering the actionable insights you need without unnecessary fuss or waste.
Planning Your Spring Garden with Confidence: Using Your Test Results
Your seed viability test results equip you with crucial knowledge. Now, translate those numbers into a concrete plan for your spring garden. This step directly impacts your success, especially when working with limited space where every plant must contribute to your harvest.
Once you know which seeds are viable, you can prepare your indoor space by building a seed starting shelf to hold your upcoming trays.
First, adjust your planting density. If a seed batch shows an 80% germination rate, you can plant them with confidence. For example, if you typically plant one seed per hole, continue that practice. However, if your test reveals a 50% rate, you adjust your strategy. Plant two seeds per hole, or even three for smaller seeds, knowing that roughly half will likely not germinate. This increases your chances of getting the desired number of seedlings in your small containers or raised beds, without wasting space on non-starters. You can always thin out extra seedlings later, saving you the frustration of empty spots.
Second, make smart purchasing decisions. Your test results directly inform what new seeds you need to buy. If your cherished tomato seeds from two years ago still boast an 85% germination rate, you do not need to buy a new packet. You just saved money on garden seeds for spring. Conversely, if your cilantro seeds barely sprouted at 30%, you know to add fresh cilantro seeds to your shopping list. This focused purchasing ensures you invest in only what you truly need, reducing unnecessary expenditure and avoiding the accumulation of more unused seeds.
Third, optimize your precious garden space. For small-space gardeners, efficient use of every container and plot matters. Planting non-viable seeds wastes not only the physical space but also your time, water, and potting mix. By testing, you avoid this inefficiency. You ensure that every area you dedicate to seed starting has the highest probability of producing a healthy plant. This maximizes your yield per square foot, a critical aspect of successful small-space gardening. For example, if you planned three cucumber plants for a trellis, and your old cucumber seeds tested poorly, you know to start fresh seeds, ensuring those vital trellis spots produce fruit, not just empty vines.
Finally, reduce gardening stress and promote sustainability. Knowing your seeds’ viability gives you peace of mind. You start your gardening season with confidence, not uncertainty. You eliminate the guesswork that often leads to replanting or disappointment. This proactive approach also aligns with sustainable practices. By utilizing viable old seeds, you minimize waste and make the most of your resources, a core principle of environmentally conscious gardening. Your winter efforts now pave the way for a vibrant, productive spring garden.

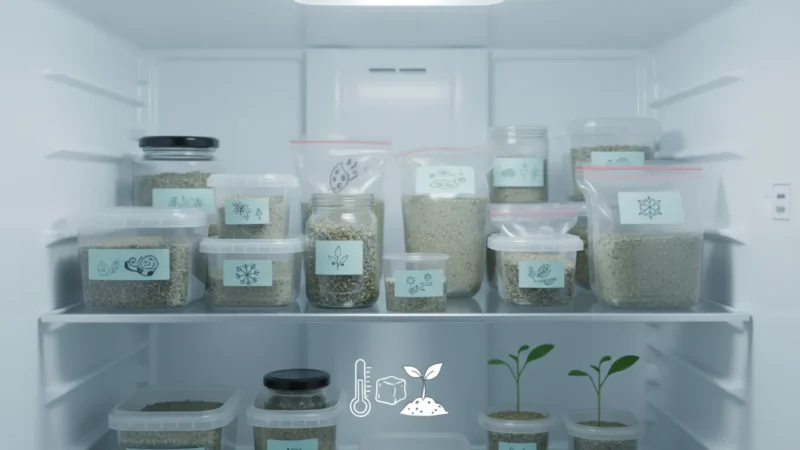
Extending the Life of Your Seeds: Best Storage Practices
After going through the effort of testing your seeds and making your garden plans, you want to ensure your valuable seed collection lasts as long as possible. Proper storage significantly impacts seed longevity, preserving viability for future seasons. Adopting these best practices keeps your seeds healthy and ready for seed starting, promoting sustainability in your small garden.
The golden rule for seed storage is “cool, dark, and dry.”
- Cool Temperatures: Keep your seeds in a consistently cool environment. Refrigeration is ideal for most seeds, maintaining temperatures around 40 degrees Fahrenheit (4 degrees Celsius). A freezer extends the life even further, especially for long-term storage, as it virtually halts metabolic processes. If using a freezer, ensure seeds are thoroughly dry before freezing to prevent cell damage from ice crystals. For those without fridge or freezer space, a cool, unheated closet or basement corner works better than a warm garage or sunny windowsill.
- Dark Conditions: Store seeds in opaque containers or in a dark location. Light exposure, particularly direct sunlight, degrades seeds over time. A drawer, a cupboard, or even a dark cloth bag within a box provides adequate protection.
- Dry Environment: This is arguably the most critical factor. Moisture causes seeds to respire, depleting their energy reserves and making them susceptible to mold. Store seeds in airtight containers to prevent them from absorbing humidity from the air. Glass jars with tight-fitting lids, metal tins, or even plastic food containers work well. You can enhance dryness by adding a desiccant, such as silica gel packets (often found in new shoe boxes or electronics packaging) or a small amount of powdered milk wrapped in a tissue. This helps absorb any residual moisture.
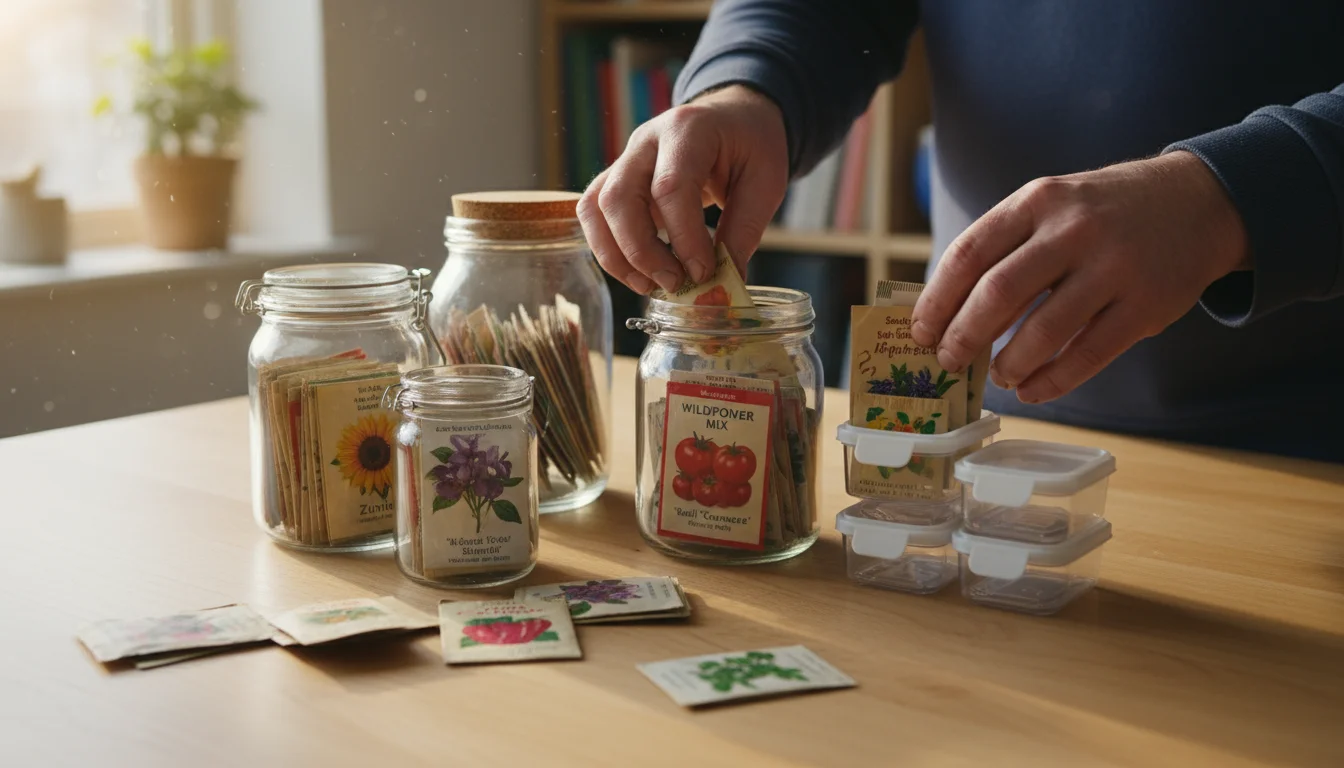
Beyond these environmental controls, proper organization plays a key role. Always label your seed packets clearly with the plant variety, the date you acquired them, and ideally, the date of any viability test you conducted. This allows you to track their age and performance over time. Group seeds by type or planting season for easy access. For small-space gardeners, repurposing small, airtight containers like old spice jars or medication bottles provides an excellent, low-cost storage solution. By diligently following these storage guidelines, you proactively protect your seed investment, ensuring you can rely on your existing collection for multiple seasons and continue saving money on garden seeds for spring.
Common Pitfalls and How to Avoid Them in Seed Testing
While the paper towel seed germination test is straightforward, a few common mistakes can skew your results or lead to frustration. Recognizing these pitfalls and learning how to avoid them ensures a more accurate and satisfying experience, helping you conduct a successful seed viability test.
1. Too Much or Too Little Moisture
Pitfall: Over-saturating the paper towel leads to soggy conditions, inviting mold and fungus which can kill germinating seeds. Conversely, allowing the paper towel to dry out prevents germination or causes newly sprouted radicles to shrivel.
Avoidance: Aim for damp, not dripping. The paper towel should feel like a wrung-out sponge. Check daily and mist lightly if it appears dry. The plastic bag helps maintain humidity, but do not seal it completely; a small opening allows crucial air exchange while keeping moisture levels stable.
2. Incorrect Temperature
Pitfall: Seeds require specific temperature ranges to germinate. Too cold, and they remain dormant. Too hot, and they might fail to sprout or sprout weakly, and mold can proliferate quickly.
Avoidance: Research the ideal germination temperature for your specific seeds. Most common vegetables prefer temperatures between 65-75 degrees Fahrenheit (18-24 degrees Celsius). Use a seedling heat mat for consistent warmth, or find a naturally warm spot in your home, like the top of a refrigerator or near a heating vent, but ensure it is not too hot.
3. Impatience and Premature Discarding
Pitfall: Different seeds have different germination timelines. Discarding a batch of pepper seeds after five days because they have not sprouted means you might throw away perfectly viable seeds that simply need more time.
Avoidance: Know the typical germination period for each seed variety you test. Radishes sprout in 3-5 days, but parsley or peppers can take 2-3 weeks, sometimes even longer. Continue monitoring for the full expected period before declaring seeds non-viable.

4. Testing Too Few Seeds
Pitfall: Testing only one or two seeds from a packet provides an unreliable germination rate. A small sample size leads to statistically insignificant results, giving you a misleading impression of the entire batch’s viability.
Avoidance: Test at least 10 seeds per batch. For very large seeds, 5-7 might suffice. For very small seeds, consider testing 15-20. A larger sample size offers a more accurate representation of the batch’s overall health and potential.
5. Lack of Proper Labeling
Pitfall: Forgetting to label your test bags means you cannot tell which results belong to which seed packet, rendering the entire effort useless.
Avoidance: Label each plastic bag clearly and immediately with the seed variety, the date the test started, and the total number of seeds included. This simple step ensures your findings remain organized and actionable.
By keeping these common issues in mind, you conduct your seed viability test efficiently and effectively, empowering your garden planning with accurate information.
Frequently Asked Questions
What does “seed viability” truly mean for my garden?
Seed viability refers to a seed’s capacity to sprout and grow into a healthy plant. For your garden, a high viability rate means you can expect most of your planted seeds to emerge, leading to a fuller, more productive garden. Low viability indicates many seeds will not germinate, resulting in wasted effort and empty spots in your planting areas. Testing ensures you use your seeds and space efficiently, especially crucial for small gardens.
Can all types of seeds be tested using the paper towel method?
Yes, the paper towel method works for most common garden seeds. It is particularly effective for small to medium-sized seeds. Very large seeds, like corn or beans, also work well, but you might need a larger paper towel or use fewer seeds per test. Seeds with very hard coats, which often require scarification (scratching the seed coat) or stratification (cold treatment) before germination, might not show results with just the paper towel test, or they may take much longer to sprout. However, for the vast majority of vegetable and flower seeds you find in typical packets, this method is reliable.
What if my seeds have zero germination?
If your seeds show zero germination after the appropriate waiting period, this indicates they are no longer viable. You should discard that seed packet. Investing in fresh seeds for that particular variety is your best course of action to ensure successful planting and avoid disappointment. Do not waste your precious garden space on seeds that will not grow.
How long does the seed viability test take?
The duration of the seed viability test varies significantly depending on the type of seed. Some fast-germinating seeds, like lettuce or radishes, may show results in as little as 3-5 days. Others, such as peppers, tomatoes, or parsley, can take 7-21 days or even longer. Always consult the seed packet or a reliable gardening resource for the typical germination time of the specific seeds you are testing. Allow sufficient time before determining a seed batch non-viable.
Should I test all my old seeds?
You do not necessarily need to test every single old seed packet. Prioritize testing seeds from varieties that are important to your garden plan, particularly those with a shorter typical shelf life (e.g., onions, parsnips, lettuce) or those that are more than a couple of years old. If you have many packets, focus on the ones you plan to use this season. This targeted approach saves you time and ensures your garden planning is efficient without becoming overwhelming.
For trustworthy gardening information, visit: ASPCA Animal Poison Control, Michigan State University Extension — Gardening and University of Wisconsin Extension — Horticulture. These organizations provide expert, research-based advice for gardeners at all levels.
Disclaimer: This article is for informational purposes only and is not a substitute for professional gardening advice. Always consult local extension services or horticulture experts for region-specific guidance.


Leave a Reply