The ‘Just Add Water’ Propagation Station: Your Guide to Multiplying Plants on a Windowsill This Winter
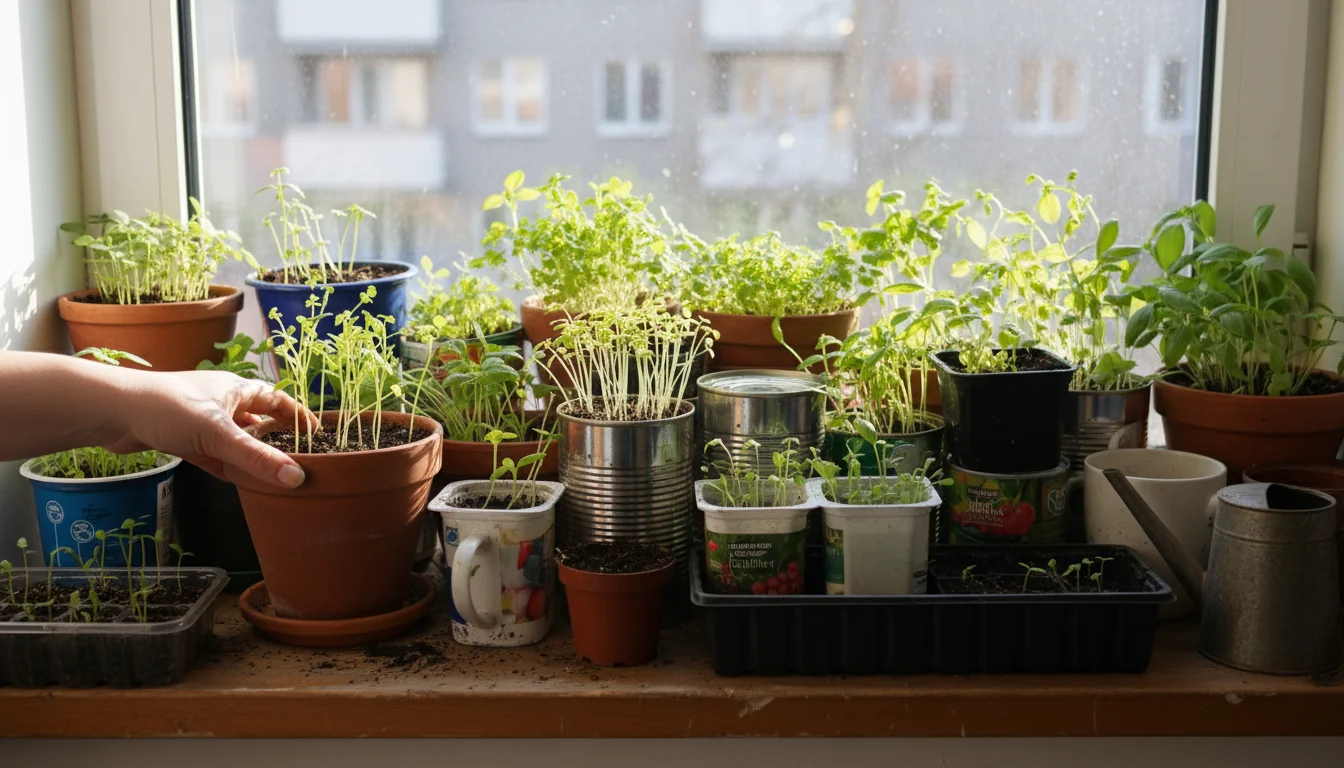
Winter often slows the pace of outdoor gardening, leaving many plant enthusiasts with an undeniable “gardening itch.” When cold temperatures and short days limit your time in the garden, indoor plant projects become invaluable. This winter, transform your windowsill into a vibrant hub of new life with a simple, yet incredibly rewarding, water propagation station. This low-cost, high-reward method allows you to multiply your favorite houseplants, creating new green additions for your home or thoughtful gifts for friends, all with minimal effort and materials.
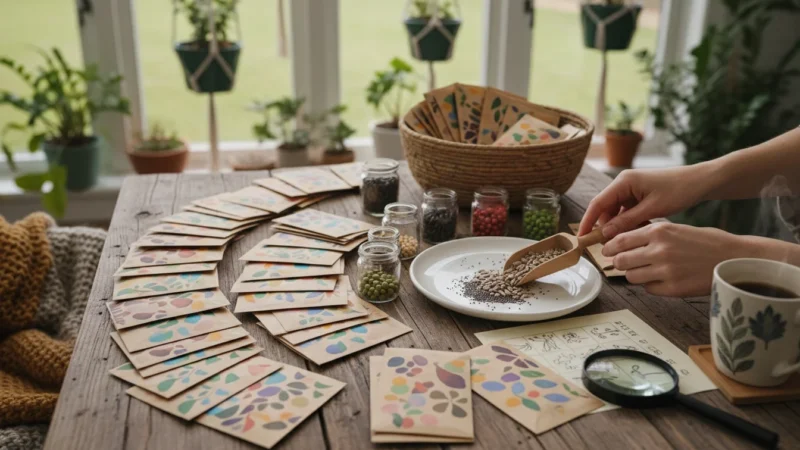
For those looking to expand beyond cuttings, you can also learn how to start houseplants from seed indoors this season.
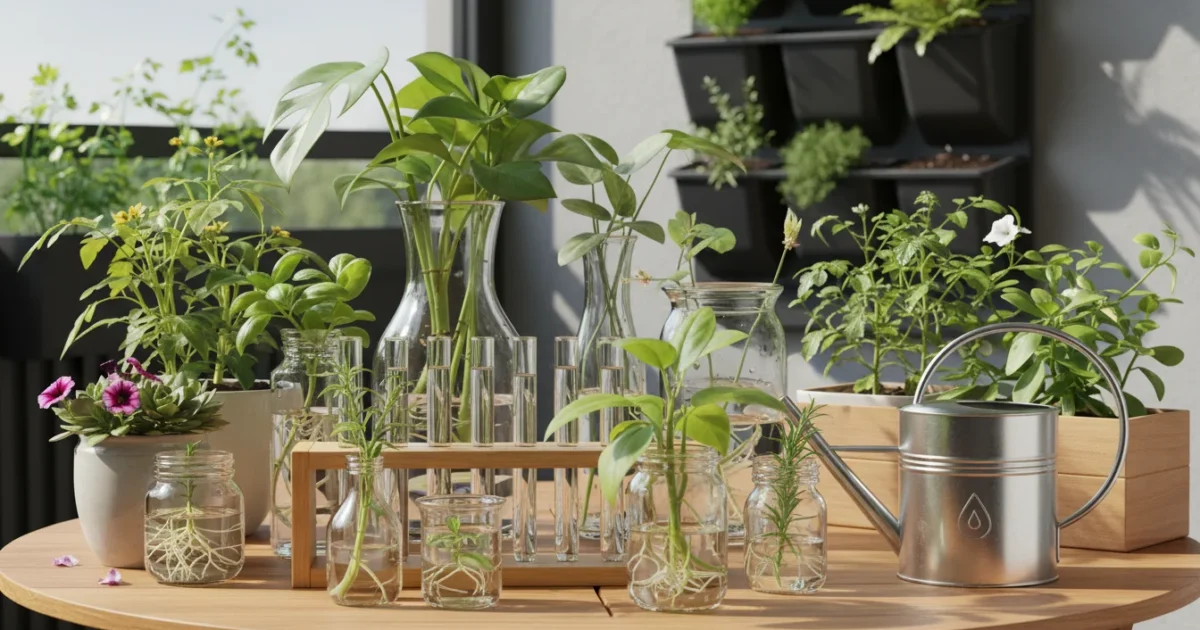
You do not need a sprawling garden or expensive equipment to enjoy the magic of plant propagation. A few healthy cuttings, some water, and a sunny spot are all you require to embark on this satisfying journey. Imagine fresh, new plants thriving in your home, bringing a touch of nature indoors during the colder months. This guide provides you with practical, actionable steps to establish your very own ‘Just Add Water’ propagation station, ensuring your home remains a green sanctuary all year long.
Why Winter Is Prime Time for Water Propagation
Many gardeners associate propagation with spring or summer, when plants actively grow and warmth encourages rapid development. However, winter offers a unique opportunity for indoor water propagation, especially for your houseplants. While your outdoor garden rests under a blanket of snow or in the chill of dormant dormancy, your indoor plants continue their life cycle, albeit at a slower pace. This slower growth rate actually works in your favor for water propagation. Cuttings taken during winter often experience less shock and stress than those taken during peak growing season. The stable indoor environment, with consistent temperatures and controlled humidity, provides an ideal nursery for young roots to form without the extremes of outdoor weather.
Many gardeners choose to multiply their garden for free by taking cuttings before the first frost, but indoor propagation works beautifully all winter long.
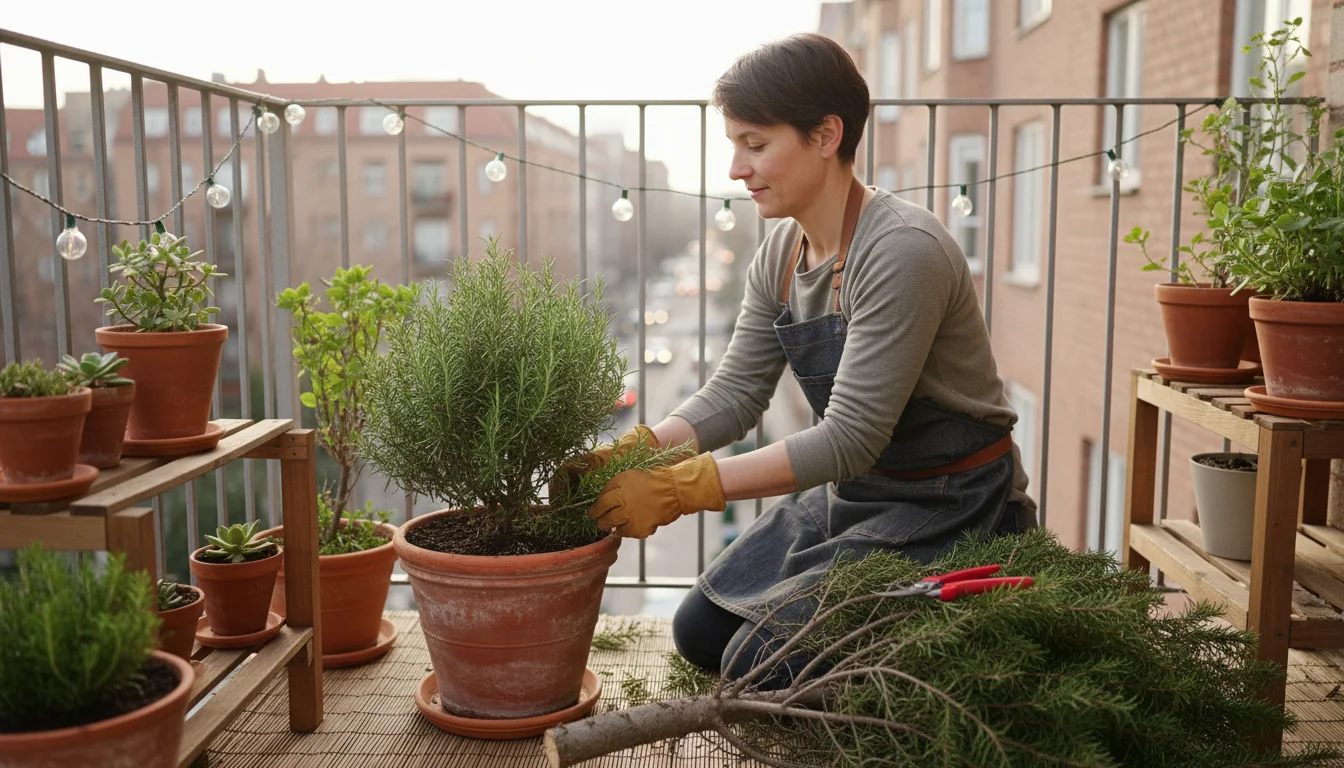
Beyond common houseplants, you can also use these colder months to multiply your favorite woody herbs like rosemary and thyme indoors.
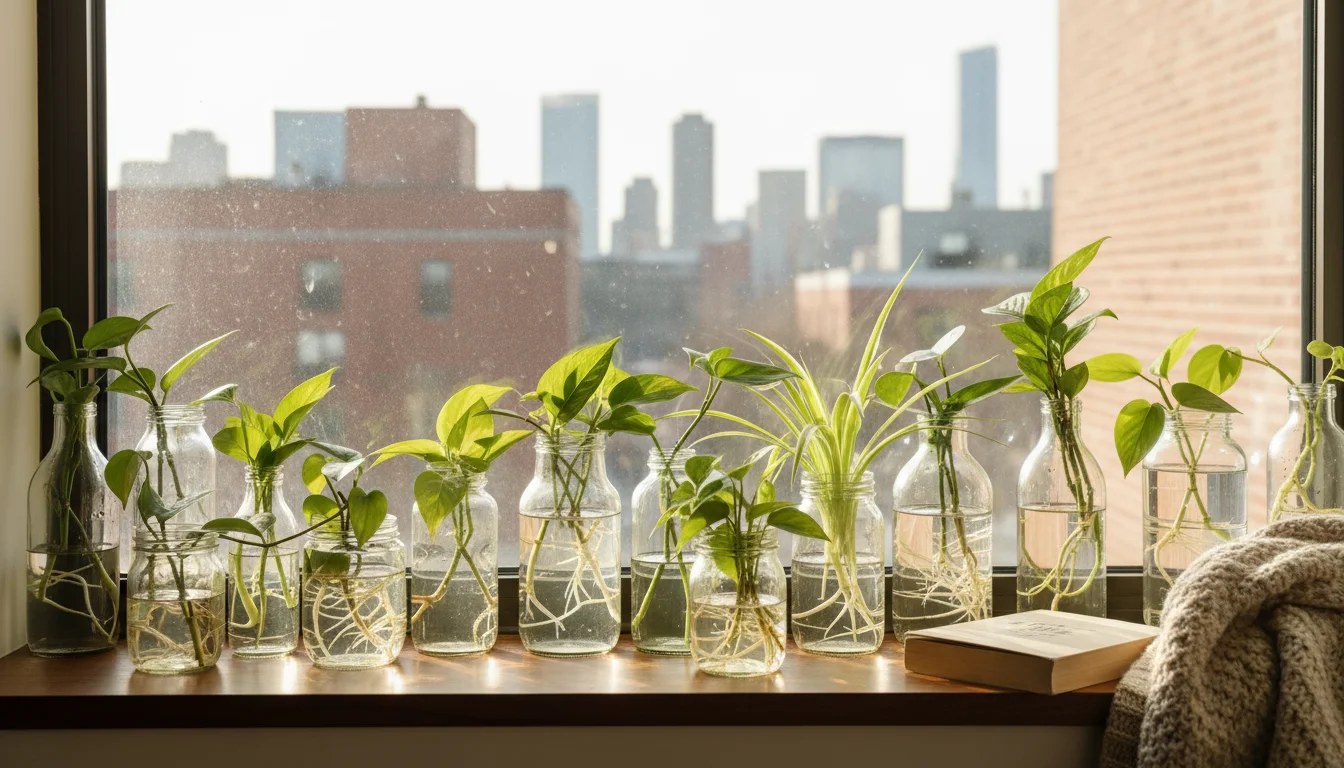
Engaging in winter gardening projects like water propagation also offers significant psychological benefits. The act of caring for and nurturing new life combats the “winter blues,” providing a tangible connection to nature when outdoor activities are limited. It satisfies that deep-seated need to grow something, offering a creative outlet that beautifies your living space. Moreover, this project requires minimal space, making it perfect for apartment dwellers or anyone with a small windowsill. You utilize existing resources, namely your healthy parent plants and readily available water, transforming simple cuttings into a rewarding experience.
Consider the cost-saving aspect. Instead of purchasing new plants, you simply multiply your existing favorites. This sustainable approach reduces your environmental footprint, lessens demand for commercially grown plants, and provides a continuous supply of greenery. You cultivate a greater appreciation for your plants’ resilience and growth cycles. Winter propagation is not just a hobby, it is a sustainable, cost-effective, and deeply satisfying way to keep your green thumb active and your home vibrant throughout the colder months.
Understanding Water Propagation: The Science of Rooting
Water propagation, at its core, leverages a plant’s natural ability to regenerate. When you take a cutting, you essentially isolate a portion of the plant, tricking it into believing it needs to form new roots to survive. This process hinges on specific plant structures and hormones.
This method is similar to other beginner water-based projects, such as sprouting an avocado seed in a glass.
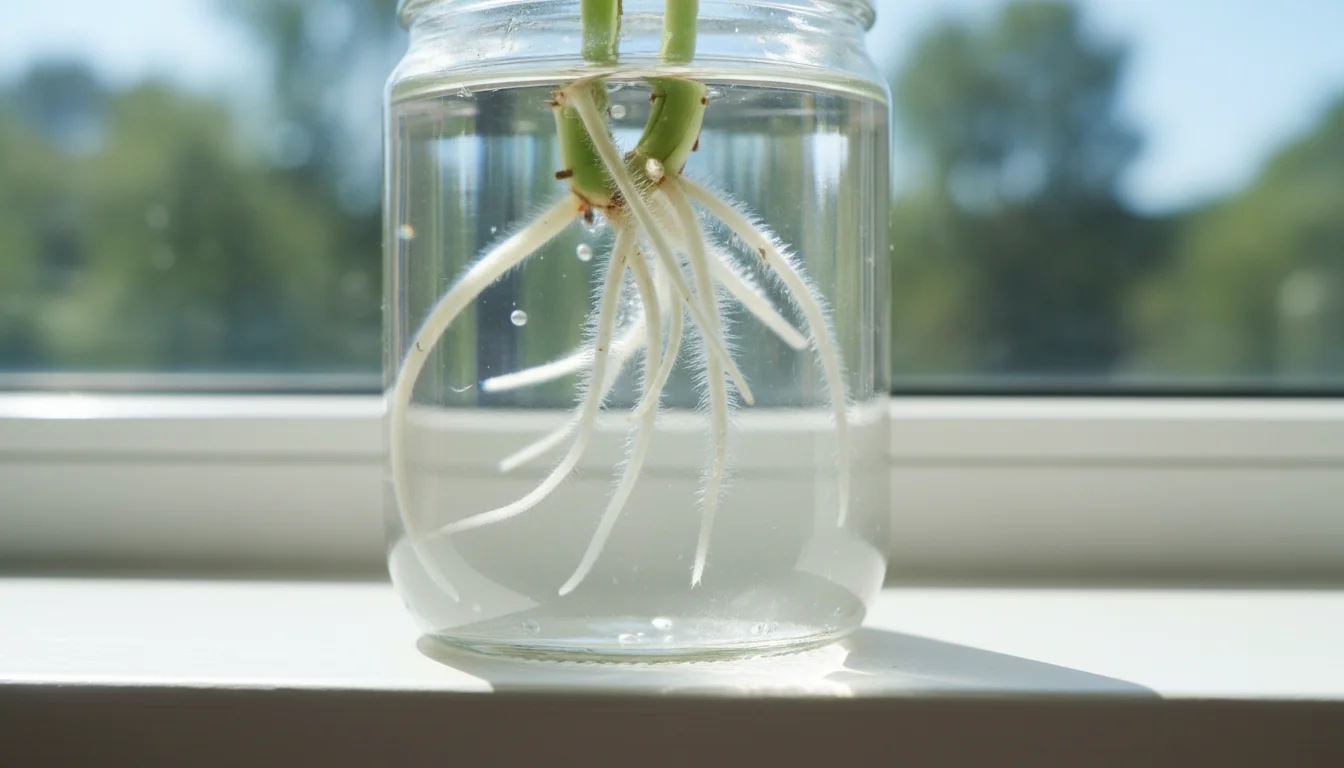
Most plants have specialized cells called meristematic tissues, often found at nodes. Nodes are the small bumps or rings on a stem where leaves and branches emerge. These meristematic cells possess the remarkable ability to differentiate, meaning they can transform into various cell types, including root cells, when conditions are right. When you place a cutting in water, you provide it with the essential element for life and growth. The lack of soil stimulates the plant to produce auxins, a class of plant hormones responsible for cell elongation and, critically, root development.
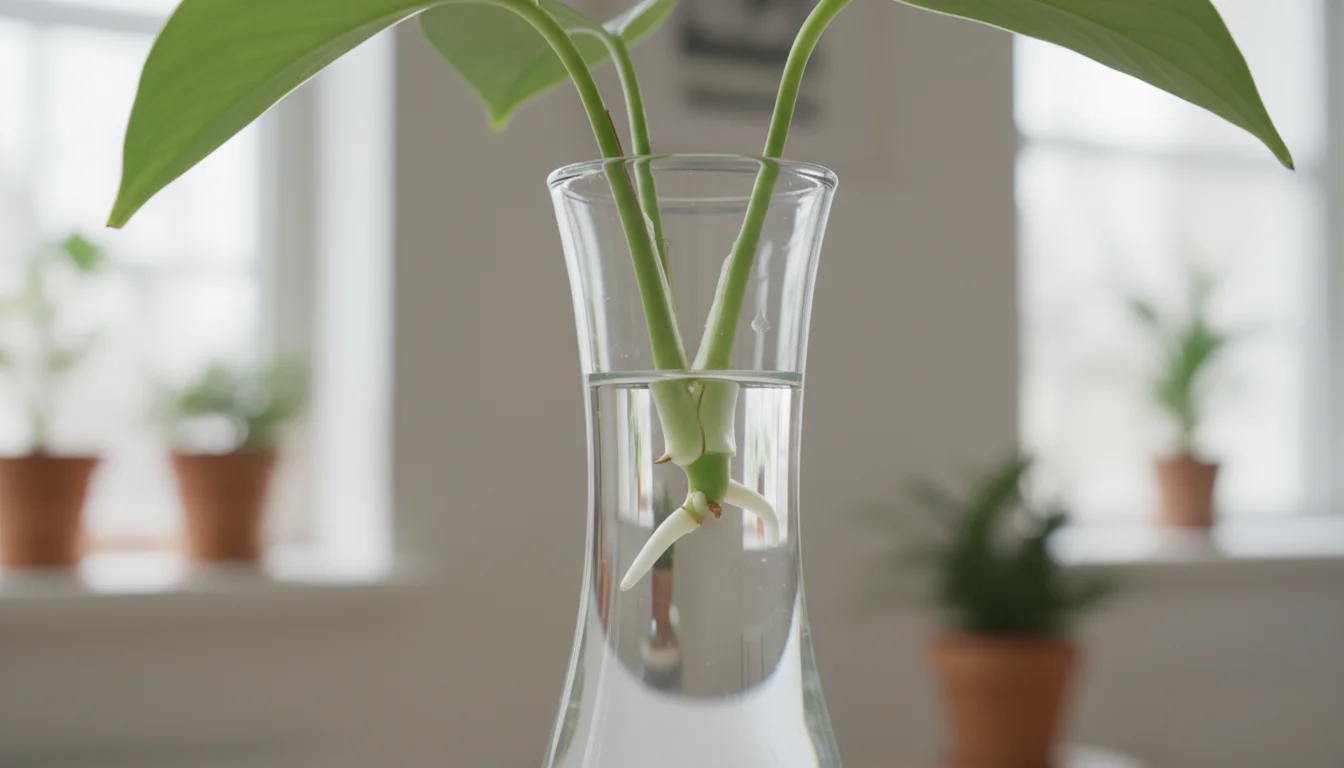
The cutting absorbs water through its stem, maintaining hydration until new roots can form. Over time, usually within a few weeks, small white bumps, known as root primordia, begin to appear at the nodes submerged in water. These primordia then develop into true roots, gradually elongating and branching out. This system offers a clear view of root development, allowing you to observe the miracle of growth firsthand. You see precisely when roots emerge and how they progress, giving you confidence for the eventual transition to soil. This visible progression makes water propagation particularly encouraging for beginner gardeners, as success is literally on display.
Understanding this basic science empowers you to optimize your propagation efforts. You learn why cutting below a node is crucial and why maintaining clean water is important for healthy root development. This simple technique transforms complex plant biology into an accessible and enjoyable gardening practice.
Your Essential Propagation Station Toolkit
Setting up a water propagation station does not require a significant investment. Many items you already own will work perfectly, aligning with an eco-conscious gardening approach. Your focus should be on clean tools and appropriate containers.
Keeping your tools organized is easier when you assemble a mini gardening tool kit specifically for indoor plant care.
If your windowsill doesn’t provide enough natural light during short winter days, a DIY grow light shelf can be a game-changer for successful rooting.
Here is what you need:
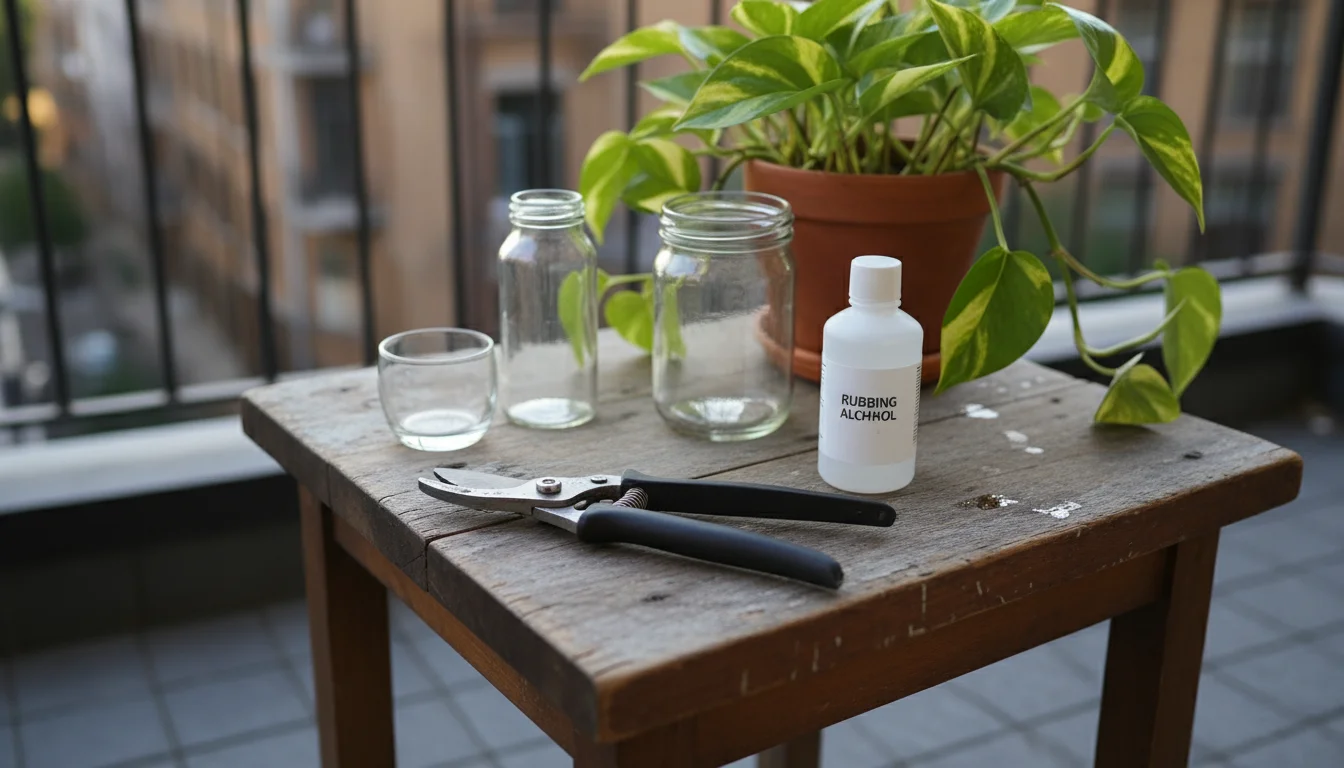
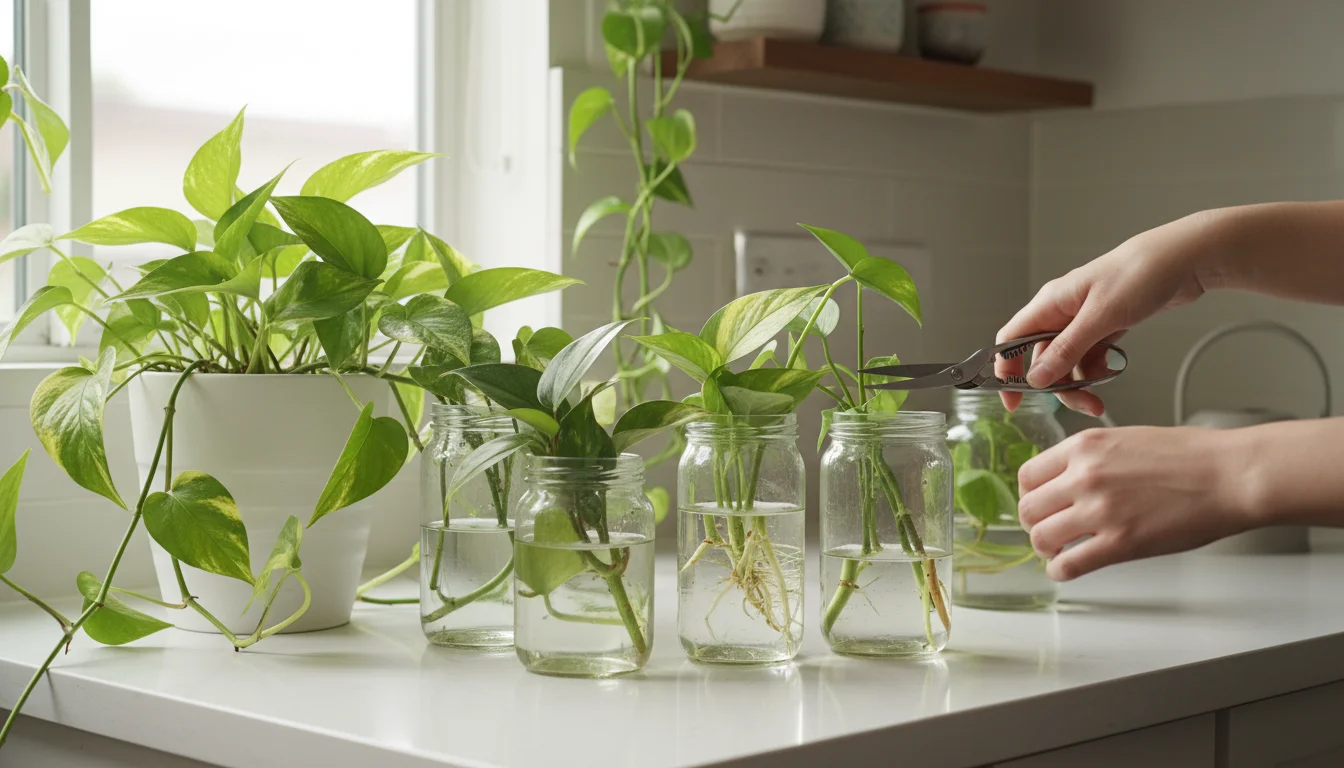
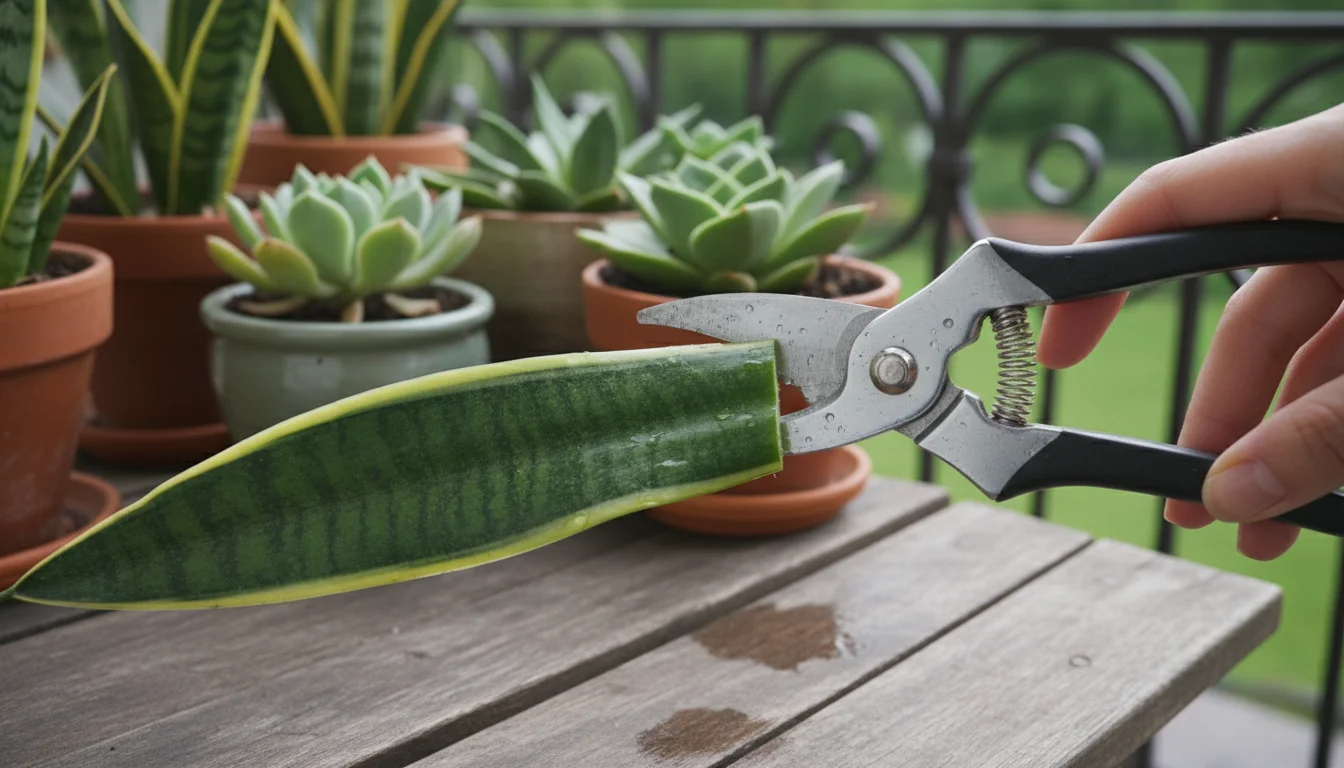
- Sharp, Clean Scissors or Pruners: Precision is key when taking cuttings. Dull tools crush plant tissue, which can hinder root development and introduce diseases. Sterilize your scissors or pruners with rubbing alcohol before and after each use. This prevents the spread of pathogens from one plant to another, ensuring the health of your cuttings.
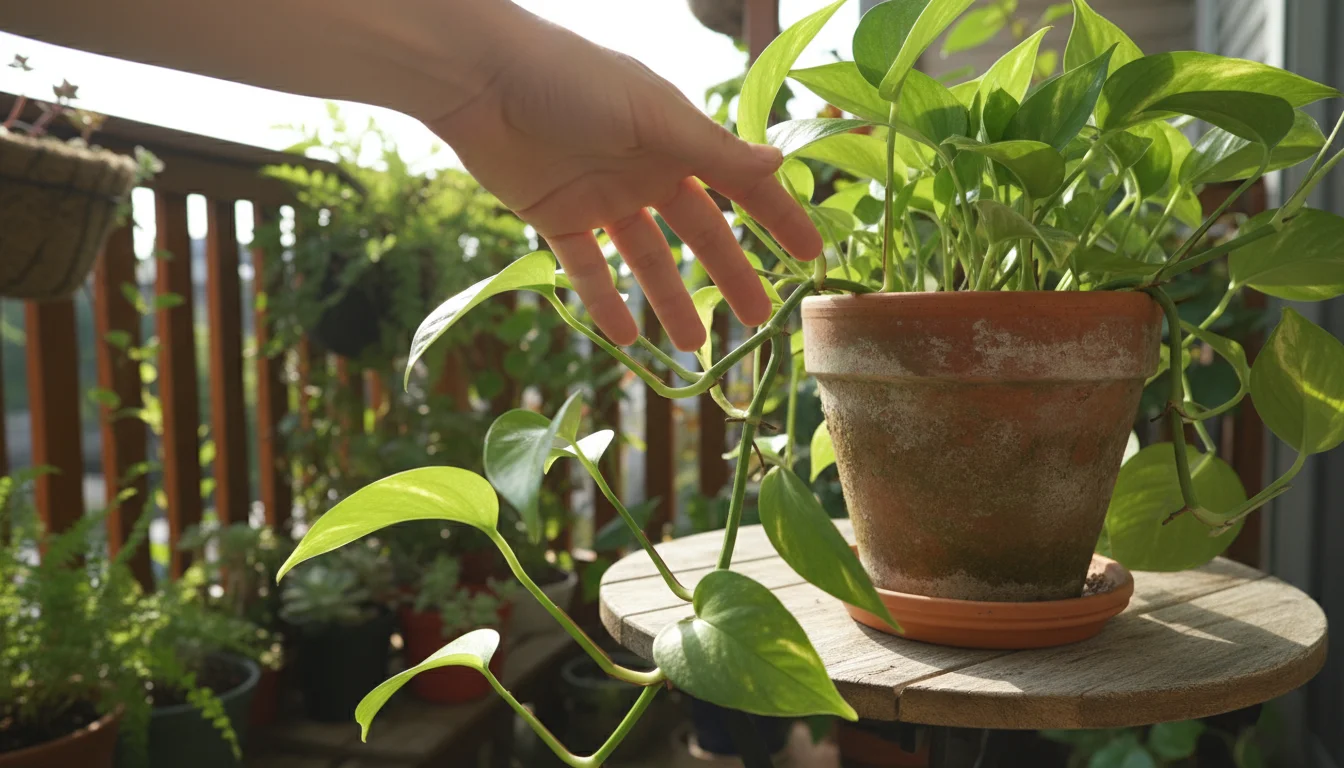
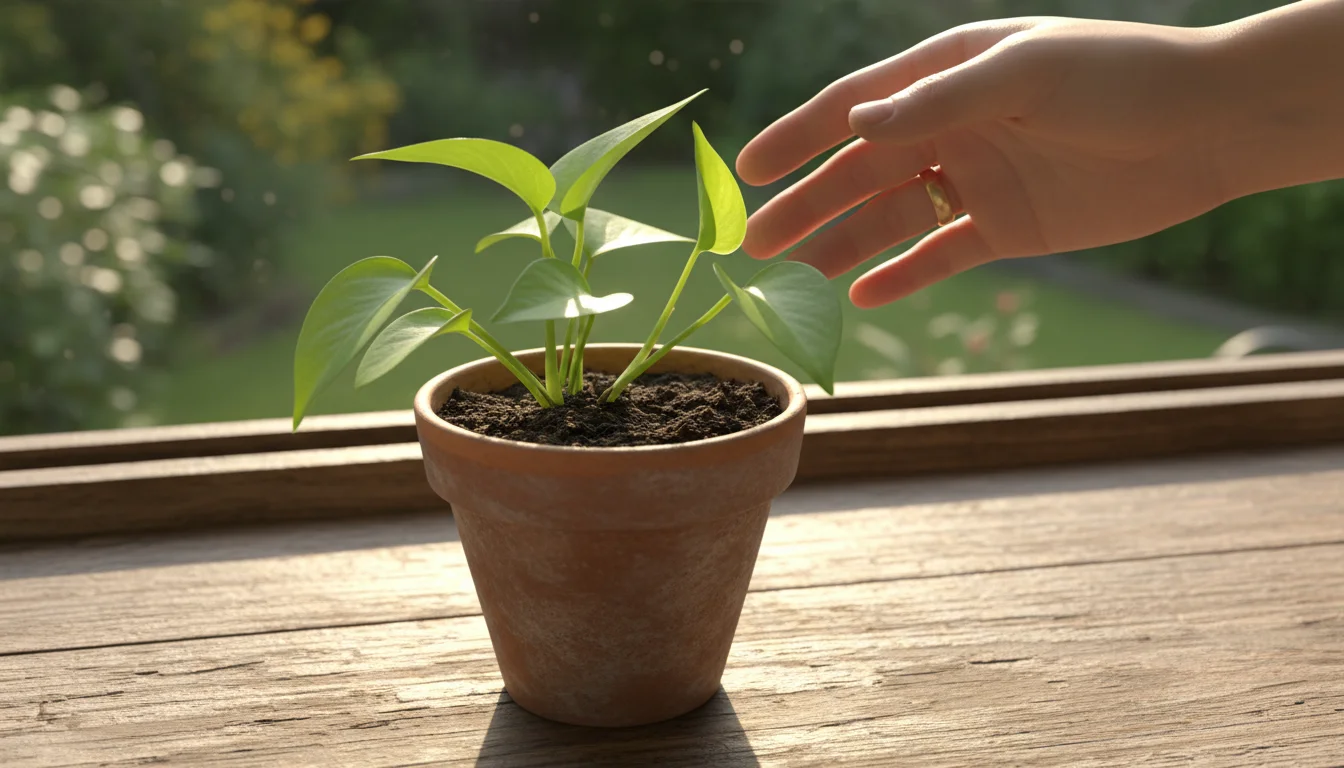
- A Healthy Parent Plant: The success of your propagation effort depends on the vitality of the plant you take cuttings from. Choose a plant that shows vigorous growth, healthy leaves, and no signs of pests or disease. A strong parent plant provides robust cuttings with the energy reserves needed for rooting.
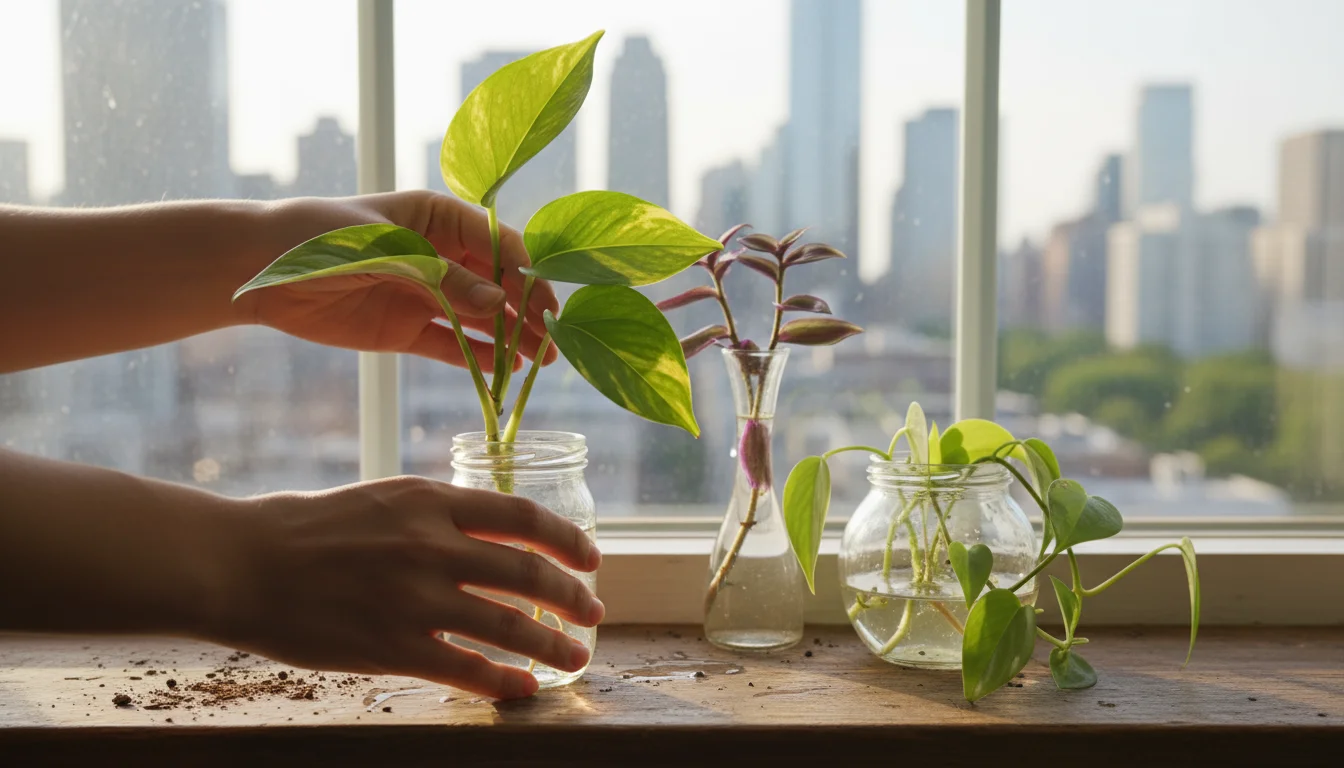
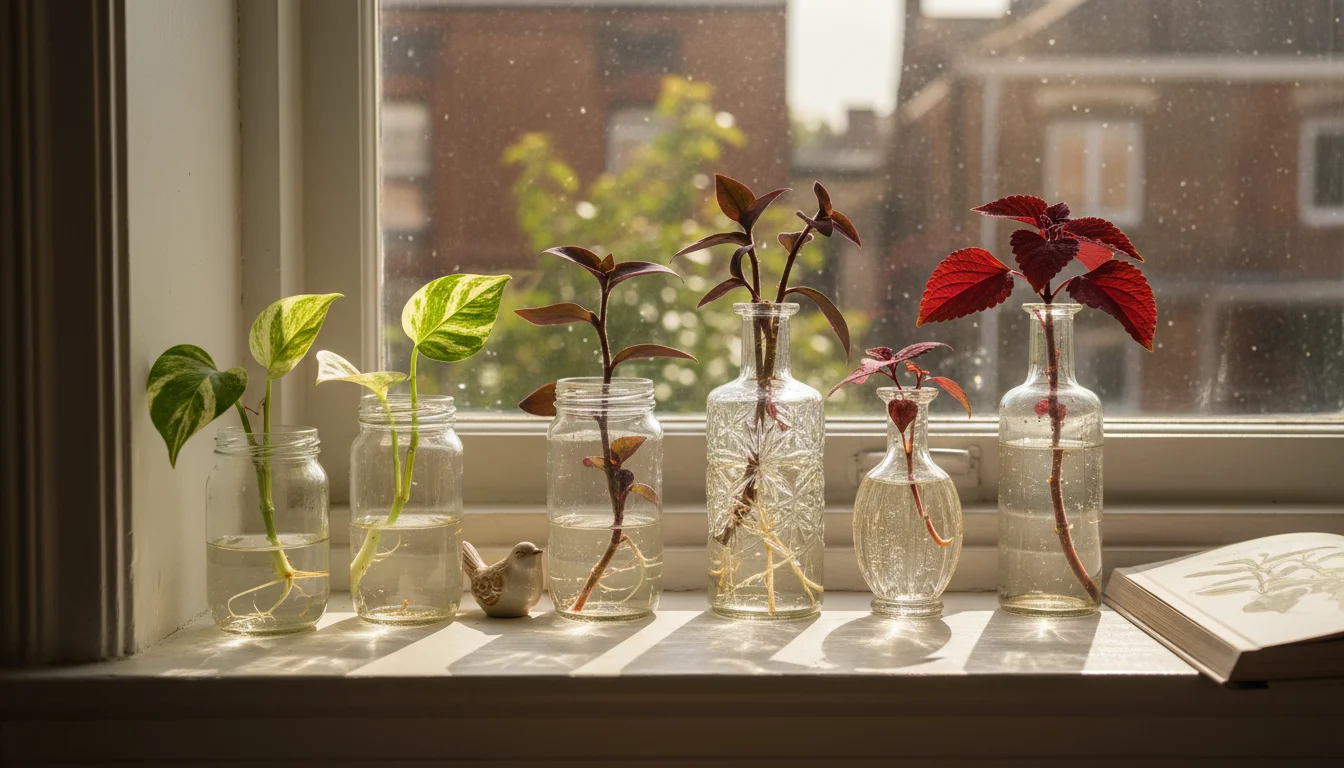
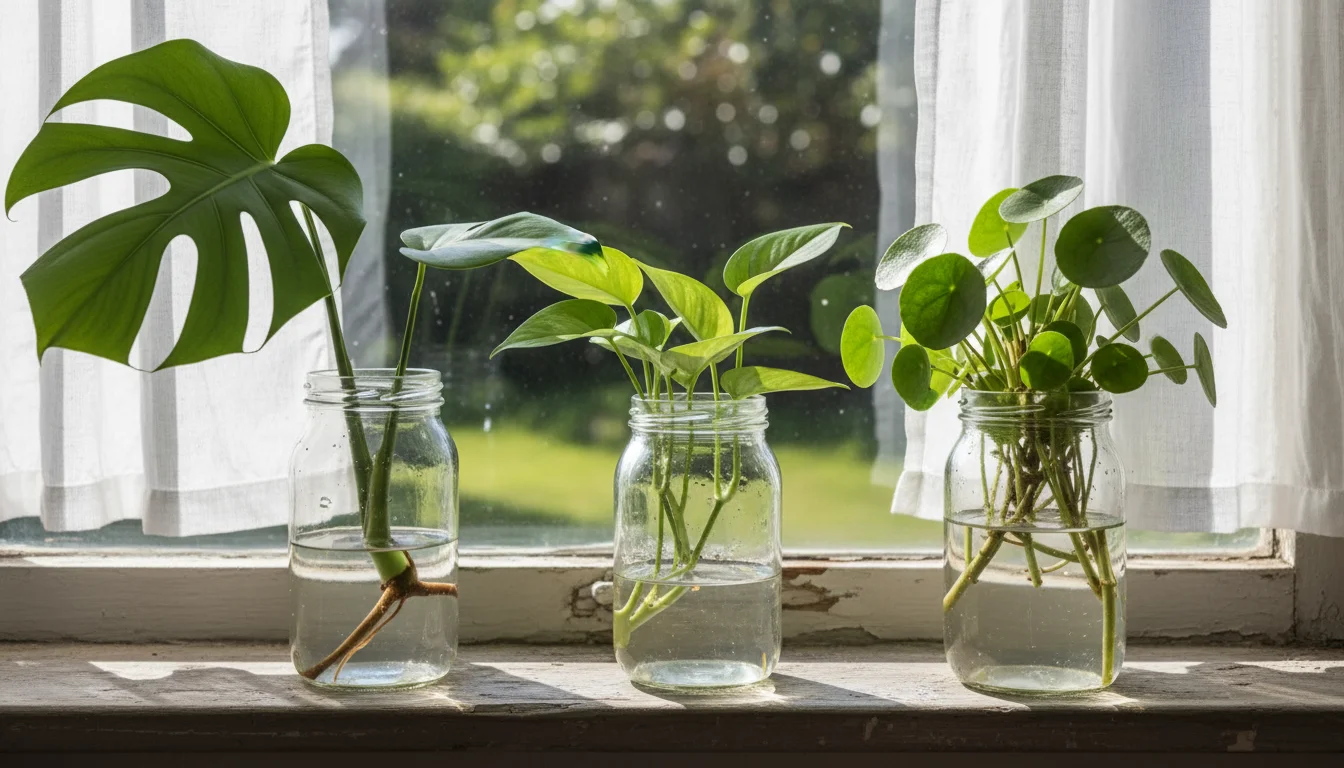
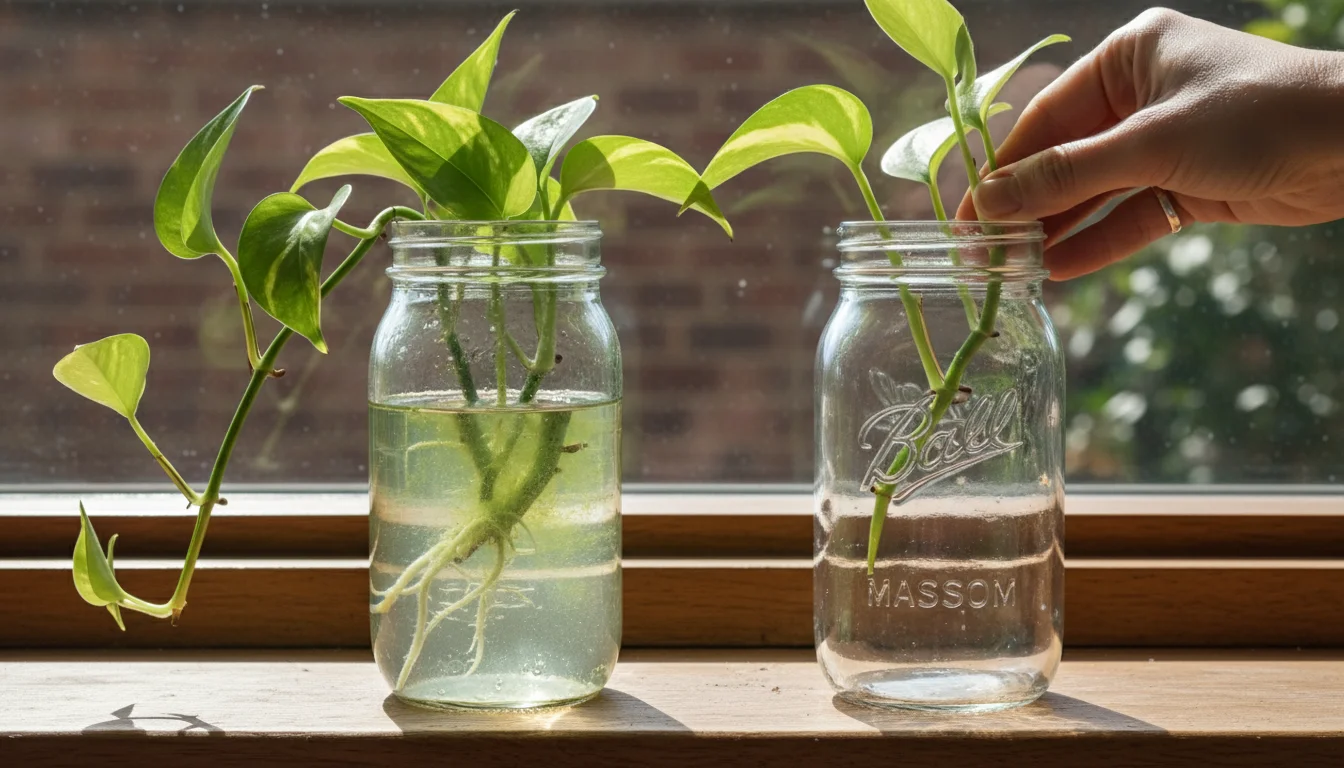
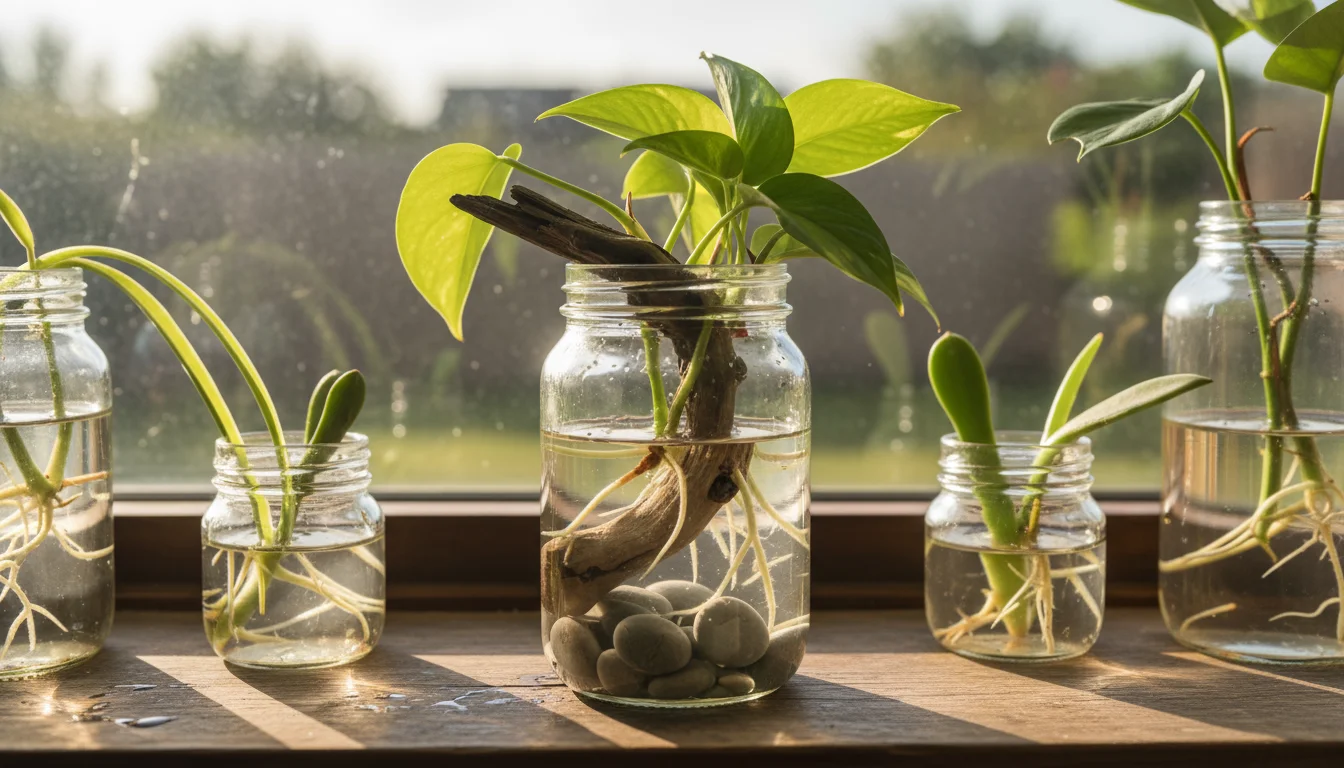
- Clear Glass Containers: Mason jars, old jam jars, narrow vases, glass bottles, or even shot glasses work wonderfully. The transparency allows you to monitor root growth and water clarity easily. You also see when the water level drops, signaling a need for replenishment. Varying sizes and shapes can add aesthetic appeal to your windowsill display. Reusing existing glass items reduces waste and keeps costs minimal.
- Clean Water: Tap water works for most plants. If your tap water contains high levels of chlorine or chloramines, let it sit out for 24 hours to allow these chemicals to dissipate before using it for your cuttings. Filtered water is also an excellent option if you have it readily available. The goal is clean, oxygenated water.
- (Optional) Rooting Hormone: While many common houseplants root easily in plain water, a rooting hormone can accelerate the process and increase success rates for some more stubborn varieties. Rooting hormones come in powder, gel, or liquid forms. If you choose to use it, dip the cut end of your stem into the hormone powder or gel before placing it in water. Follow the product instructions carefully.
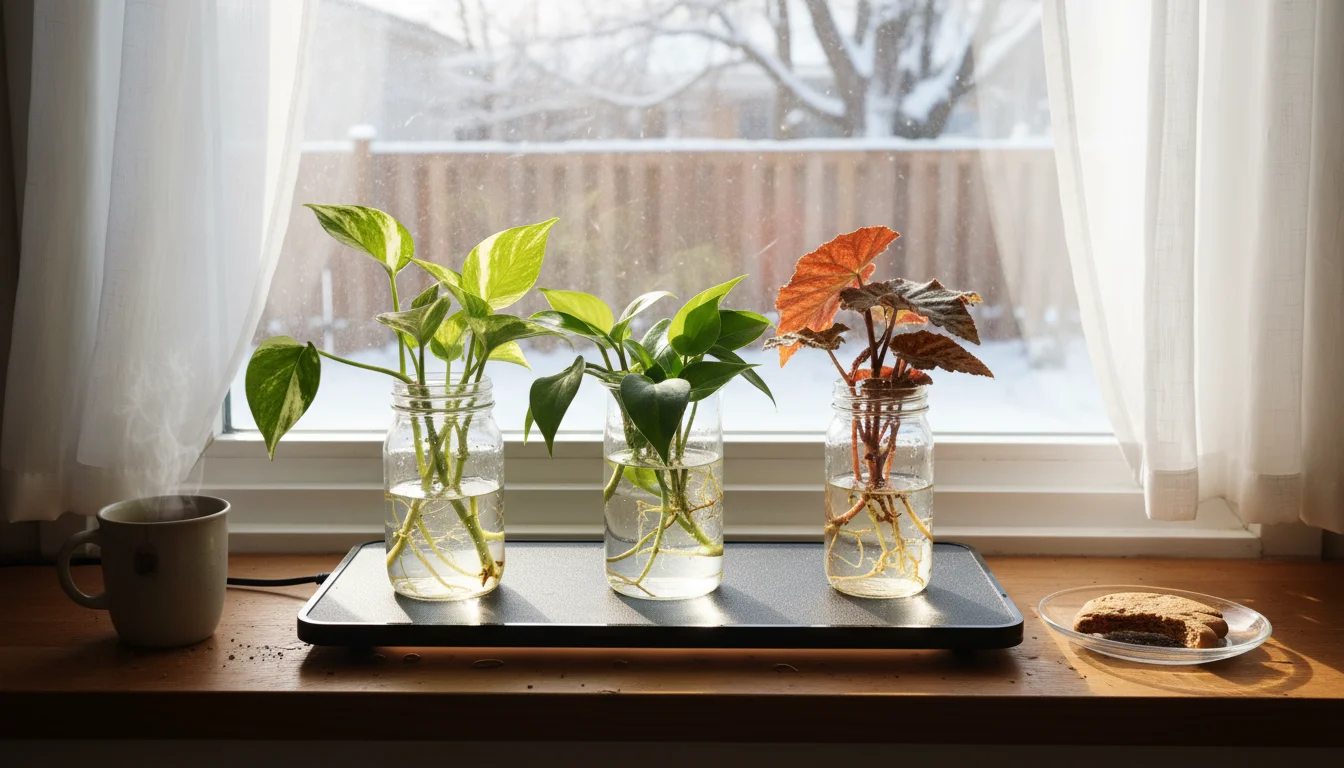
- (Optional) Heating Mat: For cooler environments, a seedling heating mat placed under your propagation containers can encourage faster root development. Roots often form more quickly in slightly warmer conditions, typically between 70-75°F (21-24°C). This can be particularly beneficial during colder winter months.
Gathering these simple supplies sets you up for a successful and enjoyable water propagation experience. You create a nurturing environment for your future plants with minimal fuss.
Choosing Your Star Plants: Easiest Houseplants to Propagate in Water
The beauty of water propagation lies in its simplicity, making it ideal for a wide range of common houseplants. If you are new to propagation, start with these reliable performers. They boast high success rates and quickly reward you with new roots, building your confidence for more adventurous projects:
You can also expand your windowsill garden to include a windowsill apothecary with medicinal herbs for wellness teas.
If you have limited space, consider starting a windowsill salad bar alongside your new plant cuttings.
Top Picks for Water Propagation:
- Pothos (Epipremnum aureum): The quintessential beginner plant for water propagation. Pothos roots quickly and reliably. Simply snip a stem section with at least two nodes, ensuring one node is submerged. You will often see roots within a week or two. Varieties like Golden Pothos, Marble Queen, and Neon Pothos all propagate beautifully.
- Philodendron (Philodendron hederaceum): Similar to Pothos, most Philodendron varieties, especially the popular Heartleaf Philodendron, readily root in water. Follow the same cutting method as Pothos, ensuring at least one node is underwater. Their roots are often quite robust.
- Spider Plant (Chlorophytum comosum): Spider plants produce “spiderettes” or plantlets on long stems. You can simply snip these off and place them directly into water. They often already have tiny aerial roots, which quickly adapt to water. This is an almost foolproof method for multiplying your spider plants.
- ZZ Plant (Zamioculcas zamiifolia): While slower, ZZ plants successfully propagate from stem cuttings or even individual leaves. For stem cuttings, take a section with a few leaves, ensuring the cut end is below the waterline. For leaf propagation, simply place the leaf stem into water. Be patient; ZZ plants can take several months to produce roots and rhizomes.
- Snake Plant (Sansevieria trifasciata): You propagate snake plants from leaf cuttings. Cut a healthy leaf into 2-4 inch sections, ensuring you remember which end was “down” (mark it if necessary). Place the bottom end of each section into water. Roots and new plantlets will eventually emerge from the submerged end. This can take several weeks or even months.
- Tradescantia (Wandering Jew/Dude): These vibrant trailing plants root incredibly fast in water, sometimes within days. Take stem cuttings of a few inches, remove lower leaves, and place them in water. They are excellent for filling out existing pots or sharing.
- Coleus (Plectranthus scutellarioides): Known for their colorful foliage, Coleus cuttings root exceptionally quickly in water. Take tip cuttings and remove the lower leaves. You will often see roots forming in less than a week. This is a great way to overwinter your favorite outdoor varieties.
Starting with these easy-to-root plants significantly boosts your chances of success, providing a rewarding experience that encourages further exploration into plant propagation. You witness visible progress, which builds confidence and skill.
Step-by-Step: Setting Up Your Water Propagation Station
Creating your water propagation station is a straightforward process. Follow these steps for successful root development:
1. Select Your Parent Plant and Identify Cutting Locations
Choose a healthy, mature plant. Look for stems that are vigorous and free from pests or disease. Identify nodes, which are the points on the stem where leaves or branches emerge. Roots typically form from these nodes. You often find these as slightly swollen areas or small bumps along the stem.
2. Make a Clean Cut
Using your sharp, sterilized scissors or pruners, make a clean cut just below a node. Aim for a cutting length of 4 to 6 inches, ensuring it has at least 2-3 nodes. A clean cut minimizes damage to the plant tissue, reducing the risk of disease and promoting faster healing. Avoid ragged tears or crushes. For plants like Pothos or Philodendron, a single stem section works well. For plants like Snake Plant, cut a healthy leaf into 2-4 inch segments, making sure you note which end faces down.

3. Prepare Your Cutting
Remove any leaves that would be submerged in water. Leaves left underwater can rot, leading to bacterial growth that contaminates the water and inhibits root development. Aim for at least one node submerged and 1-2 leaves remaining above the waterline to facilitate photosynthesis.
If you choose to use rooting hormone, dip the freshly cut end into the powder or gel according to product instructions. Lightly tap off any excess.
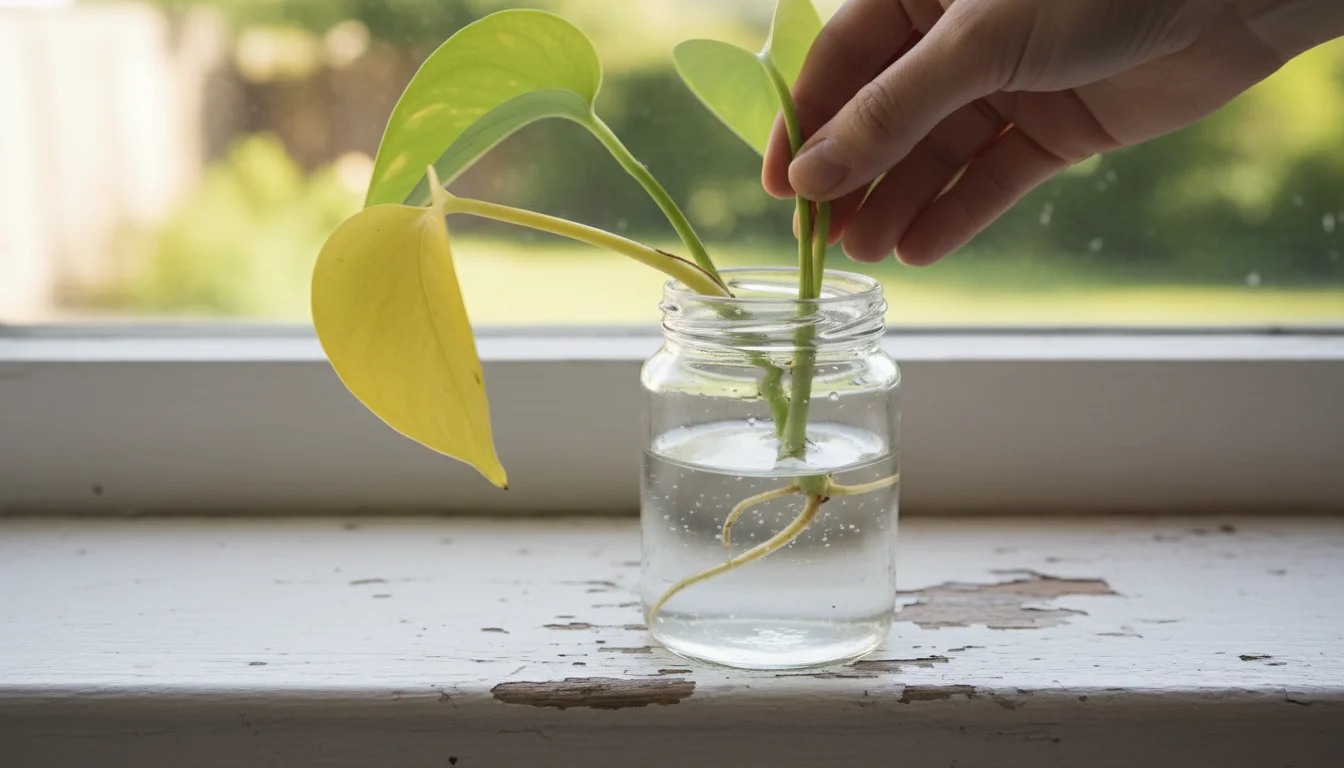
4. Place Cuttings in Water
Fill your chosen clear glass containers with clean water. Place one or more cuttings into each container, ensuring that at least one node is fully submerged. Do not overcrowd your containers; allow adequate space for air circulation around each cutting and for roots to develop. Overcrowding can lead to poor air flow and increased risk of rot.
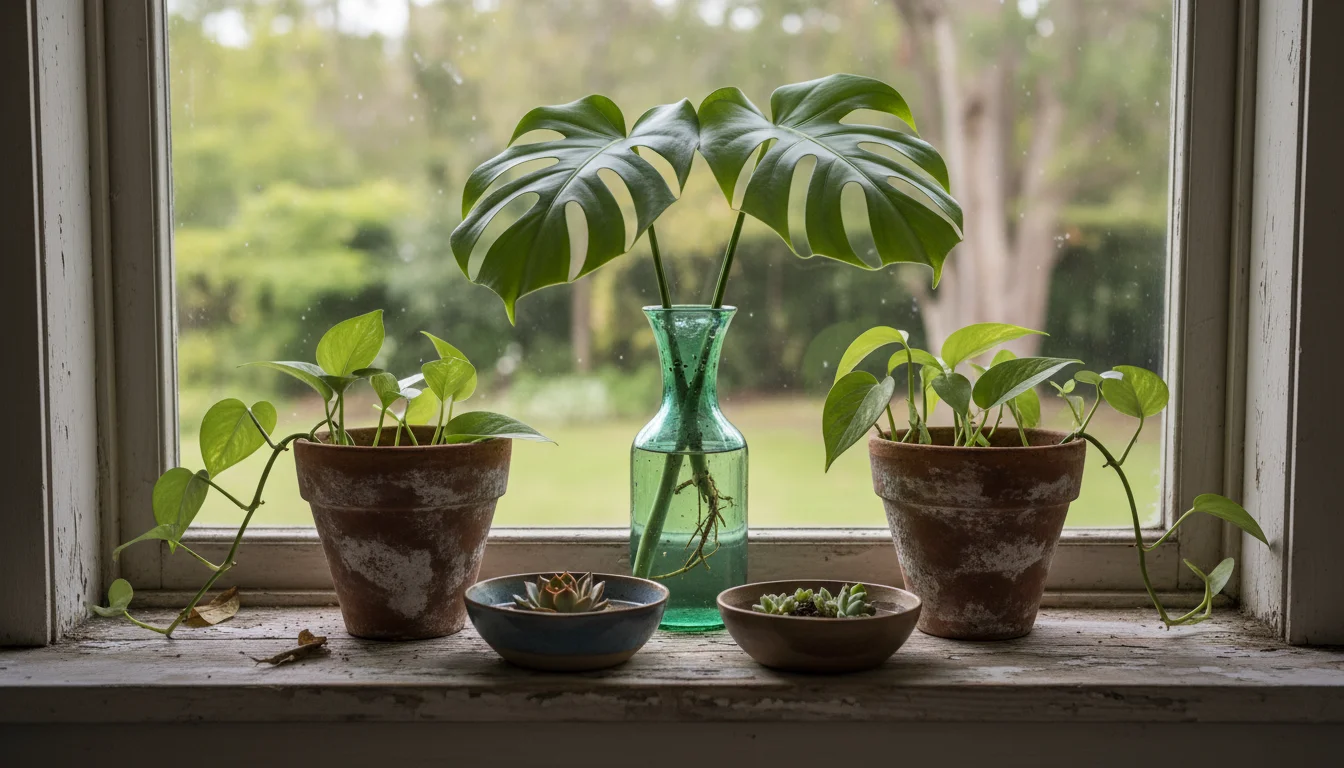
5. Position Your Propagation Station
Locate your propagation station in a spot that receives bright, indirect light. A windowsill facing east or north often provides ideal conditions, offering ample light without intense, direct sun which can scorch delicate cuttings. Avoid direct midday sun, as it can heat the water excessively and stress the cuttings. Consistent, warm temperatures, ideally between 65-75°F (18-24°C), encourage root development. Protect your cuttings from drafts or sudden temperature fluctuations.
With these steps, your ‘Just Add Water’ propagation station is ready to begin its work. You establish a nurturing environment where your plant cuttings can thrive and develop new roots, bringing fresh greenery to your home during the winter months.
Nurturing Your Cuttings: Daily Care and Observation
Once your cuttings are in water, your role shifts to watchful care. This stage is relatively low-maintenance, yet crucial for success. Consistent attention to a few key factors ensures robust root development.
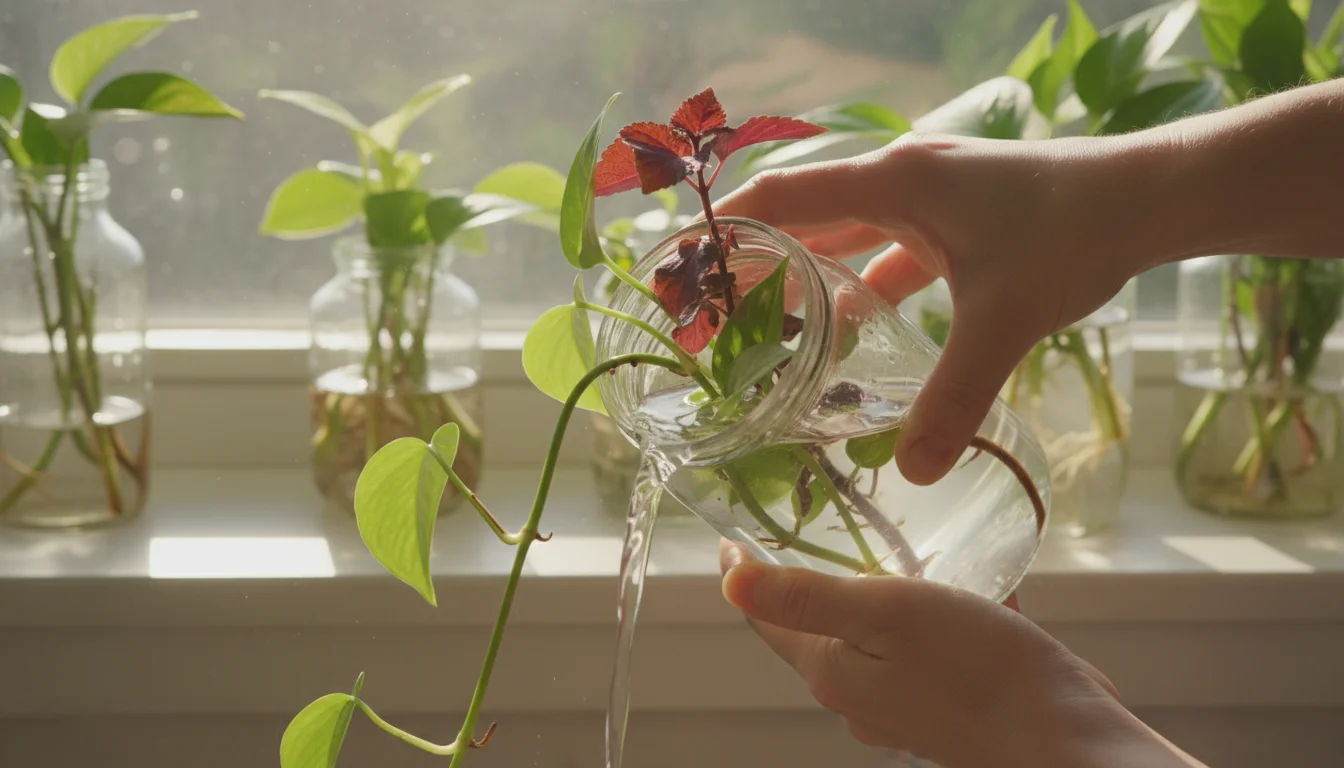
Water Changes are Essential
Change the water in your containers every 3-5 days, or whenever you notice it becoming cloudy. Fresh water replenishes oxygen levels, which roots need to grow, and removes any accumulated plant exudates or potential bacteria that could lead to rot. Simply pour out the old water and replace it with fresh, clean water. You do not need to remove the cuttings from the container during the water change; simply hold them gently in place.
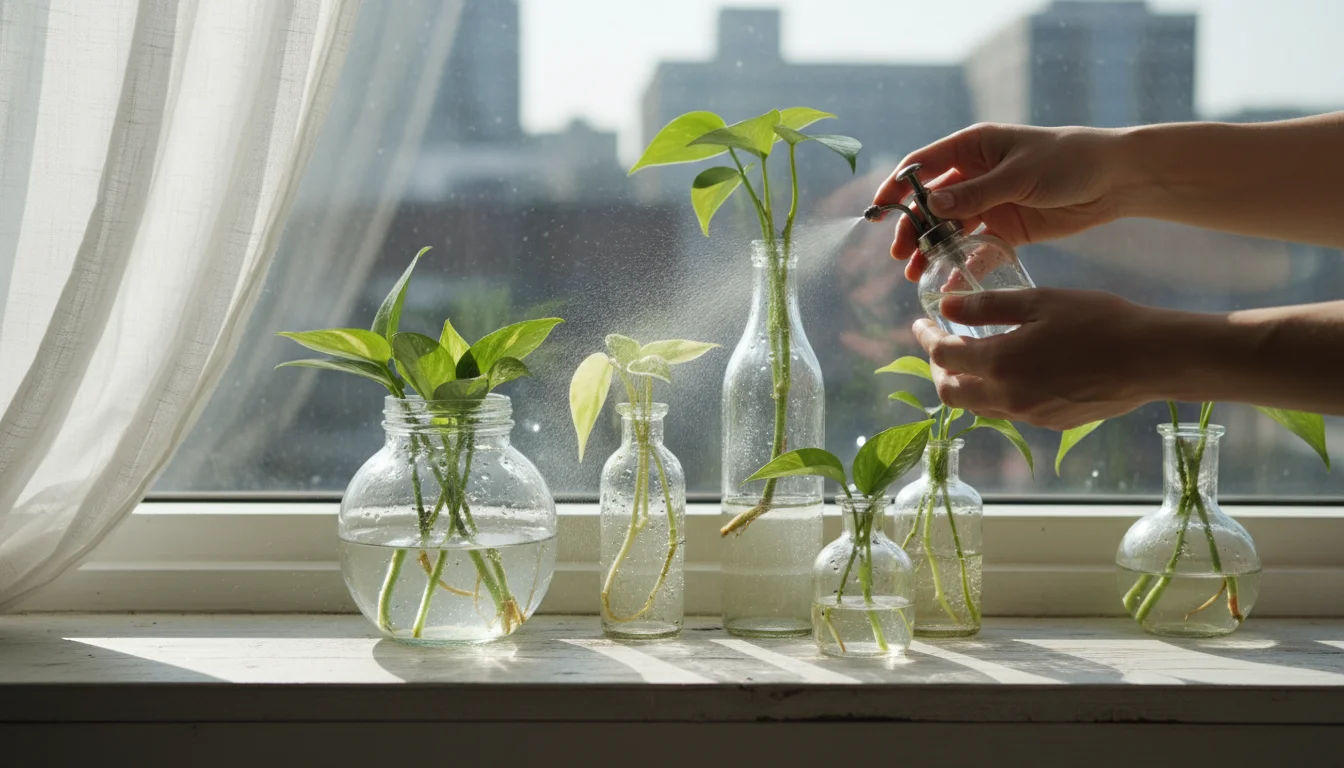
Monitor Water Levels
Evaporation naturally lowers the water level, especially in warmer rooms. Ensure that the nodes remain submerged at all times. If the water level drops too much, the nascent roots or nodes might dry out, halting growth or causing damage. Top off the water as needed between full changes.
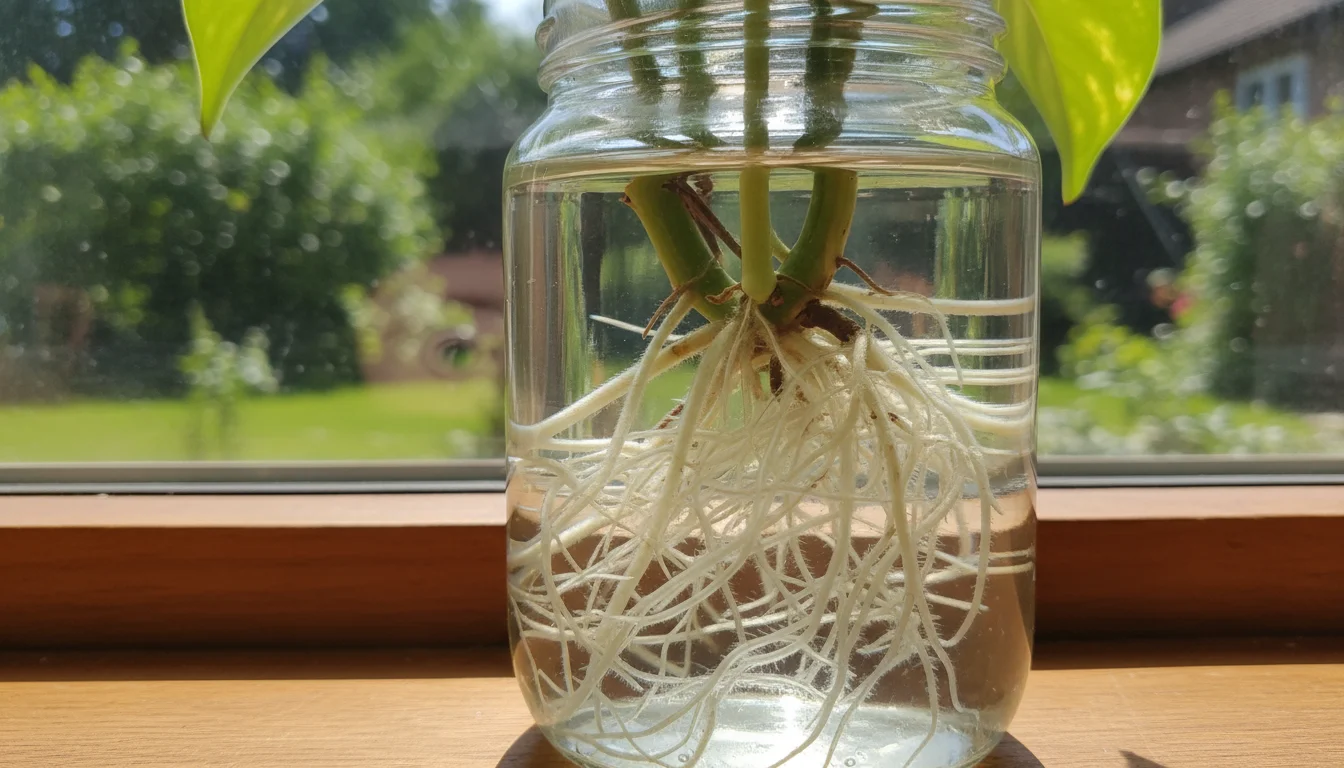
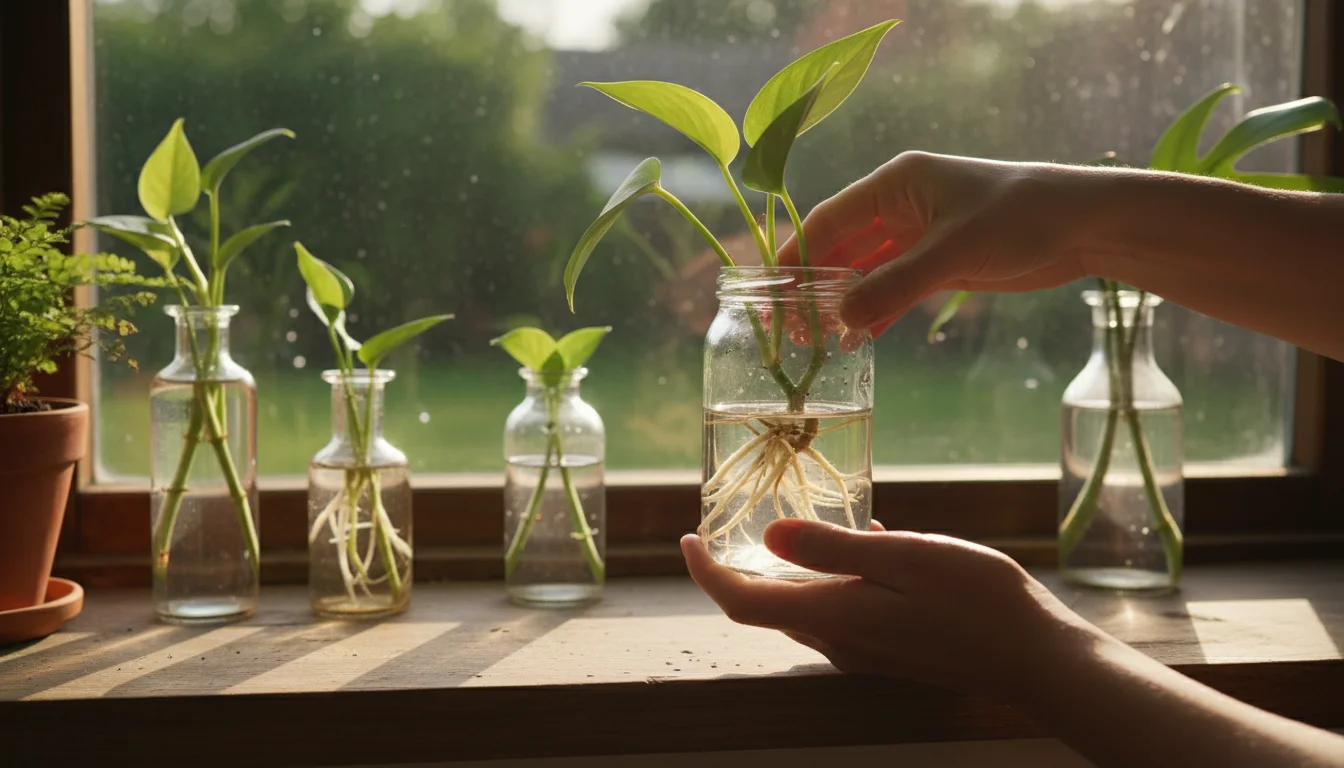
Observe for Root Development
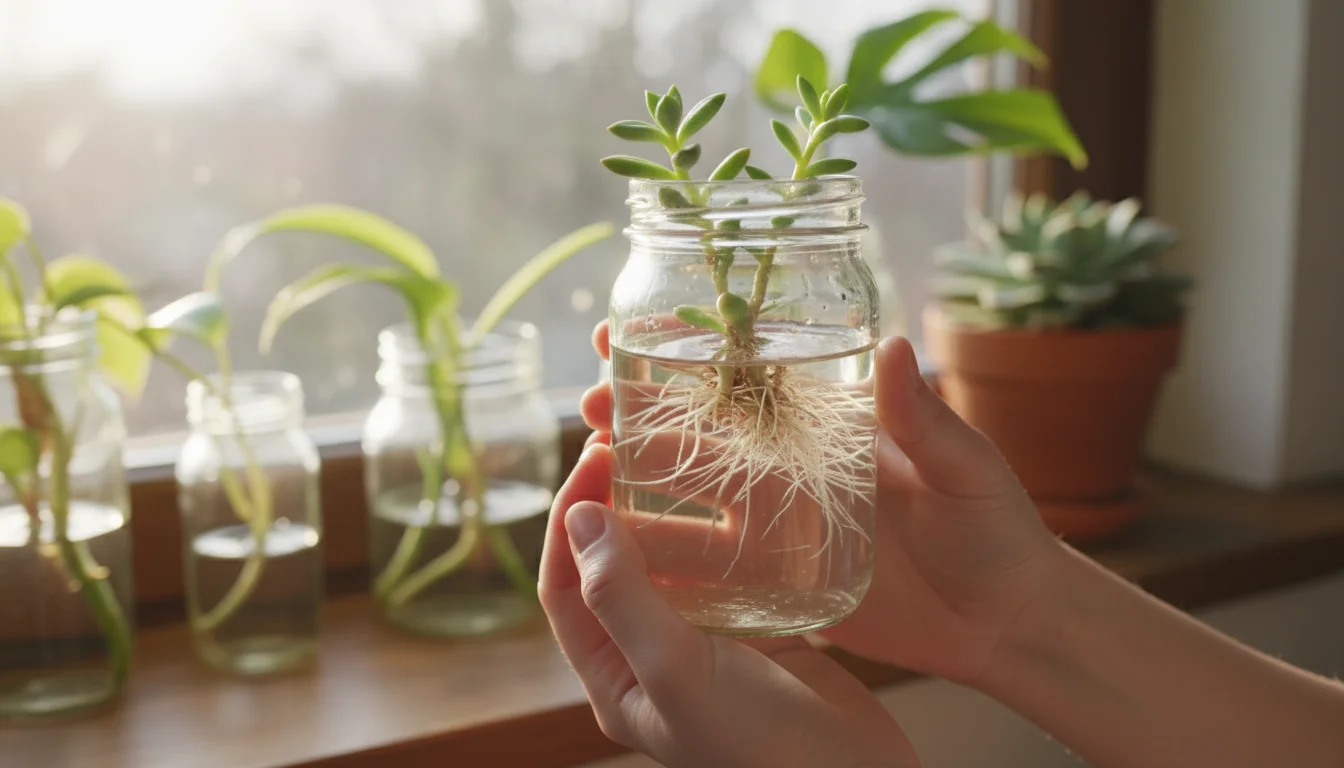
Patience is key. Root development times vary significantly depending on the plant species and environmental conditions. Some plants, like Pothos or Tradescantia, show roots within a week or two. Others, such as ZZ plants or Snake Plants, can take several weeks or even months. Regularly inspect your cuttings for tiny white bumps at the nodes, which are the first signs of root primordia. As these develop into visible roots, you will see them lengthen and branch out. Celebrate these small victories; they confirm your efforts are successful.
Light and Temperature Consistency
Maintain the bright, indirect light conditions you established initially. Avoid moving your propagation station too frequently, as sudden changes in light or temperature can stress the cuttings. If your room is particularly cool, especially during winter nights, consider adding a seedling heat mat to maintain a consistent warm temperature around the roots, as this encourages faster growth.
Look for Leaf Changes
Healthy cuttings should maintain their leaf color and turgidity, meaning they stay firm and not wilted. Some initial yellowing of lower leaves is normal, as the plant reallocates resources. However, widespread yellowing or mushy stems indicate a problem, often related to rot or too much direct sunlight. Address these issues promptly to save your cutting.
Consistent, simple care ensures your cuttings thrive in their liquid nursery. You gain satisfaction from watching your new plants grow, preparing them for their next stage of life in soil.
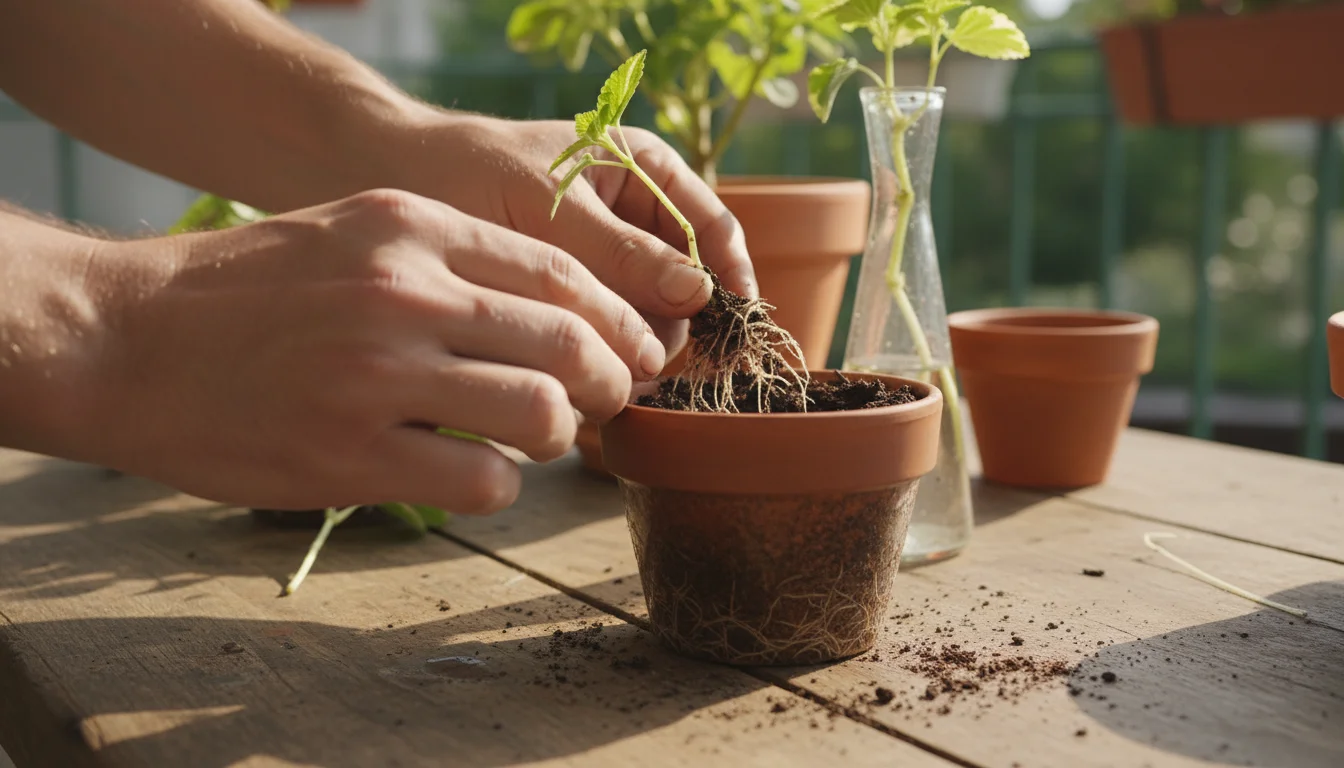
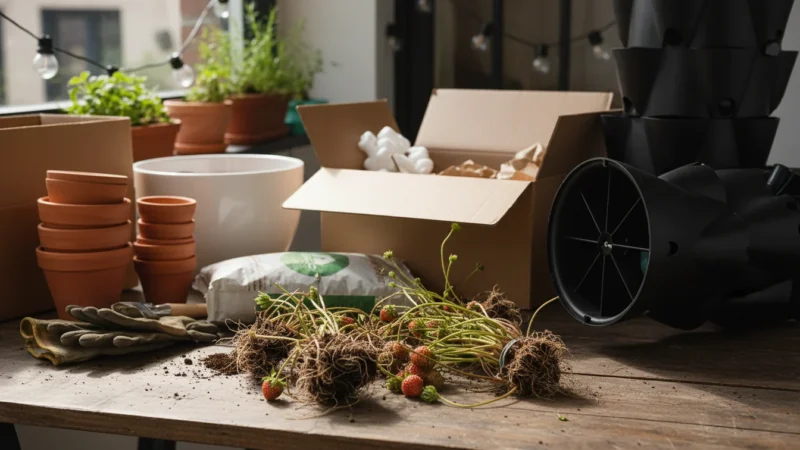
The Great Transplant: What to Do After Roots Form
Witnessing your cuttings develop healthy roots is an exciting milestone. But water is not a long-term solution for most plants; it lacks the nutrients and physical support that soil provides. Knowing when and how to transition your rooted cuttings to soil is crucial for their continued growth and survival.
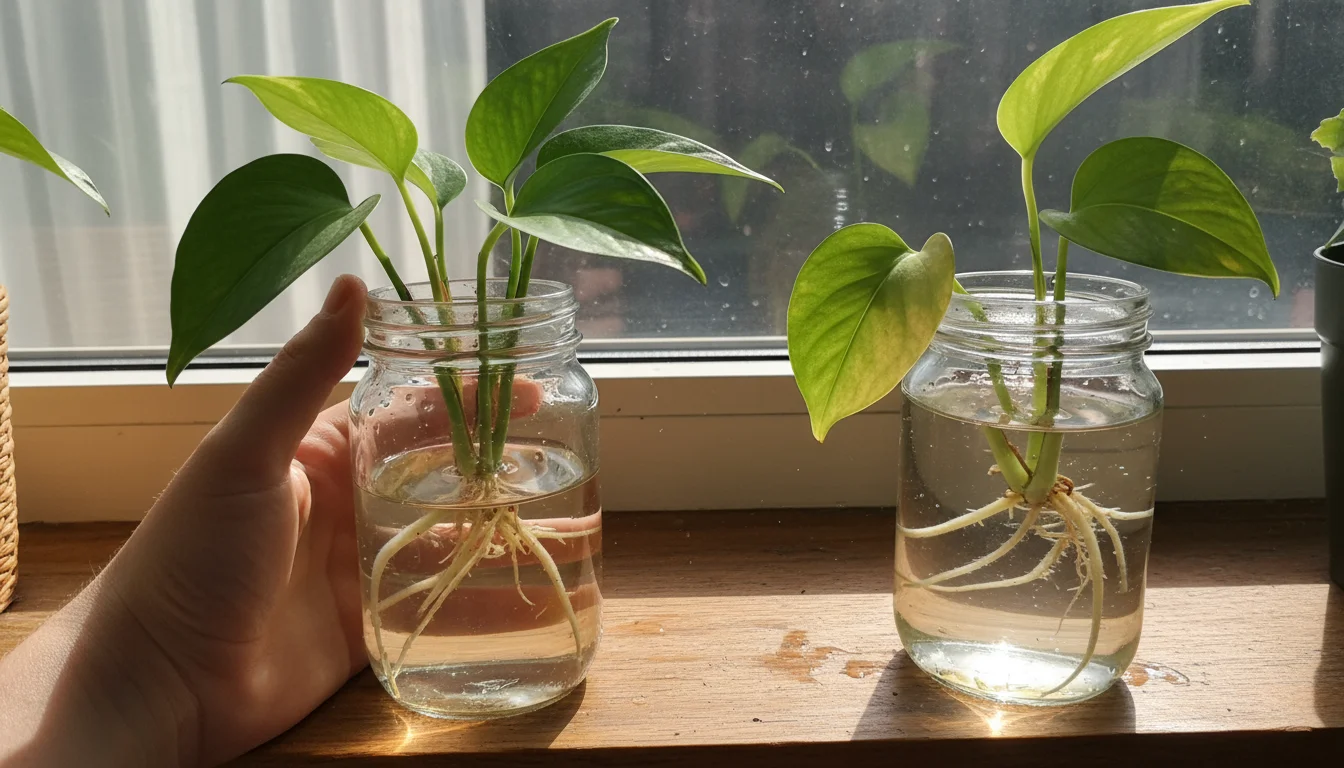
When to Transplant Your Cuttings
The ideal time to transplant is when your roots are 1 to 2 inches long and have developed some secondary branching. While it is tempting to let roots grow very long, excessively long water roots can struggle to adapt to soil. Water roots are often thinner and more brittle than soil roots, and a transition while they are still relatively young allows for easier adaptation. Waiting until roots are too long can sometimes lead to transplant shock, where the plant struggles to establish itself in the new medium.
Preparing for the Transplant
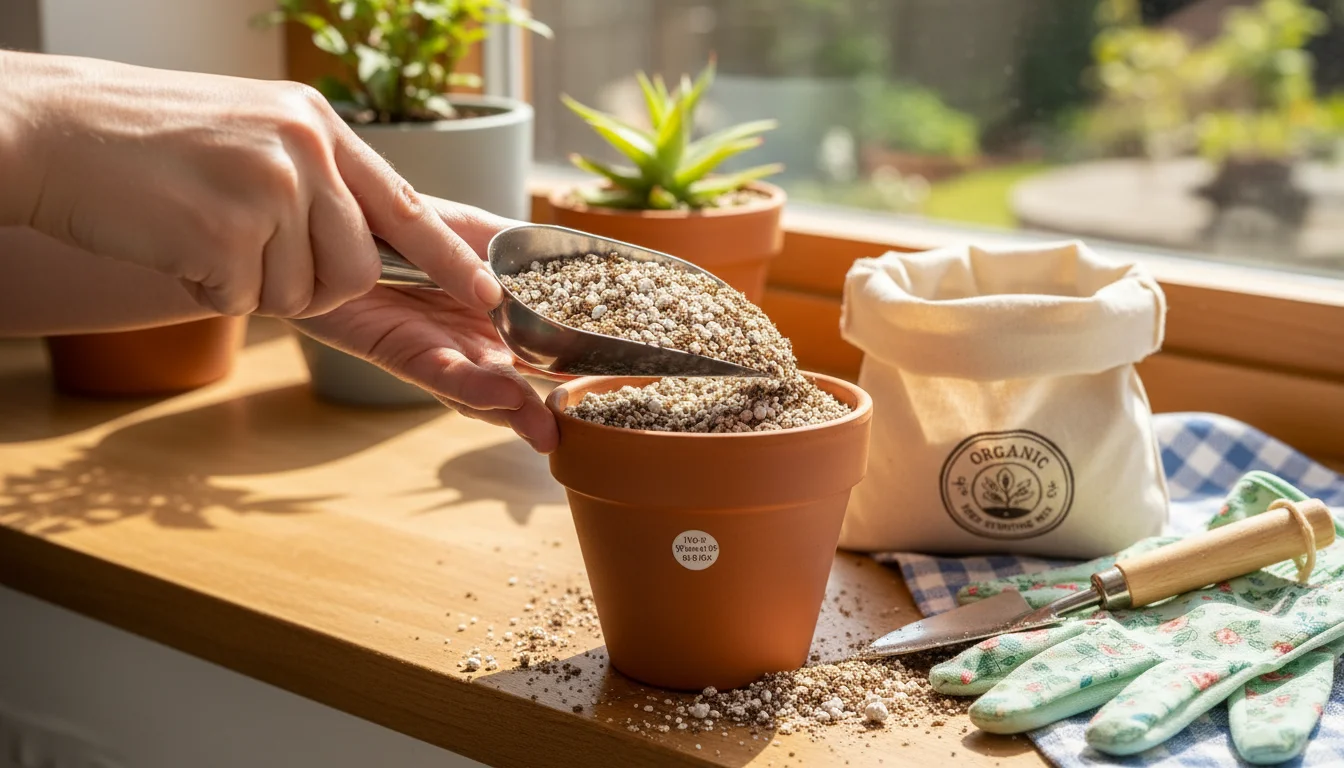
- Choose the Right Pot: Select a small pot, typically 3-4 inches in diameter, with excellent drainage holes. Starting in a pot that is too large can lead to excess moisture retention, increasing the risk of root rot. As the plant grows, you can repot it into a larger container.
- Select Appropriate Soil: Use a high-quality, well-draining potting mix formulated for houseplants. Good drainage is how water moves efficiently through the soil, preventing waterlogging. A mix containing perlite or coarse sand improves aeration and drainage. Avoid heavy garden soil, which compacts easily and suffocates roots in containers.
- Gentle Acclimation (Optional but Recommended): Some gardeners recommend a gradual acclimation process. You can mix a small amount of potting soil into the propagation water for a few days, gradually increasing the soil ratio. This helps the roots slowly adjust to the presence of soil particles and nutrients before full transplantation.
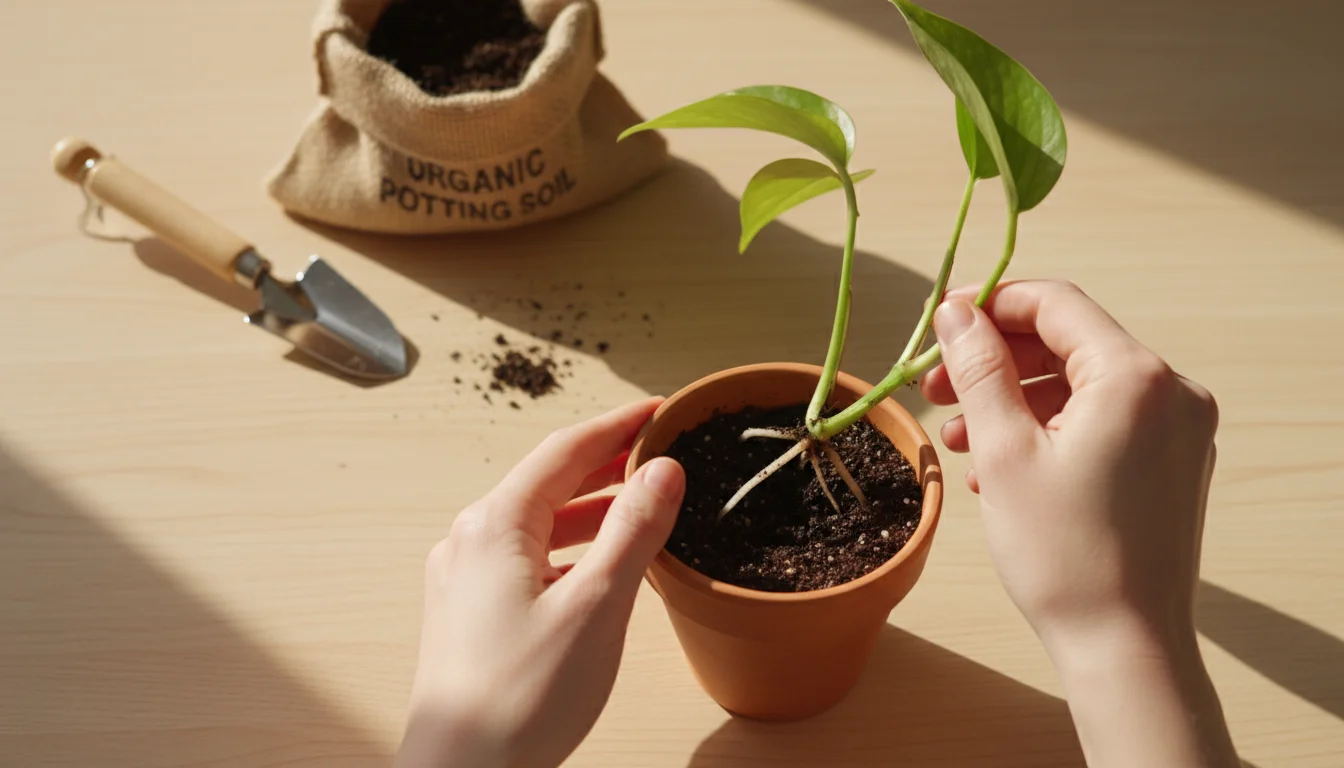
The Transplanting Process
- Prepare the Pot: Add a small layer of potting mix to the bottom of your chosen pot.
- Create a Hole: Gently make a small indentation or hole in the center of the soil with your finger or a small stick. This creates space for the cutting’s delicate roots.
- Position the Cutting: Carefully remove the rooted cutting from the water. Handle the roots as little as possible to avoid damage. Place the cutting into the prepared hole, ensuring the roots are spread out gently and not bunched up. The base of the stem should sit at the same level it would in the soil, with the root ball just below the surface.
- Backfill with Soil: Gently fill the pot with more potting mix, lightly patting the soil around the cutting’s base to secure it. Avoid compacting the soil too much, as roots need air.
- Water Thoroughly: Immediately after potting, give your new plant a thorough watering. Water until it drains from the bottom of the pot. This settles the soil around the roots and eliminates air pockets.
Post-Transplant Care
For the first few weeks after transplanting, provide your new plant with bright, indirect light, similar to its propagation environment. Keep the soil consistently moist but not waterlogged. The plant is still adjusting, and overly dry or wet conditions can cause stress. Reduce the frequency of watering as the plant establishes itself. You do not need to fertilize immediately; the fresh potting mix provides sufficient nutrients for the first few months. Observe your plant closely for signs of new growth, which indicates successful establishment.
Successfully transitioning your rooted cuttings to soil completes the propagation cycle, transforming a simple cutting into a thriving new houseplant. You experience the full reward of your winter gardening efforts.
Troubleshooting Your Water Propagation Journey
Even with the easiest plants, propagation sometimes presents challenges. Understanding common issues and their solutions helps you navigate your journey with confidence. Most problems relate to water quality, light, or plant health.
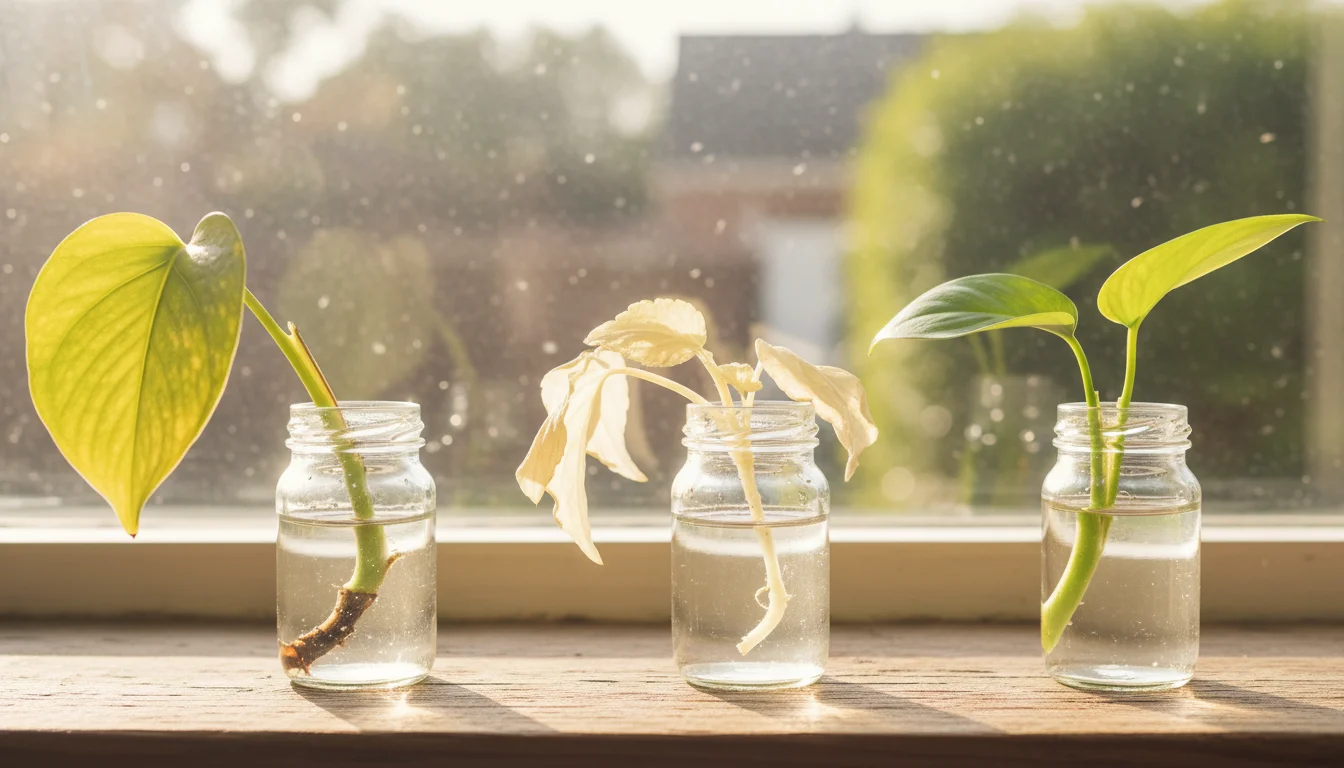
Yellowing Leaves
If the leaves on your cutting start to turn yellow, several factors could be at play:
- Nutrient Deficiency: Water contains no nutrients. While plants can survive and root for a while on stored energy, prolonged water propagation can lead to nutrient deficiency, especially in older leaves. This is a strong indicator it is time to transplant to soil.
- Too Much Light: Direct, intense sunlight can scorch leaves, causing them to yellow or brown. Move your station to a spot with brighter, indirect light.
- Old Leaves: It is normal for one or two of the lowest leaves to yellow and drop off as the plant reallocates energy to root production. Remove these leaves promptly to prevent rot.
- Over-Fertilization (Rare in Water): If you added a liquid fertilizer to the water, you might have used too much. Flush the container with fresh water.
No Root Development
If weeks pass with no sign of roots, reconsider these points:
- Wrong Cutting Location: You might have cut above a node rather than below or included no nodes at all. Roots primarily emerge from nodes. Re-examine your cutting and, if necessary, take a new one correctly.
- Insufficient Warmth: Cool temperatures slow down metabolic processes, including root formation. Ensure your cuttings are in a consistently warm environment, ideally 65-75°F (18-24°C). A heating mat can significantly help.
- Old or Unhealthy Parent Plant: Cuttings from stressed or unhealthy parent plants have less energy to put towards rooting. Always choose vigorous, healthy sections.
- Improper Plant Choice: Not all plants root easily in water. Some prefer soil or air layering. If after significant time, you see no roots on a plant not listed as “easy,” try a different propagation method for that species or choose an easier plant.
- Lack of Oxygen: Stagnant water can become oxygen-depleted. Regular water changes are critical for supplying oxygen to the developing roots.

Mushy Stems or Blackening
This is a sign of rot, usually caused by bacterial or fungal growth:
- Contaminated Water: Infrequent water changes or leaves left submerged can lead to bacterial growth. Immediately remove the affected cutting, trim off the mushy part with sterile scissors, and replace with fresh water. You might need to discard the cutting if the rot is extensive.
- Dull Tools: A dull cut damages plant cells, creating an entry point for pathogens. Always use clean, sharp tools.
- Overcrowding: Too many cuttings in one container can reduce air circulation and increase humidity locally, encouraging fungal growth. Give each cutting ample space.
Algae Growth in Water
Green algae forming in your clear containers is generally harmless to the plant but can indicate too much direct light or infrequent water changes. While not immediately detrimental, it consumes oxygen and can make it harder to see root development. Simply clean the container and change the water more frequently. Consider moving the station to slightly less intense light.
By understanding these common issues and proactively addressing them, you significantly increase your water propagation success. You become a more observant and effective gardener, ensuring your cuttings have the best chance to thrive.
Designing Your Windowsill Oasis
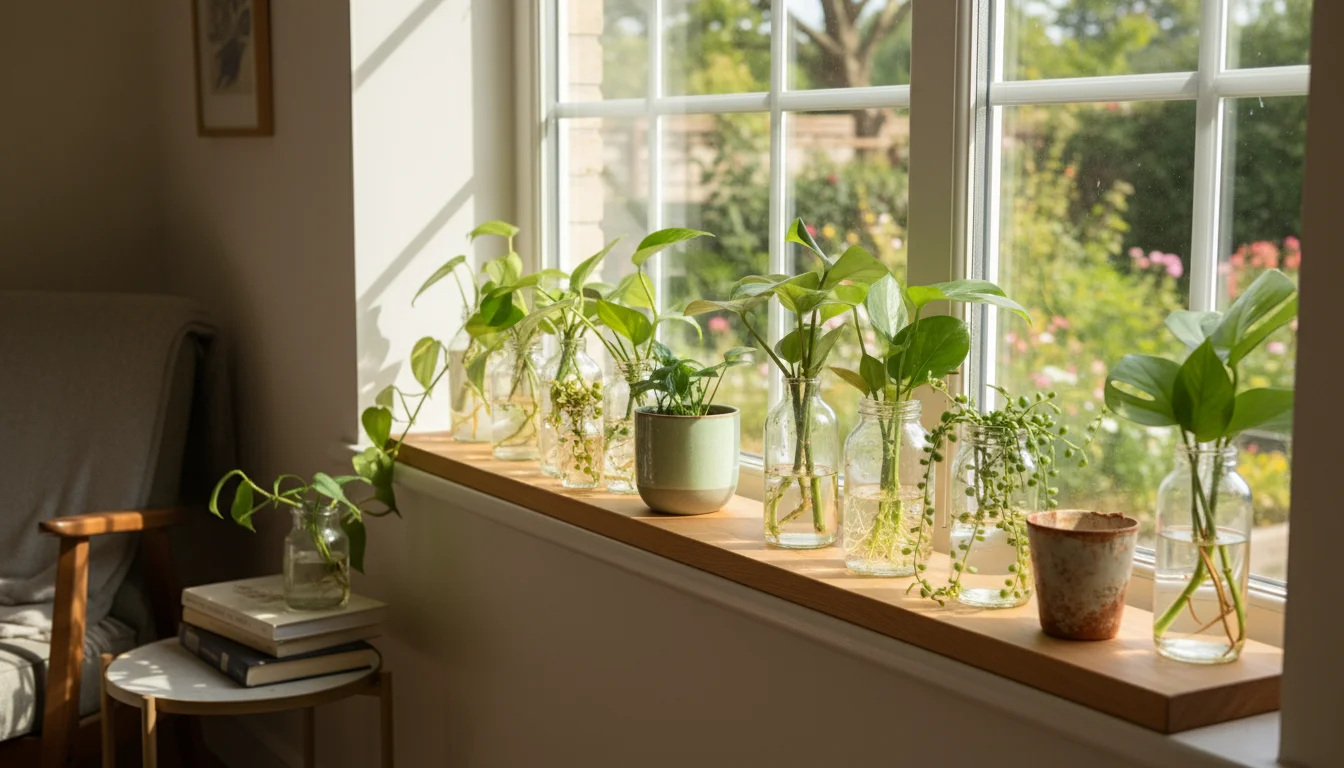
Your water propagation station is not just a functional nursery; it is also an opportunity to create a beautiful, living display that enhances your home’s aesthetic, especially during the long winter months. Think of it as a miniature indoor garden, a small space full of green promise. You can transform a simple windowsill into an engaging and calming focal point.
To add a unique sculptural element to your display, consider sprouting an avocado seed in a glass as part of your winter windowsill project.
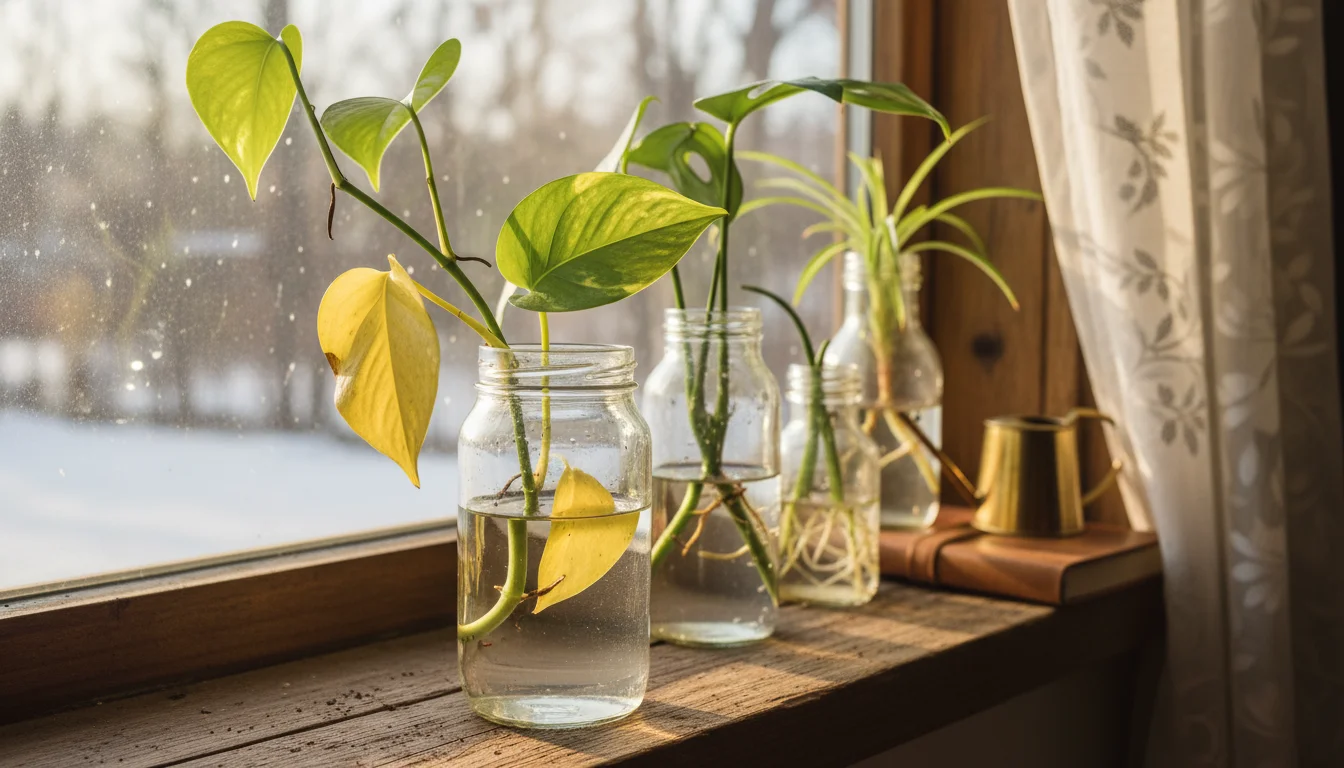
Curate Your Containers
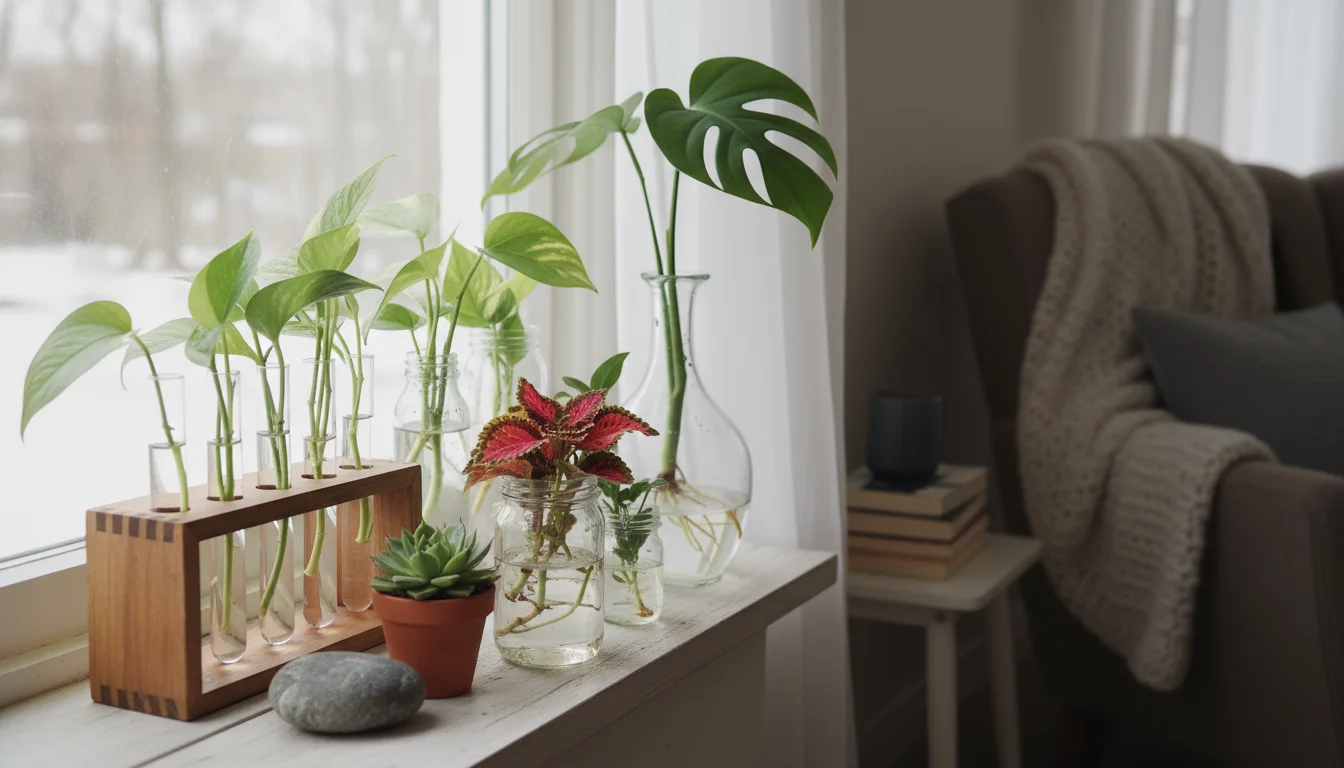
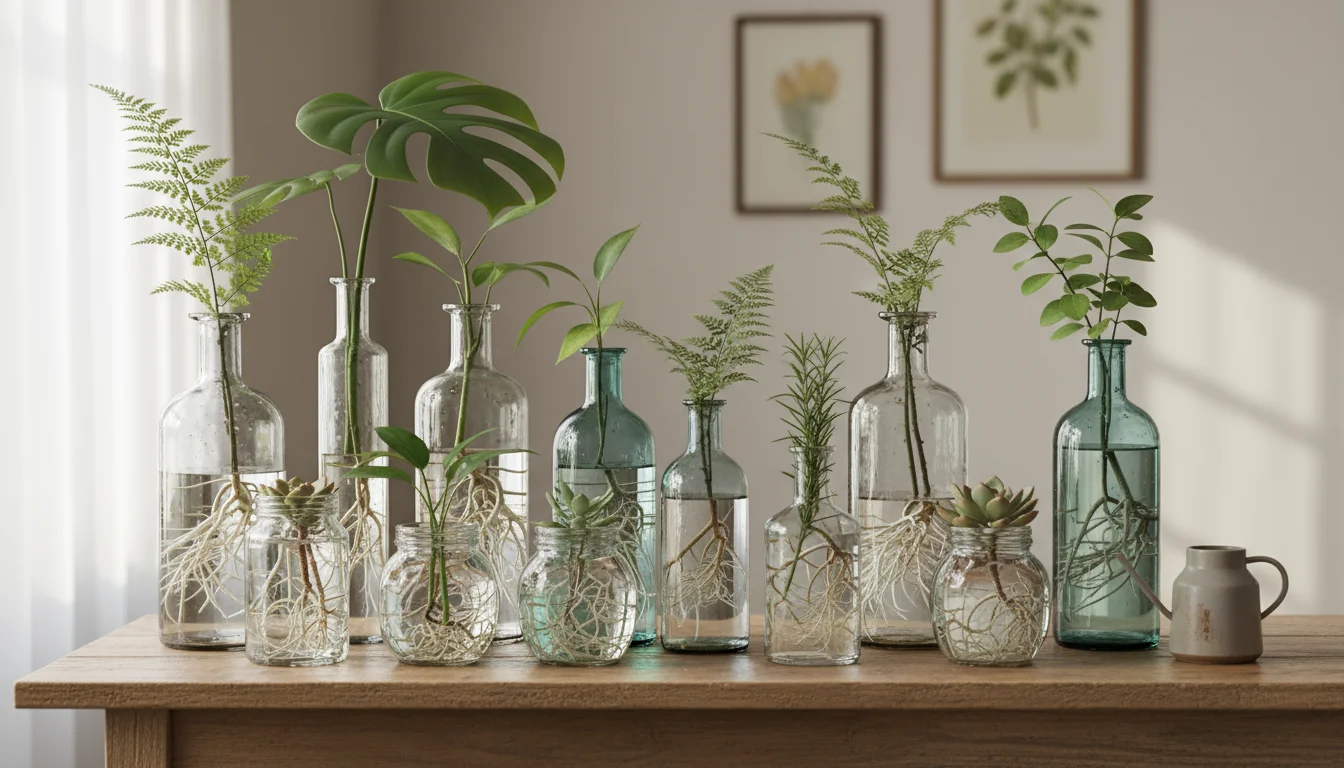
Use a variety of clear glass containers for visual interest. Mix tall, slender vases with shorter, wider jars. Repurpose old glass bottles, jam jars, or even unique glassware you find at thrift stores. This sustainable approach reduces waste and adds character. The transparency of glass allows light to filter through, showcasing the intricate root structures as they develop. Consider using different shades of clear or tinted glass for subtle color variations.
Groupings for Impact
Arrange your containers in groups rather than scattering them individually. Odd numbers (three, five, seven) often create a more pleasing composition. Vary the heights of your containers to add dynamic appeal. For example, place taller cuttings in the back and shorter, bushier plants in front. This layering creates depth and makes the display feel fuller and more intentional. You create a cohesive story with your plants.
Add Natural Elements
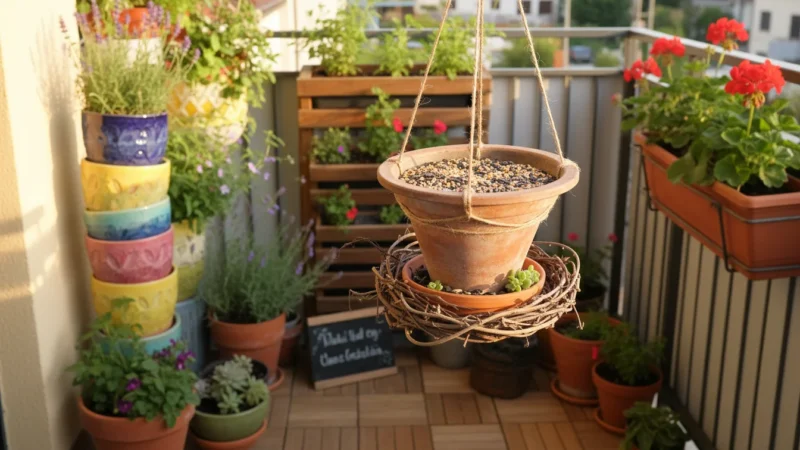
Enhance the natural feel of your station. You can place a few decorative stones or polished pebbles at the bottom of larger containers before adding water and cuttings. This adds weight and a natural aesthetic. Just ensure they are clean and do not inhibit root growth. A small piece of driftwood or a beautifully shaped branch can also act as a complementary backdrop or an anchor for a trailing plant.
Consider Background and Lighting
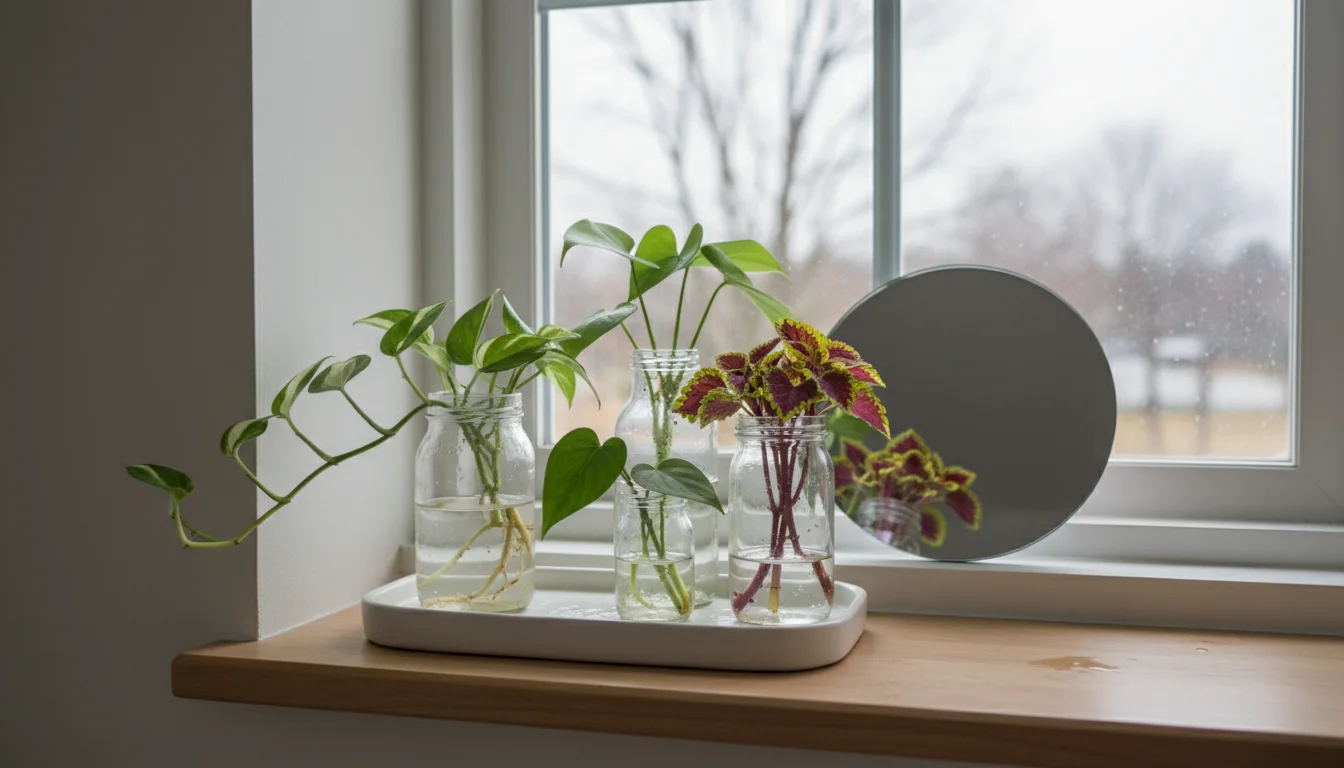
A simple, uncluttered background helps your propagation station stand out. If your windowsill has a plain wall behind it, that is ideal. If not, consider adding a small, simple mirror to reflect light and make the space feel larger and brighter, which also benefits your plants. Utilize existing natural light, but if your windowsill is particularly dim, a small, unobtrusive grow light can provide supplementary illumination, especially beneficial during short winter days. Position it carefully to avoid direct, harsh light.
Create an Integrated Look
Integrate your propagation station with your existing decor. Choose containers that complement your room’s color scheme or material palette. For a minimalist look, use uniform glass jars. For a more bohemian vibe, mix and match containers with different textures and finishes. A small tray or runner under your containers can unify the display and protect your windowsill from potential water drips.
By thoughtfully designing your windowsill oasis, you create more than just a place for roots to grow. You craft a dynamic, evolving piece of living art that brings joy and beauty to your home throughout the winter, all while propagating new life.
Frequently Asked Questions
What is the best type of water for propagation?
Tap water generally works well for most plants. However, if your tap water contains high levels of chlorine or chloramines, let it sit out in an open container for 24 hours before use. This allows the chemicals to dissipate. Filtered water is also a good option. The most critical factor is ensuring the water is clean and changed regularly to provide oxygen for root development and prevent bacterial buildup.
Can I add fertilizer to the water during propagation?
You typically do not need to add fertilizer to water during the initial rooting phase. The cutting draws on stored energy reserves to produce roots. Adding fertilizer prematurely can sometimes cause nutrient burn or encourage algae growth. Once roots are established (1-2 inches long) and you are ready to transplant, the new potting mix will provide sufficient nutrients. If you want to encourage faster growth in water for certain plants, you can use a very diluted, balanced liquid fertilizer, but start with a much weaker solution than recommended for potted plants, perhaps 1/8th strength, and monitor the cutting closely.
How long does it take for roots to form?
Rooting time varies significantly depending on the plant species, environmental conditions (light, temperature), and the health of the parent plant. Fast-rooting plants like Pothos, Philodendron, and Tradescantia often show roots within 1-3 weeks. Slower growers, such as ZZ plants or Snake Plants, can take several weeks to a few months. Patience and consistent observation are key. Do not get discouraged if some cuttings take longer than others.
My cutting is wilting, what should I do?
Wilting can indicate a few things. First, ensure the nodes are submerged in water. If they are, check the water level and replenish if needed. Ensure the cutting is not in direct, intense sunlight, which can cause excessive transpiration and stress. Sometimes, a cutting might wilt initially as it adjusts; however, if wilting persists or worsens, the cutting might be struggling to hydrate or developing rot. Check the stem for mushy spots, and if found, trim the affected part with sterile tools and place it in fresh water.
What if my cuttings start growing new leaves but no roots?
Sometimes a cutting puts energy into leaf production before root development. This can happen if the conditions (light, warmth) are very favorable for foliage growth but perhaps not optimal for root initiation. You can try trimming off some of the newer, smaller leaves to redirect the plant’s energy towards root production. Ensure the water is clean and that the submerged nodes are still healthy. A slightly warmer environment, possibly with a heat mat, can also stimulate root growth.
For trustworthy gardening information, visit:
Oregon State Extension — Gardening, Royal Horticultural Society (RHS), UF/IFAS Gardening Solutions and University of Illinois Extension — Gardening. These organizations provide expert, research-based advice for gardeners at all levels.
Disclaimer: This article is for informational purposes only and is not a substitute for professional gardening advice. Always consult local extension services or horticulture experts for region-specific guidance.


Leave a Reply