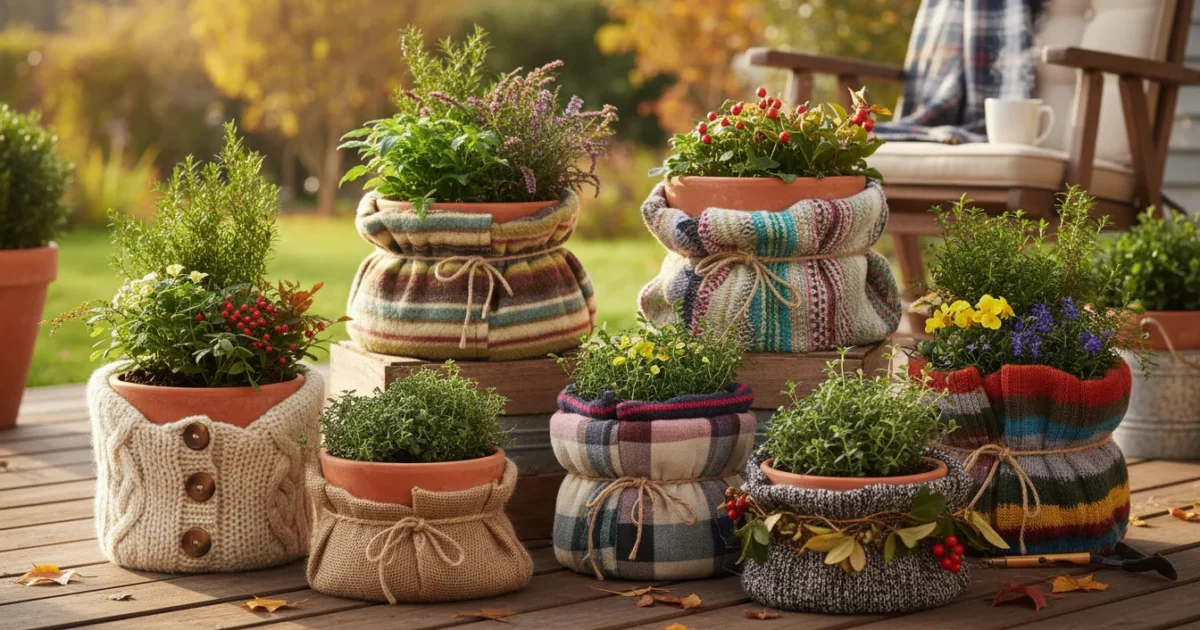
The ‘Sweater Weather’ Method: 5 DIY Wraps to Insulate Your Favorite Pots from the First Freeze
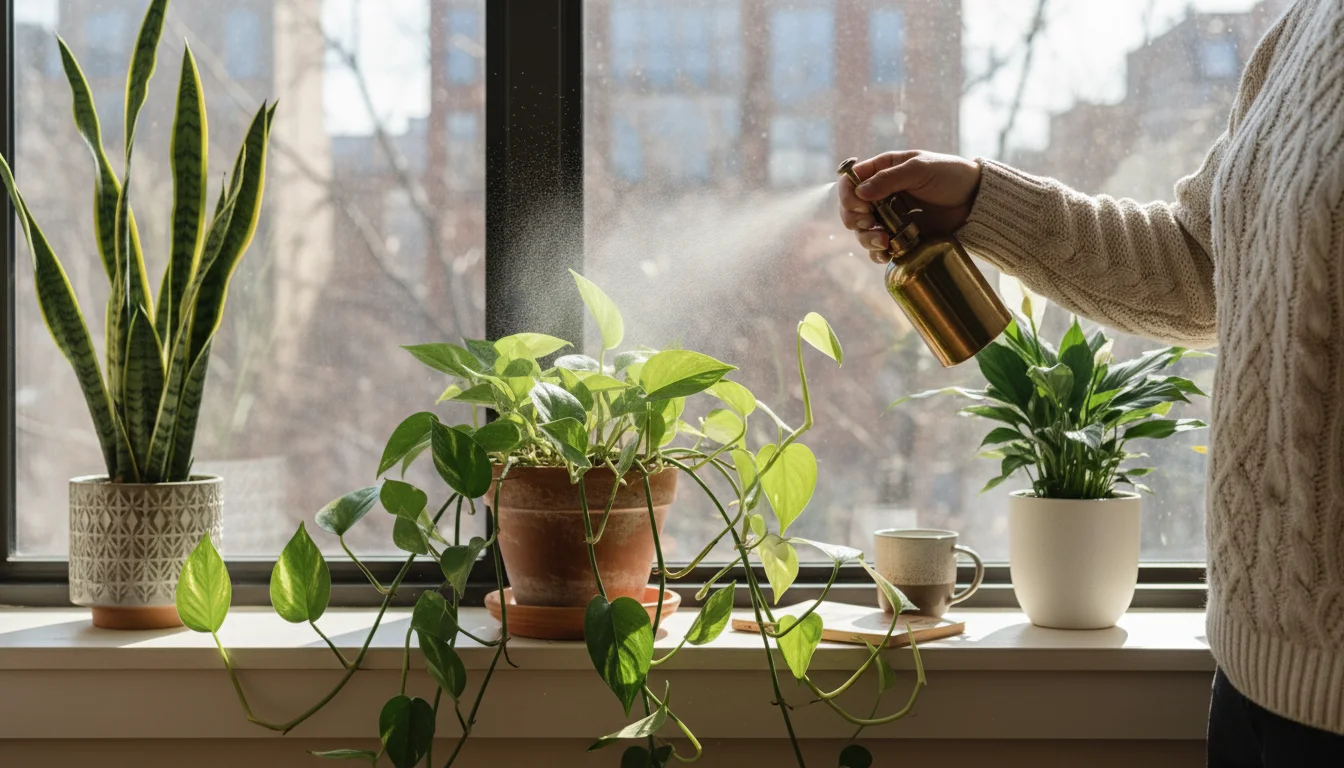
As the days shorten and a crisp chill fills the air, many gardeners start thinking about protecting their beloved plants and containers from the impending winter. For those of us with small spaces, like balconies, patios, or compact yards, our potted plants are often the heart of our garden. But the first hard freeze can be devastating, causing pots to crack and plant roots to freeze solid. This isn’t just a concern for tender tropicals, even many hardy perennials benefit from extra protection when grown in containers.
You have invested time, effort, and care into your container garden. You want to ensure that investment survives the cold months, ready to flourish again next spring. This guide introduces the ‘Sweater Weather’ Method, a practical, low-cost approach to insulating pots for winter. You will learn how to create simple DIY wraps using readily available materials, protecting your containers from frost and giving your plants the best chance to survive until warmer days return. Let us get your pots bundled up and ready for winter.
Why Your Pots (and Plants) Need Winter Protection
Your container garden brings joy and beauty to your small space throughout the growing season. But when temperatures drop, these same containers become vulnerable. Understanding why insulation matters is the first step to effective winterizing balcony plants and protecting your investment.
The Vulnerability of Potted Plants: In the ground, plant roots are naturally insulated by the surrounding soil. This massive thermal mass acts like a blanket, keeping soil temperatures relatively stable even when air temperatures plummet. In a pot, however, roots are much more exposed. The container walls directly contact the cold air, and the smaller volume of soil loses heat quickly. A plant rated as “hardy” in your USDA zone might easily survive winter in the ground, but it often struggles or dies in a container because its roots freeze more thoroughly and for longer durations.
Protecting Your Investment in Plants: Many gardeners purchase beautiful plants for their containers, sometimes even hardy perennials they hope to keep for years. Without proper protection, these plants may not return. For example, a lavender plant hardy to Zone 5 might survive in the ground in Zone 5, but in a container, its roots could freeze and die if left exposed to Zone 5 winter temperatures. By insulating pots for winter, you significantly increase the chances of your plants surviving, saving you the cost and effort of replacing them each spring.
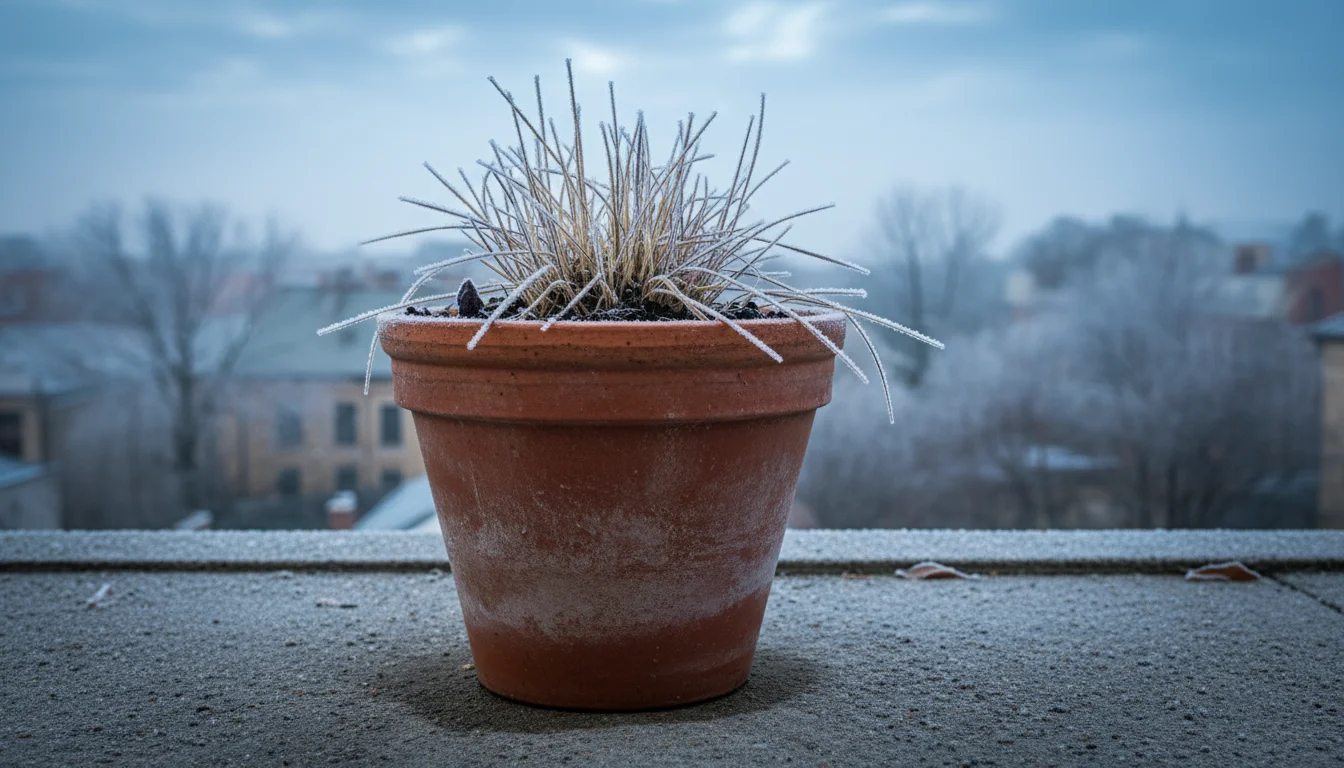
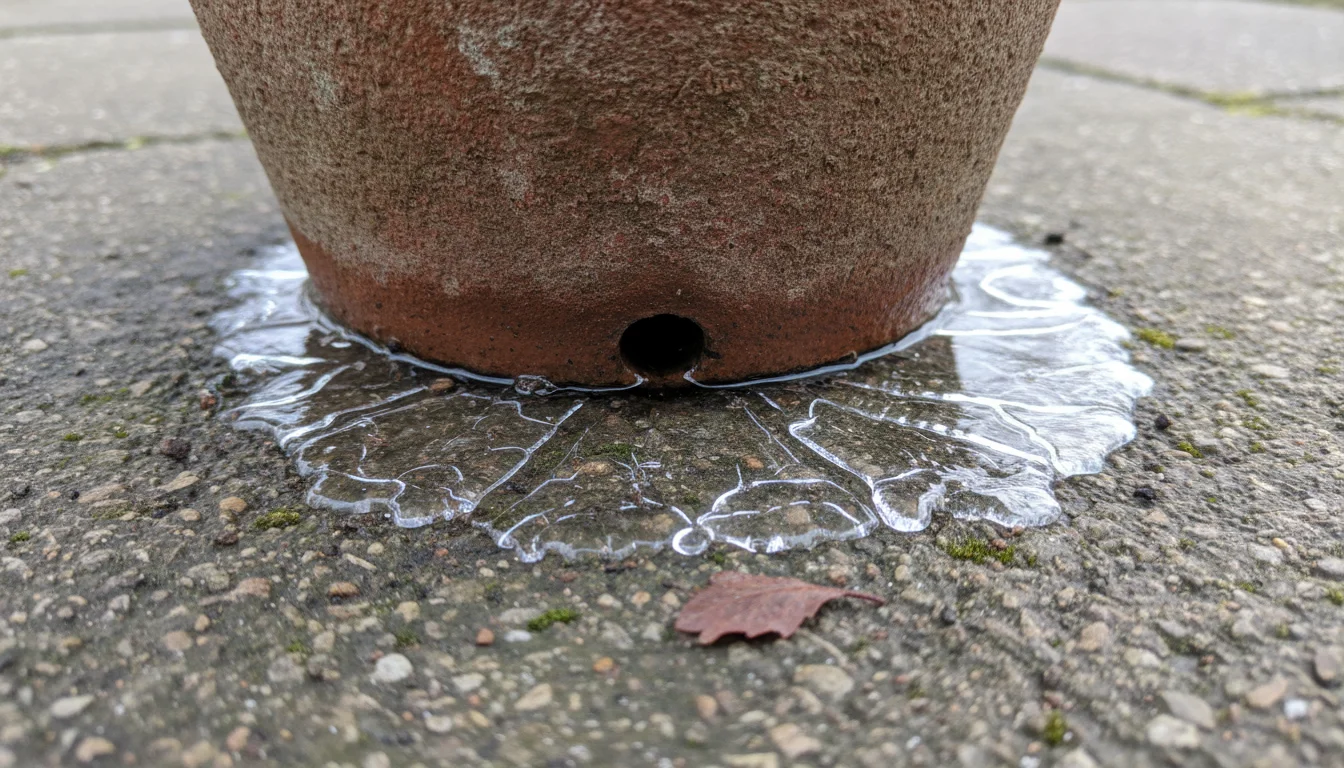
Preventing Pot Damage: Plant survival is not the only concern. The pots themselves are at risk. Ceramic, terra cotta, and even some plastic pots can crack, chip, or shatter when the water they absorb freezes and expands. This process, known as frost heave, exerts tremendous pressure from within the material. Imagine the frustration of finding your favorite, expensive pot destroyed after a cold snap. DIY frost protection extends the life of your containers, preserving their beauty and functionality for future growing seasons. This is particularly important for those treasured, heirloom, or uniquely designed pots you love.
Environmental Responsibility: Protecting your plants and pots from winter damage also aligns with an environmentally conscious gardening approach. By extending the life of your plants, you reduce the need to purchase new ones, conserving resources and minimizing waste. Similarly, preserving your existing pots reduces demand for new manufacturing. Overwintering perennials on a cold balcony successfully means you are nurturing life and reusing materials, embodying true sustainable gardening principles.
Understanding Frost Damage: The Science Behind the ‘Sweater Weather’ Method
To effectively protect your plants and pots, it helps to understand exactly what happens during a freeze. The ‘Sweater Weather’ Method aims to counteract these destructive forces by leveraging basic principles of insulation.
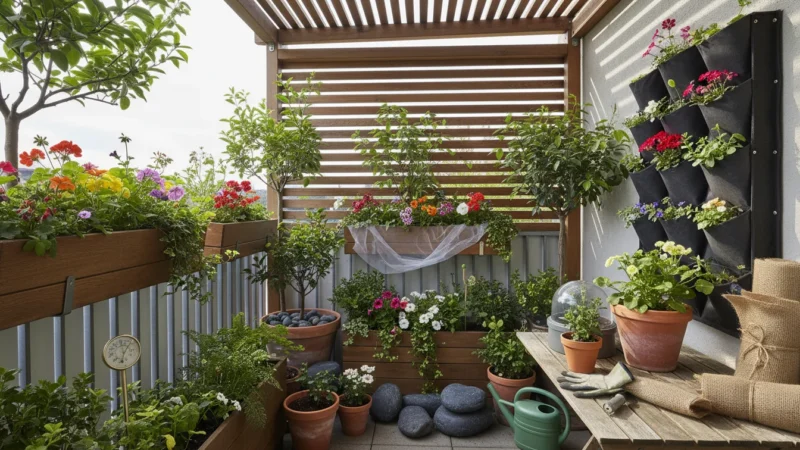
For an extra layer of protection beyond individual wraps, you can build a simple balcony greenhouse to shelter several containers at once.
If your plant is too sensitive for even the best DIY wraps, consider a rescue mission to move them indoors instead.
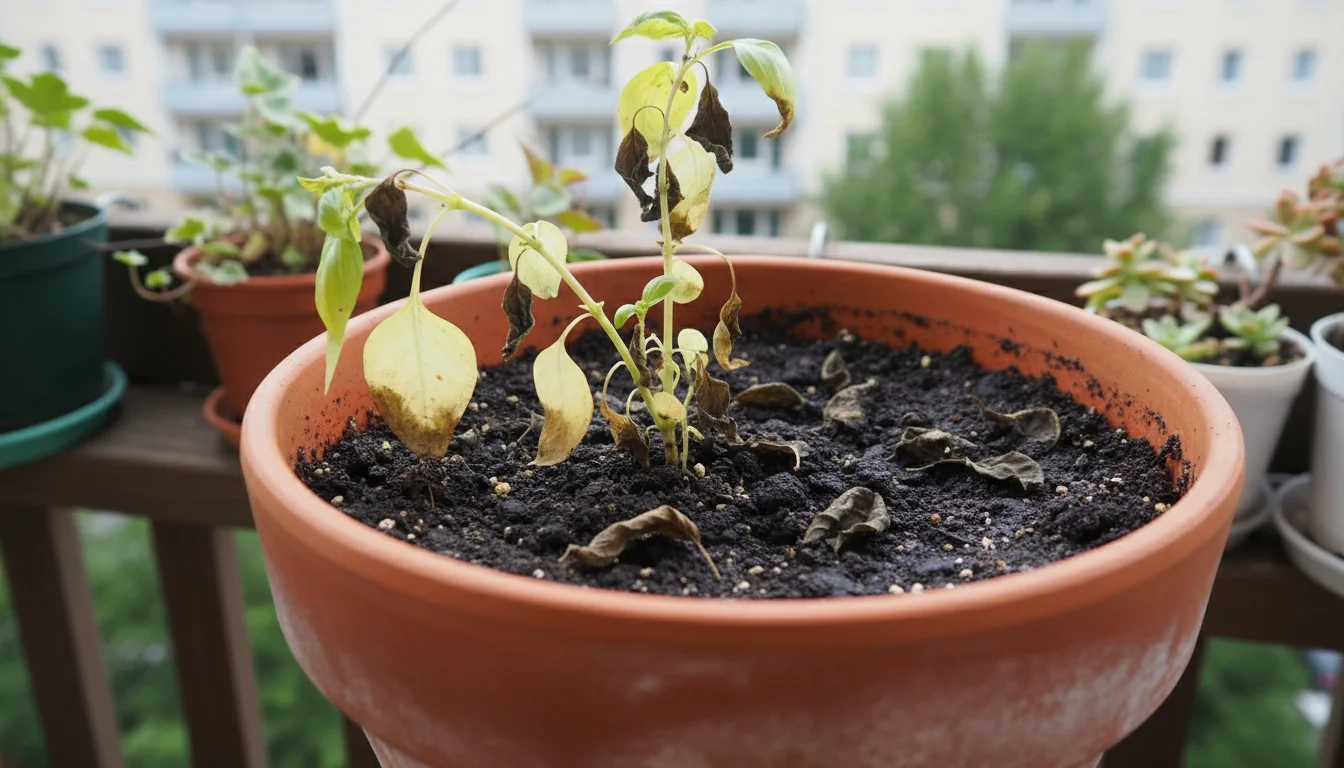
How Freezing Damages Plants: When temperatures drop below freezing, the water within plant cells can crystallize into ice. Ice crystals are sharp and expand, rupturing cell walls and damaging plant tissues. This cellular damage prevents the plant from transporting water and nutrients, leading to wilting, blackening, and ultimately, death. Roots are particularly sensitive to freezing because they are responsible for water uptake. If the roots freeze solid for too long, they cannot recover.
How Freezing Damages Pots: Many common pot materials, especially porous ones like terra cotta, absorb a significant amount of water. When this absorbed water freezes, it expands by approximately 9%. This expansion creates immense pressure within the material of the pot. Think of a tiny, internal explosion happening repeatedly throughout the pot’s structure. Over time, or with a single severe freeze, this pressure causes cracks, flaking, and complete shattering. Even denser materials can suffer fatigue and structural damage from repeated freeze-thaw cycles.
The Role of Insulation: Insulation works by trapping air, which is a poor conductor of heat. By creating an insulating layer around your pot, you slow the rate at which heat escapes from the soil and from the pot walls into the colder surrounding air. This keeps the soil temperature higher for longer, delaying or preventing the roots from freezing solid. It also moderates the temperature of the pot material itself, reducing the chances of the absorbed water freezing and expanding. The goal is not to keep the pot warm, but to minimize temperature fluctuations and prevent the temperature from dropping below a critical threshold for an extended period.
Thermal Mass and Drainage: Effective insulation also relies on the pot’s inherent thermal mass, which is the ability of the soil and pot material to store heat. A larger pot with more soil has a greater thermal mass and holds heat longer than a smaller pot. Good drainage is also crucial. Saturated soil holds more water, which means more water to freeze and expand, potentially damaging both roots and the pot. Ensure your pots have excellent drainage holes and that the soil drains freely before winter arrives.
Essential Preparations Before You Wrap
Before you start wrapping your pots, a few key steps ensure your plants are in the best possible condition to survive winter and your insulation efforts are effective. These preparations lay the groundwork for successful overwintering perennials on a cold balcony or patio.
If you have already cleared your summer annuals, don’t forget to prepare your empty pots for winter to prevent them from cracking while they sit idle.
-
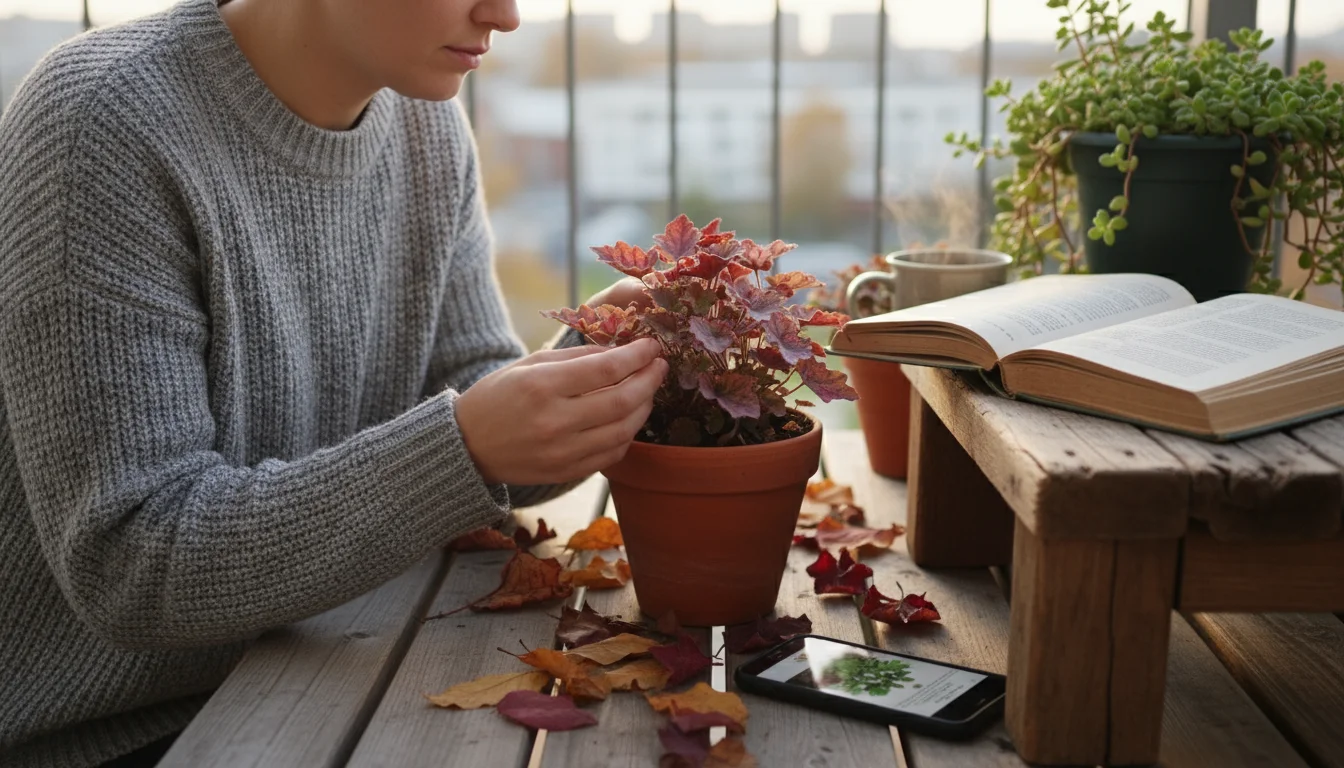
Assess Your Plants:
Are your plants truly candidates for overwintering outdoors? Some plants, like tropical annuals, will not survive freezing temperatures no matter how well you insulate their pots. Focus your efforts on hardy perennials, shrubs, or small trees that are borderline hardy for your zone when in containers. Research your specific plant’s cold tolerance. For example, a Zone 6 plant might do well in a protected, insulated pot in Zone 5, but a Zone 10 plant will likely need to come indoors. -
Water Thoroughly (But Not Excessively):
A week or so before the first hard freeze, give your plants a good, deep watering. Healthy, hydrated roots are more resilient to cold stress. However, avoid waterlogging the soil. Saturated soil expands more destructively when frozen and provides less insulation than moist soil. Ensure proper drainage so excess water can escape. Allow the top inch or two of soil to dry out before wrapping. -
Clean Up and Prune Lightly:
Remove any dead, diseased, or damaged foliage and stems. This reduces potential hiding spots for pests and diseases during dormancy. Avoid heavy pruning in late fall, as new growth stimulated by pruning would be too tender for winter. Light deadheading and removal of spent flowers are fine. -
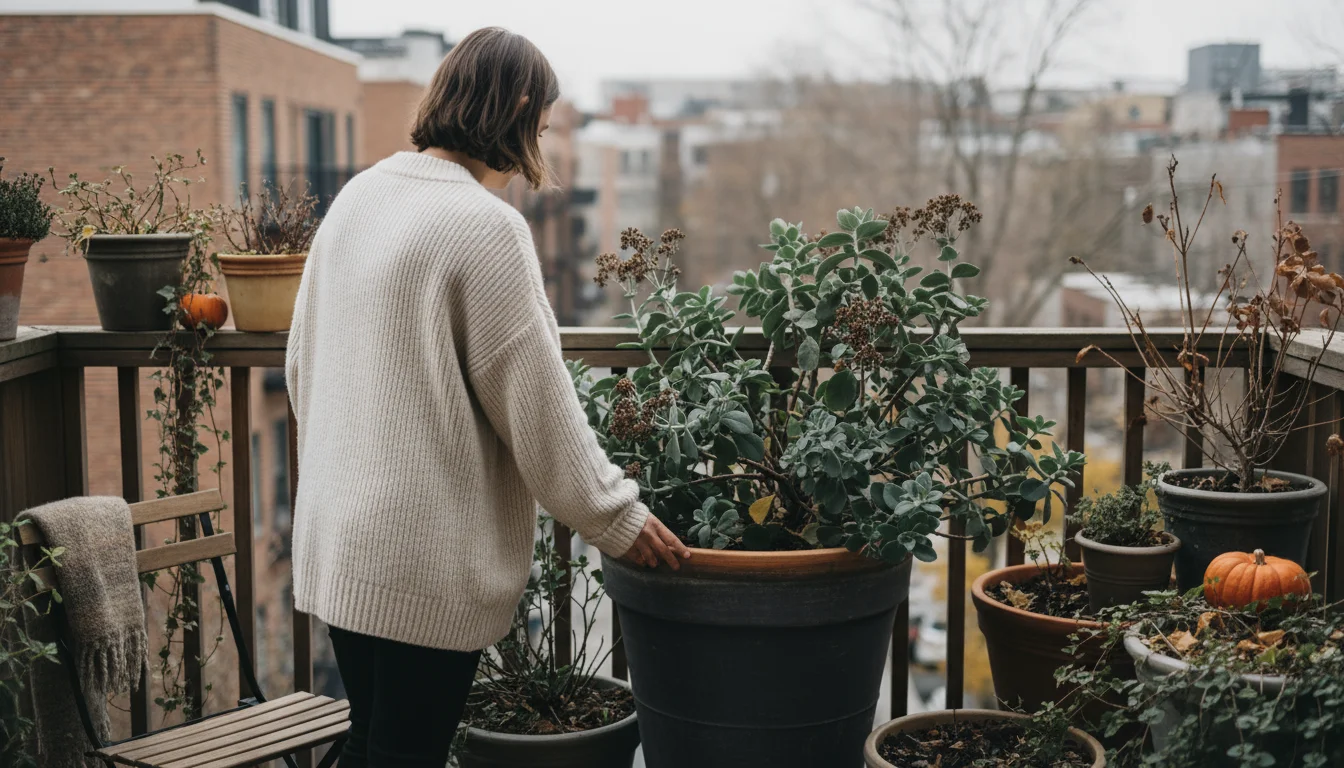
Relocate Pots to a Protected Spot:
Even with insulation, placing your pots in a more sheltered location makes a significant difference. Consider moving them closer to your home’s foundation, under an overhang, or against a south-facing wall. These spots offer passive warmth and protection from harsh winds, which can rapidly desiccate plants and increase cold stress. Grouping pots together also provides a microclimate, as the collective thermal mass of multiple pots helps keep each other warmer. -
Elevate Pots for Drainage:
Ensure your pots are not sitting directly on cold, wet ground or a concrete surface. Use pot feet, bricks, or wooden blocks to lift them slightly. This prevents the drainage holes from freezing shut and allows excess water to escape, reducing the risk of roots rotting and the pot cracking from standing water.
The ‘Sweater Weather’ Method: 5 DIY Wraps to Insulate Your Pots
Now, let’s get to the heart of the ‘Sweater Weather’ Method. You will discover five effective and inexpensive ways to create DIY frost protection for your containers. Each method focuses on adding insulating layers to help your plants and pots brave the cold.
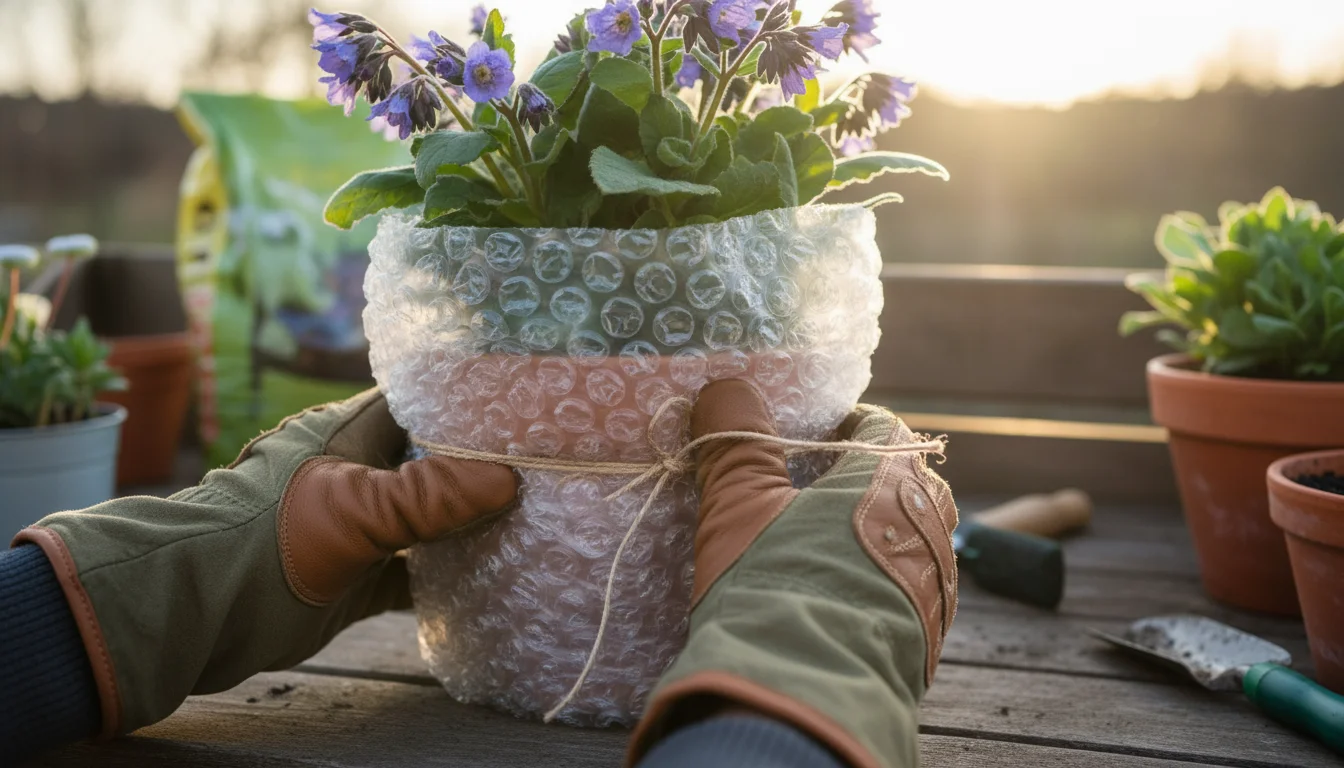
1. The Bubble Wrap Embrace
Using bubble wrap to protect plants is a classic for a reason. The air pockets in bubble wrap are excellent at trapping heat, providing a strong insulating layer.
- Materials: Large-bubble packing wrap (found at moving supply stores, hardware stores, or reuse centers), duct tape or strong twine, scissors.
- Method:
- Cut a piece of bubble wrap long enough to go around your pot at least twice, with enough height to reach from just above the soil line to the bottom of the pot.
- Wrap the bubble wrap tightly around the sides of the pot, ensuring multiple layers. Aim for at least two to three layers for optimal insulation.
- Secure the bubble wrap firmly with duct tape or twine. Wrap the tape or twine horizontally around the pot at the top, middle, and bottom to keep it snug.
- Do not cover the drainage holes at the bottom of the pot. Leave the top of the soil exposed or add a layer of mulch (see below).
- Best For: Individual pots, especially those in exposed locations. Bubble wrap is lightweight and highly effective.
- Eco-Tip: Reuse bubble wrap from packages you receive. It’s an excellent way to give it a second life before recycling.
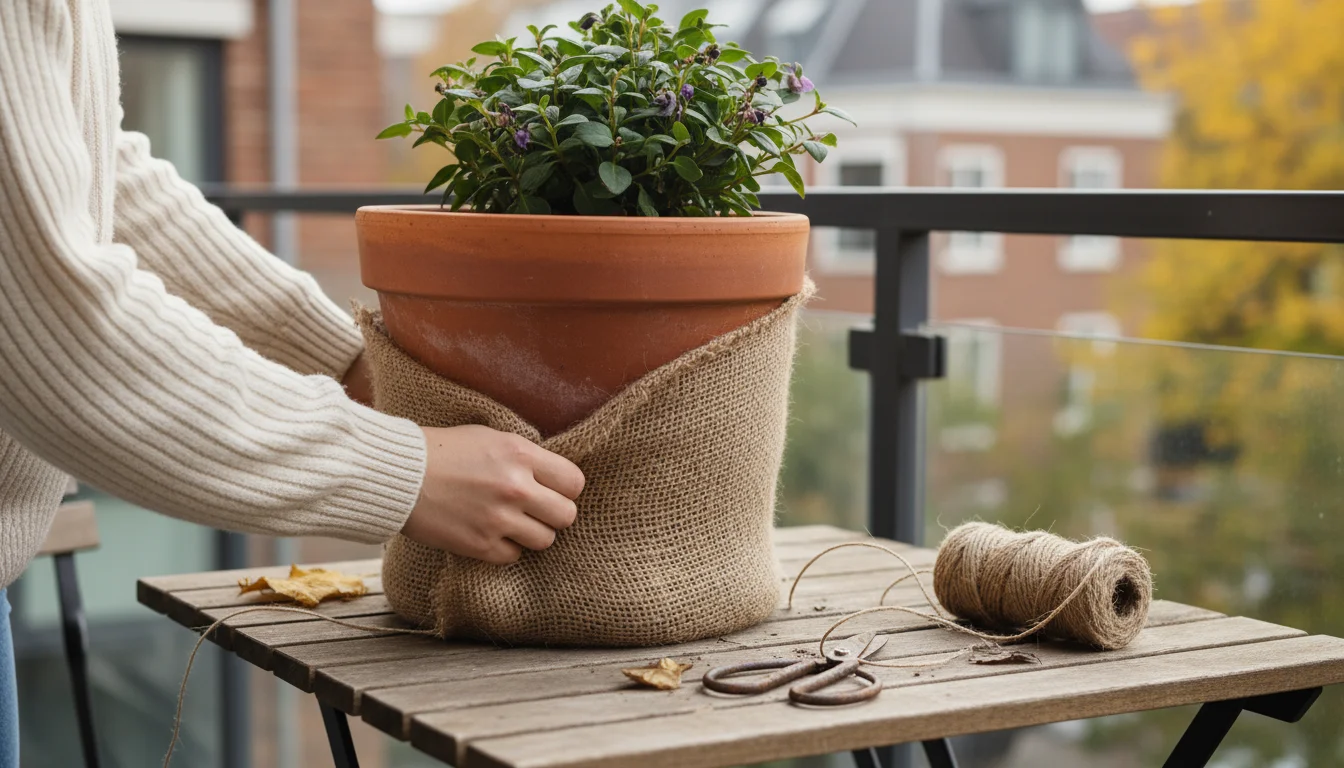
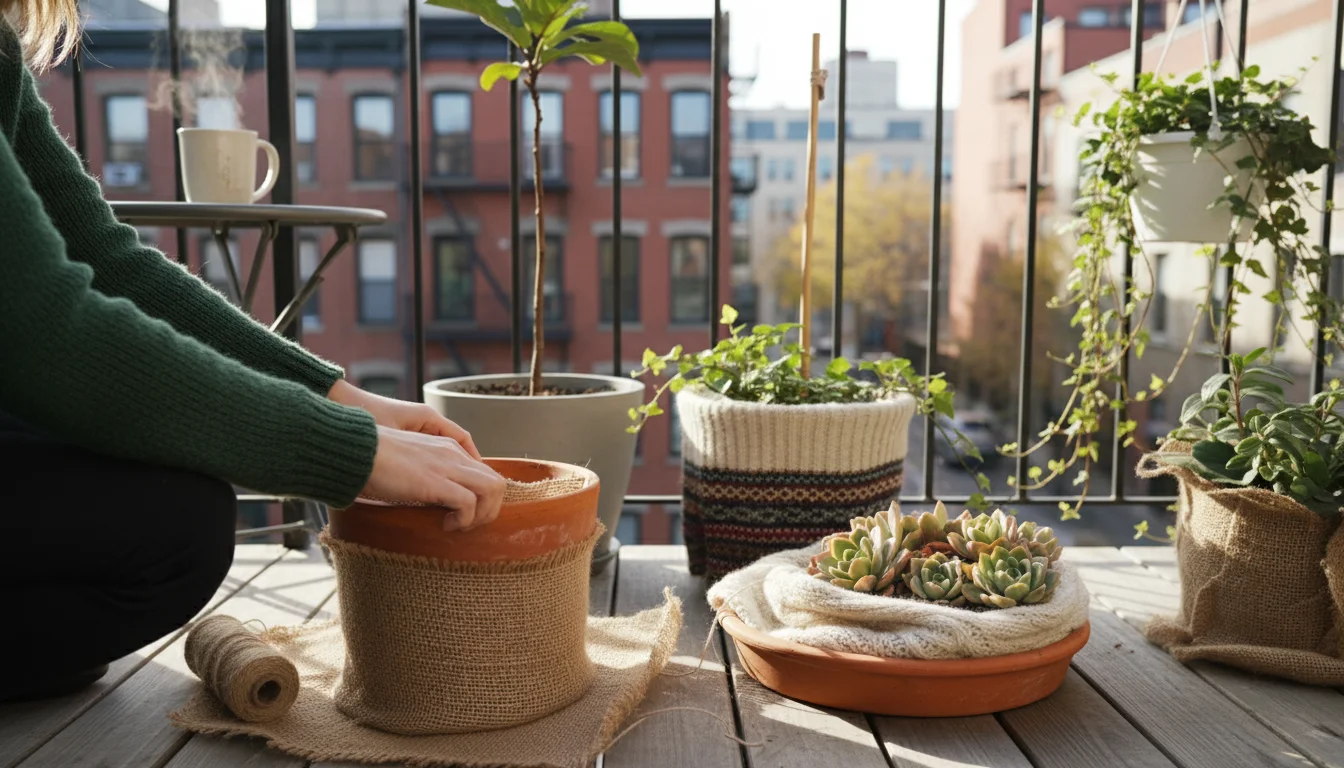
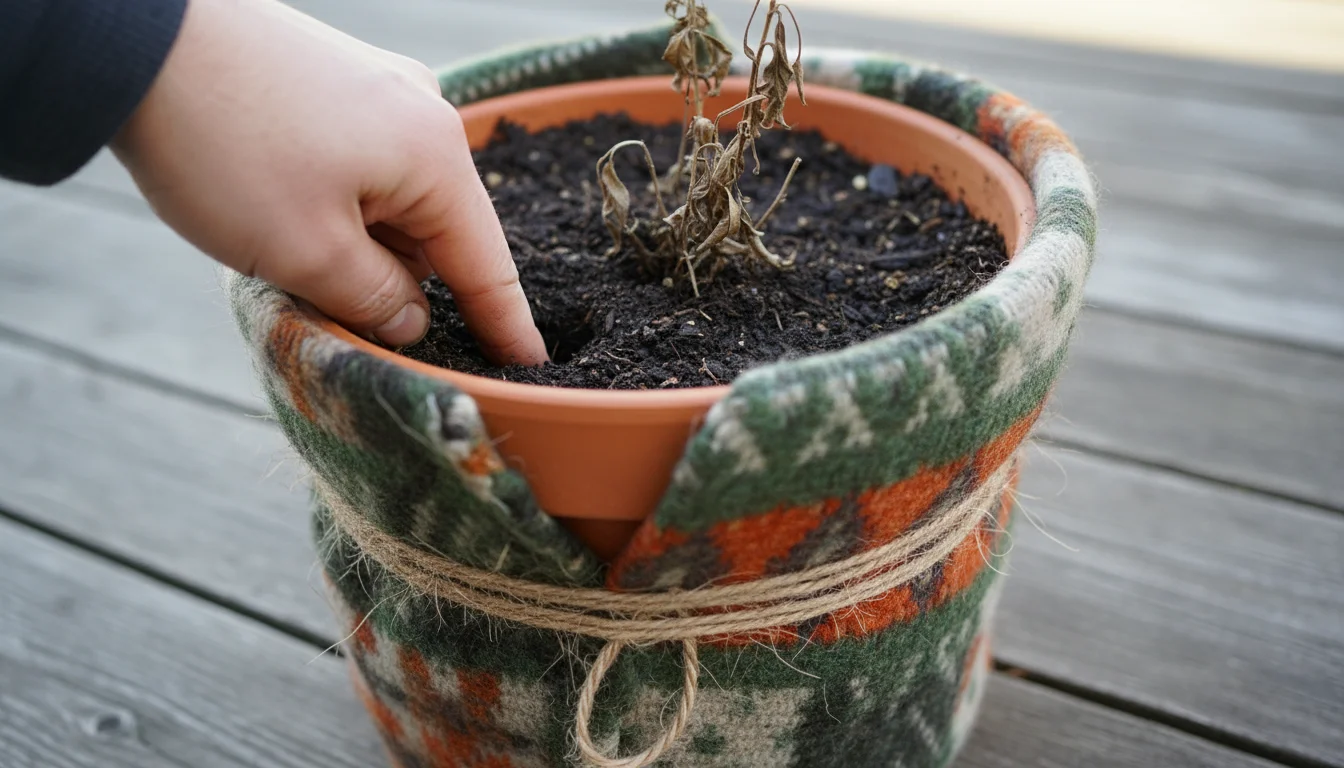
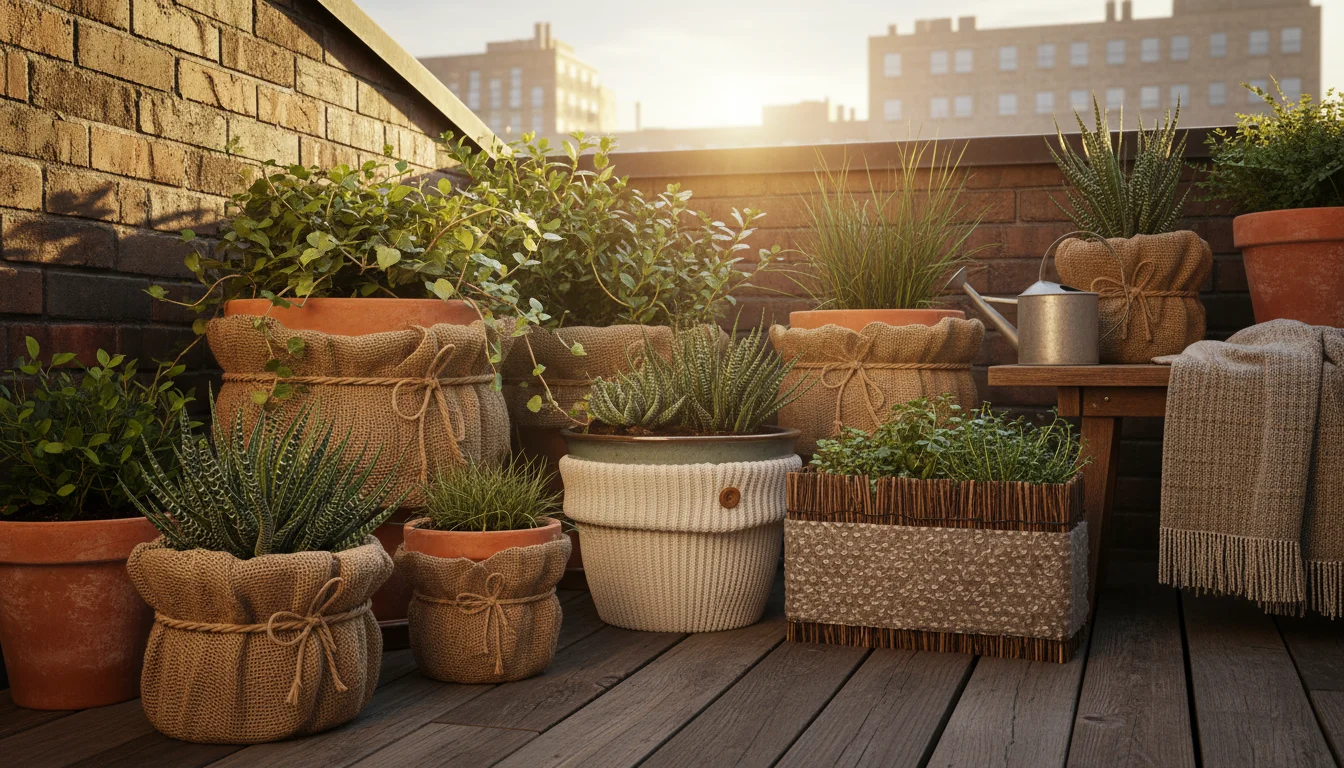
2. The Burlap Bag Jacket
Burlap is a natural, breathable material that provides good insulation and a rustic aesthetic. It allows for air circulation, preventing moisture buildup.
- Materials: Burlap fabric (large sacks or rolls), garden twine, scissors.
- Method:
- If using a burlap sack, cut out the bottom to create a cylinder, or simply use the whole sack if it fits around your pot. If using fabric from a roll, cut a piece large enough to wrap around the pot at least twice, extending from the soil line to the pot’s base.
- Wrap the burlap around the pot, ensuring it covers all sides. If possible, stuff the gap between the burlap and the pot with additional insulating material like straw, dried leaves, or even more crumpled burlap for enhanced protection.
- Tie the burlap securely at the top, middle, and bottom with garden twine. You can create a decorative bow or knot.
- Ensure the drainage holes remain clear.
- Best For: Aesthetically pleasing protection for visible pots. Also good for creating a “double-potting” effect by stuffing the gap.
- Eco-Tip: Burlap is biodegradable. At the end of the season, you can compost it or reuse it next year.
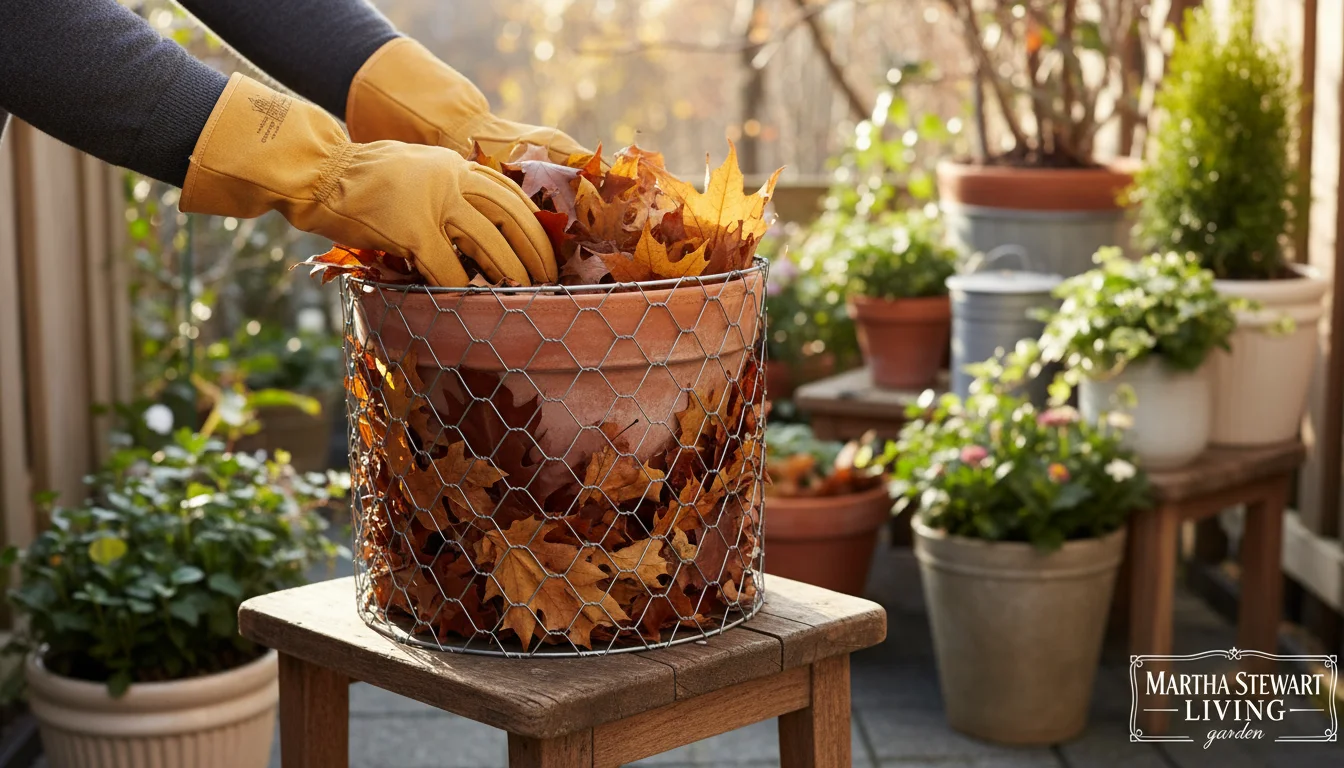
3. The Leaf Litter Layer
Nature’s own insulation: fallen leaves. This method is incredibly eco-friendly and effective, particularly when combined with other wraps.
- Materials: Dry fallen leaves (oak and maple leaves are excellent), chicken wire or a similar mesh, garden stakes, garden twine.
- Method:
- Around your pot, create a cylinder using chicken wire. Make sure the cylinder is wide enough to leave several inches of space between the wire and the pot. Secure the ends of the chicken wire together to form the cylinder.
- Anchor the chicken wire cylinder with garden stakes pushed into the ground or heavy stones inside the cylinder if on a hard surface.
- Fill the space between the pot and the chicken wire cylinder tightly with dry leaves. The drier the leaves, the better their insulating properties. Pack them firmly to reduce air pockets.
- For added protection, you can also place a layer of leaves on top of the soil within the pot (mulching).
- Consider covering the top of the leaf-filled cylinder with a piece of plastic or burlap to keep the leaves dry and prevent them from blowing away.
- Best For: Larger pots or grouping several smaller pots together within a single leaf-filled enclosure. Excellent for how to wrap pots to prevent cracking in cold using free materials.
- Eco-Tip: This method turns garden waste into valuable plant protection. The leaves will decompose and enrich your garden soil if you compost them after winter.
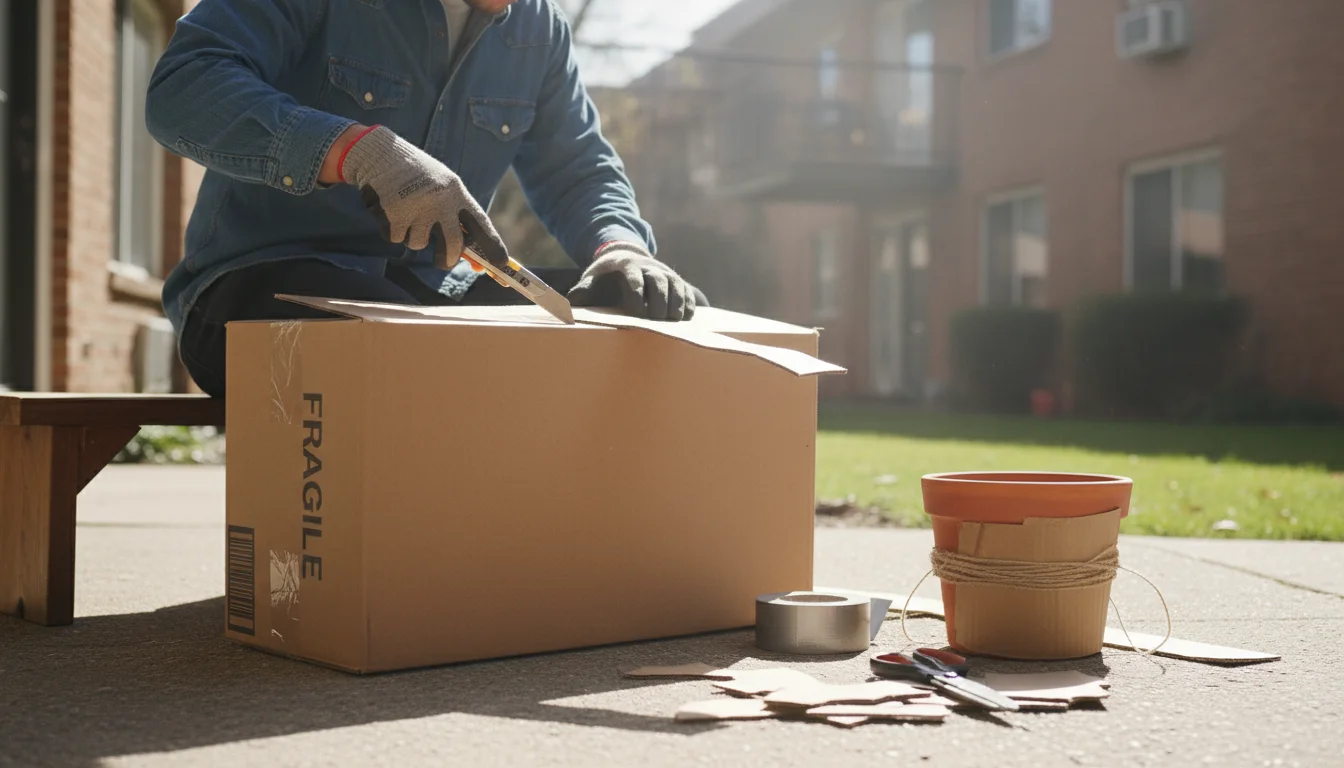
4. The Recycled Cardboard Collar
Cardboard, especially corrugated cardboard, contains air pockets that make it a decent insulator. It is readily available and often free.
- Materials: Large cardboard boxes (moving boxes are ideal), heavy-duty scissors or a box cutter, duct tape or strong twine.
- Method:
- Break down your cardboard boxes into flat sheets.
- Cut strips of cardboard that are slightly taller than your pot.
- Wrap multiple layers of cardboard around the pot. Aim for at least three to four layers for good insulation. You can layer the strips, taping each layer as you go, or cut one very long strip and coil it around the pot.
- Ensure the cardboard extends from just above the soil line to the bottom of the pot.
- Secure the entire cardboard wrap firmly with duct tape or twine, wrapping horizontally at several points.
- If rain or snow is common, consider wrapping an outer layer of plastic sheeting around the cardboard to keep it dry, as wet cardboard loses much of its insulating value.
- Best For: Utilizing household recycling for practical DIY frost protection.
- Eco-Tip: Give cardboard a second life. Ensure it is clean and free of labels or tape before use if you plan to recycle it after winter.
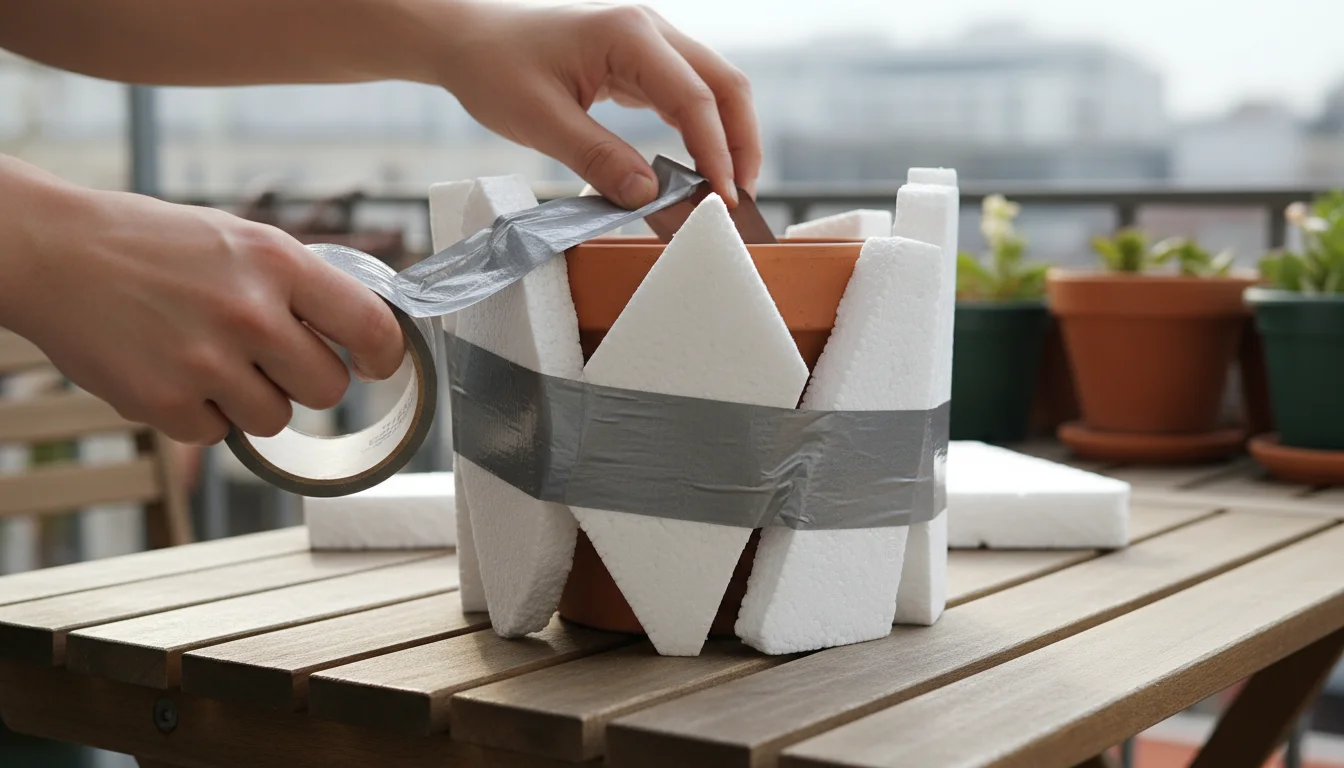
5. The Styrofoam Sleeve (Reused)
Styrofoam, while not the most eco-friendly new purchase, is an excellent insulator when reused. Many electronics and appliances come packed in it.
- Materials: Styrofoam sheets or blocks (from packaging), strong adhesive or duct tape, a utility knife.
- Method:
- Carefully cut Styrofoam sheets into pieces that will form a sleeve around your pot. You can cut several rectangular pieces to form the sides and one round piece for the base.
- Fit the Styrofoam pieces snugly around the pot, ensuring they cover the sides. You can tape them together to form a box or cylinder around the pot.
- If you can, create a “double-potting” scenario by placing a smaller pot inside a larger Styrofoam-lined container, filling the gap with more Styrofoam peanuts or straw.
- Secure the Styrofoam sleeve with strong duct tape, ensuring no gaps.
- Again, ensure the drainage holes are not blocked.
- Best For: Maximum insulation for highly vulnerable plants or very cold climates, utilizing material that might otherwise go to a landfill.
- Eco-Tip: This method primarily focuses on reusing existing Styrofoam. Check local recycling options for Styrofoam if available after its use.
Adding a Top Layer of Mulch: Regardless of which wrap you choose, always consider adding a layer of mulch on top of the soil in the pot. Organic mulches like straw, shredded leaves, wood chips, or pine needles act as another insulating blanket for the root crown. Apply a layer 2-4 inches thick, keeping it away from the plant’s stem to prevent rot.
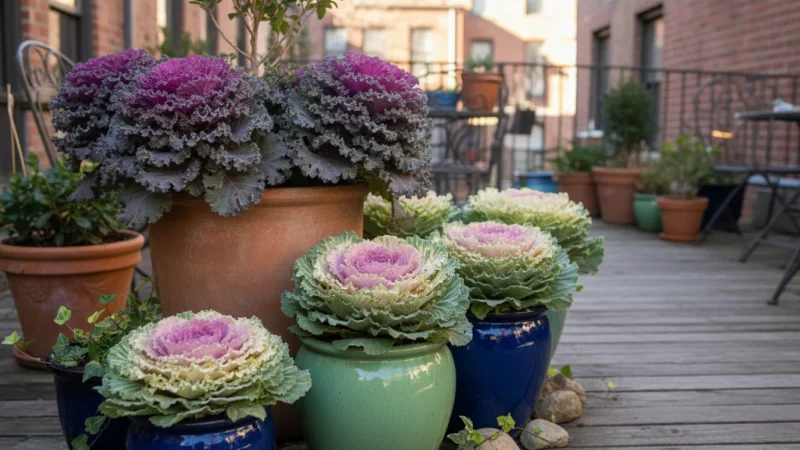
Smart Plant Choices for Overwintering in Containers
Not all plants are created equal when it comes to cold hardiness in containers. Your success with insulating pots for winter hinges significantly on selecting the right plants for your outdoor winter environment. This section guides you in making smart choices for overwintering perennials on a cold balcony.
Special care is often needed for edible trees, so check out this guide on overwintering dwarf fruit trees if you have a potted orchard.
Know Your Hardiness Zones: This is the fundamental rule. The USDA Plant Hardiness Zone Map indicates which plants are most likely to thrive at a location. However, container plants are typically considered one or two zones less hardy than their in-ground counterparts. For example, if you live in Zone 6, a plant rated for Zone 5 might survive winter in a well-insulated pot. A plant rated for Zone 7, however, will likely struggle even with significant protection.
Focus on Root Hardiness: The primary goal of insulating pots is to protect the roots. Plants with inherently cold-hardy root systems are your best bets.
- Shrubs and Small Trees: Many dwarf conifers, boxwood, euonymus, and certain hydrangeas can overwinter successfully in containers with insulation. Look for varieties specified for container culture.
- Hardy Perennials: Lavender, hostas, sedum, heuchera, certain ornamental grasses (like switchgrass), and some varieties of coneflower often tolerate container overwintering. Choose native varieties or those known for exceptional hardiness.
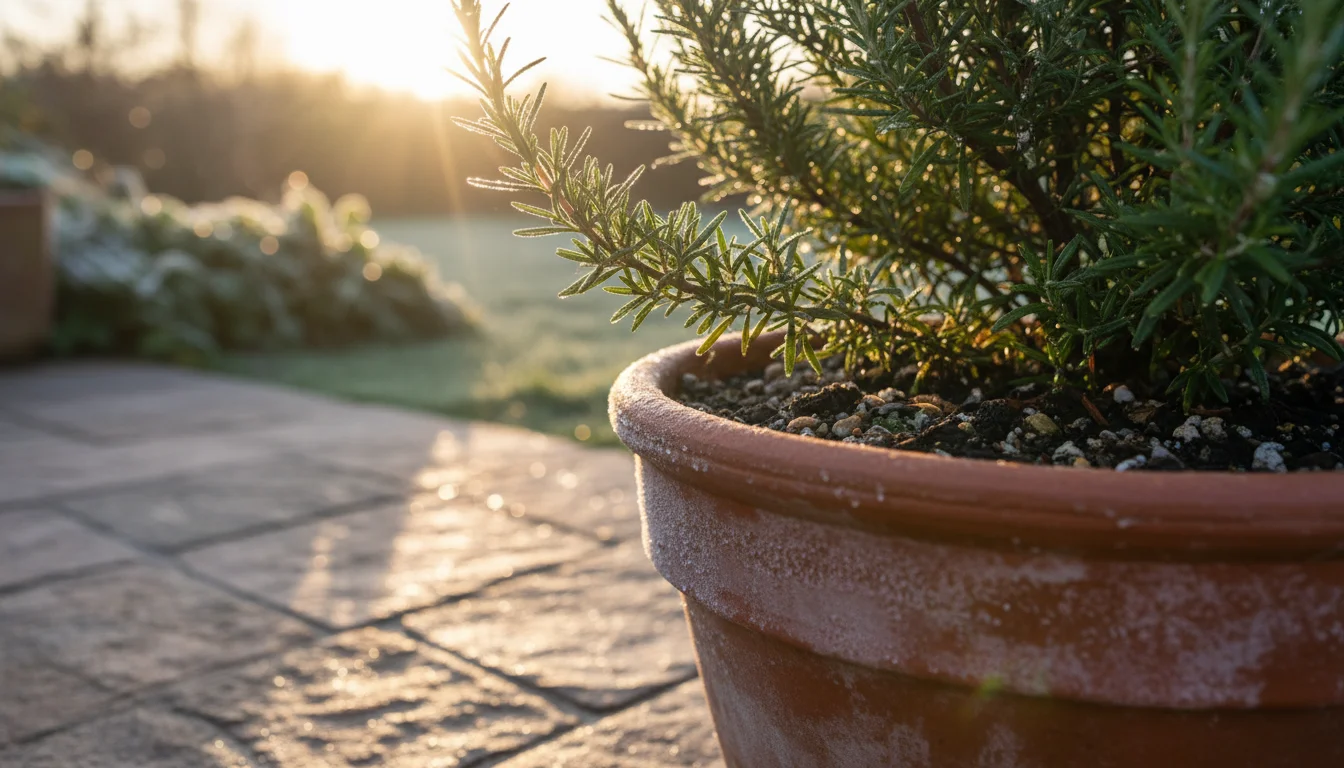
- Herbs: Many perennial herbs like thyme, sage, chives, and oregano are quite cold tolerant and will bounce back if their roots are protected. Rosemary, while perennial, is less hardy and often needs indoor protection or a very mild climate.
- Bulbs: Spring-flowering bulbs like tulips, daffodils, and hyacinths require a chilling period and can often be left in well-drained, insulated pots outdoors. Ensure good drainage to prevent rot.
Avoid Tender Tropicals and Annuals: Resist the urge to try to save every plant. Tropical plants (like hibiscus, bougainvillea, or many succulents) simply cannot tolerate freezing temperatures, even with the best insulation. Annuals complete their life cycle in one season and naturally die with the first hard frost. Trying to protect them often leads to disappointment and wasted effort. Focus your precious time and resources on plants with a genuine chance of survival.
Consider Container Size: Larger pots inherently offer more thermal mass, making them easier to protect. A small pot, even insulated, will cool down faster than a large one. When selecting plants you intend to overwinter, consider planting them in larger containers (15-gallon equivalent or more) from the start. This gives the roots more soil to burrow into and more insulation from the surrounding soil volume.
Acclimation is Key: Before the hard freezes set in, allow your plants to gradually acclimate to cooler temperatures. Do not bring them indoors or wrap them too early. This gradual exposure helps them enter dormancy naturally, which is crucial for cold tolerance. Rapid changes in temperature can shock plants and make them more vulnerable.
By carefully selecting plants suited for your climate and container conditions, you significantly increase your success rate for protecting containers from frost.
Maintaining Your Wrapped Pots: Tips for Success
Applying the ‘Sweater Weather’ method is a great start, but ongoing maintenance ensures your DIY frost protection remains effective throughout the winter. Regular checks and mindful watering are key to preventing common problems.
Monitor Moisture Levels: Your plants still need water, even during dormancy, but far less than in the growing season. The insulation will also reduce evaporation. Check the soil moisture periodically by sticking your finger two inches deep. Only water when the soil feels dry. Overwatering is a leading cause of winter plant death in containers, as it can lead to root rot and make the roots more susceptible to freezing damage. Aim for consistently moist, but never soggy, soil.
Check for Pest Activity: While less active in winter, pests can still find sheltered spots within your wrapped pots. Periodically inspect your plants, especially on milder days. Look for signs of aphids, spider mites, or other unwelcome guests. Address any infestations promptly to prevent them from becoming a bigger problem when spring arrives.
Inspect Your Insulation: Wind, snow, and rain can wear down or dislodge your insulation. Regularly check your wraps to ensure they are still snug and intact. Re-tape any loose sections, repack any settled leaves, or replace damaged burlap. Ensuring your insulation remains effective is crucial for protecting containers from frost. If using cardboard, ensure it stays dry; wet cardboard loses its insulating value.
Ventilation on Milder Days: If you experience an extended period of unusually mild weather in the winter, especially if your pots are tightly wrapped, consider temporarily loosening or partially removing some of the insulation. This allows for better air circulation and prevents excessive warmth and humidity buildup, which can encourage fungal diseases. Remember to re-secure the insulation when colder temperatures return.
Snow as an Insulator: If you receive natural snowfall, do not automatically clear it away from your wrapped pots. Snow itself is an excellent insulator. A layer of snow around and over your pots can add an extra blanket of protection, particularly for the soil surface. Just ensure it does not completely block drainage holes or suffocate the plant’s top growth.
Prepare for Spring: As winter draws to a close and the threat of hard freezes passes, gradually remove the insulation. Do not strip it all off at once, especially if late frosts are still possible. A gradual unveiling allows your plants to slowly acclimate to increasing light and temperature, minimizing shock. Once the danger of frost is truly over, remove all insulation, clean up any debris, and prepare your plants for their spring awakening.
Common Mistakes to Avoid When Insulating Pots
Even with the best intentions, some common missteps can undermine your efforts to protect your container garden. Being aware of these pitfalls will help you avoid them and ensure your overwintering strategy is successful.
1. Overwatering: This is arguably the most common mistake. Dormant plants require significantly less water. Excess moisture leads to root rot, which is often fatal, and makes the soil more susceptible to destructive freezing and expansion. Always check the soil moisture before watering, and err on the side of underwatering rather than overwatering during winter.
2. Blocking Drainage Holes: Your pots must drain freely, even in winter. If drainage holes are blocked by ice, sitting water, or insulating materials, the roots can drown, and the pot is more likely to crack when water freezes within it. Always ensure a clear path for water to escape, and elevate your pots.
3. Insulating Too Early or Removing Too Late: Applying insulation too early, when temperatures are still mild, can prevent plants from naturally hardening off and entering dormancy. This can make them more vulnerable to subsequent cold. Conversely, removing insulation too early exposes plants to late-season frosts, which can be just as damaging as the first freeze. Watch your local forecasts carefully and respond gradually.
4. Using Wet or Ineffective Insulating Materials: Wet insulation, whether it is cardboard, leaves, or fabric, loses much of its insulating value. It can also encourage rot and fungal growth. Ensure all materials are dry before wrapping, and take steps to keep them dry throughout the winter (e.g., covering cardboard with plastic). Using very thin or insufficient layers of insulation also offers minimal protection. More layers of dry material provide better results for insulating pots for winter.
5. Neglecting the Top of the Pot: While the sides of the pot are critical, the soil surface and the plant’s crown also need protection. Forgetting to add a layer of mulch on top of the soil leaves this vulnerable area exposed to freezing air and drying winds. A good 2-4 inch layer of organic mulch significantly enhances the overall insulation of the root ball.
6. Choosing the Wrong Plants: As discussed earlier, not all plants are suitable for outdoor overwintering in containers. Attempting to save tropicals or extremely tender perennials outdoors is often a losing battle, regardless of insulation. Be realistic about your plants’ hardiness and your climate. Focus your efforts on plants that stand a reasonable chance of survival.
7. Forgetting About Wind Chill: Wind chill drastically reduces the perceived temperature for plants, increasing desiccation and cold stress. Even well-insulated pots are more vulnerable in exposed, windy locations. Always try to move your containers to a sheltered spot, such as against a building or grouped together, to minimize wind exposure. This is crucial for protecting containers from frost.
By avoiding these common mistakes, you significantly increase your success rate for keeping your favorite pots and plants healthy through the winter months, ensuring they are ready to thrive once spring arrives.
Frequently Asked Questions
Can I use old blankets or towels to insulate my pots?
Yes, you can use old blankets or towels, particularly wool or thick cotton ones, for DIY frost protection. They offer good insulation by trapping air. However, be aware that they can absorb a lot of moisture. If they get wet and stay wet, they can lose insulating value and even promote rot. Consider wrapping them with an outer layer of plastic sheeting to keep them dry, especially in rainy or snowy climates.
Do black pots absorb more heat, making them better for winter?
Black pots do absorb more solar radiation, warming up faster on sunny winter days. This can be beneficial. However, they also radiate heat away faster once the sun sets, and they can undergo more extreme temperature fluctuations than lighter-colored pots. While a black pot might offer a slight advantage on sunny days, it does not replace the need for additional insulation when facing freezing temperatures.
Should I bring some plants indoors instead of insulating them outside?
Absolutely. For tender plants not suited to your outdoor winter conditions, bringing them indoors is often the best choice. Tropical plants, many succulents, and non-hardy annuals thrive when overwintered inside in a sunny window or under grow lights. Insulation helps with borderline hardy plants, but it cannot make a tropical plant survive a deep freeze. Assess your plant’s specific needs and hardiness before deciding on an outdoor insulation strategy.
How long do I need to keep the pots wrapped?
Keep your pots wrapped from the first hard freeze until the last threat of a hard frost has passed in your area, typically in early spring. Monitor local weather forecasts closely. Once consistent daytime temperatures rise above freezing and nighttime temperatures remain above 28-30 degrees Fahrenheit, you can begin to gradually remove the insulation. Removing it too early risks exposing plants to late frosts, which can be just as damaging as the initial cold snaps. Gradual removal allows plants to reacclimate.
Can I just put my pots in the garage for winter?
Yes, moving pots into an unheated garage, shed, or unheated sunroom can be an excellent alternative or addition to external wrapping, especially for marginal plants. These spaces offer significant protection from extreme cold and wind. Ensure the area remains consistently above freezing but cool enough for plants to stay dormant. You will still need to check soil moisture periodically, as plants in garages can still dry out, albeit slowly. This method offers superb DIY frost protection.
For trustworthy gardening information, visit:
Penn State Extension — Trees, Lawns and Landscapes, Clemson University Extension — Home & Garden, Colorado State University Extension — Gardening and North Carolina State Extension — Gardening. These organizations provide expert, research-based advice for gardeners at all levels.
Disclaimer: This article is for informational purposes only and is not a substitute for professional gardening advice. Always consult local extension services or horticulture experts for region-specific guidance.


Leave a Reply