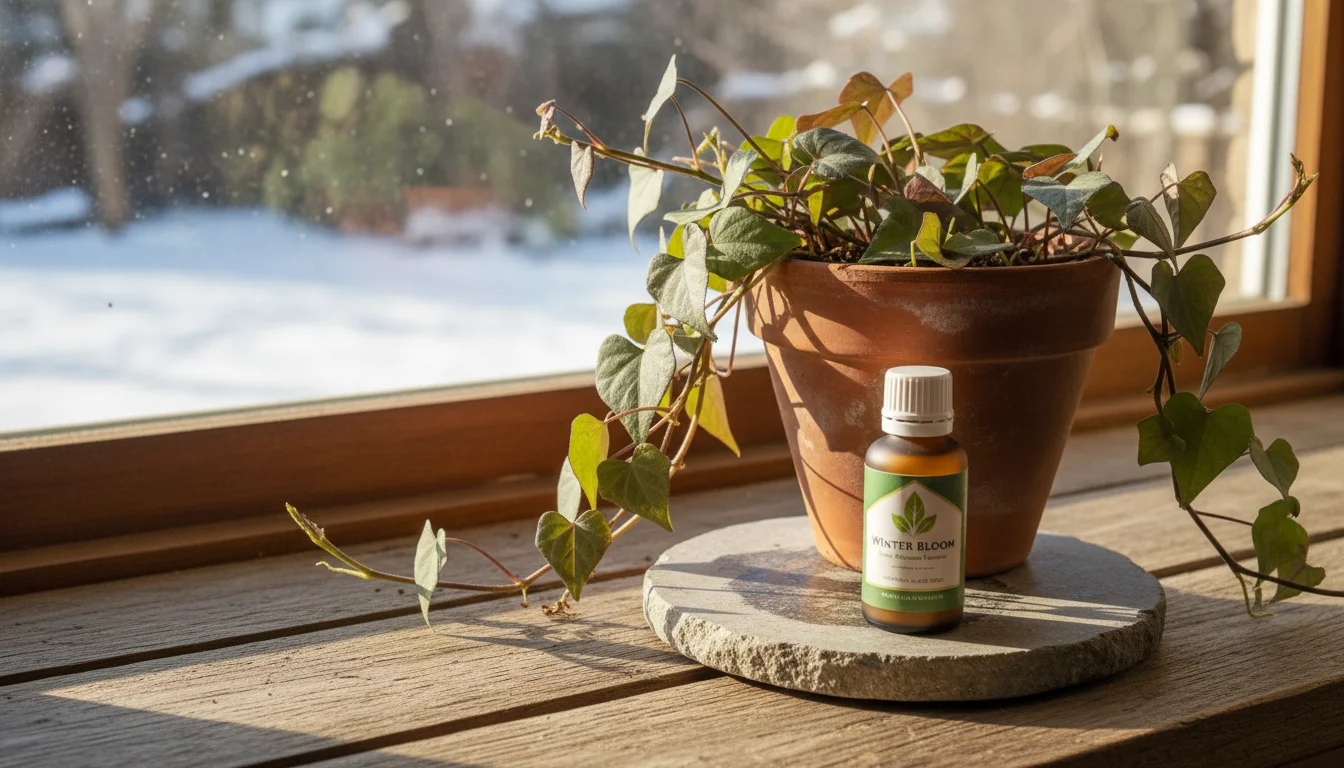
Winter often brings a hush to the garden, but it does not mean your green thumb needs to go dormant. Instead, turn your attention indoors and embark on a rewarding project that transforms a humble grocery store sweet potato into a vibrant, vining houseplant. This is not just a clever way to repurpose kitchen scraps, it is an engaging, low-maintenance endeavor perfect for small spaces, brightens your home, and offers a fresh touch of green when outdoor gardens are sleeping. Whether you are a beginner looking for an easy plant to grow indoors in winter or an experienced gardener seeking a unique indoor project, learning how to grow a plant from a sweet potato in water provides immense satisfaction and a beautiful, living result.
You can create a stunning ornamental plant with minimal effort, even if you lack a vast garden. This guide walks you through the entire process, from selecting the right sweet potato to cultivating a lush, trailing vine that will thrive in your home all season long. Prepare to discover the simple joy of growing something spectacular from a common kitchen item.
Why a Sweet Potato Vine is Your Next Winter Houseplant
Choosing a sweet potato vine for your indoor garden during the colder months offers numerous benefits. It is an incredibly rewarding winter indoor project that requires minimal expertise, making it ideal for gardeners of all levels. Here is why you should consider this particular project:
- Low Maintenance and Resilience: Sweet potato plants are remarkably forgiving. They tolerate a range of conditions, making them one of the easier plants to grow indoors in winter. You do not need to be an expert to see success.
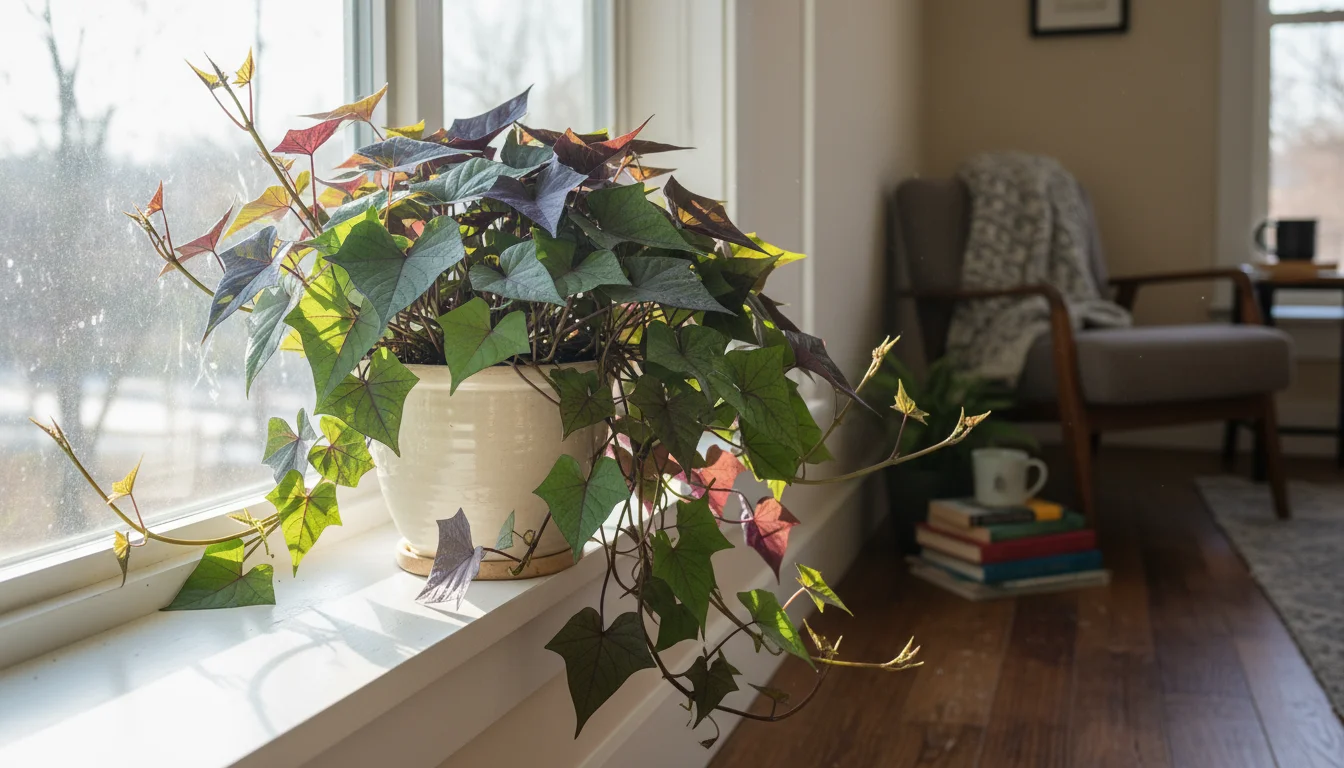
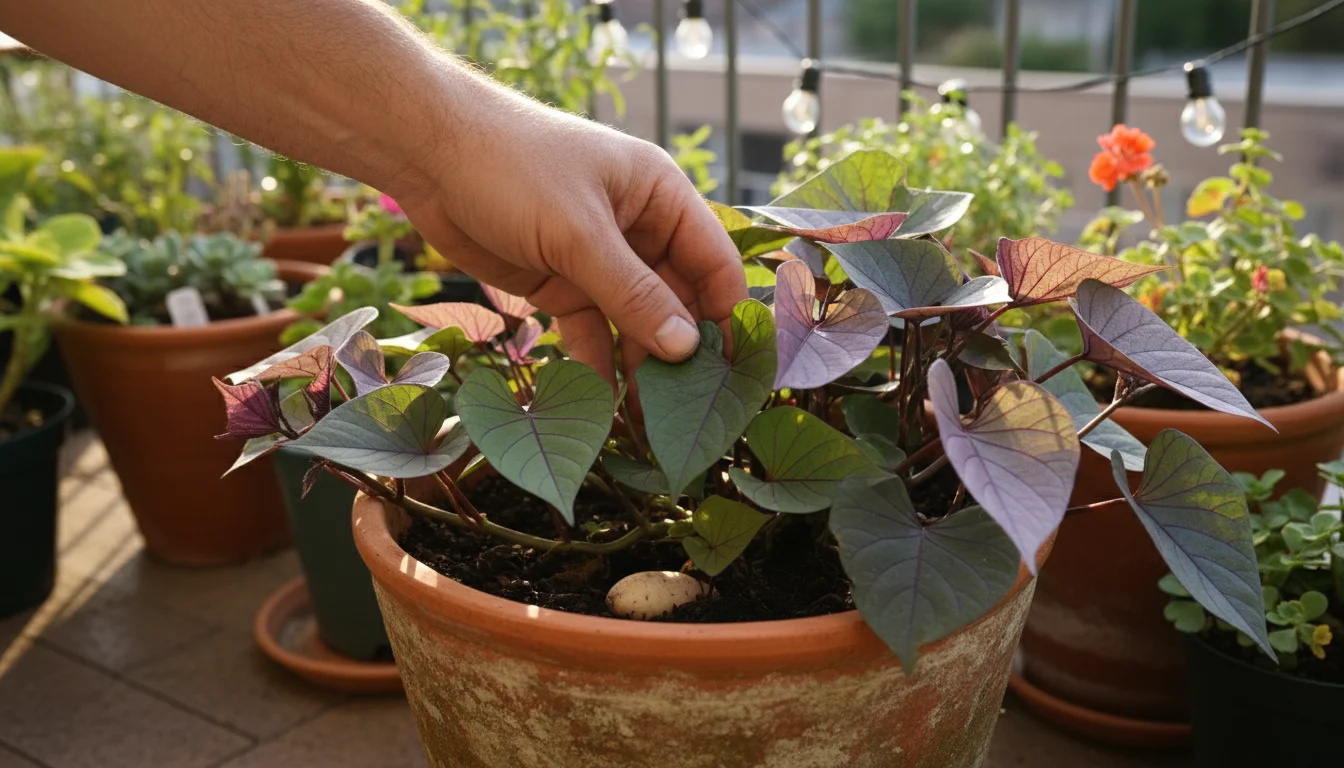
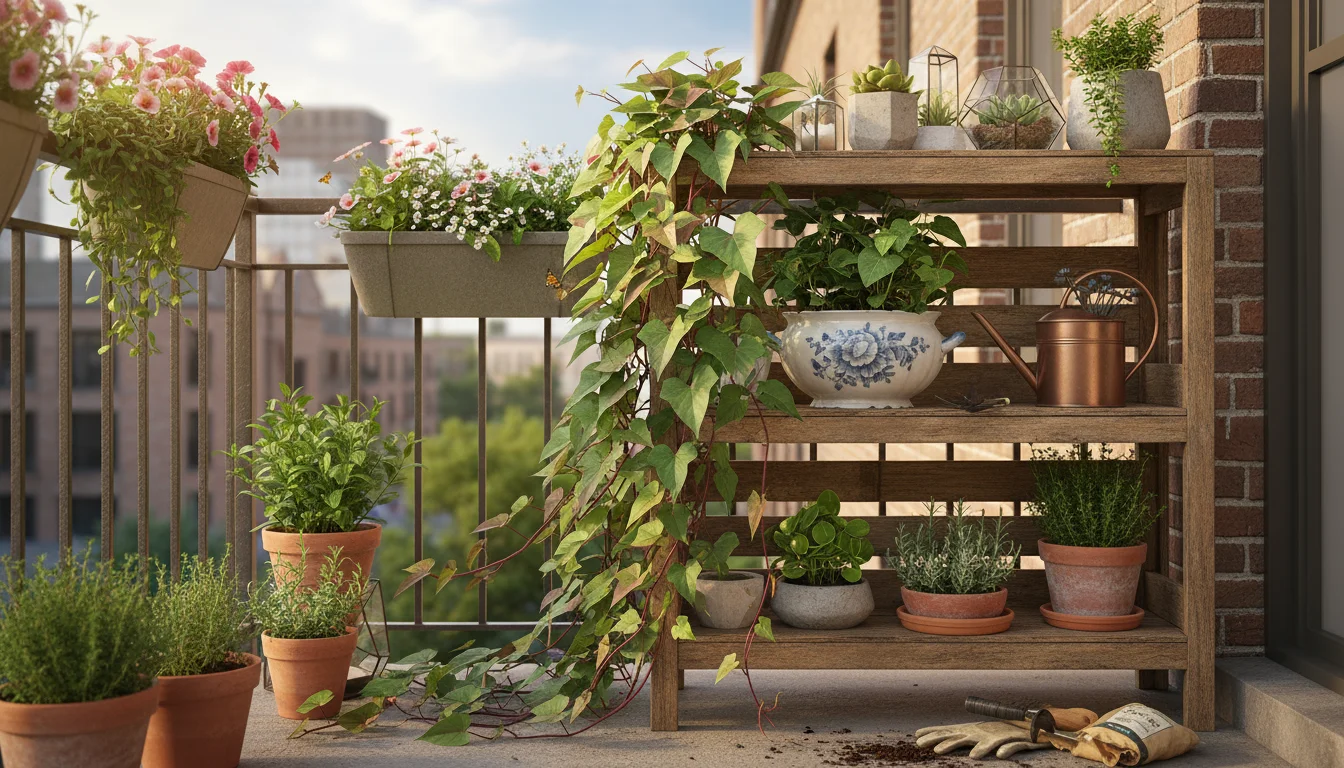
- Aesthetic Appeal: The vines produce beautiful, heart-shaped or lobed leaves, often in shades of green, purple, or bronze, depending on the variety. These trailing plants add a touch of lush, natural elegance to any room, draping gracefully from shelves, hanging baskets, or tabletops.
- Air Purification: Like many houseplants, sweet potato vines contribute to better indoor air quality by absorbing common pollutants. You create a healthier home environment while enjoying its beauty.
- Educational Fun: This project offers an excellent opportunity to observe plant growth firsthand, from sprout to fully fledged vine. It is particularly engaging for families and children, providing a tangible lesson in botany and sustainable living through kitchen scrap gardening.
- Cost-Effective: You start with a sweet potato you likely already have or can purchase cheaply from a grocery store. This makes it an incredibly budget-friendly way to add greenery to your home.
- Space-Saving: For those with limited space, a sweet potato vine can thrive in a small pot or even continue its life in a glass of water, making it perfect for windowsills, balconies, or small patios once warmer weather returns.
You will find that the satisfaction of watching a vibrant plant emerge from a simple tuber is immense. It transforms a dark winter day into an opportunity for growth and beauty right in your living space.
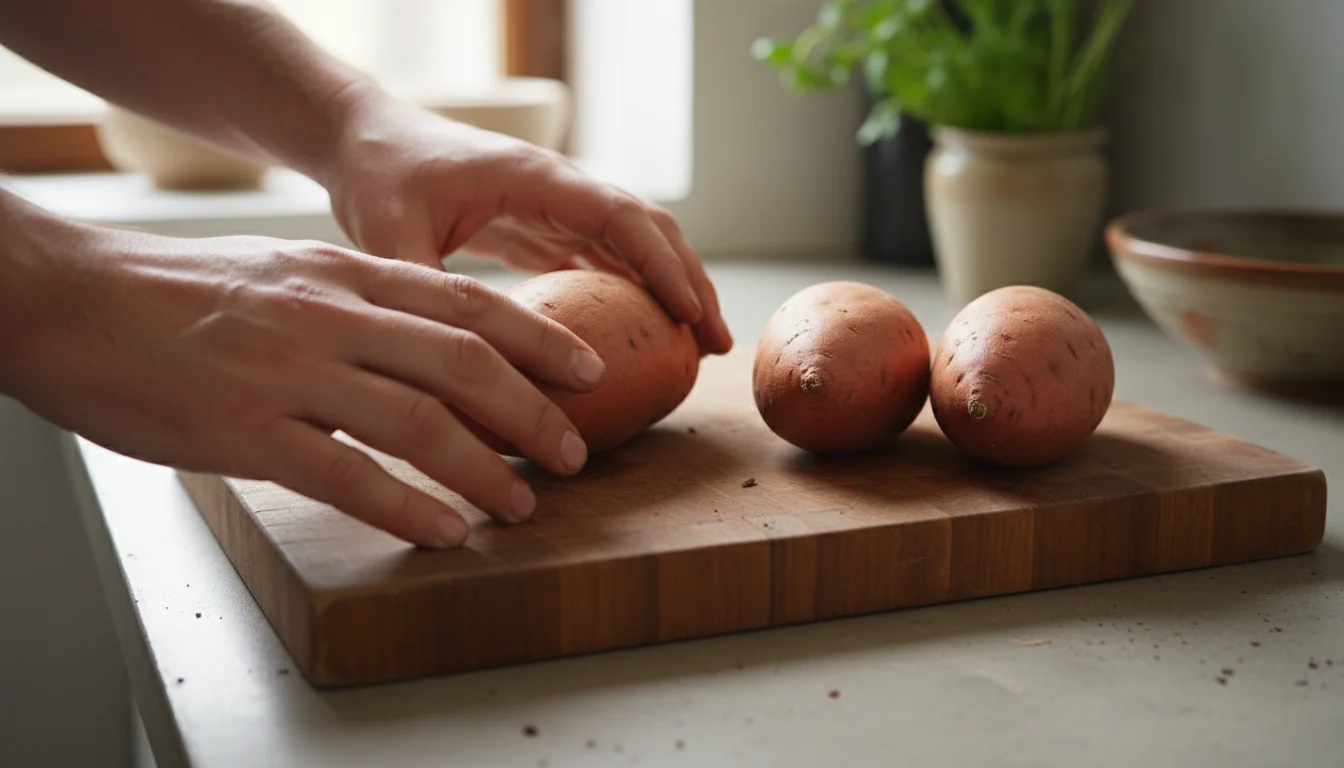
Selecting Your Spud: The Foundation of Your Project
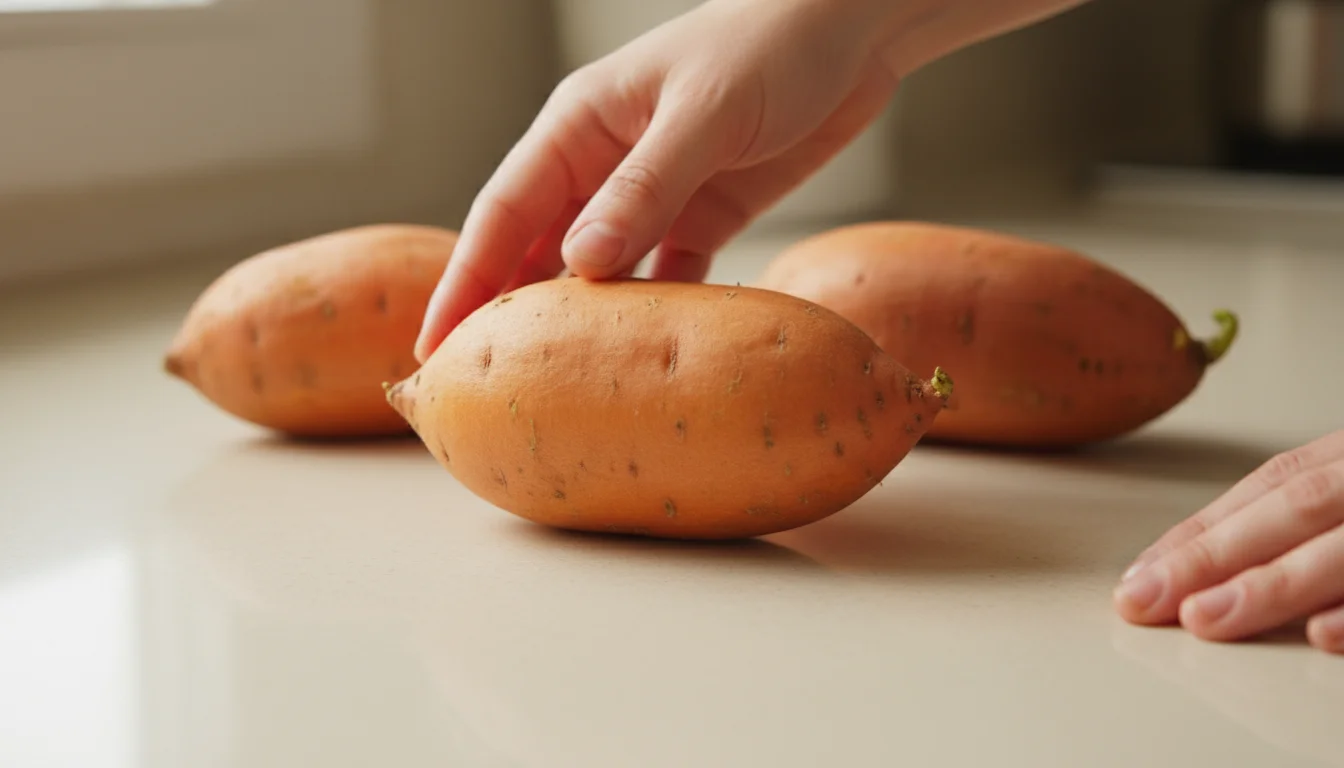
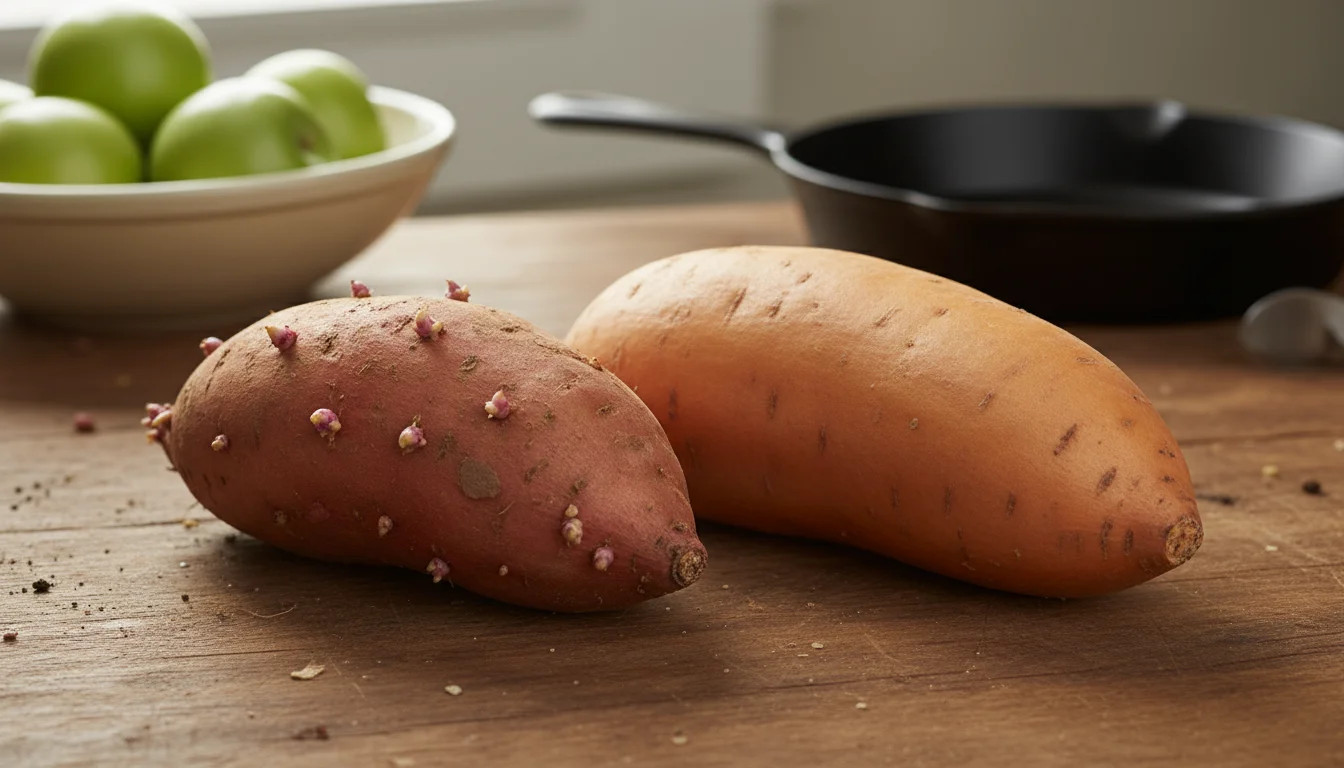
The success of your sweet potato slip project begins with selecting the right sweet potato. While almost any sweet potato from the grocery store can work, a little careful selection significantly boosts your chances of success. Your goal is to find a healthy, viable tuber ready to sprout.
What to Look For:
- Firmness: Choose a sweet potato that feels firm to the touch. Avoid any with soft spots, wrinkles, or signs of rot, as these indicate a declining tuber that will struggle to sprout.
- Smooth Skin: Look for a sweet potato with relatively smooth, unblemished skin. Minor imperfections are fine, but deep cuts, large bruises, or fungal spots should cause you to pass it over.
- Absence of Sprouts, or Very Tiny Ones: Ideally, you want a sweet potato that has not started sprouting aggressively in the store. While a few tiny “eyes” are acceptable, heavily sprouted tubers may have already expended much of their energy and could be less vigorous in producing slips.
- Size: A medium-sized sweet potato (roughly 4-6 inches long) works best. Larger potatoes can be harder to suspend in water, and very small ones might have less stored energy.
Organic Versus Conventional:
You might wonder if you need an organic sweet potato. While organic sweet potatoes are often preferred for kitchen scrap gardening, a conventional sweet potato can certainly sprout. The primary concern with conventional sweet potatoes is the potential use of sprout inhibitors. Some commercially grown sweet potatoes are treated with these chemicals to prolong shelf life, which can hinder or prevent sprouting. However, many conventional sweet potatoes have not been treated, or the treatment is mild enough that they still sprout. If you have an organic option available, it generally offers a higher chance of success due to the absence of these inhibitors. If not, do not worry; many gardeners successfully grow sweet potato vine from conventional spuds. Sometimes, simply letting a conventional sweet potato sit on your counter in a dark, warm spot for a few weeks encourages it to “wake up” and begin the sprouting process, even if it has encountered inhibitors.
Preparation is Minimal:
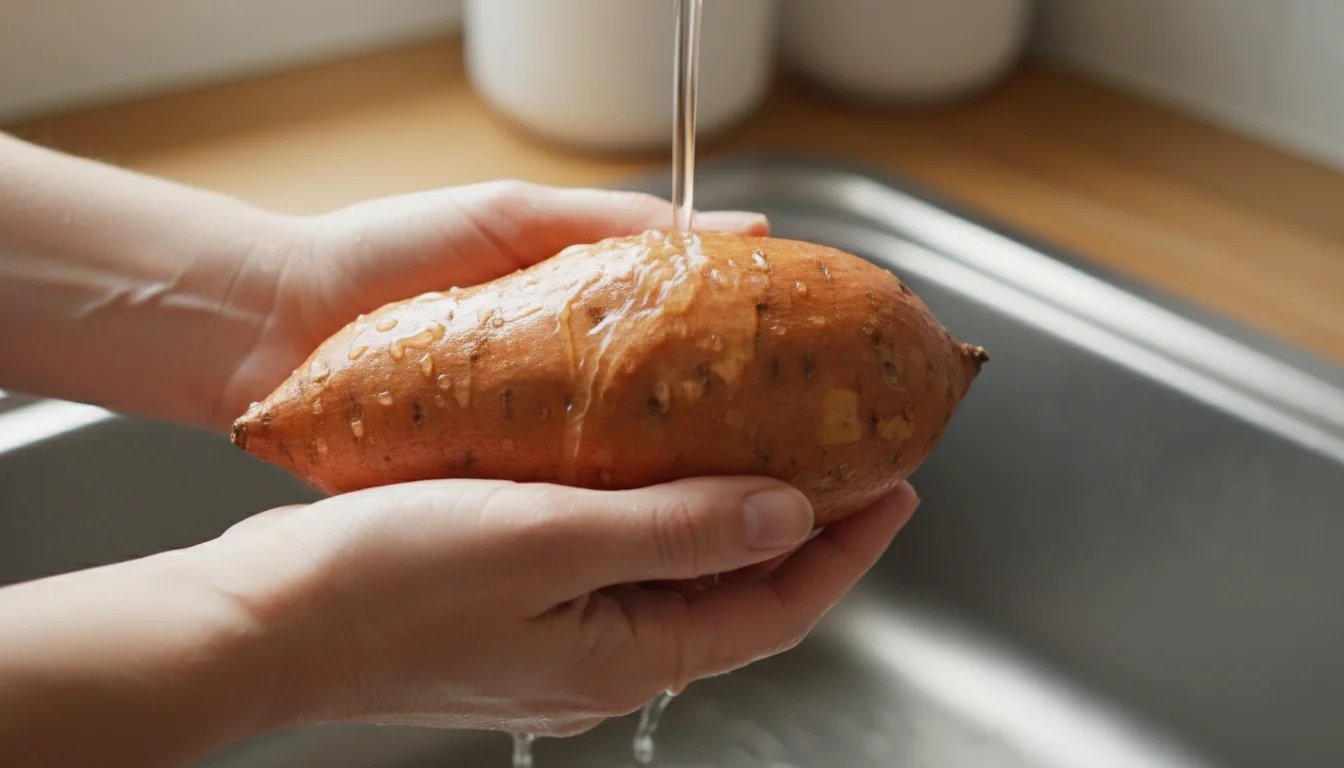
Once you select your sweet potato, no special preparation is needed. Do not wash it with soap, and do not peel it. A gentle rinse under plain water to remove any dirt is sufficient. Your sweet potato is now ready to begin its transformation.
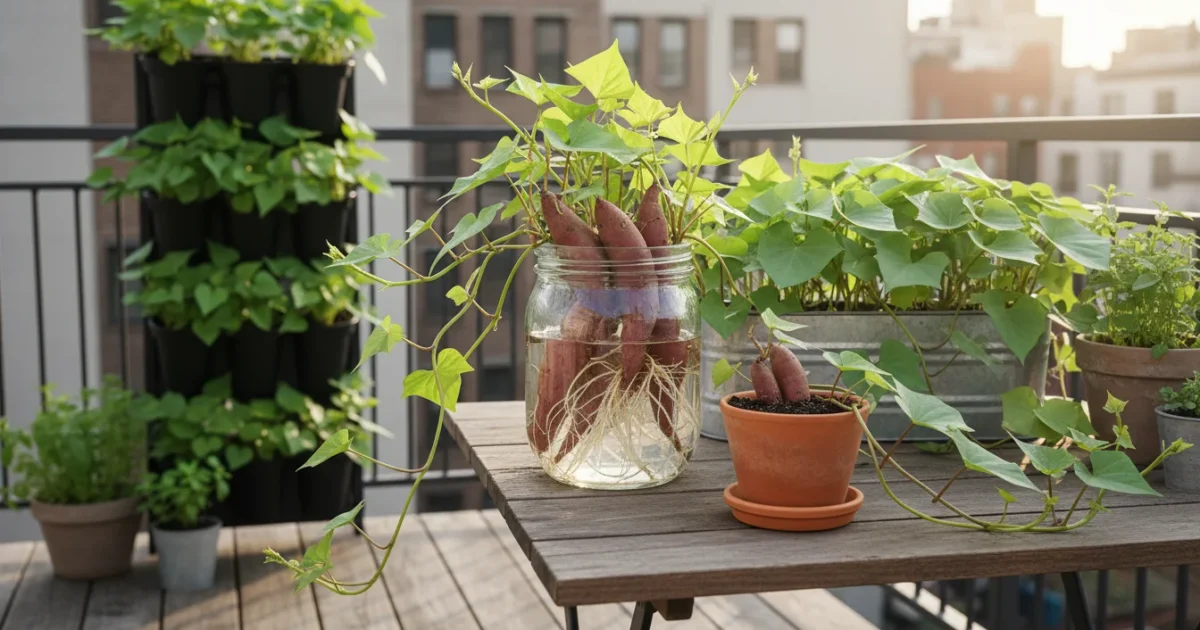
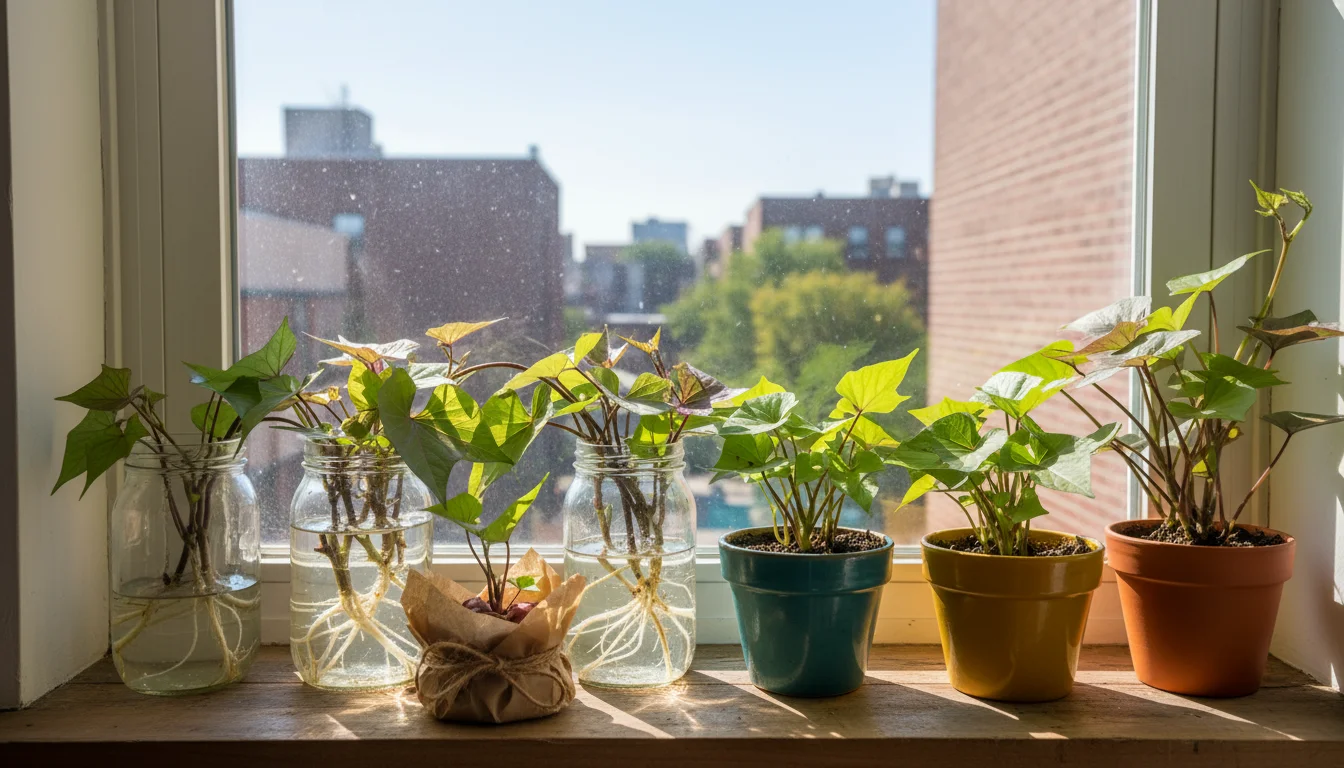
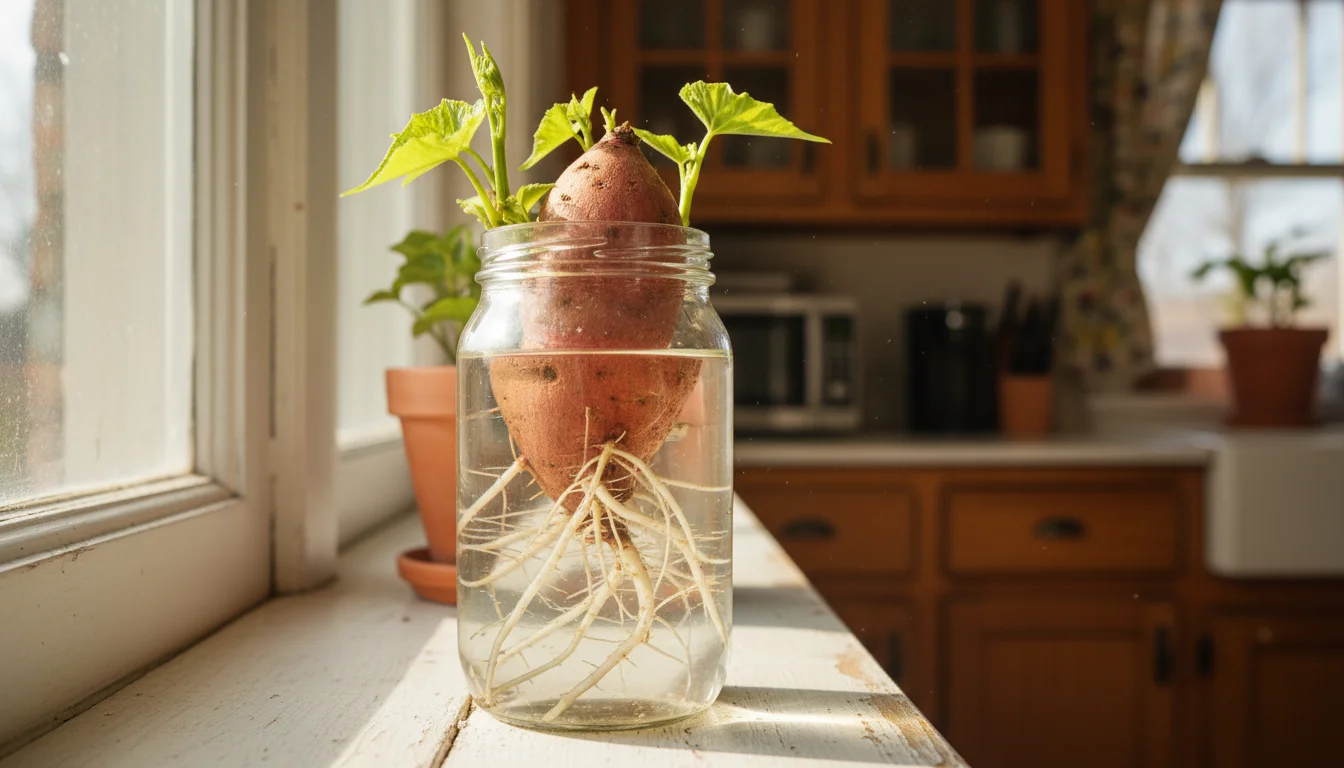
Phase 1: Sprouting Your Sweet Potato Slips in Water
This is the exciting part, where you witness the magic of how to grow a plant from a sweet potato in water. Your goal is to encourage the sweet potato to produce “slips,” which are the leafy sprouts that will eventually become your new plants. You will root these slips, not the original sweet potato tuber itself. This process typically takes about 3-6 weeks to produce viable slips ready for planting.
What You Will Need:
- A healthy sweet potato (selected as above)
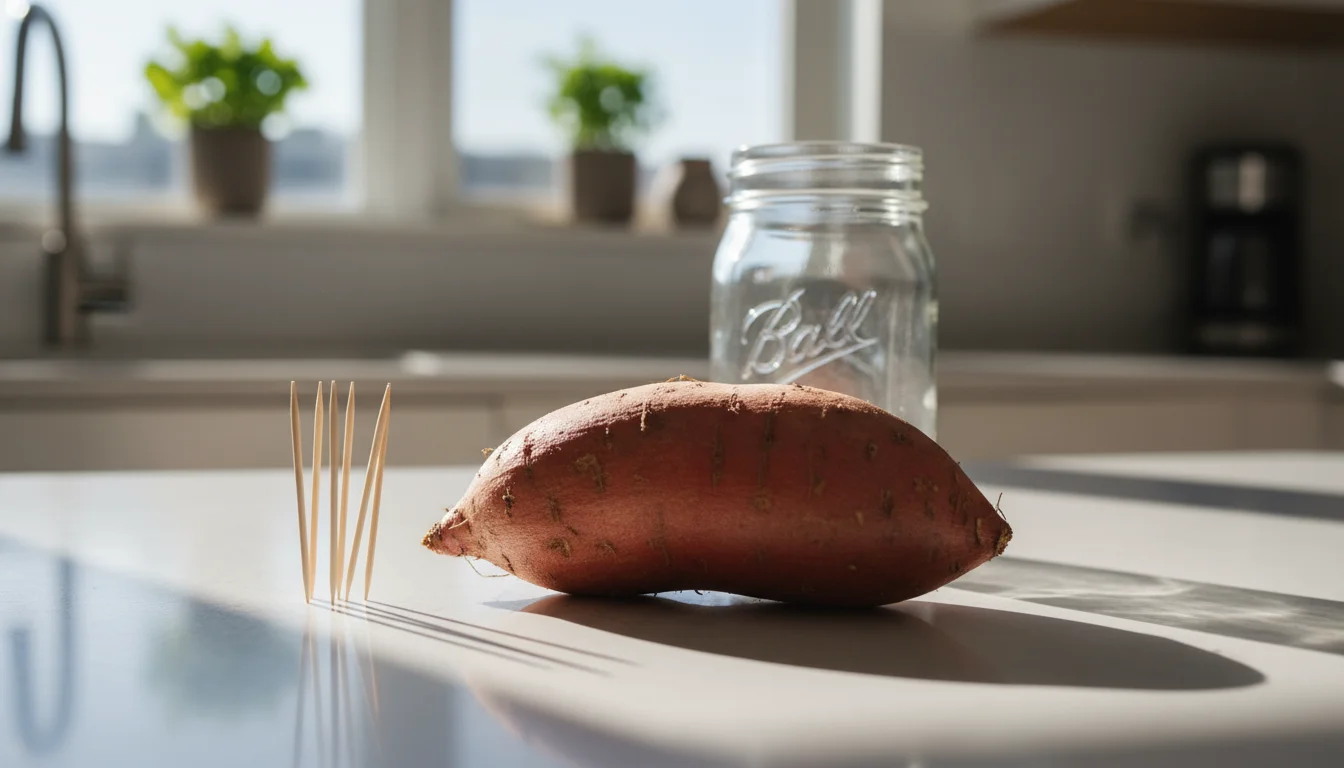
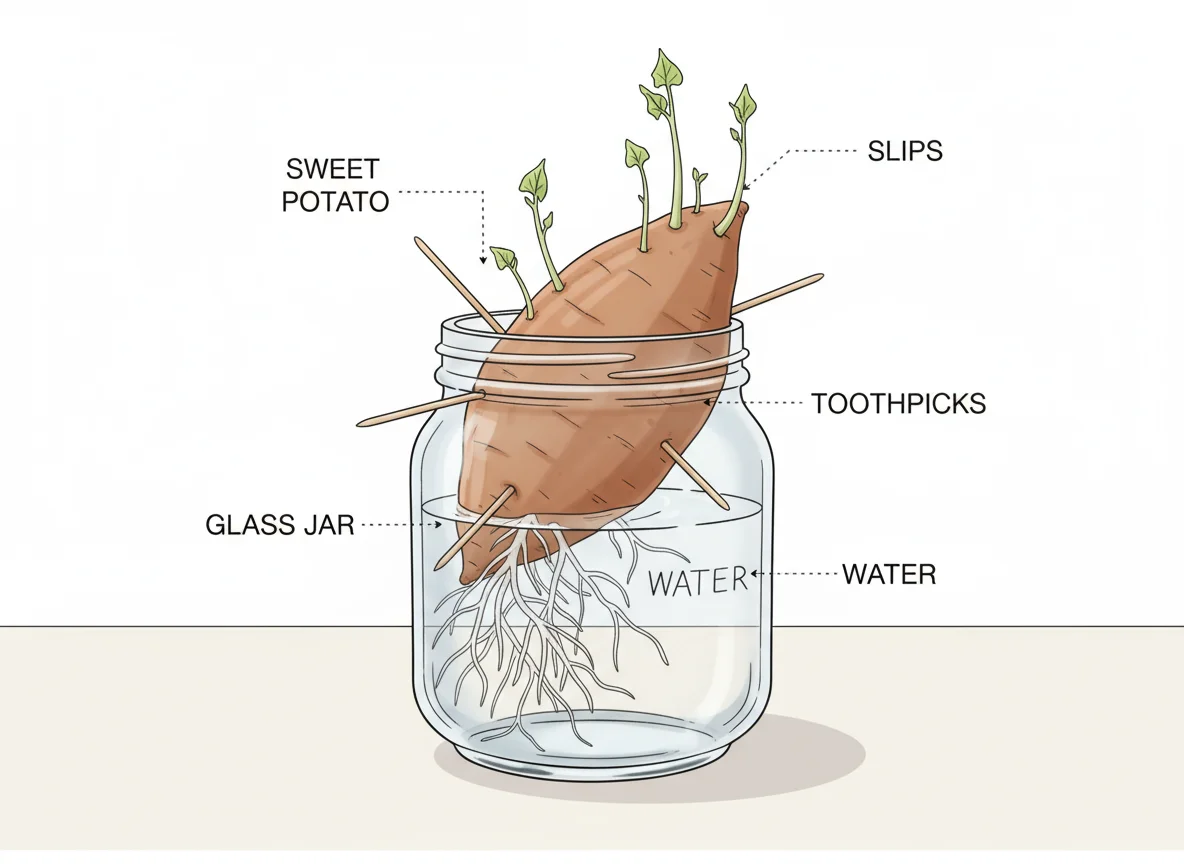
- A glass jar or container (e.g., a mason jar, wide-mouthed glass, or even a plastic bottle cut in half)
- Toothpicks (3-4 per sweet potato)
- Water (tap water is fine)
Step-by-Step Sprouting Process:
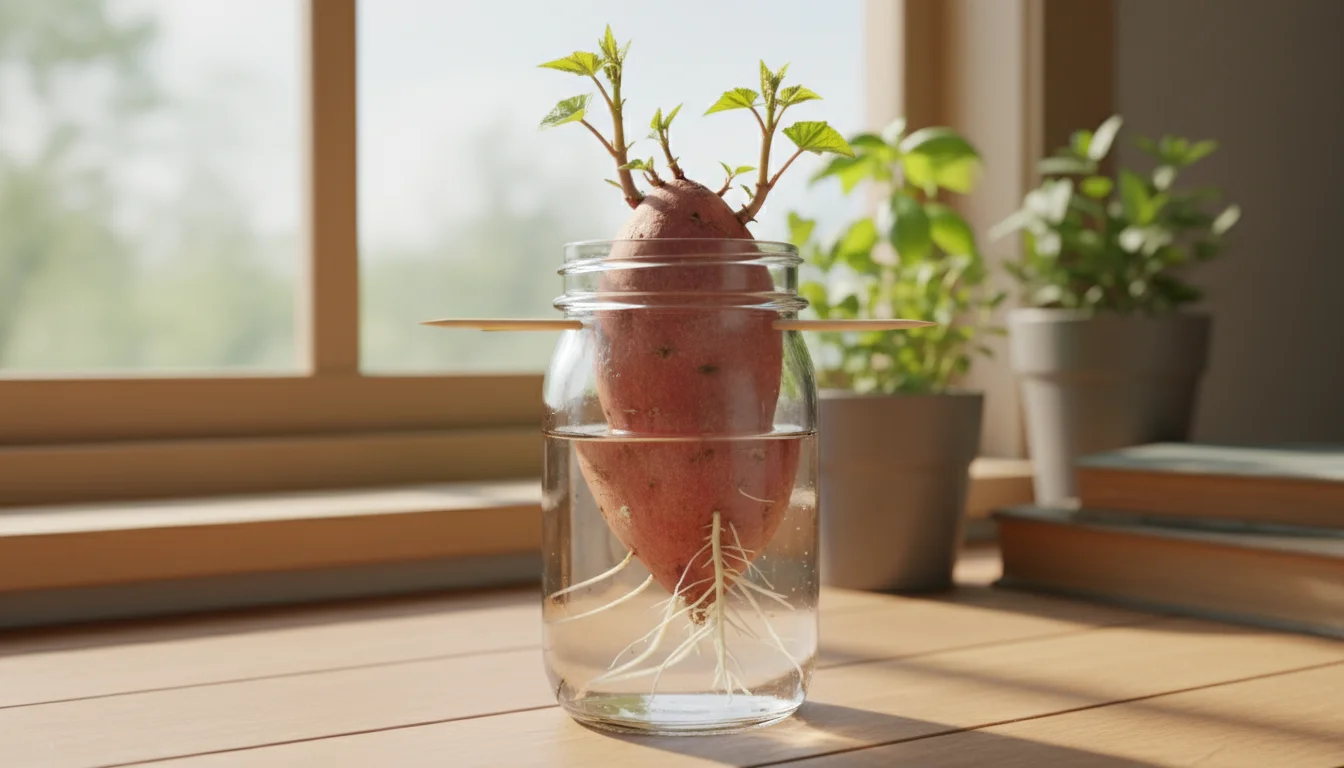
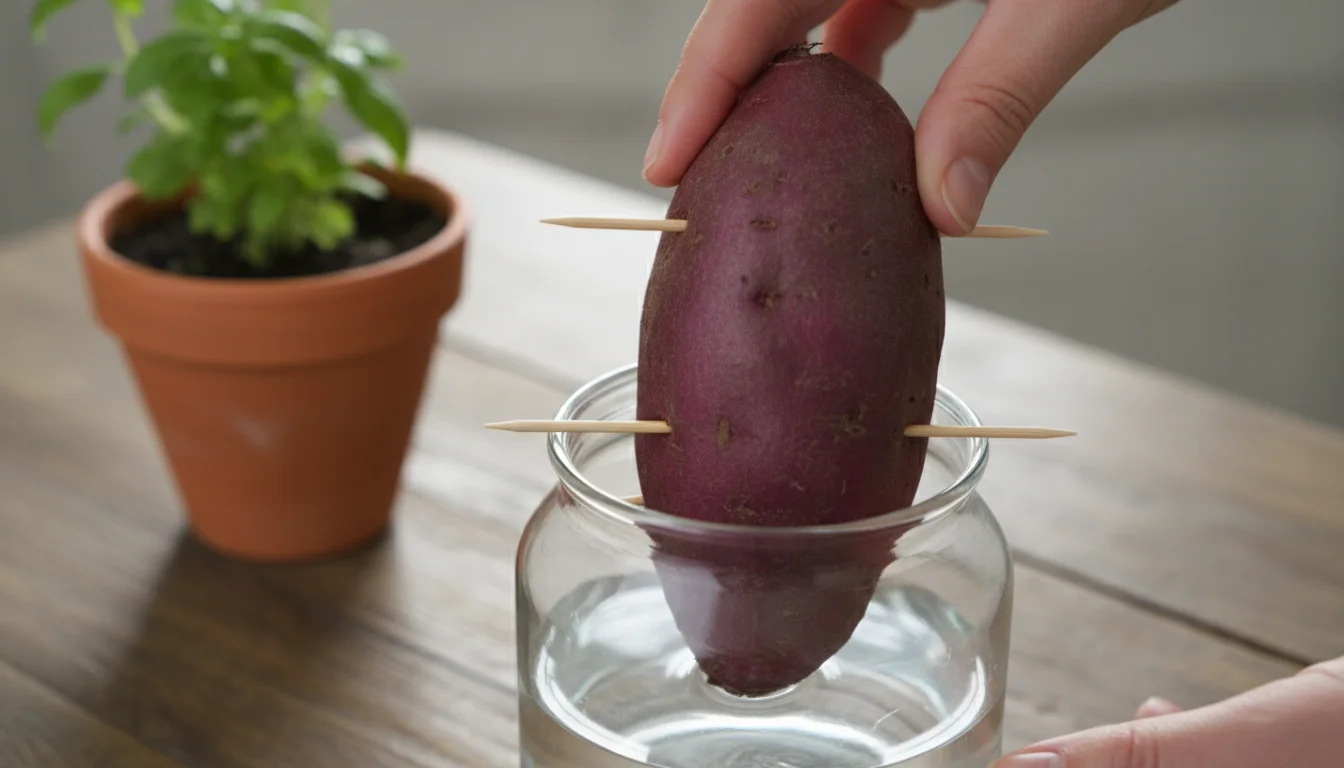
- Prepare Your Sweet Potato: Decide which end is the “top” and which is the “bottom.” The narrower, pointier end is generally the bottom, where roots emerge, and the wider, rounder end is the top, where most slips will sprout. However, sweet potatoes can sprout from anywhere. For consistent results, aim to submerge the bottom half.
- Insert Toothpicks: Firmly insert three or four toothpicks around the middle of the sweet potato, spaced evenly. These toothpicks will act as a support system, allowing you to suspend the sweet potato in water without it fully submerging. Push them in far enough to provide stability but not so deep that they damage the core.
- Position in Water: Place the sweet potato, toothpick-side down, into your chosen glass jar. Add water until approximately half to two-thirds of the sweet potato is submerged. Ensure the water level consistently covers the bottom portion of the potato.
- Find a Warm, Bright Location: Position your jar in a warm spot that receives bright, indirect light. A windowsill is perfect, especially one that gets a few hours of direct sun during the day, which helps stimulate growth. Avoid very cold or drafty locations. Consistent warmth, ideally between 65-75°F (18-24°C), accelerates sprouting.
- Change Water Regularly: You must change the water every 2-3 days. This prevents bacterial growth, keeps the water oxygenated, and ensures your sweet potato has access to fresh nutrients. If you notice the water getting cloudy or developing an odor, change it immediately.
- Observe and Wait: Within a week or two, you should begin to see tiny roots emerging from the submerged end of the sweet potato. Shortly after, small green shoots (the slips) will start to appear from the top, unsubmerged portion. Patience is key during this phase. Some sweet potatoes sprout faster than others.
As you observe the process, remember you are encouraging the sweet potato’s natural growth cycle. The roots develop first to absorb water and nutrients, followed by the shoots seeking light. This project is a fantastic example of kitchen scrap gardening in action, proving you can grow sweet potato vine easily.
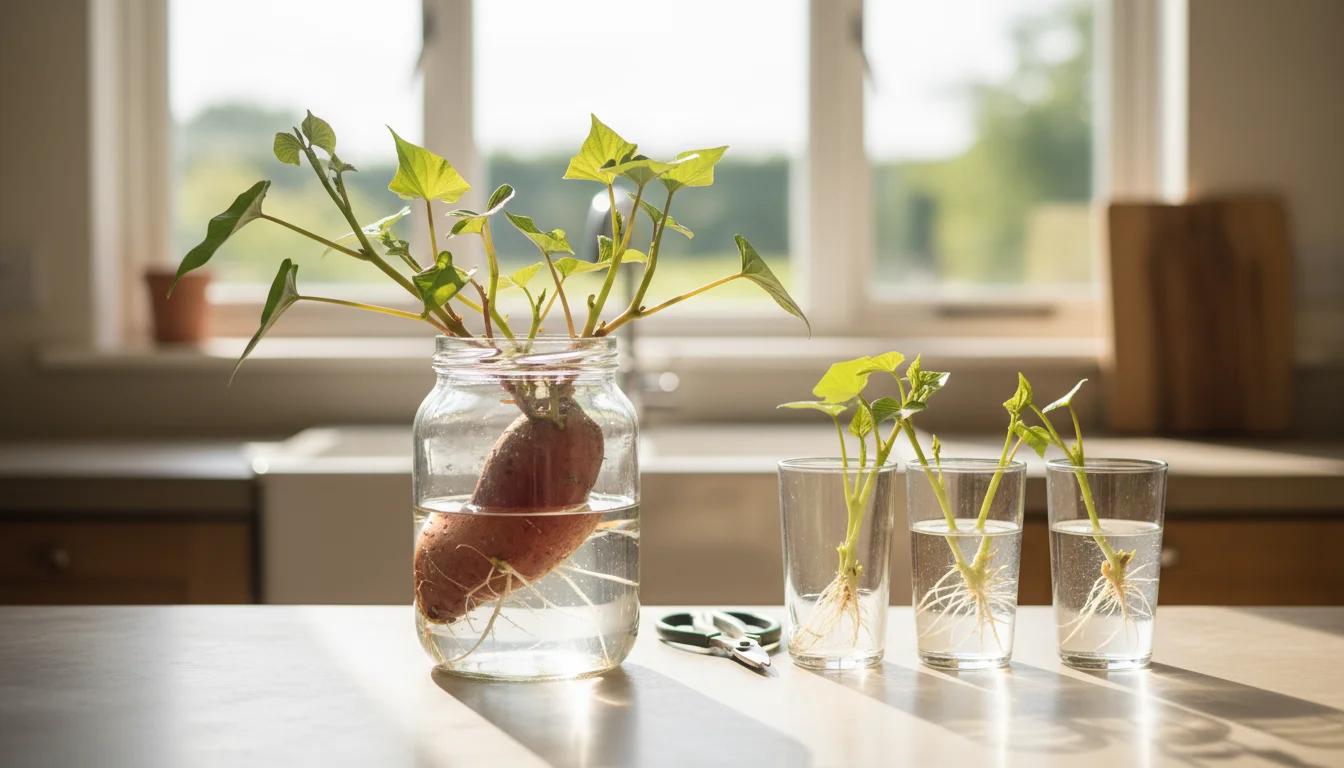
Harvesting Your Slips:
Once your slips are about 4-6 inches long and have several sets of leaves, they are ready to be harvested. Gently twist or cut the slips from the sweet potato, ensuring you take a small piece of the “eye” or base of the slip if possible. You can place these harvested slips directly into a separate glass of water. They will start to develop their own roots within a week or two. Change this water regularly, just as you did for the sweet potato itself. Once these newly rooted slips have developed a robust root system (roots about 1-2 inches long), they are ready for planting in soil. You can continue to sprout and harvest slips from the original sweet potato for several weeks, providing you with multiple plants!

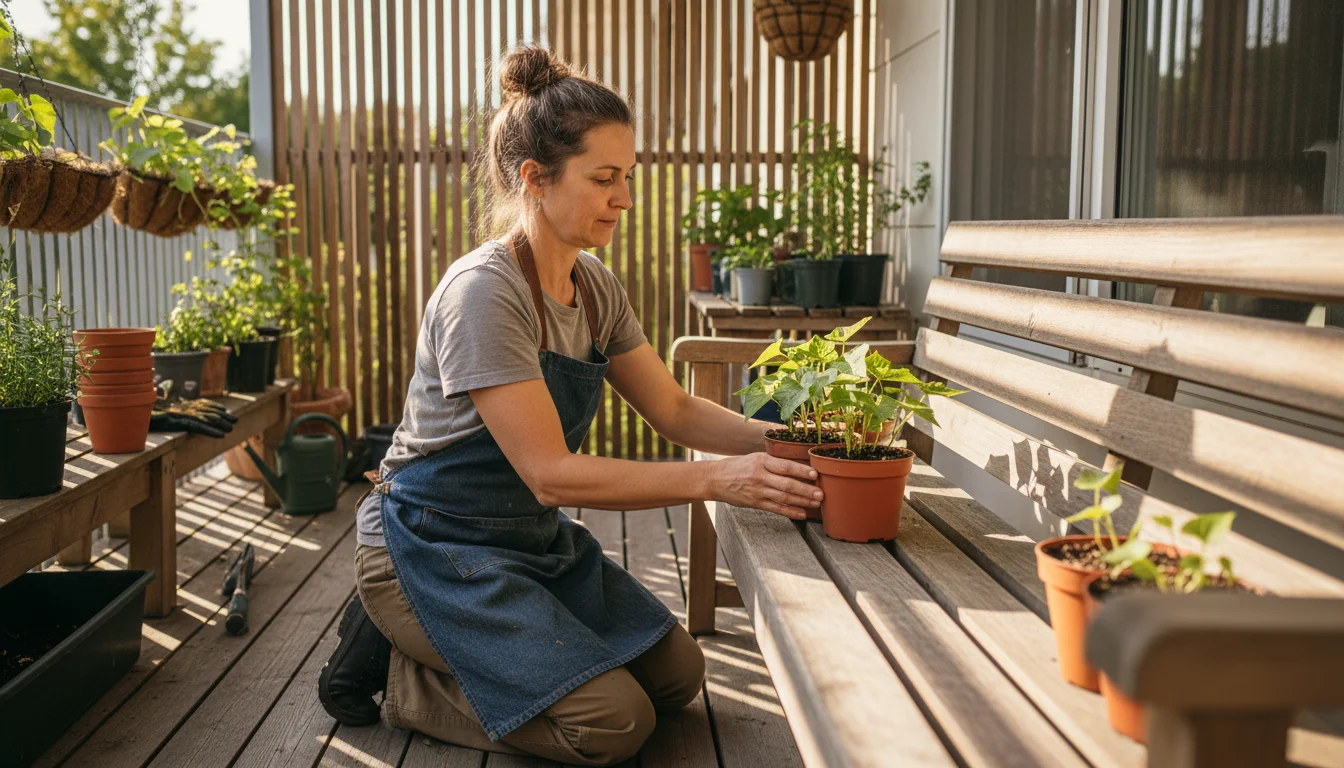
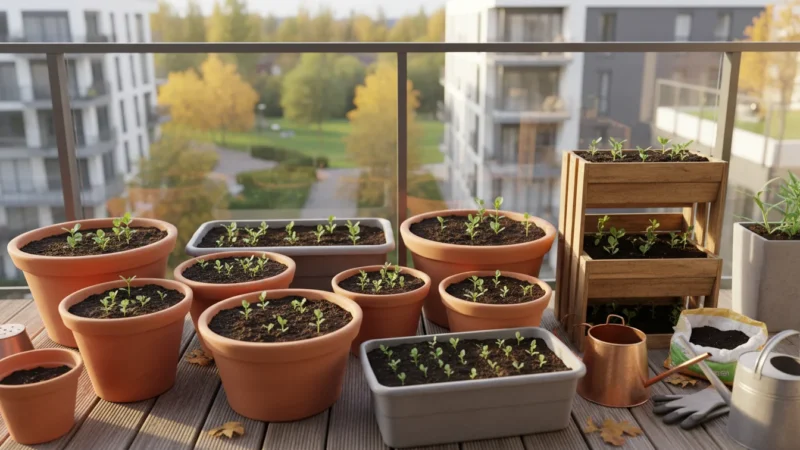
Phase 2: Transitioning Your Slips to Soil
Once your sweet potato slips have developed a good network of roots in water, it is time to move them into a more permanent home in soil. This step ensures your plants receive the full spectrum of nutrients they need to grow into lush, vining houseplants. Proper preparation here makes all the difference in establishing strong, healthy plants.
Choosing the Right Container:
- Size: For a single slip, a 4-6 inch pot works well. If you plan to plant multiple slips together for a fuller plant, choose a larger pot, such as an 8-10 inch pot. Sweet potato vines grow quickly, so starting with a slightly larger pot gives them room to expand their root system.
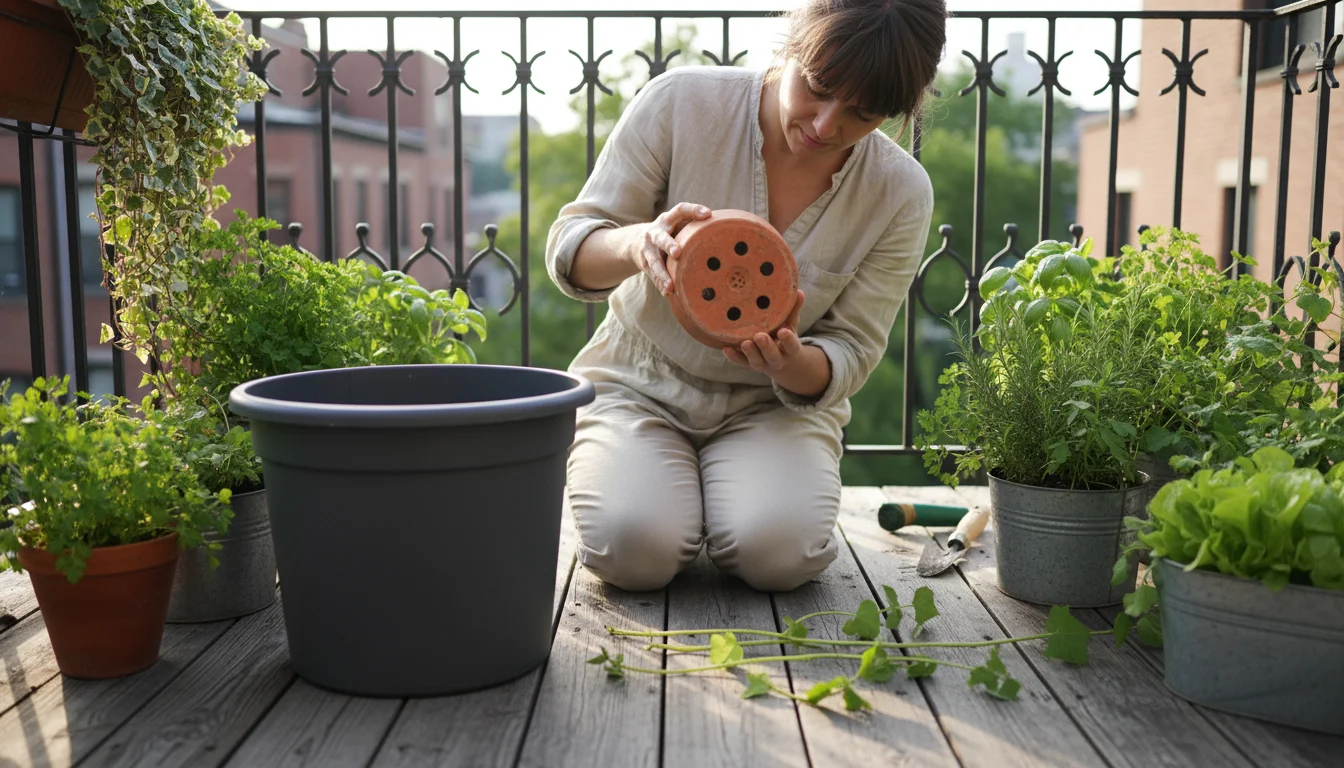
- Drainage: This is non-negotiable. Your container absolutely must have drainage holes at the bottom. Sweet potato vines, like most plants, suffer from “wet feet,” meaning roots sitting in stagnant water. Without adequate drainage, roots can rot, leading to plant death. If your pot lacks holes, drill some or choose another container. A simple explanation of drainage is how water moves out of the soil, preventing it from pooling and suffocating roots.
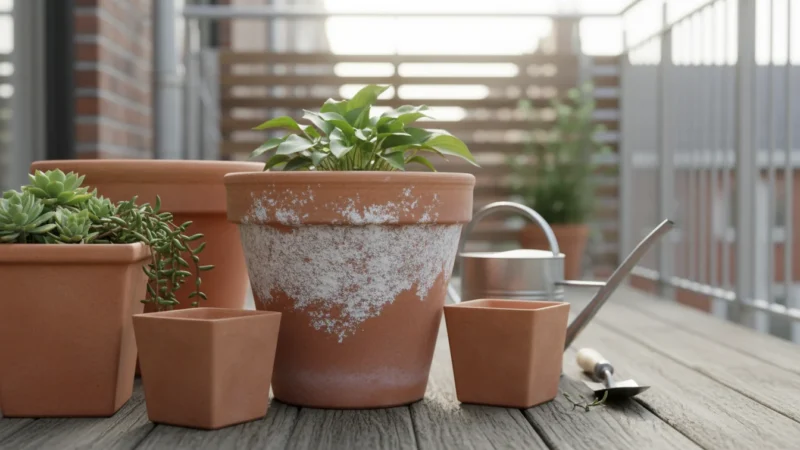
- Material: Plastic, terracotta, or ceramic pots all work. Terracotta breathes better, which can be beneficial in humid environments, but it also dries out faster. Plastic retains moisture longer. Choose what suits your aesthetic and watering habits.

The Ideal Potting Mix:
Sweet potato vines are not overly picky about soil, but a well-draining, nutrient-rich potting mix provides the best foundation for growth. Avoid heavy garden soil, which compacts easily and lacks adequate drainage for container growing.
- Good Drainage: Look for a high-quality all-purpose potting mix. These often contain ingredients like perlite or vermiculite, which improve aeration and drainage.
- Organic Matter: A good potting mix will also have a decent amount of organic matter, providing essential nutrients for your growing plant.
- pH Level: Sweet potato vines prefer a slightly acidic to neutral soil, with a pH range of 5.5 to 6.5. Most commercial potting mixes fall within this range, so you usually do not need to adjust it.
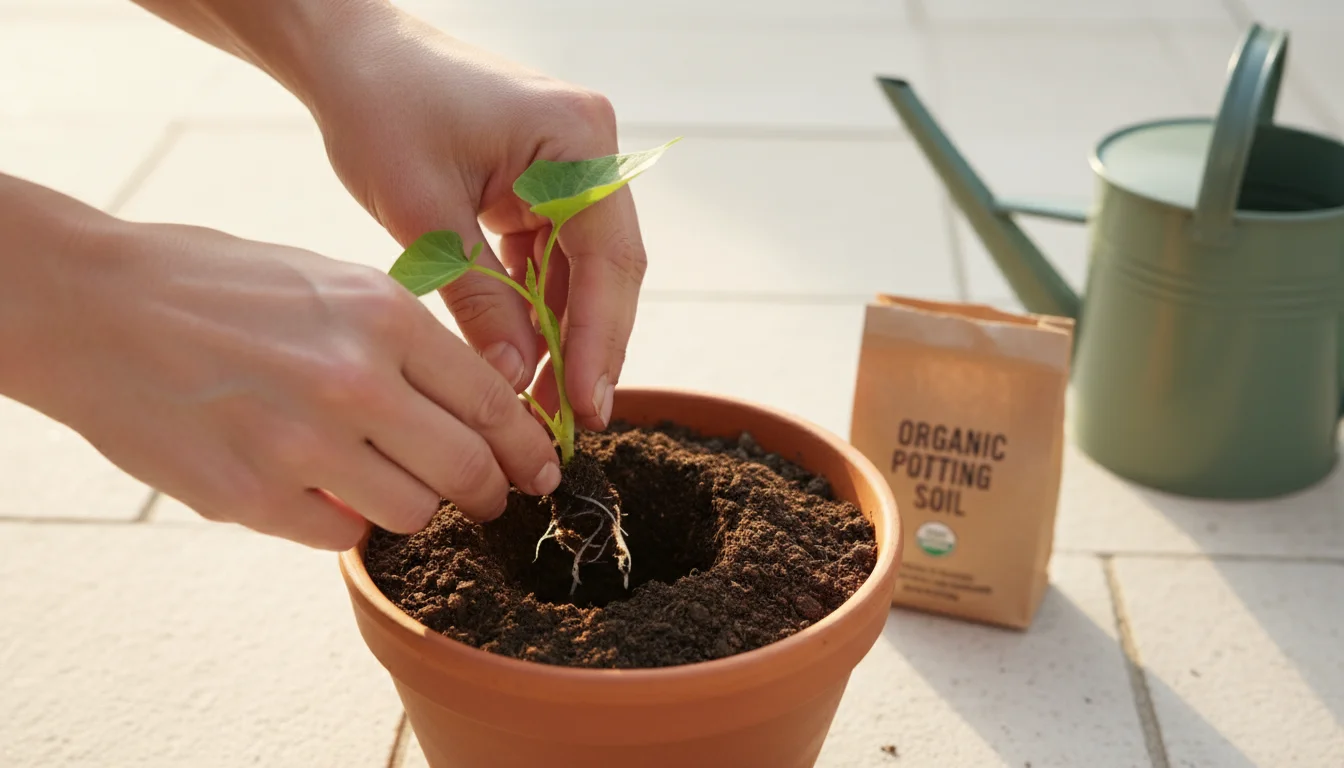
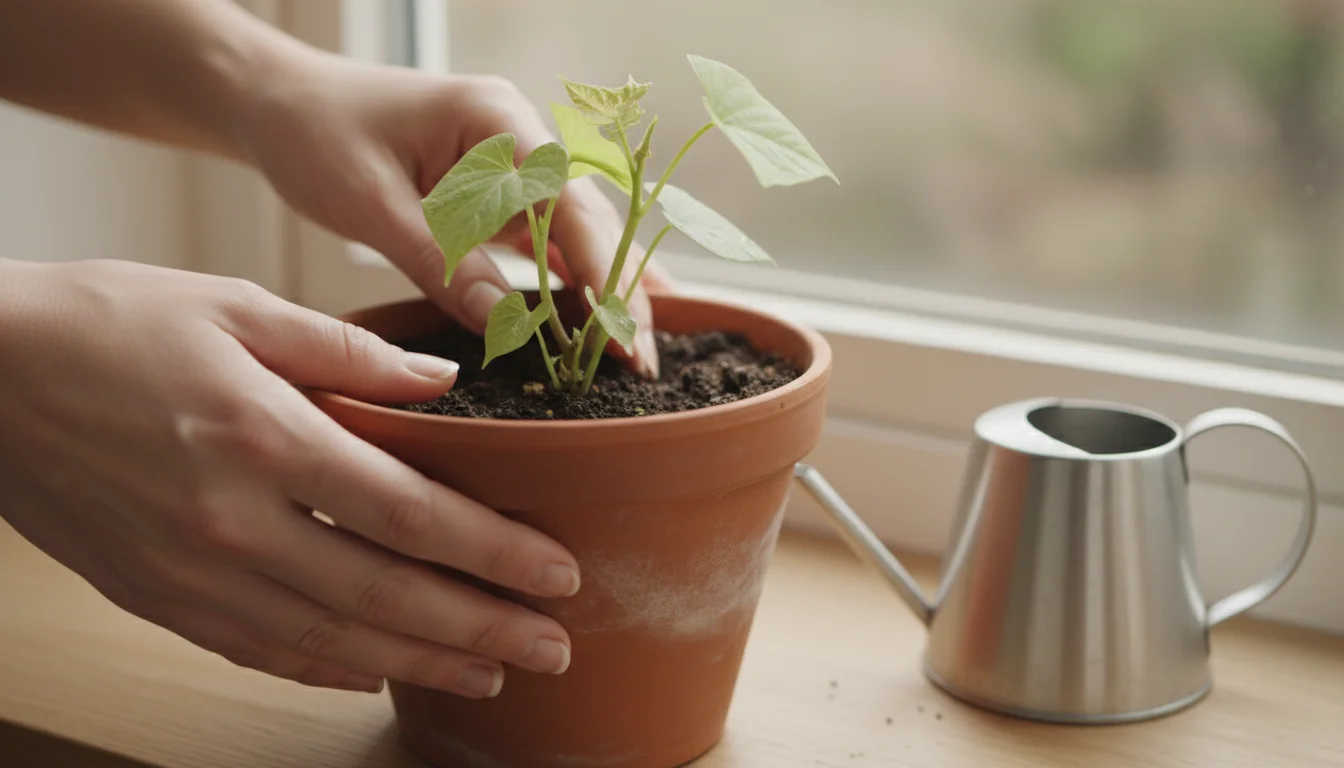
Planting Your Rooted Slips:
- Prepare the Pot: Place a small piece of mesh or a coffee filter over the drainage holes to prevent soil from escaping, while still allowing water to drain. Fill your chosen container about two-thirds full with your potting mix.
- Create a Hole: Use your finger or a small trowel to create a small hole in the center of the soil, large enough to accommodate the roots of your slip.
- Gently Place the Slip: Carefully remove a rooted slip from the water. Handle the roots gently to avoid damage. Position the slip in the hole so that the base of the stem is at the same level as the surrounding soil. Avoid burying any leaves.
- Backfill with Soil: Gently fill the hole around the slip with more potting mix, lightly firming it around the base to provide support. Do not pack the soil too tightly; roots need aeration.
- Water Thoroughly: Water your newly planted slip immediately and thoroughly until water drains from the bottom of the pot. This helps settle the soil around the roots and eliminates any air pockets.
- Location, Location, Location: Place your potted sweet potato vine in a location that receives bright, indirect light. A south- or west-facing window is often ideal during winter. While they tolerate some direct sun, too much intense, unfiltered sunlight through glass can sometimes scorch leaves.
Your slips now have a new home. You have successfully transitioned them from water to soil, giving them the nutrients and stability they need to flourish. Expect them to settle in and begin actively growing within a week or two.
Caring for Your Vining Houseplant: Light, Water, and Support
Once established in soil, your sweet potato vine will grow vigorously, developing into a beautiful, lush houseplant. Consistent care in key areas like light, water, and pruning will ensure its health and aesthetic appeal, especially for those growing in small spaces.
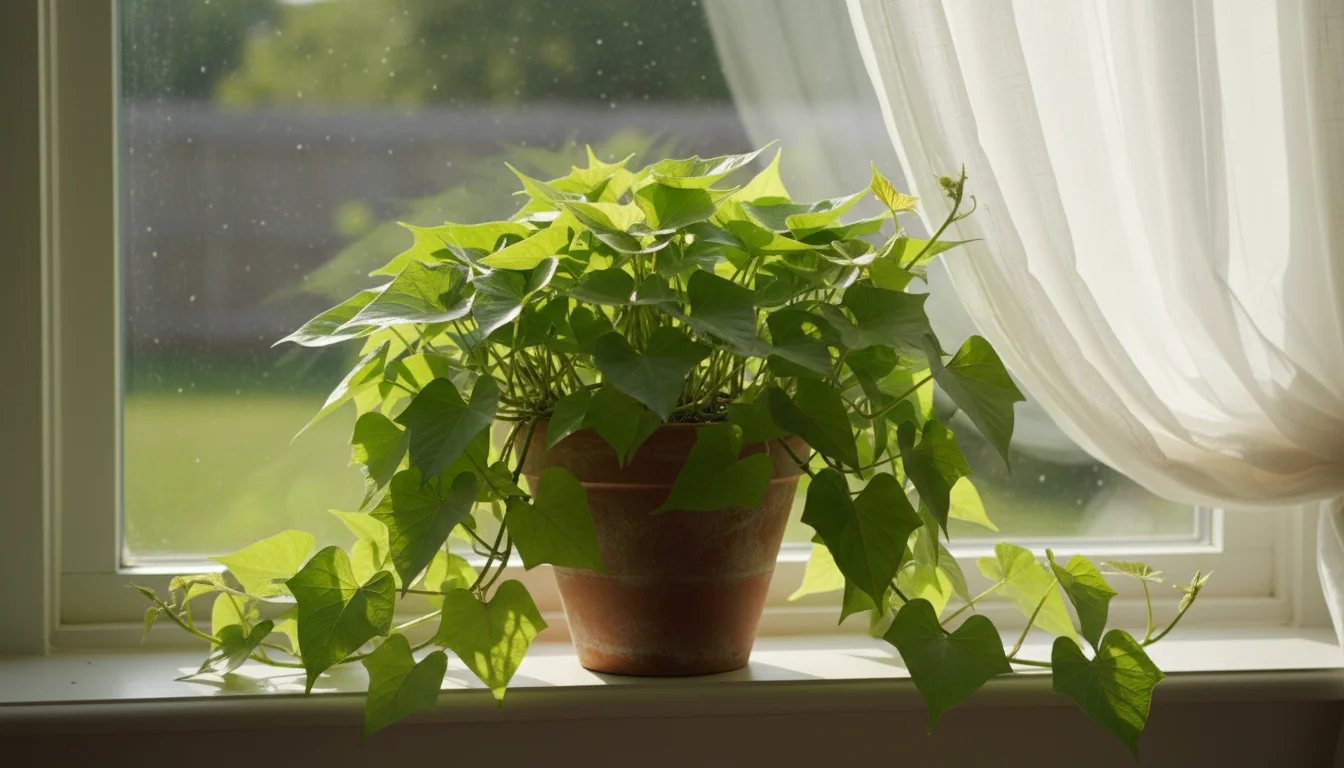
Light Requirements:
Sweet potato vines thrive in bright, indirect light. They originate from sunny, warm climates, so they appreciate plenty of illumination, even indoors. You should place your plant near a bright window, such as a south or west-facing exposure, where it receives several hours of bright light daily. If your plant begins to look “leggy” (long, stretched stems with sparse leaves), it signals insufficient light, and you need to move it to a brighter spot. Conversely, if leaves appear scorched or bleached, the light might be too intense, especially if it is direct, unfiltered sun through a window during the strongest parts of the day. A sheer curtain can diffuse harsh light.
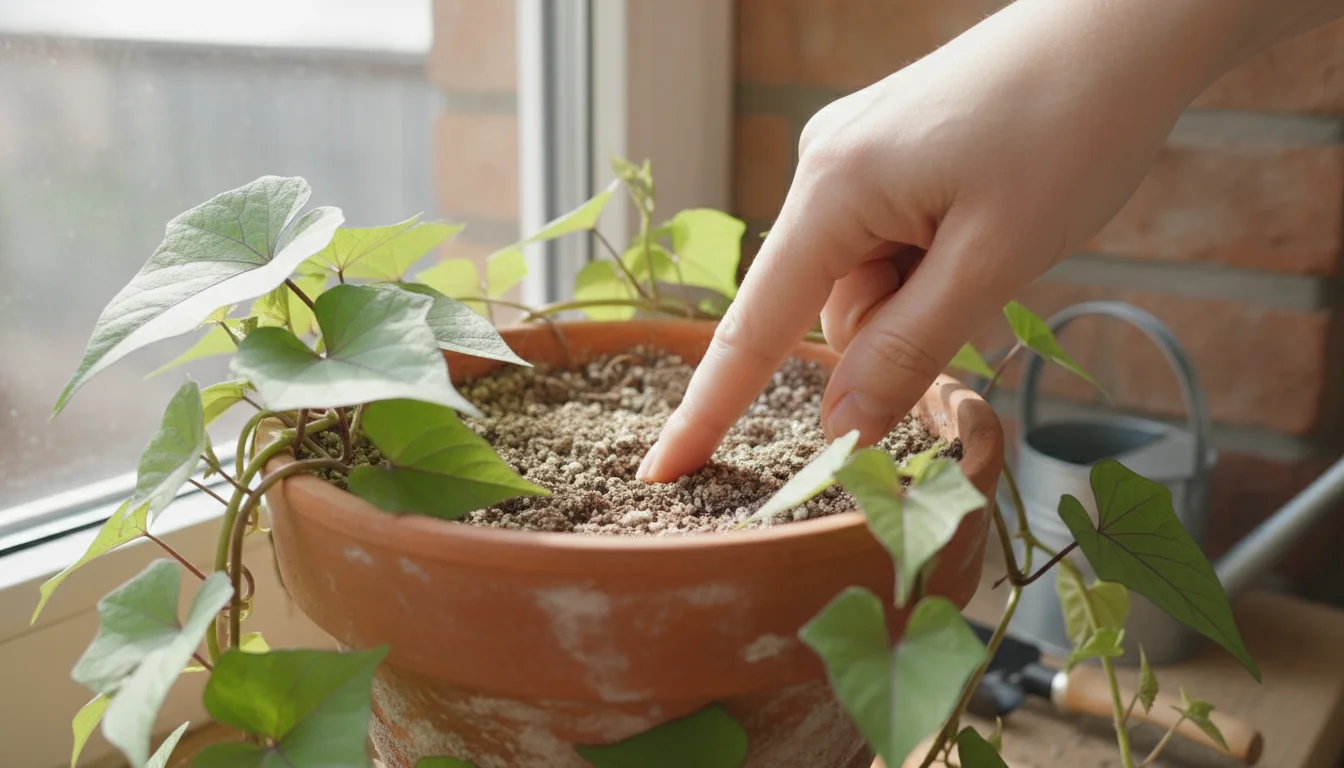
Watering Your Vine:
Consistent moisture is crucial for sweet potato vines, but avoid overwatering, which leads to root rot. You should water your plant when the top inch or two of soil feels dry to the touch. Stick your finger into the soil to gauge moisture levels. When you water, do so thoroughly until you see water draining from the bottom of the pot. This ensures the entire root ball receives hydration. Discard any excess water that collects in the saucer to prevent your plant from sitting in stagnant water. During winter, when light levels are lower and growth slows, your plant may require less frequent watering. Always check the soil before adding more water. As a guideline, you might water every 5-7 days, but this varies significantly based on your home’s humidity, light levels, and pot size.
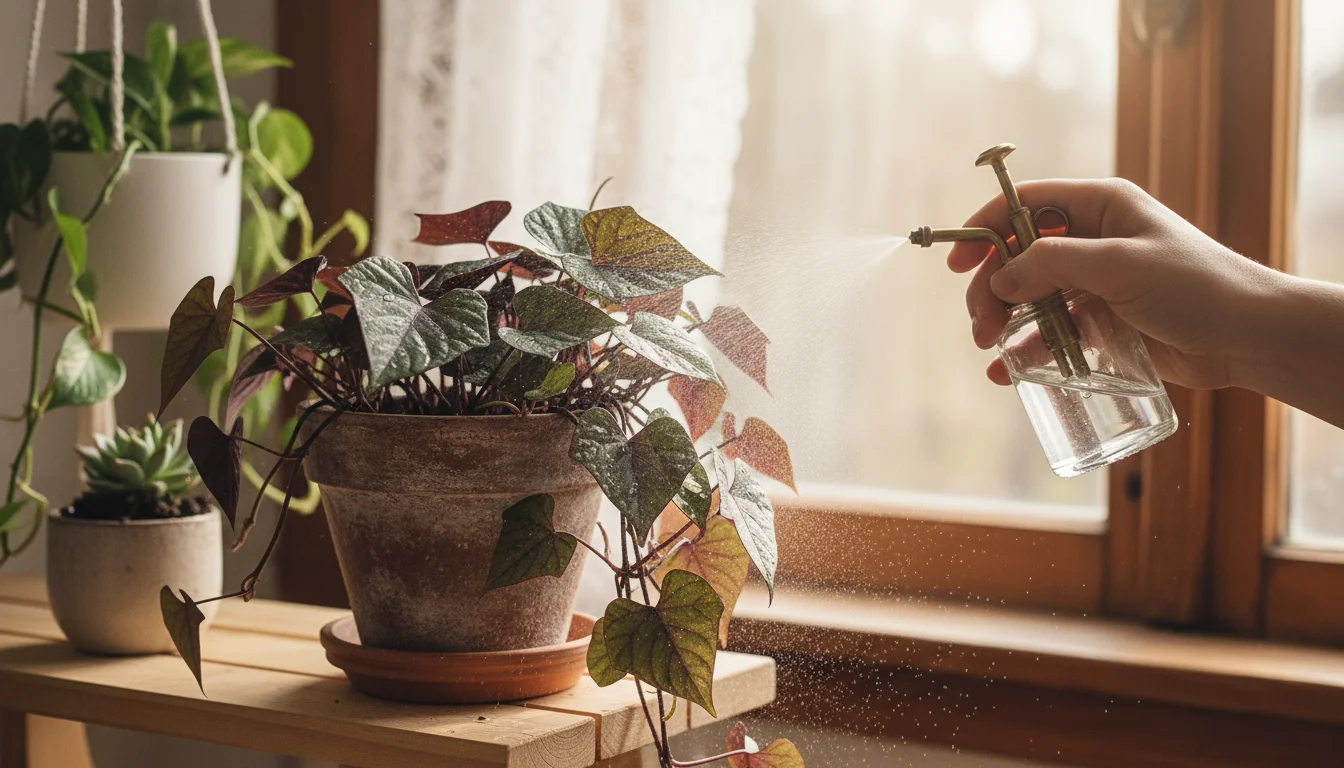
Humidity:
Sweet potato vines appreciate higher humidity, which mimics their native tropical environments. Most homes, especially in winter with heating systems running, have dry air. You can increase humidity around your plant by misting the leaves a few times a week, placing a pebble tray filled with water beneath the pot (ensure the pot sits on pebbles, not in water), or by grouping it with other humidity-loving plants. A small room humidifier can also be beneficial if you have multiple plants that prefer moist air.
Fertilization:
During the active growing season (spring through fall), you can fertilize your sweet potato vine every 2-4 weeks with a balanced liquid houseplant fertilizer, diluted to half strength. However, during winter, when growth naturally slows, you should reduce or stop fertilizing. Over-fertilizing can lead to nutrient burn and can be detrimental to the plant’s health when it is not actively growing. A quality potting mix typically contains enough nutrients to sustain the plant for a few months before additional feeding becomes necessary.

Pruning for a Lush Plant:
Sweet potato vines are vigorous growers and benefit significantly from regular pruning. Pruning encourages bushier growth, prevents the plant from becoming too leggy or unruly, and helps manage its size in small spaces. You should pinch back or cut stems just above a leaf node (the point where a leaf or new branch emerges) using clean scissors or your fingers. New shoots will emerge from below the cut, leading to a fuller, more compact plant. You can do this regularly throughout the growing season. Do not discard the trimmed pieces; healthy cuttings with a few leaves can be rooted in water to propagate new plants, extending your kitchen scrap gardening efforts.
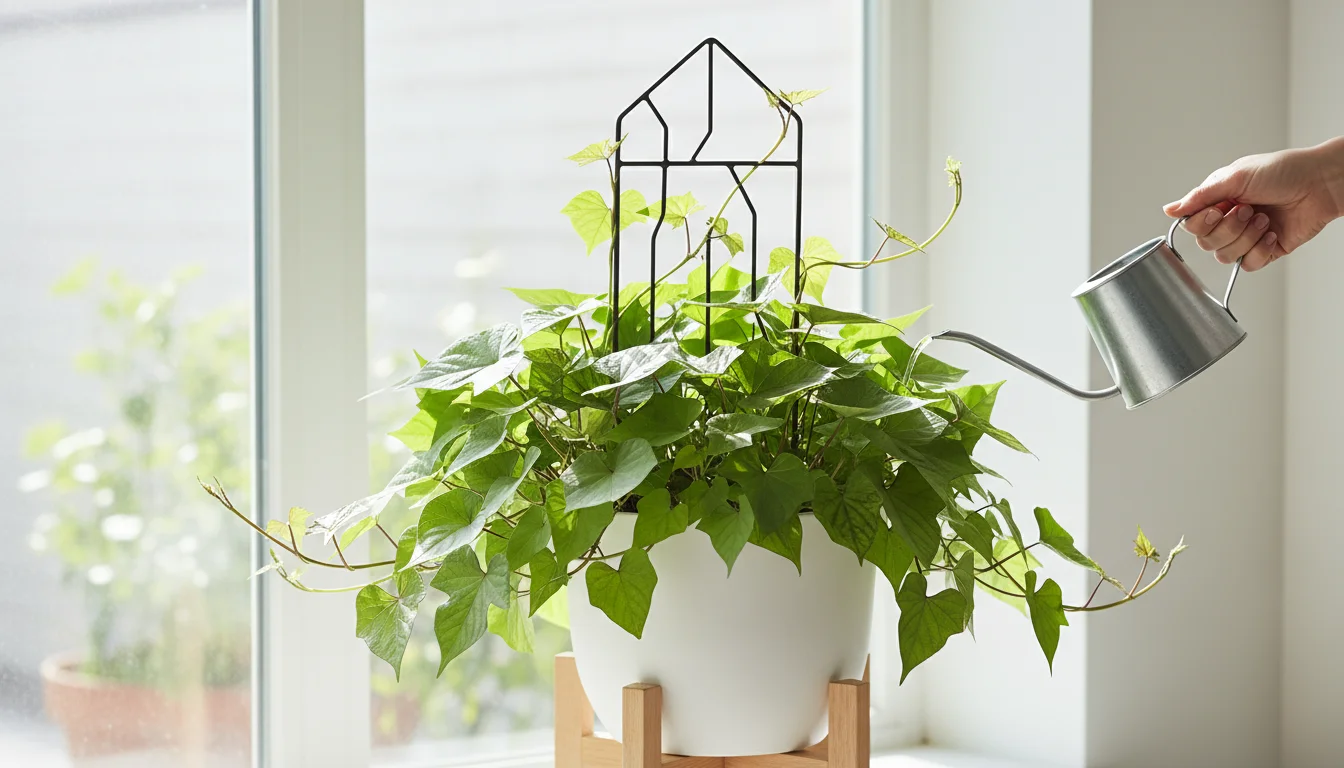
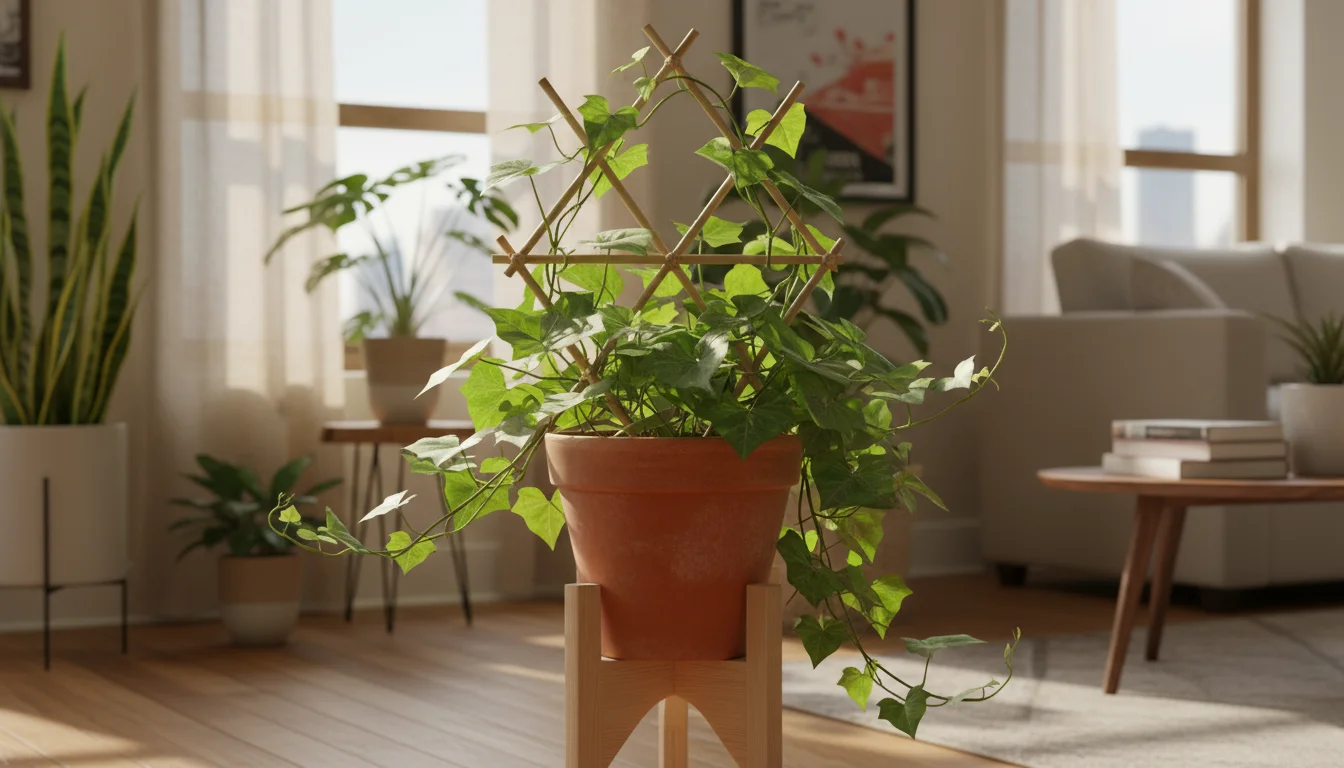
Providing Support for Vining Growth:
As your sweet potato vine grows, its trailing nature means the stems will lengthen and often seek to climb or spread. For a cascading effect, you can allow the vines to hang freely from a shelf or hanging basket. If you prefer a more upright or contained plant, you can train the vines. You can use small trellises, stakes, or even decorative plant clips to guide the growth. Gently wrap the vines around a support structure or attach them loosely. This adds a structural element to your plant and helps you manage its spread, especially useful when maximizing space on a balcony or patio in warmer months.
With these care practices, your sweet potato vine will flourish, providing a vibrant, green accent to your home all winter long. It is a testament to the resilience and beauty you can cultivate through easy plants to grow indoors in winter.
Troubleshooting Common Challenges and Boosting Growth
Even the easiest plants can encounter a few hiccups. Understanding common issues and knowing how to address them helps you keep your sweet potato vine thriving. You can solve most problems quickly with minor adjustments.
Common Problems and Solutions:
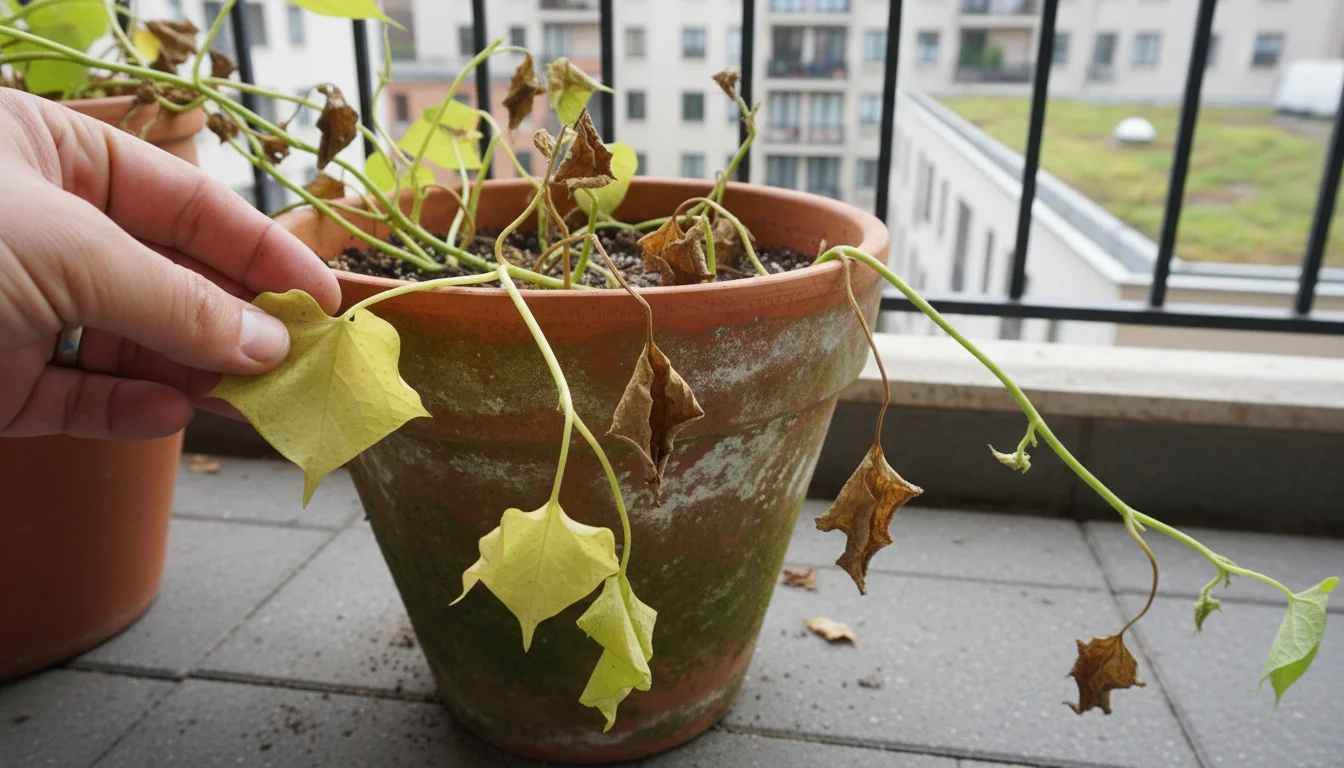
- Yellowing Leaves: This is often a sign of overwatering or underwatering.
- Overwatering: If the lower leaves turn yellow and feel soft or mushy, and the soil stays consistently wet, you are likely overwatering. Reduce watering frequency, ensuring the top inch or two of soil dries out before rewatering. Check drainage holes.
- Underwatering: If leaves turn yellow and crispy, and the soil is bone dry, your plant needs more water. Increase watering frequency, ensuring thorough saturation until water drains from the bottom.
- Nutrient Deficiency: Less common, but uniform yellowing across the plant, especially if older leaves are affected, can indicate a lack of nutrients. Consider a balanced liquid fertilizer during the active growing season.
- Leggy Growth (Long, Stretched Stems with Few Leaves): This indicates insufficient light. Your plant is stretching to find more light.
- Solution: Move your sweet potato vine to a brighter location. A south- or west-facing window is ideal. You can also prune back the leggy stems to encourage bushier growth; the pruned sections often root in water, giving you new plants.
- Brown, Crispy Leaf Edges: This often points to low humidity or infrequent watering.
- Solution: Increase humidity around the plant using misting, a pebble tray, or a humidifier. Ensure you water thoroughly and consistently, preventing the soil from drying out completely between waterings.
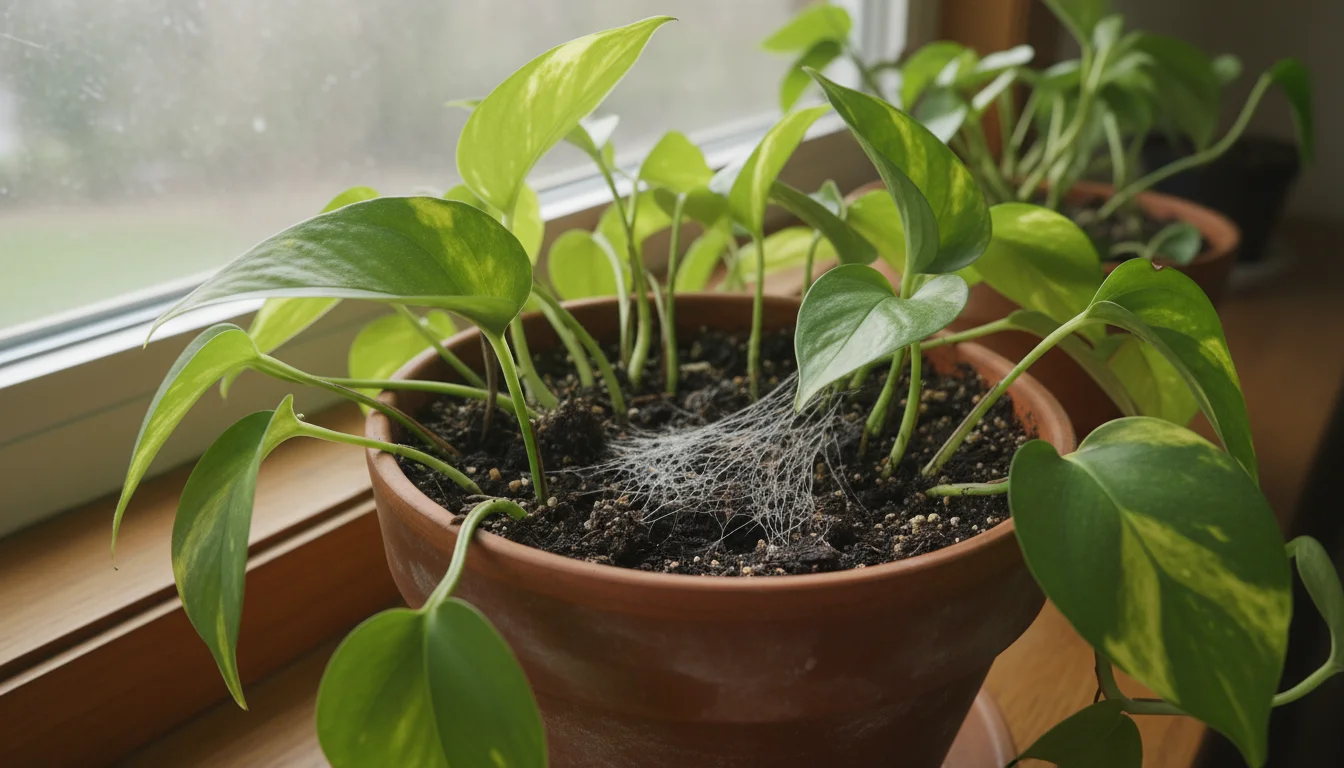
- Pests: While sweet potato vines are relatively pest-resistant indoors, they can occasionally attract common houseplant pests like spider mites, aphids, or whiteflies.
- Solution: Inspect your plant regularly. If you spot pests, gently wipe them off with a damp cloth or a cotton swab dipped in rubbing alcohol. For more persistent infestations, use an insecticidal soap spray, ensuring you follow product directions. Isolate infected plants to prevent spread.
- Lack of Growth: If your plant seems stalled, consider its environment.
- Solution: Ensure it receives adequate light, consistent watering, and appropriate temperatures (above 60°F or 15°C). If it is been in the same soil for many months, it might need fresh potting mix or a light feeding.

Boosting Growth and Encouraging a Full Plant:
You can take several proactive steps to encourage a vigorous, lush sweet potato vine:
- Consistent Light: Provide consistently bright, indirect light for at least 6-8 hours a day. More light generally equates to more robust growth.
- Regular Pruning: As mentioned, pinching back the tips of the vines regularly encourages lateral branching, leading to a bushier, fuller plant. Do not be afraid to prune; it benefits the plant’s shape and density.
- Rotating Your Plant: If your plant is near a window, rotate the pot every week or two. This ensures all sides of the plant receive adequate light, promoting even growth and preventing it from leaning heavily towards the light source.
- Warm Temperatures: Sweet potato vines prefer warm temperatures. Keep them away from cold drafts from windows or doors, especially in winter. Consistent temperatures between 65-75°F (18-24°C) are ideal.
- Good Air Circulation: Ensure your plant has good air circulation, especially if you are increasing humidity. Stagnant, humid air can lead to fungal issues.
- Repotting When Necessary: If your plant becomes root-bound (roots circling the bottom of the pot, little soil visible), it is time to repot into a slightly larger container. This gives the roots more room to expand, which supports continued foliage growth. This typically occurs every 6-12 months for fast growers like sweet potato vines.
By proactively addressing these areas, you maintain a vibrant, healthy sweet potato vine. This attention to detail transforms an easy plant to grow indoors in winter into a truly spectacular display.
Beyond the Houseplant: Your Sweet Potato’s Potential
While the primary goal of this project is to create a beautiful, vining houseplant for winter, the journey does not have to end there. Your sweet potato vine, particularly the original sweet potato you sprouted, holds further potential, embodying the spirit of sustainable kitchen scrap gardening. This aspect allows you to extend the life of your plant and potentially enjoy a harvest.
Planting for an Edible Harvest Outdoors:
If you live in a region with a long growing season (at least 3-4 months of warm weather, consistently above 60°F or 15°C), you can transition your sweet potato slips or the original sprouted tuber outdoors in late spring, after all danger of frost has passed. Sweet potatoes are tropical plants and are highly sensitive to cold.
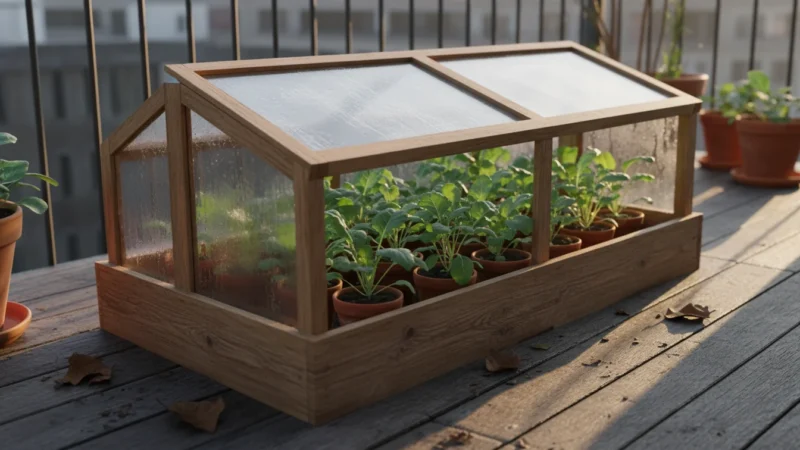
- Preparing for Outdoors: “Harden off” your indoor plants before moving them permanently outdoors. This means gradually exposing them to outdoor conditions over a week or two. Start by placing them in a sheltered, shady spot for a few hours a day, increasing the duration and exposure to sun each day.
- Planting Slips: Plant individual slips about 12-18 inches apart in well-draining soil in a sunny garden bed or a large container (at least 15-20 gallons per plant for good tuber production). Ensure the soil is rich in organic matter.
- Planting the Original Spud: If you kept the original sweet potato and it is still viable after sprouting many slips, you can plant the entire tuber directly into the garden. Bury it completely, about 4-6 inches deep. While this often produces vines, the tuber yield might be less predictable than planting slips directly.
- Care Outdoors: Provide consistent watering, especially during dry spells. Sweet potatoes are moderate feeders, so you can amend the soil with compost or a balanced slow-release fertilizer at planting time. They will grow vigorously, producing long vines.
- Harvesting Tubers: Sweet potato tubers typically mature in 90-120 days. You will harvest them before the first hard frost in fall, or when the leaves begin to yellow. Carefully dig around the base of the plant to unearth the sweet potatoes.
Continuing Indoor Propagation:
Even if outdoor planting is not an option, you can keep your sweet potato vine going indefinitely as an indoor houseplant. The vines you prune to maintain shape can be rooted in water, providing an endless supply of new plants for yourself or to share with friends. This makes the project incredibly sustainable, constantly renewing your green decor.
Embracing Eco-Friendly Practices:
This sweet potato project inherently aligns with environmentally conscious gardening:
- Waste Reduction: You are repurposing a grocery store item that might otherwise go to waste, demonstrating kitchen scrap gardening in its simplest form.
- Resourcefulness: It encourages resourcefulness by showing you can create beauty and even food from common items.
- Reduced Carbon Footprint: Growing your own plants from existing resources reduces the need to purchase nursery-grown plants, which often involves transportation and plastic pot waste.
You find an expanded purpose for your sweet potato, whether as a continuous source of indoor greenery or a producer of an edible harvest. This simple act of growing helps you contribute to a more sustainable and vibrant home environment.
Frequently Asked Questions
Why are my sweet potato slips not rooting in water?
Several factors can prevent slips from rooting. Ensure the water is changed every 2-3 days to prevent rot and provide fresh oxygen. The slips need bright, indirect light and warm temperatures, ideally above 65°F (18°C). Sometimes, the original sweet potato might have been treated with a sprout inhibitor, making it harder for slips to form or root. Give them time, and ensure conditions are optimal.
Can I eat the sweet potatoes that grow from my houseplant?
The sweet potato tuber that forms as part of your houseplant’s root system is generally edible, but it will likely be small and not as flavorful as garden-grown sweet potatoes. The plant focuses its energy on producing lush foliage indoors rather than large, starchy tubers. For a significant edible harvest, you need to grow the plant outdoors in ideal conditions with a long growing season, as detailed in the “Beyond the Houseplant” section.
How long will my sweet potato vine live indoors?
With proper care, a sweet potato vine can live indoors for several years. It is a perennial in its native tropical environment. You can maintain its vigor and appearance by regularly pruning, occasionally repotting into fresh soil, and ensuring it receives adequate light and water. If it starts to look leggy or sparse, you can take cuttings to root new plants, essentially “rejuvenating” your stock.
My sweet potato vine’s leaves are turning brown and crispy. What is wrong?
Brown and crispy leaves usually indicate low humidity or underwatering. Sweet potato vines prefer consistent moisture and higher humidity, especially during dry winter months. Increase watering frequency if the soil is consistently dry, and consider misting the leaves or using a pebble tray to boost humidity around the plant.
Do I need to fertilize my sweet potato houseplant?
Yes, but sparingly, especially during winter. A light feeding with a balanced liquid houseplant fertilizer (diluted to half strength) every 2-4 weeks during its active growth period (spring through fall) can support vigorous foliage. During winter, when growth naturally slows, reduce or stop fertilization entirely. A good quality potting mix provides sufficient nutrients for several months after planting.
For trustworthy gardening information, visit:
Kew Science — Plants of the World, Brooklyn Botanic Garden and Chicago Botanic Garden. These organizations provide expert, research-based advice for gardeners at all levels.
Disclaimer: This article is for informational purposes only and is not a substitute for professional gardening advice. Always consult local extension services or horticulture experts for region-specific guidance.


Leave a Reply