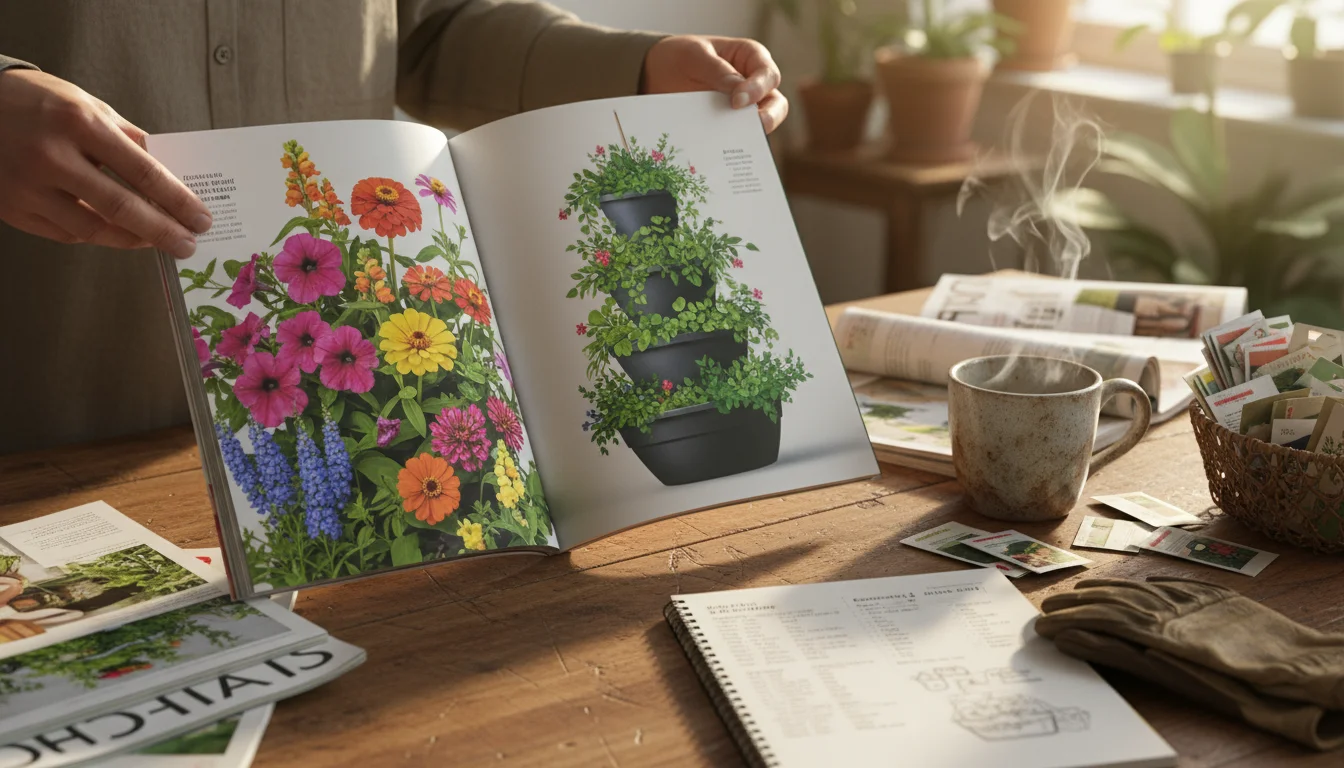
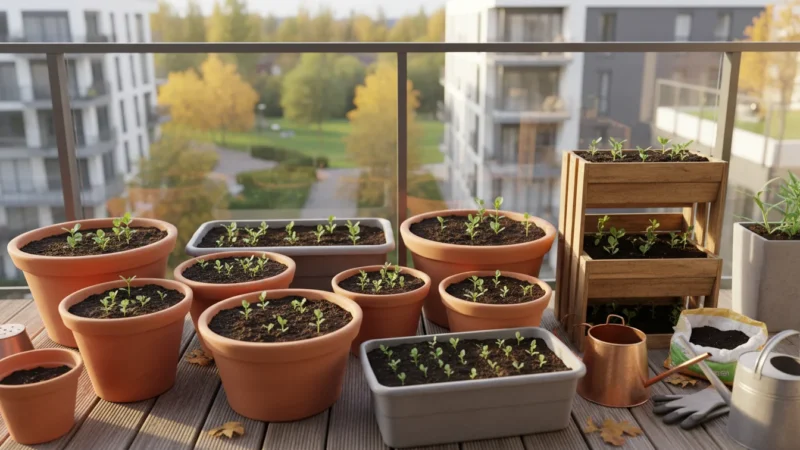
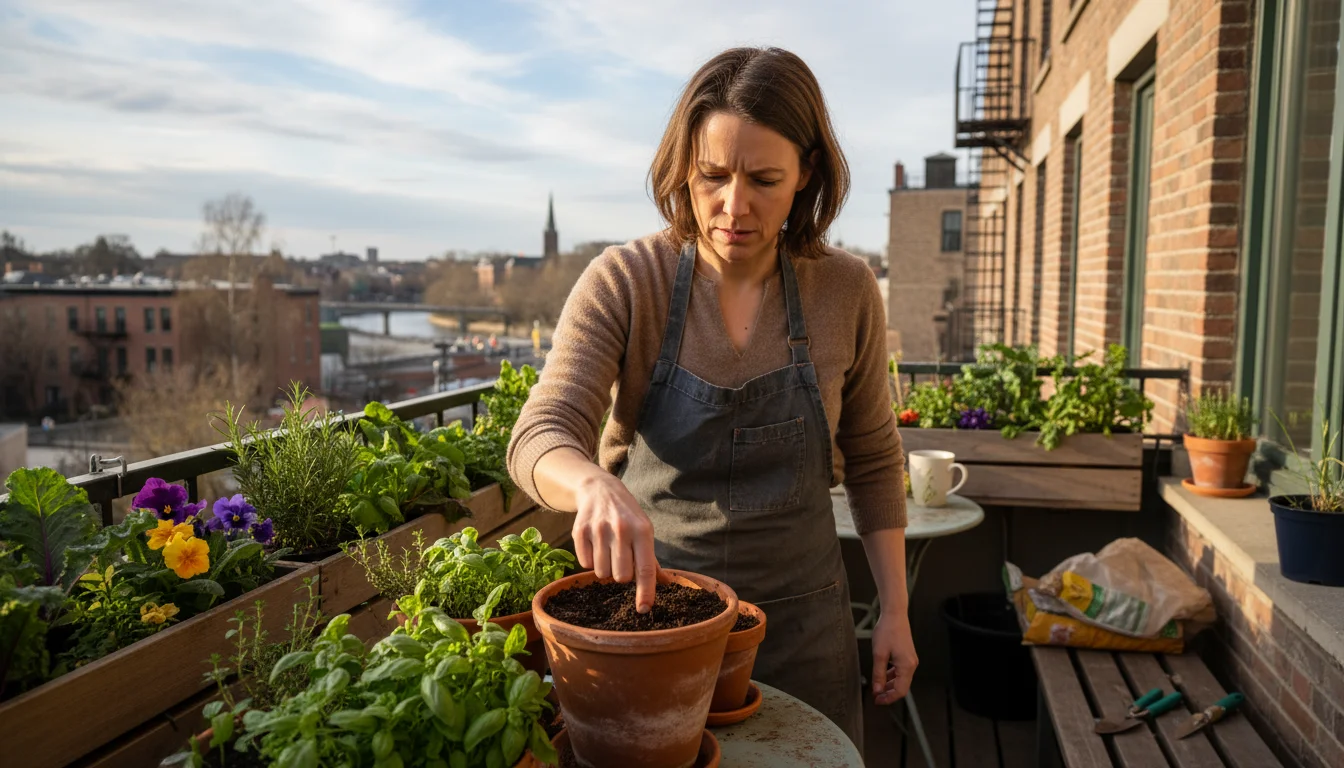
As the vibrant colors of your balcony garden fade with the arrival of cooler temperatures, your attention naturally shifts. While you might focus on bringing tender plants indoors, or bidding farewell to annuals, one crucial task often slips under the radar: preparing your empty containers for the harsh winter months. Many gardeners learn the hard way that leaving pots exposed can lead to significant damage, especially for materials like terracotta. This isn’t just about saving money on replacements, it is about preserving your beloved gardening vessels and ensuring they are ready for a glorious spring.
This article introduces you to the ‘Tuck-In’ Method, a practical, step-by-step approach to winter pot care. This method helps you protect your containers from cracking, warping, and degrading, ensuring they remain an integral part of your small-space garden for years to come. You will discover why this preparation matters, what specific steps to take, and how to embrace sustainable practices in your fall garden cleanup. Let us get your pots tucked in safely for winter.
What is the ‘Tuck-In’ Method and Why It Matters for Your Pots
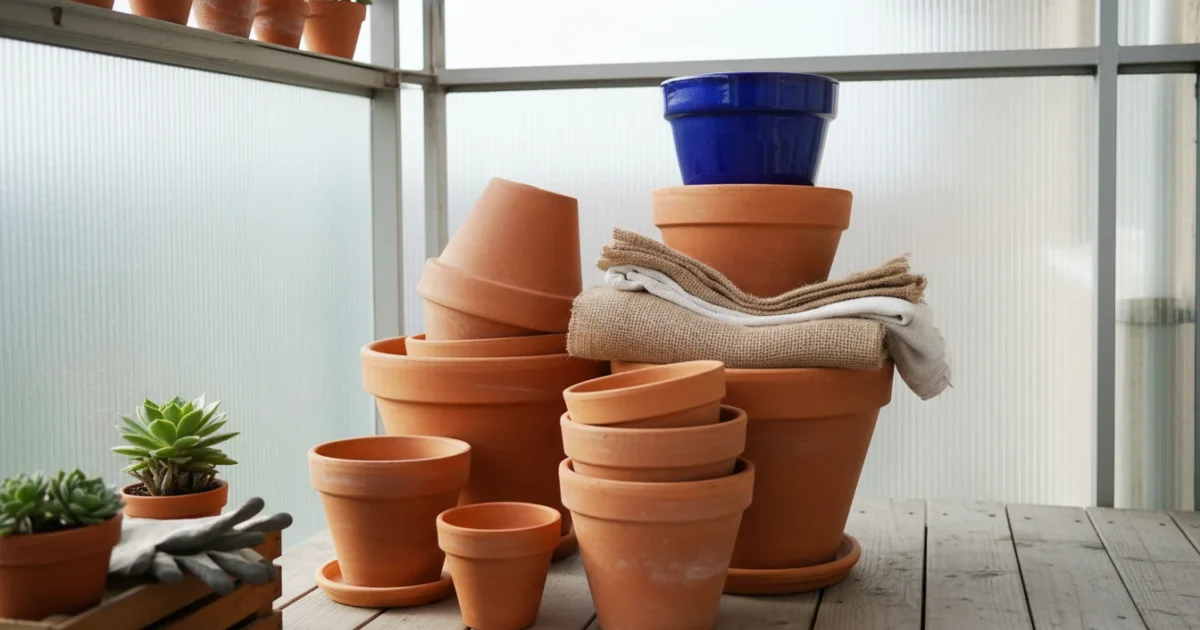
The ‘Tuck-In’ Method describes a comprehensive, preventative approach to preparing your empty gardening containers for winter. It goes beyond simply moving pots indoors. This strategy involves careful cleaning, inspection, appropriate protective measures based on material, and strategic storage. Essentially, you are giving your pots the equivalent of a warm, safe bed for the coldest months, protecting them from the elements.
If your containers aren’t empty, you might instead need a strategy for overwintering hardy potted perennials to keep them alive until spring.
Why does this method matter so much for your small-space garden? Consider the investment you make in your containers. Quality pots, especially those made of terracotta or glazed ceramic, represent a significant expense. Replacing cracked or damaged pots every spring is not only frustrating but also costly. By actively preparing your pots, you save money, reduce waste, and ensure your gardening endeavors remain sustainable. Furthermore, having well-maintained pots ready to go in spring means you can jump right into planting without delay, maximizing your precious growing season on the balcony or patio.
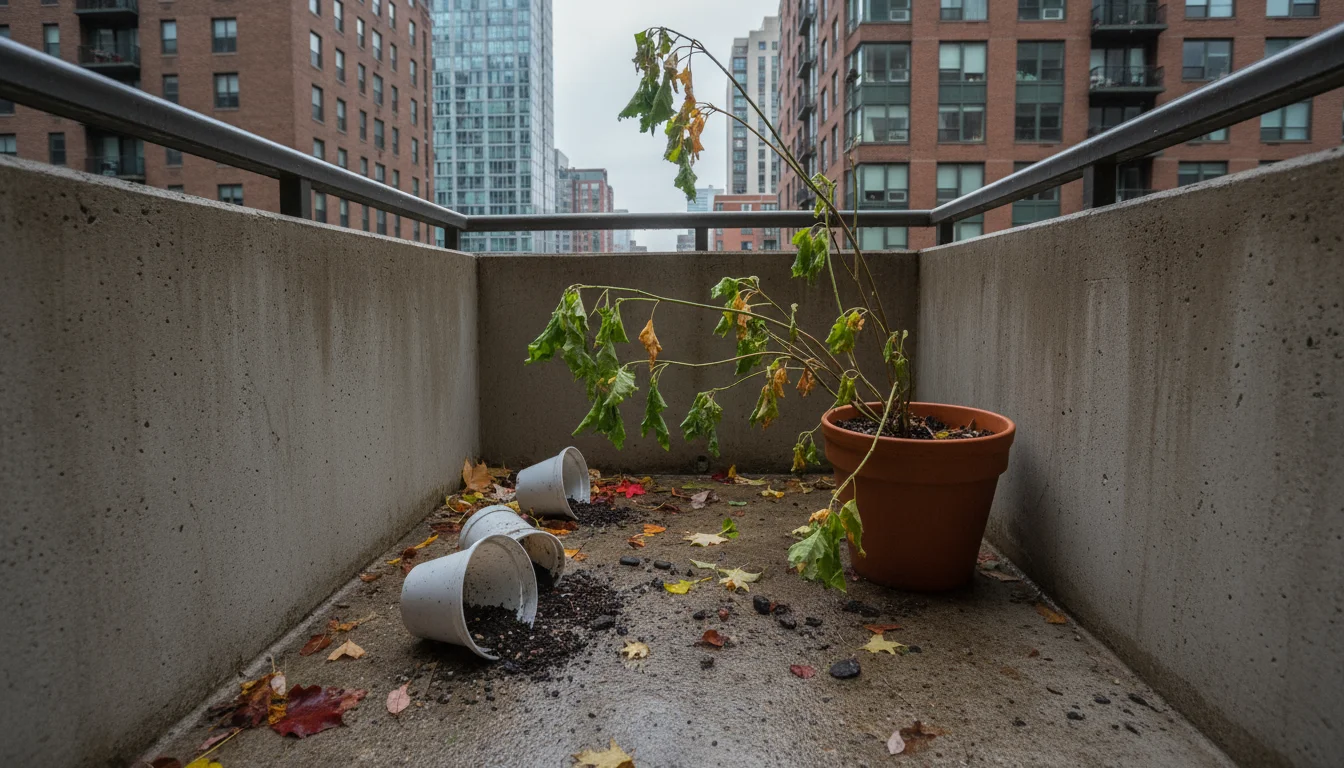
Many gardeners underestimate the destructive power of winter on empty containers. A plastic pot might warp, a terracotta pot might shatter into pieces, and even metal containers can suffer from rust or structural fatigue. The ‘Tuck-In’ Method specifically targets these vulnerabilities, arming you with the knowledge and steps to counteract winter’s harsh effects. You are not just preserving a pot, you are preserving your enthusiasm for gardening and your budget.
Understanding Winter’s Toll: The Science Behind Pot Damage
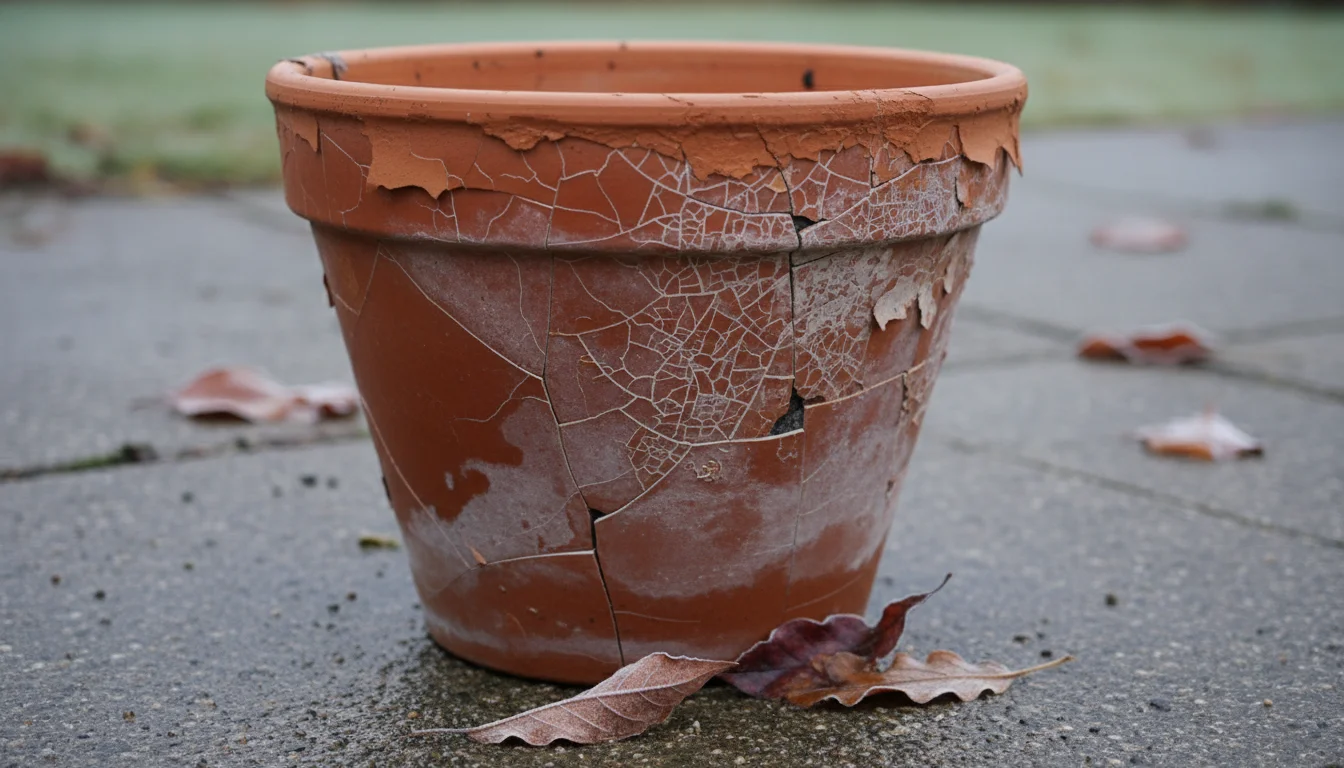
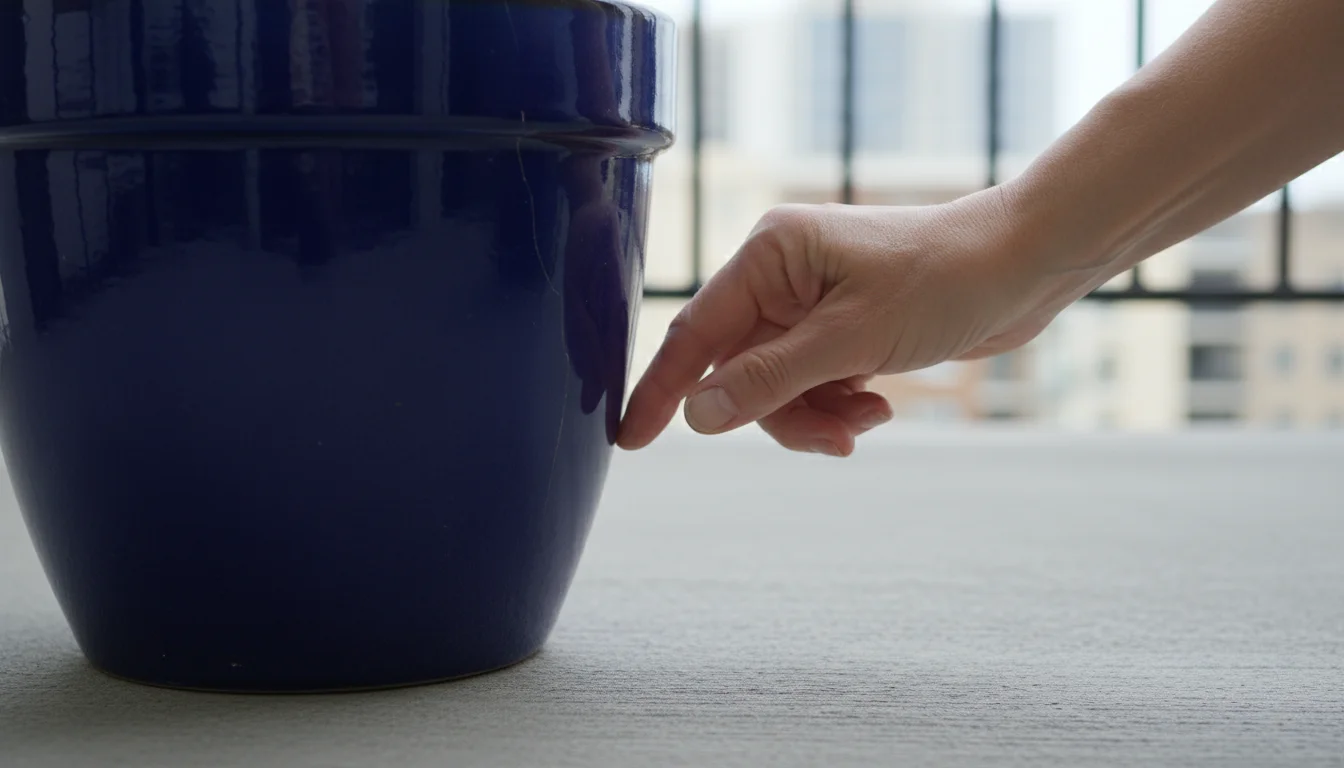
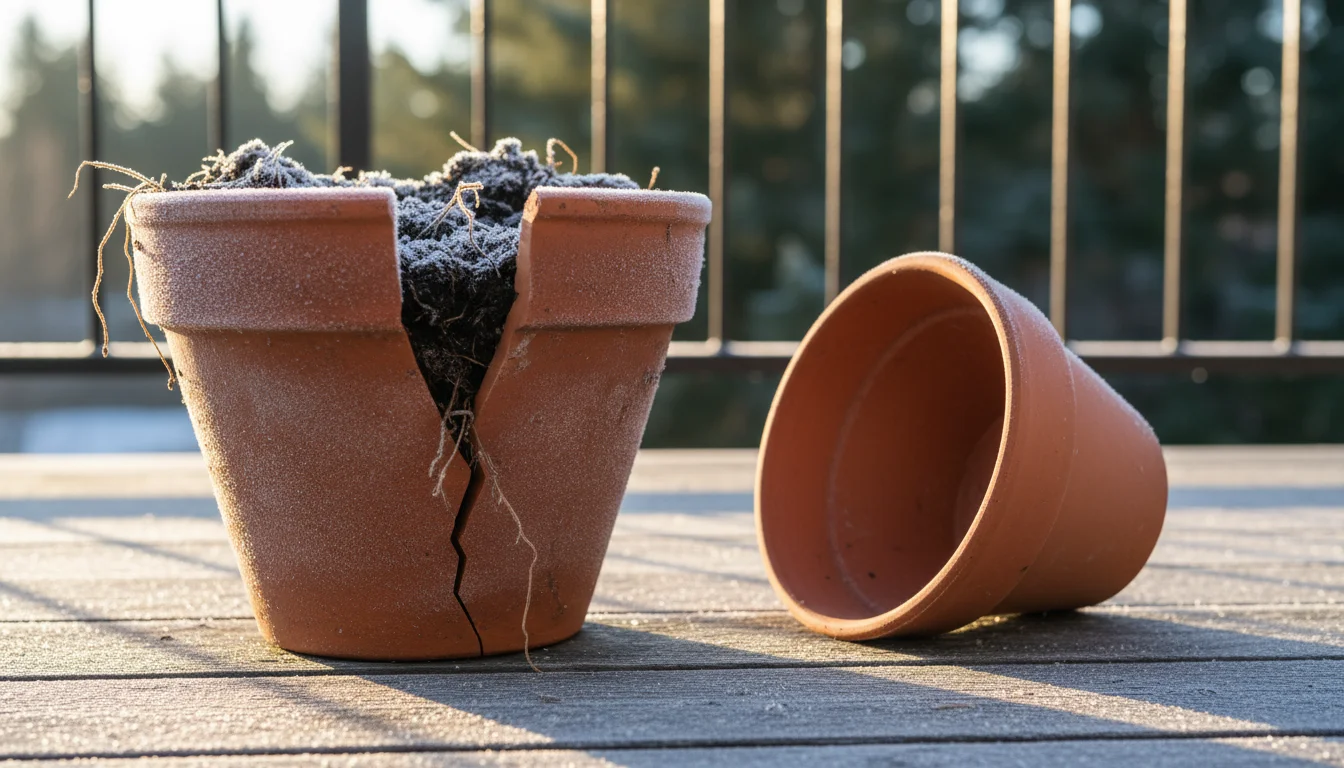
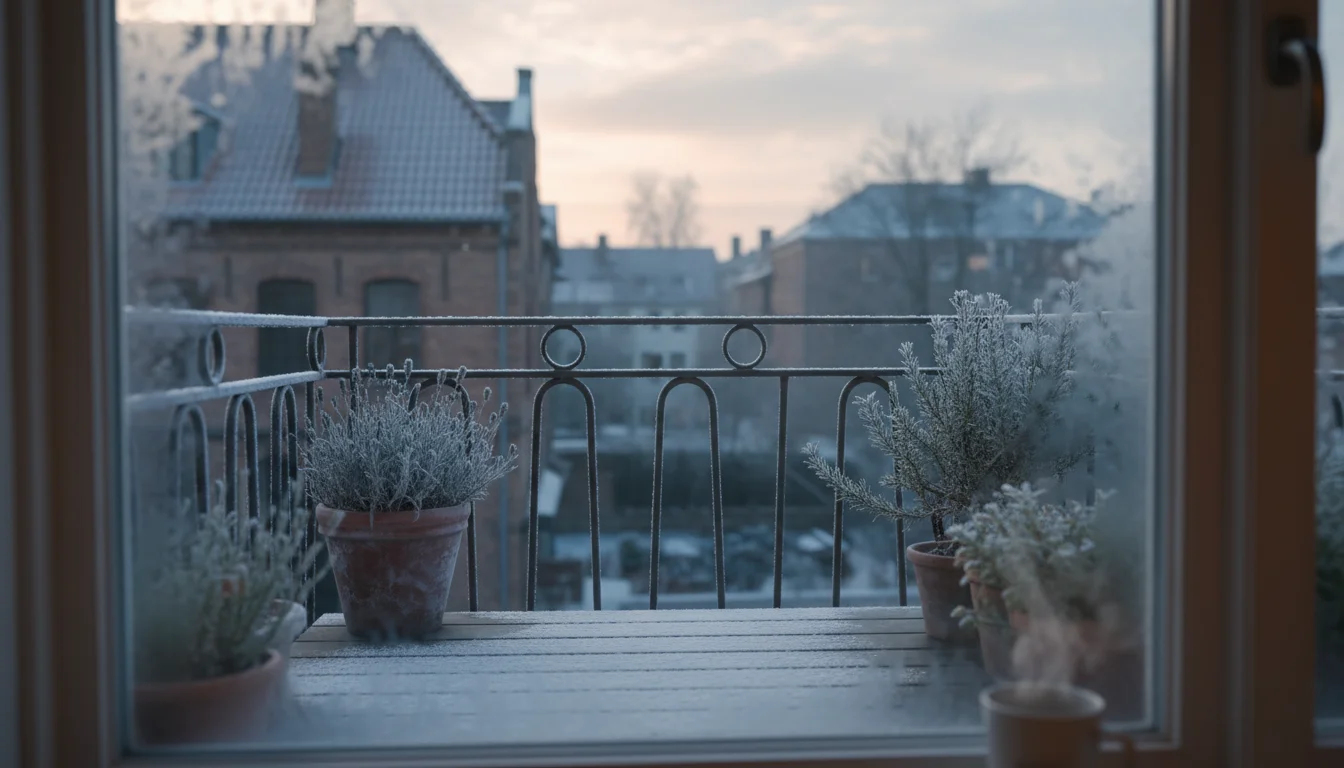
To effectively protect your pots, you first need to understand the primary culprit behind winter damage: the freeze-thaw cycle. This scientific process is deceptively simple yet incredibly destructive, especially to porous materials like terracotta. When water seeps into the tiny pores of a pot and then freezes, it expands. Ice takes up about 9% more volume than liquid water. This expansion creates immense pressure within the pot’s structure. When the ice thaws, it contracts, allowing more water to seep into the newly expanded micro-fissures. As temperatures fluctuate, the cycle repeats, repeatedly stressing the material. Over time, these tiny internal pressures accumulate, leading to visible cracks, flaking, and eventually, catastrophic shattering of the pot.
For larger containers that are too heavy to move, you can insulate your favorite pots with protective wraps to buffer against these temperature swings.
Different materials react differently to this cycle:
- Terracotta and Un-glazed Clay: These are the most vulnerable due to their highly porous nature. Water easily penetrates the material, making them prime candidates for freeze-thaw damage. A single harsh winter can completely destroy unprotected terracotta.
- Glazed Ceramic and Porcelain: The glaze offers a protective, non-porous layer, making these pots more resilient. However, if the glaze cracks, chips, or if water gets into unglazed sections, the same freeze-thaw damage can occur. Additionally, water can still accumulate inside if there are drainage holes, contributing to damage.
- Plastic and Resin: While less susceptible to cracking from freeze-thaw, older or cheaper plastics can become brittle in extreme cold, making them prone to snapping or shattering if bumped. They also tend to warp or distort over time due to temperature extremes.
- Metal: Iron and steel pots can rust, especially if left exposed to constant moisture. Aluminum is more rust-resistant but can still deform. Galvanized metals offer better protection against corrosion.
- Concrete and Stone: These are generally very durable, but concrete can still be porous. Similar to clay, water absorption and freezing can lead to spalling (surface flaking) or cracking over many years.
- Wood: Wooden planters are susceptible to rot and pest infestation if left in damp conditions. Freezing and thawing can cause wood to split.
Understanding these material-specific weaknesses empowers you to apply the right protective measures. You are not just putting pots away, you are actively countering specific environmental threats.
Your Essential Toolkit for Winter Pot Preparation
Preparing your pots for winter does not require a vast array of specialized tools. You likely possess most of what you need already. Gathering these items before you begin streamlines the process and ensures you complete each step effectively.
Here is a list of supplies you will find indispensable for the ‘Tuck-In’ Method:
- Stiff-Bristled Brush or Scrub Brush: Essential for removing stubborn soil, mineral deposits, and any lingering plant debris from both the inside and outside of your pots.
- Bucket: For mixing cleaning solutions or simply holding water for rinsing.
- Dish Soap or Mild Cleaner (Optional): A small amount of dish soap can help break down oils and grime. For sterilization, a diluted bleach solution (1 part bleach to 9 parts water) or a vinegar solution (1 part vinegar to 4 parts water) works well to kill pathogens, but always rinse thoroughly afterward.
- Clean Rags or Sponges: For wiping down surfaces and drying pots.
- Hose with a Nozzle (if available): For powerful rinsing, especially useful for larger containers.
- Protective Gloves: To protect your hands from dirt, cleaning solutions, and rough surfaces.
- Tarpaulins (Tarps) or Old Blankets/Sheets: For covering stacks of pots or creating a temporary protective barrier in storage.
- Newspaper, Bubble Wrap, or Old Towels: For cushioning between stacked pots, especially delicate ones, and for insulating terracotta.
- Pot Feet or Wooden Shims (Optional but Recommended): If you store pots outdoors on a hard surface, these lift them slightly to improve drainage and air circulation.
- Clear Plastic Bags or Stretch Wrap: For providing an extra layer of protection against moisture for terracotta or sensitive materials.
- Labels and Marker (Optional): To note the type of plant grown in the pot or any specific care instructions for future use. This saves time come spring when you are planning your new arrangements.
Having these items on hand makes your winter pot preparation efficient and effective, turning what could be a chore into a productive gardening task.
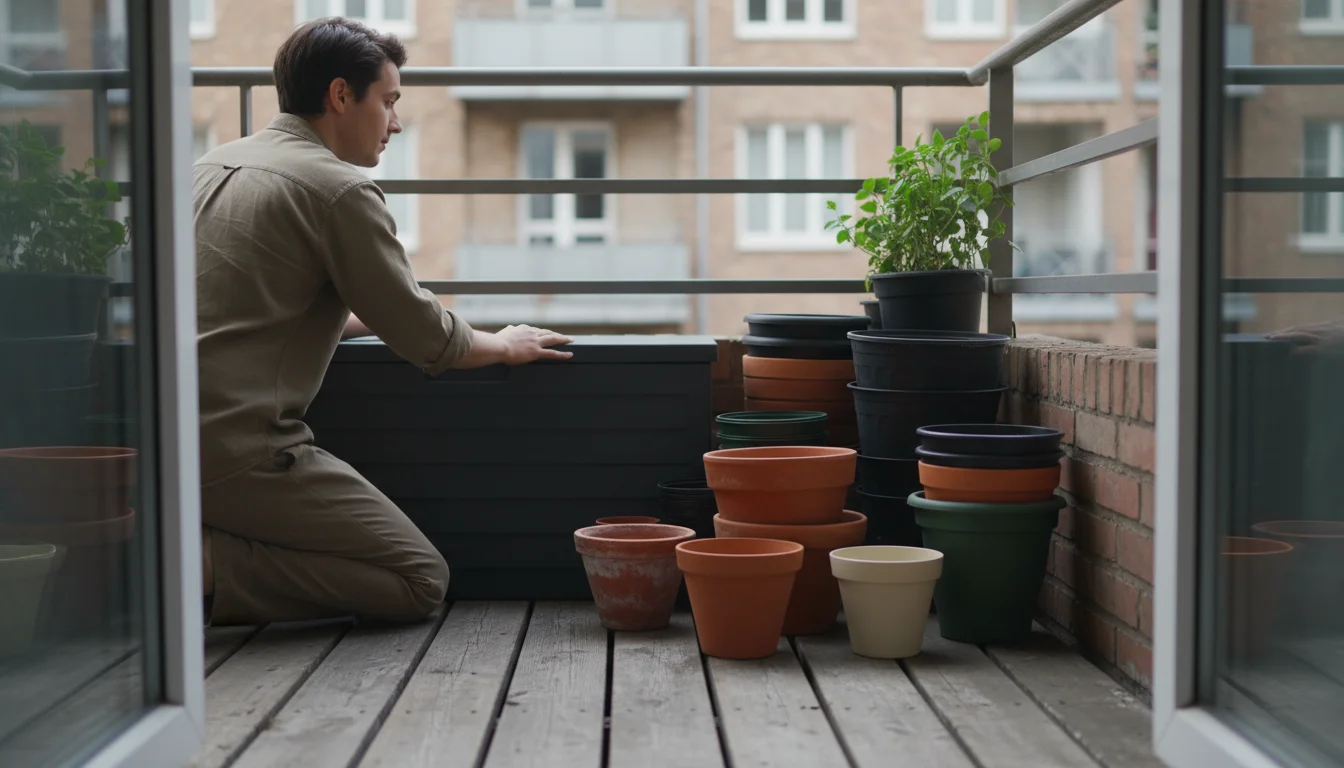
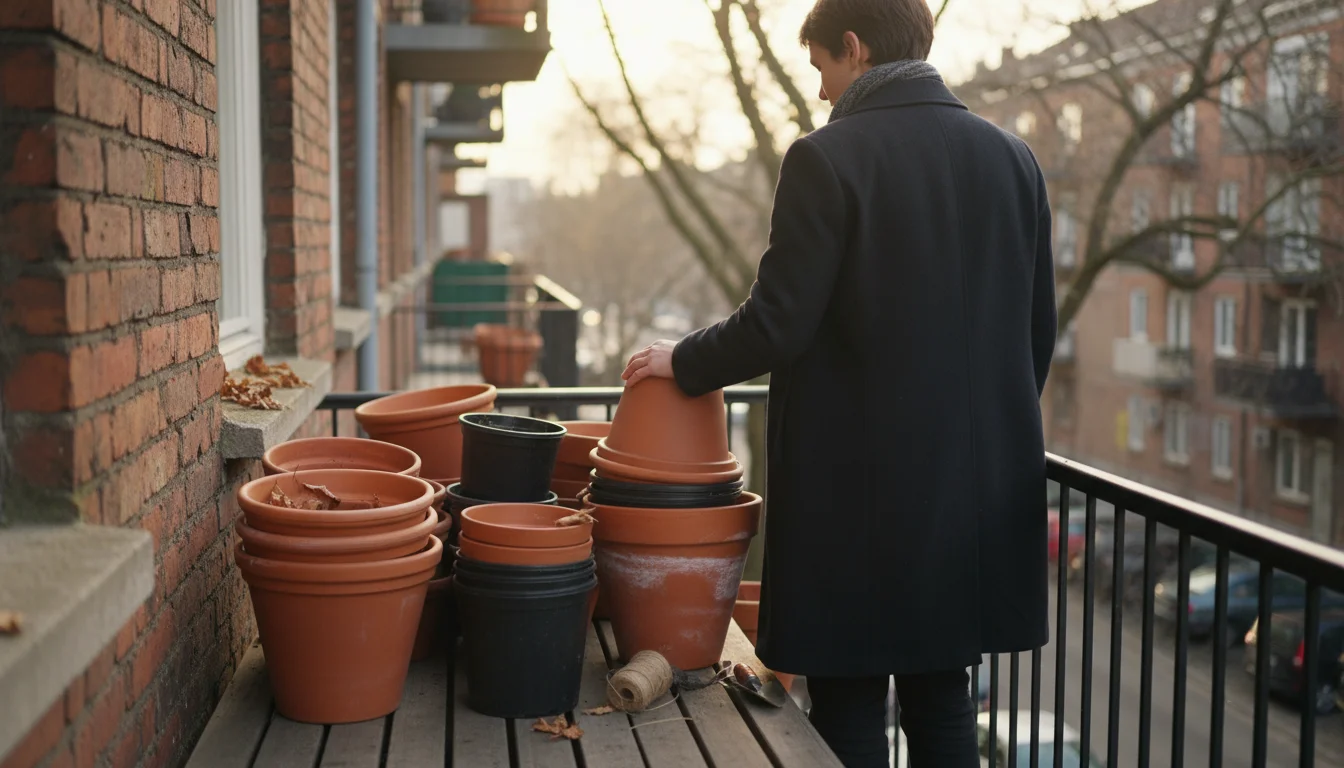
Clearing the Deck: Emptying and Thoroughly Cleaning Your Balcony Containers
Before you protect your pots, you must prepare them. The first crucial step of the ‘Tuck-In’ Method involves emptying and meticulously cleaning each container. This step is not merely for aesthetics, it is vital for preventing disease, pests, and long-term pot damage.
Before you start scrubbing, it is wise to decide what to keep, toss, or clean so you only spend time on your best gardening vessels.
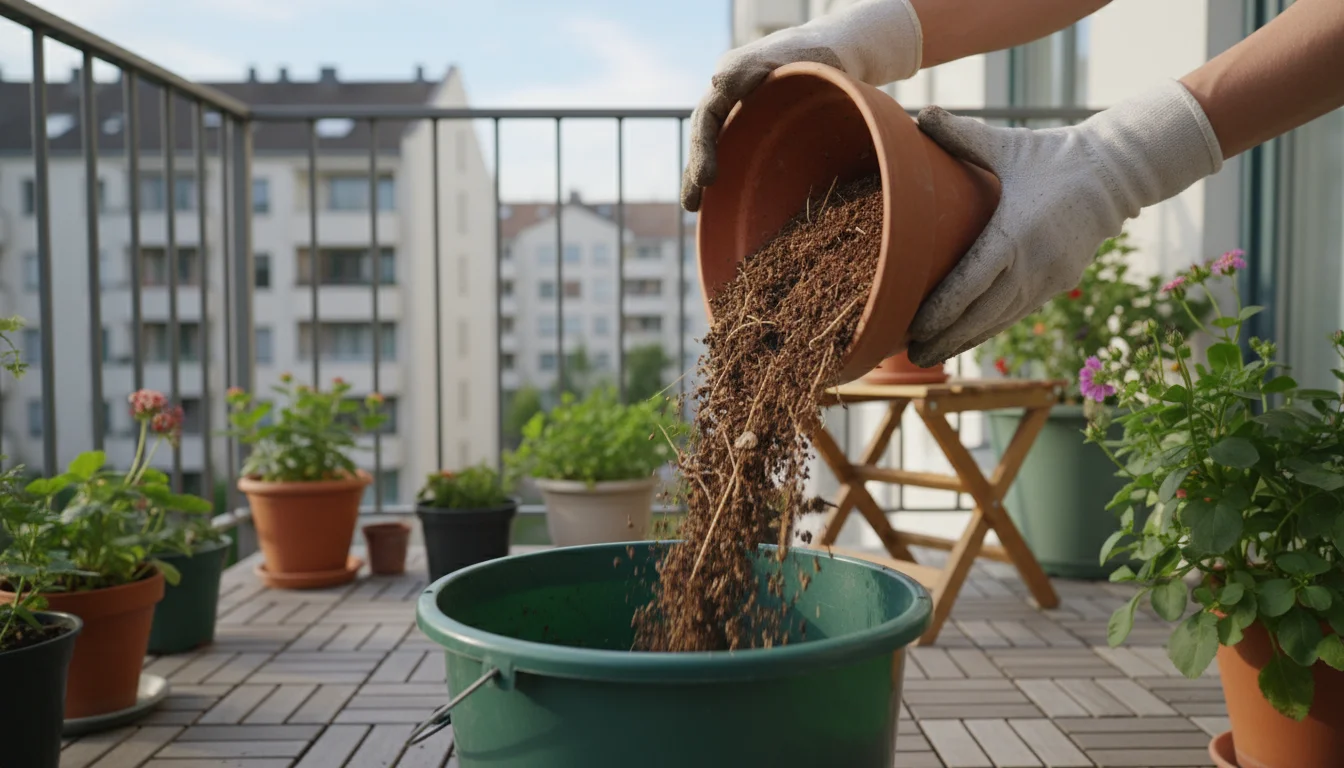
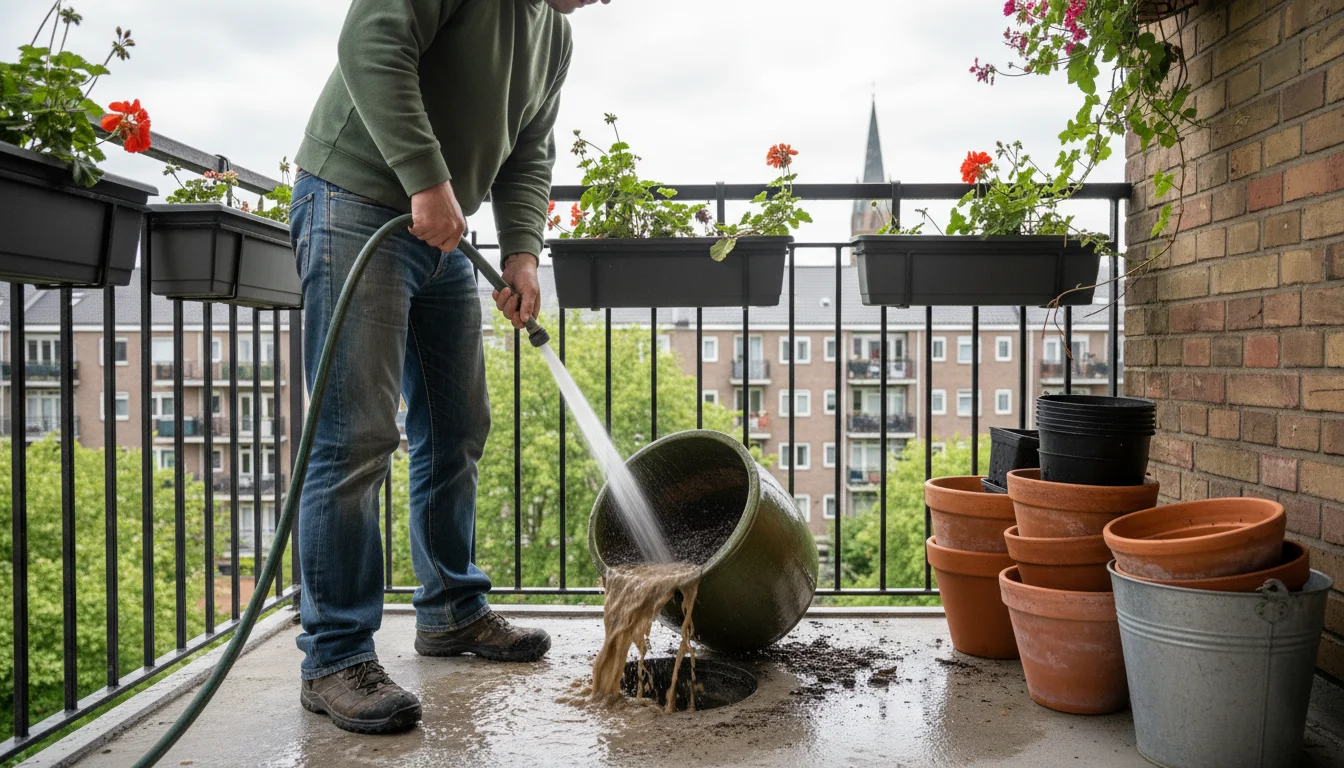
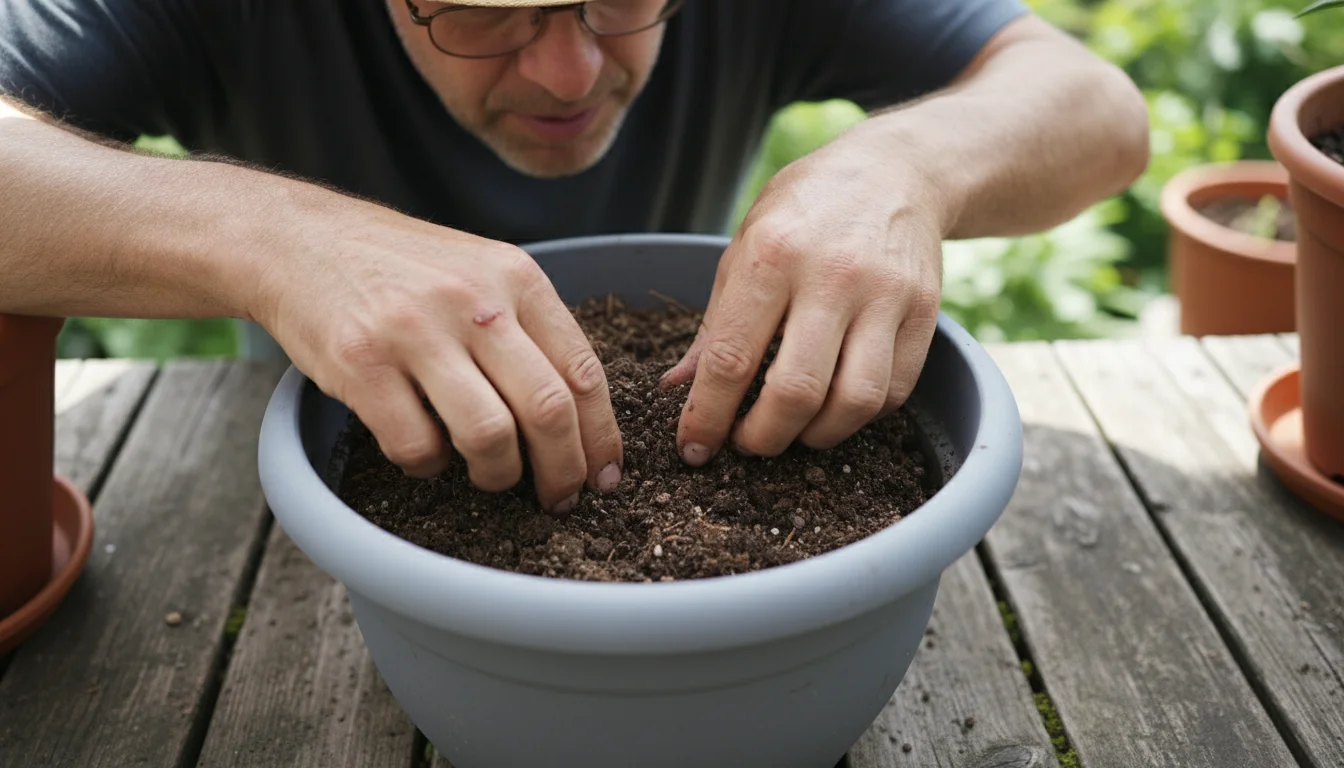
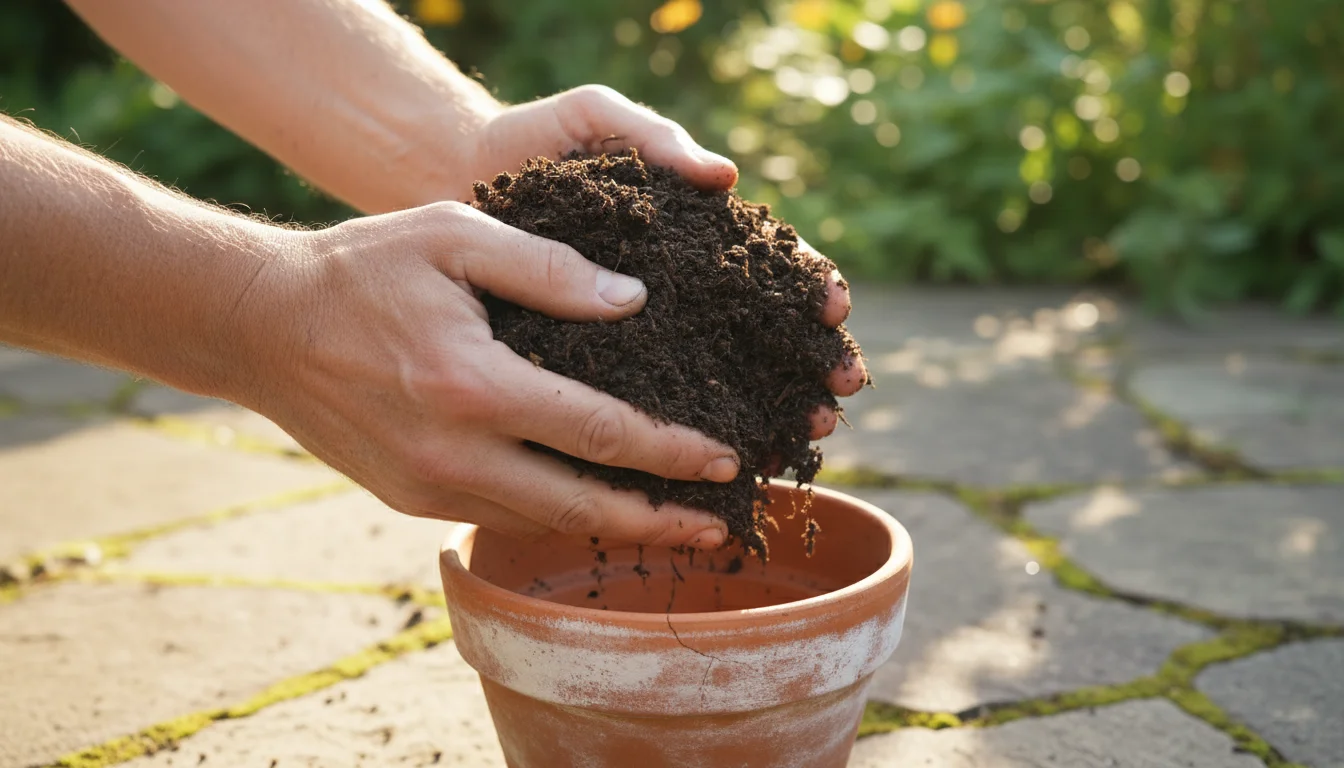
Step 1: Empty the Contents
Carefully remove all soil, plant roots, and any remaining plant material from your pots. If the soil is healthy, meaning free from disease, pests, or excessive weed seeds, you can reuse it. For example, you can amend it with fresh compost and store it in sealed bags or bins for next season’s plantings. Healthy soil provides a valuable resource for your future gardening endeavors. If you suspect any diseases or pests were present, dispose of the soil in your general waste, not your compost pile, to prevent spreading issues. You can check with your local extension service for best practices regarding soil disposal in your area. For trustworthy gardening information, visit Oregon State Extension — Gardening or University of Illinois Extension — Gardening. These resources offer comprehensive advice on soil health and management.
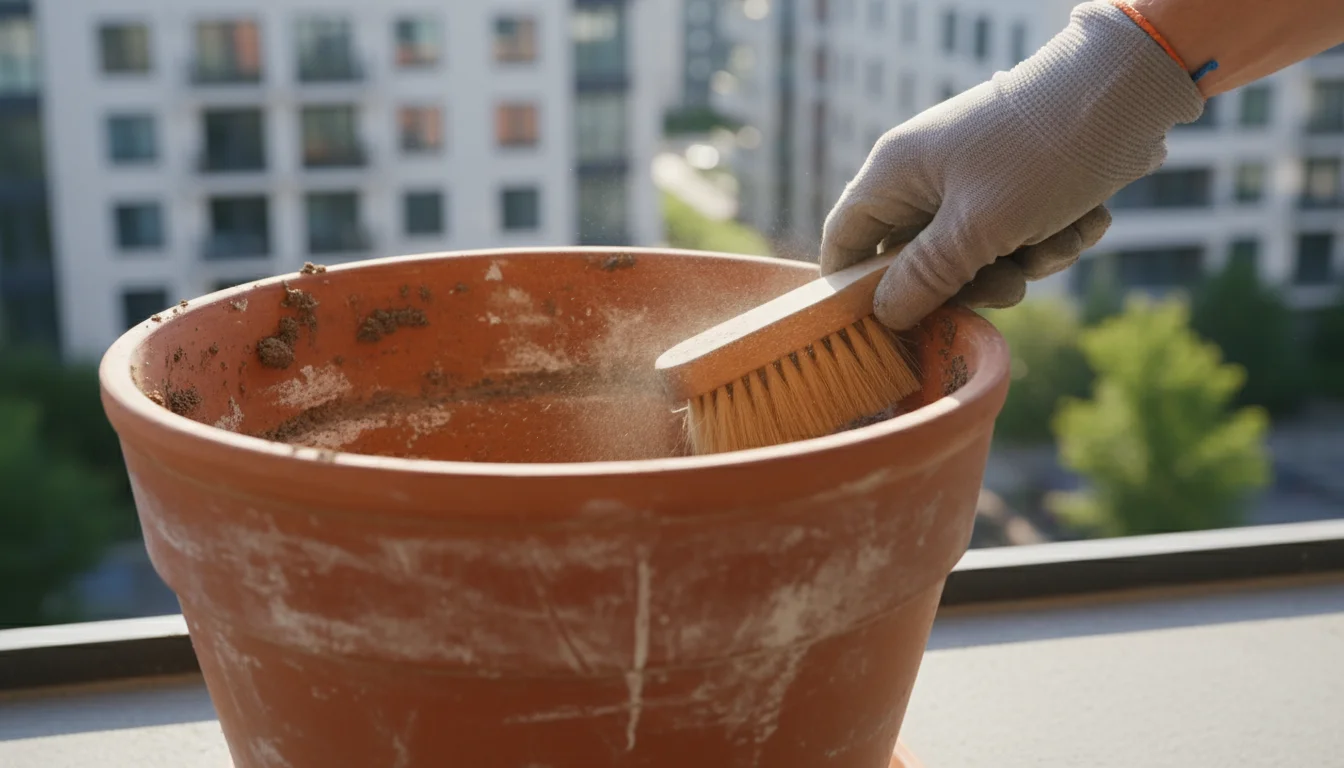
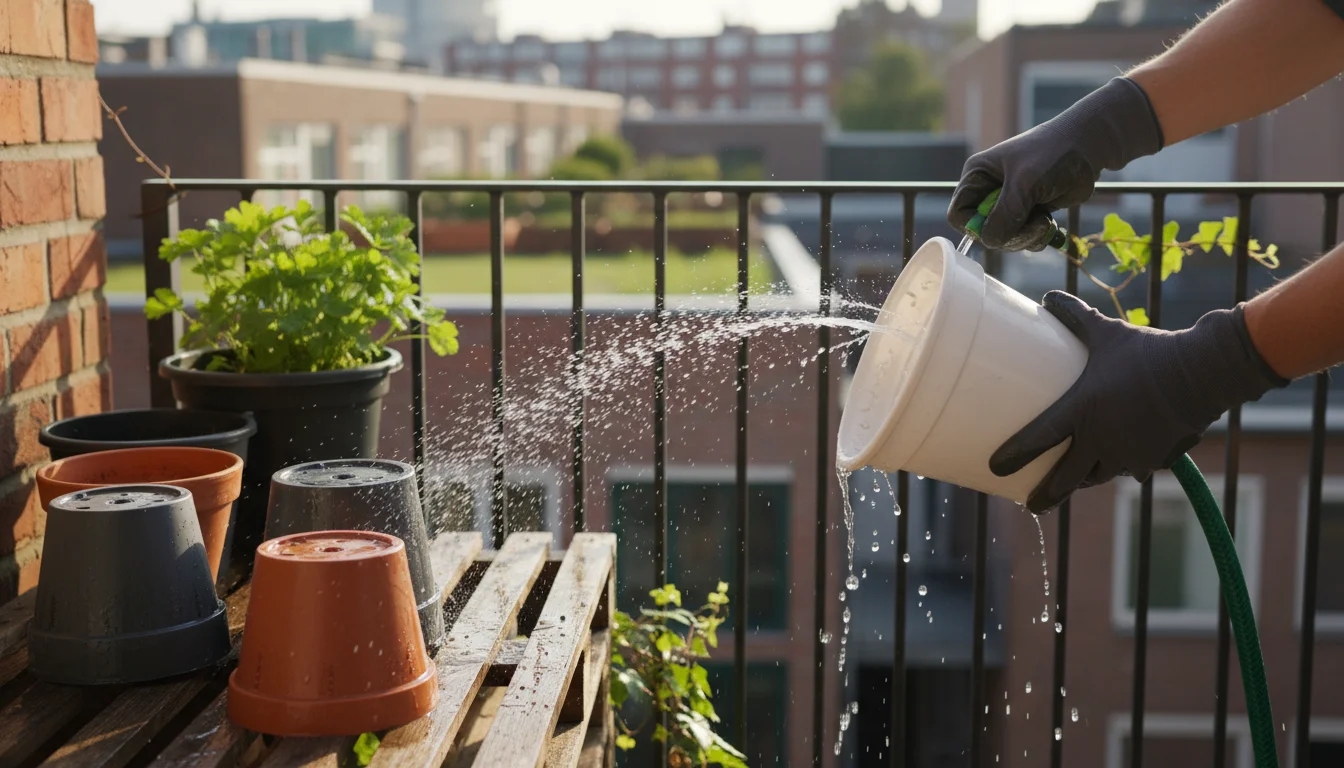
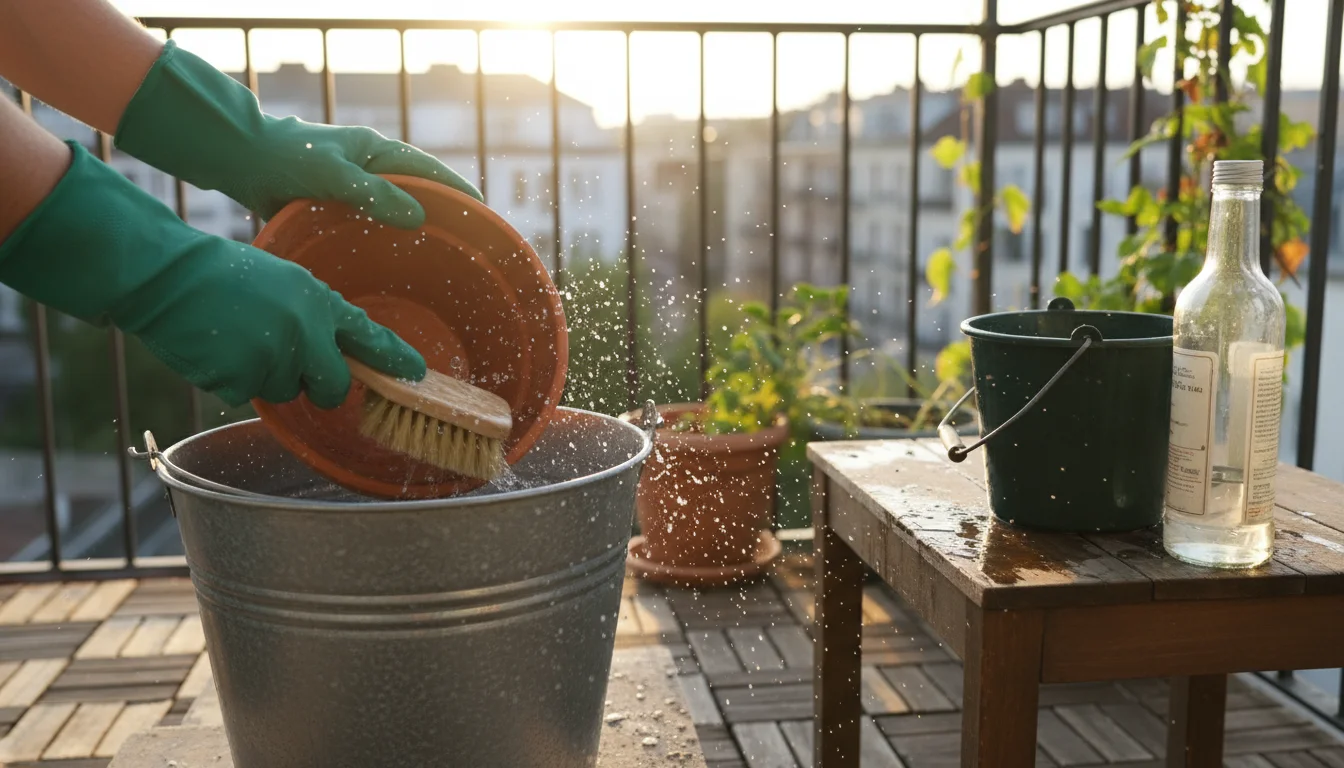
Step 2: Remove Debris and Scrub
Once empty, use your stiff-bristled brush to scrape away any caked-on soil, mineral deposits, or organic matter from both the inside and outside surfaces of the pot. Pay close attention to the rim, base, and drainage holes. These areas often accumulate stubborn grime. For terracotta pots, a dry brush often works best to remove loose debris before introducing water.
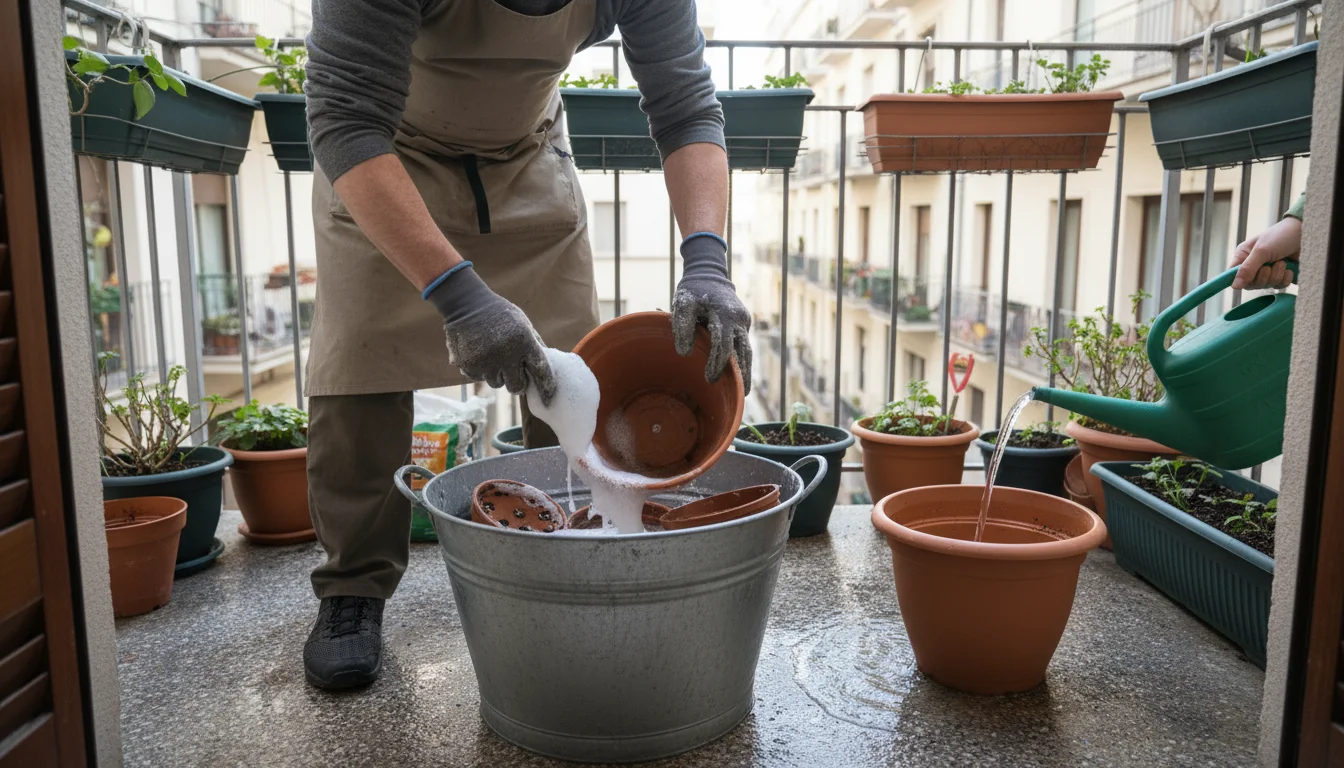
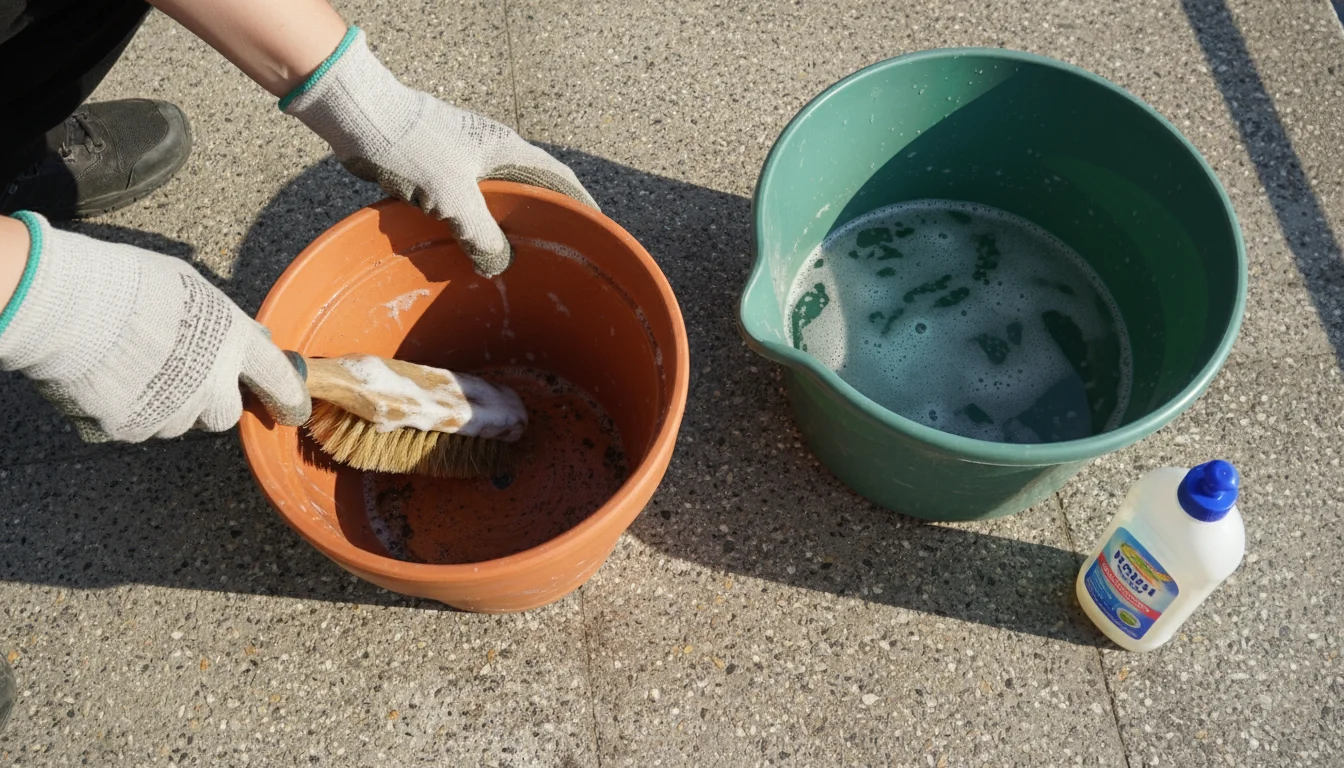
Step 3: Wash Thoroughly
Fill a bucket with warm water and a small amount of mild dish soap. Submerge smaller pots or thoroughly scrub larger ones. You want to remove all visible dirt and any unseen residues. Rinse the pots extensively with clean water, ensuring no soap residue remains. Soap residue can inhibit future plant growth or alter soil pH. For a more eco-friendly approach, you can collect rinse water to irrigate hardy plants or even use it to clean other garden tools.
Step 4: Disinfect (Optional but Recommended)
If you have concerns about plant diseases, such as powdery mildew or fungal issues, or if pests like spider mites were present, a disinfection step is wise. Prepare a solution of one part household bleach to nine parts water, or a more environmentally friendly solution of one part white vinegar to four parts water. Submerge plastic pots or scrub all surfaces of larger pots with this solution. Let it sit for at least 10-15 minutes to allow the disinfectant to work. After disinfection, rinse the pots again, meticulously, until you detect no lingering scent of bleach or vinegar. You must ensure thorough rinsing before the pots are stored, as chemical residues can harm future plants.
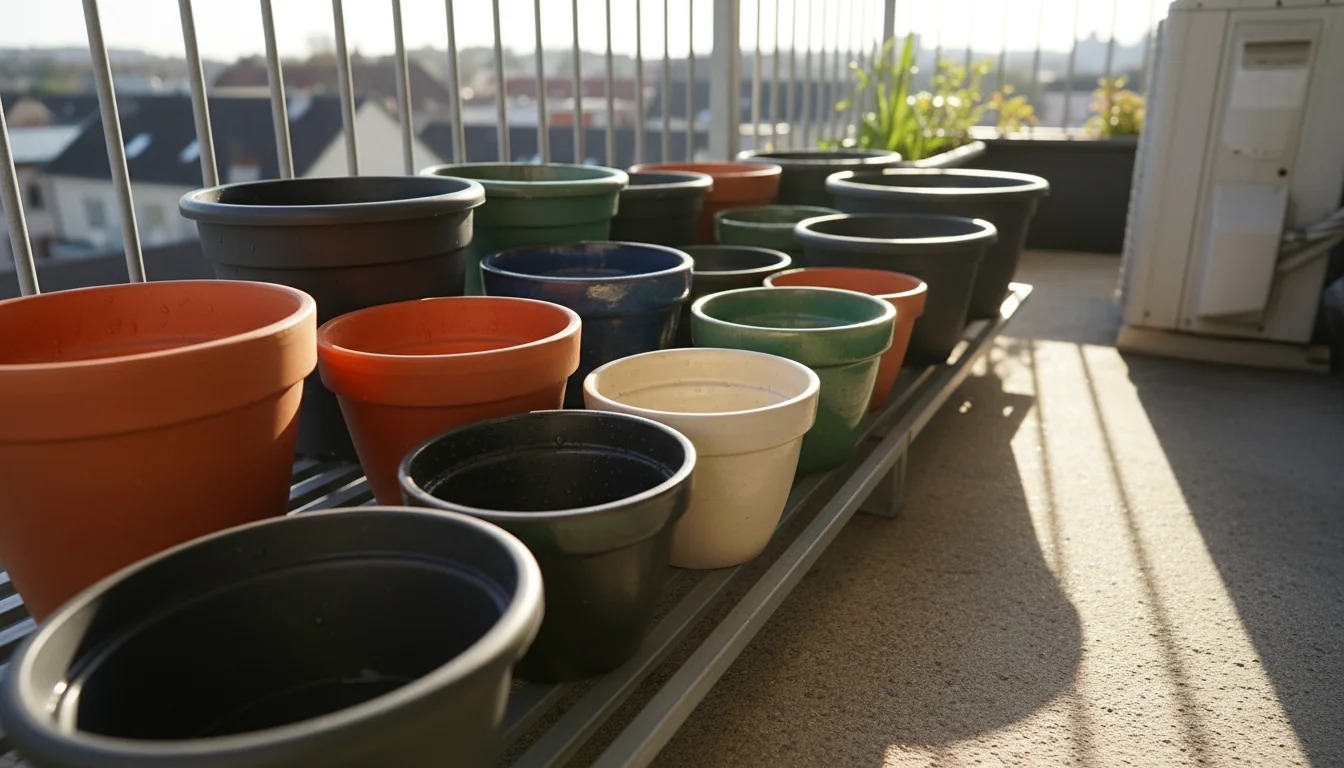
Step 5: Dry Completely
This is a critical step, especially for porous materials. Allow your pots to air dry completely. Ideally, let them sit in a sunny, well-ventilated area for several days. Any moisture retained within the pores of a terracotta or concrete pot will expand when frozen, potentially causing cracks. For plastic pots, complete drying prevents mildew or unpleasant odors during storage. Ensure you check the drainage holes to confirm they are clear and dry.
By diligently following these cleaning steps, you create a clean slate for your containers, preparing them perfectly for the next phase of the ‘Tuck-In’ Method.
The ‘Tuck-In’ Method in Action: Protecting Your Pots from Frost and Cracking
Once your pots are sparkling clean and thoroughly dry, it is time to apply the core protective measures of the ‘Tuck-In’ Method. This involves specific treatments tailored to the material of your containers. Your goal is to minimize moisture absorption, insulate against extreme cold, and protect against physical damage.
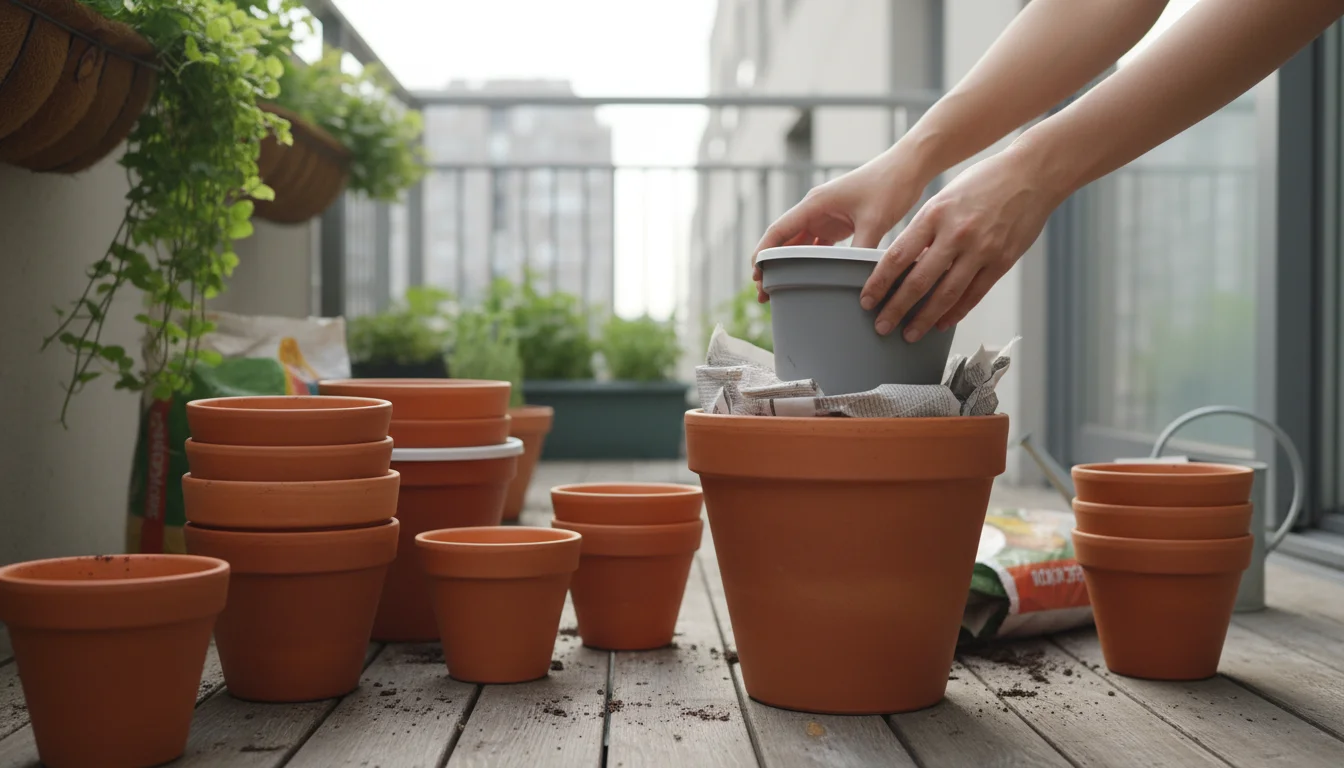
Terracotta and Un-glazed Clay Pots: The Most Vulnerable
- Thorough Drying is Key: As mentioned, ensure these pots are bone dry. Any residual moisture is a ticking time bomb for freeze-thaw cracking.
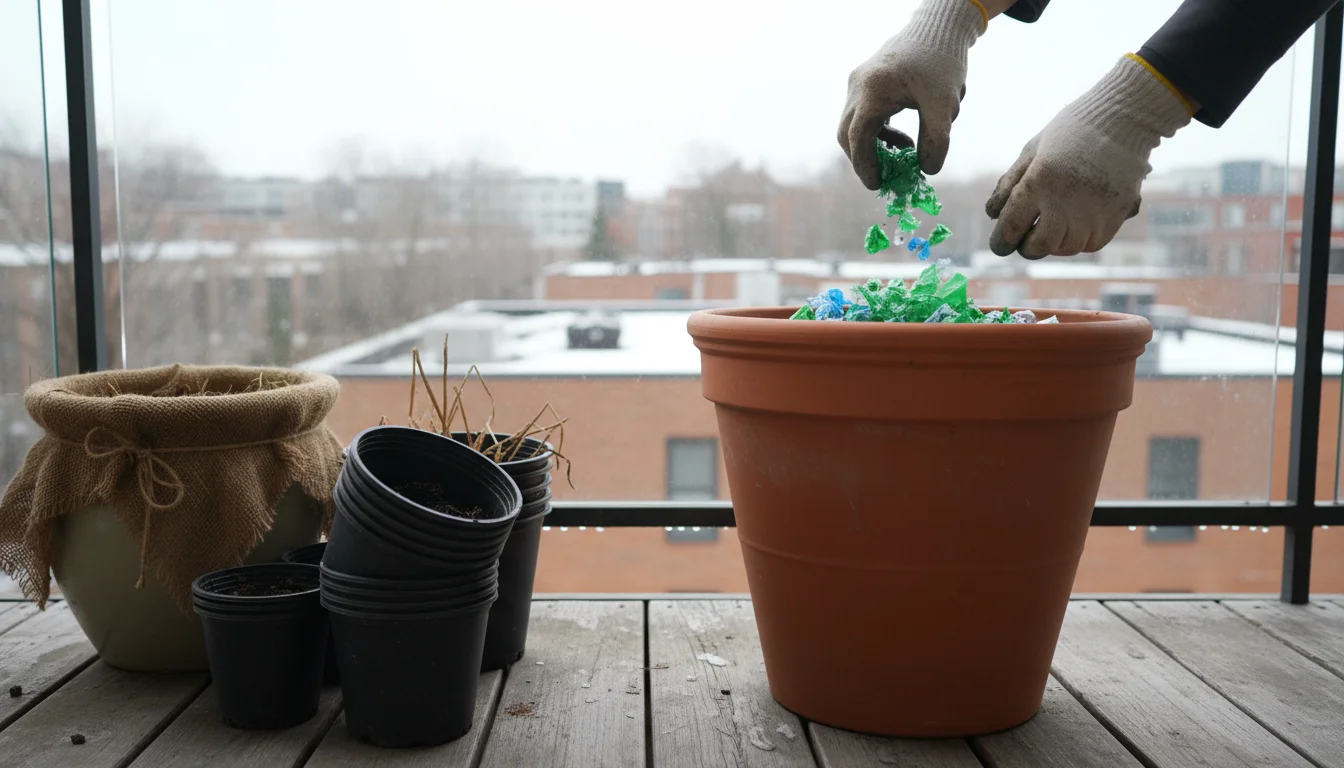
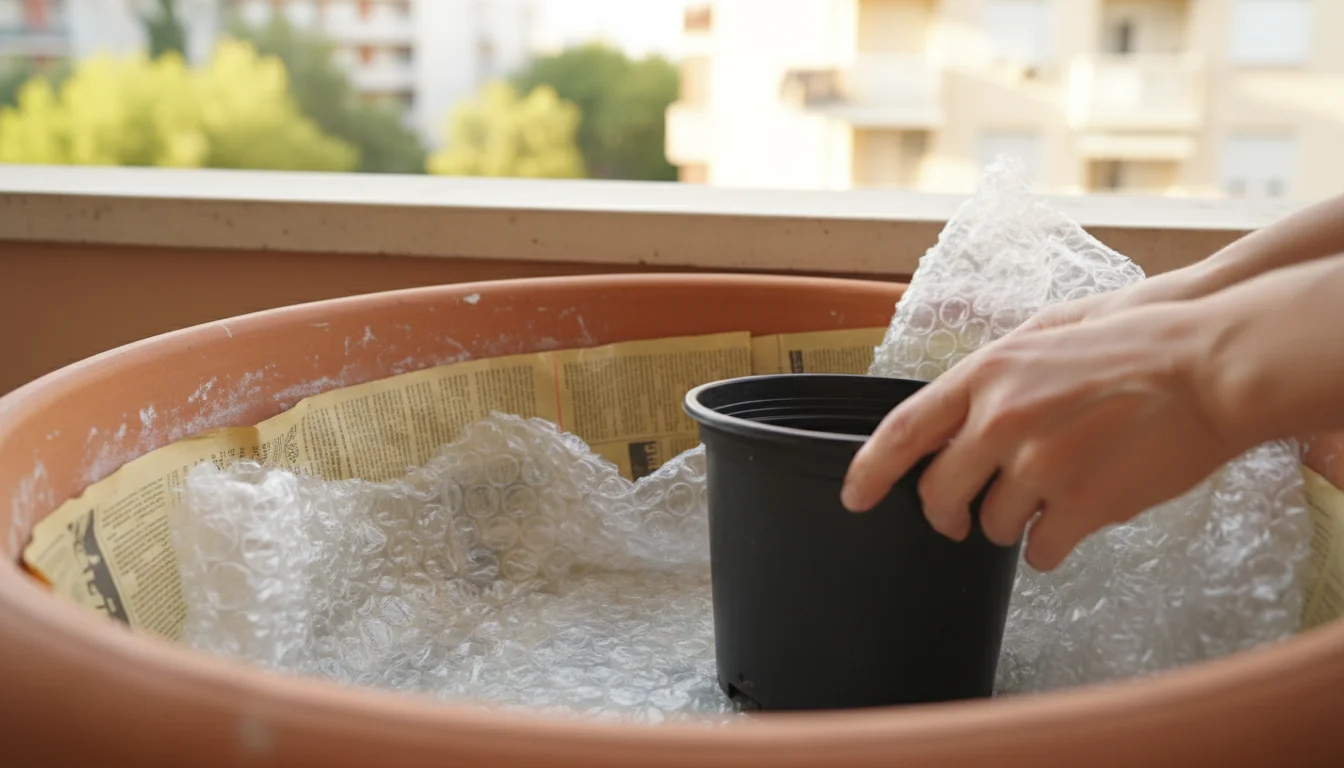
- Inner Protection: For smaller terracotta pots, you can line the inside with newspaper or bubble wrap to add an insulating layer.
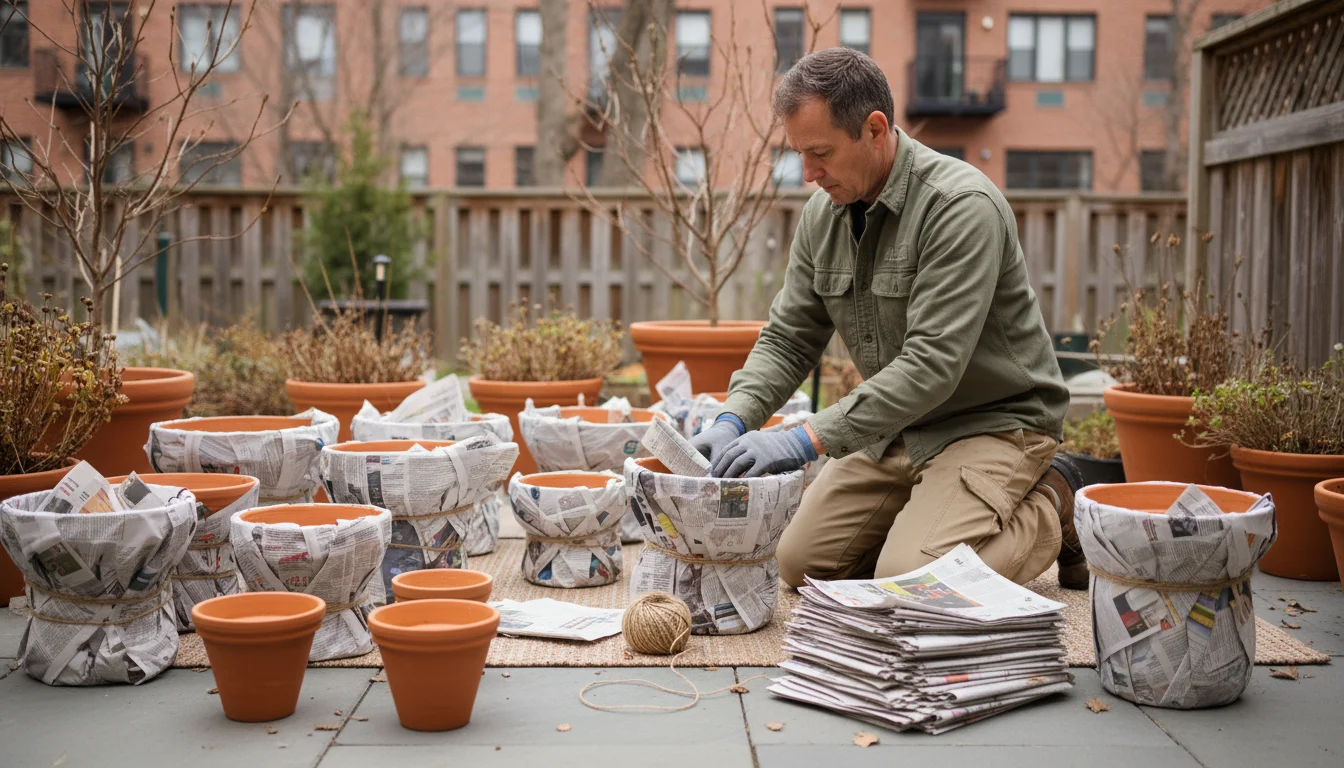
- Outer Wrapping: Wrap terracotta pots individually in several layers of newspaper, bubble wrap, old towels, or blankets. This creates a thermal barrier. Secure the wrapping with twine or tape.
- Plastic Bag Barrier: Place wrapped terracotta pots into strong plastic bags or wrap them in clear plastic stretch wrap. This creates a moisture barrier, preventing any external humidity or precipitation from re-wetting the porous clay. Ensure the top is open or has some ventilation to prevent condensation if storing in a mildly humid environment.
- Elevate and Insulate: If storing on a concrete or cold floor, place a piece of cardboard, wood, or pot feet underneath to break direct contact and reduce heat transfer.
By following these steps, you significantly reduce the risk of your terracotta pots succumbing to winter’s freeze-thaw cycles. This preventative `winter pot care` is a simple investment of time that saves you from costly replacements.
Glazed Ceramic and Porcelain Pots: Durable but Not Invincible
- Inspect for Cracks/Chips: Carefully examine the glaze for any hairline cracks or chips. If water penetrates these compromised areas, the internal clay body can still suffer freeze-thaw damage.
- Seal Compromised Areas (Optional): For minor chips or cracks, you can apply a waterproof sealant, though this is often a temporary fix. For significant damage, consider storing these pots indoors.
- Elevate: Always ensure glazed pots are slightly elevated during storage, especially if stored outdoors. This prevents water from pooling around the base and freezing, which can lift and damage the pot.
- Stack with Cushioning: If stacking, place newspaper, cardboard, or bubble wrap between each pot to prevent chipping or scratching the glaze.
Plastic and Resin Pots: Brittle in the Cold
- Clean and Dry: Though less prone to cracking from water absorption, proper cleaning and drying still prevent mildew and lingering pests.
- Avoid Direct Impact: Plastic becomes brittle in cold temperatures. Store these pots where they will not be bumped, knocked over, or have heavy items placed on them. A sudden impact can cause them to shatter.
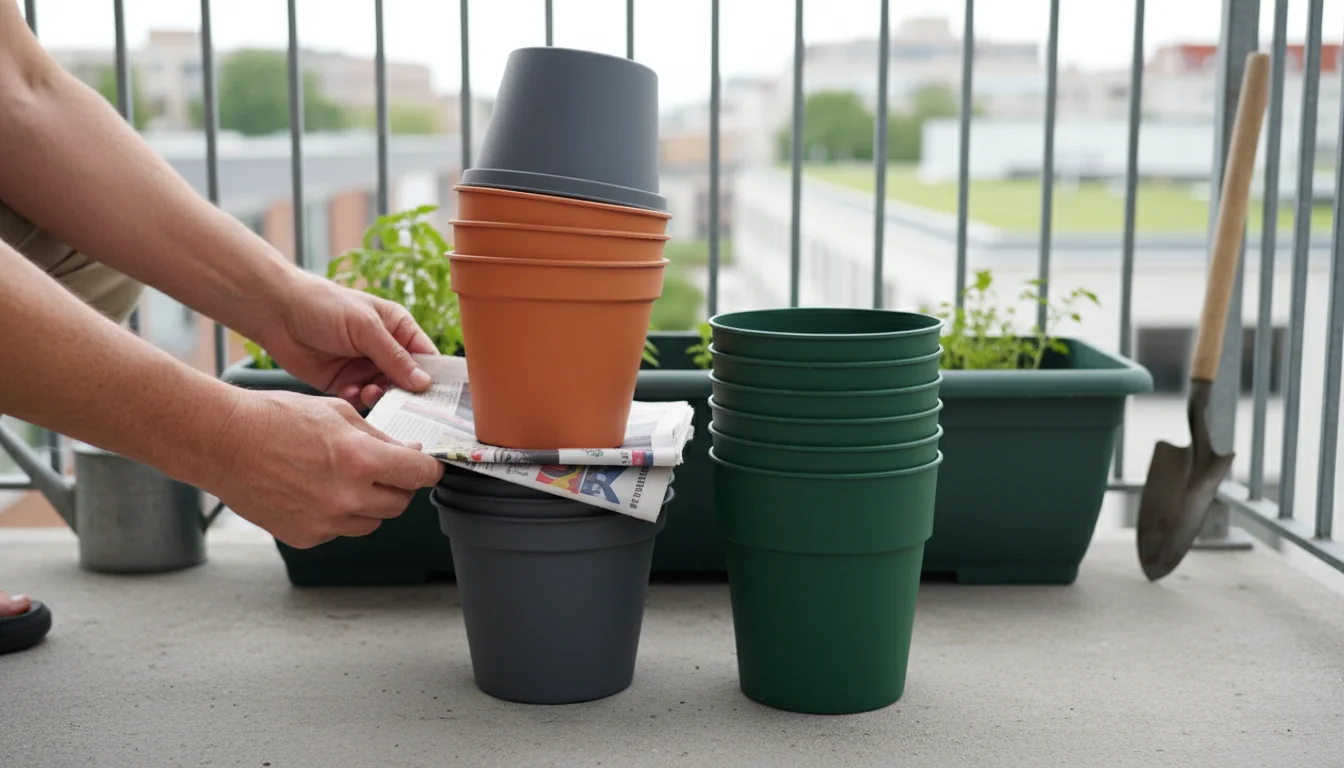
- Stacking: Stack plastic pots if possible, from largest to smallest, to save space. Place a piece of cardboard or newspaper between each to prevent them from sticking together.
Metal Pots: Rust and Deformation
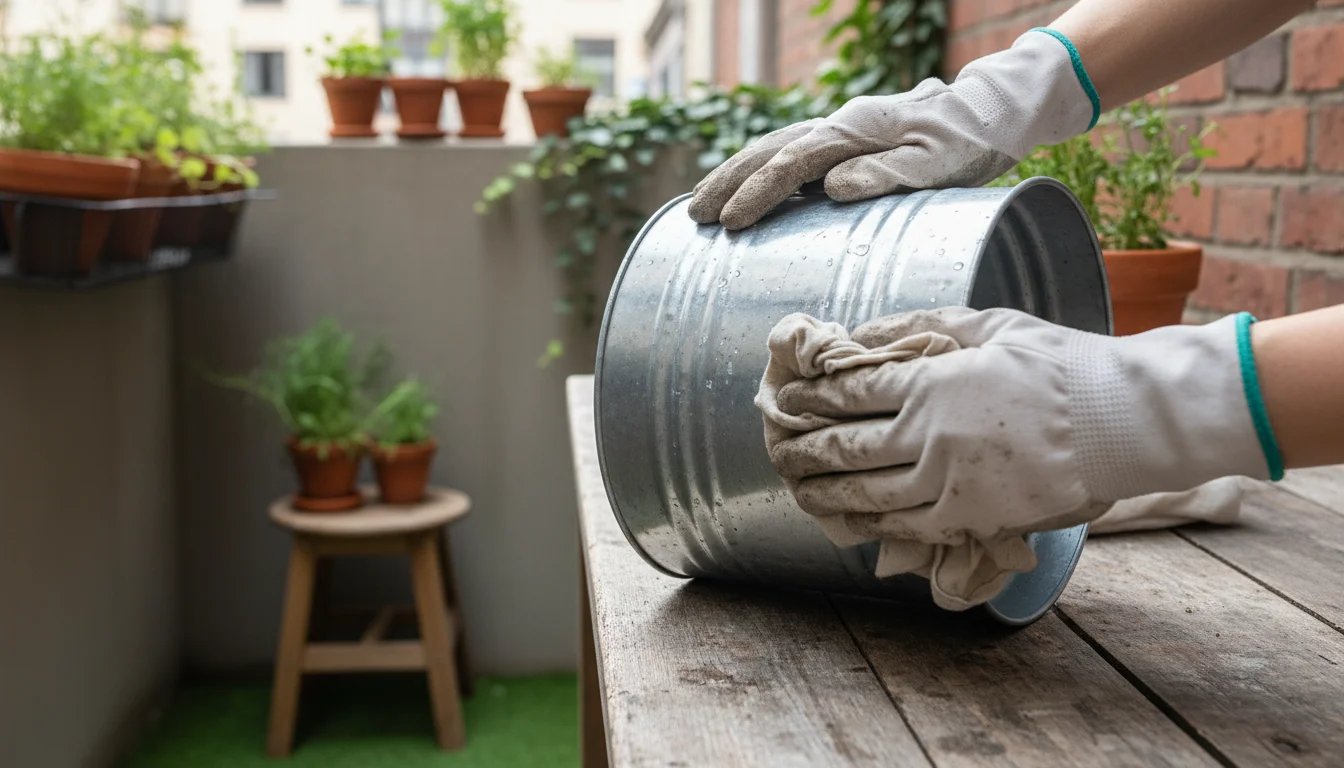
- Clean and Dry: Remove all soil and dry thoroughly to prevent rust.
- Inspect for Rust: Address any existing rust spots with a wire brush and rust-inhibiting primer if you are so inclined. For galvanized metal, simply clean thoroughly.
- Store Dry: The primary goal is to keep metal pots dry during winter. Store them in a covered area away from direct rain or snow.
- Consider Indoor Storage: For valuable metal containers, bringing them indoors significantly extends their lifespan.
Wooden Planters: Rot and Splitting
- Empty and Clean: Remove all soil and debris.
- Dry Thoroughly: Allow the wood to dry completely to prevent rot.
- Inspect for Damage: Look for any signs of rot or loose boards. Address these with wood filler or repair if necessary.
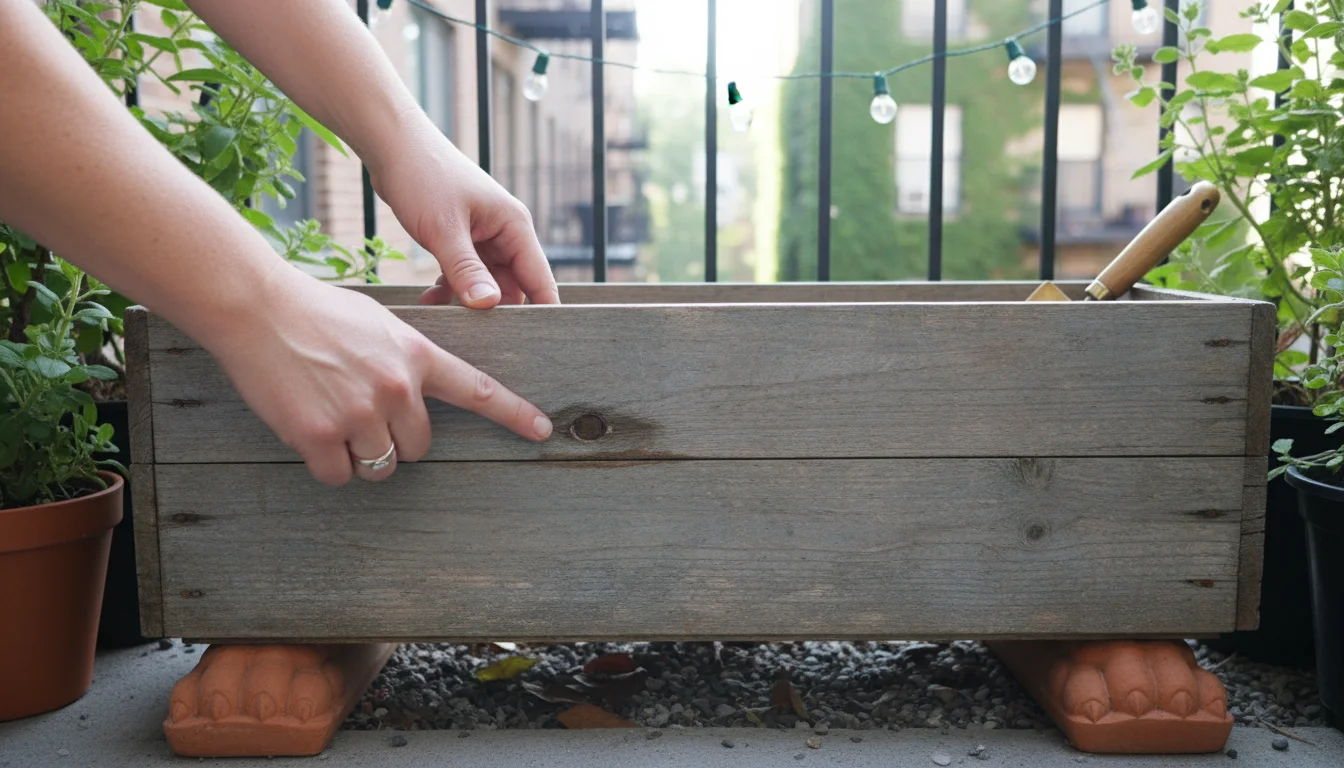
- Elevate: Store wooden planters off the ground to ensure air circulation and prevent moisture absorption from the surface below.
- Cover: If stored outdoors, cover them with a tarp to protect them from rain and snow, but ensure some air circulation to prevent mold.
By tailoring your ‘container prep’ to each material, you provide maximum protection, extending the life of your gardening investments and ensuring they are ready for action when spring returns.
Smart Storage Solutions for Your Empty Balcony Planters
Once you have meticulously cleaned and protected your pots using the ‘Tuck-In’ Method, the next critical step is finding the ideal storage location. Your balcony or small yard presents unique challenges, but with smart planning, you can safeguard your containers even in limited spaces. The goal is to keep them dry, insulated, and out of the path of potential damage.
To keep your small space organized, consider storing your gardening supplies in a compact way inside a single bin or box during the off-season.
If you are short on space, try storing your balcony supplies in an apartment-friendly way to keep your containers organized during the off-season.
Choosing Your Storage Location
On a balcony or patio, your options might seem limited, but consider these possibilities:
- Covered Balcony Corners: Utilize sheltered corners of your balcony, especially those protected from prevailing winds and direct precipitation. Stacking pots here, covered with a tarp, can be very effective.
- Under Overhangs or Eaves: Any area protected by the building’s structure from rain and snow offers excellent protection.
- Storage Benches or Cabinets: If you have outdoor storage furniture, these can be perfect for smaller, more delicate pots. Ensure they are fully enclosed and waterproof.
- Indoors (Garage, Shed, Basement, Closet): This is the ideal solution for highly vulnerable pots like terracotta, especially if you experience extremely harsh winters. A garage or shed provides excellent protection. If space is truly at a premium, even a closet or utility room can house a few prize pots.
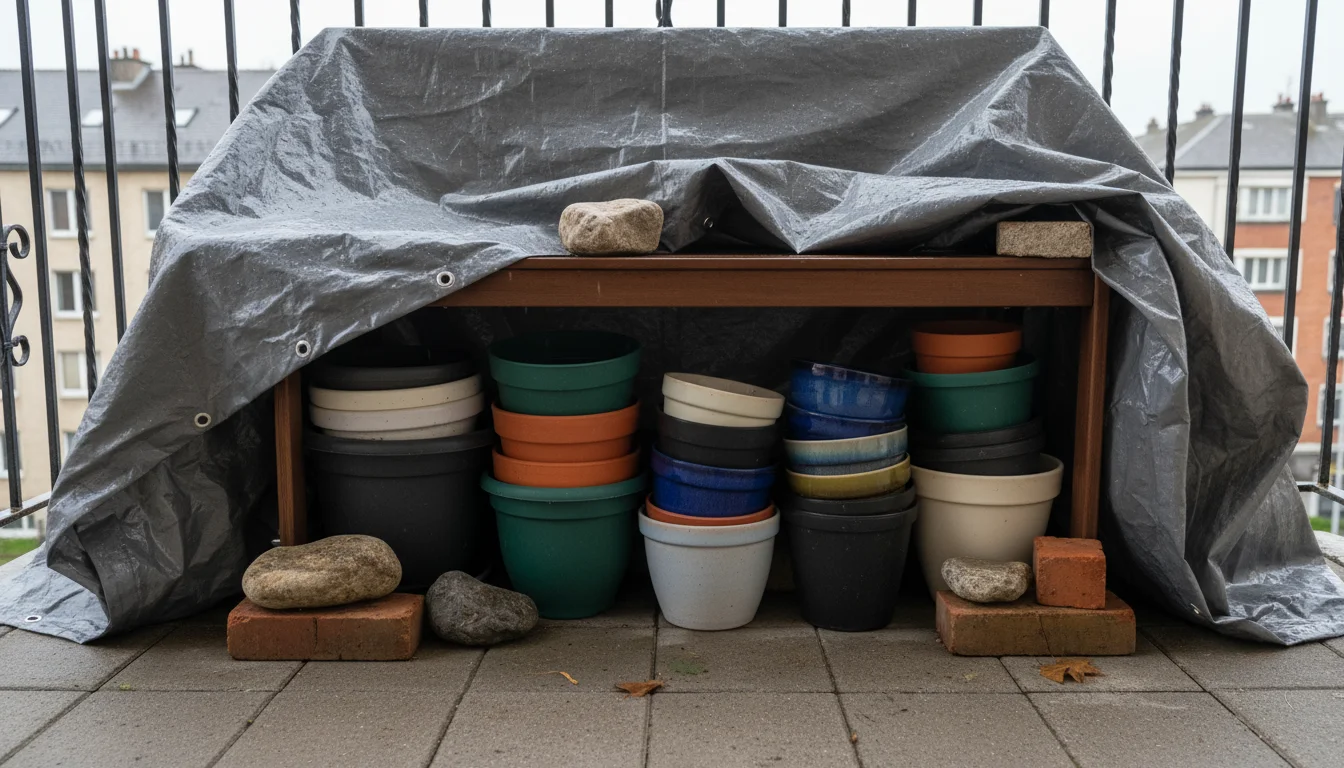
- Temporary Outdoor Shelter: For larger, more durable pots that cannot come inside, create a temporary shelter. Group them closely together against a wall, cover them with a sturdy tarp, and secure it with bungee cords or ropes to prevent wind from dislodging it. Elevate the pots slightly off the ground using pot feet, bricks, or wooden shims to prevent direct contact with cold, damp surfaces and to ensure airflow underneath. This step is crucial for `protecting balcony planters from snow` and ice accumulation.
Effective Stacking and Organization
Maximizing space and minimizing potential damage go hand-in-hand with smart stacking:
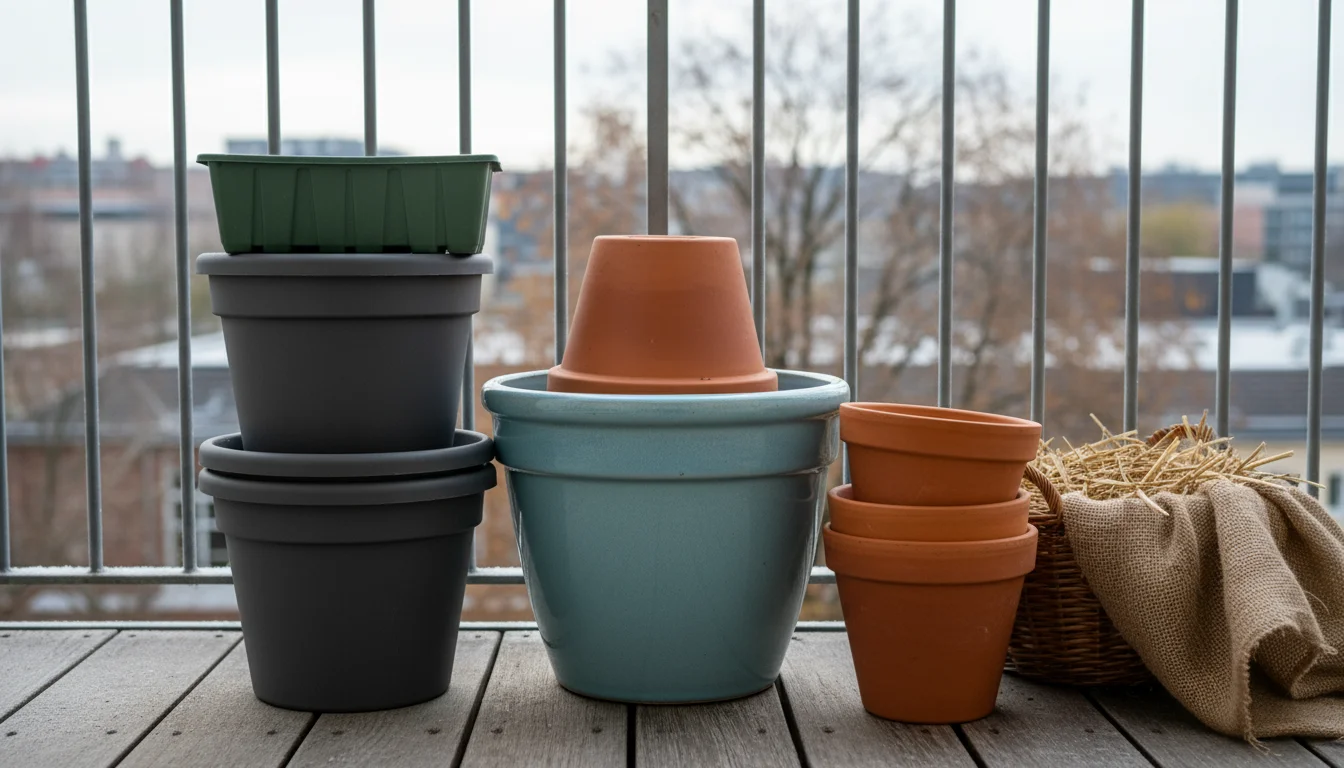
- Nest Smaller Pots Inside Larger Ones: This is the most efficient way to store pots of the same material or type. Remember to place cushioning material like newspaper or bubble wrap between each nested pot to prevent chipping, scratching, or sticking.
- Create Stable Stacks: When stacking pots of similar size, ensure the stack is stable. Taller stacks are more prone to toppling in windy conditions, which can lead to shattered pots.
- Separate Materials: Avoid stacking heavy terracotta pots directly on top of brittle plastic ones. Group similar materials together for storage.
- Elevate from Cold Surfaces: Always lift pots off concrete or frozen ground. Pot feet, bricks, or even small wooden blocks provide a buffer, improving drainage and reducing the chill transferred from the ground. This also aids in preventing water from pooling under the pots and freezing, which can damage the pot bases.
- Ensure Air Circulation: Even in storage, good airflow is beneficial, especially for wooden or metal pots, to prevent mold or rust. Avoid sealing pots in airtight containers unless you are certain they are completely dry and you are protecting porous materials like terracotta from external moisture.
Proper `storing empty containers for winter` means your containers will emerge from their slumber clean, intact, and ready to host your spring plantings, saving you both time and money.
Embracing Sustainability: Extending the Life of Your Gardening Containers
At SimpleGardenJoy.com, we believe in gardening practices that are not only practical but also environmentally conscious. The ‘Tuck-In’ Method inherently promotes sustainability by focusing on extending the life of your gardening containers. By protecting your pots, you actively reduce waste and conserve resources, embodying a truly eco-friendly approach to gardening.
Reduce, Reuse, Recycle: Your Guiding Principles
- Reduce Consumption: By preventing your existing pots from cracking or degrading, you eliminate the need to buy new ones each season. This directly reduces the demand for new manufacturing, which consumes raw materials, energy, and generates emissions.
- Reuse Materials: The ‘Tuck-In’ Method emphasizes using readily available materials for protection: old newspapers, bubble wrap from packages, worn-out towels, or blankets. You are giving these items a second life before they head to recycling or landfill. Even your healthy, cleaned soil can be reused, enriching your garden and reducing the need to purchase fresh potting mix.
- Recycle When Necessary: When a pot truly reaches the end of its life, explore local recycling options. Many municipal recycling programs accept plastic gardening pots. For ceramic or terracotta, check if local construction or landscaping companies accept them for aggregate, or repurpose the broken pieces into decorative mosaics or as drainage material at the bottom of larger containers.
Water Conservation During Cleanup
When cleaning your pots, be mindful of water usage. Instead of letting the hose run continuously, fill a bucket with water for scrubbing and then rinse with a focused spray. If you use non-toxic cleaners like vinegar, you can even capture the rinse water to hydrate outdoor plants or clean other garden tools. Every drop counts, especially in small-space gardening where resources might be limited.

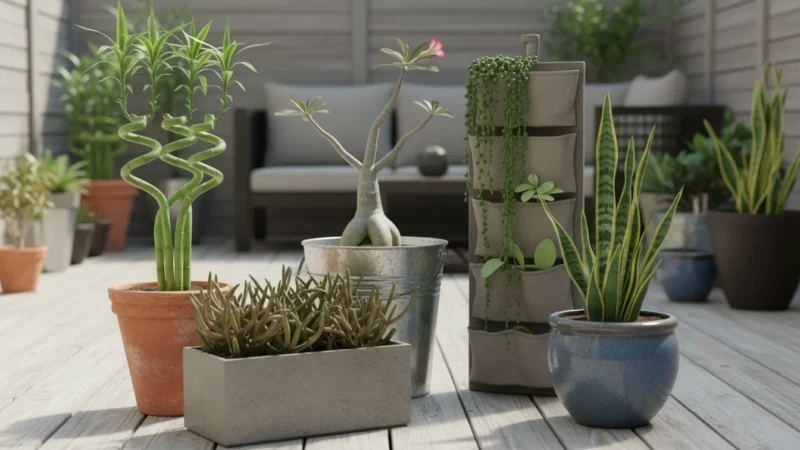
Choosing Durable, Sustainable Pots
While the ‘Tuck-In’ Method protects your existing containers, consider sustainability when purchasing new ones. Look for pots made from recycled plastics, sustainably sourced wood, or extremely durable materials like fiberglass that offer a long lifespan. Invest in quality pots that, with proper care, will last for decades, rather than opting for cheap, flimsy options that become annual waste. For example, some concrete planters can last for many years if properly cared for, reducing your environmental footprint over time.
Your efforts in `fall garden cleanup` and pot preparation are more than just chores, they are acts of environmental stewardship. You are nurturing your garden and playing a part in a larger movement towards a more sustainable future.
Avoiding Costly Errors: Winter Pot Preparation Mistakes to Sidestep
Even with the best intentions, common missteps in winter pot preparation can undermine your efforts. Being aware of these pitfalls helps you proactively prevent damage and save yourself frustration and expense.
- Leaving Soil in Pots: This is perhaps the most common and damaging mistake. Soil, especially if it is damp, holds water. When that water freezes and expands, it exerts immense pressure against the pot walls. This is a primary cause of `how to stop terracotta pots from cracking in winter`. Always empty your pots completely.
- Not Drying Pots Thoroughly: For porous materials like terracotta, concrete, and unglazed clay, any residual moisture within the material is problematic. Even if you move a pot indoors, if it is still damp, a sudden deep freeze or continued dampness can lead to issues. Ensure pots are bone dry before storage or protection.
- Inadequate Protection for Terracotta: Simply moving terracotta pots to a covered area on your balcony might not be enough in regions with harsh winters. The combination of insulation (wrapping) and a moisture barrier (plastic bag) is crucial for these vulnerable materials. Do not underestimate their fragility in freezing conditions.
- Ignoring Drainage Holes: Ensure drainage holes are clear of debris, not just during the growing season, but also before winter storage. Blocked drainage holes can trap water inside the pot, leading to internal freezing and subsequent damage, even if the pot appears to be empty.
- Storing Pots Directly on Cold, Damp Surfaces: Placing pots directly on concrete, cold patios, or damp ground allows moisture to wick up into the pot’s base and promotes rapid heat loss. This increases the risk of freeze damage and also provides an ideal environment for mold and mildew. Always elevate pots, even slightly, with pot feet, bricks, or wooden blocks.
- Overlooking Pest and Disease Cleanup: Failing to clean pots thoroughly means you are essentially storing dormant pests, fungal spores, or bacterial pathogens. These can survive the winter and re-emerge in spring to infect your new plantings. A thorough cleaning and optional disinfection are key preventative measures.
- Stacking Incorrectly: Haphazard stacking, especially heavy pots on brittle ones, or stacking without cushioning, leads to chips, cracks, and structural damage. Always use cushioning materials and ensure stacks are stable.
- Forgetting About Metal Pots: While not as prone to cracking, metal pots, particularly iron or steel, will rust significantly if left exposed to winter moisture. Ensure they are clean, dry, and preferably stored in a covered, dry location to prevent corrosion.
- Delaying Cleanup: Procrastination is a common enemy. The ideal time for fall garden cleanup and pot preparation is before the first hard freeze hits. Waiting until temperatures plummet increases the risk of pots being damaged before you even get to them, and makes the task much more unpleasant.
By avoiding these common pitfalls, you ensure your winter pot preparation is truly effective, safeguarding your containers for many seasons to come.

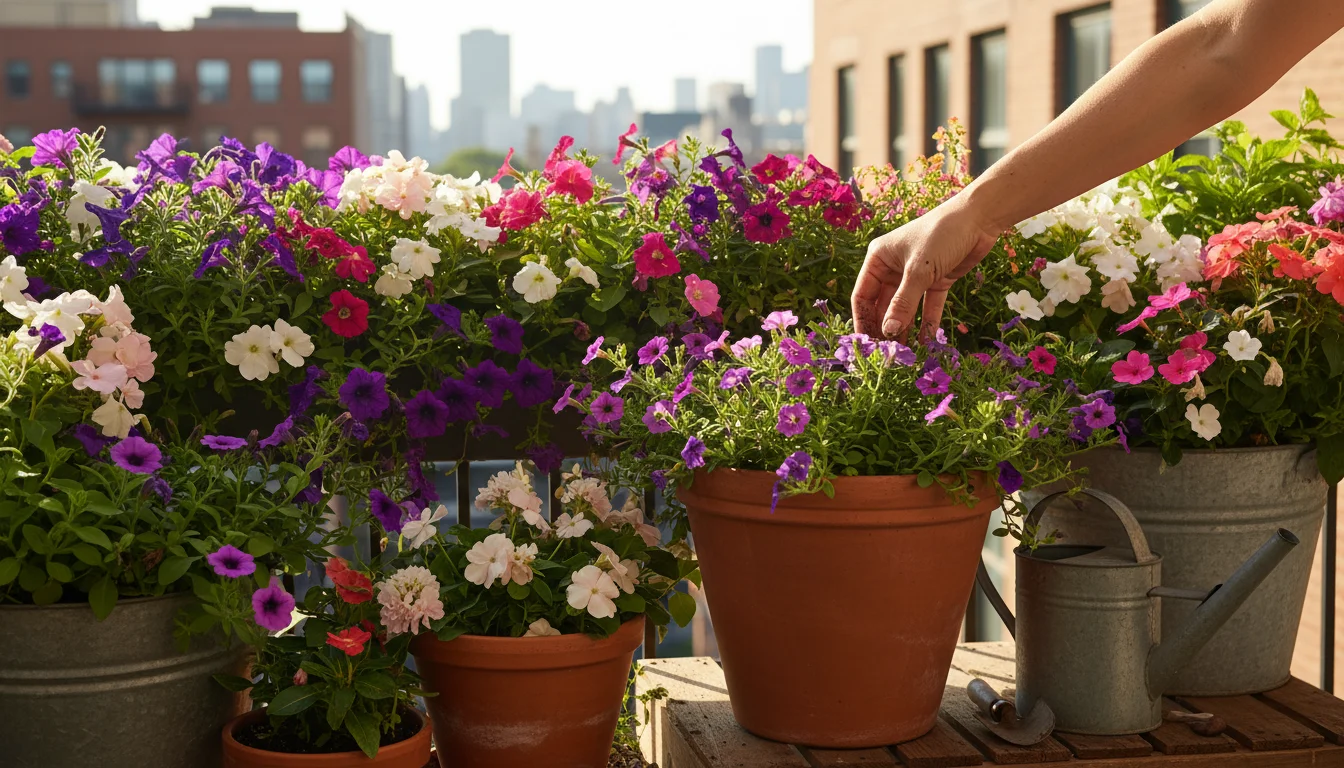
Looking Ahead: Envisioning Your Next Balcony Garden After Winter
While the ‘Tuck-In’ Method focuses on winter protection, it simultaneously lays the groundwork for a thriving garden next spring. As you meticulously clean and store your containers, you are not just performing a chore, you are engaging in a forward-thinking design process. This proactive approach ensures you maximize your small space and embark on the next gardening season with clarity and enthusiasm.
This quiet time is also the perfect opportunity to fix last season’s layout mistakes while your balcony is a blank slate.
Reflect and Learn from the Past Season
As you empty each pot, take a moment to reflect on what grew in it during the past season. Did the plant thrive? Did it struggle? Were there any pest issues? Your `fall garden cleanup` becomes an opportunity for reflection and learning. If a pot housed a plant that suffered from disease, you now know to disinfect that particular container rigorously. If a plant struggled due to lack of space, you might consider a larger pot or a different plant variety next year. This period of reflection helps you make informed choices for future plantings, optimizing your small balcony garden.

Organize for Future Efficiency
Organized storage means a smoother start in spring. When you stack your pots, consider grouping them by size or material if space allows. Labeling pots, even simply with a piece of tape and a marker, indicating what grew in them, or their ideal location on your balcony, saves you time. This organized approach reduces decision fatigue in spring, allowing you to focus on the joy of planting rather than the scramble of finding the right container.
Dreaming Up Your Spring Oasis
With your pots safely tucked away, winter offers a perfect opportunity to plan your next balcony garden. Browse seed catalogs, explore plant combinations, and consider new design ideas for your small space. Perhaps you want to experiment with vertical gardening to maximize your balcony footprint, or try a new color scheme with annuals. Your now-empty and protected containers become blank canvases, ready for your creative vision. This mental preparation keeps your gardening spirits high during the dormant months and translates directly into actionable steps come springtime.
Your dedication to `container prep` not only protects your investment but also sets the stage for a more successful and enjoyable gardening experience in the seasons ahead. You are building resilience into your garden, one carefully stored pot at a time.
Frequently Asked Questions
When is the best time to start preparing my balcony pots for winter?
You should ideally begin your winter pot preparation, including cleaning and storing, before the first hard frost or consistent freezing temperatures arrive in your area. This prevents moisture from freezing within the pots before you have a chance to protect them. Typically, this falls during late autumn, often October or November, depending on your climate zone.
Can I leave plastic pots outside all winter, even empty ones?
While plastic pots are generally more resilient than terracotta, extreme cold can still make them brittle and prone to cracking or shattering if bumped. Cheaper or older plastics are particularly vulnerable to degradation and warping over a harsh winter. For their longevity, it is best to empty and clean them, then stack them neatly in a sheltered spot, ideally covered, or bring them indoors if space permits. This is an important step in `protecting balcony planters from snow` and cold.
Is it really necessary to clean pots so thoroughly, or can I just brush out the dirt?
Thorough cleaning is essential. Simply brushing out dirt leaves behind unseen pathogens, pest eggs, and mineral residues. These can harbor diseases that attack new plants next season or negatively impact soil health. Disinfecting, especially with a diluted bleach or vinegar solution, is an important step in breaking disease cycles, ensuring your pots are a fresh, healthy environment for spring plantings. This attention to detail in `fall garden cleanup` prevents future gardening headaches.
What should I do with soil from diseased plants?
Never reuse soil from pots that contained diseased plants. This risk of spreading pathogens to new plants is too high. Dispose of diseased soil in your general household waste, not in your compost pile, as most home compost systems do not reach temperatures high enough to kill plant pathogens. You want to ensure these diseases do not become a persistent problem in your small garden.
I have very limited space on my balcony. What is the most important thing I can do for my pots?
If space is extremely limited, the most important actions are to empty all pots completely, clean them thoroughly, and ensure they are bone dry. For terracotta or porous pots, wrap them in newspaper or bubble wrap and place them in sturdy plastic bags for moisture protection. Stack pots where possible, perhaps in a sheltered corner, and cover the stack with a waterproof tarp, securing it tightly. Even minimal `container prep` makes a big difference in preventing winter damage.
For trustworthy gardening information, visit:
Oregon State Extension — Gardening, Royal Horticultural Society (RHS), UF/IFAS Gardening Solutions, University of Illinois Extension — Gardening and UC IPM (University of California Integrated Pest Management). These organizations provide expert, research-based advice for gardeners at all levels.
Disclaimer: This article is for informational purposes only and is not a substitute for professional gardening advice. Always consult local extension services or horticulture experts for region-specific guidance.

Leave a Reply