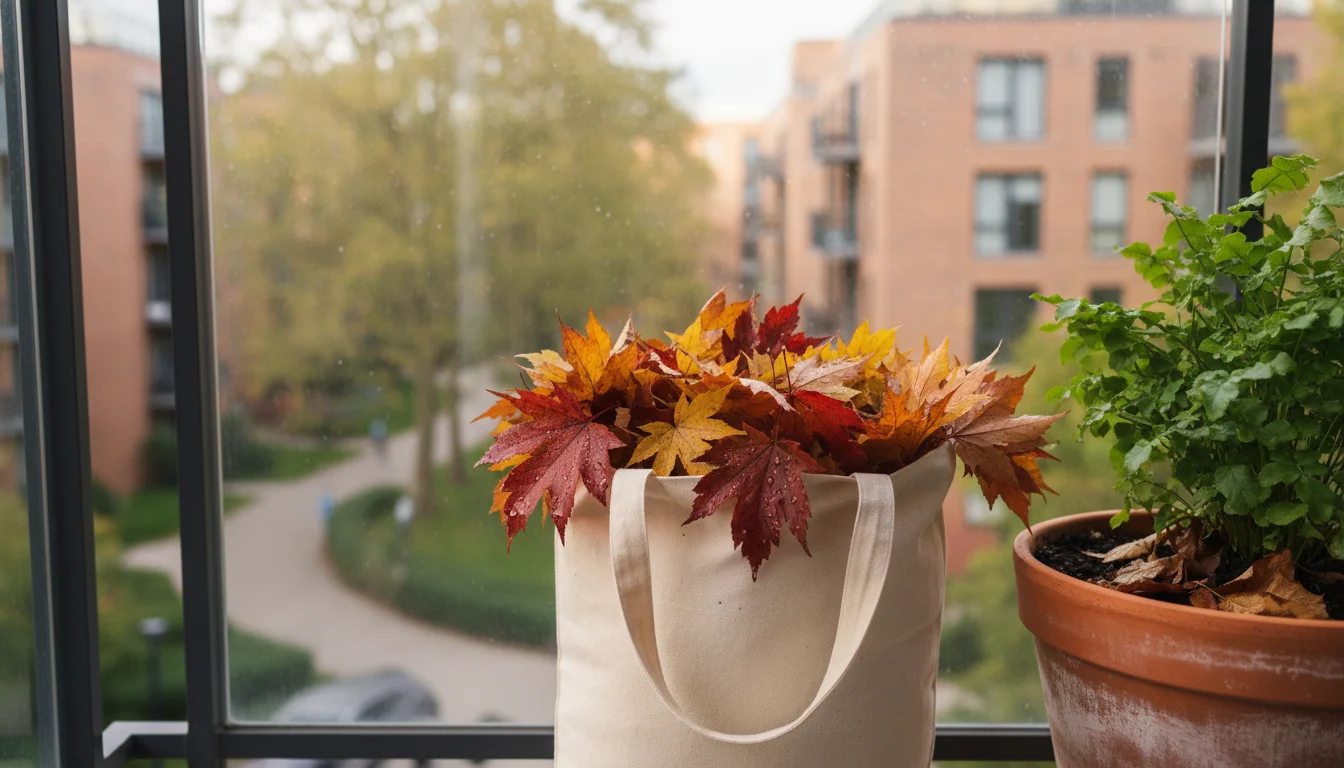
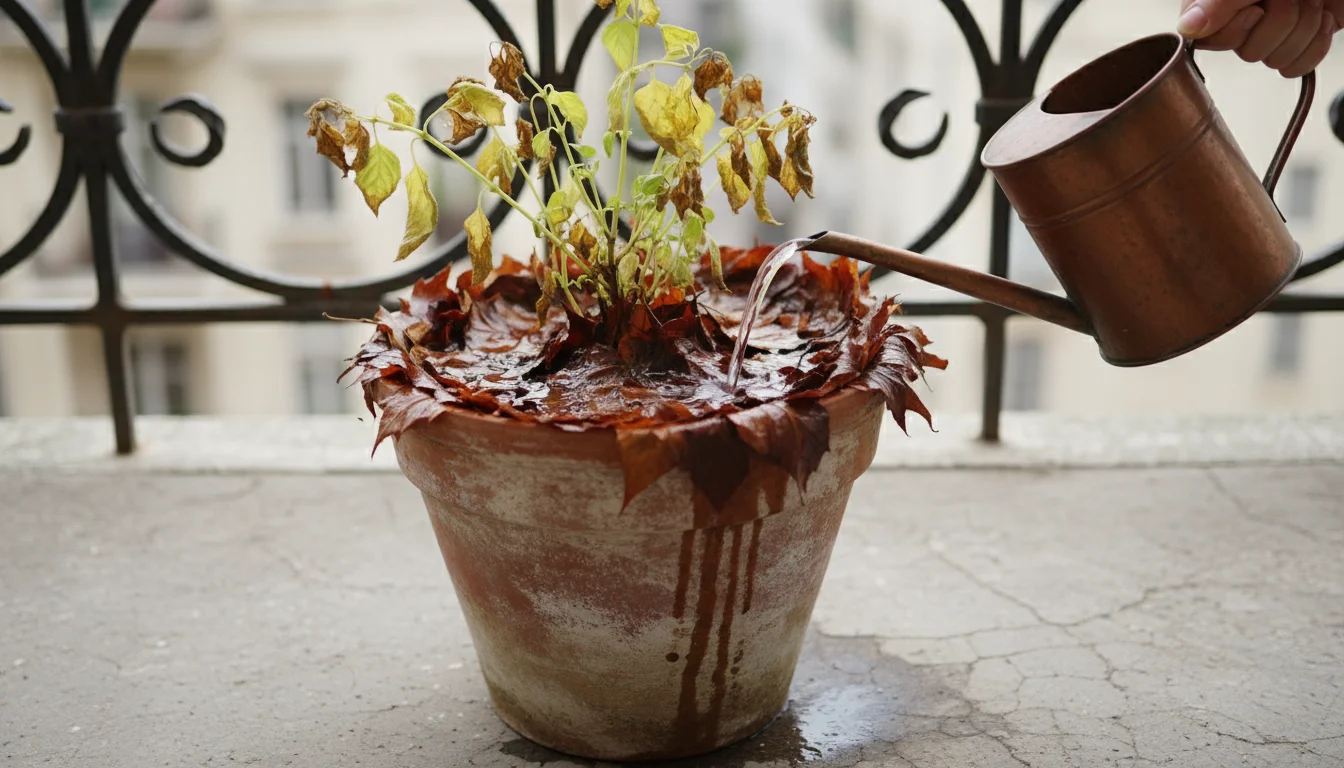
Your urban garden thrives on resourcefulness. You maximize every inch of space, nurture every plant, and seek clever ways to keep costs down while boosting plant health. One of the most overlooked, abundant, and completely free resources is available right on your city streets: fallen leaves. You can transform these discarded treasures into incredible, nutrient-rich mulch for your container plants and small garden beds. This isn’t just a cost-saving measure, it’s a powerful ecological practice that benefits your plants, your wallet, and the environment.
You can even prepare your collection using simple DIY garden tool hacks that utilize common household items.
This cleanup phase is also the perfect time to perform a fall pot swap to rethink your layout for the coming year.
For more ways to save money and reduce waste, explore these small-space composting hacks that work even on tiny patios.
This guide empowers you to become a leaf-scavenging expert, turning urban “waste” into gardening gold. You will learn how to safely collect, prepare, and apply city leaves to significantly improve your soil, conserve moisture, and suppress weeds in your small garden spaces. You can achieve vibrant, healthy container gardens without spending a cent on commercial mulch.

Why Urban Leaves? Your Free Ticket to Garden Gold
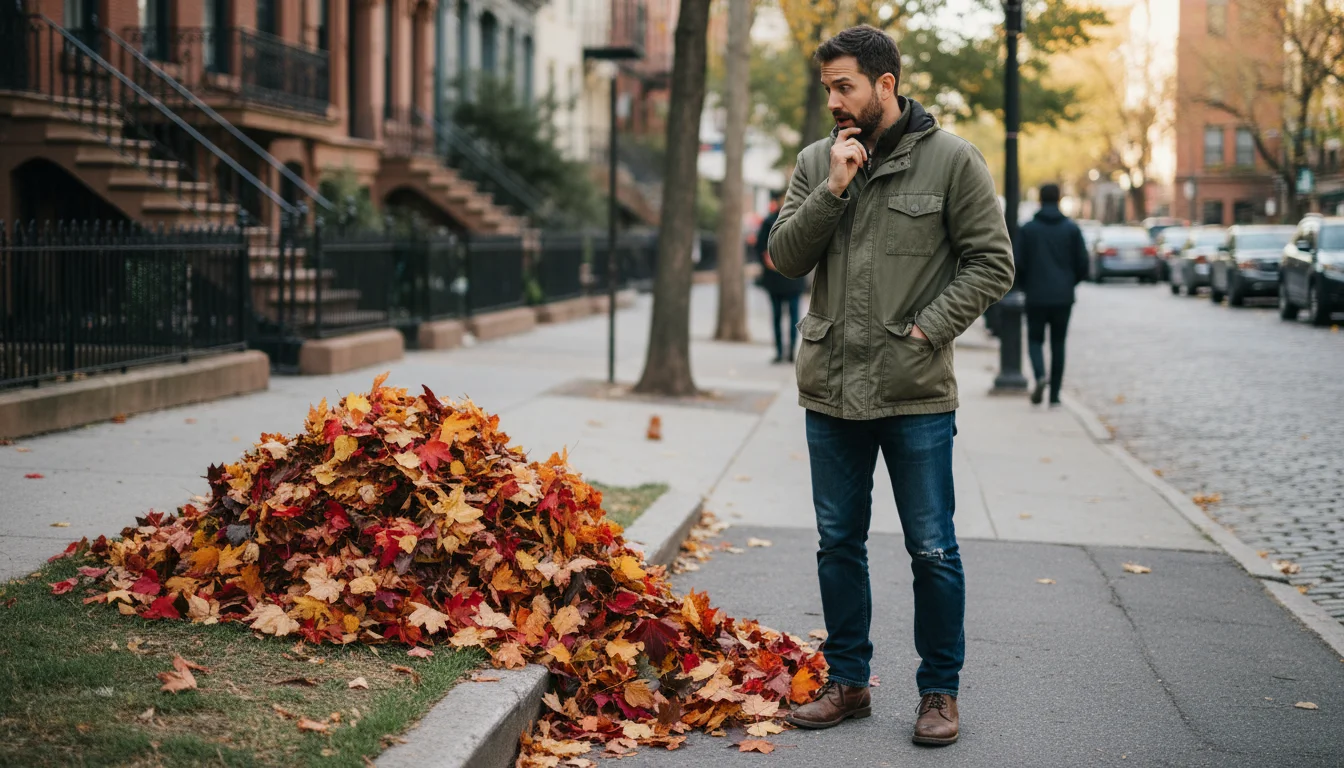
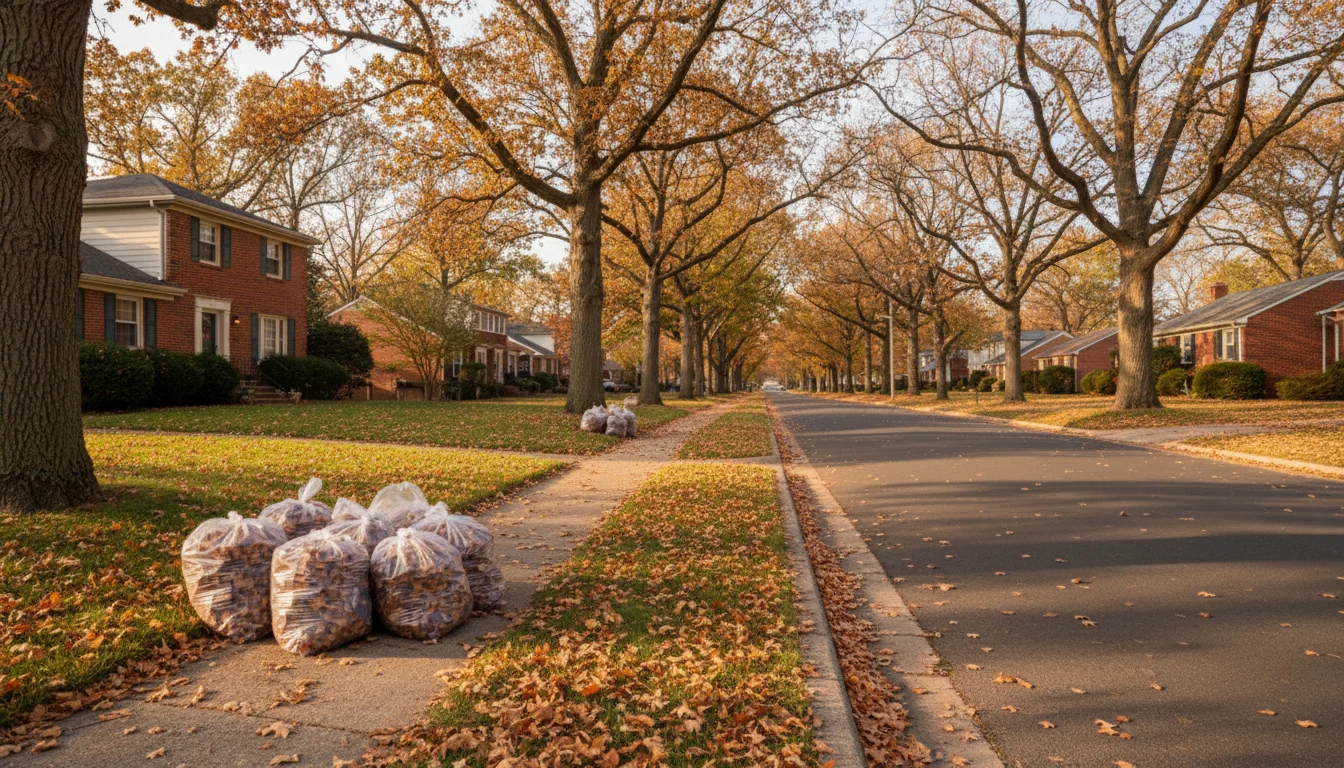
You walk past bags of leaves on the curb every autumn, perhaps without realizing the incredible potential they hold for your balcony garden. These aren’t just decorative elements of the season, they are a vital organic material that significantly enhances soil health and plant vitality. For urban gardeners with limited space and often limited budgets, this resource is a game-changer. Scavenging leaves offers you an unparalleled opportunity for free garden mulch, providing a sustainable alternative to store-bought products.
Consider the journey of a fallen leaf. Throughout its life, it absorbed sunlight, water, and nutrients from the air and soil. When it drops, it doesn’t lose this value. Instead, it becomes a slow-release package of essential minerals and organic matter. When you use these leaves as mulch, you return these valuable resources to your soil. This natural process mirrors what happens in forests, where a thick layer of decomposing leaves creates a rich, fertile environment for plants to thrive. Your container plants can benefit from this exact same natural process.
Utilizing urban leaves provides multiple benefits. First, it is completely free. This eliminates the cost of buying bags of mulch, which quickly adds up, especially if you have numerous containers. Second, it is environmentally friendly. You divert organic material from landfills, reducing waste and associated emissions. Third, you improve your garden’s overall health and resilience. Leaf mulch enhances soil structure, feeds beneficial microorganisms, and insulates plant roots from temperature extremes. This translates directly into healthier, more robust plants that require less intervention from you. Embrace this simple, impactful hack to transform your approach to urban gardening tips.
Understanding Leaf Mulch: Your Plants’ Best Friend
What exactly is leaf mulch, and why is it so beneficial for your precious container plants? Simply put, leaf mulch consists of shredded or whole fallen leaves applied as a protective layer on top of your garden soil. It acts as a natural blanket, performing several critical functions that are particularly important for plants growing in confined spaces like pots and raised beds.
For an even deeper soil restoration, you might explore cover cropping for containers to keep your potting mix active all winter.
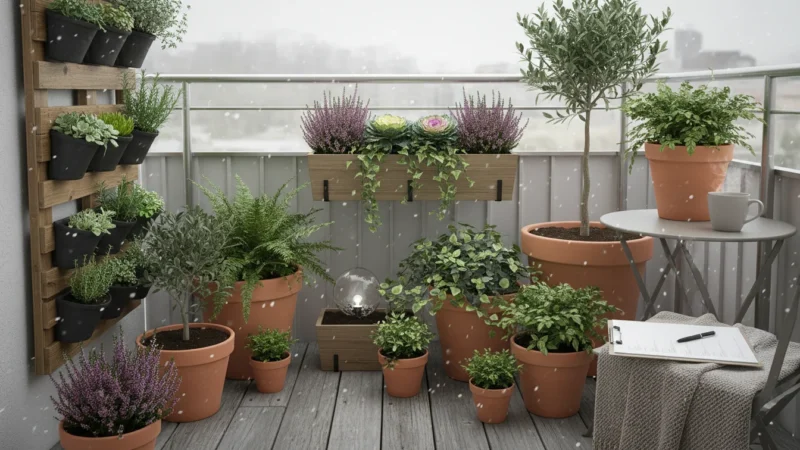
If you are debating whether to tidy up or let nature take its course, consider the pros and cons of leaving vs. clearing fall debris in your pots.
In containers, soil volume is limited, making every component crucial for plant health. Leaf mulch directly addresses several common challenges you face when gardening in pots.
- Moisture Retention: Pots dry out quickly. A layer of leaf mulch significantly reduces water evaporation from the soil surface. This means you water less frequently, saving both time and water. This is especially valuable during hot, dry periods or if you travel often.
- Temperature Regulation: Container soil temperatures fluctuate wildly. Mulch insulates the soil, keeping roots cooler in summer and warmer in winter. This creates a more stable, less stressful environment for your plants, promoting consistent growth.
- Weed Suppression: While weeds are less prevalent in pots, they still appear. A thick layer of mulch blocks sunlight from reaching weed seeds, preventing them from germinating and competing with your plants for nutrients and water.
- Nutrient Contribution: As leaves break down, they slowly release vital nutrients back into the soil. This natural fertilization reduces your reliance on synthetic fertilizers and enriches your potting mix over time. Decomposing organic matter also improves the soil’s ability to hold nutrients, ensuring your plants have a steady supply.
- Soil Structure Improvement: Over time, especially if you incorporate shredded leaves directly into your potting mix, the organic matter improves drainage and aeration. Drainage refers to how easily water moves through the soil, while aeration means how much air is available to plant roots. Both are critical for preventing root rot and promoting strong root development.
- Habitat for Beneficial Organisms: Mulch creates a favorable environment for earthworms and other beneficial soil microbes. These organisms further break down organic matter, cycle nutrients, and improve soil structure, creating a thriving underground ecosystem that supports healthy plant growth.
Using leaf mulch for your container gardens is one of the easiest, most impactful, and most economical urban gardening tips you can implement. It mimics nature’s own processes, providing your plants with the conditions they need to flourish, all while costing you nothing but a little effort.
Is It Safe? City Leaves and Your Garden
A common, understandable concern you might have revolves around the safety of using city leaves. Are they contaminated with pollutants or pesticides? This question is vital, especially when you grow edible plants. The good news is that with a few precautions and smart choices, using city leaves for mulch is generally very safe and highly beneficial.
If you have concerns about raw leaves, you can also transform them into nutrient-rich leaf mold using just a single bag.
Let’s address the primary concerns:
Pesticides and Herbicides
Many municipalities spray trees or roadside areas for pest control or weed management. This is the most significant potential concern. You can mitigate this risk by observing where you collect leaves. Avoid areas that appear recently sprayed, have signage indicating chemical applications, or are near commercial agricultural fields. Focus your scavenging on residential streets, public parks (if allowed), and areas where you notice no obvious signs of chemical treatment.
You can also ask your local municipal services department about their spraying schedule and practices. Many cities are moving towards more organic pest control methods, but it’s always best to be informed. If you remain unsure about a specific area, simply choose another spot.
Heavy Metals and Pollution
City environments naturally have higher levels of pollution from vehicle exhaust and industrial activity. Studies on urban soils and plants show that while some heavy metals can accumulate, this is primarily a concern for plants growing directly in heavily contaminated soil for extended periods. When you use leaves as mulch, they sit on top of your potting mix. As they break down, their nutrients leach into the soil. Research indicates that the uptake of heavy metals from leaf mulch into edible plants is minimal and generally falls well below safety thresholds, especially if you source leaves from less trafficked areas.
Consider the source. Leaves collected from residential tree-lined streets or parks pose less risk than those right next to a busy highway interchange or industrial zone. You can significantly reduce potential exposure by selecting leaves from cleaner, less exposed locations. The benefits of organic matter and nutrient cycling from leaf mulch often outweigh the minimal risks for most urban gardening scenarios.

Disease and Pests
Fallen leaves can harbor plant diseases or insect eggs. However, the vast majority of common tree diseases are specific to trees and do not readily transfer to your typical container vegetables or herbs. Likewise, most common garden pests overwinter in the soil or on plant debris, but not typically in a way that transfers directly through cleaned, shredded leaves. If you see signs of fungal disease (like powdery mildew or rust) on leaves while collecting, or an abundance of visible pests, simply avoid those particular leaves.
The act of shredding leaves, which we will discuss next, helps to disrupt any potential disease spores or pest eggs. Furthermore, the decomposition process itself is a powerful sanitizer, as diverse microorganisms break down materials, often outcompeting or destroying pathogens.
Ultimately, a mindful approach to sourcing your leaves makes this an incredibly safe and beneficial practice. You control what you bring into your garden. If you prioritize leaves from cleaner, less trafficked areas, you can confidently enjoy the benefits of free garden mulch.
Your Urban Leaf Scavenging Strategy: Finding the Best Free Mulch
Successful leaf scavenging requires a bit of planning and observation. You can’t just grab any leaf bag you see. Your goal is to collect the cleanest, most beneficial leaves for your urban garden. This smart approach ensures you get the best quality free garden mulch.
To help process your haul efficiently, you can build a simple DIY leaf sieve in just five minutes.
When to Scavenge
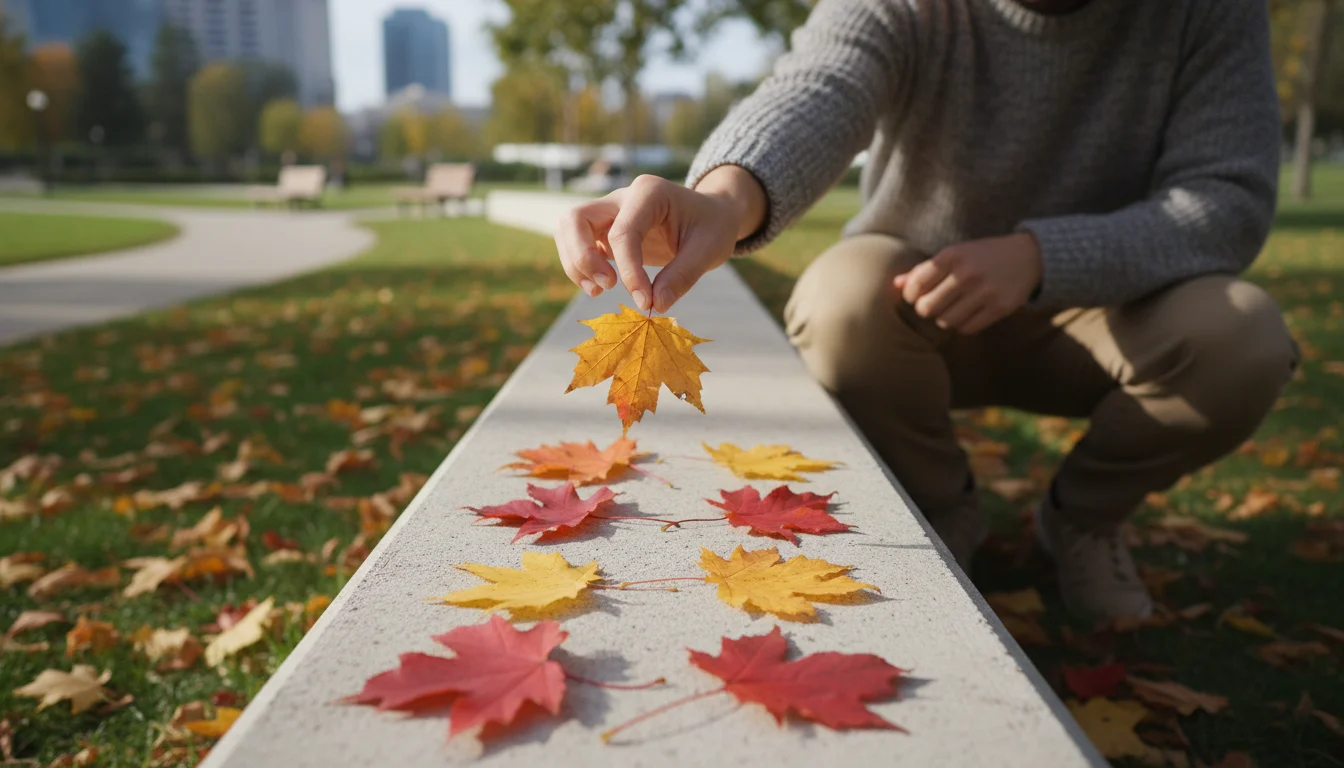
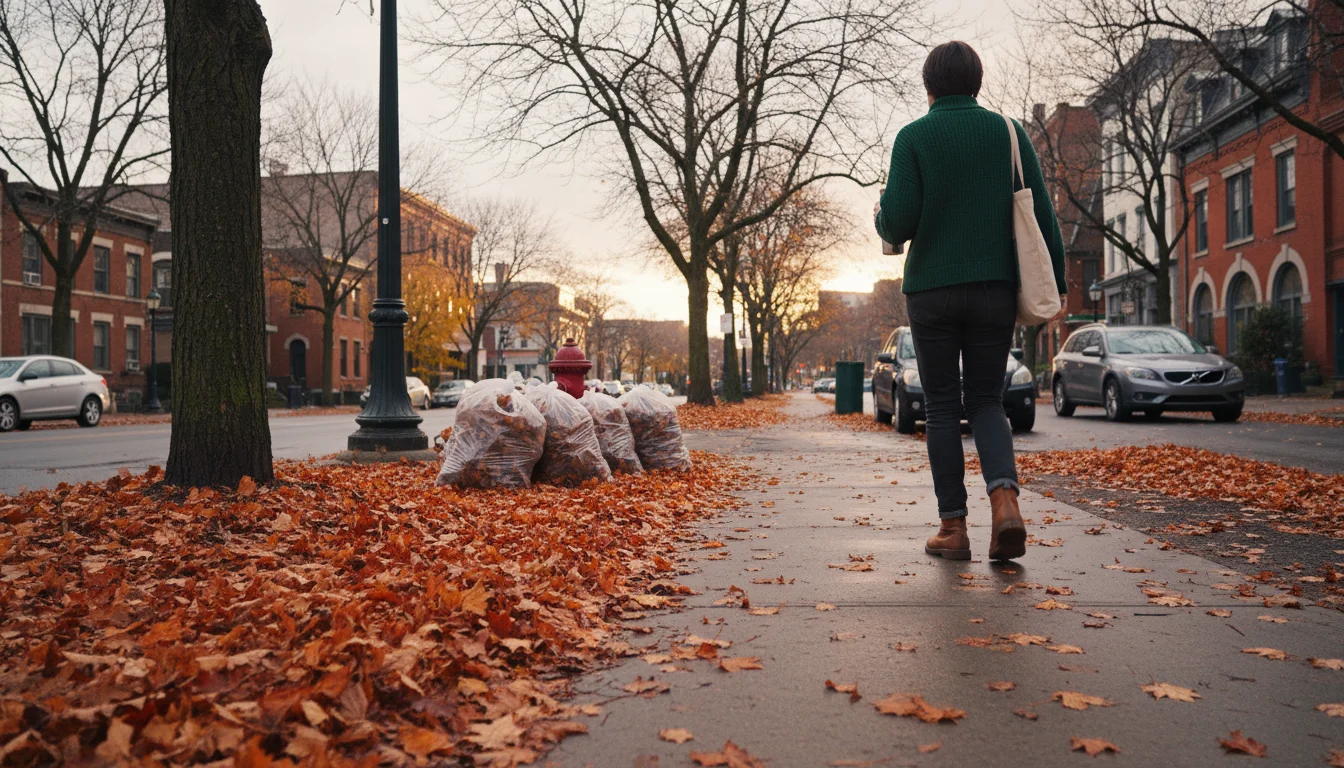
Autumn is prime leaf-collecting season. Leaves fall rapidly after the first hard frost and continue through late fall. This timing is perfect because you want leaves that are fully dry and crispy. Moist, soggy leaves are heavy, prone to mold, and harder to shred. Keep an eye on local weather patterns and municipal leaf collection schedules. Many cities put out bags of leaves a day or two before pickup. This is your window of opportunity!
Where to Look for Free Garden Mulch
- Residential Streets: These are often your best bet. Trees lining suburban or quieter urban streets are less likely to be subjected to heavy pollution or aggressive chemical spraying compared to commercial areas or major roadways. Look for bags placed neatly at the curb. Always be respectful and only take bags clearly intended for collection, or better yet, ask the homeowner.
- Public Parks: Many parks have large, mature trees. If park maintenance crews collect leaves into piles or bags, these can be an excellent source. However, always check local regulations. Some parks might prohibit individuals from taking organic material.
- Community Gardens or Allotments: If you are part of a community garden, inquire about their leaf collection. Often, excess leaves are available to members.
- Local Nurseries or Garden Centers: Occasionally, these businesses have excess leaf material they are happy to give away, especially if they have large trees on their property.
What to Look For and What to Avoid
Look For:
- Dry, Crispy Leaves: These are easier to handle, shred, and store. They also indicate a lower chance of mold or mildew already setting in.
- Mixed Hardwood Leaves: Oak, maple, birch, and elm leaves are excellent. They break down slowly, provide long-lasting mulch, and offer a good balance of nutrients.
- Shredded Leaves: If you find bags of already shredded leaves, consider it a jackpot! Someone else did the hard work for you. These are immediately ready for use.
- Clean Bags: You want bags filled exclusively with leaves, not mixed with trash, plastic, or excessive twigs. A few small twigs are fine, but large branches are not.
Avoid:
- Soggy, Moldy Leaves: These are heavy, difficult to process, and can introduce undesirable fungi into your garden.
- Leaves from Heavily Trafficked Areas: Areas immediately adjacent to major roads or industrial zones may have higher levels of heavy metal accumulation. While the risk is low, it’s prudent to choose cleaner sources for preparing leaves for potting soil or mulch.
- Leaves from Walnut Trees (Black Walnut): Black walnut trees produce a compound called juglone, which is toxic to many plants, including tomatoes, peppers, blueberries, and some ornamentals. Unless you know for certain the leaves are from a non-walnut variety, it’s best to avoid bags exclusively containing these leaves.
- Diseased Leaves: If you see leaves covered in obvious signs of disease, like black spots, powdery mildew, or rust, skip them to prevent potential spread to your plants.
- Leaves with Visible Chemical Residue: If leaves look unusually discolored, oily, or have a chemical smell, avoid them.
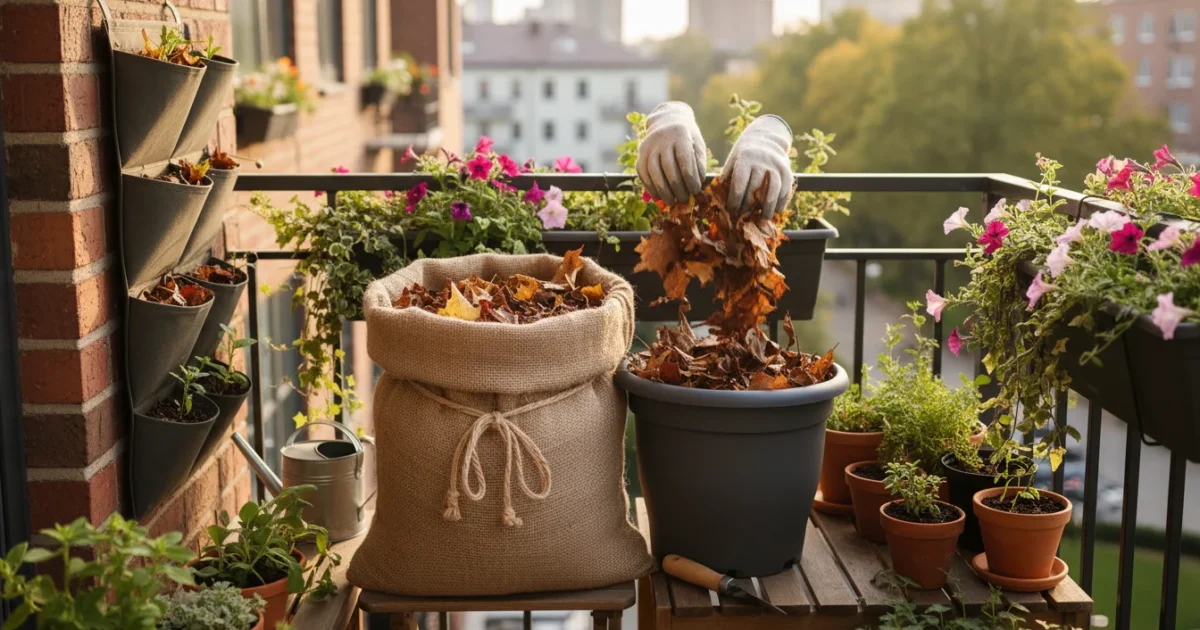
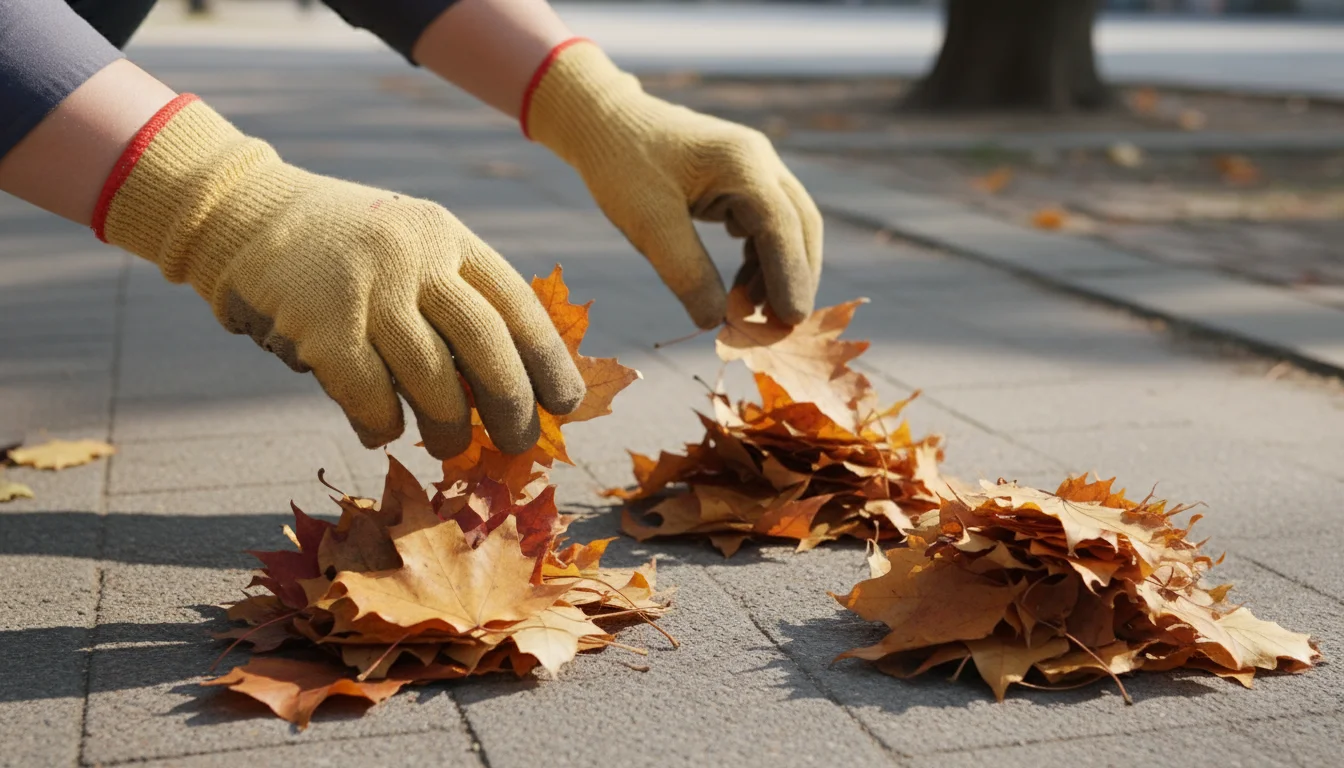
When you start your scavenging mission, bring sturdy bags (reusable yard waste bags are ideal) and gloves. You’ll be surprised how quickly you can accumulate a substantial supply of premium, free garden mulch for your balcony or patio containers.
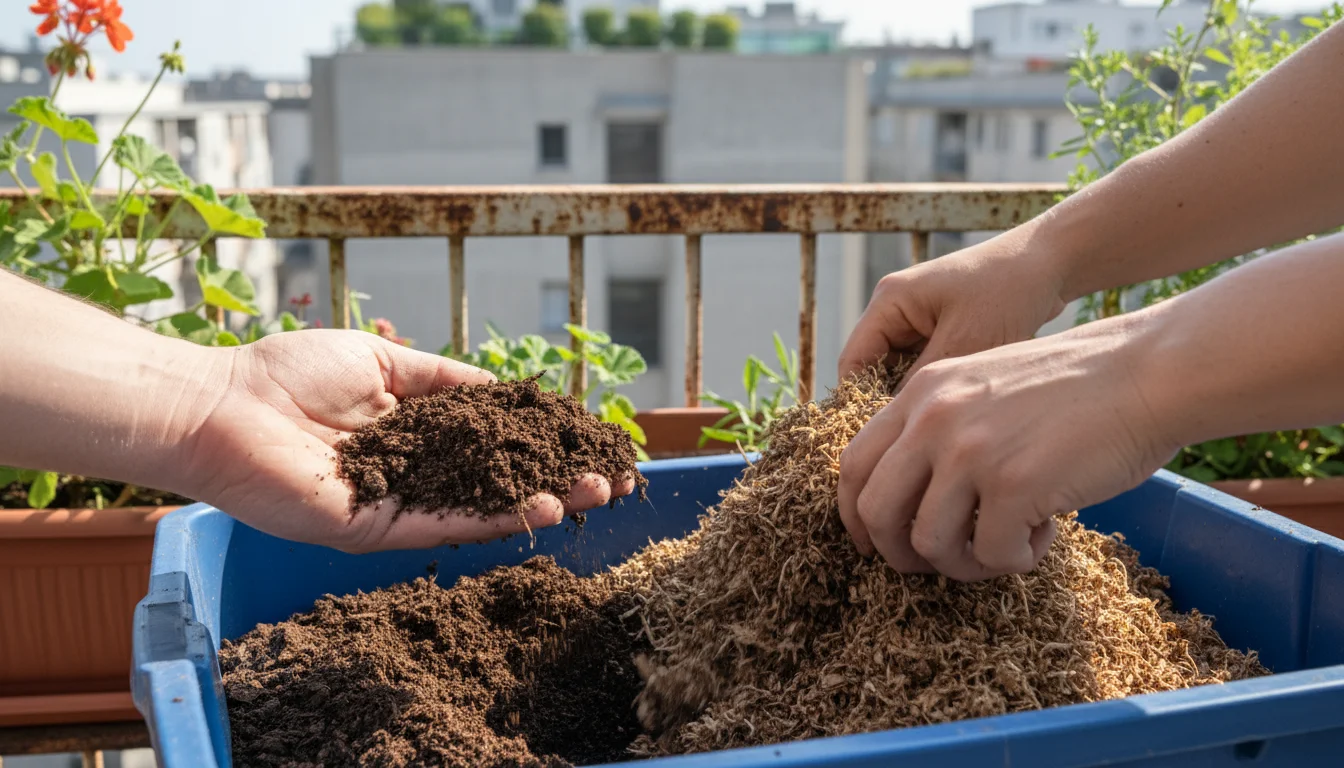
Prepping Your Haul: From Street to Soil
Once you’ve successfully gathered your bags of urban leaves, the next crucial step is preparation. You can’t just dump whole leaves directly onto your plants, especially in containers. Preparing leaves for potting soil or as mulch ensures they break down efficiently, provide maximum benefit, and avoid potential problems.
The key to effective leaf mulch is size reduction. Shredding the leaves speeds up decomposition and makes them easier to apply. Whole leaves can form a dense mat that repels water rather than allowing it to penetrate the soil.
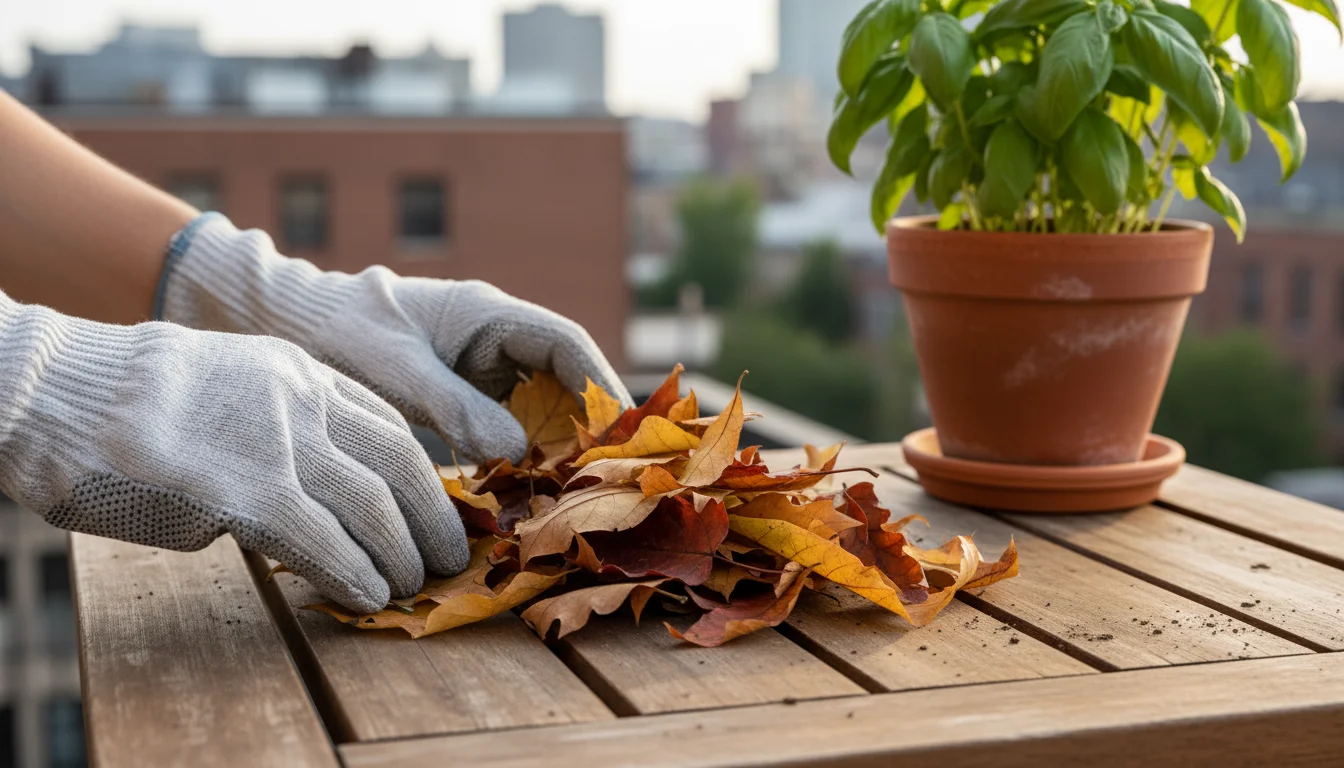
Step-by-Step Preparation
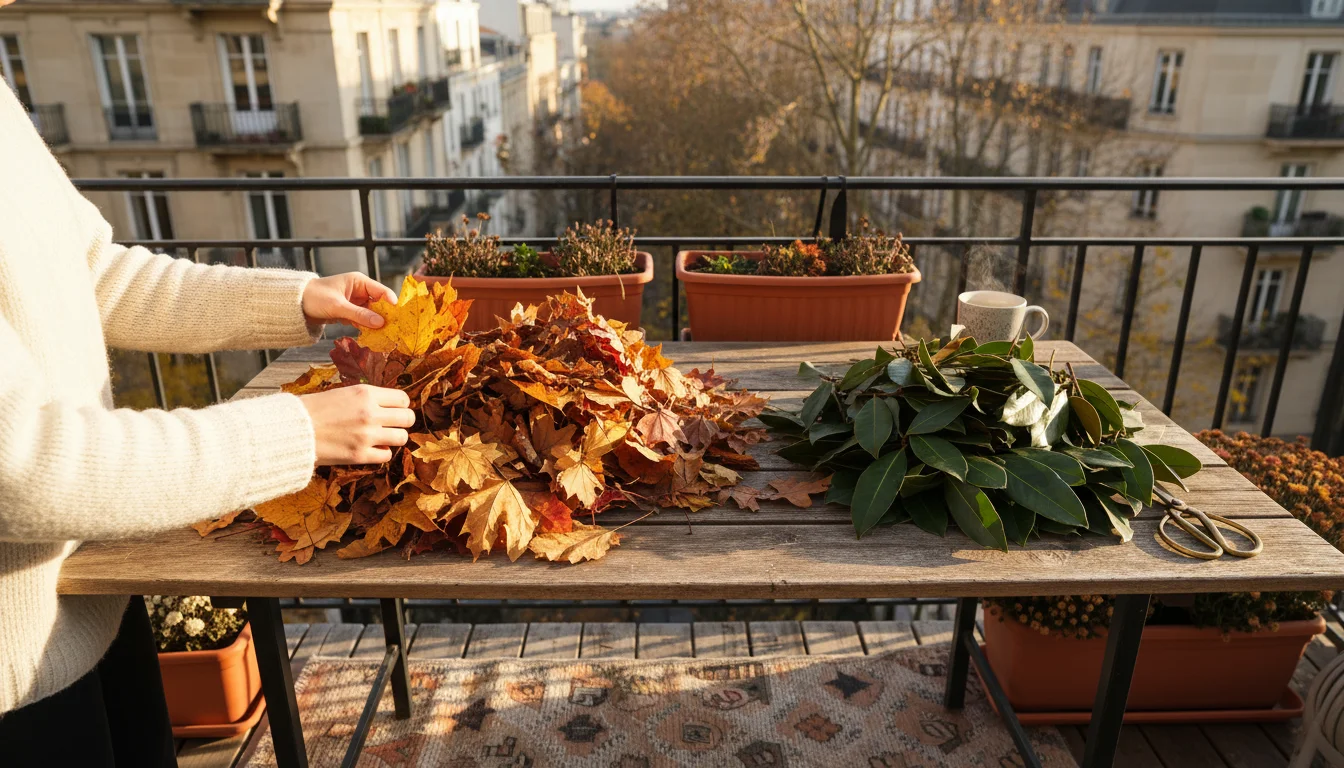
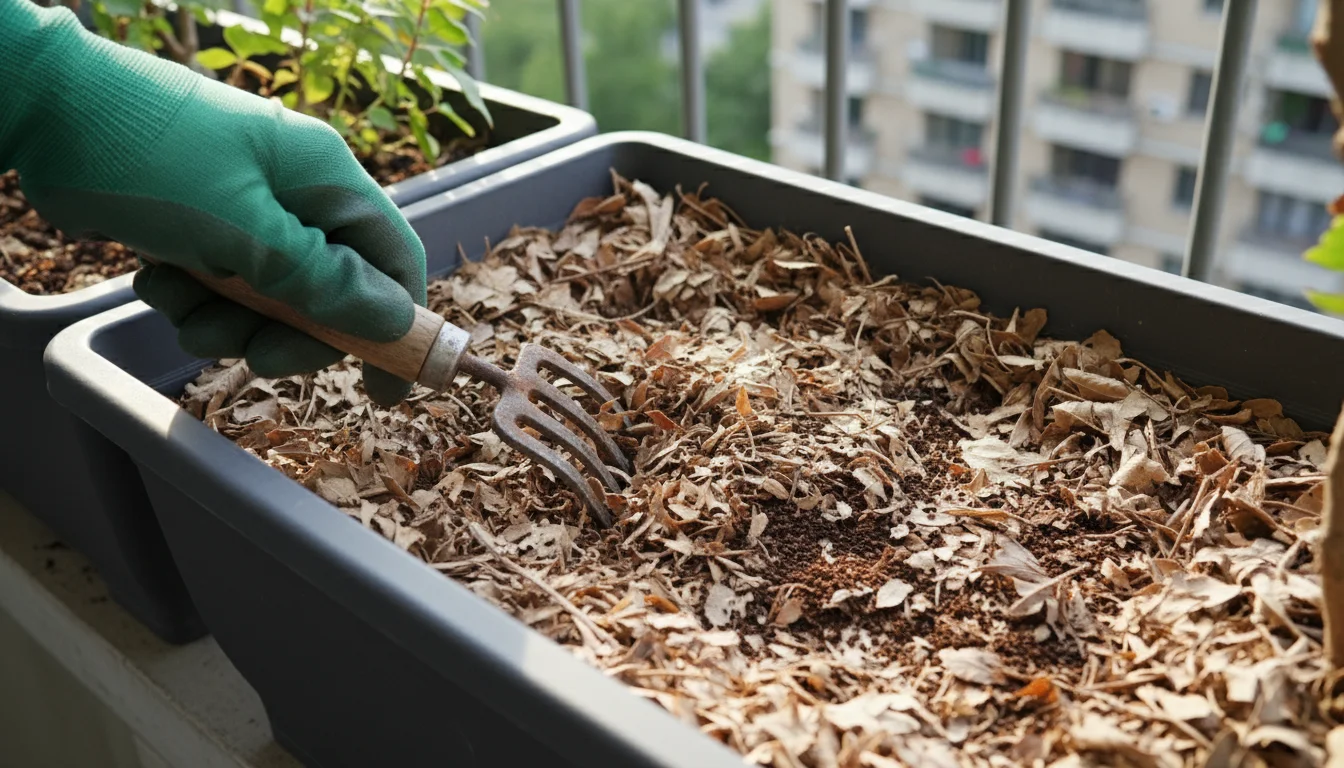
- Spread and Inspect: Empty your leaf bags onto a tarp or a clear area. Spread the leaves out and quickly inspect them for any unwanted debris like trash, excessive twigs, or anything else you don’t want in your garden. Remove these items. This is also your final check for any signs of disease or pests you might have missed during collection.
- Shredding the Leaves: This is the most important step for creating effective leaf mulch.
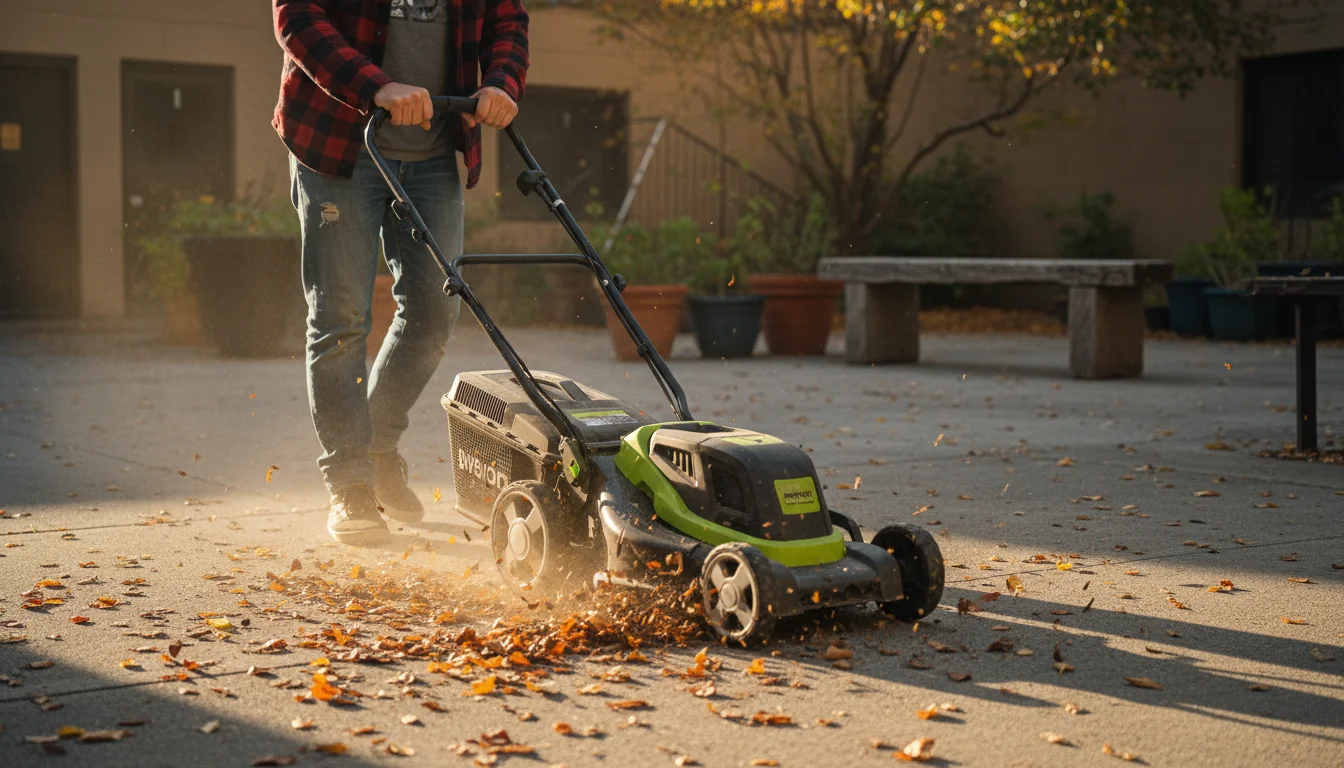
- Lawn Mower Method: If you have access to a small electric or battery-powered lawn mower (even a neighbor’s or a friend’s), this is the most efficient method. Spread a thin layer of dry leaves on a hard surface (like concrete or a tarp) and run the mower over them several times. The blades will chop the leaves into smaller pieces. A bag attachment is ideal for collecting the shredded material.
- Leaf Blower/Vacuum Shredder: Some leaf blowers come with a vacuum and shredder function. These are excellent for quickly processing large volumes of leaves.
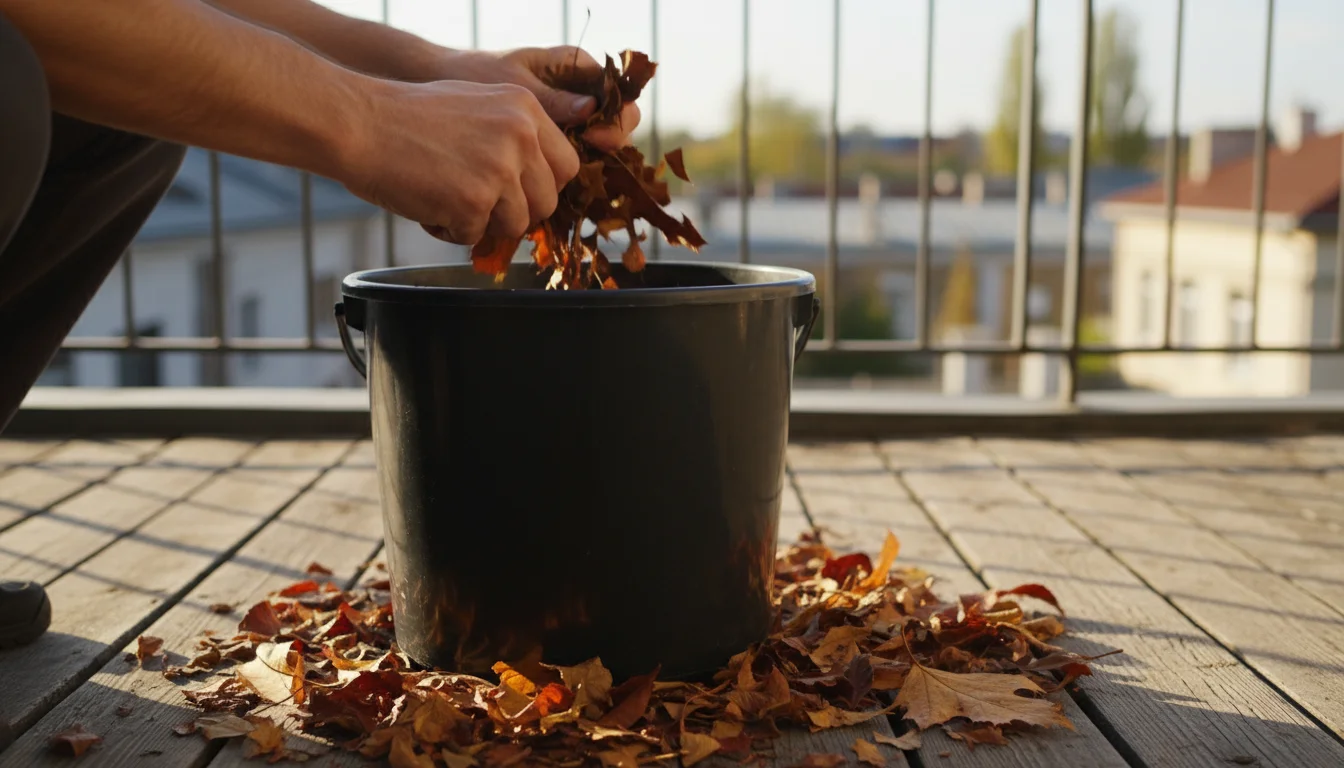
- Manual Method (Smaller Quantities): For smaller batches, you can place dry leaves in a sturdy trash can and use a string trimmer (weed wacker) to shred them. Wear eye protection and gloves, and ensure no one else is nearby.
- No-Shred (But Slower) Method: If shredding isn’t an option, you can still use whole leaves. Pile them into a chicken wire bin, sturdy garbage bag with holes poked in it, or an open compost bin. Keep them moist. They will eventually break down into “leaf mold,” which is incredibly rich organic matter, but this process takes 1-2 years. For immediate mulch, shredding is best.
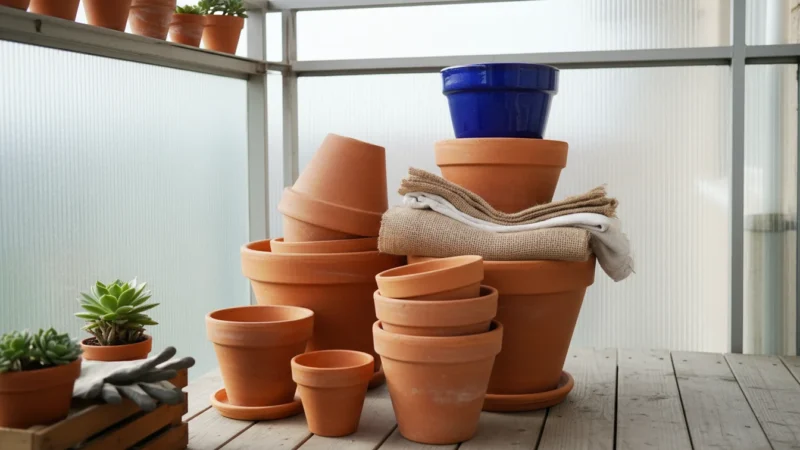
- Storage (Optional but Recommended): Once shredded, you can use the leaves immediately or store them for future use. Store shredded leaves in breathable bags (like burlap sacks, old feed bags, or even plastic leaf bags with holes poked in them for air circulation) or in a designated bin. Keep them in a dry, shaded area. Proper storage prevents them from re-absorbing too much moisture and becoming moldy. This way, you have a ready supply of free garden mulch whenever your container plants need it.
The resulting shredded leaf material is often called “leaf mold” once it has started to decompose. It’s a fantastic soil amendment and the perfect top layer for your container gardens. This material provides excellent drainage and retains moisture beautifully, creating an ideal environment for your plants. Preparing leaves for potting soil in this manner ensures you get the most out of your efforts.
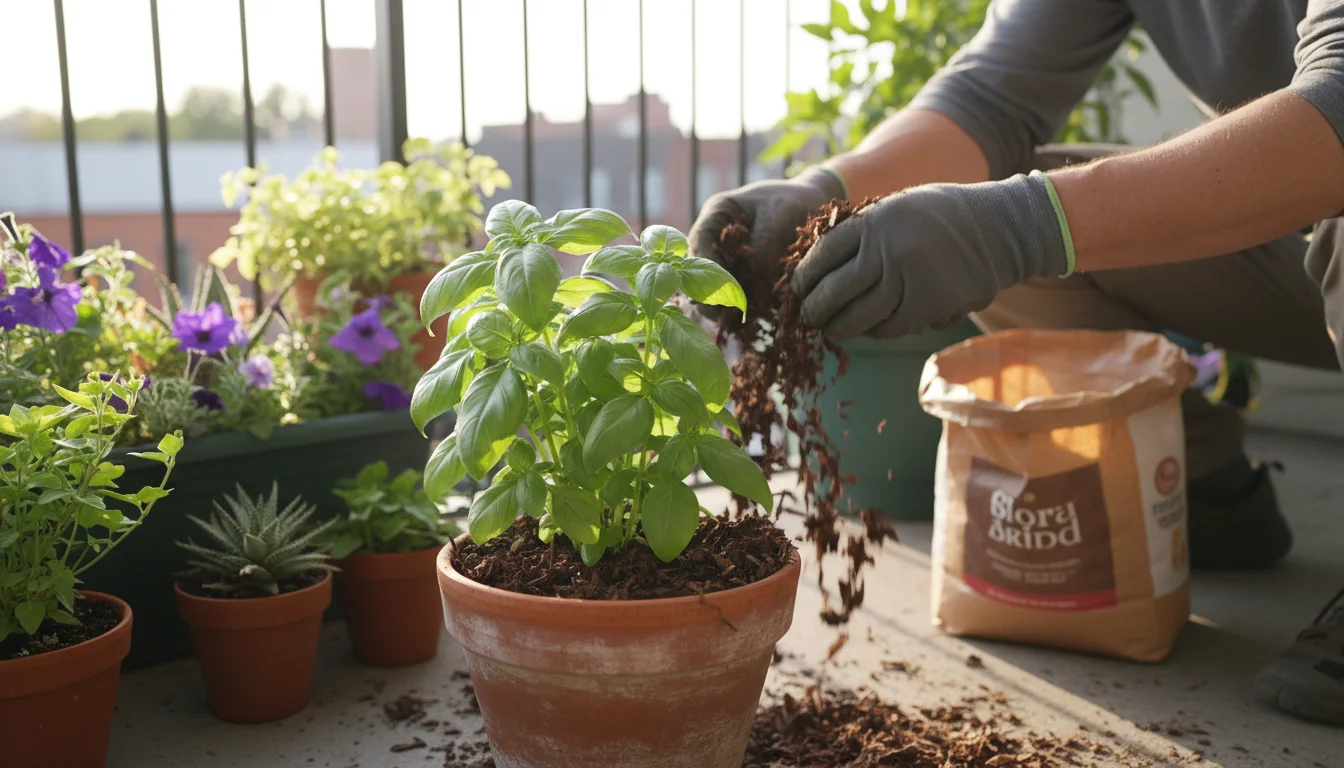
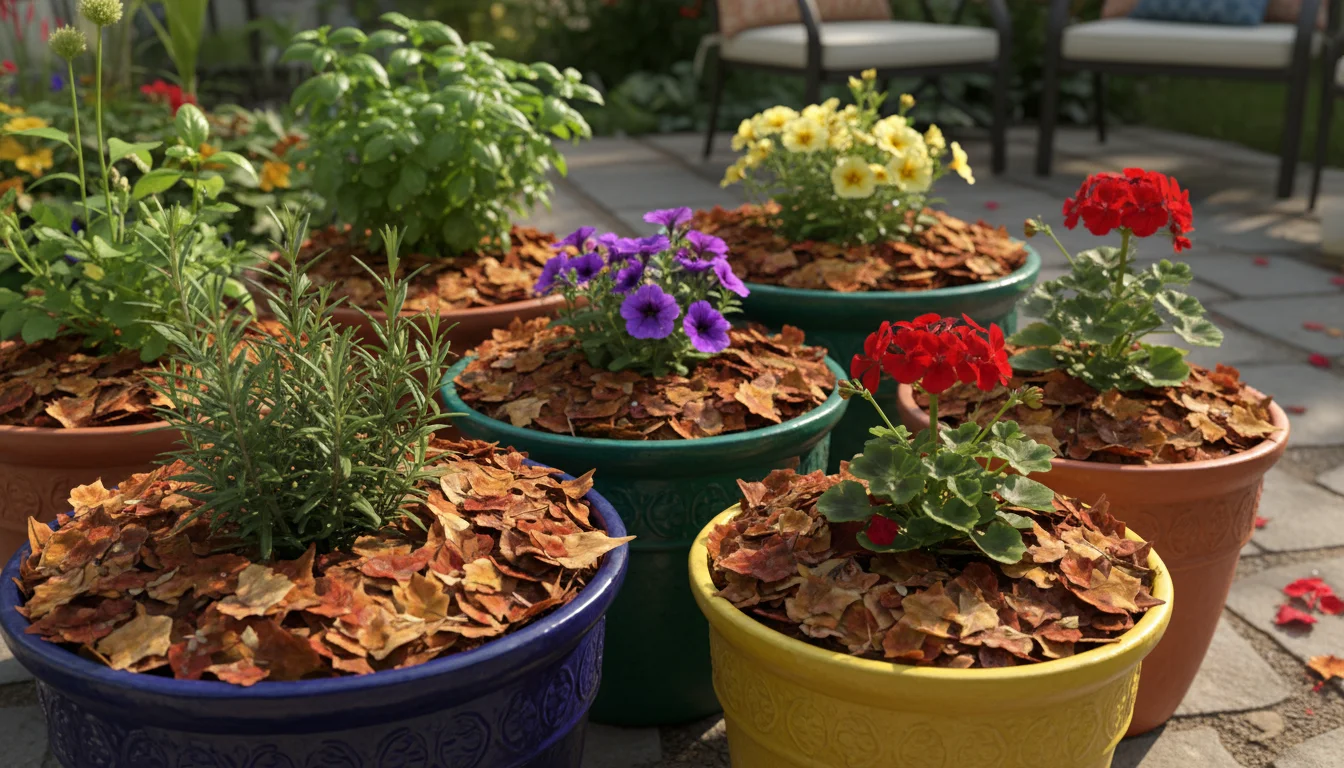
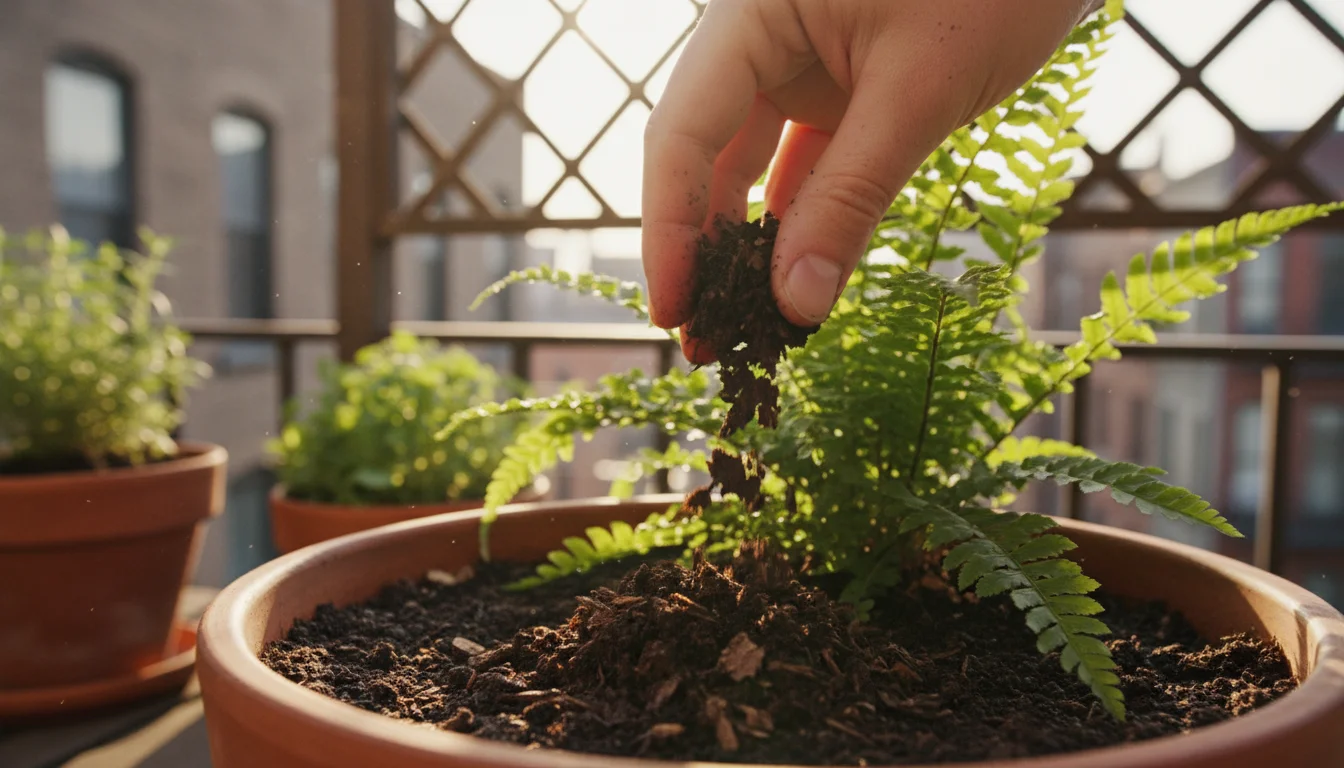
Applying Leaf Mulch to Your Container Garden: A Step-by-Step Guide
Now that you have your beautifully shredded leaf mulch, it’s time to put it to work in your container garden. Correct application maximizes its benefits and avoids common pitfalls. This ensures your plants receive maximum moisture retention, temperature regulation, and nutrient boost.
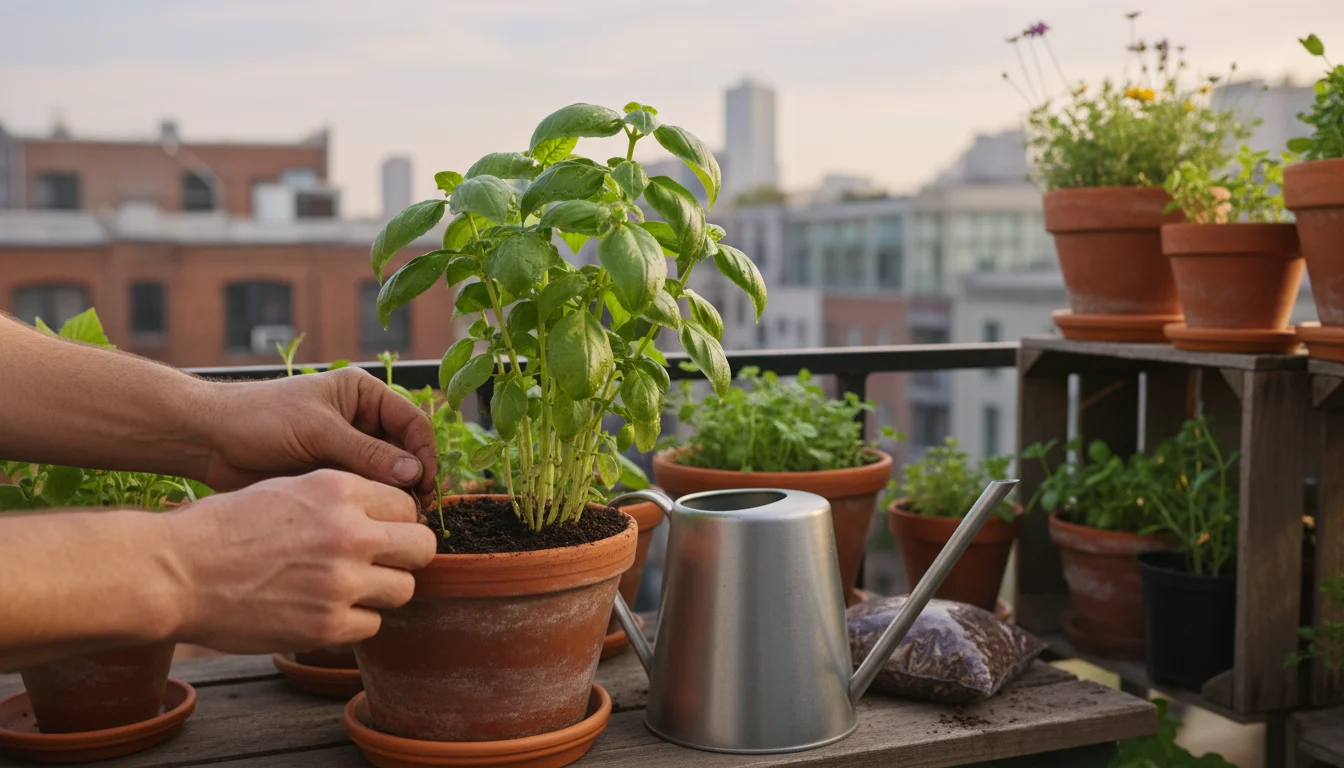
Before You Apply
- Weed: First, remove any existing weeds from your containers. Mulch will suppress new weeds, but it won’t kill established ones.
- Water Thoroughly: Water your plants deeply before applying mulch. The mulch acts as a blanket, holding in the moisture that’s already there. Applying it to dry soil can trap the dryness.
- Inspect for Pests: Briefly check the soil surface and plant bases for any signs of slugs, snails, or other pests you might want to address before covering them with mulch.
- Feed (Optional): If your plants are due for a feeding, apply your fertilizer now, before you put down the mulch. The mulch will help hold the nutrients in the soil.
Application Method for Container Plants
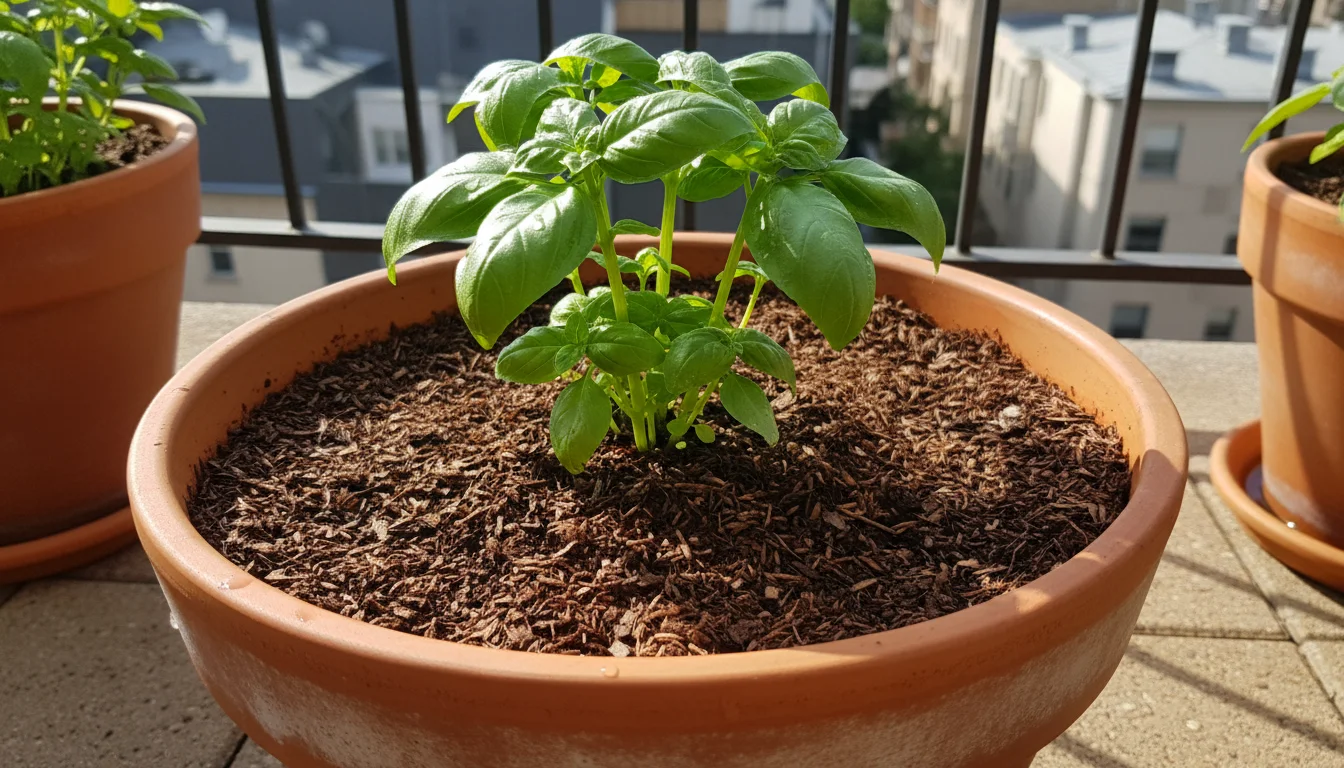
Applying leaf mulch to your container gardens is simple:
- Measure Your Depth: For most container plants, a layer of 1 to 2 inches (2.5-5 cm) of shredded leaf mulch works perfectly. In very large containers, you can go up to 3 inches. Do not overdo it. Too thick a layer, especially of un-shredded leaves, can compact and prevent water and air from reaching the soil below.
- Apply Evenly: Gently spread the shredded leaves evenly over the entire surface of the potting mix in your container. Ensure you cover all exposed soil.
- Maintain a “Donut Hole” Around Stems: Critically, pull the mulch back about 1/2 to 1 inch (1.25-2.5 cm) from the base of the plant’s stem or trunk. This creates a small “donut hole” around the plant. Direct contact of mulch with the stem can retain too much moisture against the plant tissue, leading to stem rot, especially for young seedlings or sensitive plants.
- Monitor Moisture: After application, continue to monitor your soil moisture. You’ll likely find you need to water less often. When you do water, water slowly and thoroughly, allowing the water to penetrate through the mulch layer to the soil below.
Specific Considerations for Container Gardens
- Small Containers: For very small pots, use a thinner layer of mulch, perhaps 1/2 to 1 inch. The goal is to cover the soil without overwhelming the plant or creating too much moisture around the stem.
- Shallow Rooted Plants: Even shallow-rooted plants benefit from mulch. Just be extra careful with the “donut hole” around their base.
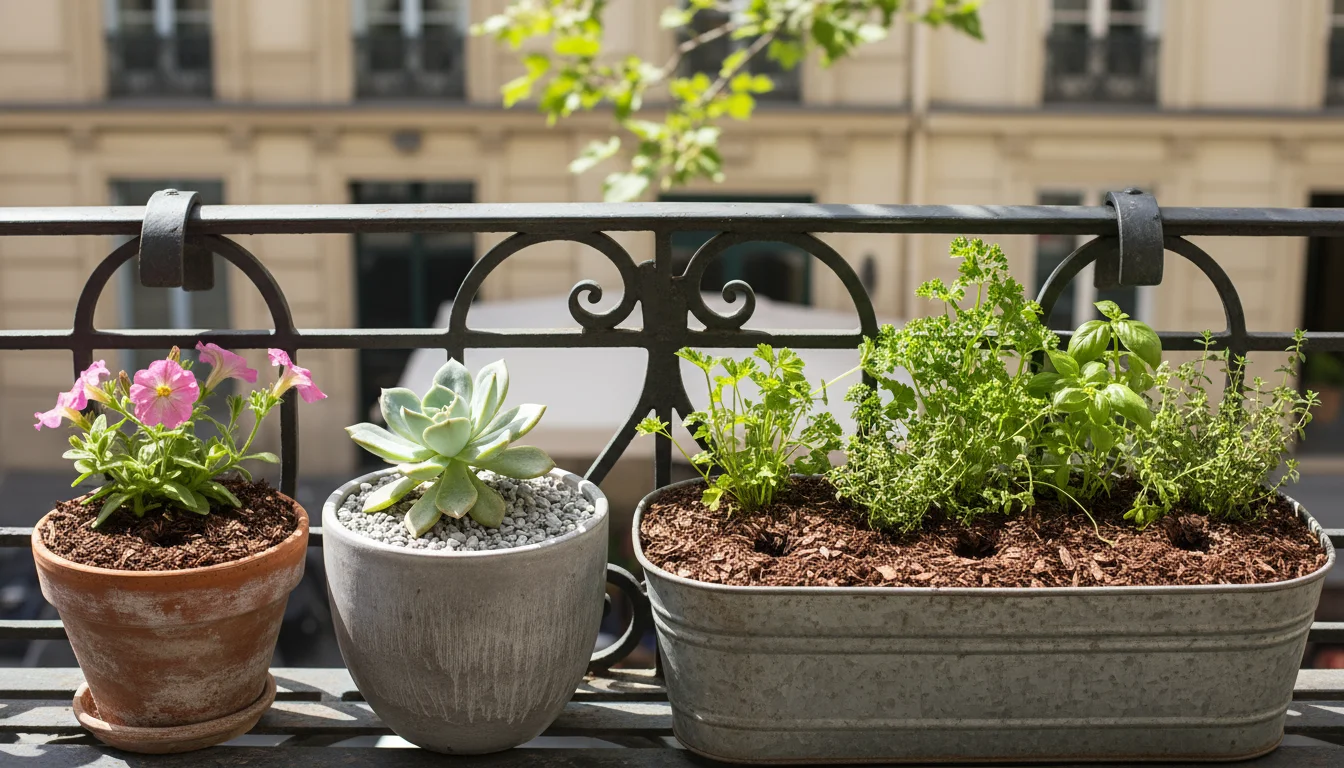
- Succulents/Cacti: For these plants, which prefer very dry conditions, leaf mulch might hold too much moisture. Consider using inorganic mulches like gravel or small stones instead, or apply leaf mulch very sparingly and ensure excellent drainage.
- Edibles: Leaf mulch is particularly beneficial for edible plants in containers, as it helps conserve moisture, suppress weeds that compete for nutrients, and slowly releases beneficial organic matter into the soil. Using leaf mulch on your herbs, vegetables, and fruit plants supports healthier growth and can even improve yields. This is an excellent way of how to use fallen leaves in container gardens specifically for food production.
Regularly check your mulch layer. Over time, it will naturally decompose. Top it up as needed, usually once or twice a year, or when you notice the layer thinning significantly. This continuous replenishment keeps your soil healthy and your plants thriving.
Beyond Mulch: Leaves for Potting Mix Enhancement
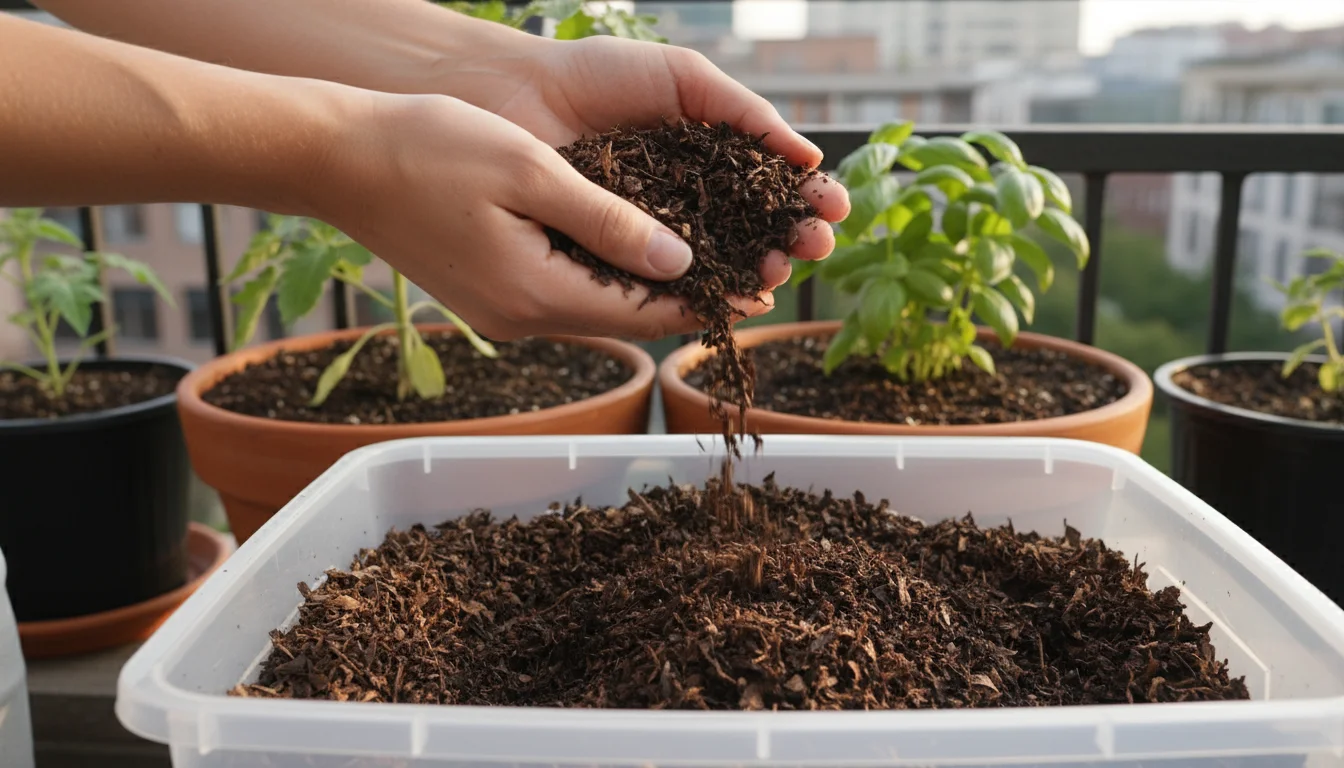
While leaf mulch provides incredible benefits as a top layer, you can also integrate processed leaves directly into your potting mix. This practice significantly enhances the mix’s structure, water retention, and nutrient content, transforming standard potting soil into a premium, custom blend. This is an excellent strategy for preparing leaves for potting soil.
Creating Leaf Mold Compost
Leaf mold is not traditional compost. It is the product of leaves decomposing solely through fungal action, typically without additional nitrogen sources or extensive turning. It’s a dark, crumbly, earthy material that feels wonderful and acts as a superb soil conditioner. Leaf mold improves soil structure, aeration, and water retention like nothing else.
How to Make Leaf Mold:
- Shred Your Leaves: Shredding is even more crucial for leaf mold than for surface mulch because it accelerates decomposition.
- Containment: Place the shredded leaves into a simple containment system. This can be a dedicated bin made of chicken wire, an old garbage can with plenty of drainage holes poked in the bottom and sides, or simply large, sturdy plastic bags (again, with drainage holes).
- Moisture: Moisten the leaves thoroughly. They should be damp like a wrung-out sponge, not soaking wet. Maintain this moisture level. If they dry out, the fungal decomposition process slows or stops.
- Wait: This is where patience comes in. Leaf mold takes time, usually 1 to 2 years, to fully form. You can turn the pile occasionally to introduce air and remix, but it’s not strictly necessary. The leaves will gradually transform into a rich, dark, crumbly material.
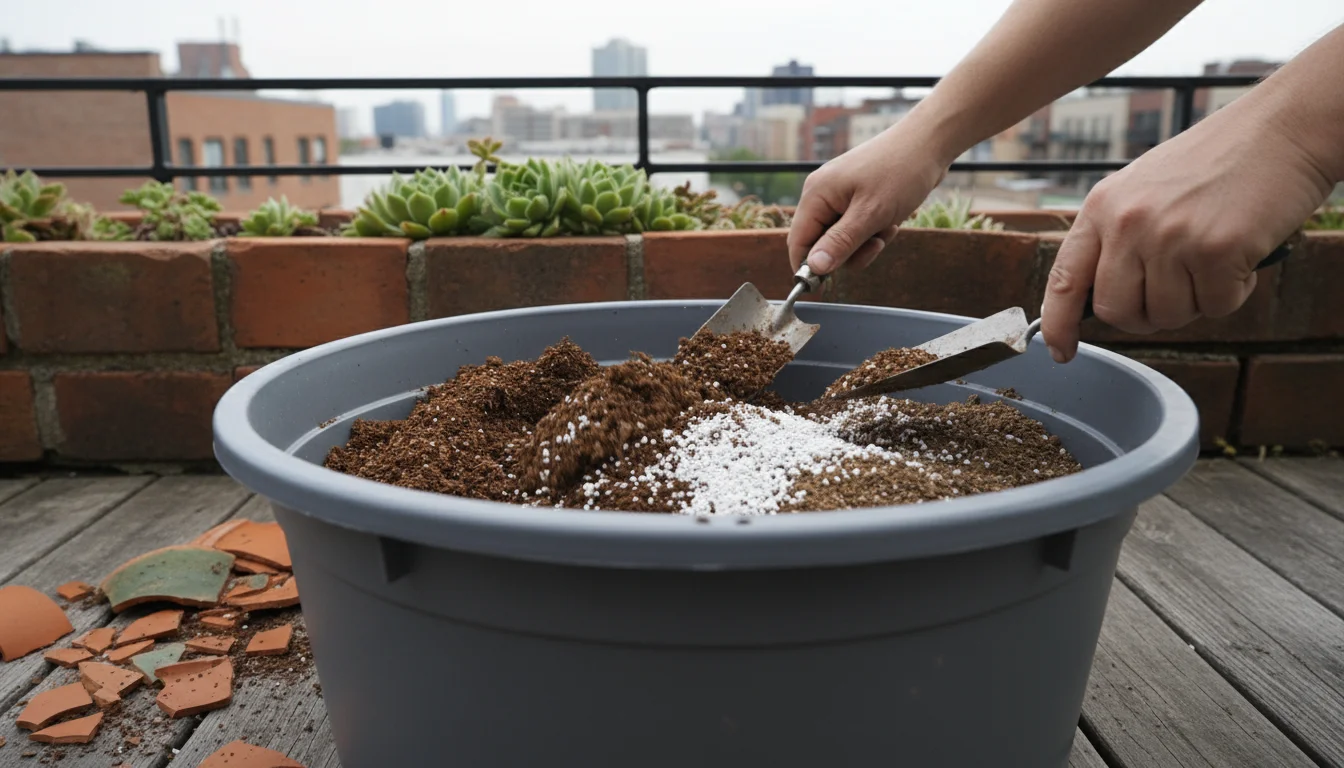
Integrating Leaf Mold into Potting Mix
Once your leaf mold is ready, you have a potent soil amendment. Here’s how to use it:
- As a Potting Mix Component: Replace up to 20-30% of your commercial potting mix with leaf mold. For example, if you’re making a batch of potting mix, use 2 parts potting mix, 1 part perlite (for drainage), and 1 part leaf mold. This provides a fantastic balance of organic matter, aeration, and water retention.
- For Seed Starting Mixes: A small percentage (5-10%) of finely sieved leaf mold can be added to seed starting mixes. Its fine texture and water-holding capacity help provide a stable environment for young seedlings. Ensure it is fully decomposed and screened to avoid large pieces.
- For Specific Plant Needs: Acid-loving plants like blueberries (if you grow them in large containers) particularly benefit from leaf mold, especially if it’s derived from oak or pine needles, as these tend to be slightly more acidic.
- Revitalizing Old Potting Mix: Instead of discarding old potting mix, you can rejuvenate it by mixing in a generous amount of leaf mold. This replenishes organic matter and improves its structure for reuse.
Using leaves in this way moves beyond just surface protection. It directly enriches the growing medium itself, offering your container plants a superior foundation for strong, healthy growth. This strategy for how to use fallen leaves in container gardens demonstrates maximal resourcefulness.
Troubleshooting and Common Mistakes to Avoid
While using urban leaves for mulch is a fantastic hack, a few common pitfalls can diminish its effectiveness or even cause problems. Being aware of these helps you sidestep them and ensures your free garden mulch delivers all its promised benefits.
Common Mistakes:
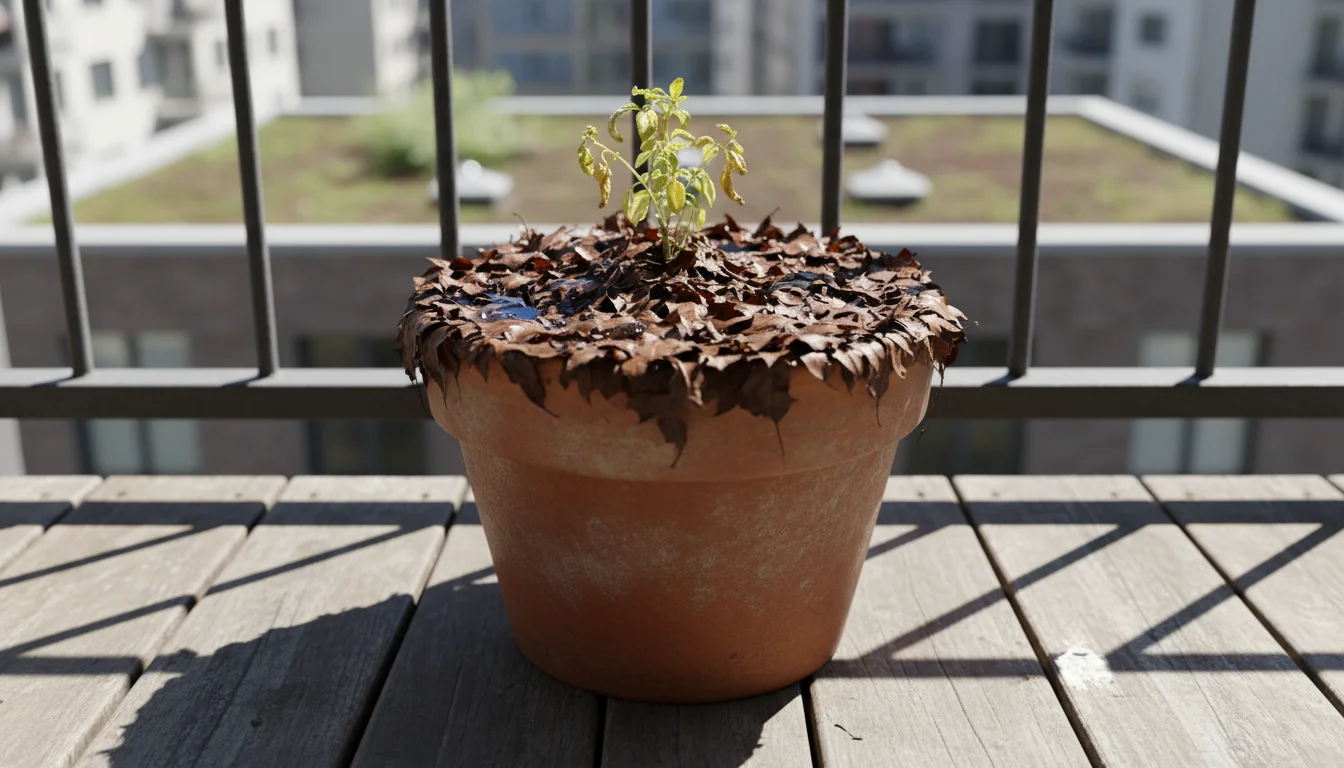
- Using Un-Shredded Leaves in Containers: This is perhaps the most common mistake. Whole leaves form a dense, impenetrable mat that compacts easily. This mat can actually repel water, preventing it from reaching the soil and roots. It also slows down decomposition significantly. Always shred your leaves for container applications.
- Applying Too Thick a Layer: While a generous layer is good, excessive mulch, especially in smaller containers, can create issues. Too much depth can smother delicate seedlings, promote excessive moisture retention leading to rot around plant stems (the “volcano” effect), or even create an anaerobic (oxygen-deprived) environment if it’s too dense. Stick to 1-3 inches, depending on container size.
- Mulching Too Close to Plant Stems: As emphasized, ensure a “donut hole” or air gap of at least 1/2 to 1 inch around the base of your plants. Mulch directly touching the stem can trap moisture, encouraging fungal diseases and stem rot.
- Using Diseased or Chemically Treated Leaves: While most city leaves are safe, intentionally collecting leaves showing signs of widespread disease (like tar spot or powdery mildew) or from areas known to be heavily sprayed with chemicals introduces unnecessary risks to your garden. Always inspect your haul.
- Allowing Mulch to Become Constantly Waterlogged: While mulch helps retain moisture, if your containers have poor drainage and the mulch stays perpetually soggy, it can lead to problems. This creates an environment conducive to root rot and can encourage fungus gnats. Ensure your pots have adequate drainage holes.
- Not Reapplying as Needed: Leaf mulch slowly breaks down, which is part of its benefit. However, this means its protective layer thins over time. You should check your mulch layer periodically and replenish it as necessary, usually every 6-12 months for container gardens, depending on decomposition rates.
Troubleshooting Tips:
- Mulch Not Decomposing: If your leaves seem to sit on the surface without breaking down, they might be too dry, too compacted, or not shredded enough. Lightly rake the mulch to aerate it, moisten it if dry, and ensure it’s shredded. Adding a thin layer of nitrogen-rich material like coffee grounds or a sprinkle of blood meal can also help kickstart decomposition.
- Water Repelling: If water beads up and runs off your mulch layer instead of soaking in, this indicates compaction or a very dry surface. Gently aerate the mulch with a hand fork or stick. Water slowly, perhaps in two stages: a light initial watering to wet the mulch, followed by a deeper watering a few minutes later.
- Fungus Gnats or Other Pests: These can sometimes appear in very moist organic matter. Ensure the top layer of mulch dries out slightly between waterings. If gnats persist, consider removing some of the mulch temporarily or mixing in some diatomaceous earth. Revisit your “donut hole” around stems to ensure sufficient airflow.
- Mold or Musty Smell: This usually signifies too much moisture and insufficient air circulation. Again, ensure good drainage in your pots. If the issue is severe, remove the affected mulch, aerate the soil, and reapply a fresh, thinner layer of dry, shredded leaves.
By understanding these potential issues and how to address them, you ensure that your free garden mulch remains a valuable asset for your thriving urban garden.
Frequently Asked Questions
Can I use leaves from any type of tree?
You can use leaves from most deciduous trees (those that lose their leaves in autumn) with great success. Oak, maple, birch, and elm leaves are excellent choices. Avoid black walnut leaves because they contain juglone, a chemical toxic to many common garden plants. Also, generally avoid diseased leaves or those showing signs of chemical spraying.
Do I need to shred the leaves?
Yes, especially for container gardens. Shredding leaves speeds up their decomposition, prevents them from compacting into a water-repelling mat, and makes them easier to apply evenly. Whole leaves take much longer to break down and can create problems with water penetration and aeration in pots.
Will leaf mulch attract pests?
Generally, shredded leaf mulch does not attract harmful pests. It creates a habitat for beneficial organisms like earthworms and beneficial fungi. If you notice slugs, snails, or fungus gnats, it usually indicates excessive moisture. Ensure your containers have good drainage, and consider allowing the top layer of mulch to dry out slightly between waterings.
How often should I reapply leaf mulch to my containers?
Shredded leaf mulch slowly decomposes, enriching your soil. For container gardens, you will likely need to replenish the layer once or twice a year, or whenever you notice the mulch thinning significantly. Keep an eye on the depth and appearance, adding more as it breaks down.
Can I mix shredded leaves directly into my potting soil?
Absolutely! Fully decomposed shredded leaves (leaf mold) are an excellent addition to potting mixes. They improve soil structure, water retention, and provide a slow release of nutrients. If using partially decomposed leaves, ensure they are thoroughly shredded to avoid nitrogen depletion as they break down, which can temporarily “steal” nitrogen from your plants.
Your small space gardening journey becomes even more rewarding when you embrace clever, sustainable practices like the urban leaf bag hack. You transform what others consider waste into a powerhouse resource for your container garden. You save money, reduce environmental impact, and provide your plants with the very best. This simple act of collecting and preparing leaves for potting soil and mulch empowers you to cultivate a healthier, more vibrant garden right where you live. Start looking at those leaf bags on the curb differently, you’re about to unlock a treasure trove for your urban oasis.
For trustworthy gardening information, visit:
Plantlife (UK), Botanical Society of America and Oregon State Extension — Gardening. These organizations provide expert, research-based advice for gardeners at all levels.
Disclaimer: This article is for informational purposes only and is not a substitute for professional gardening advice. Always consult local extension services or horticulture experts for region-specific guidance.


Leave a Reply