The Weekend Winter Project: Build a Space-Saving Seed Starting Shelf for Your Apartment
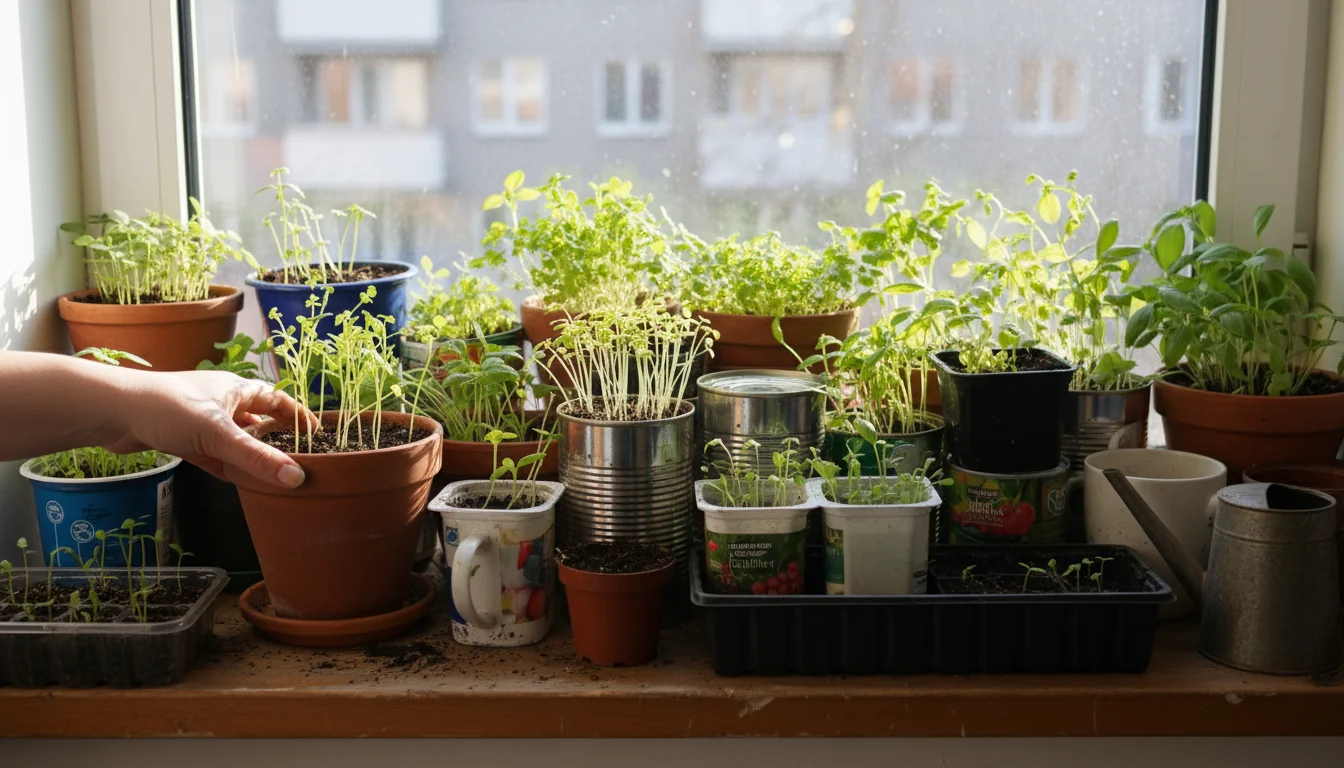
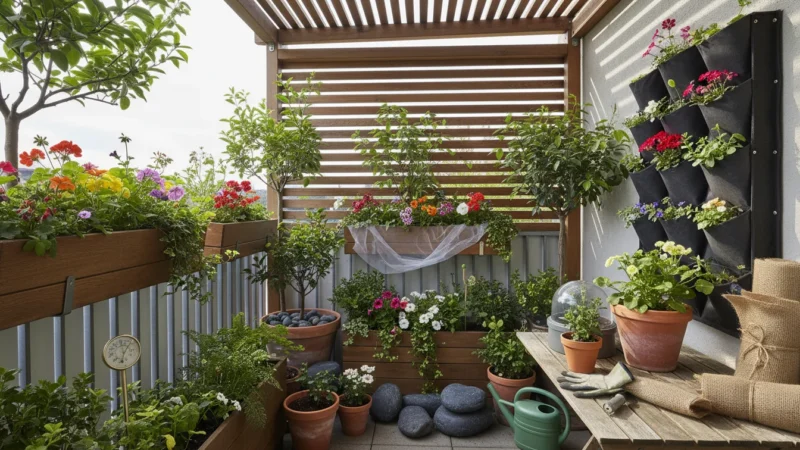
Winter’s chill offers the perfect opportunity to cultivate new beginnings indoors. If you live in an apartment, a small home, or simply have limited space, you might think starting seeds is a dream reserved for those with sprawling gardens. You can make that dream a reality with a custom-built, space-saving seed starting shelf. This guide helps you construct an efficient, affordable, and effective indoor seed starting setup, transforming a small corner into a thriving plant nursery. Imagine the joy of watching tiny seedlings emerge, knowing you provided the ideal environment right in your living space. You control the variety, the growing conditions, and ultimately, the success of your garden, all before spring arrives.
This project is a perfect entry point for anyone interested in winter indoor gardening to keep their green thumb active year-round.
This build is one of the most rewarding indoor gardening projects for winter days, allowing you to prep for spring while staying cozy inside.
Why Build Your Own Seed Starting Shelf?
Taking control of your plant journey from the very beginning offers numerous rewards. Building a diy seed starting shelf provides a distinct advantage, especially for those with limited outdoor space. You gain the ability to grow unique or heirloom varieties that might not be available at your local nursery. This truly opens up a world of possibilities for your garden.
If you’re not ready for a full shelving unit, you can start smaller with a windowsill salad bar to grow greens in a matter of weeks.
To ensure you time your planting perfectly, consult The Apartment Seed-Starting Calendar to see exactly when to sow your favorite varieties.
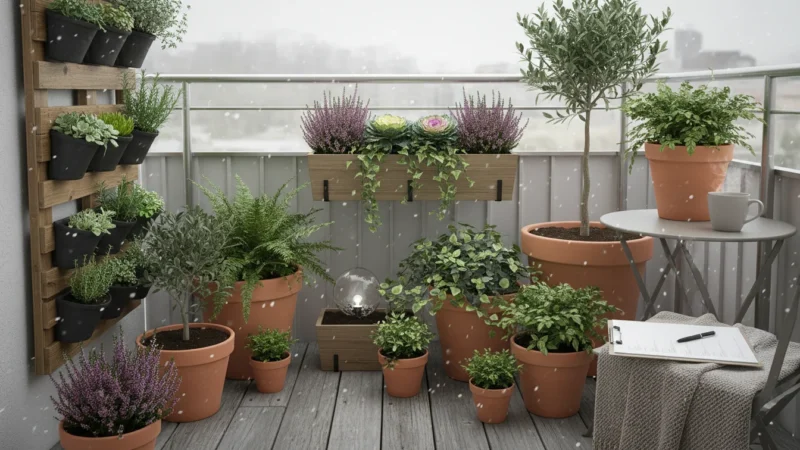
Starting seeds indoors with a dedicated setup allows you to jumpstart the growing season. While outdoor temperatures remain too cold for delicate young plants, your seedlings thrive in a controlled environment. This translates to earlier harvests for vegetables like tomatoes, peppers, and cucumbers. For flowers, it means vibrant blooms adorning your apartment balcony or patio weeks ahead of schedule.
A custom apartment seed starting system also offers significant cost savings. Packets of seeds are far less expensive than purchasing individual starter plants. Over time, these savings add up, allowing you to invest more in soil, tools, or other garden enhancements. Furthermore, you reduce your reliance on commercially grown plants, which often travel long distances, increasing their carbon footprint. Your own shelf empowers you to choose organic seeds and nurture your plants without synthetic pesticides or fertilizers from day one, aligning with an environmentally conscious gardening approach. You ensure a healthier start for your plants and a more sustainable approach for your home.
Understanding Your Space: Planning for Success
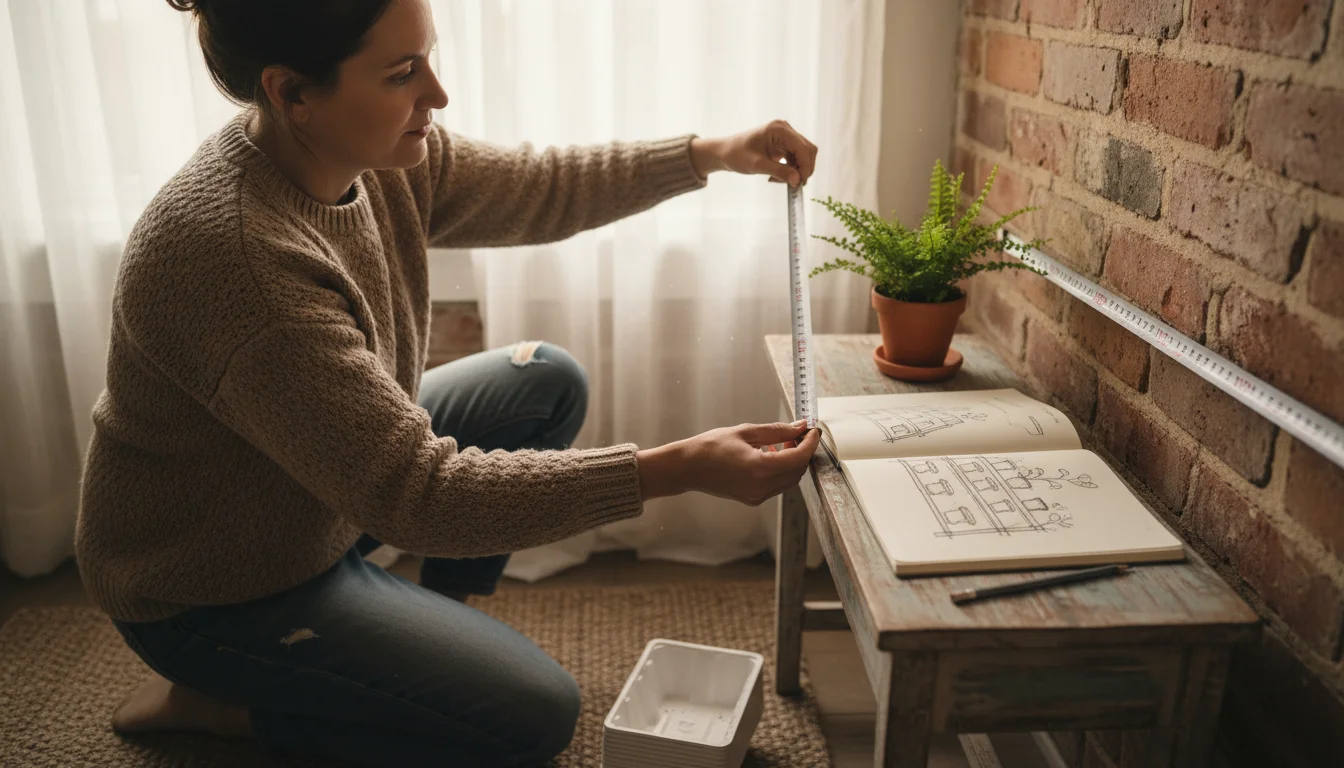
Before you grab your tools, carefully assess the area you intend to use for your vertical seed starting system for small spaces. Thoughtful planning ensures your project maximizes efficiency and fits seamlessly into your living environment.
If you are trying to grow specific perennials or native plants, you might first need a cold stratification experiment to get the seeds ready for your new shelf.
First, identify potential locations in your apartment. Consider areas near a window, though remember that natural light alone is usually insufficient for strong seedling growth, requiring supplemental grow lights. You need access to an electrical outlet for your lighting setup. Think about the overall footprint of the shelf. Will it obstruct walkways or block natural light for other areas? A narrow, tall design often works best for small spaces, utilizing vertical room effectively.
Measure your chosen area meticulously. Note the width, depth, and height available. These measurements directly influence the dimensions of your shelf. Most standard seed starting trays measure approximately 10×20 inches, so plan your shelf depth to accommodate at least one tray comfortably, with extra room for airflow and light fixtures. Aim for shelves spaced 12 to 18 inches apart to give seedlings adequate vertical growth room beneath the lights. This crucial spacing prevents leggy, weak plants.
Consider the ambient temperature of your chosen spot. Most seeds germinate best at temperatures between 65-75°F (18-24°C). If your spot is consistently cooler, you may need to incorporate a heat mat for germination. Assess potential humidity levels. Dry indoor air can stress young seedlings.
Finally, visualize the completed shelf in your space. Think about its stability, especially if you have pets or small children. A secure, well-planned indoor seed starting setup prevents accidents and provides a safe home for your future garden. This detailed planning phase saves you time and frustration during construction and ensures your new shelf functions optimally for years to come.

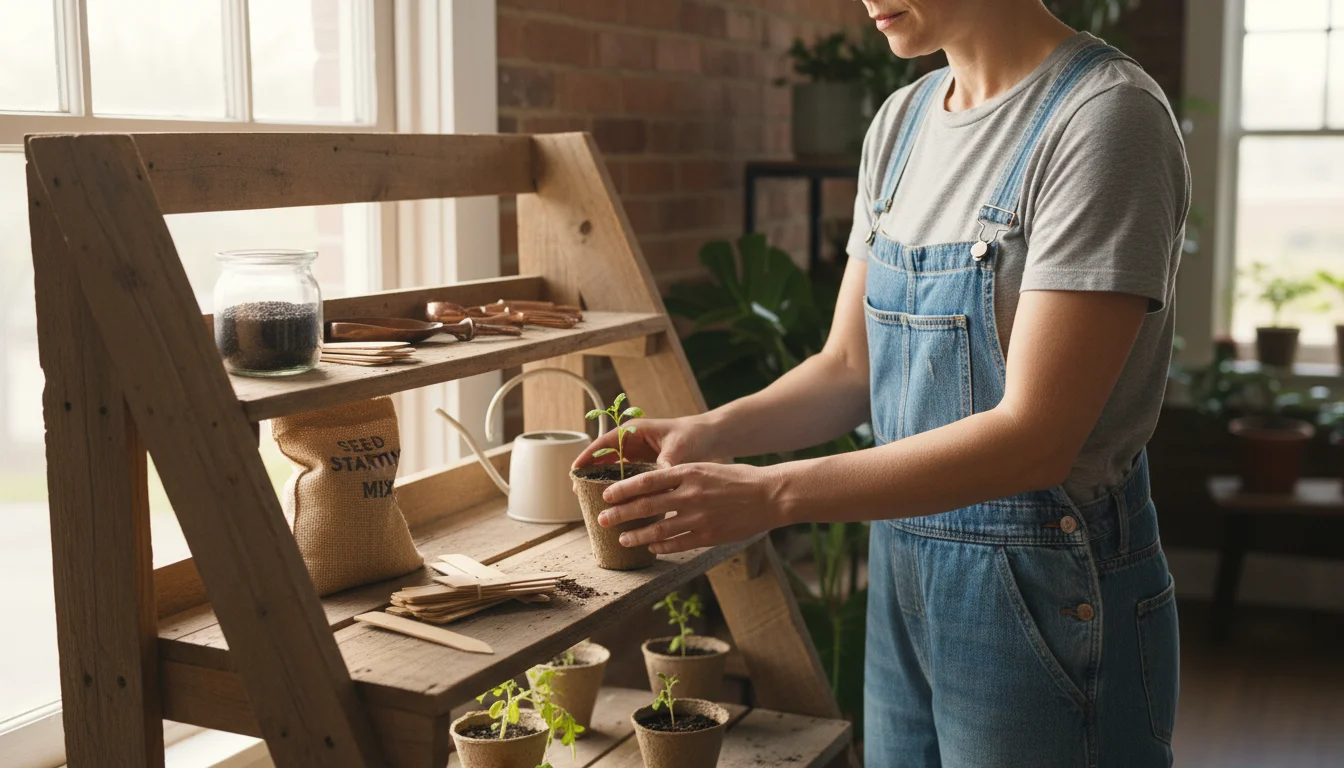
Essential Materials: Gathering Your Toolkit
You do not need an extensive workshop to build an effective diy seed starting shelf. Most materials are readily available at hardware stores or even around your home. This approach focuses on affordability and practicality, demonstrating how to build a cheap seed starting rack with lights.
You can also save even more by using DIY garden tool hacks using simple household items for your seedling care.
Before you open those packets, take a moment for organizing your seed collection to see what you already have on hand.
Here is a list of what you will need:
- Shelving Unit:
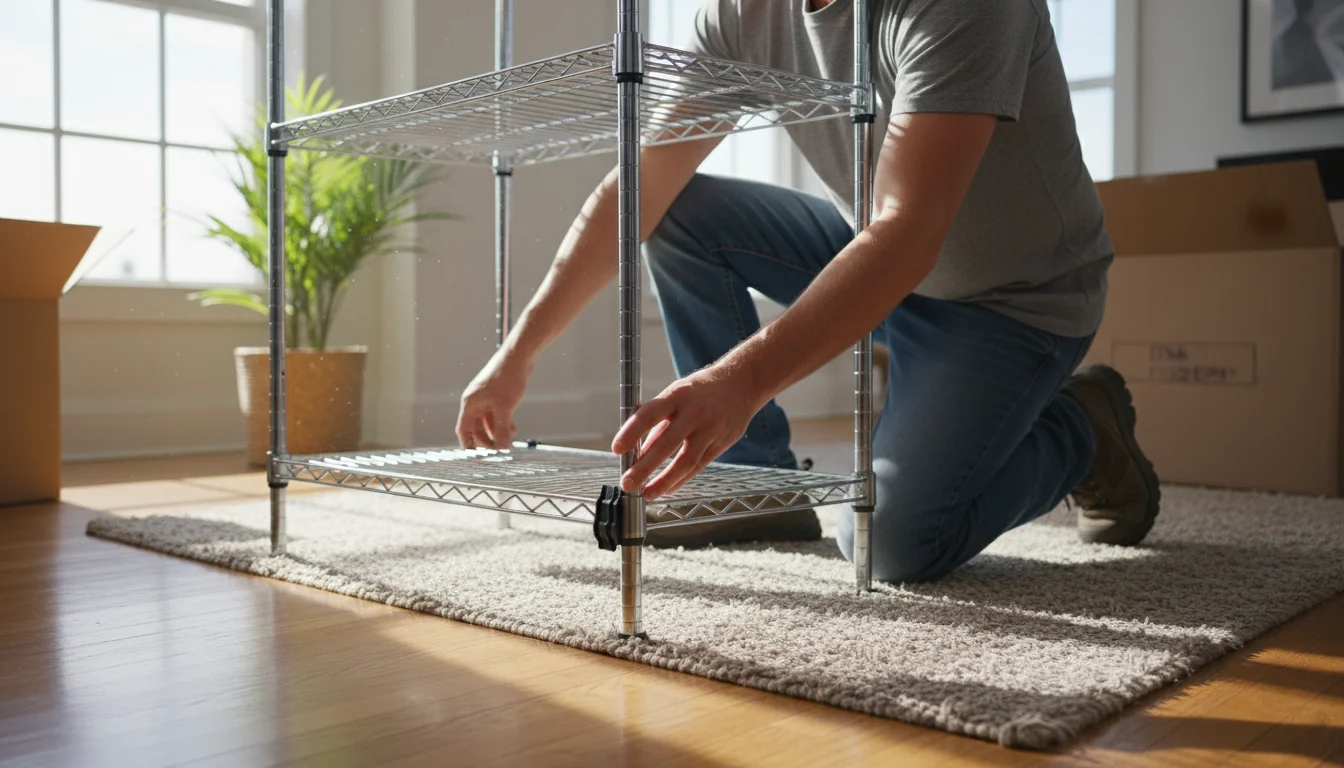
- Option 1 (New): A wire shelving unit, typically chrome or black, found at home improvement stores or online. Look for units that are at least 12-14 inches deep and 36-48 inches wide, with adjustable shelves. These are sturdy, easy to assemble, and allow for good air circulation. Choose a height that fits your space, usually 5-6 feet tall for 3-4 growing levels.
- Option 2 (Repurposed): An old bookcase, a sturdy utility shelf, or even stacked milk crates and planks can form the basic structure. Ensure the materials are stable and can support the weight of wet soil and plants.
- Grow Lights:
- LED shop lights or T5 fluorescent grow lights are highly recommended for energy efficiency and appropriate light spectrum. Purchase fixtures that are roughly the same length as your shelves (e.g., 2-foot or 4-foot fixtures). Plan for one or two fixtures per shelf, depending on your shelf width and plant density.
- S-Hooks or Zip Ties: To suspend your grow lights from the shelves above. S-hooks offer adjustability, allowing you to raise lights as seedlings grow.
- Chain (optional, for adjustability): If using S-hooks, short lengths of chain allow for precise light height adjustment.
- Power Strip with Timer: A crucial component to automate your lighting schedule. Look for a power strip with multiple outlets and a built-in timer or a separate outlet timer.
- Seed Starting Trays and Domes: Standard 10×20 inch trays fit well on most shelves. Domes help maintain humidity for germination.
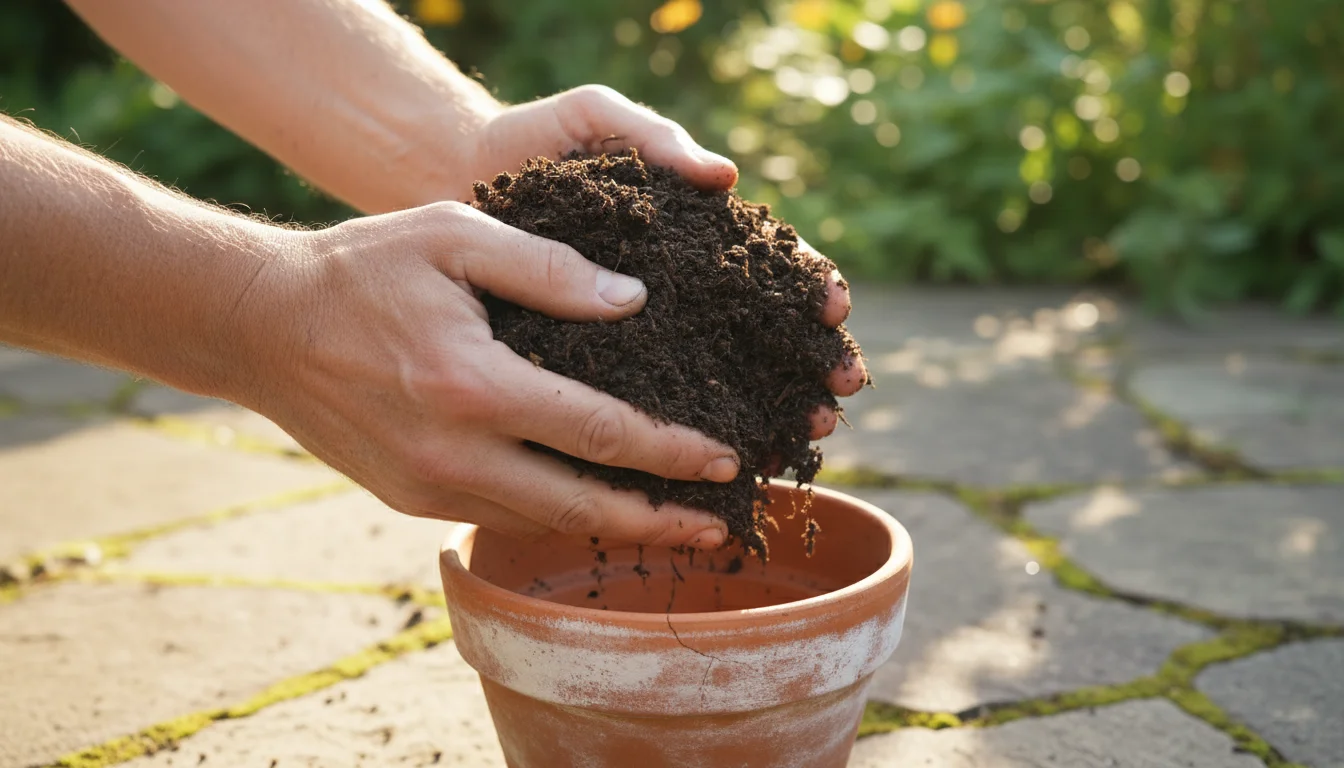
- Seed Starting Mix: A fine, sterile, soilless mix designed for germinating seeds. This prevents diseases and ensures optimal moisture retention and drainage. Drainage refers to how water moves through the soil. Good drainage means water passes through without waterlogging the roots.
- Seeds: Your chosen varieties.
Tools you will need:
- Measuring tape
- Pencil or marker
- Utility knife or scissors (for cutting zip ties)
- Screwdriver or wrench (if assembling a new shelving unit)
When you gather your materials, prioritize durability and safety. Ensure your chosen shelving unit is stable and can handle the weight of multiple trays of damp soil. Selecting energy-efficient LED grow lights also saves you money on electricity bills in the long run, contributing to the “cheap” aspect of your setup. This carefully curated list ensures you have everything necessary to create the best setup for starting seeds in an apartment without unnecessary purchases.
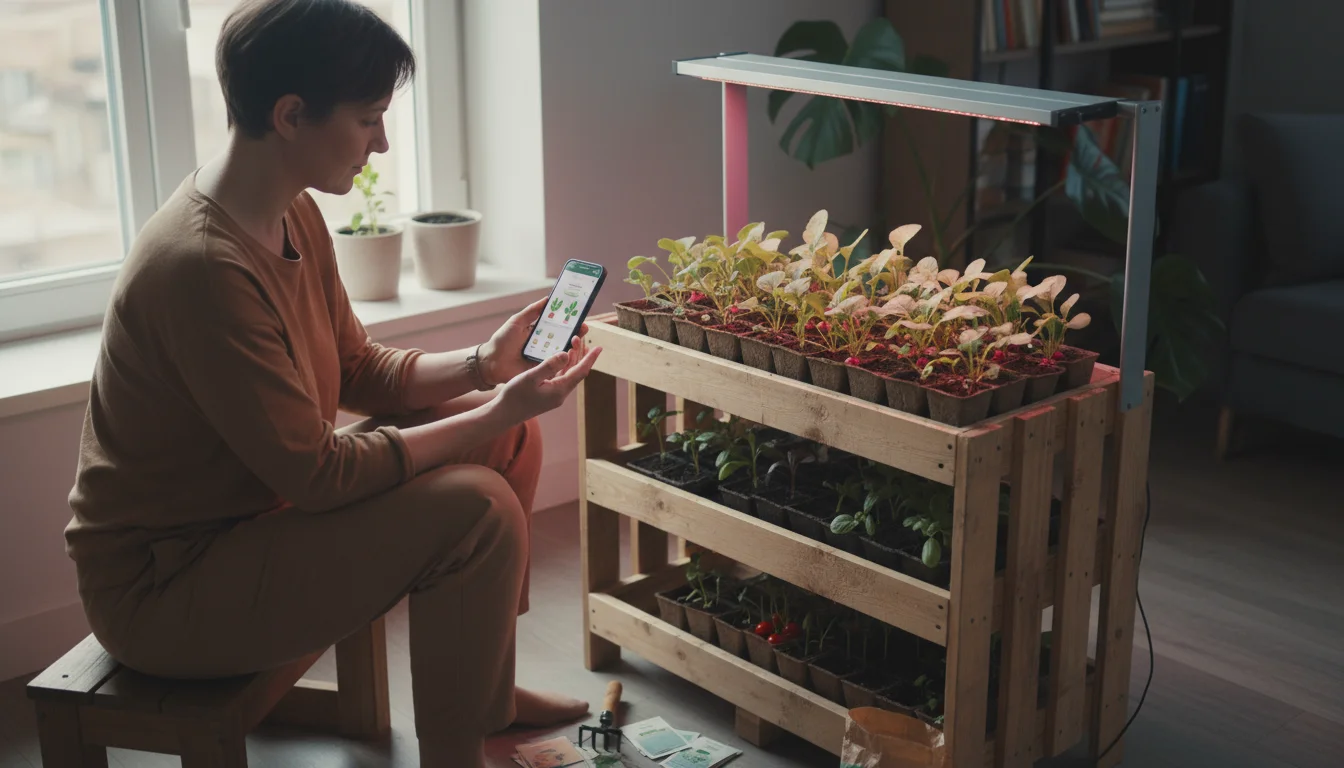
Step-by-Step Construction: Assembling Your DIY Shelf
Building your diy seed starting shelf is a straightforward process, often completable within a single weekend. Follow these steps to assemble a sturdy and effective unit.
While many use these shelves for vegetables, they are also the perfect place to start common houseplants from seed for year-round indoor greenery.
- Assemble the Shelving Unit:
- If you purchased a new wire shelving unit, follow the manufacturer’s instructions carefully. These typically involve interlocking poles and shelves, secured with plastic clips or screws. Ensure all connections are tight and stable.
- If repurposing, clean and prepare your chosen structure. If using planks and milk crates, ensure the crates are sturdy and the planks sit securely without wobbling. Level the structure as much as possible to prevent future issues.
- Place the bottom shelf approximately 2-4 inches from the floor. This keeps it off cold floors and allows for easy cleaning.
- Determine Shelf Spacing:
- This is critical for a functional vertical seed starting system for small spaces. Place the subsequent shelves 12-18 inches apart. The exact spacing depends on the mature height of the seedlings you plan to grow. Taller plants like tomatoes require more space than leafy greens or herbs.
- Remember, your lights will hang *under* the shelf above, so factor in the height of your light fixtures plus the necessary distance from the top of your seedlings. Young seedlings typically need lights positioned 2-4 inches above their leaves.
- Install the Grow Lights:
- For each growing level, you need to suspend one or two grow light fixtures from the underside of the shelf above it.
- Attach S-hooks or zip ties to the wire grates of the shelf. If using S-hooks, link them to chains attached to the light fixture. This allows you to easily raise the lights as your seedlings grow taller. If using zip ties, ensure they are strong enough to hold the light fixture securely and consider leaving enough slack to adjust the light height as needed by repositioning the ties.
- Position the lights centrally over where your seed trays will sit. You want even light distribution across the entire growing area.
- Secure and Test:
- Once all shelves are in place and lights are suspended, gently shake the entire unit to check for stability. Tighten any loose connections.
- Plug your power strip into a wall outlet, and then plug your grow lights into the power strip. Turn on the lights to ensure they function correctly.
- Set Up the Timer:
- Program your timer to provide 14-16 hours of light per day for your seedlings. Consistent light is vital for strong growth. Set the timer so the lights turn on and off automatically, simulating a long, bright day. This creates the optimal light schedule for your indoor seed starting setup.
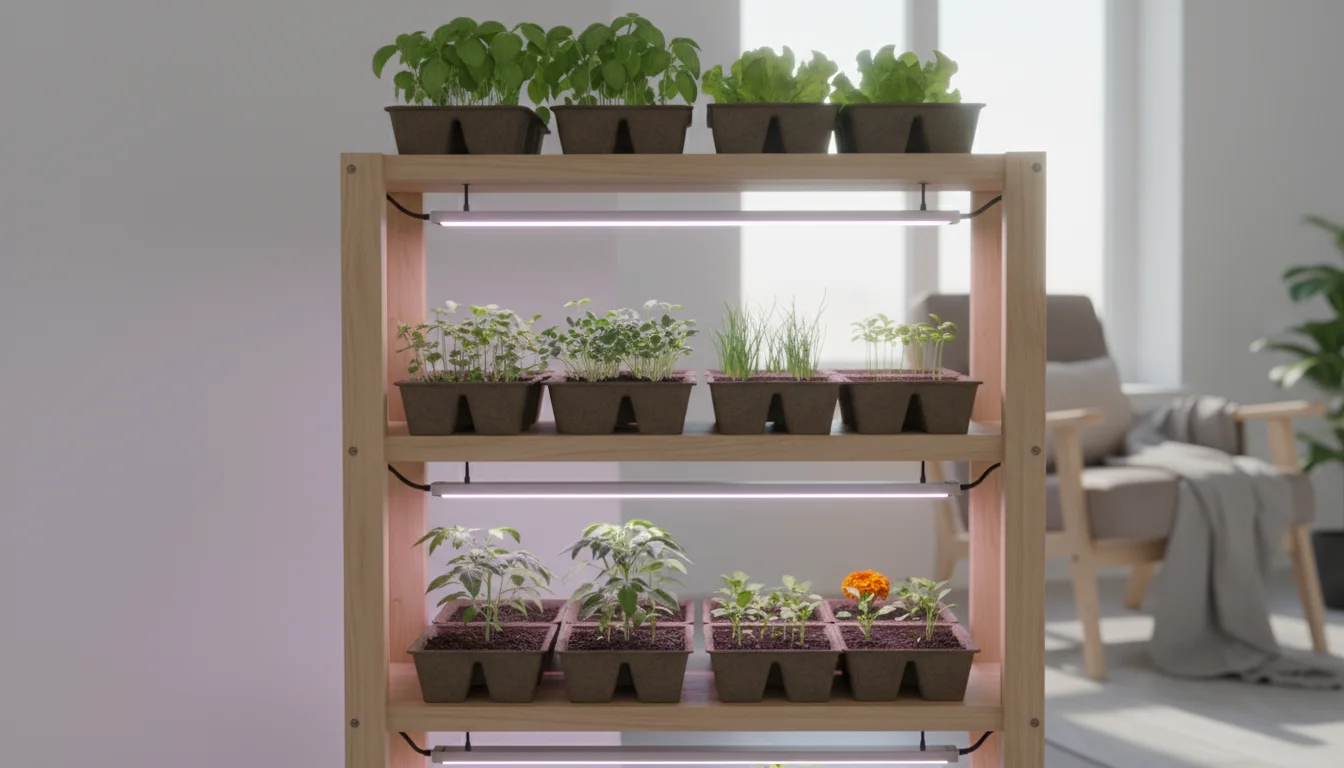
By following these detailed steps, you construct a stable, functional, and efficient seed starting shelf. This structure forms the foundation for a successful and abundant indoor garden, proving that building a cheap seed starting rack with lights is entirely achievable. You have now established a dedicated space for your plants to thrive, ready for the next phase of their development.
Lighting Up Your Grow: Choosing the Right Fixtures
Proper lighting is perhaps the most critical component of a successful indoor seed starting setup. Without sufficient light, seedlings become “leggy,” meaning they stretch tall and thin, searching for light. This results in weak, unproductive plants. Your carefully constructed diy seed starting shelf needs the right illumination to truly shine.
When selecting grow lights, focus on LED or T5 fluorescent fixtures. These are superior to older incandescent or even standard fluorescent bulbs for several reasons:
- Energy Efficiency: Both LED and T5 lights consume significantly less electricity than traditional bulbs, saving you money on your utility bills. LEDs are particularly efficient.
- Light Spectrum: They provide the full spectrum of light wavelengths that plants need for photosynthesis. While you often hear about plants needing red and blue light, a balanced “full spectrum” light mimics natural sunlight, promoting robust growth from germination through the seedling stage.
- Low Heat Output: Unlike incandescent bulbs that generate considerable heat, LEDs and T5s produce very little heat. This allows you to position them closer to your seedlings without burning them, ensuring maximum light intensity.
- Long Lifespan: LEDs boast exceptionally long lifespans, often tens of thousands of hours, meaning fewer replacements for you. T5 fluorescents also last much longer than standard fluorescents.
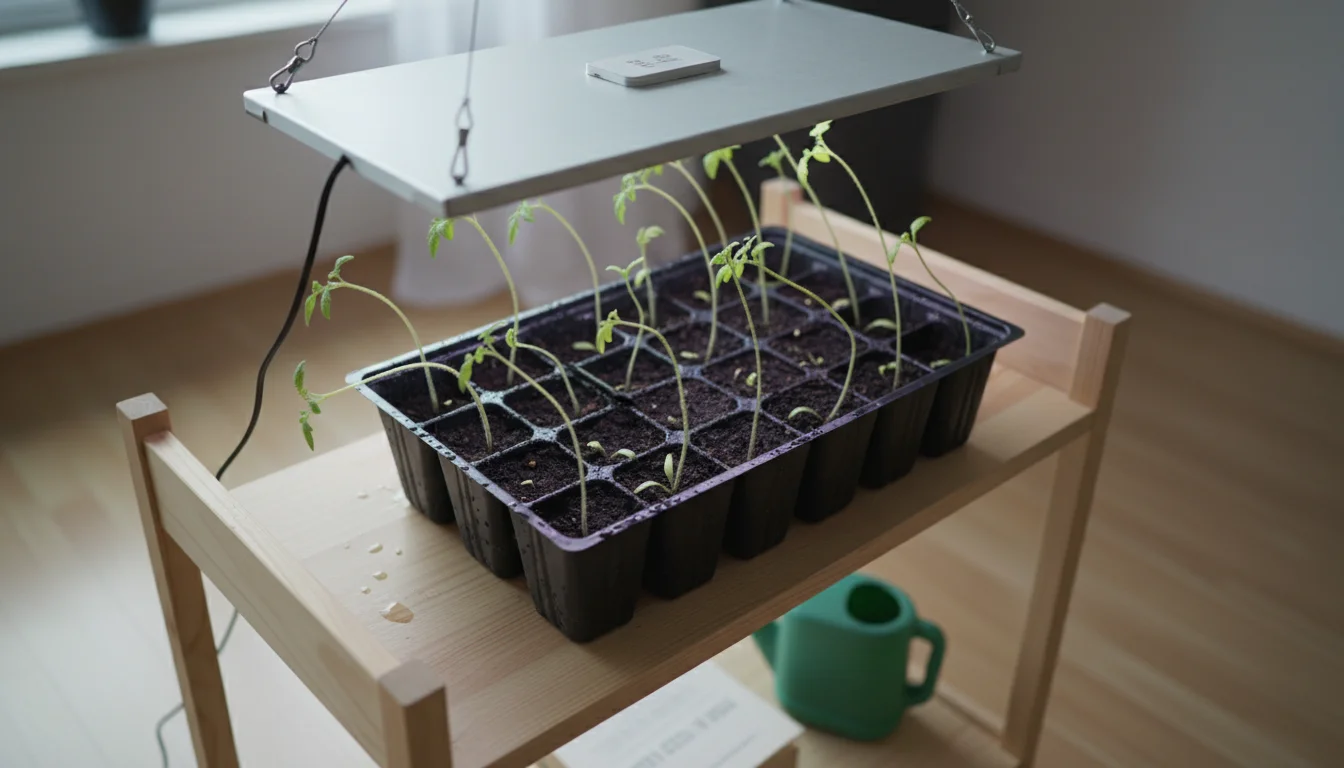
For a standard 36-48 inch wide shelf, one 4-foot LED or T5 shop light fixture usually suffices for most seeds. If your shelf is wider or if you plan to grow many plants, two 2-foot fixtures side-by-side or even two 4-foot fixtures might provide better coverage. The goal is to ensure every seedling receives direct, even light.
The distance between your lights and the plant tops is crucial. For most seedlings, maintain a distance of 2-4 inches. This close proximity ensures the plants absorb enough light energy without stretching. As your seedlings grow taller, remember to adjust the light fixtures upwards using your S-hooks and chains, or by repositioning zip ties. This constant adjustment ensures optimal light exposure throughout their development on your vertical seed starting system for small spaces.
Automate your lighting schedule with a reliable timer. Seedlings require 14-16 hours of light per day. Consistency is key, so a timer eliminates the need for manual on/off adjustments, ensuring your plants receive their full daily dose of light. Setting up the lights correctly transforms your shelf into a productive, miniature greenhouse, ensuring you achieve the best setup for starting seeds in an apartment.
Creating the Perfect Environment: Humidity and Airflow
Beyond light, successful seed starting on your apartment seed starting shelf depends on creating an optimal microclimate. Two key environmental factors, humidity and airflow, significantly impact germination and early seedling health. You provide both through thoughtful setup and regular attention.
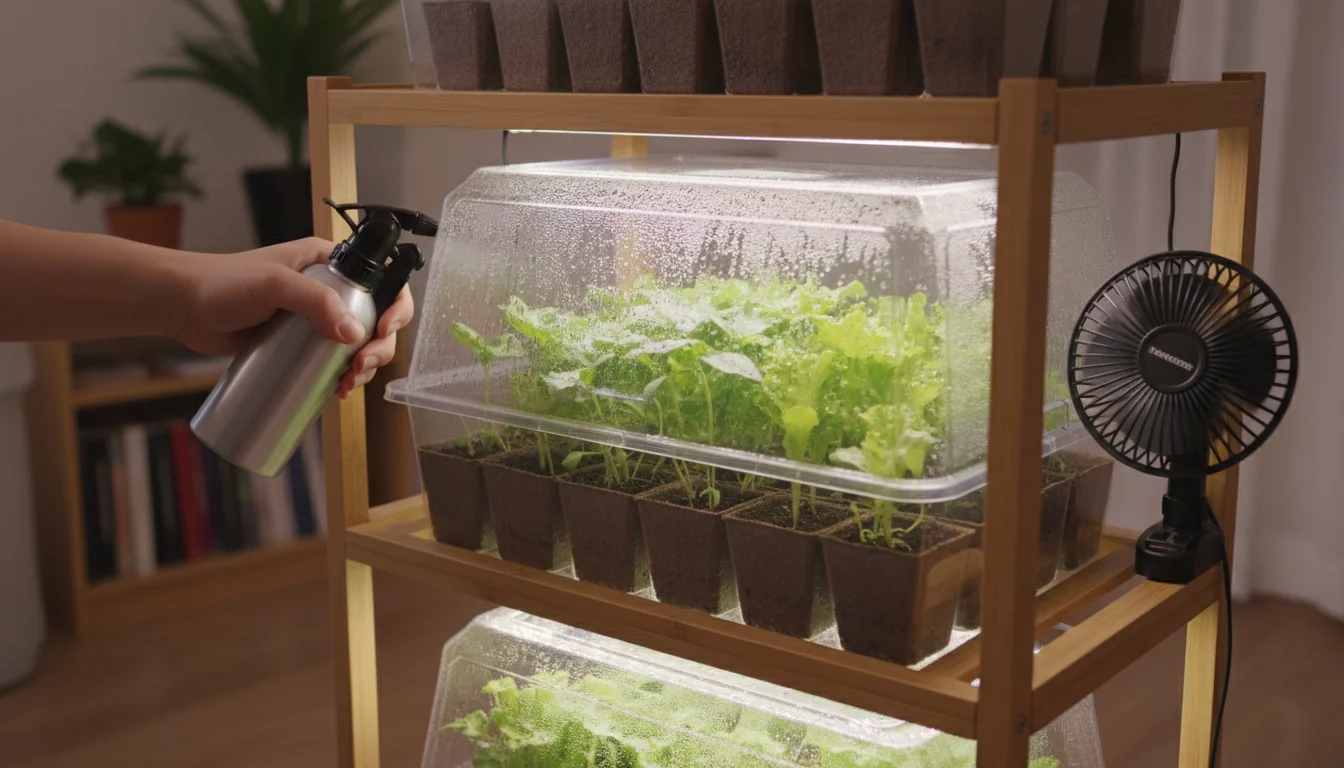
High humidity is essential for successful seed germination. It softens seed coats, signaling to the embryo that conditions are favorable to sprout. Seed starting trays often come with clear plastic domes that fit snugly over the tray, creating a mini-greenhouse effect. These domes trap moisture, maintaining the high humidity seeds need. You can also achieve this by covering trays with plastic wrap. Once seeds germinate and sprout, remove the domes or plastic wrap. Continuing high humidity after sprouting encourages fungal issues like damping-off disease, which causes young seedlings to suddenly collapse at the soil line.
While high humidity is vital for germination, good airflow becomes equally important once seedlings emerge. Stagnant, humid air creates a breeding ground for harmful fungi and bacteria. Excellent air circulation strengthens seedling stems by gently swaying them, mimicking natural outdoor breezes. This helps them develop robust stems, preventing them from becoming weak and flimsy. You can achieve this with a small oscillating fan placed near your seed starting shelf, not blowing directly onto the seedlings but creating a gentle movement of air around them. Run the fan for several hours a day, or even continuously, to ensure consistent airflow.
Temperature also plays a role. Most seeds germinate best when the soil temperature is between 65-75°F (18-24°C). If your apartment is consistently cooler, consider using a seedling heat mat placed underneath your seed trays. Heat mats gently warm the soil from below, promoting faster and more consistent germination. Once seeds sprout, you can remove the heat mat, as most seedlings prefer slightly cooler temperatures for growth, typically in the 60-70°F (15-21°C) range. Always use heat mats with a thermostat to prevent overheating and ensure optimal temperatures.
Combine these elements, and your indoor seed starting setup on your diy seed starting shelf provides an environment where your tiny plants thrive. You control the conditions, guiding them from vulnerable seeds to vigorous young plants ready for transplanting. This attention to detail ensures a strong foundation for your future garden.
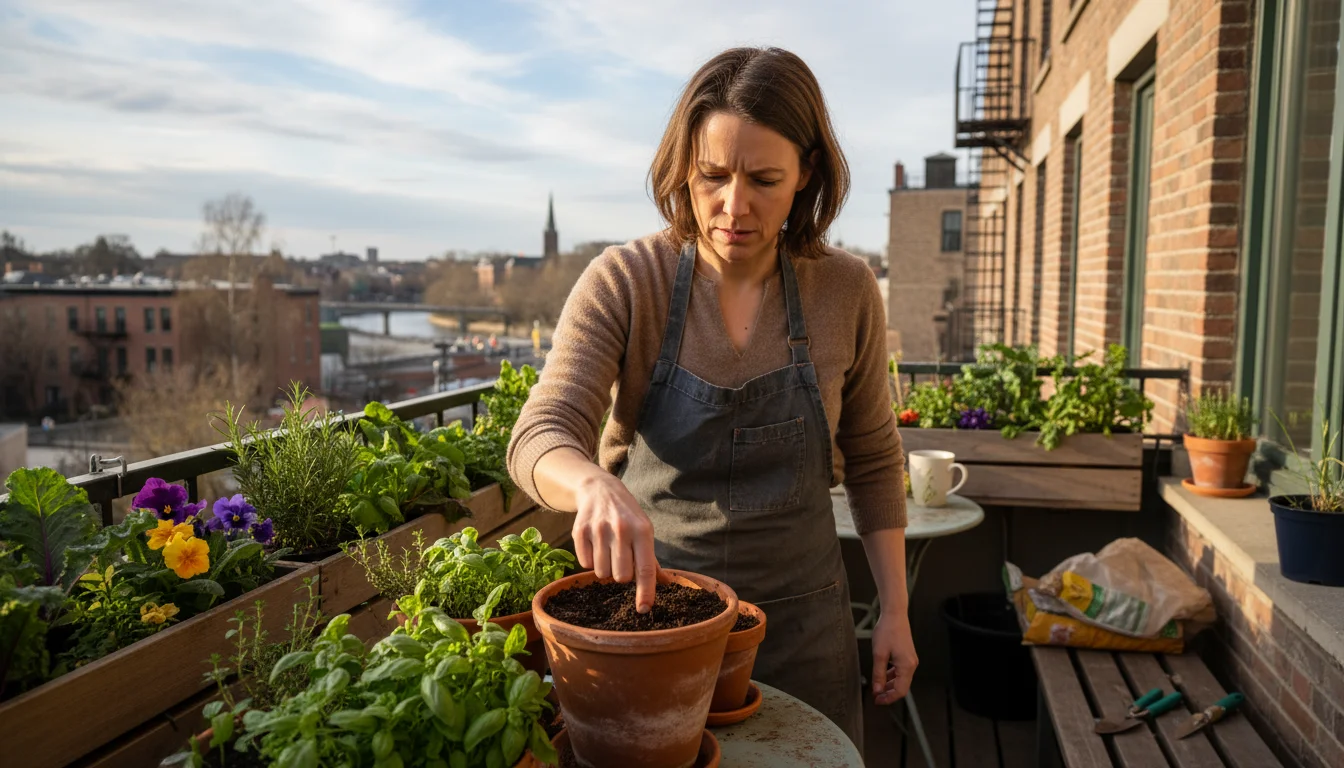
Beyond the Build: What to Grow and How to Care for Your Seedlings
Your diy seed starting shelf is built, the lights are on, and the environment is optimized. Now comes the exciting part: choosing what to grow and nurturing your tiny charges. For gardeners with limited space, strategic plant selection is key.
Before you start, it is important to perform a seed viability test on any older packets to ensure they are still worth planting.
When considering what to grow in your apartment seed starting setup, prioritize compact varieties and those that benefit most from an early start.
- Herbs: Basil, cilantro, parsley, dill, chives. These are quick growers and excellent for continuous harvest.
- Leafy Greens: Lettuce, spinach, arugula, kale. Choose cut-and-come-again varieties for repeated yields.
- Compact Vegetables: Bush varieties of cucumbers, dwarf tomatoes (especially cherry tomatoes like ‘Tiny Tim’ or ‘Patio’), mini bell peppers. Look for terms like “determinate” or “bush” in descriptions.
- Flowers: Marigolds, zinnias, cosmos, impatiens. Starting these indoors provides earlier blooms for your balcony or patio containers.
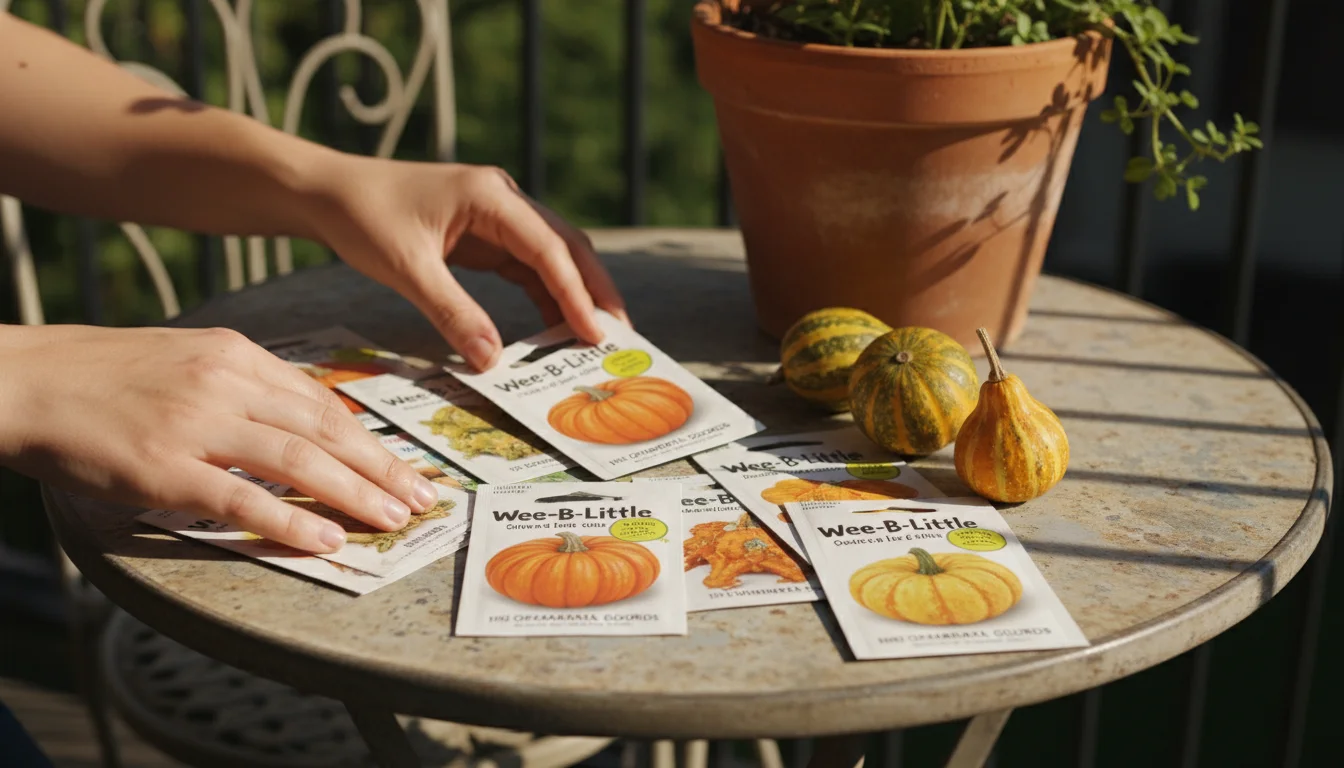
Avoid sprawling plants like pumpkins or full-sized corn unless you have exceptionally large containers and a dedicated outdoor space. Focus on what genuinely thrives in a compact environment.
Caring for your seedlings requires consistent attention to a few key areas:
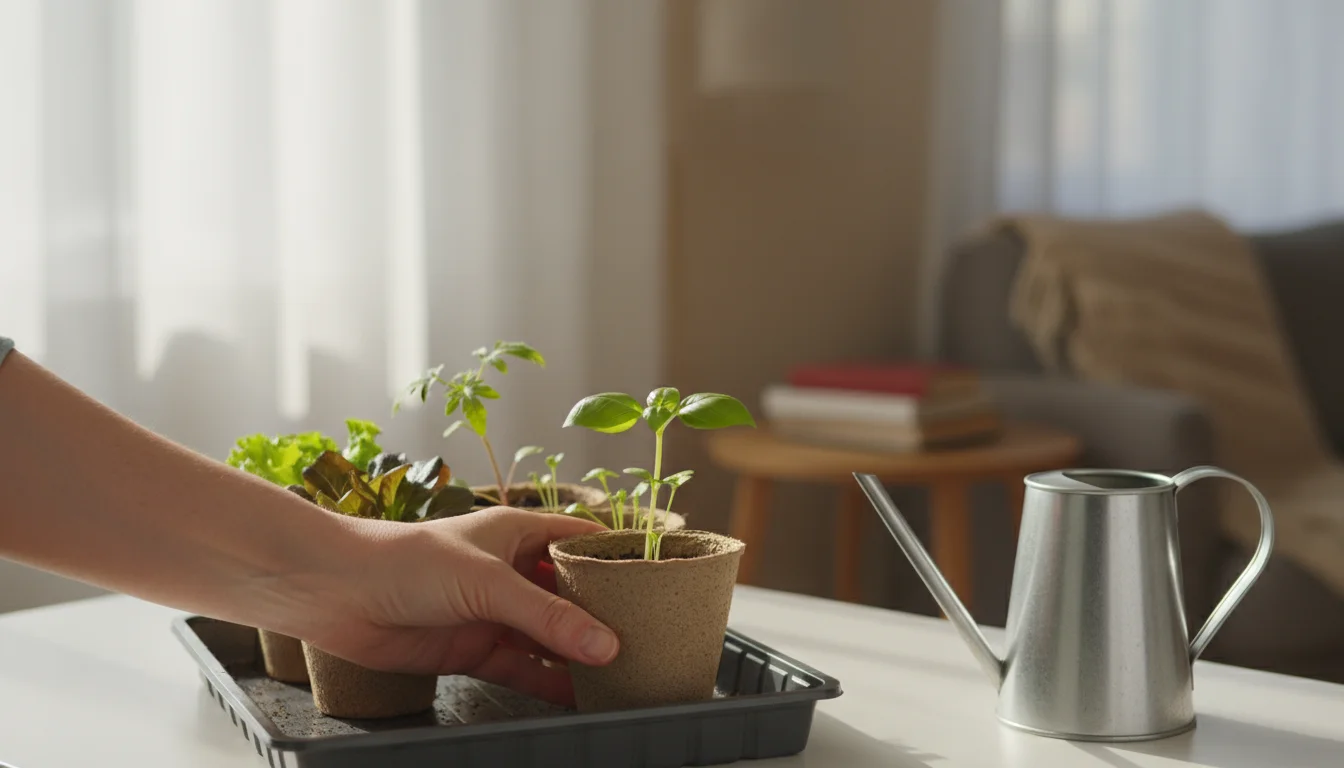
- Watering: This is perhaps the most common mistake for new seed starters. Overwatering suffocates roots, leading to disease. Underwatering causes seedlings to wilt and die. Feel the weight of your seed trays or gently touch the surface of the soil. It should feel damp, not soggy. Water from the bottom whenever possible. Place your seed trays in a larger tray of water for 15-20 minutes, allowing the soil to wick up moisture. Remove them once the top of the soil appears moist. This encourages root growth downwards and avoids disturbing delicate seedlings. Ensure proper drainage in your seed cells or pots, meaning excess water can flow out freely.
- Fertilizing: Most seed starting mixes contain very few nutrients. Once your seedlings develop their first true leaves (the second set of leaves after the initial “cotyledons”), begin feeding them with a diluted liquid fertilizer. Use a balanced organic fertilizer at quarter to half strength, applying it once every week or two. Follow product instructions carefully.
- Thinning: Often, multiple seeds germinate in one cell. Once seedlings develop true leaves, thin them to one strong plant per cell. Use small scissors to snip off the weaker seedlings at the soil line. Pulling them out can disturb the roots of the keepers.
- Hardening Off: Before transplanting your indoor-grown seedlings outside, you must “harden them off.” This process gradually acclimatizes them to outdoor conditions. Over 7-10 days, expose them to increasing periods of sun, wind, and cooler temperatures. Start with an hour or two in a shady, protected spot on day one, gradually increasing exposure and moving them into brighter sun each day. Bring them indoors at night, especially if temperatures drop. This crucial step prevents transplant shock and ensures your plants thrive outdoors.
By selecting appropriate plants and providing consistent care, your vertical seed starting system for small spaces transforms into a highly productive area. You cultivate strong, healthy plants that transition smoothly to your outdoor containers, rewarding your efforts with beauty and bounty.
Troubleshooting Common Seed Starting Challenges
Even with the best setup for starting seeds in an apartment, you might encounter a few common hurdles. Do not get discouraged; understanding these issues helps you quickly address them and keep your seedlings thriving on your indoor seed starting setup.
For the absolute beginner, growing sprouts in a jar is a great way to supplement your indoor garden with almost no effort.
- Leggy Seedlings: This is a very common problem. Leggy seedlings are tall, thin, and weak, with long stems between their leaves.
- Cause: Insufficient light. Your seedlings are stretching to find more light.
- Solution: Lower your grow lights to 2-4 inches above the plant tops. Ensure they are on for 14-16 hours a day. If you have only one light fixture for a wide shelf, you might need to add a second fixture to increase light intensity and coverage.
- Damping-Off Disease: Seedlings suddenly collapse at the soil line, appearing as if they have been pinched off.
- Cause: Fungal disease, often caused by overwatering, poor air circulation, or non-sterile seed starting mix.
- Solution:
- Ensure excellent drainage in your seed trays.
- Avoid overwatering; let the top layer of soil dry slightly between waterings.
- Provide good air circulation with a small fan.
- Use a sterile, soilless seed starting mix.
- Remove humidity domes once seeds have germinated.
- Yellowing Leaves: The lower leaves of your seedlings turn yellow.
- Cause: Often a sign of nutrient deficiency, specifically nitrogen, or sometimes overwatering.
- Solution: If seedlings have true leaves, begin feeding with a diluted liquid fertilizer (quarter to half strength). Check your watering schedule to ensure you are not overwatering.
- Slow Growth: Seedlings appear healthy but grow very slowly.
- Cause: Can be due to too-cool temperatures, insufficient light, or lack of nutrients.
- Solution: Check that your soil temperature is within the optimal range (65-75°F for germination, 60-70°F for growth). Ensure adequate light intensity and duration. If true leaves are present, fertilize as needed.
- Pests: Small flies (fungus gnats) or tiny insects on leaves (aphids, spider mites).
- Cause: Fungus gnats thrive in overly wet soil. Other pests can be introduced with non-sterile soil or from other houseplants.
- Solution: For fungus gnats, allow the top inch of soil to dry out between waterings. Sticky traps can help monitor and reduce populations. For other pests, spray with insecticidal soap or neem oil solution, ensuring full coverage of the leaves. Always treat pests early before infestations spread.
Addressing these issues promptly ensures your apartment seed starting efforts result in healthy, vigorous plants. A keen eye and consistent monitoring transform your how to build a cheap seed starting rack with lights project into a highly productive growing space, giving you confidence in your abilities as a gardener.
Eco-Conscious Seed Starting: Sustainable Practices
Your diy seed starting shelf offers a fantastic opportunity to integrate environmentally friendly practices into your gardening routine. Embracing sustainability benefits both your plants and the planet, aligning with the ethos of SimpleGardenJoy.com.
Consider the materials you use for your vertical seed starting system for small spaces. Opting for a repurposed old bookcase or utility shelf instead of buying new reduces waste and conserves resources. If you purchase new components, look for items made from recycled content or those designed for longevity. Durability means less frequent replacement, reducing your overall consumption.
When it comes to seed starting containers, reduce your reliance on single-use plastics. You can clean and reuse plastic seed trays and cell packs season after season. Many gardeners also repurpose household items: old yogurt cups, newspaper pots, toilet paper rolls, or even egg cartons can serve as excellent biodegradable or reusable seed starters. Just ensure they have drainage holes if they are non-biodegradable. This simple step significantly cuts down on plastic waste generated from your apartment seed starting activities.
Choose your growing medium wisely. Look for organic seed starting mixes that are peat-free or use sustainably harvested peat. Peat moss harvesting can be environmentally damaging. Alternatives like coco coir, vermiculite, and perlite offer excellent properties for seed germination without the same environmental impact. Supporting brands committed to sustainable sourcing helps minimize your ecological footprint.
Water conservation is another crucial aspect. Bottom watering your seedlings, as described earlier, is not only beneficial for plant health but also prevents water waste. The plants take up only what they need, and less water evaporates from the soil surface. Collect rainwater for watering your plants if you have an outdoor space that allows it. Even small actions like using a watering can instead of a hose can make a difference in your indoor seed starting setup.
Finally, selecting organic, non-GMO seeds supports sustainable agriculture. These seeds typically come from plants grown without synthetic pesticides or fertilizers, promoting biodiversity and soil health. By choosing these options, you ensure your plants begin their lives in the most natural and environmentally responsible way possible. Your how to build a cheap seed starting rack with lights project becomes a testament to mindful living, cultivating not just plants, but also a deeper connection to sustainable practices. For trustworthy gardening information, visit: Pollinator Partnership, International Society for Horticultural Science (ISHS), Plantlife (UK) and Botanical Society of America. These organizations provide expert, research-based advice for gardeners at all levels.
Frequently Asked Questions
Can I use regular potting soil to start seeds?
You should avoid regular potting soil for starting seeds. Potting soil is often too heavy and can retain too much moisture, leading to damping-off disease and poor germination. It also may contain large chunks of material or weed seeds. Use a sterile, fine-textured seed starting mix, specifically formulated to provide the ideal environment for delicate seedlings. This ensures better drainage and prevents disease.
How often should I water my seedlings?
Watering frequency depends on various factors, including humidity, temperature, and seedling size. Instead of a fixed schedule, monitor your seedlings daily. Feel the weight of the tray or gently touch the soil surface. Water when the top inch of soil feels dry to the touch, but before the plants show signs of wilting. Bottom watering is generally best as it encourages strong root development.
Do I need a heat mat for all seeds?
No, a heat mat is not necessary for all seeds. It is particularly beneficial for seeds that require warmer soil temperatures for germination, such as tomatoes, peppers, and most flowers. Many common seeds like lettuce, kale, and most herbs germinate well at typical room temperatures (around 65-70°F, 18-21°C) without supplemental heat. Once seeds germinate and sprout, remove the heat mat as seedlings generally prefer slightly cooler air temperatures for growth.
What is “hardening off” and why is it important?
Hardening off is the gradual process of preparing your indoor-grown seedlings for outdoor conditions. It involves slowly exposing them to increasing periods of sun, wind, and varying temperatures over 7-10 days. This strengthens cell walls and reduces transplant shock. Without hardening off, your tender indoor plants will likely suffer severe stress, yellowing, or even death when moved permanently outdoors. It is a critical step for successful outdoor transplanting.
How many seeds should I plant per cell?
Plant 2-3 seeds per cell or small pot. This increases your chances of successful germination, as not every seed will sprout. Once the strongest seedling emerges and develops its first set of true leaves, thin them to one plant per cell. Snip off the weaker seedlings at the soil line with small scissors, avoiding pulling which can disturb the roots of the keeper.
Disclaimer: This article is for informational purposes only and is not a substitute for professional gardening advice. Always consult local extension services or horticulture experts for region-specific guidance.


Leave a Reply