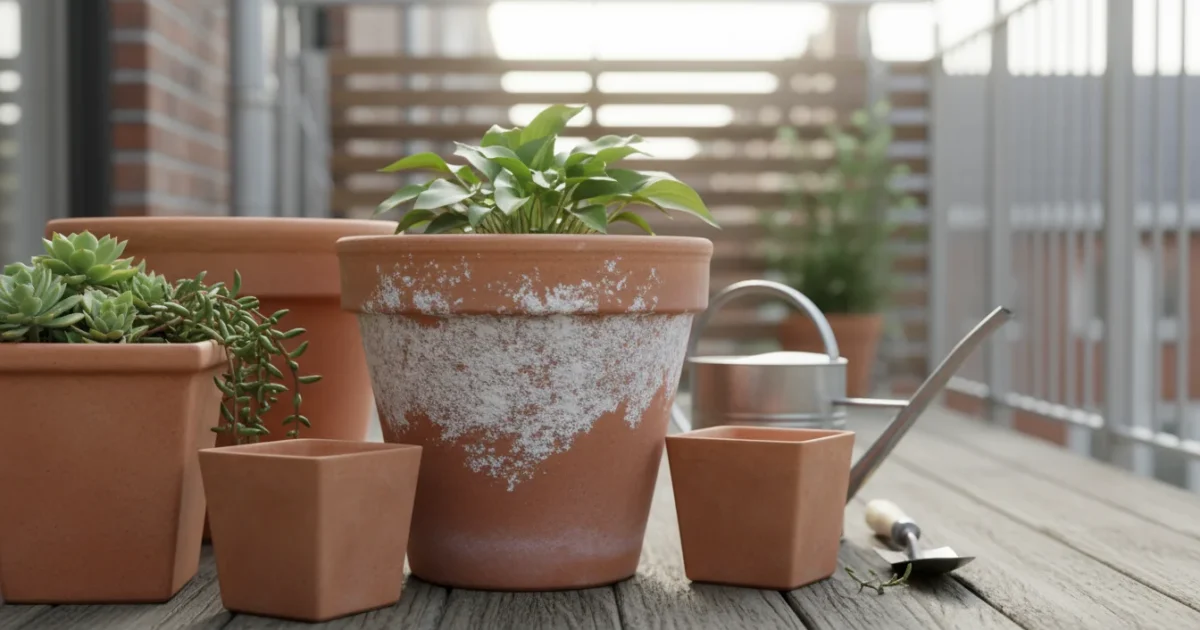
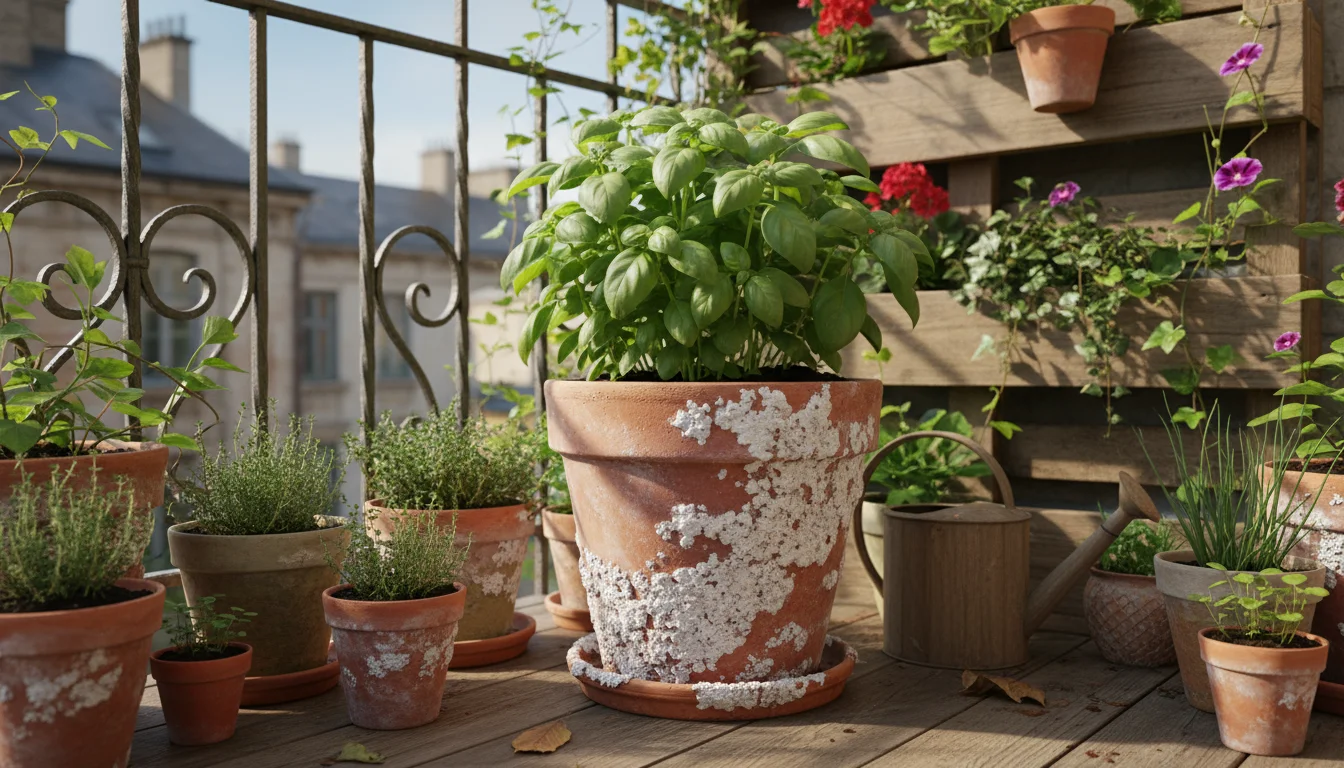
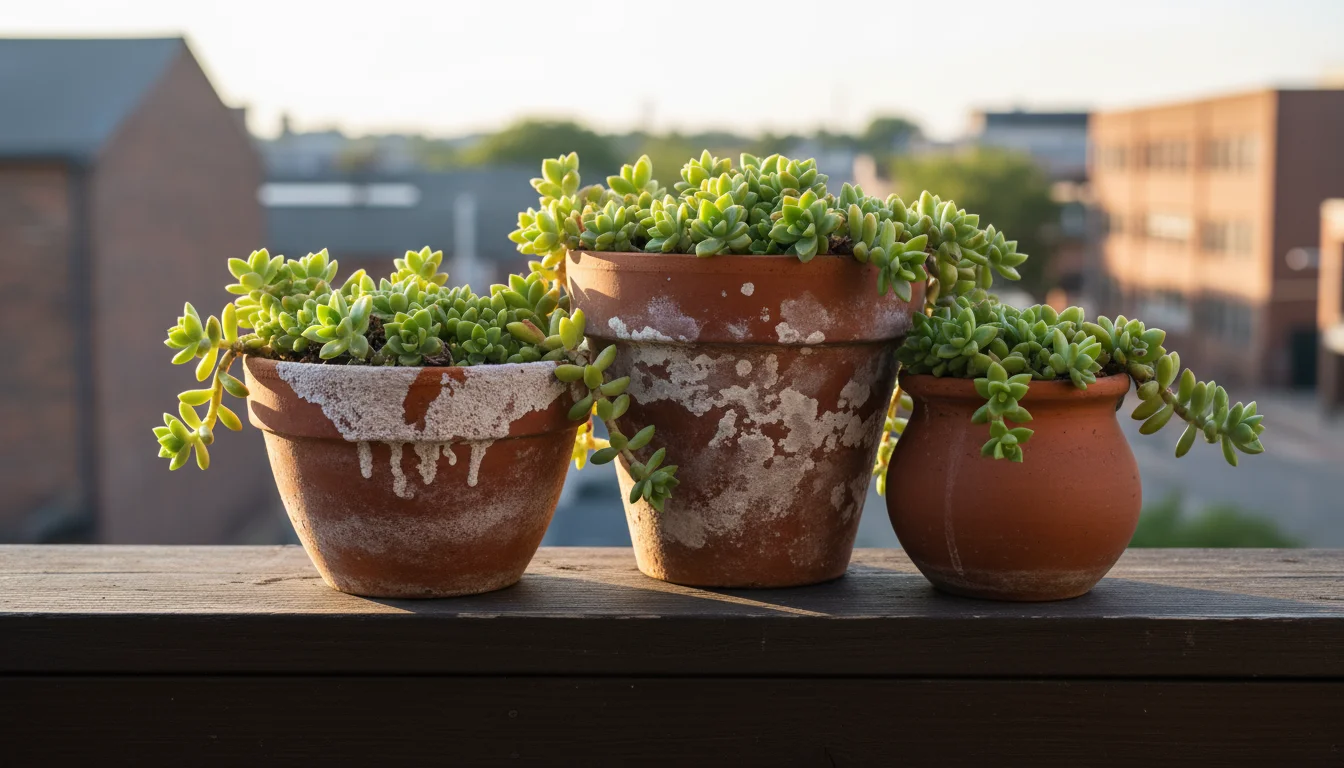
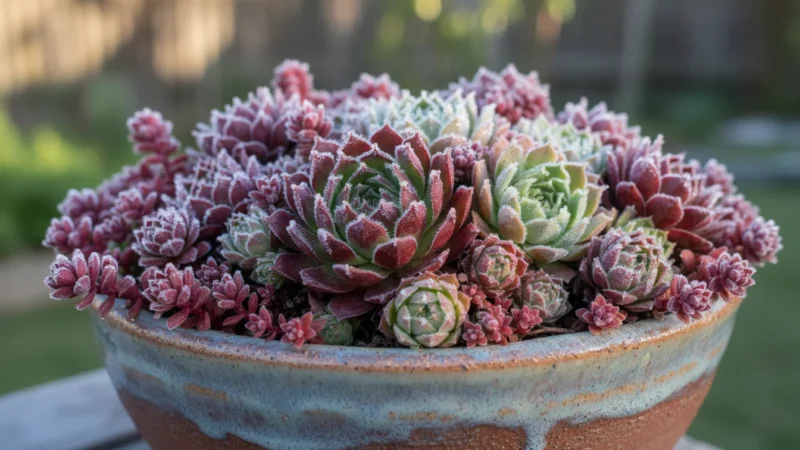
You notice it slowly appearing, a faint white dusting that becomes a pronounced crust along the rim and sides of your beautiful terracotta pots. This is especially common during the drier, colder months of winter, when your houseplants might already feel the seasonal stress. You might wonder if it signals a problem for your beloved green companions. As your supportive gardening coach, I assure you that you are not alone in facing this common occurrence, and understanding it gives you control over your plants’ health. This article empowers you with practical knowledge about this white buildup, explaining what causes it, whether it harms your plants, and most importantly, how to prevent and remove it effectively.
Disclaimer: This article is for informational purposes only and is not a substitute for professional gardening advice. Always consult local extension services or horticulture experts for region-specific guidance.
Understanding the White Crust: Efflorescence and Mineral Buildup
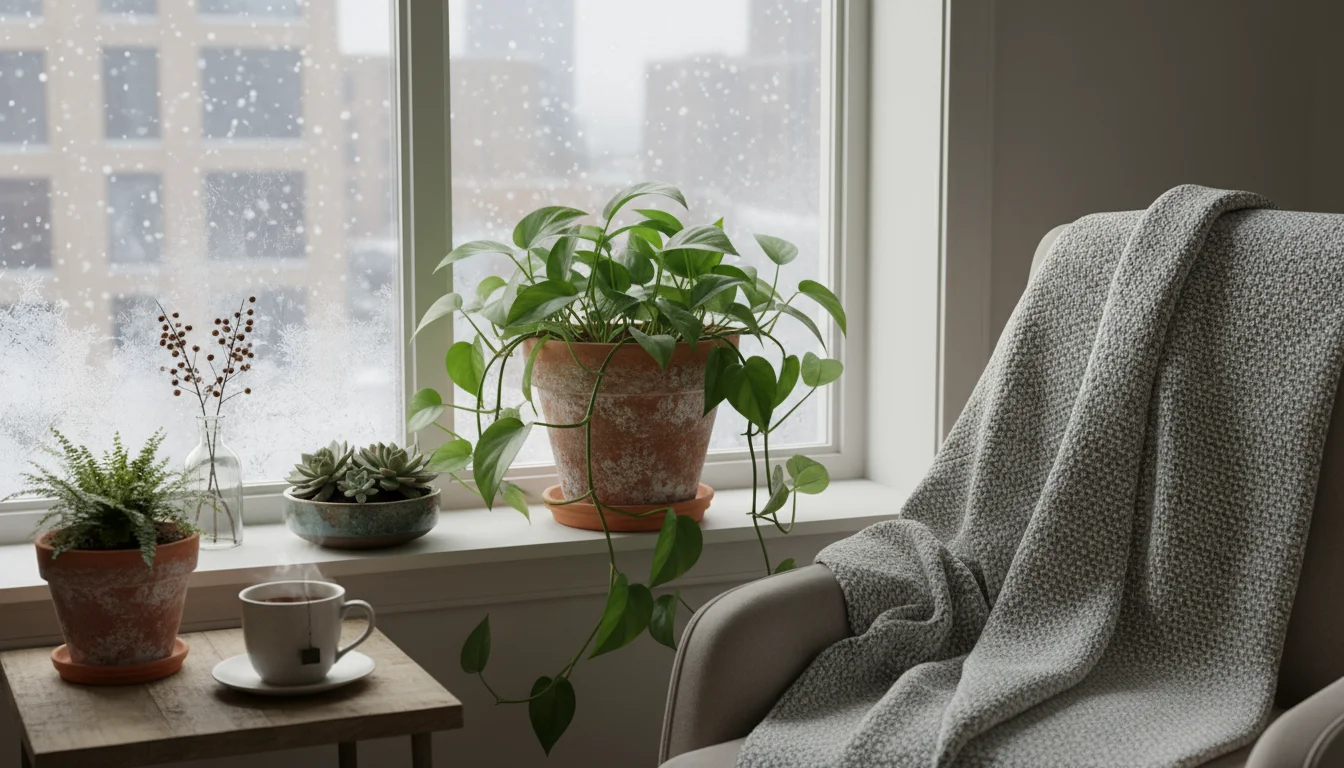
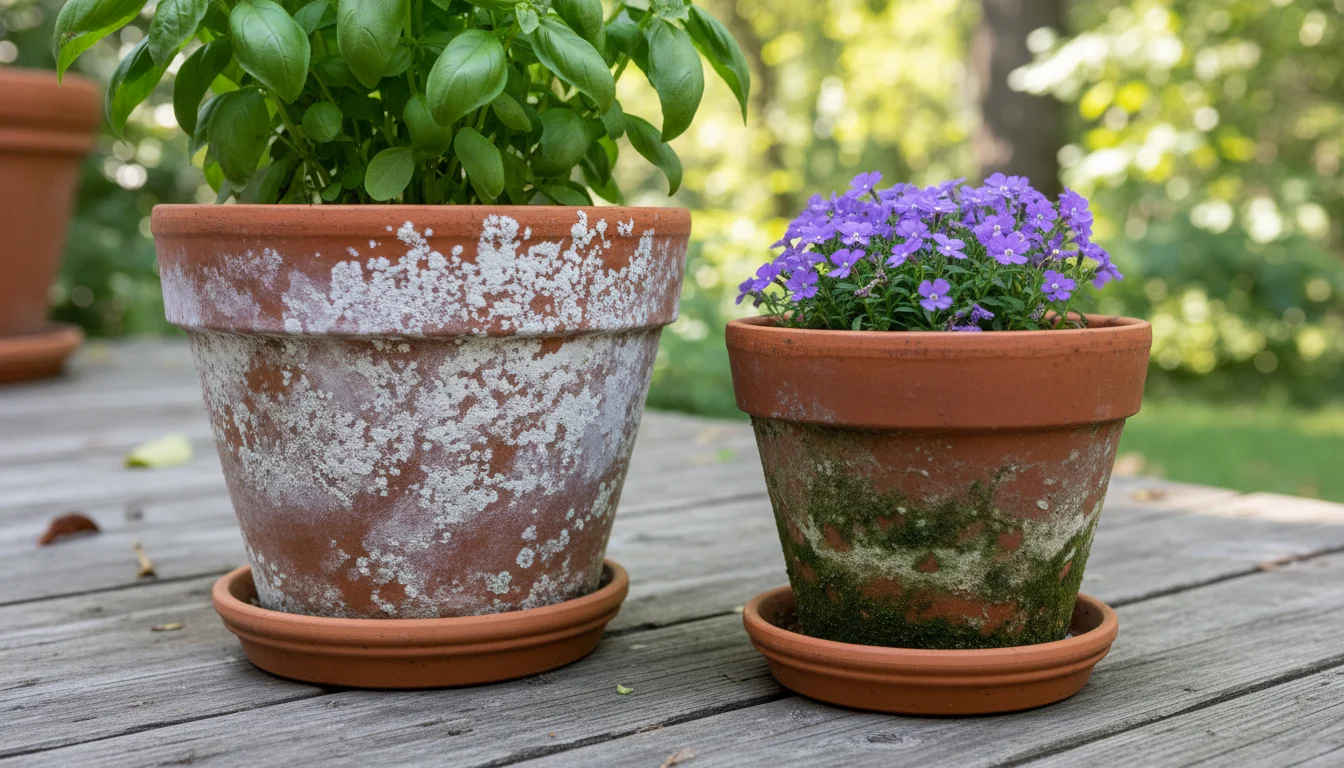
That unsightly white crust on your terracotta pots has a scientific name: efflorescence. It occurs when soluble salts within the pot material, or in the water and soil, migrate to the surface and crystallize as the water evaporates. This process is particularly noticeable in porous materials like unglazed terracotta. As water evaporates from the pot’s surface, it leaves behind dissolved minerals, primarily calcium, magnesium, and sodium. Over time, these minerals accumulate, forming the distinctive white, powdery, or crusty layer you observe. You might find it more prominent in winter because indoor heating tends to dry out the air, accelerating water evaporation from your pots and drawing these minerals to the surface more quickly. The cooler temperatures outside also mean less fresh air circulation, which might subtly affect moisture levels and evaporation rates around your indoor plants.
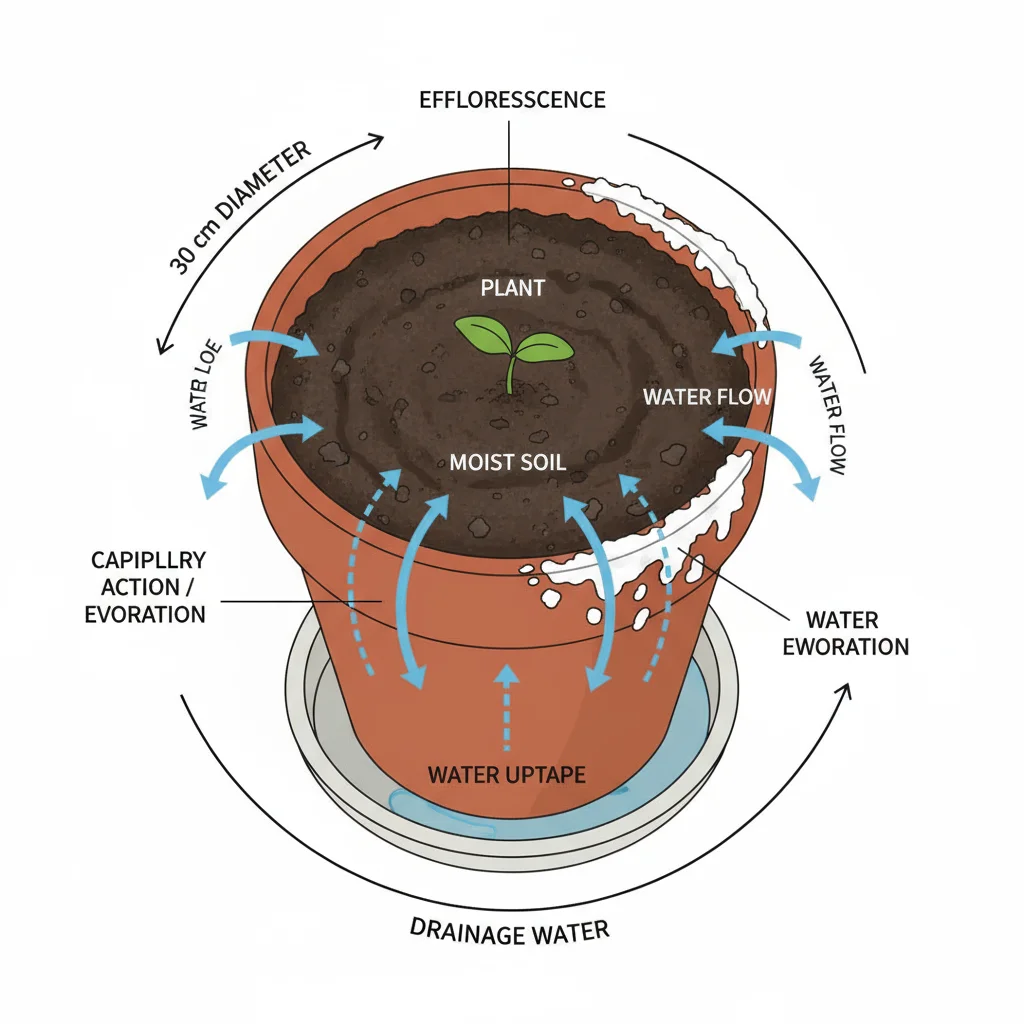
This natural phenomenon is not exclusive to terracotta. You can see similar mineral deposits on brick walls, concrete, and even some natural stone surfaces. However, terracotta’s highly porous nature makes it an ideal medium for efflorescence to manifest. The unglazed clay acts like a wick, drawing moisture from the soil and allowing it to evaporate through the pot walls. This constant movement of water provides good aeration and prevents root rot, but it is also precisely why it develops that white crust.
Understanding efflorescence is the first step in addressing it. It tells you that water is moving through your pot, which is generally a good sign for drainage, how water moves through soil, but it also indicates the presence of minerals, which you need to monitor. A buildup that becomes excessively thick or widespread suggests a high concentration of these minerals, either from your water source, your fertilizer regimen, or both. For example, if your tap water has a high mineral content, often referred to as hard water, you will likely see efflorescence more frequently. This is common in many urban and suburban areas where water passes through limestone or gypsum formations. Data from geological surveys often indicate higher levels of calcium carbonate in water supplies across certain regions, directly contributing to this issue for gardeners.
Why Terracotta Pots Are Prone to Buildup
Terracotta pots are beloved by gardeners, especially those focusing on small-space and low-maintenance gardening, because of their numerous benefits. Their defining characteristic is their porosity, meaning they have tiny pores throughout their structure that allow air and water to move through them. This breathability is a double-edged sword when it comes to mineral buildup. On one hand, it is excellent for plant roots. Good aeration prevents soil from becoming waterlogged, a common cause of root rot, a fungal disease that can quickly kill a plant. The movement of air also helps beneficial soil microbes thrive. On the other hand, this same porosity facilitates the migration of dissolved salts and minerals from the potting mix and water to the exterior surface of the pot.
When you water your plants, the soil absorbs moisture, and the roots take what they need. Excess water drains out the bottom of the pot, but a significant amount also gets absorbed by the terracotta itself. As this water evaporates from the pot’s exterior, it leaves behind any non-volatile dissolved substances. These are primarily mineral salts. Imagine a coffee filter that retains coffee grounds while allowing water to pass through. In this case, the terracotta pot is allowing water vapor to pass through, but “filtering” out the dissolved minerals, leaving them behind on its surface. The frequency of watering, the type of water you use, and the specific composition of your potting mix all play roles in how quickly and severely this buildup occurs.
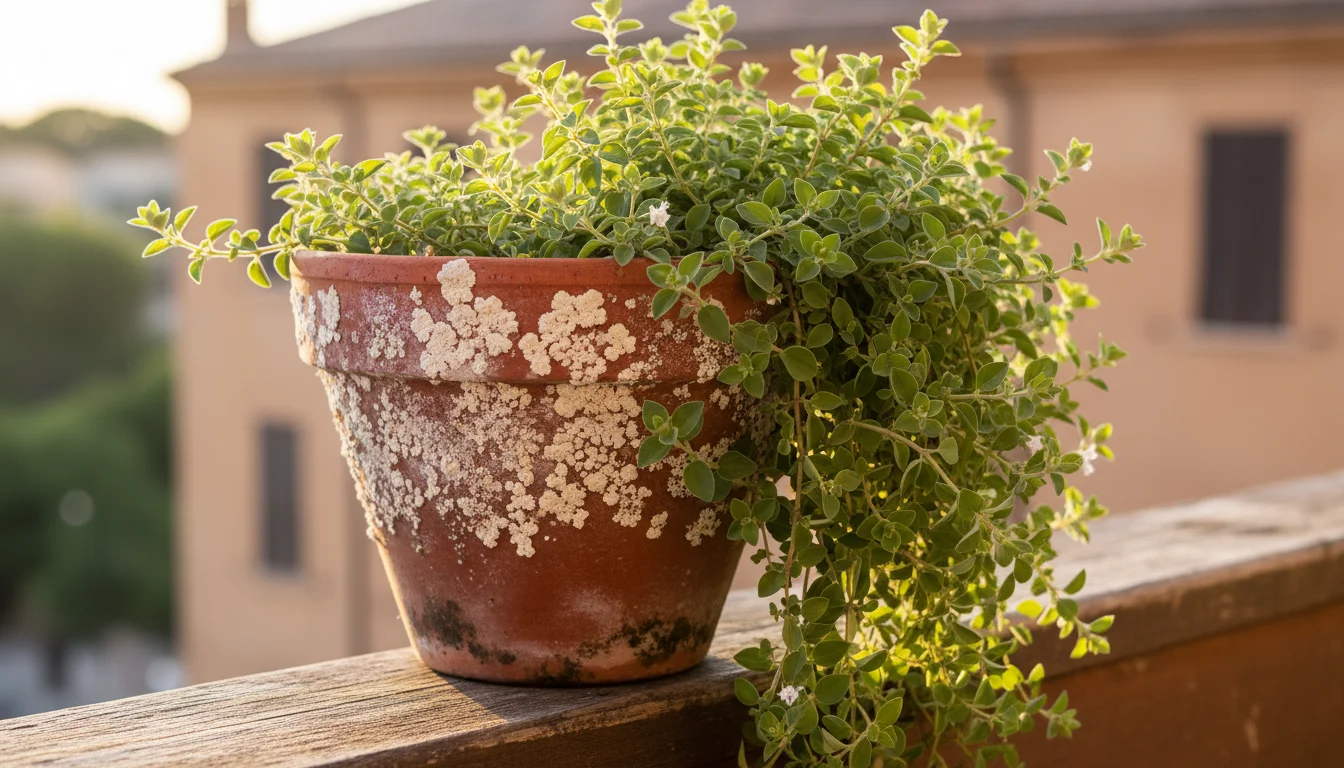
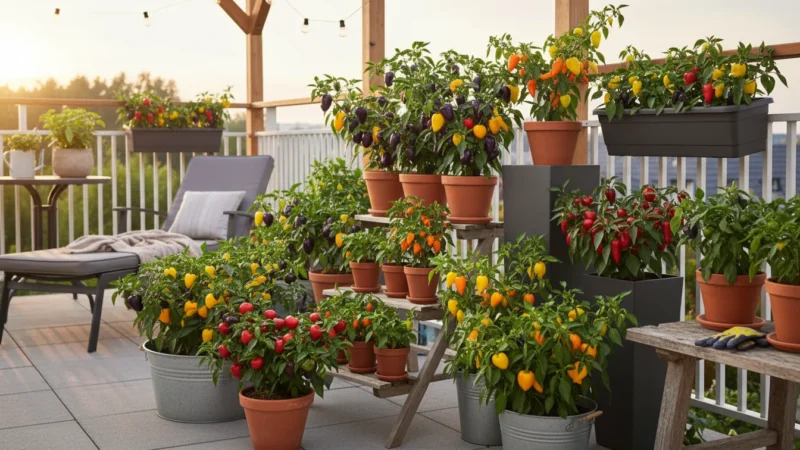
For gardeners in small spaces, terracotta is often a preferred choice because its weight provides stability for taller plants, and its natural aesthetic complements various decor styles. Its evaporative cooling properties can also be beneficial in warmer climates, helping to keep root zones cooler. However, these benefits come with the caveat of needing to manage efflorescence. You might notice the white crust more intensely on the side of a pot exposed to direct sunlight or near a heating vent, as these areas experience faster evaporation. Your small-space garden may have specific microclimates that influence this, like a sunny balcony corner or a windowsill above a radiator. The increased airflow around a balcony garden, for example, will increase the rate of evaporation from your terracotta pots compared to an indoor setting with less air movement.
Is White Stuff on Pots Harmful? The Impact on Your Plants
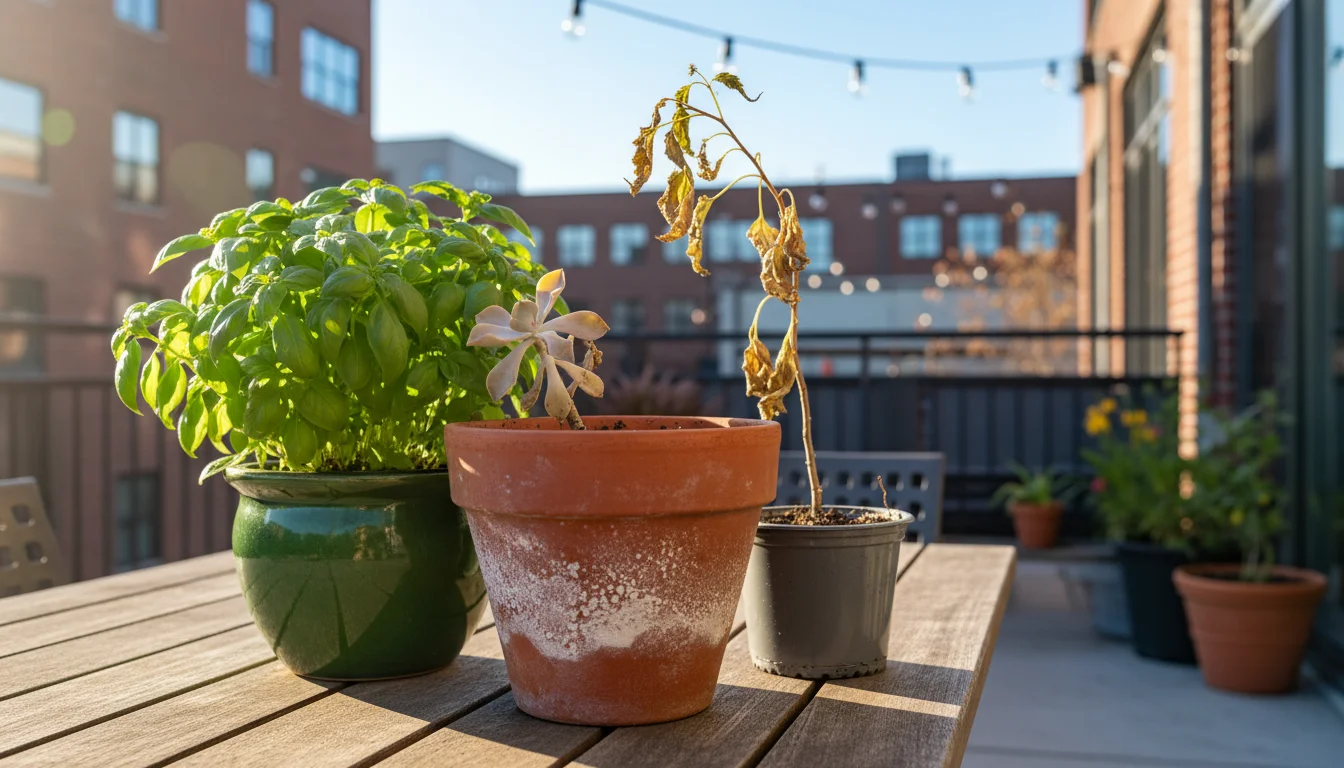
The immediate presence of a white crust on your terracotta pots does not necessarily mean your plants are in distress. A light, dusty film is often harmless and largely an aesthetic issue. However, if the buildup becomes thick, extensive, or appears rapidly, it can indicate underlying issues that might negatively affect your plant’s health. The accumulation of these mineral salts, especially if continually introduced through irrigation, can lead to several problems over time.
Salt Accumulation in the Soil: As water evaporates from the pot’s surface, it also evaporates from the soil, leaving salts behind. Over time, these salts can build up in the potting mix. High salt concentrations in the soil create an osmotic imbalance, making it harder for your plant’s roots to absorb water, even if the soil appears moist. This phenomenon is often described as “physiological drought,” where the plant experiences drought-like symptoms despite adequate watering. You might notice wilting, leaf tip burn, or stunted growth. Young plants and sensitive species are particularly vulnerable to salt stress.
Nutrient Imbalance: Excessive mineral buildup can alter the soil’s pH balance, making certain nutrients unavailable to your plants. For instance, high calcium levels can interfere with the uptake of other essential micronutrients like iron, leading to deficiencies. You might observe yellowing leaves, a condition known as chlorosis, even if you fertilize regularly. This is a classic symptom of nutrient lock-out caused by an unsuitable soil pH or excessive mineral competition.
Root Damage: In severe cases, a very high concentration of salts can directly damage delicate root tips, impeding their ability to absorb water and nutrients. This can make your plant more susceptible to diseases and reduce its overall vigor. If you repot a plant with significant efflorescence, you might notice brittle or discolored roots. While this is less common with just mild crusting, it is a serious concern with heavy buildup.
Reduced Pot Porosity: While terracotta is naturally porous, a thick layer of mineral crust on both the interior and exterior of the pot can eventually begin to clog those tiny pores. This reduces the pot’s breathability, diminishing its ability to wick away excess moisture and promote aeration. The pot then functions less like a breathable clay pot and more like a non-porous plastic pot, increasing the risk of overwatering and root rot. For instance, a study on container materials indicated that over 40% of the gas exchange in porous containers can be reduced by significant mineral buildup after two years of continuous use with hard water.
In summary, while a little white crust is often harmless, you must monitor it. Understanding the signs of plant stress and differentiating between aesthetic issues and genuine threats ensures your small-space garden remains healthy and vibrant.
Diagnosing the Source: Hard Water Versus Fertilizer Salts
To effectively manage the white crust, you need to understand its origin. The two primary culprits are hard water and fertilizer salts. Distinguishing between them helps you implement targeted solutions. While both manifest as white deposits, their composition and the context in which they appear often provide clues.
Hard Water on Plants: Hard water is tap water with a high concentration of dissolved minerals, predominantly calcium and magnesium carbonates. This is a widespread issue; approximately 85% of households in the United States have hard water. When this water evaporates from your terracotta pots, it leaves behind these minerals as a white, chalky, or powdery residue. You likely already experience hard water effects in your home, such as scale buildup in kettles, cloudy glassware, or soap scum in showers. If your water leaves visible deposits on household fixtures, it is a strong indicator that it contributes to the white crust on your pots. Hard water buildup tends to be more evenly distributed across the pot’s surface, particularly where water evaporates most rapidly.
Fertilizer Salts: Fertilizers contain various salts that provide essential nutrients for plant growth. While necessary, excessive fertilization or infrequent flushing can lead to an accumulation of these salts in the soil. As water moves through the soil and evaporates, these fertilizer salts can also migrate to the pot’s surface, forming a white crust. This buildup often appears as more crystalline, sometimes slightly yellow or brown, and may concentrate more around the soil line or drainage holes. If you notice plants struggling despite regular feeding, or if the crust appears quickly after applying fertilizer, fertilizer salt buildup could be the main issue.
How to differentiate:
- Location: Hard water deposits tend to be more widespread across the pot’s exterior. Fertilizer salts often concentrate near the soil line, drainage holes, or along cracks where salts can easily exit.
- Appearance: Hard water crust is usually a dull, chalky white. Fertilizer salts can sometimes appear slightly yellow, brown, or more glassy and crystalline.
- Plant Symptoms: Hard water primarily causes aesthetic issues on the pot and can lead to general nutrient uptake problems in the long run. Excessive fertilizer salts can cause more immediate and severe plant stress, such as burnt leaf tips or sudden wilting.
- Water Testing: The most definitive way to check for hard water is to use a home water test kit or consult your municipal water report. These reports, often available online, detail the mineral content of your tap water.
- Fertilizer Habits: Review your fertilizing schedule. Are you over-fertilizing? Are you flushing your soil regularly?
Understanding which type of buildup you are dealing with empowers you to choose the most effective strategy for prevention and removal. It helps you fine-tune your watering and feeding practices to better suit your small-space gardening environment.
Preventative Measures: Keeping Your Pots Cleaner
Prevention is always better than cure, especially when it comes to maintaining the health and aesthetics of your terracotta pots and the plants within them. By adjusting your watering habits and plant care routine, you can significantly reduce the amount of white crust buildup. These strategies are particularly effective for small-space gardeners who want to keep their containers looking their best with minimal effort.
-
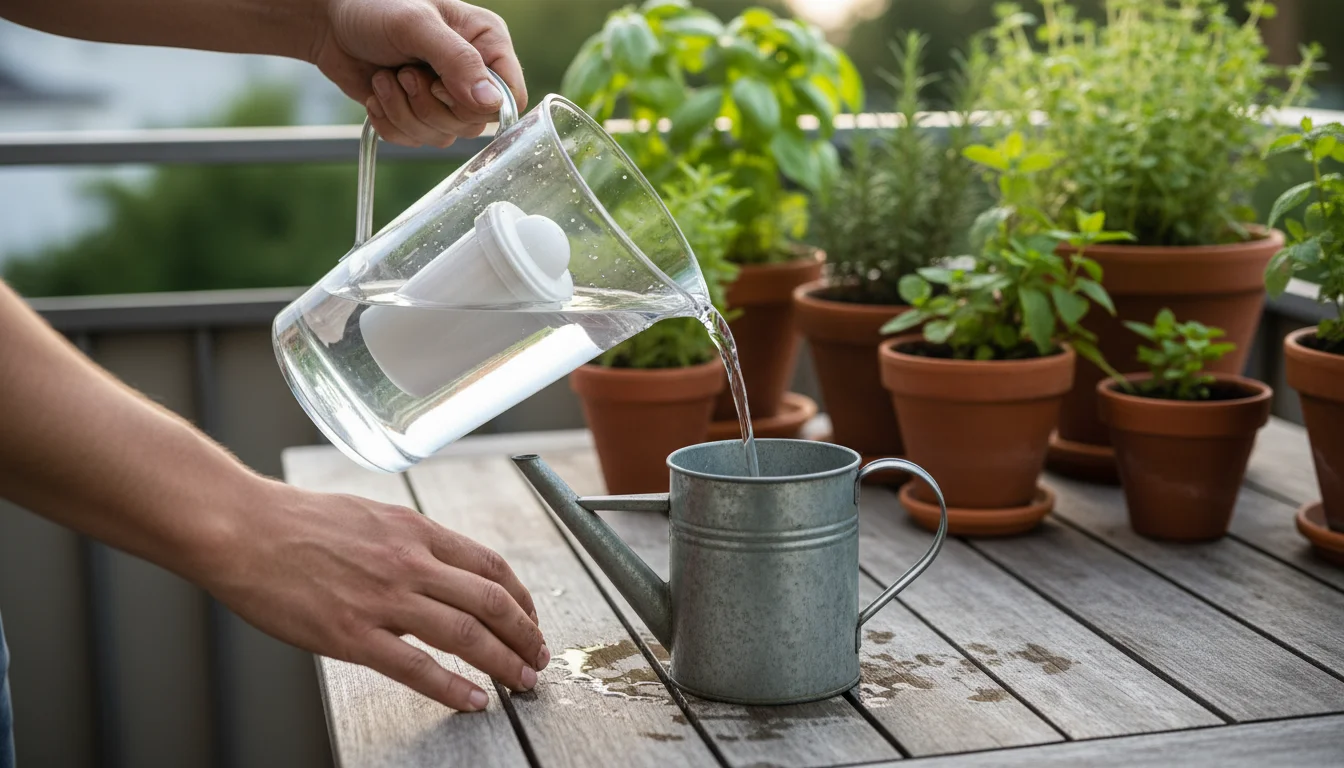
Use Filtered, Distilled, or Rainwater: If you suspect hard water is the main culprit, switching your water source is the most impactful change you can make. Filtered water, using a simple pitcher filter, can reduce some minerals. Distilled water is mineral-free, making it ideal, although it can be costly for numerous plants. Collecting rainwater is an excellent, free, and sustainable option. Rainwater is naturally soft, devoid of the minerals that cause efflorescence. For balcony gardeners, a small rain barrel or even collection buckets can provide a significant amount of water. Just ensure your collection method is clean and free of debris.
-
Practice Deep and Thorough Watering: Instead of frequent, shallow watering, water deeply until water flows out the drainage holes. This practice helps flush out accumulated salts from the soil, preventing them from building up excessively. After watering, allow your pot to drain completely. Avoid letting pots sit in standing water, as this reintroduces dissolved minerals back into the soil and pot material.
-
Leach Your Soil Regularly: If you use tap water or fertilize regularly, periodically “leaching” your soil is crucial. To leach, take your plant to a sink or outdoor area and slowly pour a volume of water equal to at least twice the pot’s volume through the soil. For example, for a one-gallon pot, use two gallons of water. Let it drain completely. This flushes out excess mineral and fertilizer salts. Perform this every 2-3 months, or more frequently if you notice significant salt buildup or plant stress. This is a critical step for combating high levels of “hard water on plants.”
-
Fertilize Mindfully: Avoid over-fertilizing. More is not always better for your plants. Follow fertilizer instructions carefully, and consider diluting liquid fertilizers to half or even quarter strength, especially for indoor plants or during winter when growth slows. Your plants require fewer nutrients during dormant periods. A balanced, slow-release granular fertilizer can help minimize sudden salt spikes in the soil.
-
Choose the Right Potting Mix: A high-quality potting mix with good drainage helps prevent salt buildup. Avoid dense, heavy soils that retain too much moisture and minerals. Look for mixes containing perlite, vermiculite, or coarse sand, which improve drainage and aeration. For small-space containers, a well-draining mix is paramount to prevent compaction and allow salts to flush through.
-
Rotate Pots and Provide Good Air Circulation: Ensure your plants receive adequate airflow. Good circulation helps the soil and pot dry more evenly, reducing localized areas of intense evaporation and mineral deposition. Rotate your pots periodically to expose all sides to light and air, promoting even drying and minimizing buildup on one side. This is particularly relevant for plants on windowsills or in corners.
By integrating these preventative measures into your routine, you maintain healthier plants and reduce the need for aggressive cleaning of your “terracotta pots.” A proactive approach saves you time and effort in the long run.
How to Clean Mineral Buildup From Clay Pots: Step-by-Step
Even with the best preventative measures, some mineral buildup on your terracotta pots is almost inevitable. Fortunately, cleaning these pots is a straightforward process. You do not need harsh chemicals, and with a few simple household items, you can restore your pots to their natural beauty. This section provides a practical, step-by-step guide on how to clean mineral buildup from clay pots, suitable for both empty and planted containers.
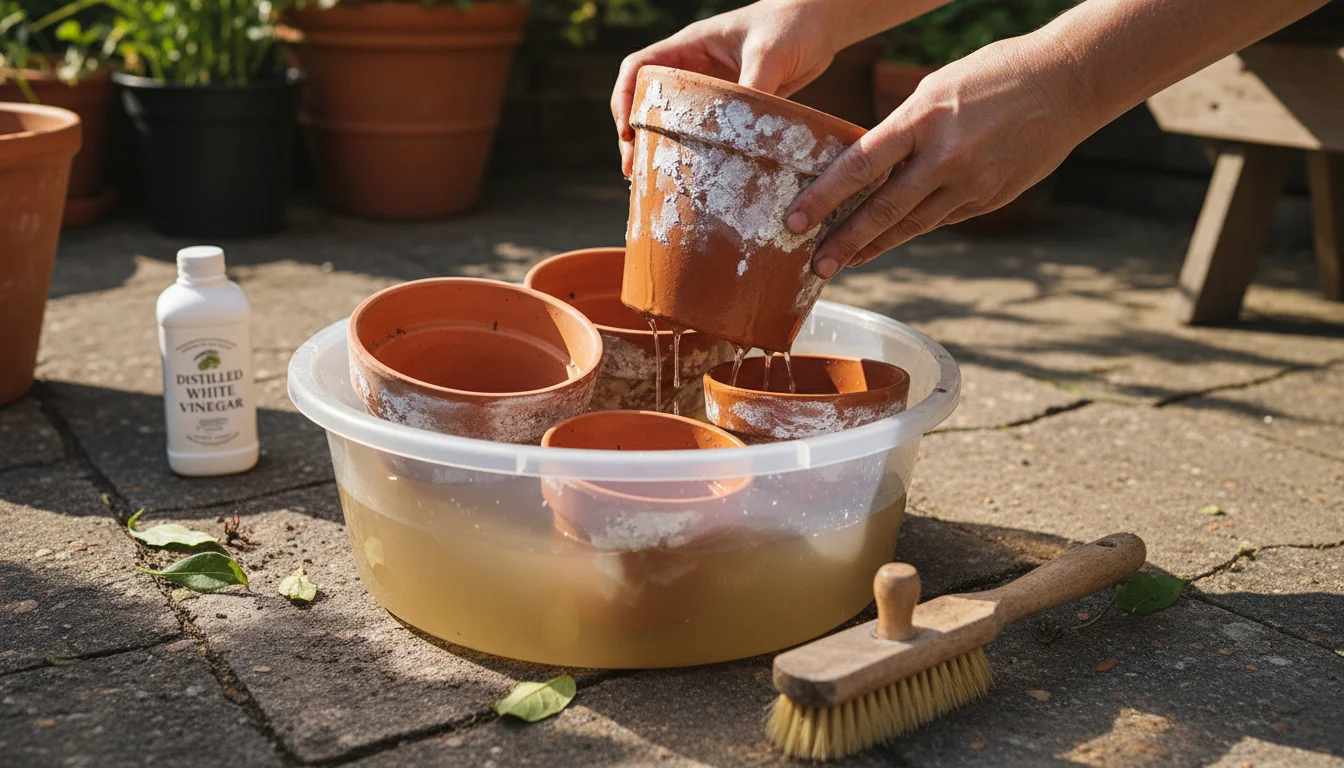
For Empty Terracotta Pots:
-
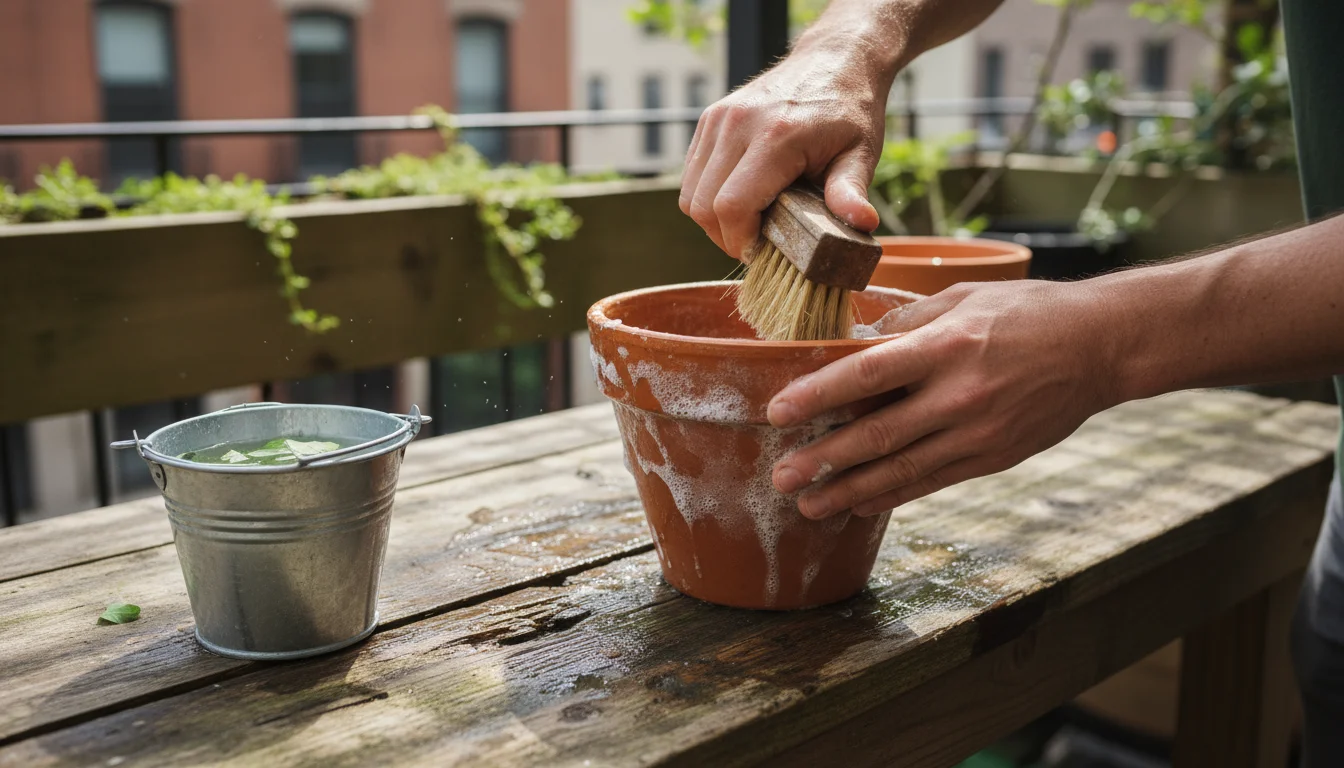
Remove Loose Debris: Begin by brushing off any loose soil, dirt, or dry crust from the pot’s surface with a stiff brush or a dry cloth. This makes the subsequent cleaning steps more effective.
-
Soak the Pots: Fill a large basin or bucket with water. Add about one cup of white vinegar per gallon of water. Alternatively, you can use a solution of 9 parts water to 1 part bleach if the pots show signs of disease or mold, bleach is better for sterilization, but vinegar is excellent for mineral removal. Submerge the empty terracotta pots completely in the solution. Let them soak for at least 30 minutes, or up to 24 hours for severe buildup. The acidity of the vinegar helps dissolve the mineral salts.
-
Scrub Away Buildup: After soaking, remove the pots and use a stiff brush, scrubbing pad, or even steel wool for very stubborn spots to scrub away the softened white crust. The minerals should now come off more easily. You may need to re-soak particularly difficult areas.
-
Rinse Thoroughly: Rinse the pots thoroughly with clean water to remove any remaining mineral residue or cleaning solution. This step is critical to ensure no harmful substances remain that could affect future plants.
-
Dry Completely: Allow the pots to air dry completely before reusing them. This prevents any immediate re-accumulation of minerals from residual moisture.
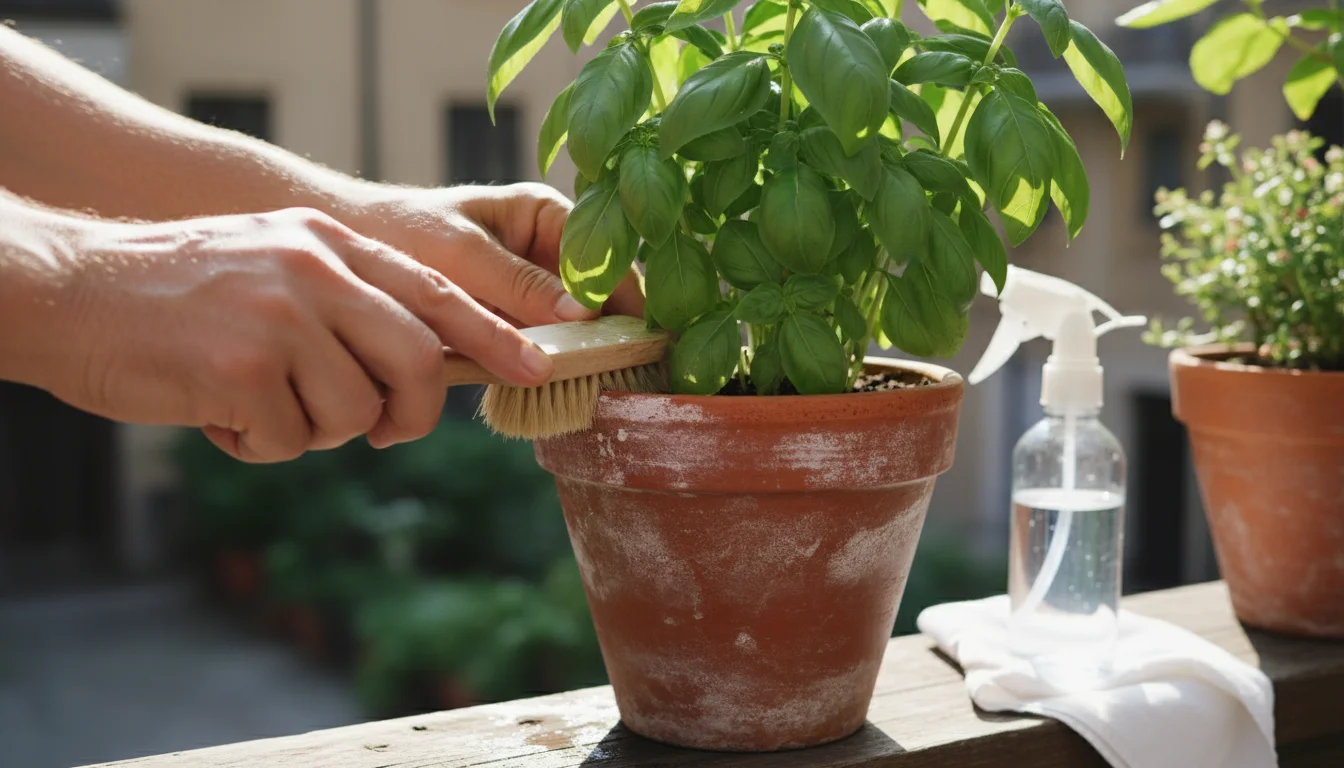
For Terracotta Pots with Plants Still Inside:
Cleaning pots with plants requires a gentler approach to avoid stressing your plant. You cannot submerge them, but you can still address the exterior buildup effectively.
-
Prepare a Gentle Cleaning Solution: Mix equal parts white vinegar and water in a spray bottle or a small bowl. For light buildup, plain water and a brush might suffice.
-
Protect Your Plant: Gently pull back or cover any foliage that might come into contact with the cleaning solution. You want to avoid getting vinegar on the leaves or directly into the soil.
-
Spot Clean the Exterior: Dip a stiff brush or a clean cloth into your vinegar solution. Carefully scrub the white crust from the exterior of the pot. Focus on areas of heavy buildup. Apply light pressure to avoid disturbing the plant’s roots or pot stability. For harder-to-reach areas, a toothbrush can be very effective.
-
Wipe and Rinse: Immediately after scrubbing, wipe down the cleaned areas with a damp cloth soaked in plain water. This removes any residual vinegar and dissolved minerals. You can also lightly mist the cleaned areas with a spray bottle of plain water and wipe it dry. Ensure that the rinse water does not drip into the soil excessively.
-
Monitor Your Plant: Keep an eye on your plant in the days following the cleaning to ensure it experiences no adverse effects. Most plants tolerate this spot cleaning well.
Regular maintenance, perhaps every few months for planted pots and yearly for empty ones, keeps your “terracotta pots” looking pristine and prevents severe buildup from impacting your plants. This routine is a cornerstone of low-maintenance gardening for small spaces, ensuring your focus remains on nurturing your plants rather than battling mineral crust.
Long-Term Care for Your Terracotta and Plants
Integrating terracotta pots into your small-space garden brings a rustic charm and excellent functionality. Effective long-term care means not just addressing the white crust when it appears, but also establishing habits that support both your pots and your plants year-round. This approach ensures your gardening experience remains joyful and manageable, even in the constrained environments of balconies, patios, or windowsills.
Consistent Monitoring and Observation:
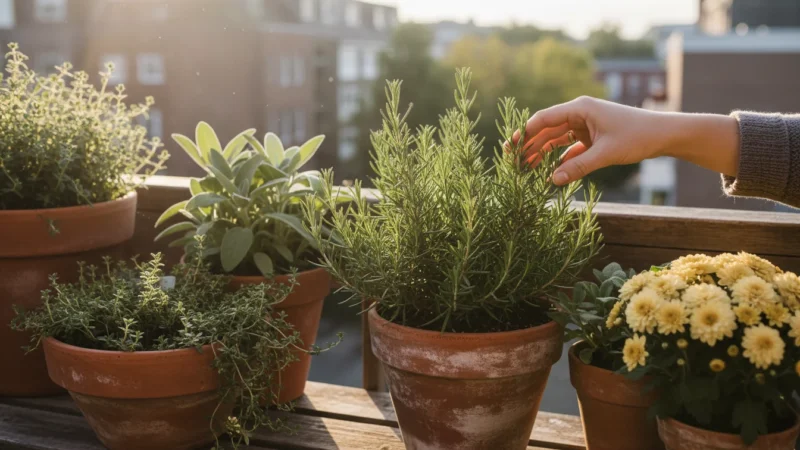
Regularly inspect your plants and their pots. Look for signs of stress on your plants such as yellowing leaves, stunted growth, or wilting, which could indicate salt buildup in the soil. Observe the rate at which the white crust forms on your pots. A sudden increase might suggest you need to adjust your watering, fertilizing, or water source. For instance, if you usually see a light film over three months but suddenly see a thick crust in three weeks, you need to investigate your practices. Your attention to these details helps you catch potential “houseplant problems” early.
Strategic Watering Practices:
Beyond using appropriate water, adjust your watering frequency according to the seasons. In winter, when light levels are lower and plant growth often slows, most houseplants need less water. Overwatering during dormancy can exacerbate salt buildup and lead to other problems like root rot. Always check the soil moisture before watering. Stick your finger about an inch or two into the soil. If it feels dry, then water. If it still feels moist, wait. This prevents both overwatering and ensures salts are flushed effectively when you do water.
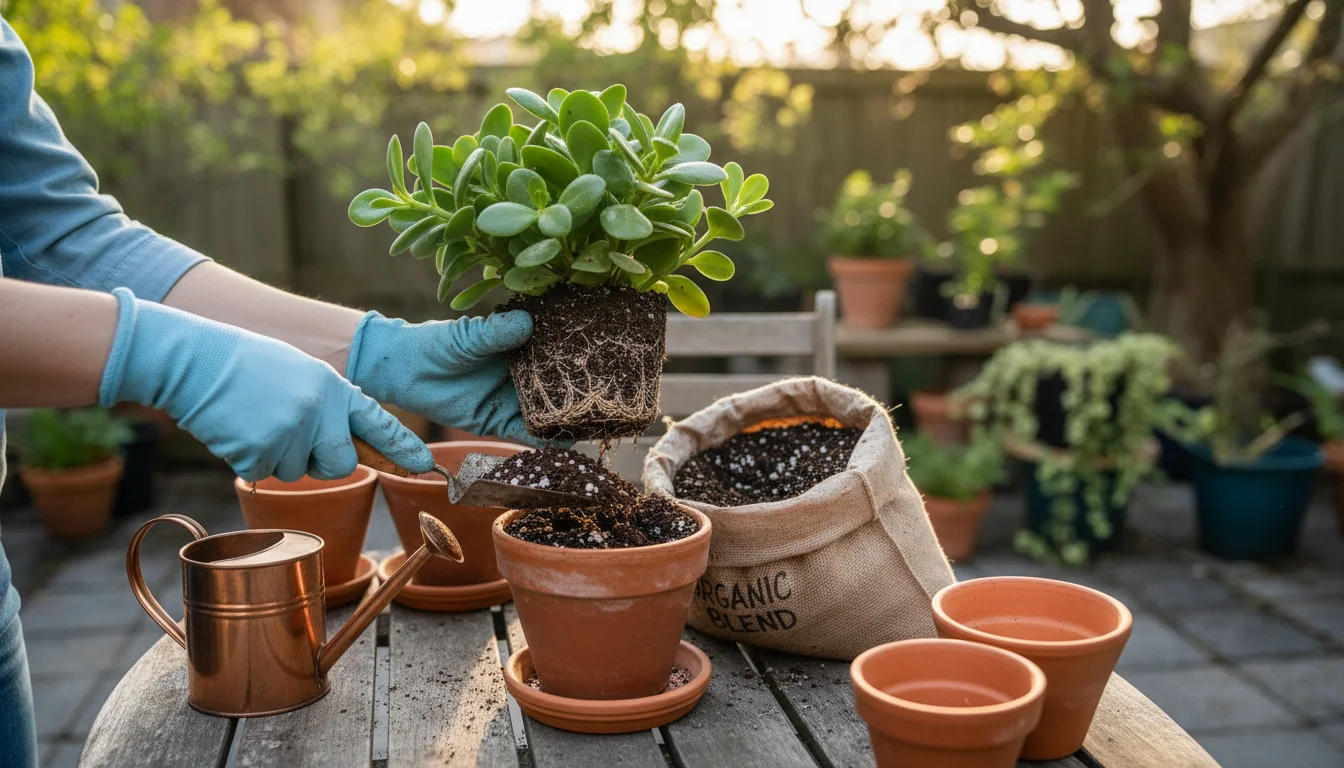
Repotting and Soil Renewal:
Every one to two years, consider repotting your plants. This offers an opportunity to refresh the potting mix, which naturally accumulates salts over time, regardless of your watering habits. When repotting, gently remove as much of the old soil as possible from the root ball and replant with fresh, well-draining potting mix. You can also take this chance to thoroughly clean the terracotta pot, as outlined in the previous section, before placing your plant back into a refreshed environment. This practice directly addresses “houseplant problems” related to old, compacted, or salt-laden soil.
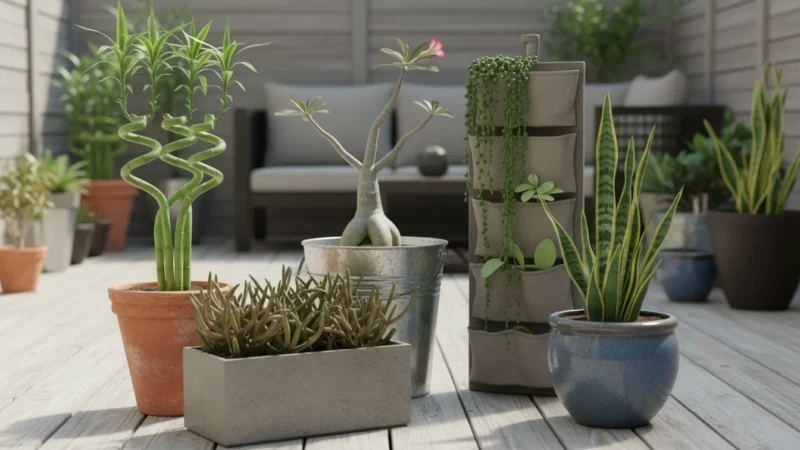
Choosing the Right Pot Size and Type:
While this article focuses on terracotta, consider the right pot size for your plant. An overly large pot retains too much moisture for small plants, increasing the risk of waterlogging and potential salt buildup. Conversely, a pot that is too small dries out too quickly, requiring more frequent watering and thus more introduction of hard water minerals. Ensure all your “terracotta pots” have adequate drainage holes. If you are struggling with persistent and heavy efflorescence, consider rotating terracotta pots with glazed ceramic or plastic pots for some plants that are more sensitive to salt or require consistently moist soil. Glazed pots do not wick water through their sides, so they do not develop external efflorescence, though salts can still accumulate at the soil surface.
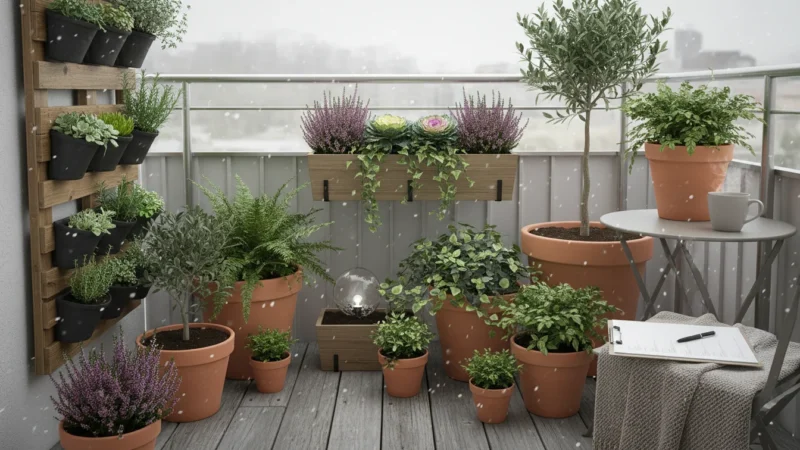
Winter-Specific Care:
Winter brings unique challenges. Indoor heating systems drastically reduce humidity, leading to faster evaporation from your pots. This increased evaporation can accelerate the appearance of the white crust. Consider placing your plants on pebble trays filled with water to increase local humidity, or group plants together to create a more humid microclimate. Avoid placing terracotta pots directly on heating vents or radiators. Remember that during winter dormancy, your plants’ need for nutrients also decreases, so reduce fertilizer application significantly. This minimizes the risk of fertilizer salt buildup when plants are less able to utilize nutrients.
By thoughtfully implementing these long-term care strategies, you are not simply reacting to problems, you are proactively creating a thriving, low-maintenance environment for your plants in “terracotta pots” within your small garden space. You foster resilience and beauty, ensuring your gardening efforts yield rewarding results.
For trustworthy gardening information, visit: Lady Bird Johnson Wildflower Center, Botanic Gardens Conservation International and American Public Gardens Association. These organizations provide expert, research-based advice for gardeners at all levels.
Frequently Asked Questions
Does the white crust mean my plant is dying?
Not necessarily. A light white crust is often an aesthetic issue and does not immediately harm your plant. However, if the buildup is thick, rapidly accumulating, or if you notice your plant showing signs of stress like yellowing leaves, stunted growth, or wilting, it indicates that excessive mineral salts are affecting the plant’s health. You should then take steps to address the buildup and flush the soil.
Can I paint my terracotta pots to prevent the white crust?
Painting terracotta pots with a waterproof sealant or paint on the exterior can reduce or prevent efflorescence on the painted surface because it blocks the pores. However, this also eliminates the pot’s natural breathability, which is one of terracotta’s main benefits for plant health. It can reduce air circulation to the roots and increase the risk of overwatering, especially if you are prone to overwatering. If you choose to paint, ensure the inside remains unsealed to allow some breathability, or be very mindful of your watering practices.
Is it safe to reuse terracotta pots with old white crust on them?
Yes, it is generally safe to reuse them after proper cleaning. Before repotting a new plant into a used terracotta pot, thoroughly clean it as described in the “How to Clean Mineral Buildup From Clay Pots” section. This removes mineral salts and sterilizes the pot, preventing the transfer of diseases or pests from previous plants. Reusing cleaned pots is an excellent eco-friendly gardening practice.
How often should I clean my terracotta pots?
For empty pots, a thorough cleaning once a year is usually sufficient, or whenever you notice significant buildup. For pots with plants still inside, you can gently spot-clean the exterior every few months or as needed to maintain aesthetics and prevent excessive crusting. Remember that preventative measures, such as using appropriate water and flushing your soil, reduce the frequency required for cleaning.
Will switching to plastic pots solve the white crust problem?
Switching to plastic pots will eliminate efflorescence on the pot’s exterior, as plastic is non-porous. However, it does not eliminate the presence of hard water minerals or fertilizer salts. These salts will still accumulate in the soil if not flushed out regularly. In plastic pots, without the evaporative cooling and wicking action of terracotta, you must be more careful with watering to prevent waterlogging and ensure salts are flushed from the drainage holes, not just accumulating at the soil surface.


Leave a Reply