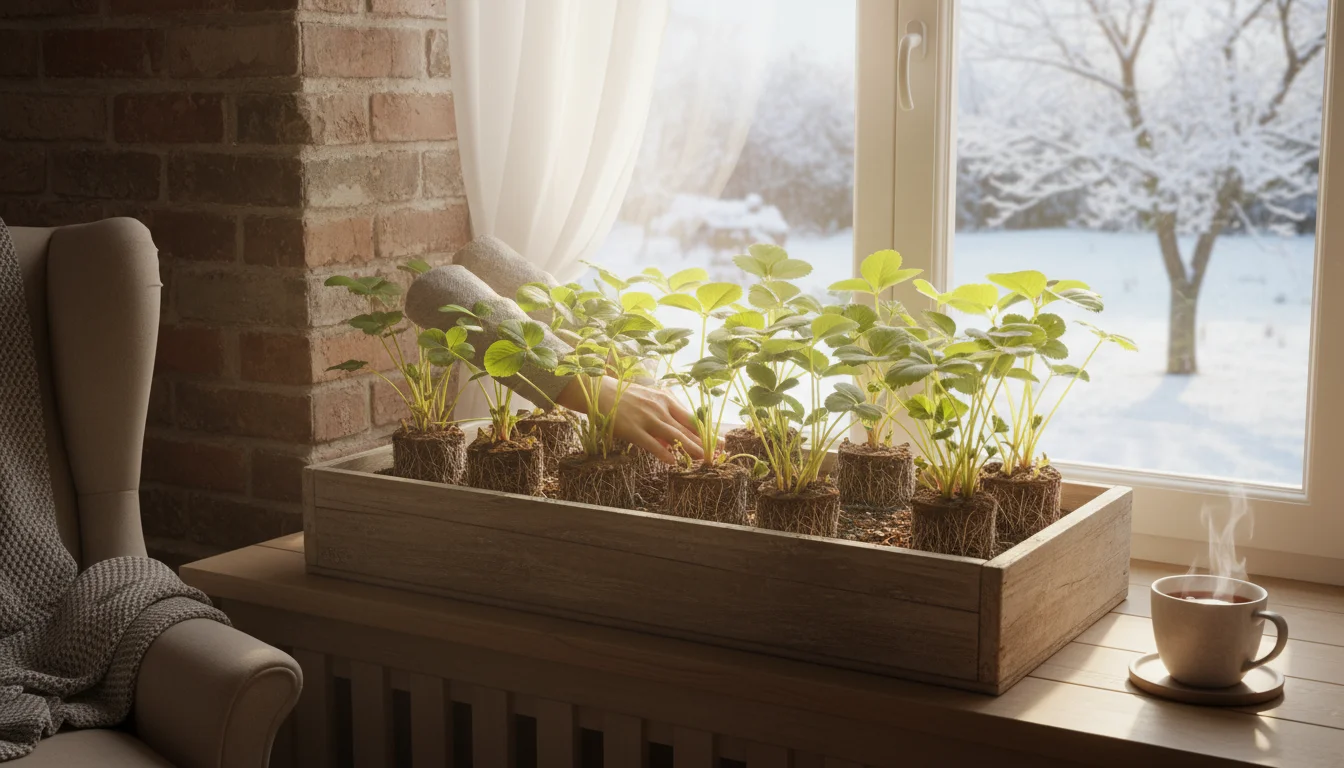
Unboxing Your Garden: A Beginner’s Guide to Planting Bare-Root Strawberries in a Winter Window Box
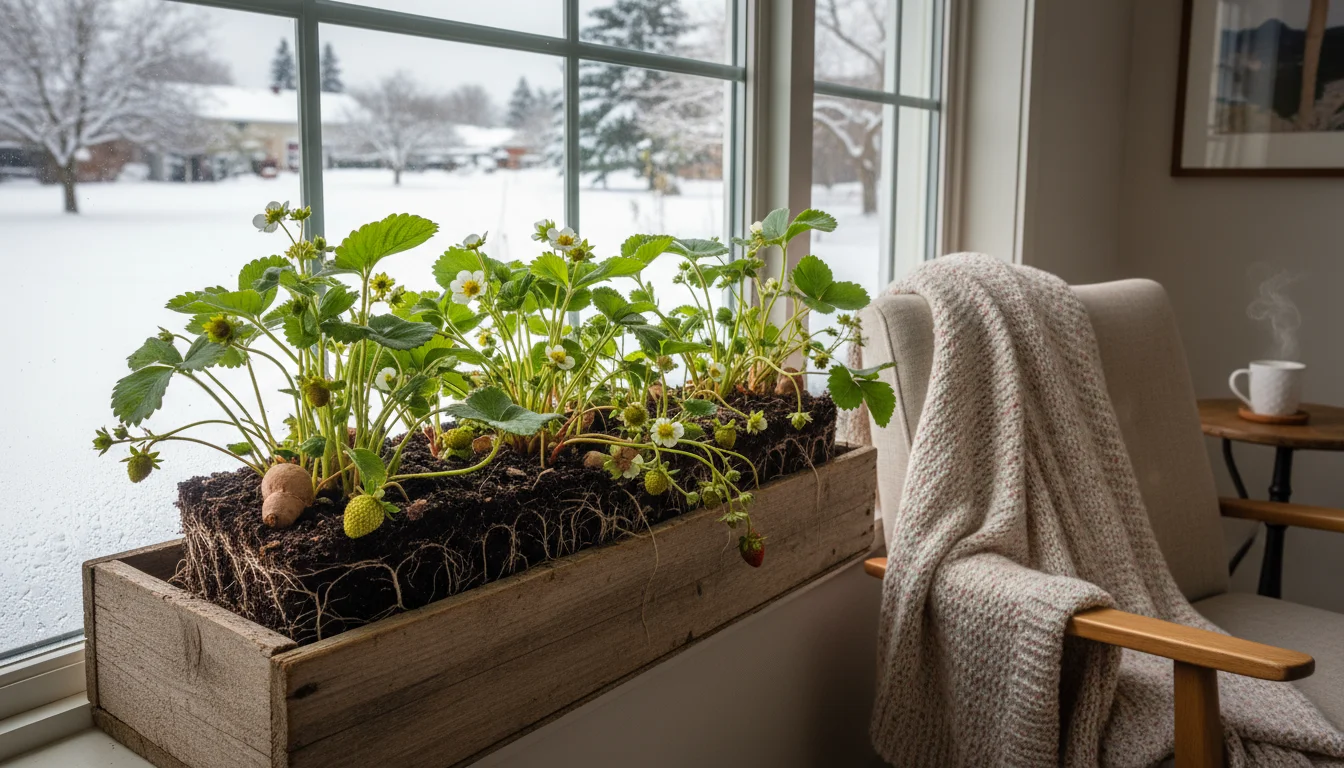
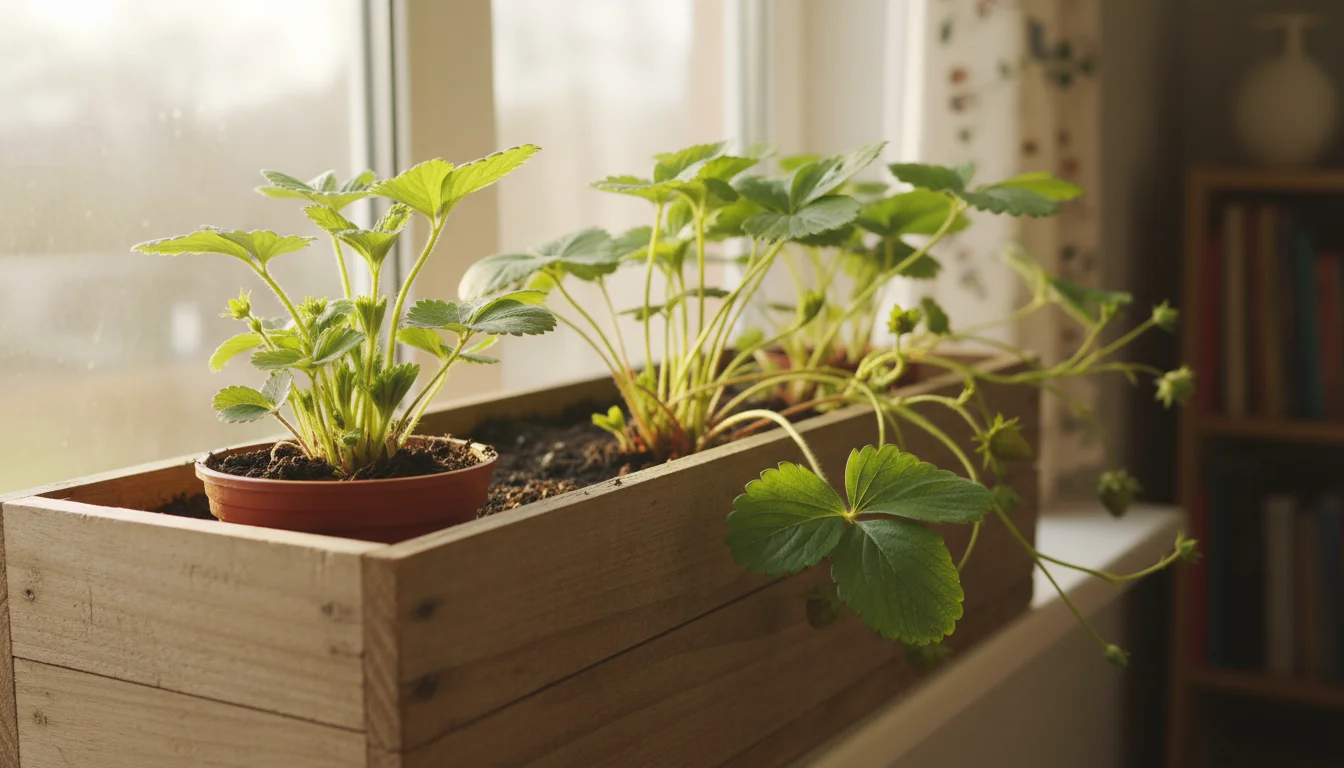
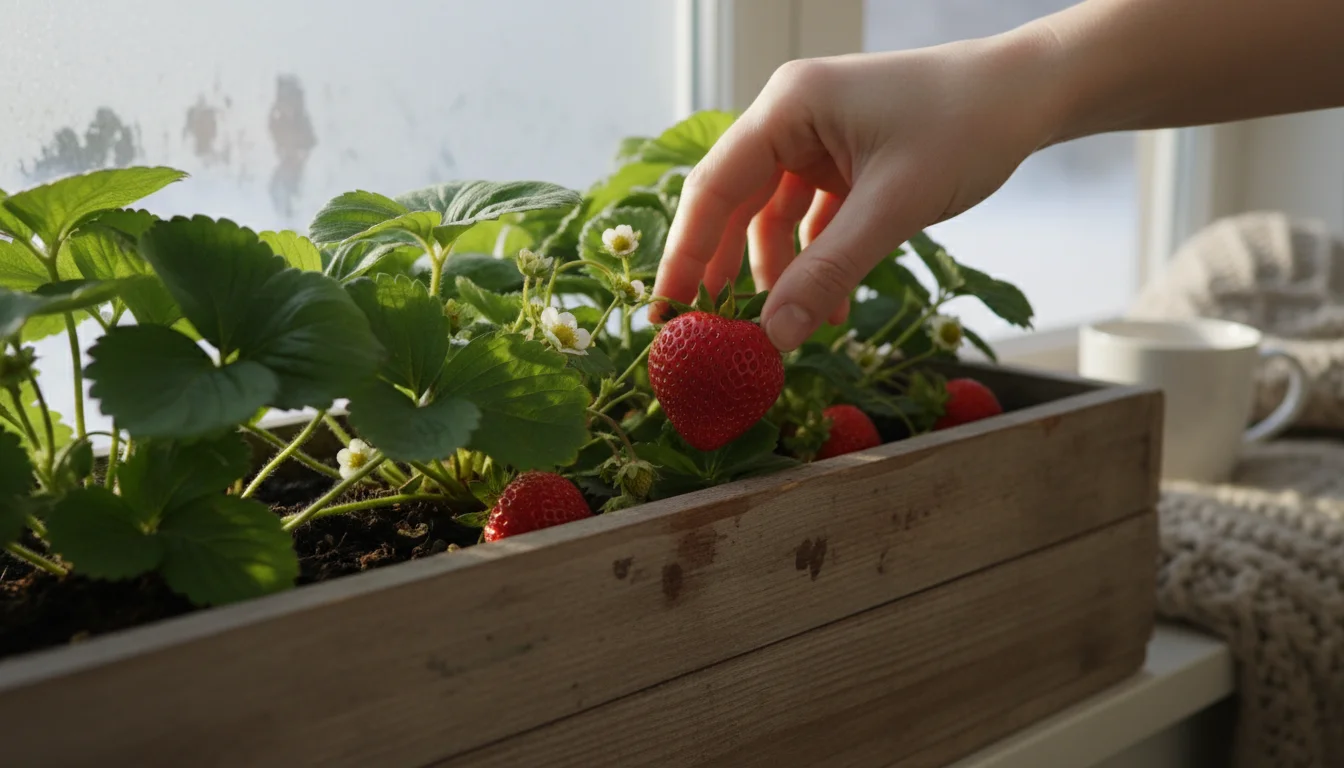
Imagine fresh, ripe strawberries, sweet and fragrant, even when winter snow covers the ground outside. You can make this a reality by cultivating bare-root strawberries right inside your home, specifically in a sunny window box. This guide will walk you through everything you need to know, transforming a simple box of roots into a productive, delicious indoor garden.
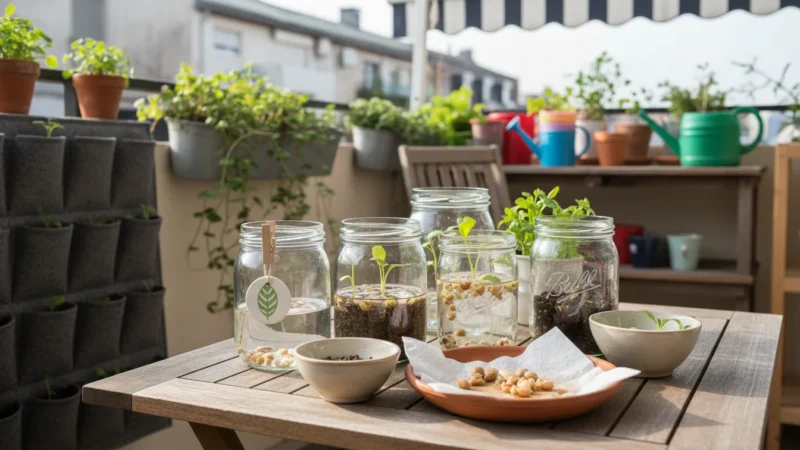
For another quick food project that requires even less equipment, you might also enjoy growing sprouts in a jar for a fresh harvest in just a few days.
Many gardeners, especially those with limited outdoor space like a balcony or patio, believe fresh berries are only for summer. We are here to change that perception. Planting bare-root strawberries indoors during winter offers a fantastic way to extend your harvest, brighten your living space, and provide a rewarding gardening project during the colder months. You will learn practical steps to ensure your strawberry plants thrive, producing fruit that tastes far superior to anything from a grocery store.
The Magic of Bare-Root Strawberries: Why This Method Works for You
Bare-root plants are simply dormant plants, shipped without soil around their roots. Think of them as sleeping plants, waiting for you to wake them up. This method offers several key advantages, especially for the small-space or beginner gardener planning a winter window box project.
Cost-Effective and Convenient
Bare-root strawberry plants are typically much more affordable than potted plants. You often receive them in bundles, allowing you to establish a sizable patch for a fraction of the cost. Their dormant state also makes them easy to ship and store for a short period, giving you flexibility in your planting schedule. You can order them online or find them at local nurseries in late fall or early winter.
Less Transplant Shock
Because bare-root plants are dormant, they experience less stress when transplanted. Once planted, their energy focuses on establishing new roots and shoots rather than recovering from the shock of moving from one pot to another. This means a quicker transition to active growth and, ultimately, faster fruit production for you.
Stronger Root Development
When you plant bare-root strawberries, their initial focus is on developing a robust root system. This strong foundation translates into healthier, more resilient plants capable of producing abundant yields. You give your plants the best start possible by encouraging deep, extensive roots from the outset.
An Early Start to the Season
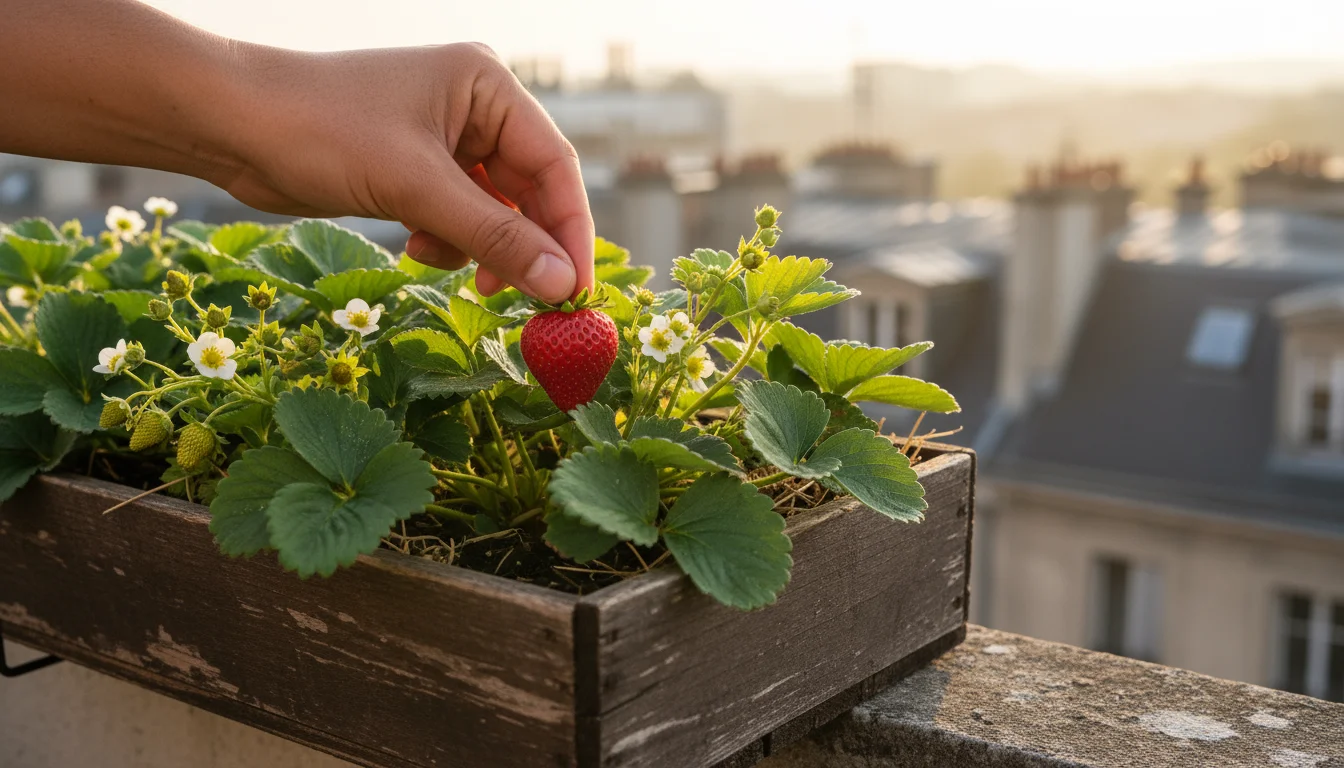
Planting bare root strawberries in a winter window box allows you to jumpstart your growing season. While outdoor gardeners wait for spring, you can enjoy fresh berries long before the last frost. This is especially rewarding for small-space gardeners who want to maximize their harvest opportunities throughout the year.
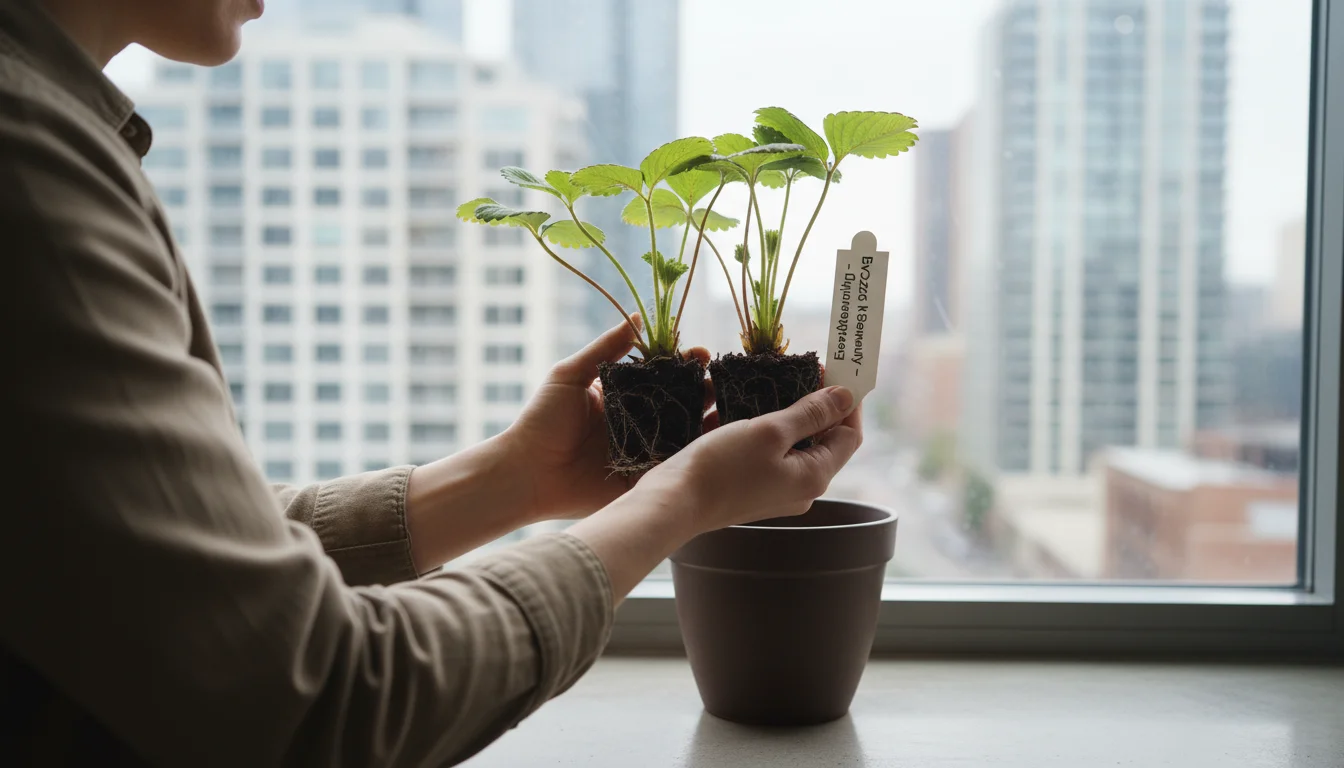
Choosing Your Strawberry Stars: Varieties for Indoor Winter Success
Not all strawberries are created equal, especially when it comes to indoor cultivation. For your winter window box, you will want to select specific types known for their continuous fruiting and compact growth habit. There are three main types of strawberries: June-bearing, everbearing, and day-neutral. For indoor, continuous harvests, everbearing and day-neutral varieties are your best bet.
If you find success with strawberries, you might also want to experiment with growing tomatoes inside during the winter months.

Everbearing Strawberries
Everbearing varieties produce two to three harvests per season, typically in spring, summer, and fall. They are a good choice for indoor growing because they do not rely on specific day lengths to initiate flowering and fruiting. Examples include ‘Ozark Beauty’ and ‘Quinault’. These varieties offer a more consistent supply of berries over time.
Day-Neutral Strawberries
Day-neutral strawberries are the superstars of indoor growing. They produce fruit continuously throughout the growing season as long as temperatures remain between 35 and 85 degrees Fahrenheit (approximately 1.6 to 29.4 degrees Celsius). This means you can get a steady trickle of berries all winter long in your controlled indoor environment. Excellent day-neutral varieties include ‘Tristar’, ‘Tribute’, and ‘Seascape’. They tend to be smaller plants, making them ideal for a window box where space is at a premium.
Consider Plant Size and Runner Production
When choosing, also consider the plant’s mature size and its tendency to produce runners. For a window box, compact varieties that produce fewer runners (or easily managed runners) are preferable. Excessive runners can quickly overcrowd your container, competing for nutrients and light. Many day-neutral varieties naturally have a more contained growth habit.
Your Winter Window Box: Selecting the Right Home
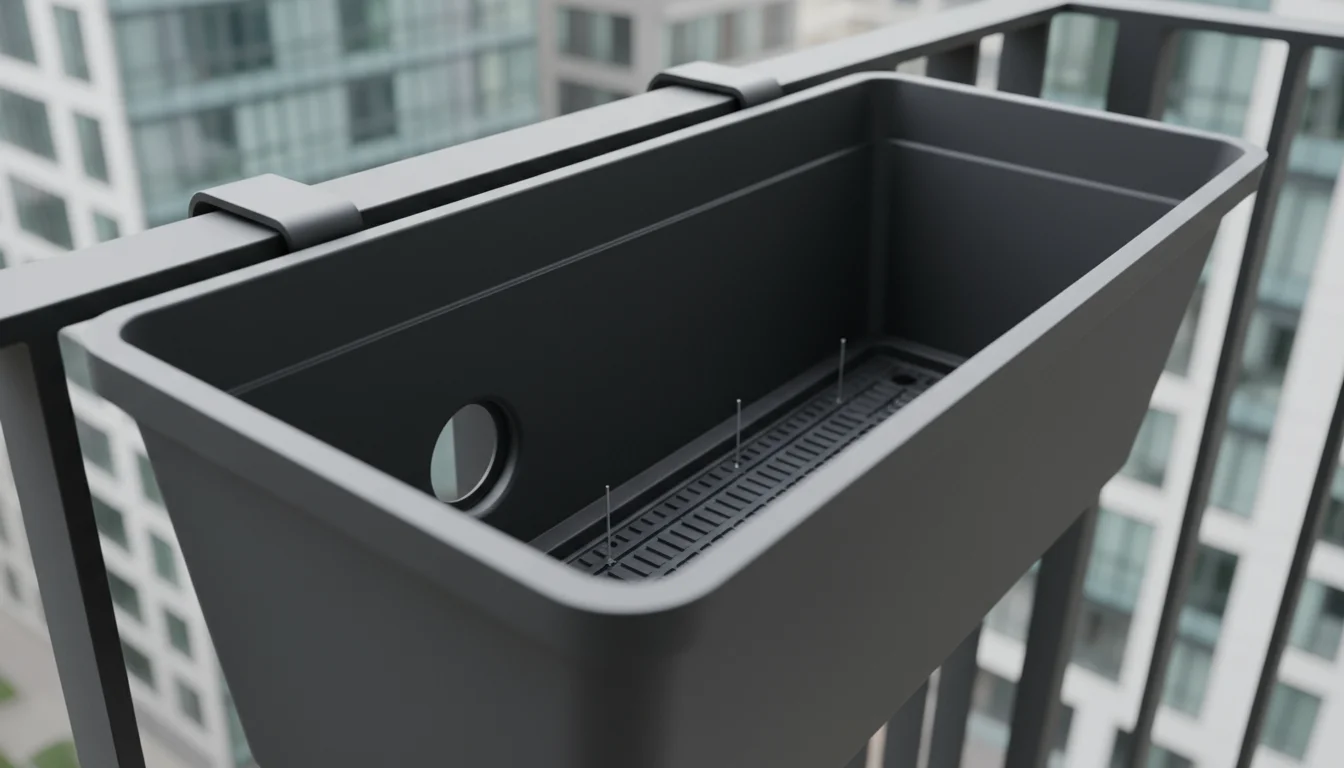
The success of your indoor strawberry patch depends significantly on its container. A window box is an excellent choice for small spaces, but specific features ensure optimal growth and minimal maintenance for your plants. Remember, good drainage is crucial, which means water must be able to move through the soil and out of the container.
Size Matters
While window boxes are inherently space-saving, ensure yours is large enough to accommodate your strawberry plants comfortably. A box at least 6-8 inches (15-20 cm) deep and wide gives the roots ample room to grow. For length, choose what fits your window, but remember more length means more plants and potentially more berries. A longer box can also help stabilize soil temperature and moisture.
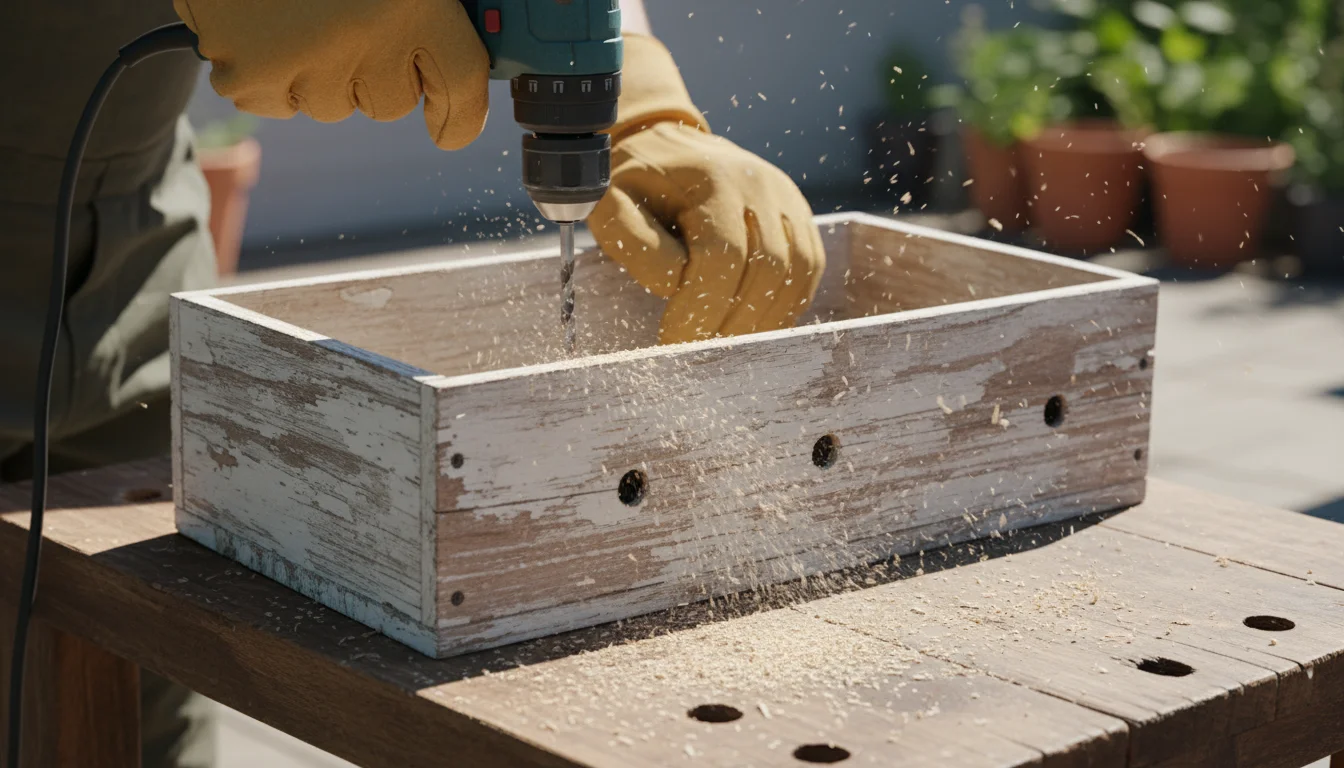
Drainage Holes: A Non-Negotiable Requirement
This is perhaps the most important feature. Strawberry roots hate sitting in soggy soil. Standing water leads to root rot, a common killer of container plants. Your window box absolutely must have drainage holes at the bottom. If your chosen box lacks them, you need to drill several 1/4 to 1/2 inch (0.6 to 1.3 cm) holes before planting. Place a saucer or tray underneath the window box to catch any excess water, protecting your windowsill or floor.
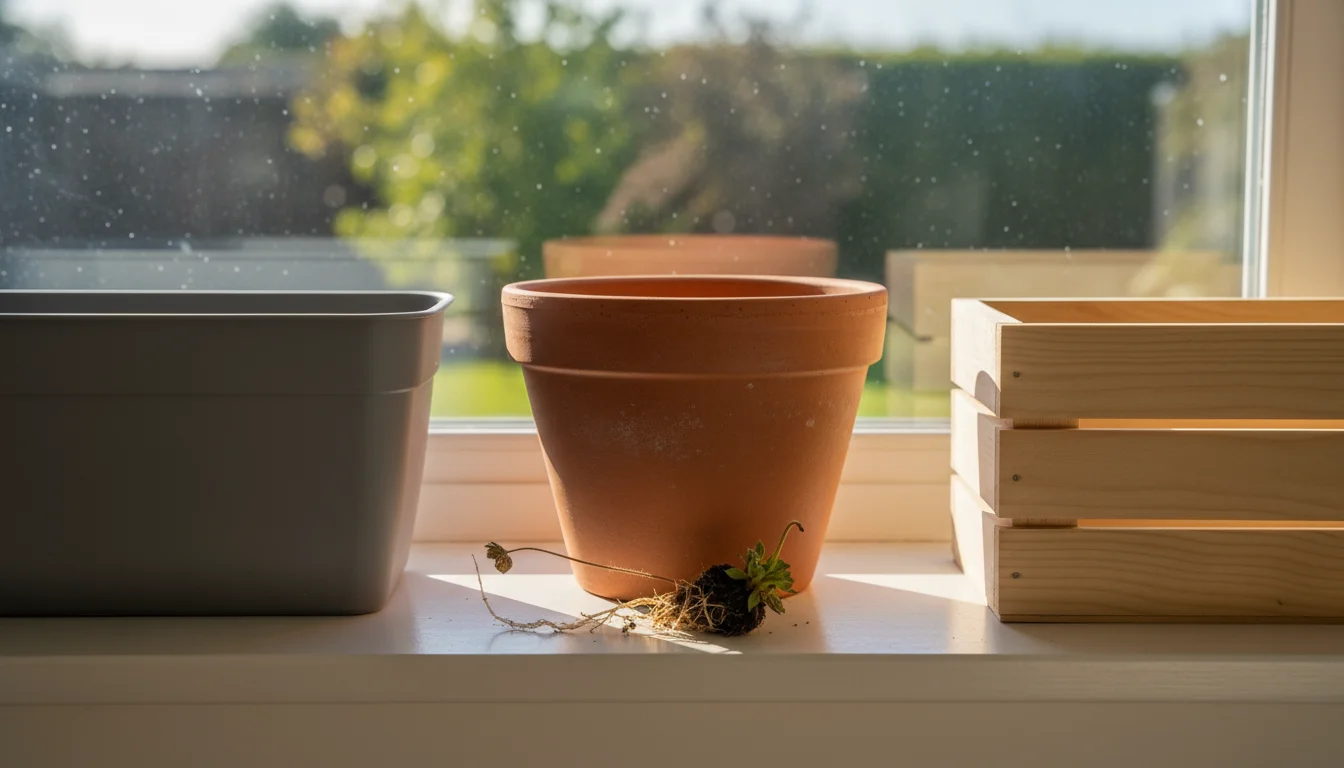
Material Considerations
- Plastic: Lightweight, inexpensive, and retains moisture well. It is a good choice for indoors as it reduces the frequency of watering.
- Terracotta/Clay: Porous, allowing for good airflow to the roots and helping to prevent overwatering. However, it dries out faster, requiring more frequent watering. It also can be heavier.
- Wood: Offers a classic aesthetic. Ensure any wooden box is treated for moisture resistance and has proper drainage. Untreated wood can rot over time.
For a winter window box indoors, plastic or glazed ceramic might be the most practical options due to their moisture retention properties, which can reduce watering needs in dry indoor air.
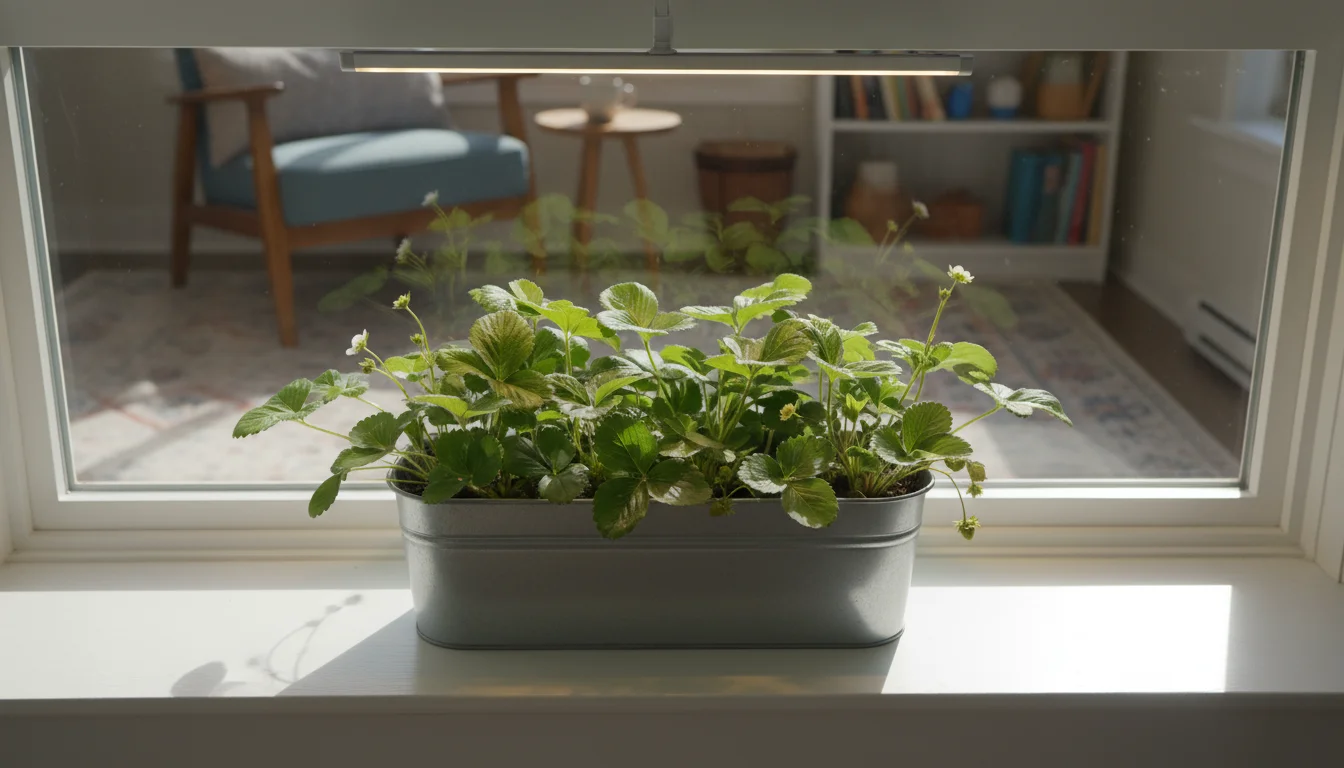
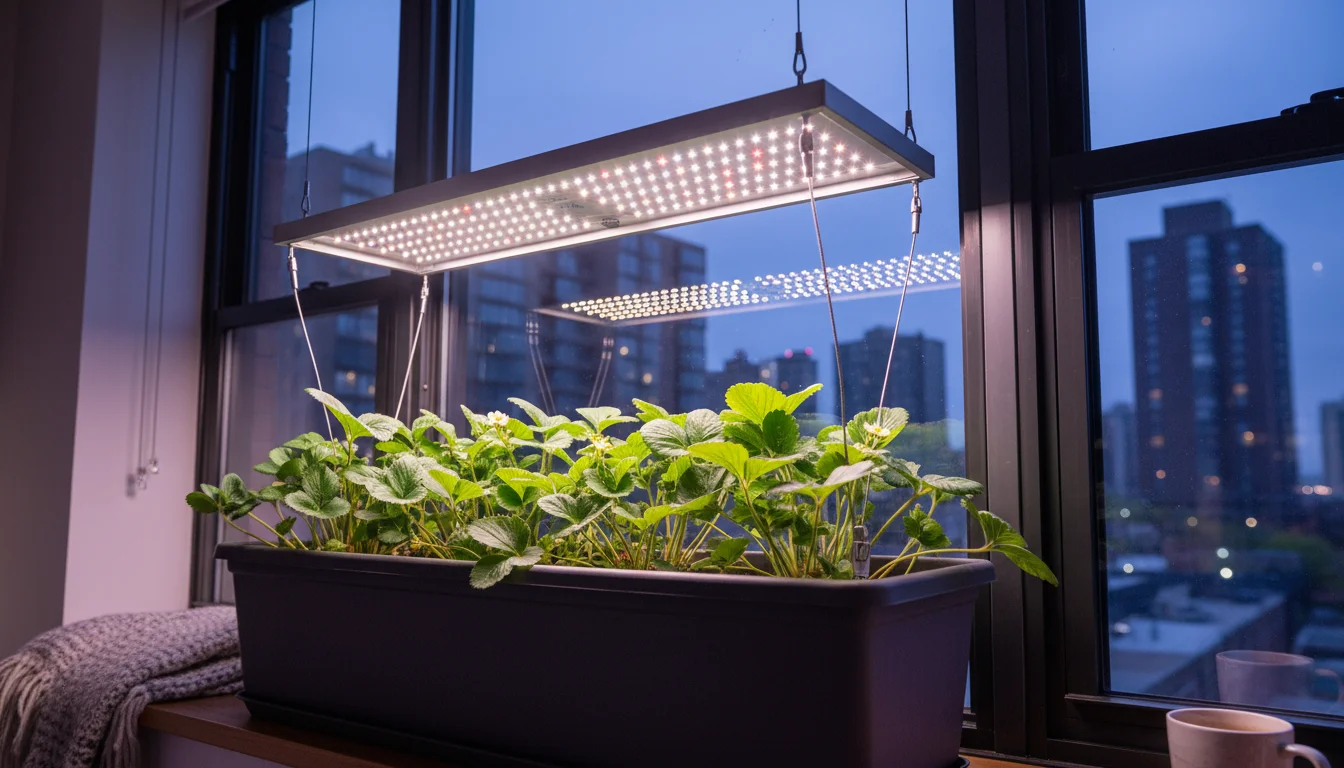
Location: The Sunniest Spot You Have
Strawberries are sun-loving plants, even indoors. They require at least 6-8 hours of direct sunlight daily to produce fruit. Position your window box in your brightest south-facing or west-facing window. If natural light is insufficient (common in winter), supplement with a grow light. A simple LED grow light positioned 6-12 inches (15-30 cm) above the plants for 12-14 hours a day can make a significant difference in yield and plant health. Consistent light exposure is a key factor in continuous fruit production for day-neutral and everbearing varieties.
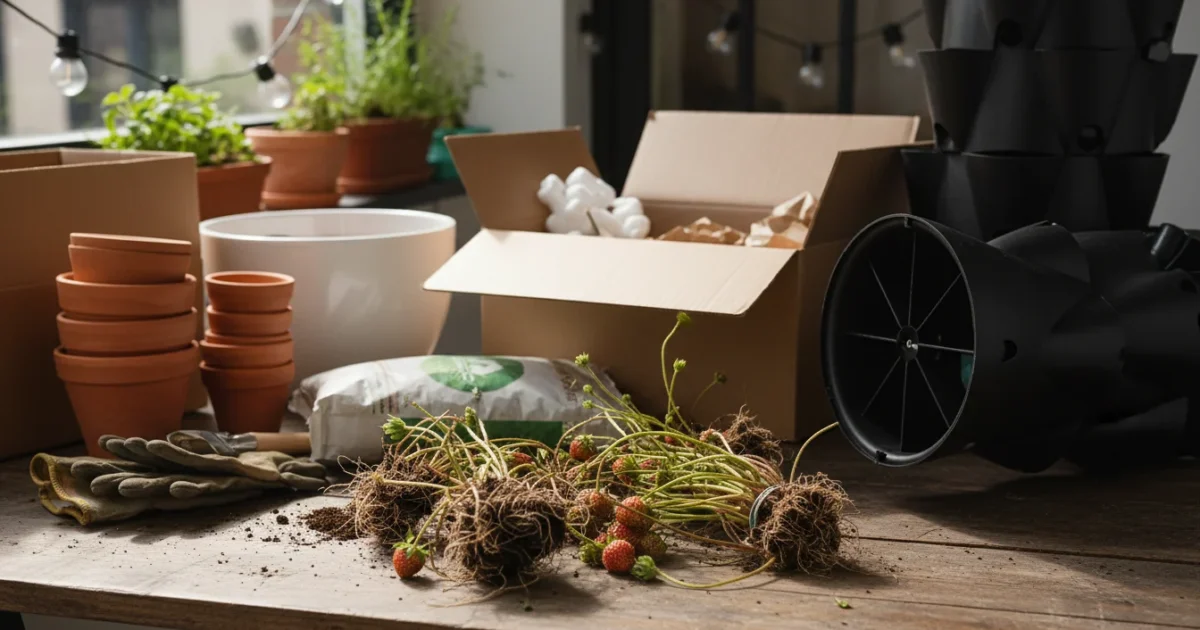
Essential Tools and Materials: Gathering Your Growing Arsenal
Before you unbox your bare-root strawberries, gather everything you need. Having your supplies ready ensures a smooth and stress-free planting process, setting your plants up for immediate success.
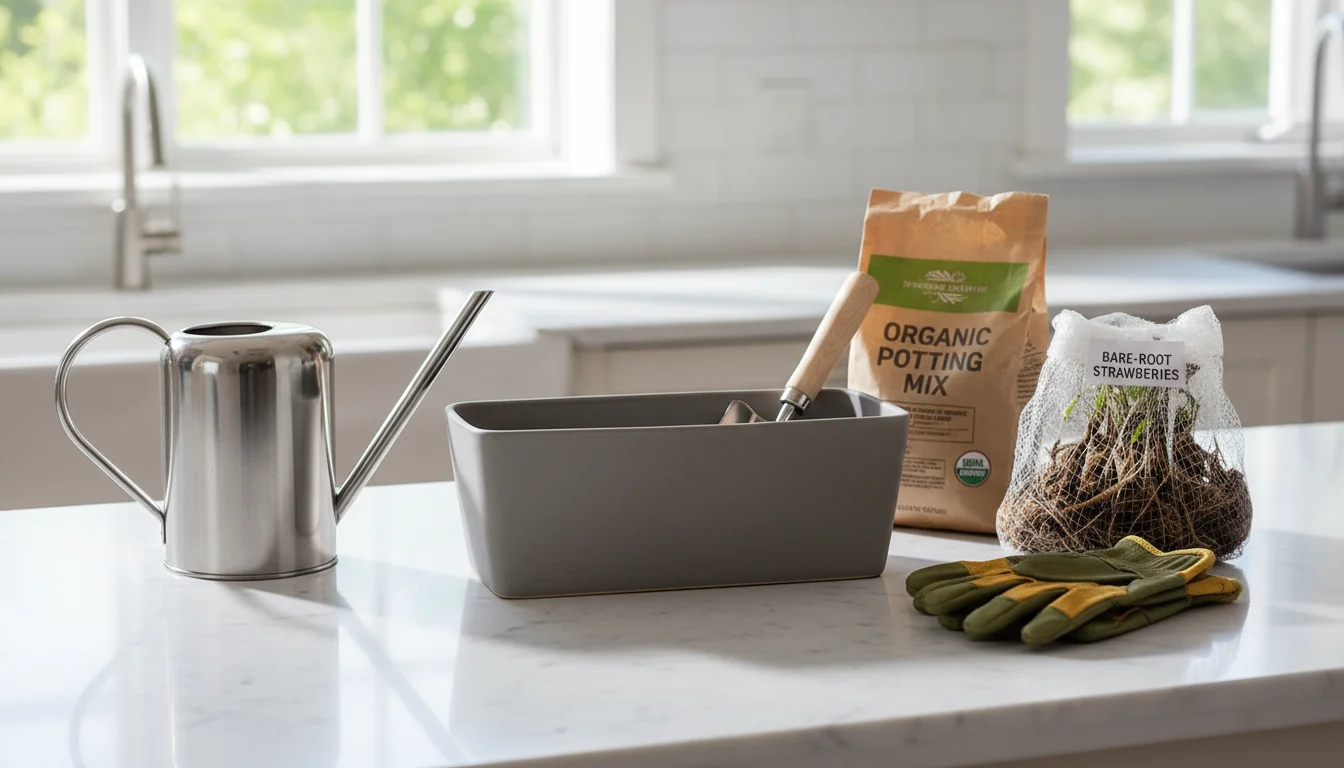
Must-Have Items:
- Bare-Root Strawberry Plants: Your chosen everbearing or day-neutral varieties.
- Window Box or Container: With adequate drainage holes and a saucer.
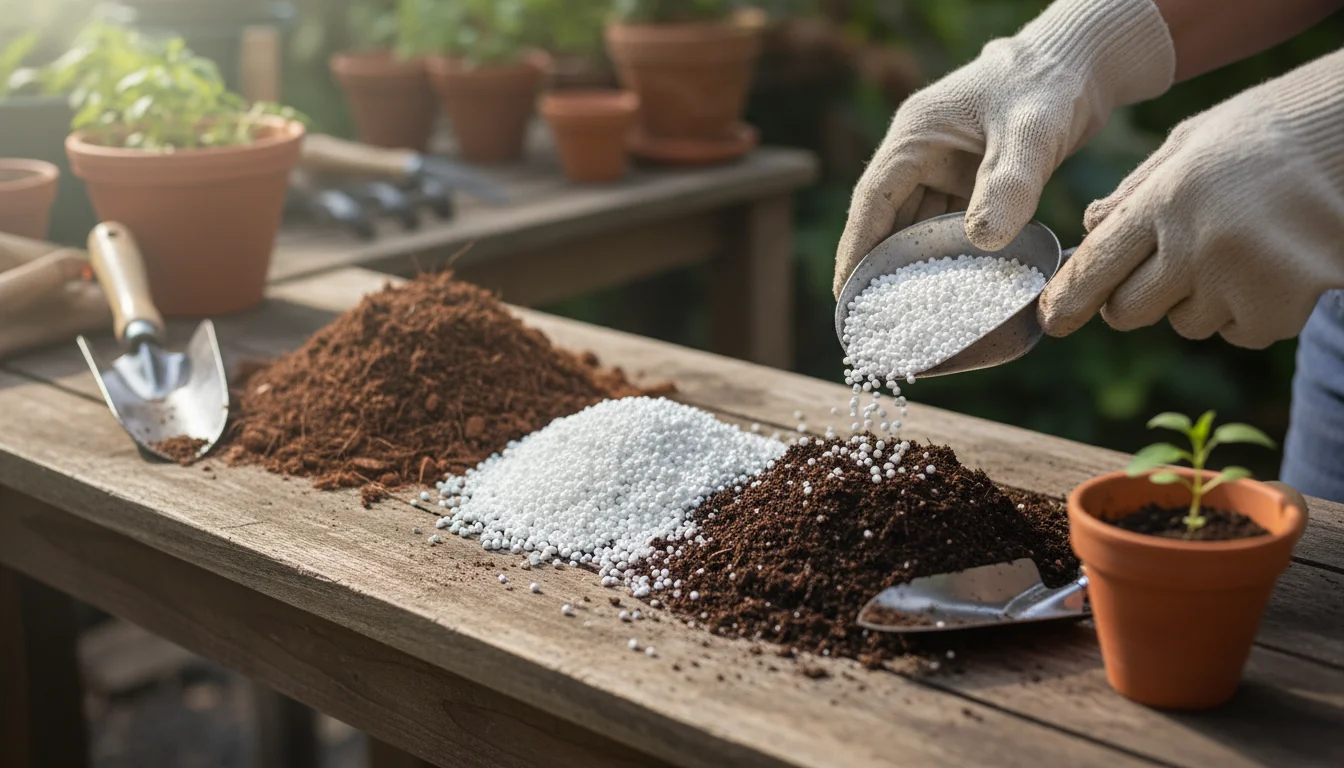
- High-Quality Potting Mix: Look for a mix formulated for containers. It should be light, well-draining, and rich in organic matter. Avoid heavy garden soil, which compacts easily in containers and restricts root growth. A good potting mix allows water to pass through without becoming waterlogged, while still holding enough moisture for the plants.
- Small Trowel or Hand Shovel: For filling the window box and making planting holes.
- Watering Can with a Fine Rose: To water gently and evenly, preventing soil disturbance.
- Scissors or Pruners: For trimming roots if necessary.
- Rooting Hormone (Optional): Some gardeners use this to encourage faster root development, though it is not strictly necessary for strawberries.
- Fertilizer: A balanced liquid fertilizer (e.g., 10-10-10 or 5-10-5) or a slow-release granular fertilizer suitable for fruiting plants. You will use this after the plants establish themselves.
- Grow Light (Optional but Recommended): Especially if your indoor light conditions are less than ideal.
Understanding Potting Mix
Your choice of potting mix is critical. Standard garden soil is too heavy and dense for containers. It compacts, stifling roots and preventing proper drainage. A good quality potting mix for containers typically contains a blend of peat moss or coco coir for moisture retention, perlite or vermiculite for aeration and drainage, and some compost or aged bark for nutrients and organic matter. This combination provides the ideal balance for healthy root growth and nutrient availability in a confined space.
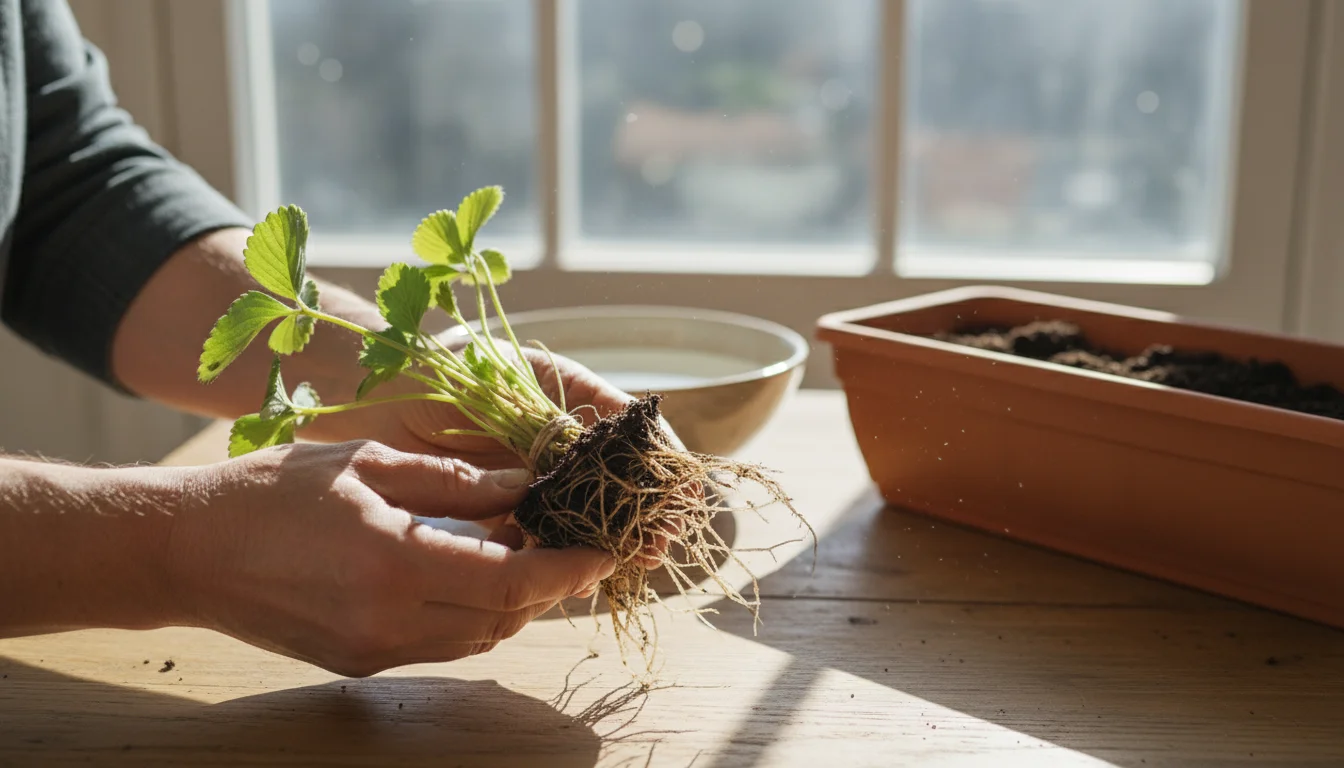
Preparing Your Bare-Root Strawberries for Planting
The moment your bare-root strawberries arrive, they are eager to begin growing. Proper preparation is essential to gently awaken them from dormancy and encourage vigorous new growth. This step is quick and simple, but it makes a significant difference.
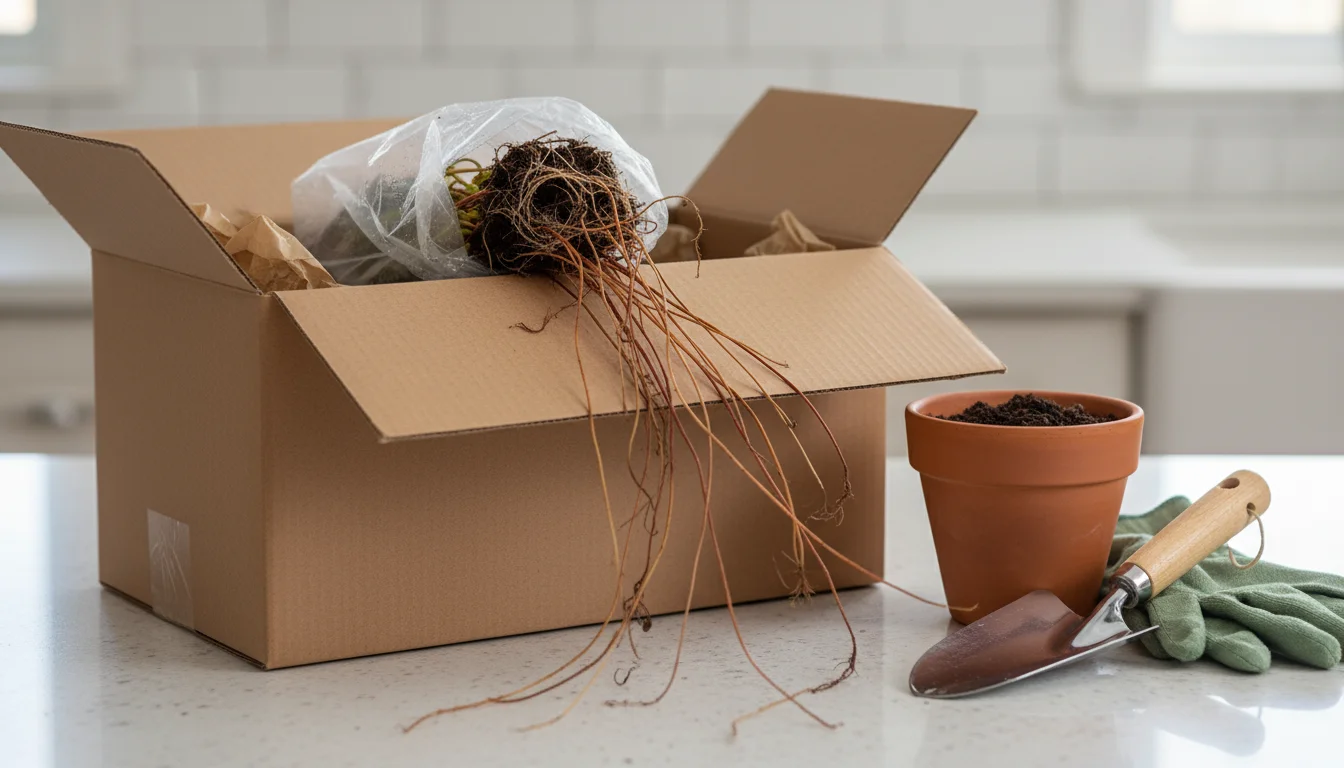
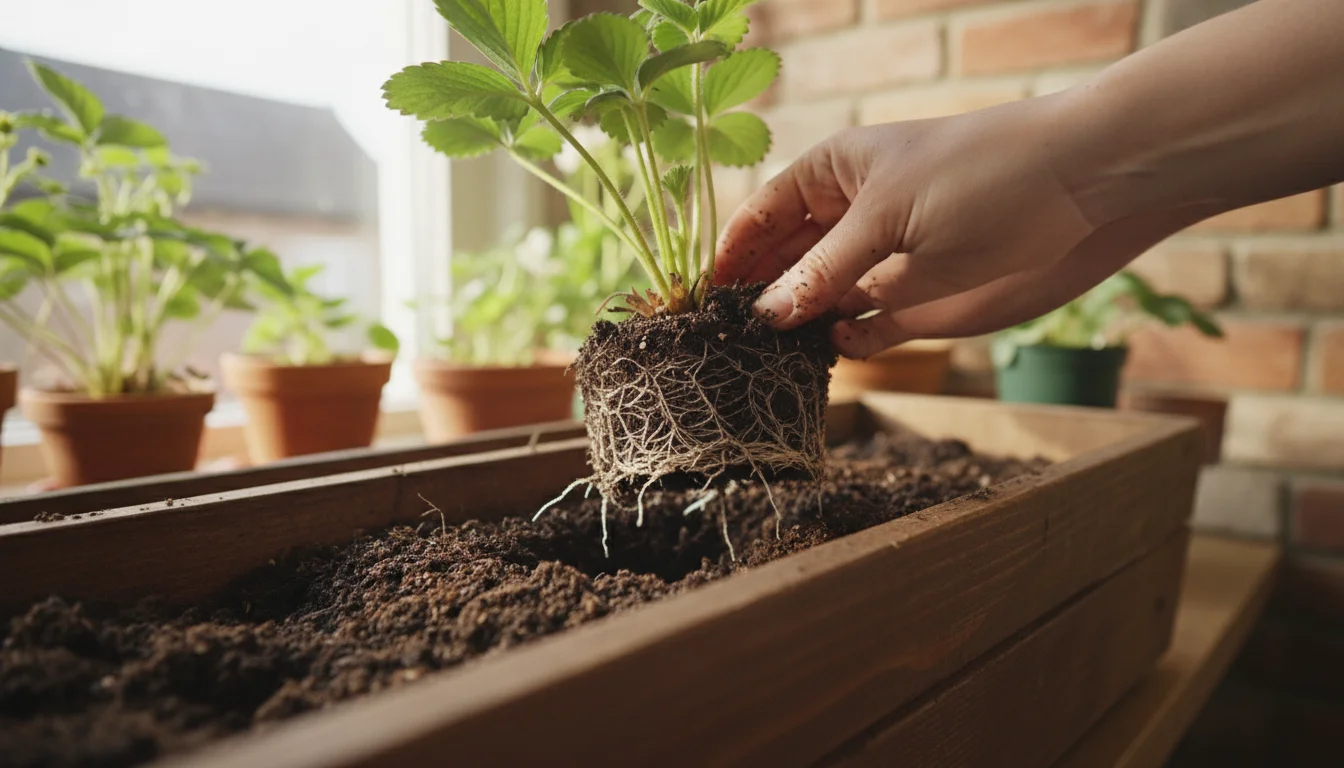
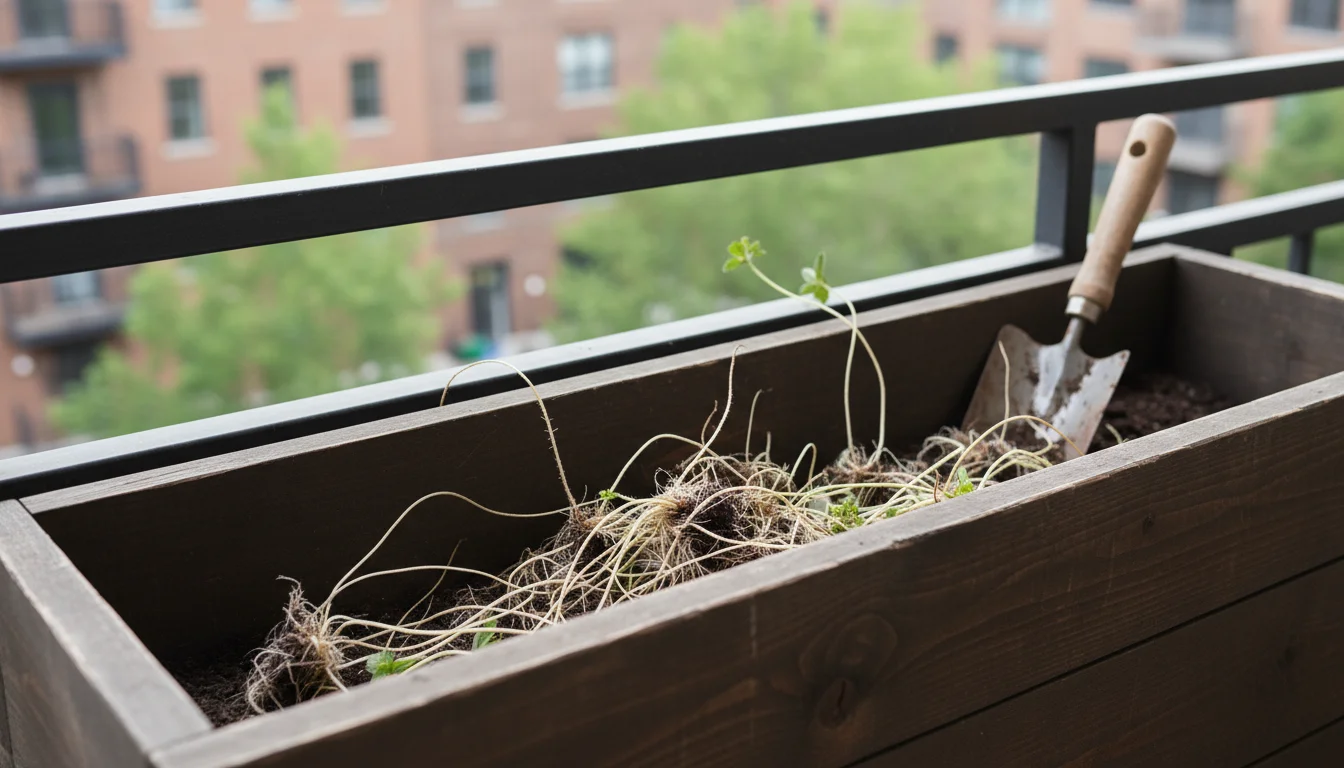
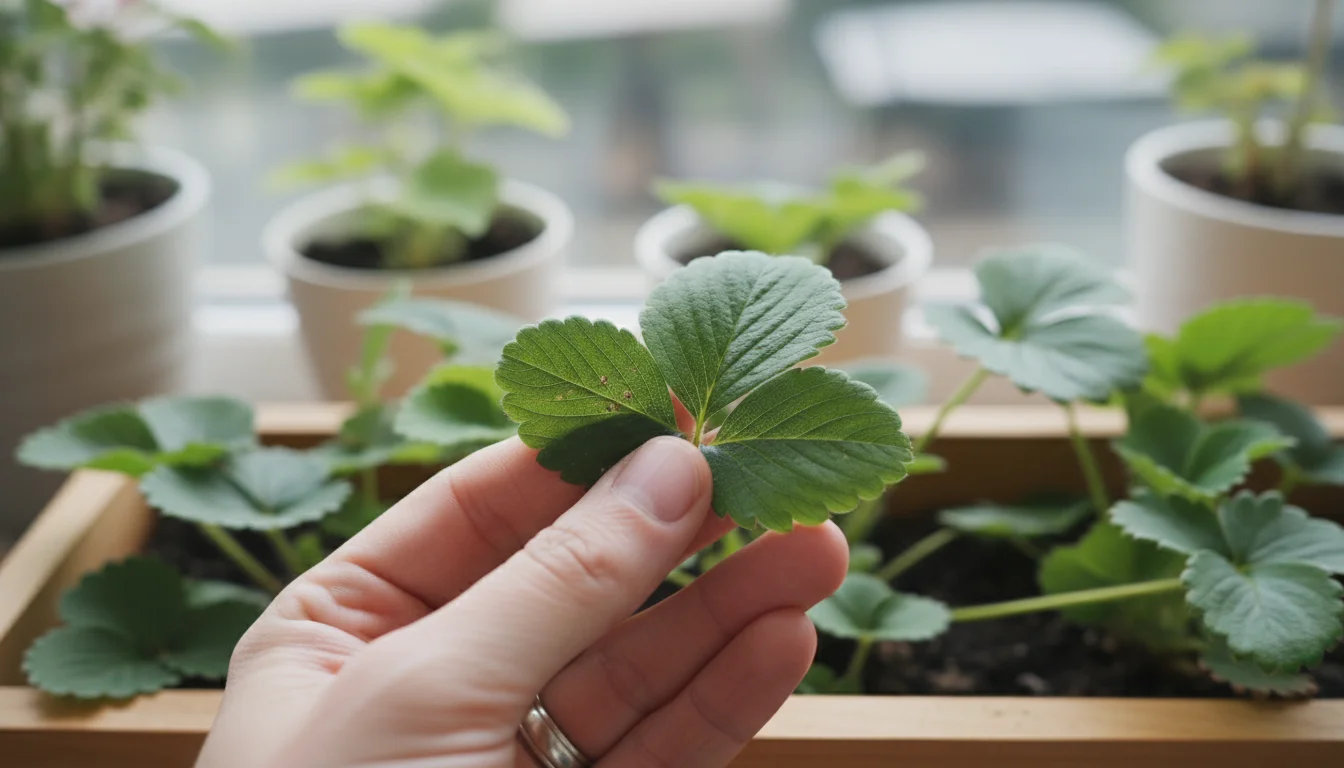
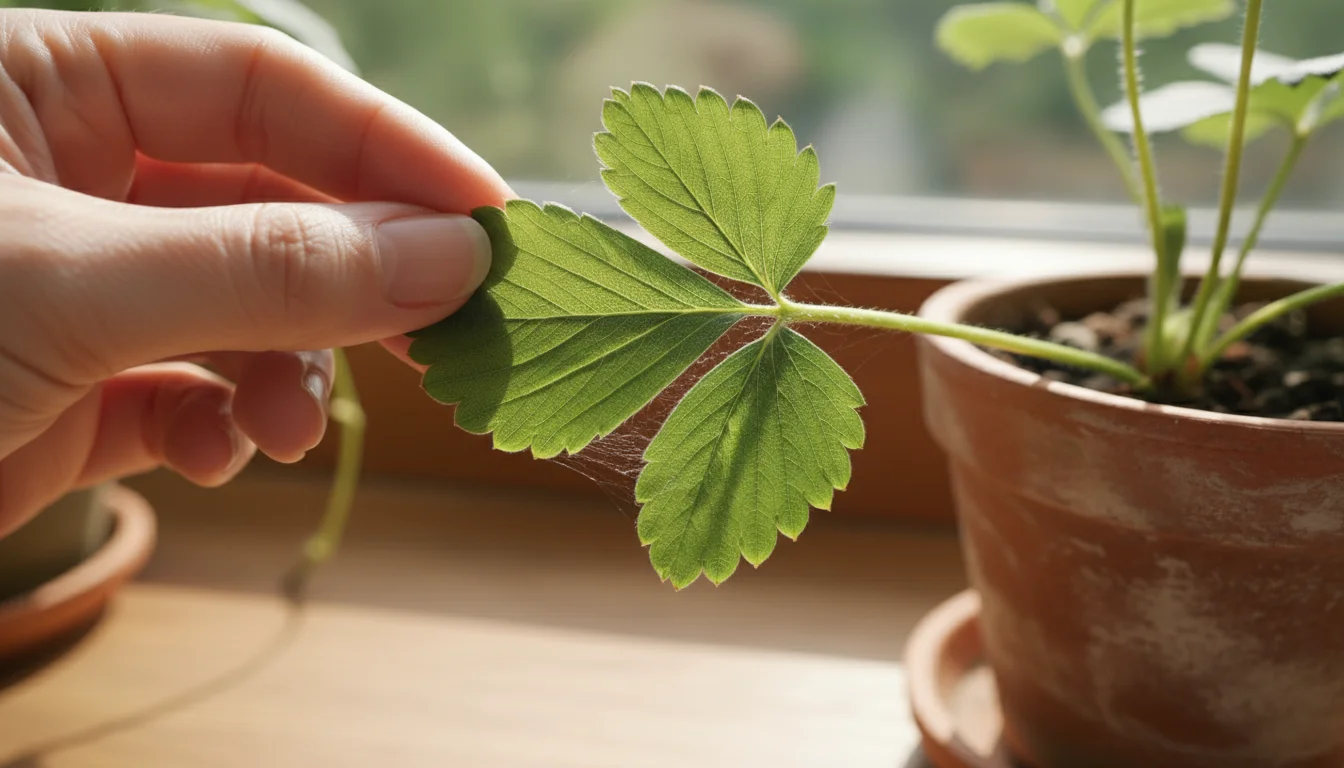
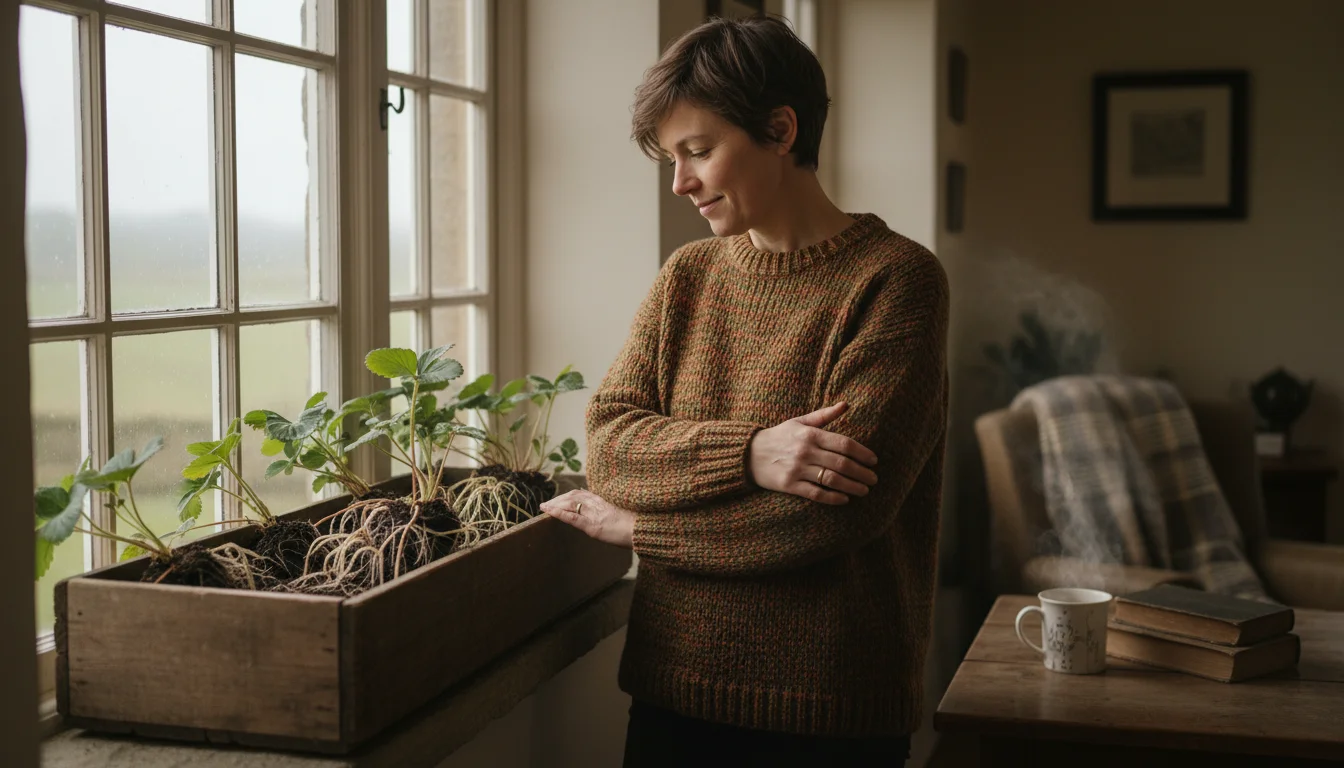
Unpack and Inspect
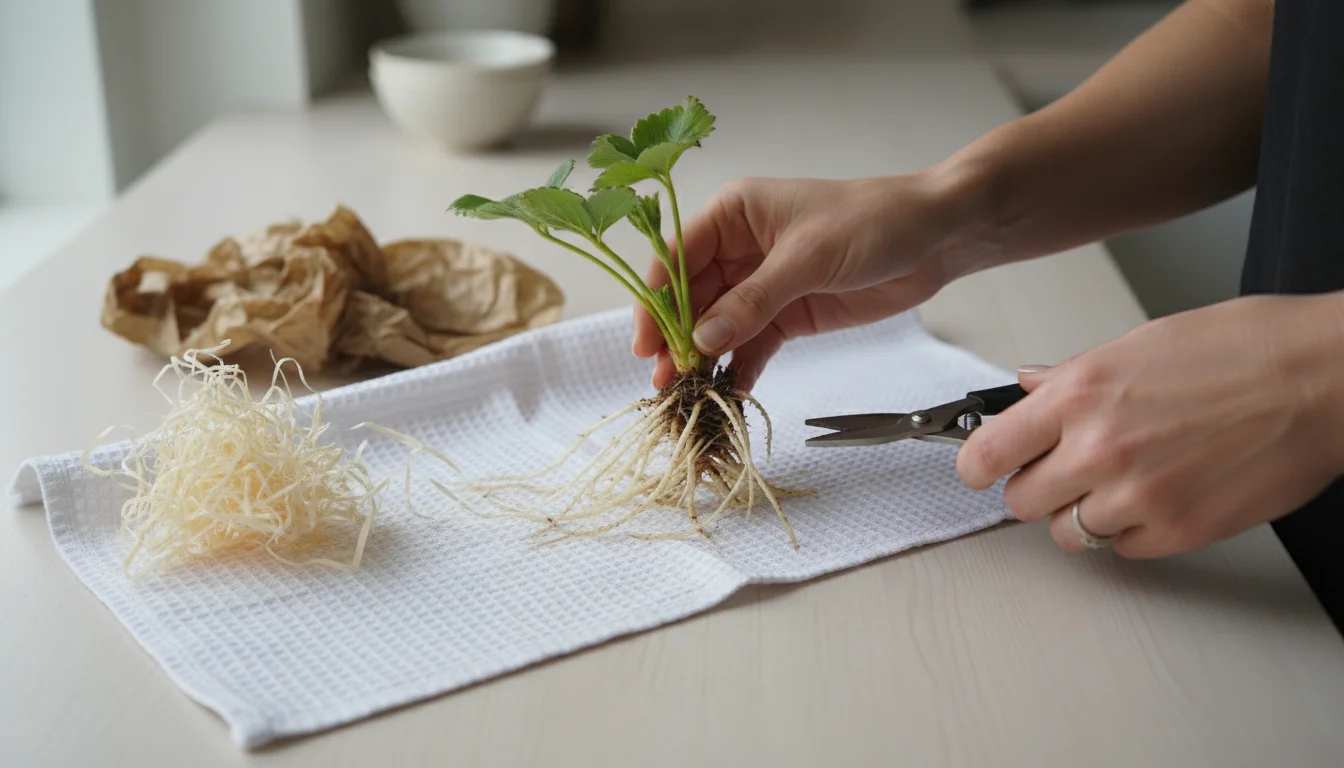
Carefully unpack your bare-root plants as soon as they arrive. Remove any packing materials. Inspect the roots and crowns (the central growing point where leaves emerge). The roots should look healthy, pliable, and light colored. If you see any broken or moldy roots, trim them off with clean scissors.
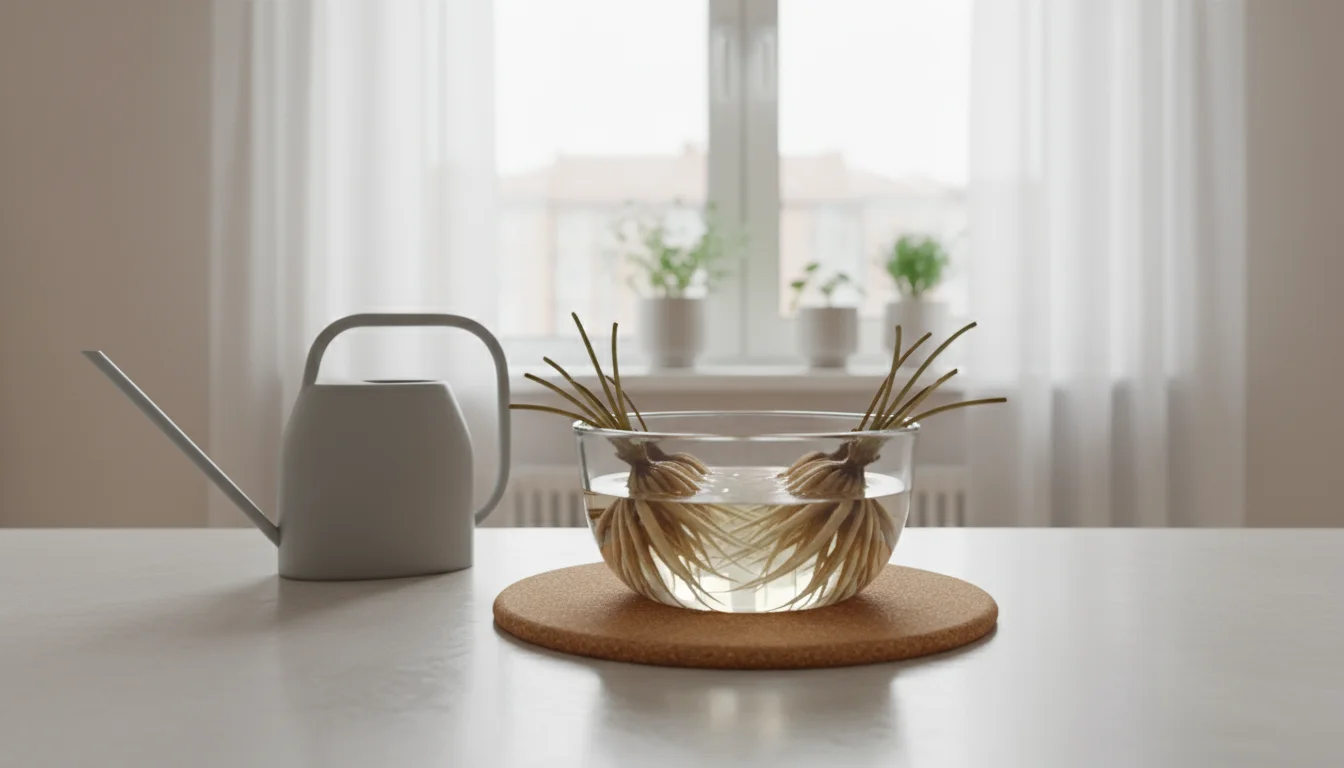
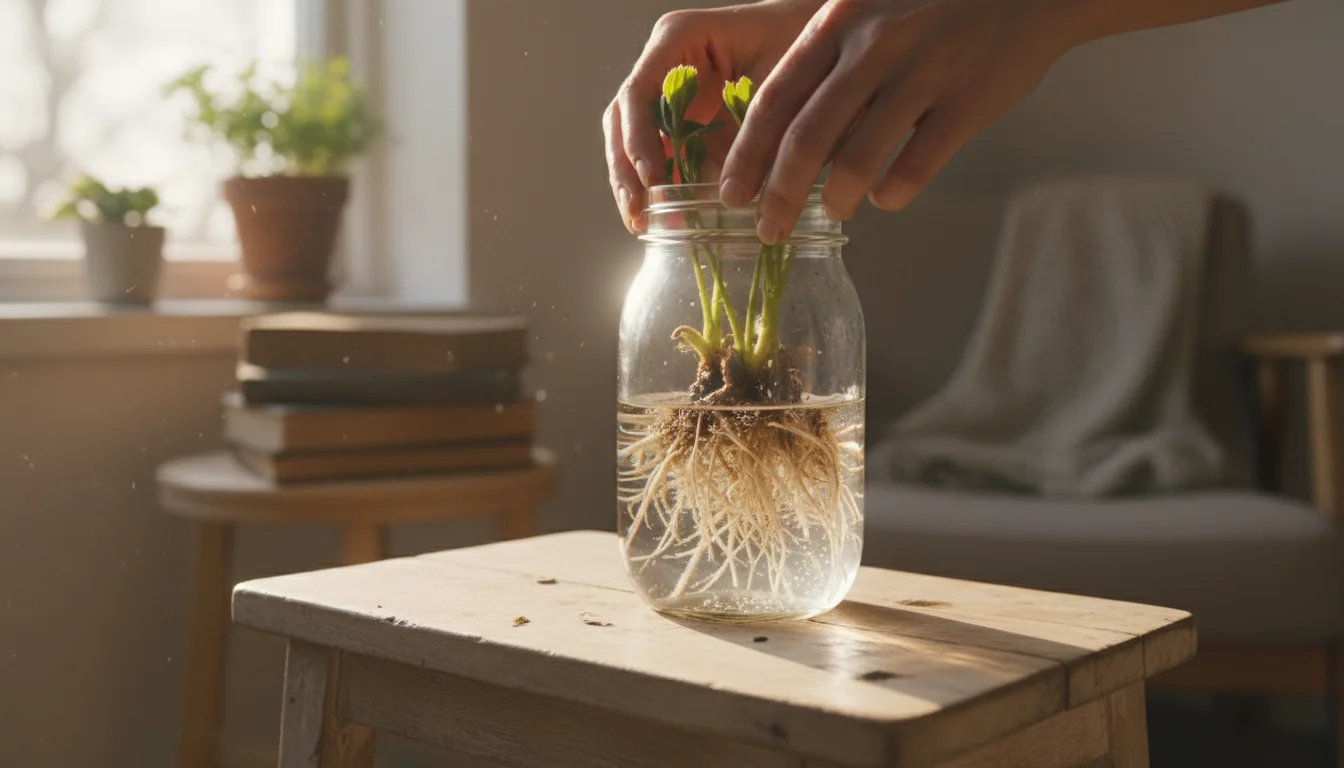
Rehydrate the Roots
Before planting, you need to rehydrate the roots. Place the roots in a bowl of room-temperature water for 30 minutes to an hour. This step plumps up the roots, helping them absorb moisture more effectively once planted. Avoid soaking them for more than a few hours, as prolonged submersion can be detrimental.
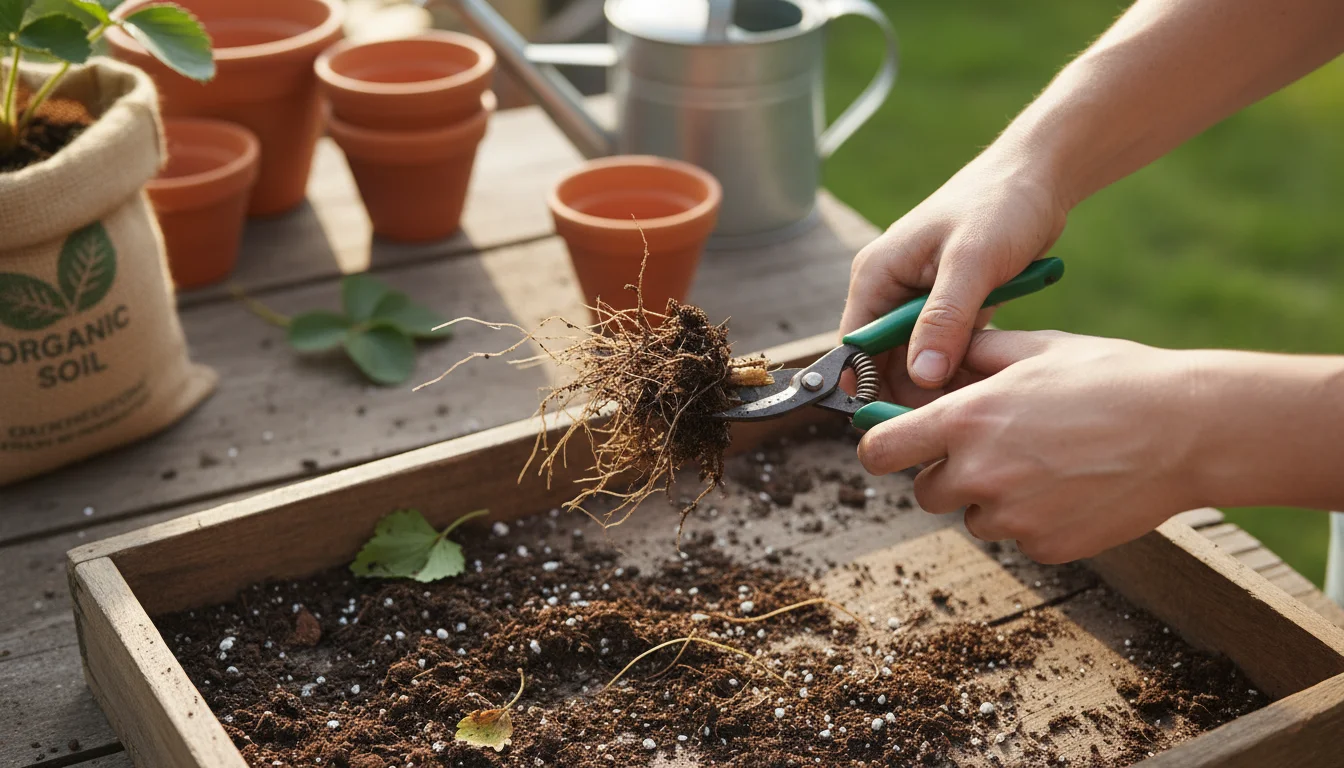
Trim Roots if Necessary
While the roots are soaking, observe their length. If the roots are excessively long, often tangled, or appear damaged, you can trim them slightly. Shorten them to about 4-6 inches (10-15 cm) using clean, sharp scissors. This encourages the plant to produce new feeder roots, which are more efficient at nutrient uptake.
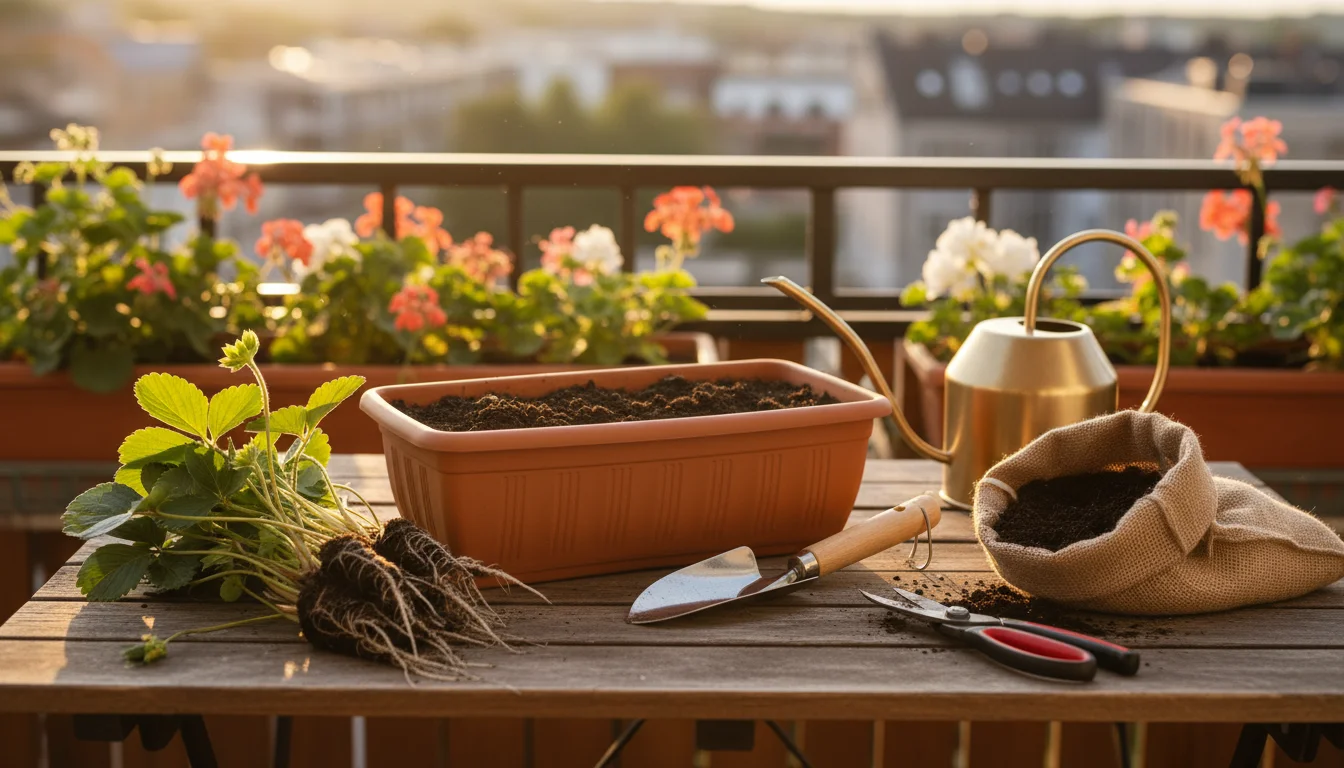
How to Plant Bare-Root Strawberries in Containers
Now that your plants are ready, it is time for the main event: planting them in your winter window box. Follow these steps carefully to ensure each strawberry plant has the best chance to thrive.
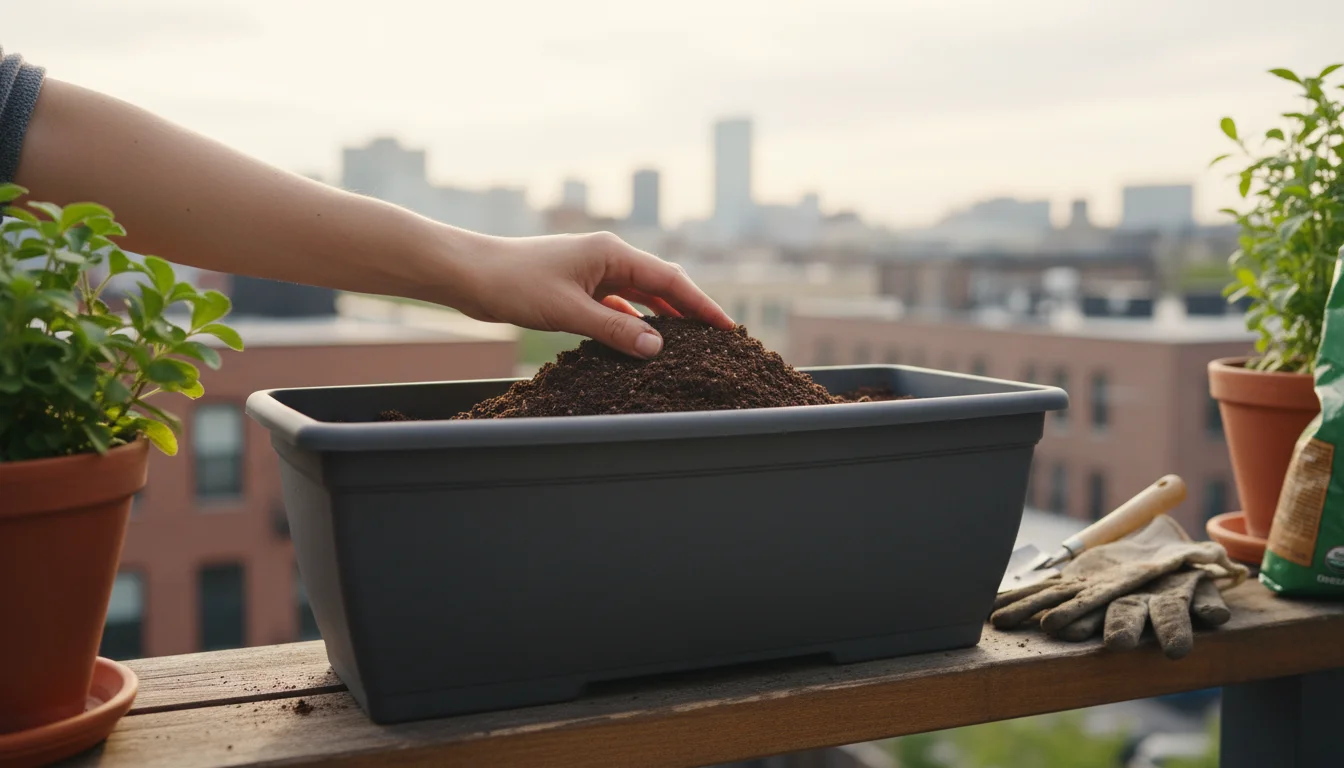
Step 1: Fill Your Window Box with Potting Mix
Fill your chosen window box with your high-quality potting mix, leaving about an inch (2.5 cm) of space from the rim. Do not compact the soil too much; you want it to remain light and airy. Gently tap the container a few times to settle the mix, removing large air pockets. Ensure your potting mix is slightly damp, not dry or soaking wet, before you begin planting.
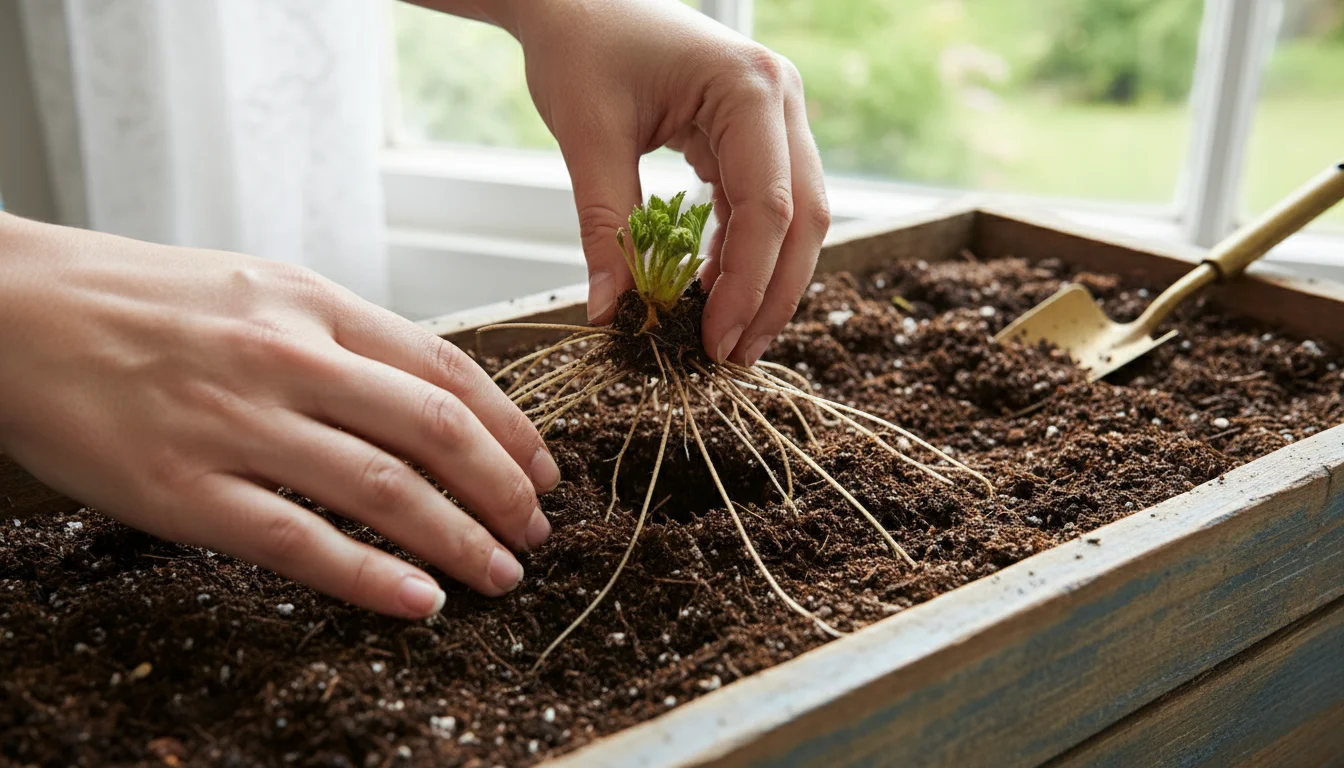
Step 2: Create Planting Mounds
For each strawberry plant, create a small mound of soil in the center of where you plan to plant it. The ideal spacing for strawberry plants in a window box is usually 6-8 inches (15-20 cm) apart. These mounds will provide a base for the roots.
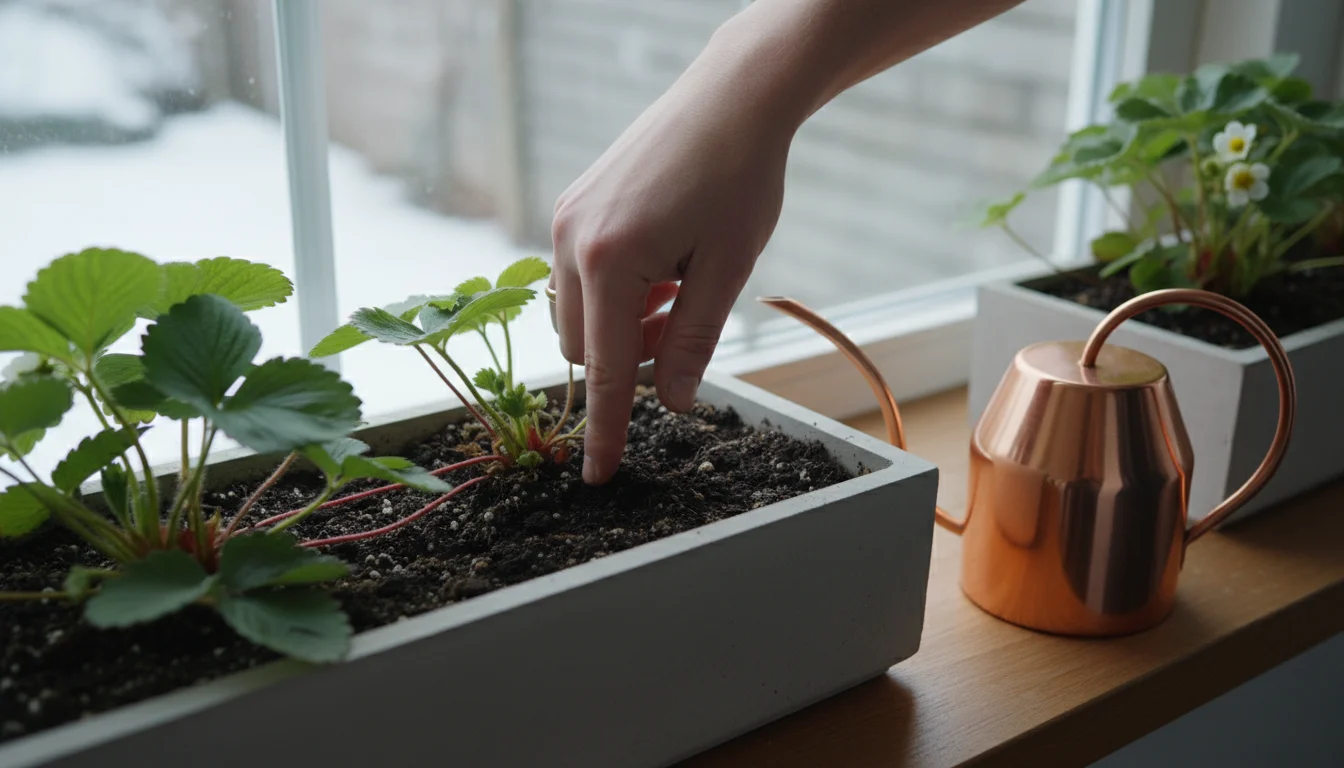
Step 3: Position the Strawberry Plant
Take one rehydrated bare-root strawberry plant. Spread its roots carefully over the mound you created. The goal is to ensure the crown of the plant, where the leaves emerge, sits precisely at soil level. If the crown is buried too deep, it can rot. If it is too high, the roots can dry out. This is perhaps the most critical part of planting bare root strawberries. Ensure the roots fan out around the mound, not bundled together.
Step 4: Backfill with Potting Mix
Gently add more potting mix around the fanned-out roots, covering them completely. Continue adding soil until the crown is exactly at soil level. Lightly press the soil around the plant to ensure good contact between the roots and the soil. Avoid heavy compaction. Repeat this process for all your strawberry plants, maintaining consistent spacing.
Step 5: Water Thoroughly
After planting all your bare-root strawberries, give them a good, thorough watering. Water until you see moisture draining from the bottom of the window box. This helps settle the soil around the roots and eliminates any remaining air pockets. It also provides the immediate hydration the plants need to begin active growth. Discard any water collected in the saucer after about 15-20 minutes to prevent roots from sitting in stagnant water.
Step 6: Provide Initial Light Conditions
Place your newly planted window box in its chosen sunny location. If using a grow light, turn it on now. Your plants will begin to awaken from dormancy and show new growth within a week or two, depending on the variety and environmental conditions.
Winter Care and Cultivation: Nurturing Your Indoor Strawberry Patch
Once your bare-root strawberries are planted, the real magic begins with consistent care. Your indoor winter window box provides a controlled environment, making it easier to manage than an outdoor patch. Follow these guidelines for optimal health and abundant harvests.
Lighting: The Powerhouse of Production
As discussed, 6-8 hours of direct sun is essential. If natural light is lacking, a grow light for 12-14 hours daily will be necessary. Position the light source 6-12 inches (15-30 cm) above the foliage. Adjust the light height as your plants grow to maintain this distance. Consistent light directly translates to more flowers and more berries.
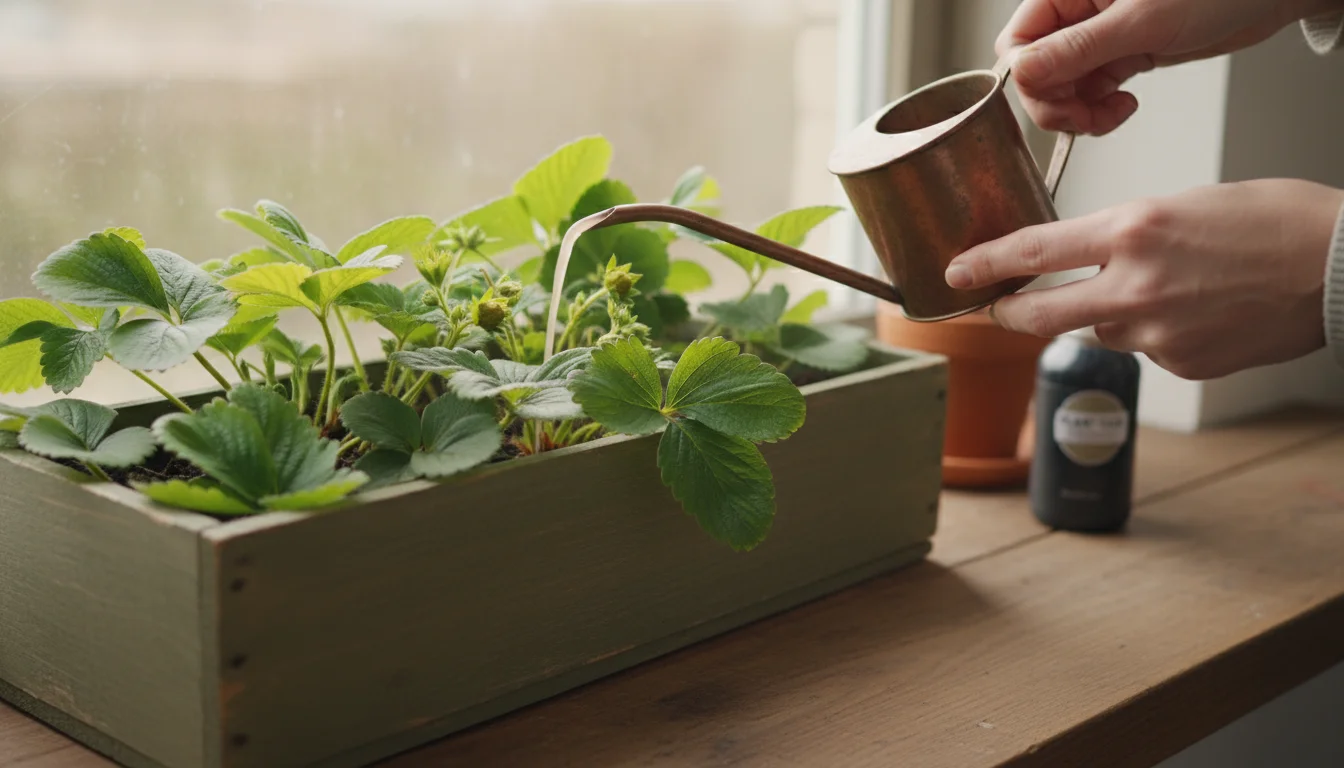
Watering: Finding the Balance
Container plants dry out faster than garden beds, but overwatering causes root rot. Feel the top inch of soil; if it feels dry, it is time to water. Water thoroughly until moisture drains from the bottom of the box. Empty the saucer immediately to prevent standing water. The frequency of watering depends on your indoor humidity, window box material, and plant size. Aim for consistently moist, but not soggy, soil. Typically, you might water every 2-4 days.
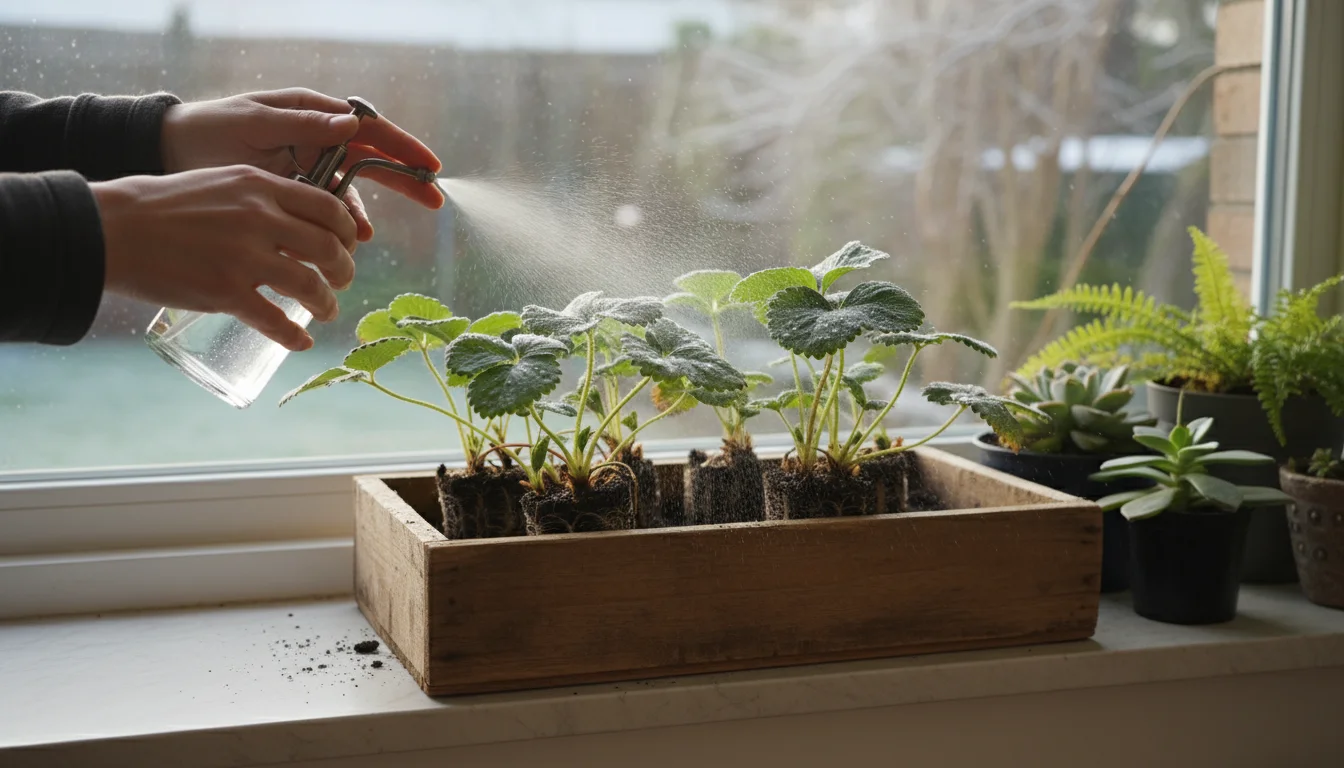
Humidity: Mimicking Their Natural Environment
Indoor heating can lead to very dry air, which strawberries dislike. Increase humidity around your plants by misting them daily with a spray bottle or placing the window box on a pebble tray filled with water. As the water evaporates, it raises the humidity locally around the plants. Grouping plants can also create a microclimate with higher humidity.
Fertilizing: Feeding for Fruit
Once your strawberry plants begin to show vigorous new growth (usually 2-3 weeks after planting), start a fertilization regimen. Use a balanced liquid fertilizer (e.g., 5-10-5 or 10-10-10) at half strength every 2-4 weeks. Follow the product instructions. Over-fertilizing can burn roots or encourage excessive leafy growth at the expense of fruit. Once flowering begins, consider switching to a fertilizer with a slightly higher phosphorus (P) and potassium (K) content to support blooming and fruiting.
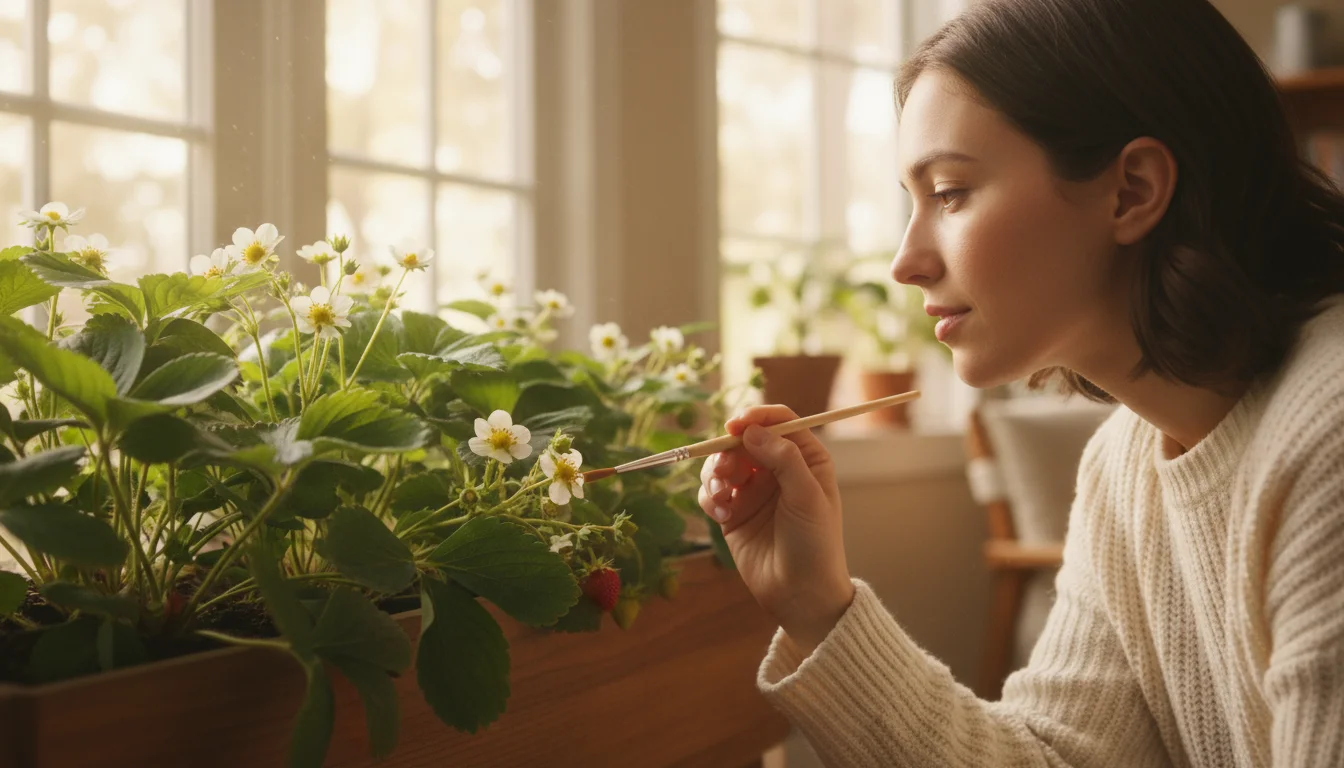
Pollination: The Indoor Challenge
Outdoors, bees and other insects handle pollination. Indoors, you are the pollinator. When flowers appear, gently brush a small, soft paintbrush or cotton swab inside each flower, moving pollen from the anthers (male parts) to the stigma (female parts). You can also gently shake the plants a few times a day to dislodge pollen. Pollinate every flower you see to ensure fruit development.
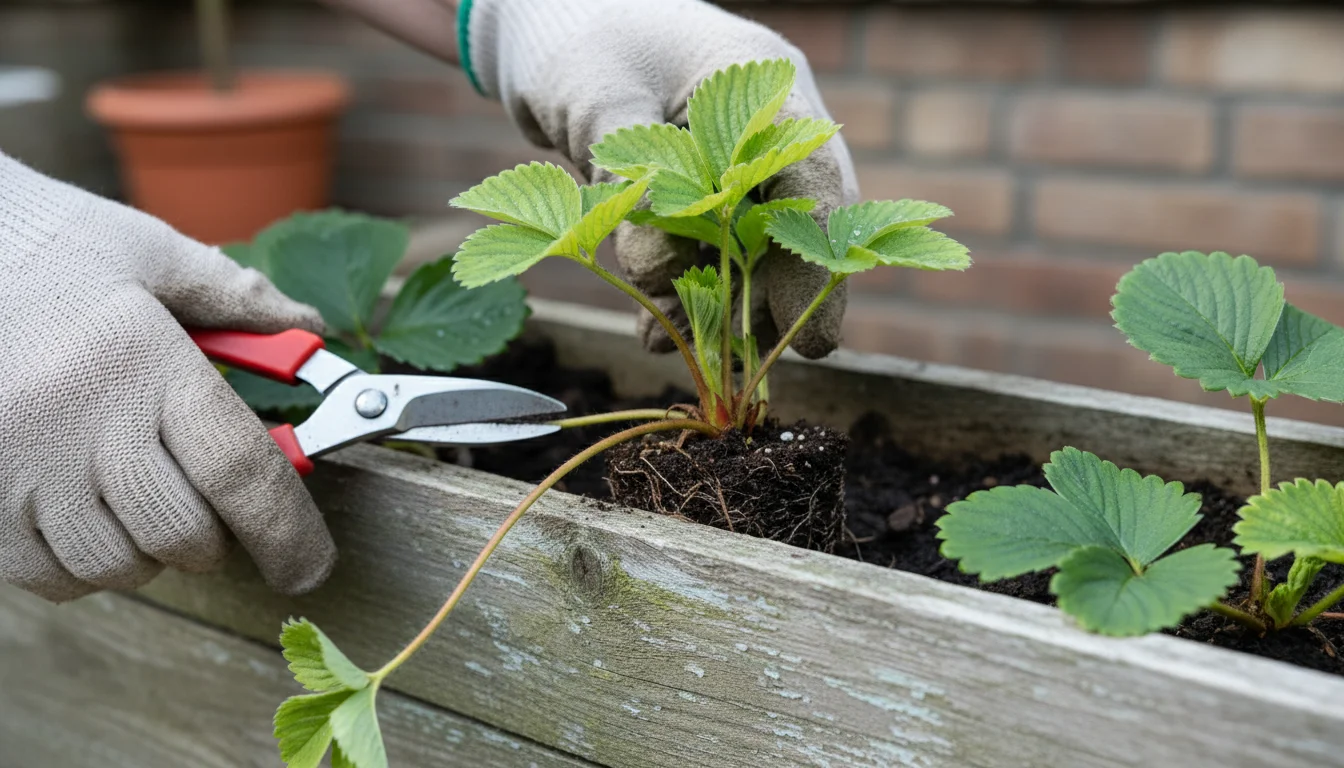
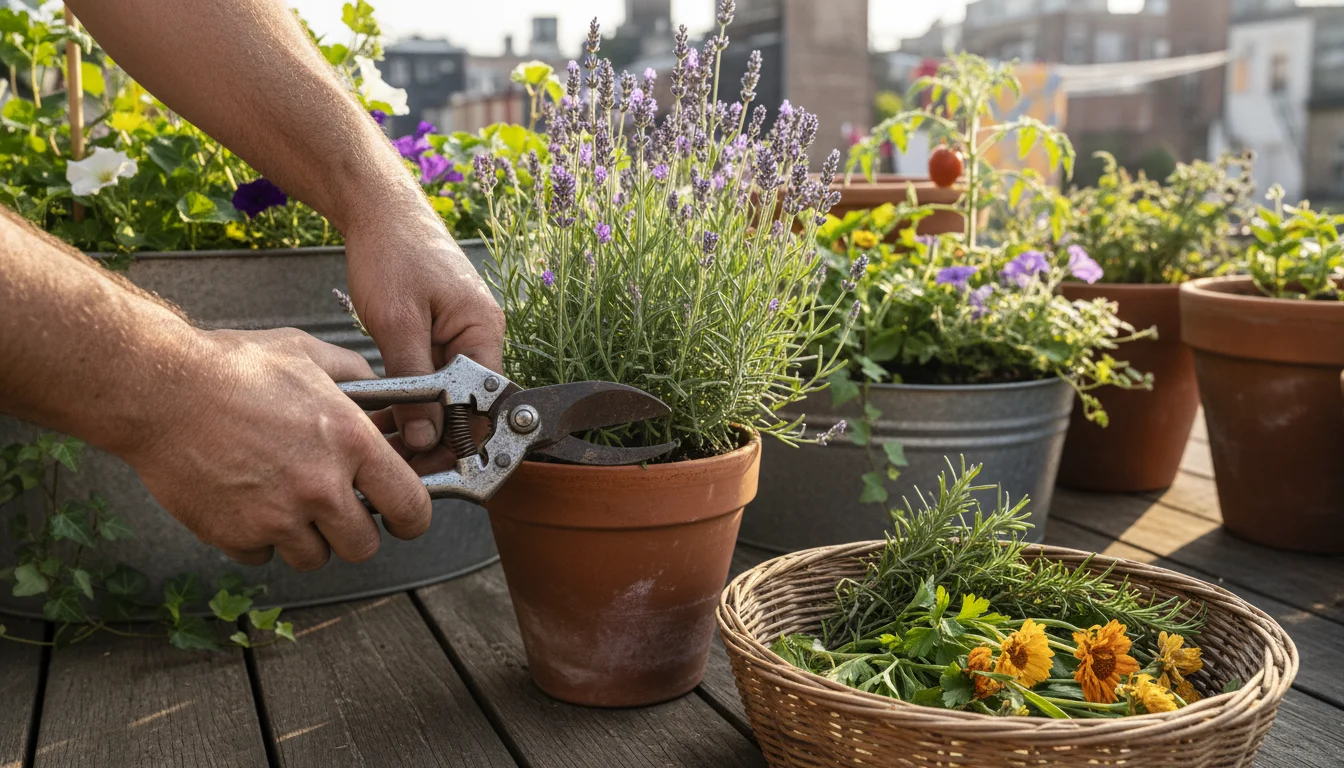
Pruning and Maintenance: Keeping Things Tidy
- Remove Dead Leaves: Trim any yellowing or dead leaves to redirect the plant’s energy to healthy growth.
- Manage Runners: Everbearing and day-neutral varieties produce fewer runners than June-bearing types, but they will still produce some. Unless you want to propagate new plants, snip off runners as they appear. This focuses the plant’s energy on fruit production rather than creating new plants, ensuring better yields from your existing ones.
- Thinning Fruit (Optional): If you see many small fruits developing, you might thin them slightly to allow the remaining fruits to grow larger and sweeter.
Troubleshooting Common Challenges: Keeping Your Strawberries Happy
Even with the best intentions, you might encounter a few hurdles when growing strawberries indoors. Understanding common problems and their solutions ensures your winter window box remains productive.
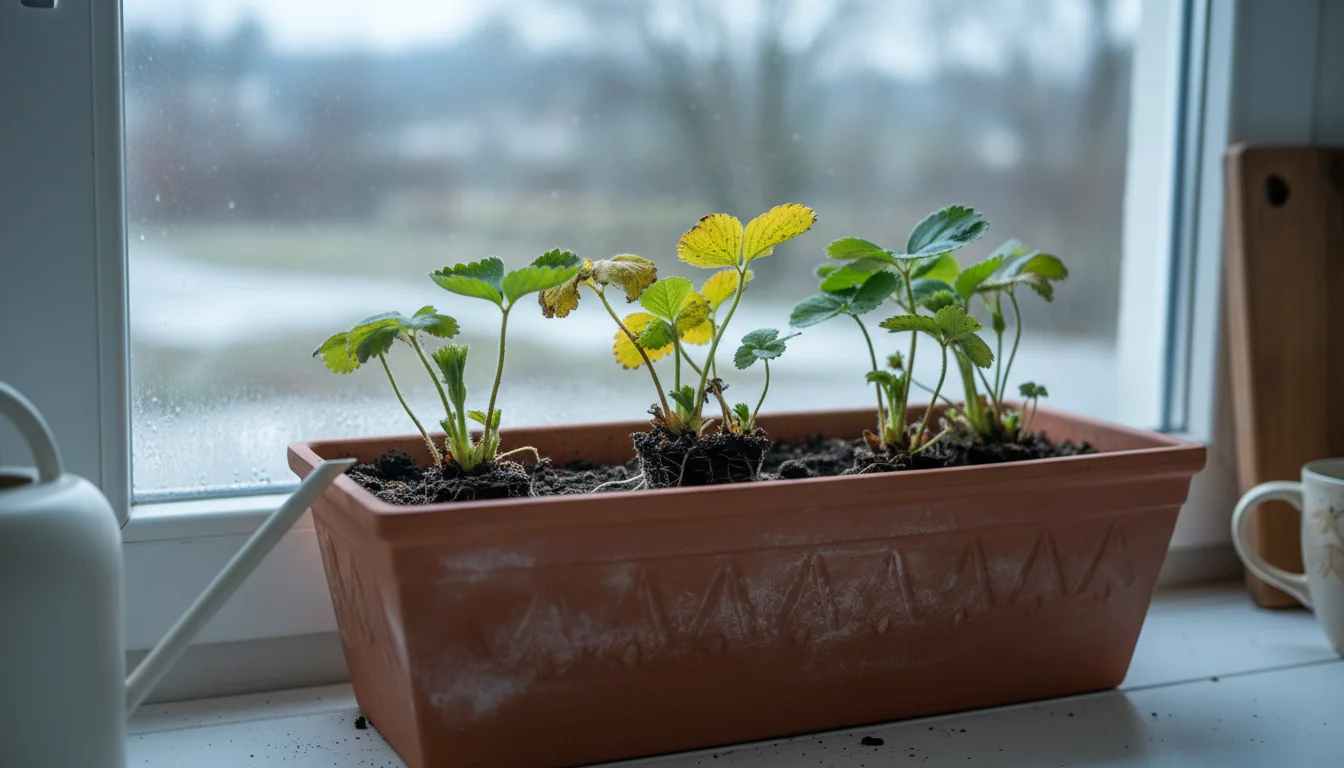
Yellowing Leaves
If your strawberry leaves turn yellow, several factors could be at play:
- Nutrient Deficiency: This often indicates a lack of nitrogen. Ensure you are fertilizing regularly with a balanced fertilizer.
- Overwatering: Yellowing leaves can signal root rot from soggy soil. Check drainage, reduce watering frequency, and ensure the saucer is emptied.
- Lack of Light: Insufficient light can also stress plants. Increase light exposure or add a grow light.
Small or No Fruit
If you have flowers but no fruit, or tiny, malformed berries, consider these issues:
- Poor Pollination: This is the most common cause indoors. Manually pollinate your flowers diligently.
- Insufficient Light: Low light levels lead to poor flowering and fruit set. Ensure 6-8 hours of strong light.
- Nutrient Imbalance: Too much nitrogen can promote leafy growth at the expense of flowers and fruit. Adjust your fertilizer to one with higher phosphorus and potassium during flowering.
Pests: Tiny Intruders
Indoor plants are less susceptible to pests than outdoor ones, but they are not immune. Common indoor strawberry pests include:
- Spider Mites: You might see fine webbing and tiny red or brown dots on the undersides of leaves. Increase humidity, spray plants with insecticidal soap, or use neem oil.
- Aphids: Small, green, or black insects clustered on new growth. Wipe them off with a damp cloth, spray with insecticidal soap, or use a strong jet of water (if feasible without damaging the plant).
Inspect your plants regularly, especially the undersides of leaves, to catch pests early. Timely action prevents infestations from getting out of hand. Use organic pest control methods suitable for edible plants.
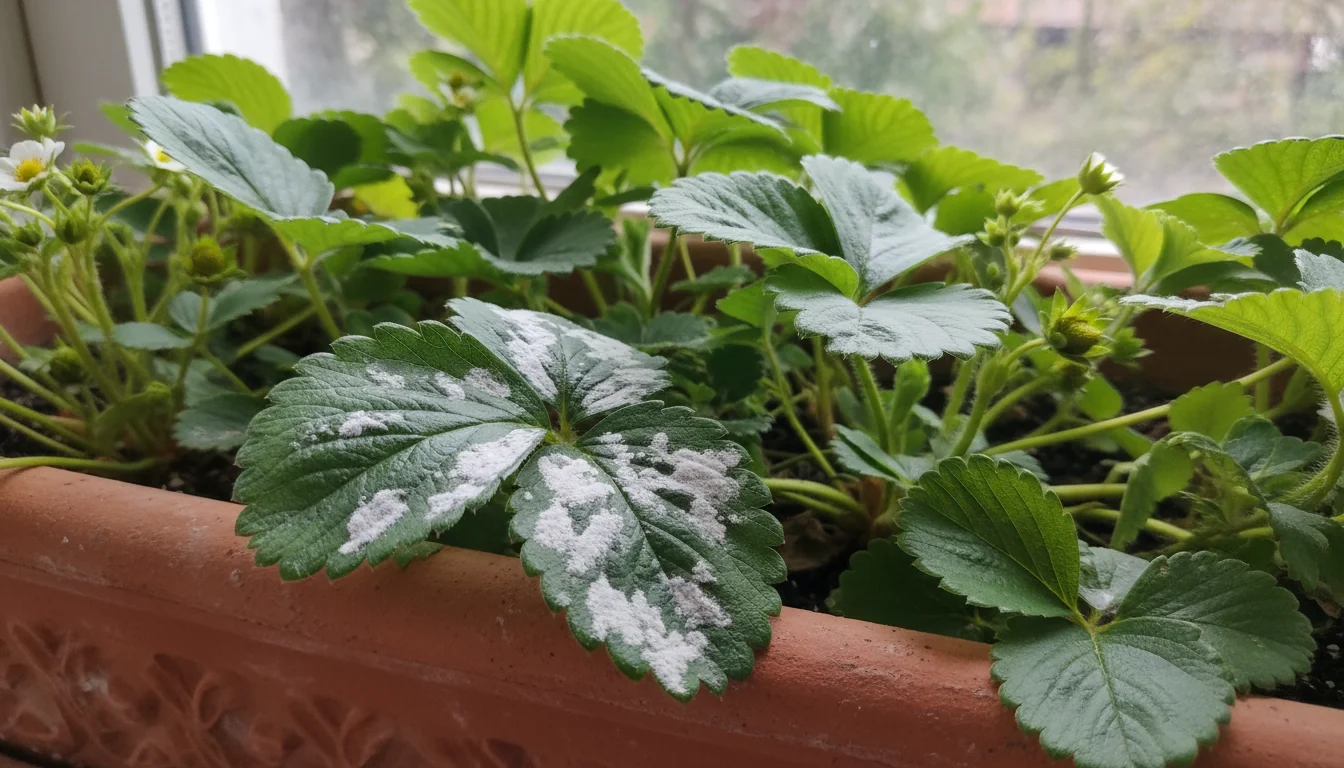
White Powdery Mildew
This fungal disease appears as white, powdery spots on leaves. It thrives in humid, stagnant conditions. Ensure good air circulation around your plants, avoid overhead watering, and consider applying a fungicide specifically for powdery mildew if the problem persists. Increasing air circulation around your window box can be achieved by ensuring adequate space between plants and, if possible, allowing some air movement in the room.
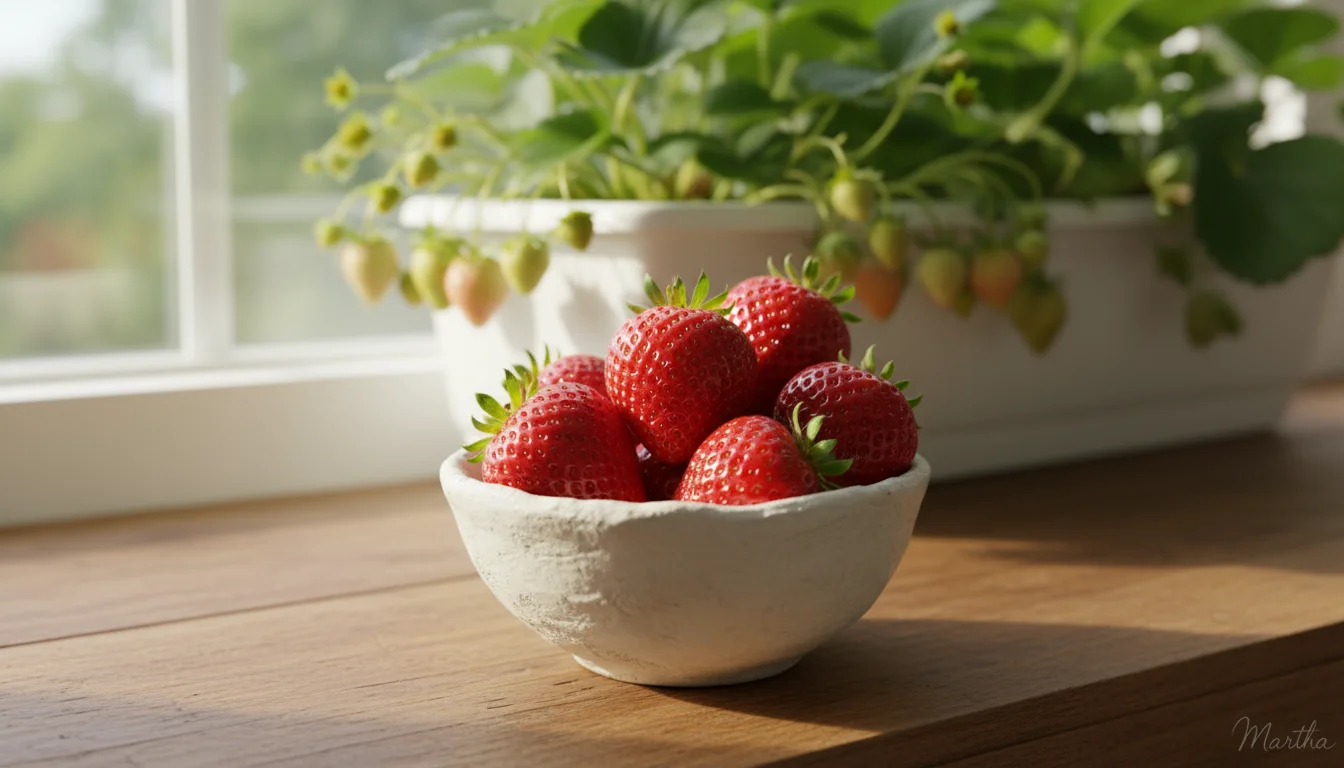
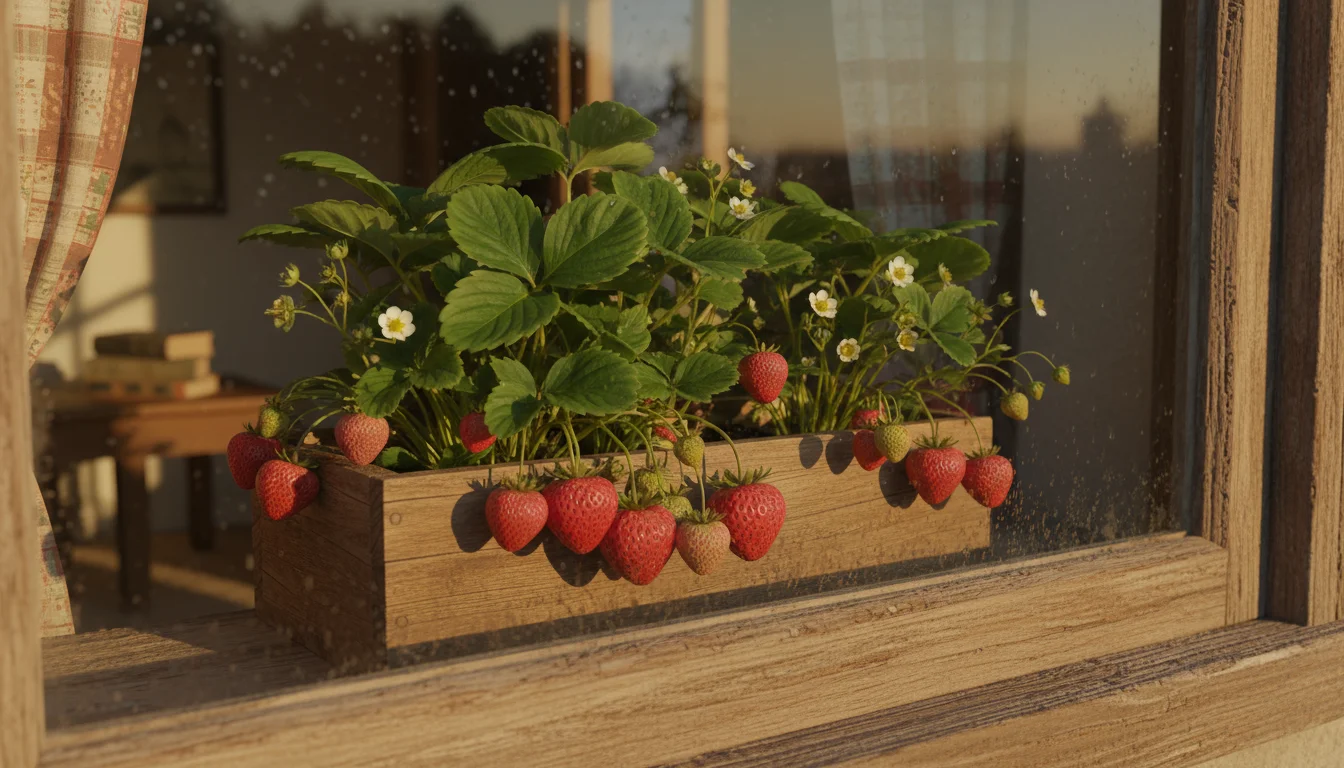
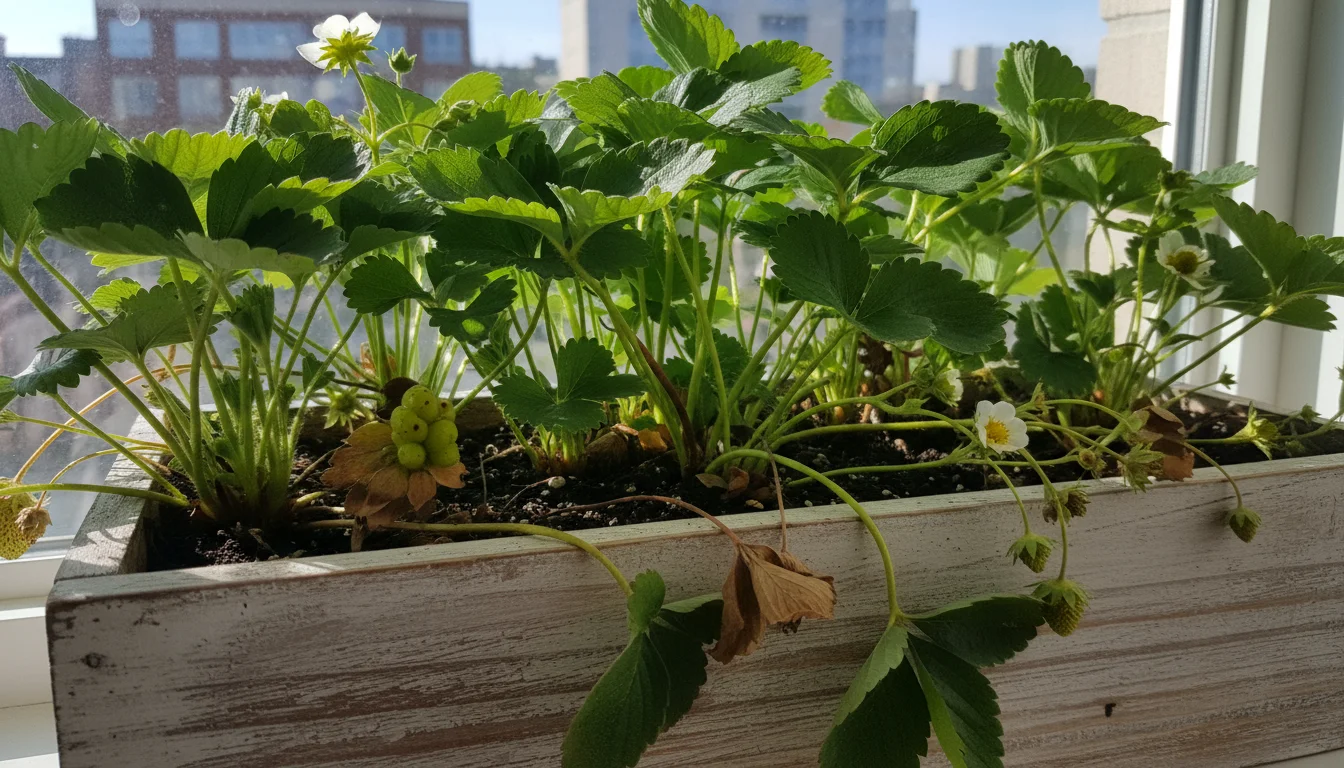
Harvesting Your Indoor Berries: The Sweet Reward
The most exciting part of growing strawberries is, of course, the harvest. With day-neutral or everbearing varieties grown indoors, you can enjoy a continuous, albeit smaller, stream of fresh berries throughout the winter. Knowing when and how to harvest ensures the sweetest flavor and encourages further production.
To further enhance your harvest, you can also grow herbs indoors to have fresh, home-grown seasonings available all season.
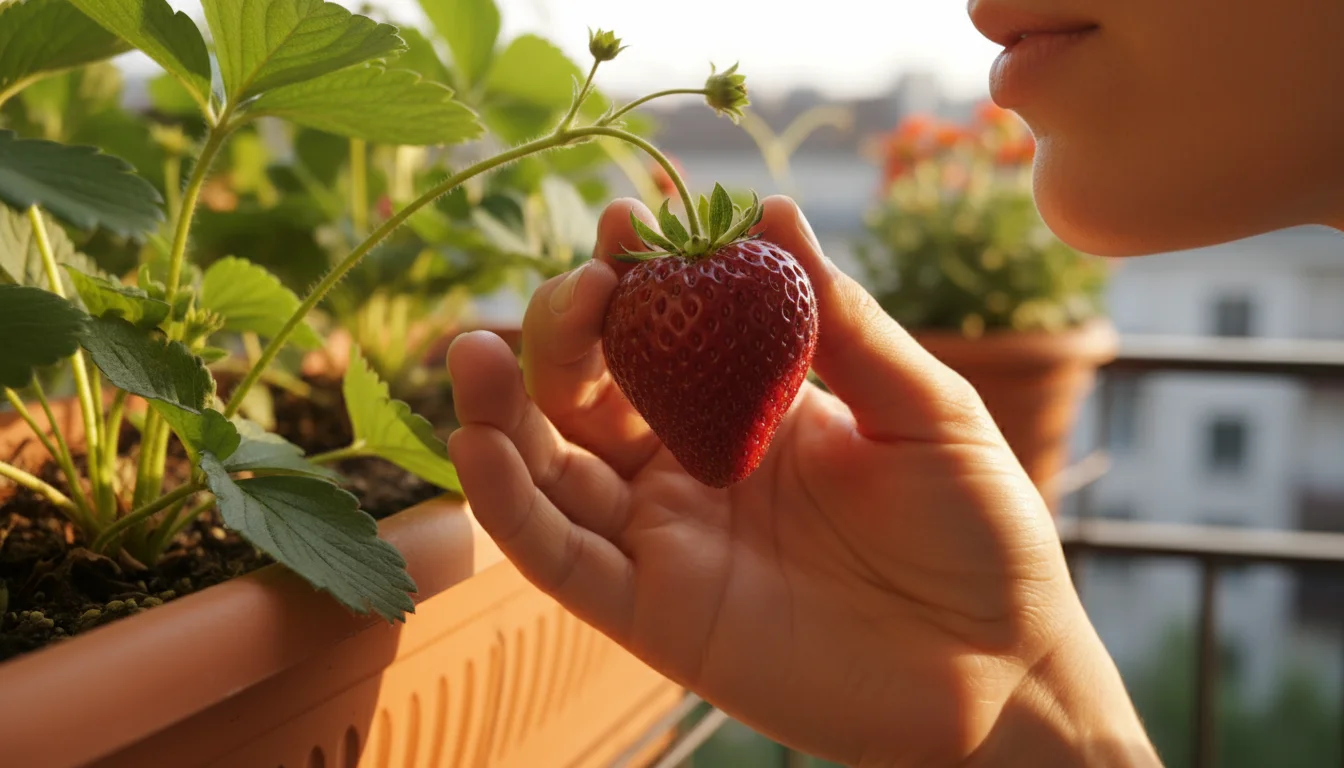
When to Harvest
Strawberries are ready for harvest when they are fully red and fragrant. Do not pick them prematurely; they will not ripen further off the plant and will lack flavor. The sugar content peaks when the berry is entirely colored, usually a rich, deep red. Some varieties might have a small green tip, which is normal. Trust your eyes and your nose. A ripe strawberry will smell wonderfully sweet.

How to Harvest
Use clean scissors or small pruners to snip the stem just above the cap (the green leafy part). This minimizes damage to the plant and prevents bruising the delicate fruit. You can also gently twist and pull the berry, ensuring the stem and cap remain attached. Avoid tugging forcefully on the plant itself, as this can damage flowers or developing fruits.
Frequency of Harvest
With day-neutral varieties, you will likely harvest a few berries every day or every few days, rather than a single large flush. Check your plants daily for ripe fruit. Regular harvesting encourages the plant to produce more flowers and berries, extending your yield. Enjoy your fresh, home-grown winter strawberries, whether in a smoothie, on yogurt, or simply by themselves.

Beyond Winter: Transitioning Your Strawberries Outdoors (Optional)
Once spring arrives and outdoor temperatures stabilize, you might consider moving your indoor strawberry plants outdoors. This can extend their productive life and potentially lead to larger yields as they benefit from natural sunlight and pollinators. However, this process requires careful acclimatization, known as hardening off.
If you decide to move your plants, learning how to overwinter container plants properly will help ensure they survive the transition to their permanent outdoor home.
Learning how to overwinter container plants will ensure your strawberries survive the transition back to cooler outdoor temperatures if you move them later.

Hardening Off: The Gentle Transition
Do not move your indoor plants directly outside. The sudden change in light intensity, temperature, and wind can shock them, causing significant stress or even death. Instead, gradually introduce them to outdoor conditions over a period of 7-14 days.
- Start with Shade: Begin by placing your window box in a sheltered, shady spot outdoors for a few hours each day, bringing it back inside at night.
- Increase Exposure: Over the next few days, gradually increase the amount of time the plants spend outdoors and slowly introduce them to more direct sunlight. Move them from shade to partial shade, then to morning sun, and finally to full sun.
- Monitor Weather: Pay close attention to nightly temperatures. If there is a risk of frost, bring them indoors.
- Full-Time Outdoors: After about two weeks, if all goes well and the threat of frost has passed, your strawberry plants should be ready for full-time outdoor living.
Ongoing Outdoor Care
Once outside, continue to provide consistent watering, especially during dry spells. Fertilize regularly, following product guidelines for outdoor container plants. Protect them from severe weather or extreme heat if necessary. Your window box can continue to produce berries throughout the spring and summer, becoming a beautiful and productive addition to your patio or balcony.
Frequently Asked Questions
Are bare-root strawberries difficult to grow for beginners?
No, bare-root strawberries are surprisingly easy to grow, even for beginners. Their dormant state makes them resilient, and proper planting, as outlined in this guide, sets them up for success. The key steps involve adequate soaking before planting and correct crown placement. Once established, they require consistent light, water, and occasional feeding. Many new gardeners find growing strawberries from bare roots a rewarding and straightforward experience.
Can I plant strawberries in winter indoors without a grow light?
You can plant strawberries in winter indoors without a grow light, but your success depends heavily on natural light availability. Strawberries require 6-8 hours of direct, bright sunlight daily to flower and produce fruit. A south-facing window with unobstructed light can sometimes suffice. However, in most northern climates or during shorter winter days, a grow light significantly increases your chances of a successful harvest. Without enough light, plants may grow leggy, produce few flowers, or yield no fruit.
How long does it take for bare-root strawberries to produce fruit indoors?
Bare-root strawberries typically begin producing fruit indoors within 8-12 weeks after planting. This timeline can vary based on the specific variety, the quality of care they receive, and the environmental conditions you provide. Day-neutral varieties, which are ideal for indoor cultivation, tend to flower and fruit continuously once established, offering a steady supply of berries over a prolonged period.
Can I use regular garden soil for my window box?
You should not use regular garden soil for your window box. Garden soil is too dense and heavy for containers. It compacts easily, preventing proper air circulation to the roots and leading to poor drainage, which can cause root rot. Always use a high-quality, well-draining potting mix specifically formulated for containers. Potting mix provides the necessary aeration and moisture retention that container-grown plants require for healthy growth.
How many strawberry plants can I fit in a typical window box?
The number of strawberry plants you can fit in a window box depends on the size of your box. For optimal growth and air circulation, space strawberry plants 6-8 inches (15-20 cm) apart. For example, a 24-inch (60 cm) long window box could comfortably hold 3-4 plants, while a 36-inch (90 cm) box could accommodate 4-6 plants. Providing adequate space prevents overcrowding and ensures each plant receives enough light and nutrients.
For trustworthy gardening information, visit:
Missouri Native Plant Society, Wild Ones — Native Plants, Natural Landscapes, Pollinator Partnership and International Society for Horticultural Science (ISHS). These organizations provide expert, research-based advice for gardeners at all levels.
Disclaimer: This article is for informational purposes only and is not a substitute for professional gardening advice. Always consult local extension services or horticulture experts for region-specific guidance.

Leave a Reply