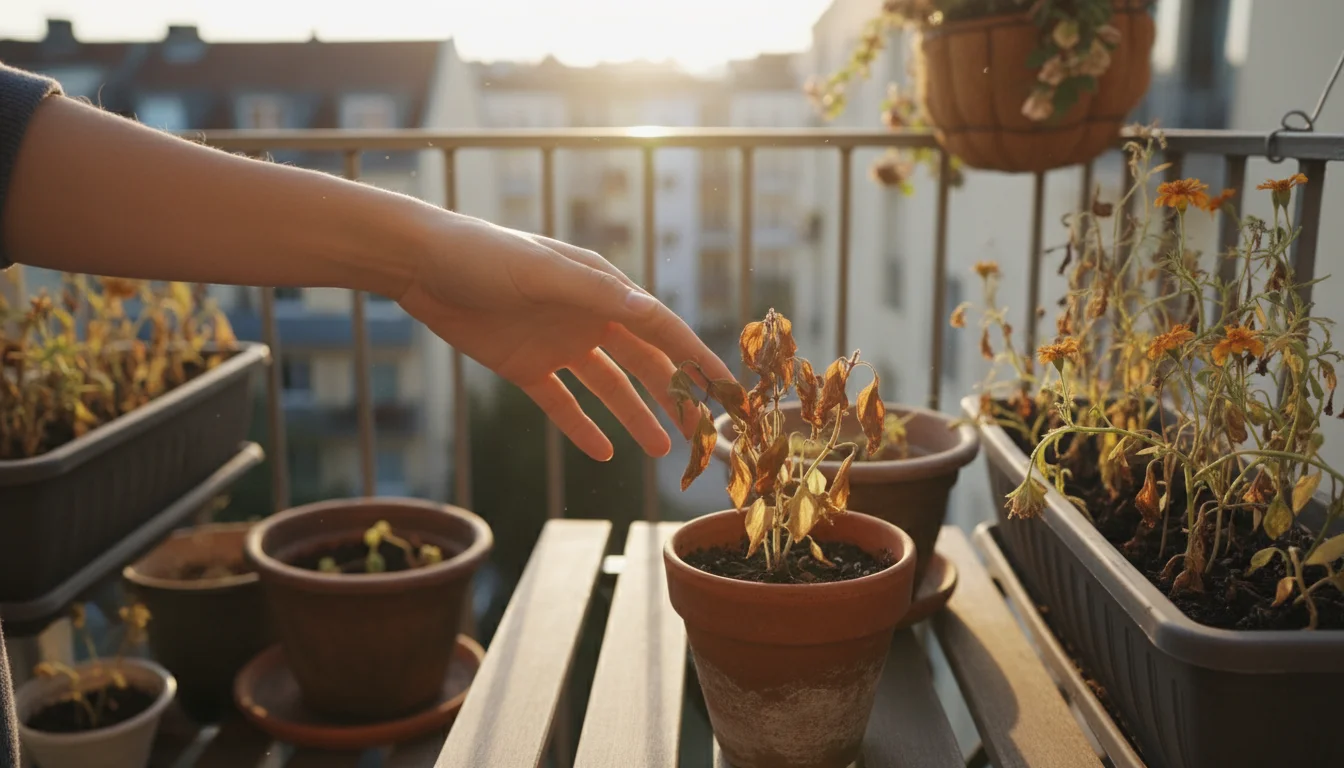
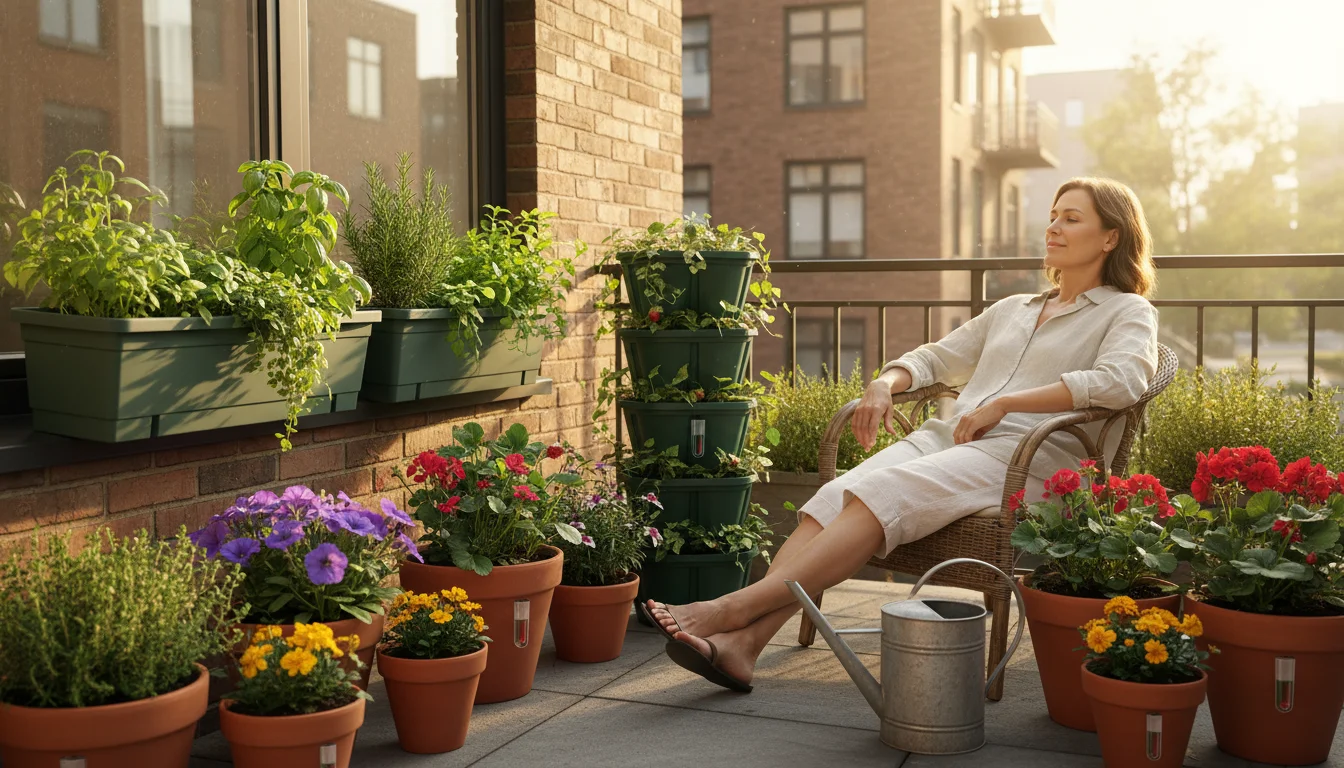
Bringing your beloved houseplants indoors for the cooler fall and winter months is a common practice for gardeners with limited space, especially those relying on balconies, patios, and small yards. You spend months nurturing them outdoors, enjoying their vibrant growth and lush foliage. Suddenly, after moving them inside, you notice a disheartening scene: leaves turning yellow, then brown, and finally dropping off, littering your floor. This experience, often called “houseplant shock,” can feel alarming, leaving you wondering if you did something wrong. You are not alone; this is a perfectly normal, albeit frustrating, reaction from many plants as they adjust to a drastically different environment.
Understanding why your plants react this way helps you proactively address their needs and minimize the stress they experience. This guide provides practical, actionable insights to help you diagnose the issues, prevent excessive leaf drop, and ensure your plants thrive indoors all winter long. We will cover everything from light adjustments to pest control, equipping you with the knowledge to be a confident indoor gardener.
Understanding Houseplant Shock: Why Moving Indoors Causes Leaf Drop
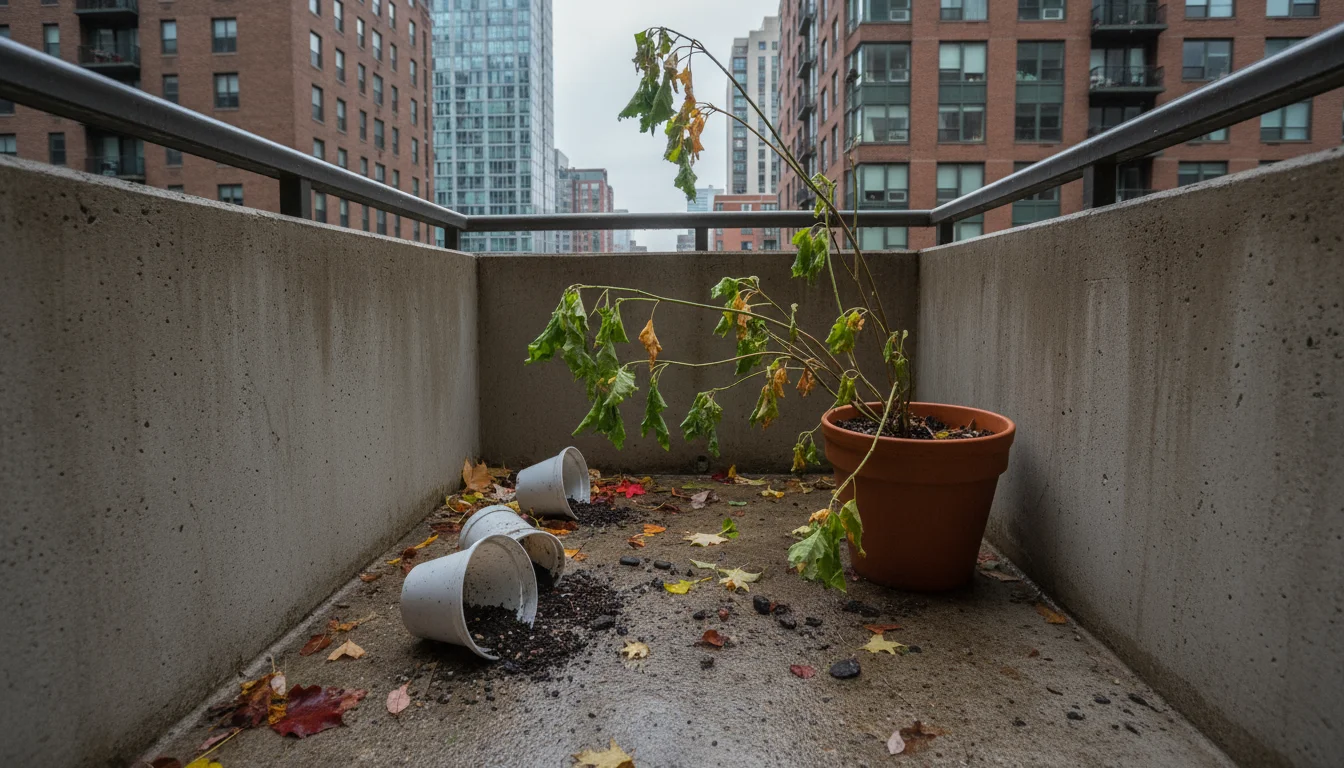
When you move your plants from an outdoor environment to an indoor one, they experience a significant shift in their living conditions. This abrupt change triggers what gardeners call “houseplant shock.” Imagine yourself suddenly moving from a sunny, breezy beach to a dimly lit, still room; you would need time to adjust, and so do your plants. This shock is the primary reason for preventing leaf drop when bringing plants indoors.
In extreme cases where the transition happens too quickly, you might need a winter emergency recovery guide to bring your plant back from the brink.
Outdoors, plants benefit from abundant, direct, and indirect sunlight that changes in intensity throughout the day. Air circulation is constant, providing fresh carbon dioxide and deterring pests. Humidity levels fluctuate naturally, often higher than typical indoor environments. Temperatures vary but usually remain within a comfortable range for tropical or semi-tropical plants.
Indoors, the situation is entirely different. Even your brightest window offers significantly less light than an outdoor shady spot. Air movement diminishes drastically, leading to stagnant conditions. Heating and air conditioning systems often strip moisture from the air, creating a very dry atmosphere. Temperatures, while stable, might not be ideal, and sudden drafts from windows or doors can cause stress.
Your plant’s immediate response to these changes is often to shed leaves. Think of it as a survival mechanism. Leaves are a plant’s primary sites for photosynthesis, the process of converting light into energy. When light levels suddenly drop, the plant realizes it can no longer support all its existing foliage efficiently. It sheds older or less efficient leaves to conserve energy and resources, directing them toward new growth better adapted to the lower light conditions. This reallocation of resources explains why you might see yellow leaves on houseplants after the move. It is a natural process, but minimizing the severity of this leaf drop is your goal.
This initial shedding, though alarming, usually signals adaptation. Your plant is simply adjusting its internal machinery to cope with the new reality. Overwintering houseplants successfully means supporting them through this transition. By understanding these fundamental environmental shifts, you can take proactive steps to mitigate their impact and help your plants recover quickly.

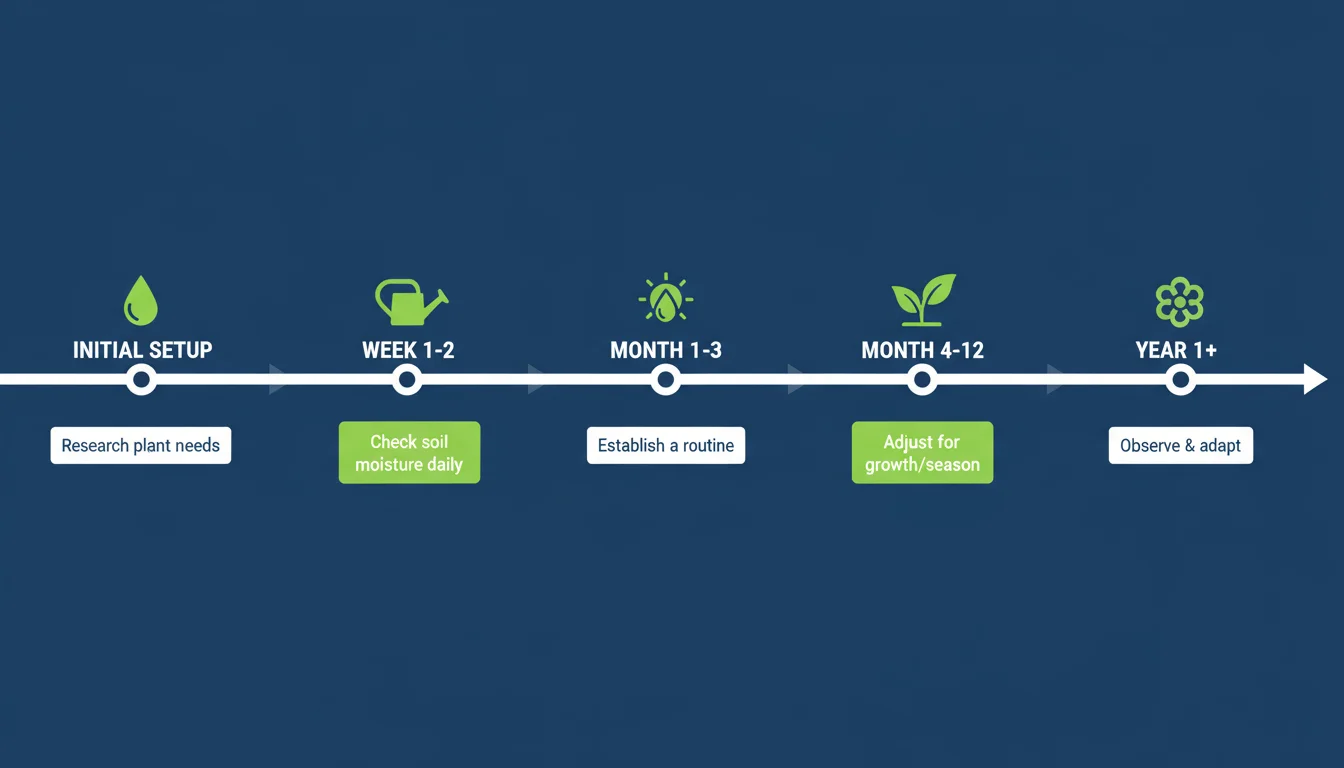
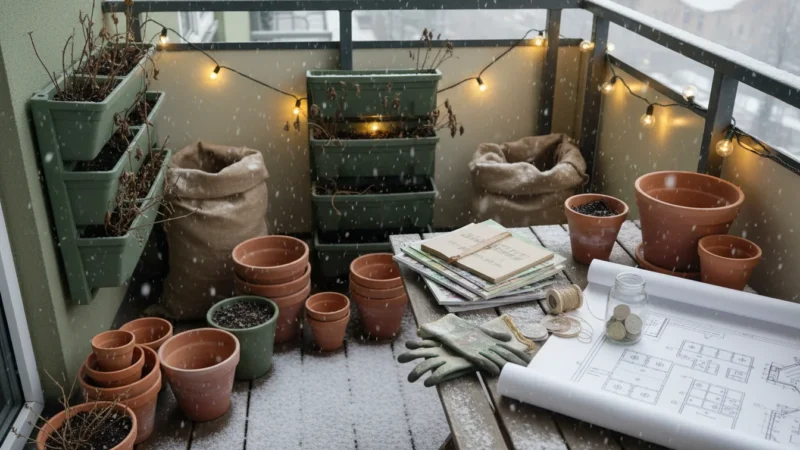
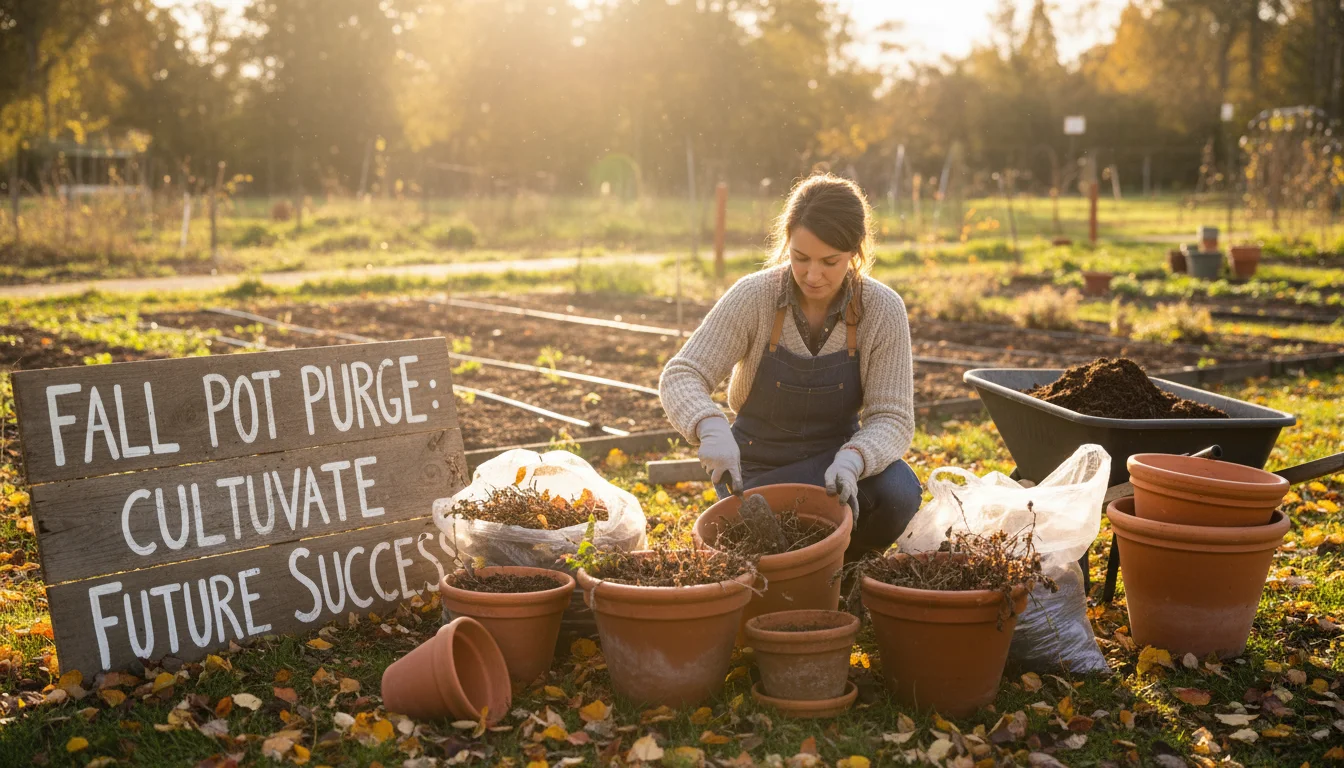
Preparing Your Plants for the Move: A Step-by-Step Acclimation Process
A smooth transition is key to preventing severe houseplant shock. Think of it as gently easing your plants into their new home rather than abruptly throwing them into an unfamiliar situation. Preparing your plants properly can significantly reduce the incidence of yellow leaves on houseplants and overall leaf drop.
To protect your current collection, it is highly recommended to set up a quarantine zone for at least two weeks before placing new arrivals near other plants.
Here is a step-by-step process for successful acclimation:
- Start Early: Begin the transition process several weeks before you expect frost or consistently cold temperatures. Aim for a gradual acclimation period of at least two to three weeks. This allows your plants time to adjust to changing light, temperature, and humidity conditions slowly.
- Gradual Light Reduction: Over several days or a week, move your plants to shadier spots outdoors. For example, shift them from full sun to partial shade, then to a fully shaded area. This pre-exposure to lower light levels helps them adjust their photosynthetic processes before moving indoors. This step is crucial for how to acclimate plants to indoor light.
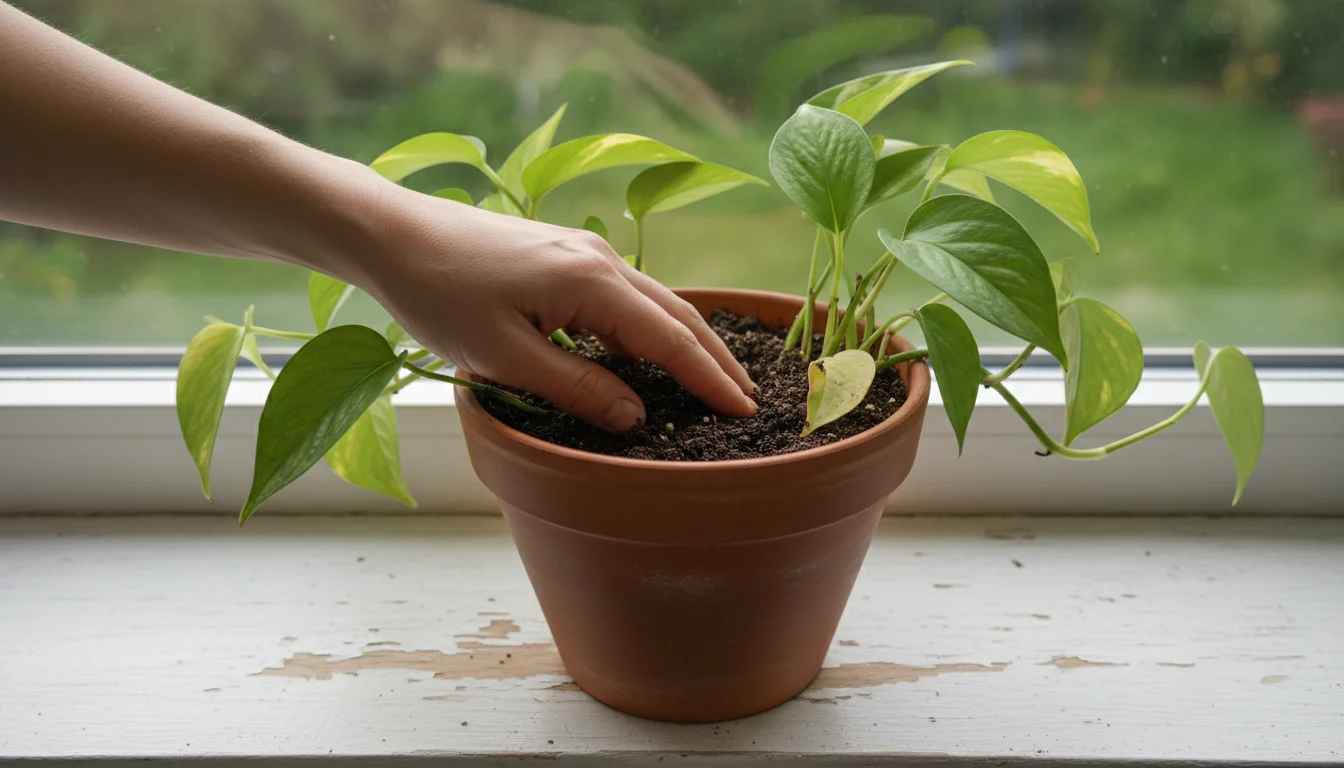
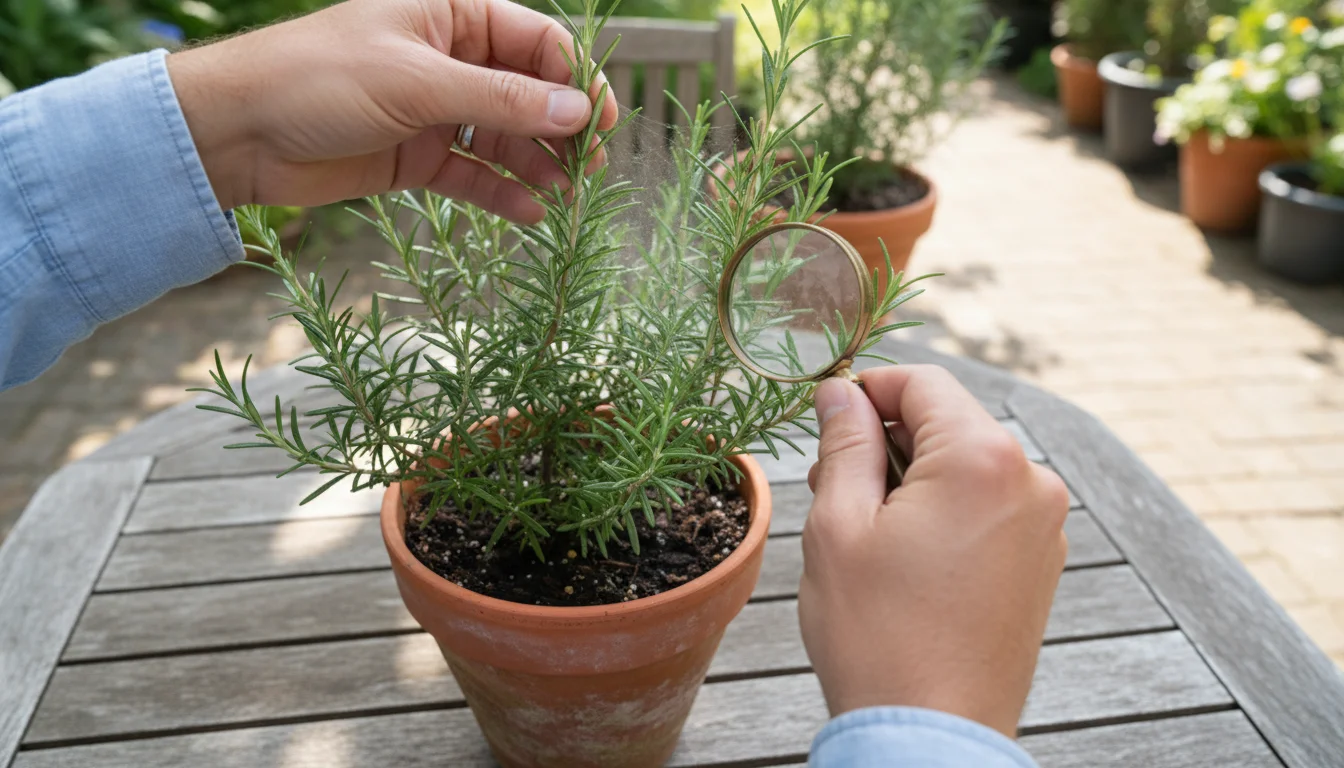
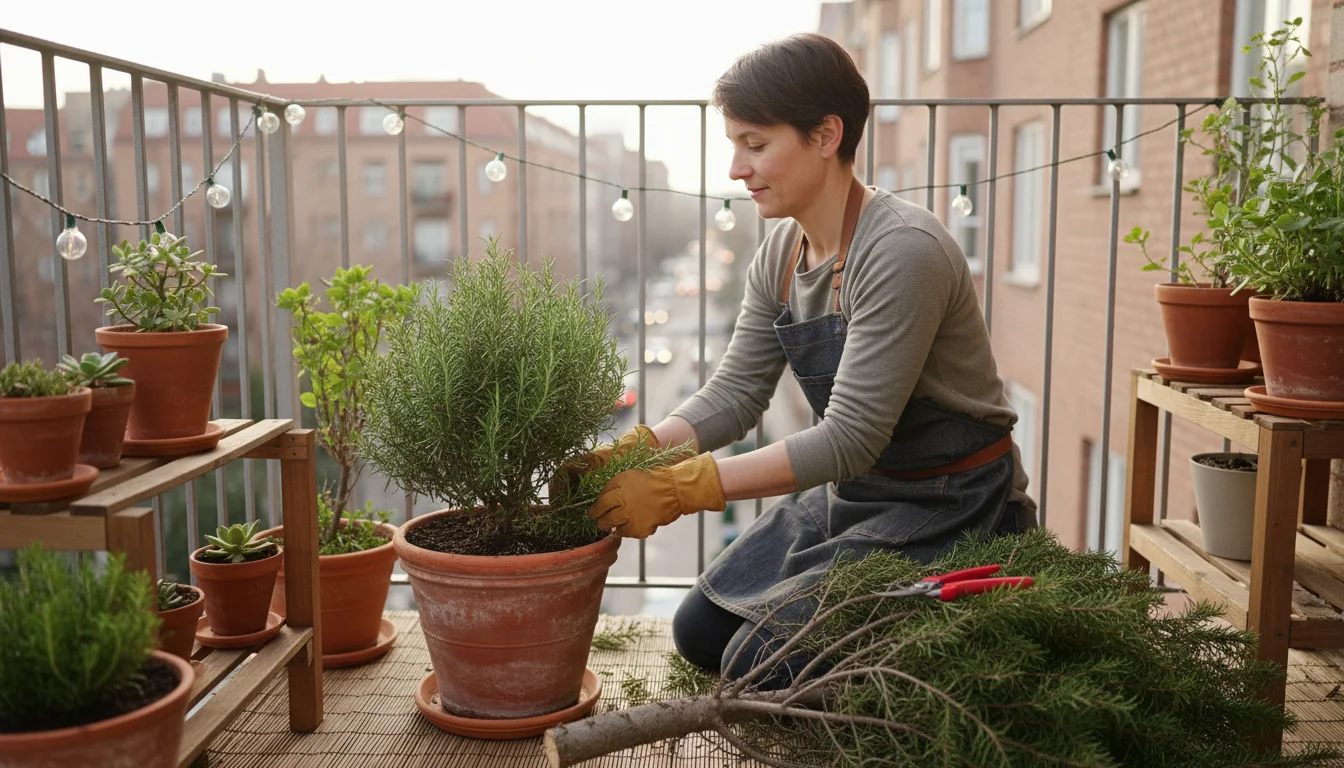
- Pest Inspection and Treatment: Before bringing any plant indoors, conduct a thorough inspection for pests. Outdoor plants are more susceptible to hitchhikers like aphids, spider mites, mealybugs, and fungus gnats. These pests can quickly infest your entire indoor collection.
- Examine the tops and undersides of leaves, stems, and the soil surface.
- Look for tiny insects, sticky residue, webbing, or distorted growth.
- If you find pests, treat them outdoors before the move. Use an insecticidal soap spray, neem oil, or a horticultural oil, following product instructions carefully. Repeat treatments as necessary.
- Consider flushing the soil: for plants that can tolerate it, gently rinsing the top layer of soil with water can dislodge surface-dwelling pests or larvae.
- Clean Your Plants: Wipe down leaves with a damp cloth to remove dust, dirt, and any lingering outdoor debris. Clean leaves photosynthesize more efficiently. This also provides another opportunity to inspect for pests.
- Pruning and Grooming: Trim back any dead, damaged, or leggy growth. Removing excess foliage can help the plant conserve energy during the transition and reduce the total leaf surface area that needs to adapt to lower light.
- Repotting (If Necessary): If a plant is severely root-bound or needs fresh soil, repot it at least a month before bringing it indoors. This gives the plant time to recover from repotting stress before enduring the stress of moving inside. Avoid repotting right before or after the move, as this adds another layer of stress.
- Choose the Right Indoor Spot: Identify where each plant will live indoors before you bring it in. Match the plant’s light requirements to the available indoor light. Consider humidity and temperature in that specific location.
By following these steps, you provide your plants with the best possible chance to minimize houseplant shock and thrive as they transition to their indoor winter home.

Light Adjustments: Recreating Optimal Indoor Conditions
Light is arguably the most critical factor influencing your plant’s success indoors, and it is a major contributor to why leaves are falling off your fiddle leaf fig after moving it inside, or any other plant for that matter. Outdoor light is vastly different from indoor light, even in a bright window. Understanding and adapting to these differences is paramount for overwintering houseplants successfully.
Here is how to effectively manage light for your indoor plants:
- Assess Light Levels: Observe your indoor spaces throughout the day. South-facing windows generally offer the brightest, most direct light. East-facing windows provide gentle morning sun. West-facing windows offer intense afternoon light, which can sometimes be too strong. North-facing windows provide consistent, indirect light, suitable for low-light plants. Even a bright room can be surprisingly dim for a plant accustomed to outdoor conditions.
- Match Plants to Light: Place high-light-loving plants, like many succulents, cacti, and flowering plants, in your brightest windows. Plants that prefer indirect or medium light, such as monsteras, pothos, and many ferns, thrive in east or west-facing windows, or a few feet back from a south-facing window. Low-light plants like ZZ plants or snake plants tolerate north-facing windows or shadier corners.
- Rotate Your Plants: Plants naturally grow towards a light source. To encourage even growth and ensure all sides of the plant receive adequate light, rotate your plants a quarter turn every week or two. This prevents one-sided growth and helps maintain a balanced shape.
- Clean Windows: Dust and grime on your windows can block a surprising amount of light. Regularly clean your windows, especially during the darker winter months, to maximize light penetration.
- Supplemental Lighting: If your home lacks sufficient natural light, consider investing in grow lights. Modern LED grow lights are energy-efficient and come in various forms, from small clip-on lights for individual plants to full-spectrum panels for larger collections.
- Choose full-spectrum lights that mimic natural sunlight.
- Position lights according to the manufacturer’s recommendations, usually 6 to 12 inches above the plant canopy, depending on the light’s intensity.
- Use a timer to provide 10-14 hours of consistent light per day, replicating a natural day-night cycle.
- Recognize Signs of Insufficient Light:
- Leggy growth: Stems stretch out with sparse leaves, indicating the plant is reaching for light.
- Small leaves: New leaves are smaller than older ones.
- Lack of flowering: Flowering plants fail to produce blooms.
- Fading variegation: Variegated leaves lose their distinct patterns.
- Overall decline: Weak, pale appearance, and continued leaf drop.
Learning how to acclimate plants to indoor light involves keen observation and active adjustment. Do not be afraid to move plants around your home to find their ideal spot. Your plants will tell you what they need through their growth patterns and leaf health.
Watering Wisdom: Avoiding Root Rot and Underwatering
Watering practices indoors differ significantly from outdoor watering, and mismanaging moisture is a leading cause of yellow leaves on houseplants and subsequent leaf drop. Indoors, plants typically require less water due to lower light, reduced air circulation, and stable temperatures. Overwatering is a common mistake that leads to root rot, a silent killer for many houseplants. Underwatering, while less common for immediate severe damage, also causes stress and leaf shedding.
Here is your practical guide to indoor watering:
- Feel the Soil, Do Not Guess: The most reliable way to determine if your plant needs water is to feel the soil. Stick your finger about an inch or two into the soil. If it feels dry, it is likely time to water. If it feels moist, wait. For larger pots, a moisture meter can provide a more accurate reading deeper in the pot.
- Understand “Drainage”: Drainage refers to how water moves through the soil and out of the pot. Good drainage is crucial. Most potting mixes for houseplants are designed to drain well, but an appropriate pot with drainage holes is equally important. Never let your pot sit in standing water.
- Water Thoroughly: When you do water, water deeply until you see water draining from the bottom of the pot. This ensures that the entire root ball gets hydrated. Discard any excess water that collects in the saucer after about 15-30 minutes. Leaving roots submerged in water deprives them of oxygen, leading to root rot.
- Adjust for Plant Type:
- Succulents and Cacti: Allow the soil to dry out completely between waterings, often for weeks.
- Tropical Foliage Plants (e.g., Pothos, Philodendron, Fiddle Leaf Fig): Water when the top inch or two of soil feels dry.
- Moisture-Loving Plants (e.g., Ferns, Peace Lilies): Keep the soil consistently moist but never soggy.
- Seasonality Matters: Plants naturally slow their growth during the shorter, darker winter months. They enter a period of dormancy, requiring less water and nutrients. Reduce your watering frequency during fall and winter. Resume more frequent watering in spring when active growth returns.
- Signs of Overwatering:
- Yellowing leaves, especially lower leaves.
- Mushy stems or bases.
- Foul odor from the soil.
- Small gnats flying around the plant.
- Leaves turning dark brown or black and becoming soft.
- Signs of Underwatering:
- Wilting leaves that feel dry and crispy.
- Leaves turning brown and crispy, especially at the edges.
- Soil pulling away from the sides of the pot.
- Slowed or stunted growth.
By adopting a mindful watering routine and paying attention to your plant’s specific needs, you can prevent common watering-related issues and ensure your plants remain healthy indoors.

Humidity Hacks: Battling Dry Indoor Air
Many of our popular houseplants originate from tropical and subtropical regions where humidity levels are naturally high. Indoor environments, particularly during the heating season, are often significantly drier. This stark contrast in humidity levels contributes to houseplant shock and can cause symptoms like crispy leaf edges, brown tips, and overall wilting. Addressing low humidity is an important part of preventing leaf drop when bringing plants indoors.
Standard heating systems often drop indoor moisture to desert-like levels, so you may need to boost humidity levels using pebble trays or humidifiers.
Central heating can quickly turn your living space into a dry desert for plants, making humidity management a top priority.
Here are effective strategies to increase ambient humidity around your plants:
- Group Your Plants: Plants naturally release moisture into the air through a process called transpiration. Grouping several plants together creates a localized microclimate with higher humidity as they collectively humidify the air around them. This is a simple, effective method.
- Pebble Trays: Place a layer of pebbles or gravel in a saucer or tray, then add water until it reaches just below the top of the pebbles. Set your potted plant on top of the pebbles. As the water evaporates, it increases humidity around the plant without allowing the pot to sit in standing water, which would lead to root rot.
- Mist Your Plants (with caution): Lightly misting your plant’s leaves with water can provide a temporary boost in humidity. However, this effect is short-lived. Over-misting, especially on fuzzy-leaved plants or in poor air circulation, can encourage fungal diseases. Use distilled or filtered water to avoid mineral buildup on leaves. Focus misting on plants that appreciate it, like ferns or calatheas.
- Use a Humidifier: For a more consistent and significant increase in humidity, especially for larger plant collections or very sensitive plants like the fiddle leaf fig, an electric humidifier is the most effective solution. Place it near your plants and set it to maintain a desired humidity level, typically between 40-60%.
- Avoid Heat Sources: Keep plants away from heating vents, radiators, and fireplaces. These sources produce very dry, hot air that rapidly dehydrates plants and exacerbates low humidity issues.
Monitoring humidity can be done with a simple hygrometer, an inexpensive tool that measures humidity levels. By consciously adding moisture to your indoor environment, you mitigate one of the major stressors for your tropical plants, helping them retain their lush foliage and preventing the dreaded leaf drop.
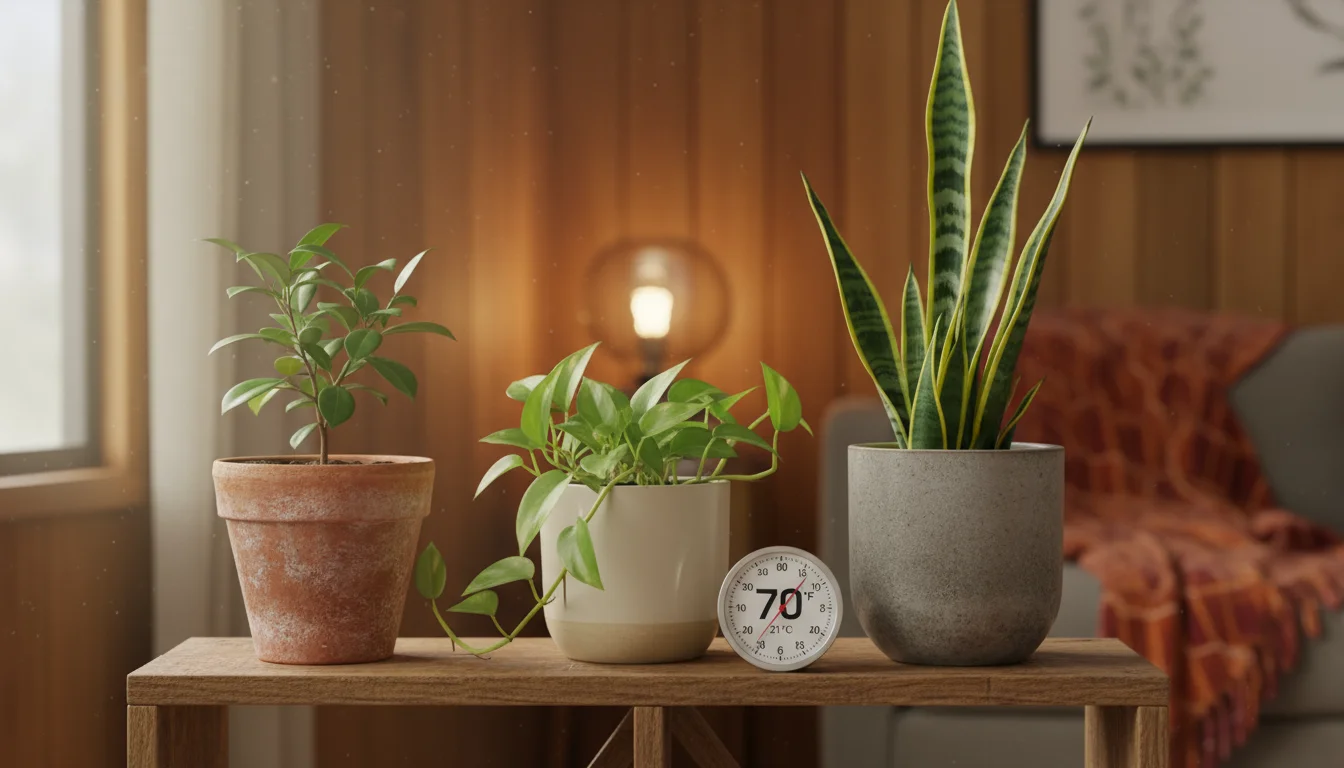
Temperature Stability: Keeping Your Plants Comfortable
Temperature plays a crucial role in your plant’s overall health and ability to adjust to its indoor environment. While outdoor temperatures fluctuate throughout the day and night, your plants largely adapt to these natural cycles. Indoors, sudden temperature shifts or sustained extremes can cause significant stress, leading to houseplant shock and leaf drop. Maintaining stable and appropriate temperatures is vital for overwintering houseplants.
Consider these points for temperature management:
- Understand Ideal Ranges: Most common houseplants thrive in temperatures between 65-75°F (18-24°C) during the day and can tolerate a slight drop, around 60-65°F (15-18°C), at night. Consistent temperatures within this range promote healthy growth.
- Avoid Drafts: Keep plants away from drafty windows, doors, and air conditioning or heating vents. Cold drafts can shock plants, causing sudden leaf drop, particularly for sensitive varieties. Hot drafts from heaters dry out foliage and can also lead to stress.
- Protect from Extremes: Do not place plants directly against cold window panes in winter, as the cold glass can chill leaves and roots. Similarly, direct exposure to intense heat from radiators or stoves can be detrimental.
- Consider Nocturnal Drops: While most plants prefer stable temperatures, a slight temperature drop at night can actually be beneficial for some, mimicking natural outdoor conditions and aiding certain metabolic processes. However, this drop should be gradual and not below their tolerance threshold.
- Monitor During Transport: If you move plants in and out for short periods, be mindful of the temperature during transit. Even a brief exposure to freezing temperatures can cause irreversible damage. Protect plants with a bag or blanket if carrying them through cold outdoor air.
Consistent, moderate temperatures help your plants settle into their indoor home, reducing stress and allowing them to focus their energy on adjusting to other environmental factors. A stable environment prevents the shock that leads to yellow leaves on houseplants and ensures a healthier transition.
Nutrient Needs and Soil Health: What Your Plants Really Require
The soil your plant lives in is its anchor and its primary source of nutrients. Healthy soil provides aeration, water retention, and essential minerals. Understanding your plant’s nutrient needs and ensuring good soil health is fundamental for minimizing houseplant shock and maintaining vigor, particularly as you prepare for overwintering houseplants.
Since many plants enter a rest period during the darker months, it is essential to follow a winter watering and feeding schedule to prevent nutrient burn.
Here is how to manage nutrients and soil effectively:
- Fertilizing Indoors vs. Outdoors: Outdoors, plants are actively growing and benefit from regular feeding. Indoors, especially during fall and winter, plant growth naturally slows down due to reduced light. Over-fertilizing during this dormant period can harm your plants, leading to fertilizer burn, which manifests as brown leaf edges or root damage.
- Reduce or Stop Fertilizing in Winter: As a general rule, significantly reduce or completely stop fertilizing your houseplants from late fall through late winter. Resume feeding with a balanced liquid fertilizer at half strength once new growth appears in spring. Always follow the product’s instructions and err on the side of caution.
- The Importance of Well-Draining Potting Mix: A good quality potting mix for houseplants provides the right balance of aeration and moisture retention. Avoid using garden soil, which is too dense and can compact in pots, leading to poor drainage and root rot. “Drainage” in soil means it allows excess water to pass through, preventing roots from sitting in soggy conditions.
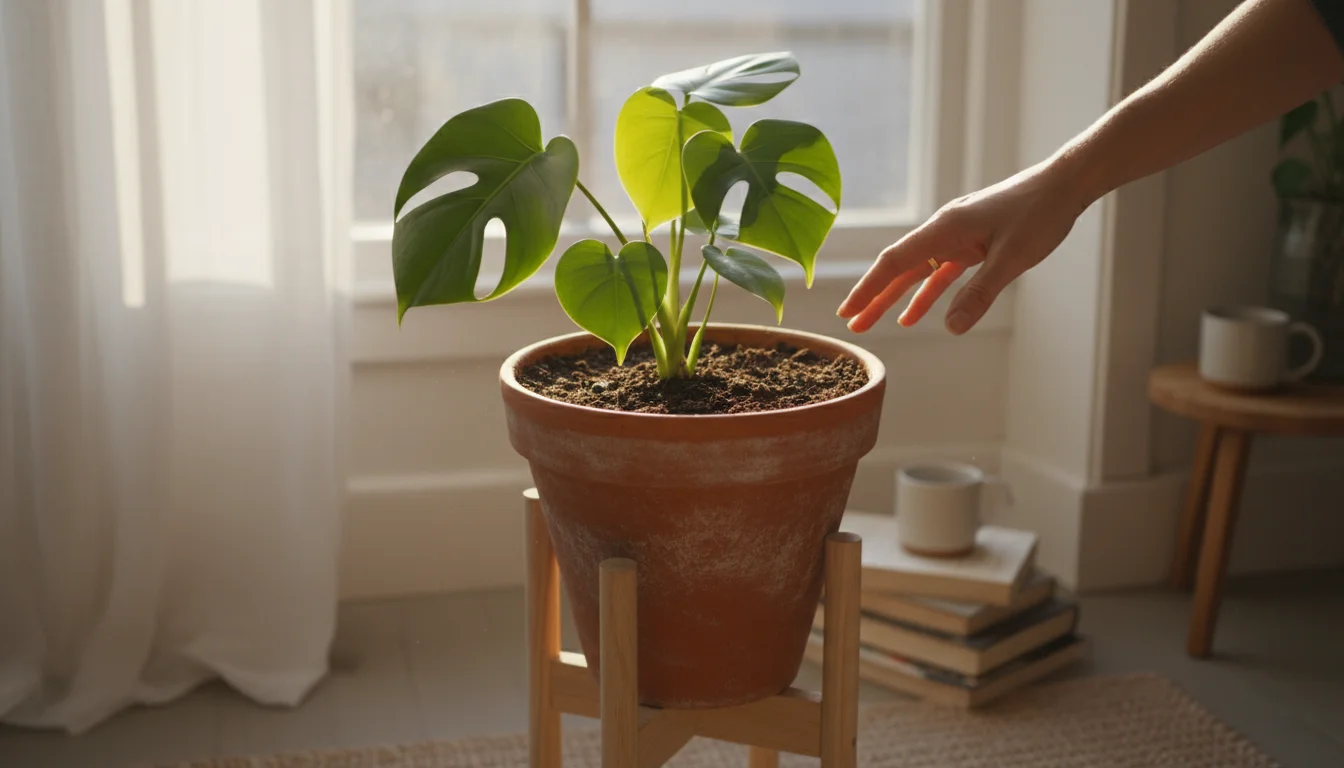
- Repotting Considerations:
- Repotting should typically occur in spring or early summer when the plant is actively growing. Avoid repotting right before or after bringing plants indoors, as this adds significant stress.
- If a plant is severely root-bound (roots circling the pot, growing out of drainage holes), it might need a larger pot. Otherwise, refresh the top inch or two of soil annually without increasing pot size.
- When repotting, choose a pot only one size larger than the current one. Too large a pot holds too much moisture, increasing the risk of root rot.
- Nutrient Deficiency Signs: While less common immediately after moving indoors, long-term nutrient deficiencies can cause issues.
- Yellowing of older leaves: Often indicates nitrogen deficiency.
- Purplish discoloration: Can signal phosphorus deficiency.
- Yellowing between leaf veins (chlorosis): May point to iron or magnesium deficiency.
By providing a suitable growing medium and judiciously managing nutrients, you empower your plants to cope with the transition indoors and maintain their health throughout the colder months. Remember, less is often more when it comes to feeding dormant indoor plants.
Pest Patrol: Identifying and Eliminating Unwanted Guests
Pests are one of the biggest threats to your indoor plant collection, especially after you bring plants in from outdoors. Outdoor plants can harbor a variety of insects, eggs, or larvae that go unnoticed until they multiply in the warm, stable indoor environment. A single hitchhiking pest can quickly infest an entire room, causing significant houseplant shock and leading to widespread yellow leaves on houseplants or other damage. Thorough pest management is a critical step in preventing leaf drop when bringing plants indoors.
Here is how to implement an effective pest patrol:
- Pre-Move Inspection and Treatment: This is your first and best line of defense.
- Before bringing any plant inside, meticulously inspect every part: tops and undersides of leaves, stems, leaf axils (where leaves meet stems), and the soil surface.
- Look for common culprits: tiny white mealybugs (cottony masses), small green aphids, sticky sap (honeydew), fine webbing (spider mites), or small dark fungus gnats hovering around the soil.
- If you find any pests, treat the plant outdoors first. Options include:
- Hosing off: A strong spray of water dislodges many soft-bodied pests.
- Insecticidal soap: An effective contact insecticide for aphids, spider mites, and mealybugs. Follow label directions.
- Neem oil: A natural pesticide that disrupts insect feeding and reproduction. Apply thoroughly to all plant surfaces.
- Systemic insecticides: For severe infestations, consider granular systemic products applied to the soil (check if safe for edible plants).
- Quarantine New or Returning Plants: Even after inspection, some pests can be elusive. Isolate any plant returning from outdoors or any new plant you acquire for at least two to four weeks. Keep it in a separate room, away from your main collection. This prevents any undetected pests from spreading.
- Regular Indoor Inspections: Continue to inspect your plants weekly once they are indoors. Early detection makes pest control much easier. Pay attention to new growth, as pests often target tender young leaves.
- Common Indoor Pests and Solutions:
- Spider Mites: Tiny, often reddish mites that create fine webbing. Leaves may appear stippled or discolored. Solution: Isolate, thoroughly spray with insecticidal soap or neem oil, and increase humidity.
- Mealybugs: White, cottony insects found in leaf axils and along stems. They suck plant sap, causing yellowing and stunted growth. Solution: Dab individual bugs with an alcohol-soaked cotton swab, then treat with insecticidal soap or neem oil.
- Aphids: Small, pear-shaped insects, often green, black, or red, clustered on new growth. Solution: Hose off, use insecticidal soap.
- Fungus Gnats: Small, dark flies that hover around soil. Their larvae feed on roots. Solution: Allow soil to dry out between waterings, use sticky traps for adults, or biological controls like BTI (Bacillus thuringiensis israelensis) drench.
- Good Hygiene: Remove dead leaves and spent flowers promptly. Pests often hide in decaying plant matter. Clean leaves regularly to remove dust, which can also harbor pests.
Vigilance is your best tool in pest management. A proactive approach to identifying and eliminating unwanted guests ensures your plants remain healthy and minimizes the risk of a full-blown infestation after moving them indoors.
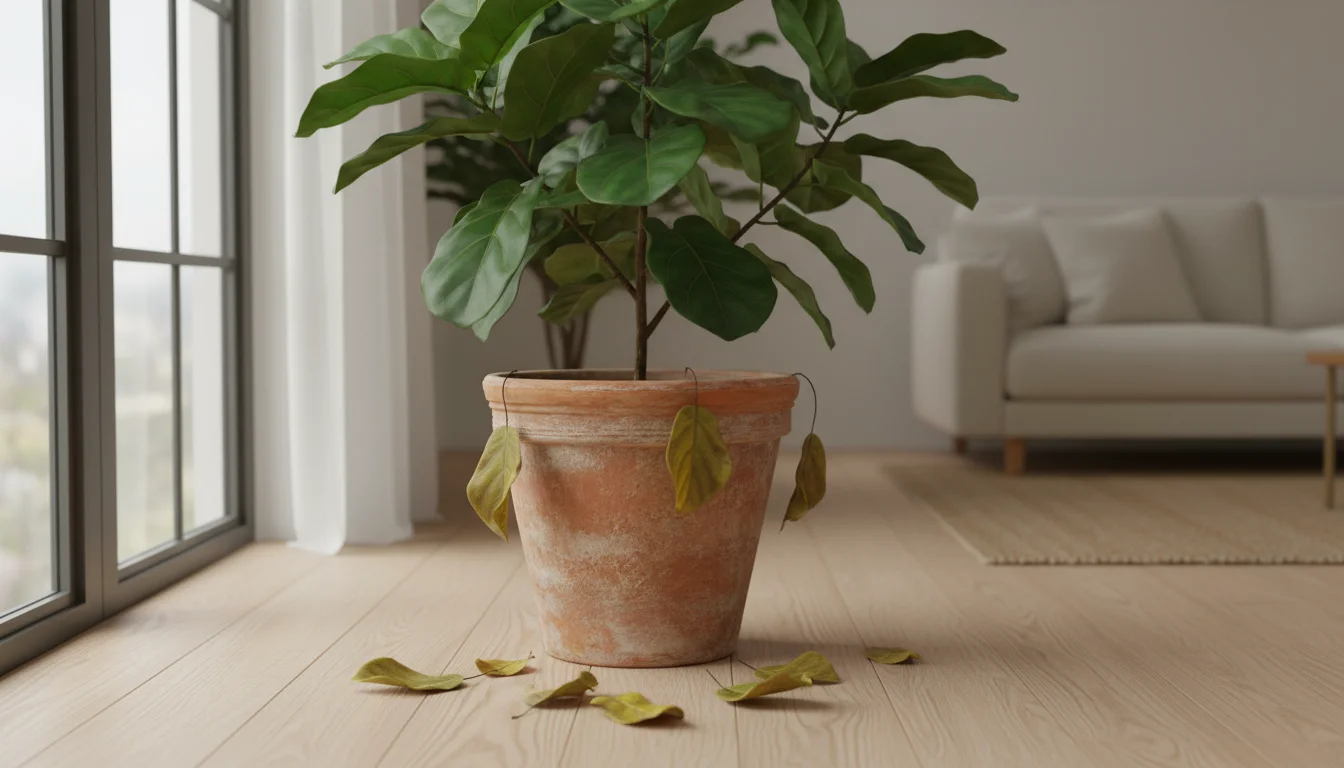
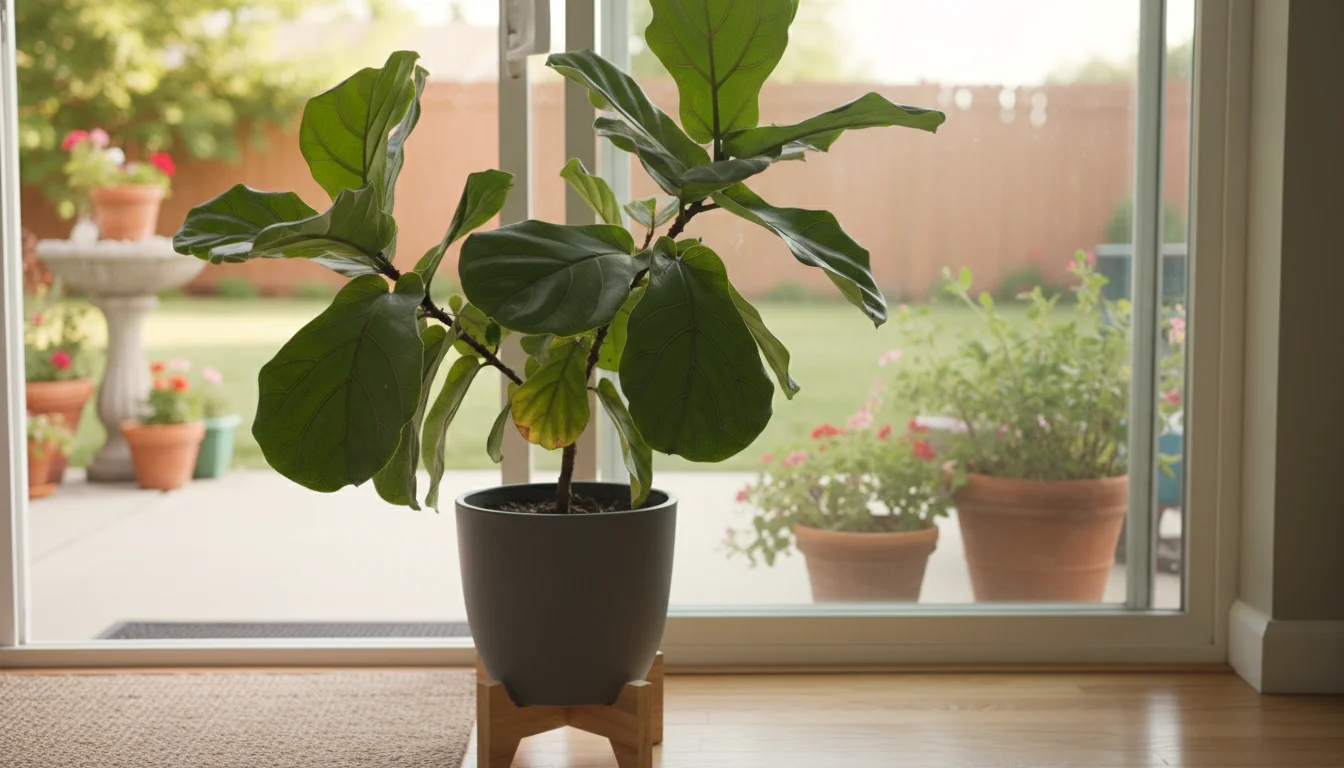
Specific Plant Concerns: The Fiddle Leaf Fig and Other Sensitive Varieties
While many plants exhibit some level of houseplant shock when moved indoors, certain varieties are notorious for their dramatic responses. The Ficus lyrata, commonly known as the fiddle leaf fig, stands out as a prime example. If you are asking “why are leaves falling off my fiddle leaf fig after moving it inside,” you are experiencing a very common phenomenon. These plants are beautiful but have a reputation for being finicky. Understanding their specific sensitivities helps you provide tailored care.
While Ficus species are famous for their tantrums, balcony gardeners should also have a survival guide for fussy ferns ready for when those delicate fronds move inside.
Here are some insights for particularly sensitive plants:
- Fiddle Leaf Fig (Ficus lyrata):
- Light Sensitivity: Fiddle leaf figs crave bright, indirect light. Even a slight decrease in light can trigger leaf drop. Place them in your brightest window, preferably south or west-facing, but ensure they are not scorched by direct afternoon sun without any buffer.
- Humidity Demands: They originate from tropical rainforests and absolutely require high humidity. Dry indoor air is a major culprit for brown, crispy edges and leaf drop. Grouping, pebble trays, and humidifiers are essential.
- Temperature Stability: Fiddle leaf figs despise drafts and sudden temperature fluctuations. Keep them away from doors, windows, and heating/cooling vents.
- Watering Precision: They need consistent moisture but absolutely hate soggy feet. Water thoroughly when the top two to three inches of soil are dry, and ensure excellent drainage. Overwatering is a common cause of yellow leaves on houseplants, especially for fiddle leaf figs.
- Movement Sensitivity: These plants are known to react poorly to being moved, even within the same room. Once you find a spot it likes, try to keep it there.
- Other Sensitive Plants:
- Ficus elastica (Rubber Plant) and Ficus benjamina (Weeping Fig): Similar to the fiddle leaf fig, these Ficus varieties can drop leaves in response to changes in light, temperature, or watering. Consistent care is paramount.
- Calatheas and Marantas (Prayer Plants): These plants are highly sensitive to low humidity and tap water chemicals. They often develop crispy leaf edges and might curl their leaves in distress. Use distilled or filtered water and provide very high humidity.
- Gardenias and Citrus Plants: If you bring these indoors, they will demand high light, consistent moisture, and often high humidity. Expect some leaf drop as they adjust.
For these more demanding plants, your attention to detail regarding their environment becomes even more crucial. Providing stable conditions that closely mimic their natural habitat minimizes stress and helps them adapt gracefully to their indoor winter home. Patience is key; it can take weeks for a sensitive plant to fully adjust and stop shedding leaves.
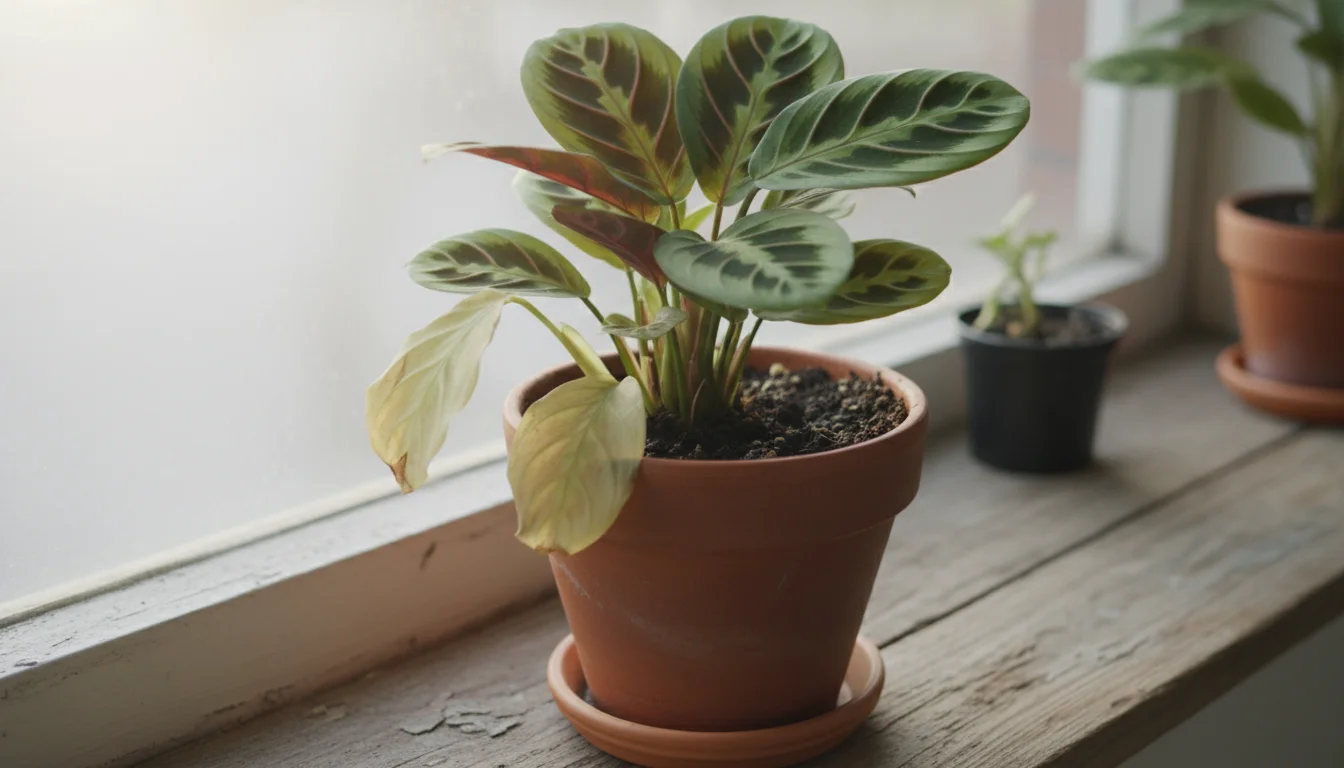
Troubleshooting Yellow Leaves and Other Distress Signals
Your plants communicate their needs through various visible signs. While leaf drop is a clear indicator of stress, other signals like yellowing, browning, or wilting can pinpoint specific issues. Learning to read these distress signals helps you act quickly and effectively, turning your troubleshooting into a proactive care strategy. This section helps you understand why you might see yellow leaves on houseplants and how to respond.
If you see your plant struggling, it is often due to common winter care mistakes like placing pots too close to cold windows or over-fertilizing.
Here is a guide to common plant distress signals and their probable causes:
- Yellow Leaves on Houseplants (Chlorosis):
- Overall yellowing, especially older, lower leaves: Often indicates overwatering or insufficient light. Roots sitting in soggy soil cannot absorb oxygen or nutrients, leading to root rot. Low light means the plant cannot photosynthesize effectively and sheds older leaves to conserve energy.
- Yellowing between leaf veins (green veins, yellow leaf tissue): Typically a sign of nutrient deficiency, often iron or magnesium. This can occur if soil pH is off, or if the plant needs a gentle feeding in spring.
- Sudden yellowing and dropping of many leaves: Classic sign of houseplant shock due to abrupt environmental changes (light, temperature, humidity, relocation).
- Brown or Crispy Leaf Tips/Edges:
- Dry, crispy brown edges: Usually a sign of low humidity, especially for tropical plants. Dry air causes water to evaporate too quickly from the leaves. It can also indicate underwatering.
- Dark brown, mushy spots or edges: Often points to overwatering or fungal issues due to excessive moisture.
- Wilting or Drooping Leaves:
- Overall drooping, soil dry: Likely underwatering. Water thoroughly, and the plant should perk up within a few hours.
- Overall drooping, soil wet: Could be overwatering leading to root rot. The roots are suffocated and cannot take up water, causing wilting despite wet soil. Check for mushy stems.
- Sudden droop, often accompanied by leaf drop: Temperature shock (too cold or hot), or drastic light changes.
- Stunted or Leggy Growth:
- Long, stretched stems with sparse leaves: Insufficient light. The plant is desperately reaching for a light source.
- Small, pale new leaves: Indicates low light or nutrient deficiency.
- Spots on Leaves:
- Water spots (white or grey residue): Caused by mineral deposits from hard tap water, especially if misting. Use filtered water.
- Brown or black spots with a yellow halo: Often a sign of fungal or bacterial disease, usually due to high humidity without good air circulation, or inconsistent watering. Improve air flow and adjust watering.
- Pest Evidence: Refer to the “Pest Patrol” section for specific signs like webbing, sticky residue, or visible insects.
When you observe these signals, take a step-by-step approach. First, consider the most recent changes to the plant’s environment. Did you just move it? Did you change its watering schedule? Then, check the soil moisture, light levels, and humidity. Adjust one factor at a time and observe the plant’s response. This methodical approach helps you accurately diagnose and correct the problem, bringing your plant back to health.
Frequently Asked Questions
Bringing plants indoors can spark many questions, especially when you see them struggling. Here are answers to some common concerns you might have about overwintering houseplants and preventing leaf drop.
Is it normal for my plant to drop leaves after moving it indoors?
Yes, it is very common and often normal for plants to drop some leaves after moving indoors. This phenomenon is called houseplant shock. Plants shed older or less efficient leaves to conserve energy and adapt to the lower light, reduced humidity, and stable temperatures of their new indoor environment. The goal is to minimize excessive leaf drop, not necessarily eliminate it entirely.
How long does houseplant shock last?
The duration of houseplant shock varies greatly depending on the plant species, the severity of the environmental changes, and how well you prepared and acclimated the plant. It can last anywhere from a few days to several weeks. Some sensitive plants, like the fiddle leaf fig, might take over a month to fully adjust. Patience and consistent care are crucial during this period.
What is the most common mistake gardeners make when bringing plants indoors?
The most common mistake is failing to acclimate plants gradually and then overwatering them once indoors. Abruptly moving a plant from bright outdoor light to a dim indoor spot, combined with continuing the same outdoor watering schedule, quickly leads to houseplant shock, root rot, and severe leaf drop. Always inspect for pests, acclimate slowly, and adjust your watering frequency.
Can I put my houseplants back outside in the spring?
Absolutely! Most houseplants benefit greatly from a summer vacation outdoors. Just as you acclimated them indoors, you should acclimate them back outside gradually in spring. Start by placing them in a shady, protected spot for a week or two, slowly exposing them to more light over time. Wait until all danger of frost has passed and night temperatures are consistently above 50-55°F (10-13°C).
My plant’s leaves are turning yellow, but the soil isn’t wet. What could be wrong?
If your plant’s leaves are turning yellow and the soil is not wet, consider other factors. Insufficient light is a primary cause, as the plant sheds leaves it cannot support. Low humidity can also contribute, especially for tropical varieties, leading to crisping edges that then yellow. Nutrient deficiencies, while less common immediately after moving indoors, can also cause yellowing between veins. Check for pests, which can also stress plants and cause discoloration.
For trustworthy gardening information, visit:
Virginia Cooperative Extension — Lawn & Garden, University of Maryland Extension — Home & Garden and Rutgers New Jersey Agricultural Experiment Station. These organizations provide expert, research-based advice for gardeners at all levels.
Disclaimer: This article is for informational purposes only and is not a substitute for professional gardening advice. Always consult local extension services or horticulture experts for region-specific guidance.


Leave a Reply